Weather Station (Underground) With Netduino
by zmashiah in Circuits > Arduino
47650 Views, 112 Favorites, 0 Comments
Weather Station (Underground) With Netduino
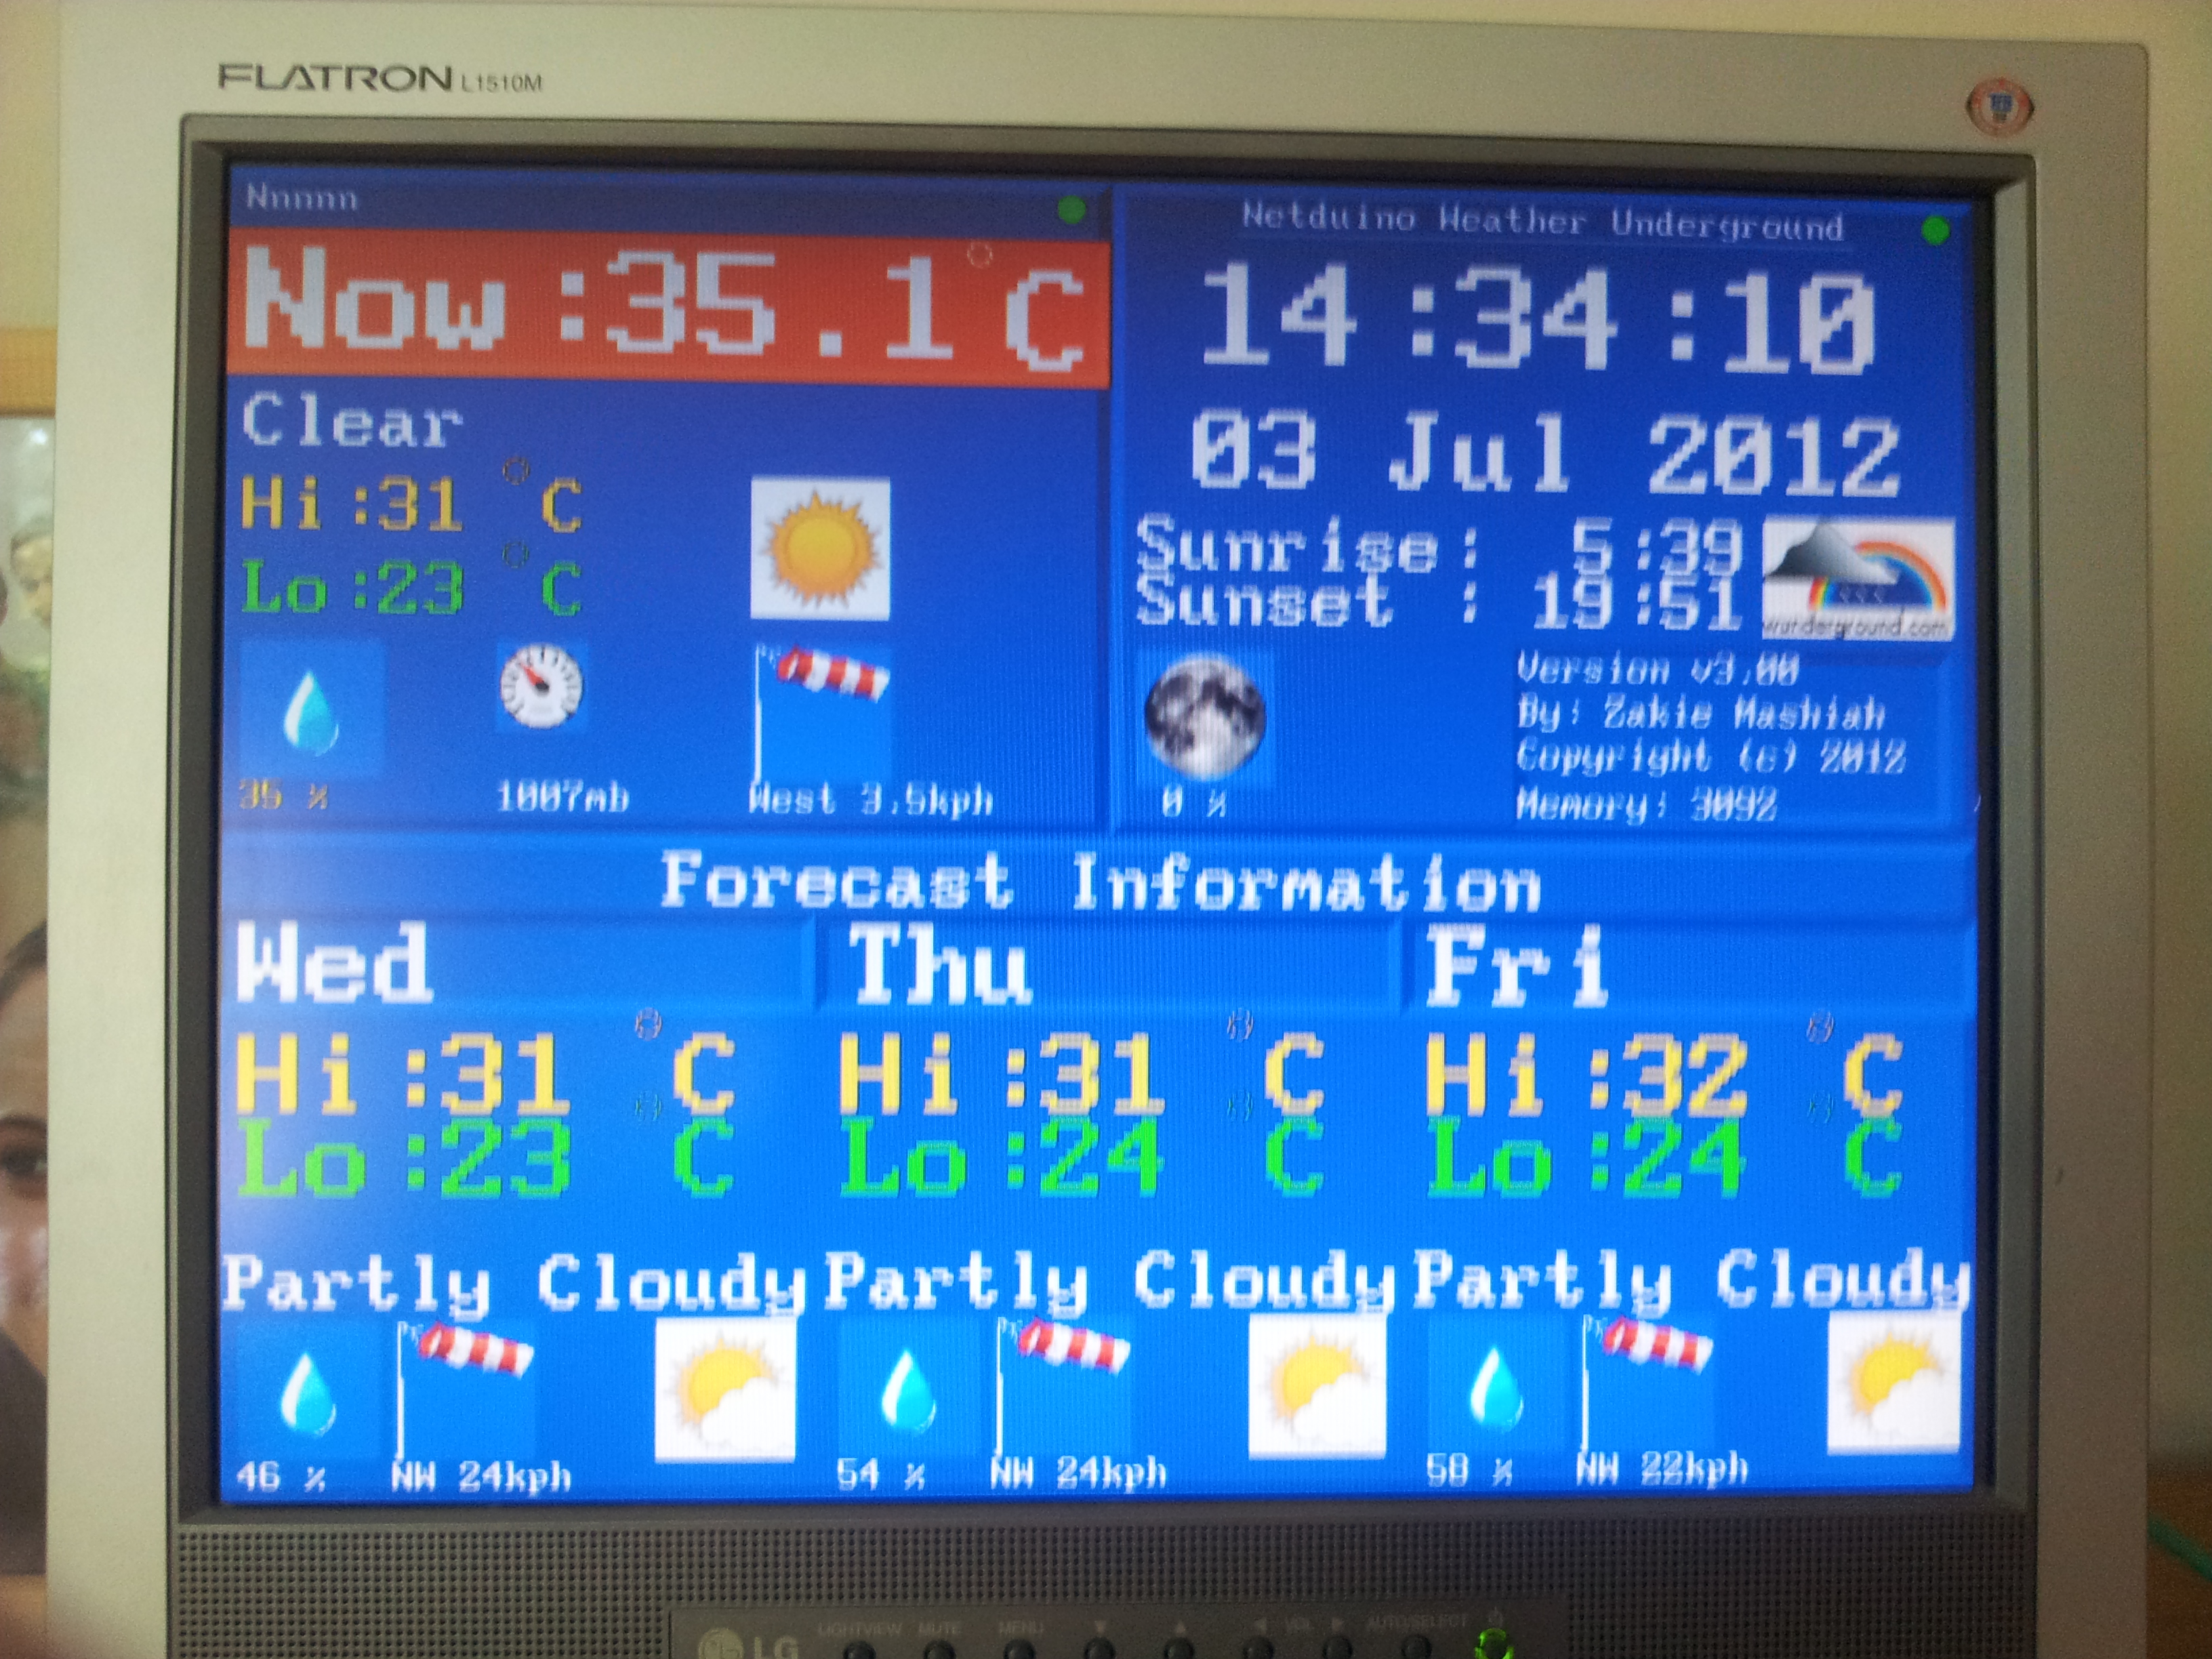
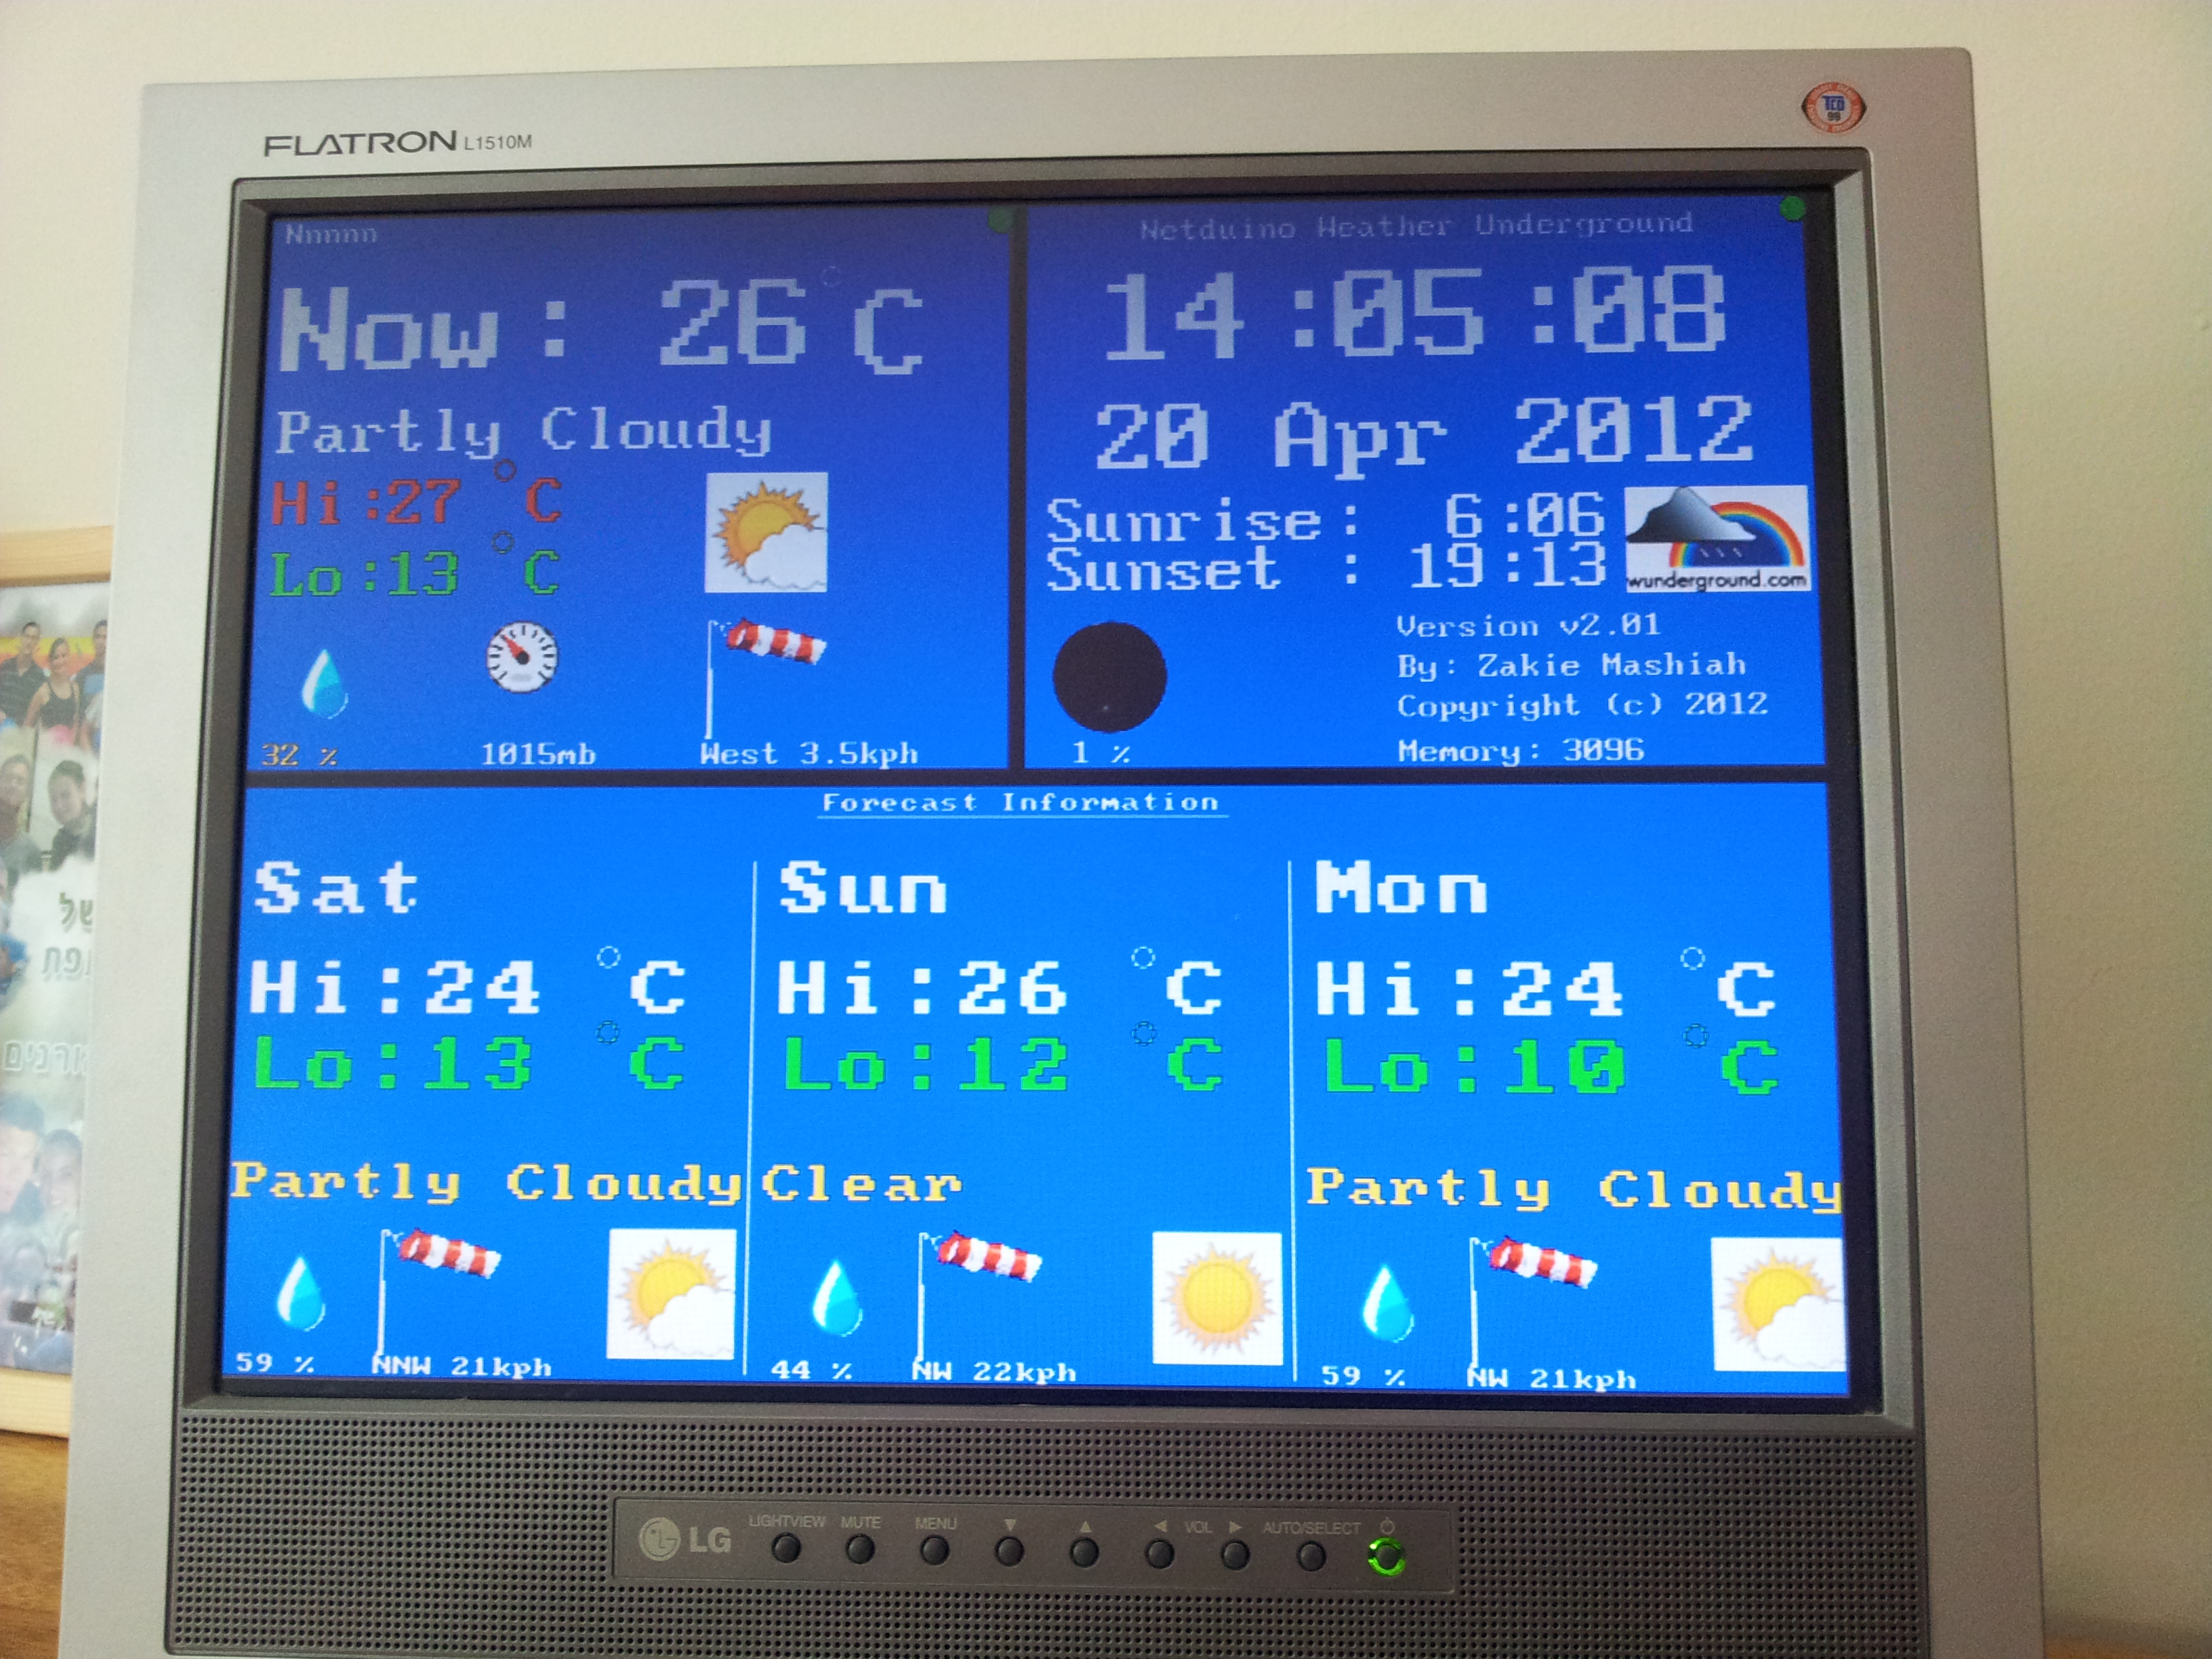
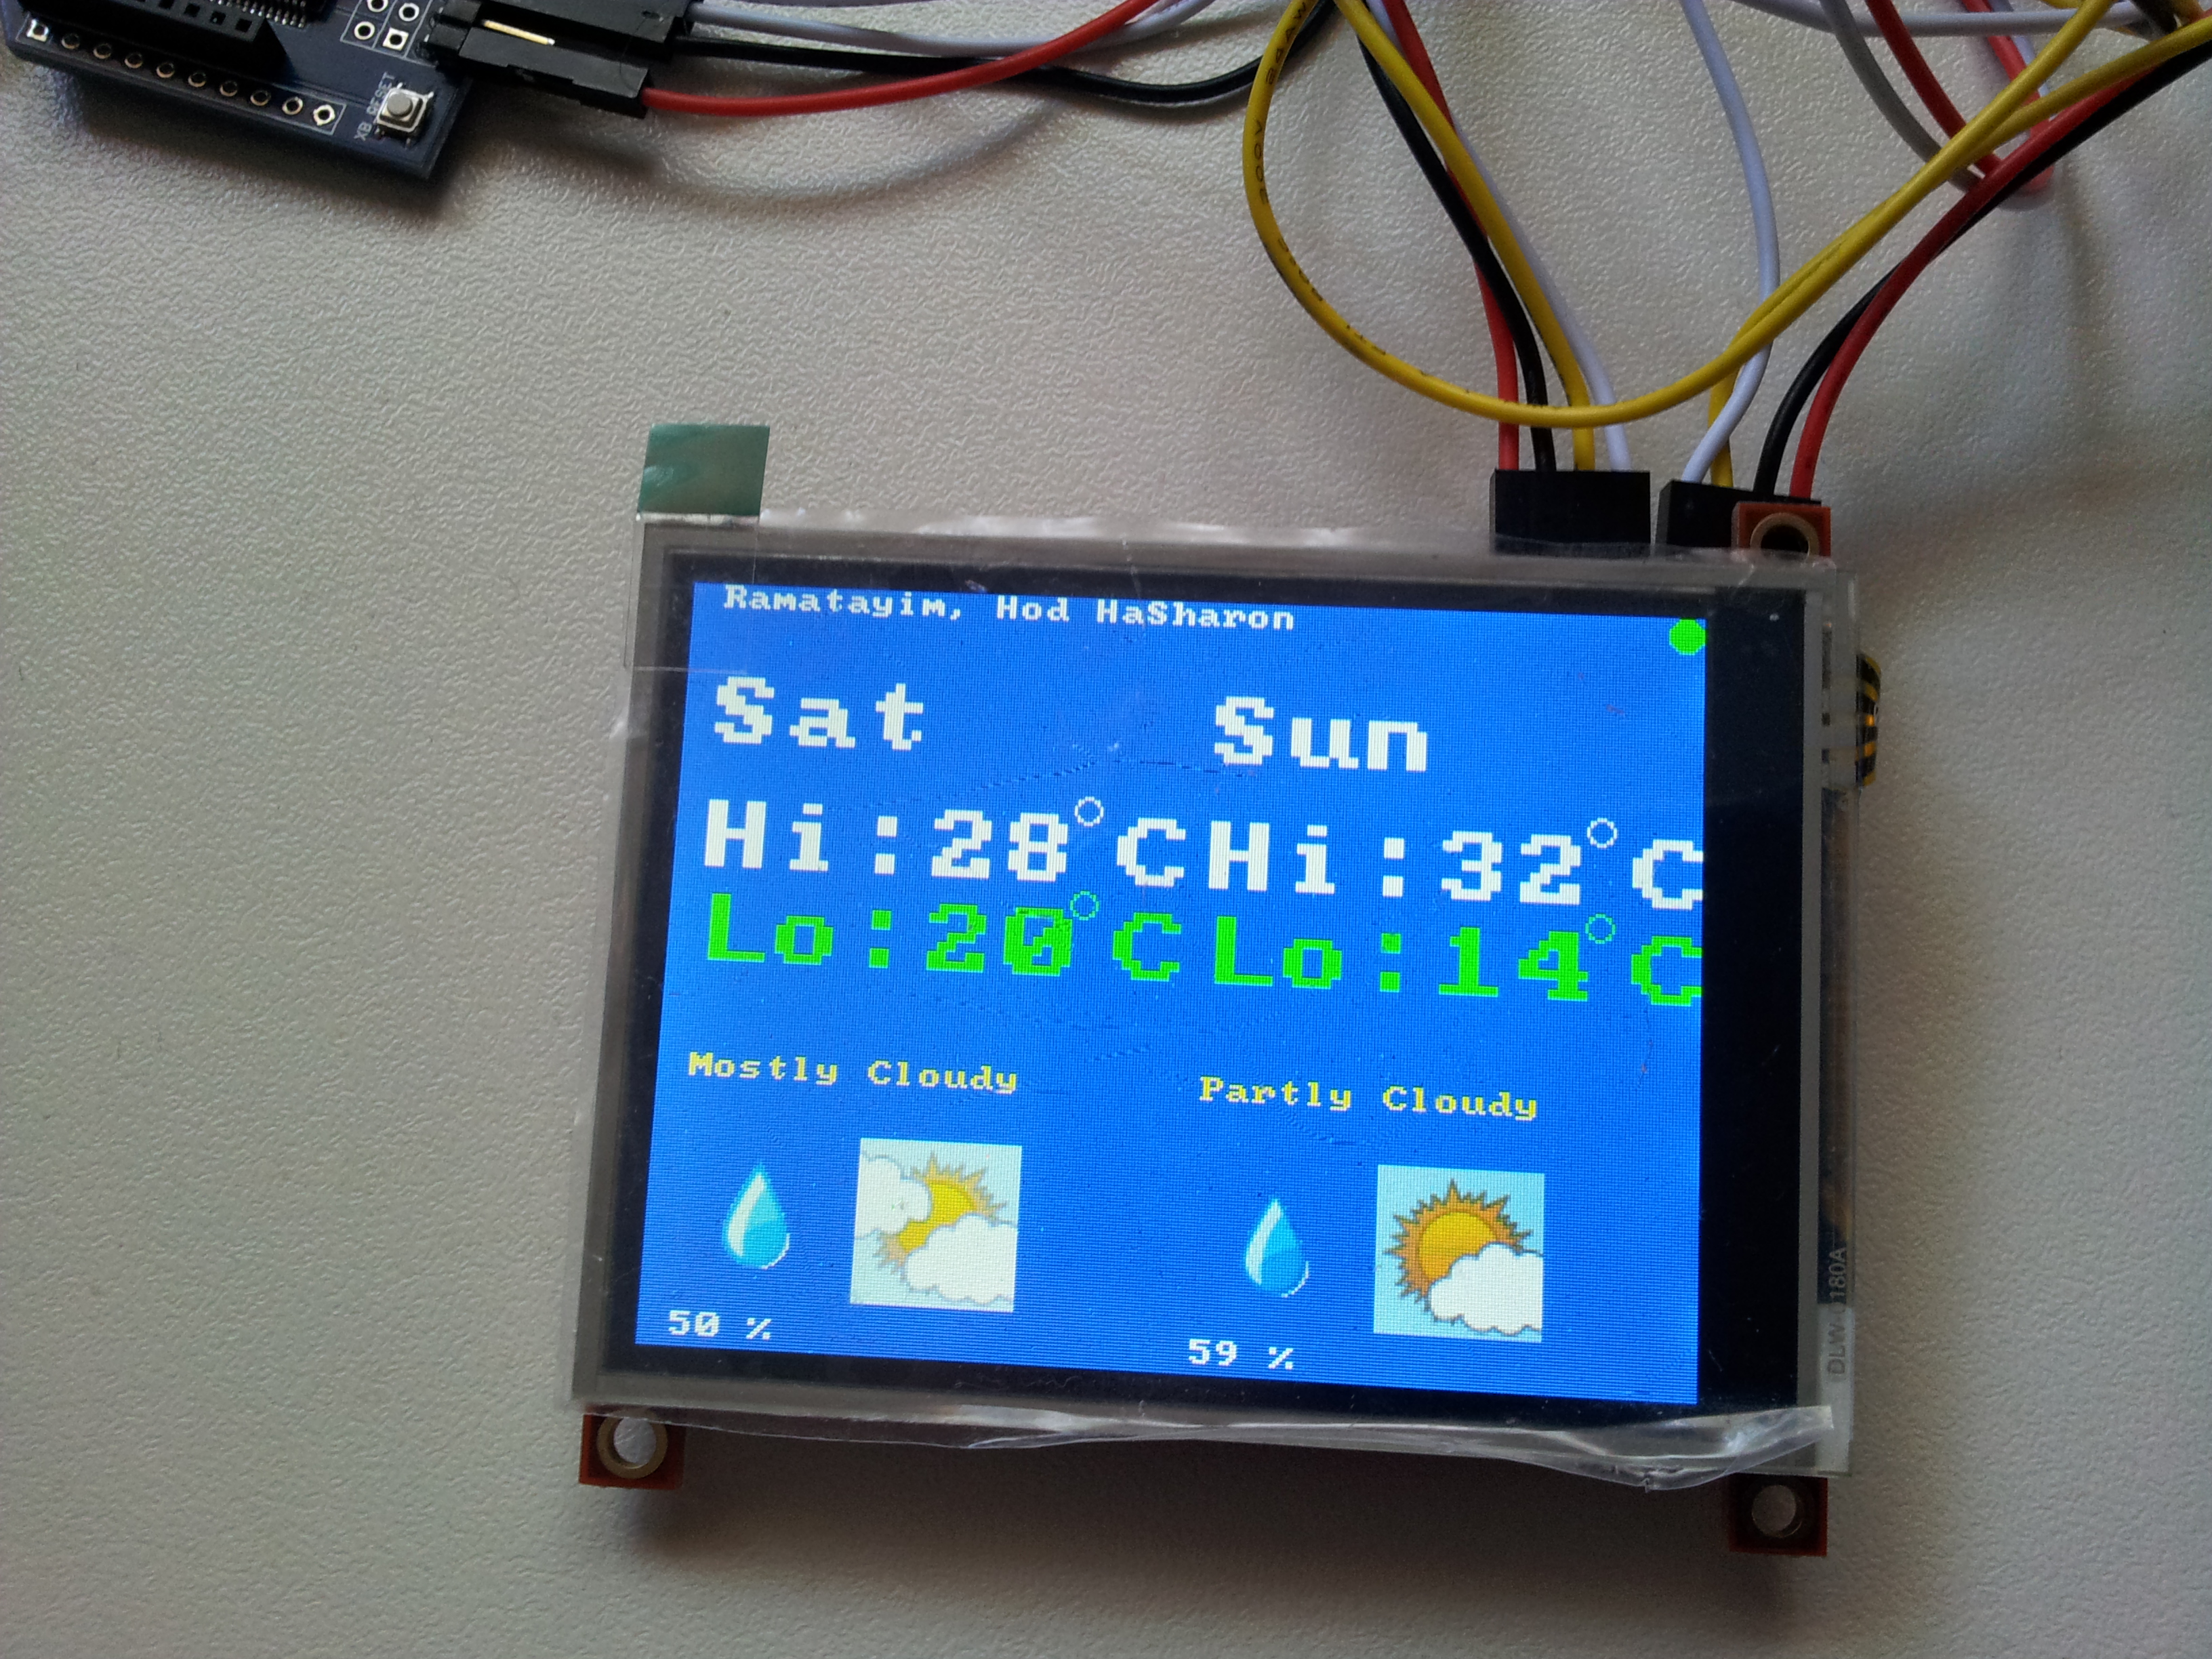
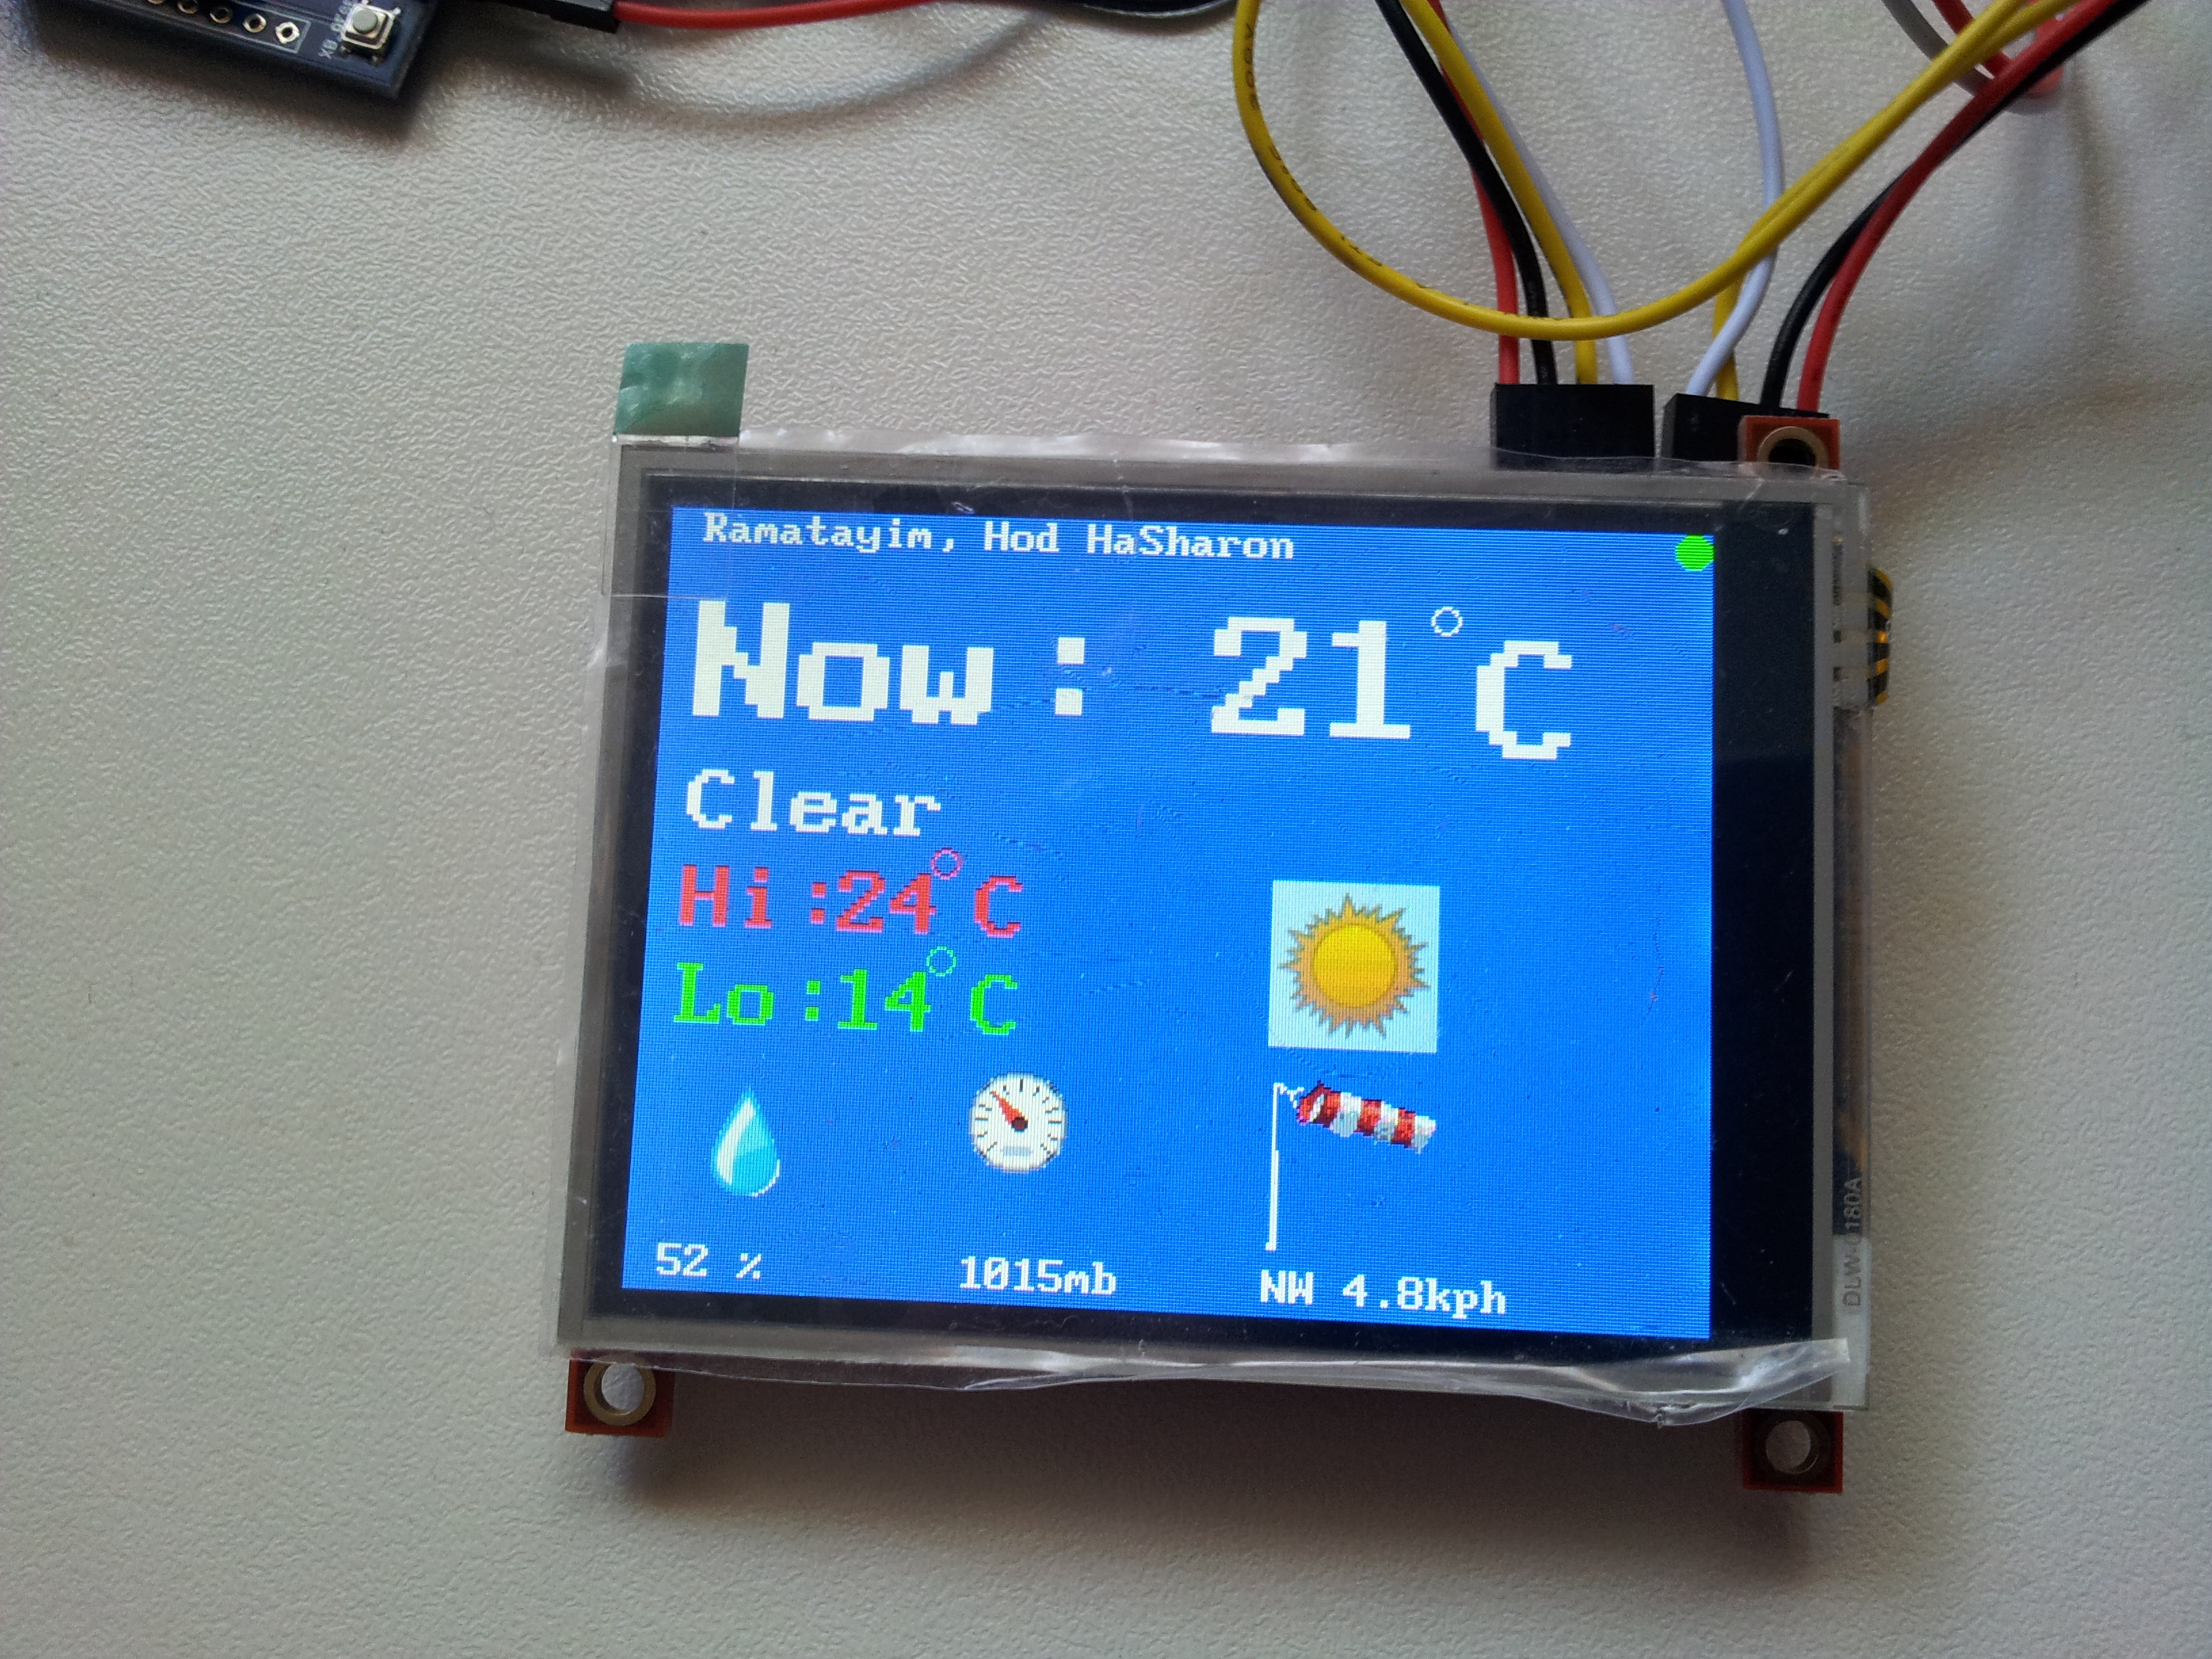
I am using a Netdunio-Plus board (Physically looks like Arduino but is using C# as programming language) to display current and forecast weather information on VGA screen. I pull the information from Weather Underground. I recently posted a similar project where an Arduino board was used to show forecast of the weather from Google Weather service. This project is fully automatic, no configuration required, and there several enhancements to the graphical display (and bug fixes). Video http://youtu.be/Qusj9oBFwqw
The output is graphical with icons and some colorful text, and color coding depending on temperature ranges and time. It is one of those gadgets I wanted to have for some time now – A weather forecasting display that is there just like the wall clock. Yes I know you got nicer looking things on your angry-birds machine... I simply enjoy doing it myself.
Features
Some more features include change of background color between night (dark blue) and day (light blue) for the clock and change text background color of the weather data areas depending on temperatures (hot in orange, normal in light blue and cold in dark blue). Night and day times automatically detected by the internet service of Weather Underground (sunrise and sunset).
I went on doing this revision because the previous version required setting up the city in which you live during compile time, and setting the daylight saving manually. Here it is all automatic.
Compared to Google Weather Screen additional features:
The output is graphical with icons and some colorful text, and color coding depending on temperature ranges and time. It is one of those gadgets I wanted to have for some time now – A weather forecasting display that is there just like the wall clock. Yes I know you got nicer looking things on your angry-birds machine... I simply enjoy doing it myself.
Features
- Fully automatically identifies location in the globe
- Fully automatically determines daylight saving and local time
- Graphically displays current and forecast weather information
- Automatically synchronizes time and daylight savings from the internet (using NTP protocol)
-
Shows:
- Current weather temperature, humidity, wind direction and speed
- Current weather barometric pressure
- Weather condition text and icon
- Today low and high temperatures
- Moon phase for today
- Sunrise and Sunset times for today
-
Forecast weather for next 3 days including:
- High and low temperatures
- Weather condition text and icon
- Humidity
- Wind direction and speed
- Does not require any PC to be involved, fully standalone
- Easy to connect and assembly, only Ethernet cable and power supply
- Supports DHCP for network connection
- Supports both VGA screens and small 3.2" screens
Some more features include change of background color between night (dark blue) and day (light blue) for the clock and change text background color of the weather data areas depending on temperatures (hot in orange, normal in light blue and cold in dark blue). Night and day times automatically detected by the internet service of Weather Underground (sunrise and sunset).
I went on doing this revision because the previous version required setting up the city in which you live during compile time, and setting the daylight saving manually. Here it is all automatic.
Compared to Google Weather Screen additional features:
- Current weather information includes barometric pressure
- Forecast weather includes humidity information too for each day
- Sunrise time and sunset times are available for today
- Moon phase information is available for today
- Substantially more icons on the screen and improved visibility of existing information
- Support for automatic DST, location and time zone information
- Indicators for communication between screen and host board is displayed
What Is Required to Build This Gadget?
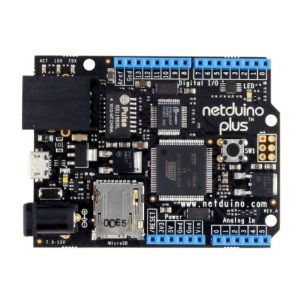
- Netduino Plus board (http://www.sparkfun.com/products/10186 ) ~$ 60
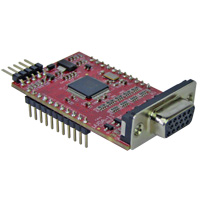
- 4D Systems display (uLCD-32PT) http://www.sparkfun.com/products/10089 or display adaptor (uVGA II) http://www.sparkfun.com/products/10329 ~ $ 55 for VGA
- An old VGA screen (if you are doing the assembly with uVGA card)
- 5x Jumper wires (only 3 required for operation, 5 while burning program), note the display and display adaptor have male pins and Netduino comes with female headers, so you will need a jumper wire that is male connector on one end and female connector on the other end, like http://www.ebay.com/itm/Arduino-Solderless-Dupont-Jumper-Wire-AWG-24-Male-Female-Protyping-QTY30-/251028328487?pt=LH_DefaultDomain_0&hash=item3a72745027#ht_1797wt_1393
- 2GB or less micro-SD (only needs about 150KB, so if you have one from old phone, it can be used)
- Power Supply (7.5V or 9V)
- Ethernet Cable
- Enclosure of your choice
Also for building the gadget, you will need the following
- FTDI board, better use 5Volts one like this one.
- PC for programming
- A micro-SD reader device
Downloads
Where to Buy?
All of the items can be purchased at Sparkfun or your favorite electronic components store. As for the display or display adaptor, they come pre-loaded with one of the firmware types SGC or GFX. It doesn't really matter which one you buy, as converting from one firmware flavor to the other is very simple task performed by a tool on the PC. For that you will only need your FTDI and the 4D device.
I recommend searching stuff on eBay for best prices.
I recommend searching stuff on eBay for best prices.
How to Assembly?

Please read this thoroughly as there could be later notes on changes that you might want to do in earlier steps.
1. Download and install tools
After purchasing the goods, download software to your PC including:
2. Upload firmware and software to devices
3. Connecting the Hardware together
In the following steps you will get your assembly completed,
Enjoy the weather
1. Download and install tools
After purchasing the goods, download software to your PC including:
- 4D Systems tools for programming their adaptors or displays from here
- Visual Studio 2010 Express or if you have a Pro installed, no problem (you can download it from Netduino site below too)
- Netduino SDK from http://netduino.com/downloads/
- Microsoft .NET Micro Framework 4.1 from http://netduino.com/downloads/
- Register yourself with Weather Underground and generate key for yourself
- Update your key into the Netduino-Plus code in function ' InitLocation' in file Program.cs so that the line that says weatherData = new WeatherUndergroundData("<<YourKey>>", myLocation.latitude, myLocation.longitude); will be changed to have the key as a string (between double quotes) instead of the YourKey.
- Register yourself with AskGeo.com and generate key for yourself
- Update your AskGeo key and account ID into the file NTPThread.cs, search for // <<< to find where in the file
2. Upload firmware and software to devices
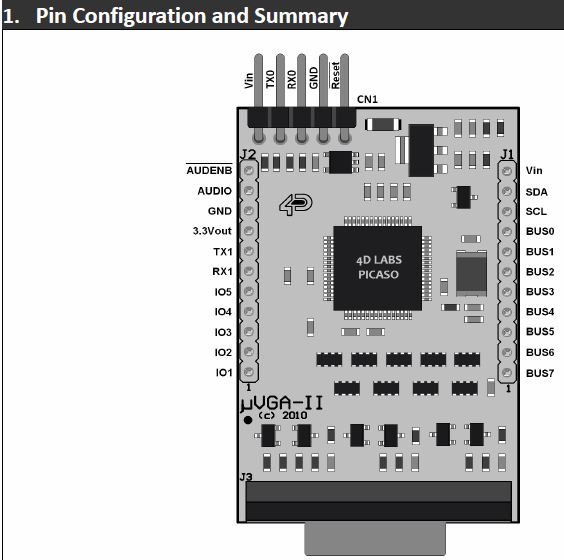
- Connect your 4D display or display adaptor to the FTDI (Vcc to 5V, GND to GND, Rx to Tx and Tx to Rx, DTR on the FTDI to Reset pin) and the FTDI to USB on your PC
- Upload the right firmware onto the 4D LCD or VGA adaptor using PmmC Loader tool from 4D Systems (you need the GFX version). I tested it with firmware version 2.7
-
Open the 4D systems Workshop tool; open the program file in the 4D subdirectory of the ZIP file in this publication. Follow the steps as also shown in the picture for this tool to:
- Select the right display or adaptor model
- Select the right COM port (the one the FTDI generates)
- Select destination as "Flash" and not "Ram" (don't forget this!)
- Compile and Load the program to the display/adaptord)
- Connect your Netduino Plus board to your PC
-
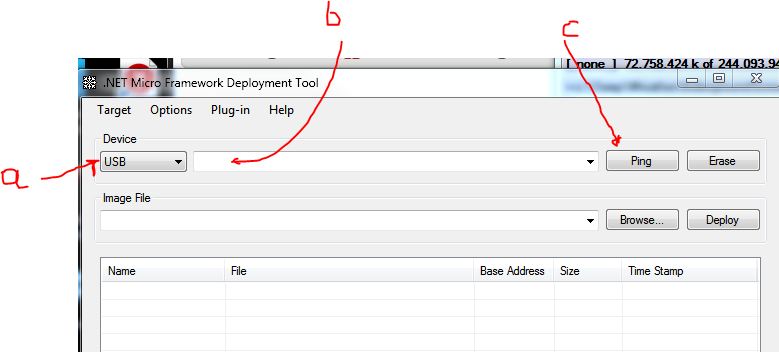
Run MFDeploy tool (part of the .NETMF kit and should be in C:\Program Files (x86)\Microsoft .NET Micro Framework\v4.1\Tools directory if you are using Windows 7 64bit PC),
- Pick USB as the Device connection
- Choose the Netduino Plus
- Press the Ping to see the device is connected well and responding
- In Target | Configuration | Network set the Netduino-Plus to use DHCP or static IP if you are using static IPs at your home.
- Register yourself with Weather-Underground (WU) and AskGeo (AG) Services. You should get ID and key.
- Run Visual Studio and load the project for the Netduino program (In subdirectory NetduinoPlusWeatherUnderground in the ZIP file). Place the codes you got from WU and AG into the code (search for the "<<<" marks). Rebuild and Deploy to the board.
- Load the micro SD card to your SD Card Reader, format for FAT if needed
- Load the icons from the NetduinoPlusWeatherUnderground\4DIcons directory in the ZIP file onto your SD card
- Safely remove the micro-SD from the reader and place it in the display or display adaptor
- Disconnect the display, the Netduino and the SD Card reader from your PC.
3. Connecting the Hardware together
In the following steps you will get your assembly completed,
- Insert the micro SD card to the 4D display or to the 4D display adapter
-
Connect the display or display adapter to your Netduino Plus (only 3 wires required)
- Vin or Vcc from the 4D device to 5V of the Netduino Plus board
- GND from the 4D device to GND of the Netduino Plus board
- Rx from the 4D device to Digital 3 pin of the Netduino Plus board
- Connect the Netduino Plus to Ethernet port in your router/network
- If you are using VGA adapter card, connect the screen to the 4D adapter
- Connect the power supply to your Netduino Plus
Enjoy the weather
Are You Using Celsius or Fahrenheit?
This program displays temperatures in Celsius. If however you are using Fahrenheit degrees, slight modifications to the code will be required:
- Edit the 4GL display program file and change the function ShowCelsiusSymbol and change putstr("C"); to putstr("F");
- Change the thresholds of temperatures for Hot and Cold indicators (TEMP_THHOT and TEMP_THCOLD constants) to what you think is good for you (89 and 68 are the equivalents of my current Celsius settings).
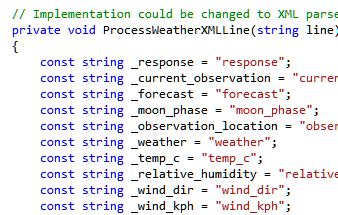
- Edit the WeatherUnderground.cs file and change the lines picking up the Celsius temperatures to Fahrenheit one (temp_c to temp_f etc.).:
- You might also want to change the wind information to fetch Miles per Hour rather than Kilometer per Hour one
- Compile and load the programs to the devices
How Does This Work?
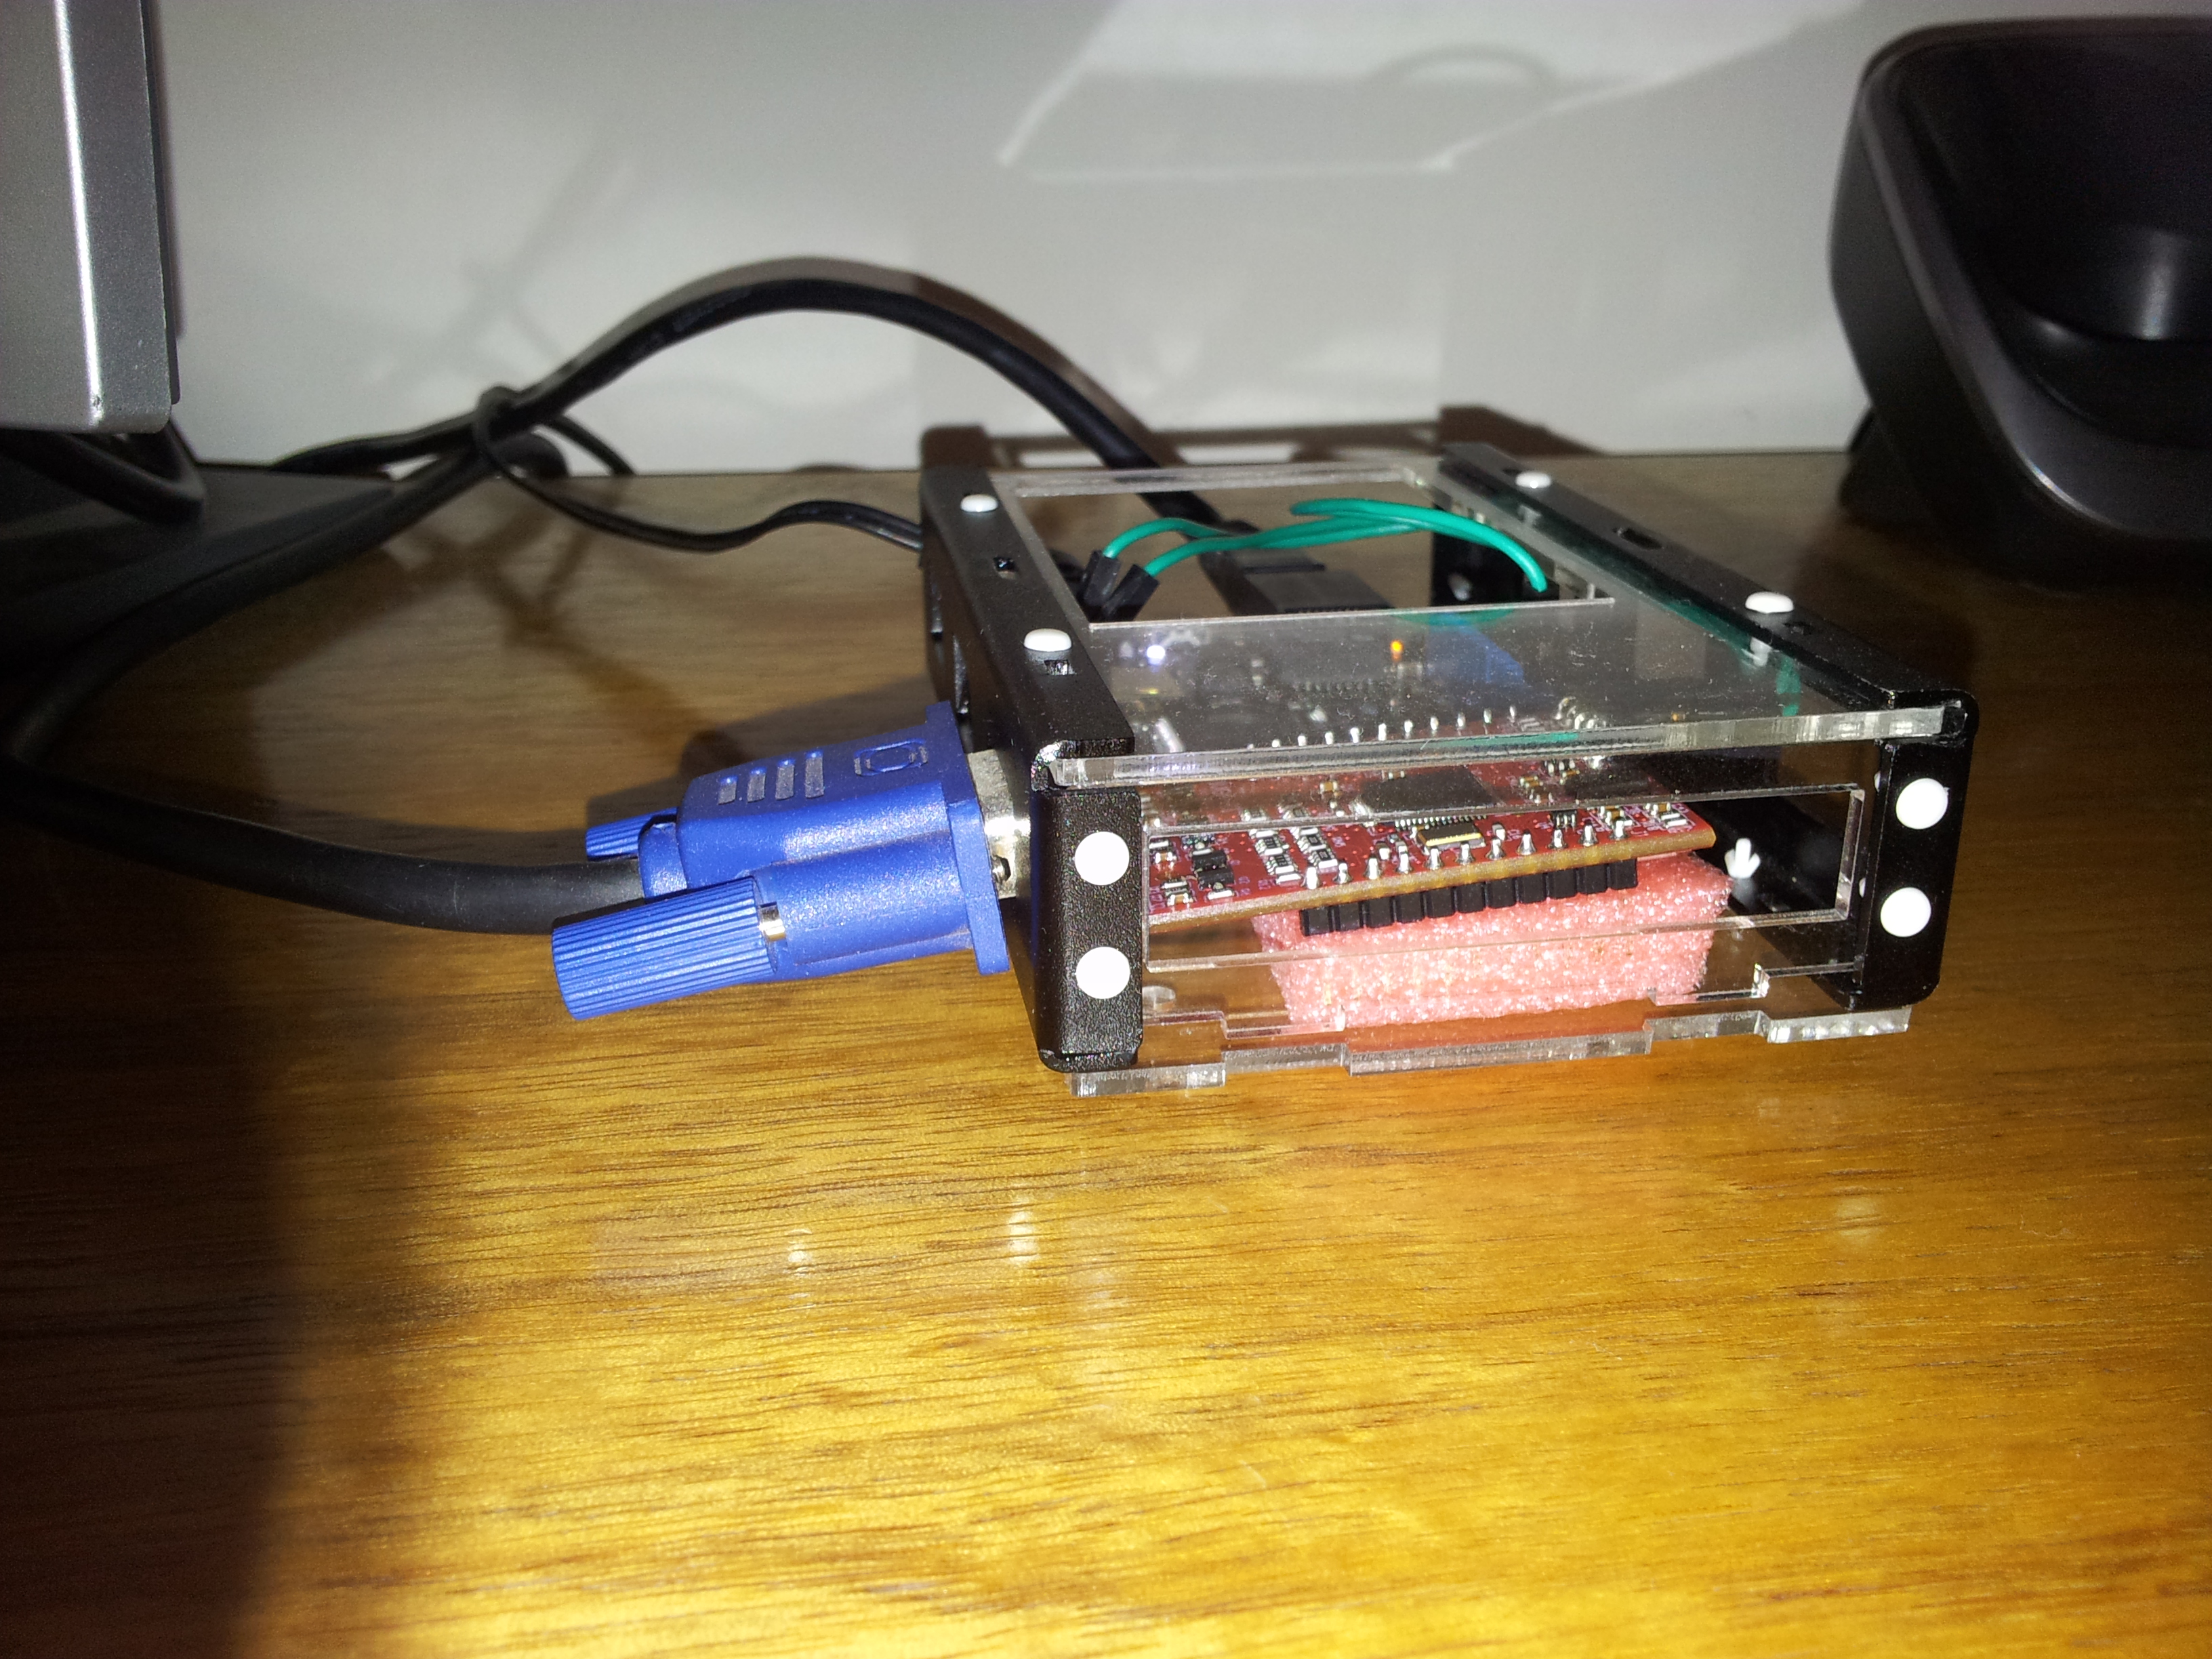
The Netduino Plus serves as host, connecting to the internet, and sends information in simply formatted protocol to the 4D display (or display adaptor). The 4D display manipulates all the visuals on the screen.
Steps of operation:
My previous project when using the Arduino was already challenging from memory perspective to the Arduino board, and I was certain the additional information from Weather Underground would not fit, not to mention the automation tricks for finding location and DST. It appeared to me the Netduino will be a better fit for the job as it has some more resources like memory and faster CPU (48MHz vs. 16MHz on Arduino). Also managed code was very appealing for such internet inquiries… but later found out that once you load the XML generic parser assembly to the host, you are running out of memory. Worse than that, it was not enough to add the features I wanted for automation of DST and location. Disappointed I decided to stick to what's important, the automation and simplicity, and spend some tedious keystrokes myself on parsing XML myself. Oh well, nothing is ever as bright as originally seen by optimistsï. The state of matters now is that the Netduino-Plus is having its own memory challenges, and this program as is here fits well in and works, but there is very little room to add anything more. So, compared to previous project, this one does not measure indoor temperature and humidity. Also, the low priced DHT22 sensors that I have are not well supported on the Netduino. There are rumors it works with .NETMF 4.2 that is in beta, but once I uploaded the .NETMF 4.2 onto the Netduino, there was not enough room for the program even before adding the sensor code. So again, I picked automation and simplicity over richer functionality.
The XML parsing is done by reading one byte at a time from the internet socket. As this is managed code, it works horribly slow. It takes my Netduino-Plus good 19 seconds to parse the XML stream from Weather Underground. I think I know how to optimize it for much better performance, like using Stream class and all, but guess what? It run out of memory when doing that. The truth of the matter is that I could not care less if the Netduino-Plus CPU is spending 19 seconds in sleep or chewing bits from Weather Underground. I got nothing better for it to do AND even if I wanted, it is left without memory to do anything more. So, let it crawl through the stream at its own paste, and those 19 seconds should not matter much to anyone. You will notice that the on-board LED on the Netduino (cool blue one) will light up when it does its turtle parsing of the XML data.
I also repurposed the on-board button on the Netduino-Plus to act as "Sync time and weather information now" instead of reset. This change was useful when debugging and I am happy with power recycling as real reset anyway.
The guys in Weather Underground actually enforce the limits which is 500 calls daily or 10 a minute. So this is why I am not sharing my key with you here and also you should avoid doing that. I included their logo and stuff as their terms of conditions require.
The AskGeo service was in alpha or beta when I started using it. Now they moved to Amazon cloud and made slight modifications to the services. I updated the code accordingly, so you should not bother with any of that. Please note you should register yourself with them too and same drill about not sharing your key publicly.
About the "trick" for finding out location, it is not without limitation. It should work on any home network, but in the office it might be a bit of a challenge. If your network is going through a very remote proxy, like many organizations are still using for connecting remote offices to the internet, then the location the Netduino-Plus finds is where your proxy server is. It is fairly easy to change the Netduino-Plus code to use fixed location instead of auto-detecting it, and I will let those who are interested do it themselves. Hint: All you need is use fixed longitude and latitude in function ' InitLocation' coded in the file Program.cs
Steps of operation:
- Netduino-Plus first leases and IP address from your DHCP server
- Netduino-Plus goes to internet service http://www.geobytes.com/ to find out where in the world it is located. The output from this service includes city, country etc. but what we take from it is the longitude and latitude.
- Netduino-Plus goes to internet service http://www.askgeo.com/ to find out what is the current offset of your location from UTC. This way we know not only your time zone but also daylight savings.
- Netduino-Plus goes to NTP service on the internet to get accurate atomic time and sets the Netduino-Plus internal clock for this time together with the offset we found out earlier.
- Netduino-Plus goes to Weather Underground service http://www.wunderground.com/ to fetch current and forecast weather information.
- Netduino-Plus sends the weather data and clock to the 4D device over serial (UART) interface using simple protocol which I will skip the description of here. It is in the code.
- Time from NTP is synchronized every 300 minutes (6 hours) which I found to be sufficiently accurate.
- Weather information is downloaded every 10 minutes. More than enough for most people and cases. More frequent updates from Weather Underground will require you to be a paying user.
- Time from NetduinoPlus is sent to 4D device every 3 minutes (Netduino timers found a bit more accurate than the 4D ones)
- The 4D device formats data from textual stream it got from the Netduino-Plus to graphics on the screen.
My previous project when using the Arduino was already challenging from memory perspective to the Arduino board, and I was certain the additional information from Weather Underground would not fit, not to mention the automation tricks for finding location and DST. It appeared to me the Netduino will be a better fit for the job as it has some more resources like memory and faster CPU (48MHz vs. 16MHz on Arduino). Also managed code was very appealing for such internet inquiries… but later found out that once you load the XML generic parser assembly to the host, you are running out of memory. Worse than that, it was not enough to add the features I wanted for automation of DST and location. Disappointed I decided to stick to what's important, the automation and simplicity, and spend some tedious keystrokes myself on parsing XML myself. Oh well, nothing is ever as bright as originally seen by optimistsï. The state of matters now is that the Netduino-Plus is having its own memory challenges, and this program as is here fits well in and works, but there is very little room to add anything more. So, compared to previous project, this one does not measure indoor temperature and humidity. Also, the low priced DHT22 sensors that I have are not well supported on the Netduino. There are rumors it works with .NETMF 4.2 that is in beta, but once I uploaded the .NETMF 4.2 onto the Netduino, there was not enough room for the program even before adding the sensor code. So again, I picked automation and simplicity over richer functionality.
The XML parsing is done by reading one byte at a time from the internet socket. As this is managed code, it works horribly slow. It takes my Netduino-Plus good 19 seconds to parse the XML stream from Weather Underground. I think I know how to optimize it for much better performance, like using Stream class and all, but guess what? It run out of memory when doing that. The truth of the matter is that I could not care less if the Netduino-Plus CPU is spending 19 seconds in sleep or chewing bits from Weather Underground. I got nothing better for it to do AND even if I wanted, it is left without memory to do anything more. So, let it crawl through the stream at its own paste, and those 19 seconds should not matter much to anyone. You will notice that the on-board LED on the Netduino (cool blue one) will light up when it does its turtle parsing of the XML data.
I also repurposed the on-board button on the Netduino-Plus to act as "Sync time and weather information now" instead of reset. This change was useful when debugging and I am happy with power recycling as real reset anyway.
The guys in Weather Underground actually enforce the limits which is 500 calls daily or 10 a minute. So this is why I am not sharing my key with you here and also you should avoid doing that. I included their logo and stuff as their terms of conditions require.
The AskGeo service was in alpha or beta when I started using it. Now they moved to Amazon cloud and made slight modifications to the services. I updated the code accordingly, so you should not bother with any of that. Please note you should register yourself with them too and same drill about not sharing your key publicly.
About the "trick" for finding out location, it is not without limitation. It should work on any home network, but in the office it might be a bit of a challenge. If your network is going through a very remote proxy, like many organizations are still using for connecting remote offices to the internet, then the location the Netduino-Plus finds is where your proxy server is. It is fairly easy to change the Netduino-Plus code to use fixed location instead of auto-detecting it, and I will let those who are interested do it themselves. Hint: All you need is use fixed longitude and latitude in function ' InitLocation' coded in the file Program.cs