Weather Monitor With Arduino MKR ENV Shield
by Zihatec in Circuits > Arduino
5671 Views, 18 Favorites, 0 Comments
Weather Monitor With Arduino MKR ENV Shield
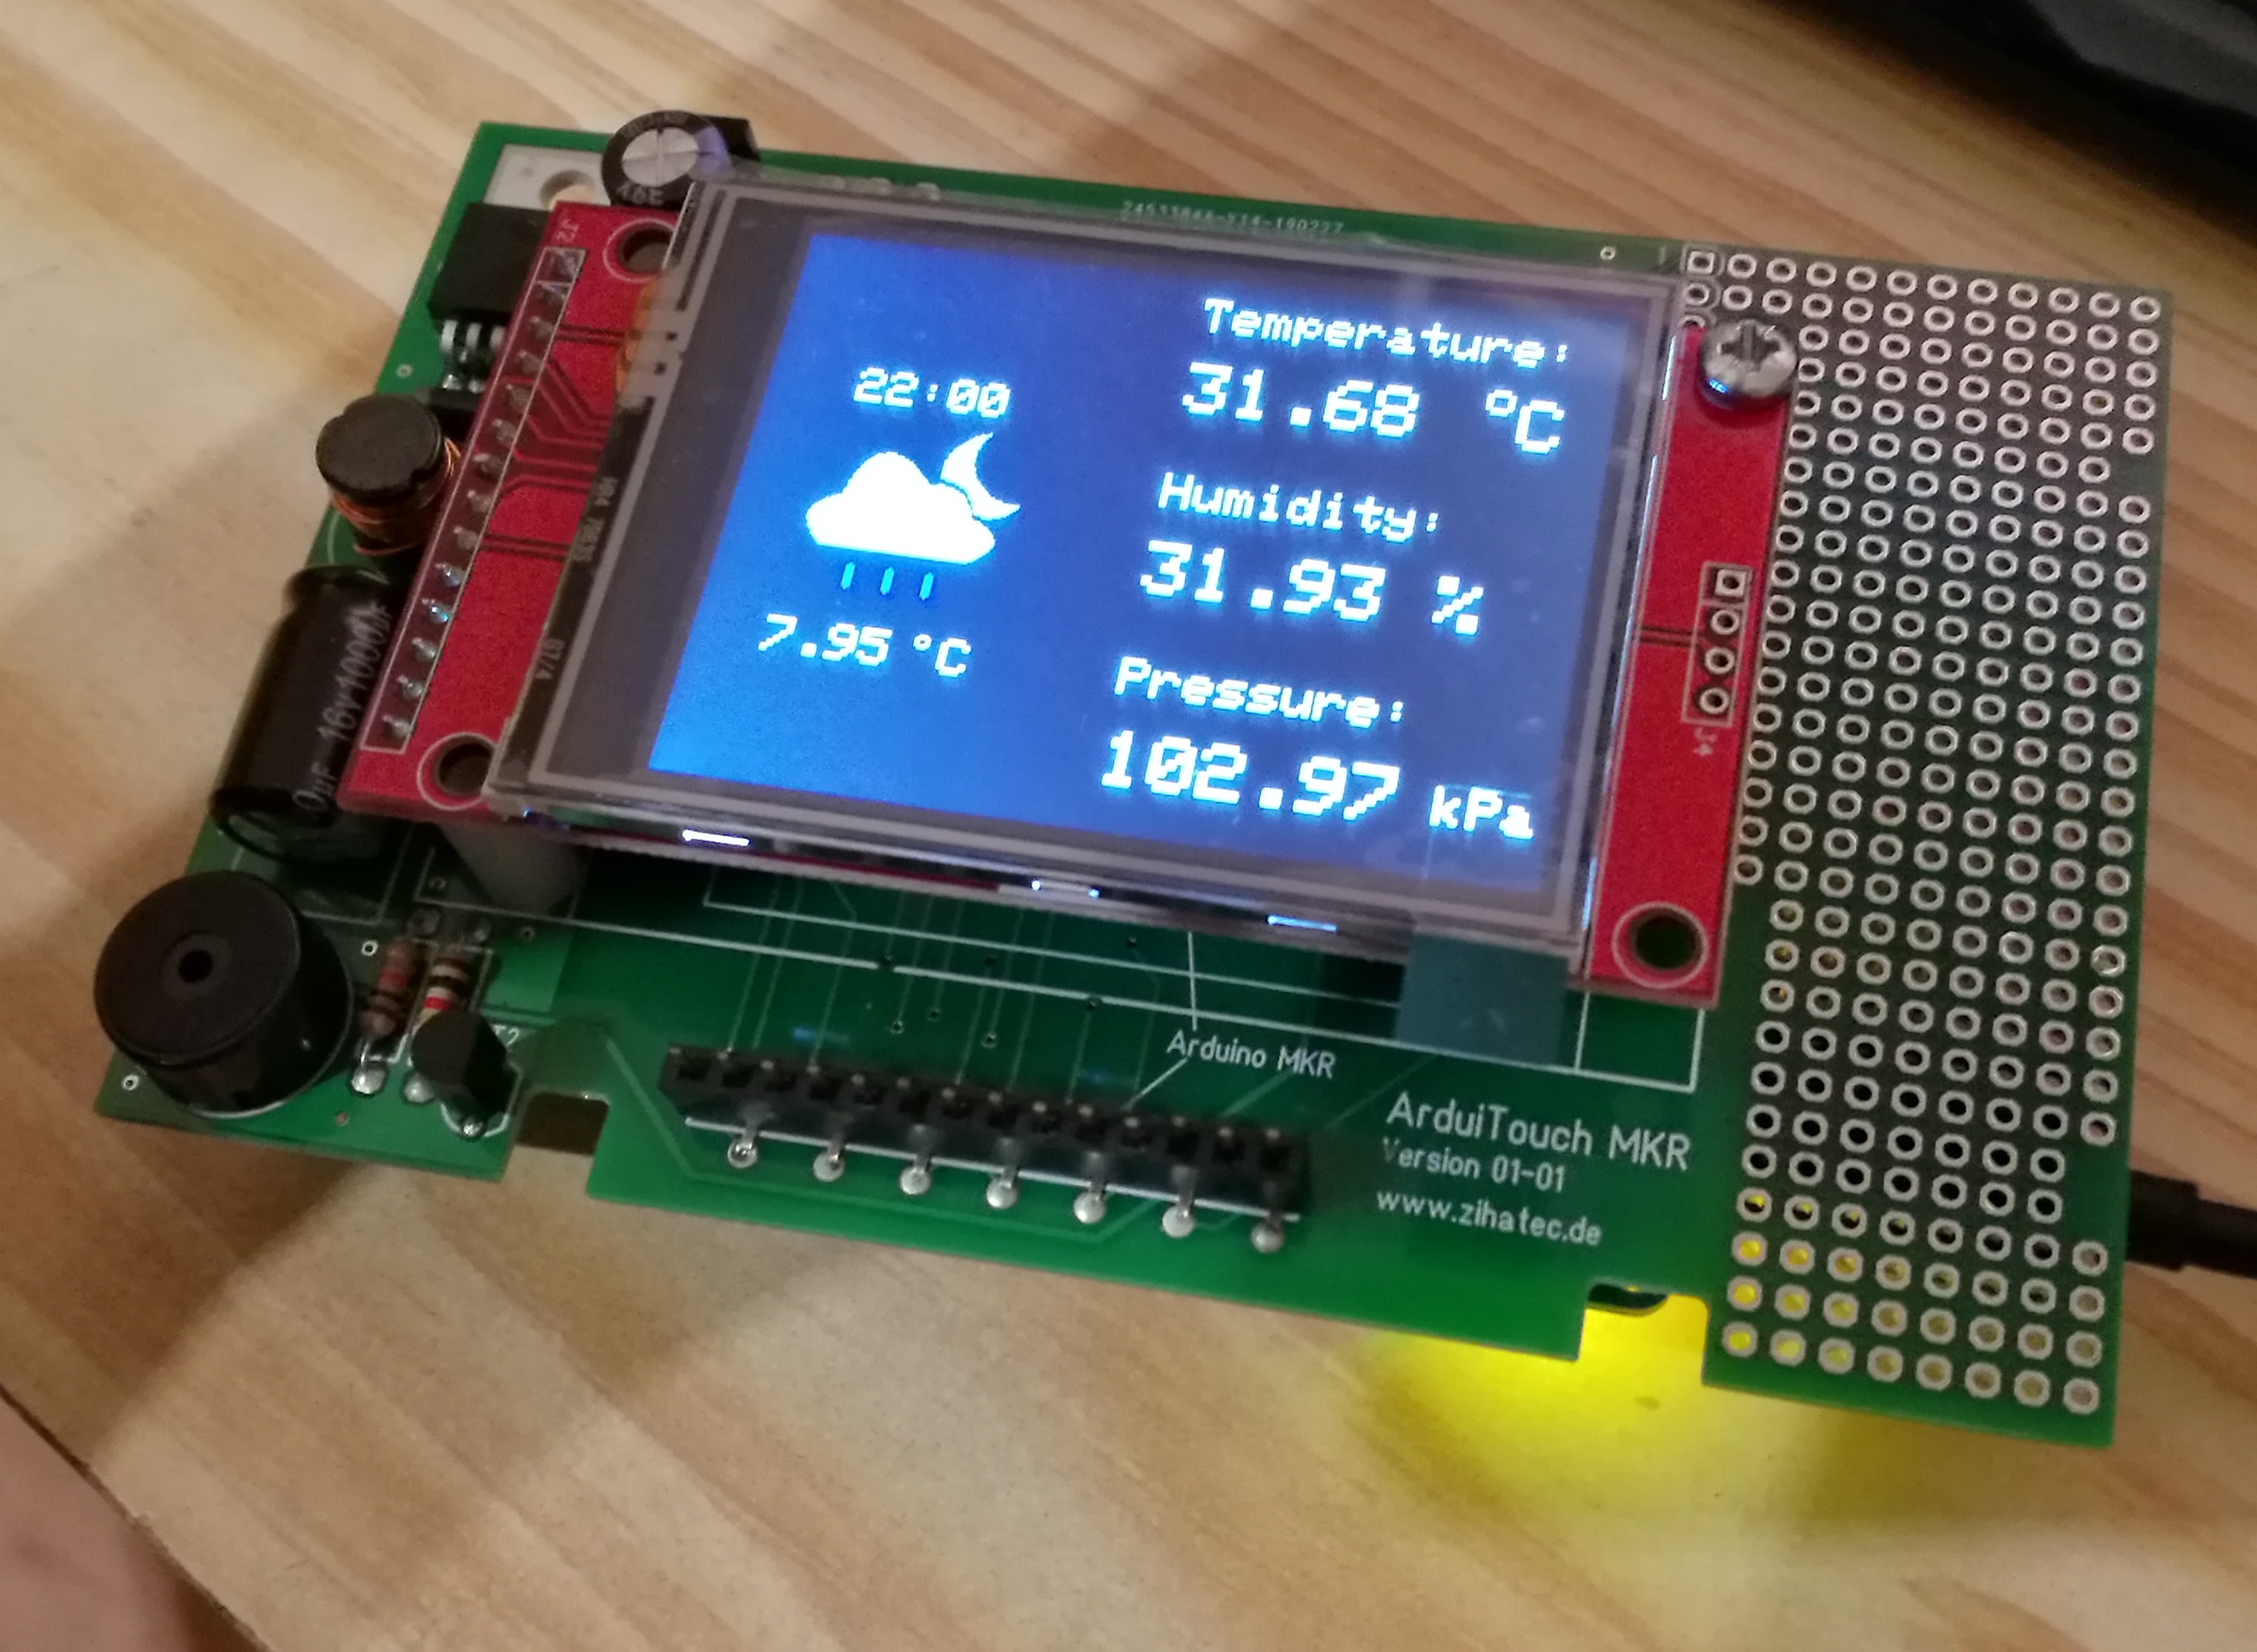
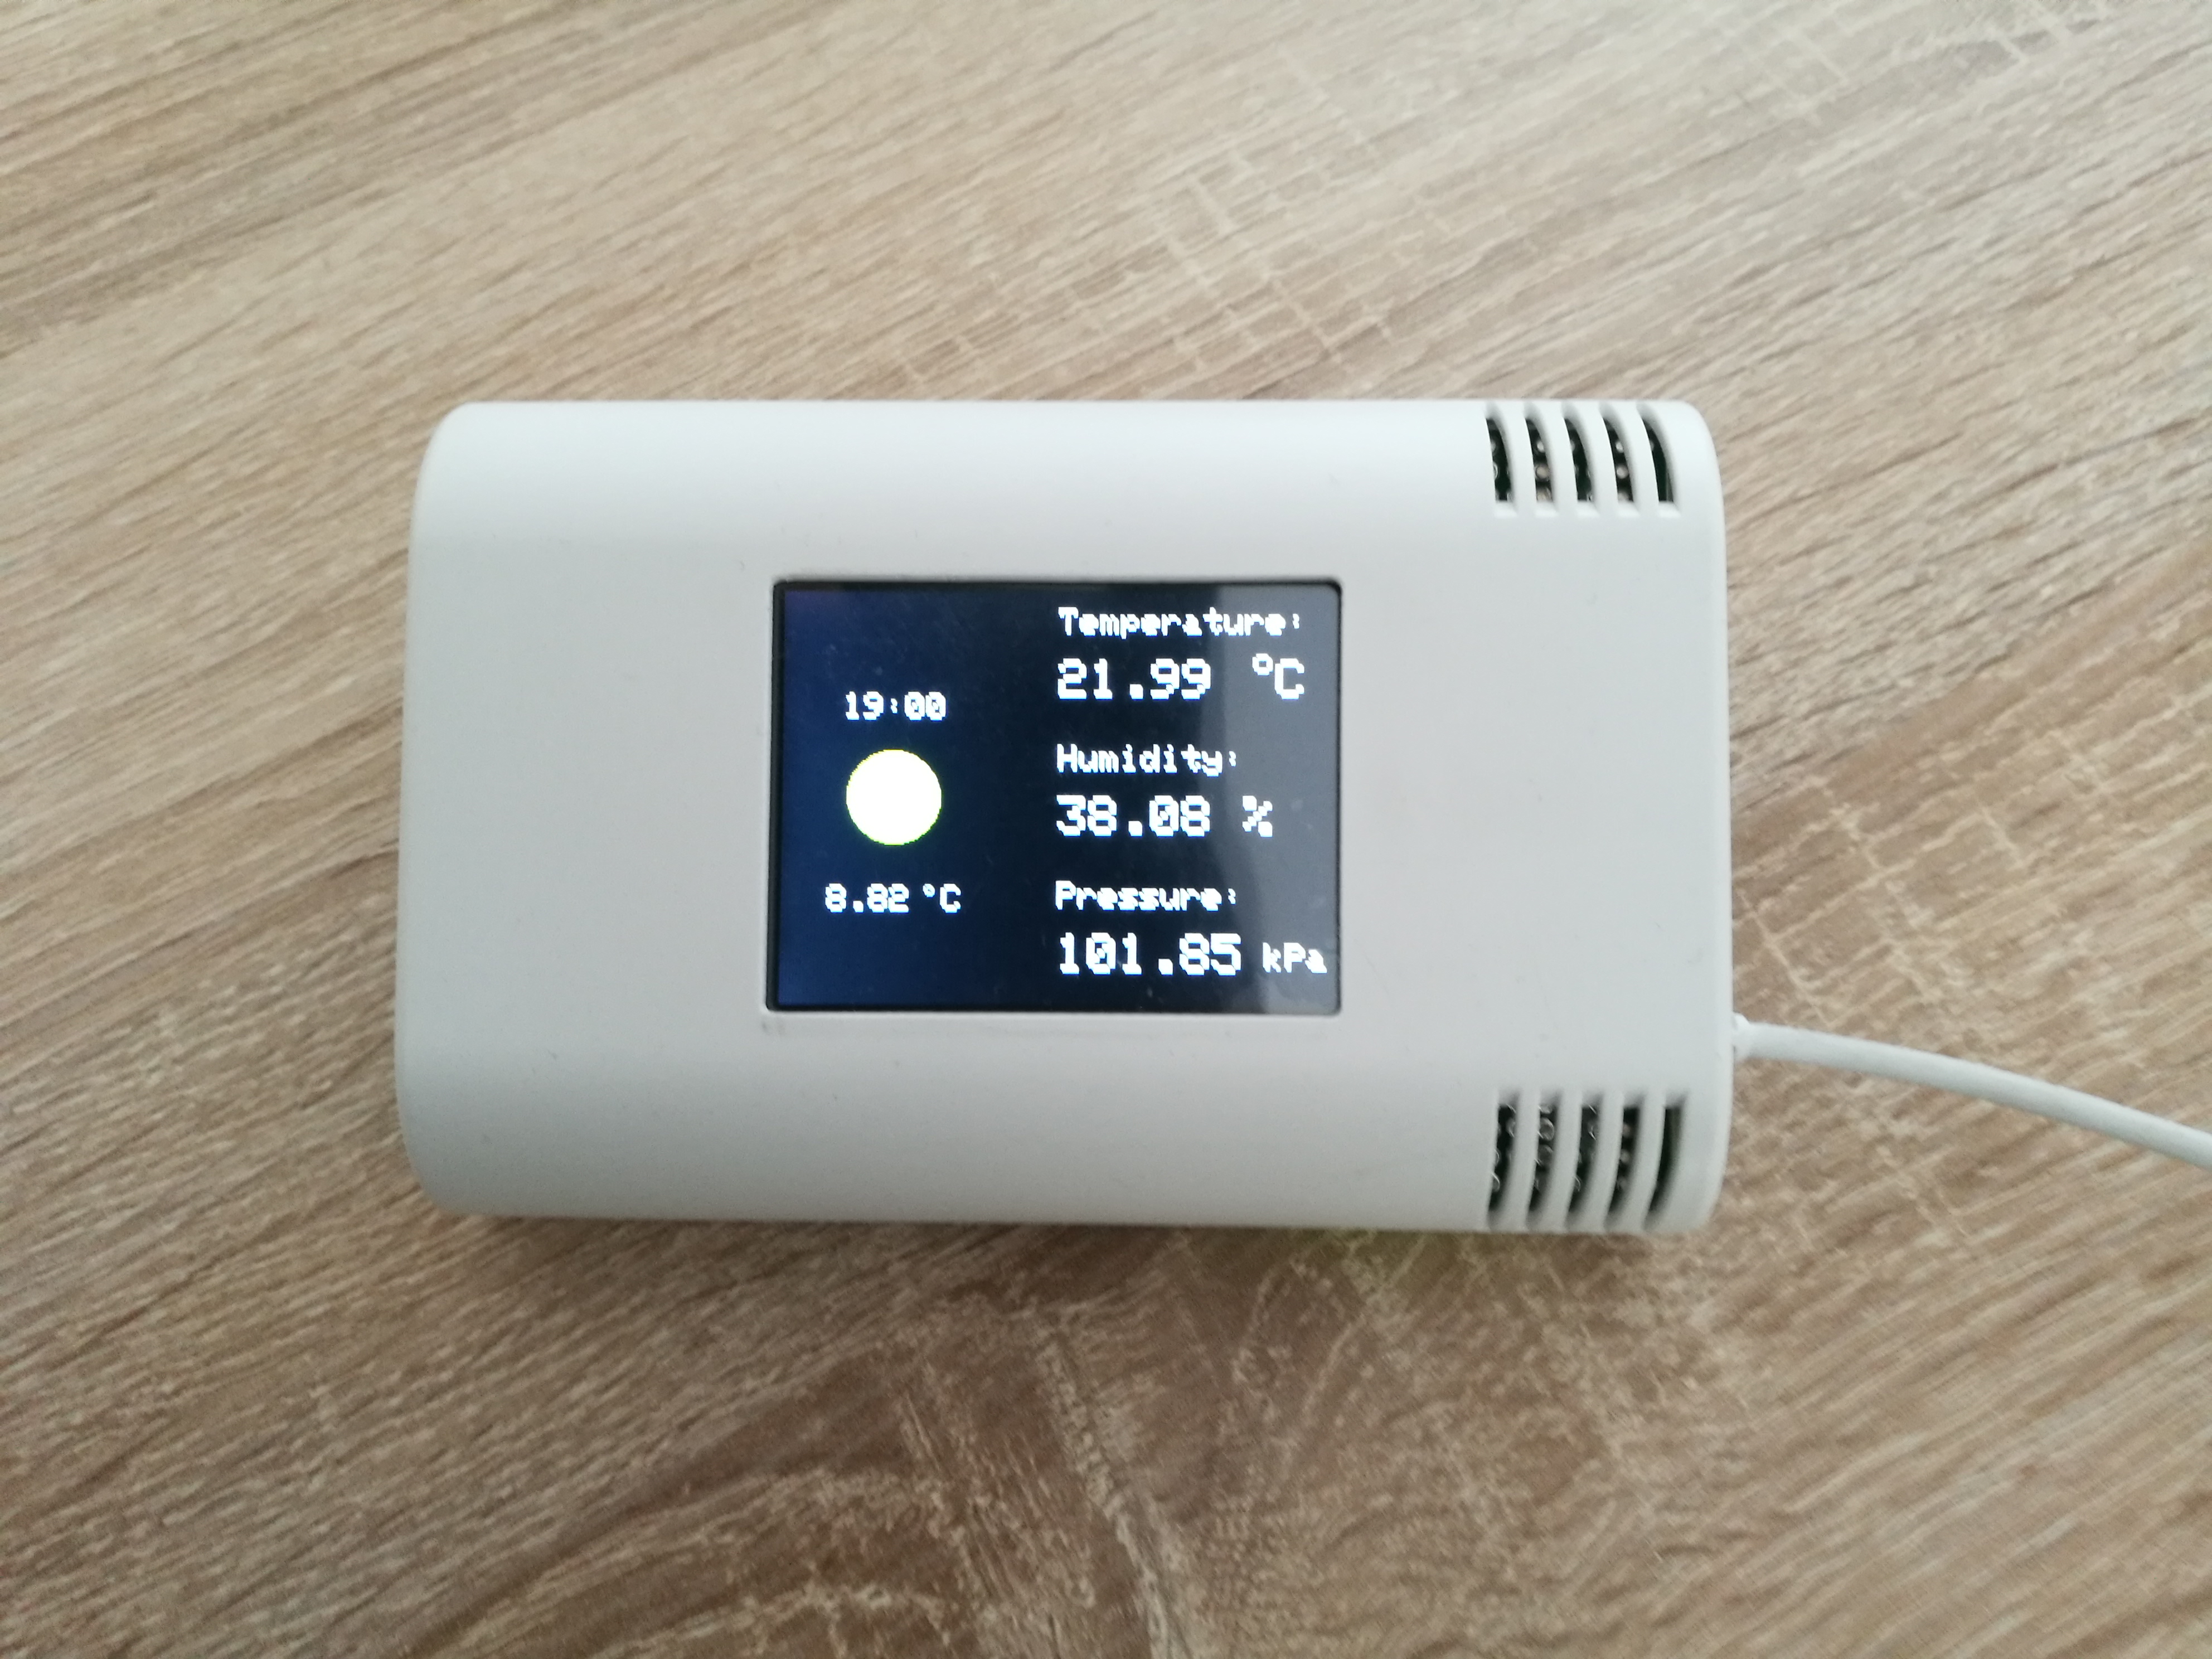
We got some of the brand new MKR ENV shields some days ago. These shields have several sensors (temperature, air pressure, humidity, UV.... ) on board - a good collection to create a simple weather station together with our ArduiTouch MKR kit. We've used an Arduino MKR 1010 with WiFi as main board to receive some weather information for a simple forecast by openweather map.org. In the end the display of the ArduiTouch will show a simple forecast and outside temperature together with the measured indoor temperature, air pressure and humidity.
Tools and Materials
Materials:
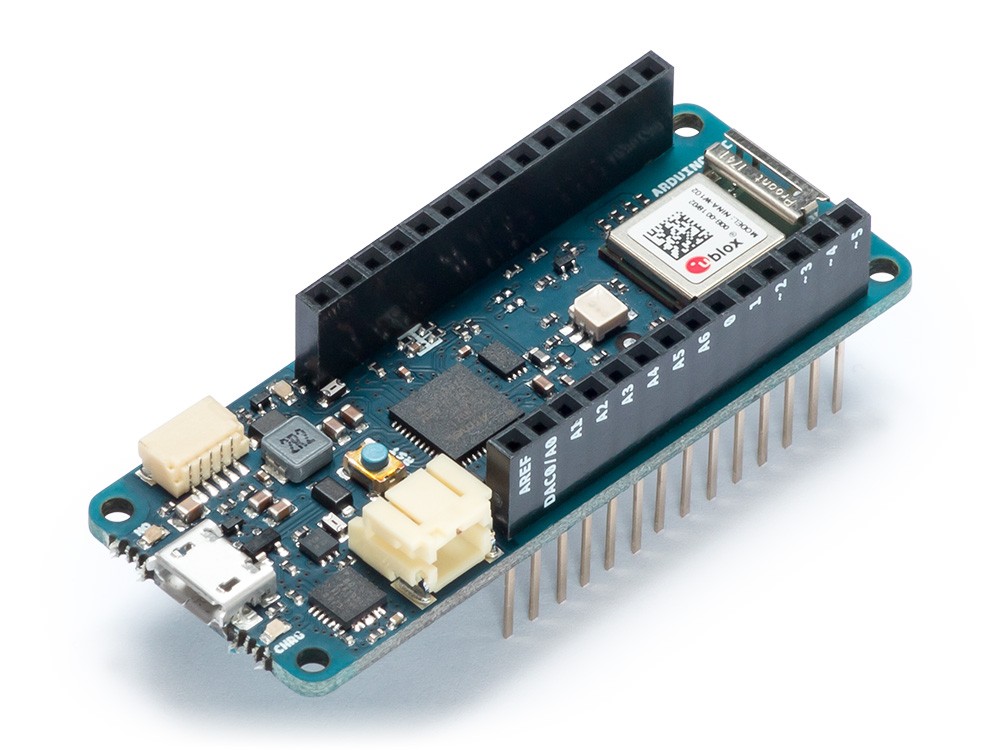
- Arduino MKR1000 or 1010
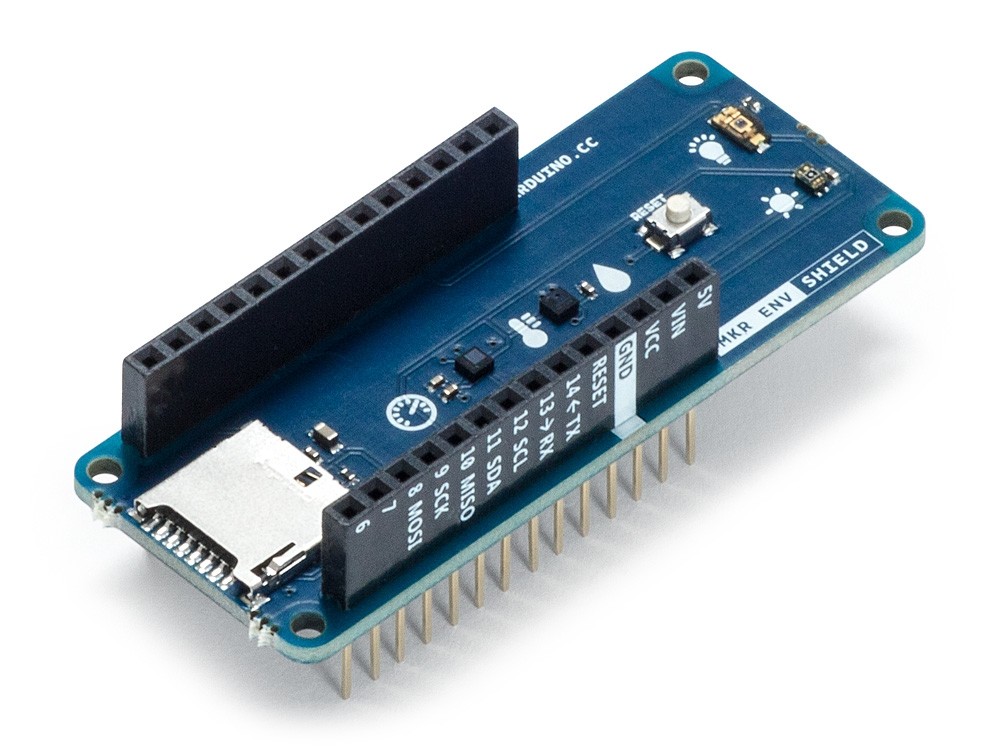
- Arduino MKR ENV Shield
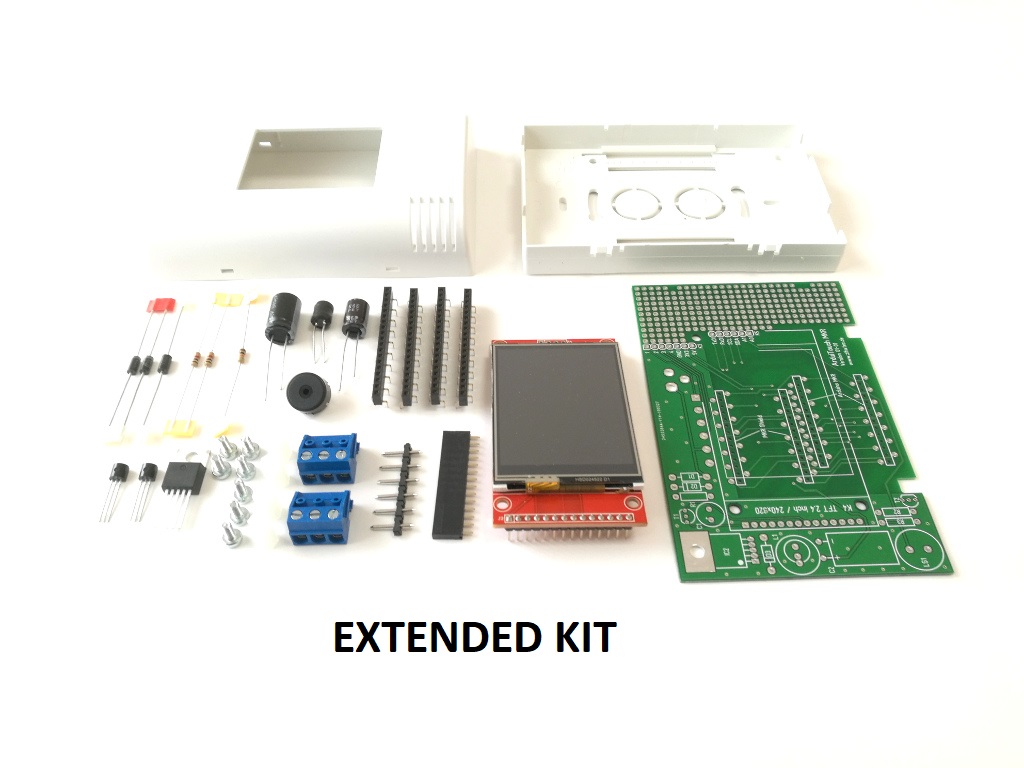
- ArduiTouch MKR kit
Tools:
- soldering iron
- thin solder wire
- Needle nose pliers
- side cutting pliers
- medium cross slot screwdriver
Software:
- Arduino IDE
Assembly of ArduiTouch MKR Kit
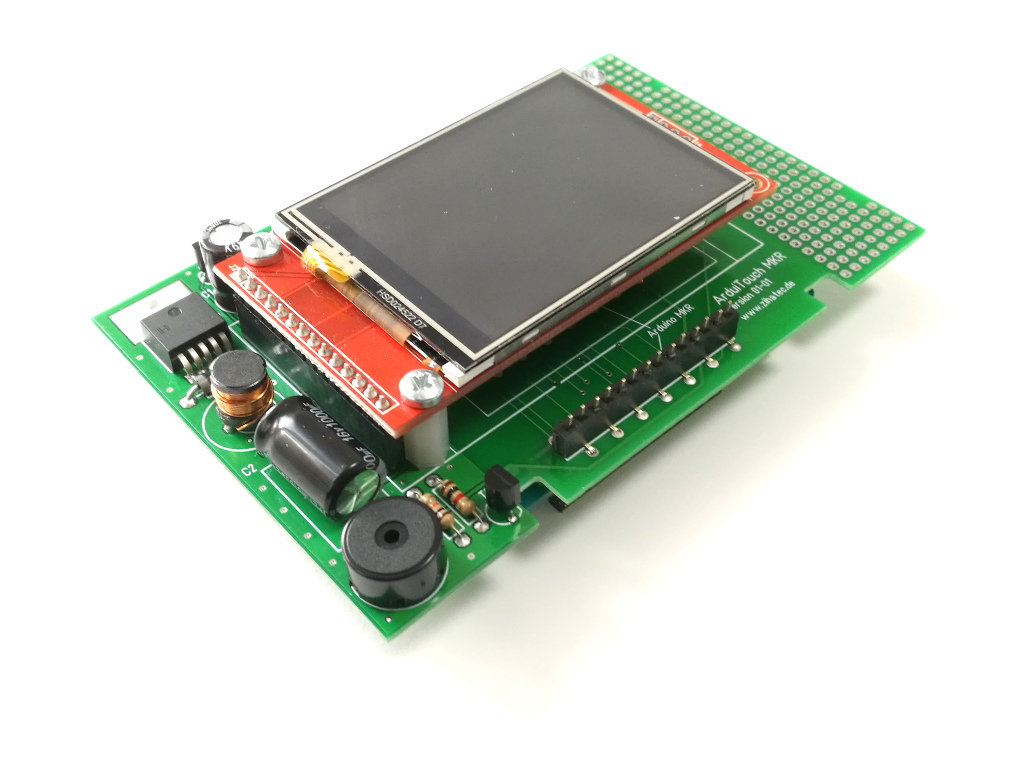
Please follow the attached assembly instruction.
Mount the Arduino MKR Board and ENV Shield
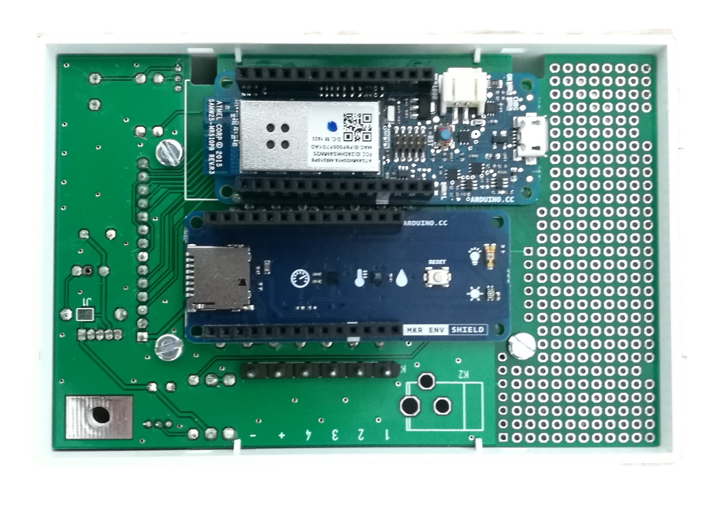
After the assembly of the ArduiTouch Kit itself you have to plug the
Arduino MKR 1010 and the MKR ENV Shield on the backside of the PCB
Installation of Additional Libraries
Install the following libraries through Arduino Library Manager:
AdafruitGFX Library https://github.com/adafruit/Adafruit-GFX-Library/...
AdafruitILI9341 Library https://github.com/adafruit/Adafruit_ILI9341
Arduino JSON Library 5.x https://github.com/adafruit/Adafruit_ILI9341
You can also download the library also directly as ZIP file and uncompress the folder under yourarduinosketchfolder/libraries/
After installing the Adafruit libraries, restart the Arduino IDE.
Customization of Firmware
You can download the firmware from our website
Some changes in the source code are required for customisation:
WiFi: Please enter the SSID and password in the lines 63 and 64
char* ssid ="yourssid"; // SSID of local network
char* password ="yourpassword"; // Password on network
Account for OpenWeatherMap: To receive later data by the platform OpenWeatherMap you will need an own account. Sign uphere to get an API key: https://openweathermap.org/appid
Enter your API key in line 71:
String APIKEY = "your_api_key";
Your location: Go to https://openweathermap.org/appid and search for a location. Go through the result set and select the entry closest to the actual location you want to display data for. It'll be a URL like https://openweathermap.org/appid The number at the end is what you assign to the constant below. Enter the number of your location in line 72
String CityID = "your_city_id";
Time: Please choose your timezone in line 73
int TimeZone = 1;
Final Compiling and Upload
Please open this sample in the Arduino IDE. Compile and upload it.