Weather Dashboard Using MKR1000 and Losant
by wesee in Circuits > Arduino
3043 Views, 25 Favorites, 0 Comments
Weather Dashboard Using MKR1000 and Losant
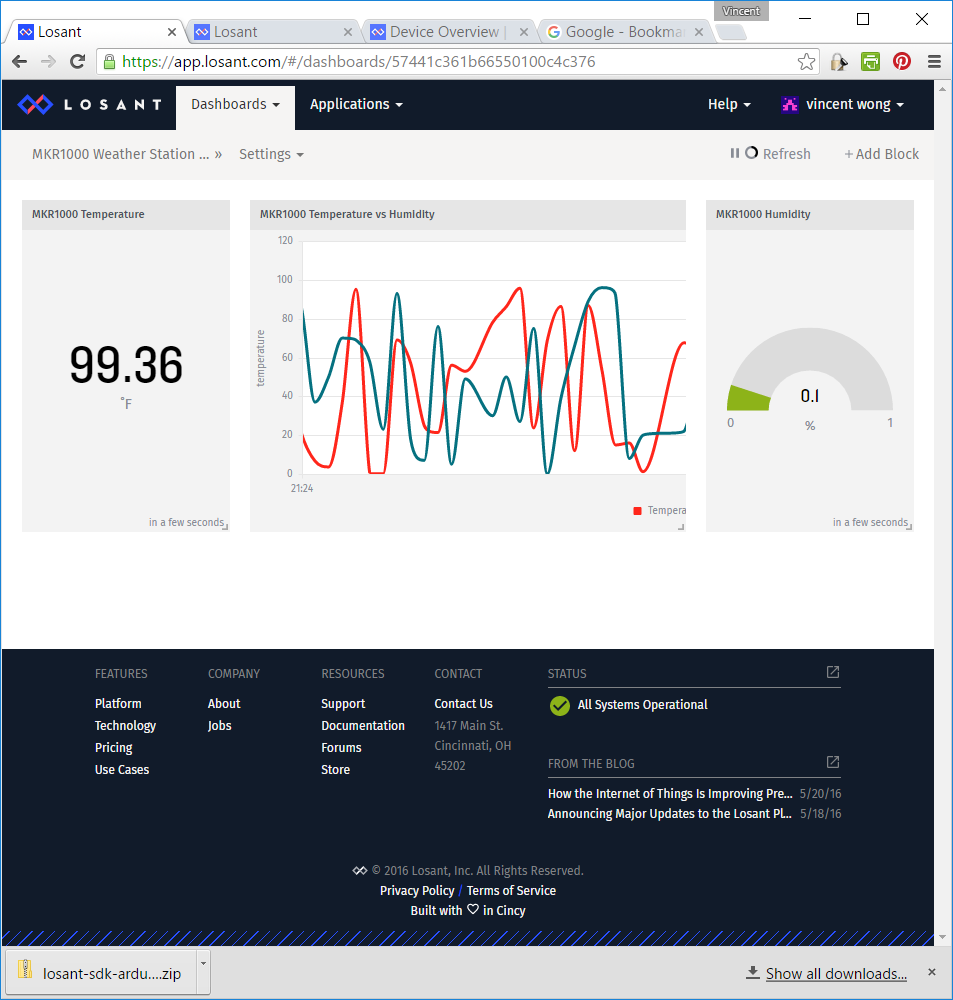
This project shows you how to make use of MKR1000 and Losant platform to build a simple weather dashboard monitoring temperature and humidity. With additional sensors, other weather metrics can be collected and analyzed so that more complex dashboard can be built.
Hardware, Software and Platform
These are the component requited:
- Arduino MKR1000 & Genuino MKR1000
- DHT11 Temperature & Humidity Sensor
- Arduino IDE
- Losant Platform
Setup MKR1000 With WiFI
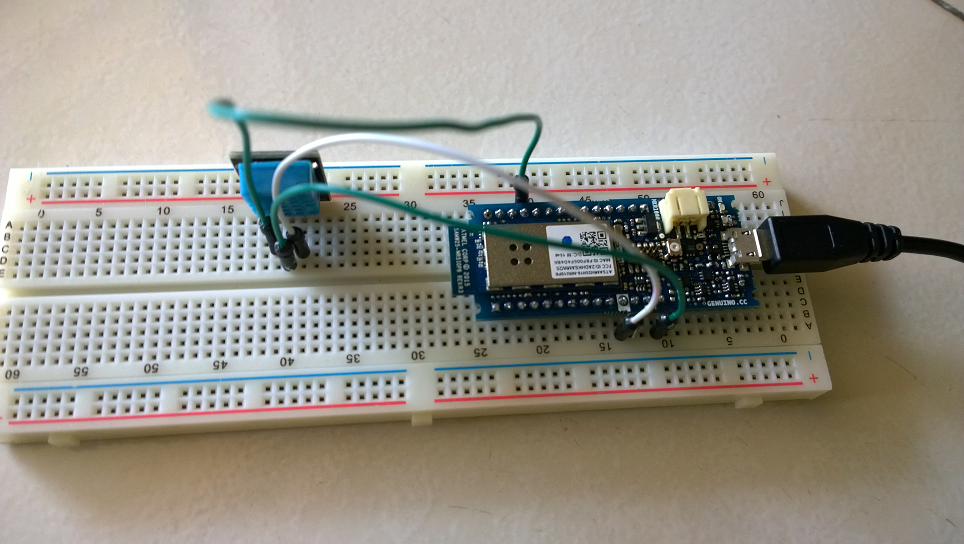
For setup instructions on how to configure MKR1000 with WiFi, please refer to this resource. To setup WiFi, refer to this link.
HTTP
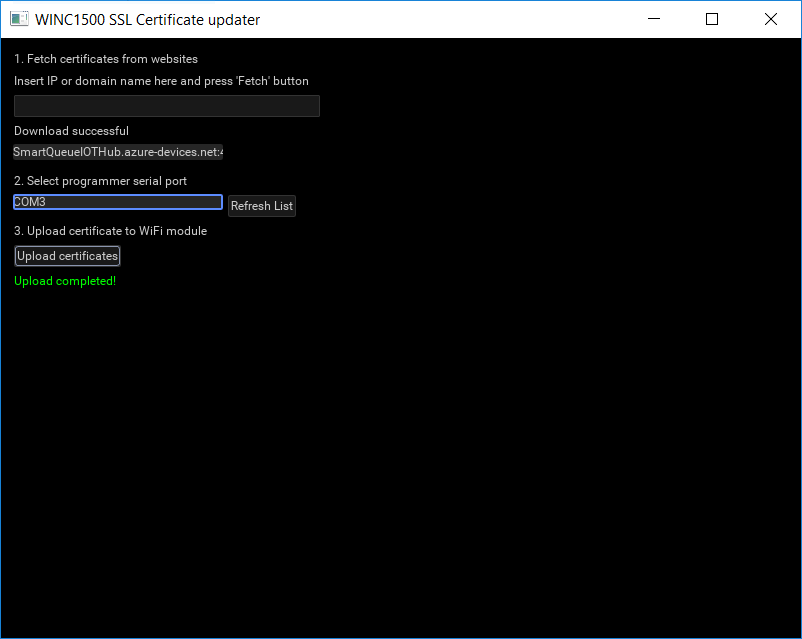
The Arduino MKR1000 supports HTTPS, but the limited memory size requires the certificate be uploaded to WiFi chip. This is a two steps process. First we load a sketch on the board and then run a program on our computer to upload the certificates.
Use the Arduino IDE to load the Firmware Updater Sketch onto your board. Examples -> WiFi101 -> Firmware Updater Second, download the WiFi101 Firmware Updater. Unzip the archive and run winc1500-uploader-gui.exe. The HTTPS certificate for Losant webhooks is issued to triggers.losant.com. Enter triggers.losant.com in the text field. Choose your COM port and upload the certificates.
The Schema and Images
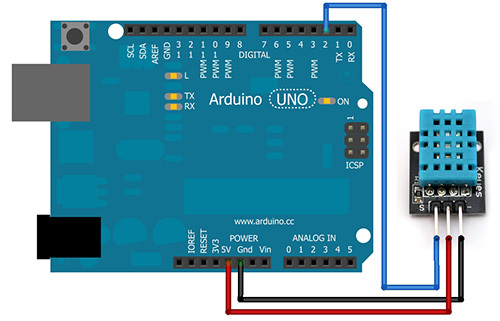
This is the schema. Note that the displayed board is an UNO board, as a replacement for MKR1000.
Arduino Codes
The following code fragment reads temperature and humidity:
// DHT setting
#include "DHT.h"
#define DHTPIN 2     // what pin we're connected to
#define DHTTYPE DHT11   // DHT 11
DHT dht(DHTPIN, DHTTYPE);
void setup() {
...
dht.begin();
...
}
void loop() {
...
float humidity = dht.readHumidity();
float temperature = dht.readTemperature();
...
}This request send data to Losant server:
char hostname[] = "triggers.losant.com";
char feeduri[] = "your losant webhook uri";
void loop() {
...
structureWebhookRequest(content);
...
}
void structureWebhookRequest(String content) {
// close any connection before send a new request.
// This will free the socket on the WiFi shield
wifiClient.stop();
String contentType = "application/json";
// if there's a successful connection:
if (wifiClient.connect(hostname, 443)) {
wifiClient.print("POST "); //Do a POST
wifiClient.print(feeduri); // On the feedURI
wifiClient.println(" HTTP/1.1");
wifiClient.print("Host: ");
wifiClient.println(hostname); //with hostname header
wifiClient.println("Connection: close");
wifiClient.print("Content-Type: ");
wifiClient.println(contentType);
wifiClient.print("Content-Length: ");
wifiClient.println(content.length());
wifiClient.println();
wifiClient.println(content);
wifiClient.println();
#ifdef DEBUG
Serial.println(content);
#endif
}
else {
// if you couldn't make a connection:
#ifdef DEBUG
Serial.println();
Serial.println("connection failed");
#endif
}Downloads
Losant Platform and Webhooks
Losant is a simple and powerful IoT cloud platform for developing the next generation of connected experiences. Losant offers device management with robust data visualization that reacts in real-time.
In this project, Losant's webhook is used to send the temperature and humidity data to Losant platform. Webhooks allow MKR1000 to trigger the MKR1000 Weather App application workflows via HTTP requests.
Setup Losant Elements and Dashboard
To setup a monitoring dashboard in Losant platform, you need to create the following elements: application, device, webhook, workflow, trigger, function logic, device output, and dashboard.
Create Application
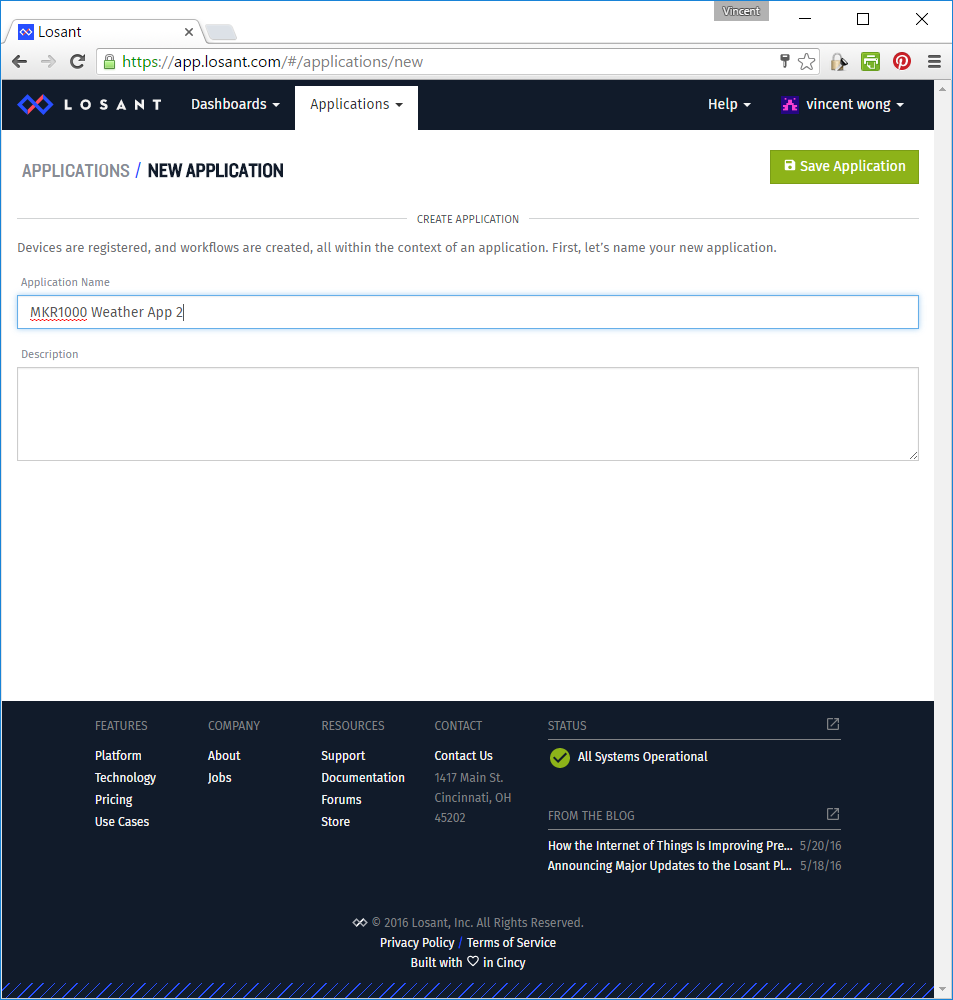
Create a weather app called MKR1000 Weather App.
Create Device
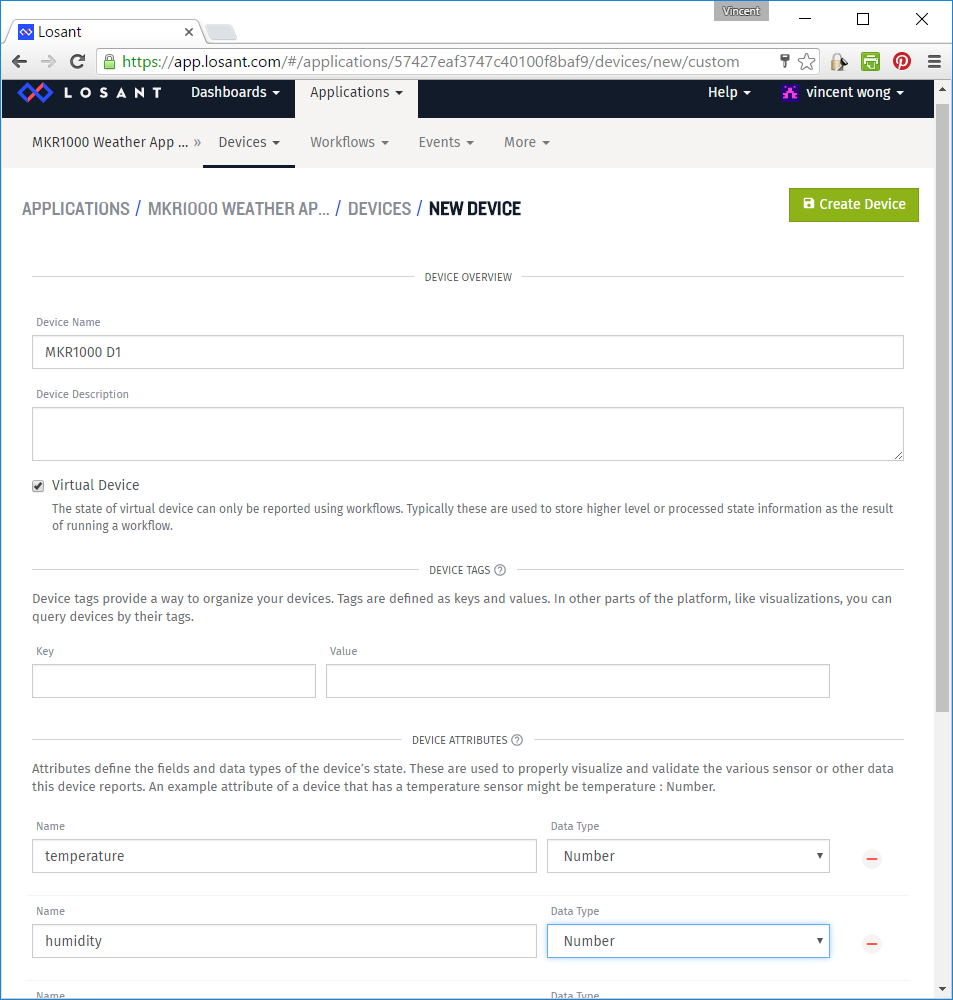
Create a device called MKR1000 D1 with attributes temperature and humidity.
Create Webhook
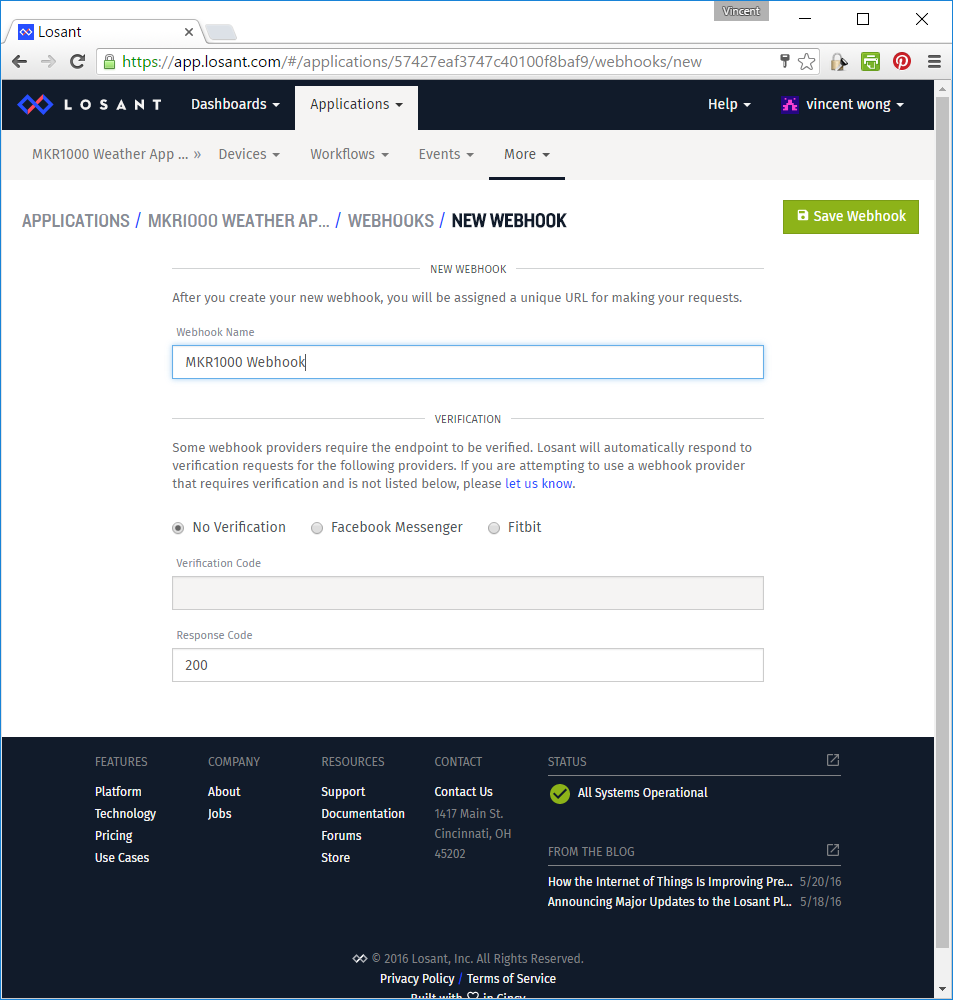
Now create the MKR1000 webhook. Take note of the endpoint URL. This will be used in the codes to send data to the webhook. Refer to the Arduino codes for details.
Create Workflow
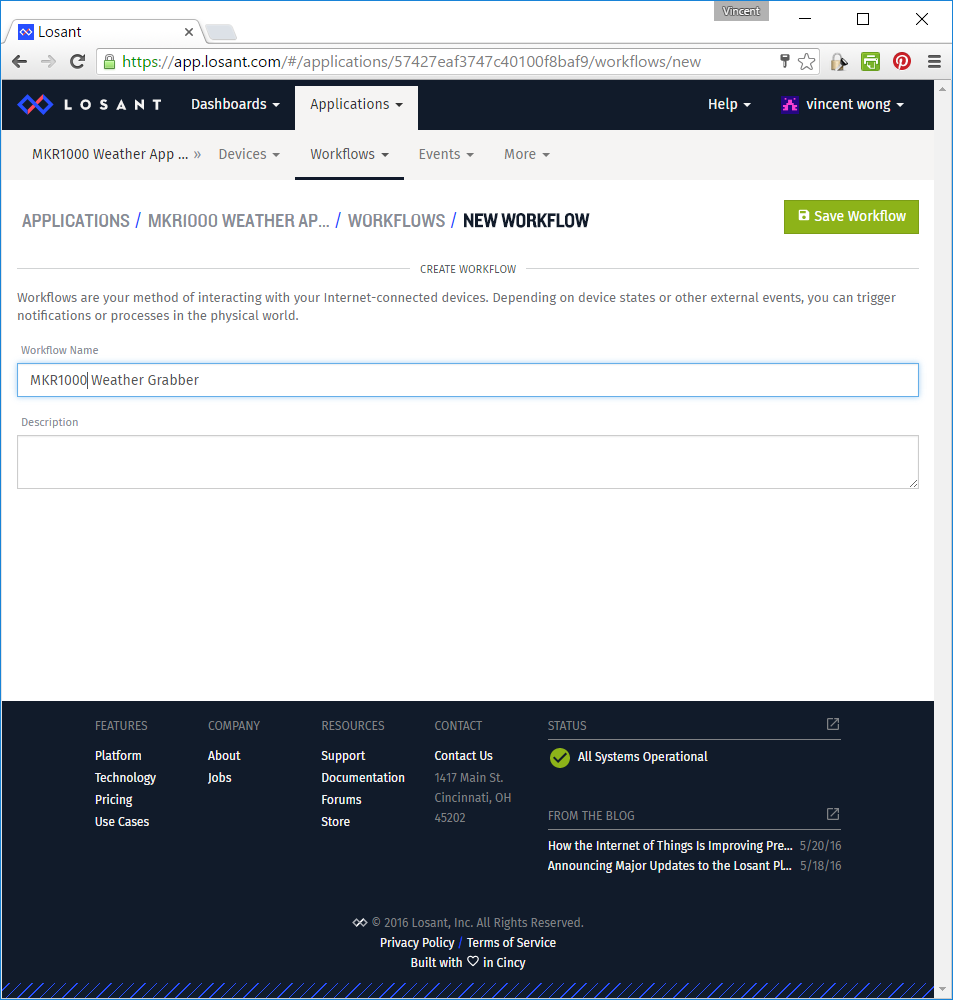
Here in creating workflow, add the following three components: Webhook Trigger, Function Logic and Device Output. Name the workflow MKR1000 Weather Grabber.
Workflow - Add Webhook Trigger
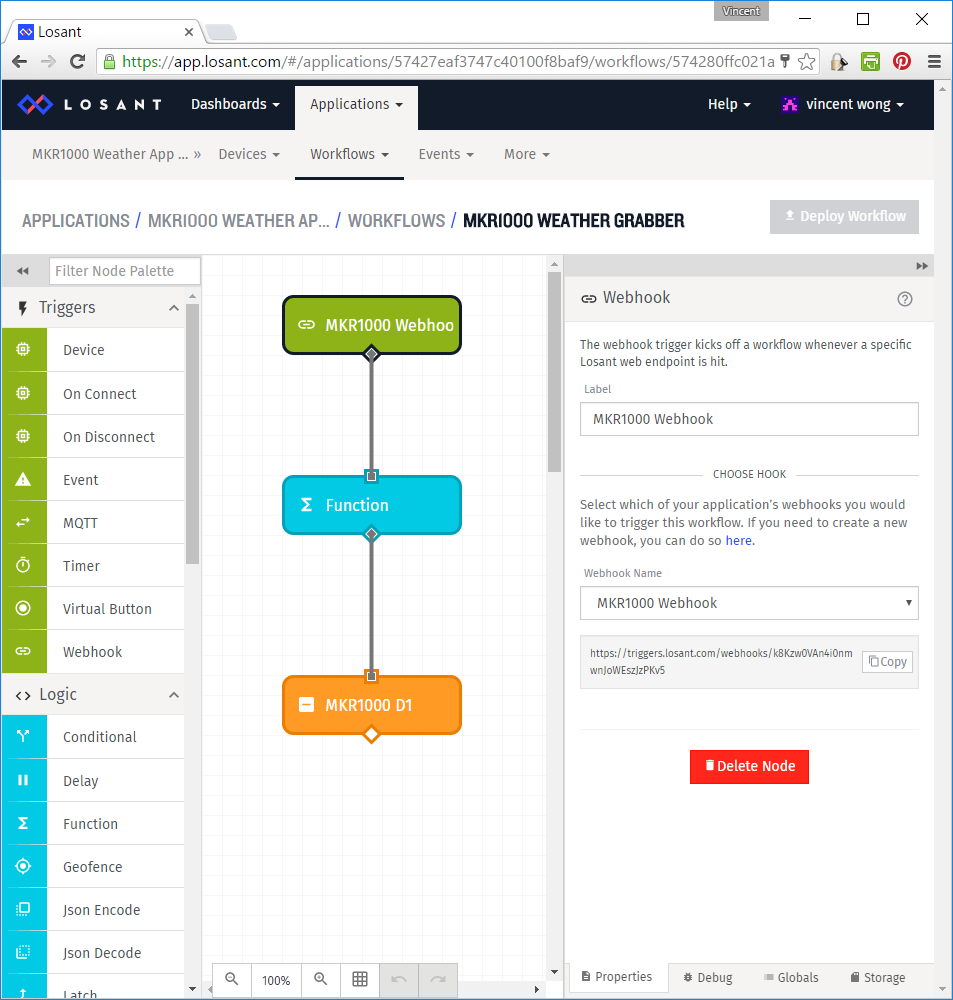
Give the webhook trigger a name "MKR1000 Webhook" and select the correct webhook from the drop-down list.
Workflow - Add Function Logic
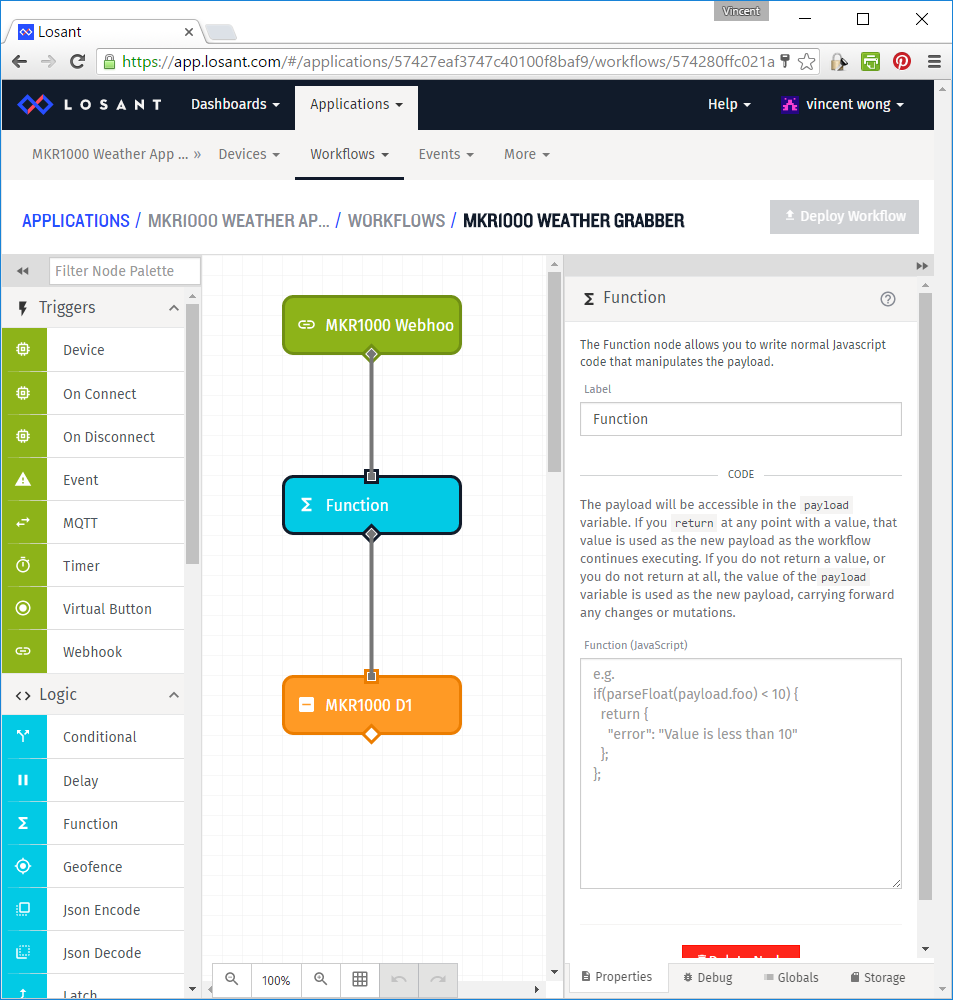
Accept the default values at this step.
Workflow - Add Device Output
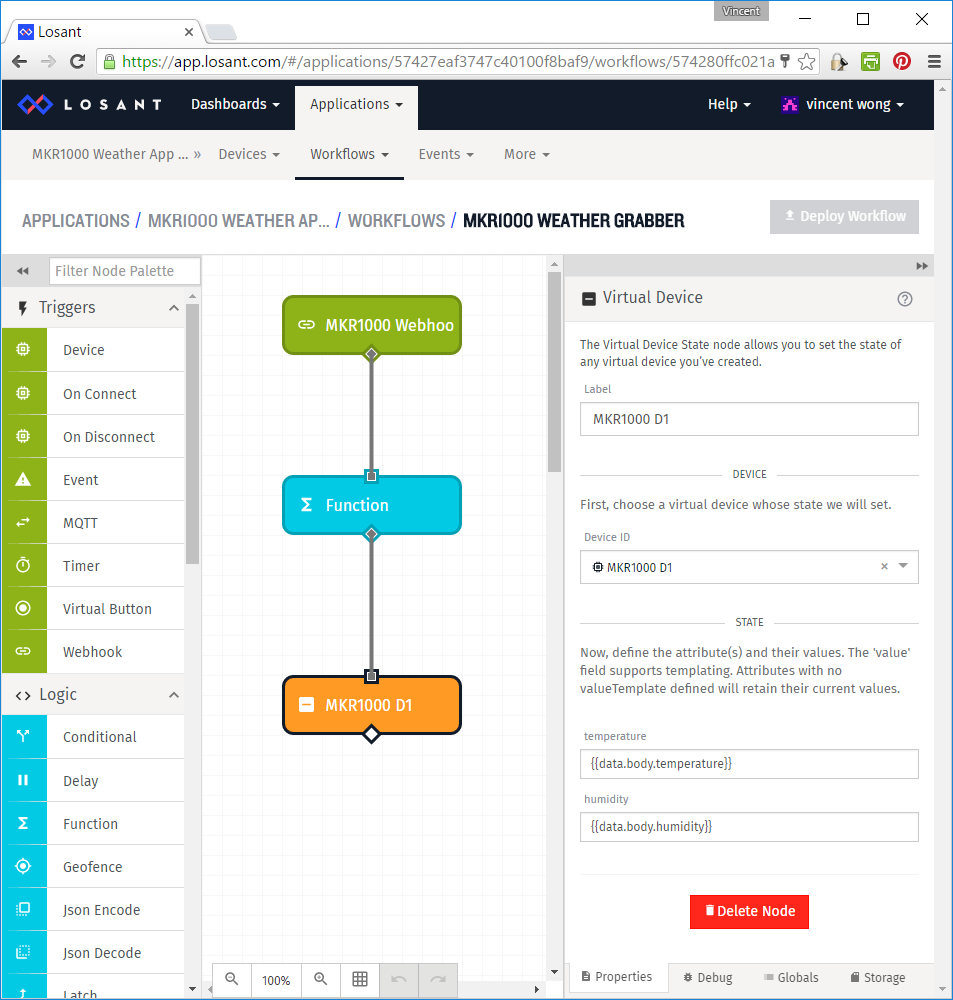
Select a device ID and set temperature state as '{{data.body.temperature}}' and humidity state as '{{data.body.humidity}}'.
Create Dashboard
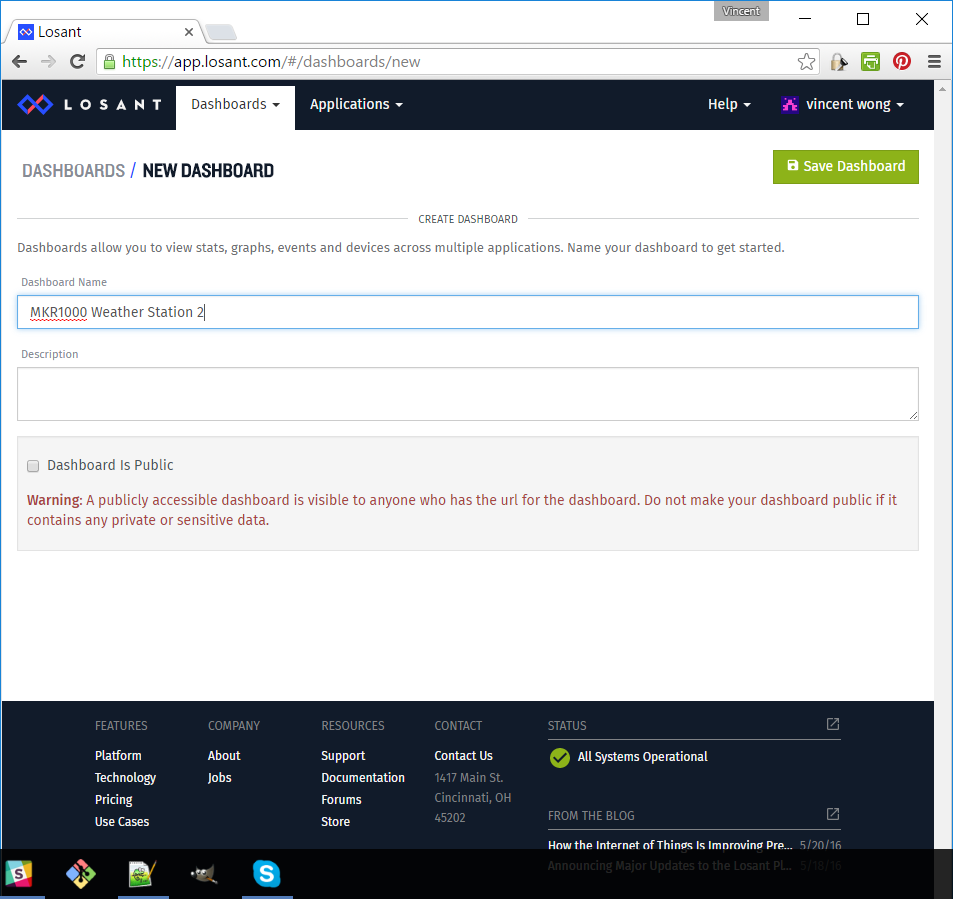
Key in a Dashboard name.
Add Temperature Block
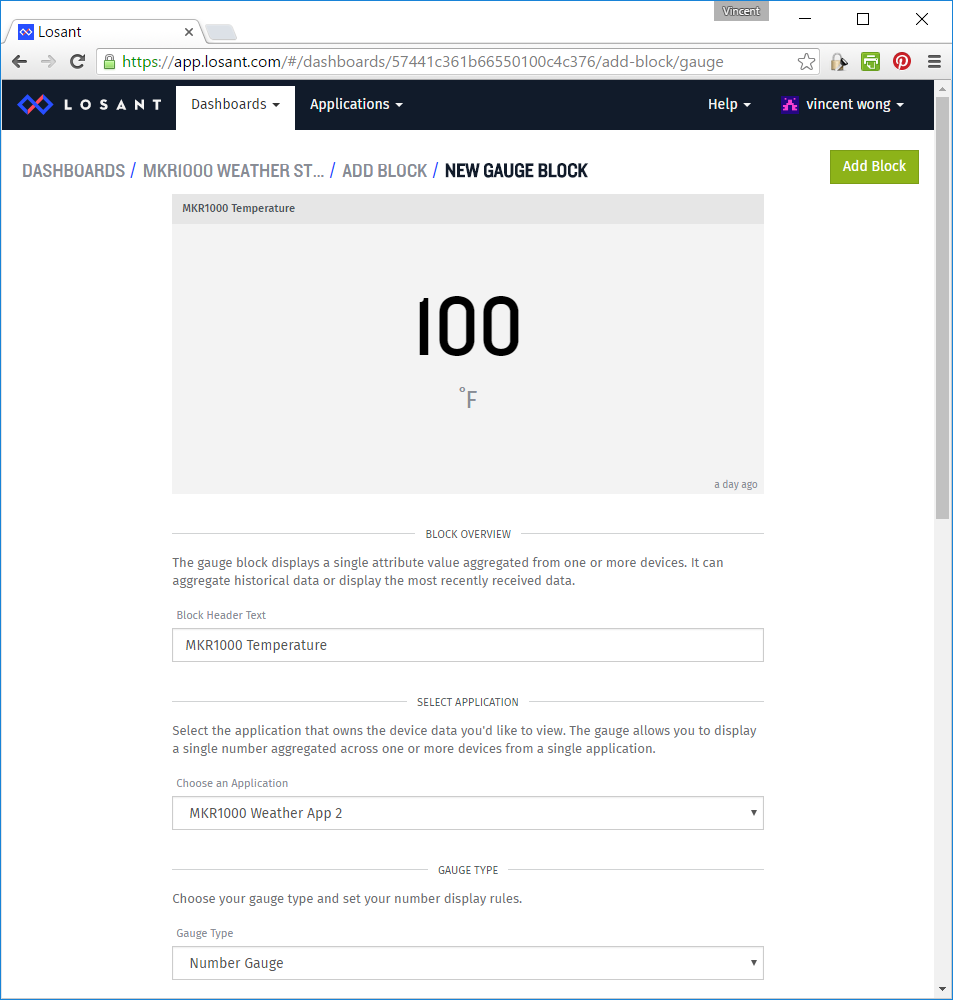
Set temperature as Number Gauge.
Add Humidity Block
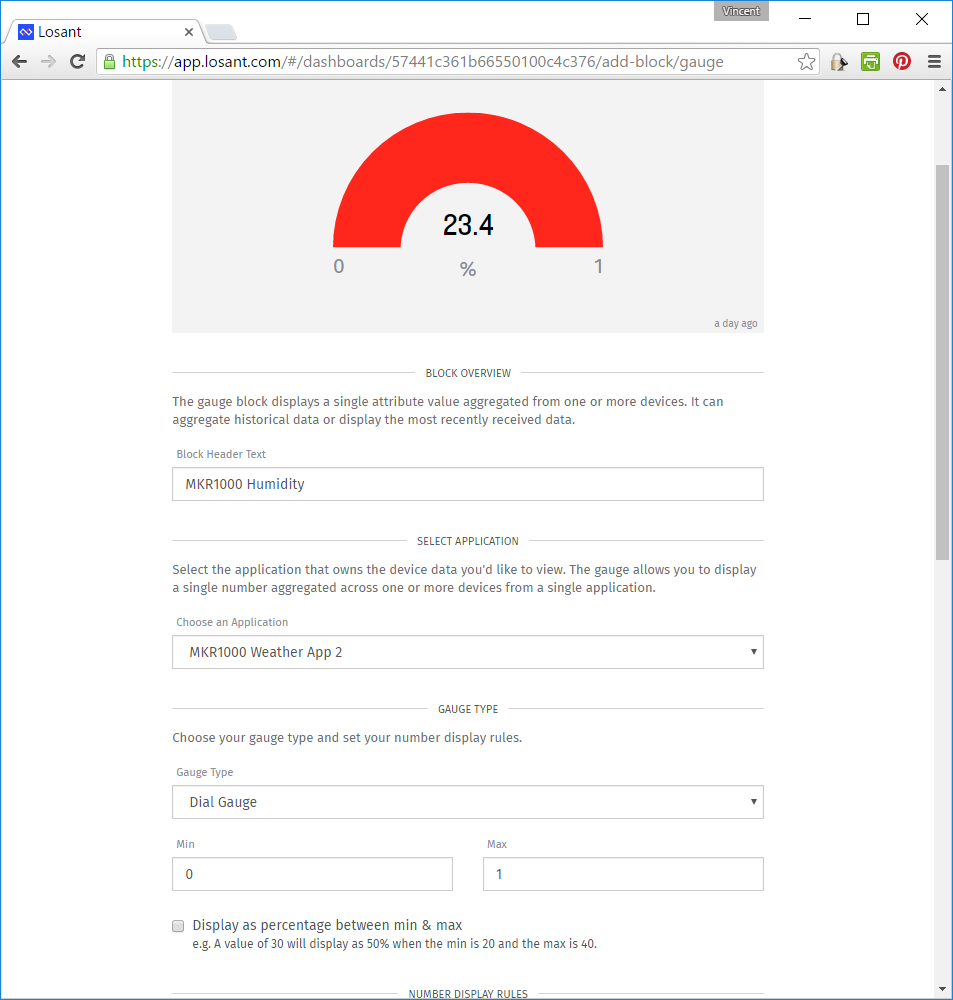
Set humidity as Dial Gauge.
Add Temperature Vs Humidity Block
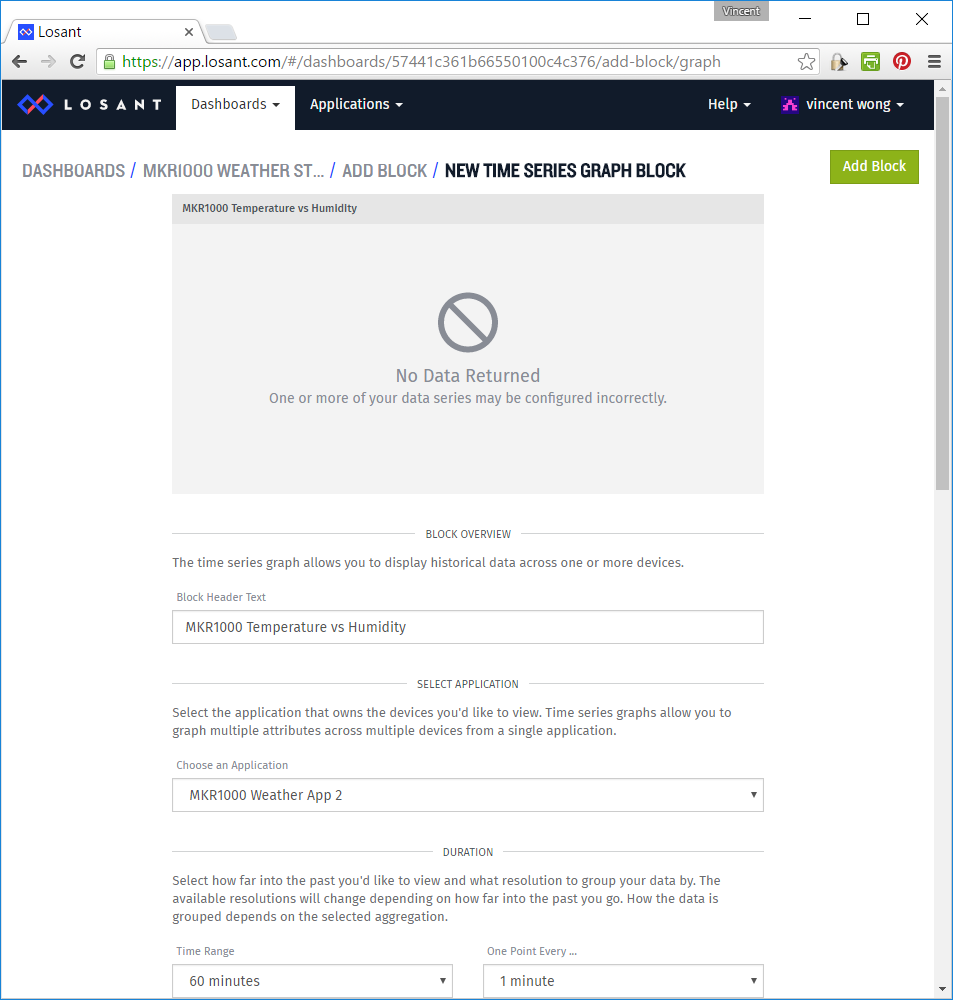
This a time series block. Pick the temperature and humidity attributes as data points. Time range is 60 minutes and one data point every 1 minute.
The Final Dashboard
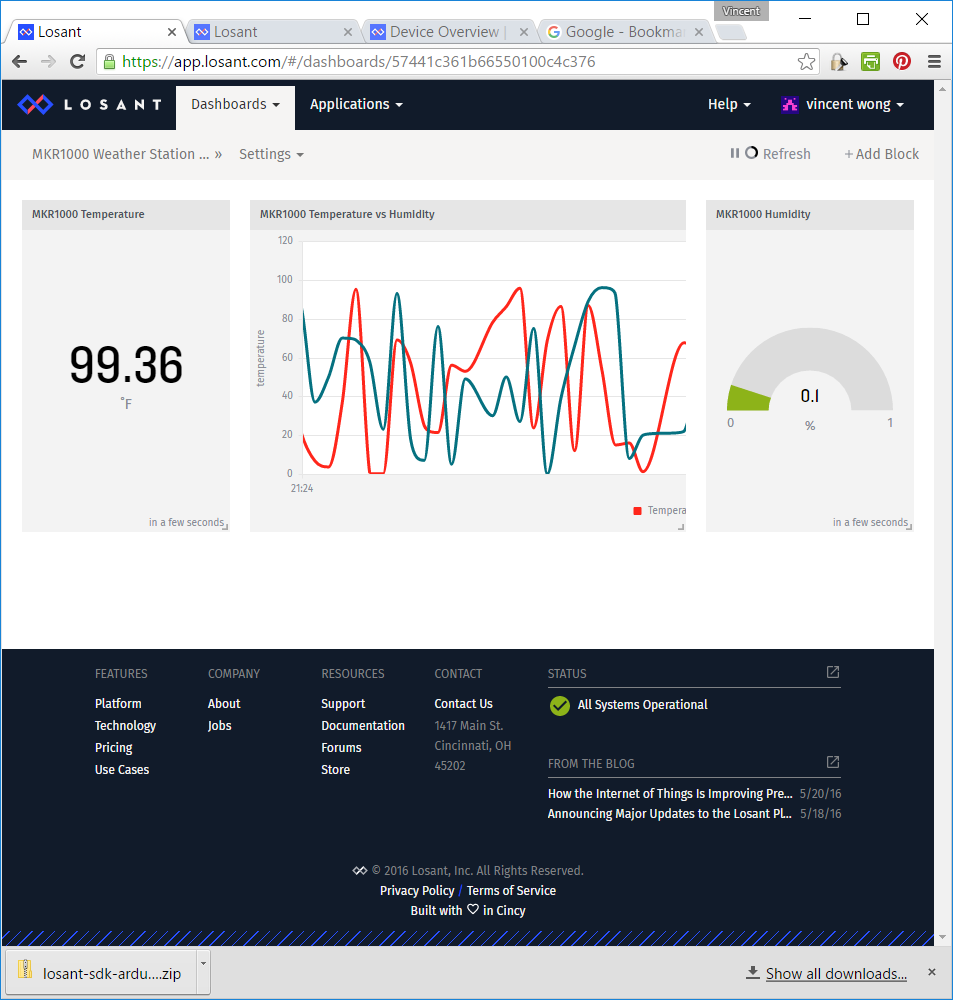
This is the final MKR100 Weather App Dashboard.