Build a Morse Code Wearable
by RobertGallup in Circuits > Wearables
2757 Views, 22 Favorites, 0 Comments
Build a Morse Code Wearable
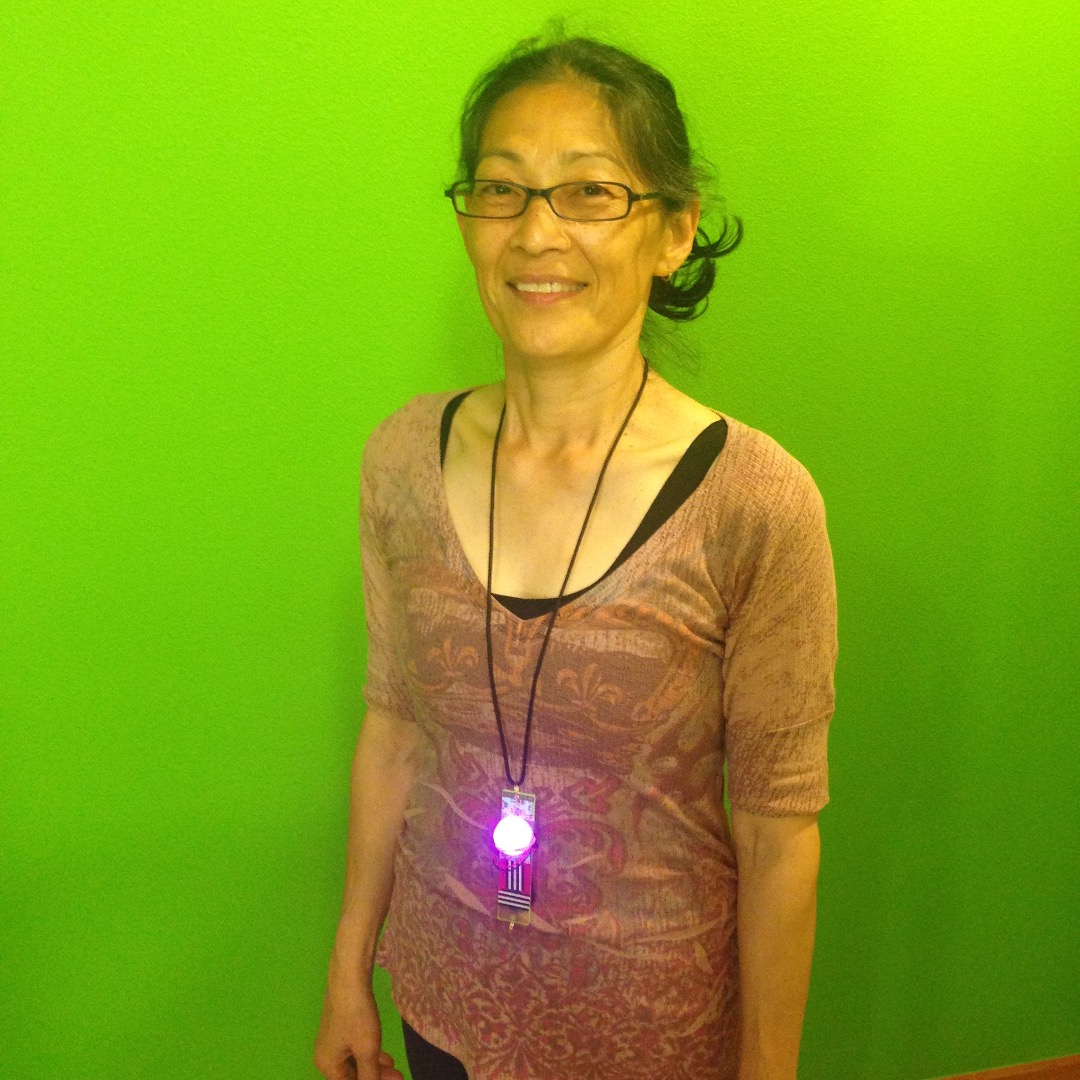
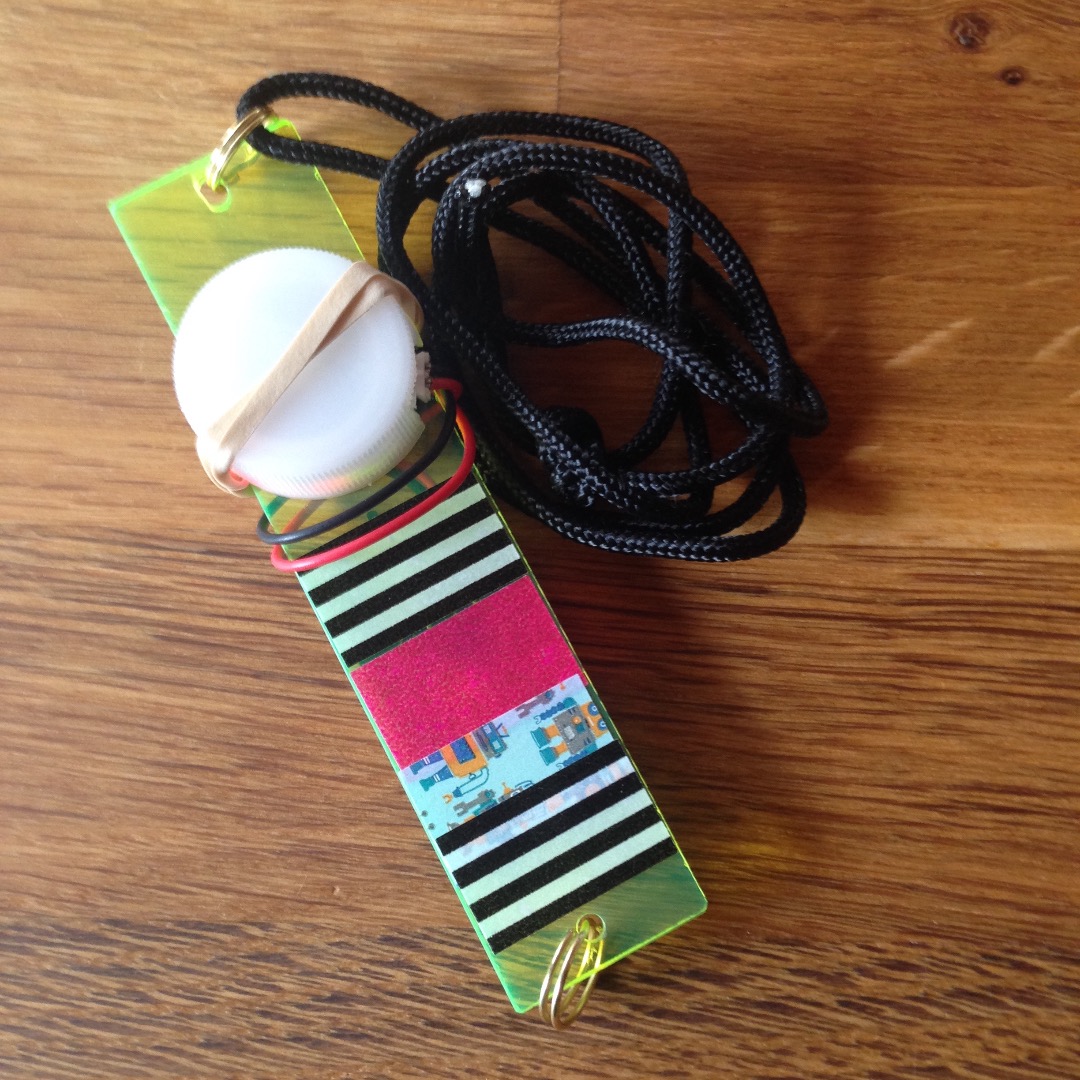
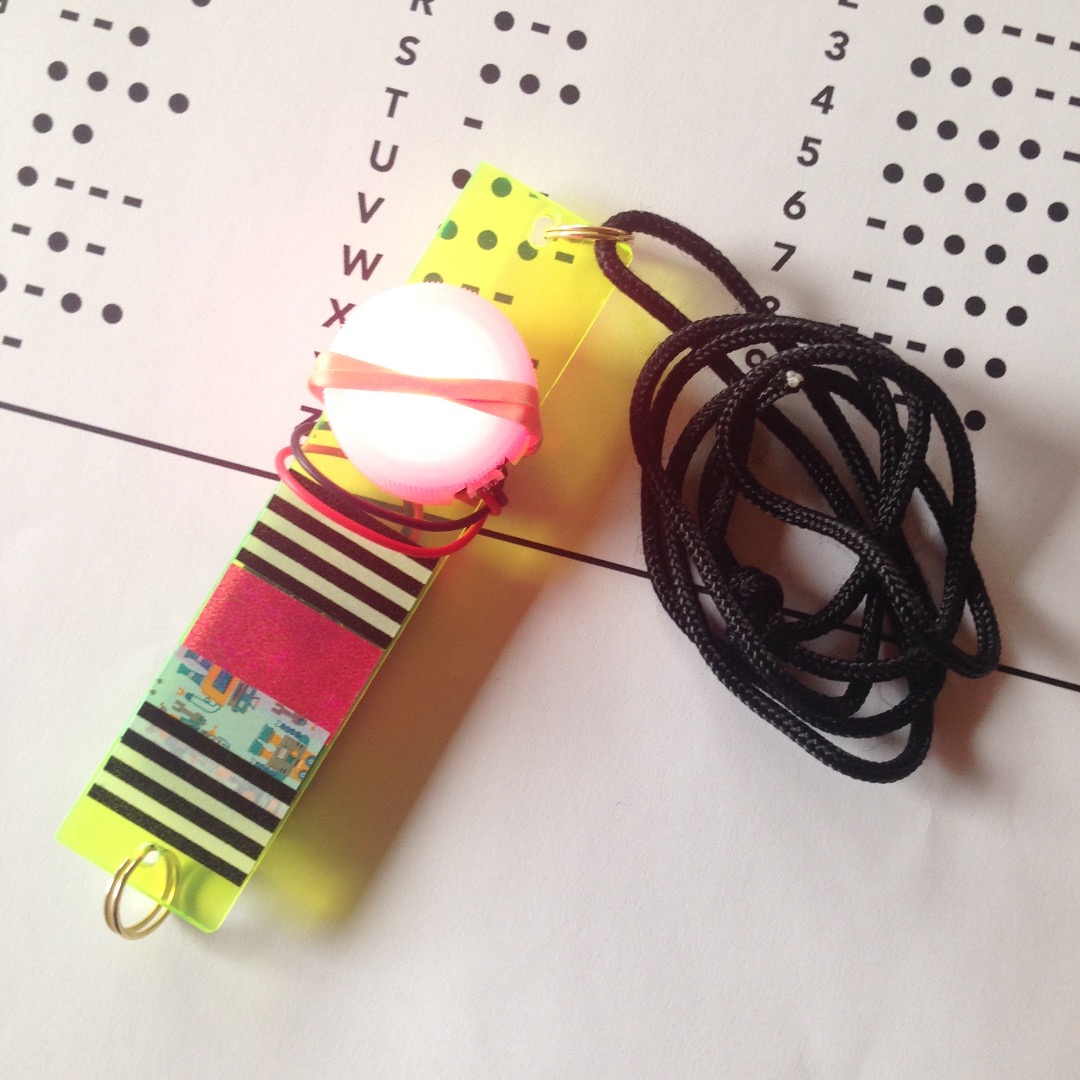
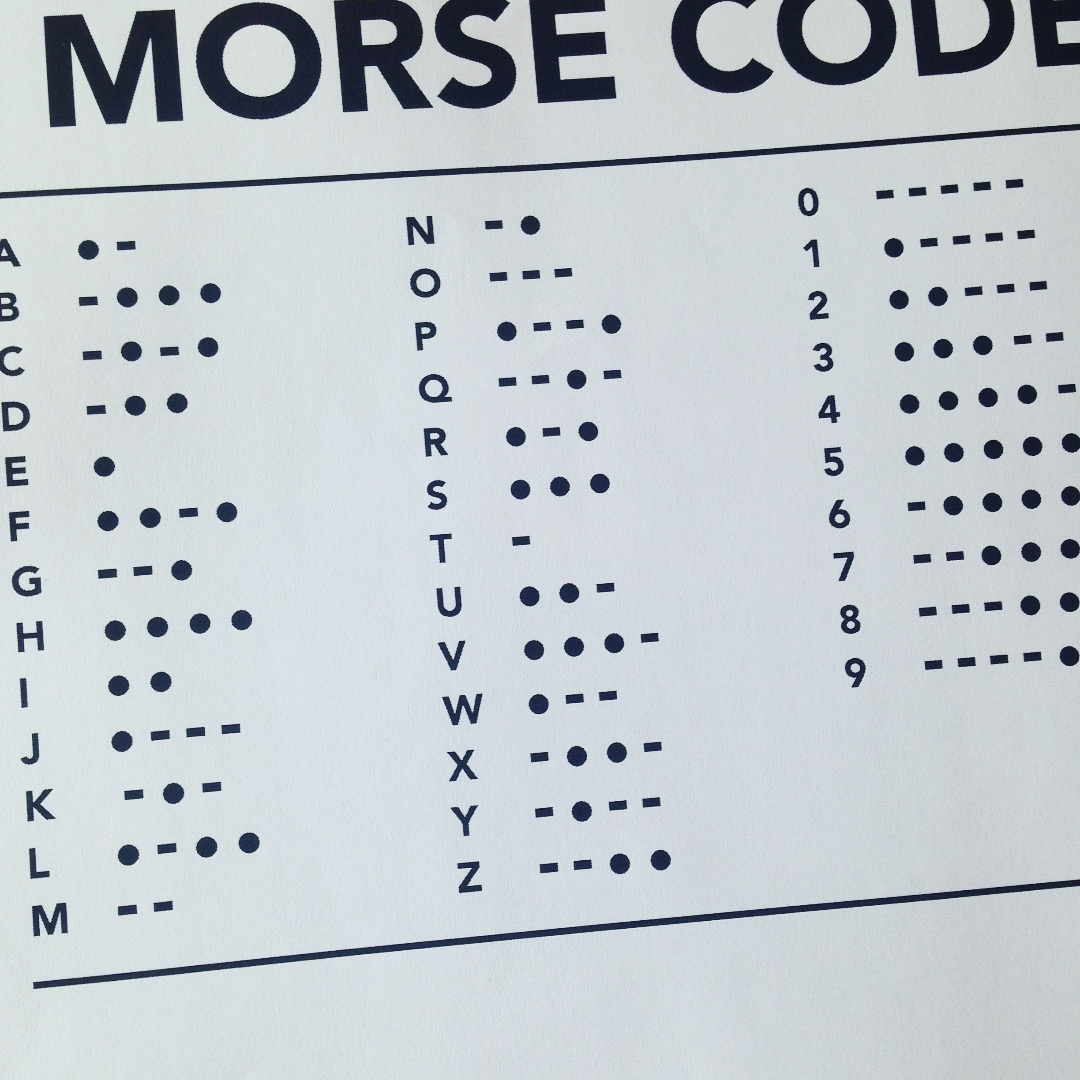
Codes are used to send secret messages. But, they're used for lots of other reasons: efficiency, accuracy, reliability, and identity. Internet protocols are a type of code. The images and the music you watch, and the clothes you wear are another type of code that expresses your identity.
This project comes from a workshop I taught at the Portland Maker Faire called Wearable Code. It is based on an Adafruit Gemma wearable computer and a NeoPixel digital LED. An Arduino sketch running on the Gemma blinks a customizable message in morse code. You can decide which of the many uses of codes it represents.
The core of this project is the Gemma and NeoPixel. Everything else can be easily improvised. You can make the wearable pin rather than hang. You can use completely different materials. You can change the power from button batteries to a rechargable LiPo battery. If you are willing to change the Arduino sketch (another type of code), you can even use a different microprocessor and LED.
But, that's all for you to decide. This instructable will show you one way to build it as a starting point.
Downloads
Materials and Tools
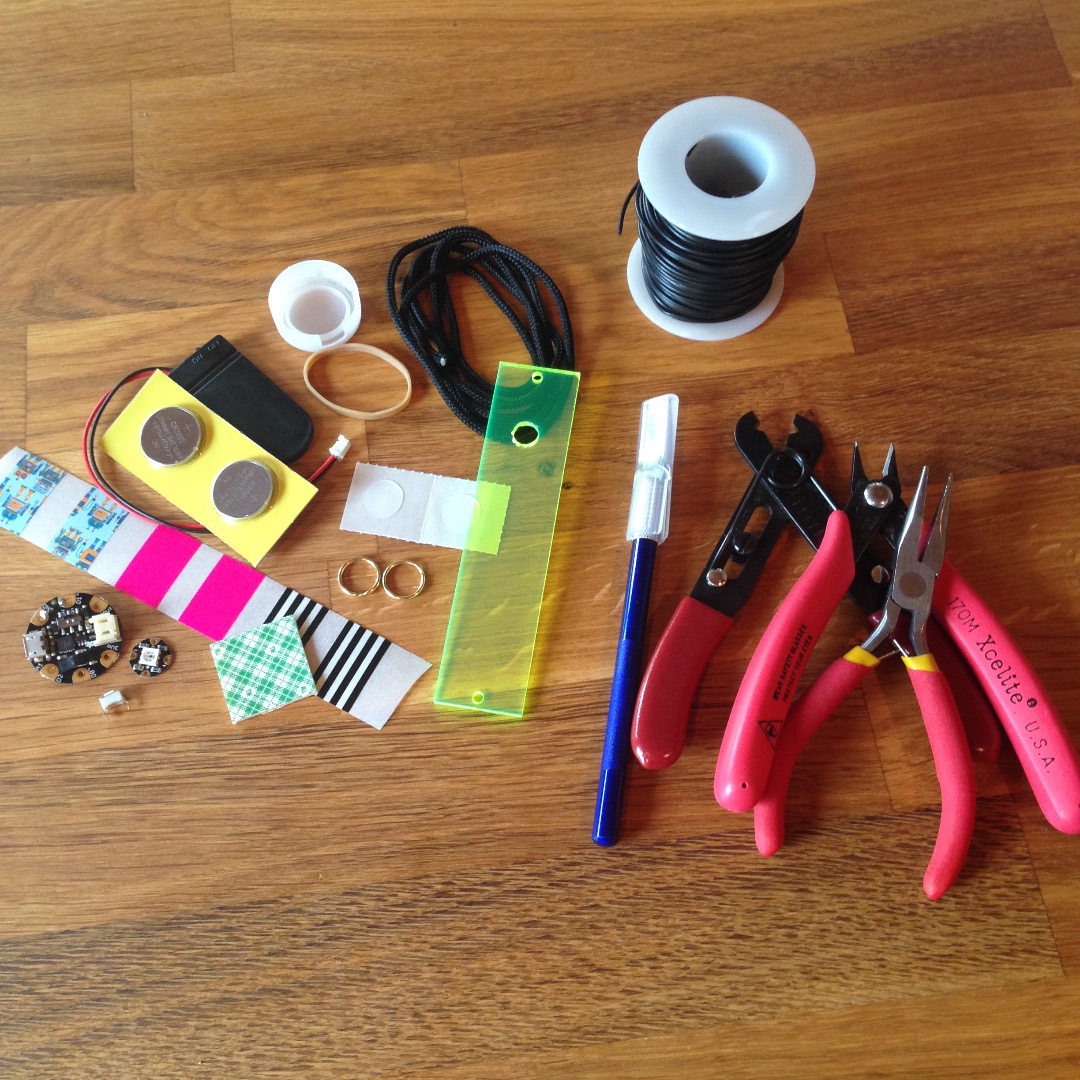
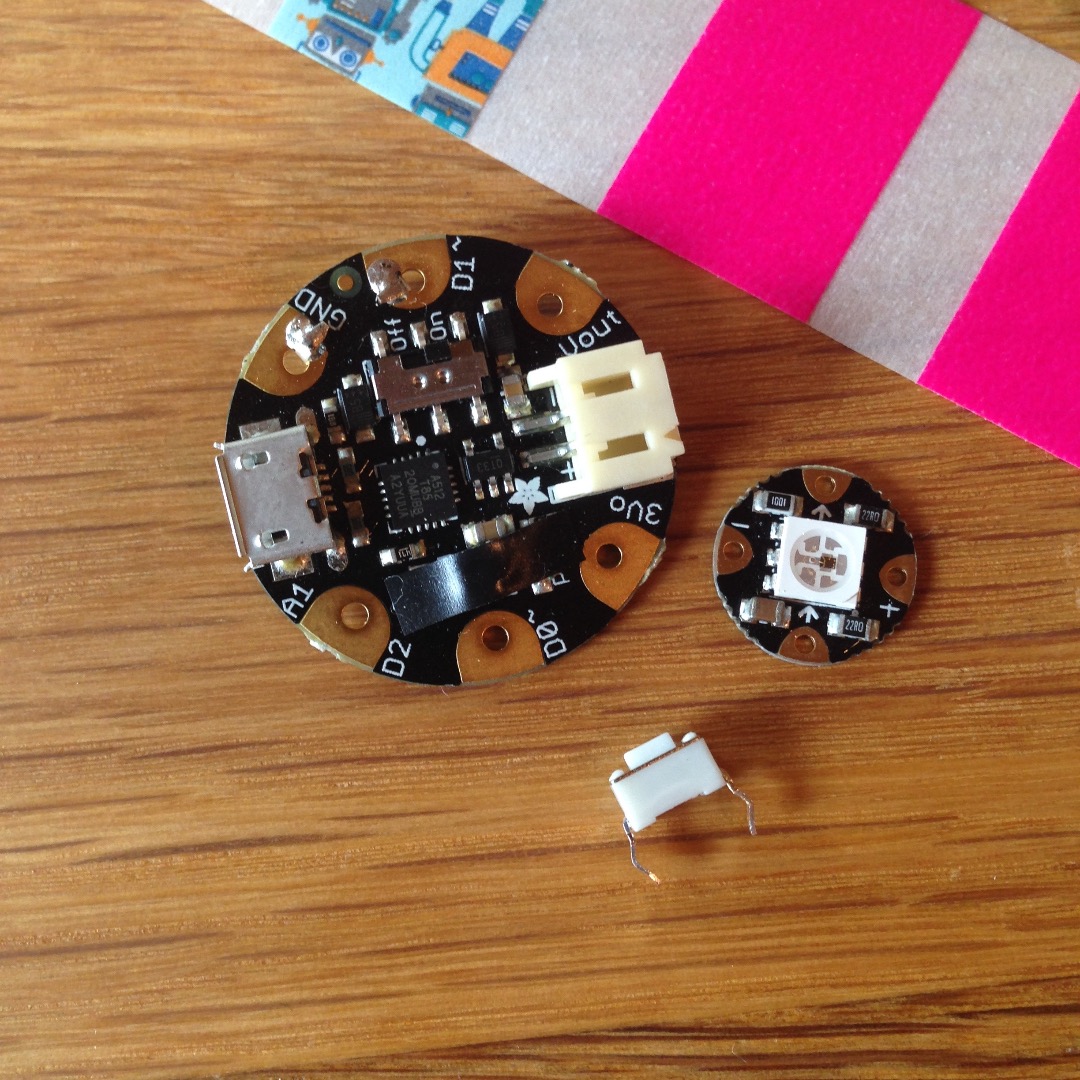
Here's a list of materials used (see photo):
- Adafruit Gemma (https://www.adafruit.com/gemma)
- Adafruit NeoPixel (https://www.adafruit.com/products/1260)
- Slim Tactile Button (https://www.adafruit.com/products/1489)
- Coin Cell Battery Holder (https://www.adafruit.com/products/783)
- 2 x 2032 Coin Cell Batteries
- 1"x4"x1/8" Plexiglass
- ~40" paracord
- 2 Sticky Dots
- 1" x 1" Foam Tape Square
- 2 x Split Rings
- Washi Tape or other decoration for front
- Solid Copper Wire (a couple of inches will do)
- Diffuser (Talking Rain Sparkling Water bottle tops work great)
- Rubber Band
- Small Piece of Electrical Tape (not shown)
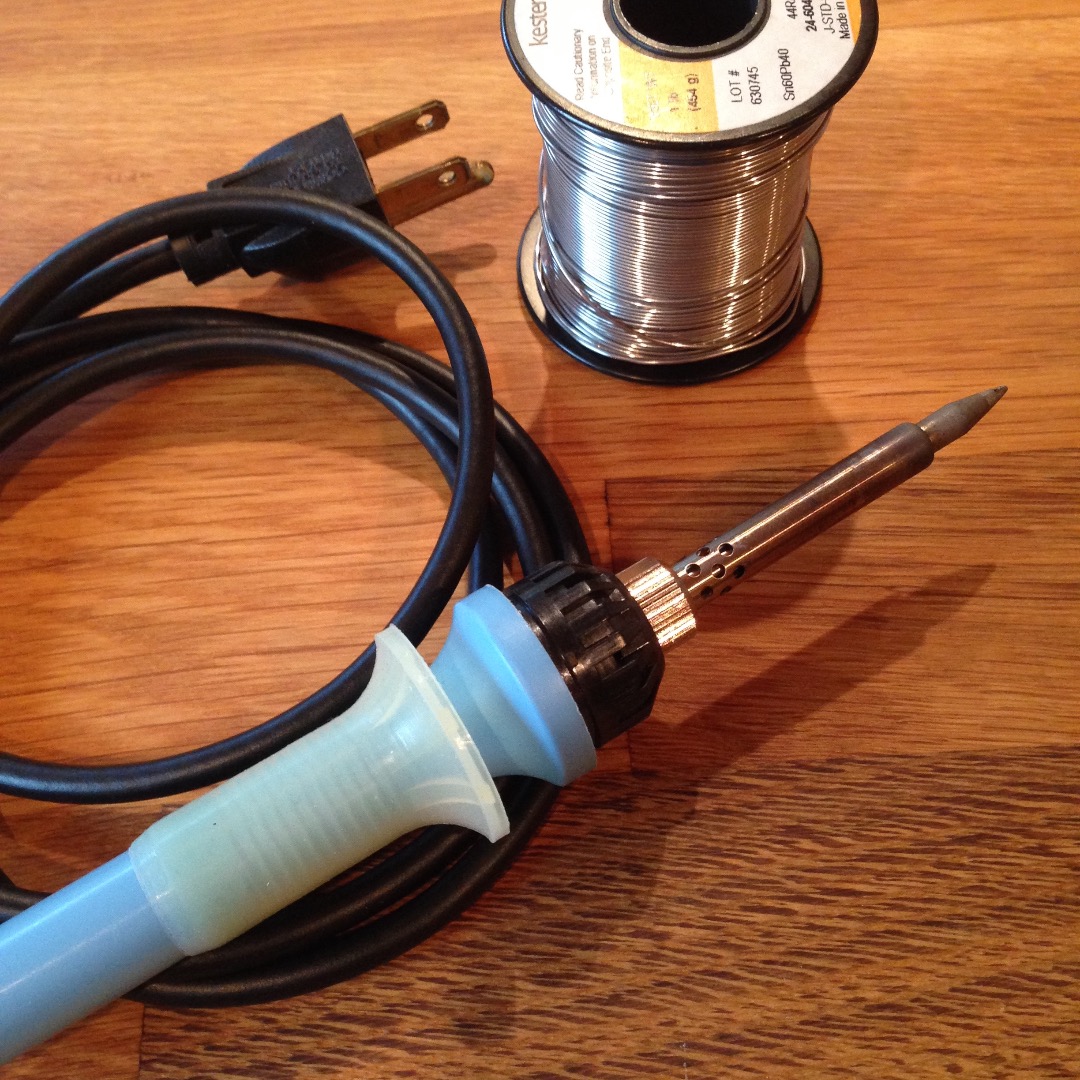
And, a list of tools (see photo):
- Soldering Iron and Solder
- Flush Diagonal Cutter
- Wire Stripper
- Needle Nose Pliers
- Exacto Knife
- Drill with 1/8" and 5/16" drill bits (not shown)
Connect a Switch to the Gemma
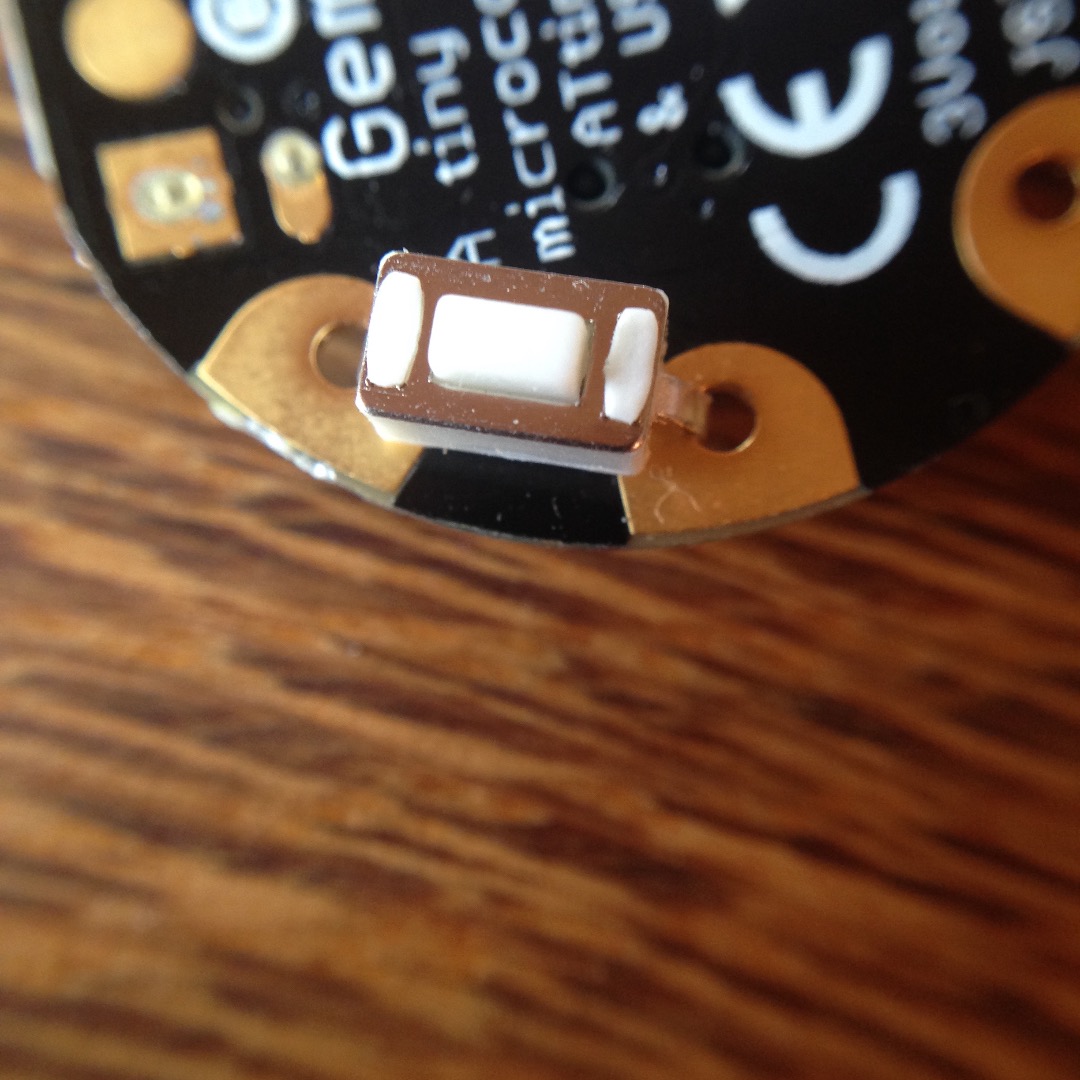
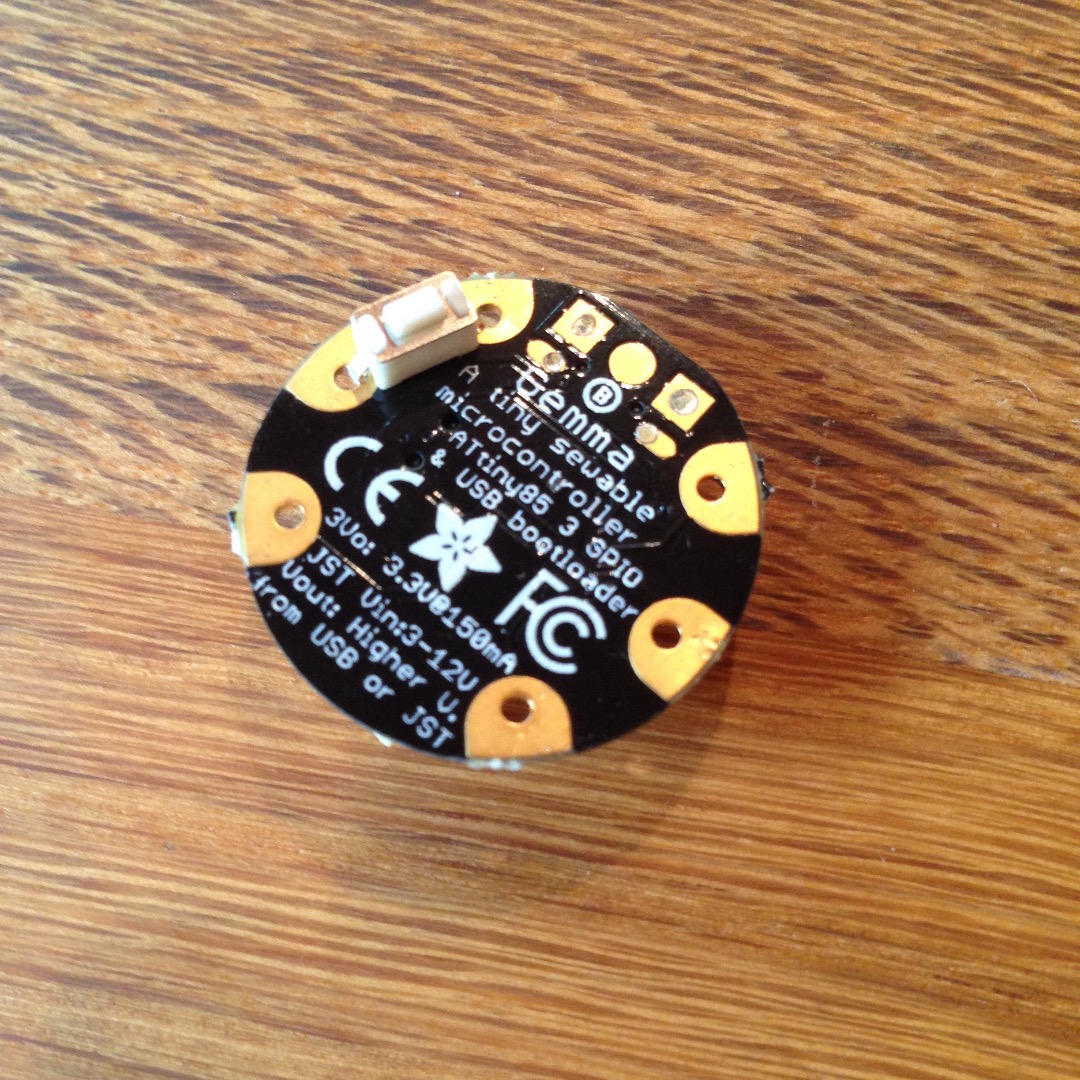
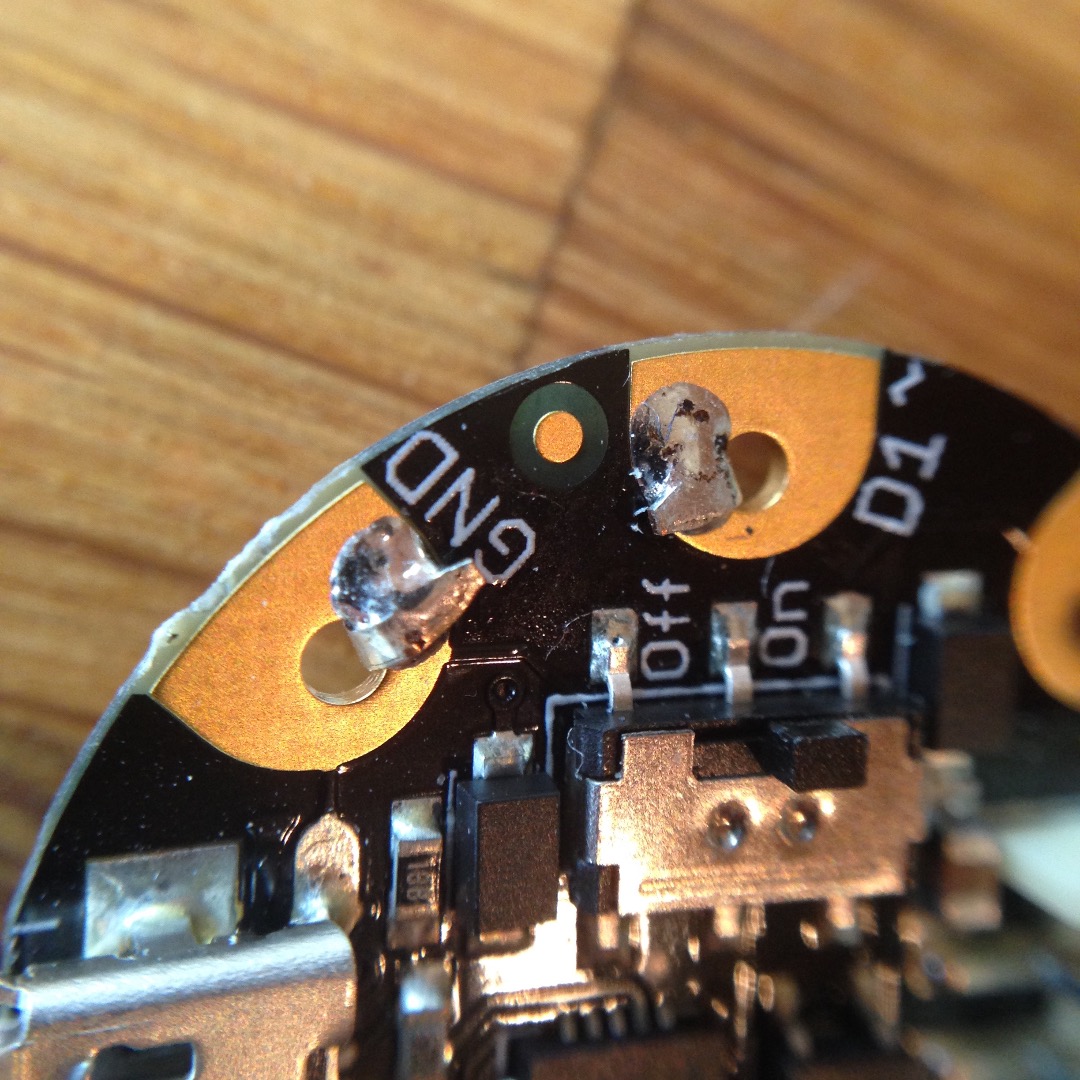
Now that you have the materials and tools, the first thing you'll do is attach the button to the Gemma.
You can see from the images that the button attaches to the "back" side of the Gemma. The legs of the button connects pad D1 to GND. Once you've inserted the switch, fold the legs over and solder (as shown).
If you're new to soldering, the Adafruit guide to soldering is an excellent place to start:
Cover LEDs With Tape
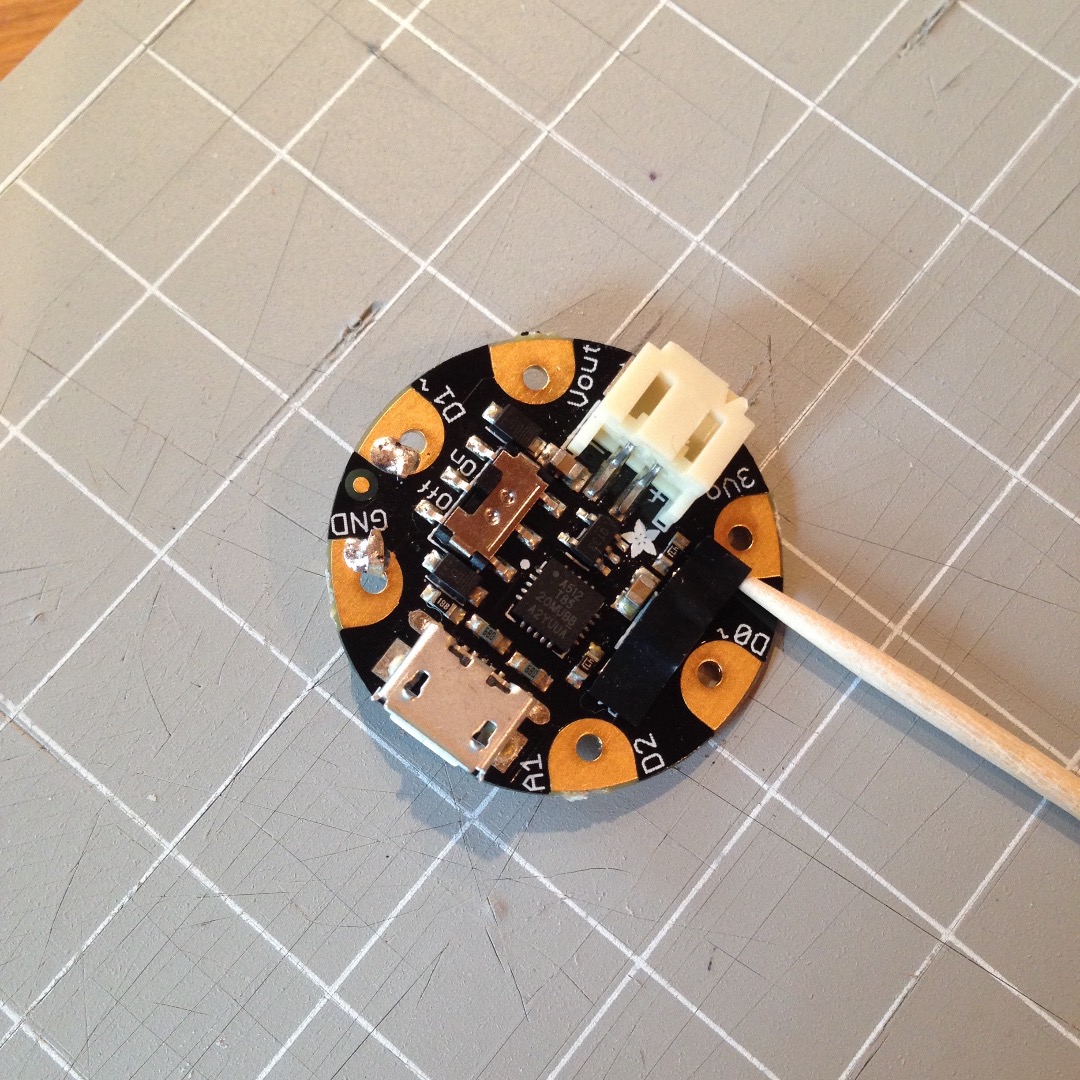
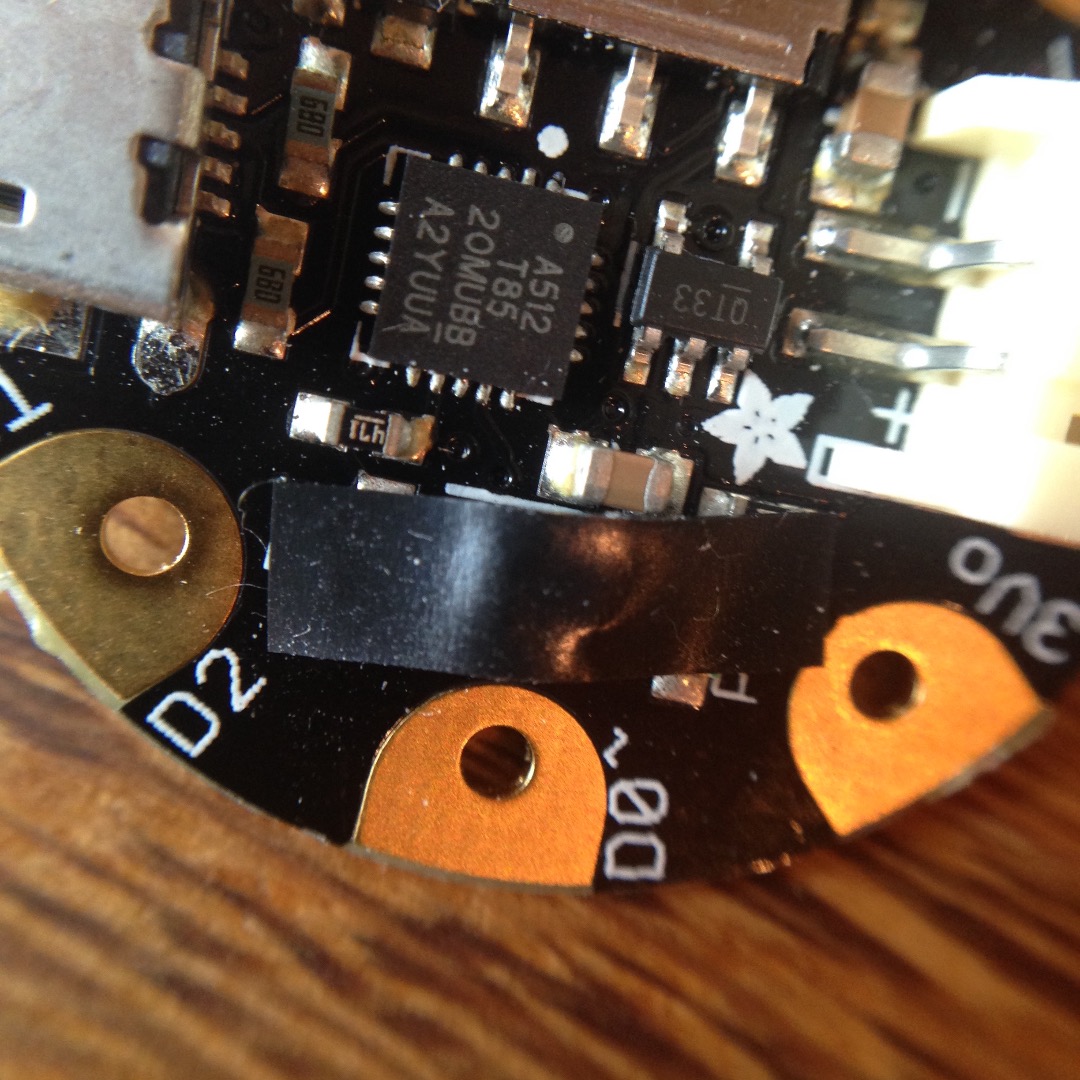
In the next step, we'll add the NeoPixel LED to the top side of the Gemma. However, there are a couple of other LEDs there: one is on when the Gemma is powered; the other one is used during programming and is also on when the WearableCode sketch is running.
Normally, these shine alongside the NeoPixel creating a distracting glow, especially during the "off" part of a blink. To counteract this, you can apply a small piece of electrical tape over the LEDs (and the reset button between them).
To do this, first cut a piece of tape that's big enough to cover the LEDs. Then apply the tape to cover the LEDs. The easiest way I've found to apply the tape is to use a toothpick or other pointed object to hold the tape on one end while you place it. Then, press the tape in place so it sticks.
Connect the Gemma and NeoPixel
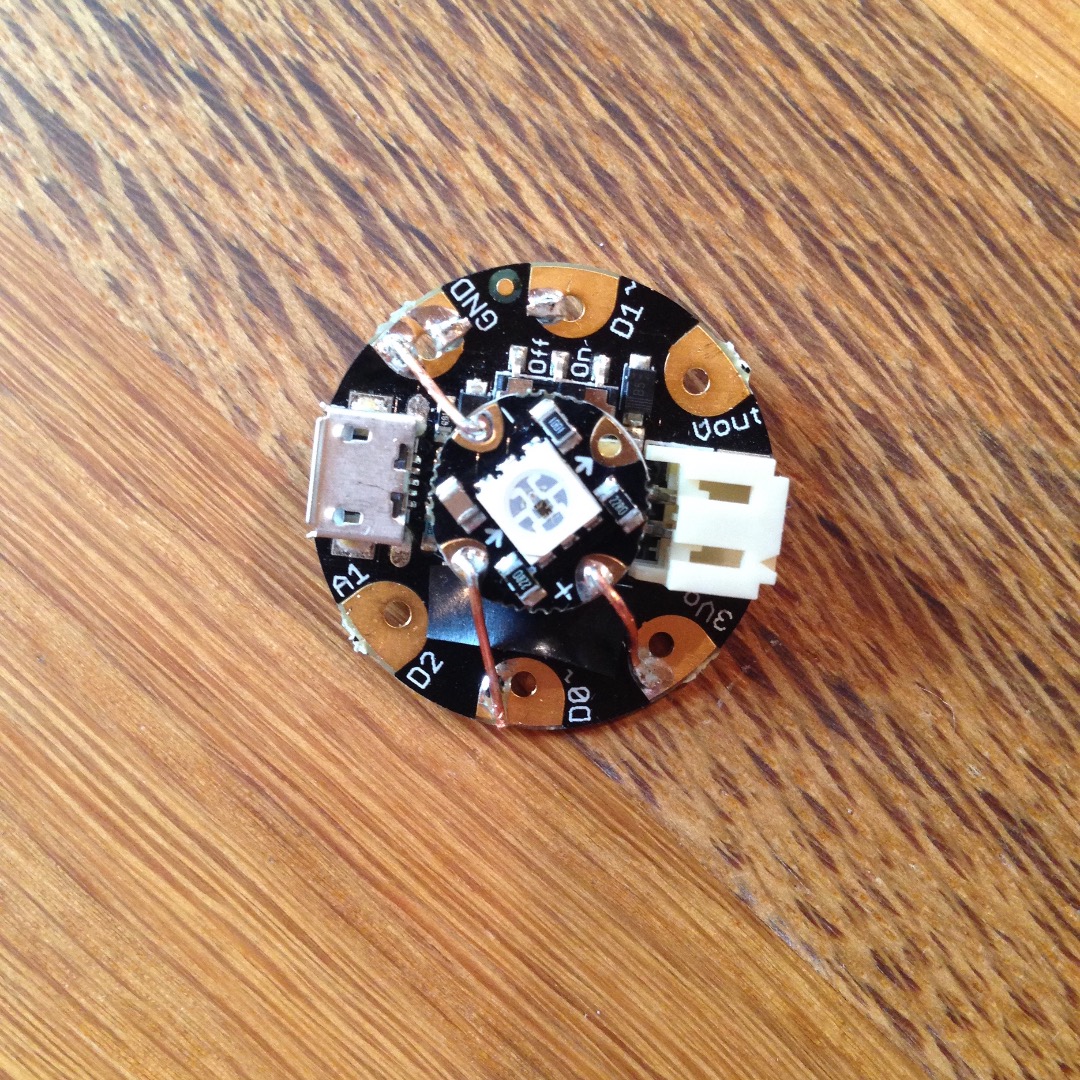
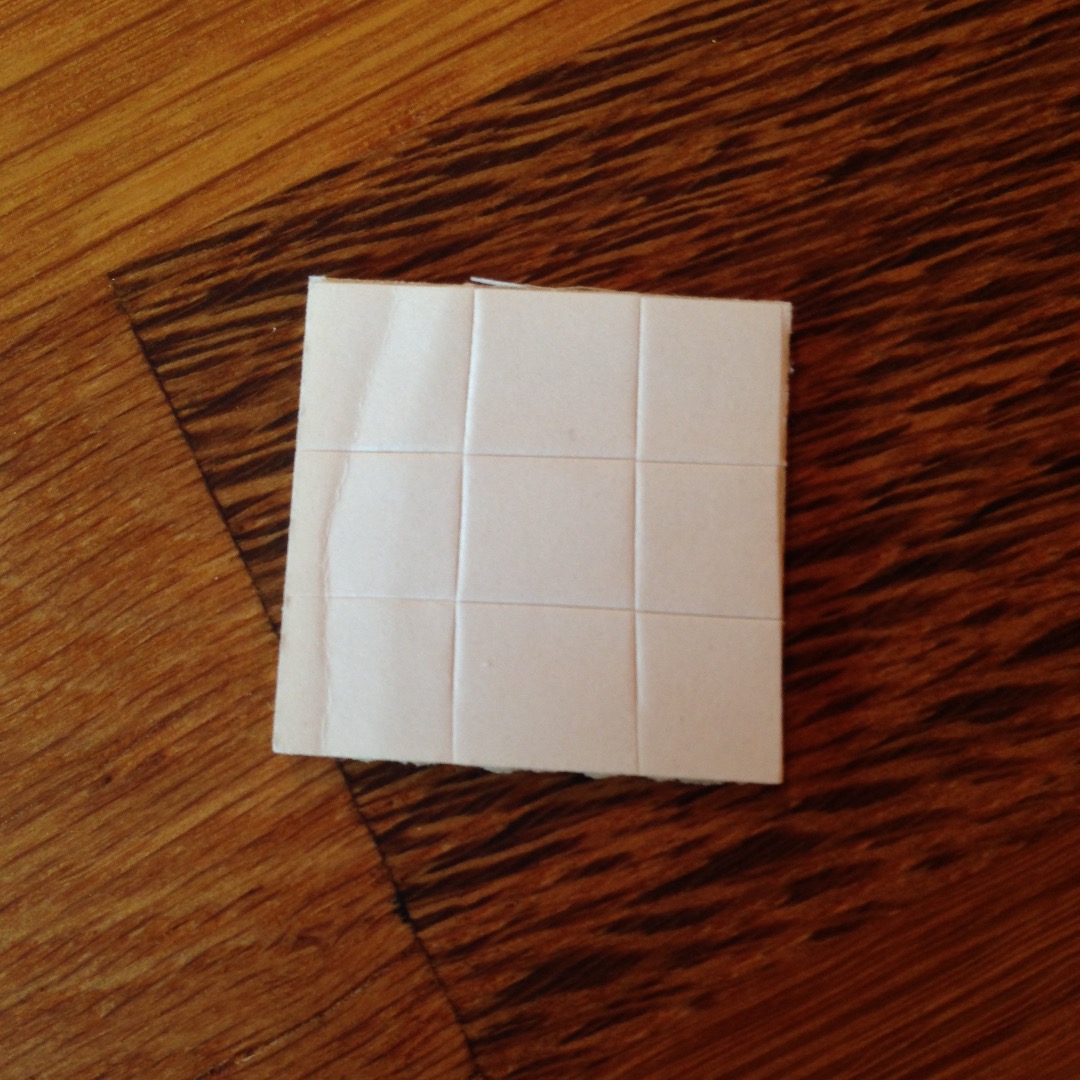
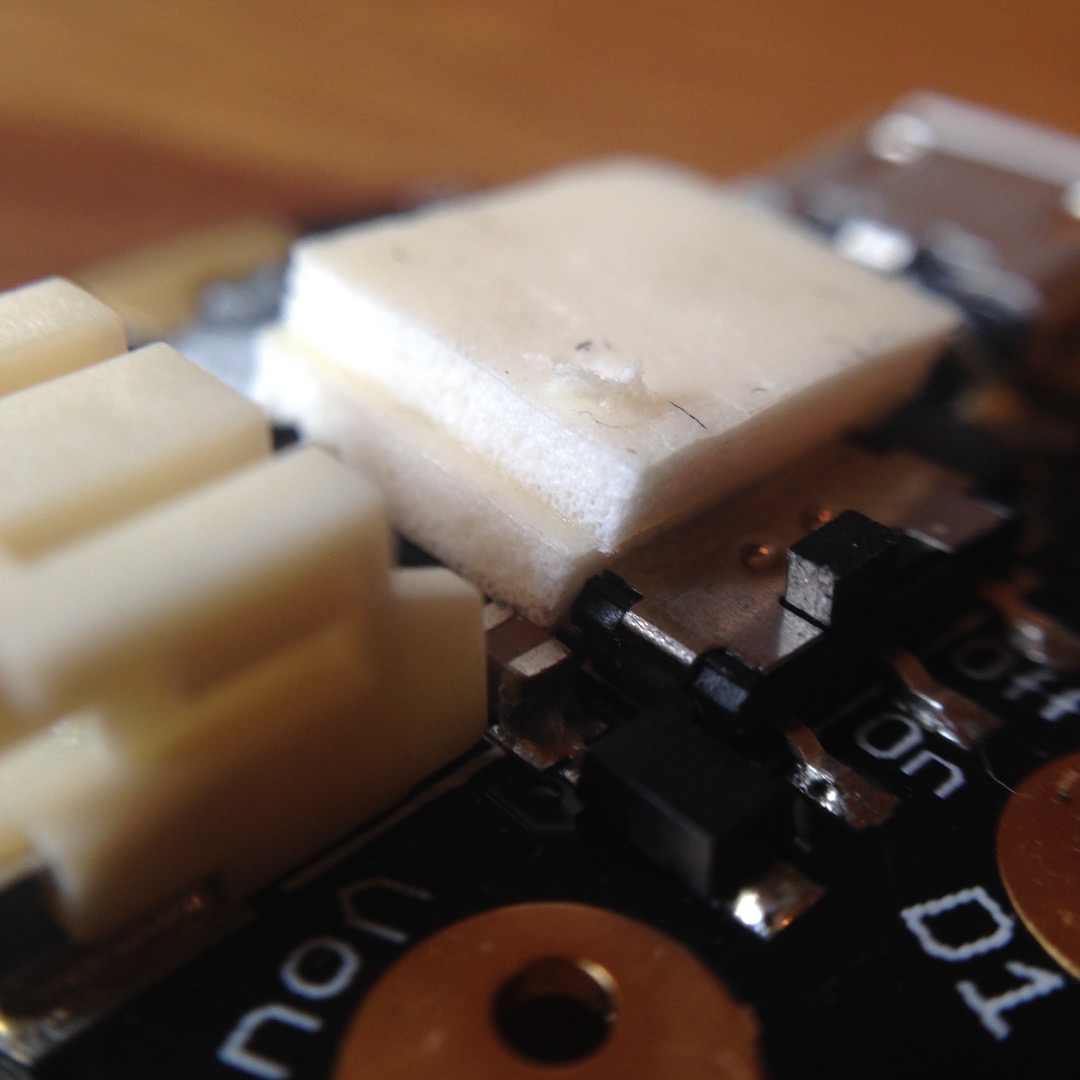
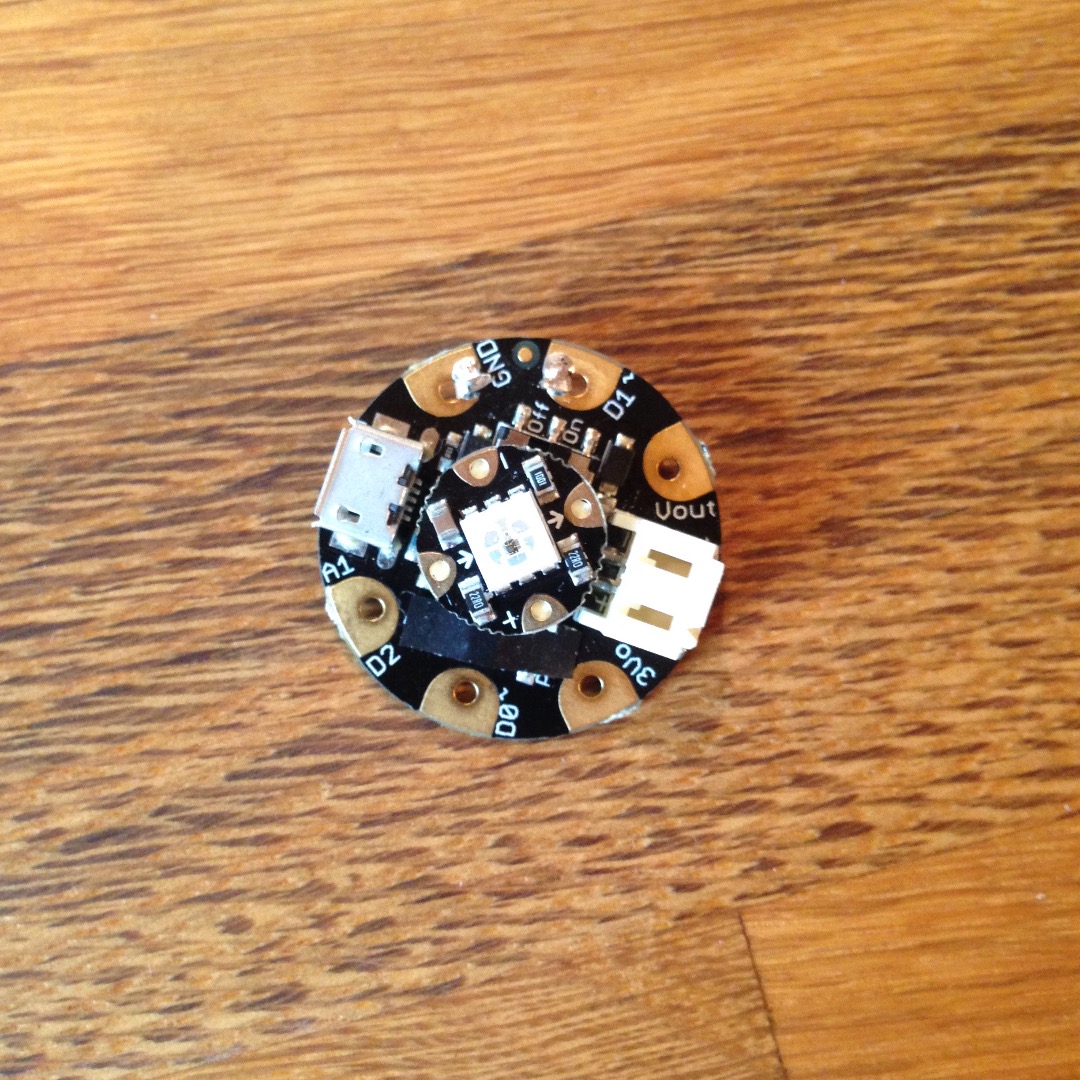
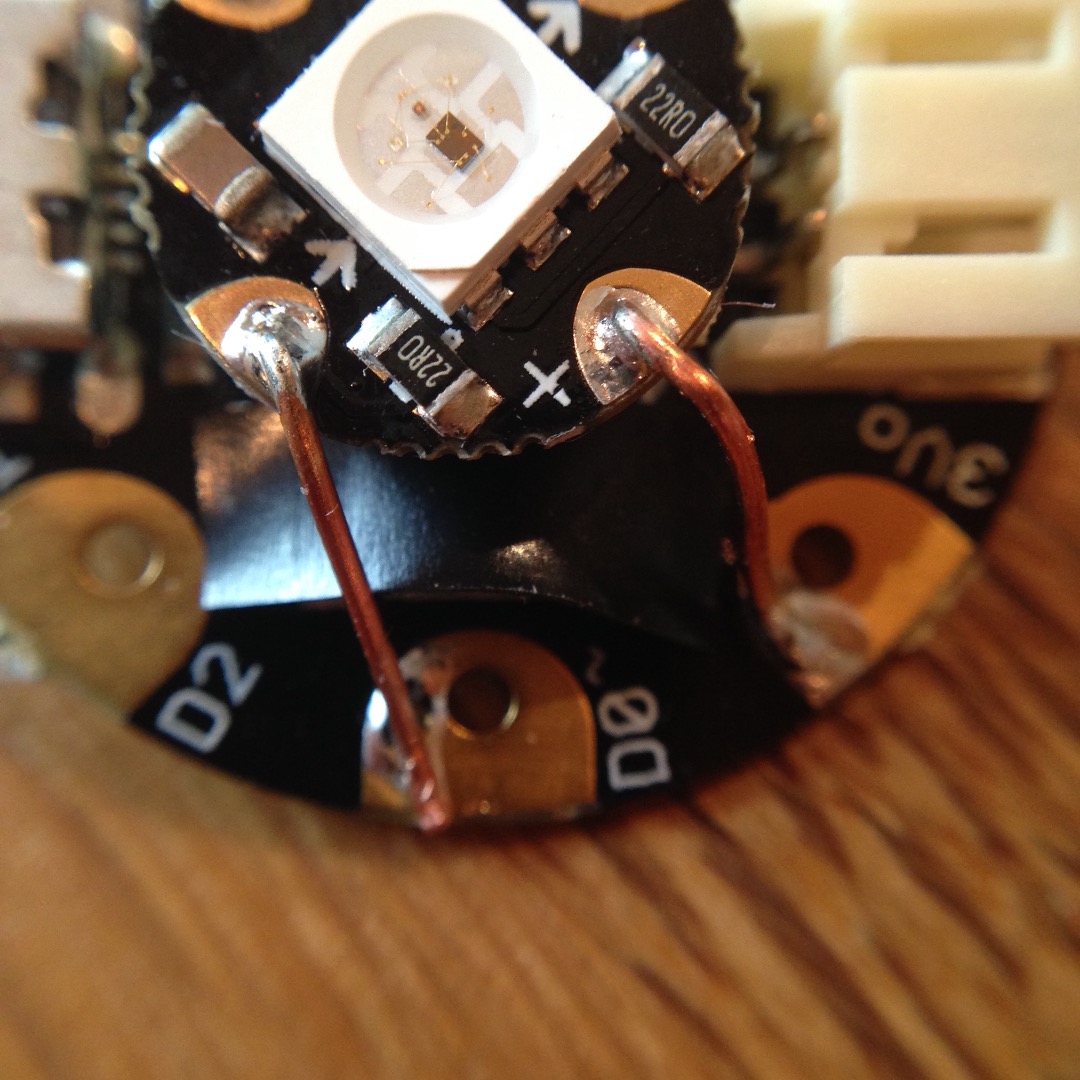
This next step, connecting the NeoPixel to the Gemma, is a little involved, but not too complicated once you understand what's going on.
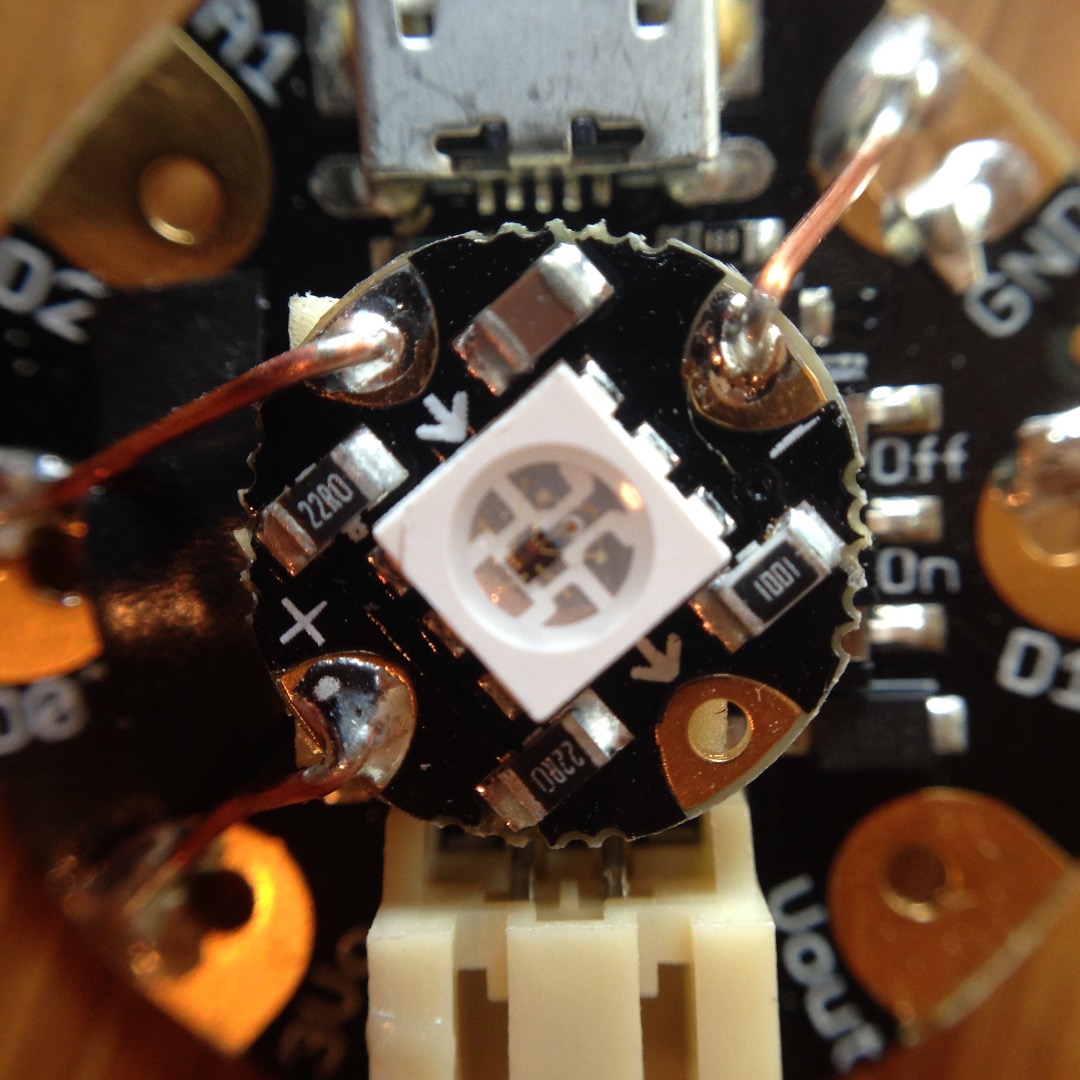
Basically, you use two layers of foam tape to support the NeoPixel above the top of the Gemma. Then, you solder three wires to make power and control connections.
First, cut small squares from the foam tape piece. Big enough to support the NeoPixel, but small enough to fit between the switches on the Gemma. I found that about 1/3" square pieces work great (easy to estimate from the 1" x 1" section of foam tape). Take two of the small squares and peel off the backing on one side each. Then stack the squares so they form a small sandwich (with no filling).
Then, take the stacked foam squares, remove the outside backing and stick them on top of the Gemma.
Next, place the NeoPixel on top of the foam tape. Align the NeoPixel so that the "-" points towards GND on the Gemma. The NeoPixel "+" should then align towards the 3v3 pad on the Gemma.
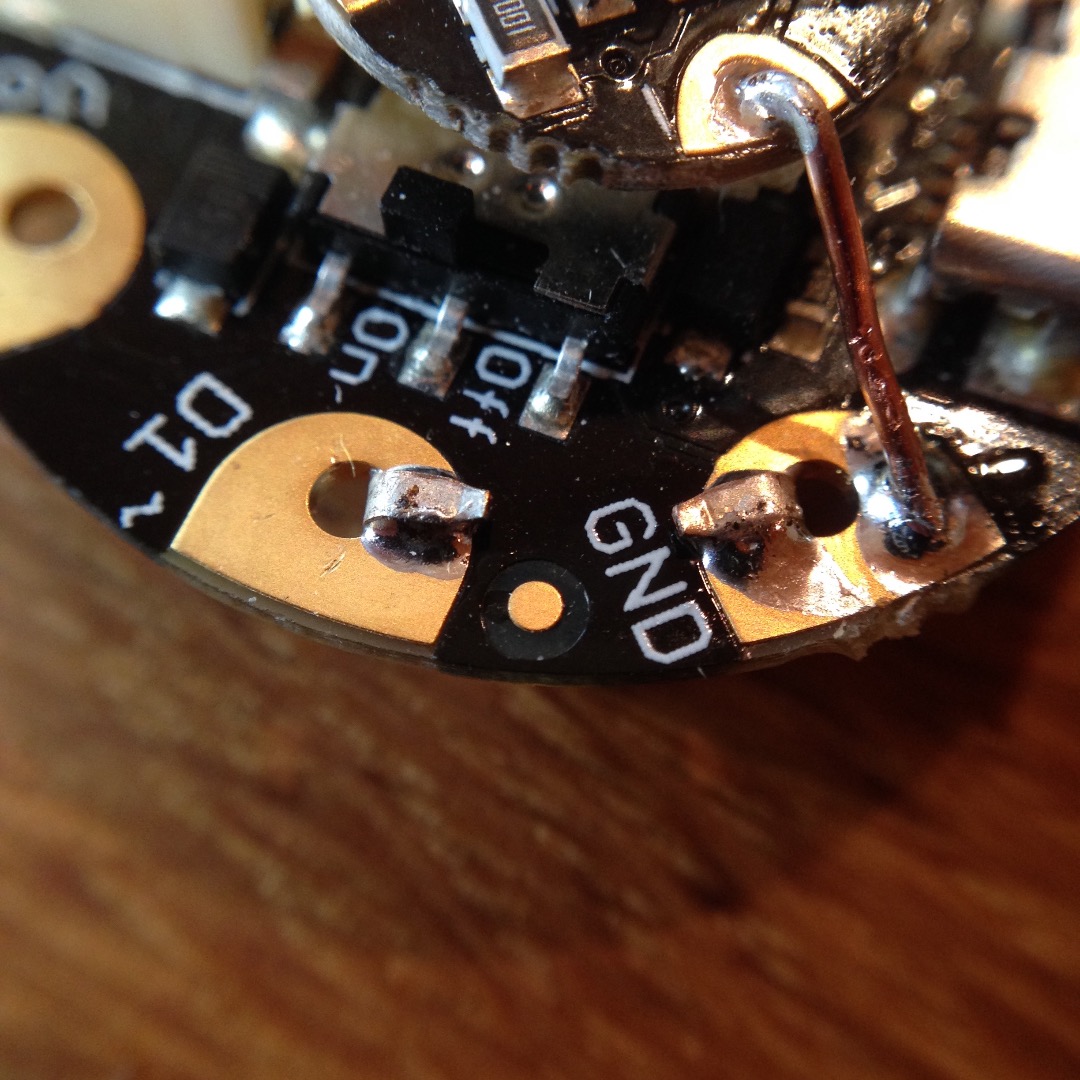
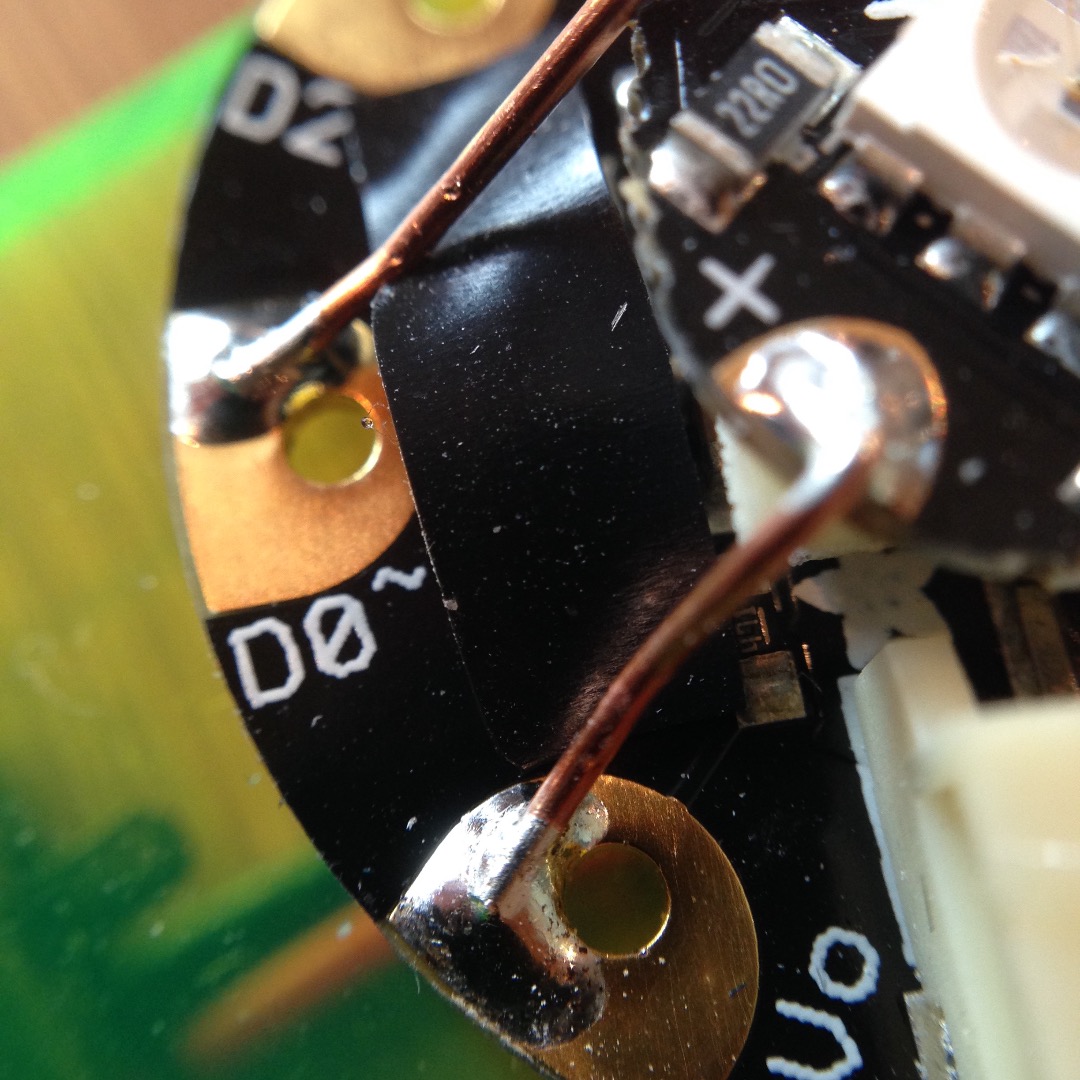
Finally, solder three wires: one between "-" and GND, one between "+" and to 3v3, and one from the inward pointing arrow on the NeoPixel to D0 (see the photos).
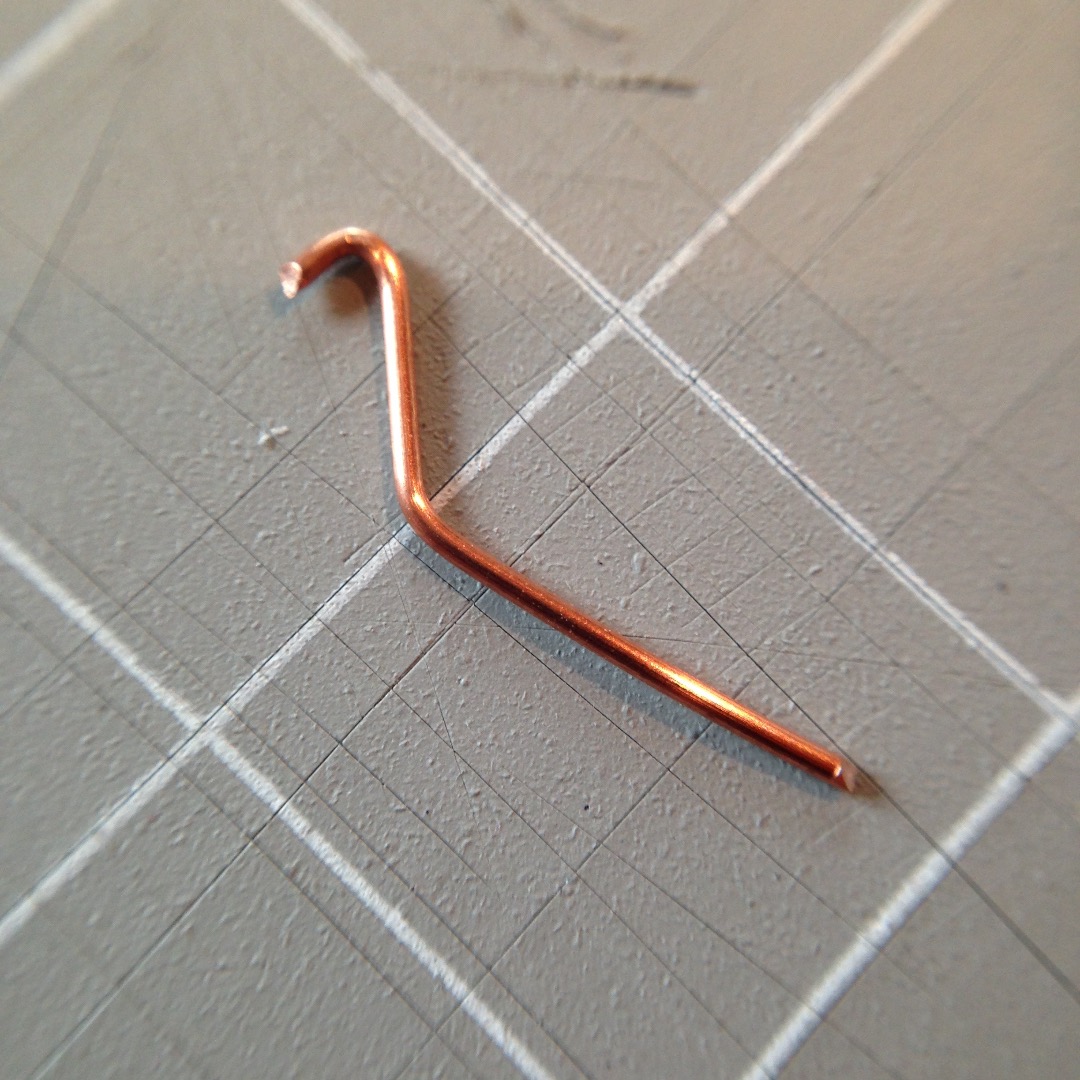
YMMV, but I discovered that shaping the wire as shown in one of the photos makes it easier to achieve the proper contact. I place the wire, then use a hemostat (small locking pliers) to clamp the wire in place to the Gemma pad. After soldering the wire to the NeoPixel, I then removed the hemostat and solder the wire to the Gemma, clipping off any excess wire with the diagonal cutters. You could also use a small piece of tape to hold the wire in place during soldering.
Make the Wearable Body
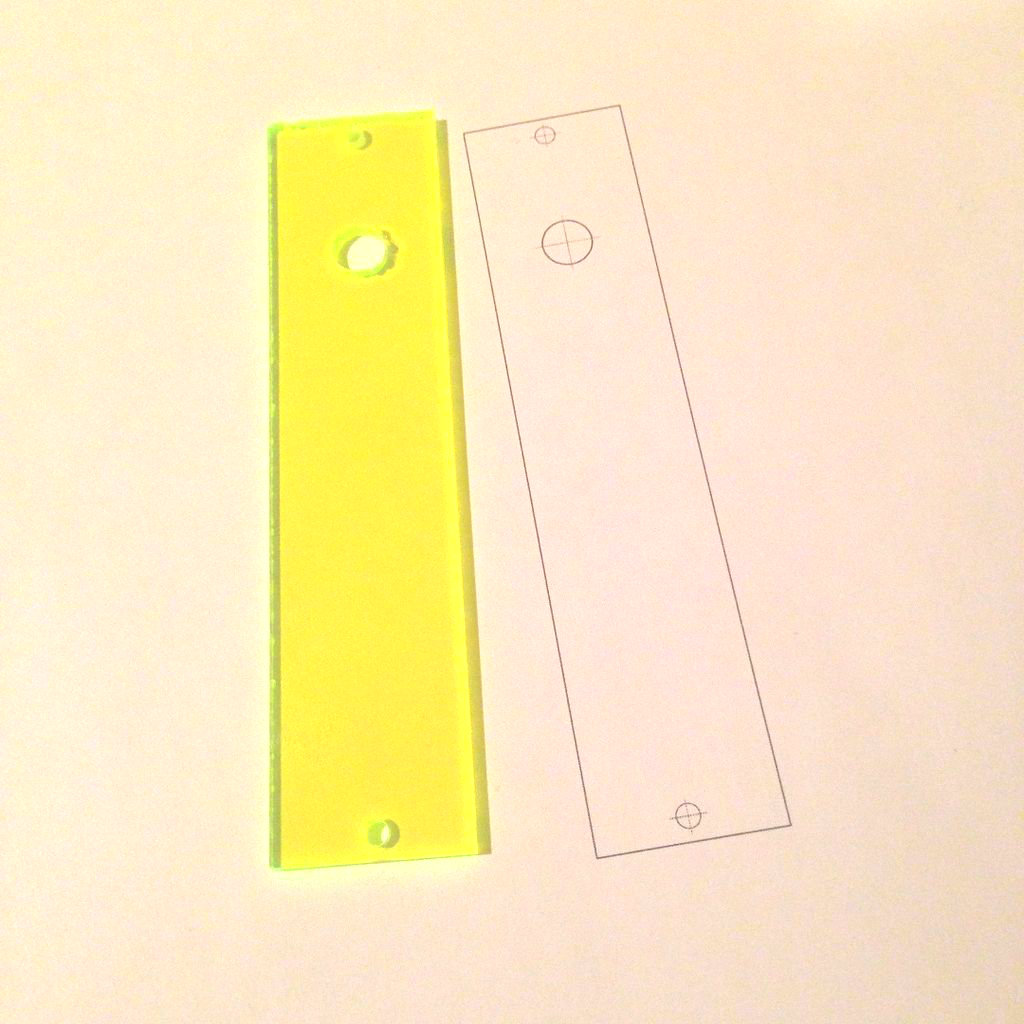
I chose to make the wearable body from flourescent green plexiglass (one of my favorite materials). You could do the same, or make yours out of wood, cardboard, whatever. It's easiest to make it from something non-conducive, but you could use metal if you took care to insulate the Gemma's pads from the wearable body.
I've attached a template you can use for sizing whatever material you use and for positioning the holes. Or, of course, you could use your own, totally different, size and shape.
The two small holes at either end are used to attach the neck lanyard and other hangable things. The larger hole in the middle towards the top provides space for the switch, now on the back of the Gemma.
The smaller holes are 1/8" and the larger one is 5/16".
Downloads
Attach the Gemma to the Body
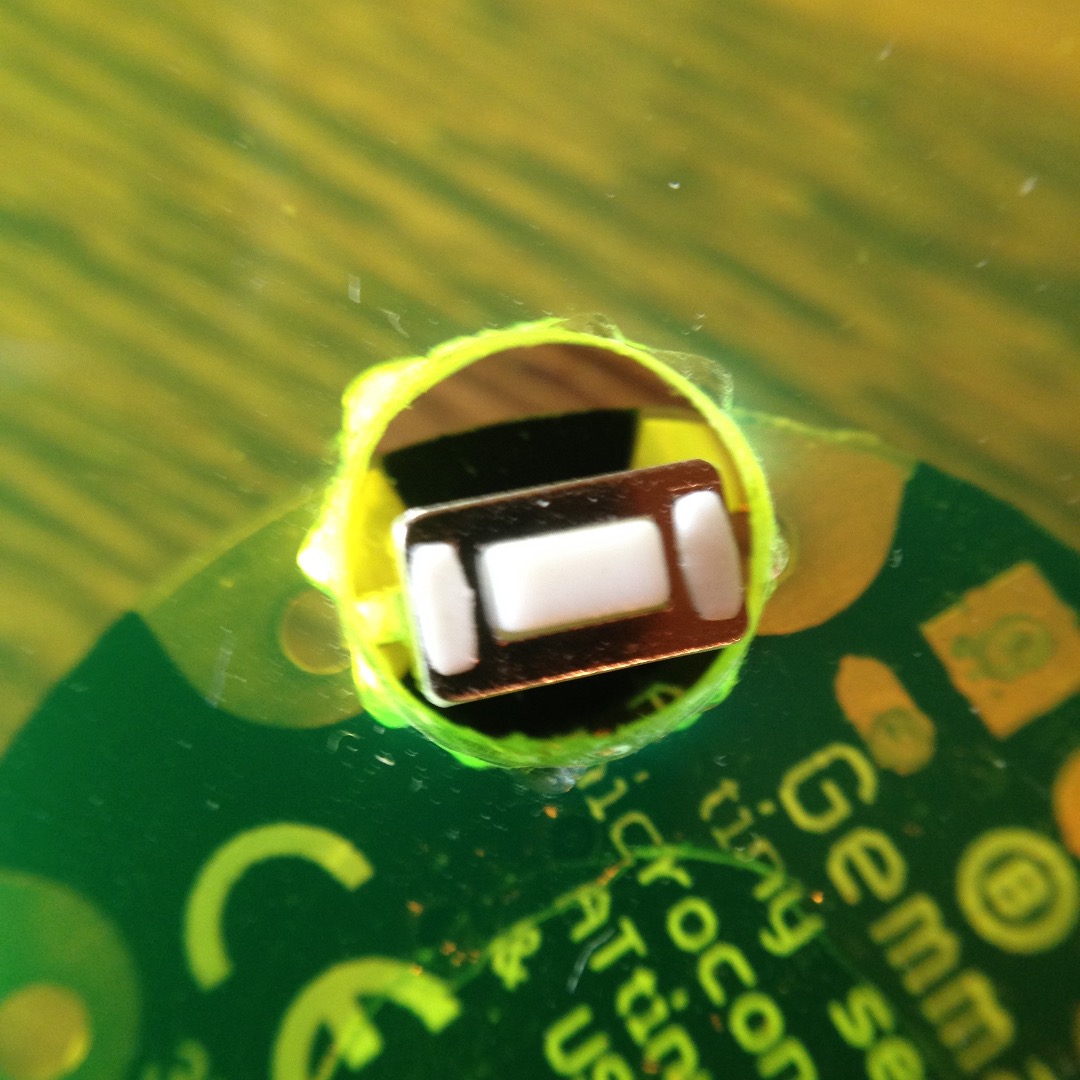
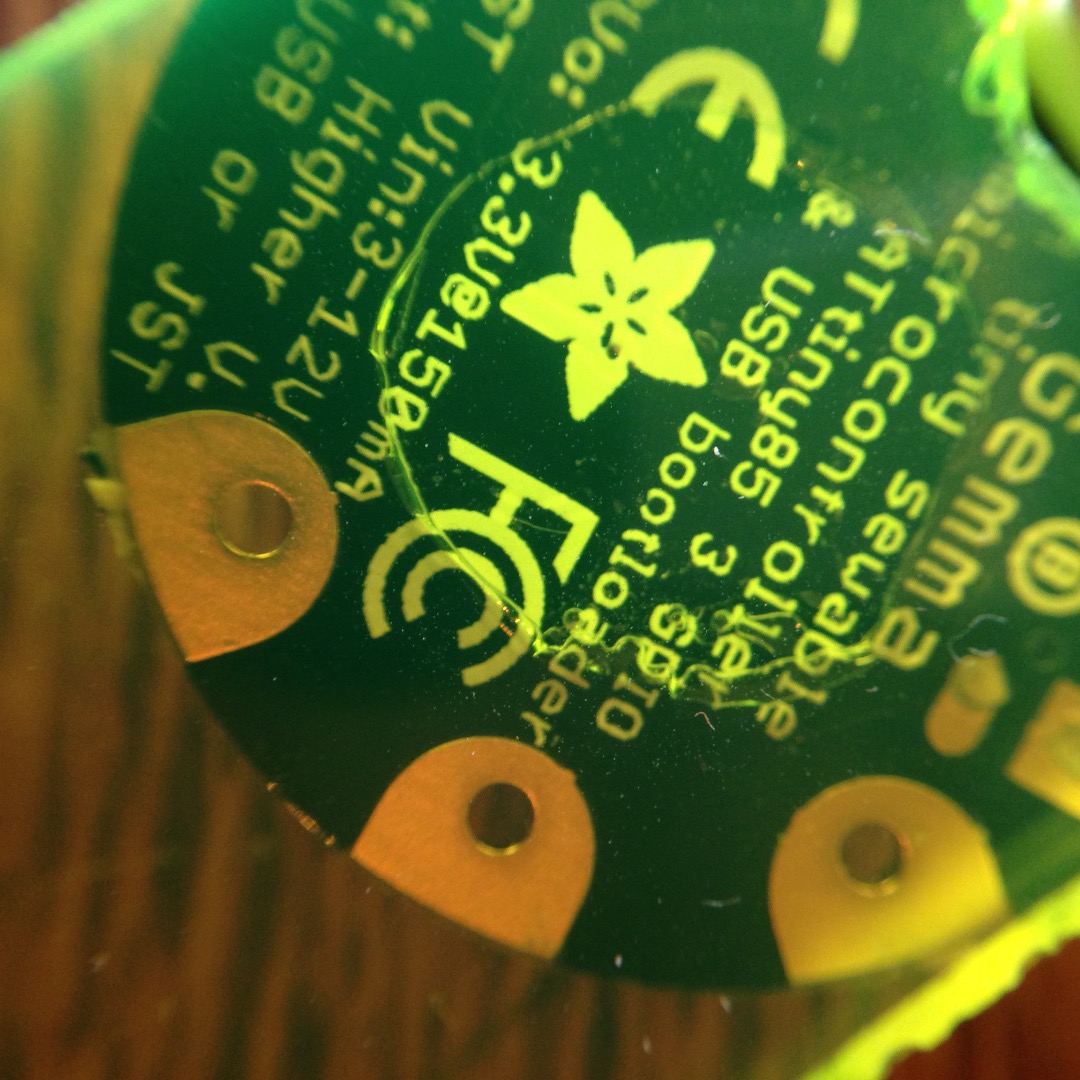
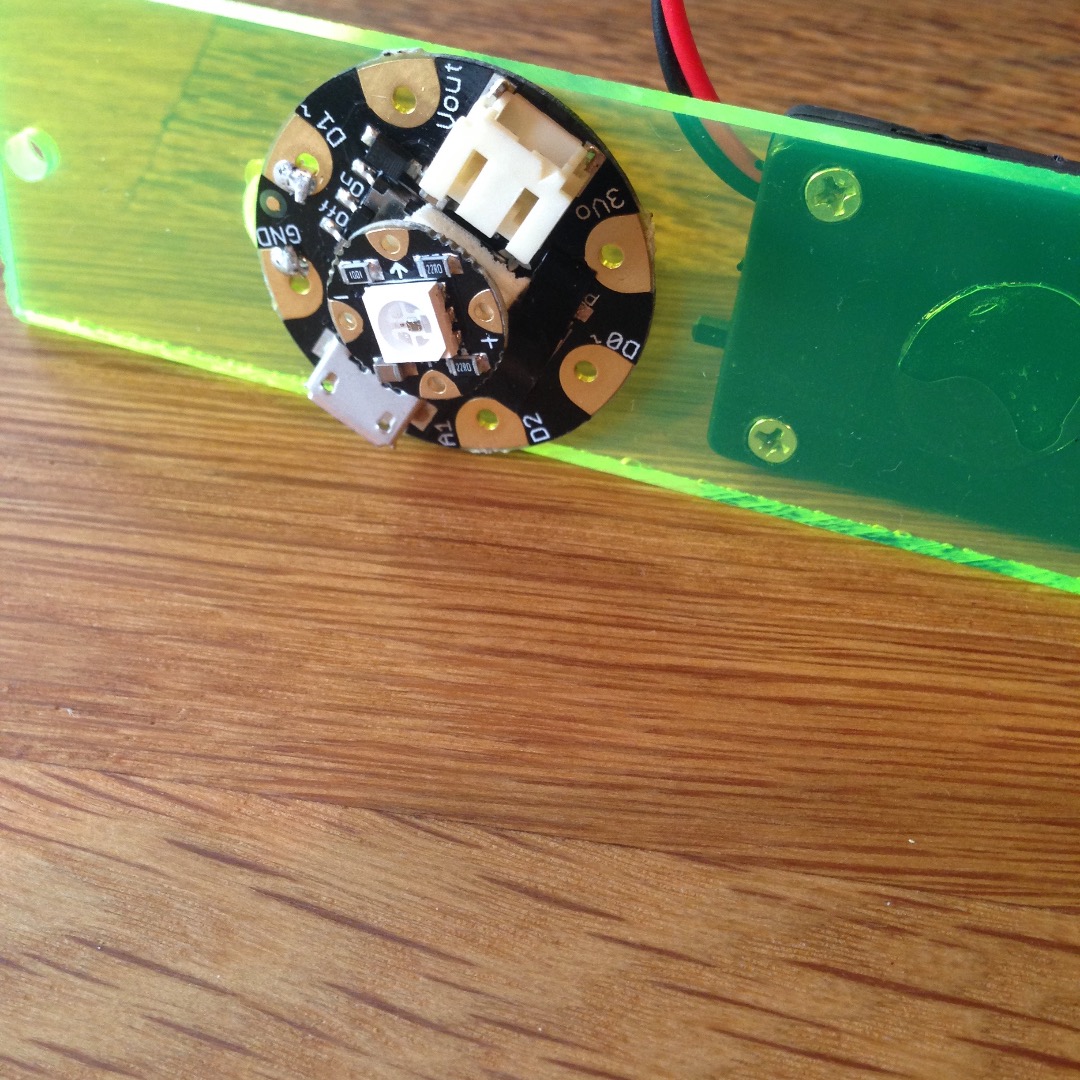
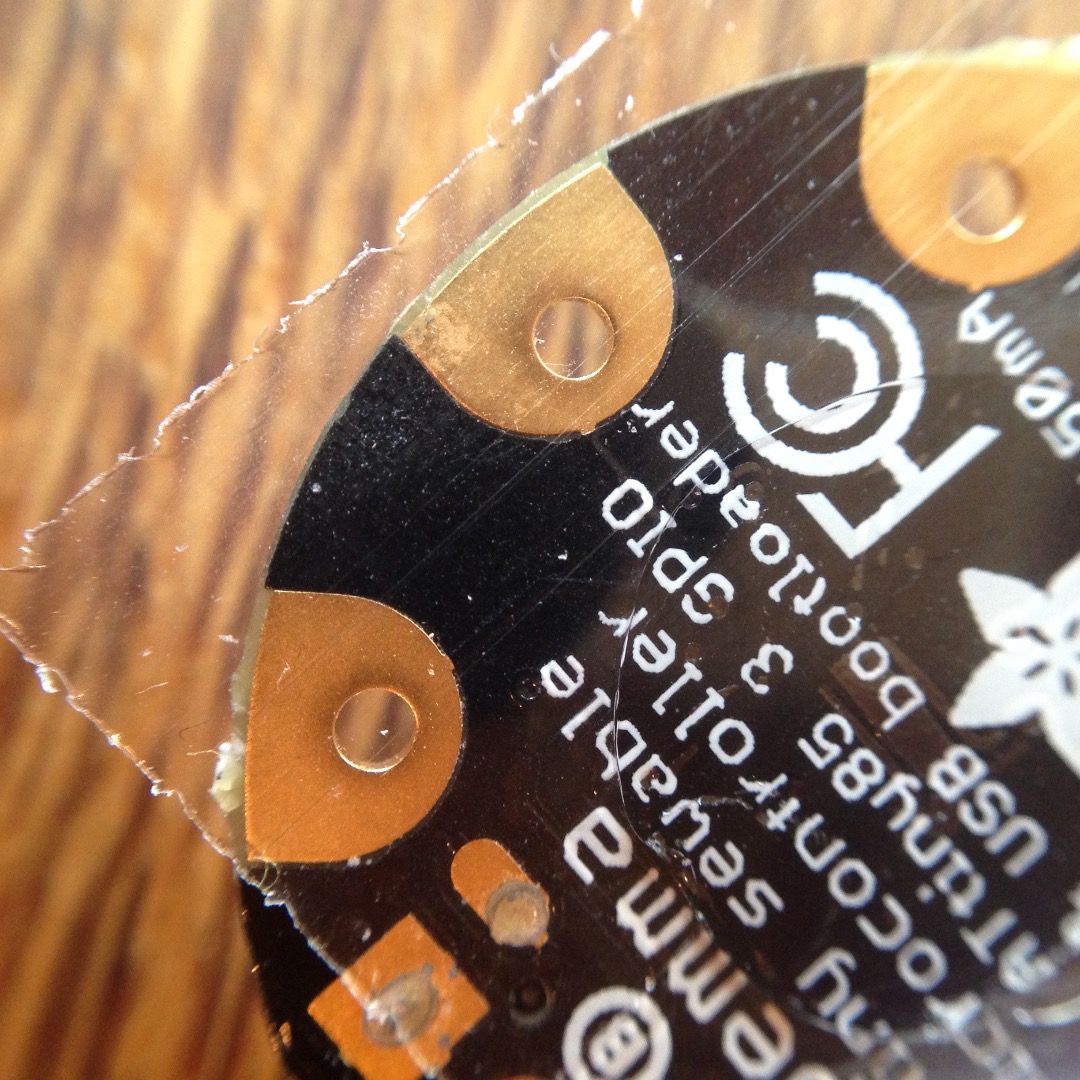
This part is easy!
Take one of the adhesive dots and attach it to the Gemma. Then, position the Gemma centered over the wearable body with the switch through the larger hole (see photo). Once the Gemma is positioned, press it down to attach it to the plexiglass (or, whatever material you're using).
Attach the Battery to the Body
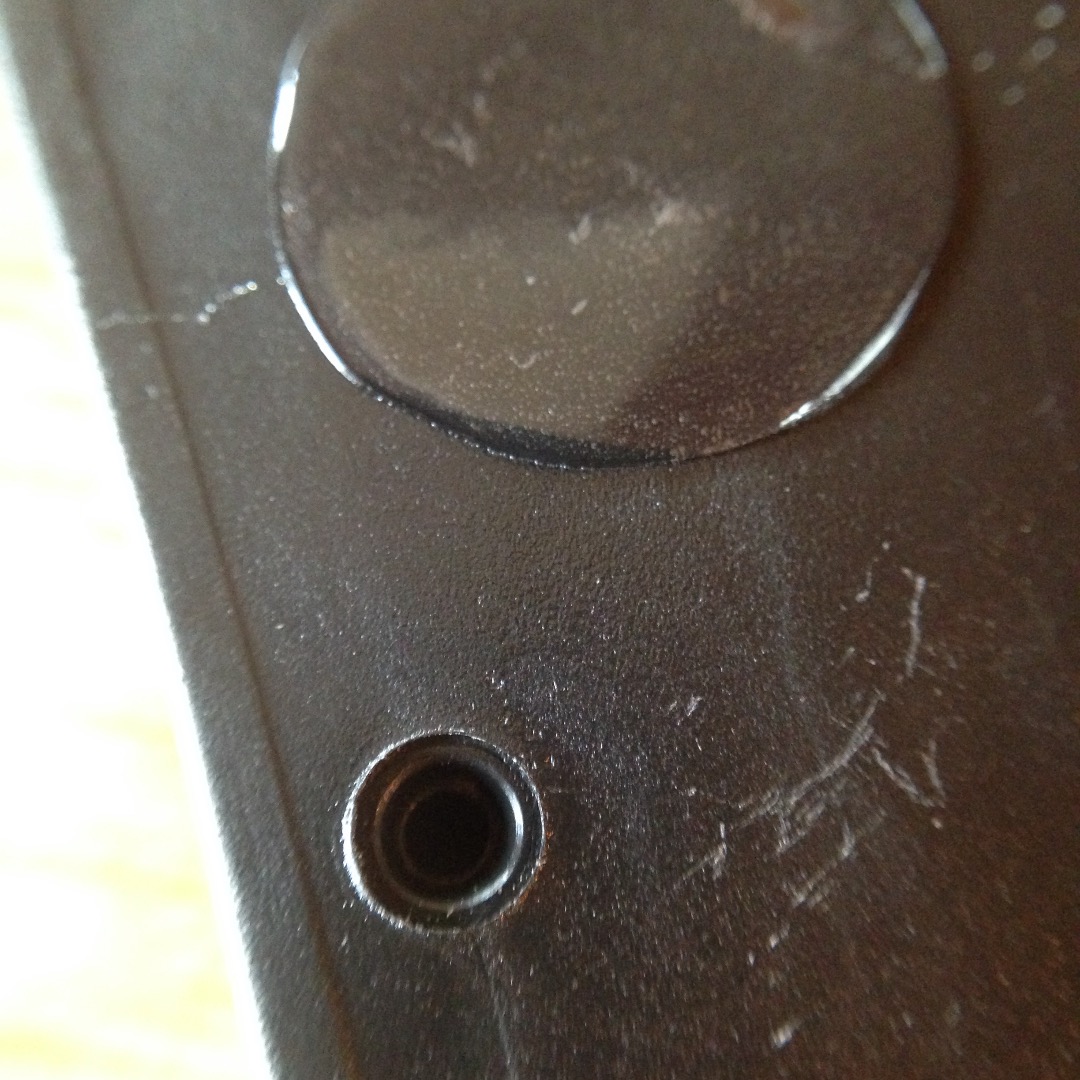
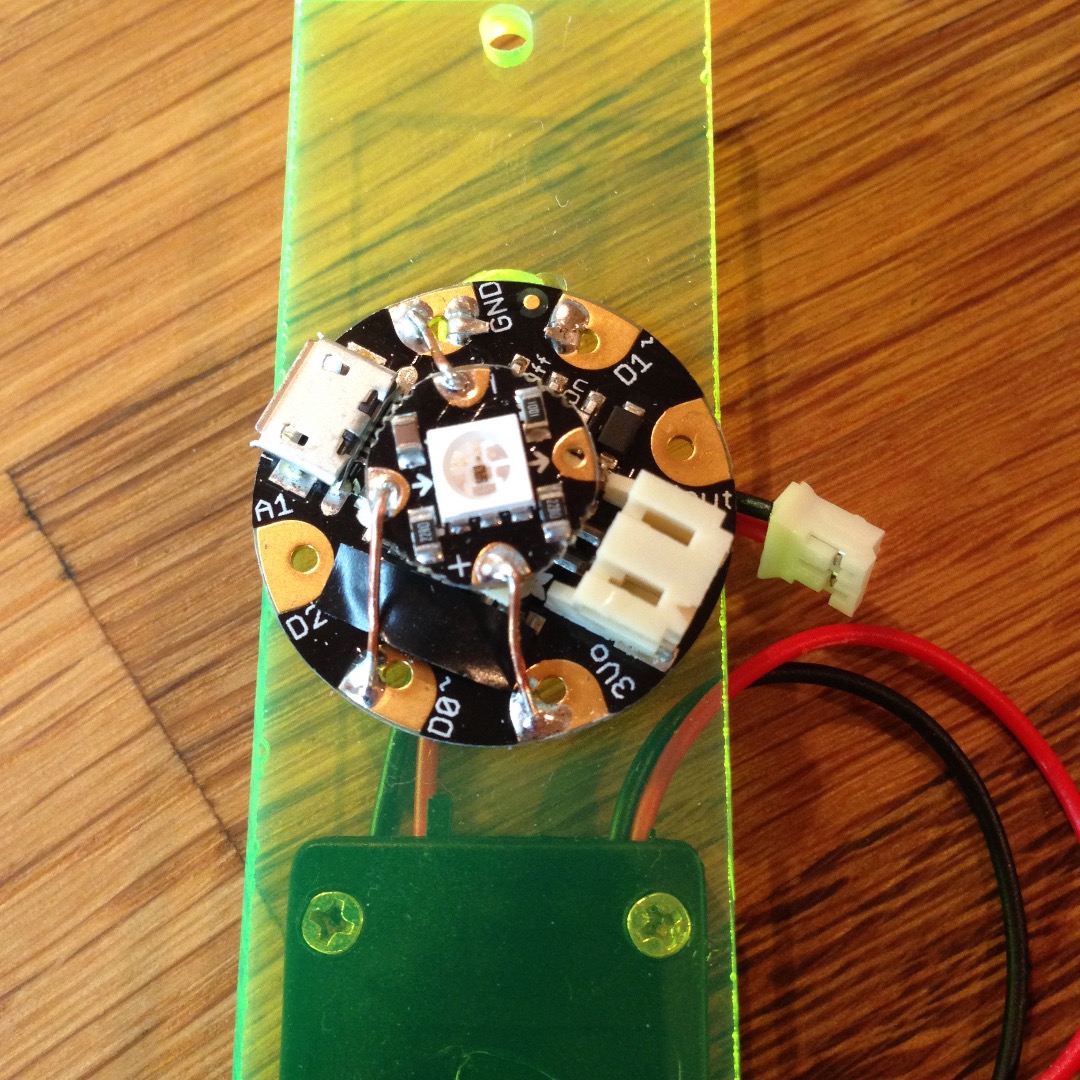
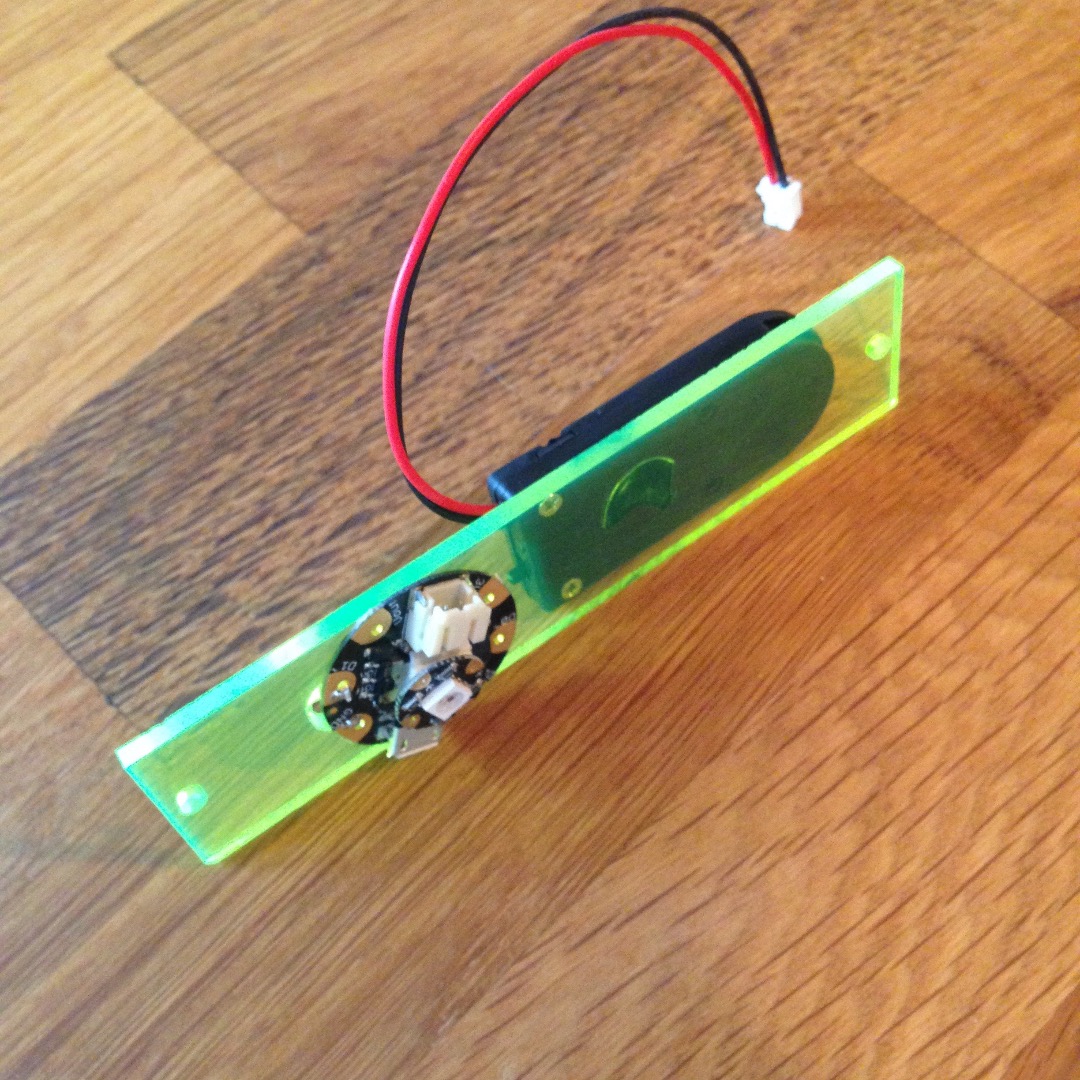
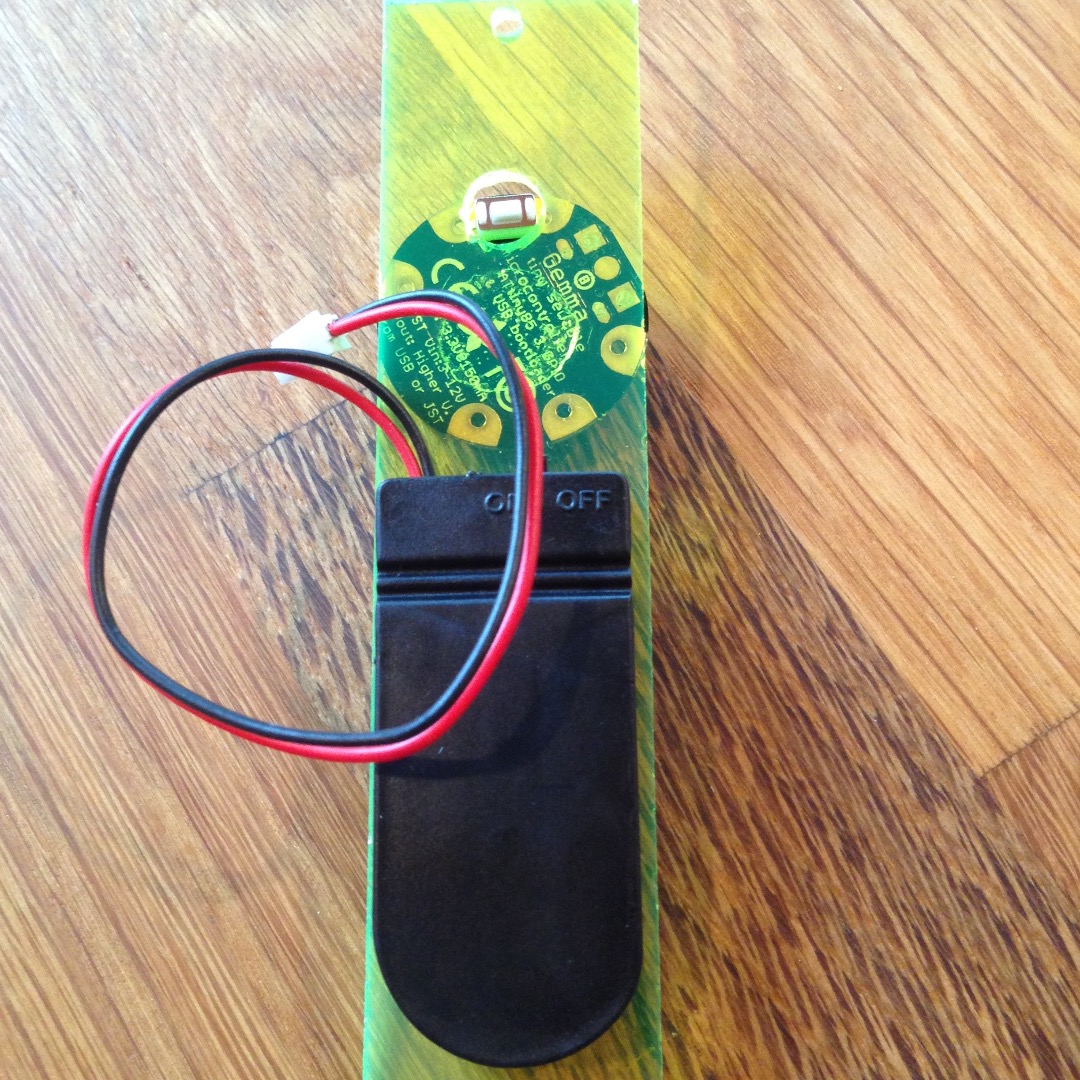
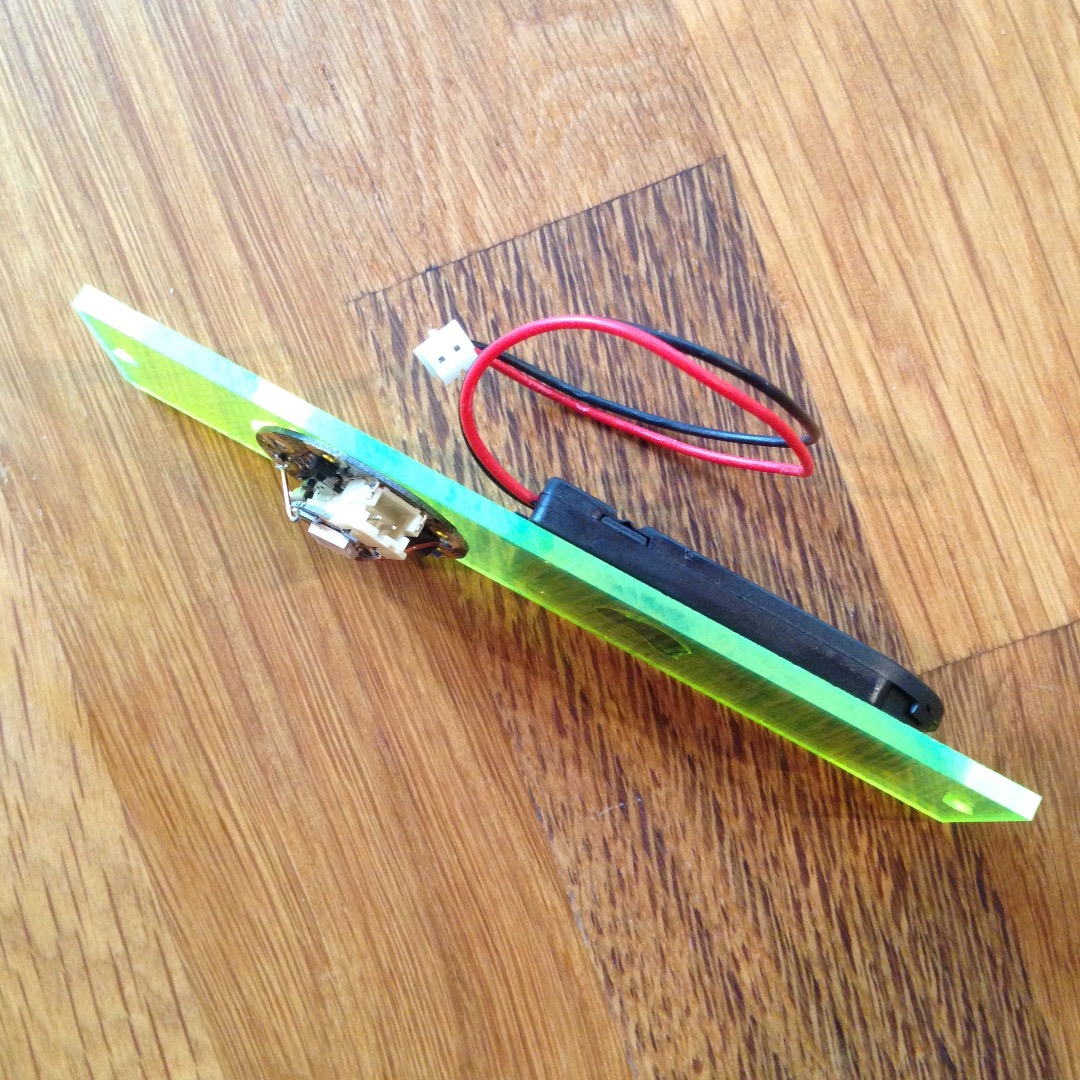
Attaching the battery holder is basically the same as attaching the Gemma.
First, insert batteries. Make sure to use the right orientation!
Next, use an adhesive dot, just like you did with the Gemma to attach the battery holder to the wearable body. You can attach the battery holder wherever you want, but the basic design places the battery holder on the side opposite from the Gemma (see photos).
Program the Gemma
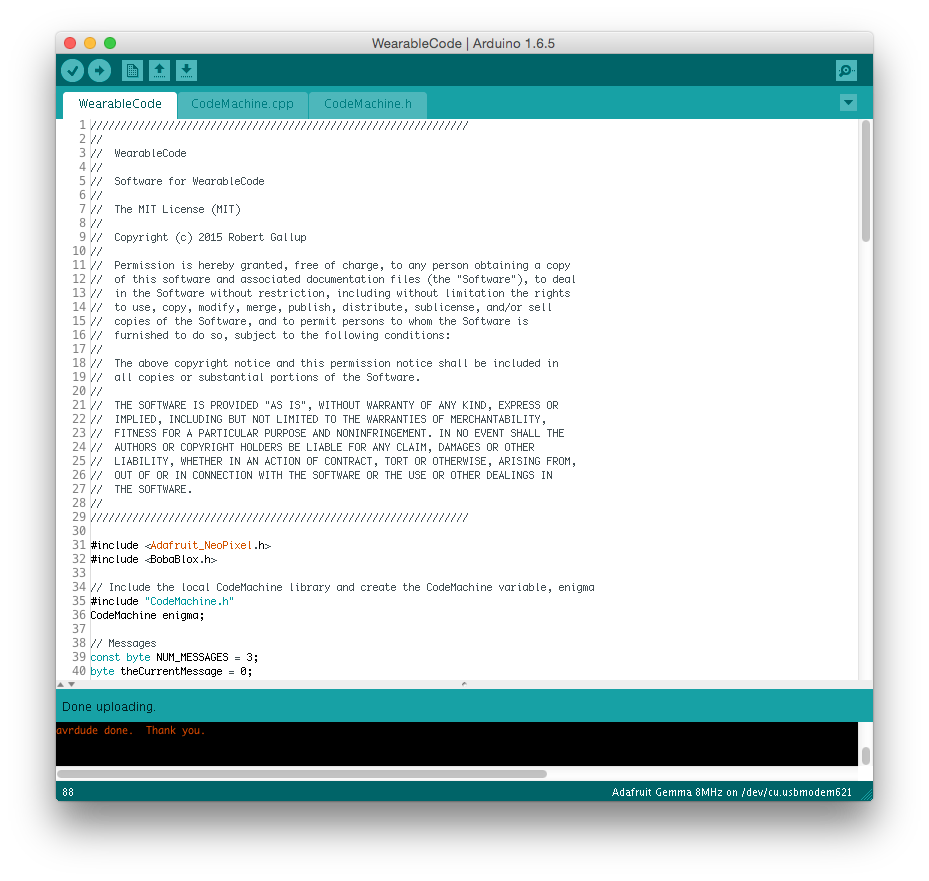
Now that the basic electronics are in place, it's a good time to program the Gemma with the sketch that defines it's behavior.
To program the Gemma, you'll use the Arduino IDE (Integrated Development Environment). Follow the instructions on the Adafruit site to install the software and options for the Gemma:
https://learn.adafruit.com/introducing-gemma/setti...
Once the IDE is installed, you'll need to add two libraries: the Adafruit NeoPixel library; and the BobaBlox library. In recent Arduino versions, these can be easily added through the Library Manager (Sketch>Include Library>Manage Libraries...). Search for and add each one.
Next, download the Gemma sketch from www.github.com/robertgallup/WearableCode. Clicking the Download Zip button, will download a zip file to your desktop called WearableCode-master. Inside that is a folder, WearableCode that contains the WearableCode sketch folder. Open the WearableCode.ino file inside that.
To program the Gemma, connect it using a USB cable, then follow the instructions on the Adafruit site to reset the Gemma into bootloader mode and run the sketch. This will load it onto the Gemma and your Morse blinky should be functional.
There are three messages built into the sketch: "CQ", "Hello", and "Make it". You can switch between these messages when the sketch is running by clicking the button you soldered onto the Gemma. Each click will move to the next message, then back to the first message when the end is reached. Of course, using the Morse Code worksheet attached to the first step, you can create your own messages to replace the default ones.
One other thing Wearable Code can do is allow you to set the color. By default, the LED color cycles continuously through red, green, and blue. If you press and hold the button, color cycling will stop. If you press it long enough so the LED flickers, the cycling will stop even after you release the button. Another long press, resulting in another flicker, resumes color cycling.
Finish the Body
The hard part is done! All that remains are the finishing touches.
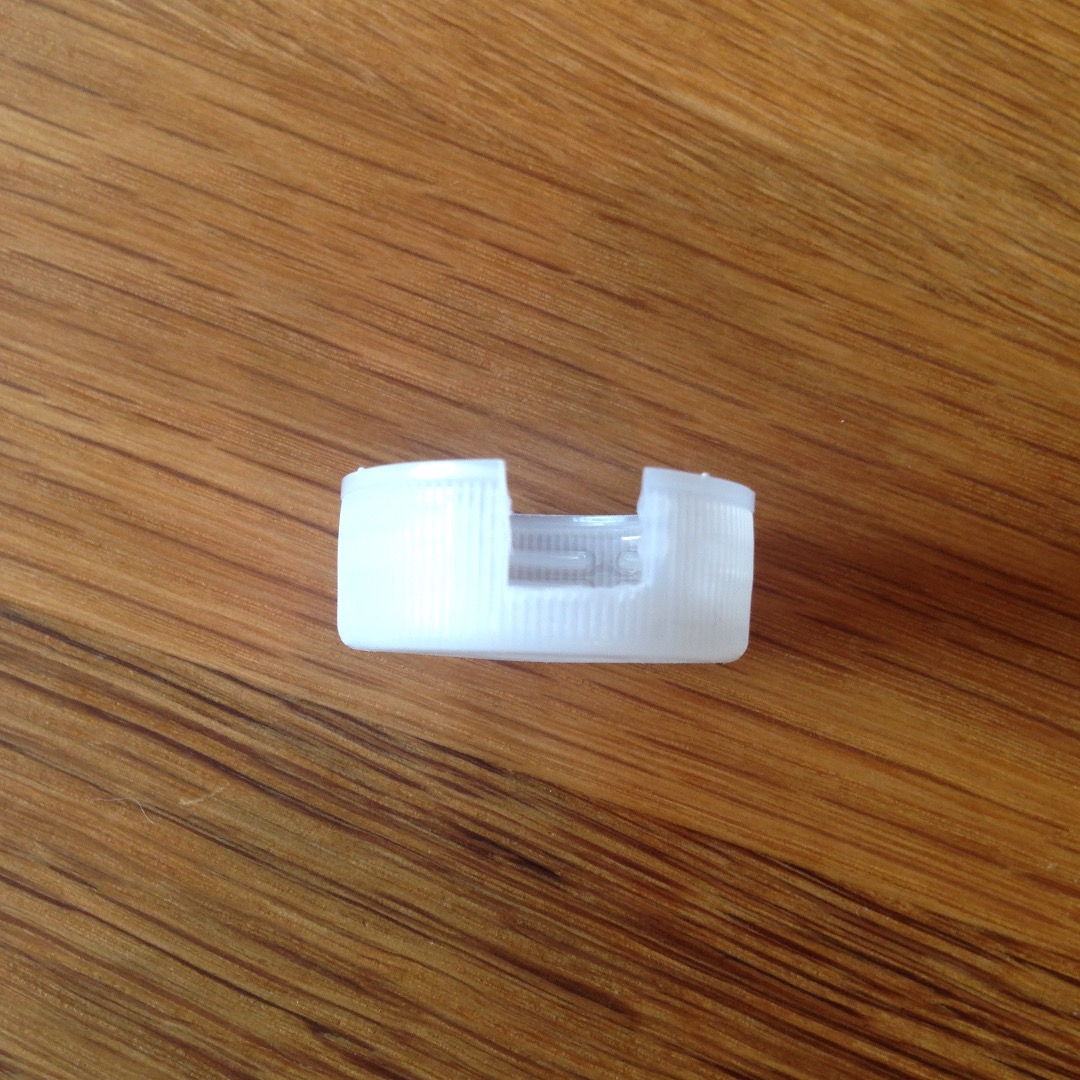
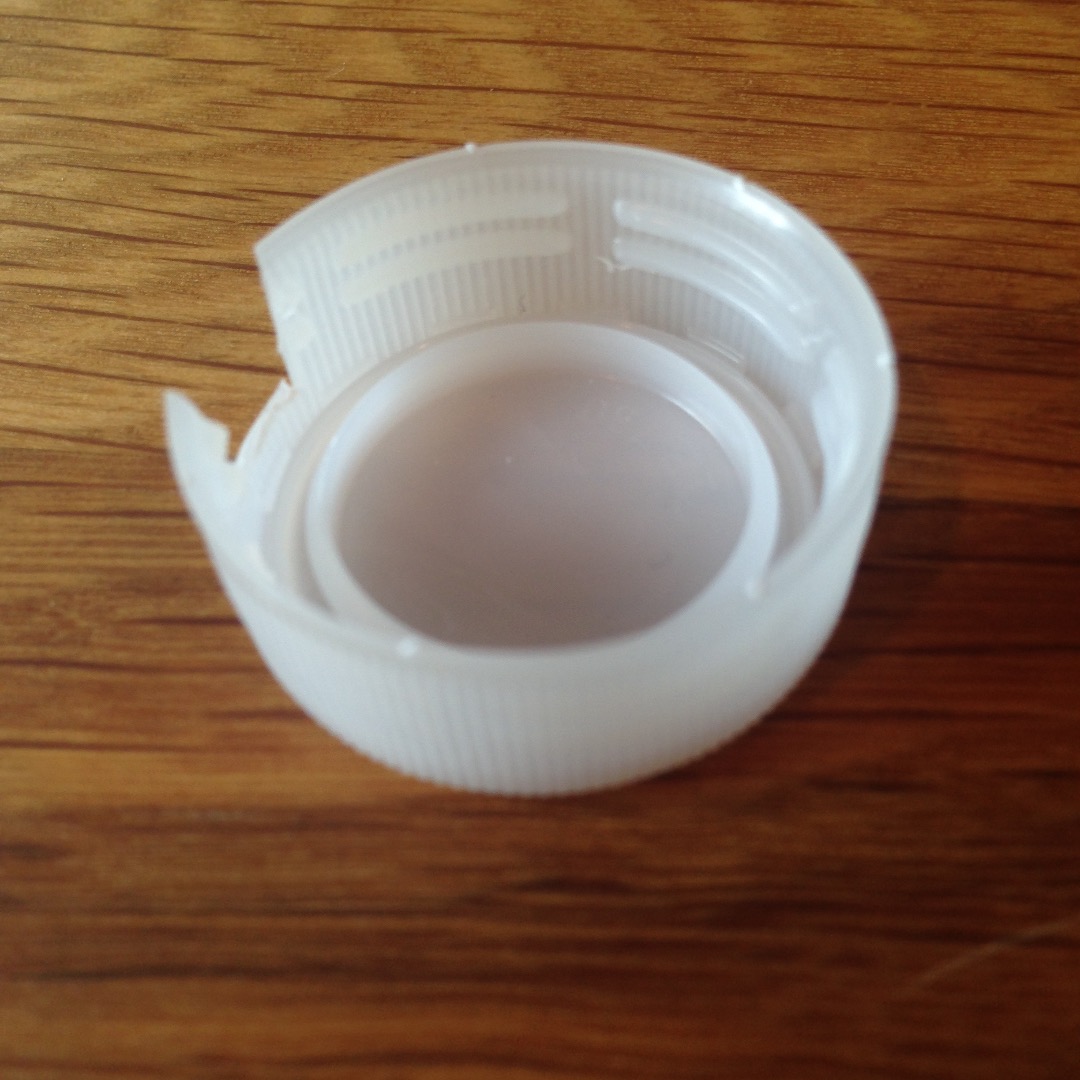
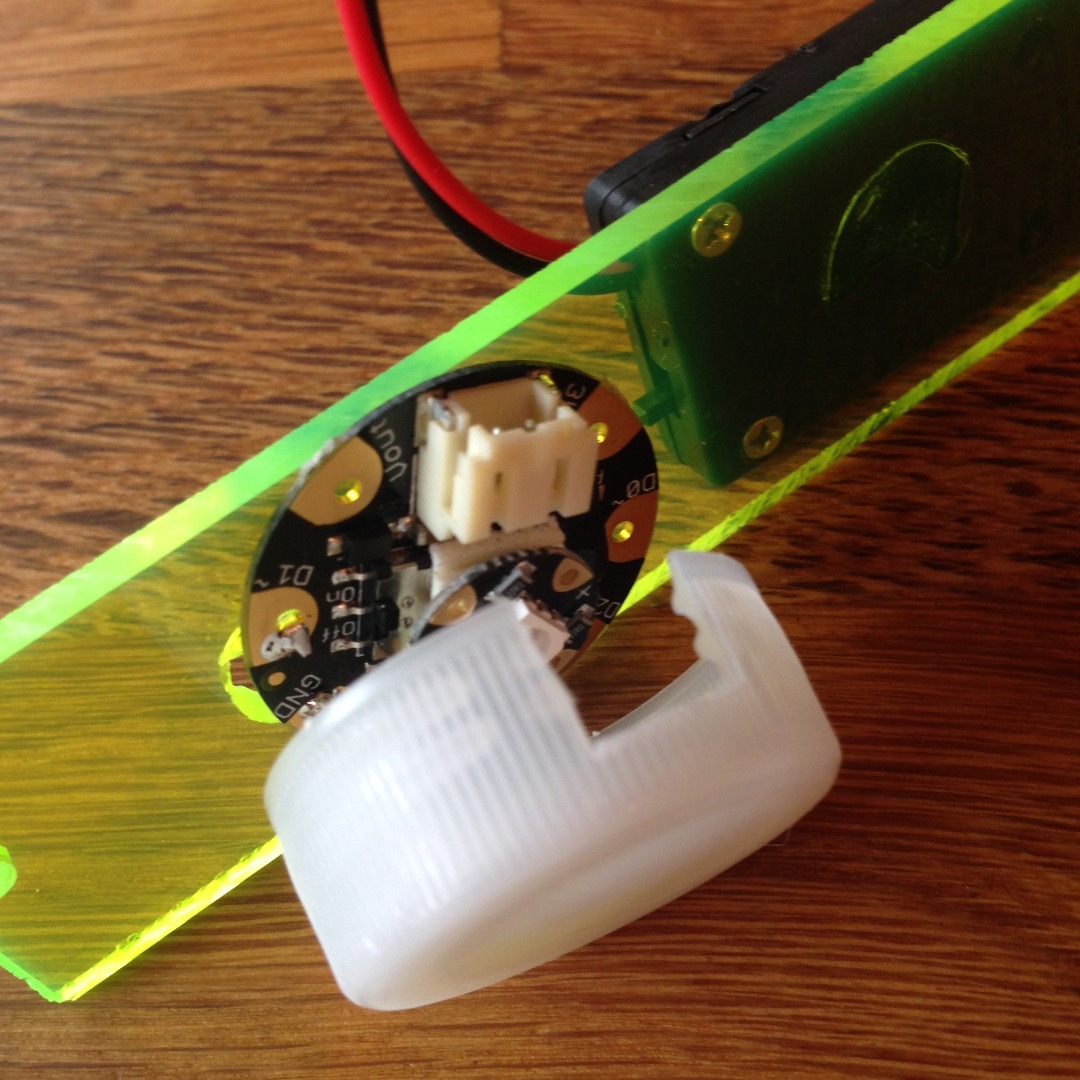
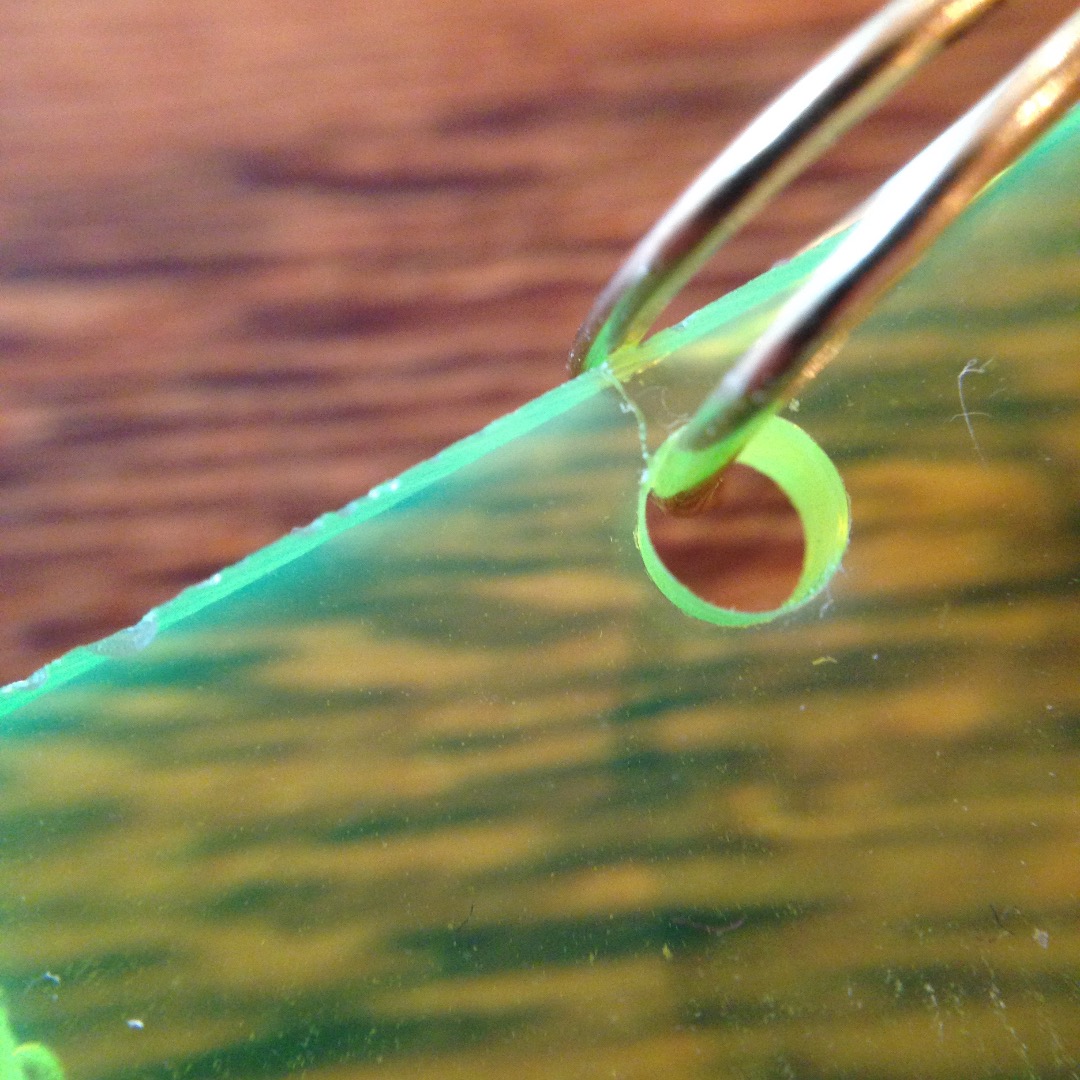
Adding a diffuser makes the light much less blinding. Like I mentioned in the parts list, a translucent bottle cap works perfectly. You just have to cut a slot in the cap to leave room for the power cable. You can use the Exacto knife for this, or your wire clippers. If you cut the notch at the point where the threads are closest to the bottom edge of the bottle top, there will be enough clearance on the other side for the micro USB connector on the Gemma. Once the notch is cut, you can place the diffuser over the Gemma and keep in in place with a rubber band (or, something far more creative that I'm sure you can come up with!)
Now, plug the battery into the Gemma and test it all out. When you turn the battery switch on, blinking "CQ" should start (BTW, CQ is a call commonly used by radio operators to ask "Hey. Anybody there?").
Once you've confirmed everything works, you can add the split rings to either end of the body. And, you can customize the front of the Wearable with decorative tape, or something equally creative.
Finally, attach the neck lanyard to the top split ring, and you're ready to sling this around your neck and blink to your heart's content.
Wear Your Code
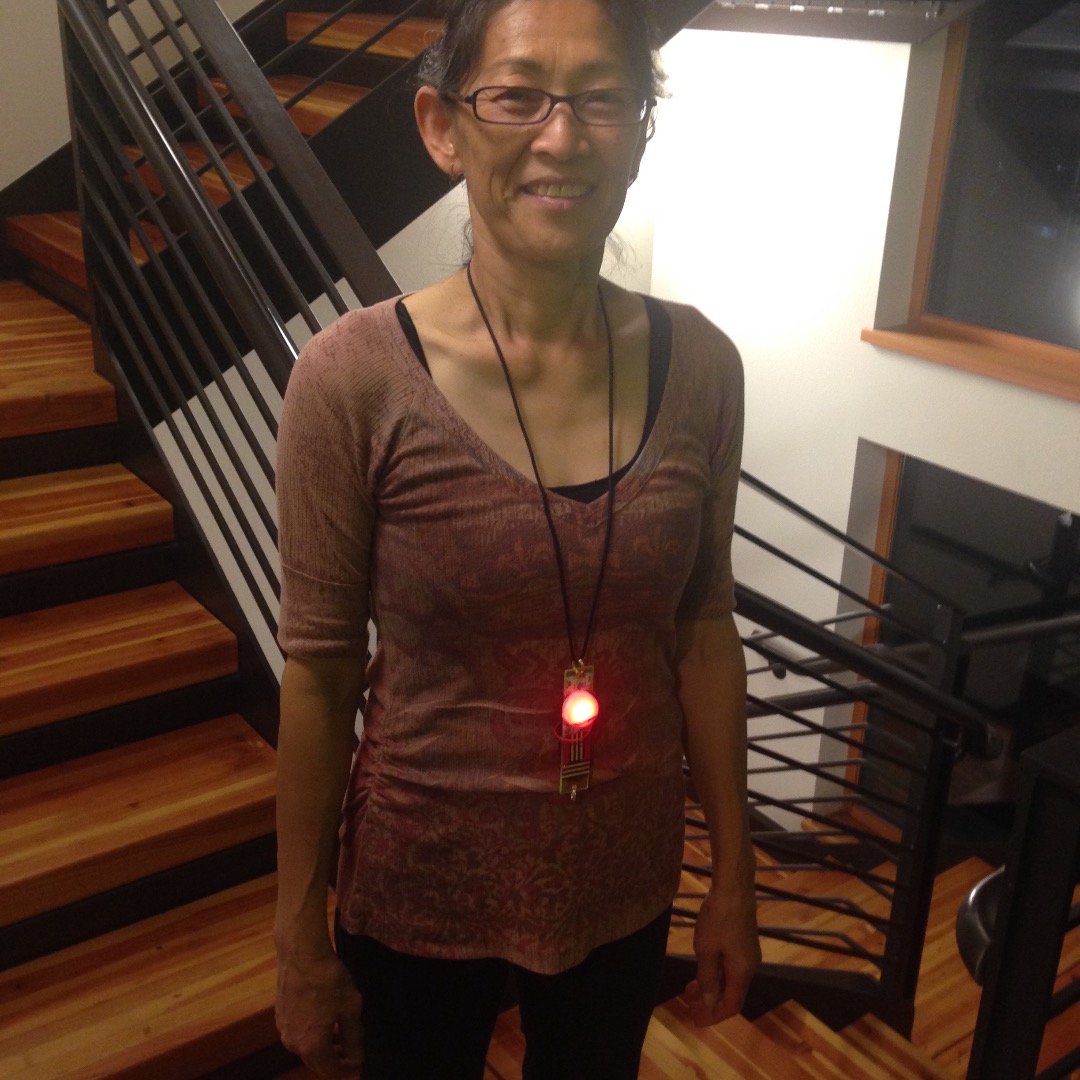
Congratulations, you're finished! Now you've got a glitzy wearable you can use to amaze friends and express your geek. Wear it with pride!