Wax Sealing

Sending mail with various papers,
incuding money, documents, or just personal letters is something that happens on a daily basis, especially when using home-made envelopes. But it is important that each of these home-made envelopes is sealed tightly so that nothing escapes from it. But how will homemade envelopes seal closed without a substance hold? This Instructable will provide guidance in sealing envelopes using household wax.
Obtain Materials:

To complete this process, candle wax, a lighter,
and an envelope will be needed.
Prepare to Burn:

Take the unwrapped solid wax from
the source and place it ½ an inch above the envelope with non dominant hand.
Burn:

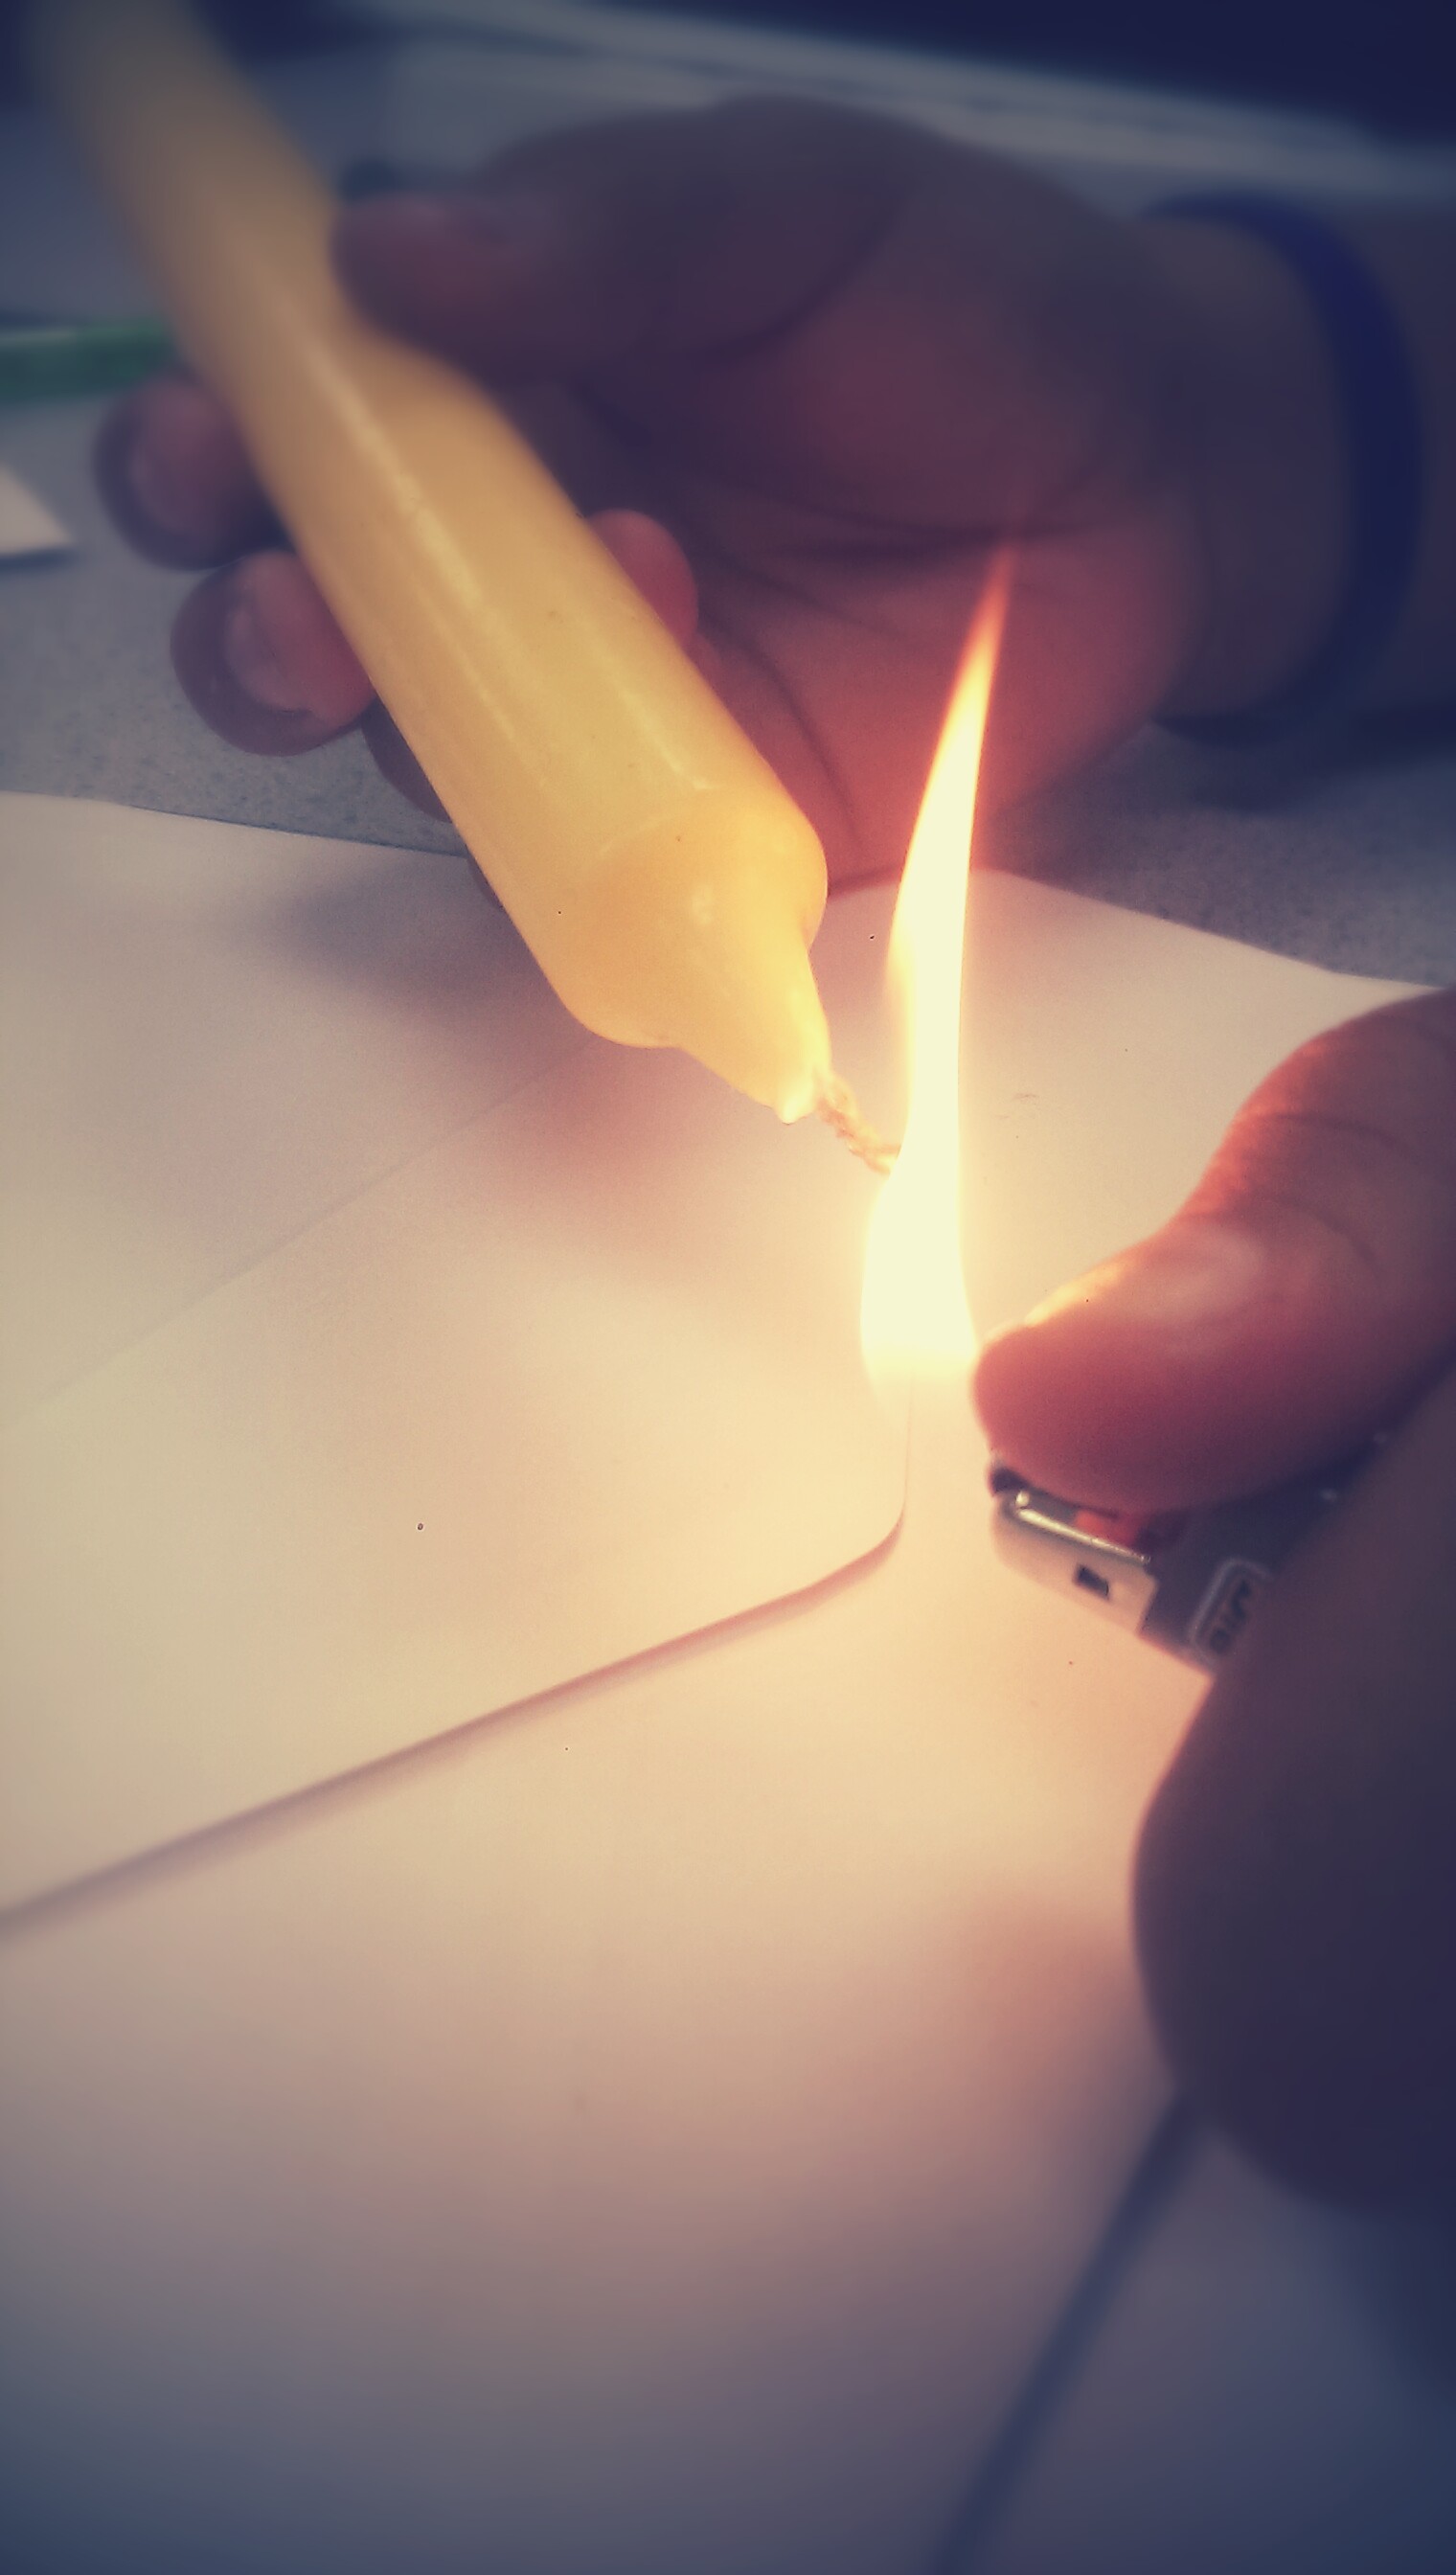
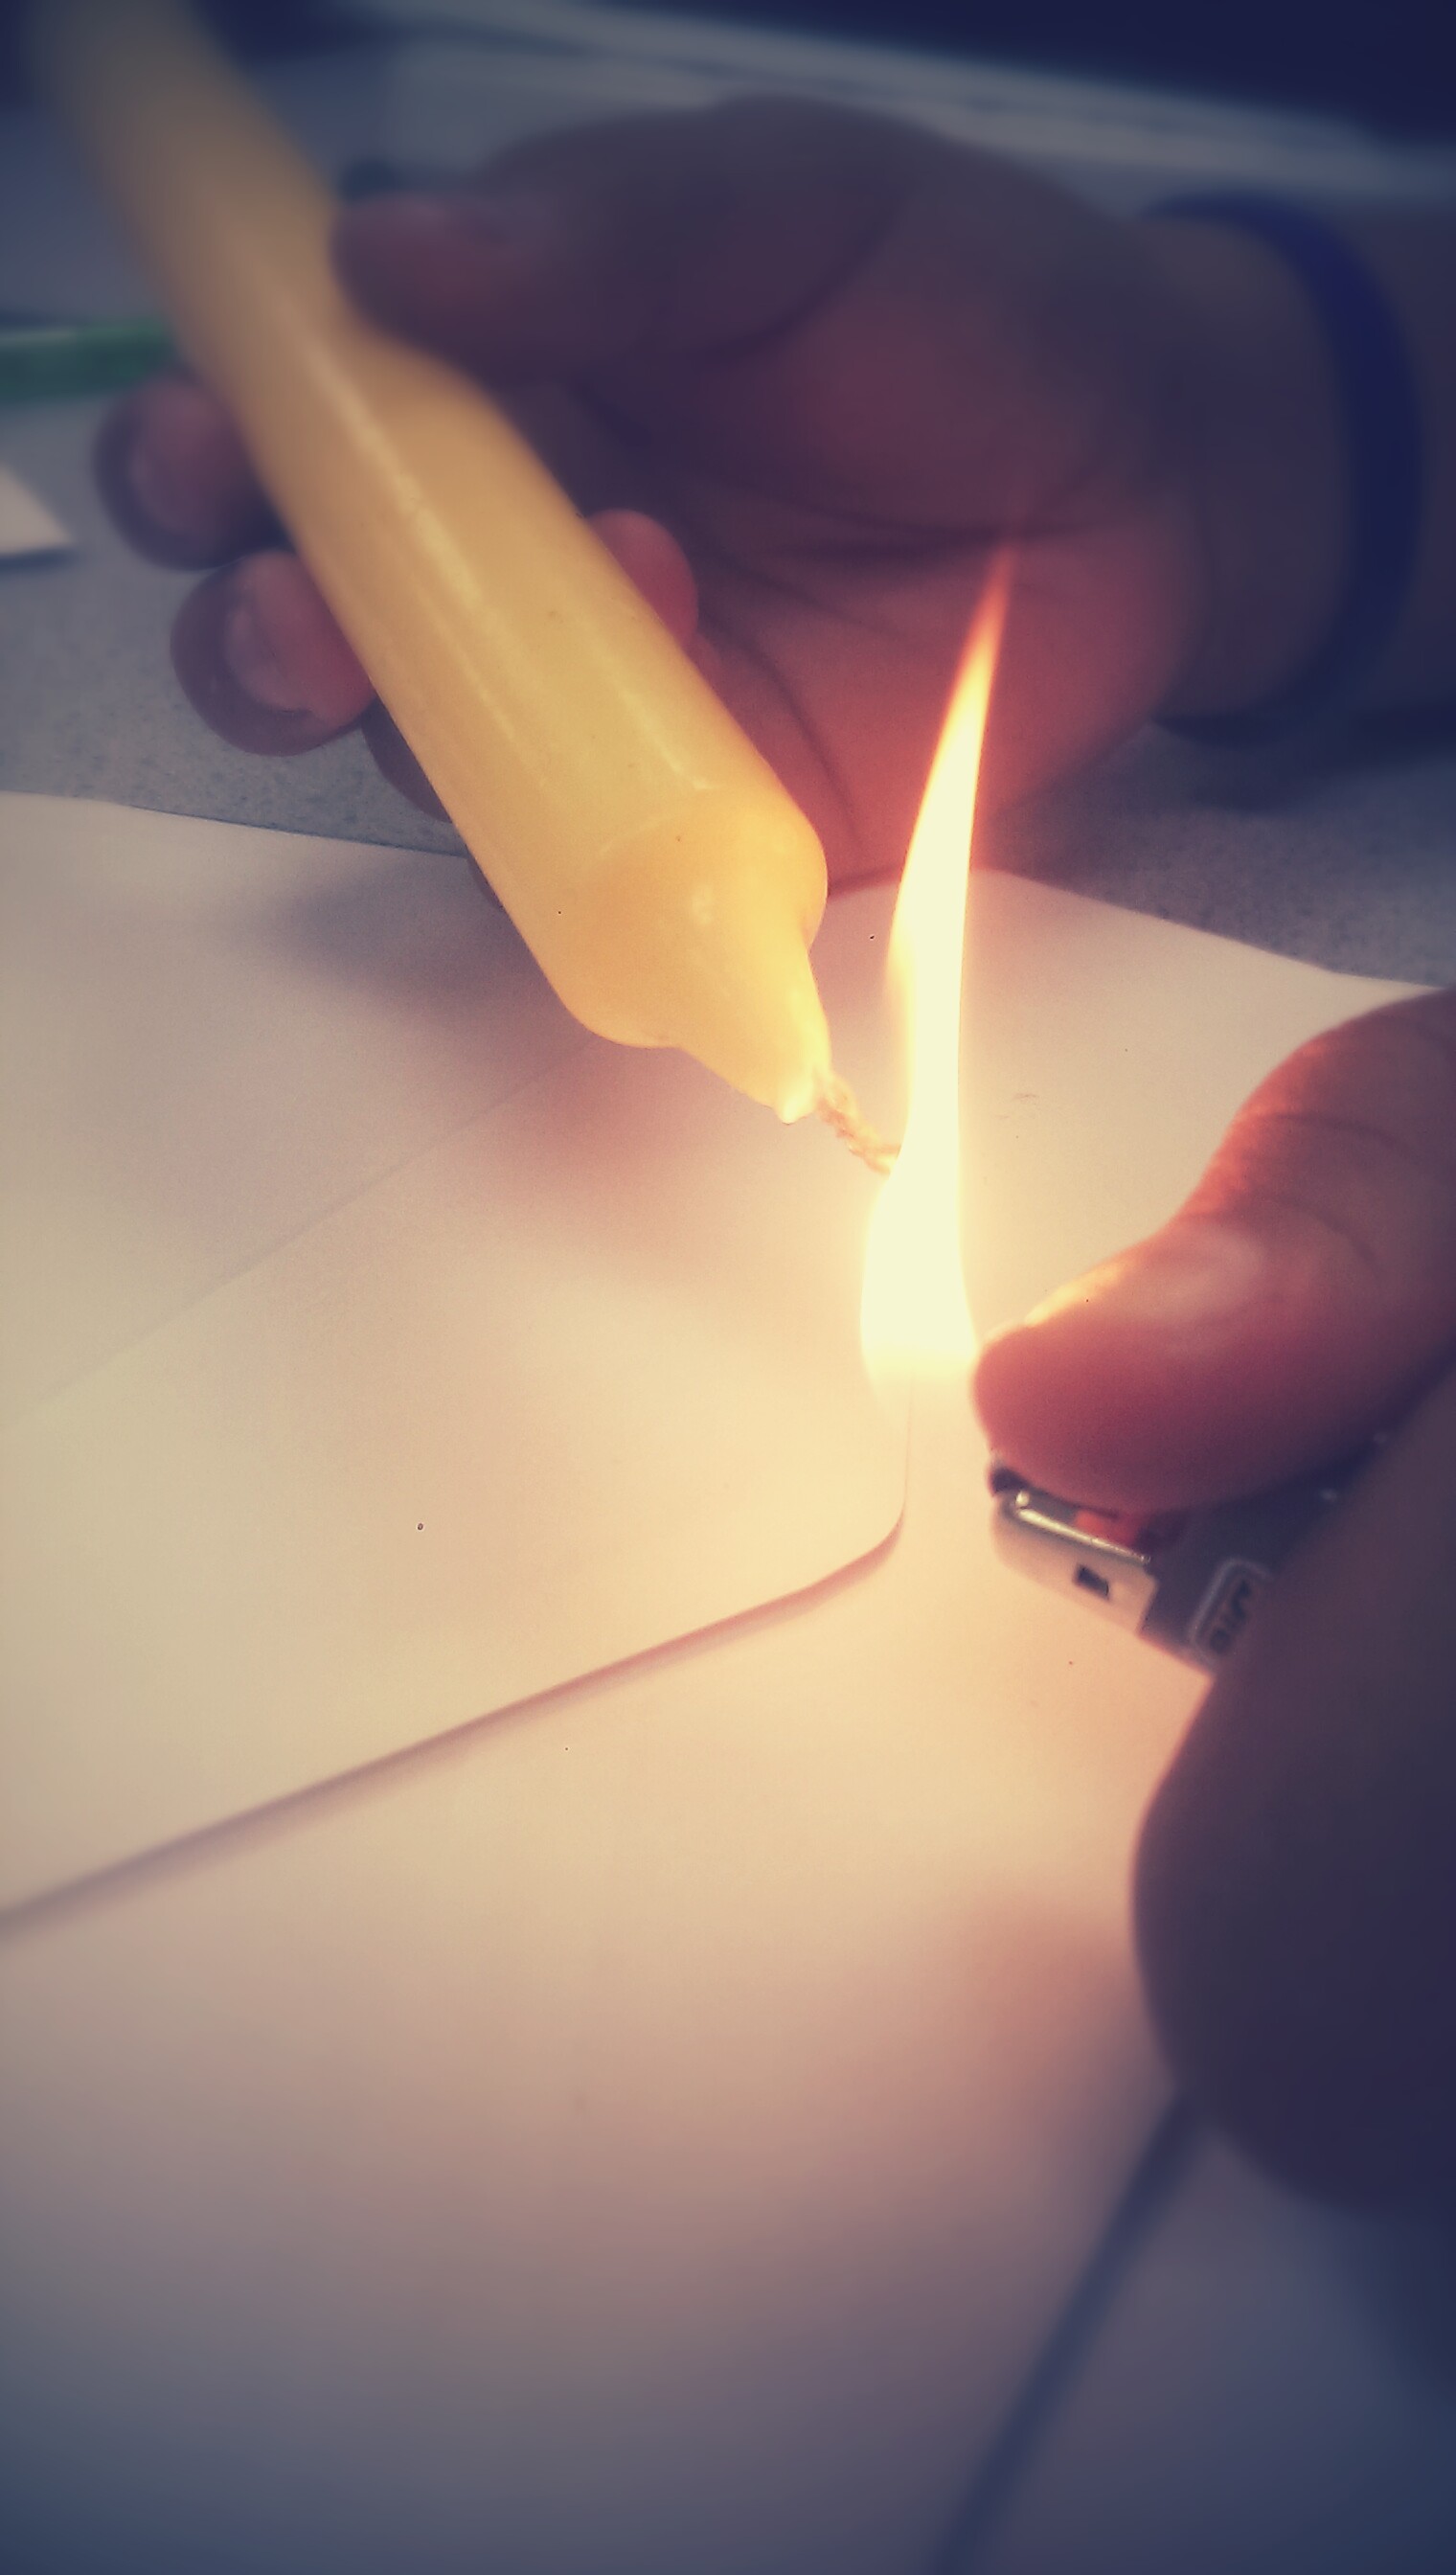
Take the lighter with other hand and then slowly
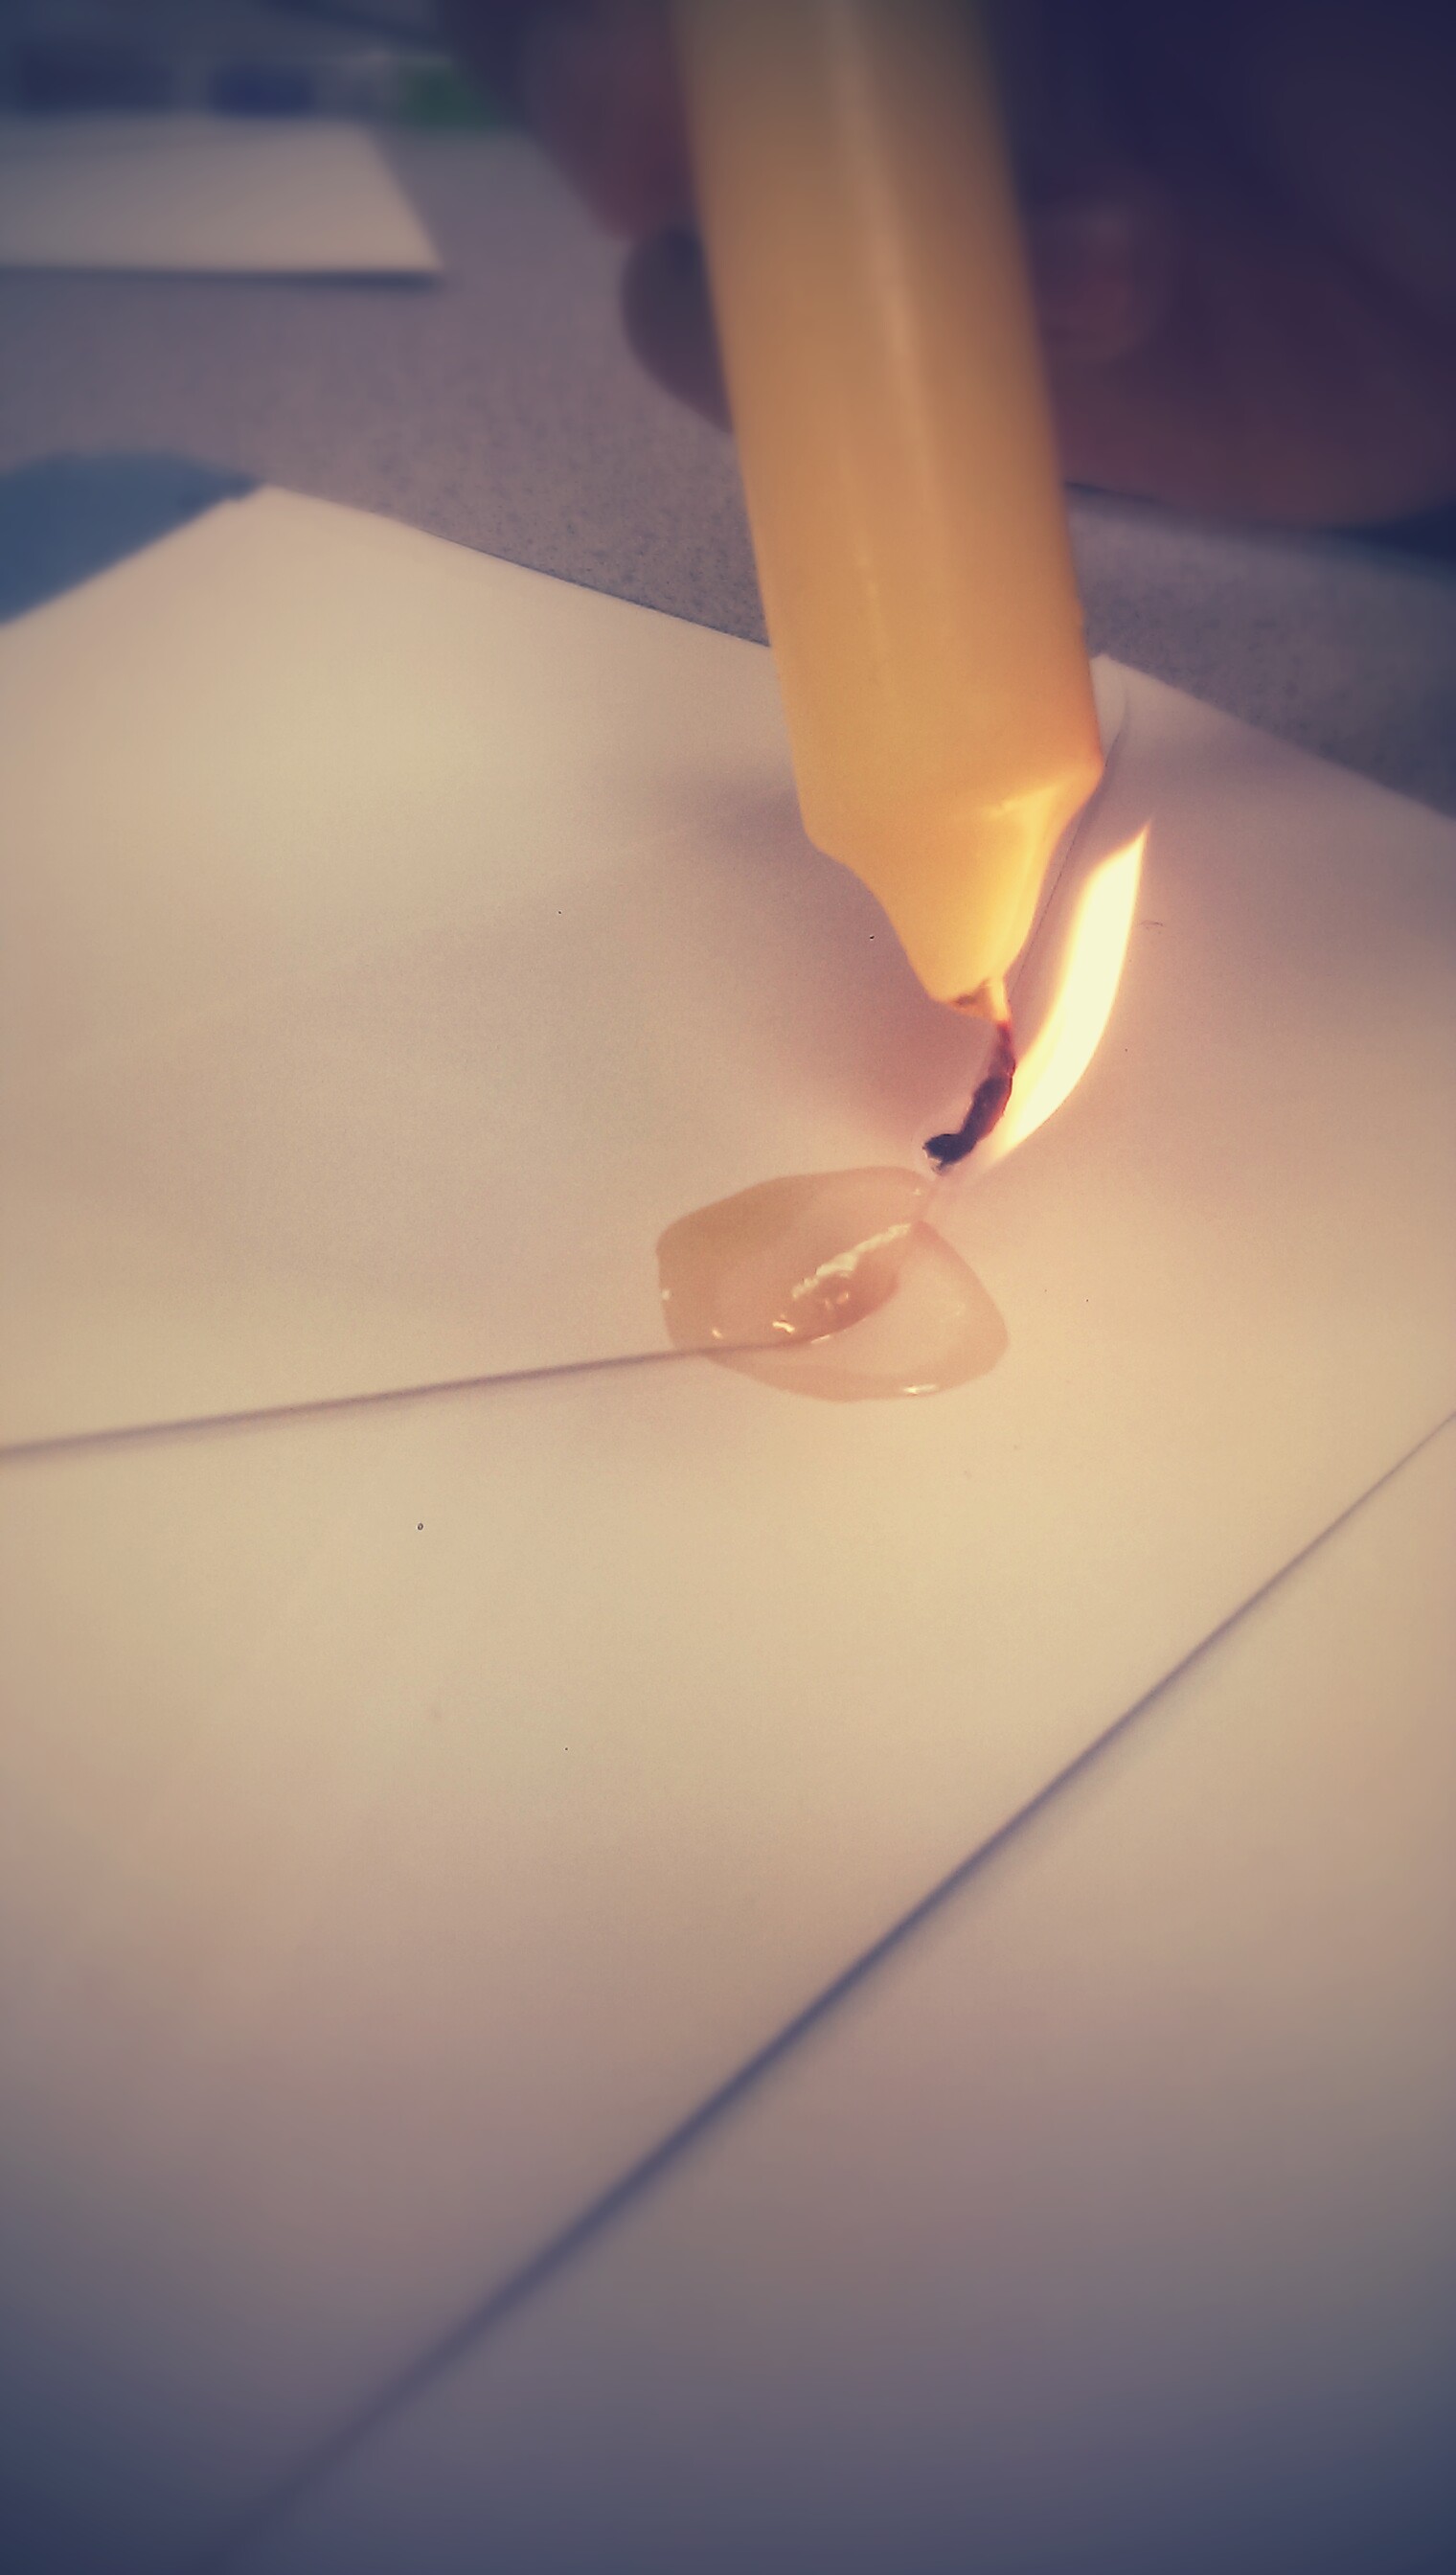
light the wax. Once the wax has started dripping, drip wax in a circular motion over the tab of the envelope.
Cover Opening of Envelope:

Close the envelope tab so that it is over or
on top of the rest of the envelope. Make sure that the tip of envelope is covered in wax.
Wait for Wax to Dry:


Now that the tip of the envelope cover is covered in wax, wait for the wax to cool down and harden. This process will only take about 30 seconds.
Done!
Now that the envelope is sealed, it
is now ready for sending. Using this method of seal, the knowledge of alternative envelope sealing will be gained. This technique can also apply to other forms of paper craft.