Watercolor on Laser Cut Wood: Tips and Tricks
by Brooklyntonia in Craft > Art
10944 Views, 34 Favorites, 0 Comments
Watercolor on Laser Cut Wood: Tips and Tricks
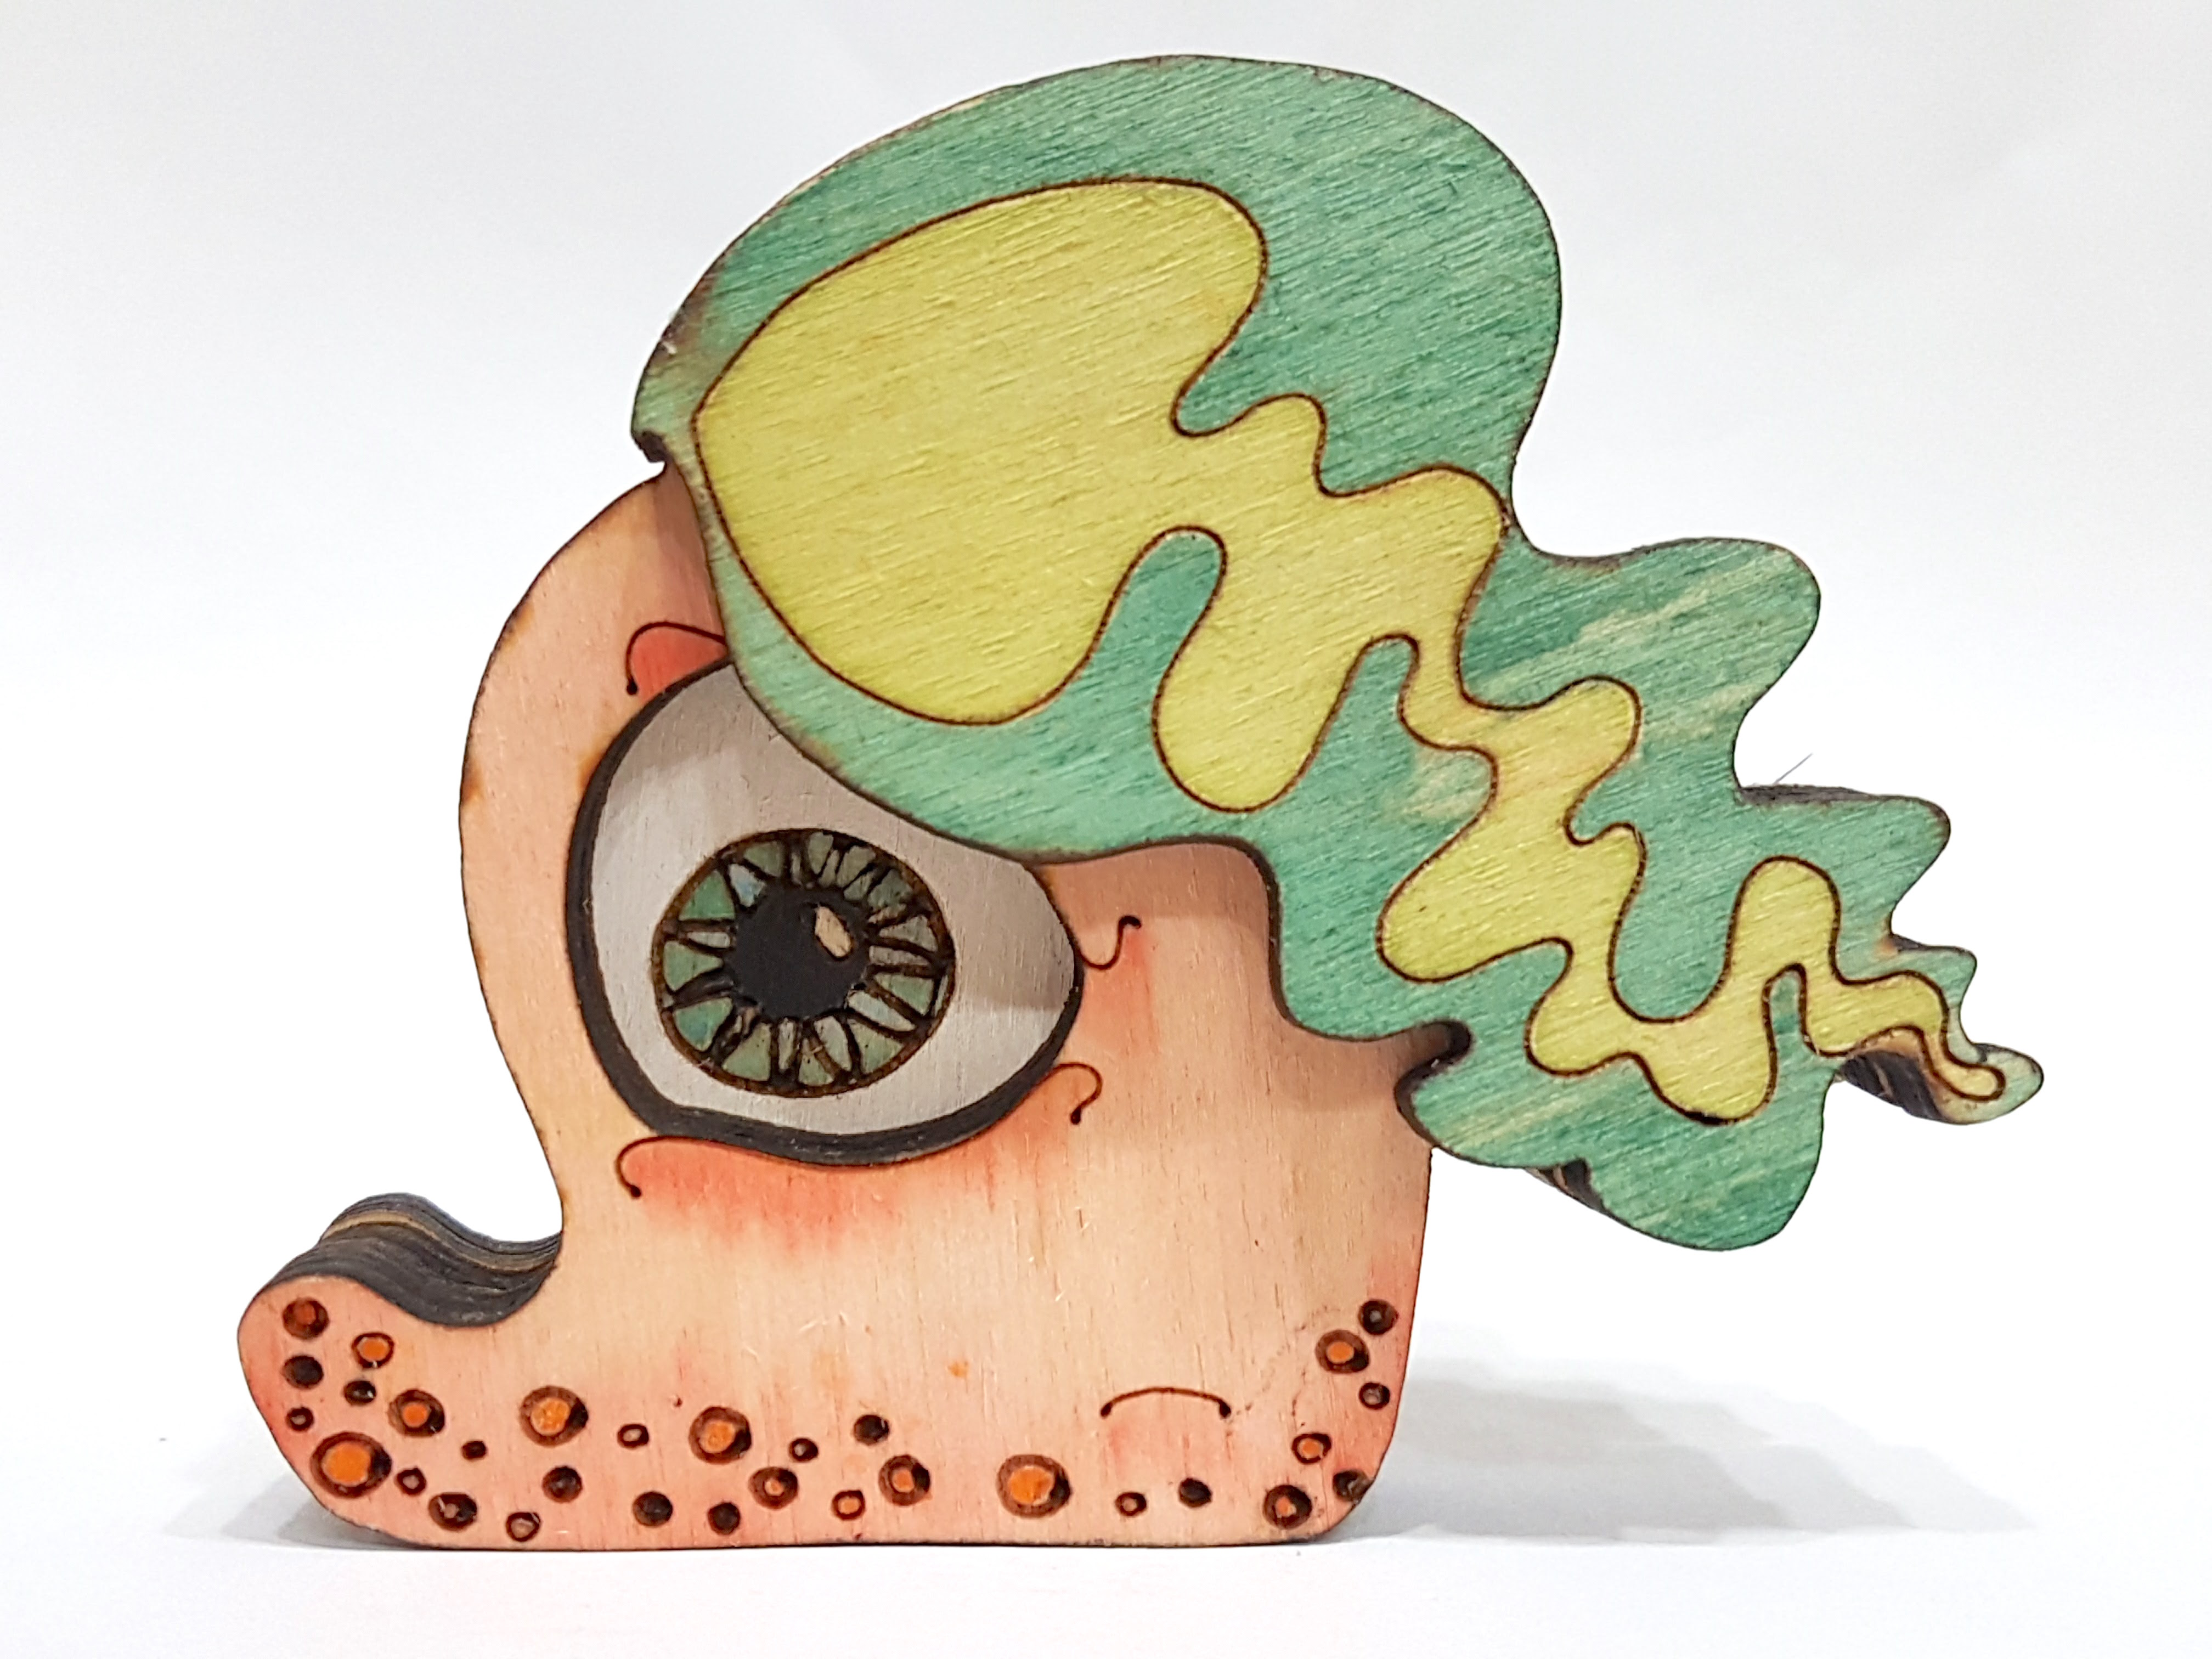
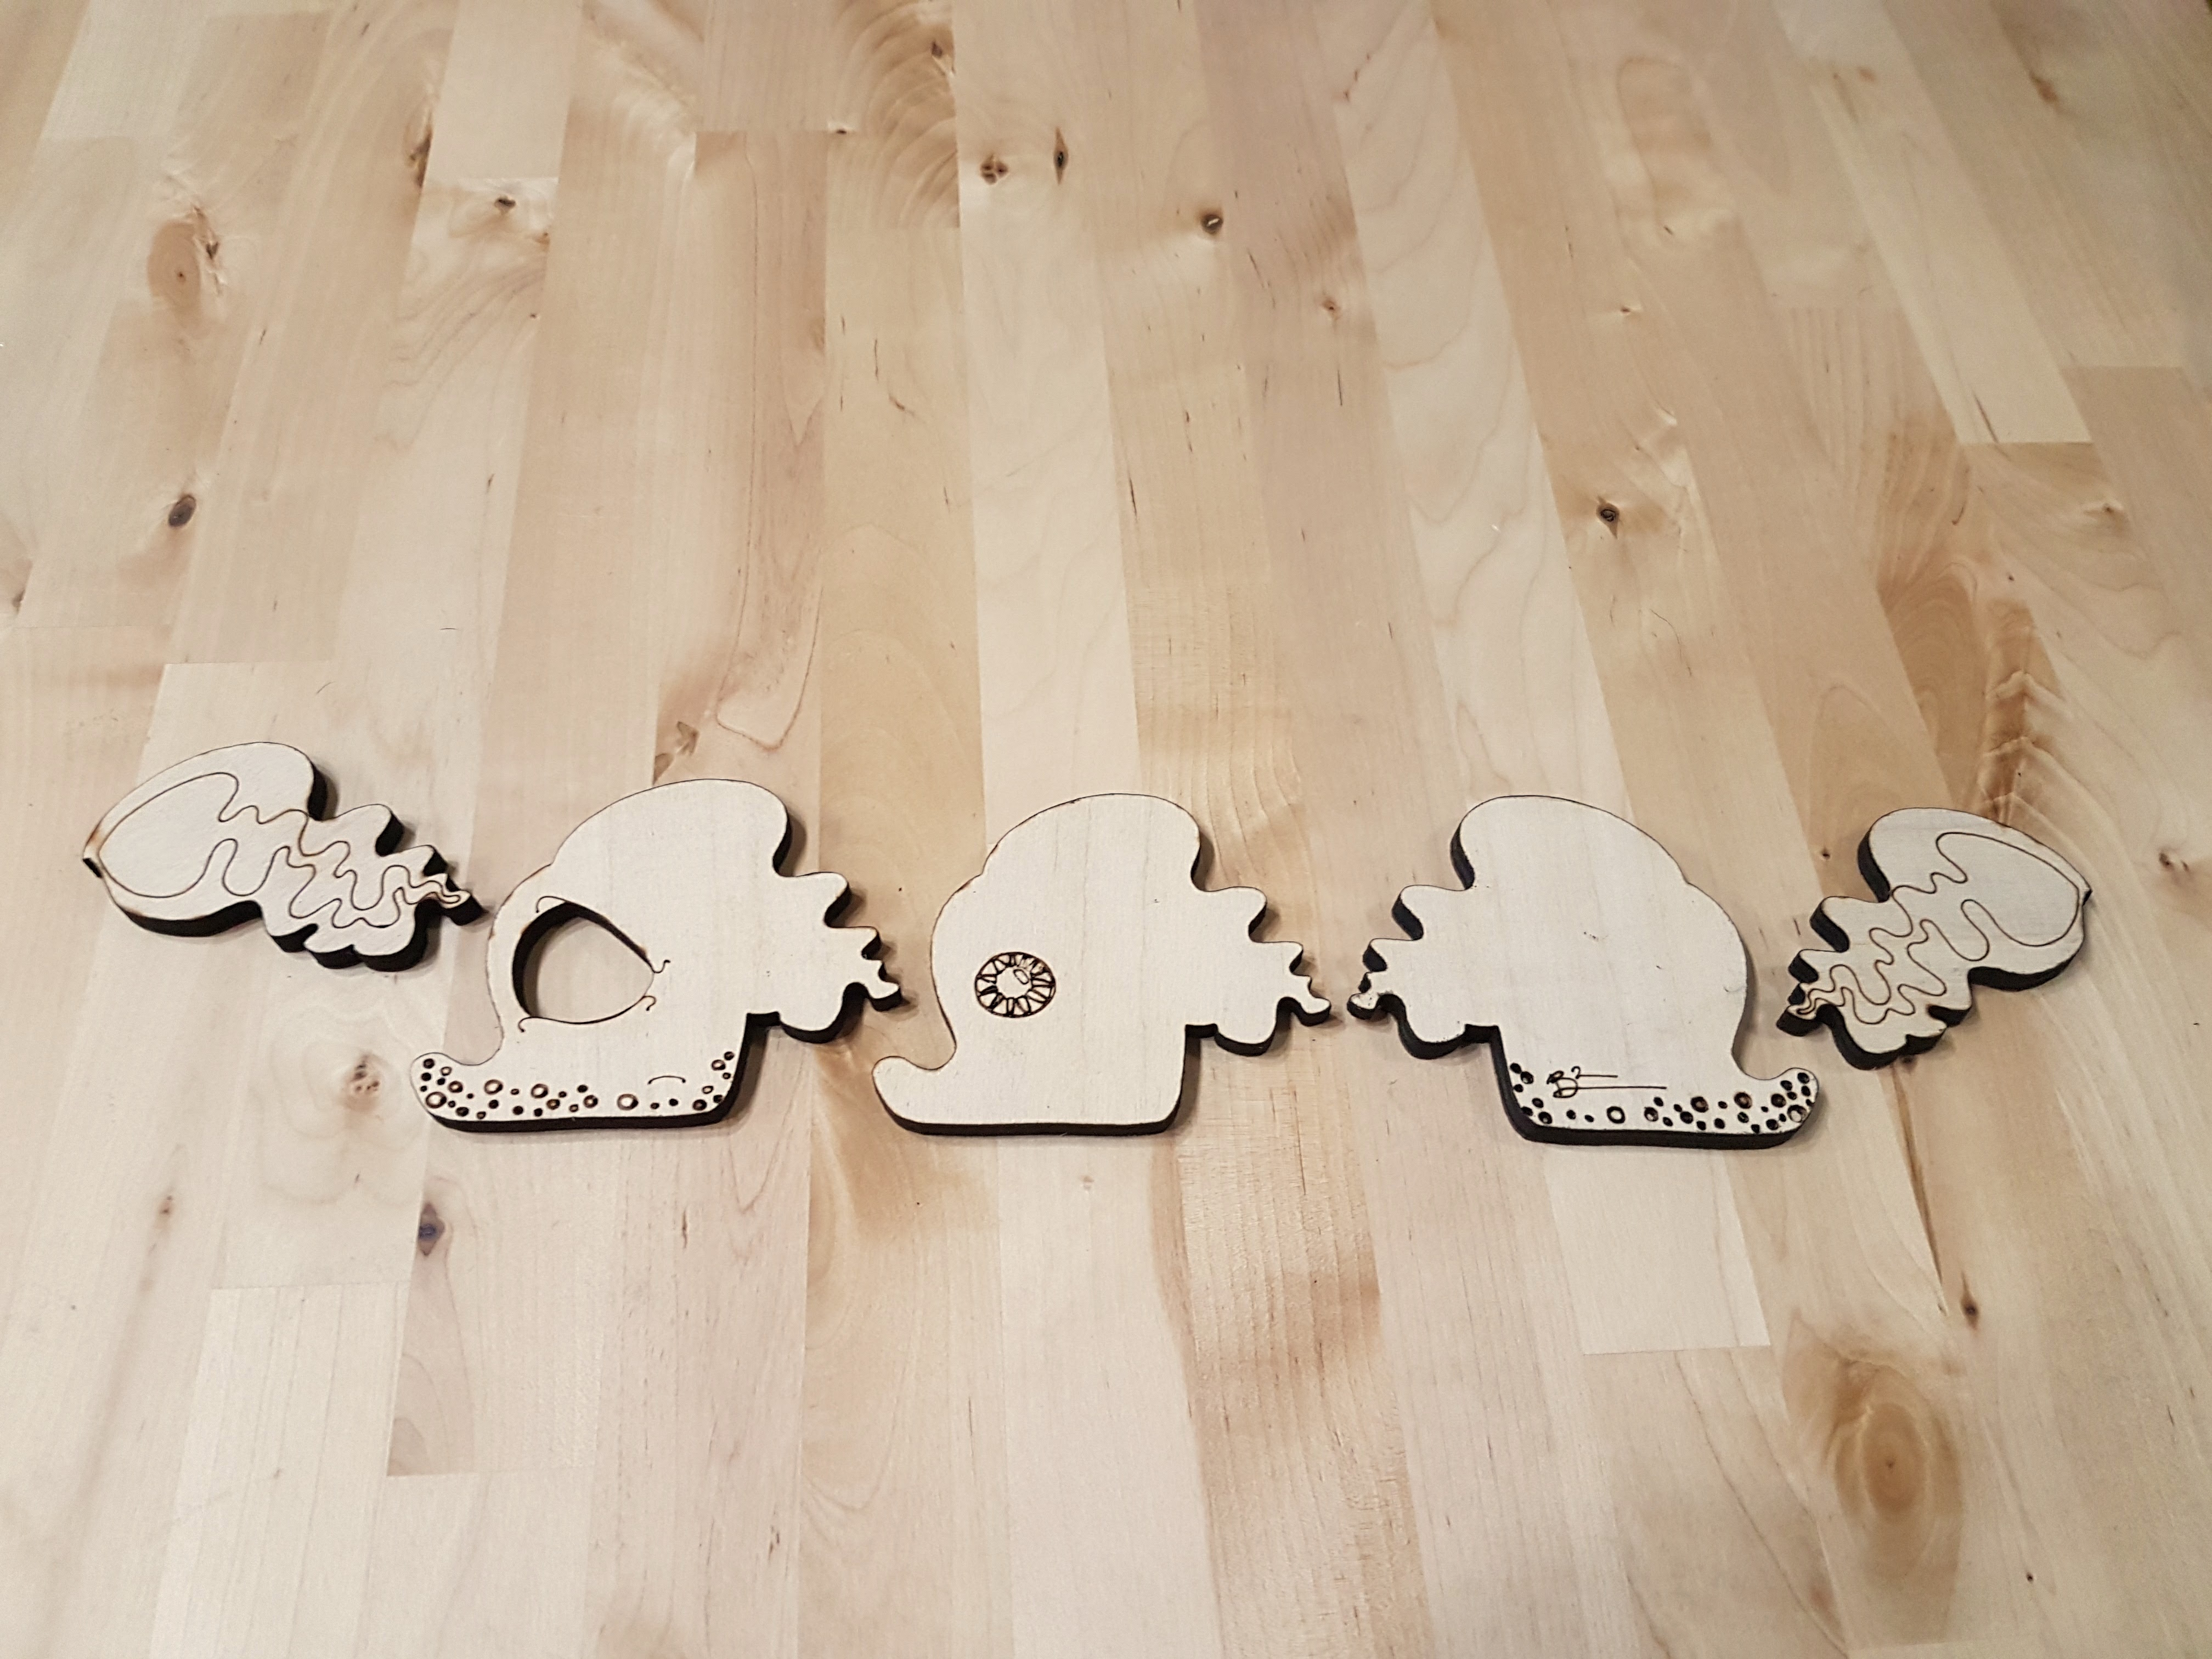
Watercolor is my preferred method for painting my laser cut art toys. Watercolor allows for versatility while allowing the texture of the wood to stay visible. I'll go through the painting of one of my toys and show a few other tips and tricks for painting with watercolor.
I had some difficulty with finding the proper settings, so this particular toy was not cut well and has some damage as a result. The Y-axis on the laser in my classroom is also not perpendicular to the X-axis, so the pieces aren't "square" and don't line up the way they should. I look forward to cutting it again on my Glowforge when it arrives.
Materials, Tools, and Prep
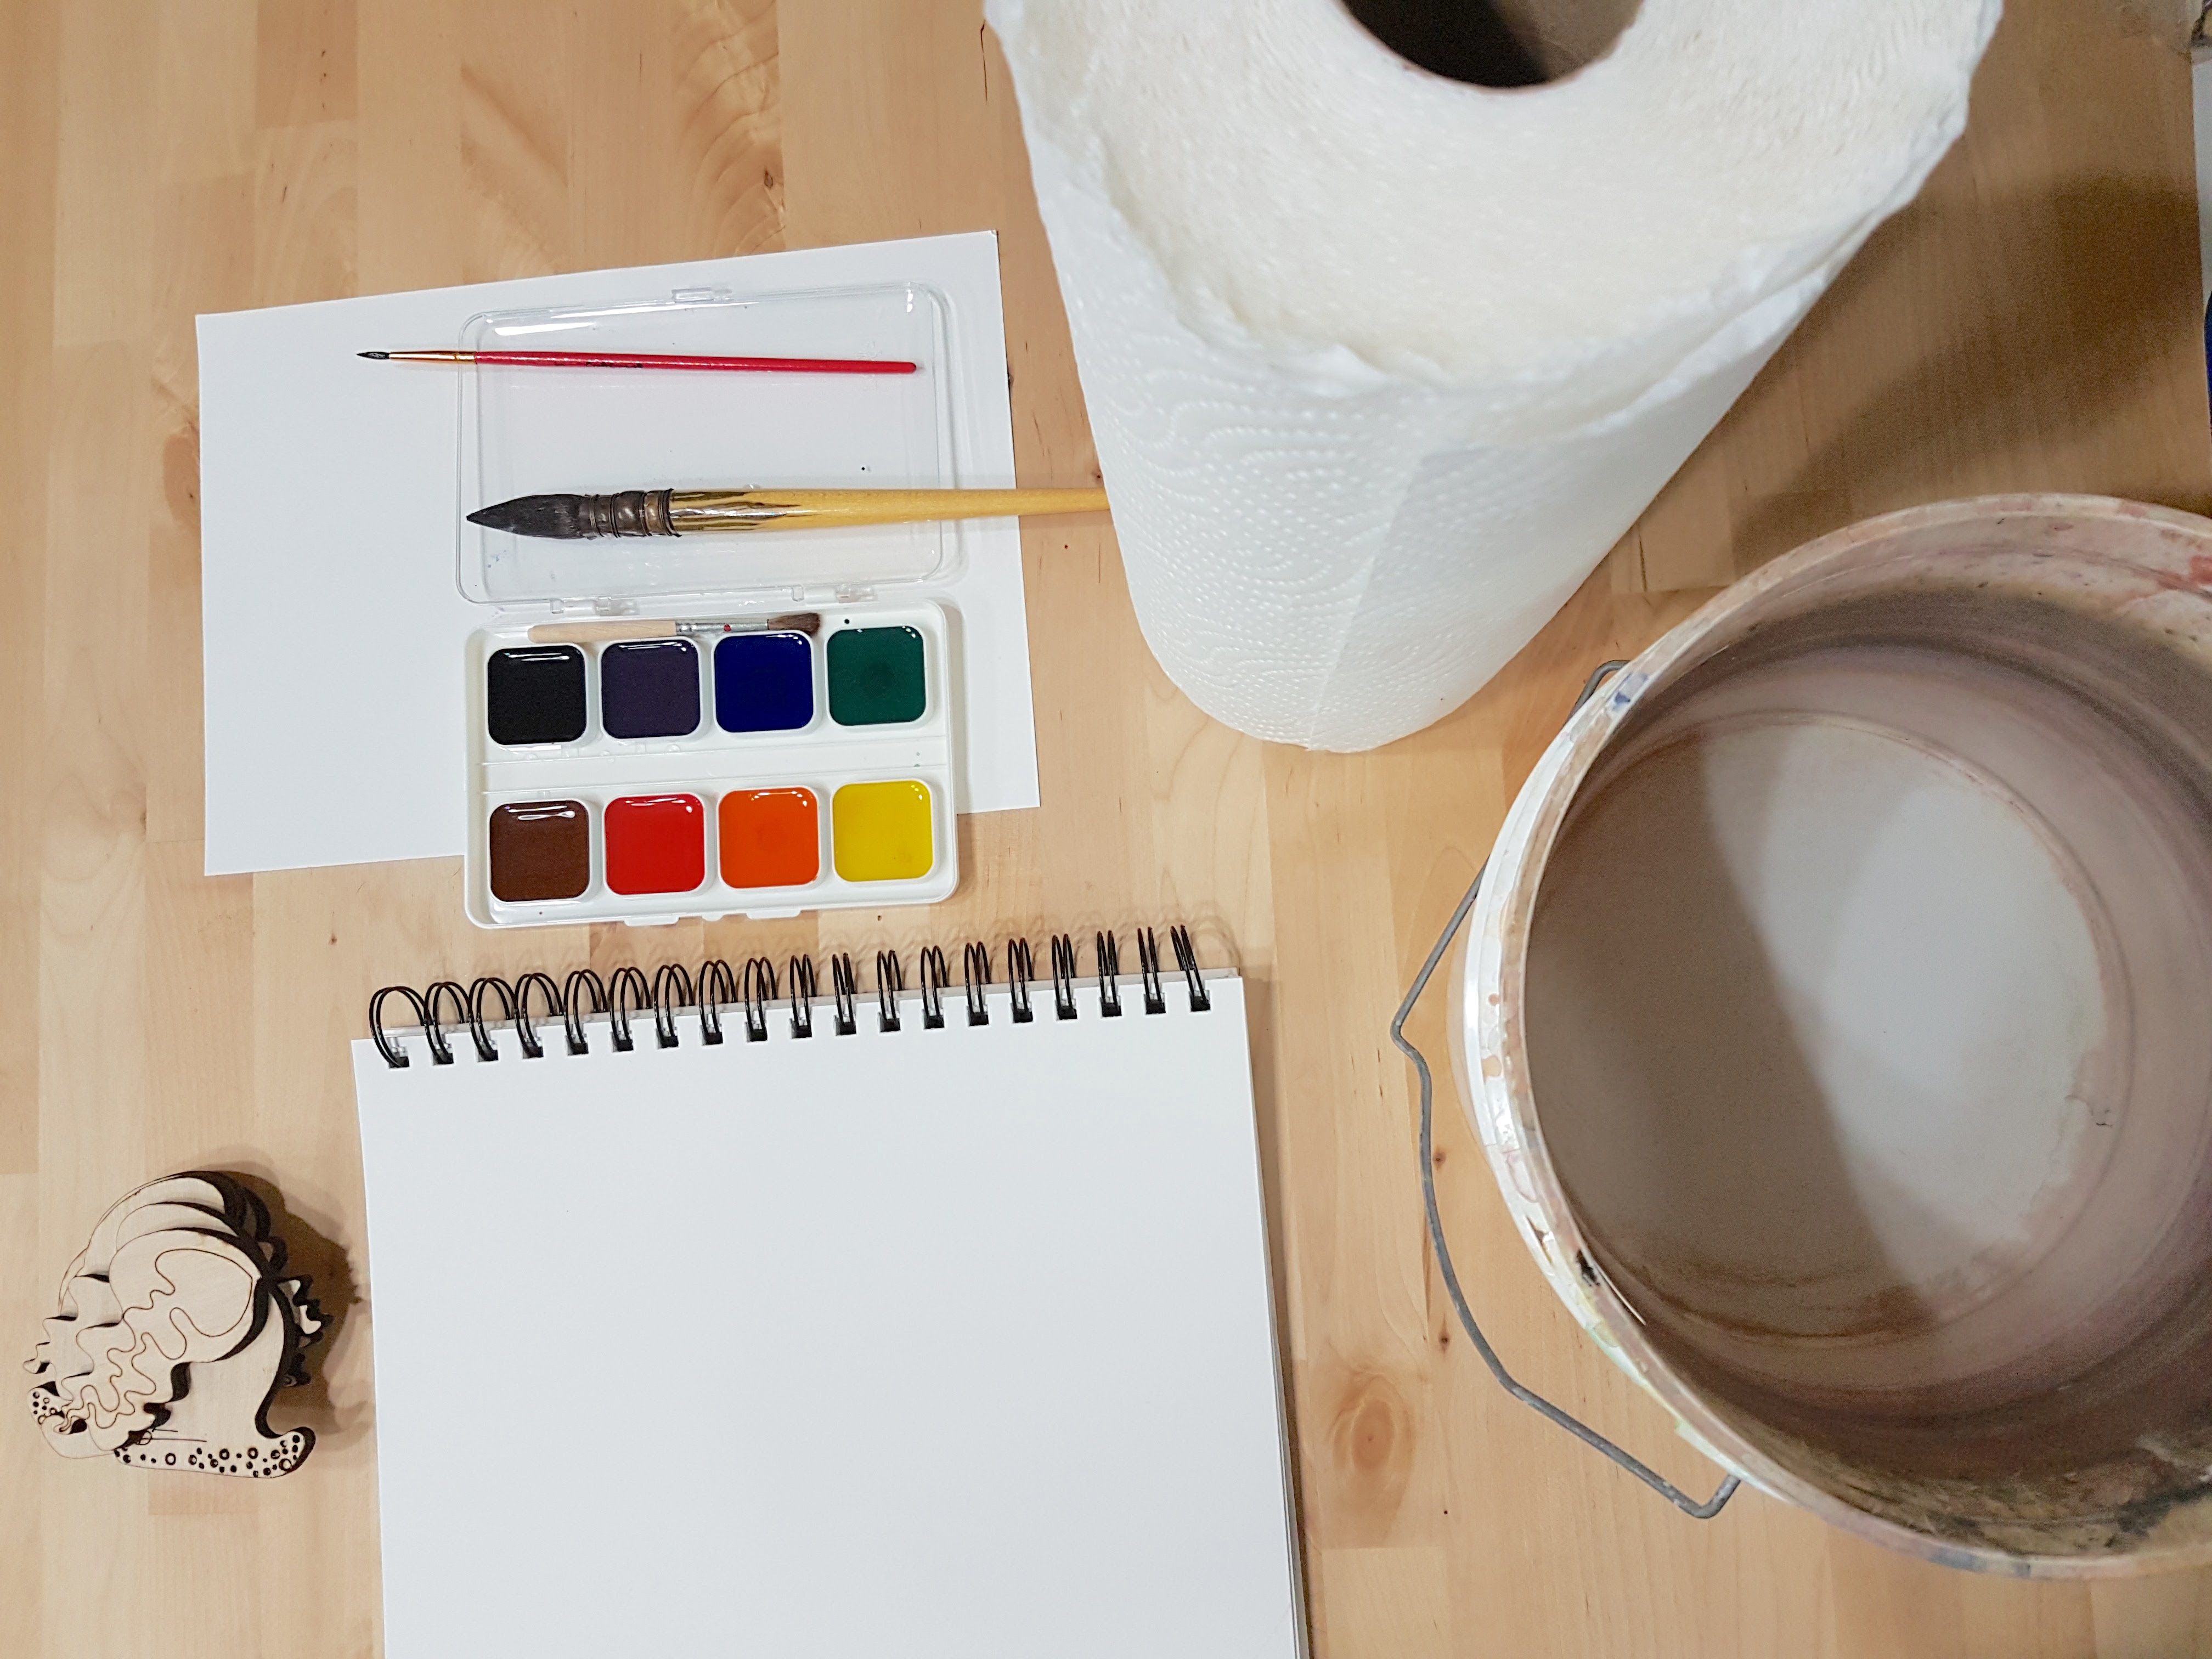
Tools:
watercolors (A Prang or Crayola set will work just as well, though I prefer Prang.)
natural hair brushes (one large and one small) Synthetic bristle brushes aren't as good for watercolor because they don't absorb as much water.
large container of water (Each time you wash off your brush you're contaminating the water. The larger the container, the less often you need to replace it.)
Materials:
laser cut wood
thick paper
paper towels
Prep:
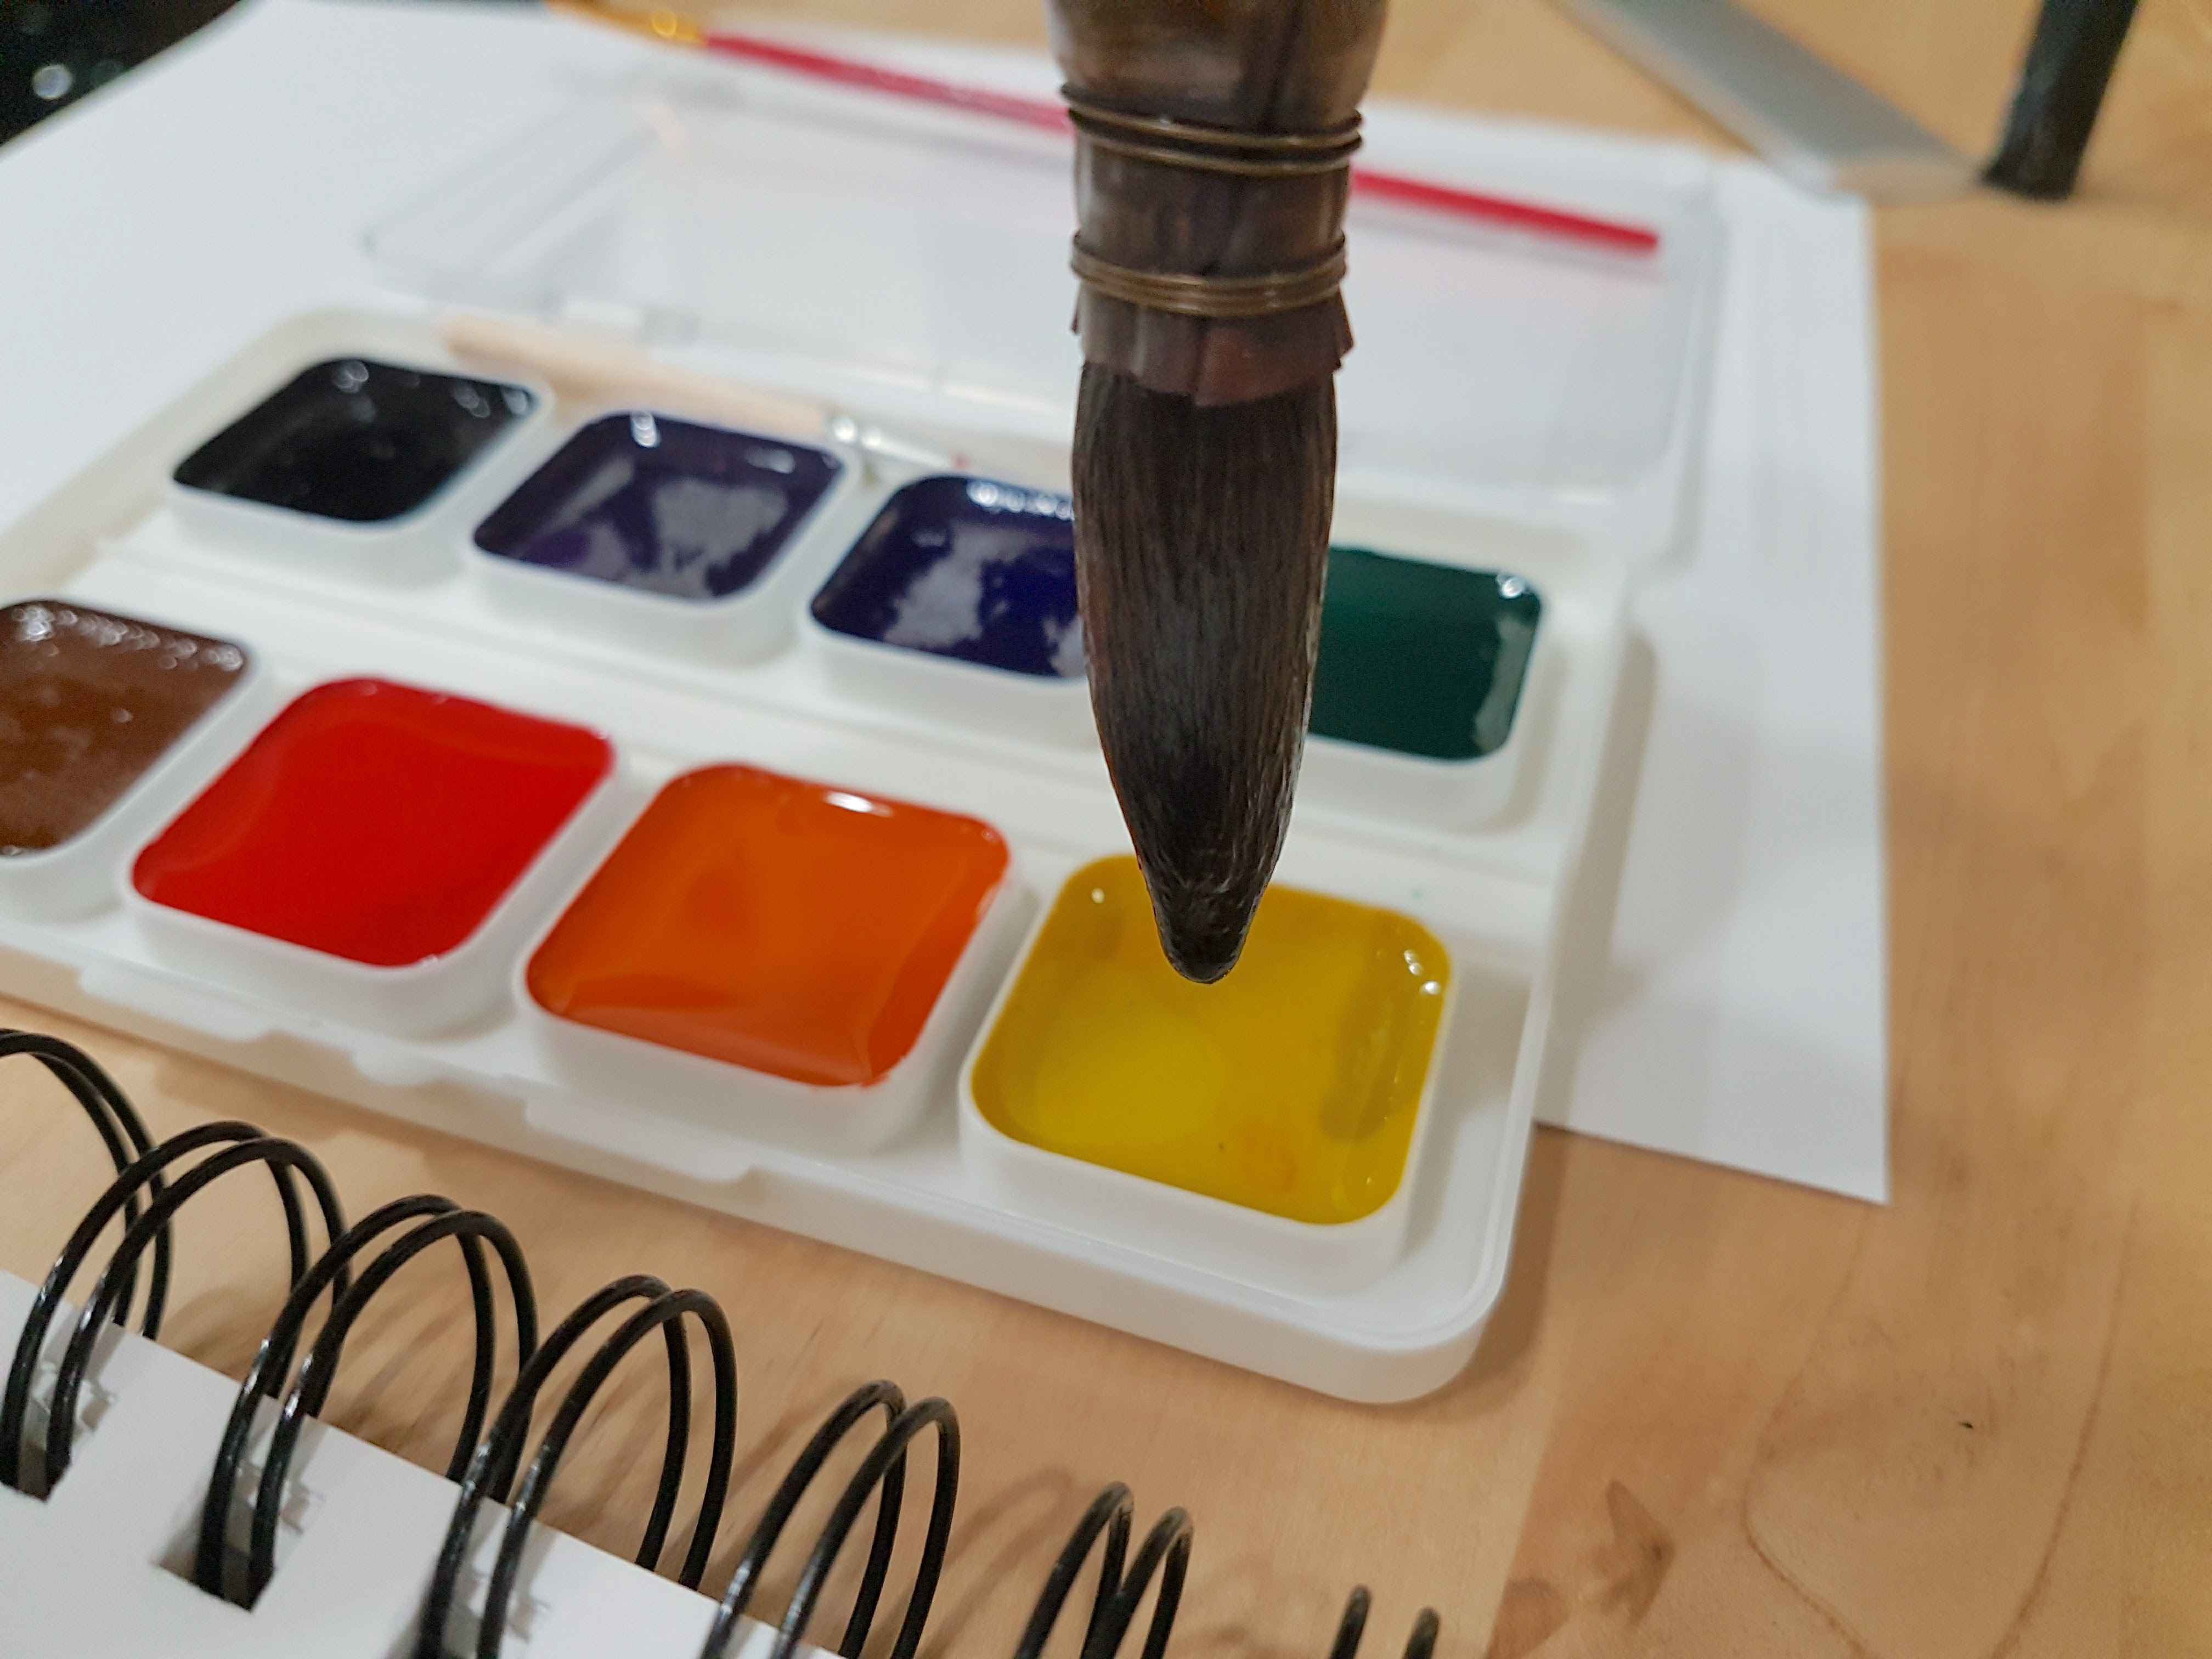
Wet your large brush and squeeze water from the brush into each paint pan. This wets the paint cakes so the brush will pick up paint more easily.
Creating a Wash
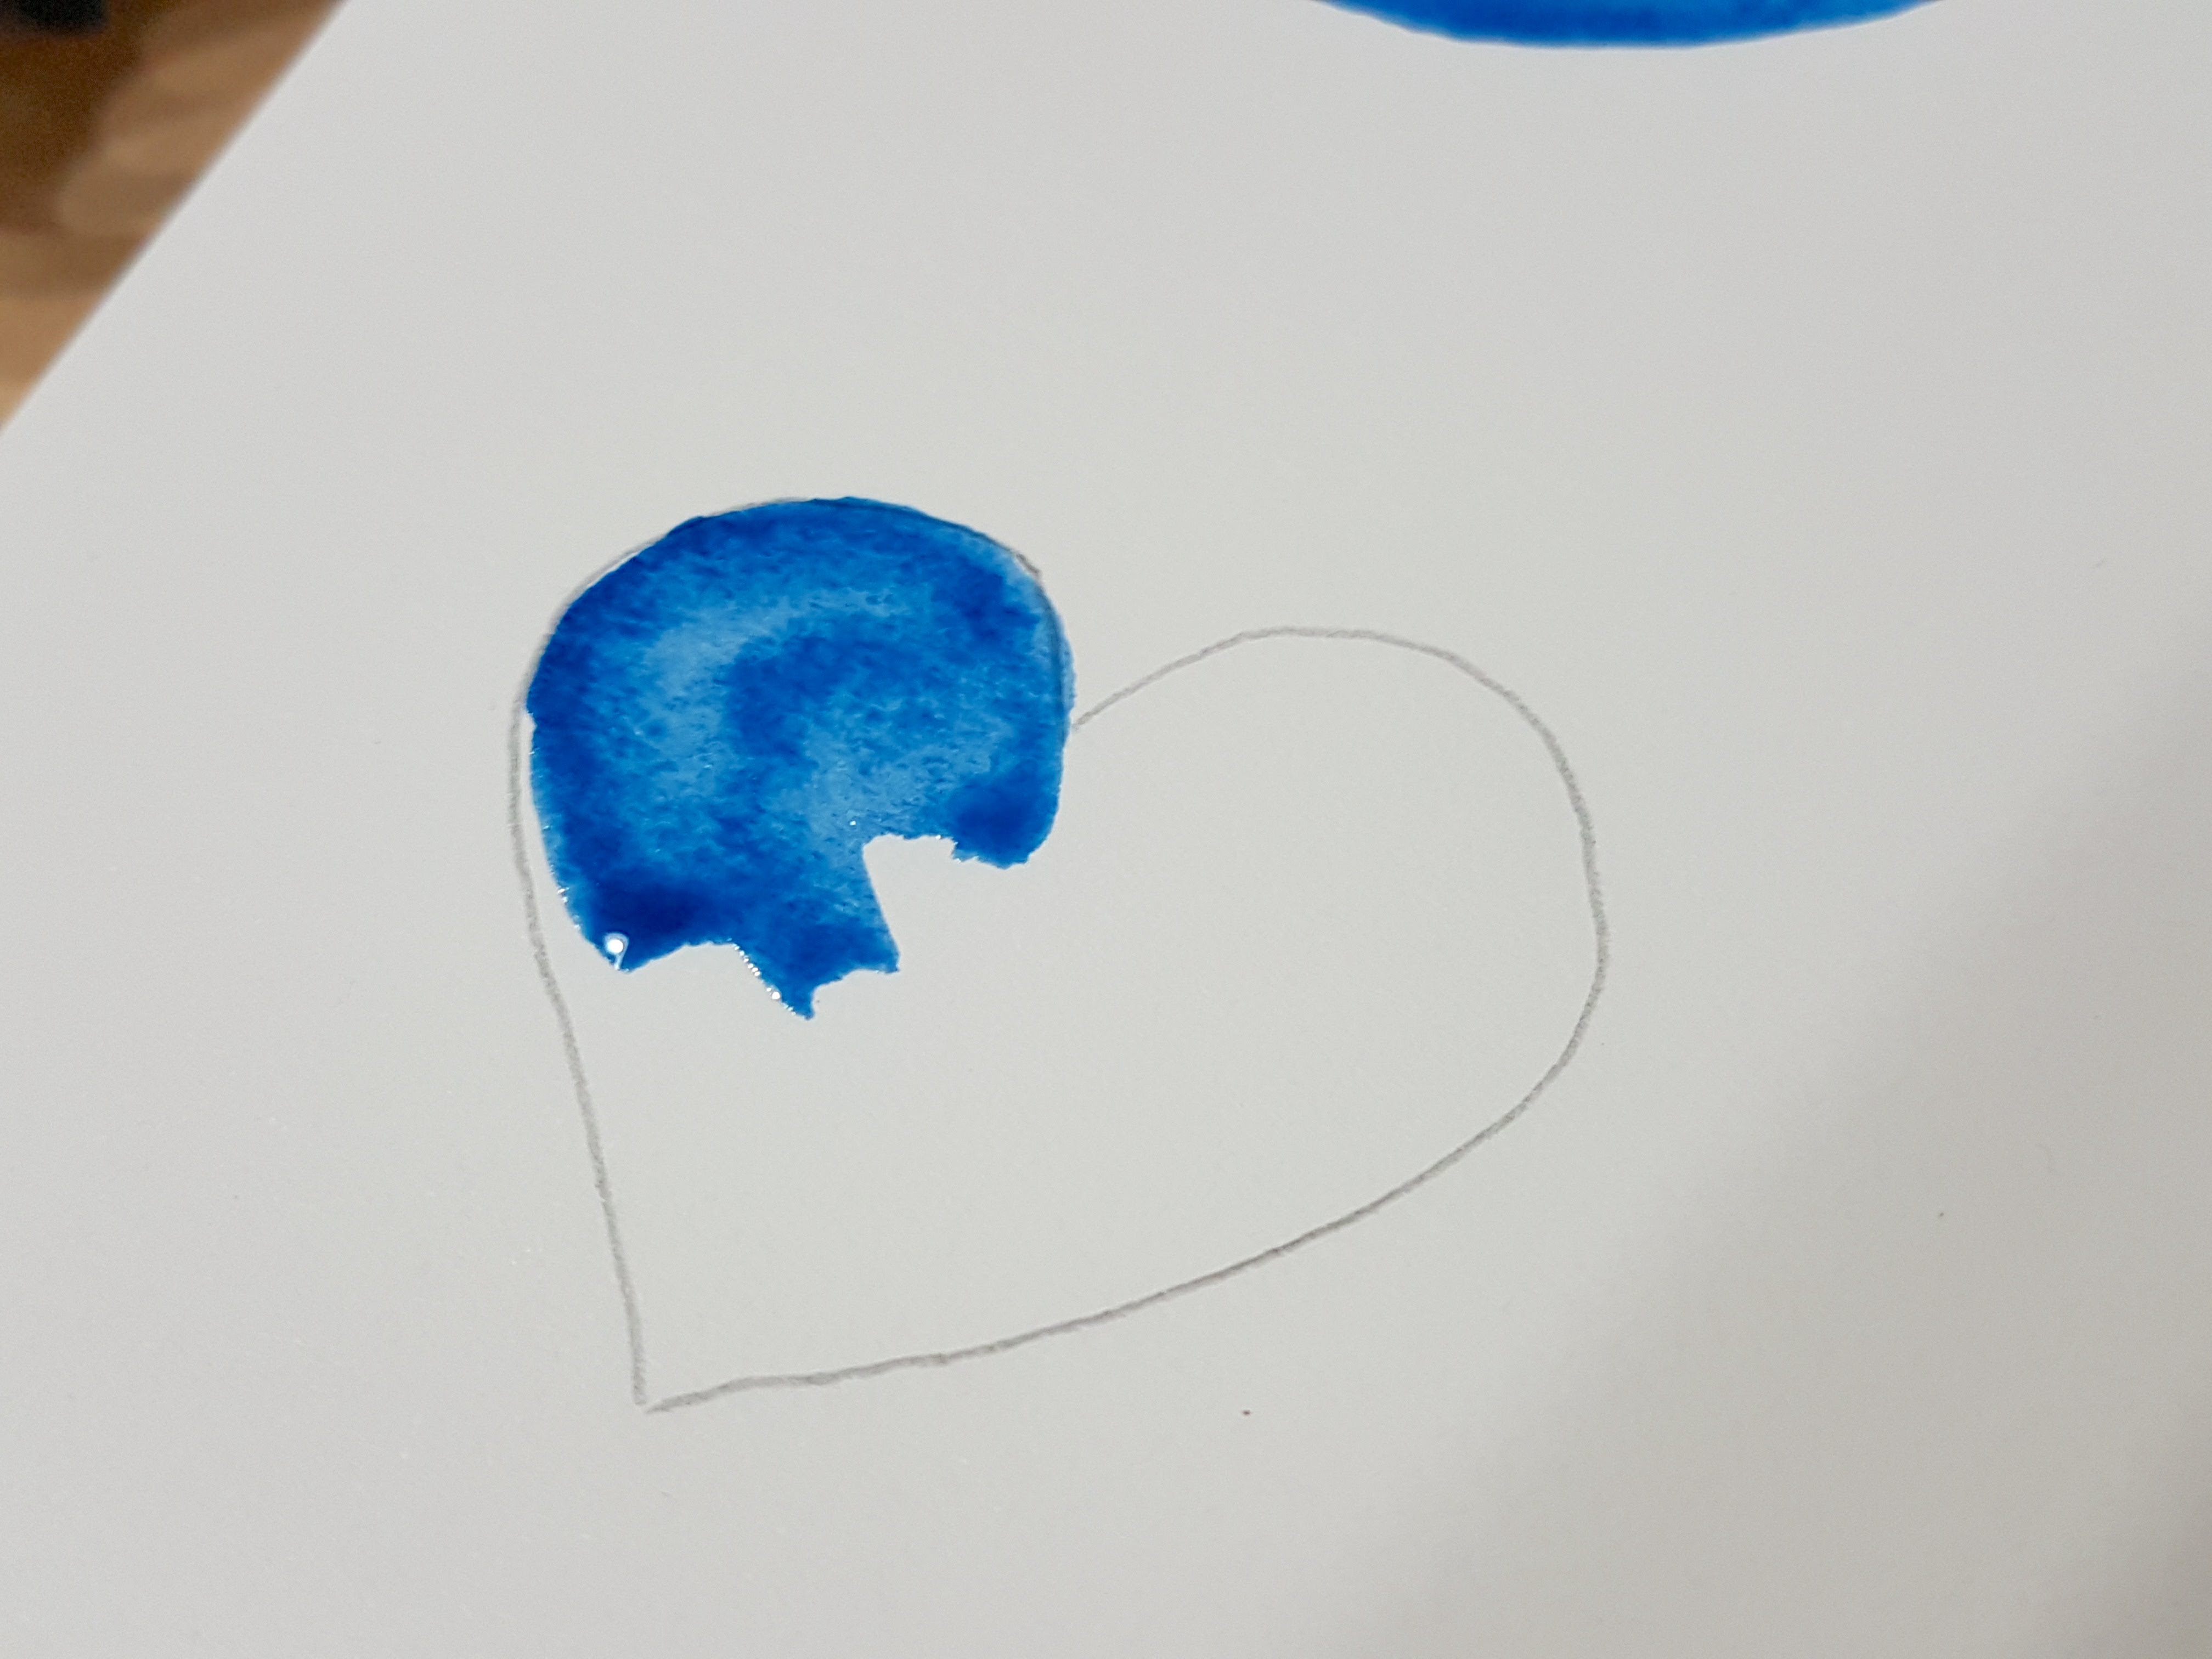
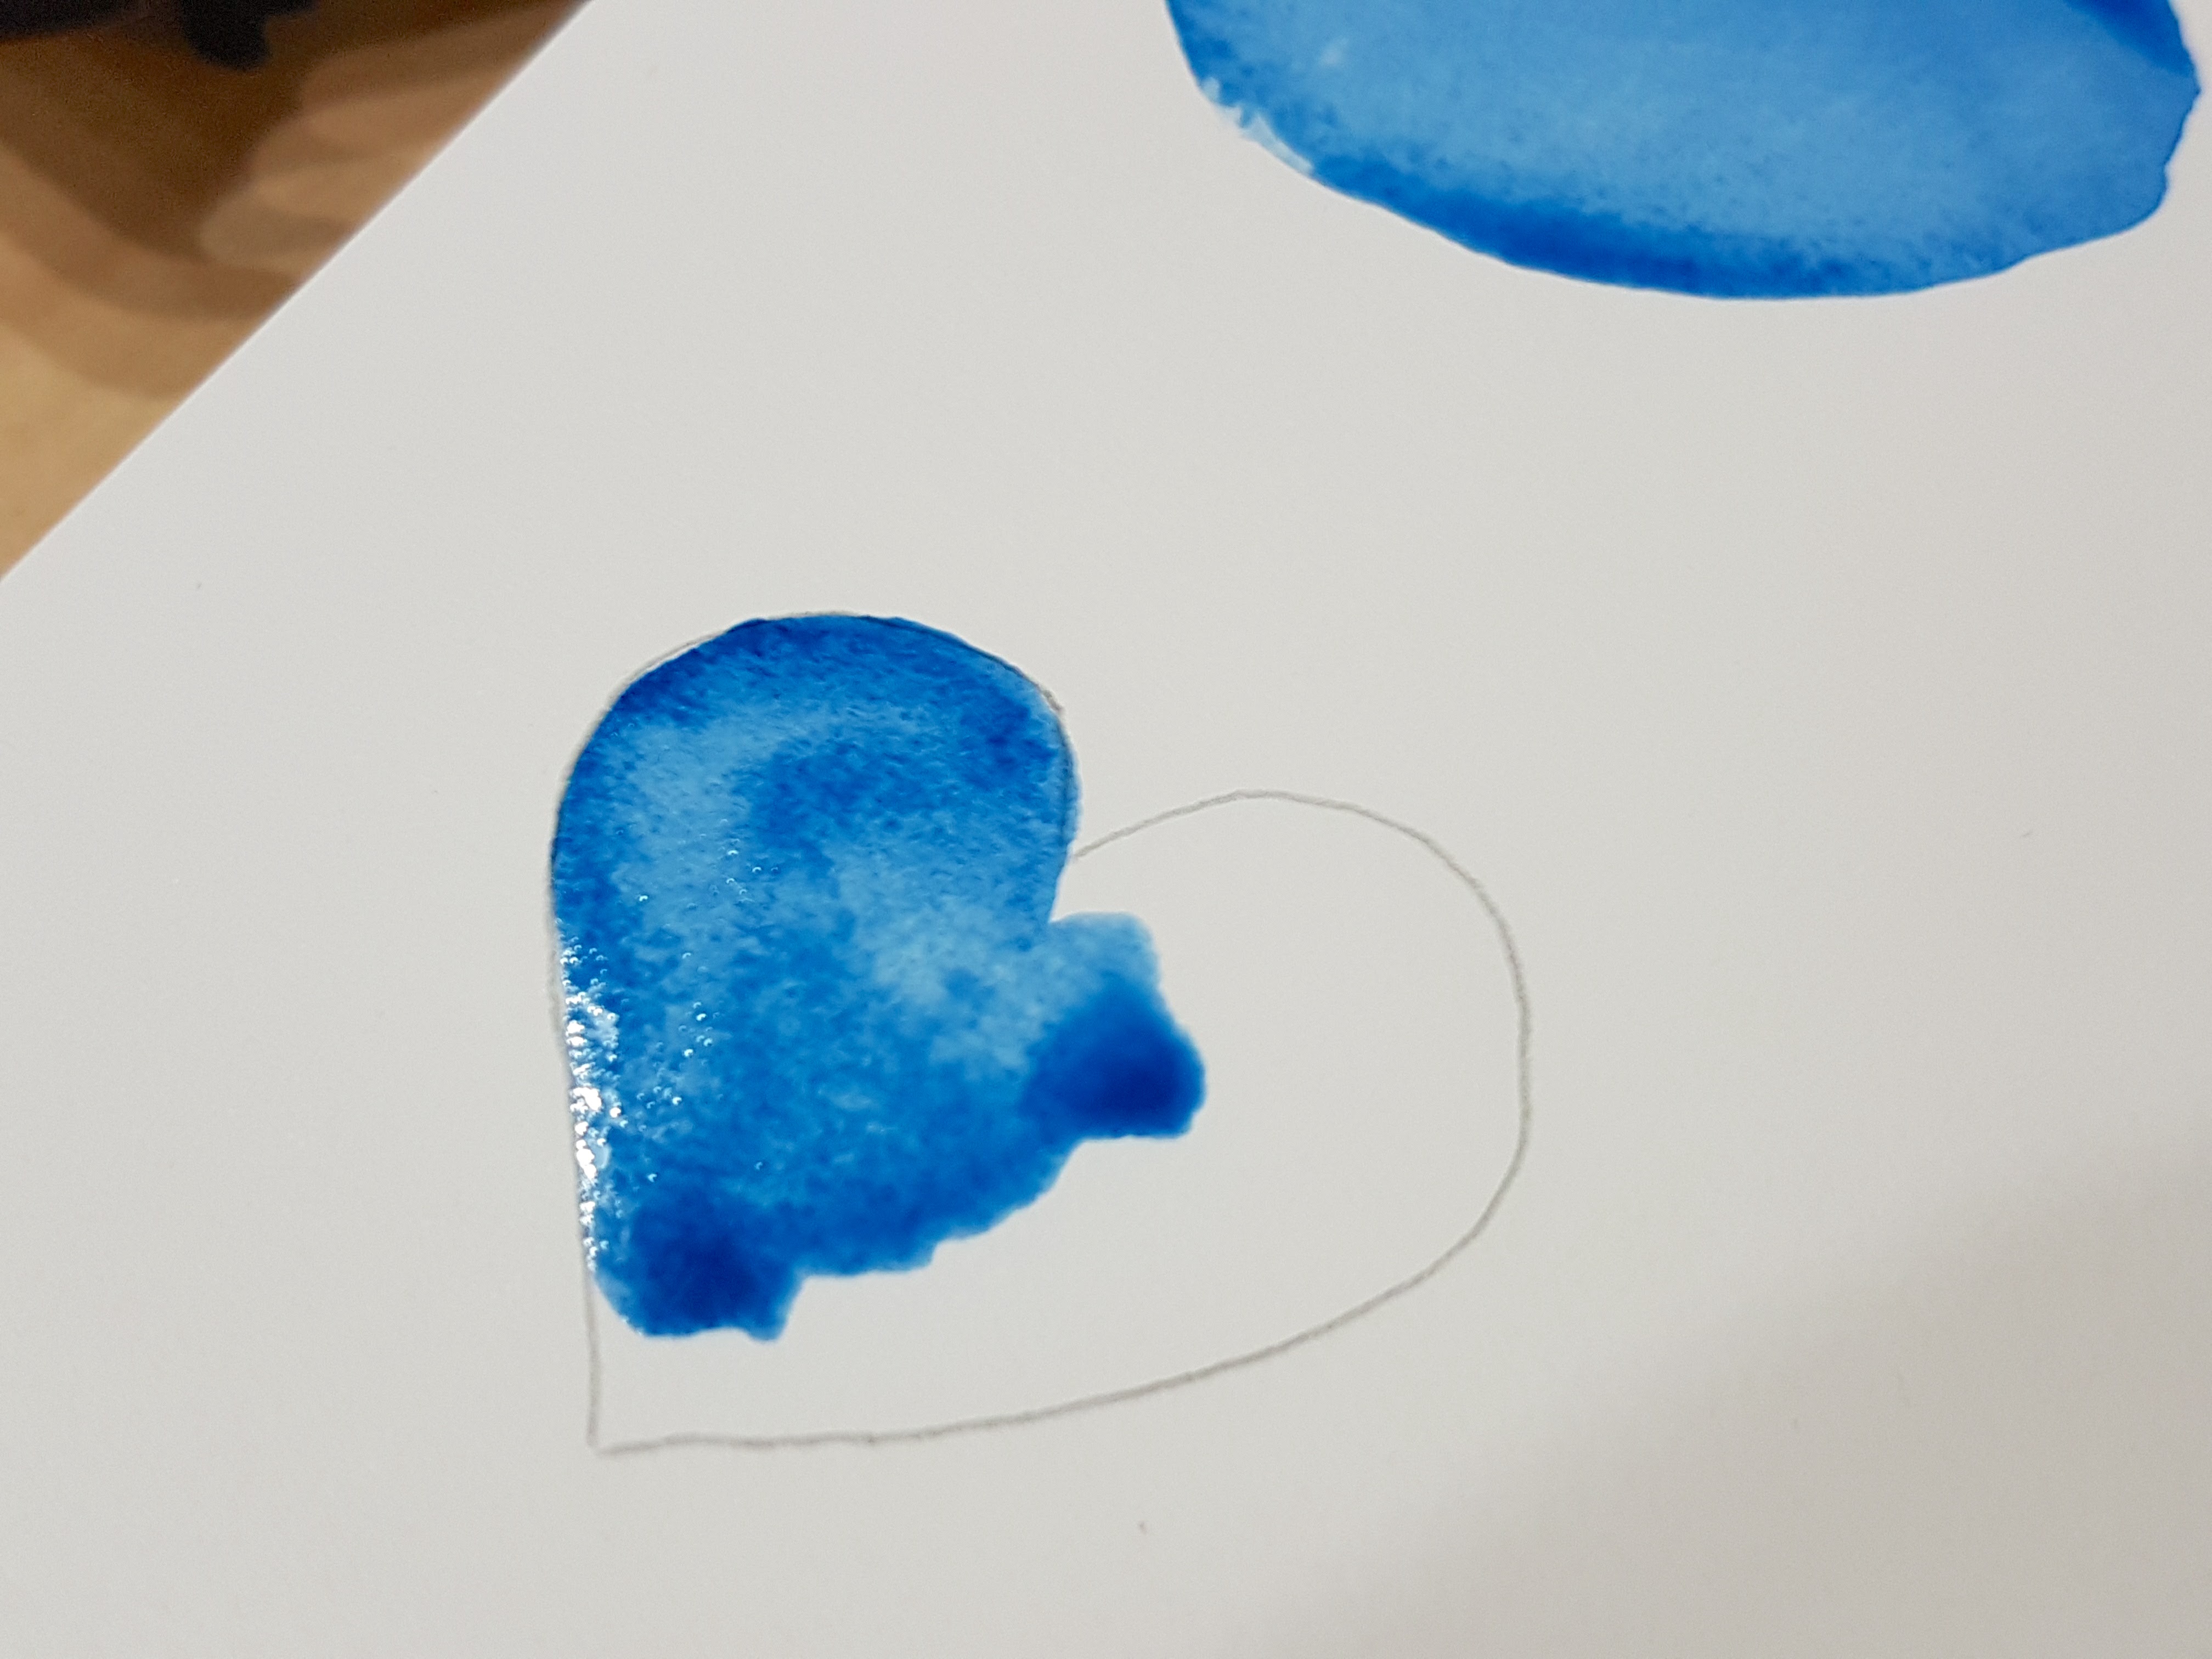
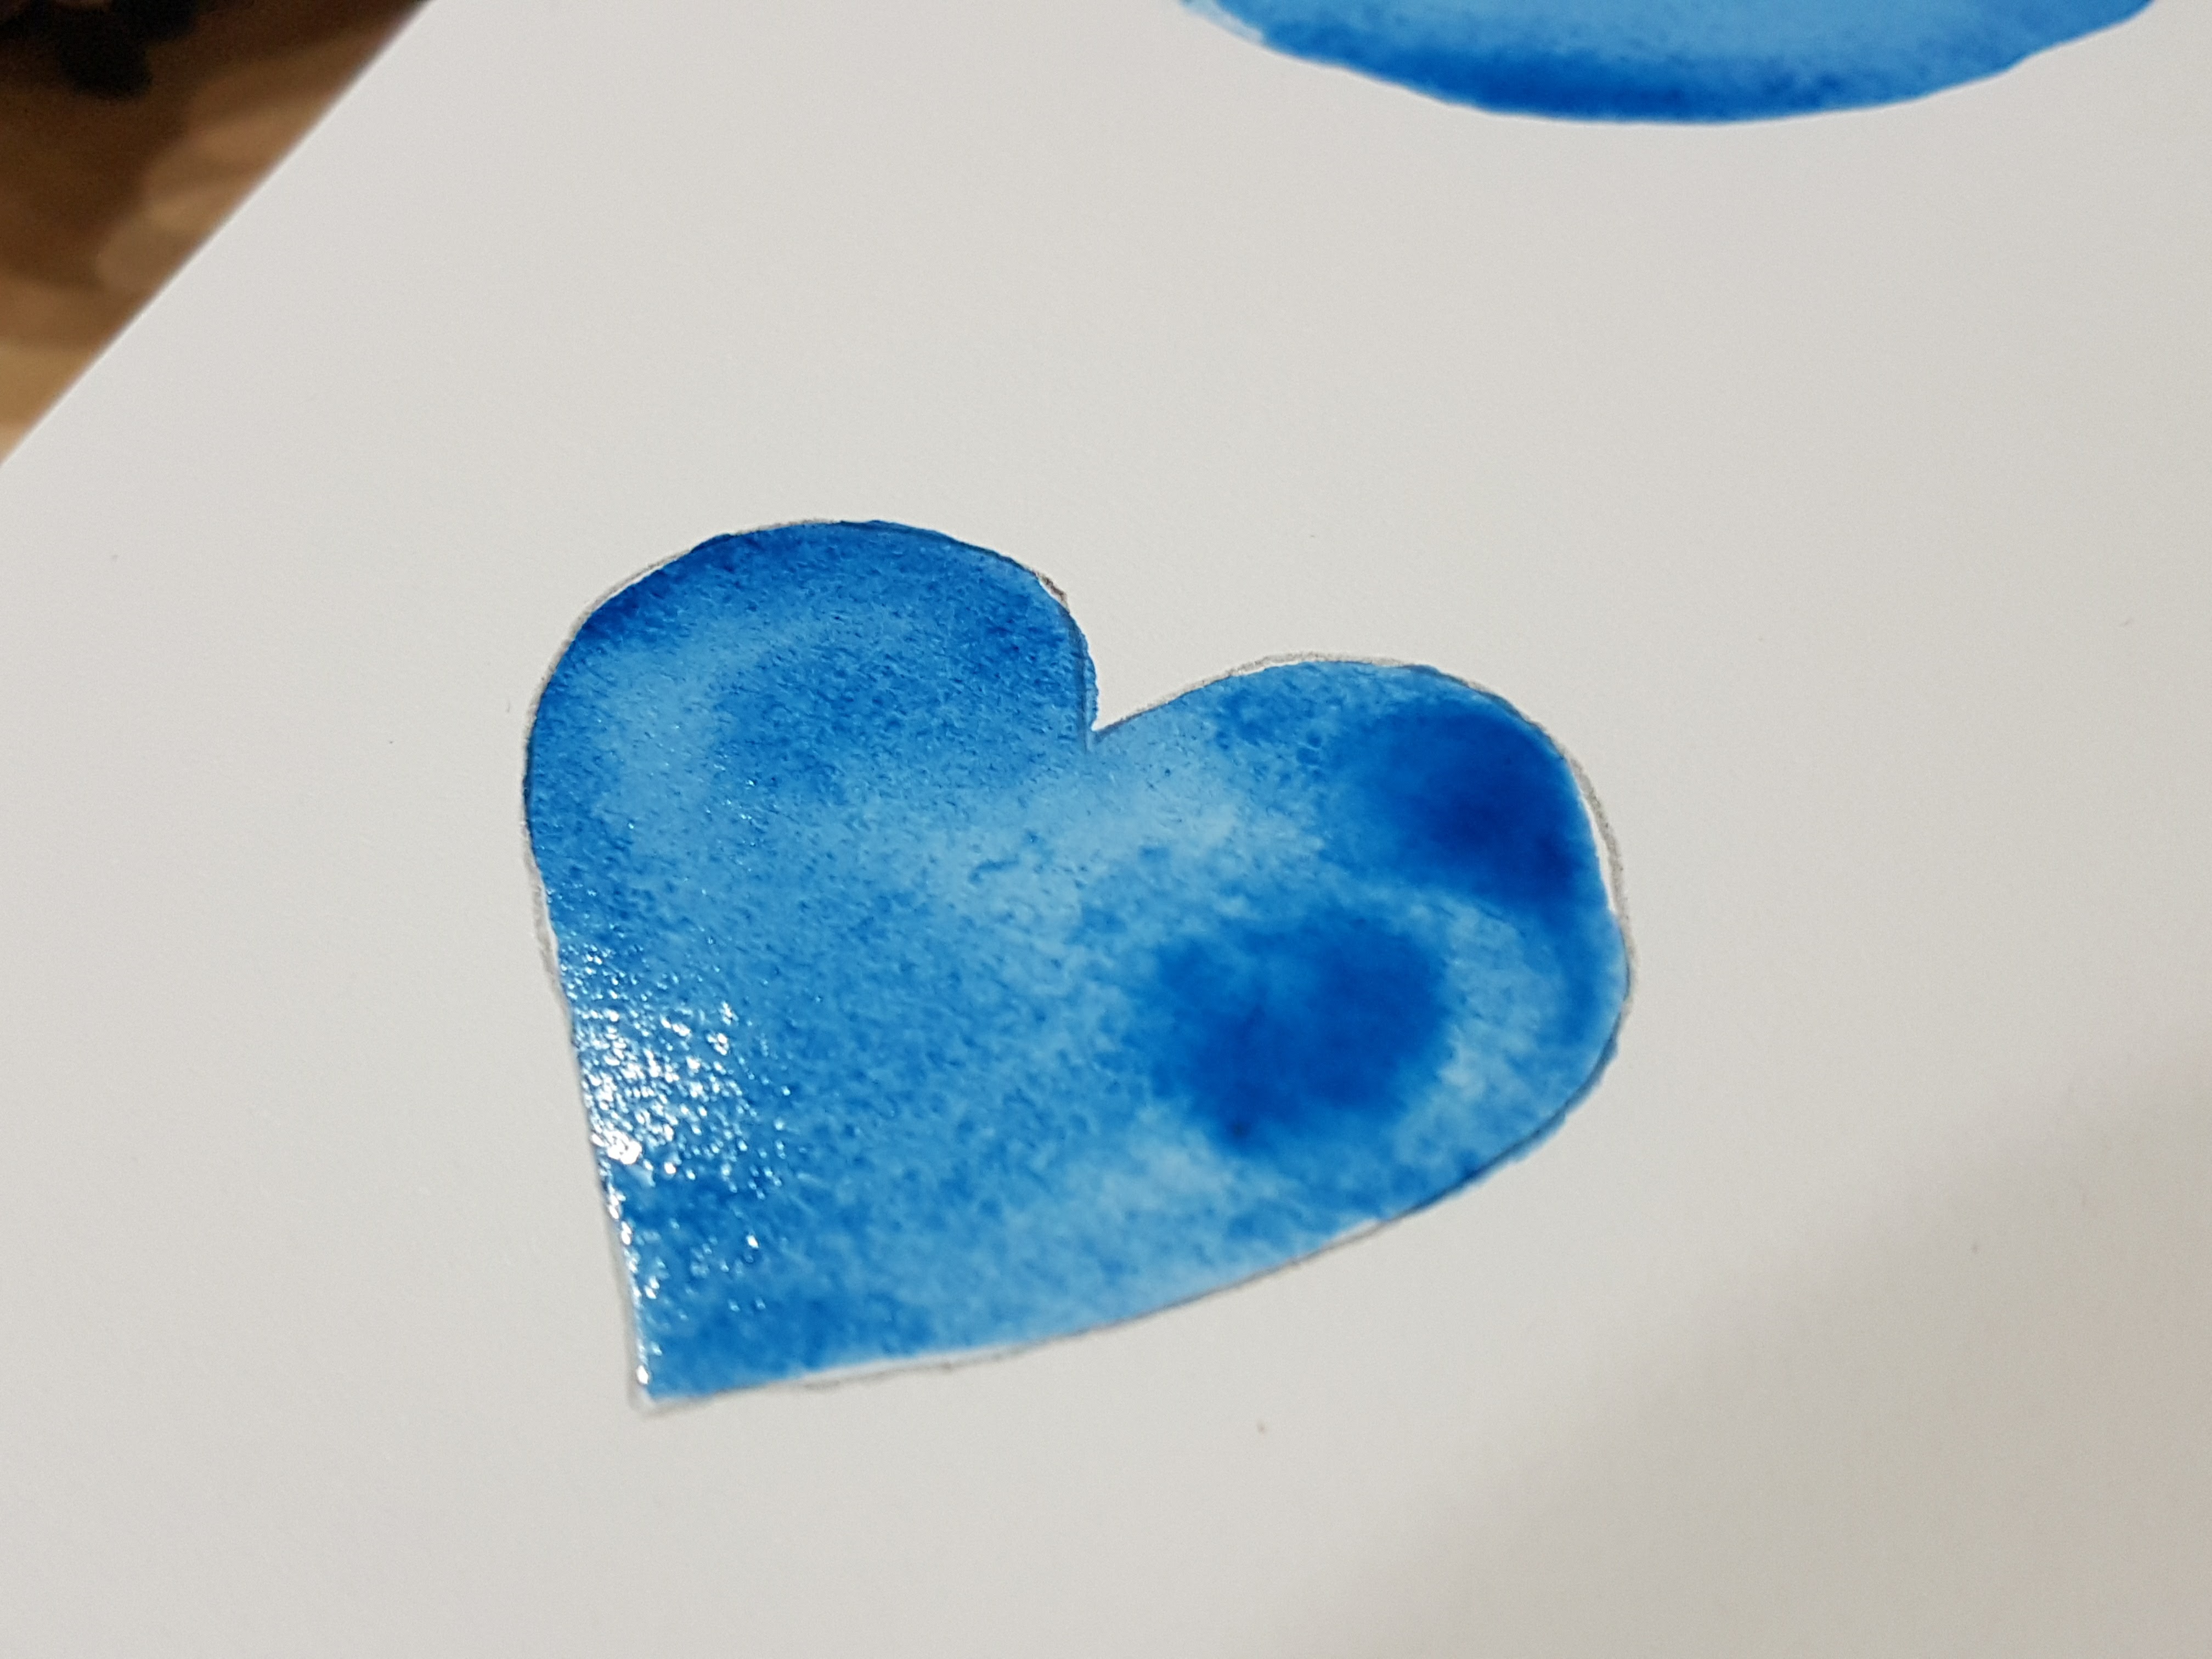
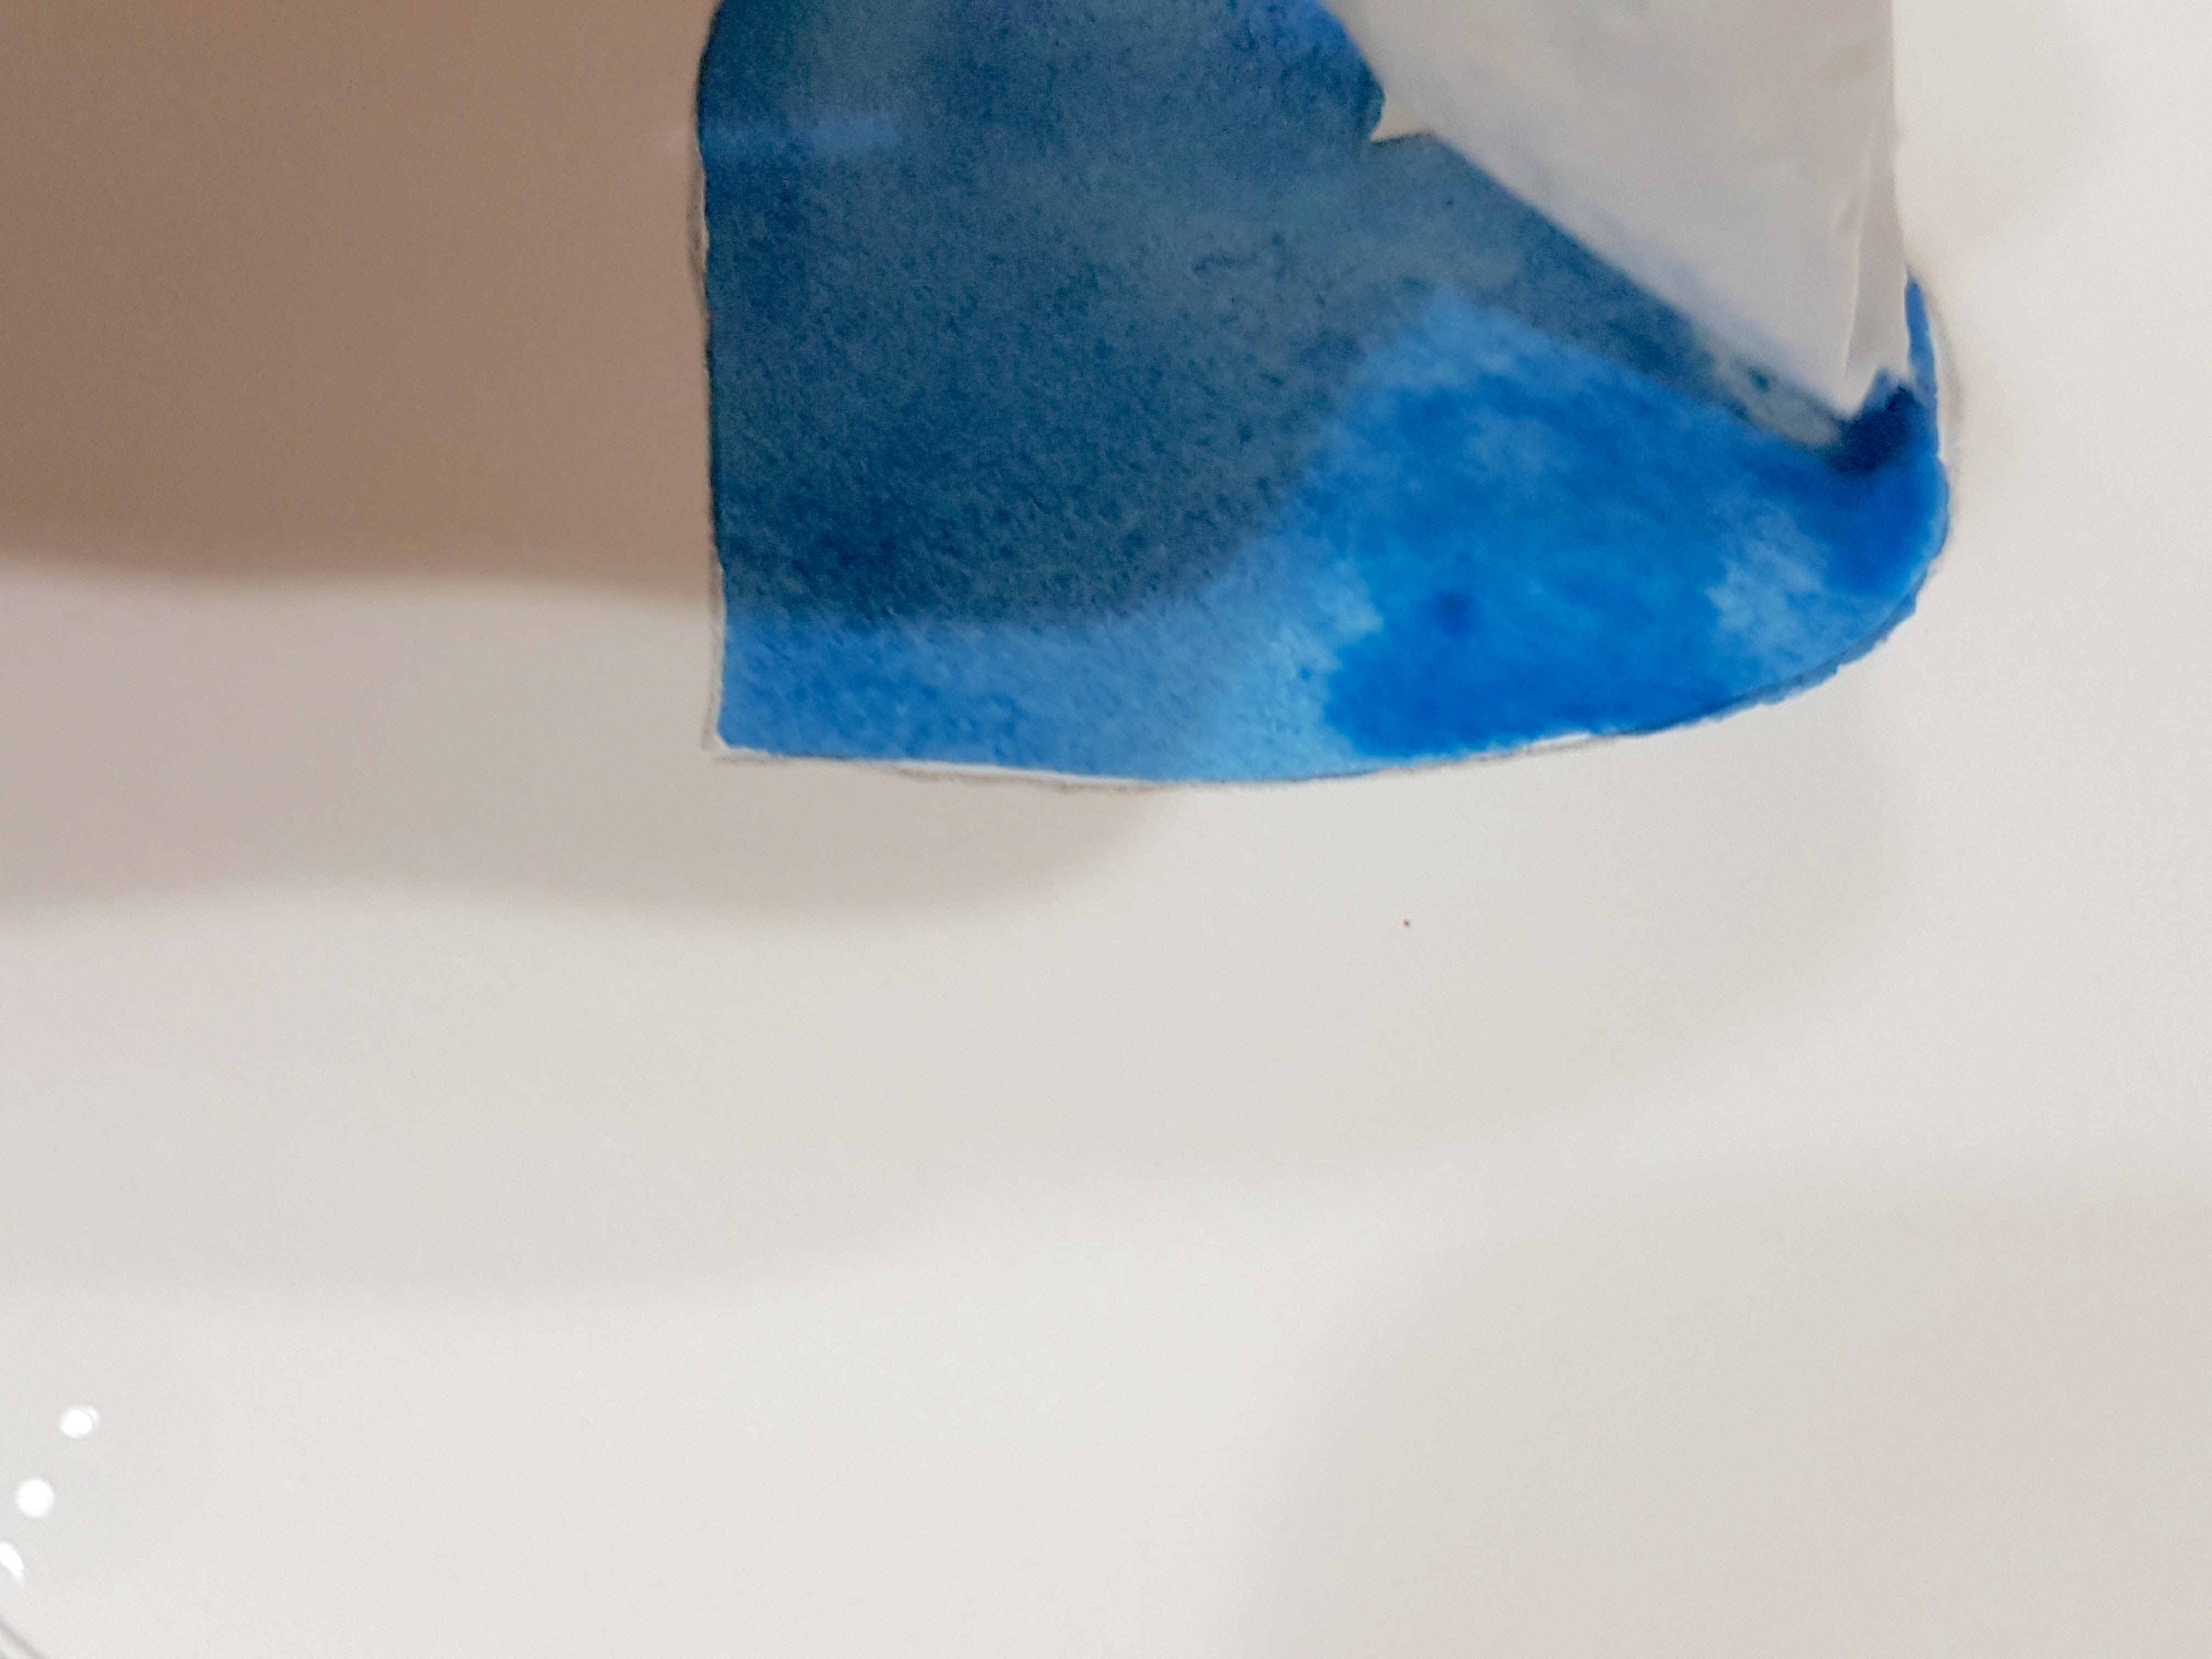
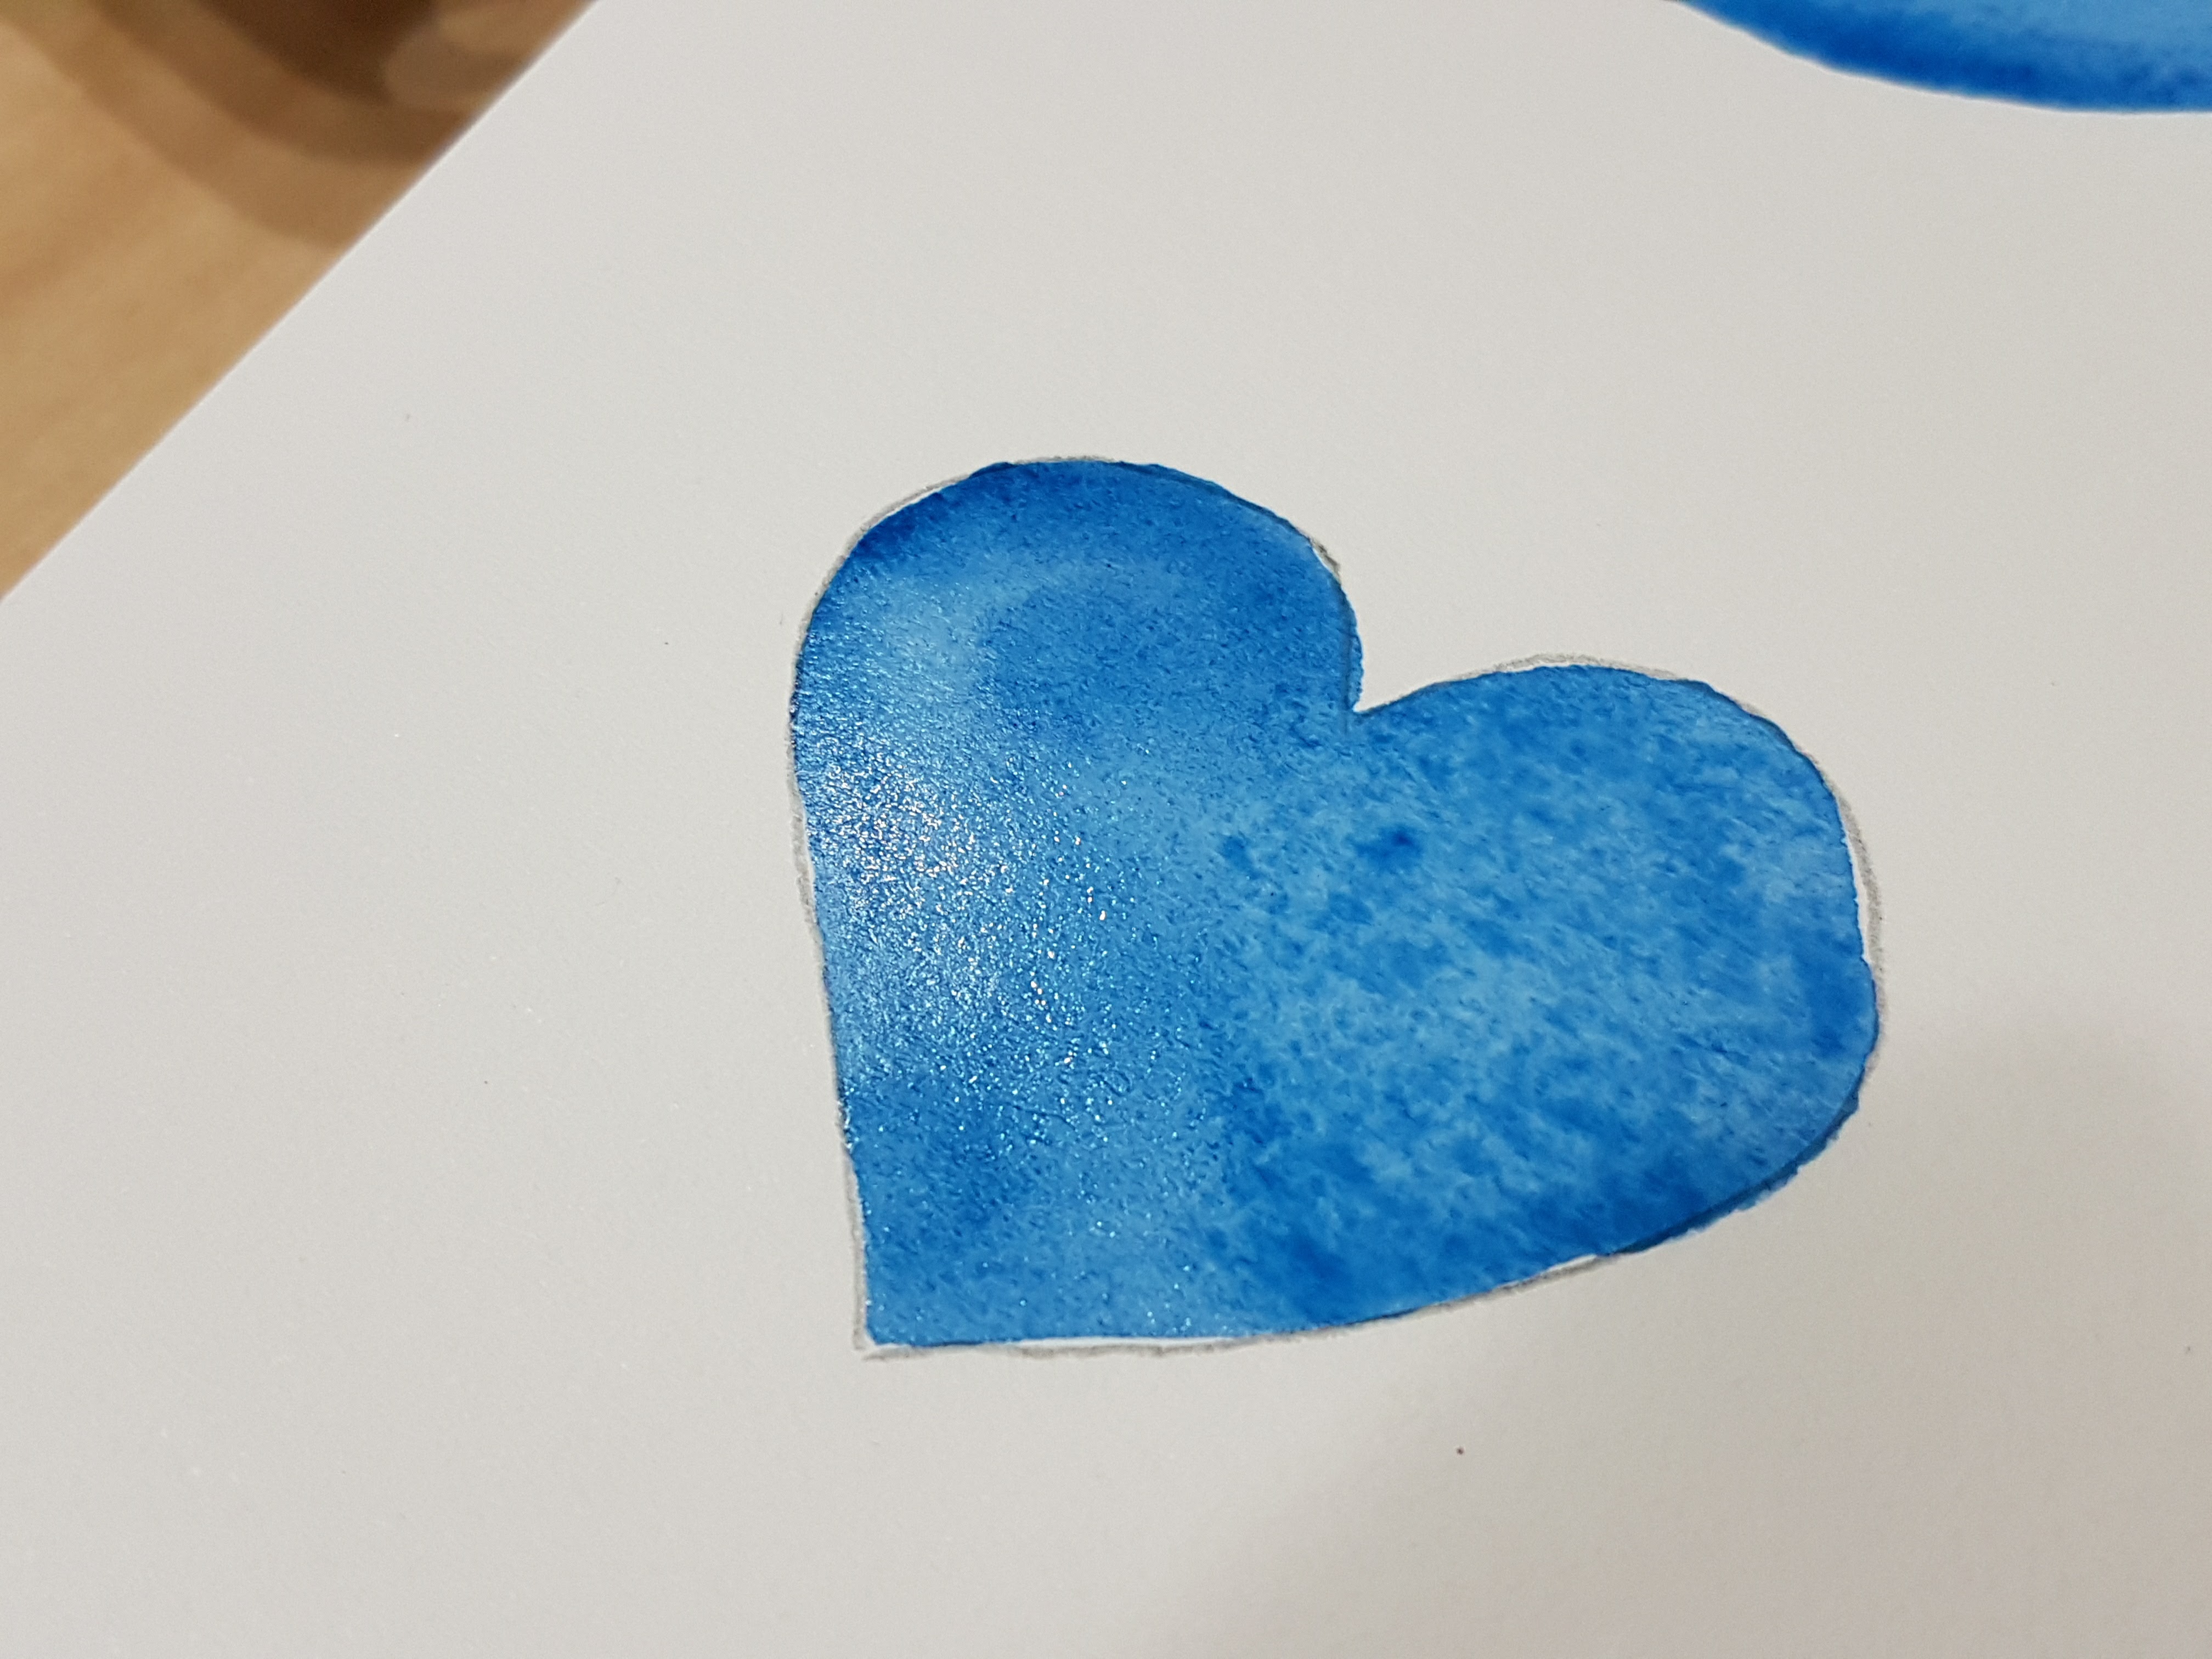
The most important thing when painting a wash (even layer of color) is to work quickly so it doesn't dry before you're done. Once you've put your brush down, don't pick it back up unless you need to. Each time you pick up your brush, you'll leave a small pool of color that will be darker than your wash. If you run out of paint and need to pick up the brush, be sure to return to the same place you left to pick up the pool of color before continuing.
When you get to the end and pick up your brush the last time, you can use a dry brush or the corner of a piece of paper towel to gently absorb any pools of color.
Note: Paper wrinkles. Color will pool in wrinkles, so painting an even wash on a wooden laser cut piece will be easier since it doesn't wrinkle.
Mixing Colors
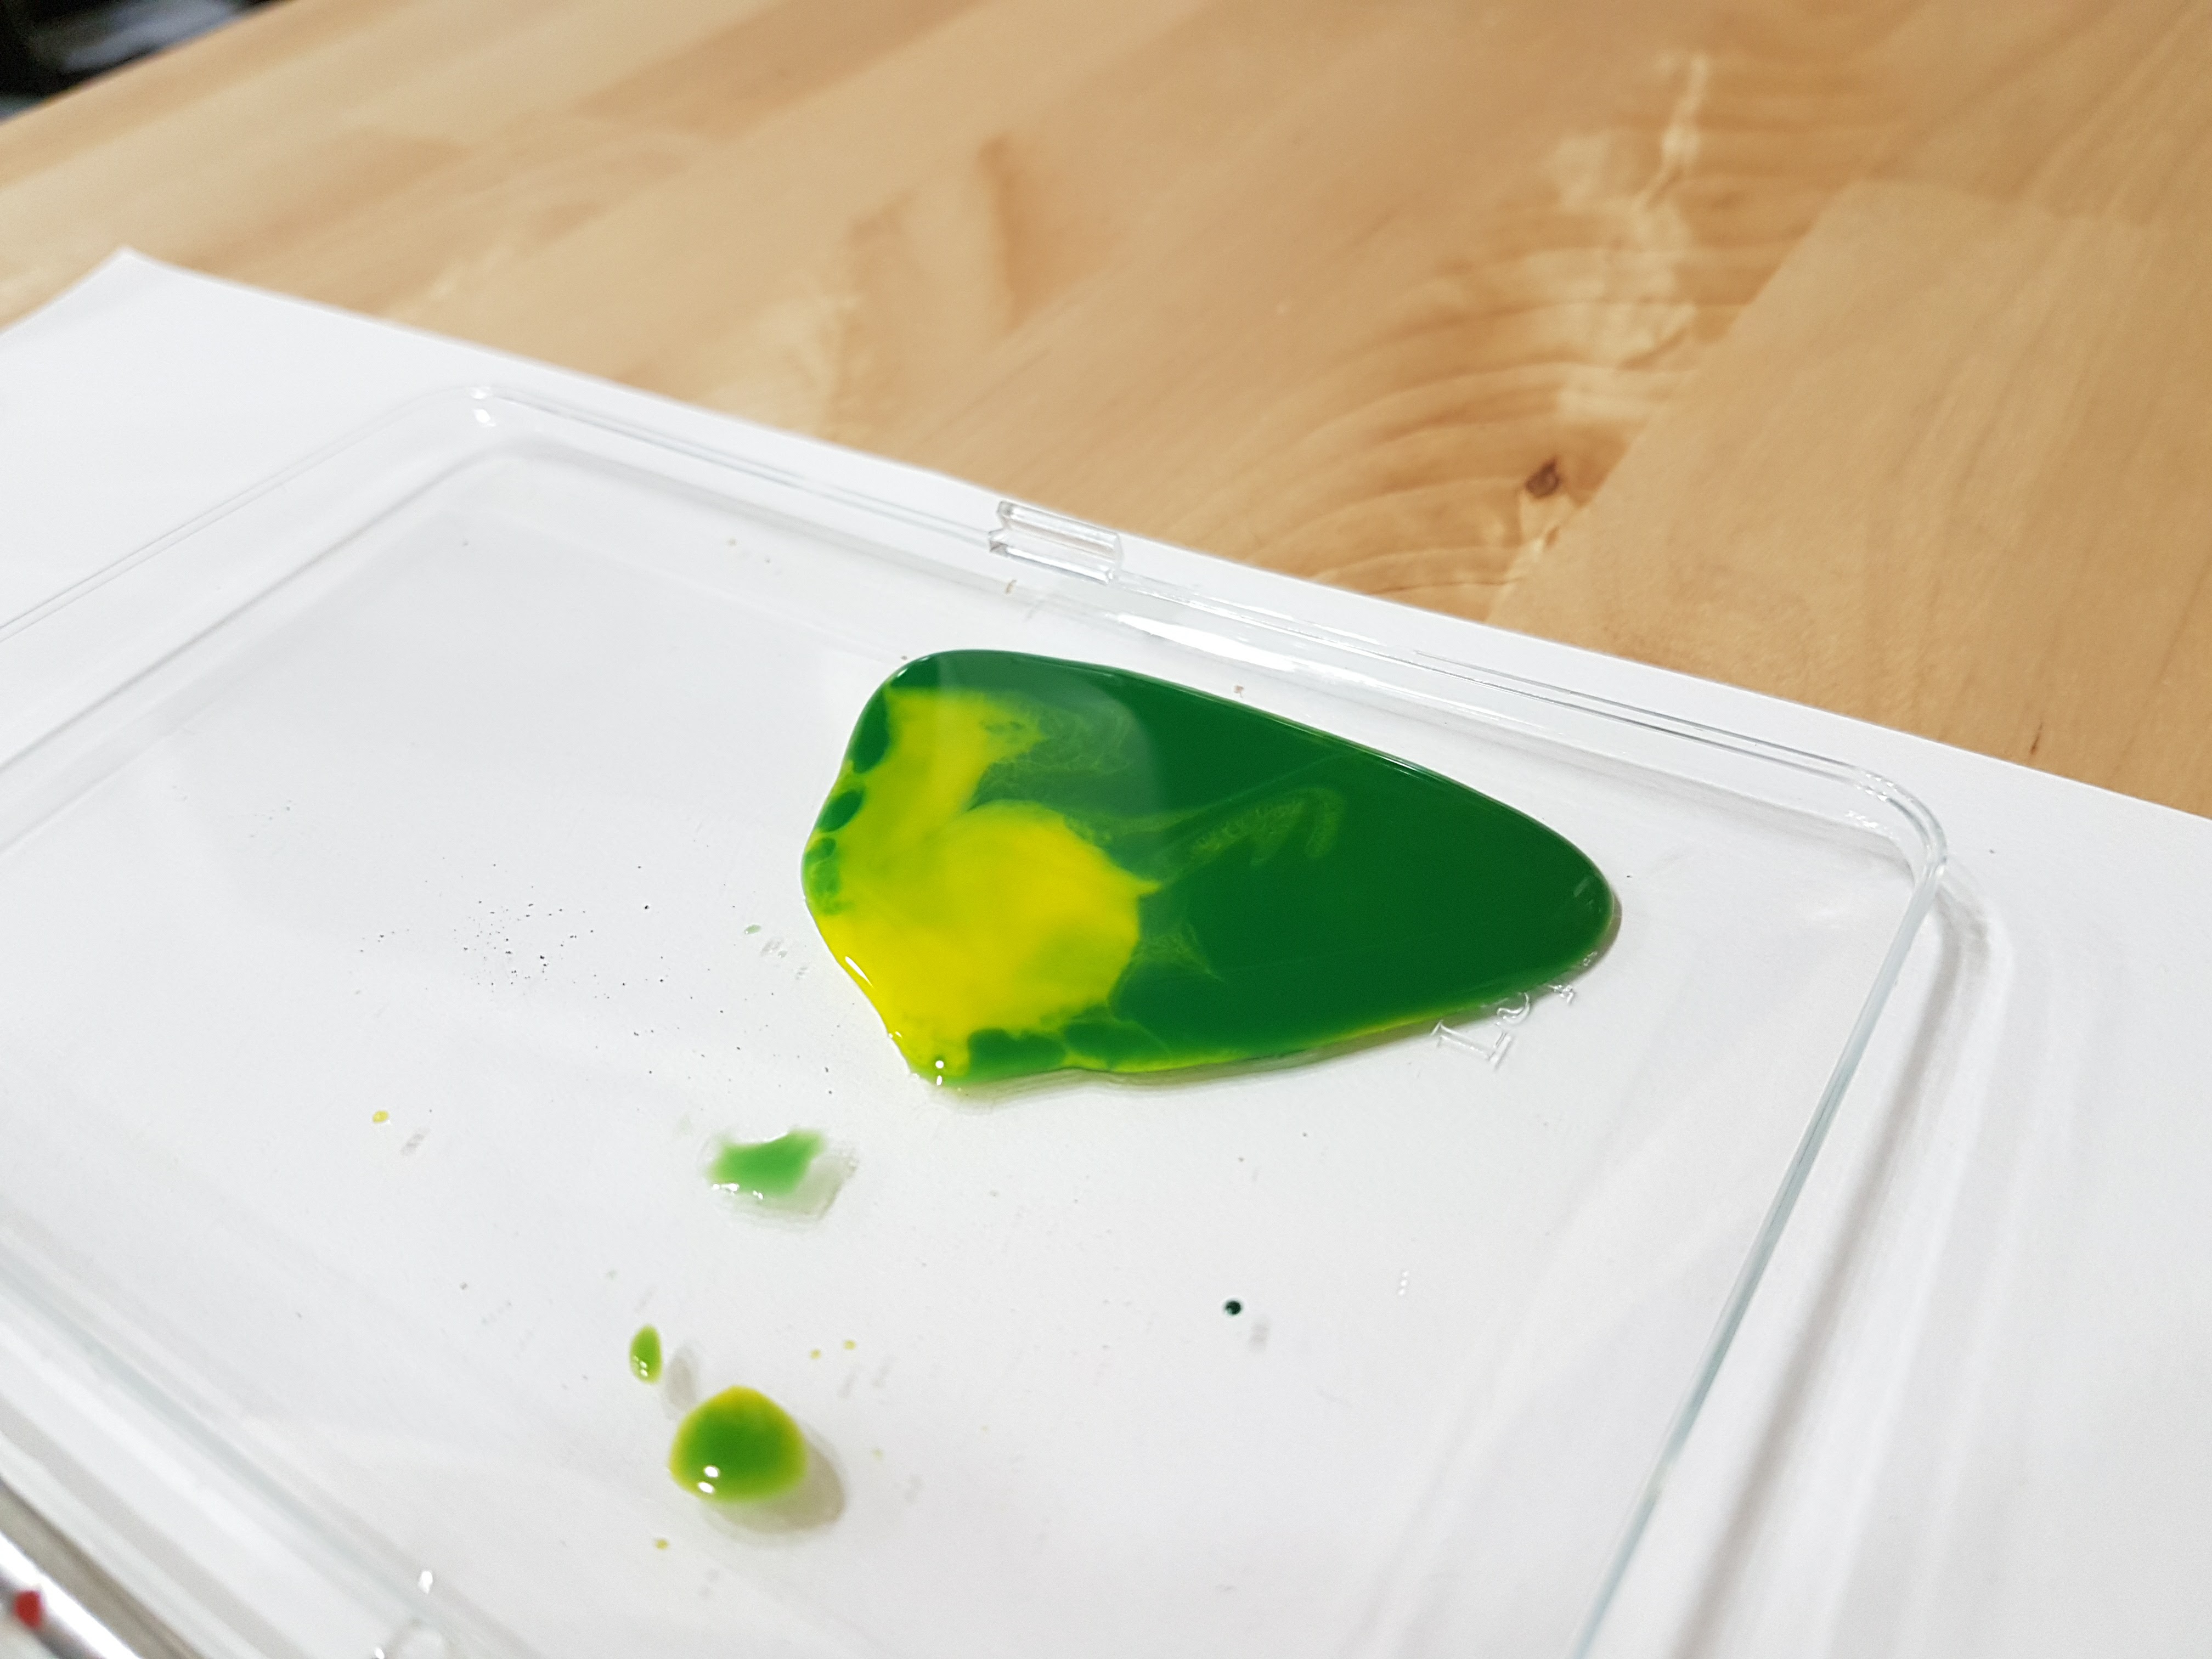
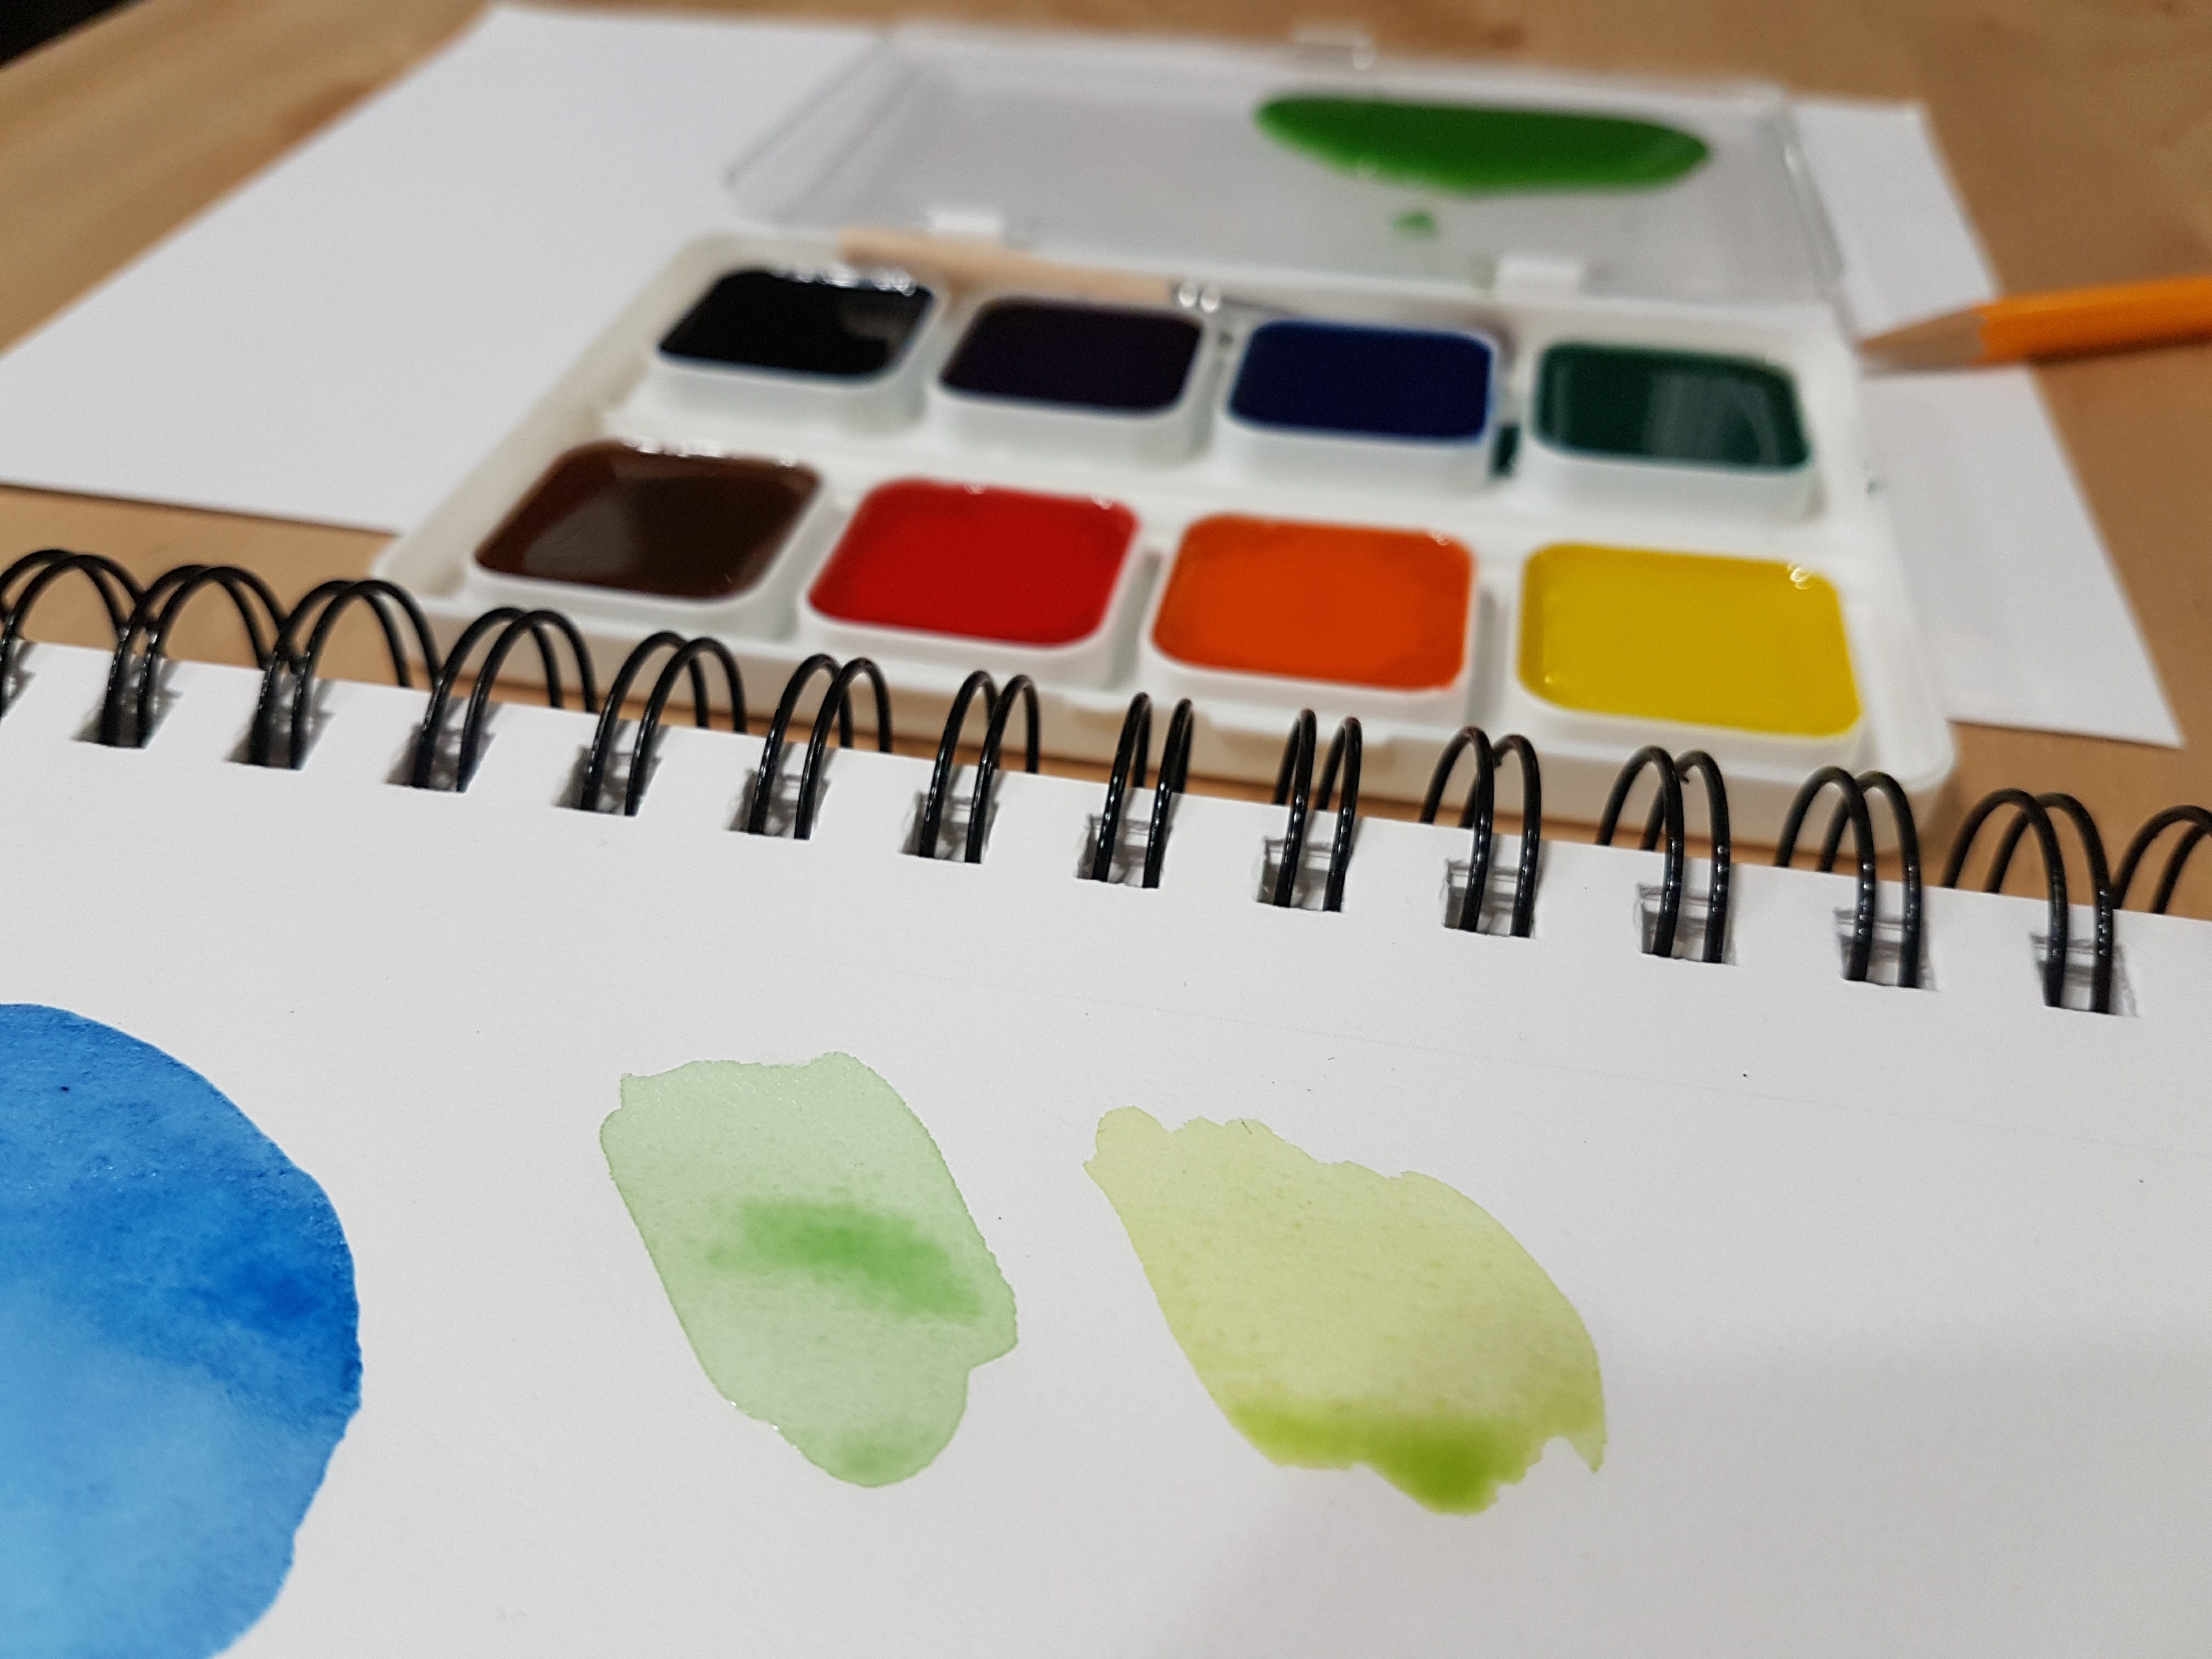
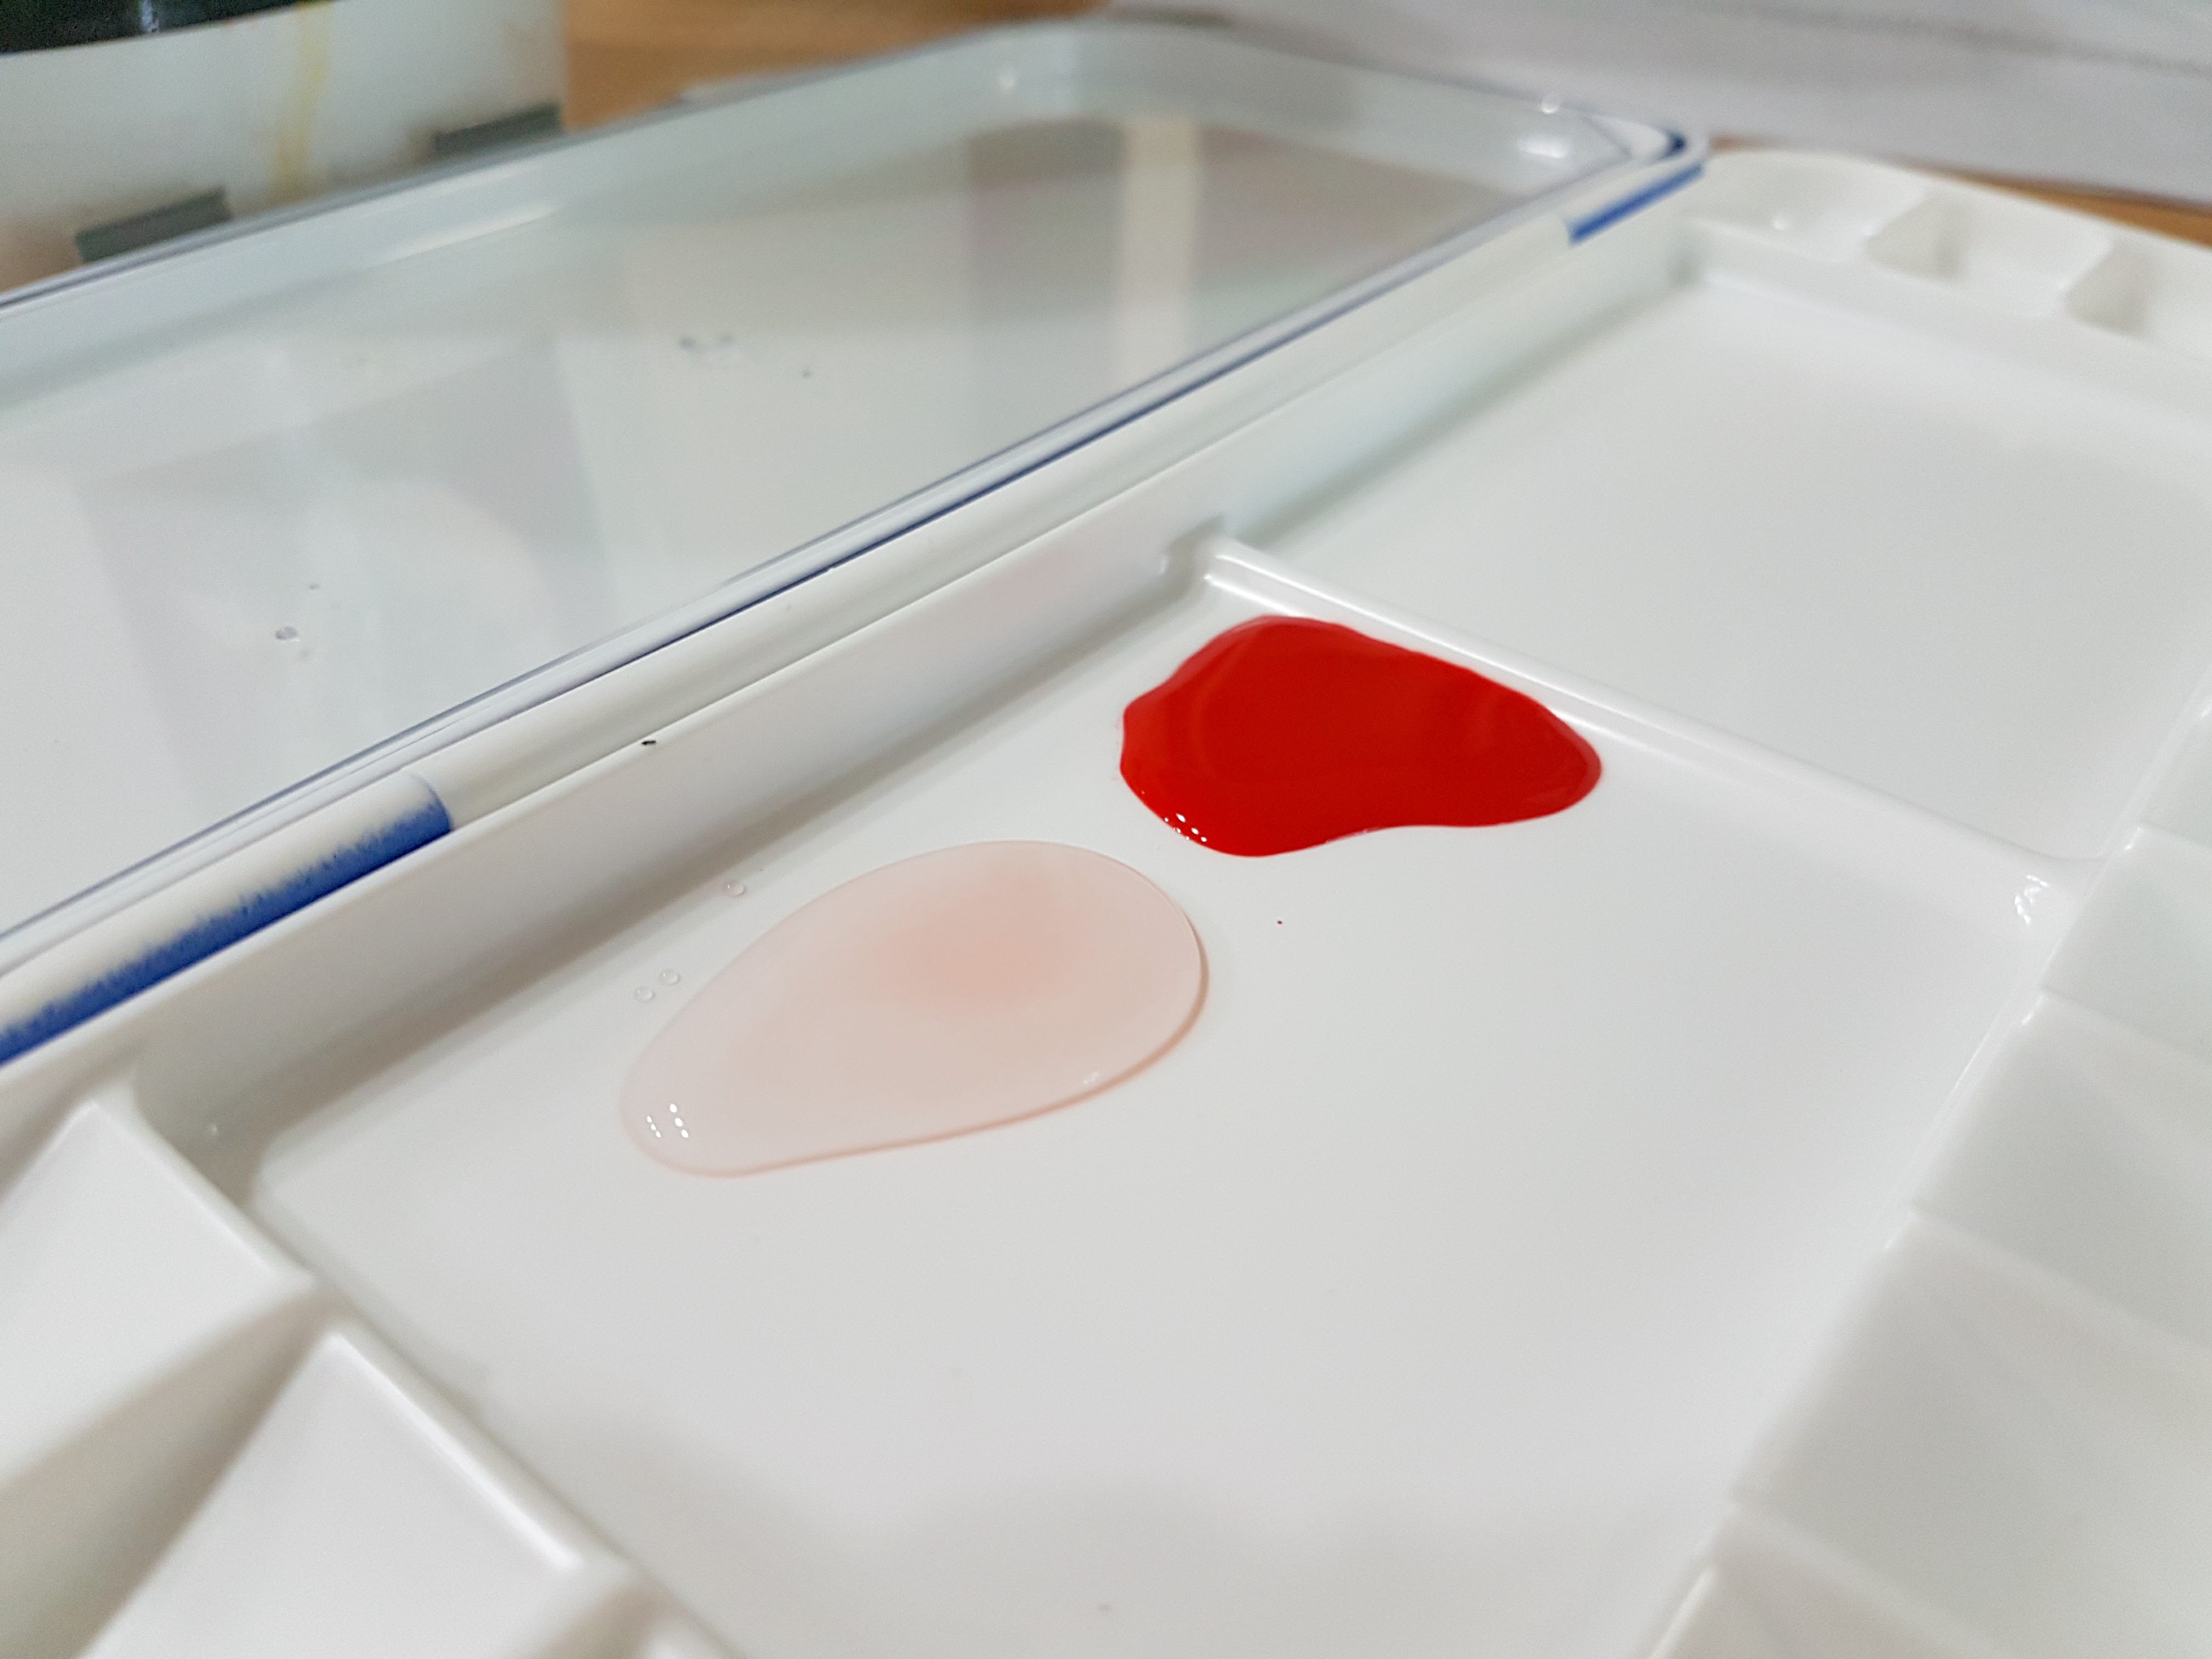
Sometimes you don't want the standard colors you get in a set. That's okay, because mixing is easy.
Load your large brush with one color you want to use and squeeze the color into the lid or onto another non-porous surface. Rinse your brush and repeat with the second color you want to mix. I wanted a nice lime green, so I mixed green with yellow.
Use a clean brush to mix and paint a small swatch on a piece of scrap paper. If you don't like the color, continue adding paint until you do. I ended up adding more yellow after my initial mixture turned out to be a bit darker than I wanted.
If you want a color to be lighter, mix water with your color.
Note: When you've mixed a color out of the pan like this, your washes will be more even because the paint is distributed evenly on the brush.
Layering
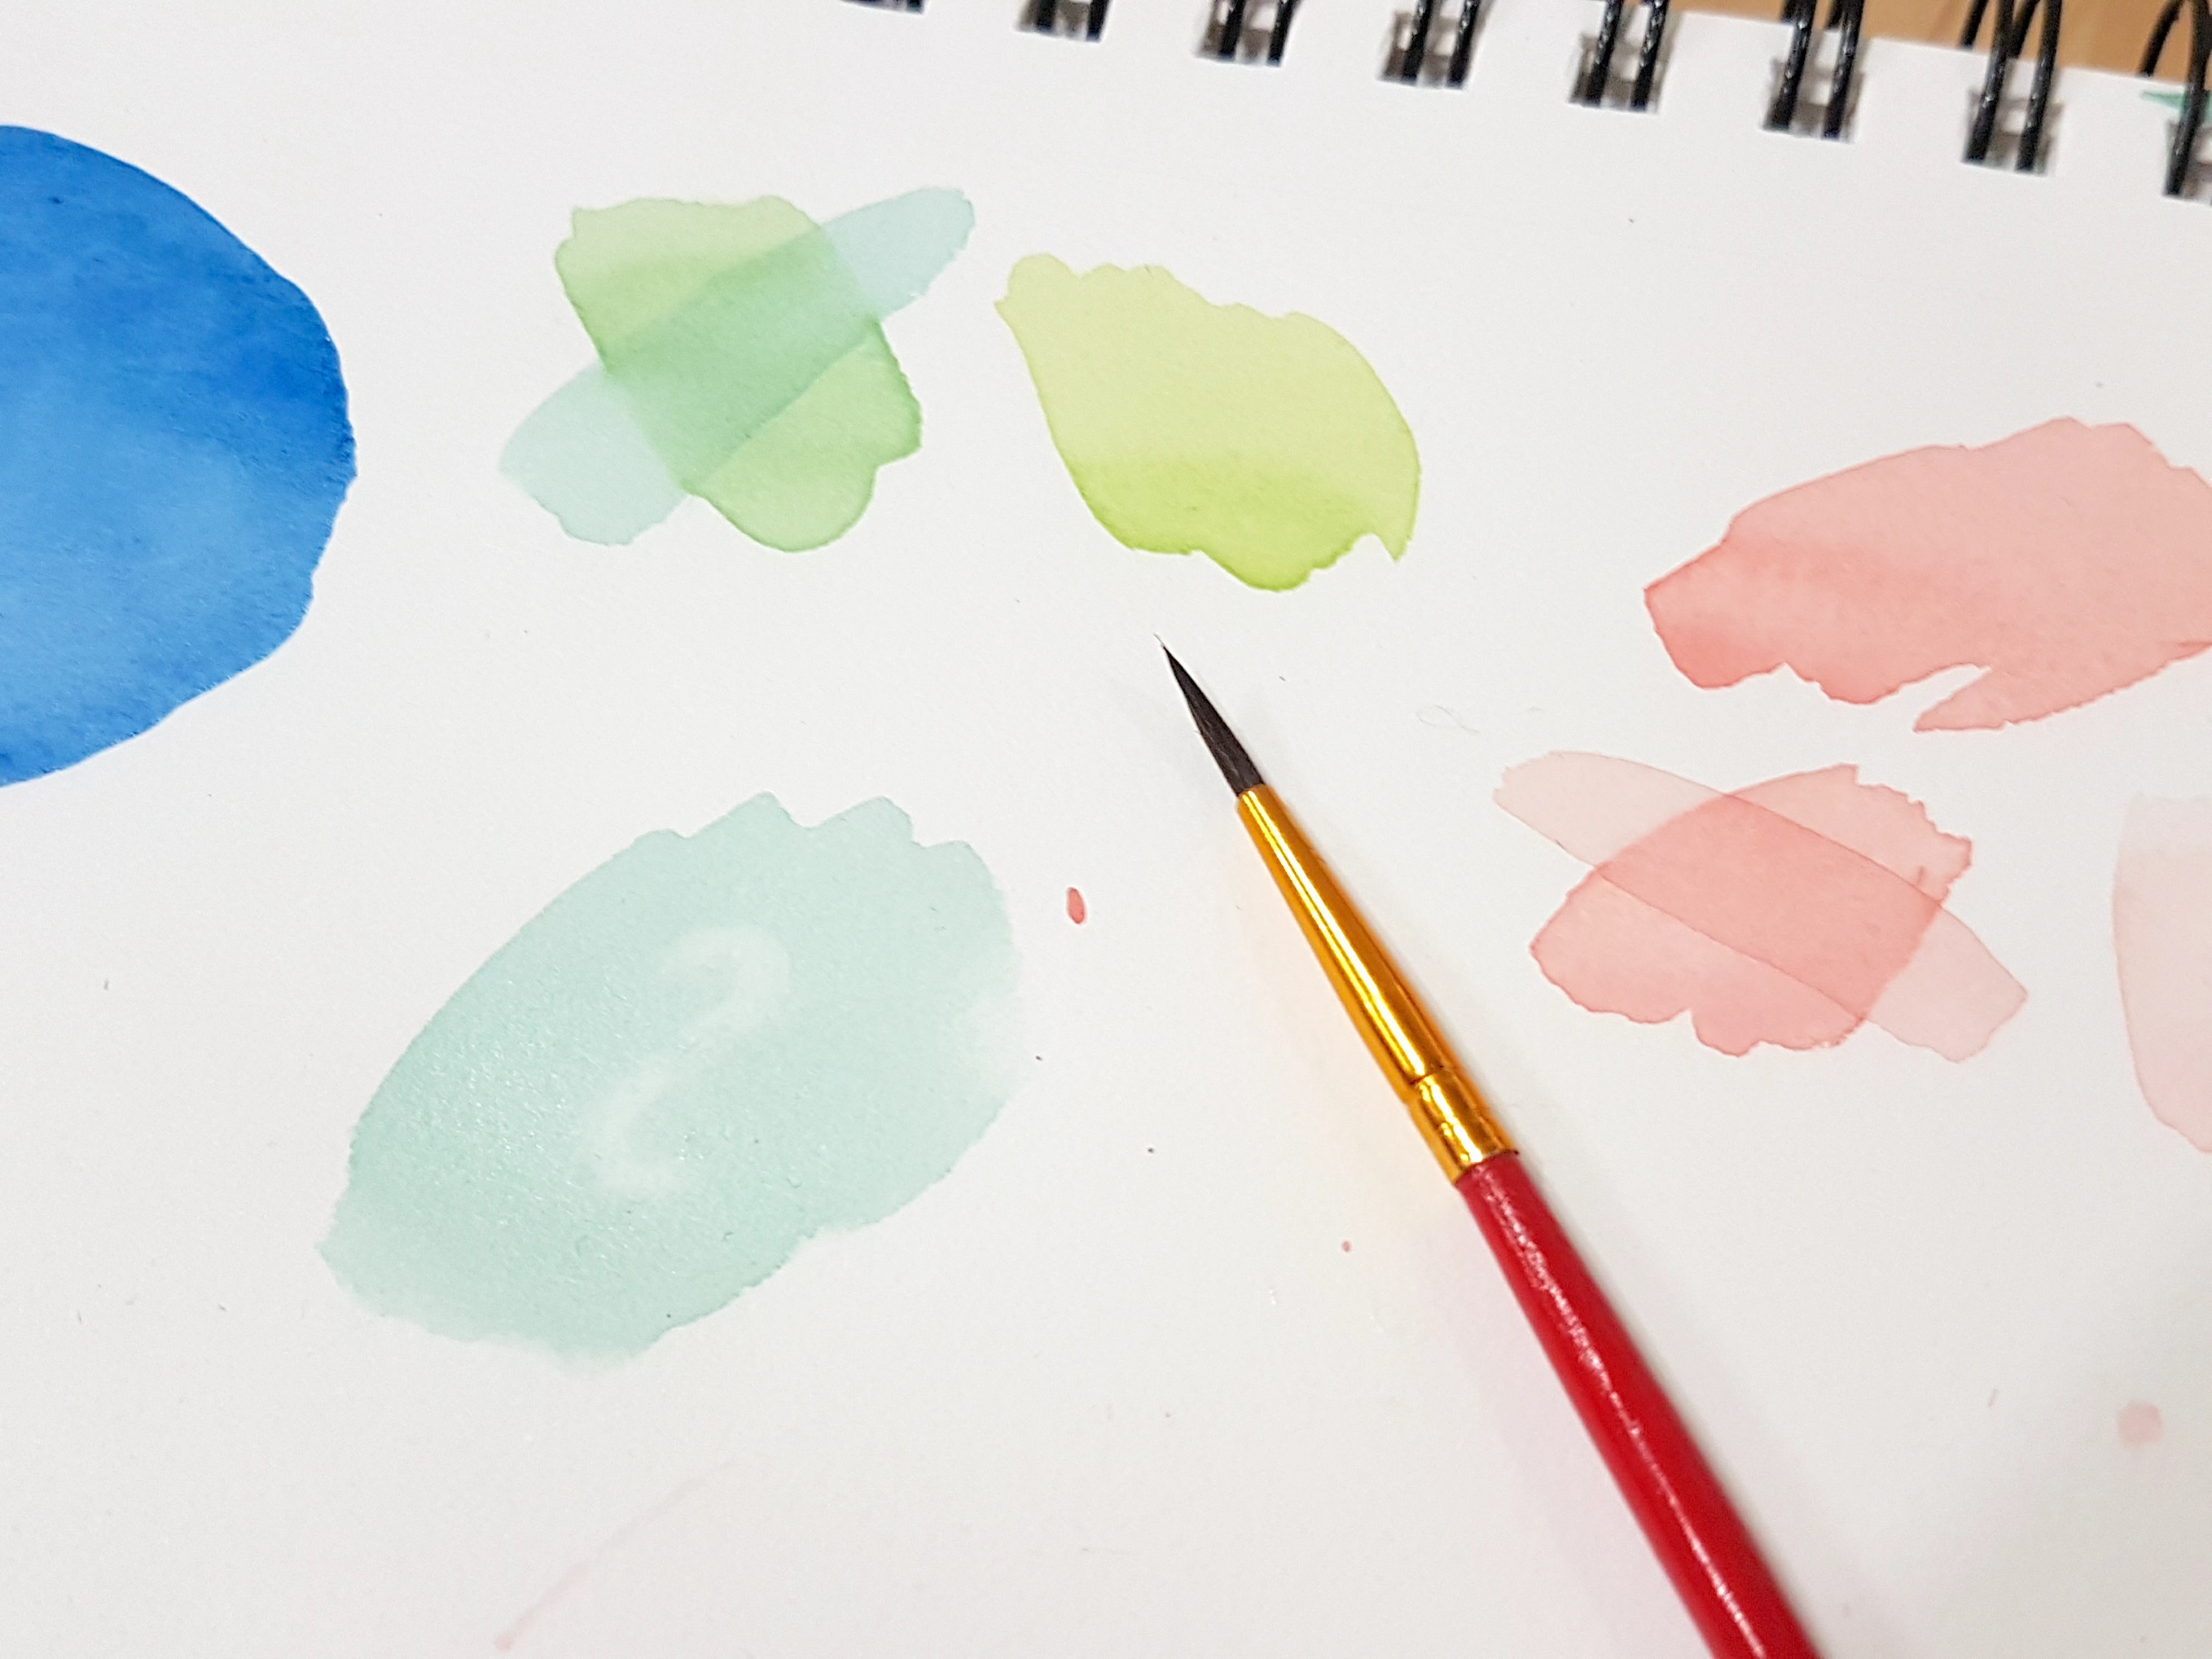
Colors can also be mixed or darkened by layering. After the previous layer has dried, you can add another layer of color. This can darken areas or change their color if a different color is layered on top.
Painting on Wood
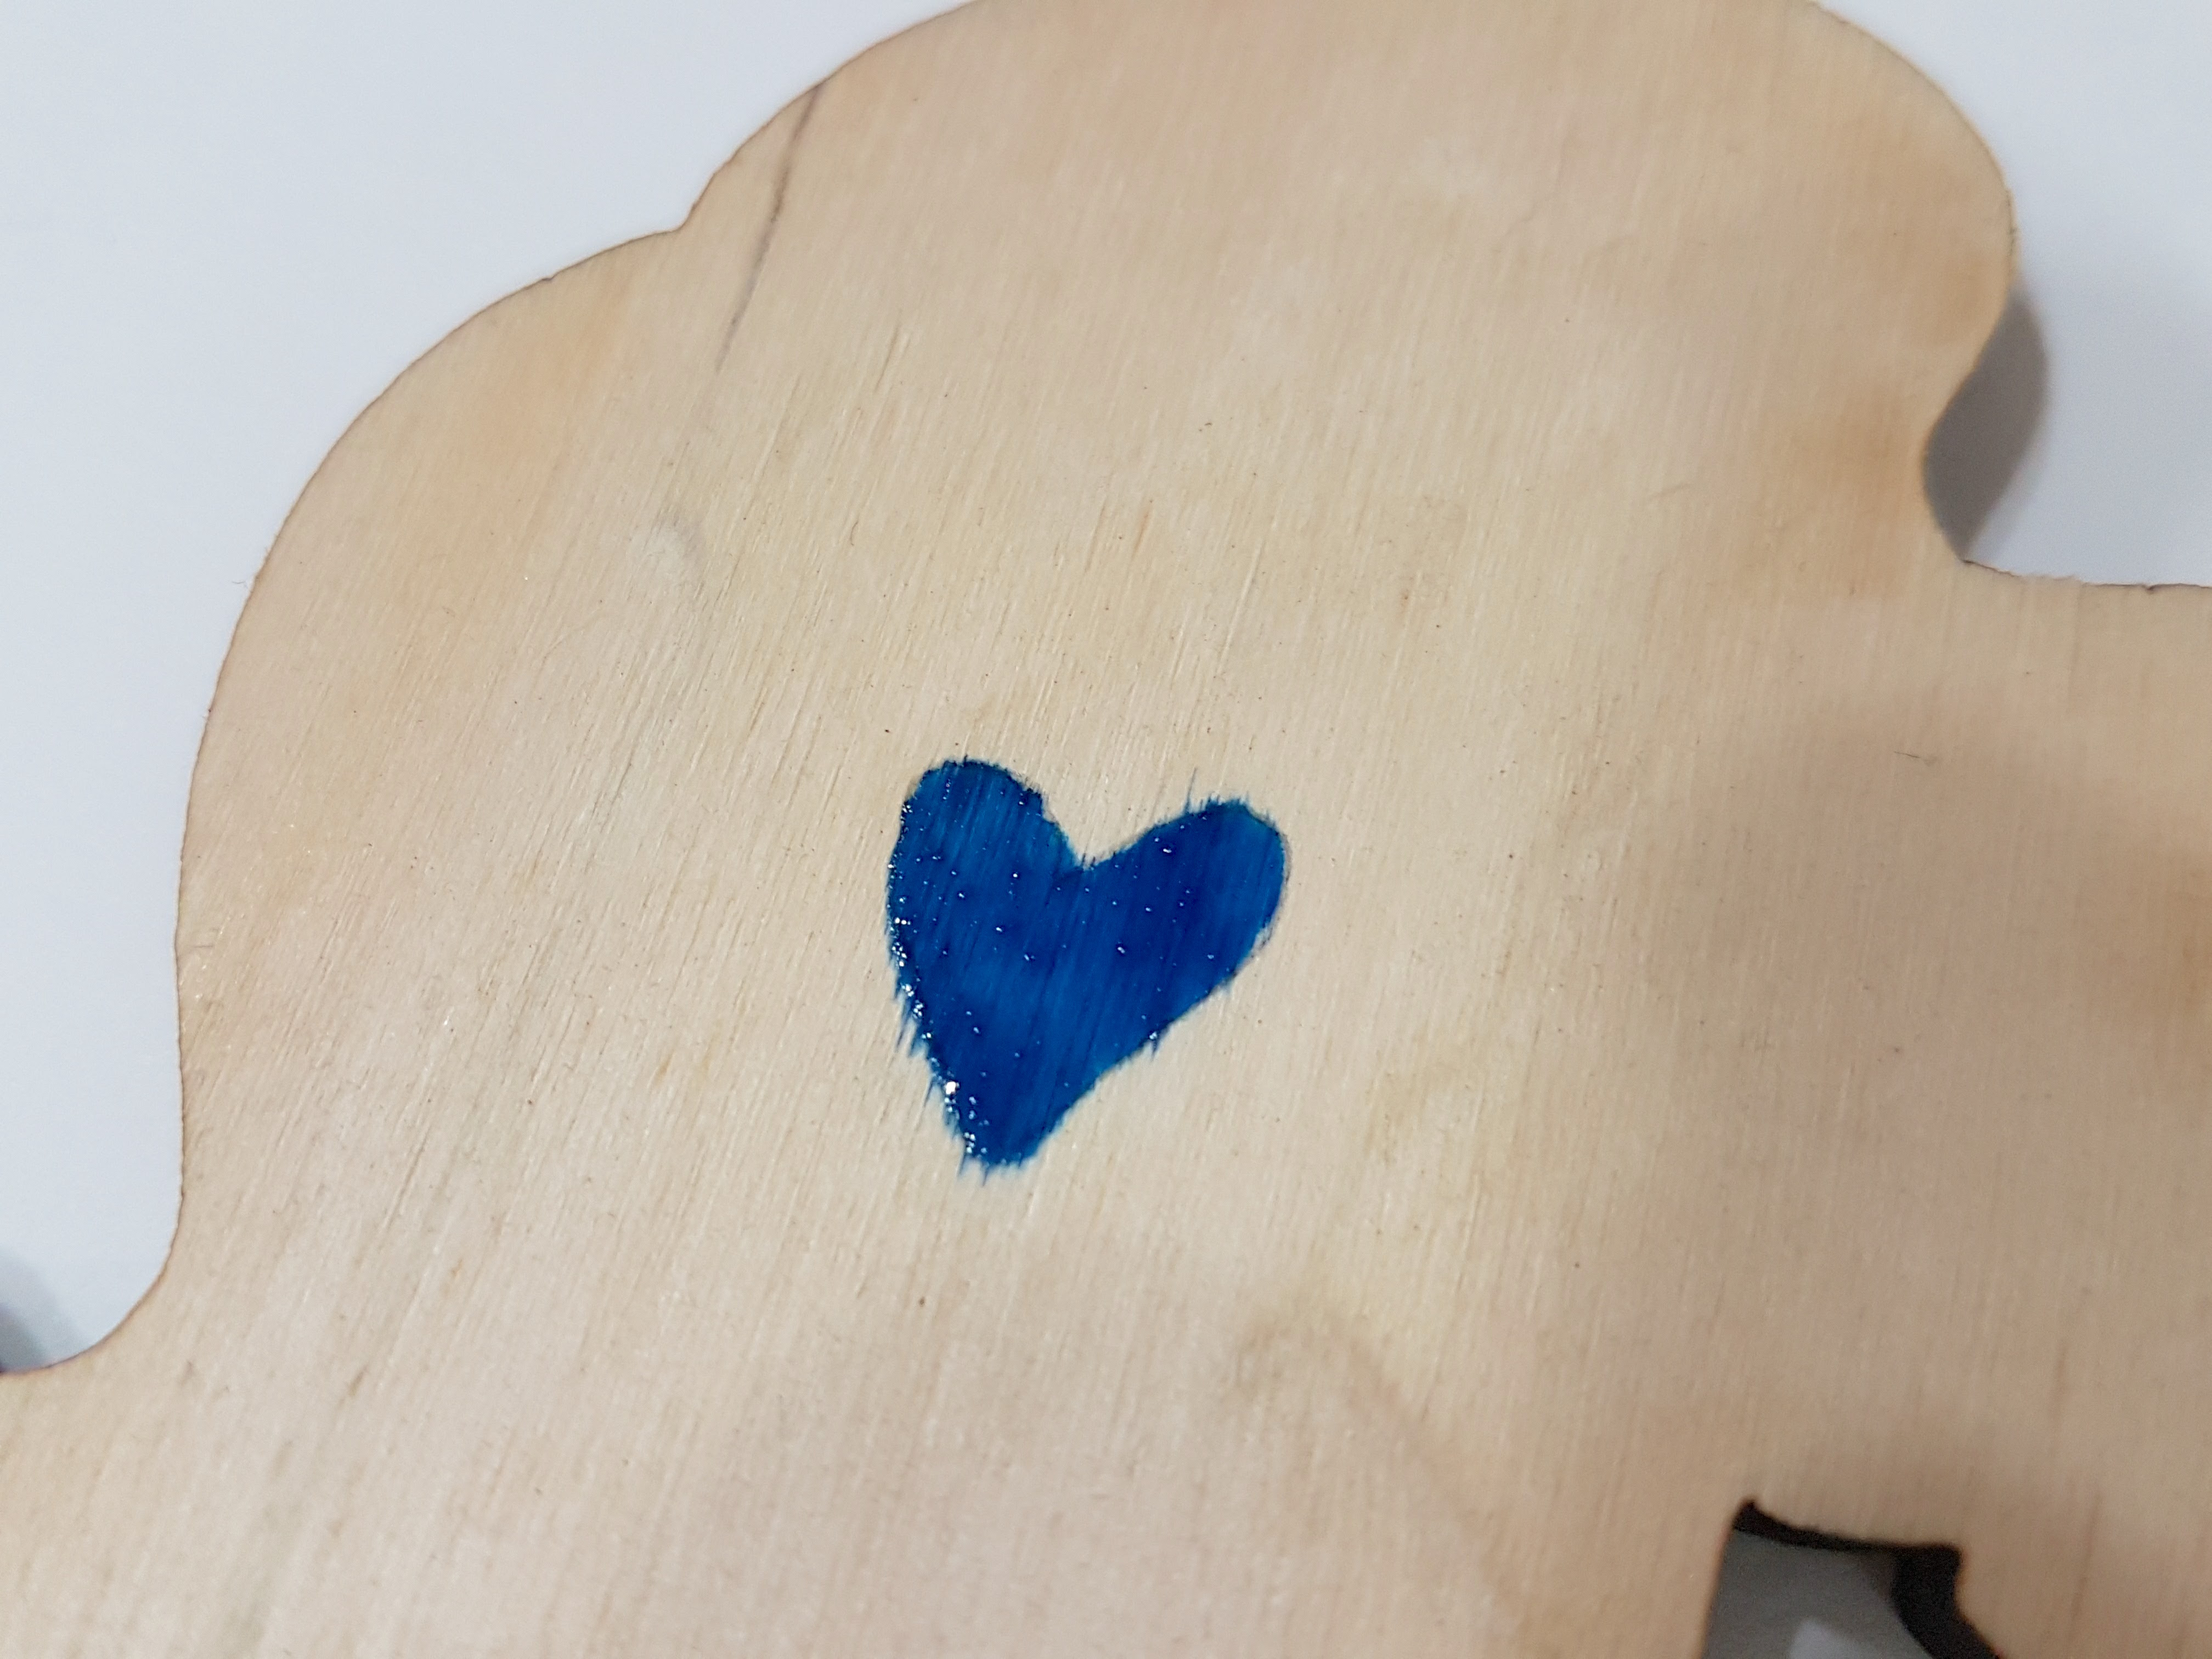
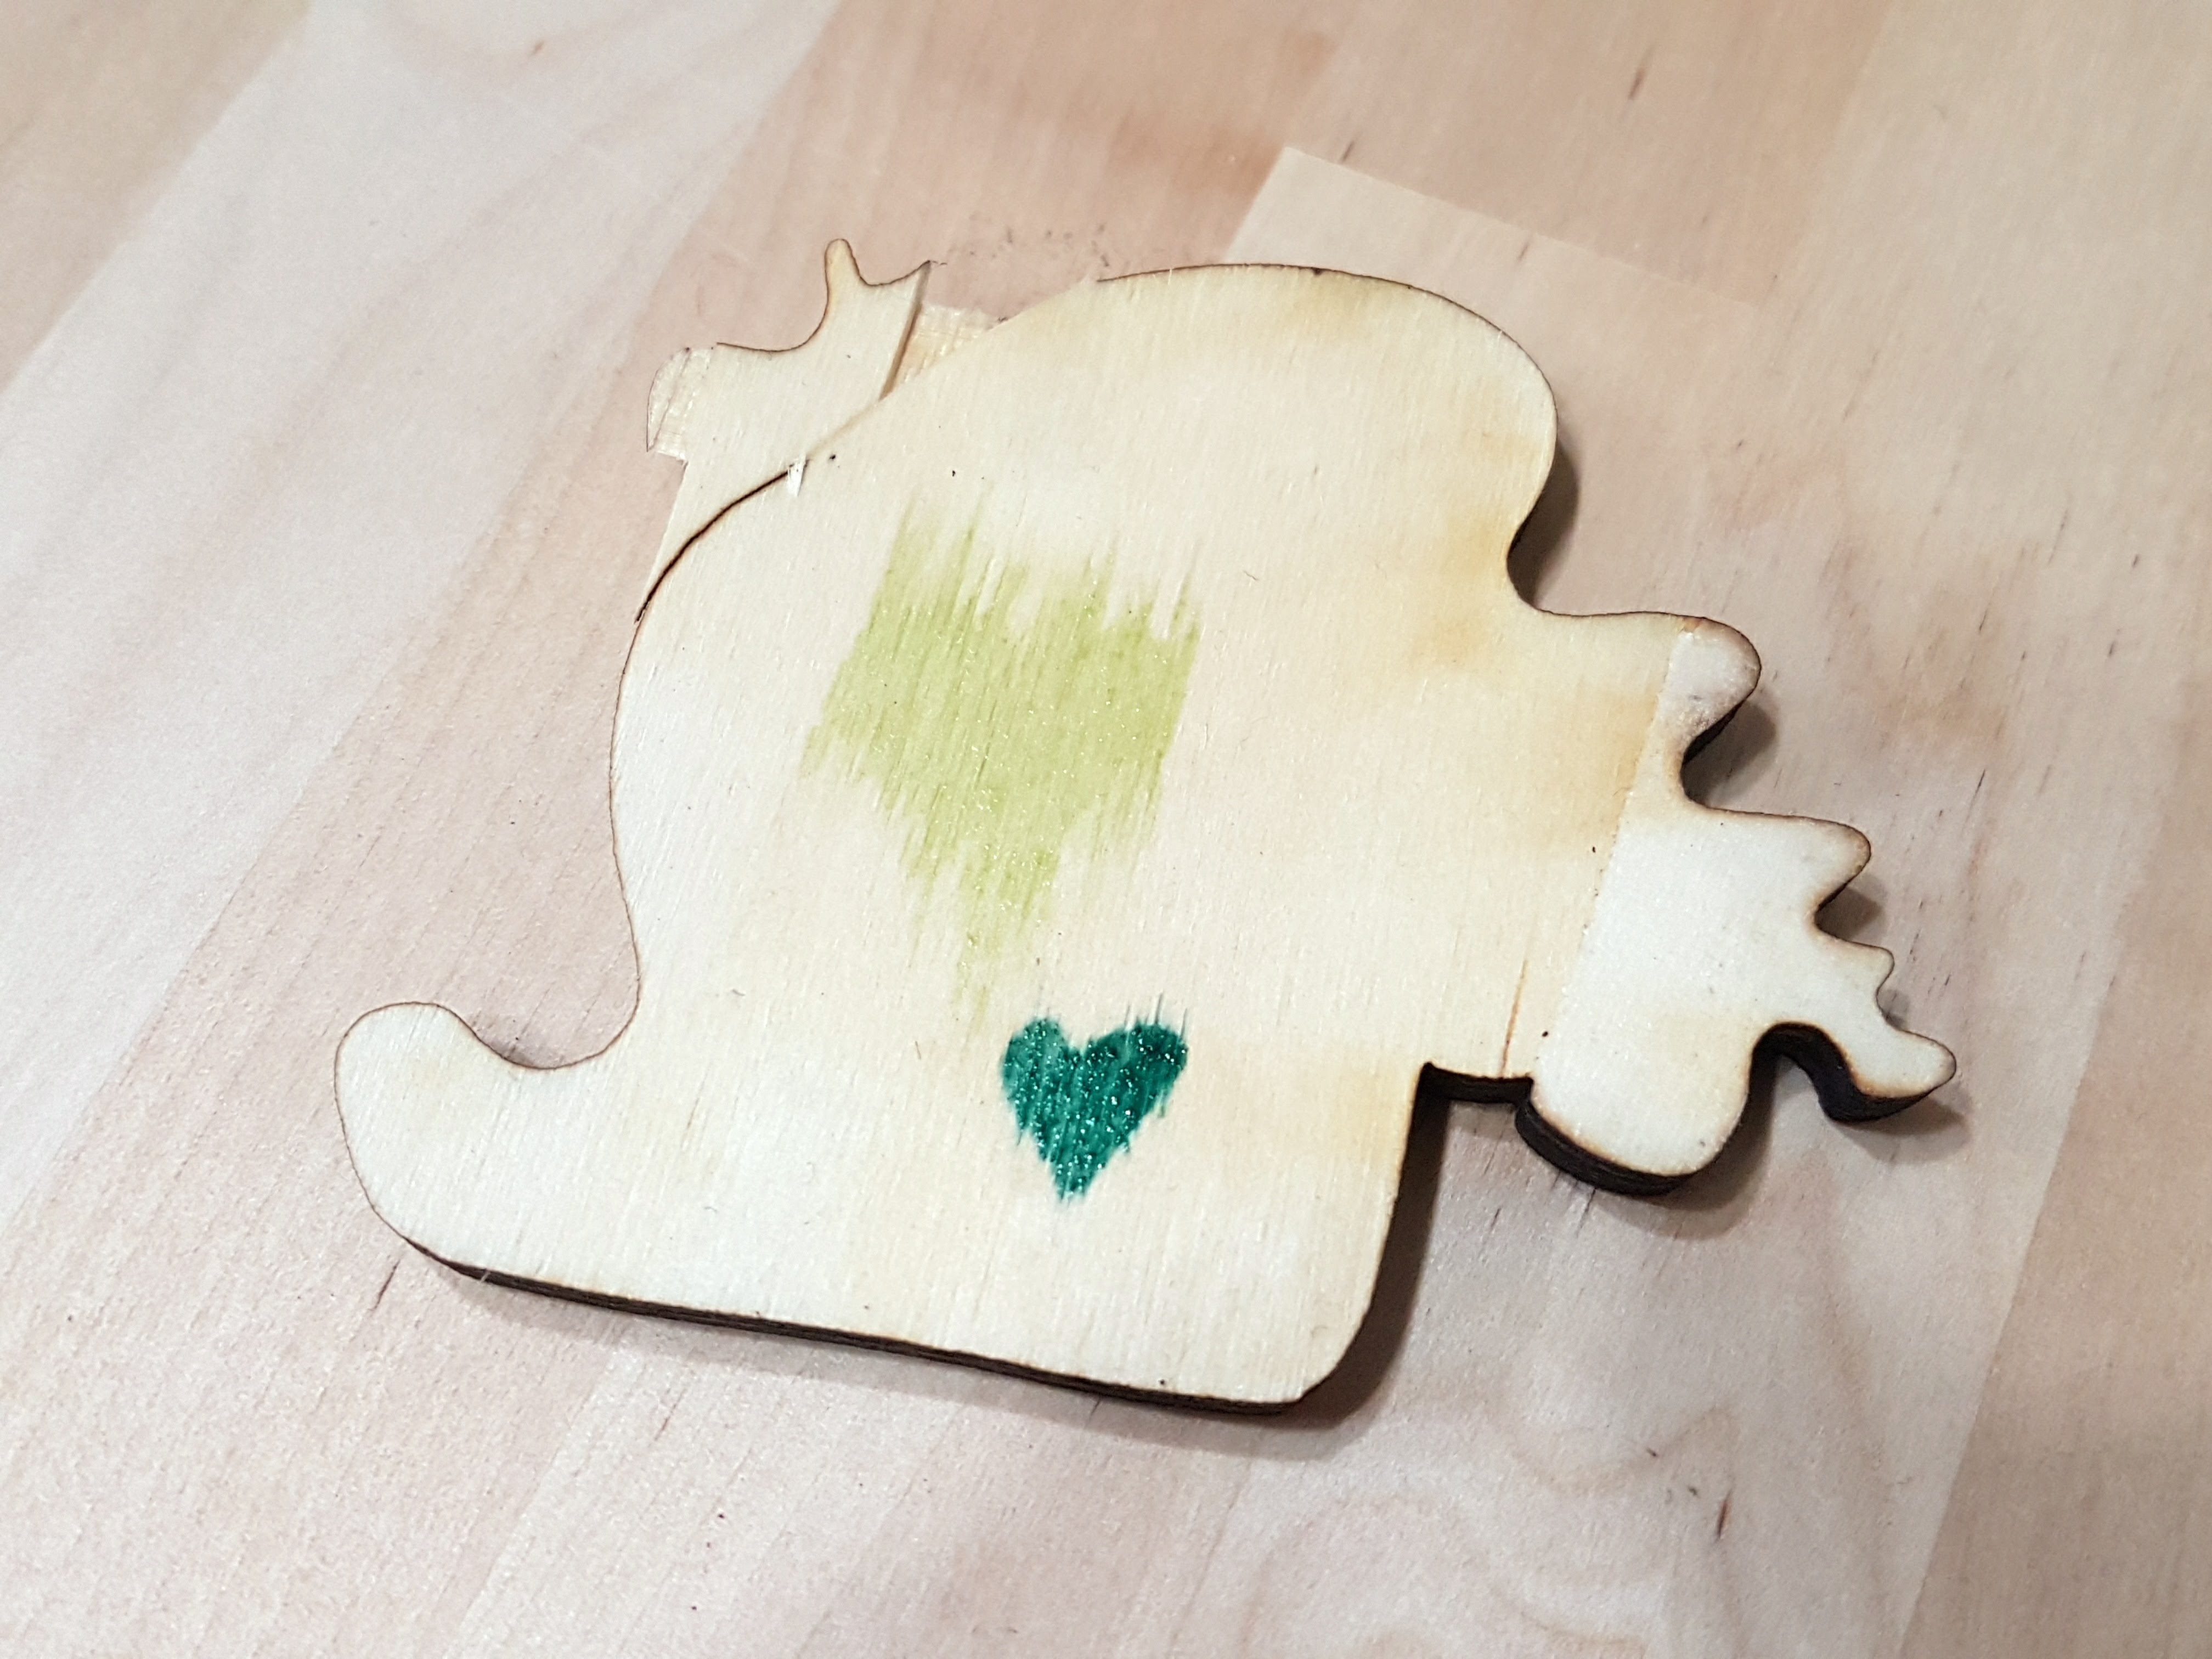
Painting with watercolor on wood can be tricky, but it also has it's benefits. Wood doesn't wrinkle like paper, but it bleeds along the grain. The first image is the results when painting on a dry surface, and the second shows wet-on-wet application. Of course the type of wood and how smoothly it's sanded are also going to make a difference, so testing out the result on a scrap piece should always be your first step.
Because the wood lends itself to bleeding, it's important to vector engrave each area you want to be a different color. The engraved lines prevent the color from blending into unwanted sections.
Note: This is 1/4" baltic birch plywood and isn't particularly smooth.
Even Coverage
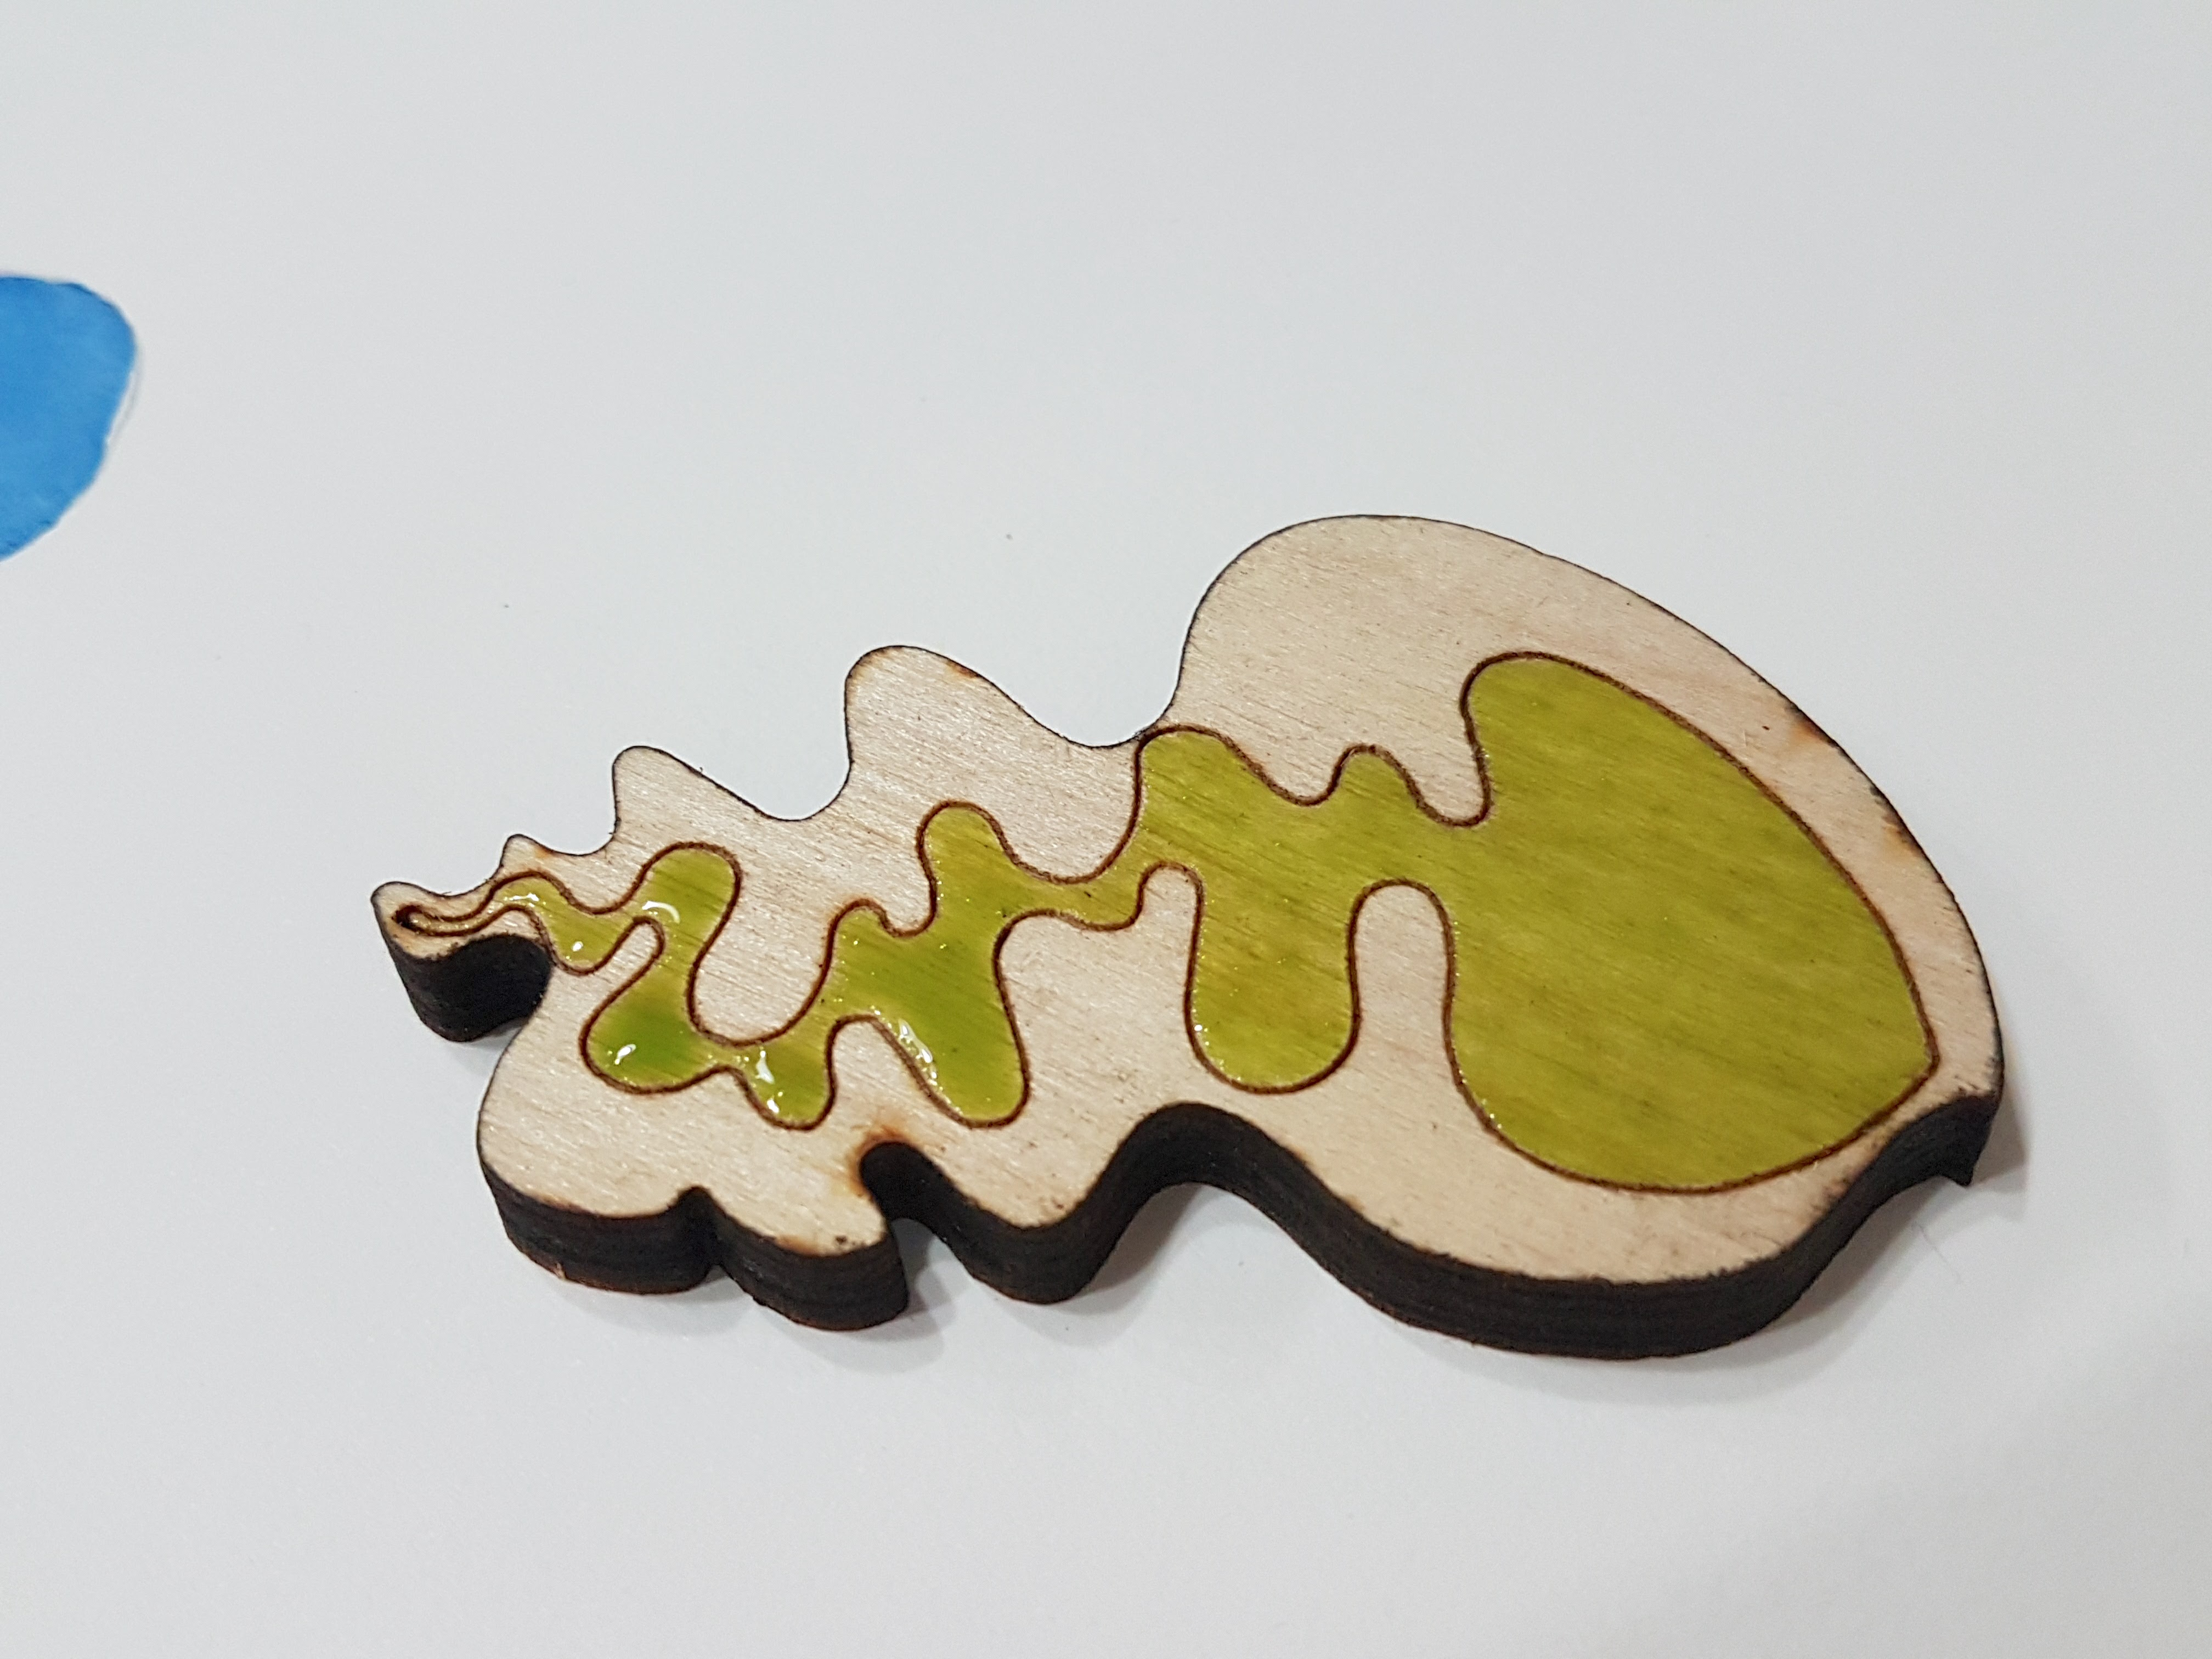
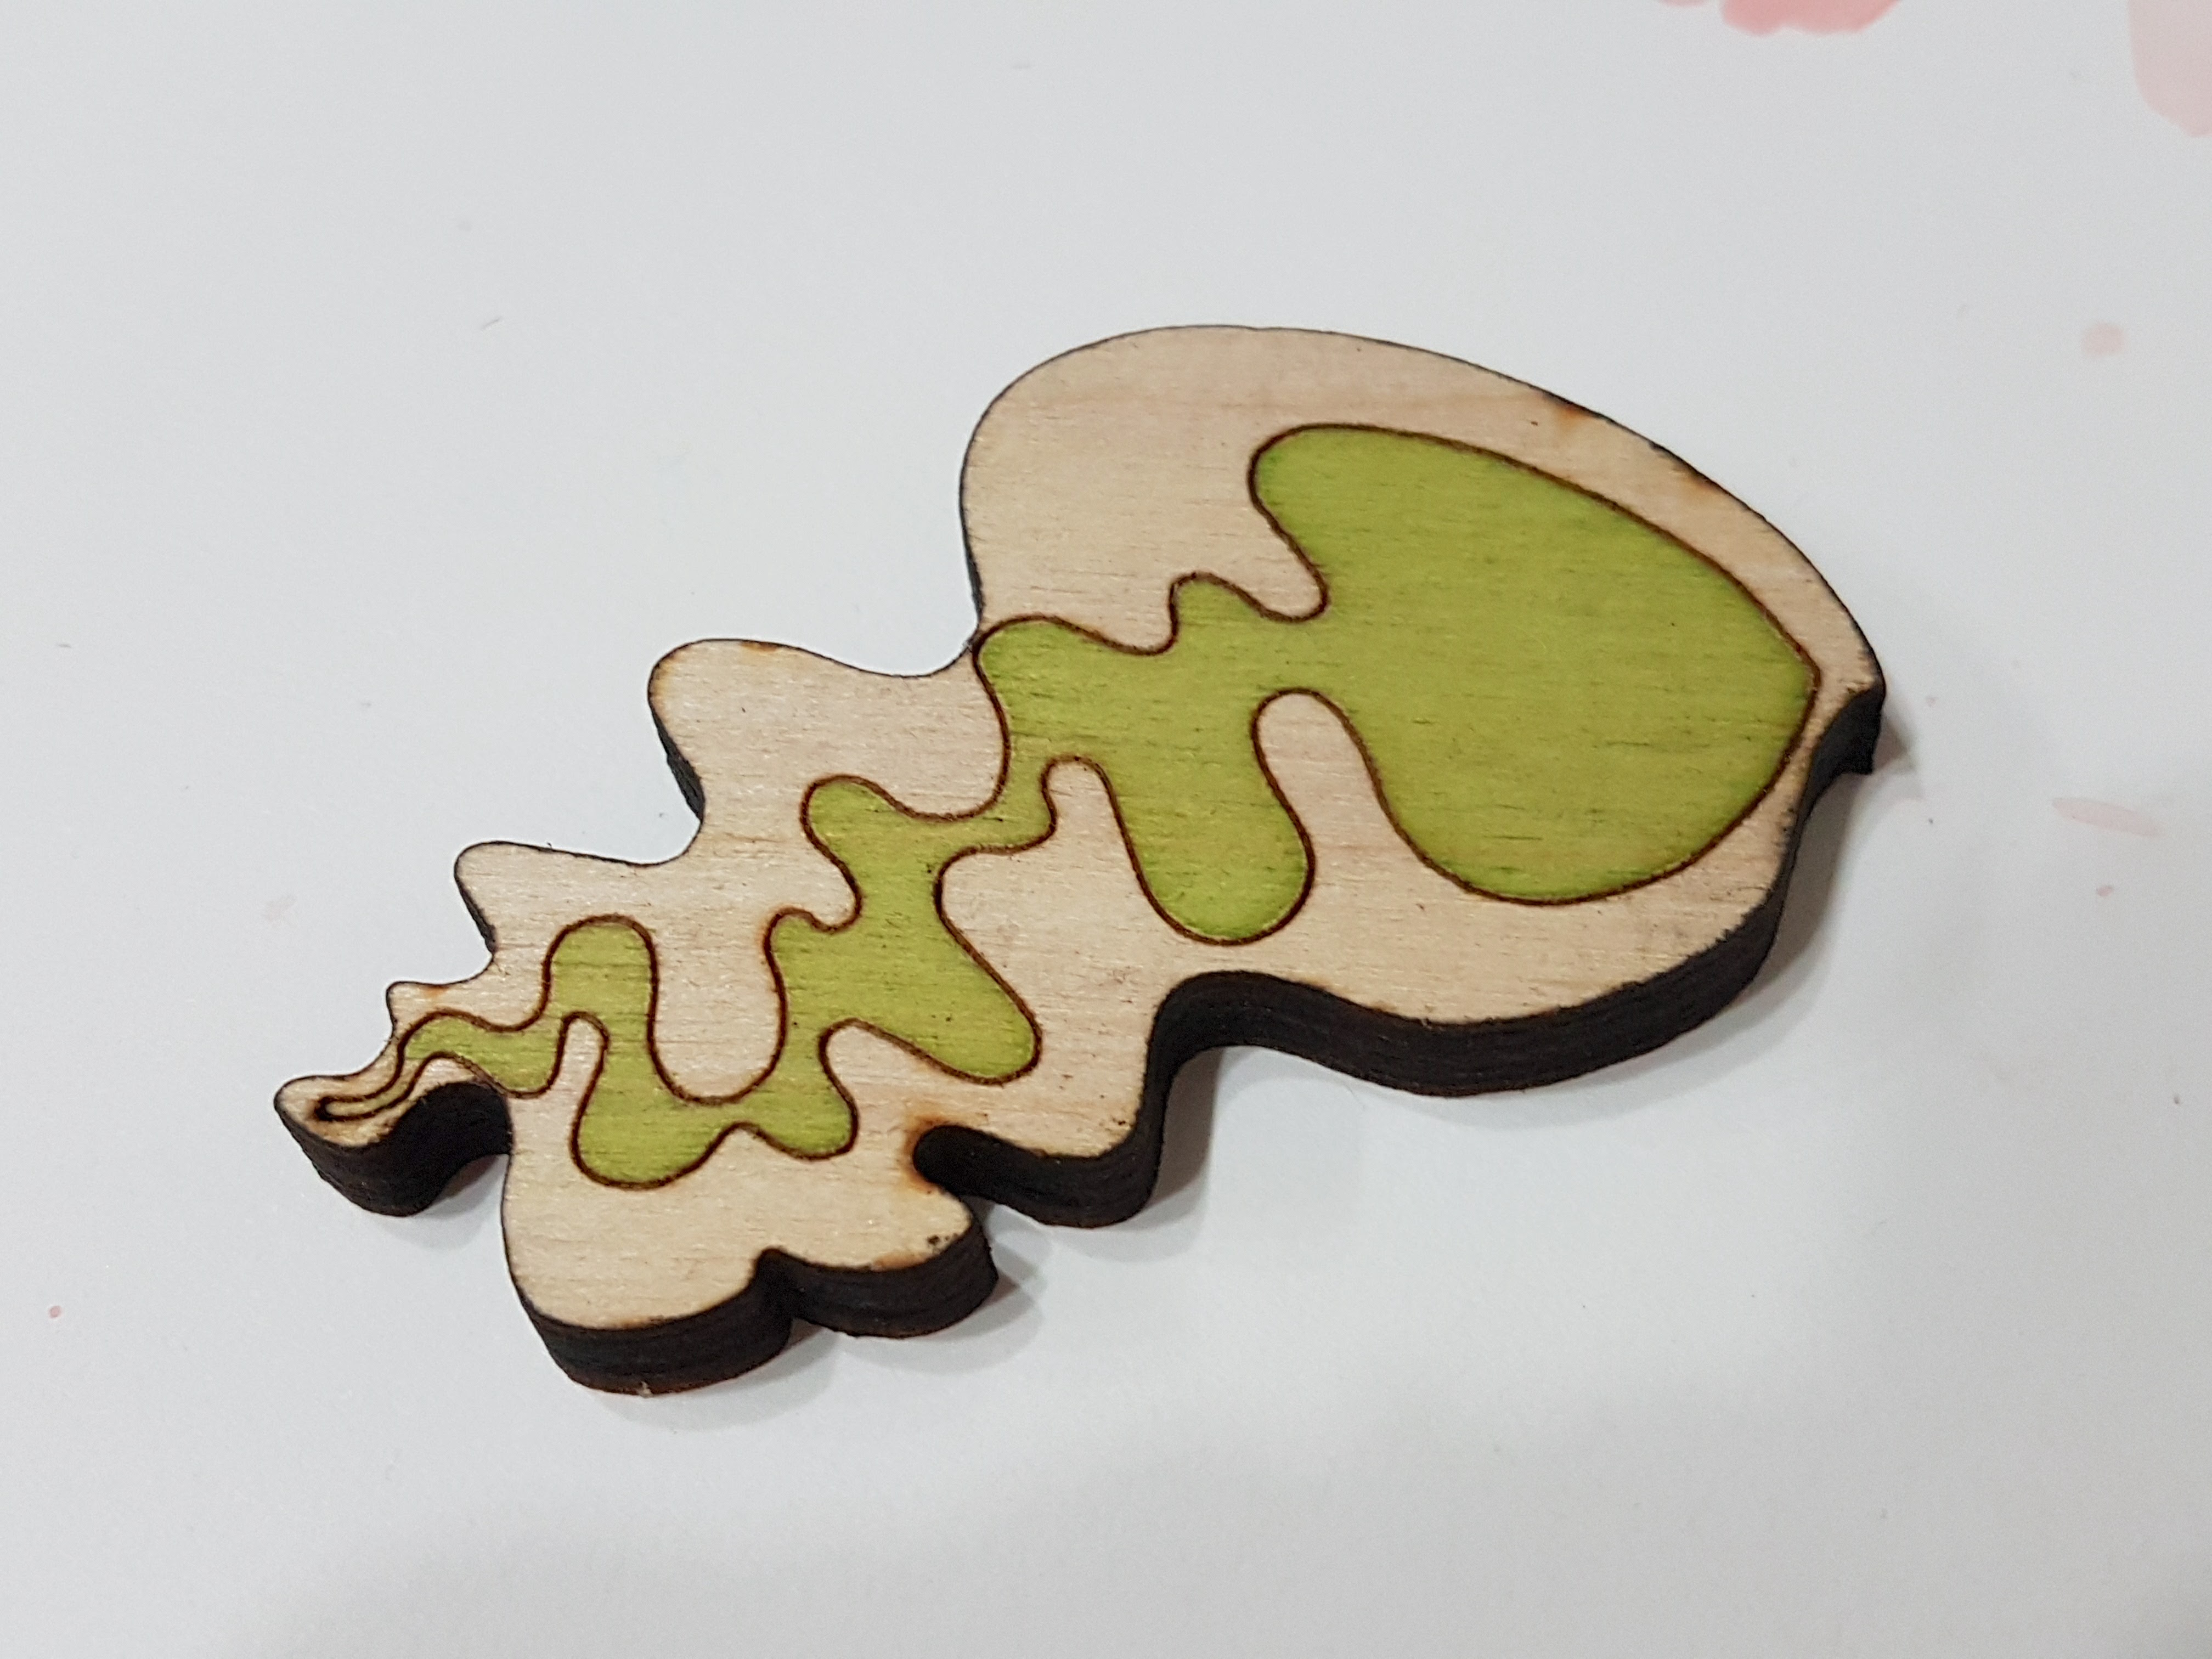
I used the green I mixed earlier to paint the stripe in the center of the hair. Because the color was mixed outside the pan and it was so small, it came out as a nice solid color.
Blending
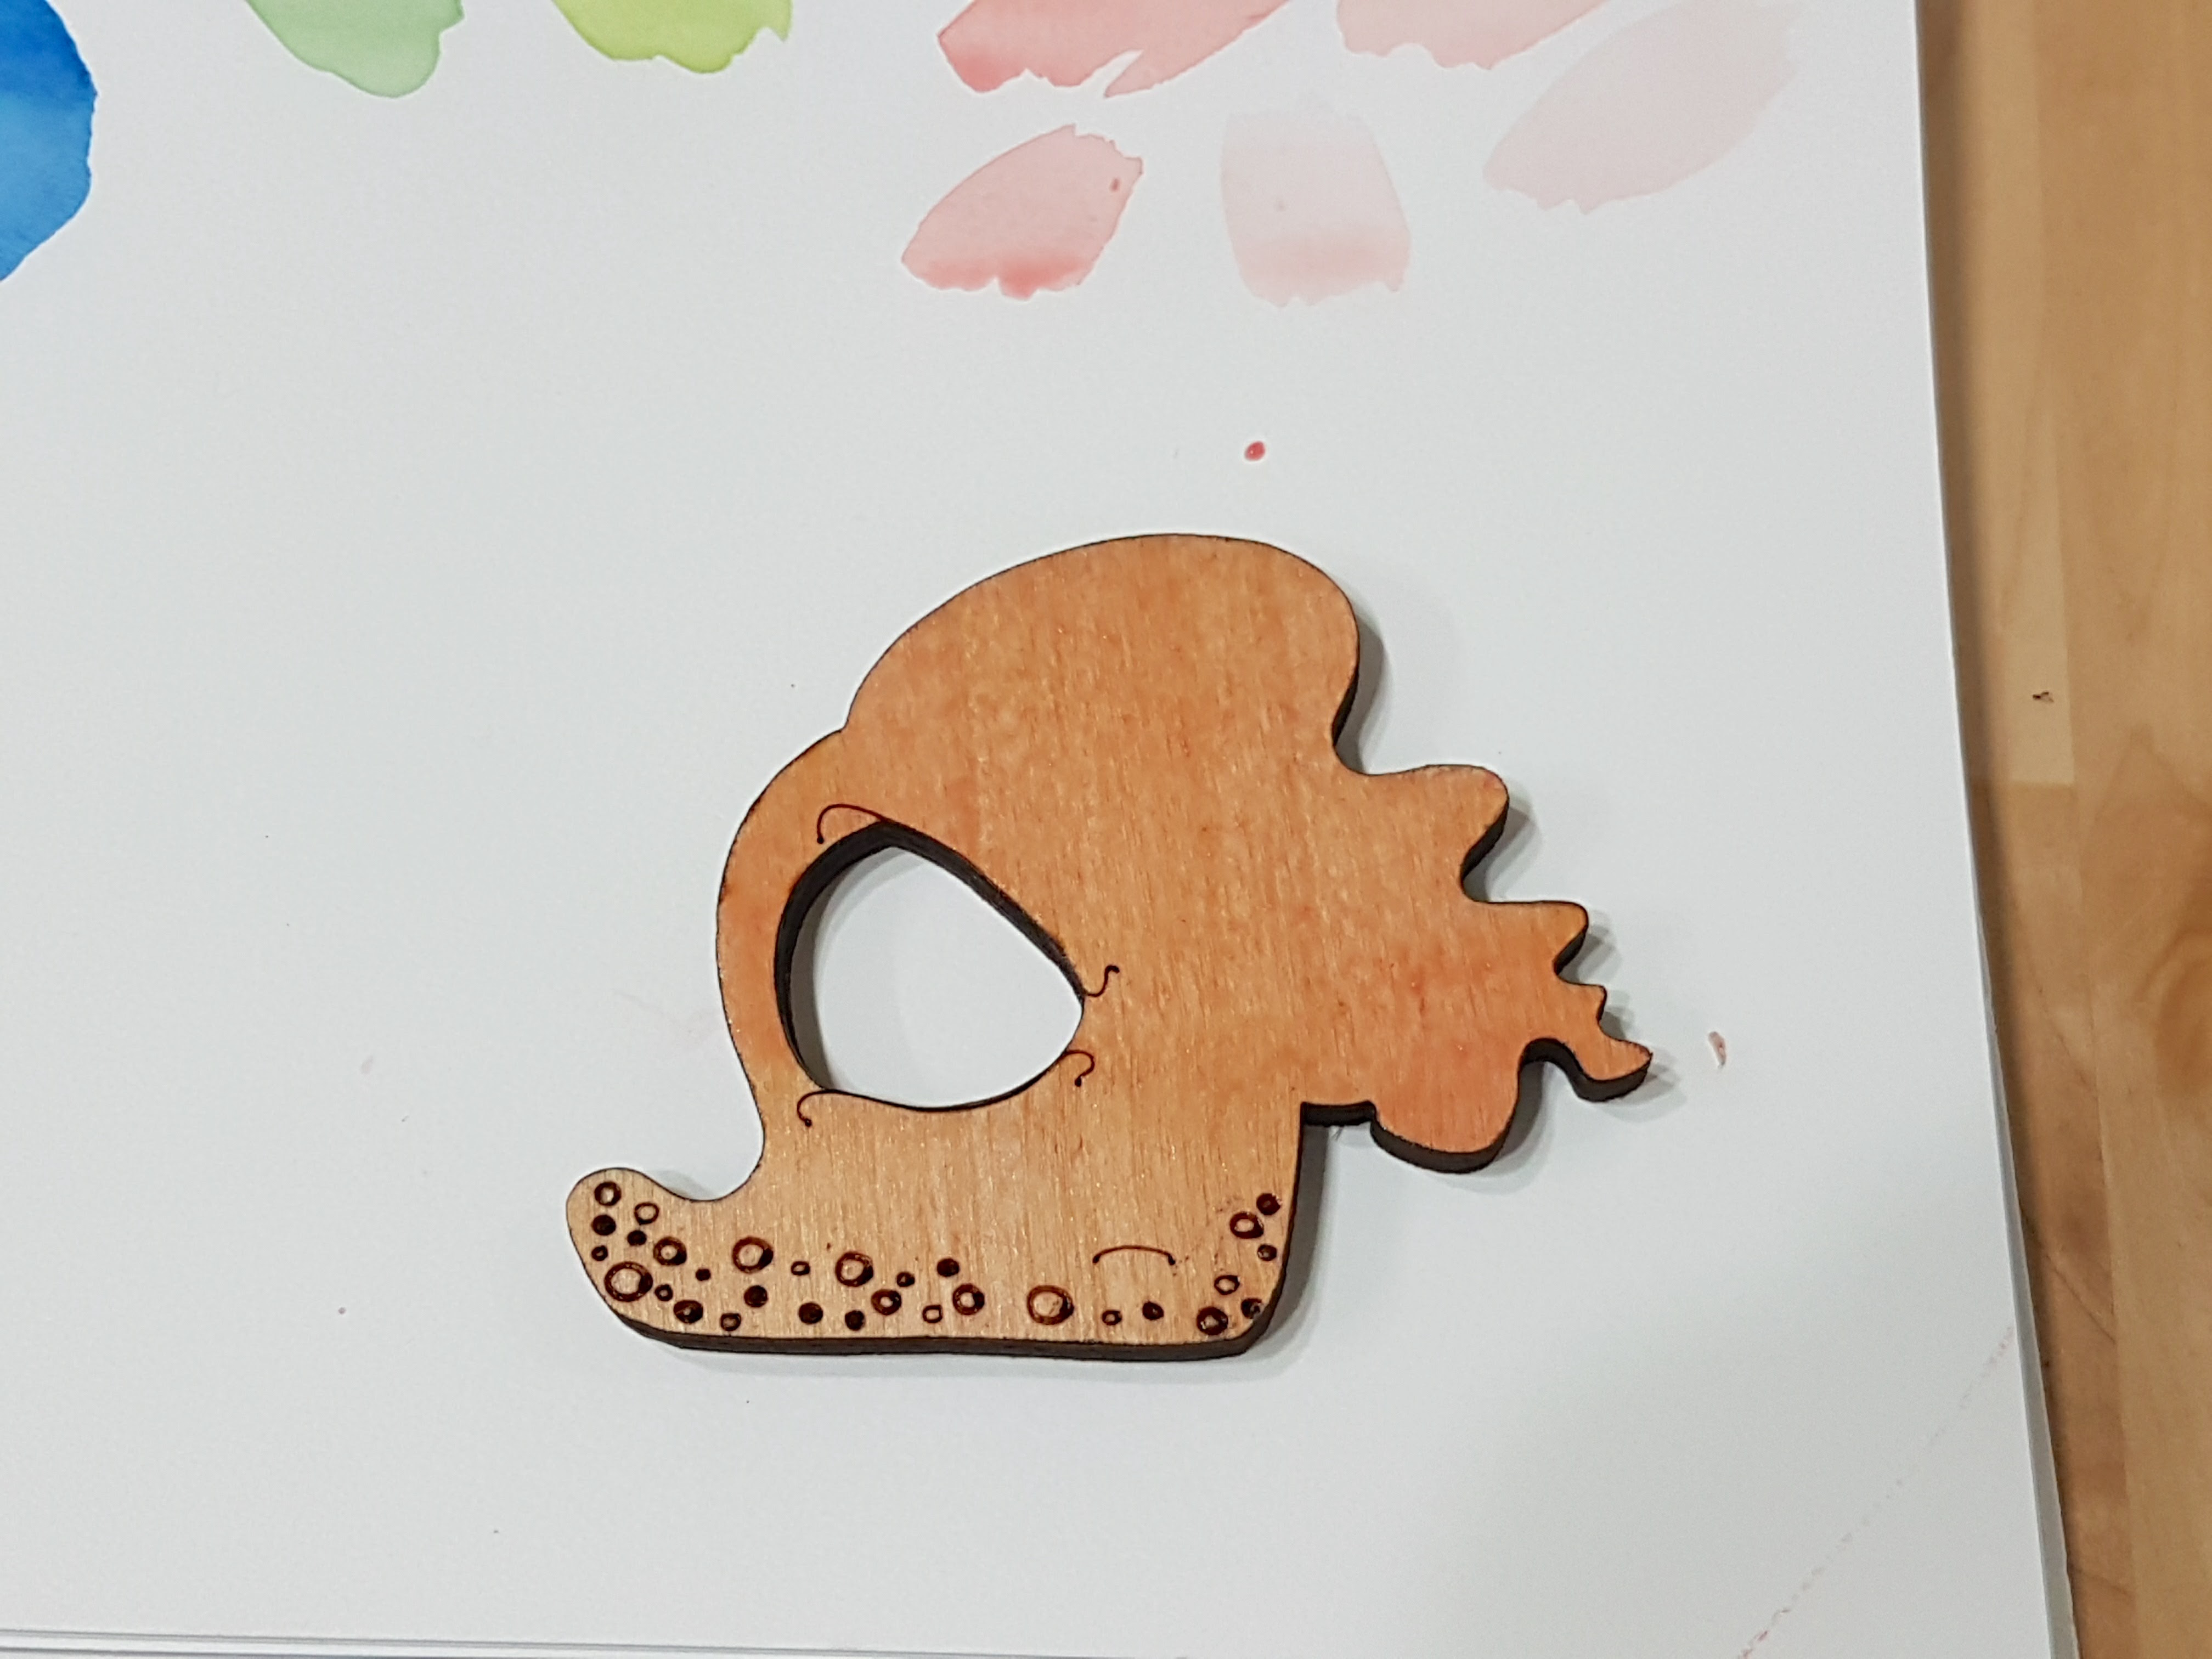
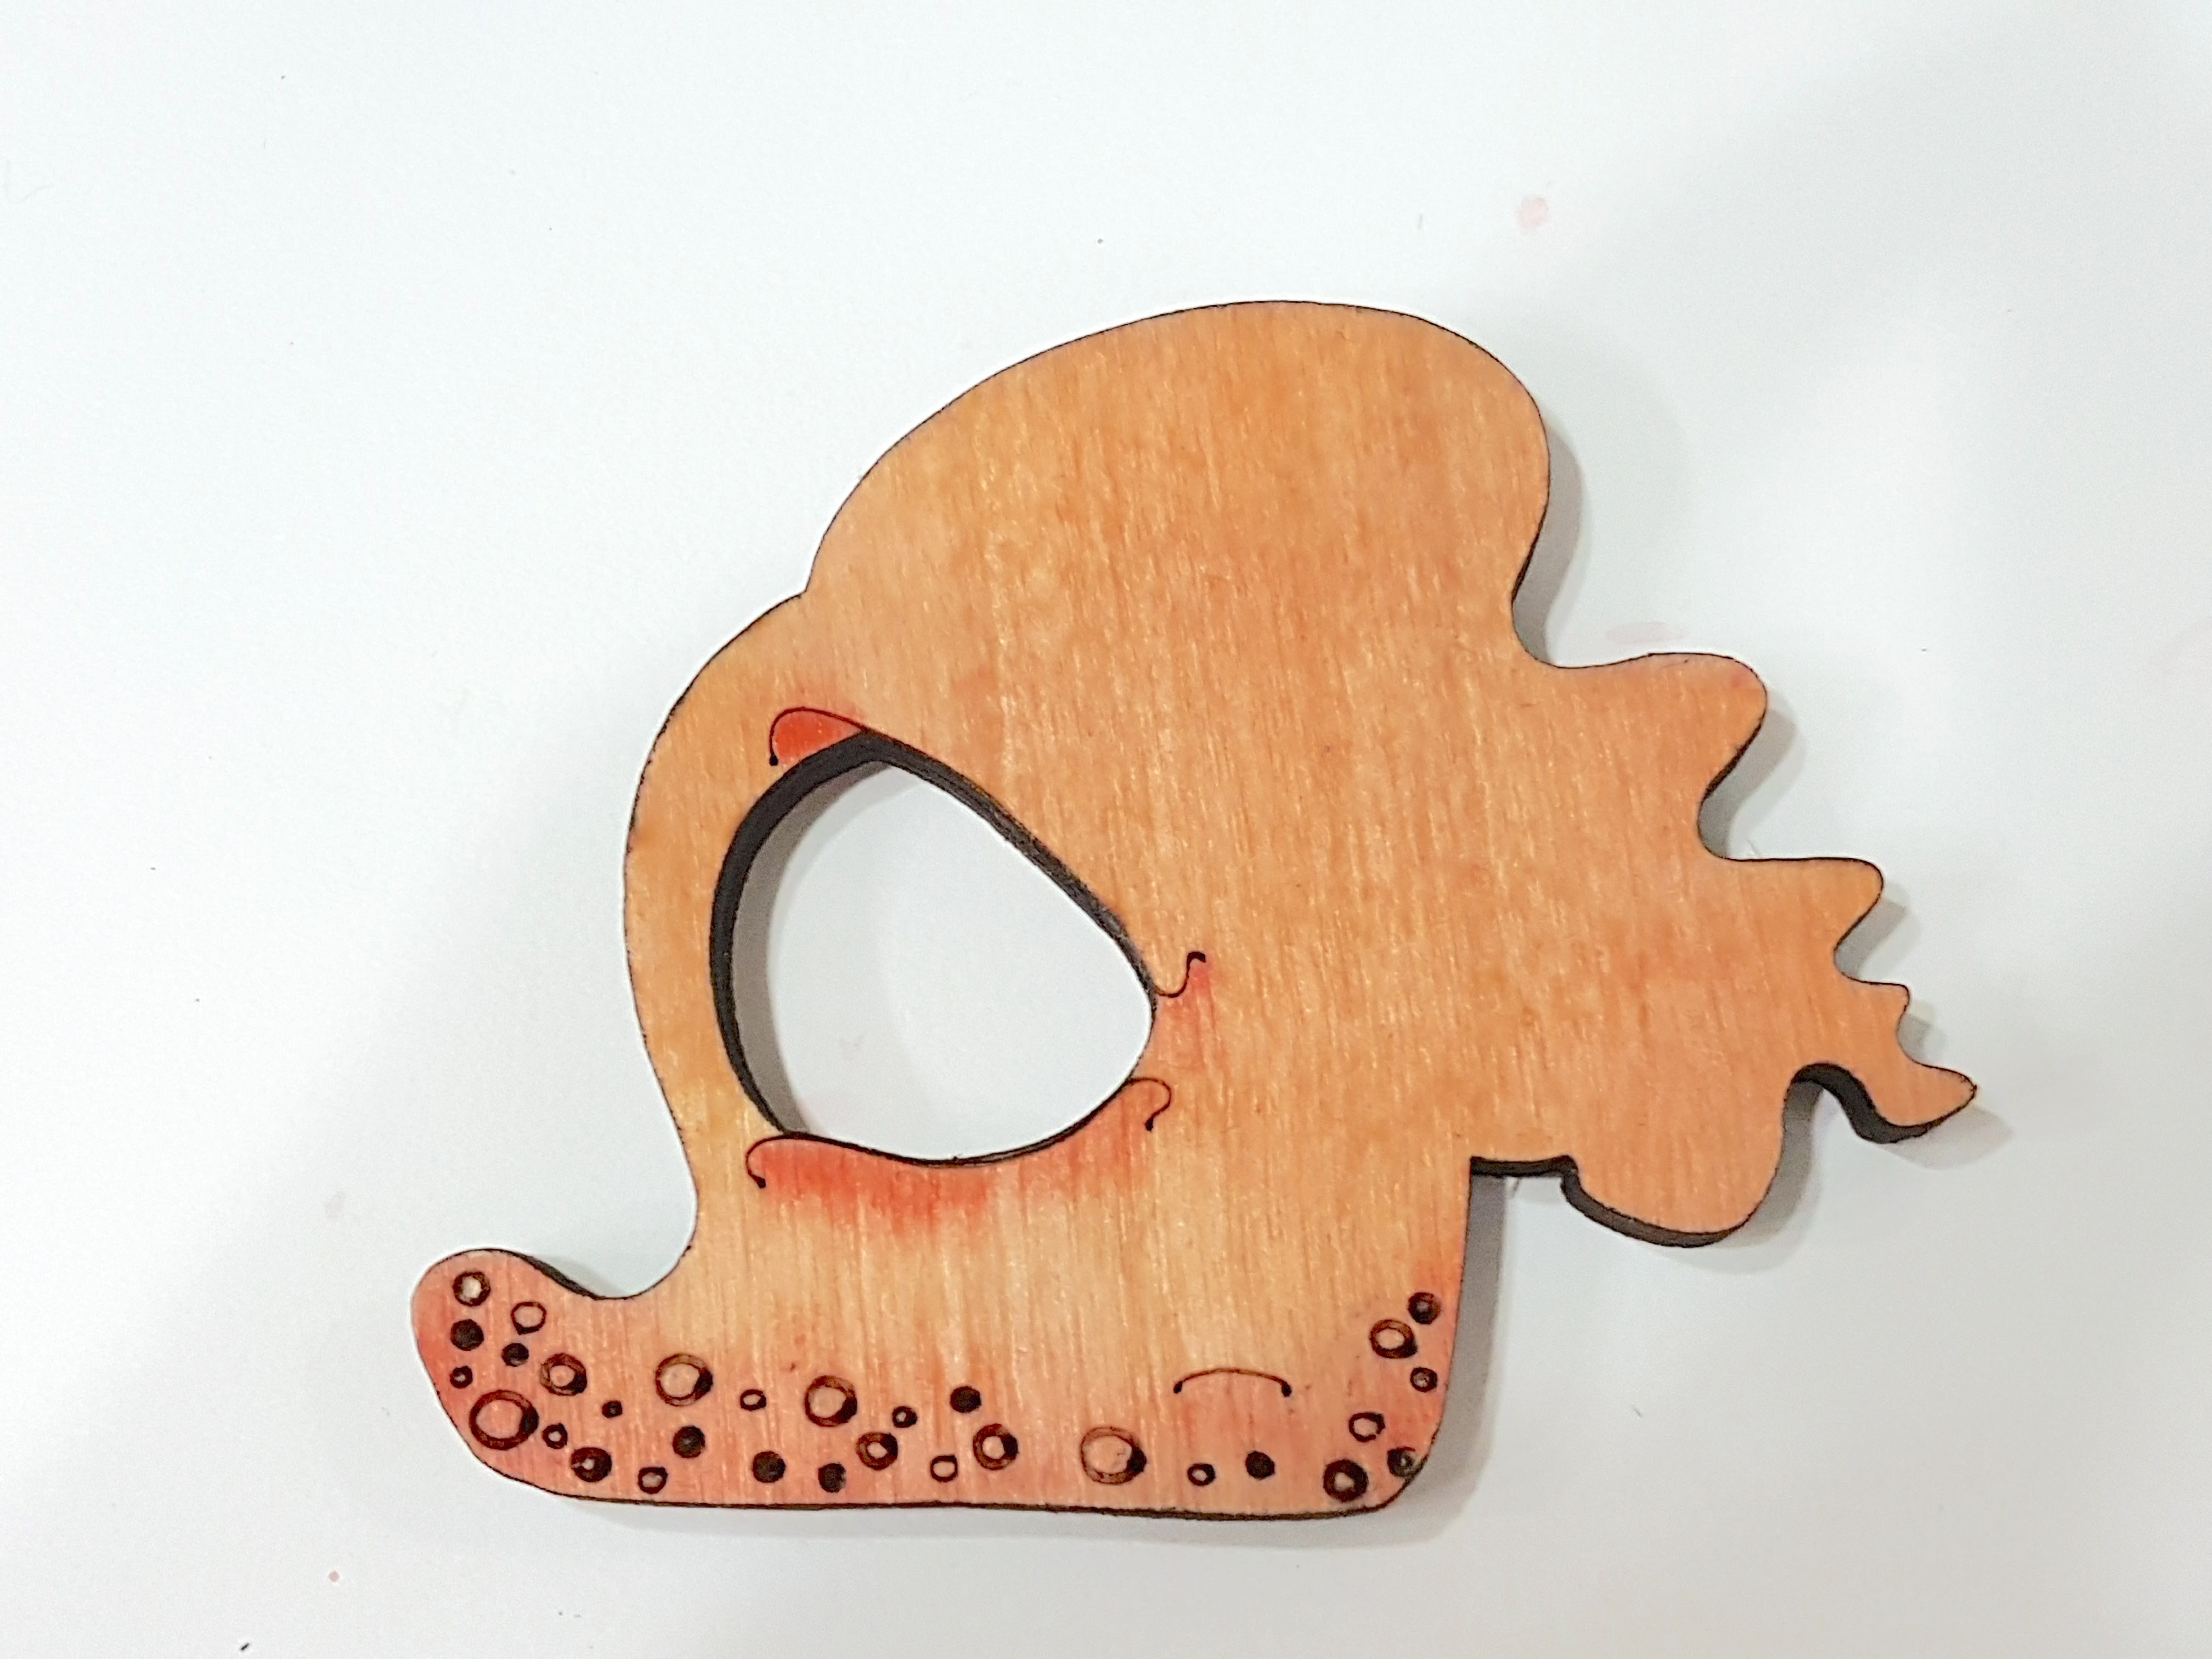
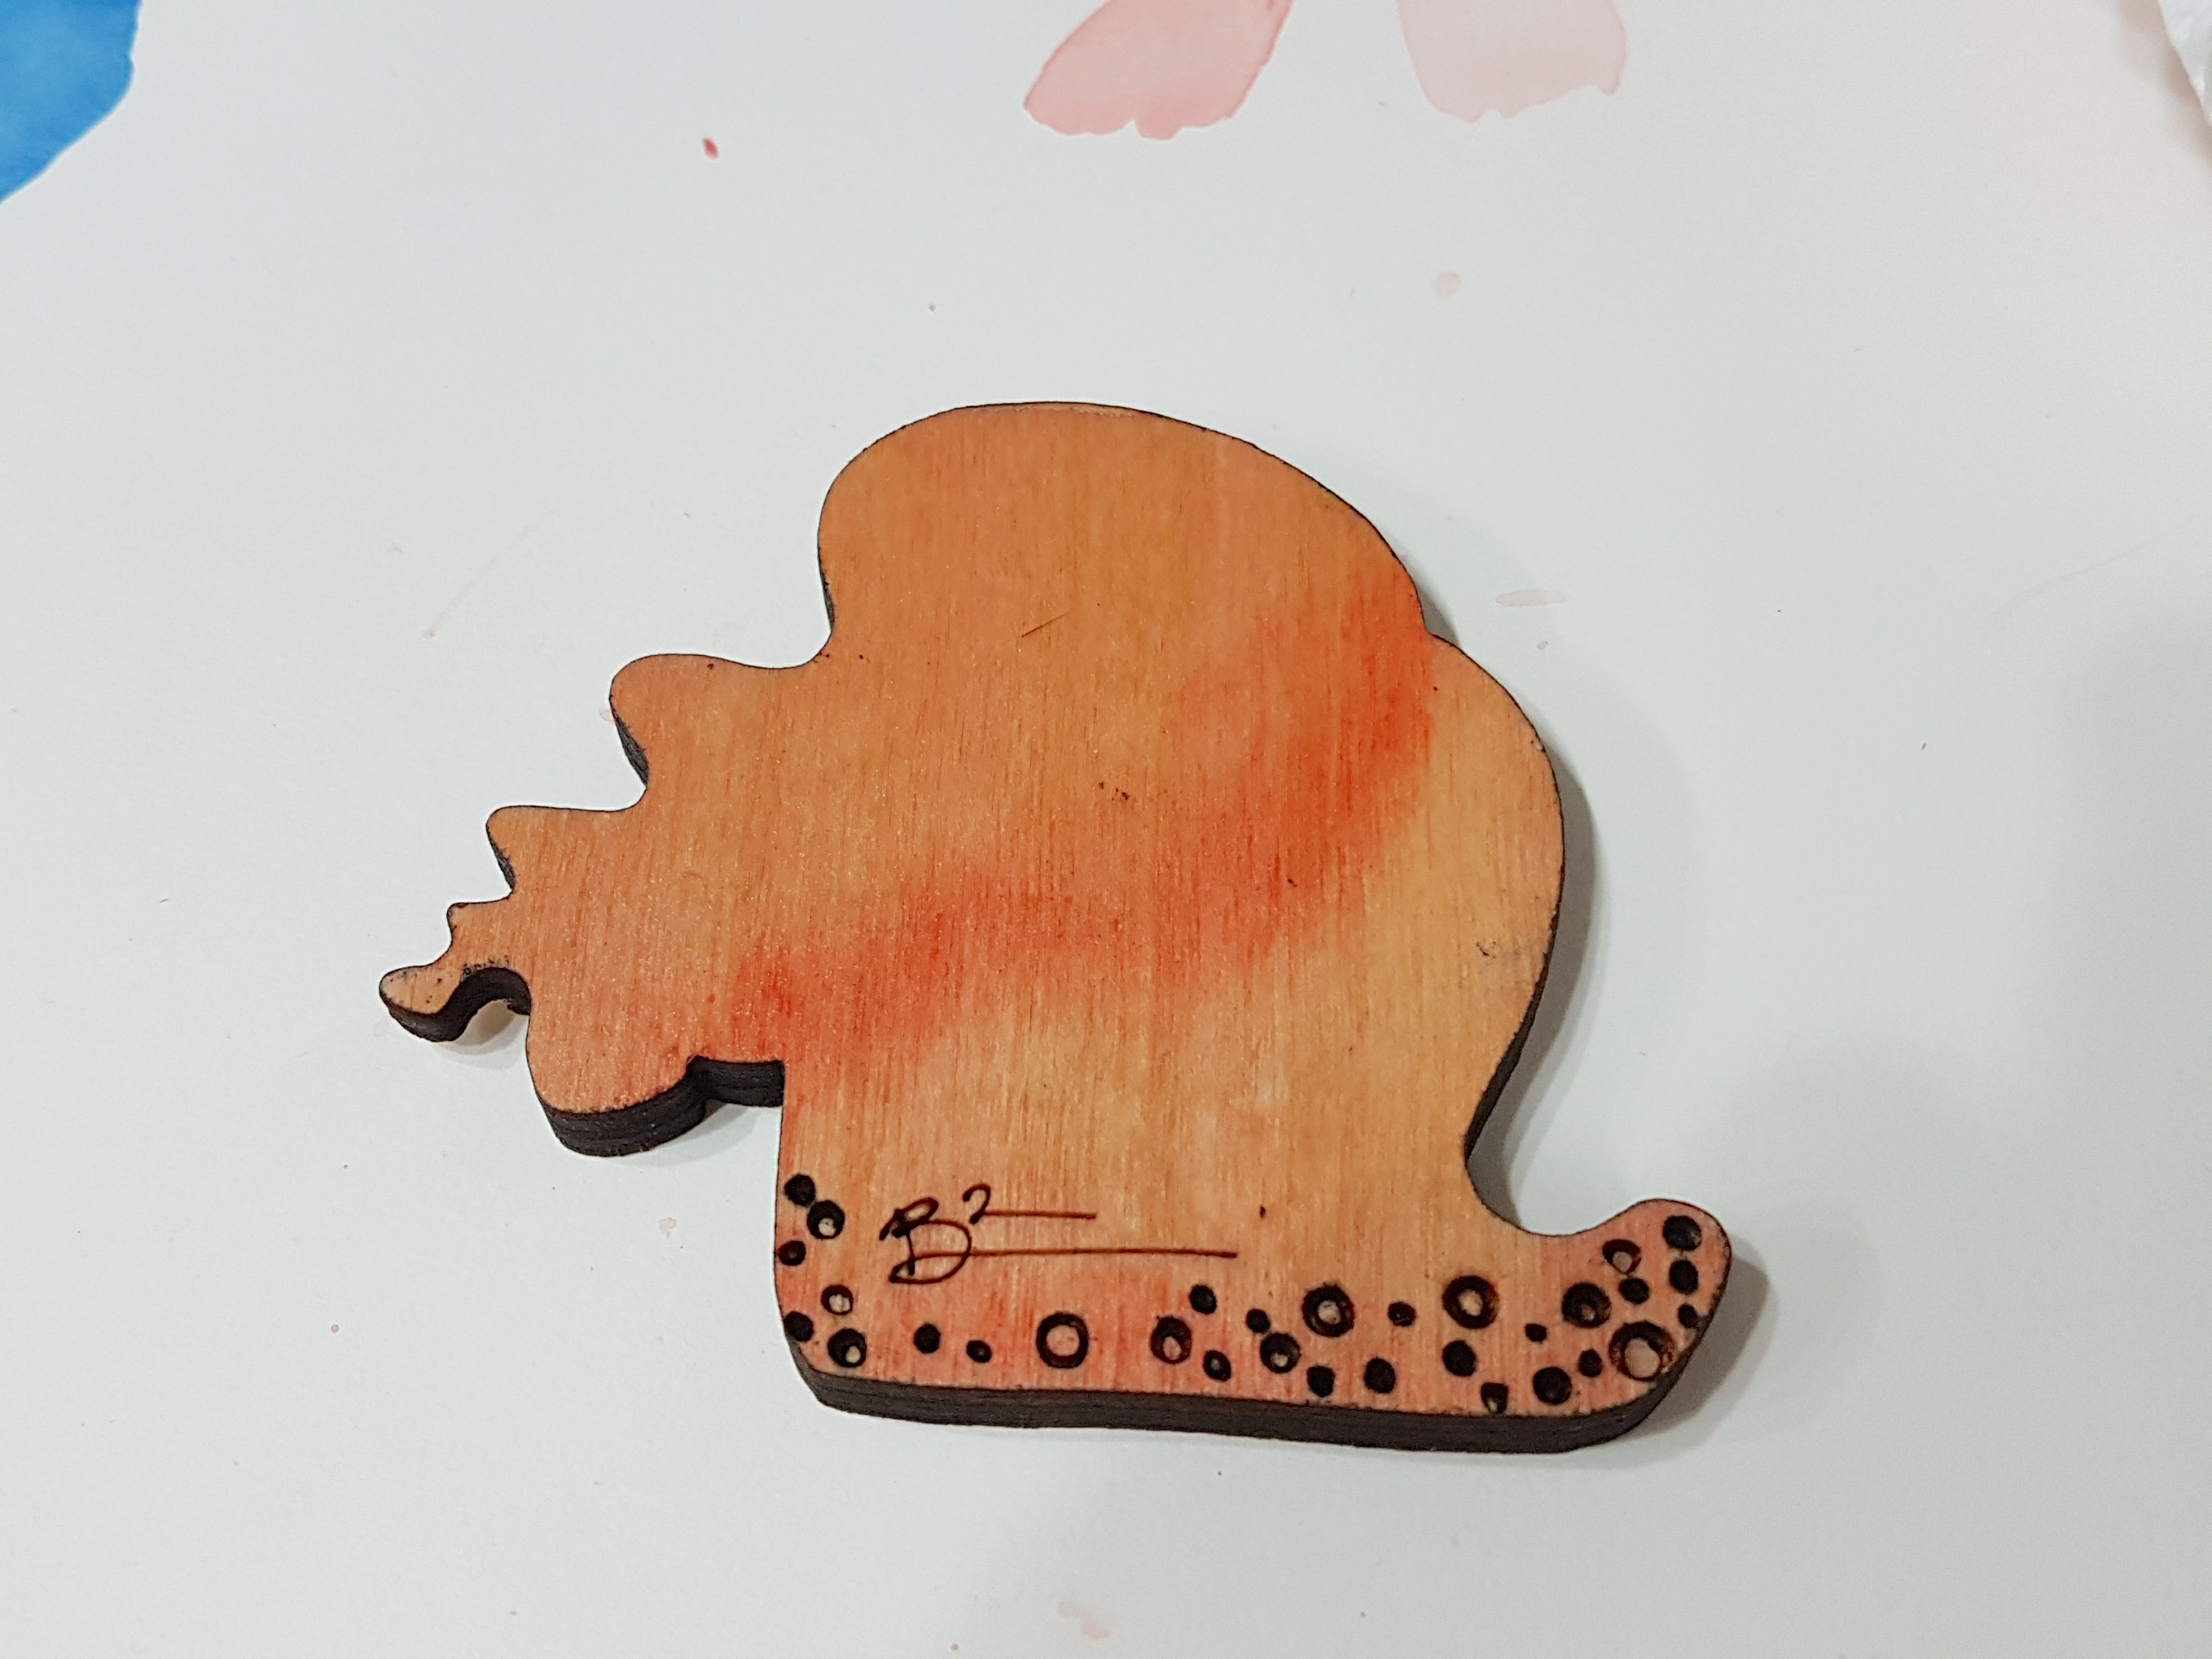
I wanted the face and back to have shadows, so I mixed red with water and did a wash over the entire front and back. While it was still wet, I added red straight from the pan. Using wet-on-wet allows the red to blend in with the light red.
Ombre
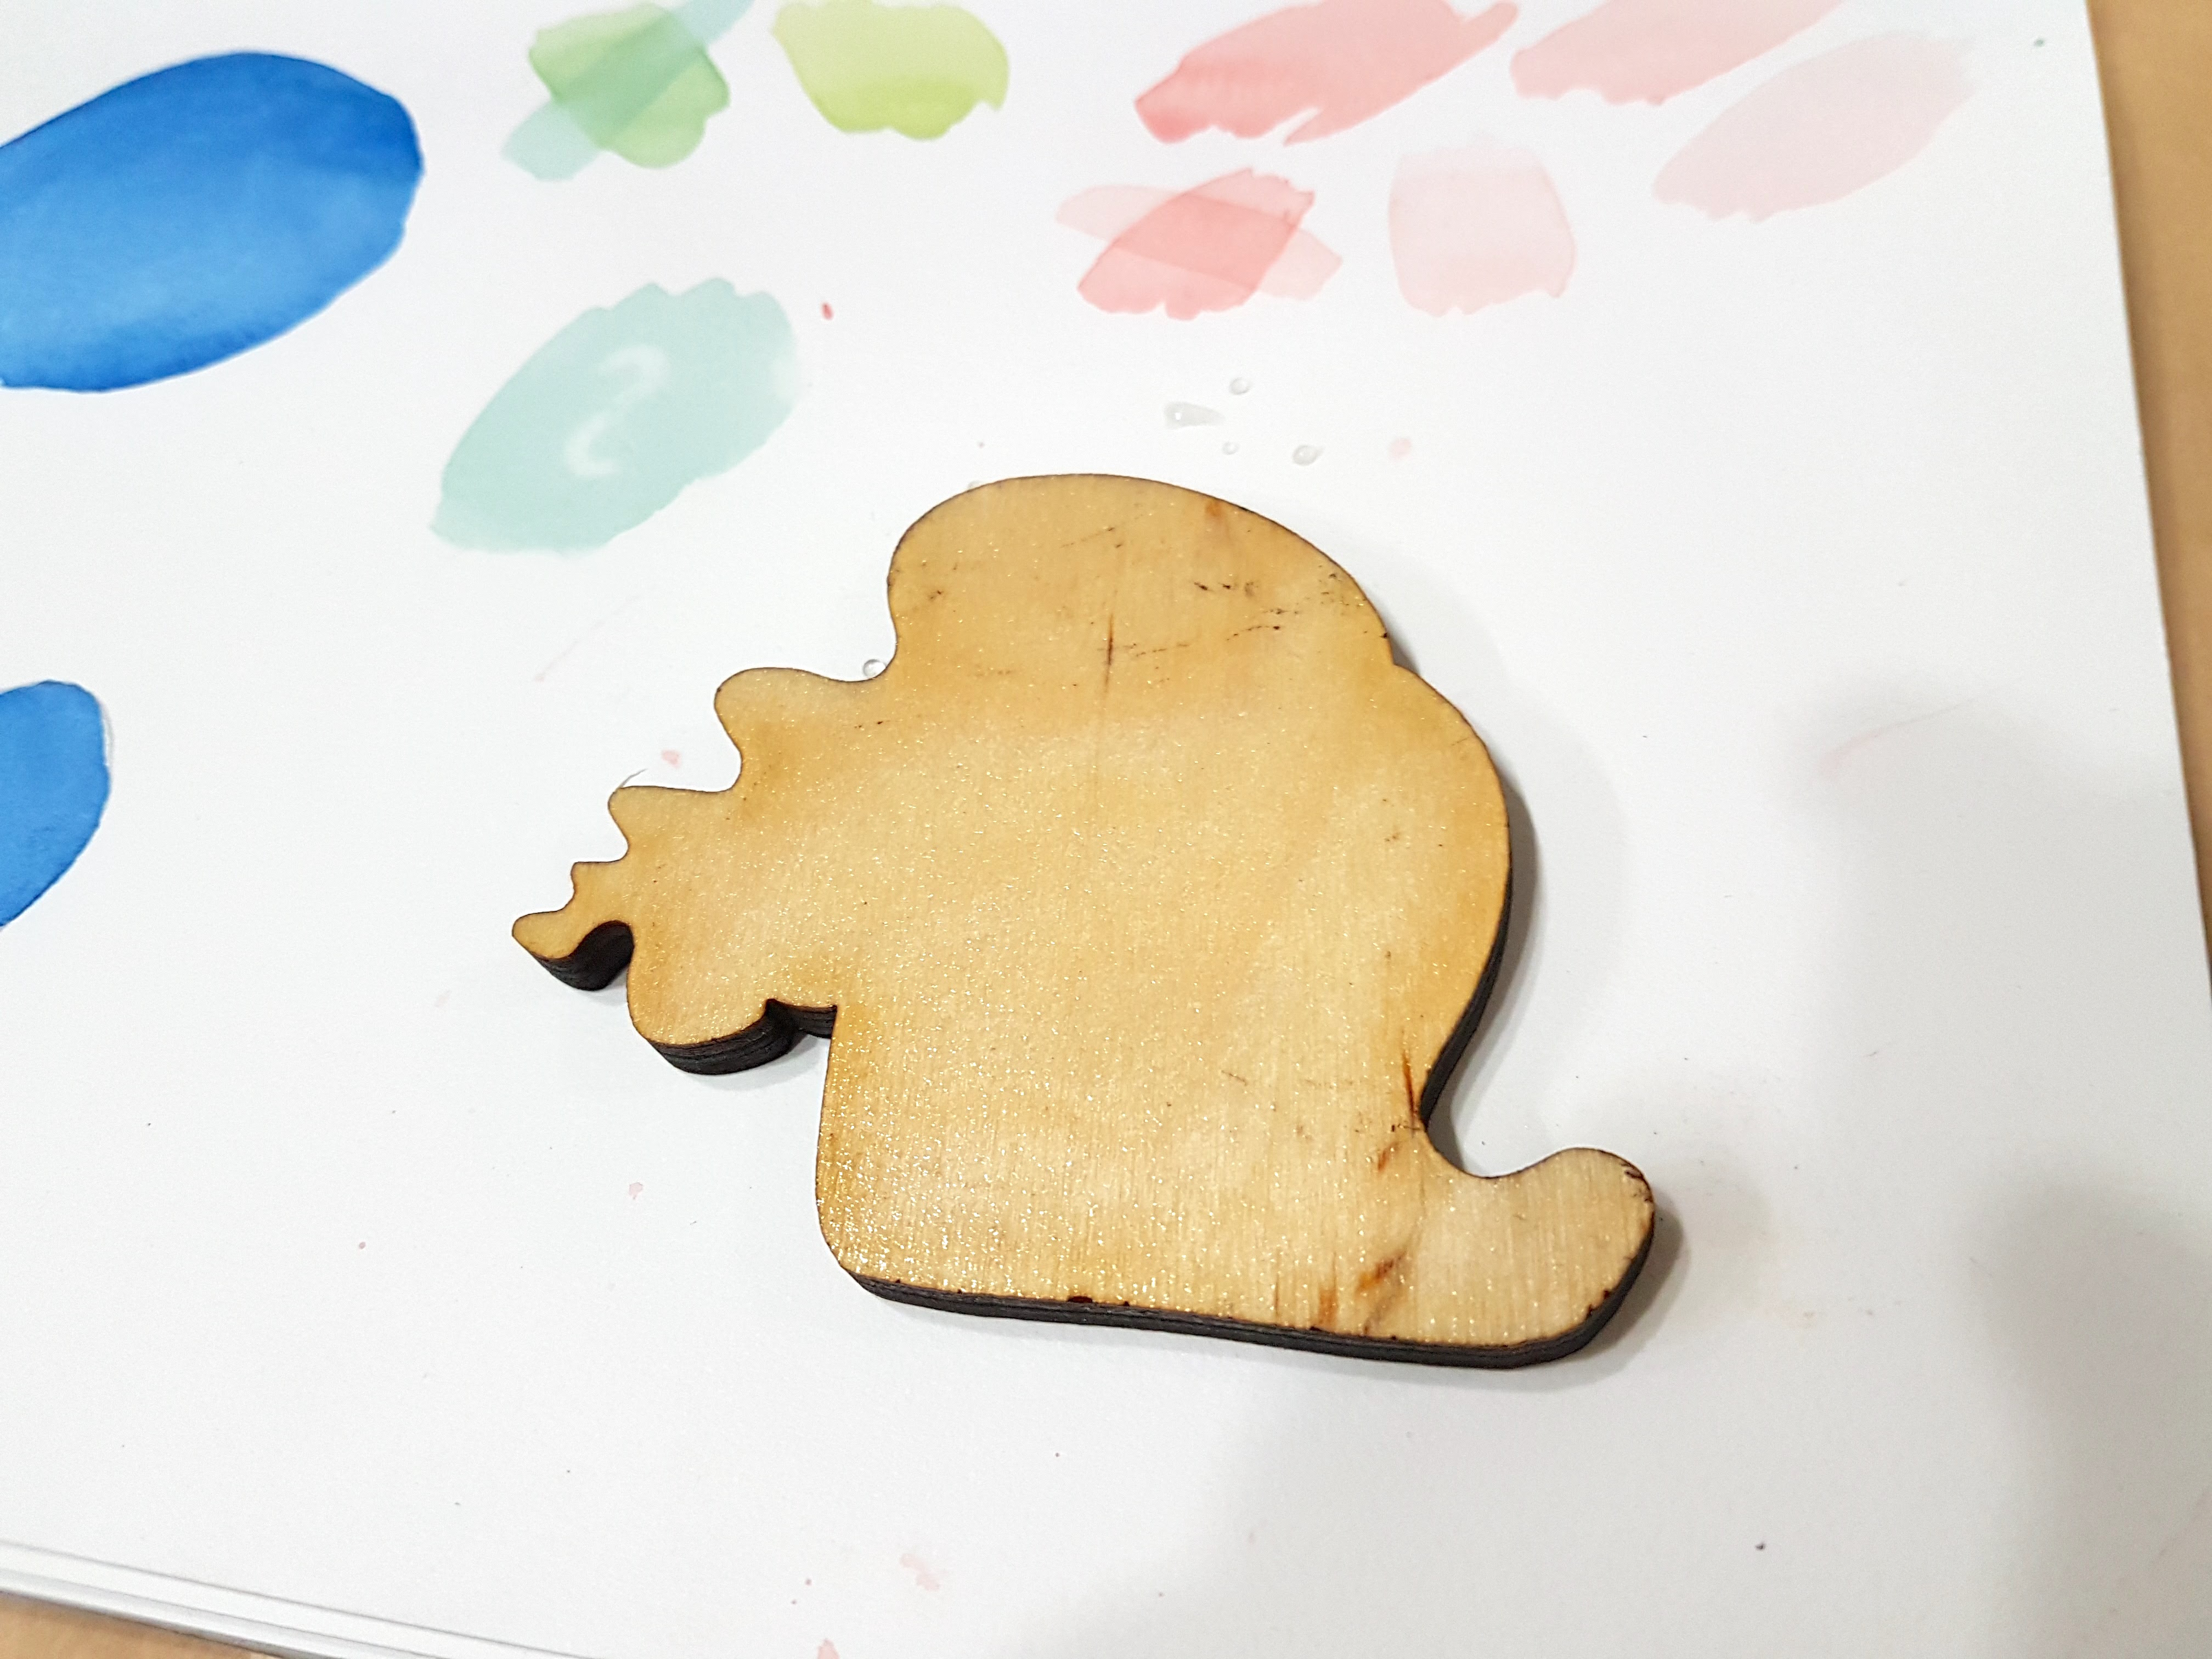
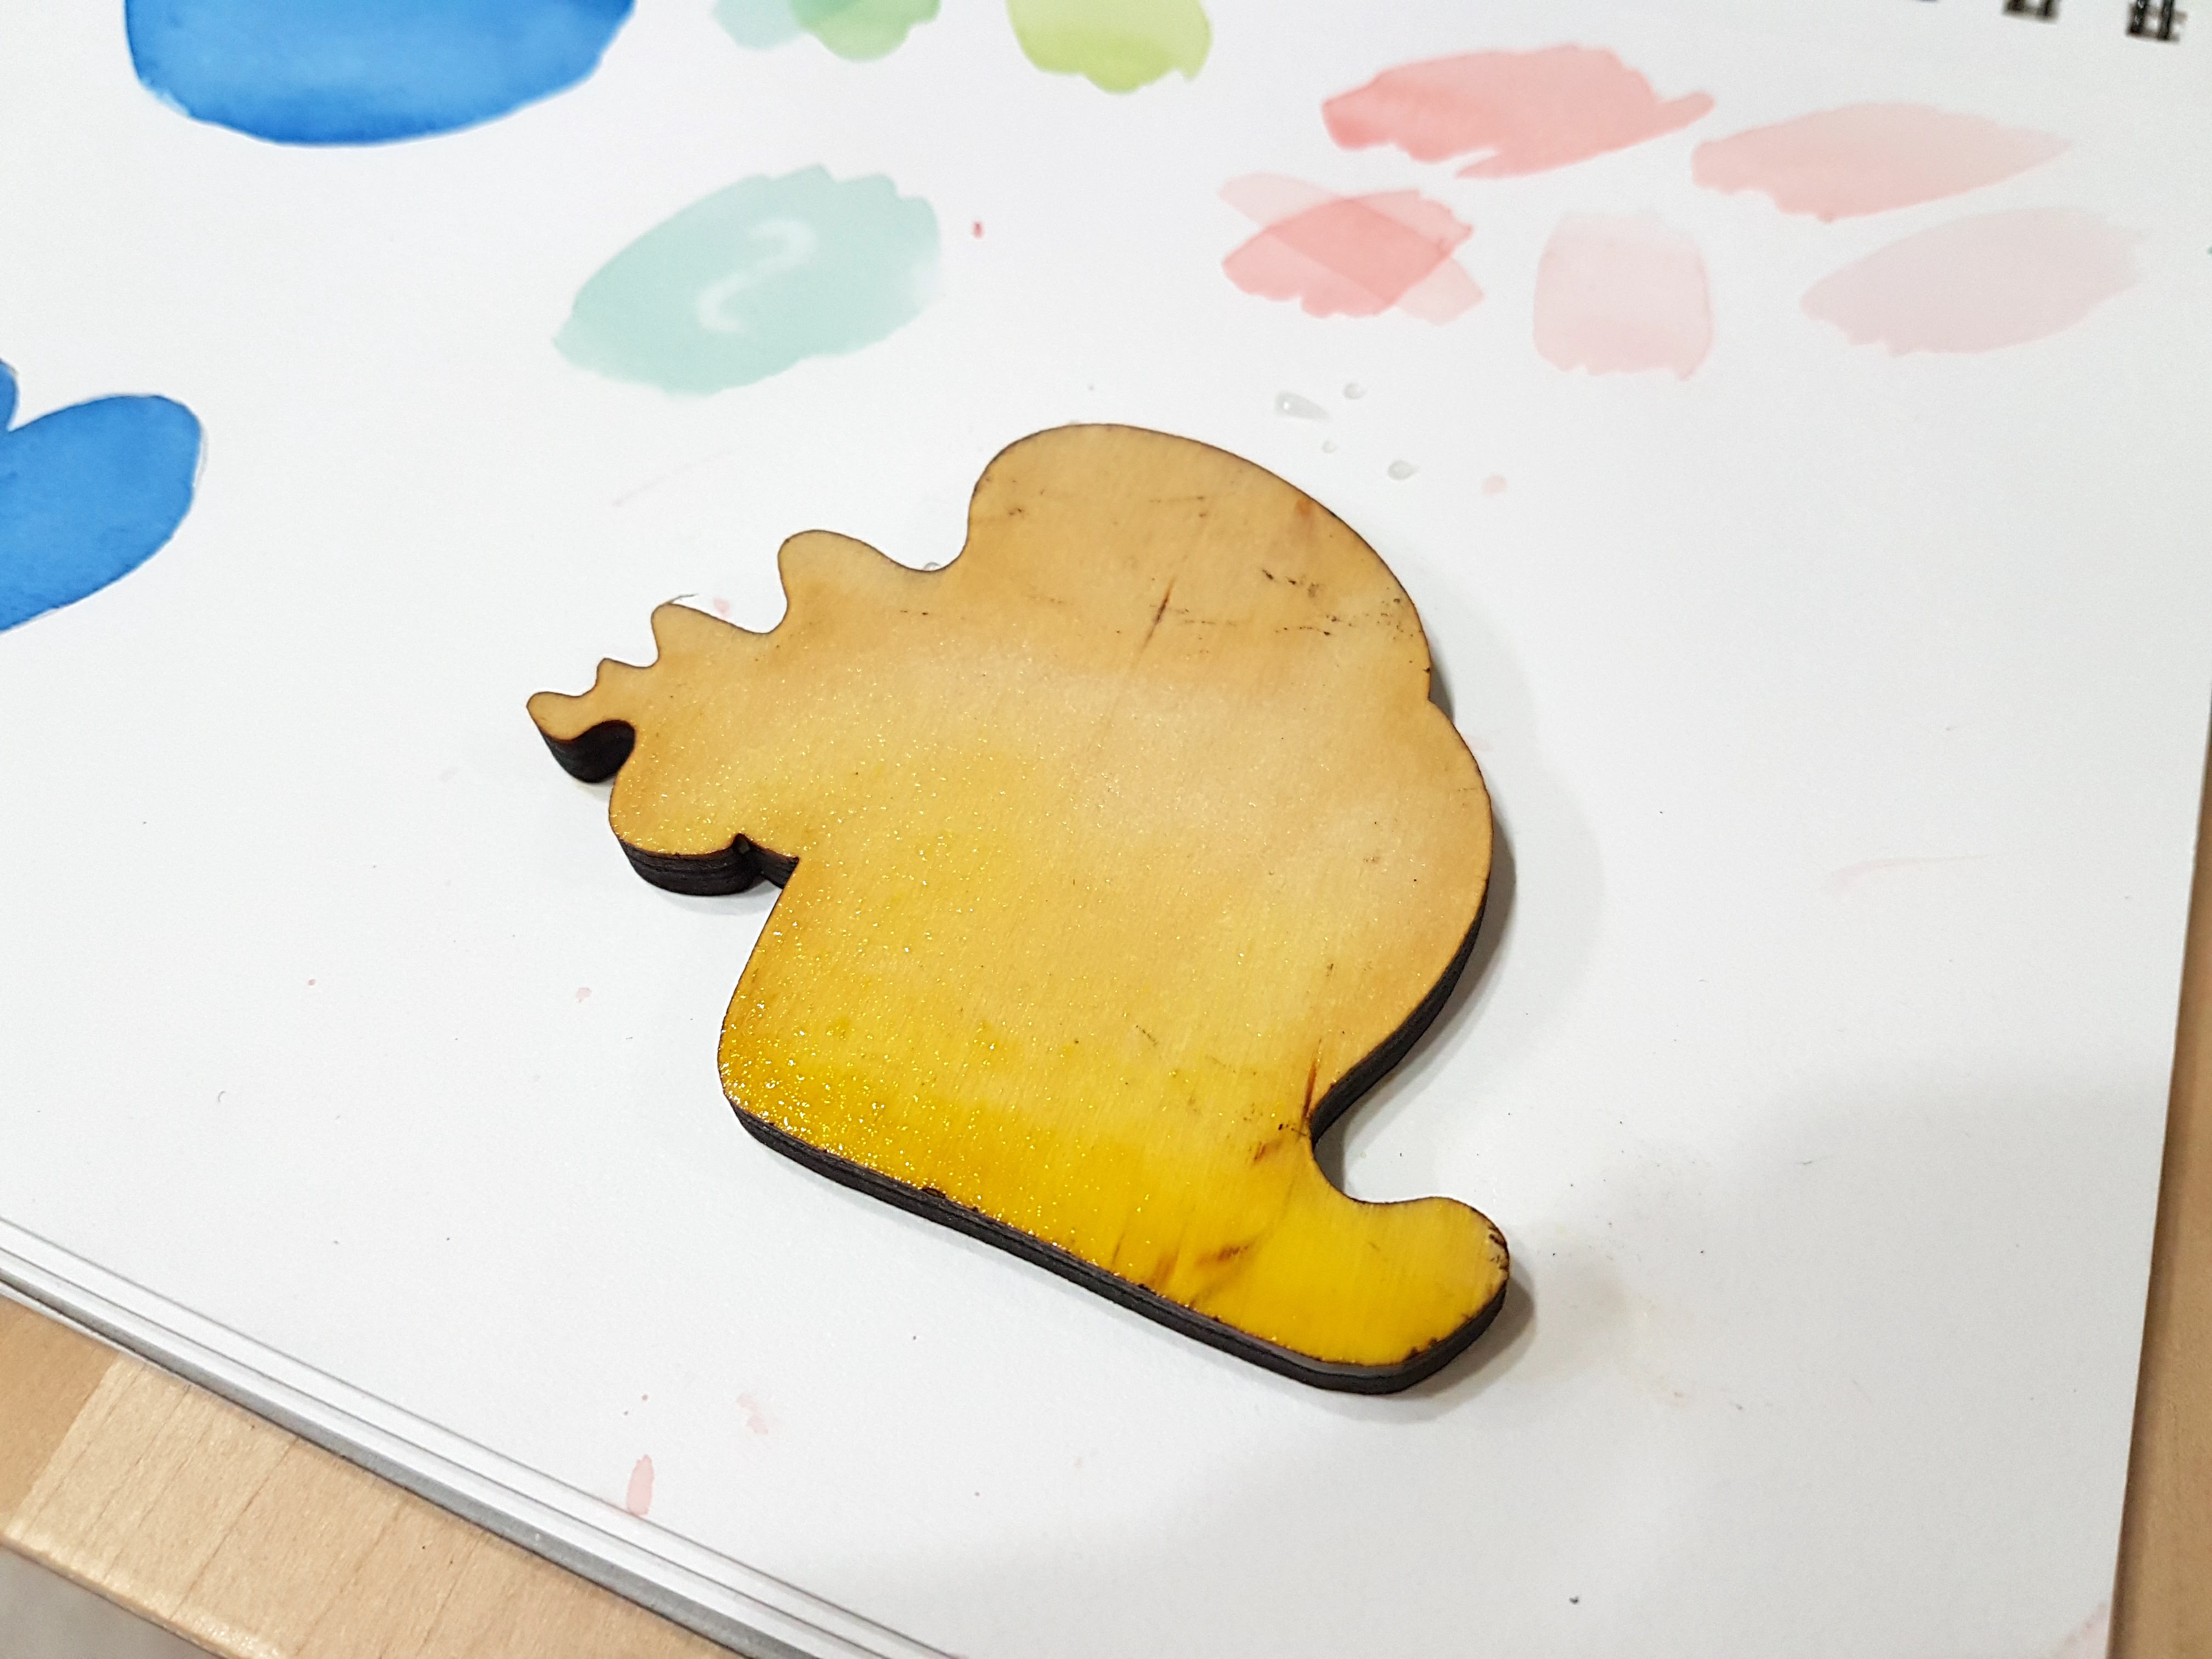
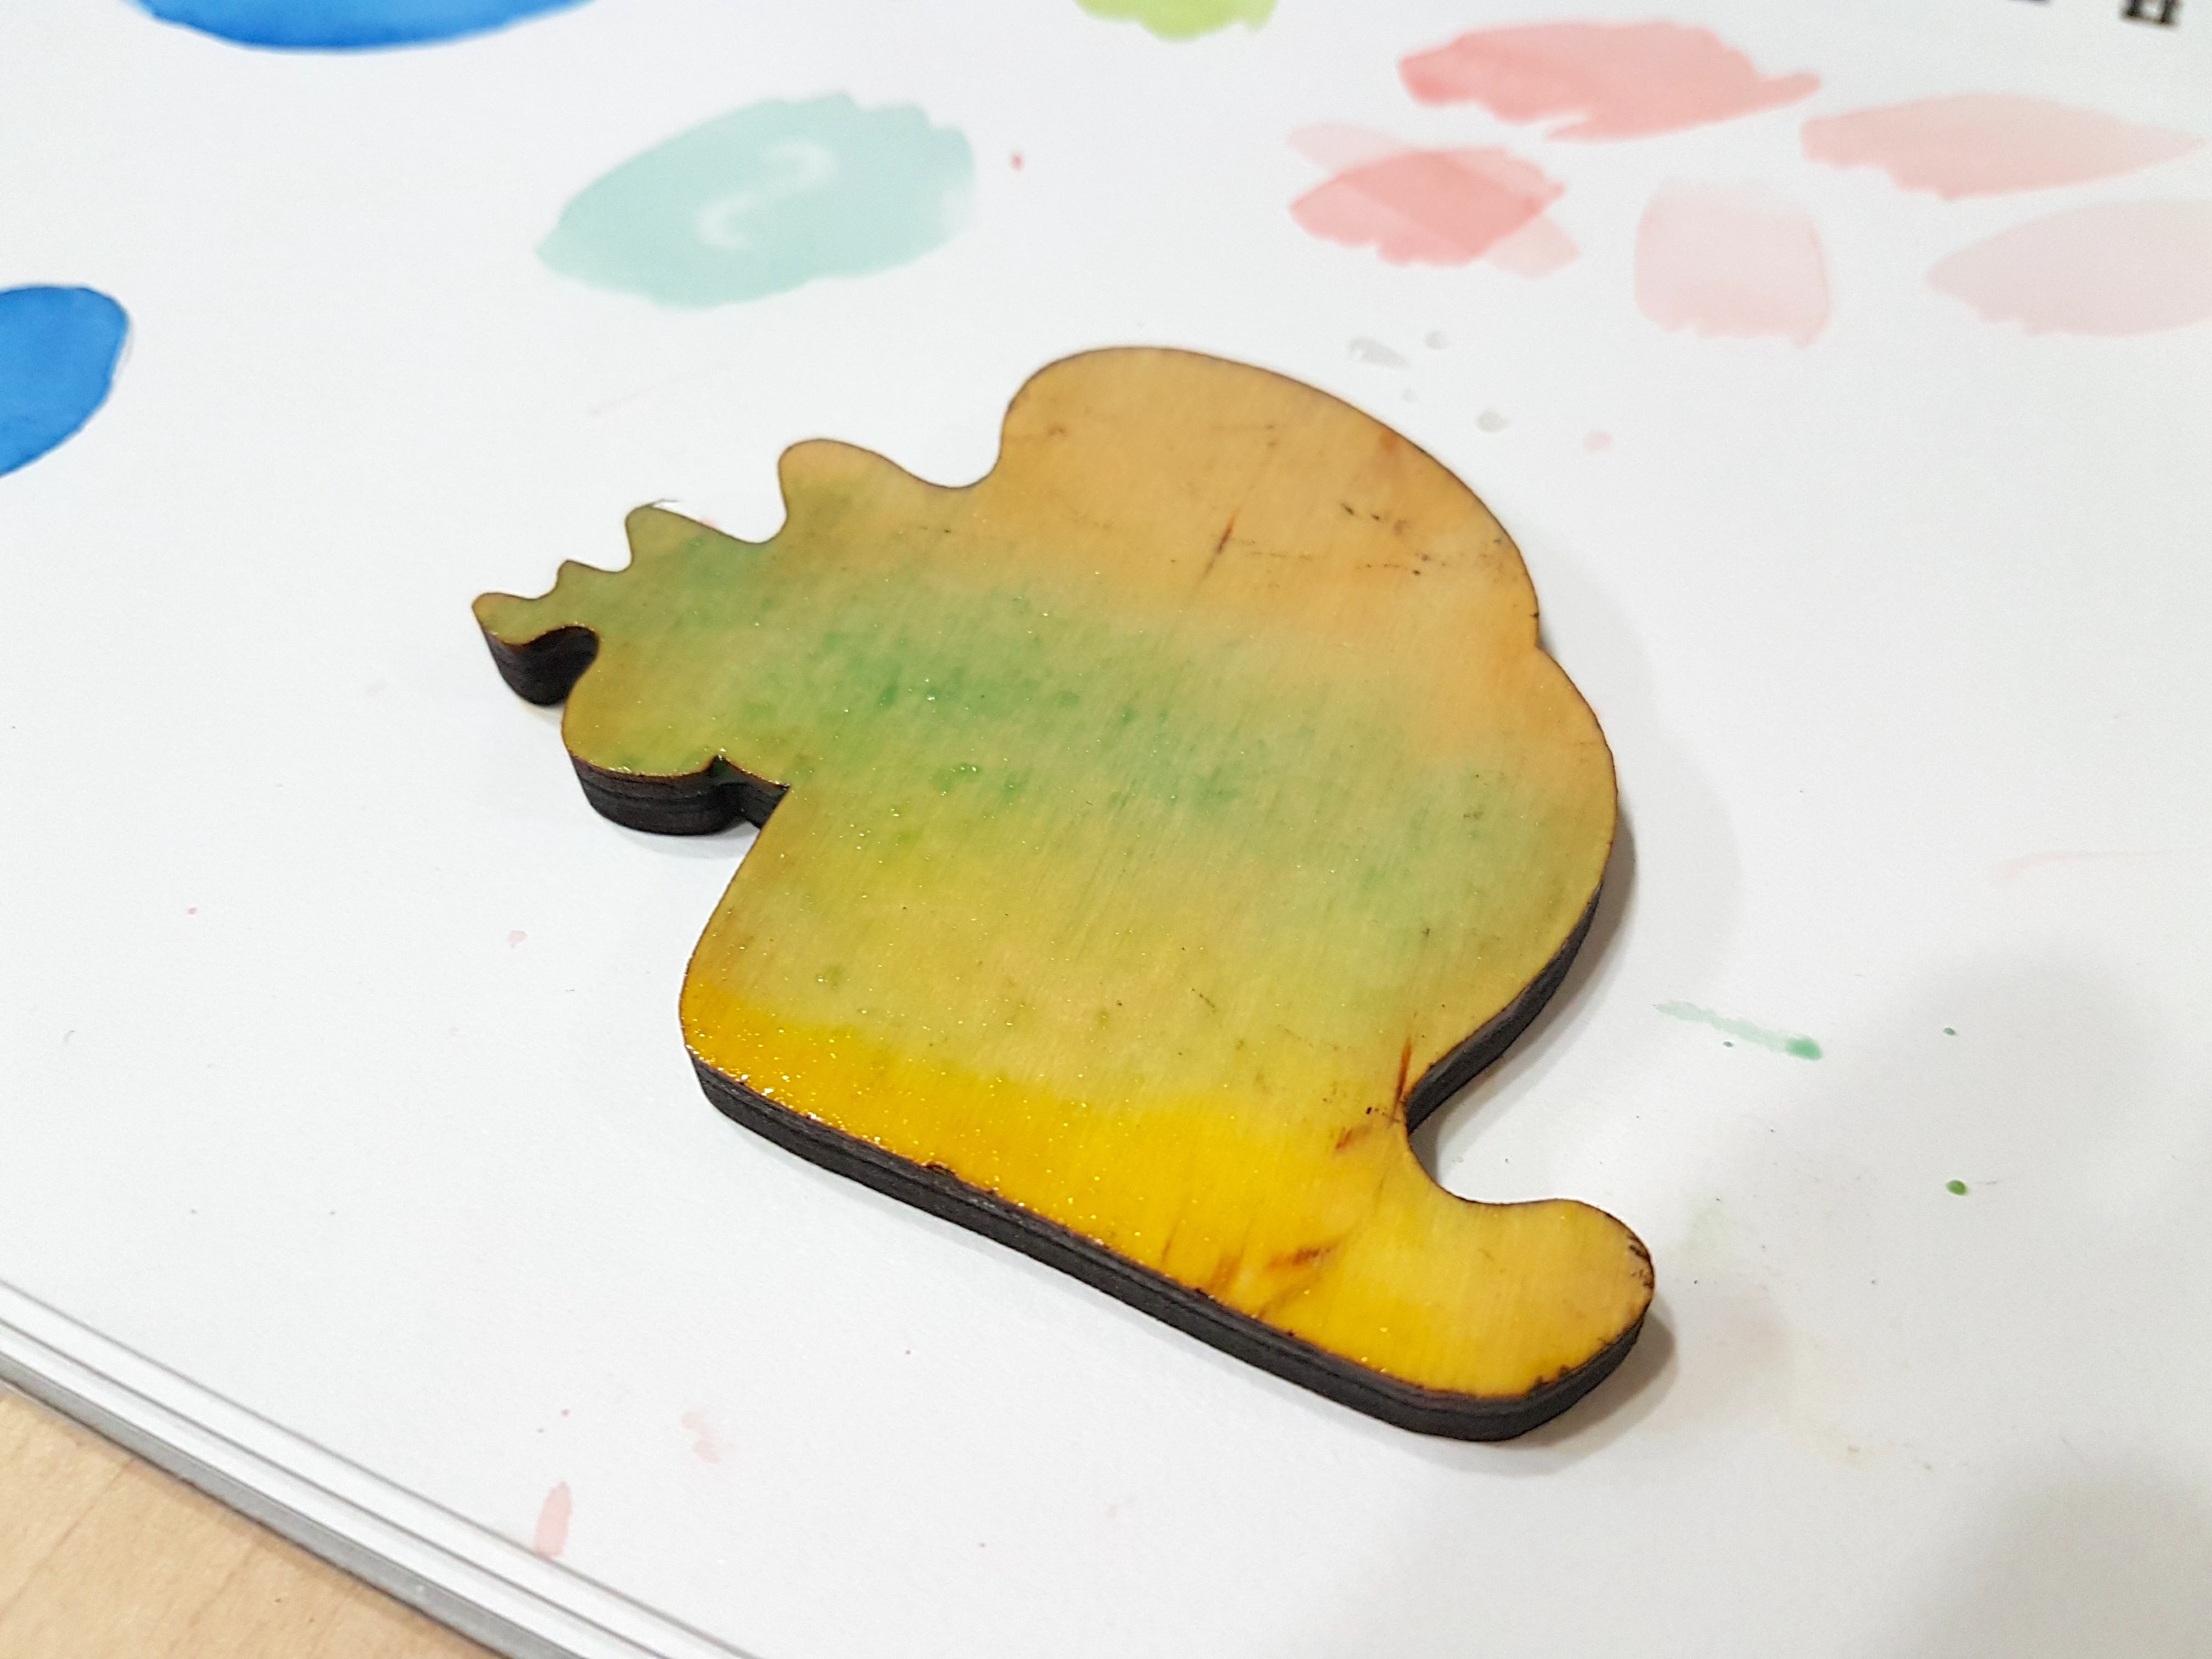
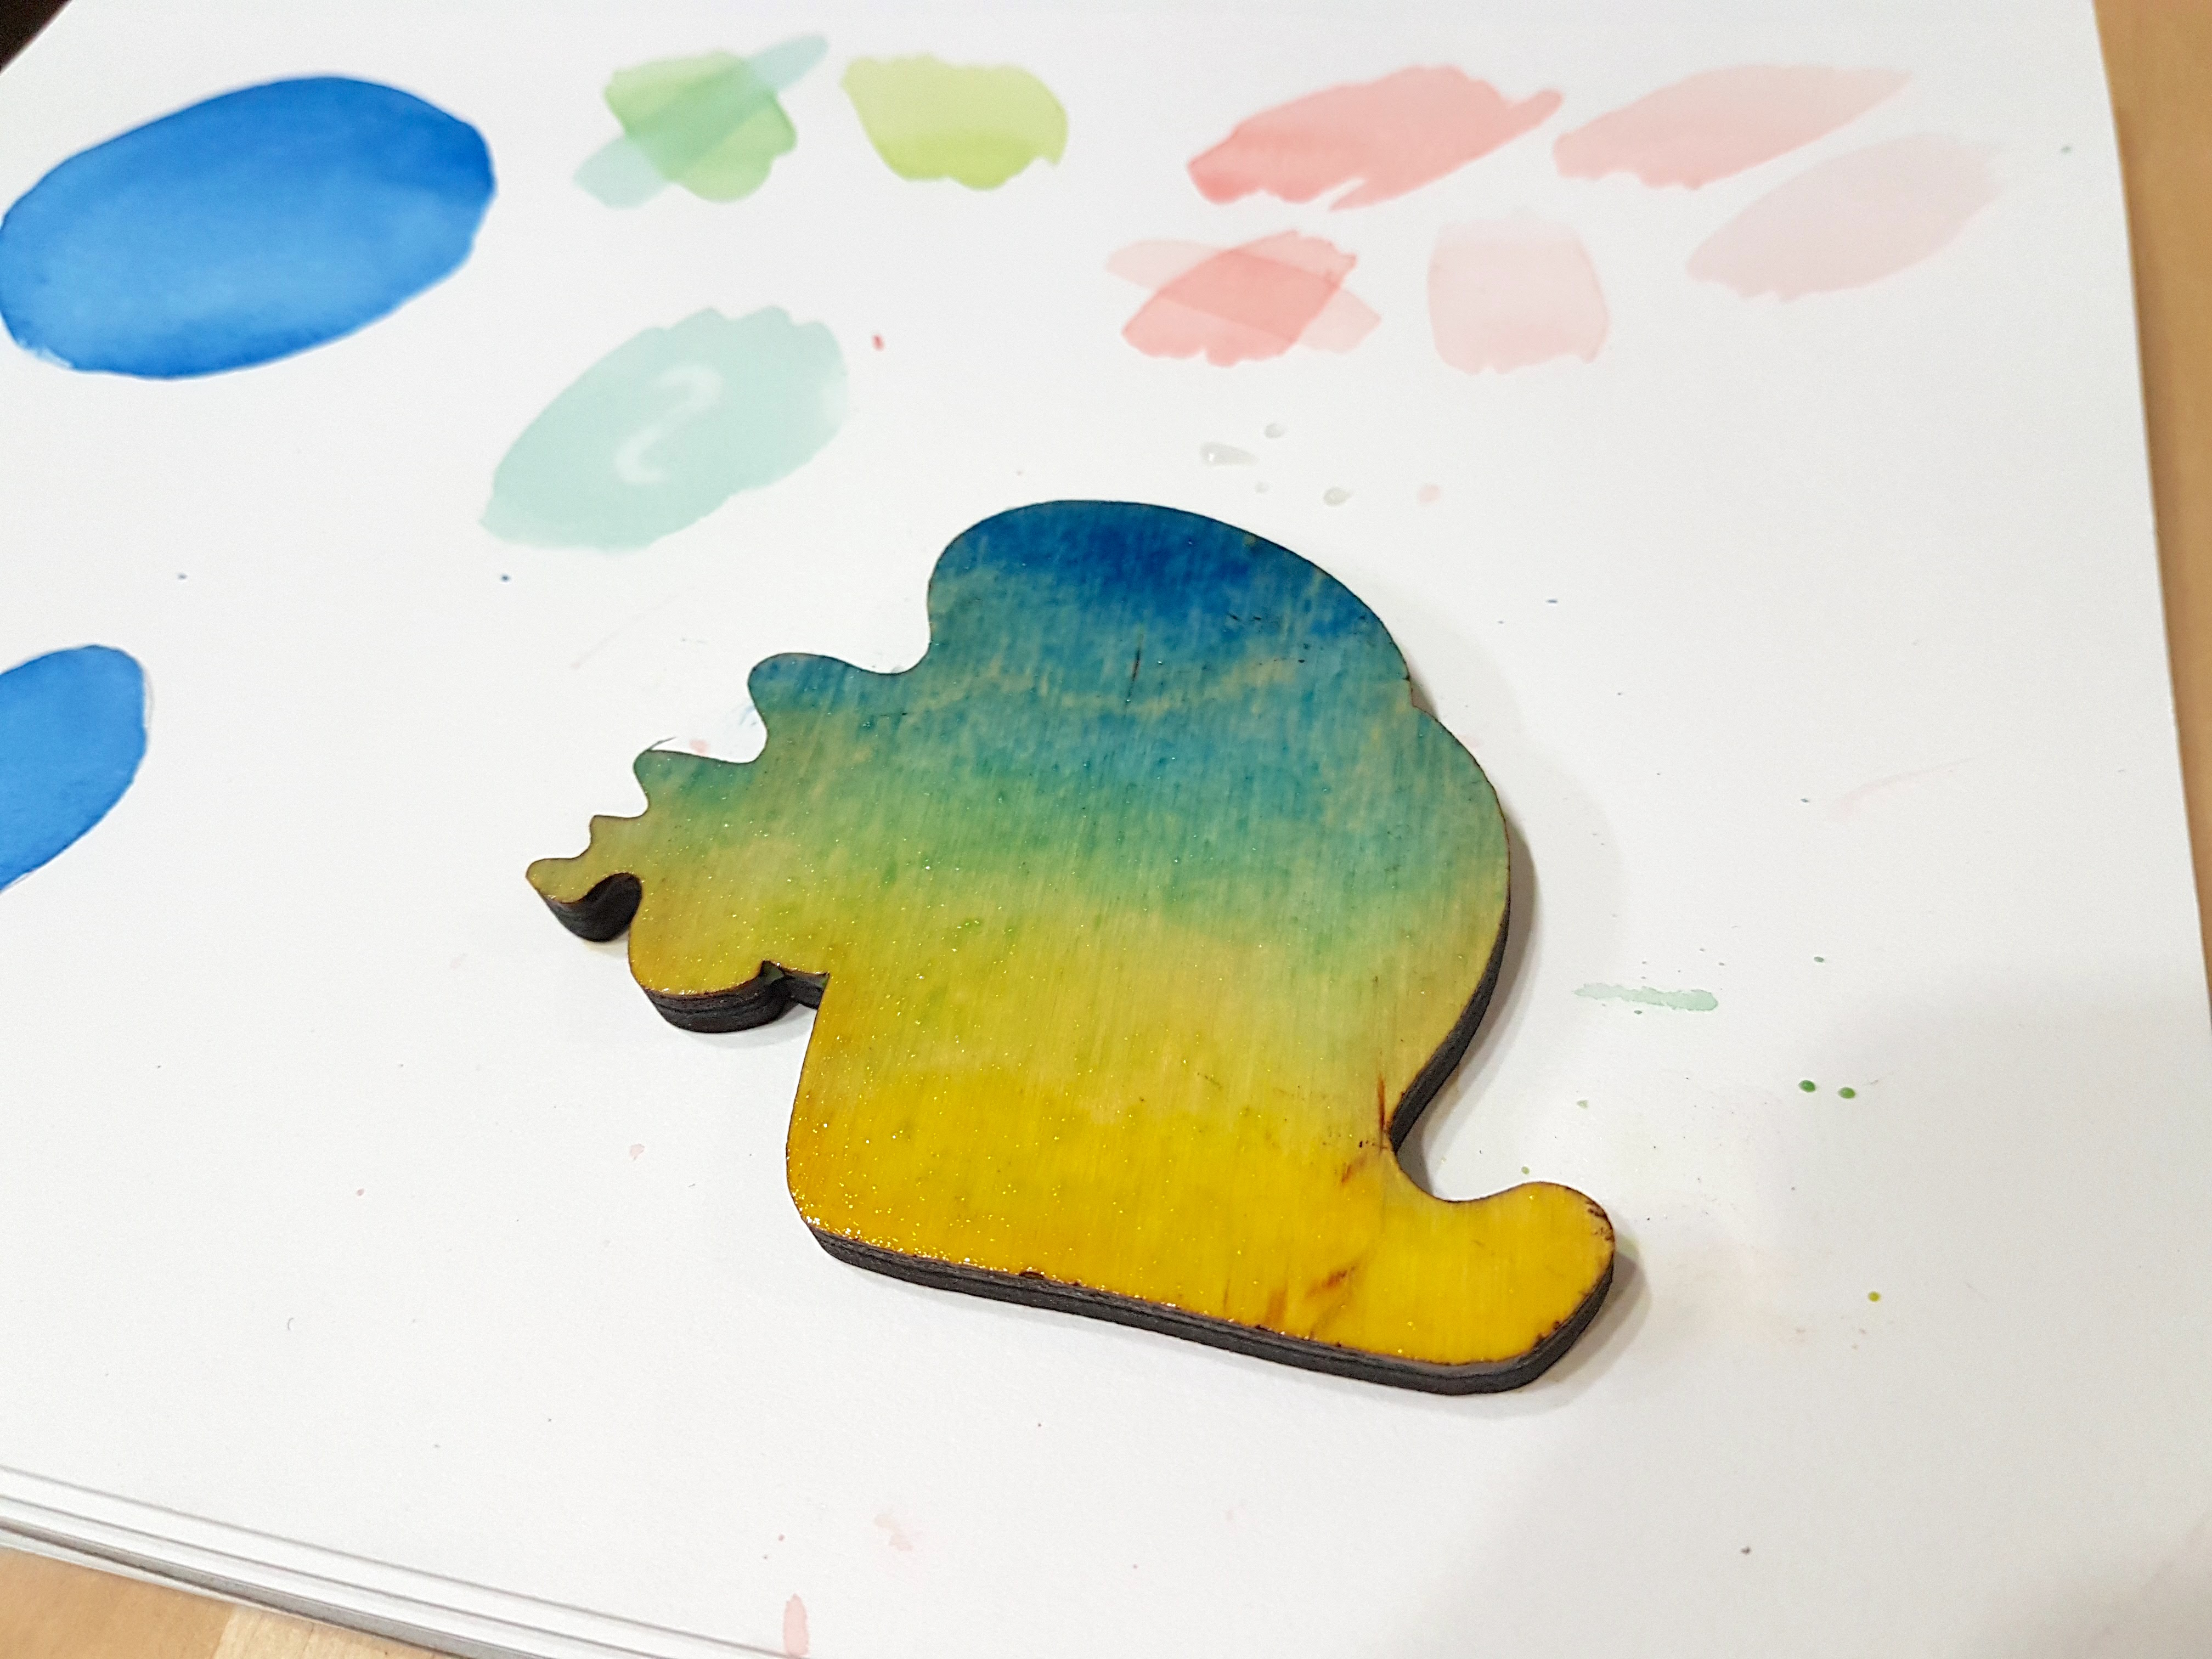
Blending lots of different colors works well with watercolor too. Ombre is another wet-on-wet technique.
Start by wetting the entire surface you want to paint. Add colors in stripes next to one another and they will blend together. In this example, I started with yellow, moved on to green, and then blue.
When selecting colors for an ombre, be sure you won't be mixing all three primary colors. For those that don't recall their elementary art education, Red, Yellow and Blue are the primary colors and mixing all of them results in brown. For example, mixing orange and blue mixes all three primaries (red+yellow=orange, so mixing orange and blue is all three)
If you want orange and blue in the same ombre, you could go from orange to red to blue. This prevents the blue from coming into contact with the orange.
Gouache and Layering
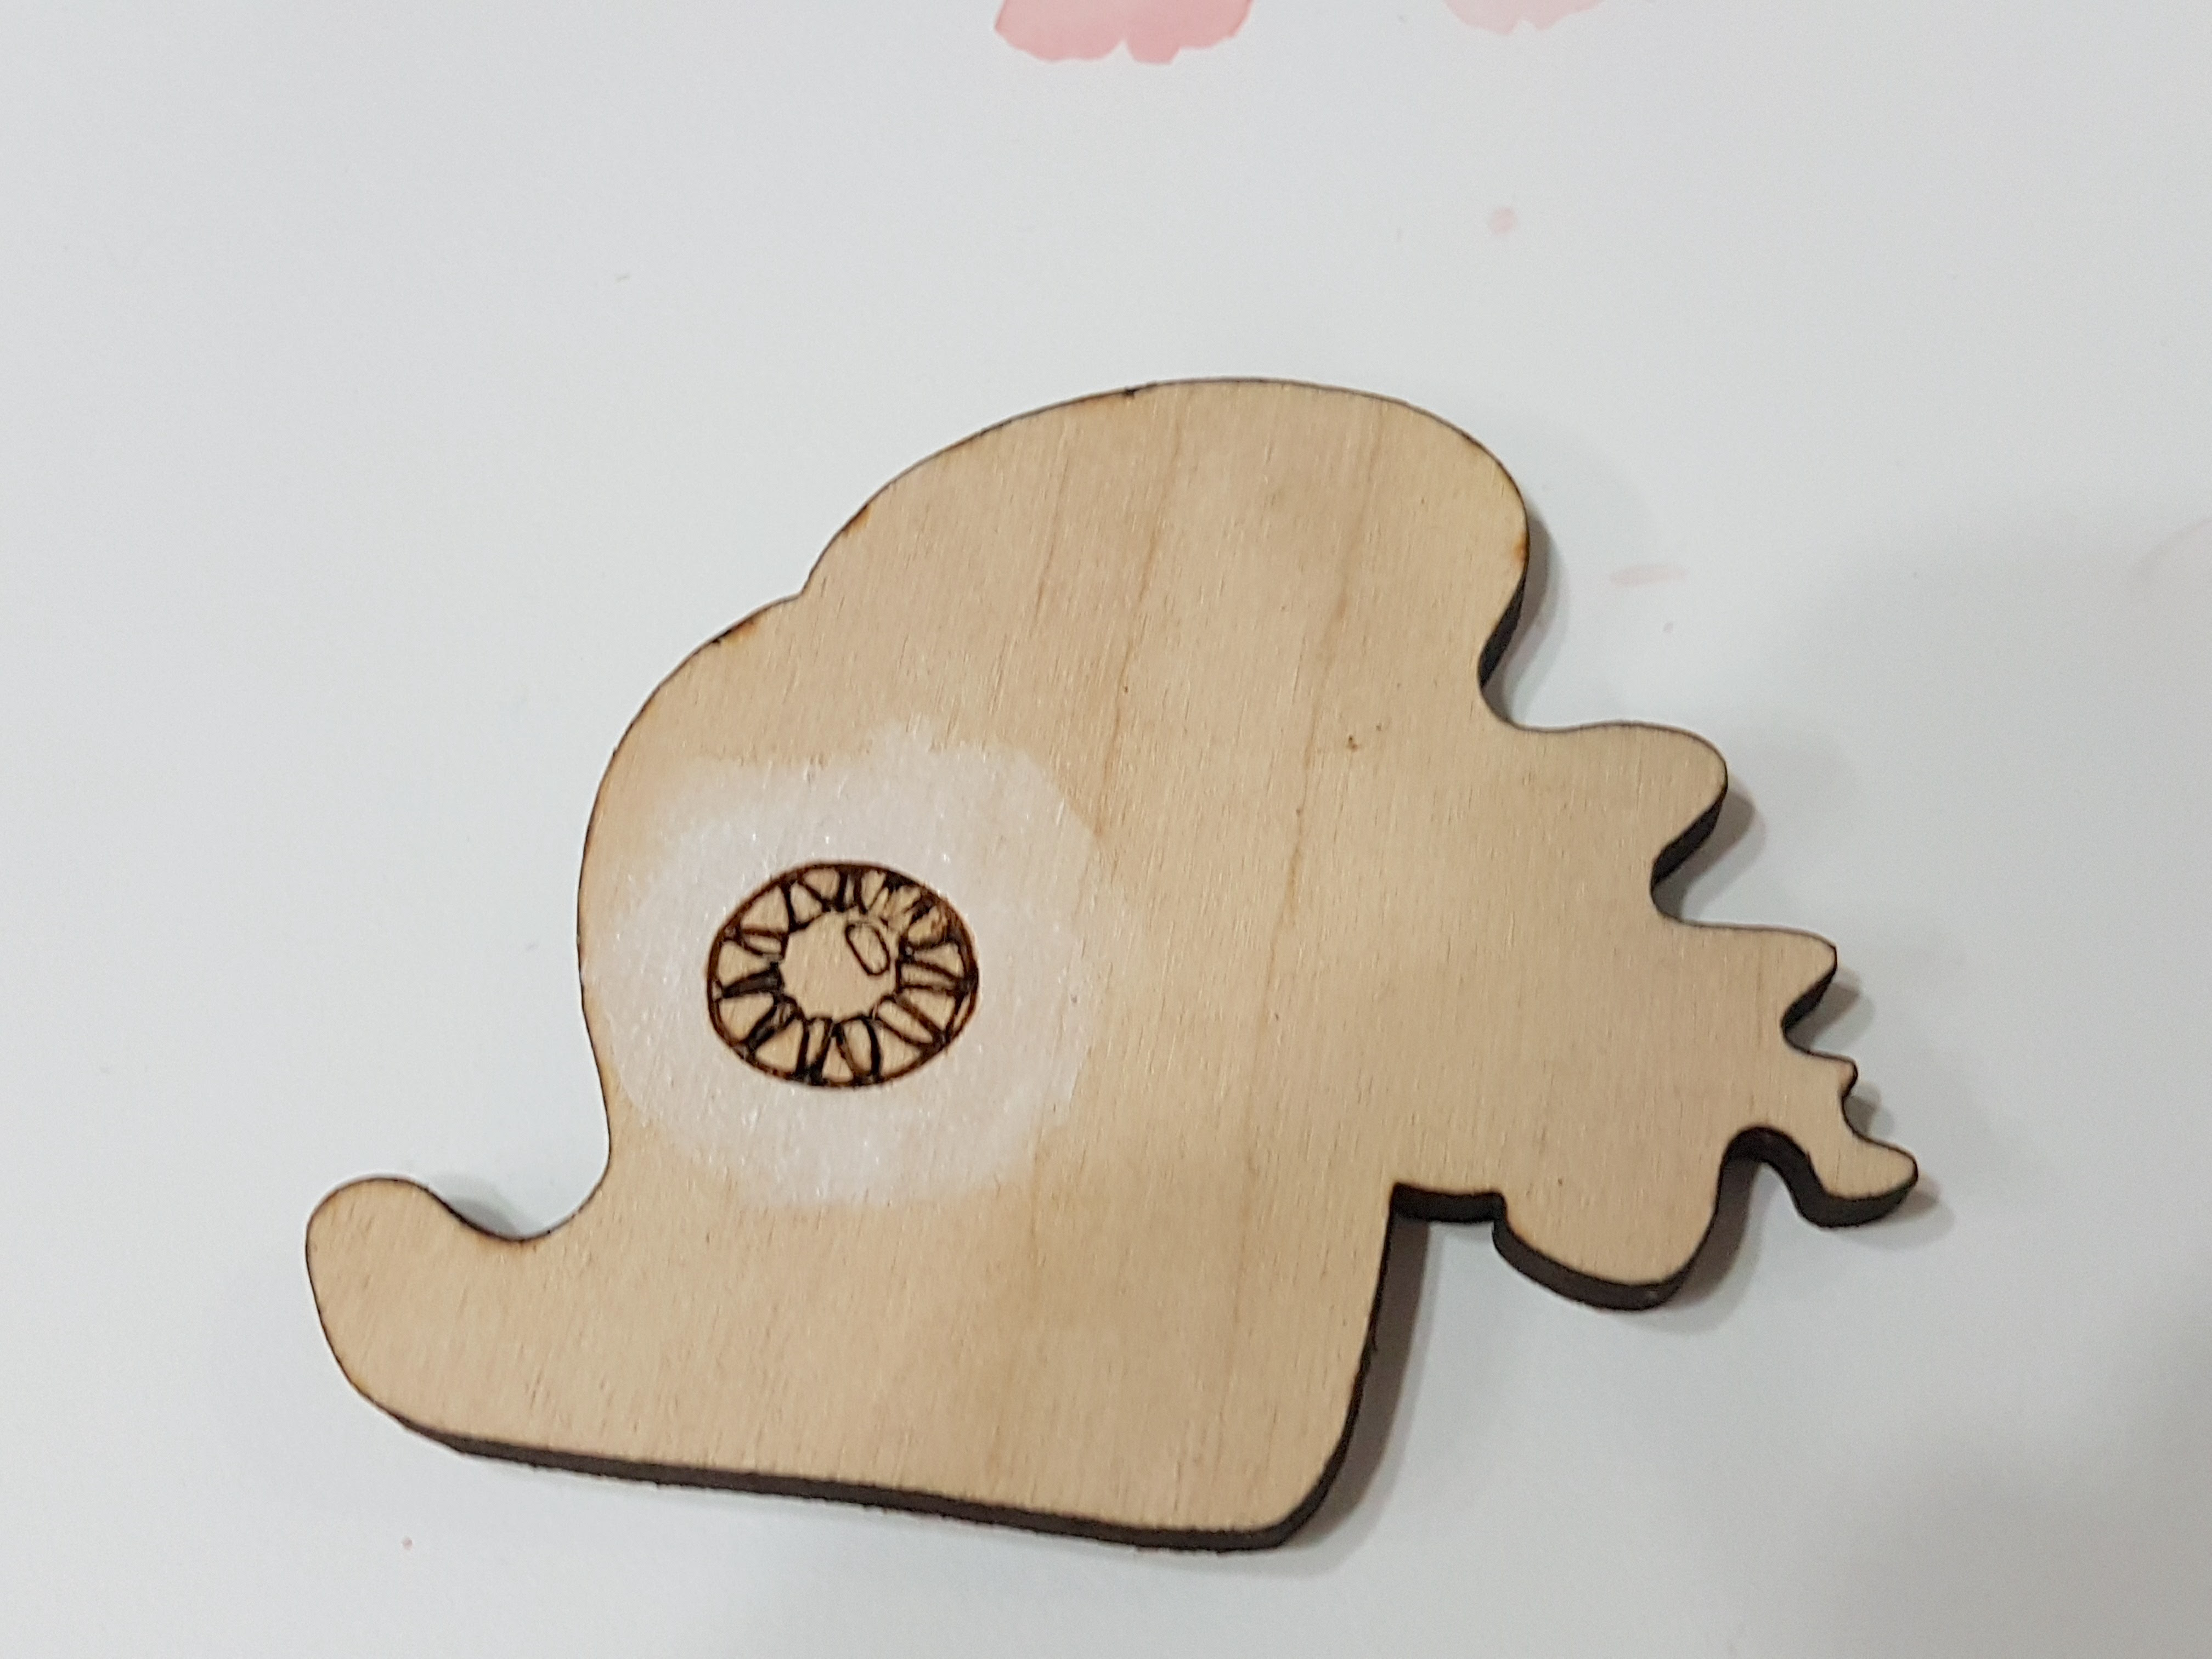
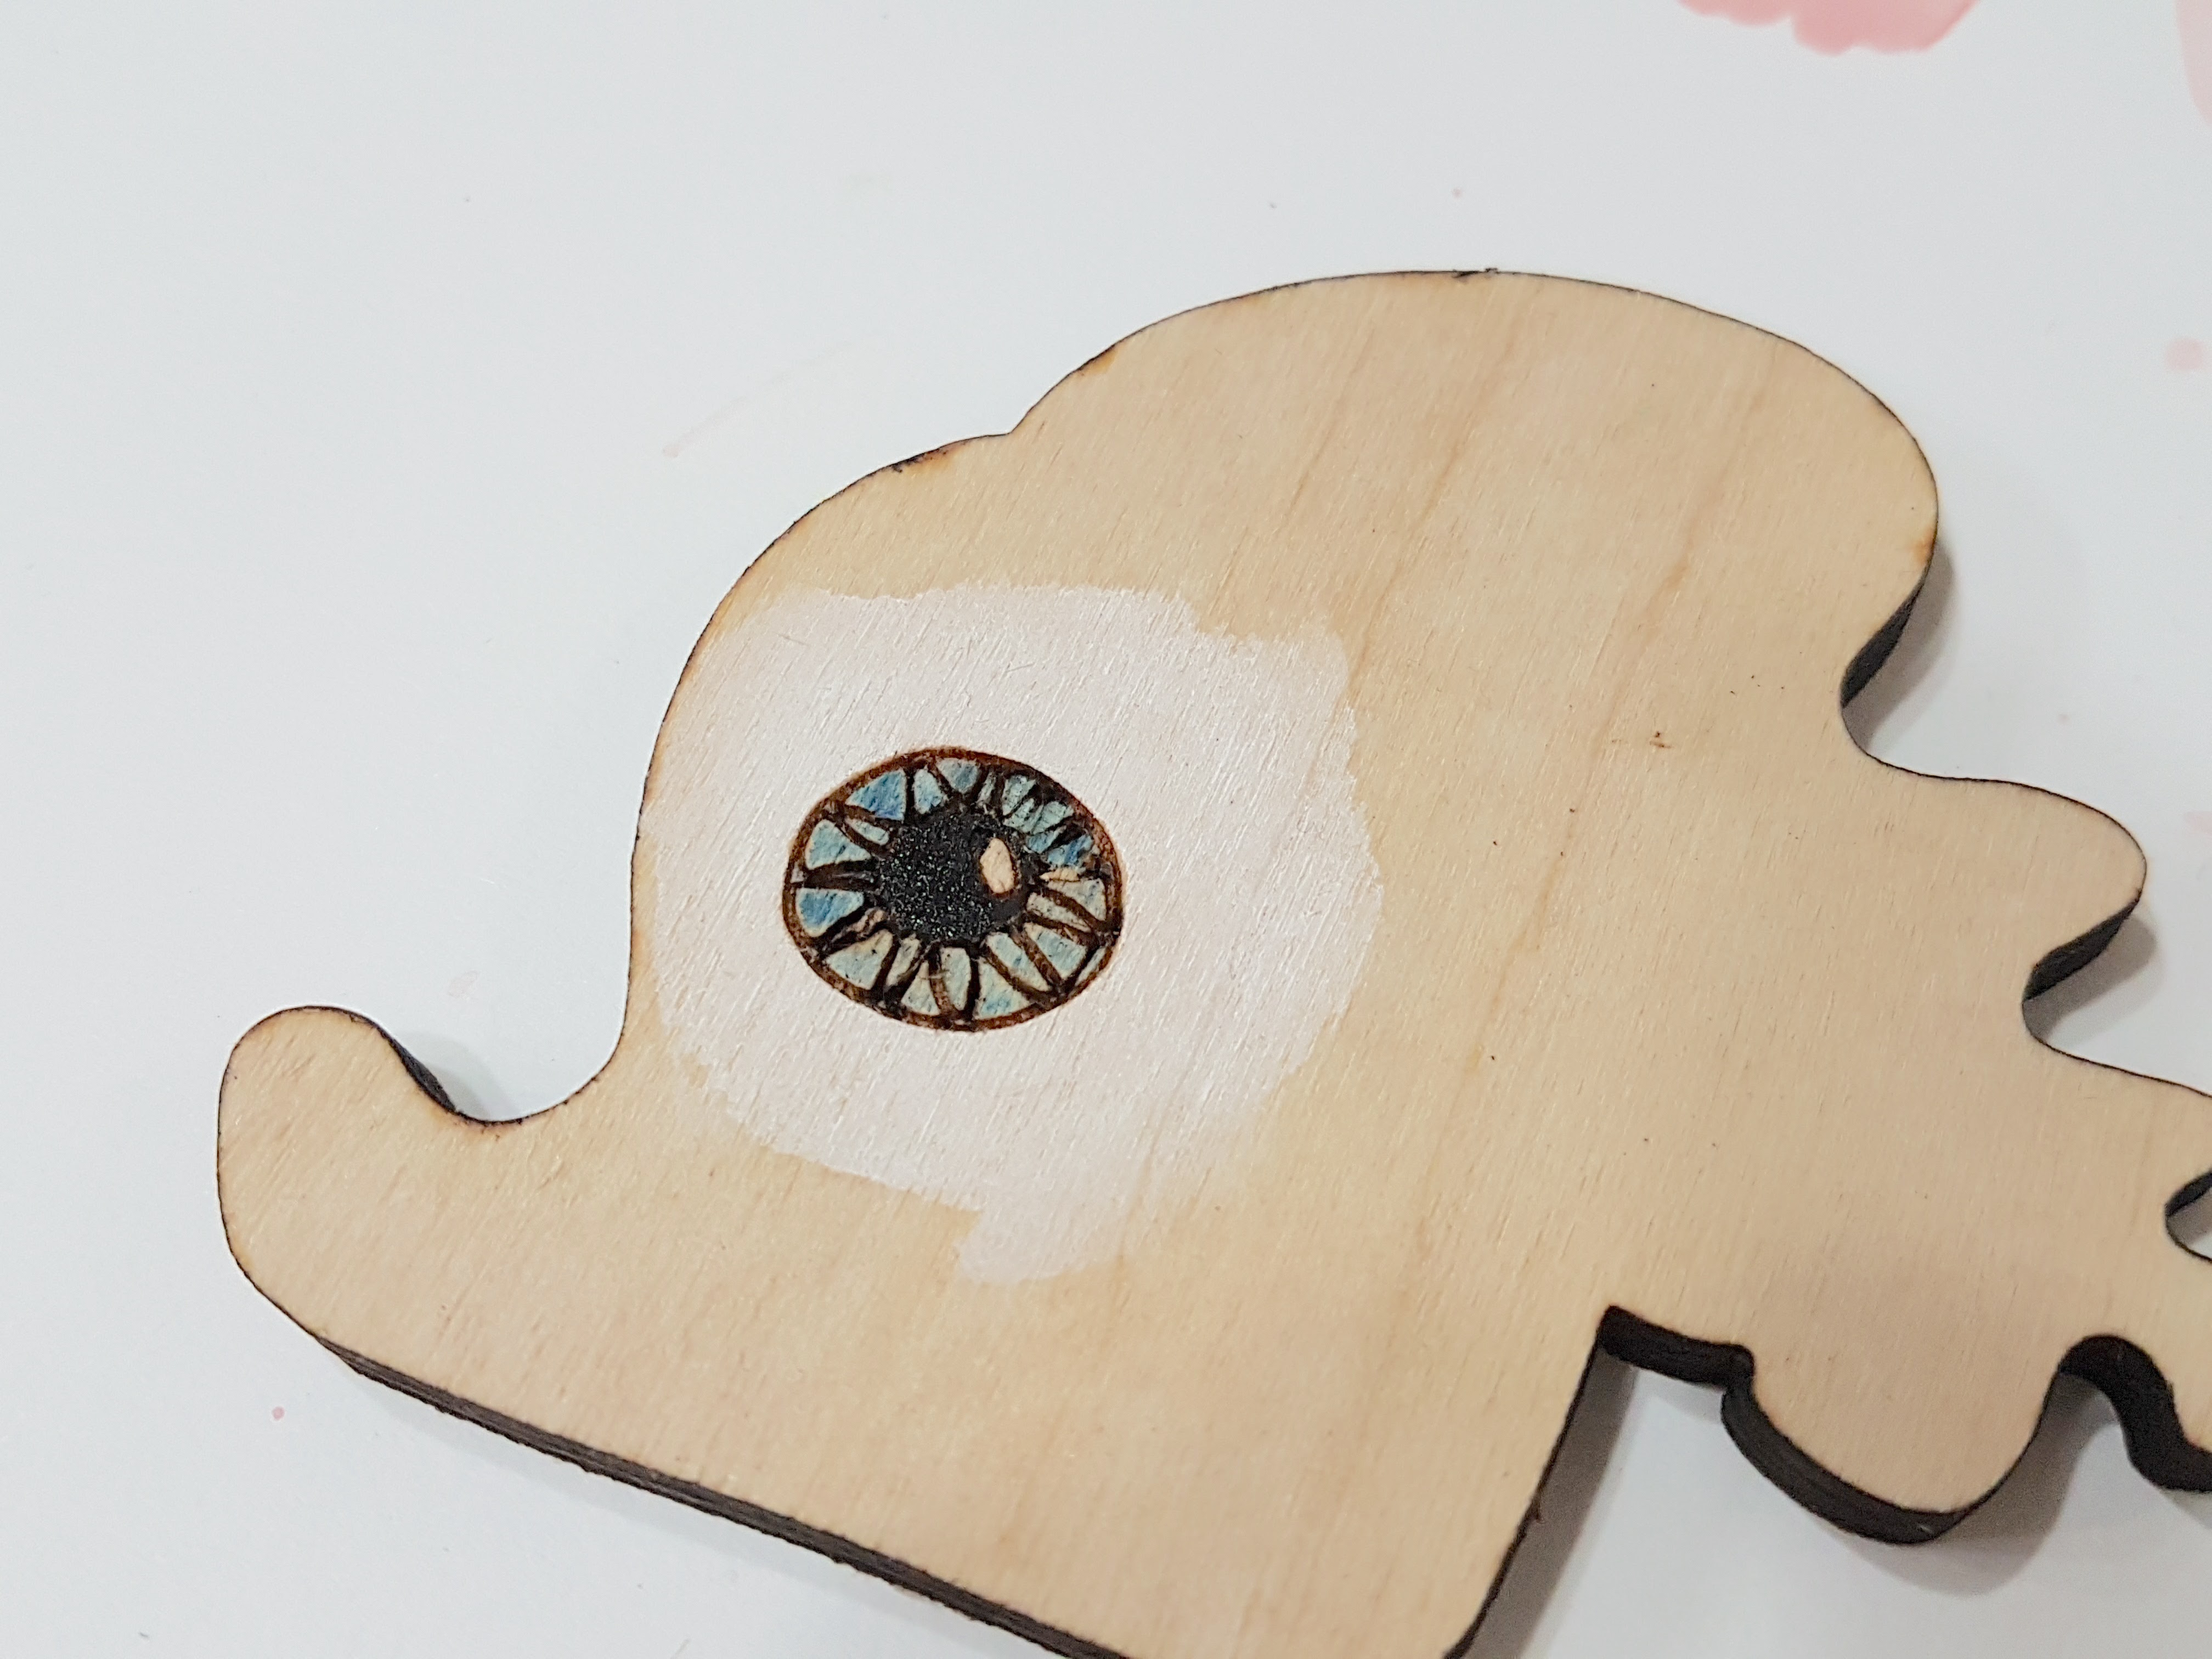
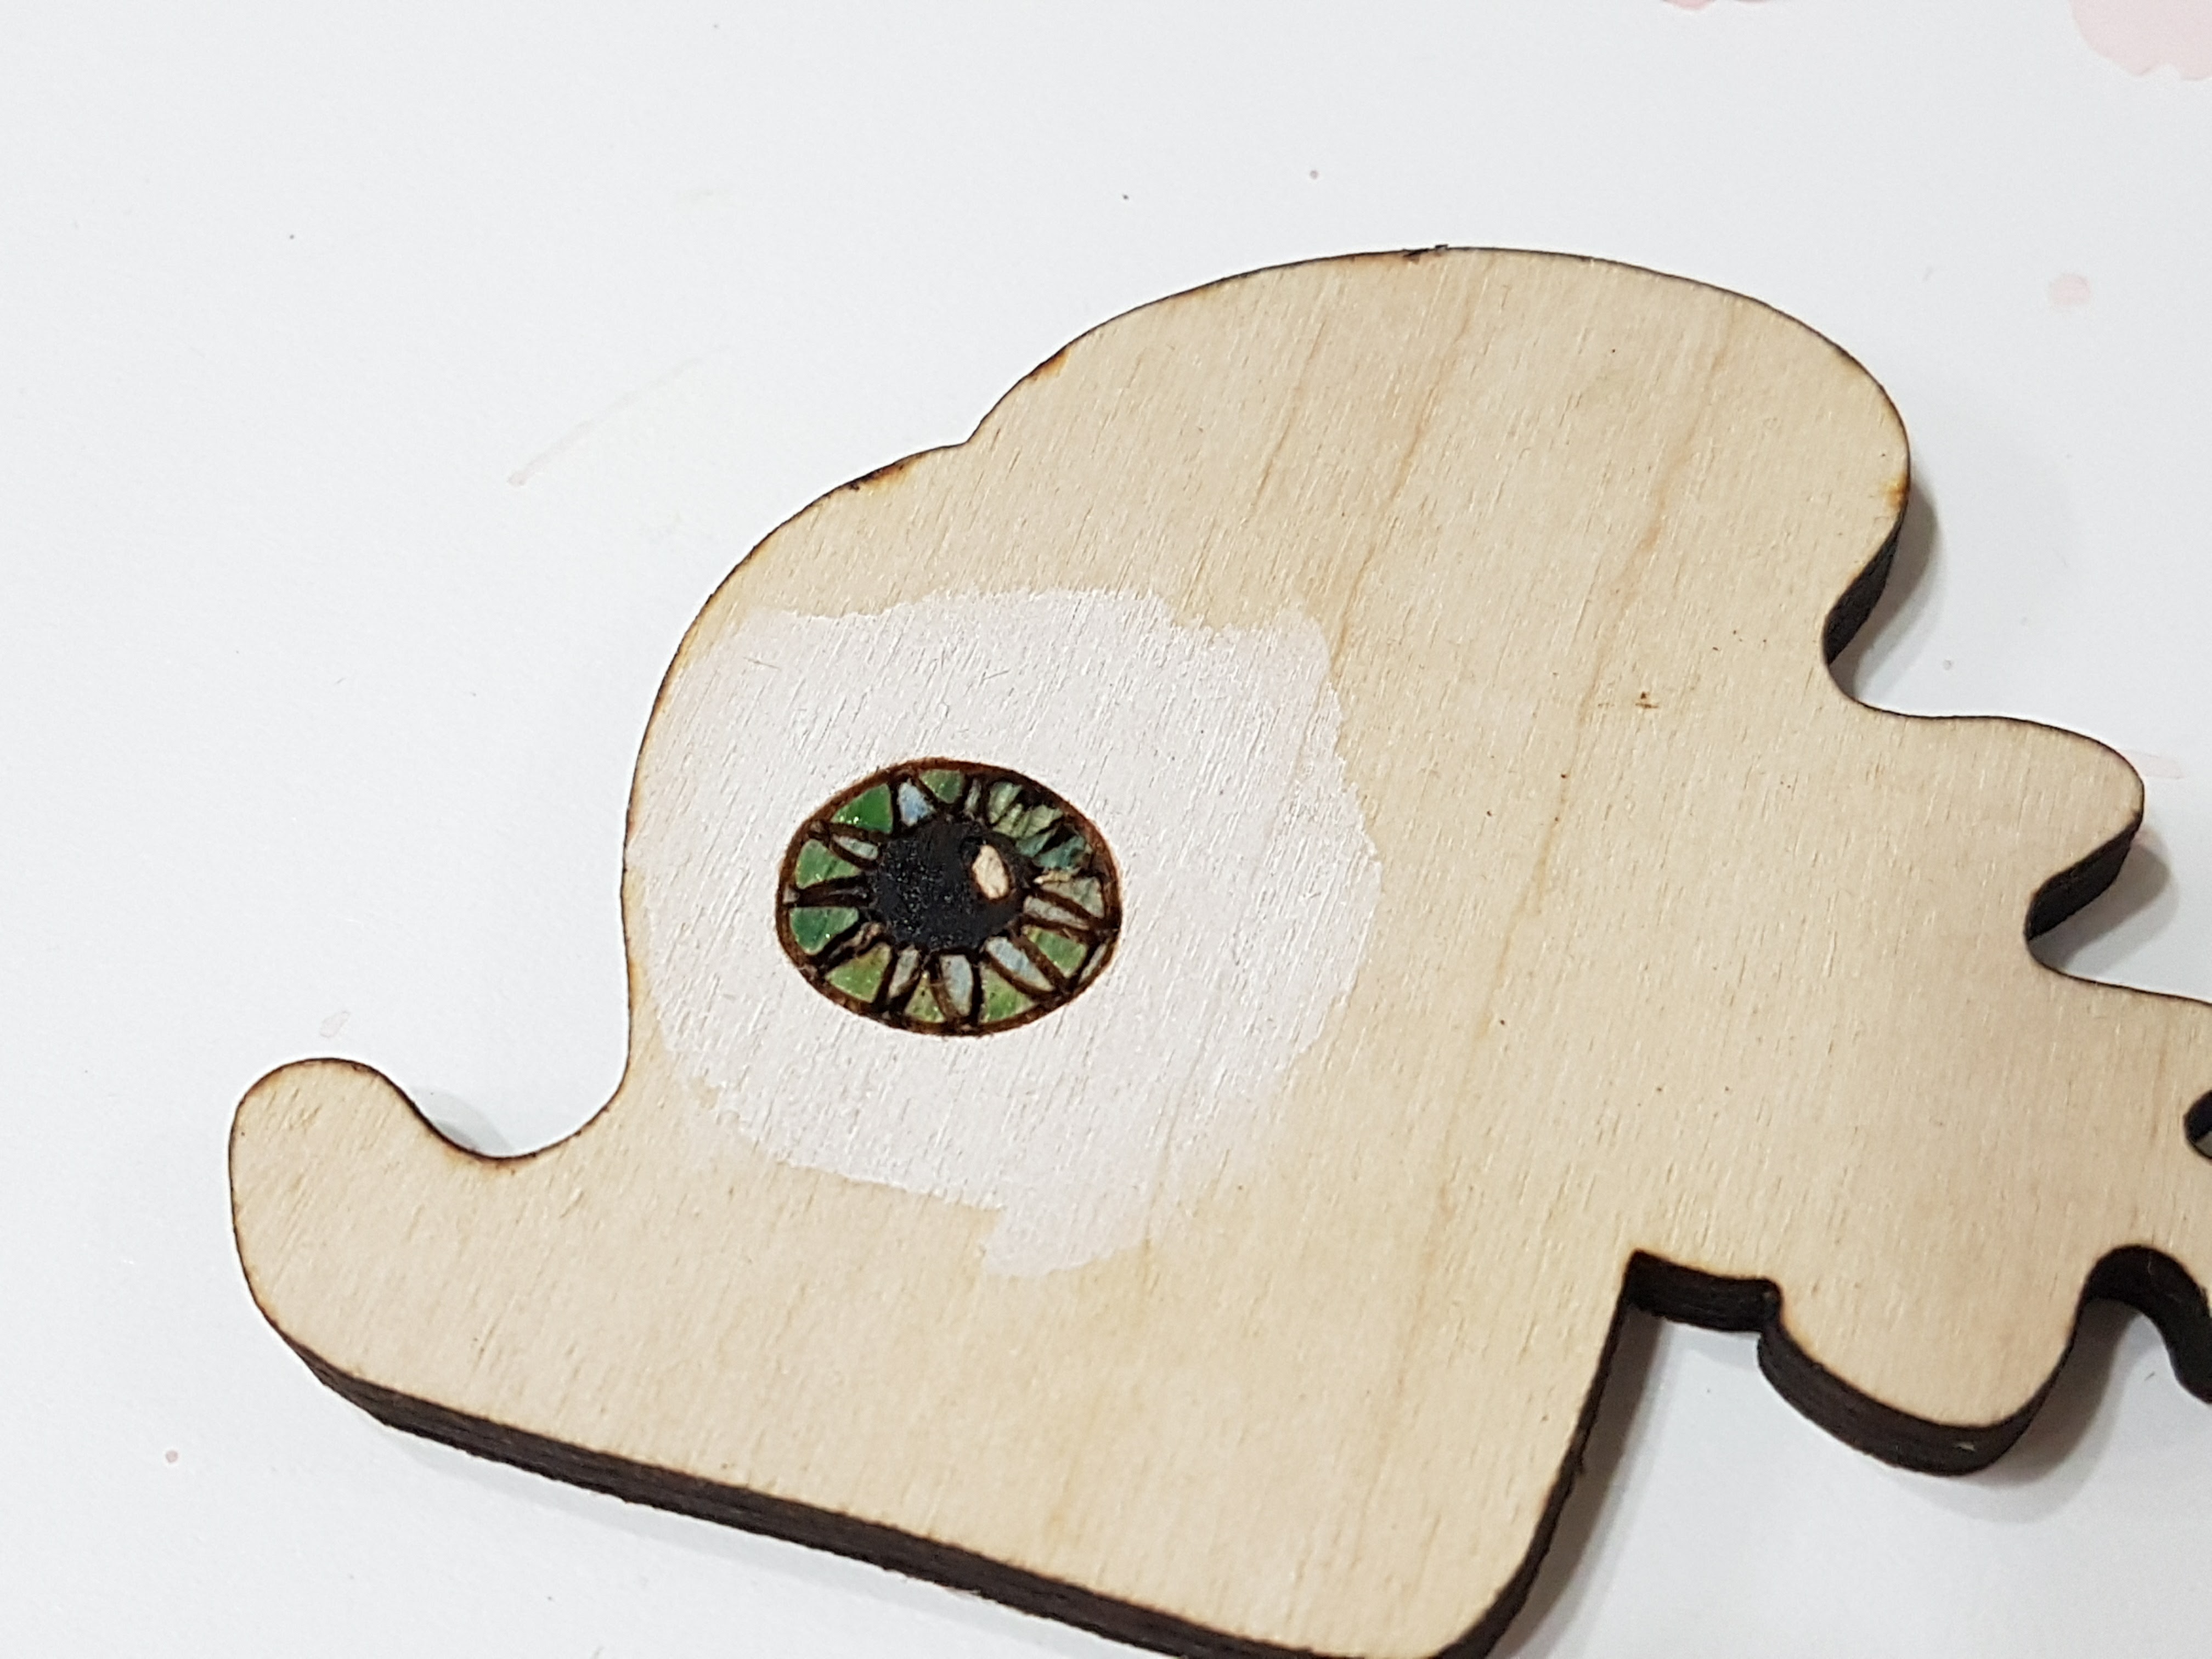
I used gouache for the white of the eye. Gouache is a type of watercolor that is more opaque which means you can have white gouache. It's applied the same way as regular watercolors.
I layered colors on the iris. First I painted it blue. After it was dry, I went back with some of the lime green I mixed earlier and painted some of the sections over the blue. It's small, but looks much more dynamic than if it was all a solid blue.
Final Thoughts
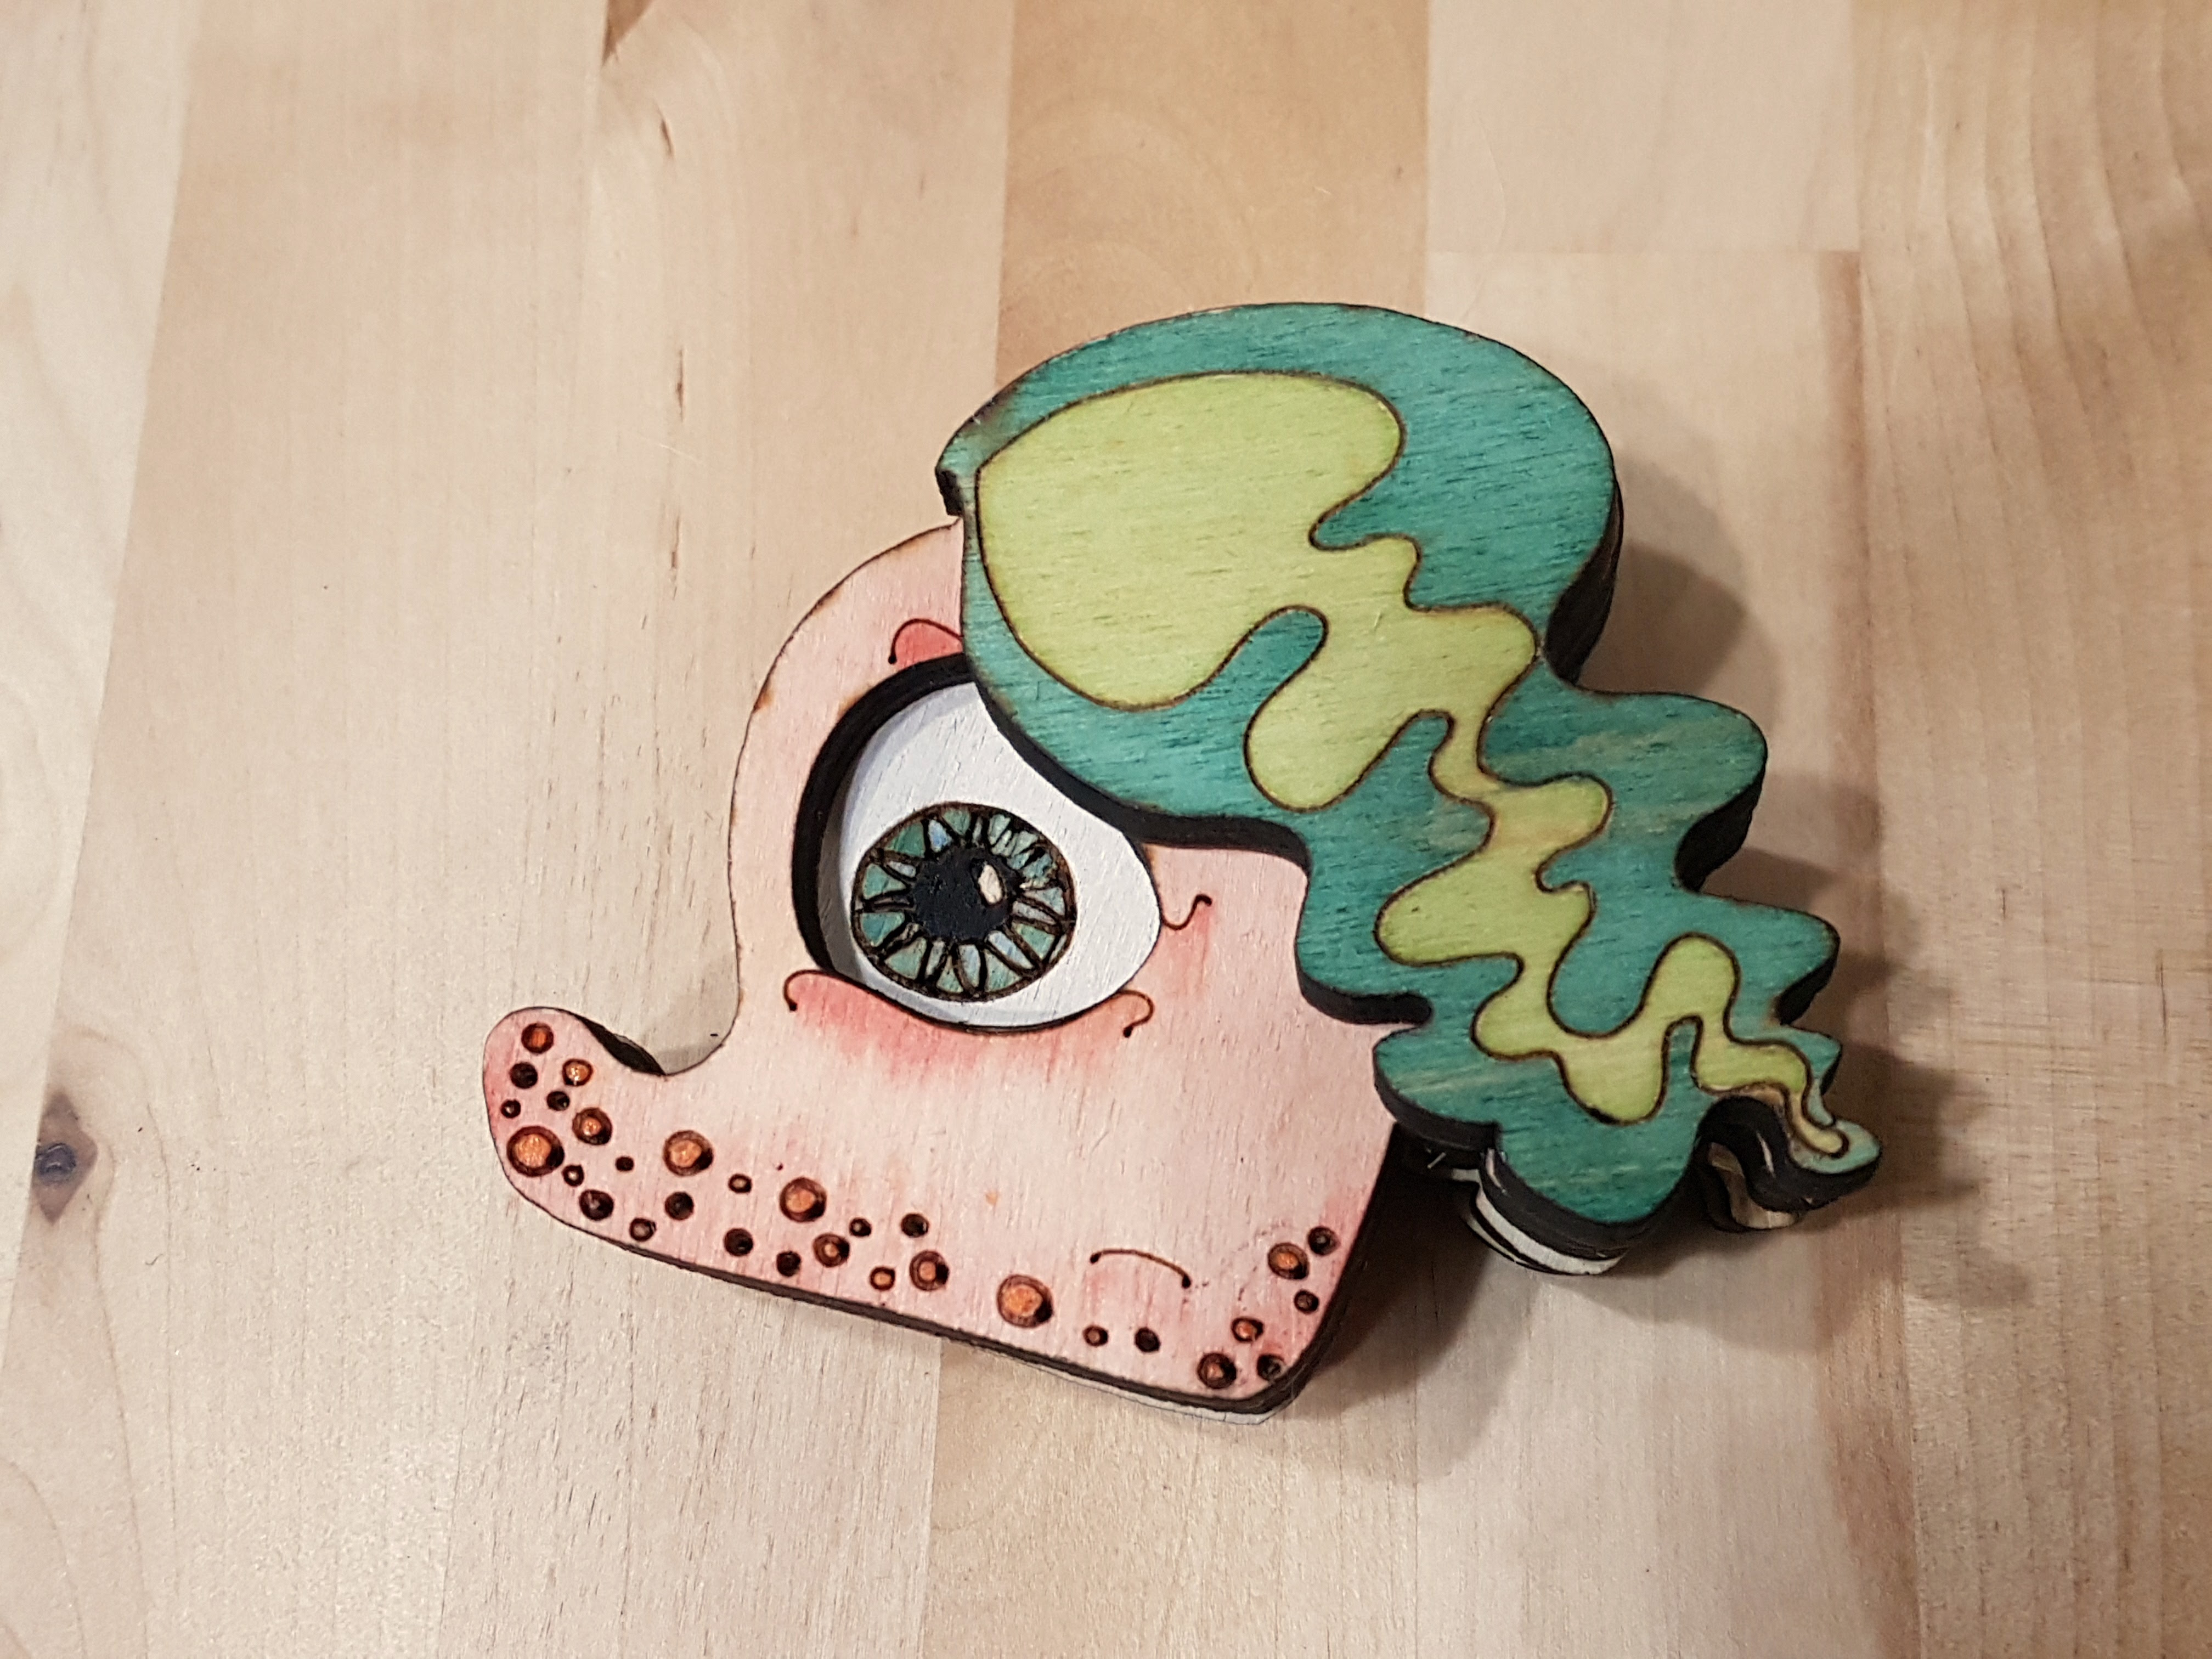
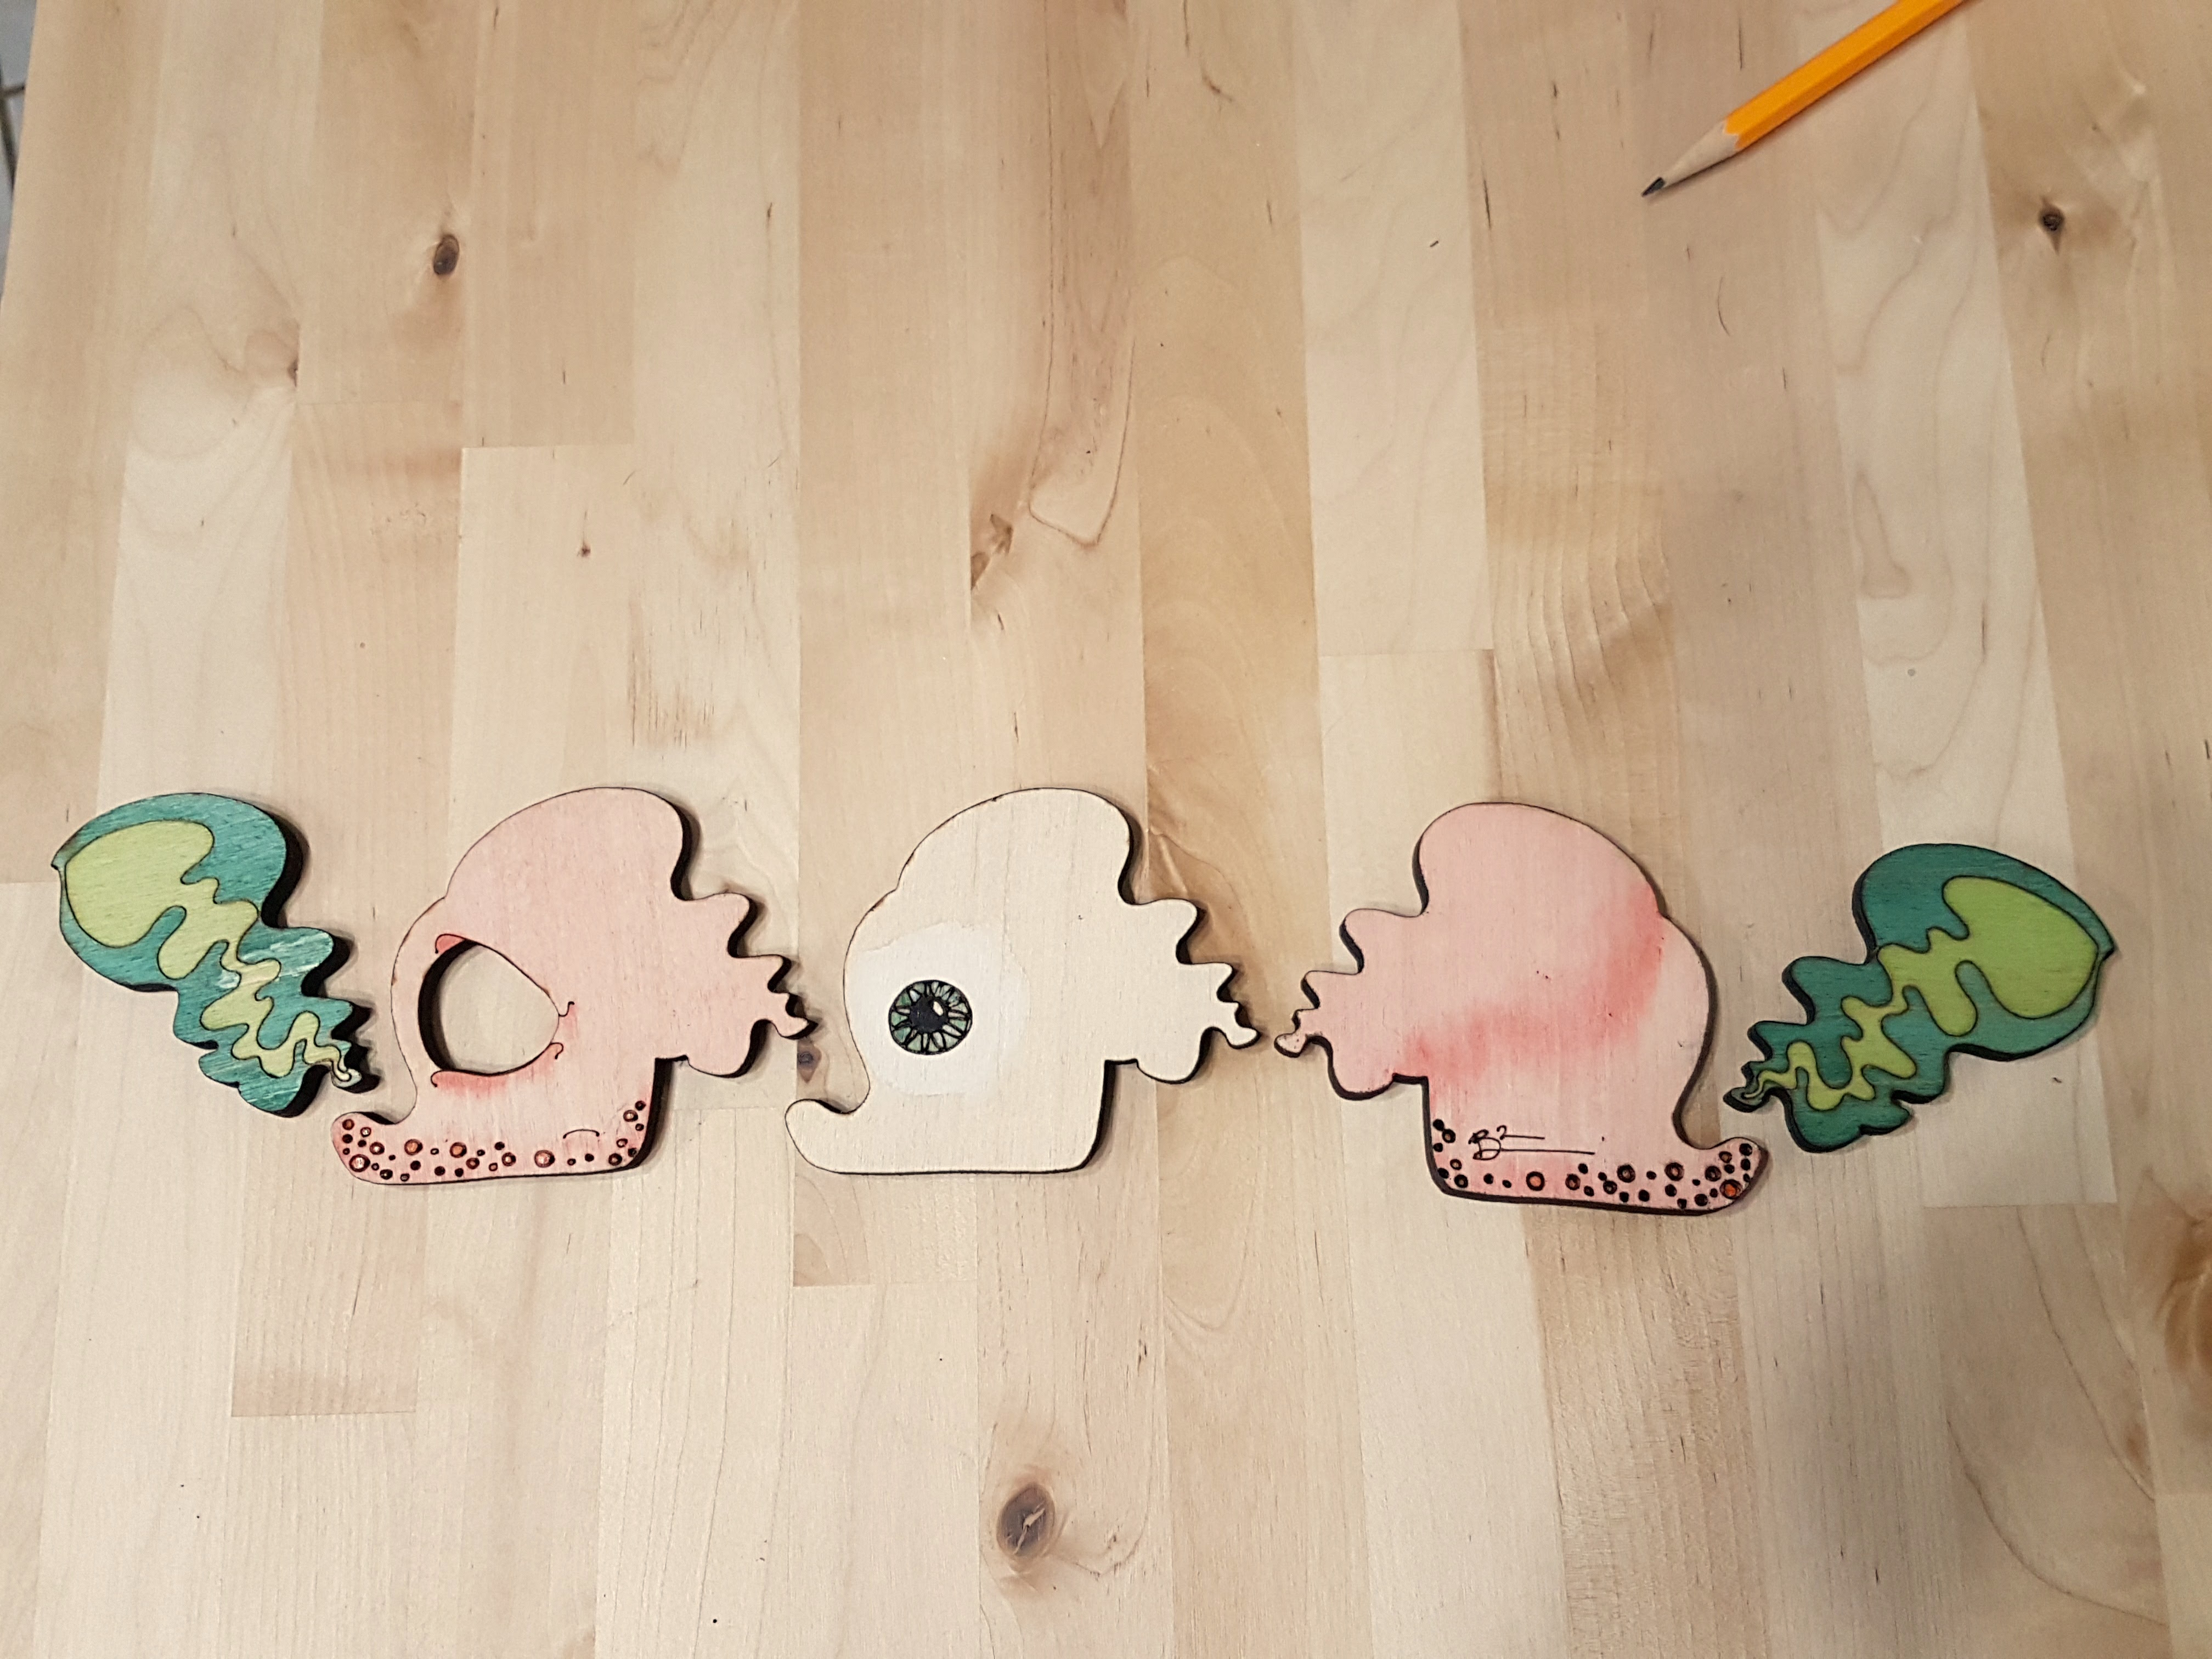
Remember to vector engrave areas you want to be different colors.
Be sure you have plenty of paper towels and a large container of water on hand.
Keep in mind that mixed colors will eventually dry on the surface you mixed on. That's not only okay, it's great. You can reuse these colors by adding water later.