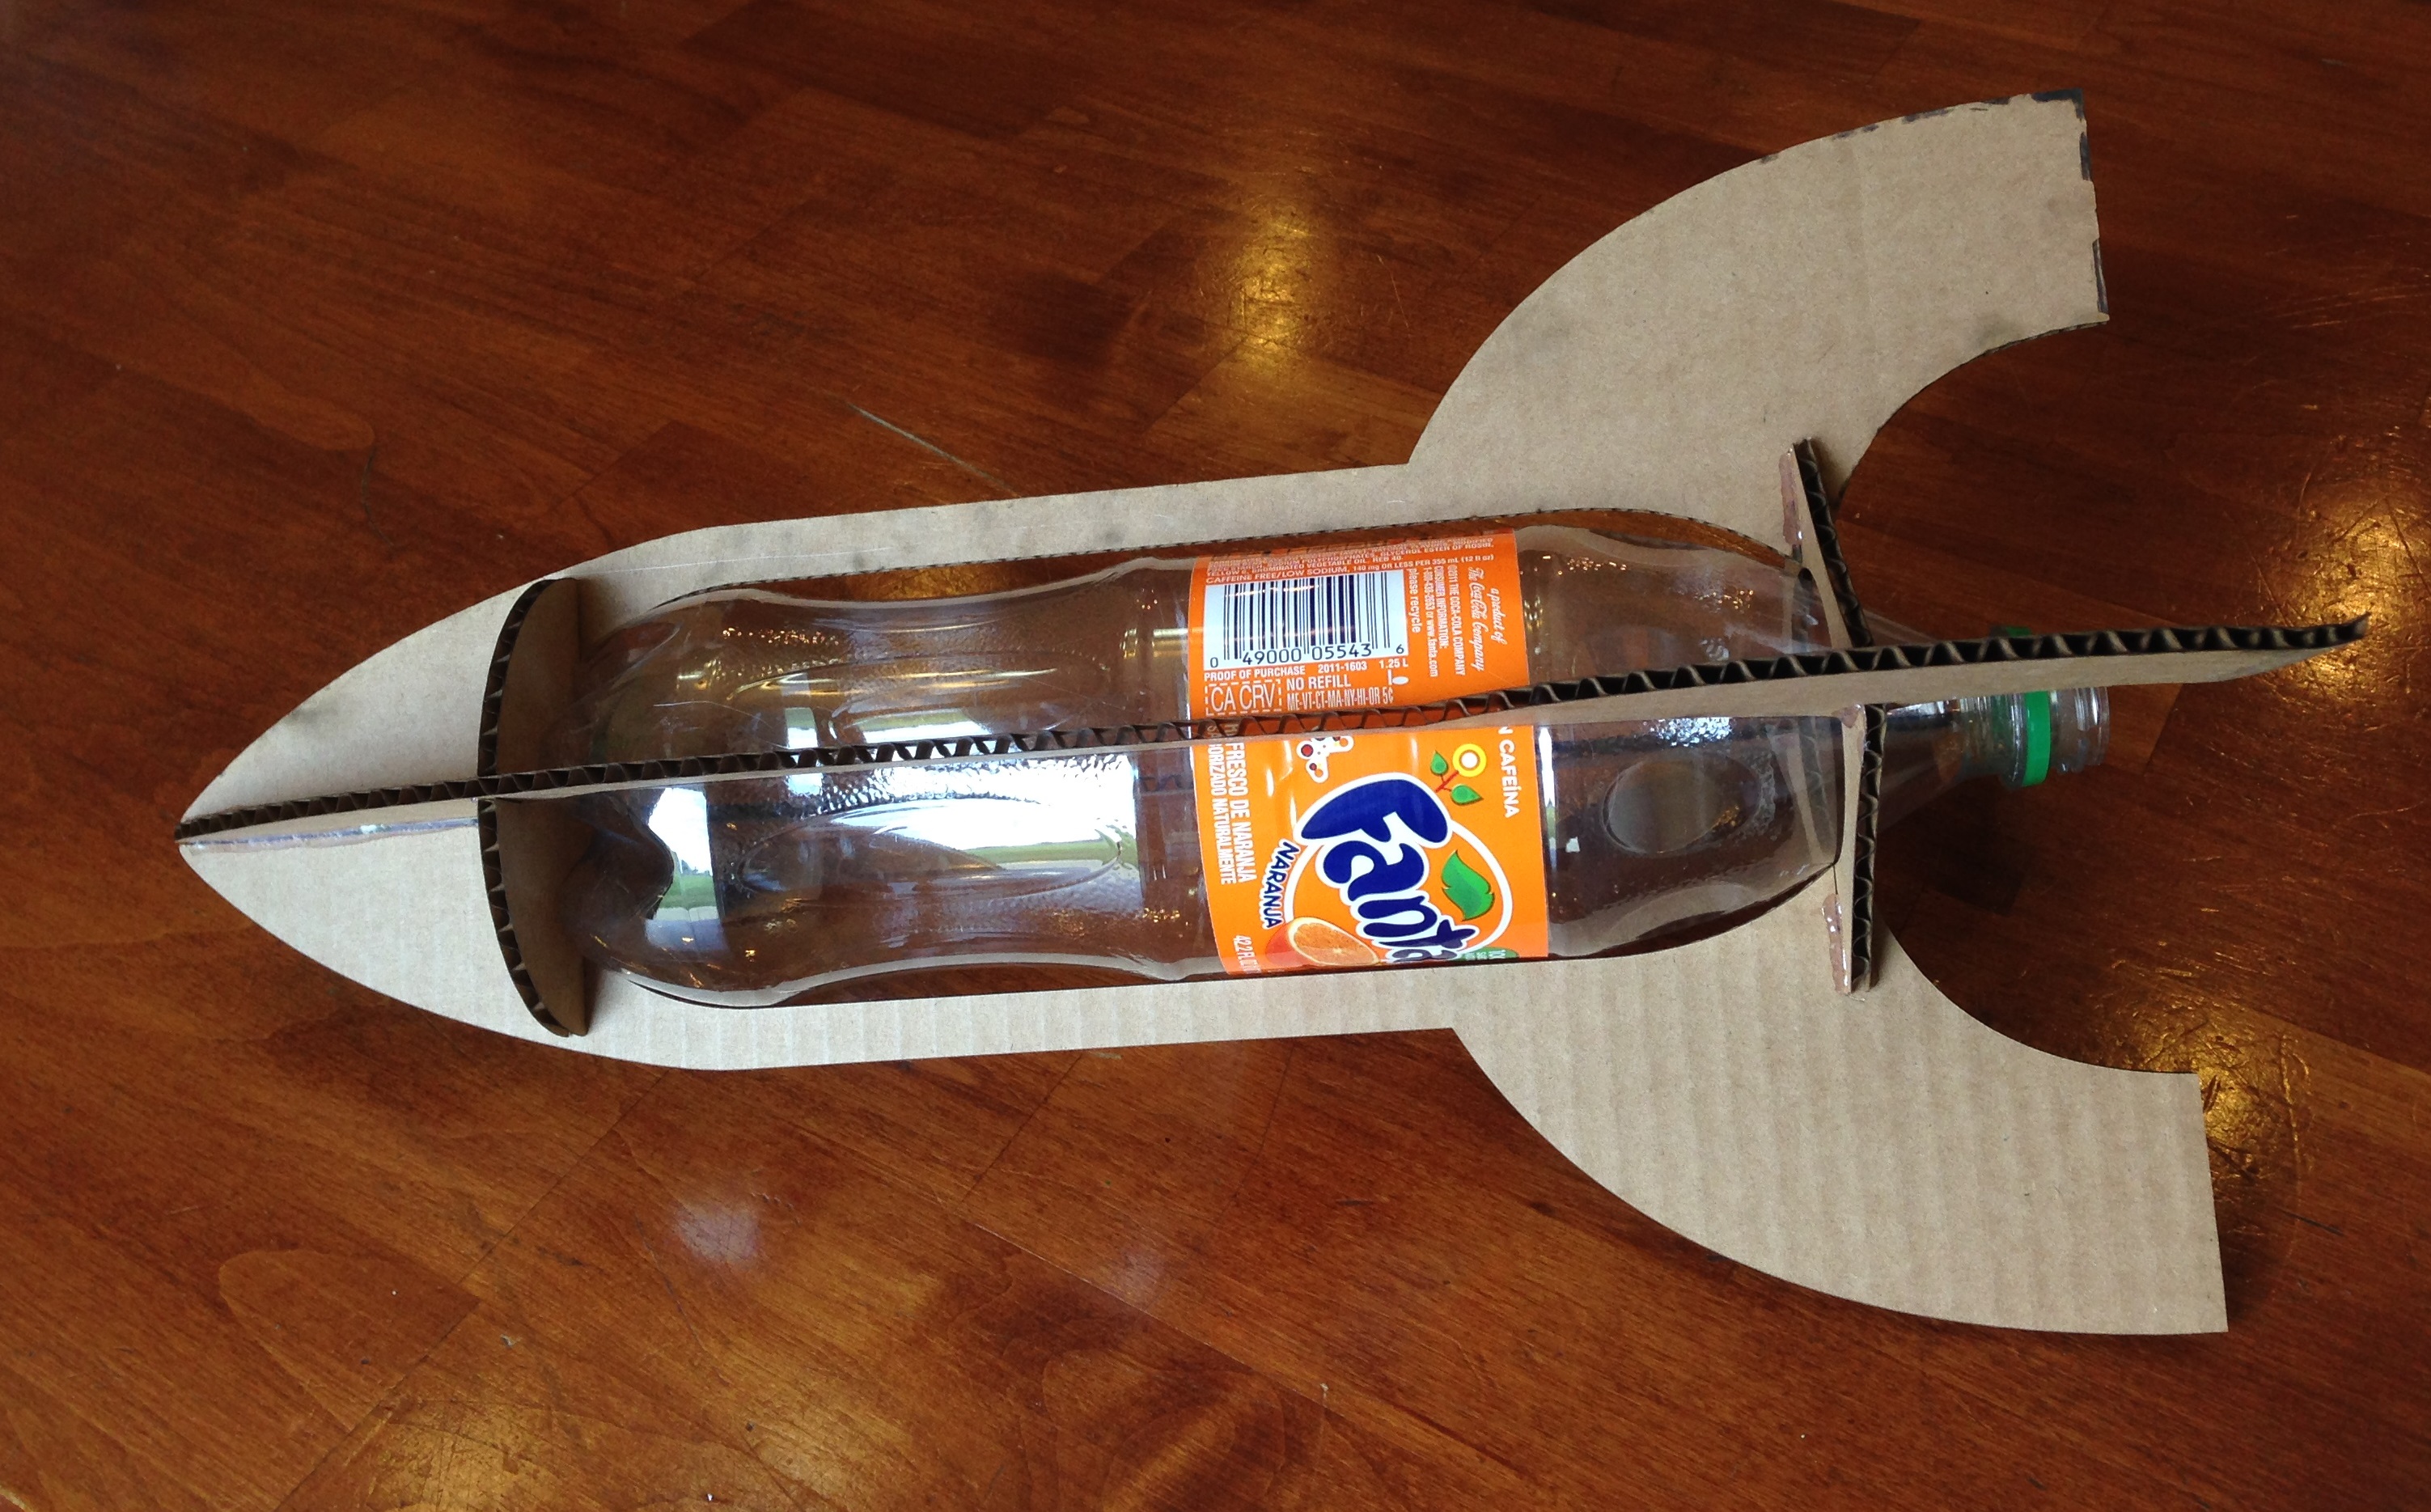
Water Rocket
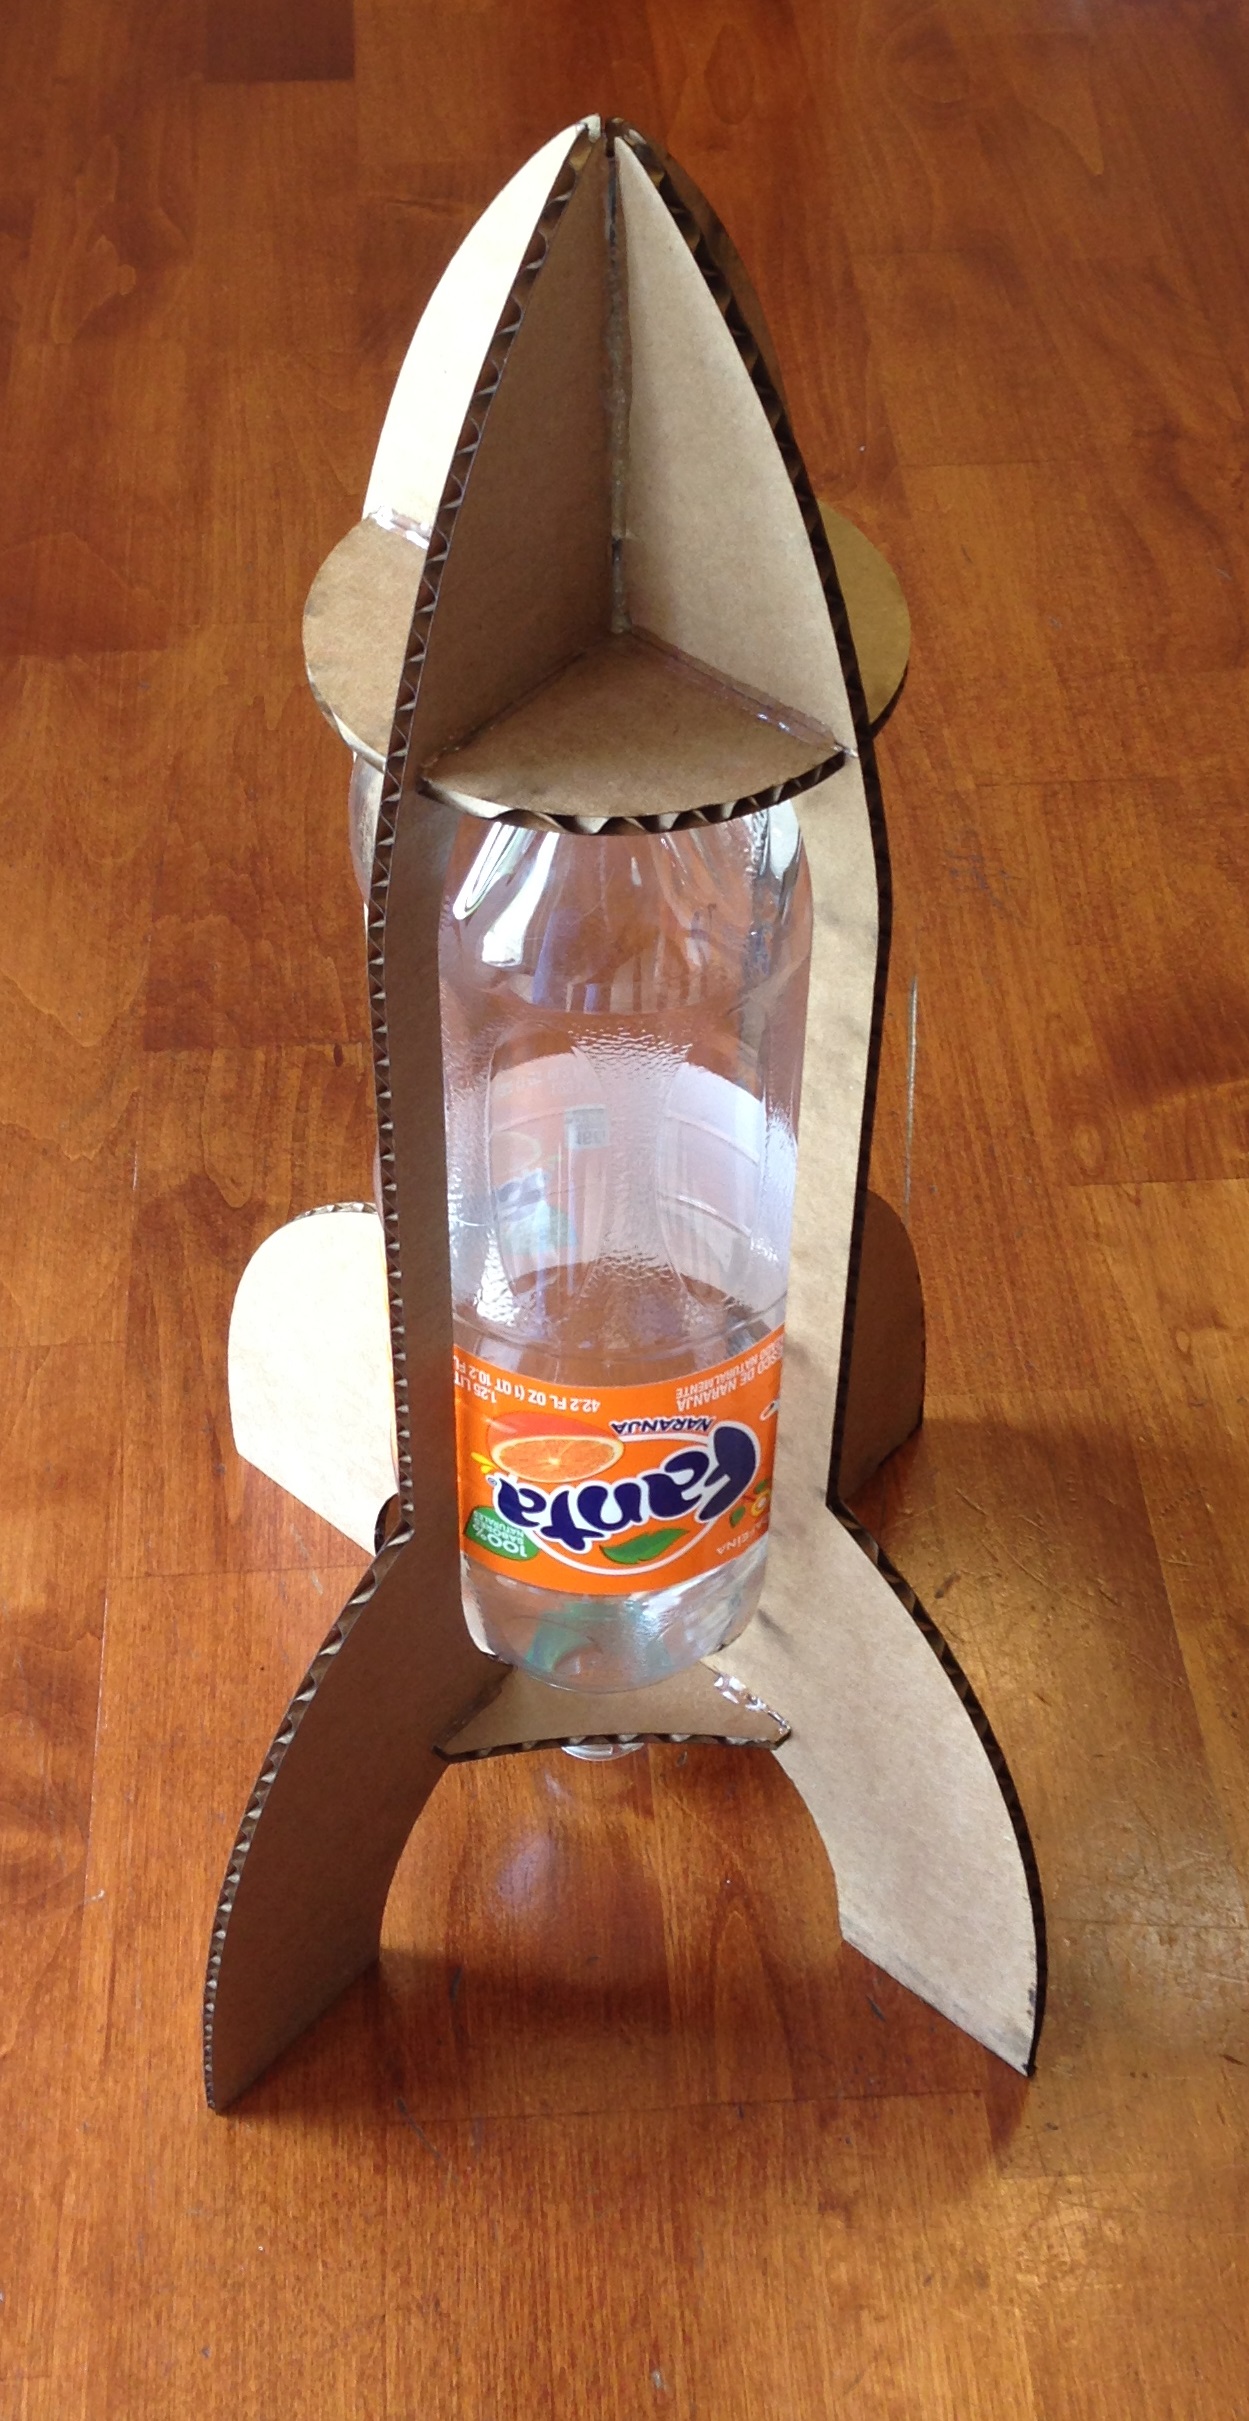
The combination of water, compressed air, and a plastic soda bottle serves as a great source of propulsion for a backyard rocket (assuming you have a big back yard). Typical versions of these rockets involve taping or gluing on the nose cone and fins which can be challenging to keep attached and often end up fairly crooked and wobbly. Why not try a different approach where you build a rocket frame around the soda bottle and don't rely on direct attachment to the bottle?
I made this at TechShop www.techshop.ws
Materials & Equipment
Laser cutter (my TechShop has a Trotec Speedy 300)
1.25 liter soda bottle
Cardboard box (taller than your rocket, 16" in this case)
Hot glue gun
This instructable assumes some basic familiarity with CorelDraw and a laser cutter.
Measure Bottle for Key Dimensions
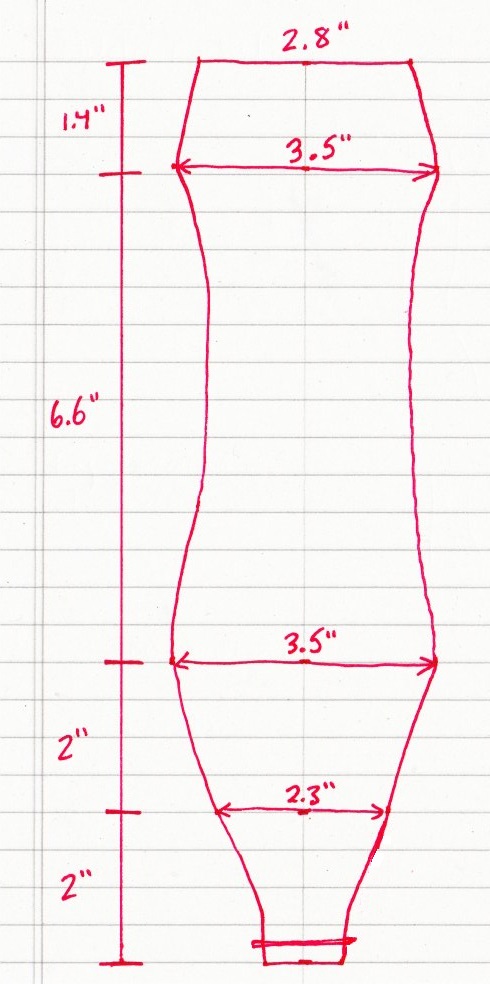
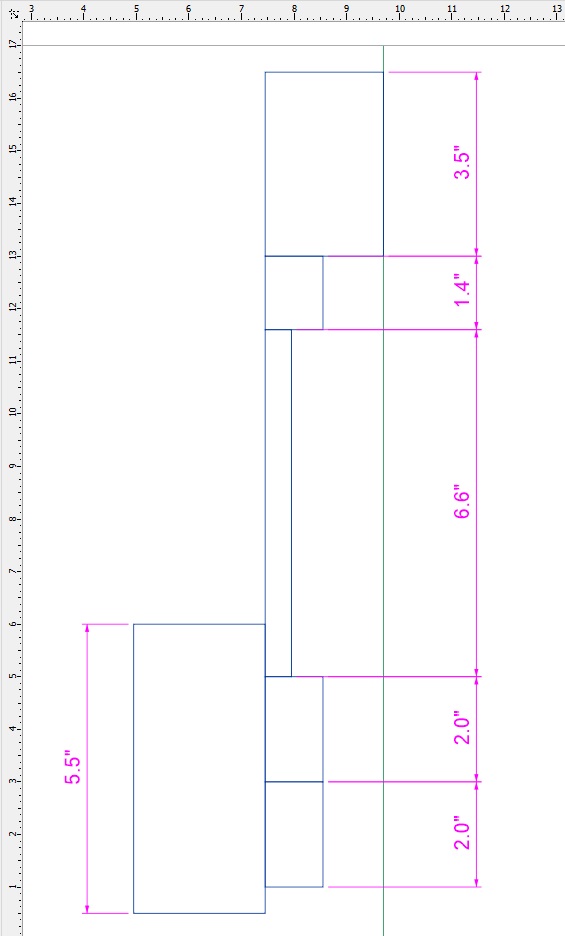
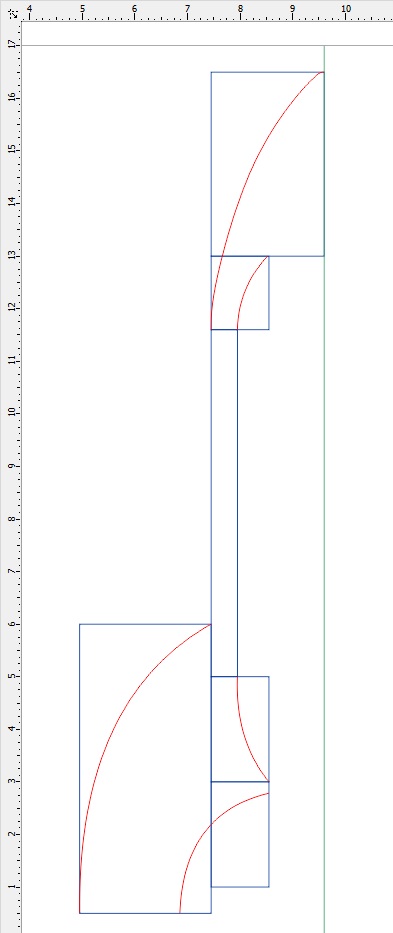
I converted these measurements into a series of reference rectangles. The height of each rectangle matches the key vertical dimensions in the hand drawn diagram. I added a rectangle to the top where the nose cone will go. I also added a rectangle to the side of the bottom where the fin will go. I decided that I wanted the long part of the frame (that runs most of the length of the bottle) to be 0.5" wide, and that became the basis for the width of the other rectangles. If you squint you can see that these rectangles represent a very coarse outline for one side of the rocket.
Design Vertical Side Pieces
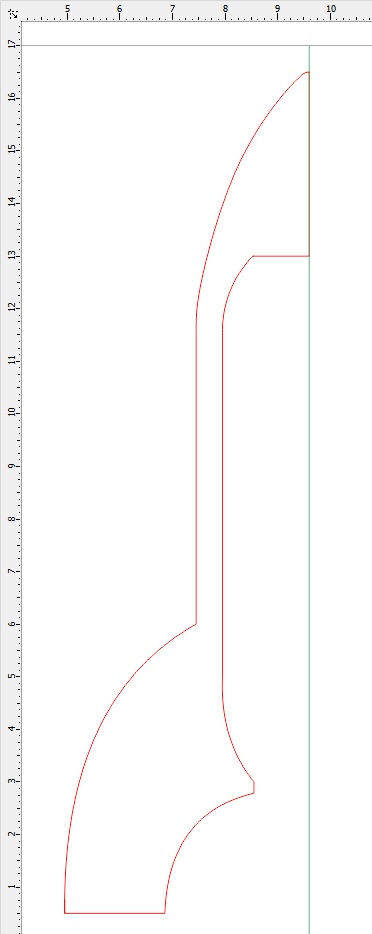
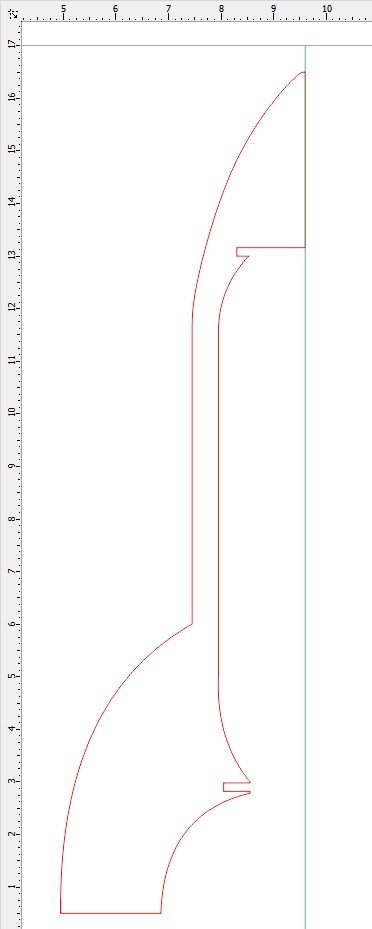
Once you have the desired shape, use the Virtual Segment Delete tool to remove the unnecessary reference lines. If you haven't already, change all of the lines into red lines with a hairline width to indicate that these are cut lines and not engraving lines. The final step is to add a slot at the top and bottom areas where the support discs will go. This is where the vertical and horizontal pieces will interlock to hold the assembly together. I measured my cardboard and it was 0.15" thick so I made my slots 0.16" wide so that there wouldn't be too tight of a fit.
Design Top Support
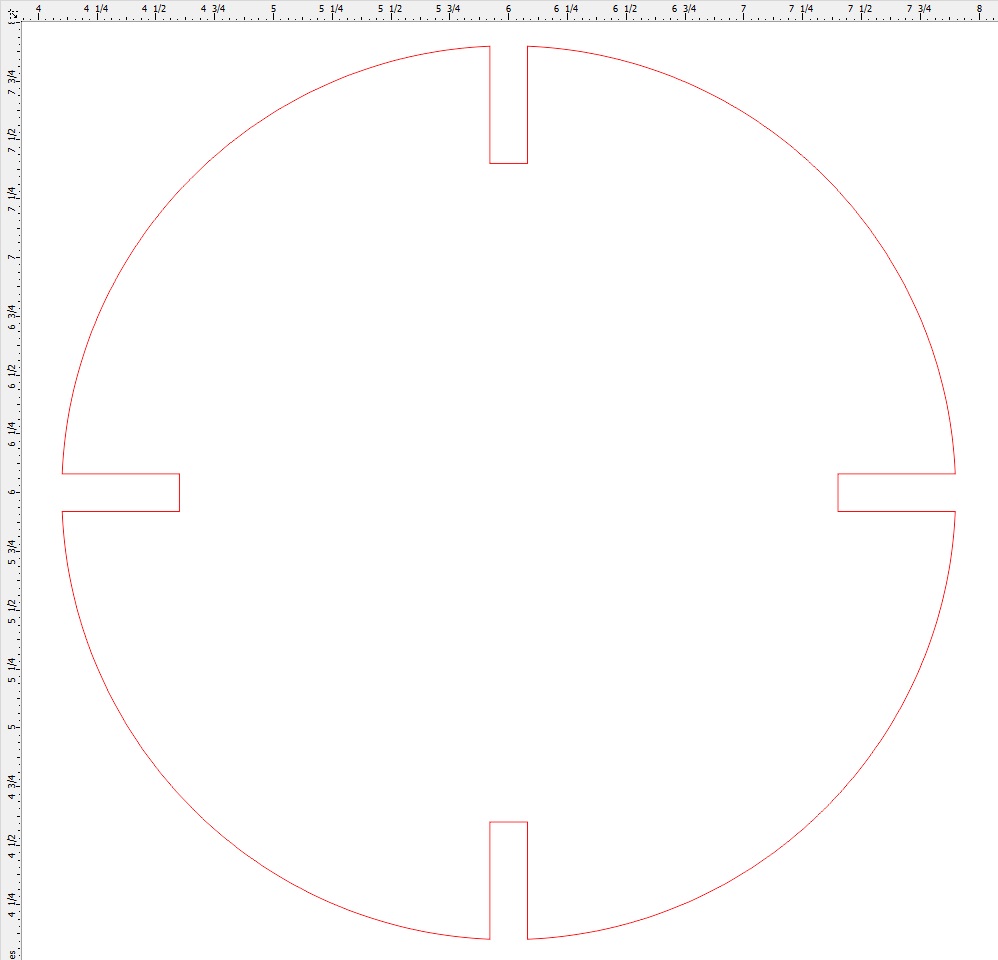
Design Bottom Support
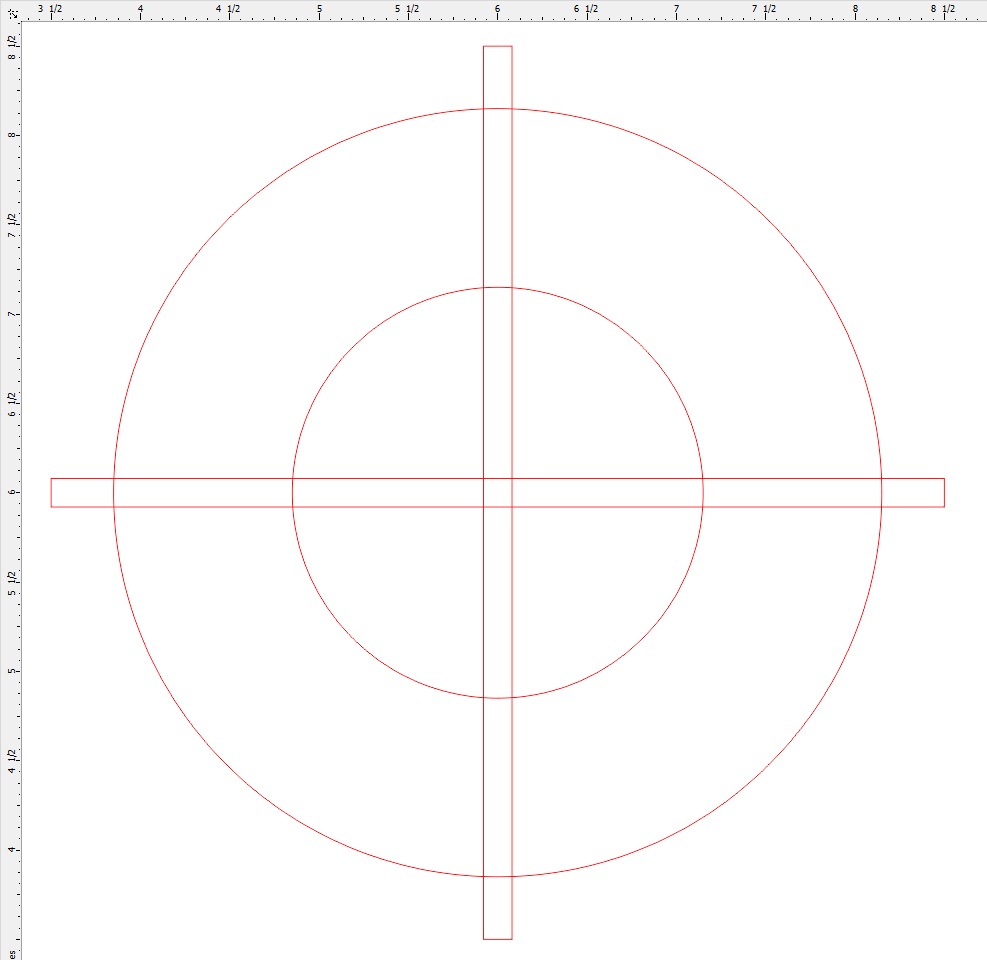
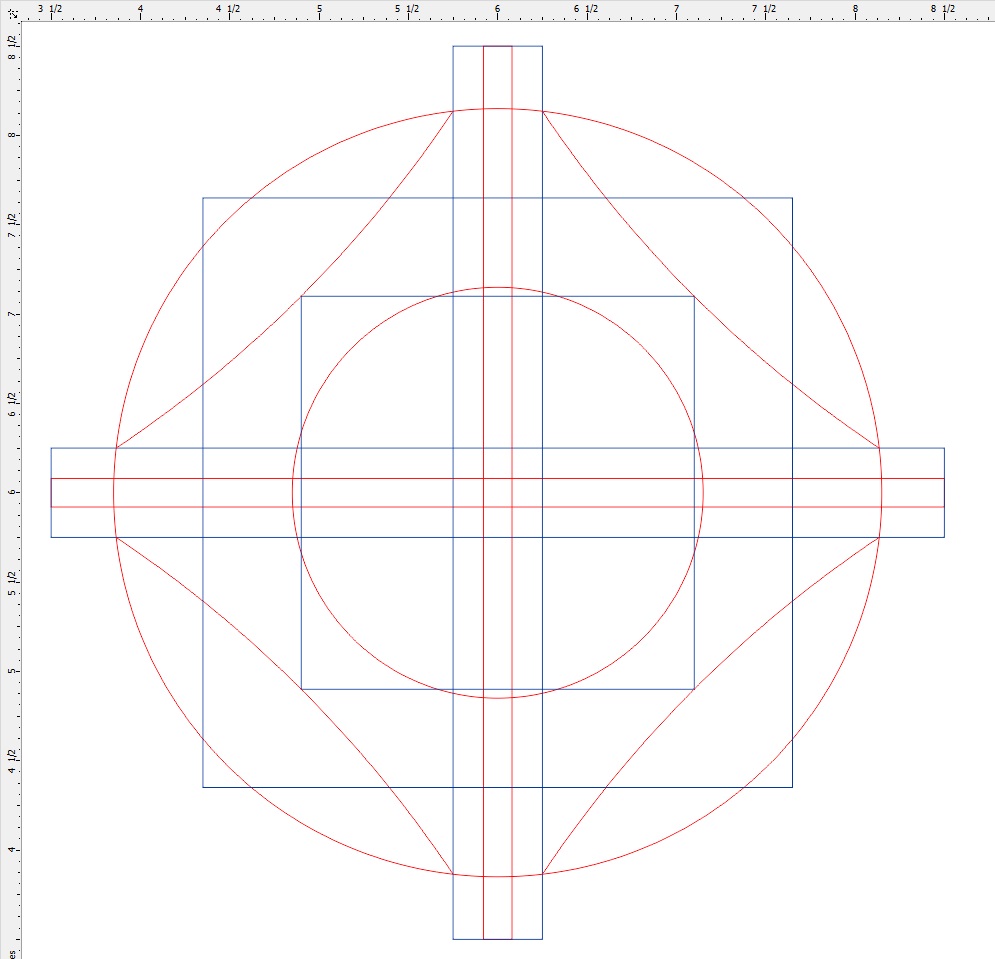
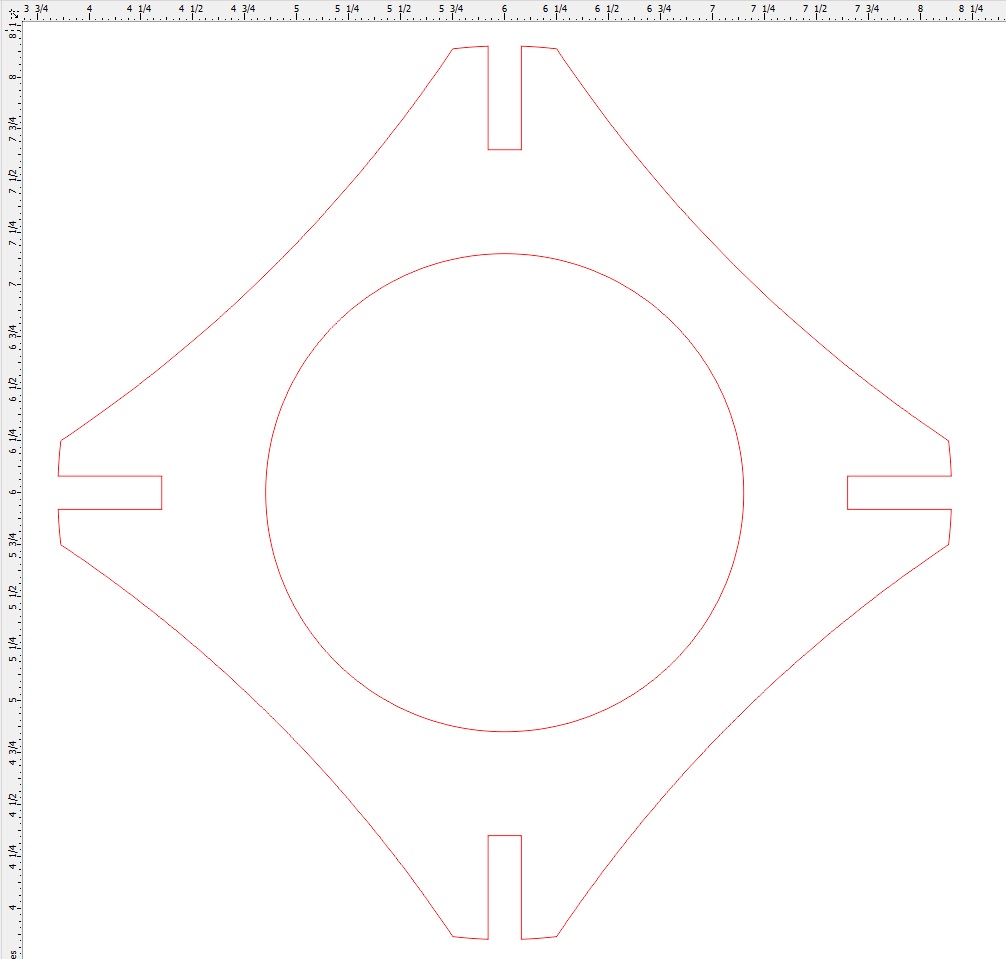
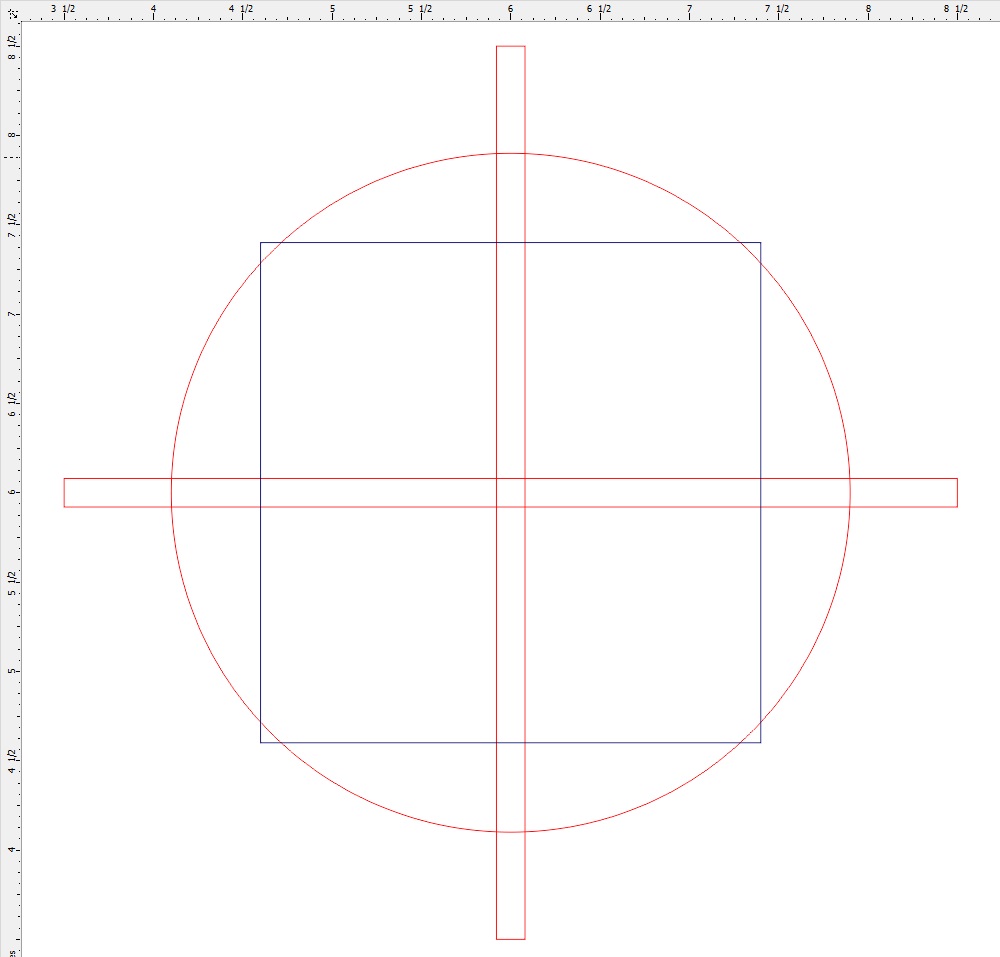
The design of the bottom support ring starts out similarly to the top disc, but with a hole in the middle through which the neck of the bottle will pass. I decided that I didn't want a complete ring at the bottom for two reasons. It adds aerodynamic drag, and it looks a little funny. So I added three reference rectangles that let me uniformly scoop out a section of the ring between each set of fins. The scoop is created with the 3-Point Curve tool and the appropriate nodes and intersections on the reference rectangles. Finally use the Virtual Segment Delete tool to get rid of all of the unnecessary line segments.
Play With the Laser
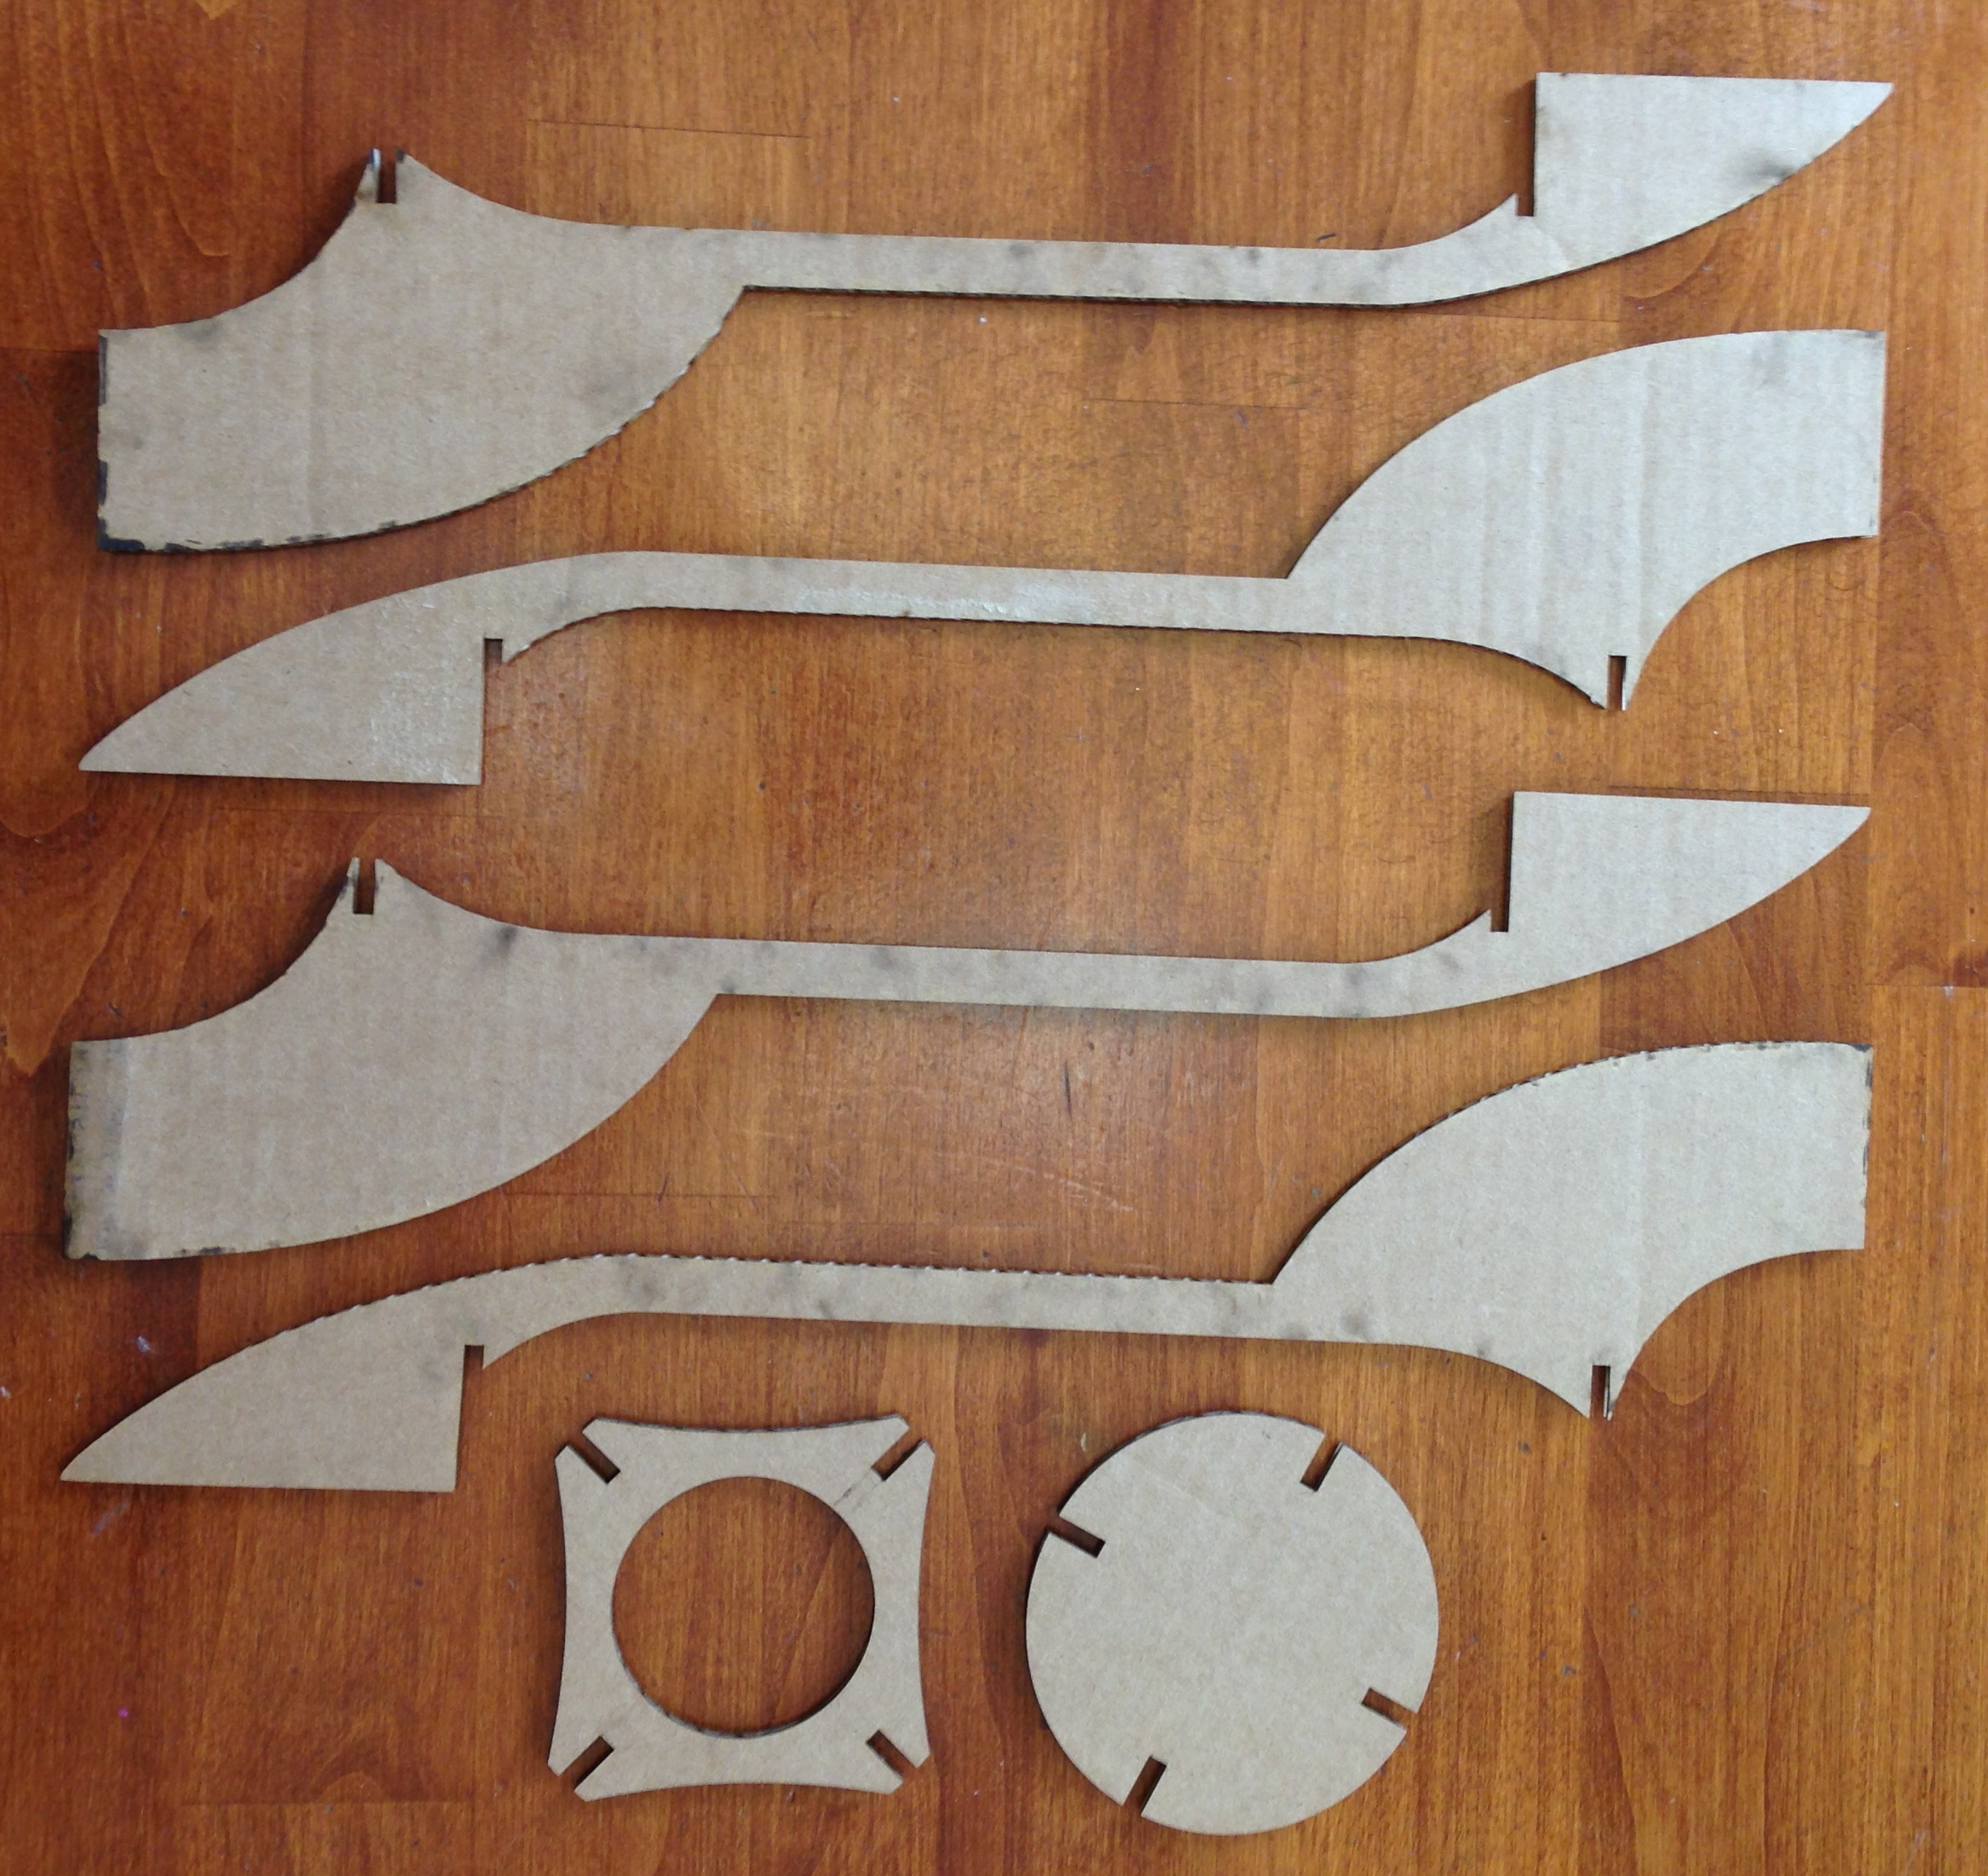
Assemble and Hot Glue
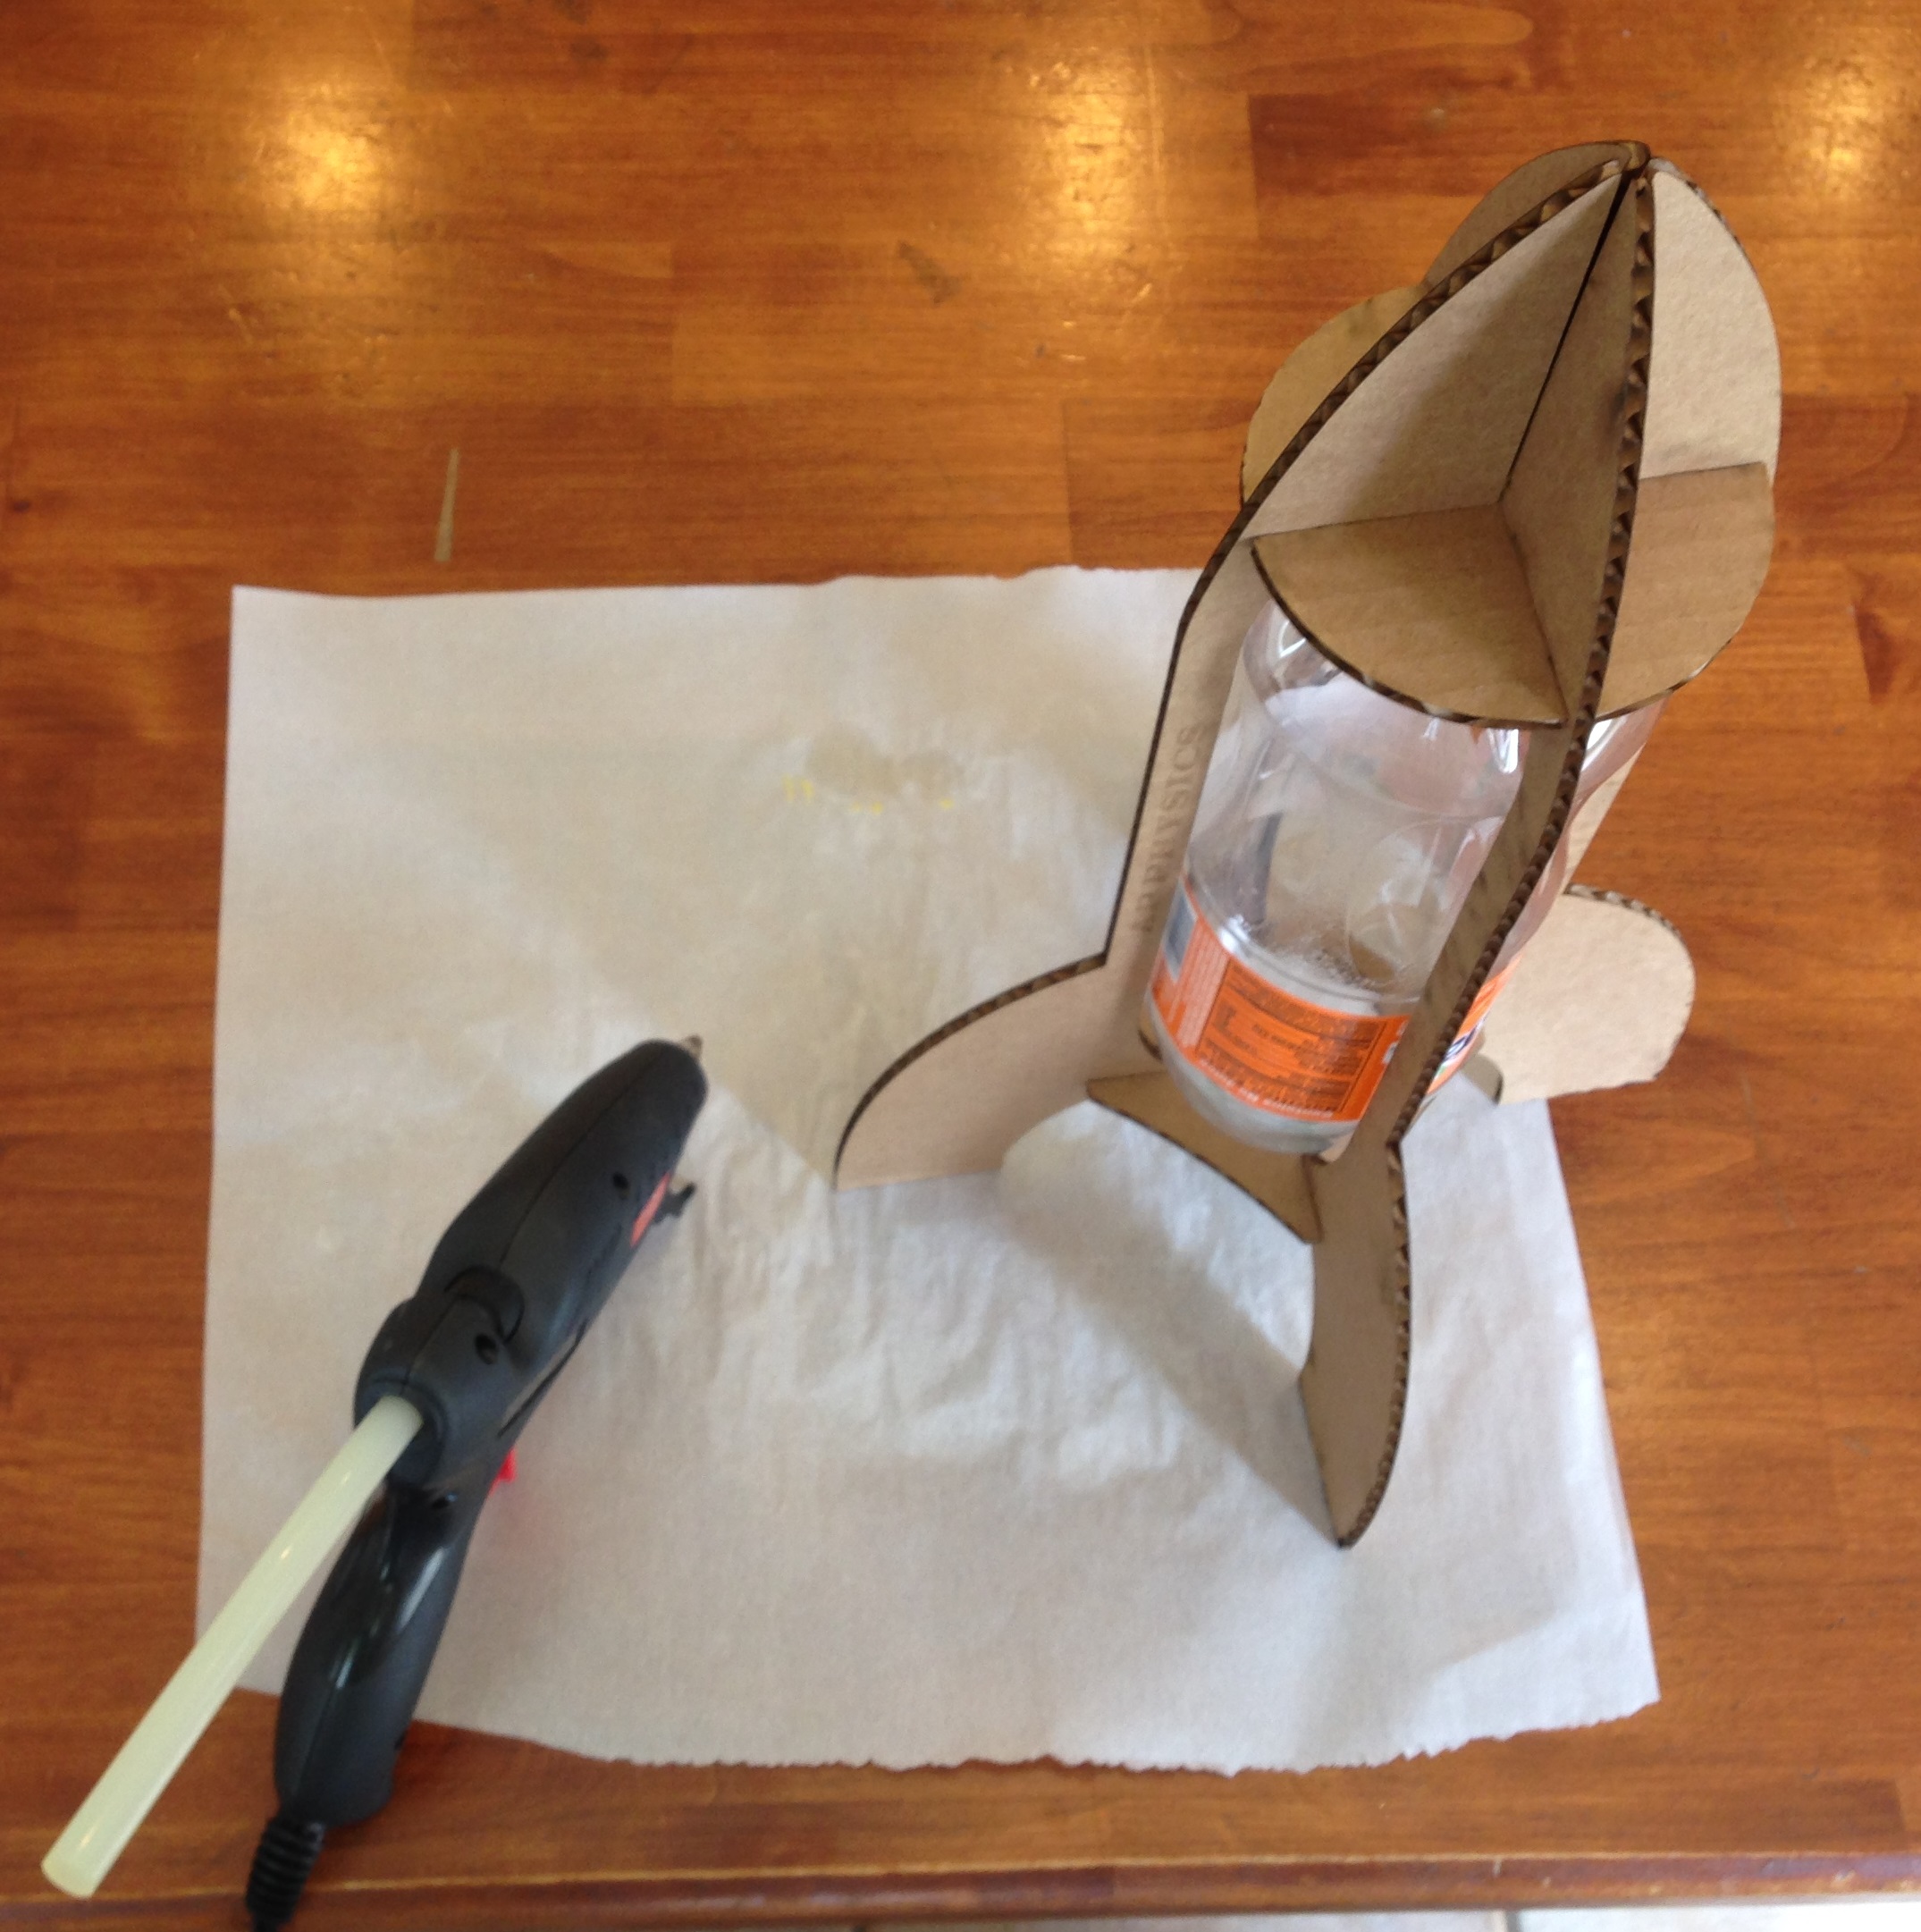
BE VERY CAREFUL NOT TO HIT THE BOTTLE WITH THE HOT GLUE OR THE GUN ITSELF!!!!
The heat will weaken the bottle (even if it does not put an actual hole in the bottle) which can lead to a frightening rupture on the launch pad.
Go Launch Your Rocket!
