Watch
For this design project our team created a watch band that incorporates a Circuit Playground Express (CPX) , and communicates with a servo motor powered battery pack.
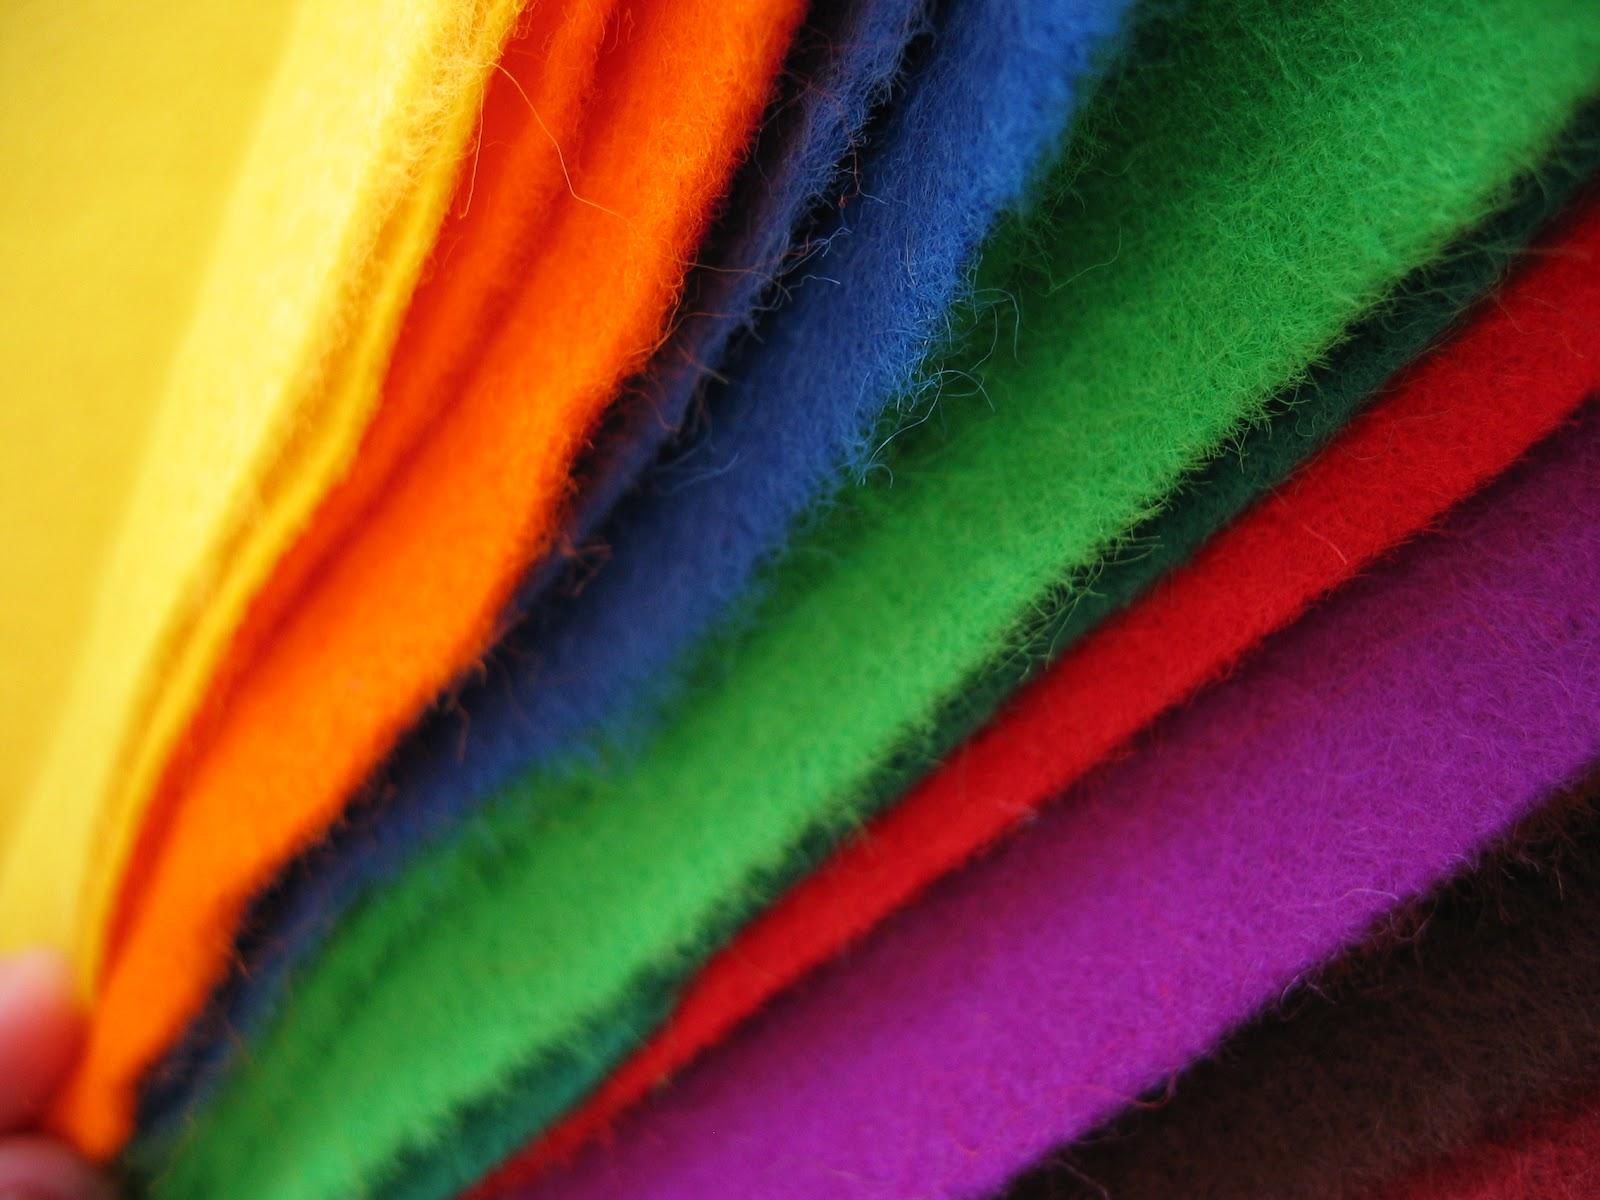
- Our watch is primarily constructed out of PLA, but also utilizes felt material in order to bring comfort to the user.
- The main components of our design is the 3D printed PLA flexible watch band that molds to the wrist of the wearer, and the CPX in the center of the watch.
- Additionally, with the use of a python code our watch will enable sounds, lights, and movement when activated by buttons or sensors to engage with the user.
- The servo motor will be incorporated as a functional lid to the CPX and open and close in desire of the user.
Supplies
For this design you will need:
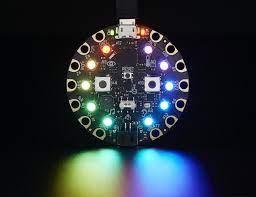
- Adafruit Circuit Playground Express
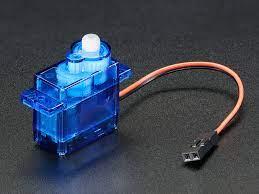
- Continuous Rotation Micro Servo
- 3D printed Design
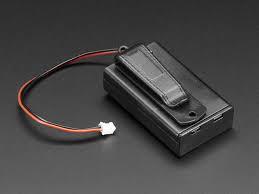
- Battery Pack
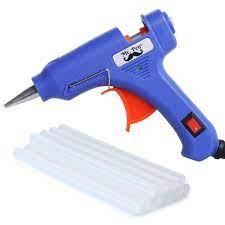
- Hot Glue Gun
- Felt
- Tape
Download the 3D Design
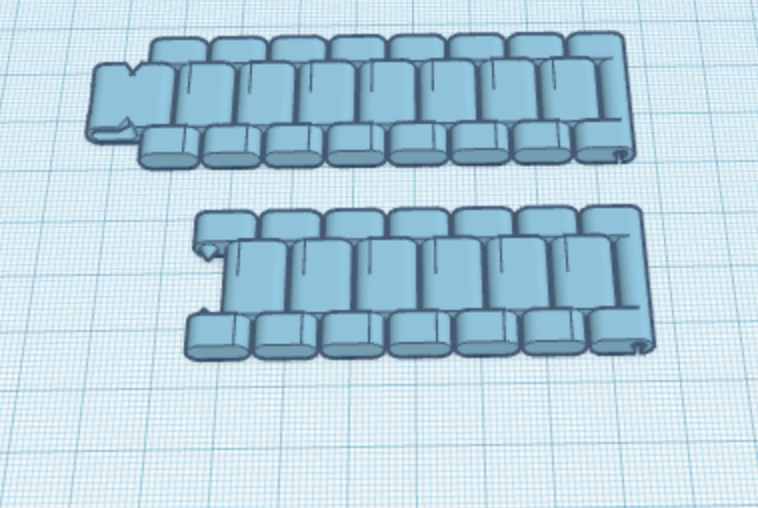
- Download and print the following STL files using a 3D printer.
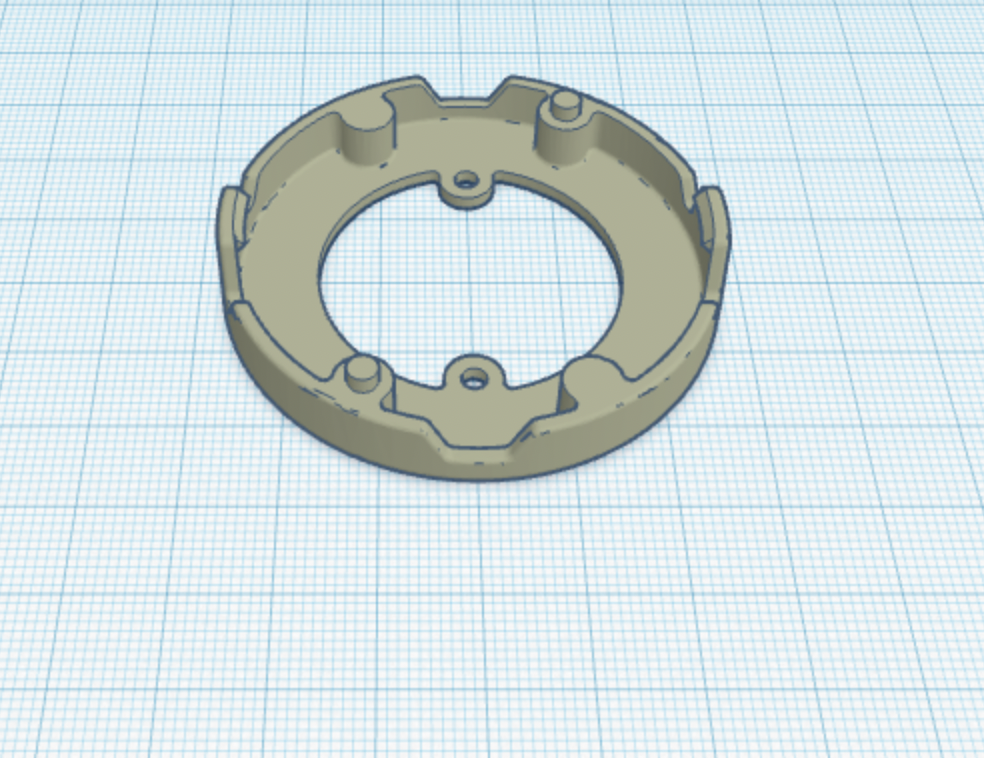
- CPX Case
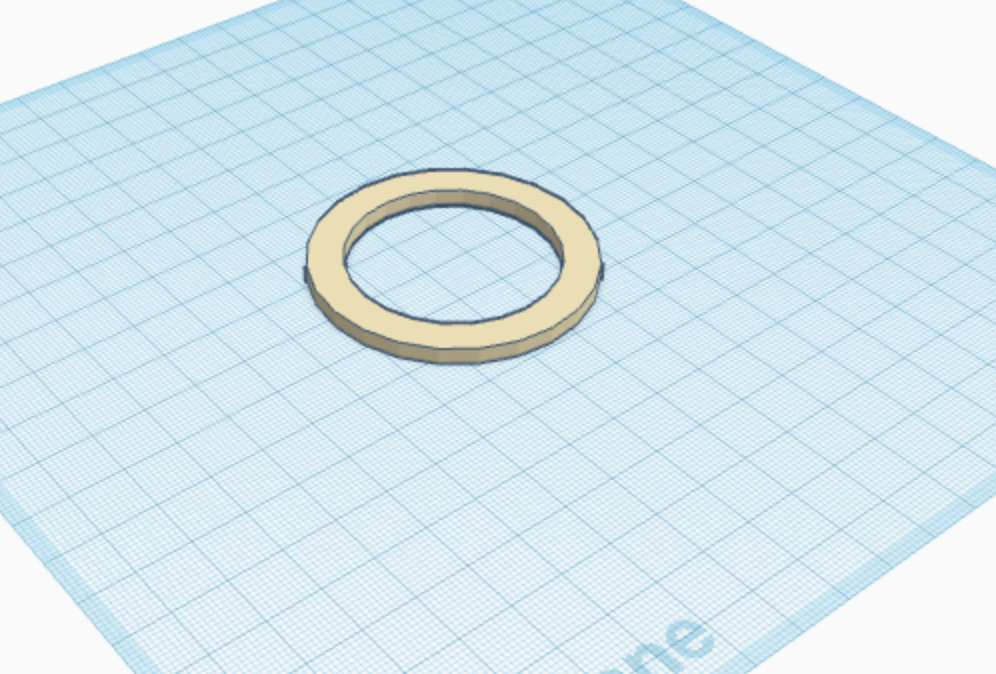
- CPX Cover
- Watch Band
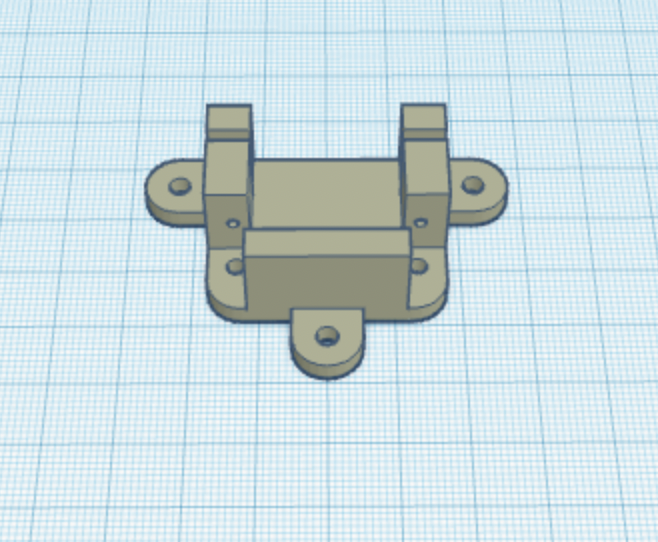
- Servo Case
- It is important to note that these files were created using TinkerCAD
- Or found at UltiMaker Thingiverse
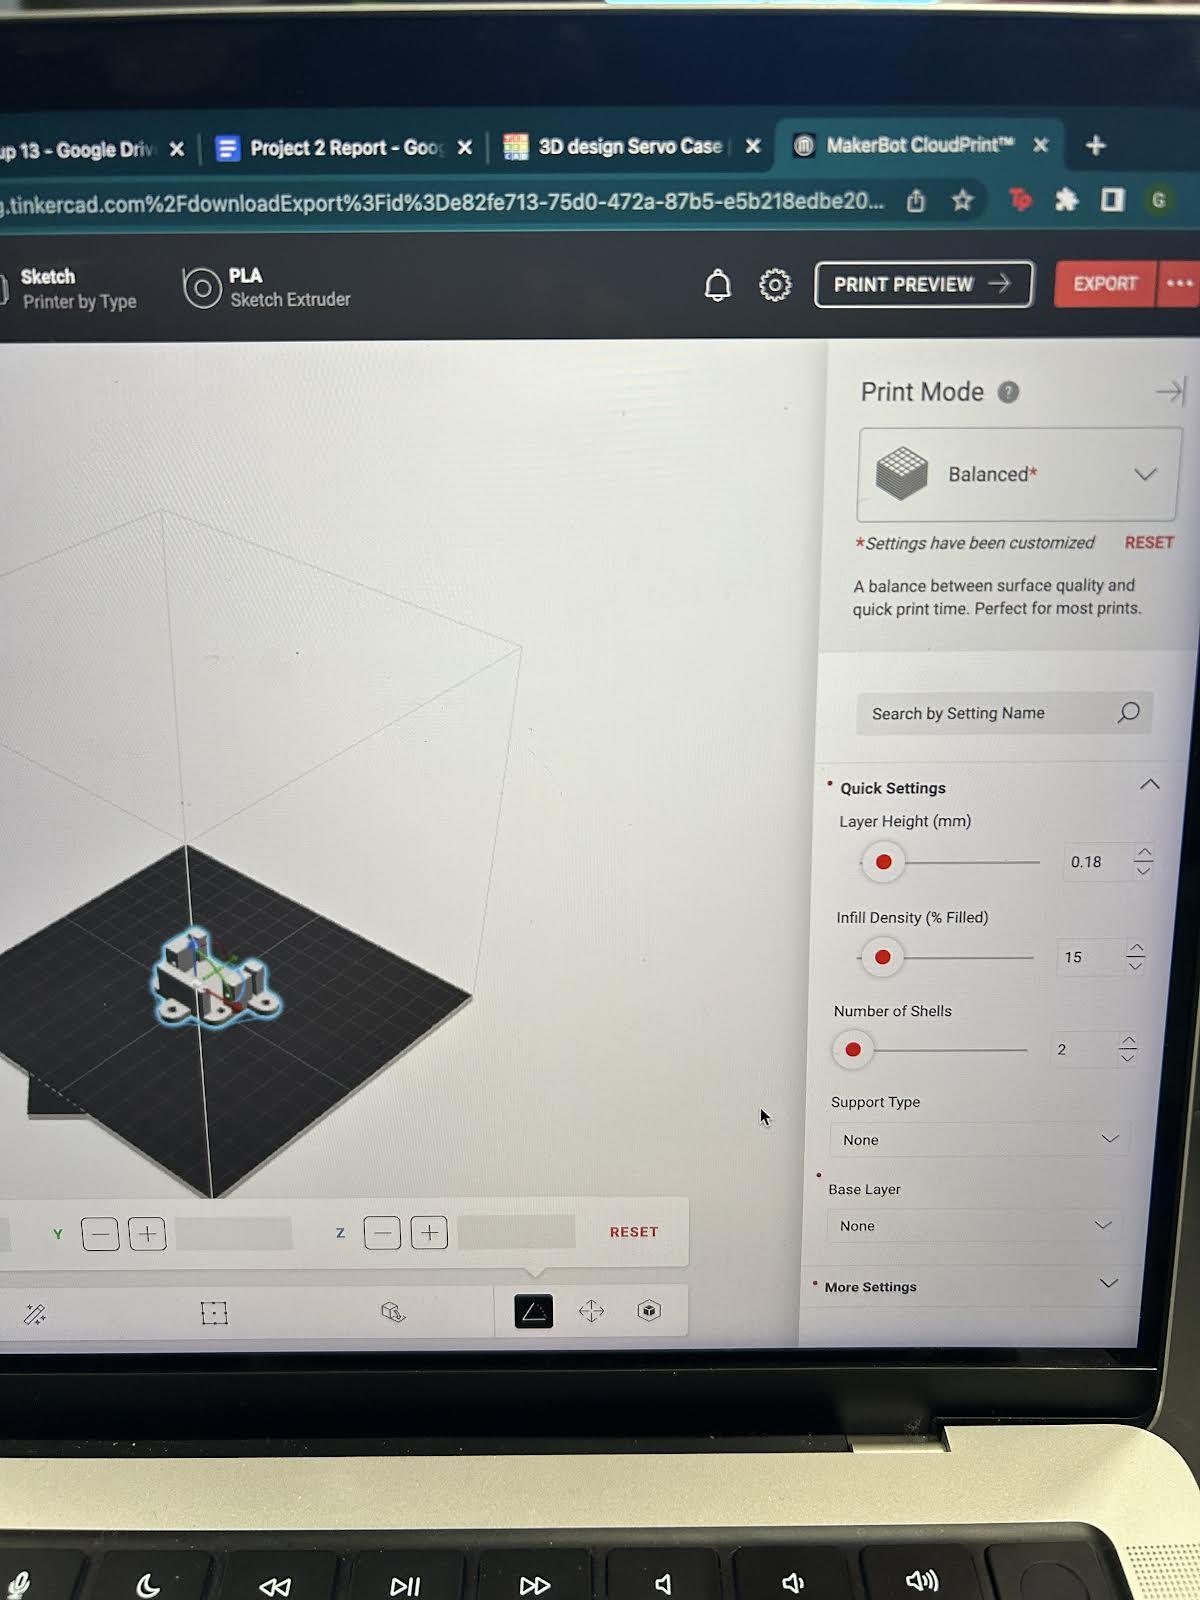
- Export the files to the Makerbot program
- Use a raft when printing the Watch Band STL file
- Remove raft using cuticle cutters
Printing the Design
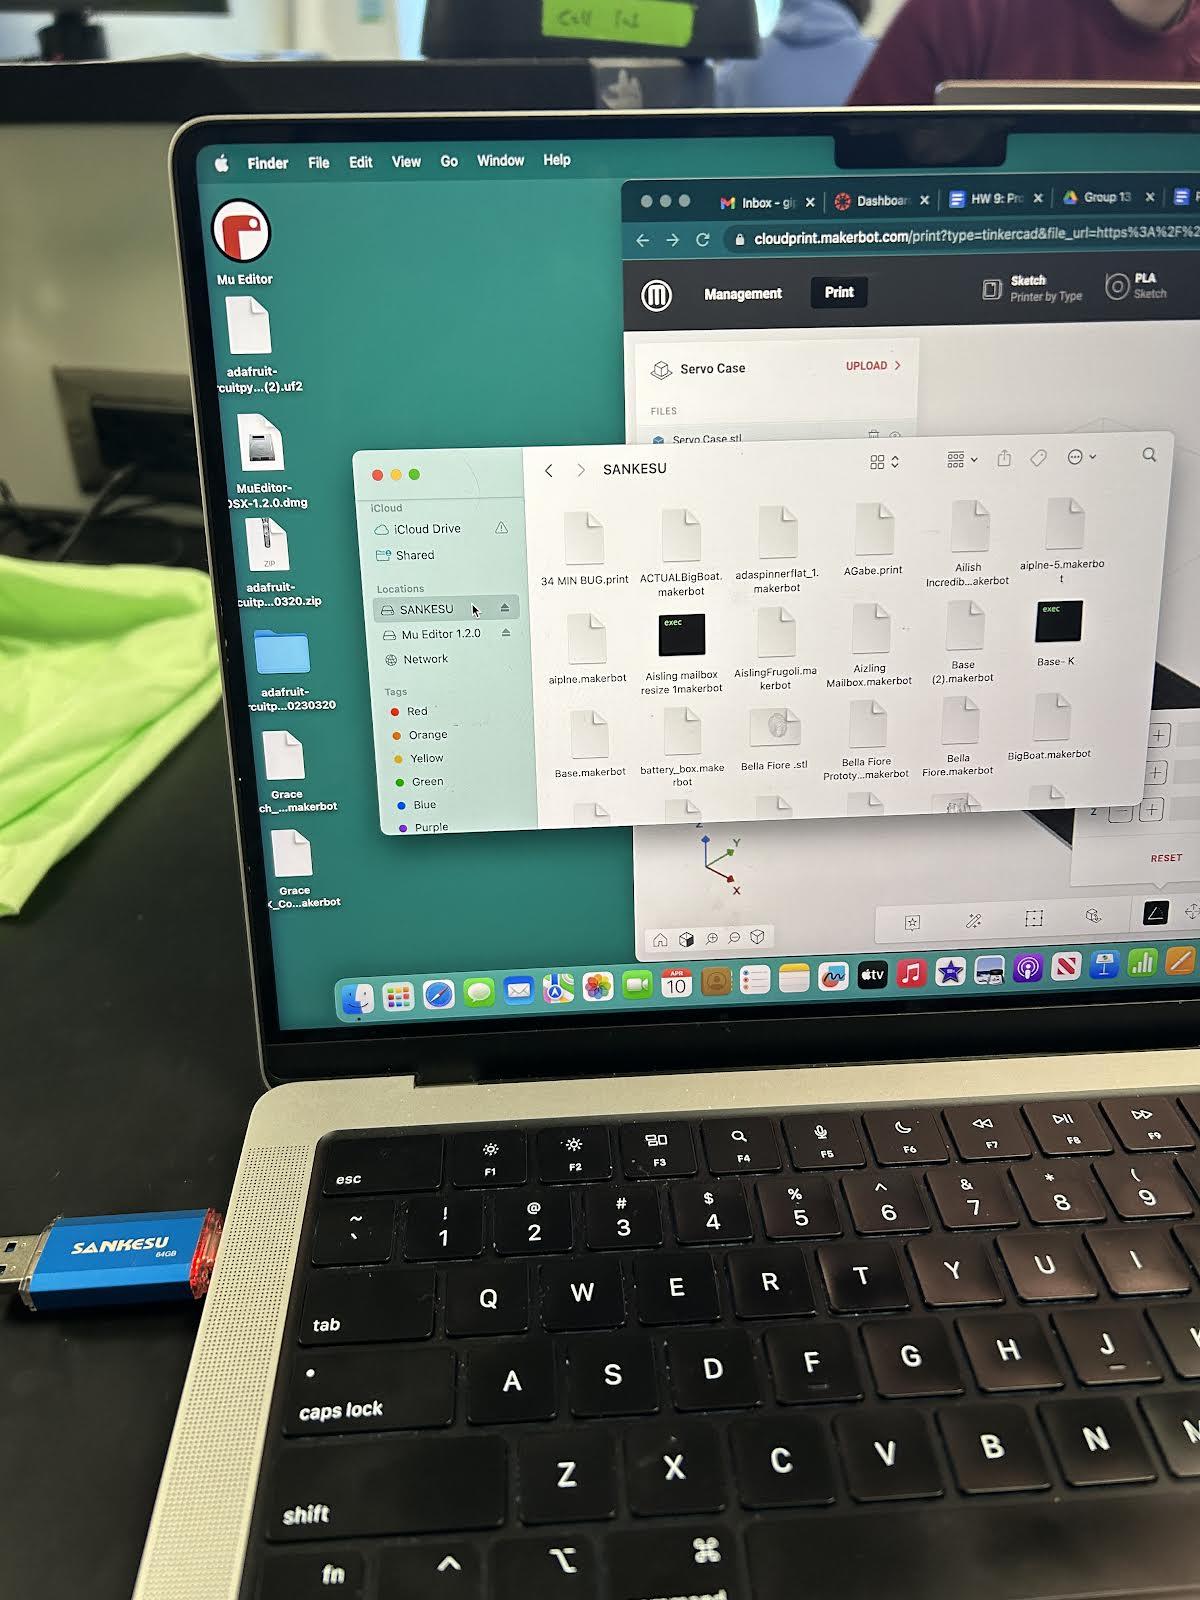
- In order to print the design, you must download the files onto the USB.
- You will know that the files have been transferred to the USB when the USB flashes red.
- Then, you can head to the 3D printer and start printing your design.
Coding
- Follow these instructions to install CircuitPython onto your CPX: https://learn.adafruit.com/welcome-to-circuitpython/installing-circuitpython
- The code is written in circuit python, we have been using Adafruit website to find the complex coding used on our CPX. We are having to use this high level programming language because it makes it easier to read, write, and maintain. This code is able to be reused for other projects, and it can be used to perform any additional steps. This software is a free Open Source Software, Python is easy to use, modify and improve.
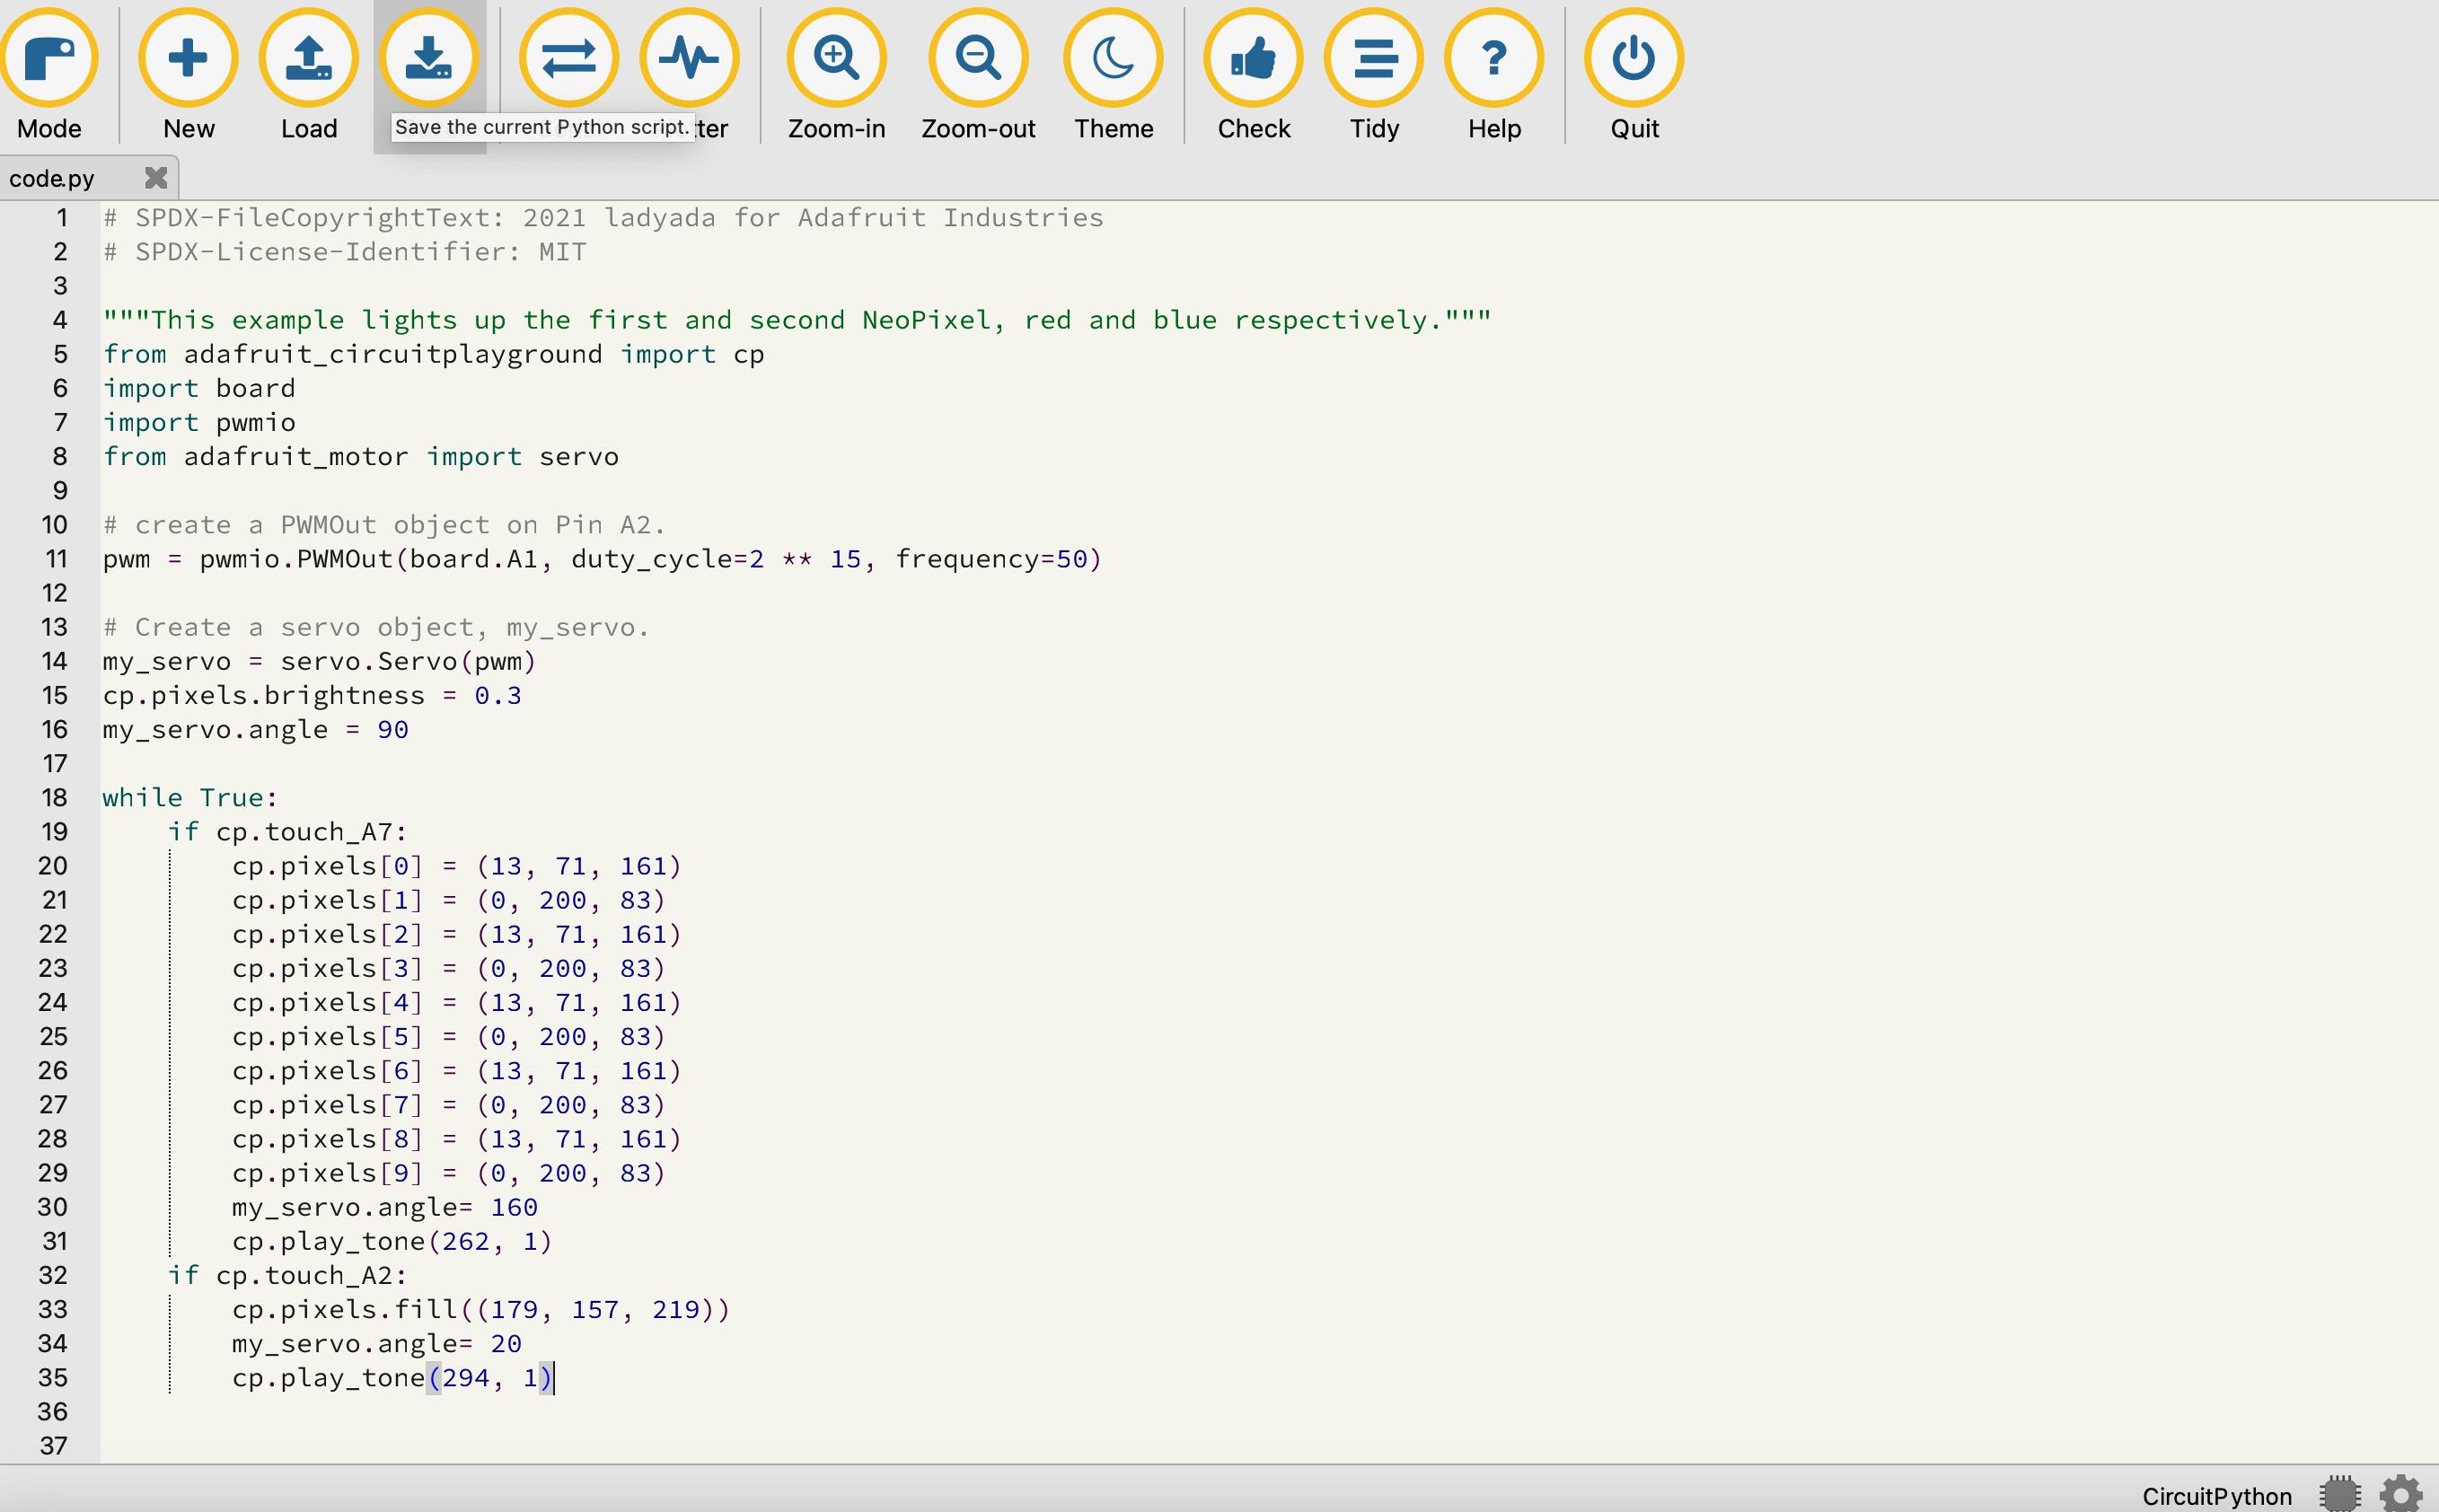
- Connect your CPX to your computer and save code.py onto it
- Circuit Playground Express is easy to connect to a computer with a micro usb cable. Oce it is connected to the computer the user must connect cruit python to code.py or the code that is created won’t get onto the cpx. When wanting to send stuff to the CPX press the load button. When done pressing the save button is very important in being able to activate the codes again from the computer. The codes are already saved onto the CPX so you are able to unplug the micro usb cable from the computer and the CPX.
- The provided code will:
- Putting your finger over A2 will cause some of the lights to turn blue while the others turn green. To be able to see the light the cap needs to be lifted which also happens when putting your finger over A2.
- Putting your finger over A7 turns the colors purple on the neopixels and will close the cap the CPX is safe while running or walking.
- When the touchpad A7 and A2 is pressed tones play
Assembling
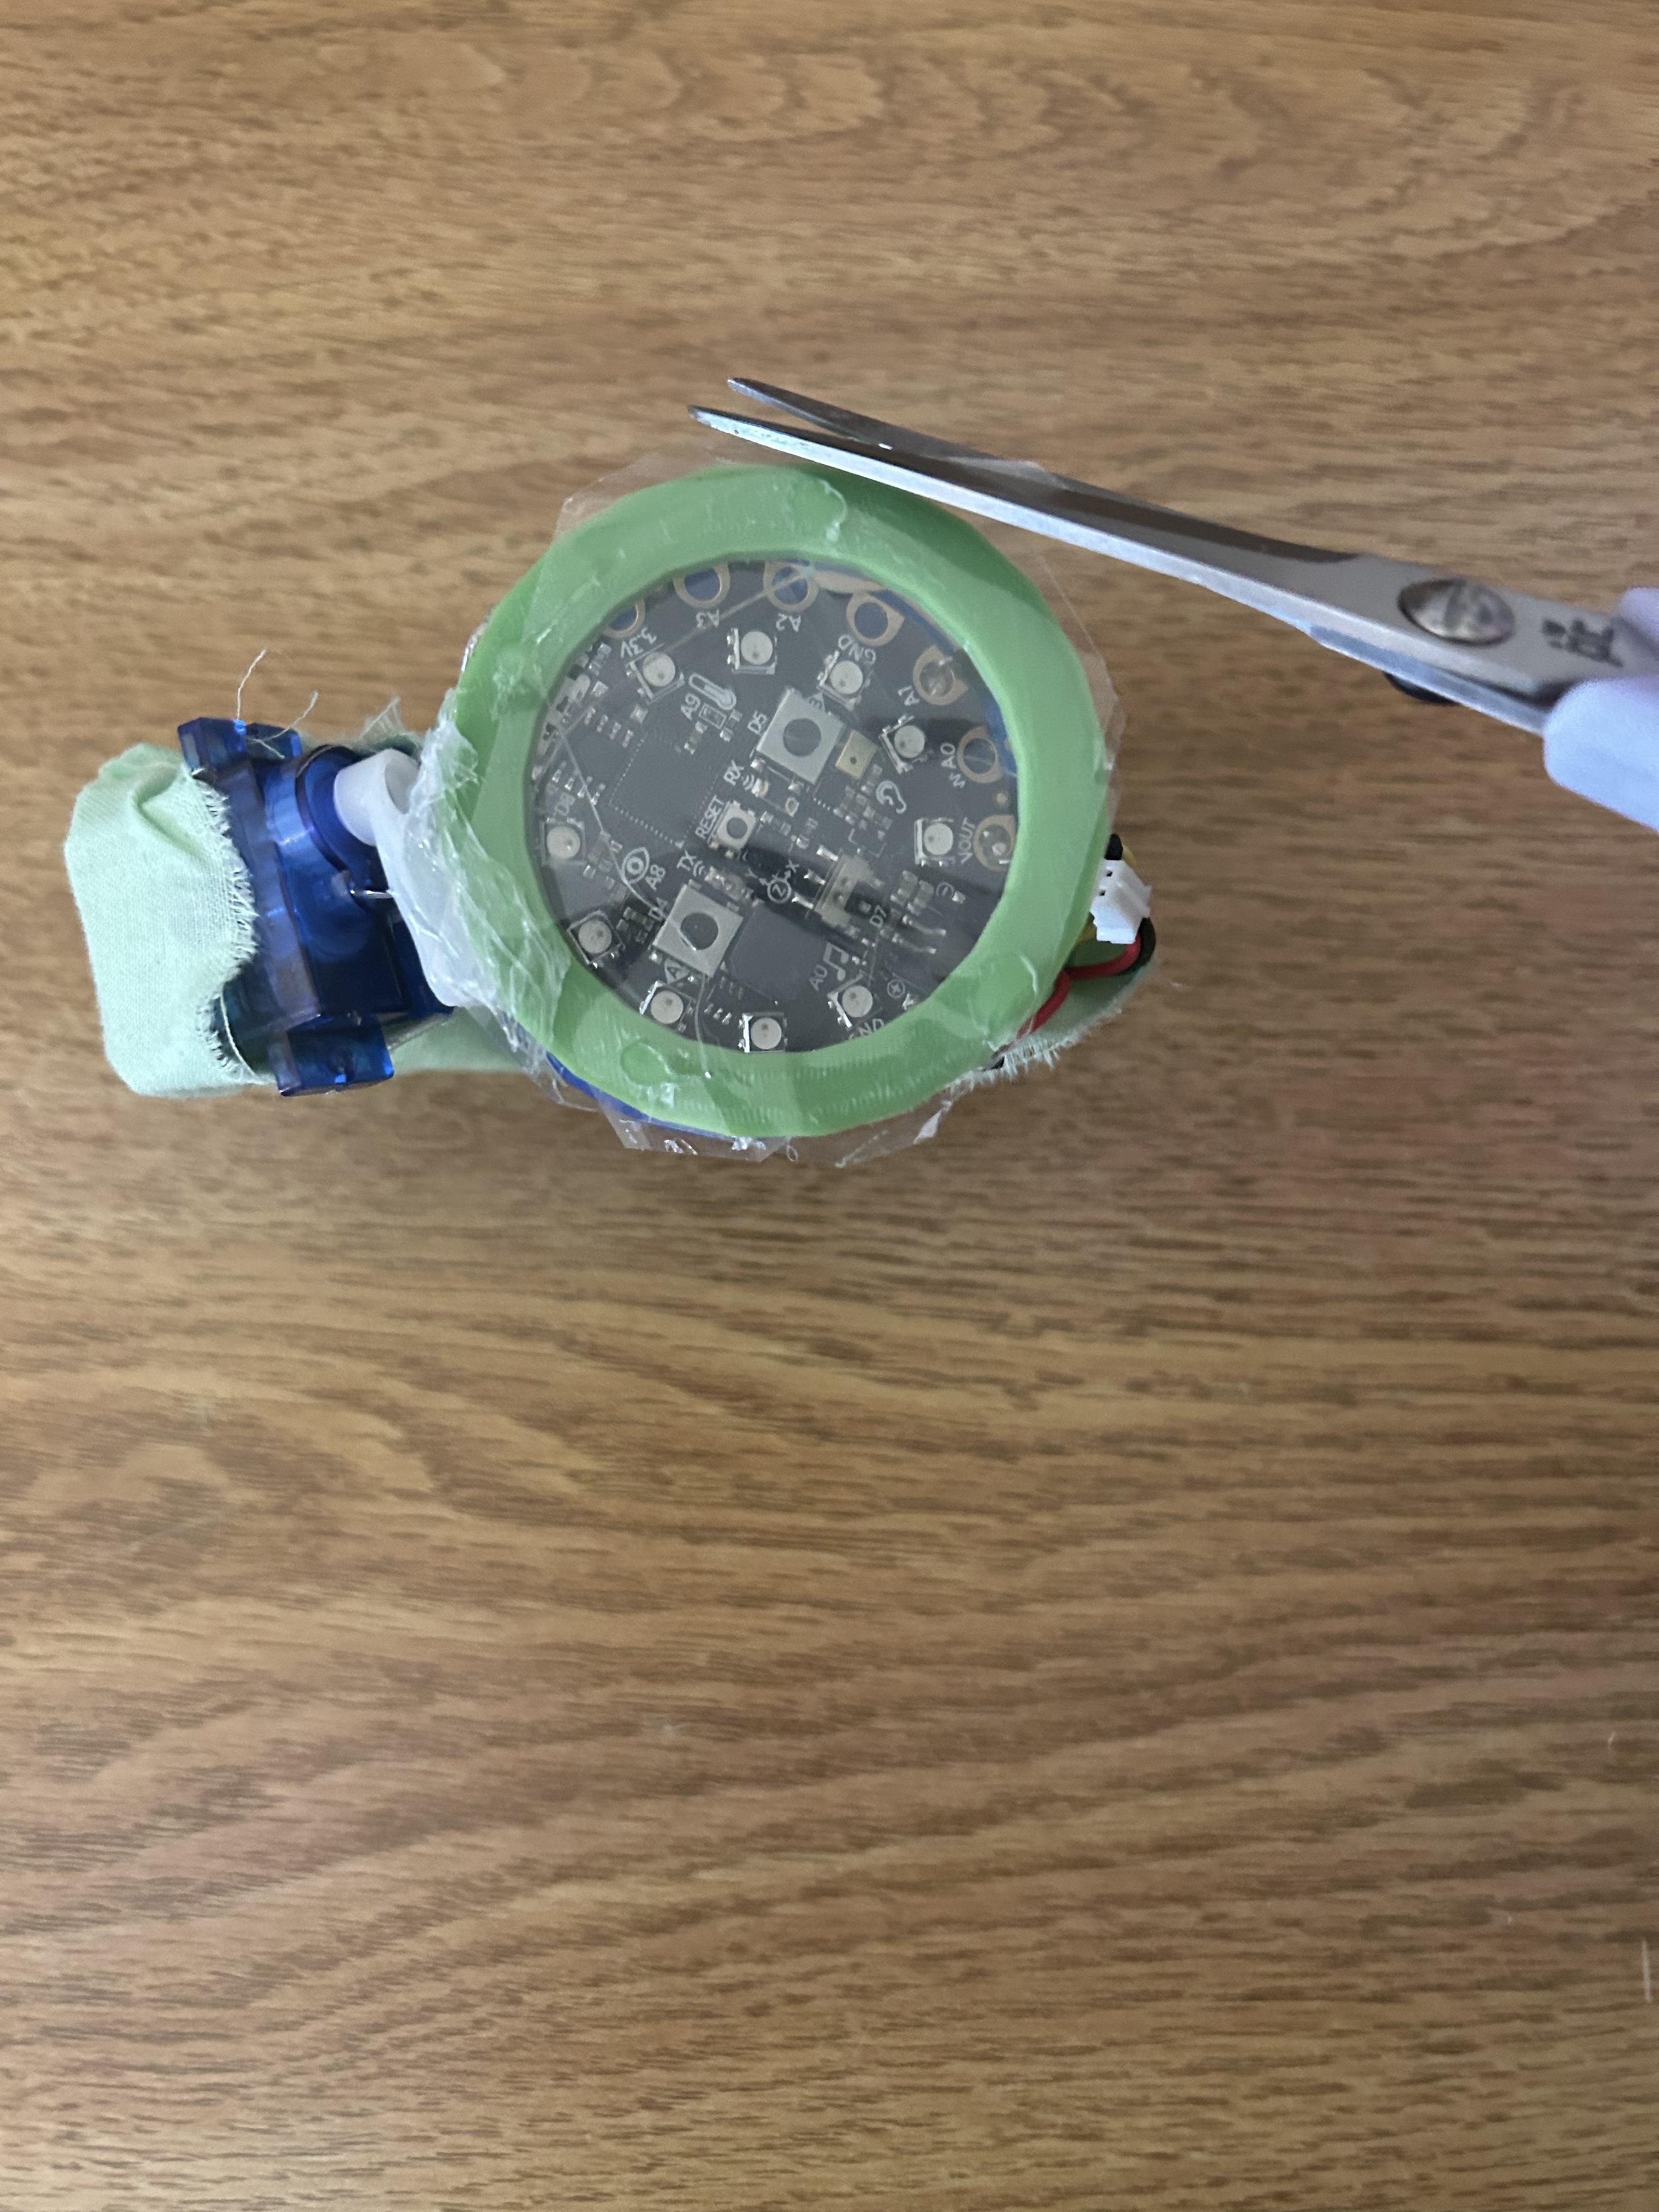
- Once the file is printed, you will need to take pliers or tweezers to remove the support materials.
- When the excess material is removed, attach the CPX holder to the wrist band.
- Next, attach the servo to the top of the 3D printed case and add hot glue to completely secure the device.
- The servo should be able to fit perfectly into the case.
- Place the battery into the case and run the wires through the back followed by the CPX on top of the battery.
- Connect the battery to the black port to the left.
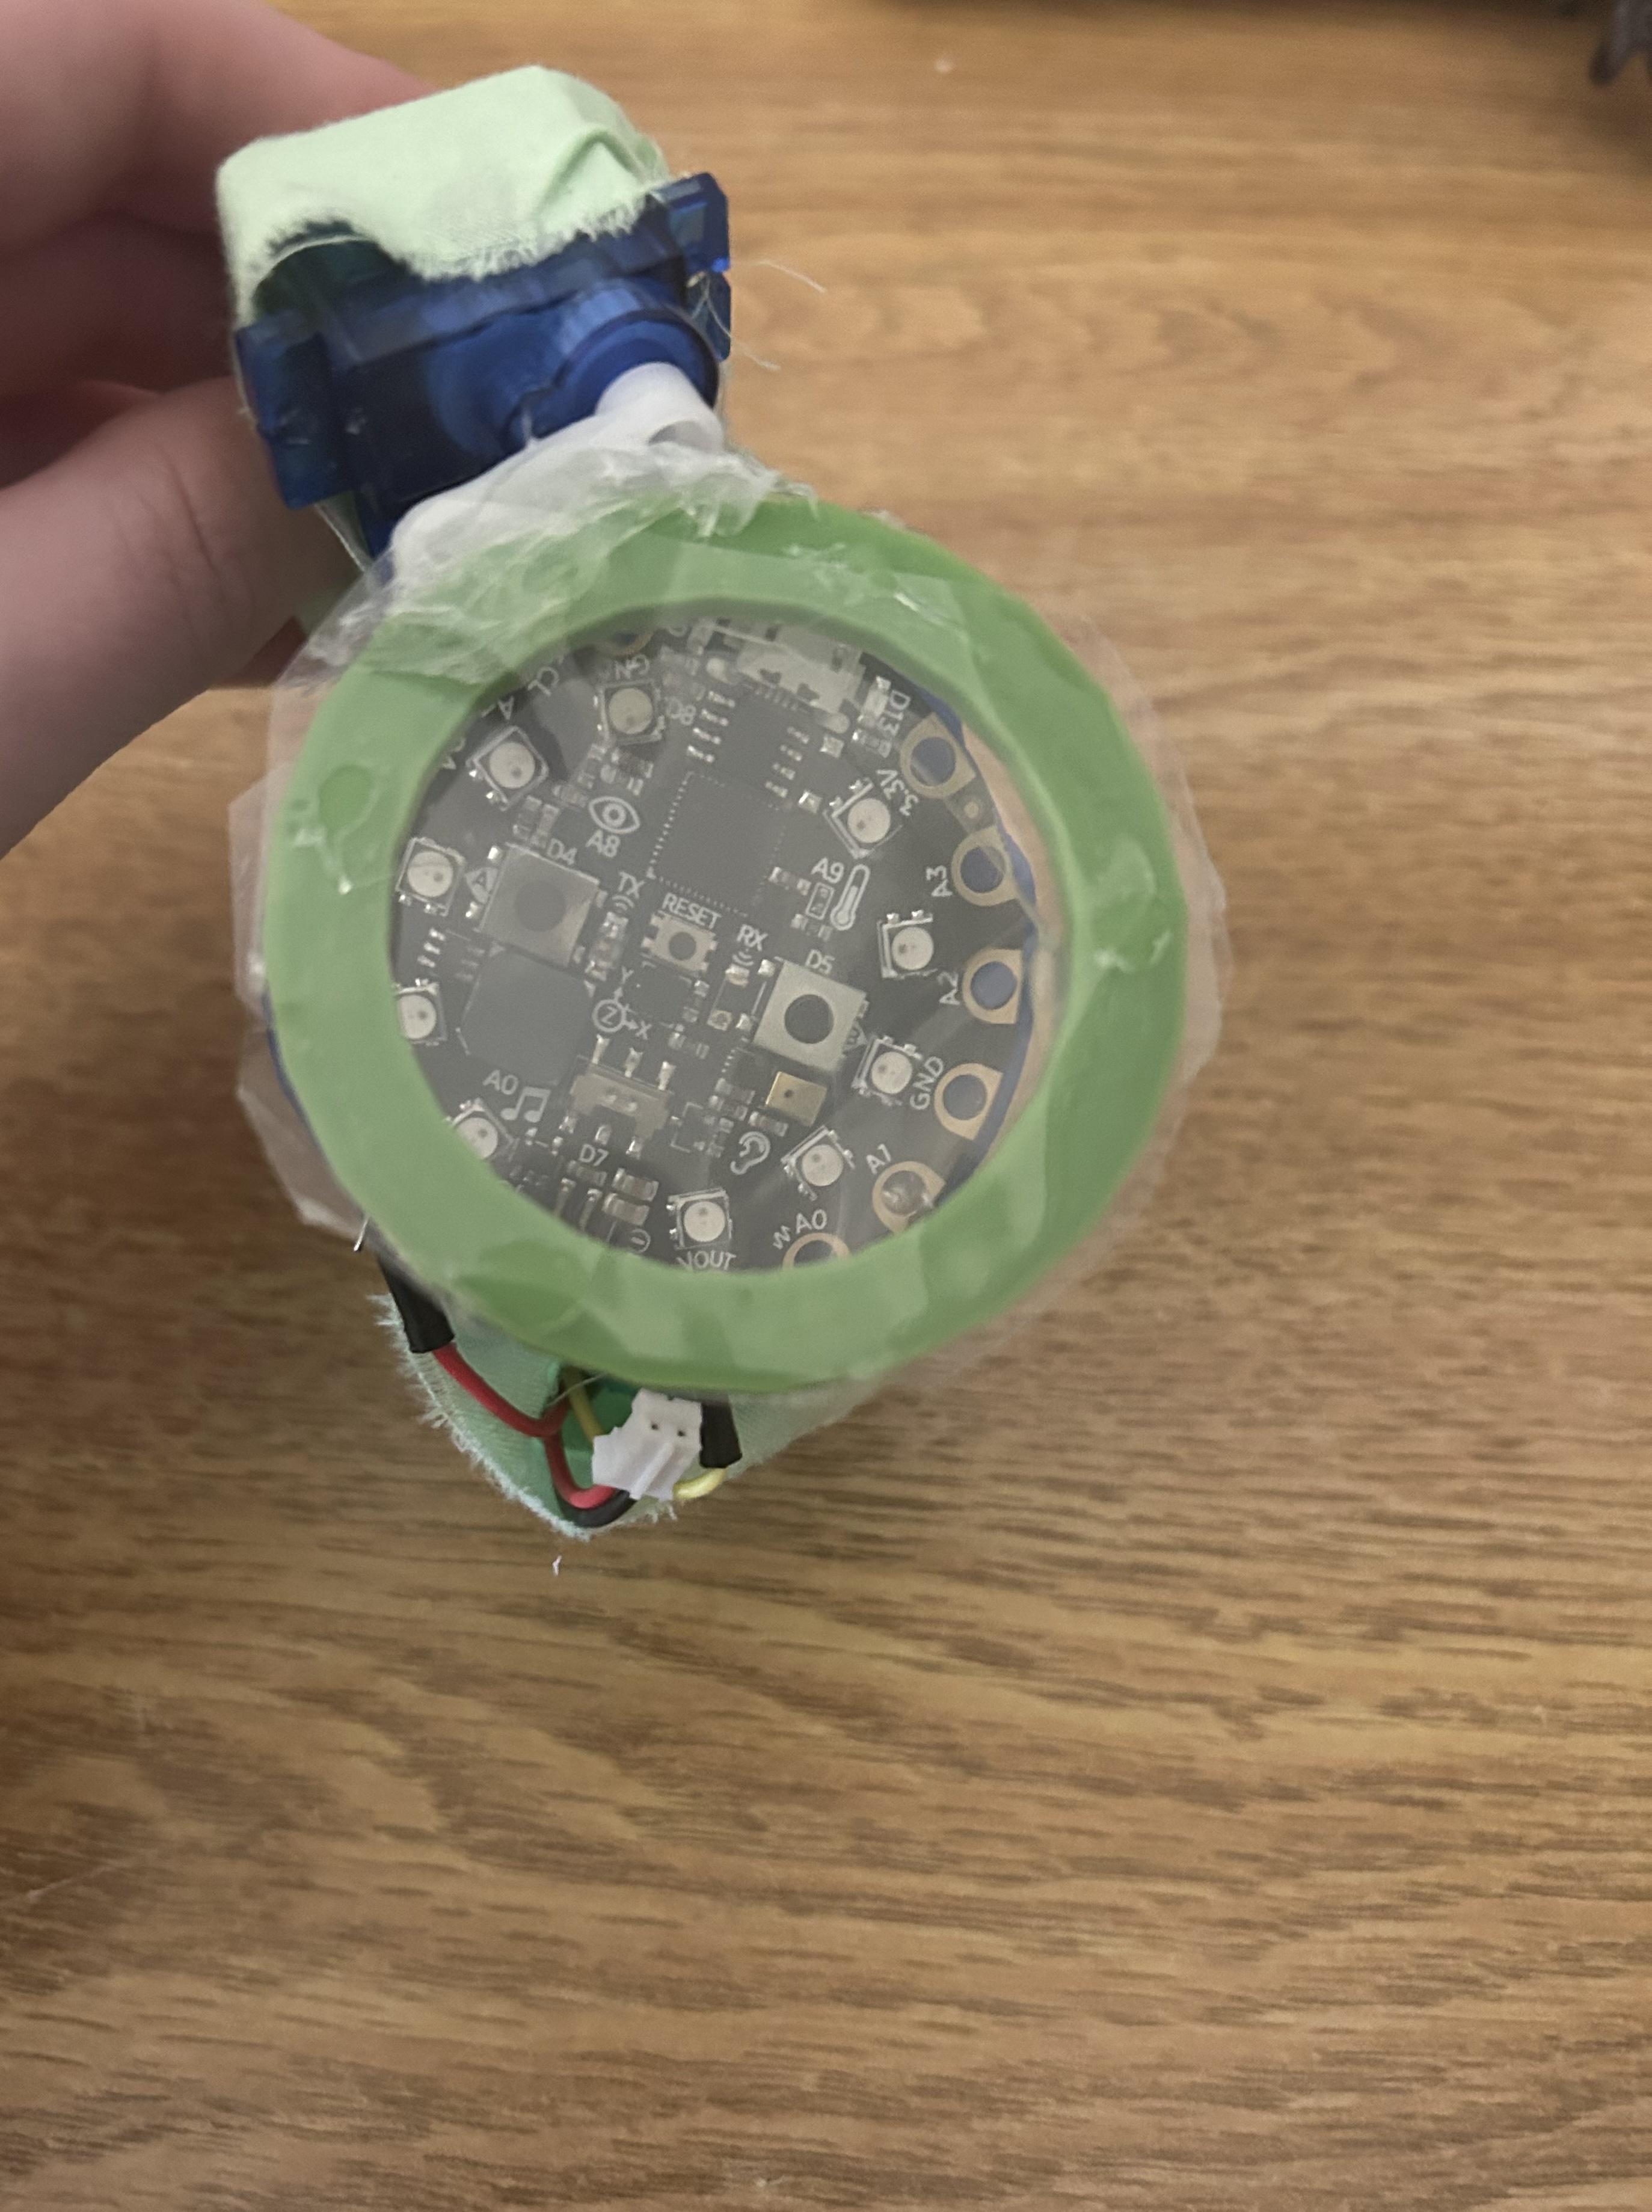
- Attach a plastic film sheet to the cover of the watch.
- The sheet should be attached the same way as the picture where the CPX is fully covered by this shield.
- The servo was added to the design to communicate with the CPX.
Demonstrating
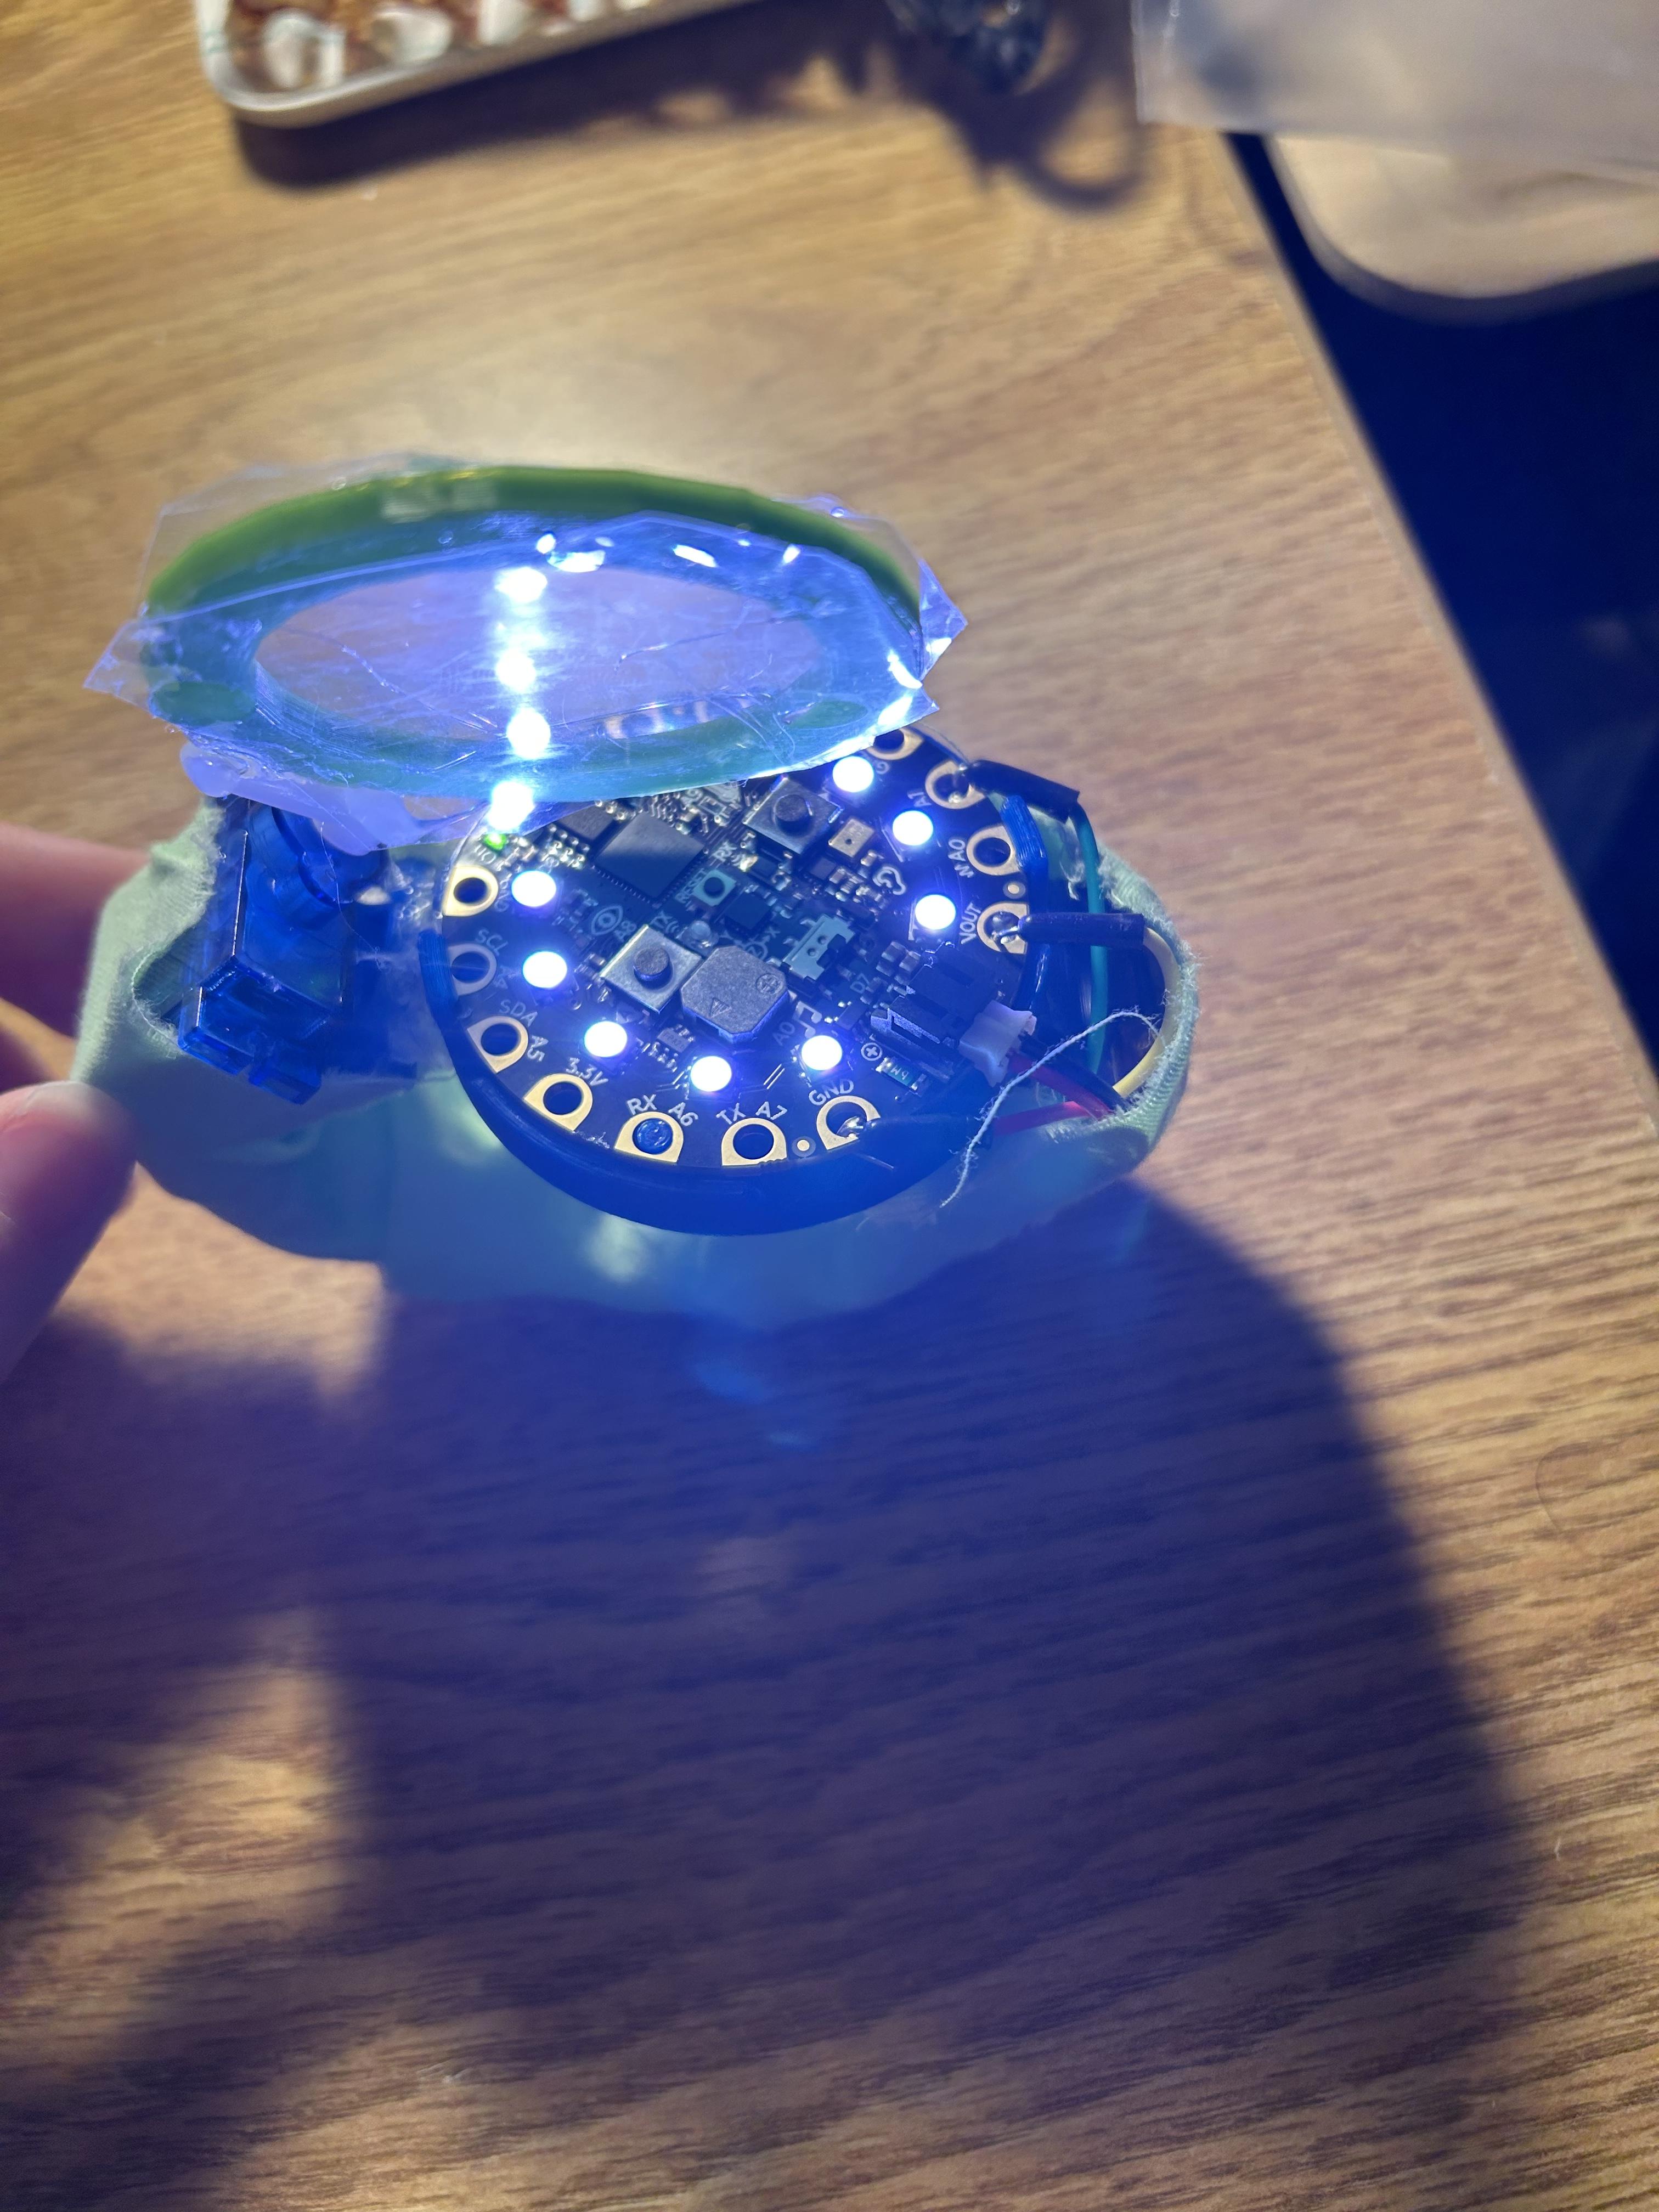
- Place the device on your wrist with the CPX facing upwards.
- To raise the shield, Press button A.
- To cause some of the lights to turn blue while the others turn green, also press button A
- To lower the shield, Press button B.
- Pressing button B also turns the NeoPixels to purple.