Wasteland Photoshop
.png)
The photoshop Project
First Layer
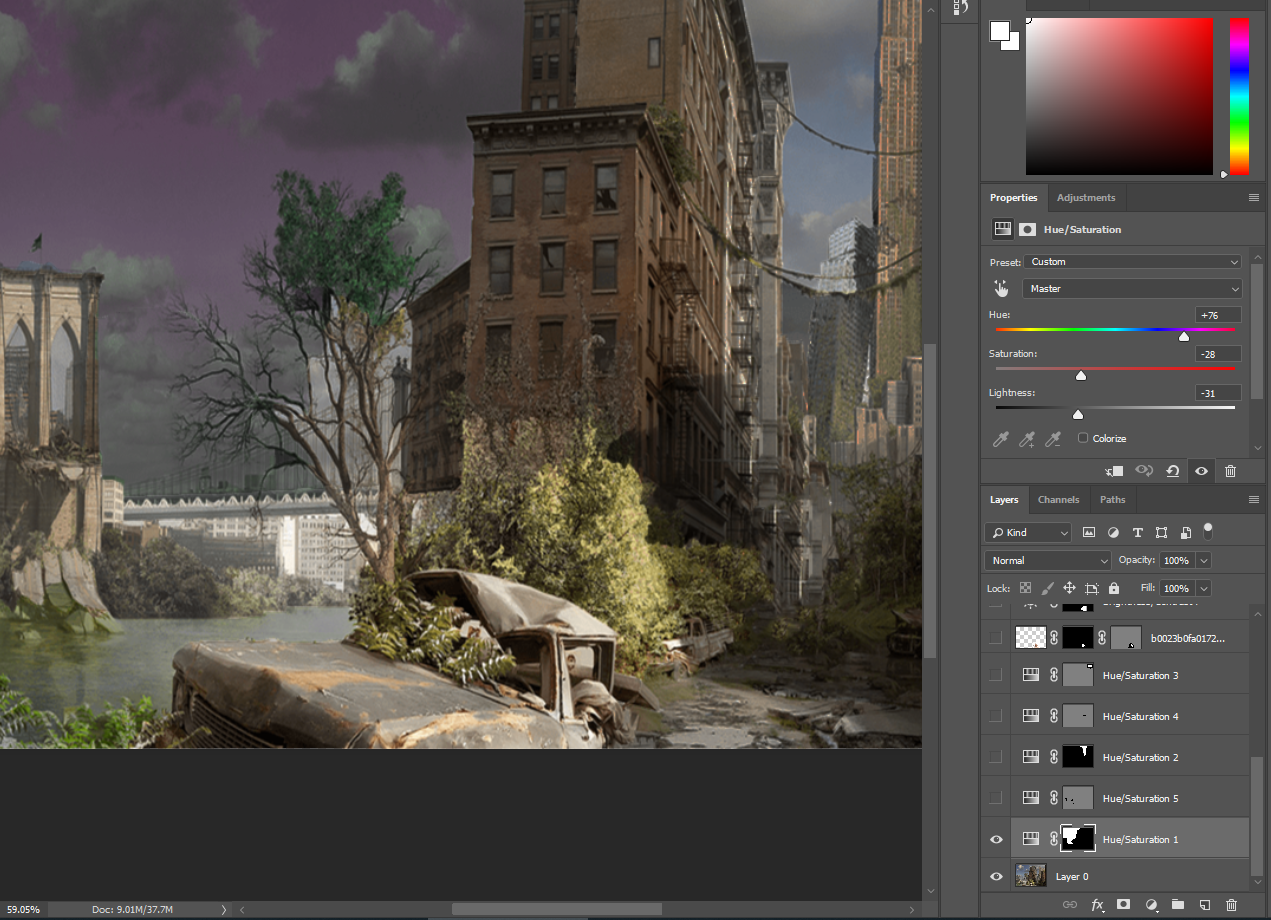
My Original Work didn't save separately and so it saved all as my background so i had to restart from there. My first step was adding the purple hue/saturation layer.
Hue/Saturation
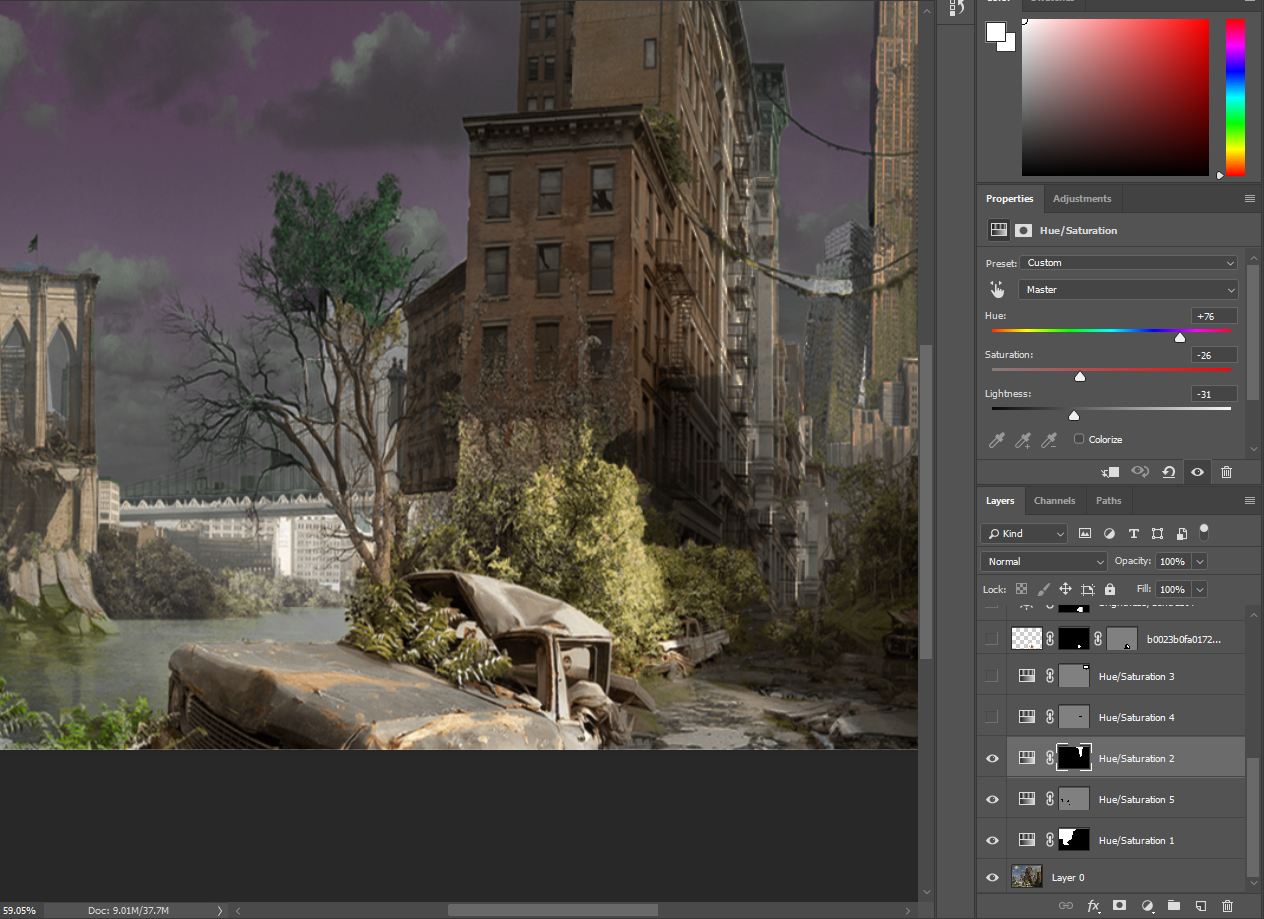
For my next step, i wanted to change the sky and clouds to make it look like some type of reaction happened so i tweaked the hue and saturation and continued to make the sky purple.
Little Fix
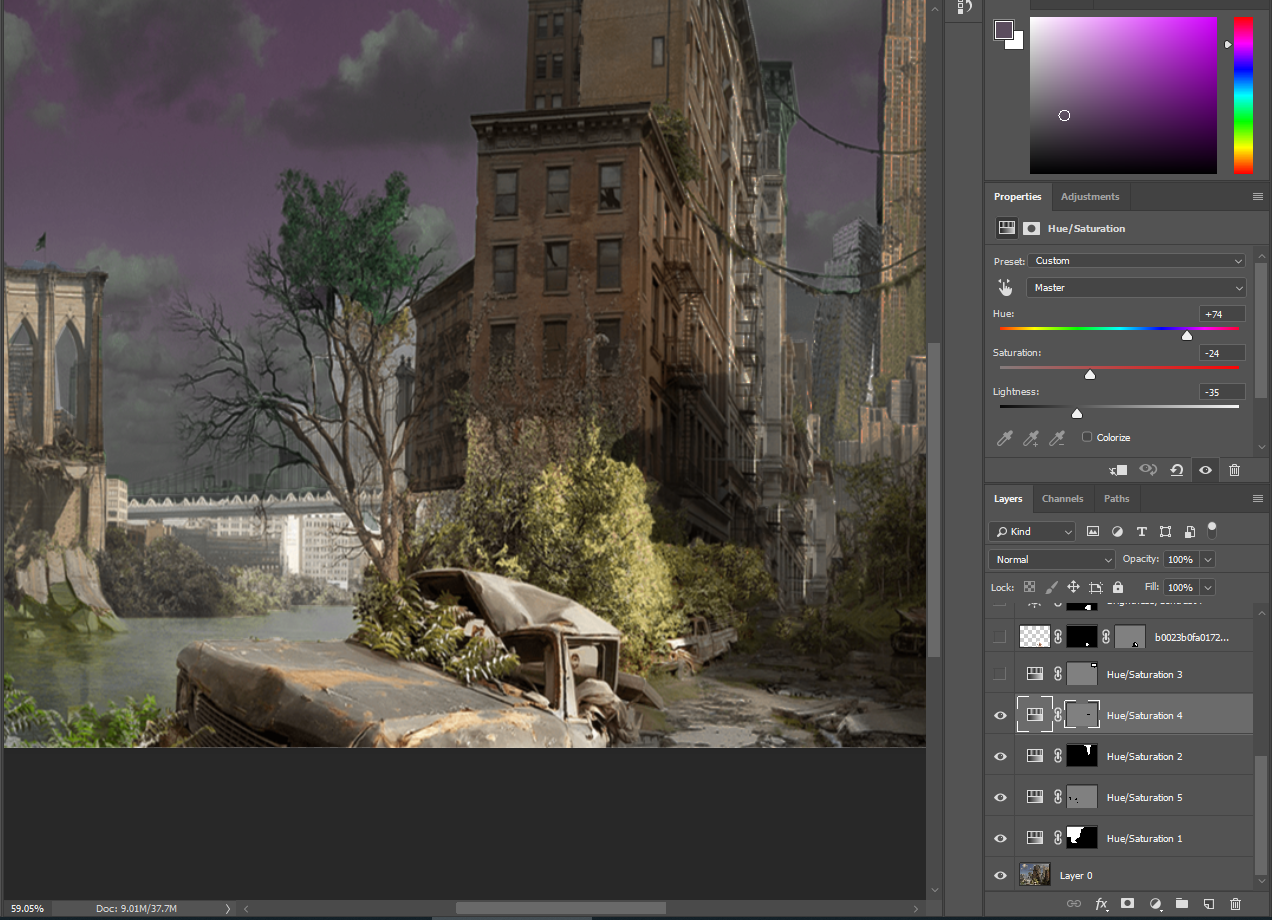
On this step i fixed very minor details such as lighting in between power cords and buildings.
More Hue/Saturation
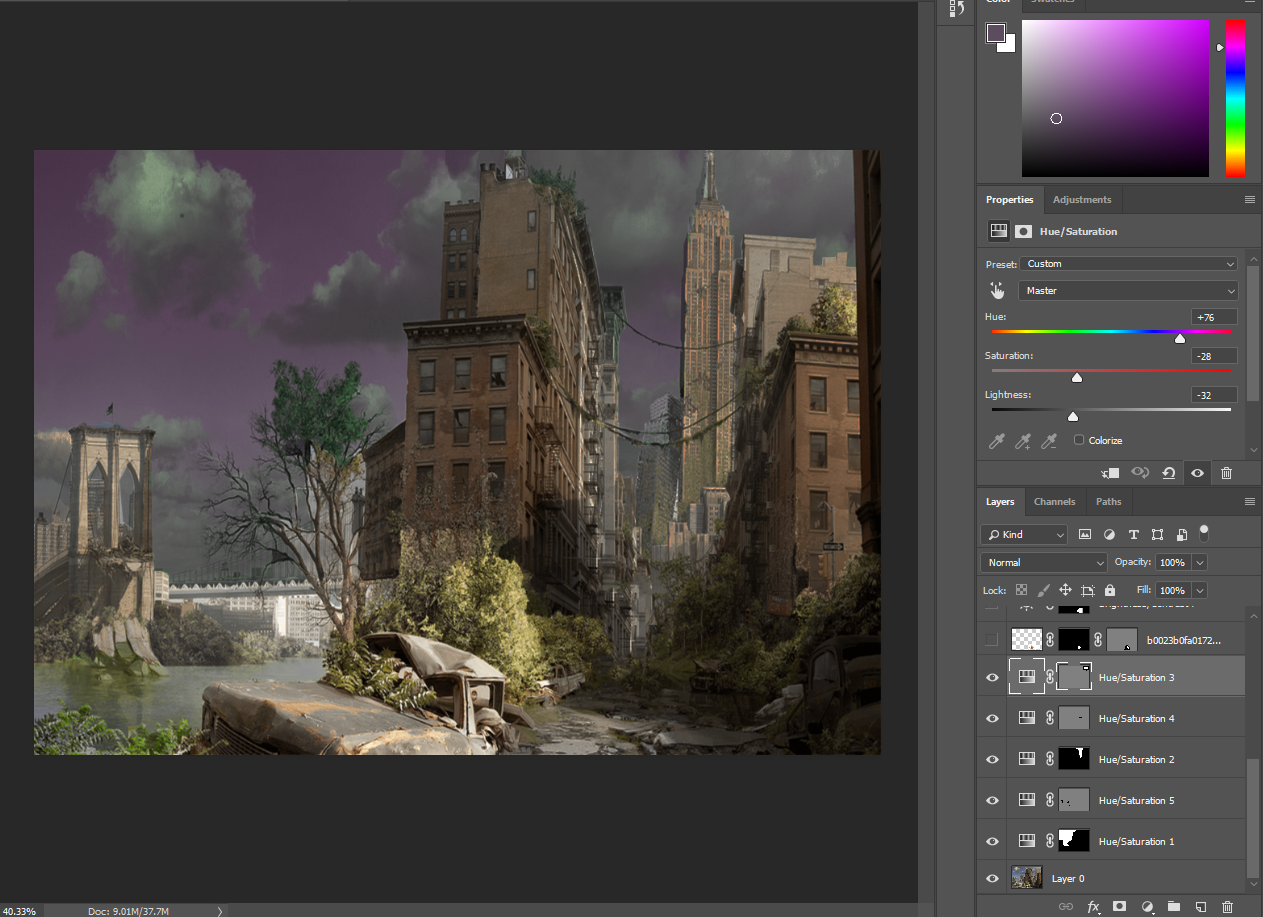
I did more to the sky are played with the colors a little more and filled in more spaces.
Mutant Dog
.png)
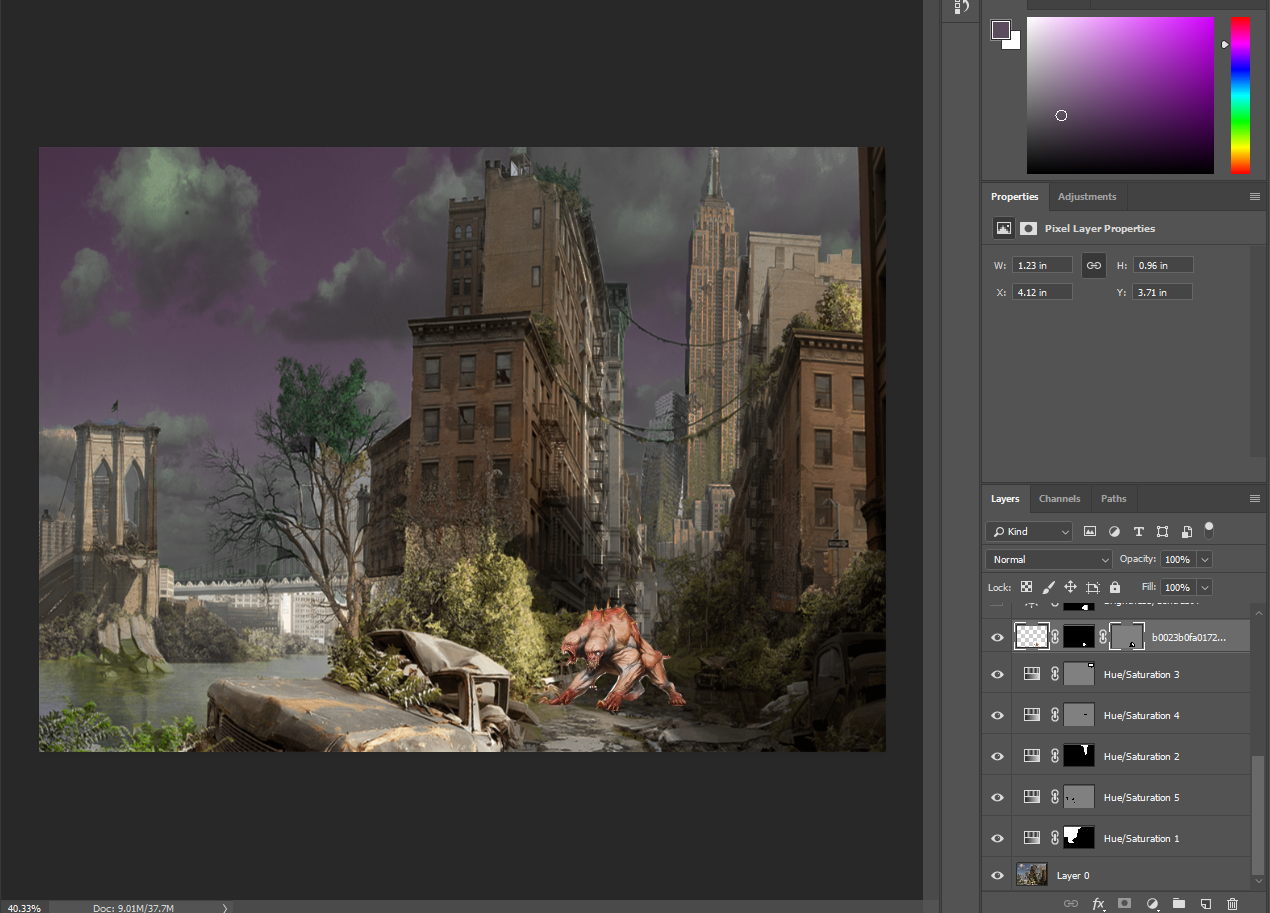
I finally added in the first MAIN detail, which is the mutant beast/dog. I found a picture and then used the pen tool to outline him and then make a vector mask. After that I worked on the shading and shadows of the dog.
Wasteland Survivor
.png)
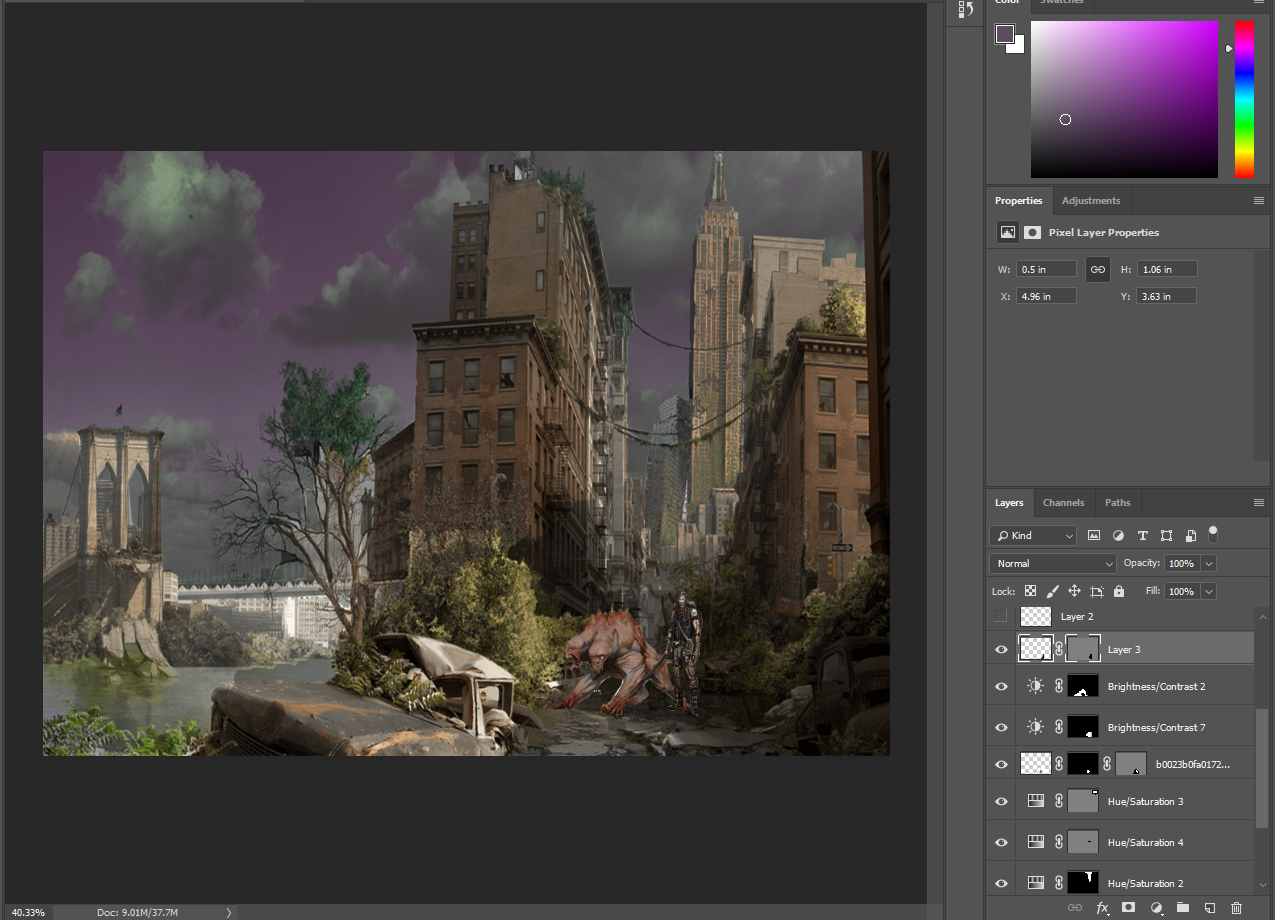
I added my first person into the picture, and I found one that is like a wasteland survivor. I used the pen tool once again to my wasteland survivor and then did shading again. I placed him in front of the beast dog so it will look like he tamed it.
Second Survivor
.png)
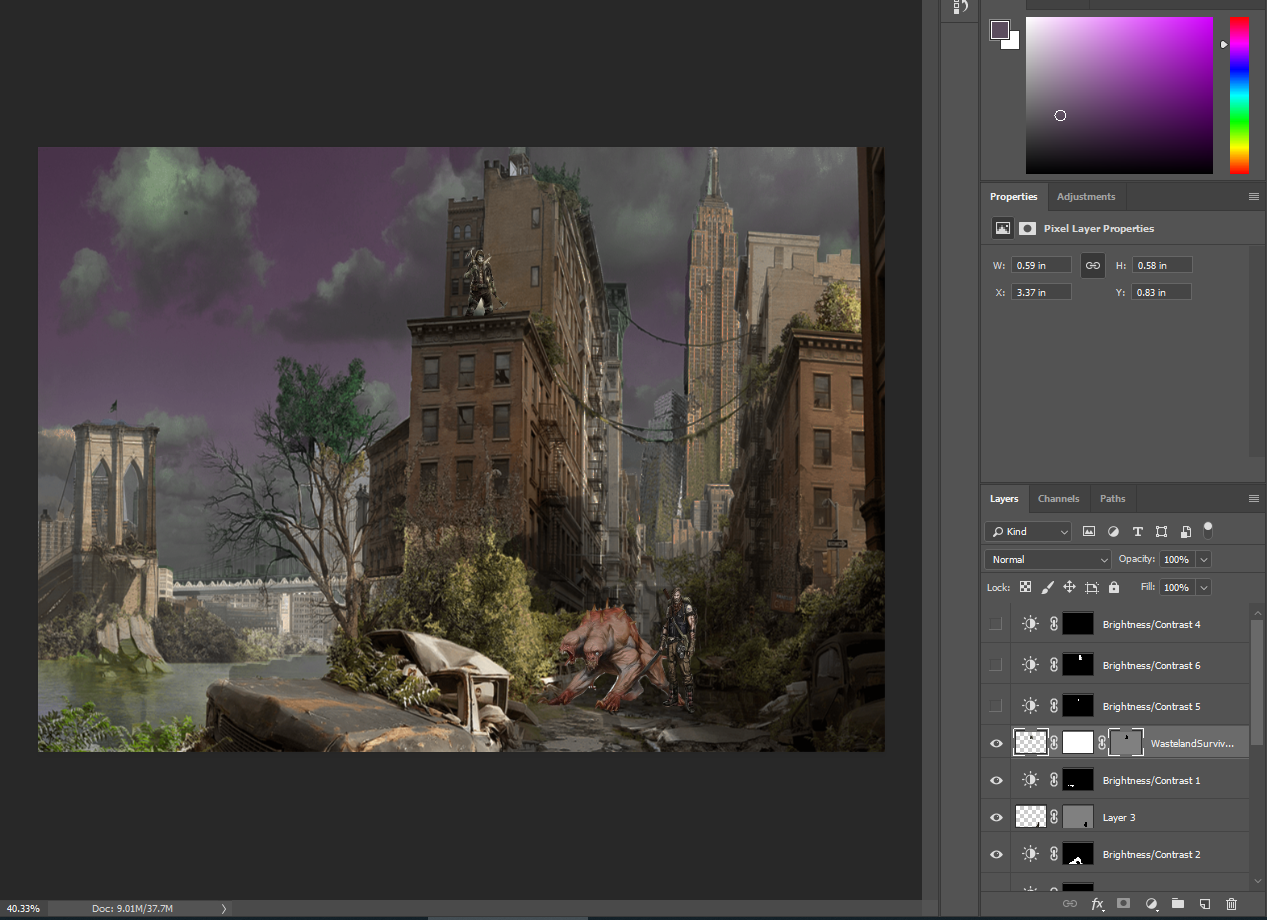
I added a second wasteland survivor on the building and used the quick selection tool to make a new vector mask. after i did that, I used the pen tool to remove the bottoms of his legs so it looks like hes standing on the building and his legs are behind the ledge.
Shadows
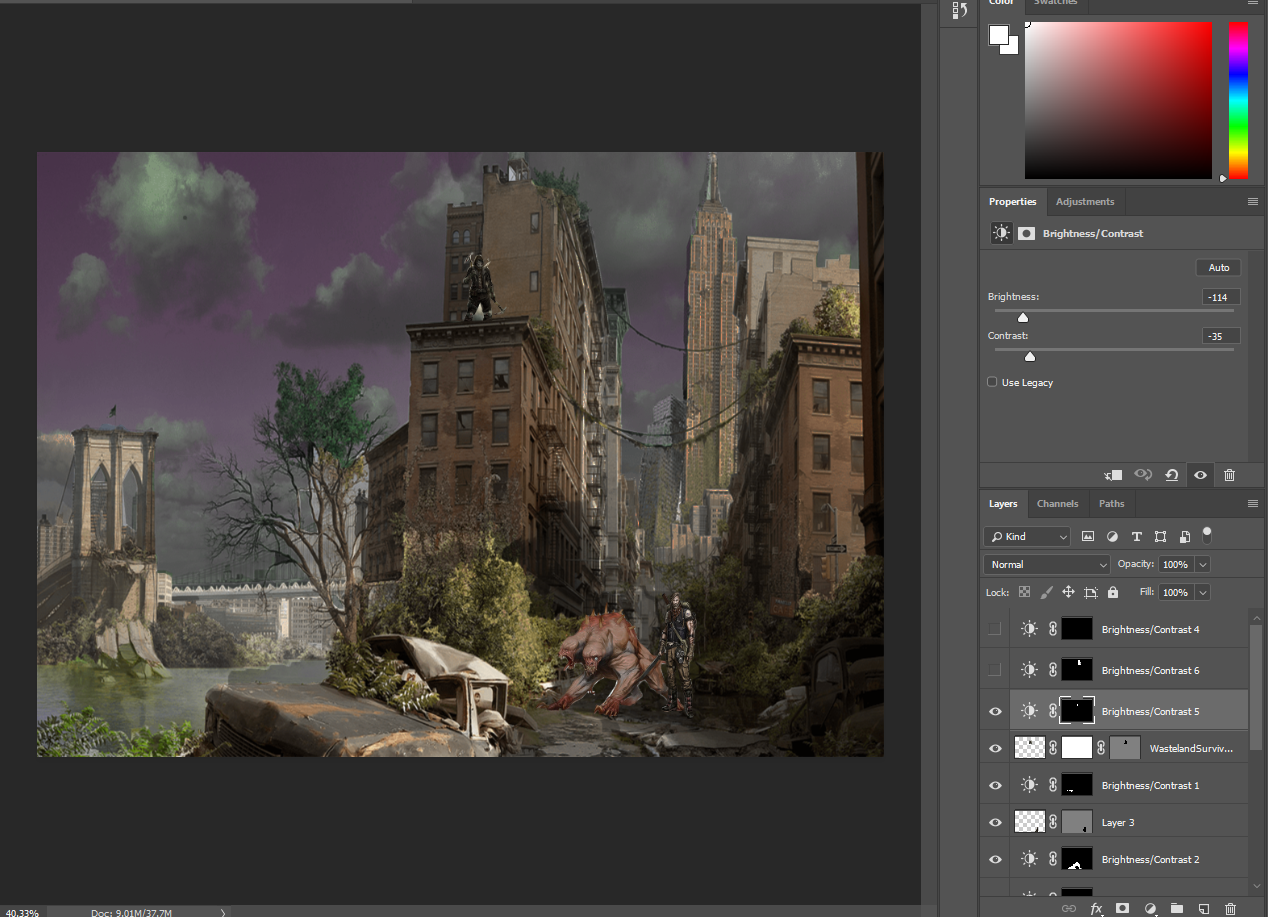.png)
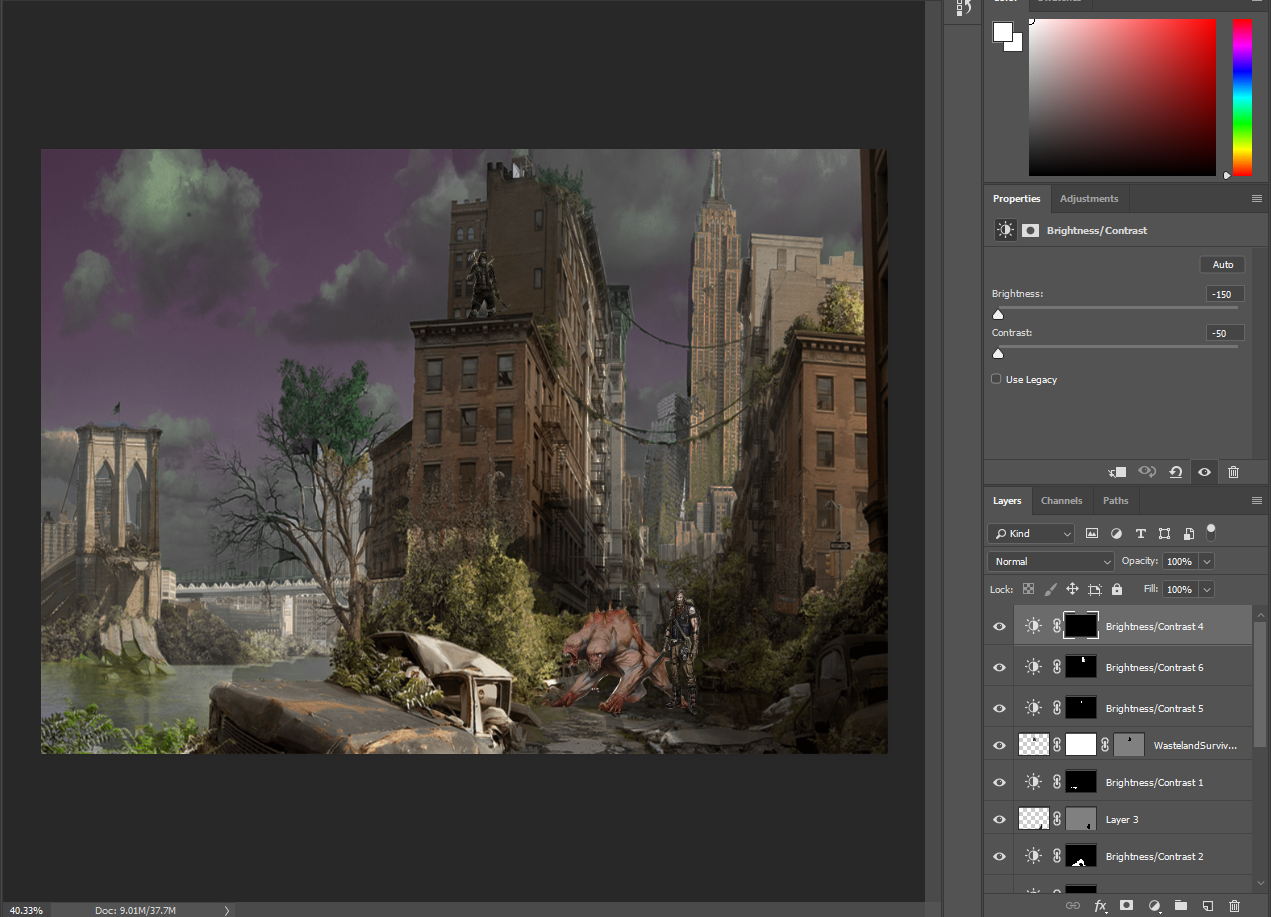
I did lots of shading and shadowing to make the lighting accurate to where the light originally hits. I selected the places i wanted to shadow with the quick selection tool and then turned brightness down about 40-60%.
Building Shadows
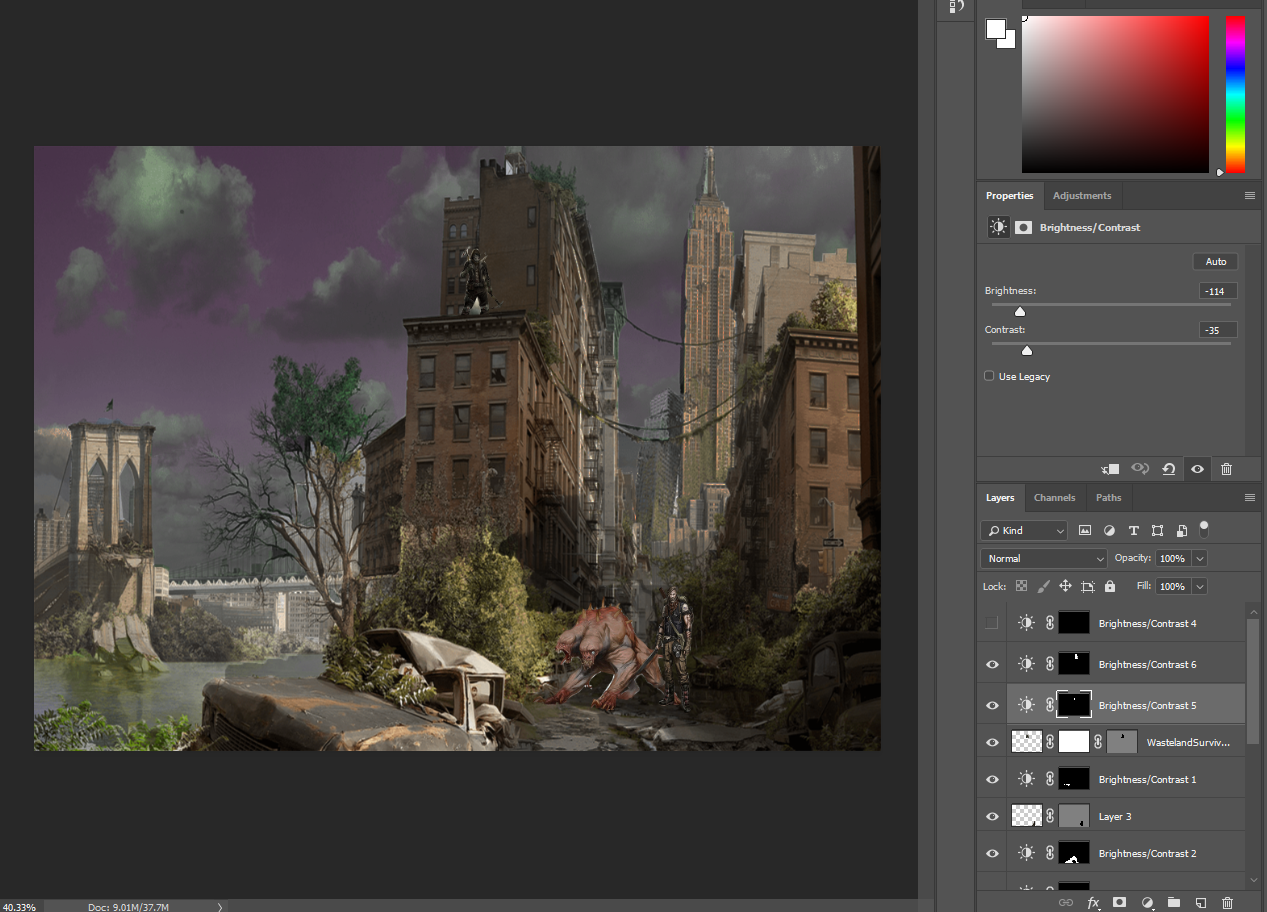.png)
I did the same thing as I did in the last step, but to the buildings. They were easy to do because they were rectangular and so the quick selection tool worked well.
Touchups
.png)
The last step was just the touchups. This just means that you make sure the colors all match and that theres no missed messups that you forgot to delete or hide. After I did that, I was all done.