Washi Tape Cupcake Toppers
![Cupcake_Final.jpg](/proxy/?url=https://content.instructables.com/FED/W4N5/KDN3M5AF/FEDW4N5KDN3M5AF.jpg&filename=Cupcake_Final.jpg)
![Step 14.jpg](/proxy/?url=https://content.instructables.com/FT4/W9U0/KDN3M5CZ/FT4W9U0KDN3M5CZ.jpg&filename=Step 14.jpg)
![Supplies.jpg](/proxy/?url=https://content.instructables.com/FIR/X7FV/KDN3M5D2/FIRX7FVKDN3M5D2.jpg&filename=Supplies.jpg)
In this Instructable, we'll learn to make custom cupcake toppers using washi tape and other basic supplies! It's super easy to do and will help you put a creative touch on your next cupcake project.
Supplies
Washi Tape (Any design of your choice)
Toothpicks
Scissors
Optional: Alphabet or Number Stickers
Cut the Washi Tape
![Step 1.jpg](/proxy/?url=https://content.instructables.com/F0R/32ZY/KDN3M5AN/F0R32ZYKDN3M5AN.jpg&filename=Step 1.jpg)
![Step 2.jpg](/proxy/?url=https://content.instructables.com/FKX/5CRP/KDN3M5CE/FKX5CRPKDN3M5CE.jpg&filename=Step 2.jpg)
Unroll a piece of washi tape that's approximately 3 inches in length and cut it.
Add a Toothpick
![Step 3.jpg](/proxy/?url=https://content.instructables.com/FB2/2MQQ/KDN3M5CF/FB22MQQKDN3M5CF.jpg&filename=Step 3.jpg)
![Step 4.jpg](/proxy/?url=https://content.instructables.com/FG2/0JY1/KDN3M5CH/FG20JY1KDN3M5CH.jpg&filename=Step 4.jpg)
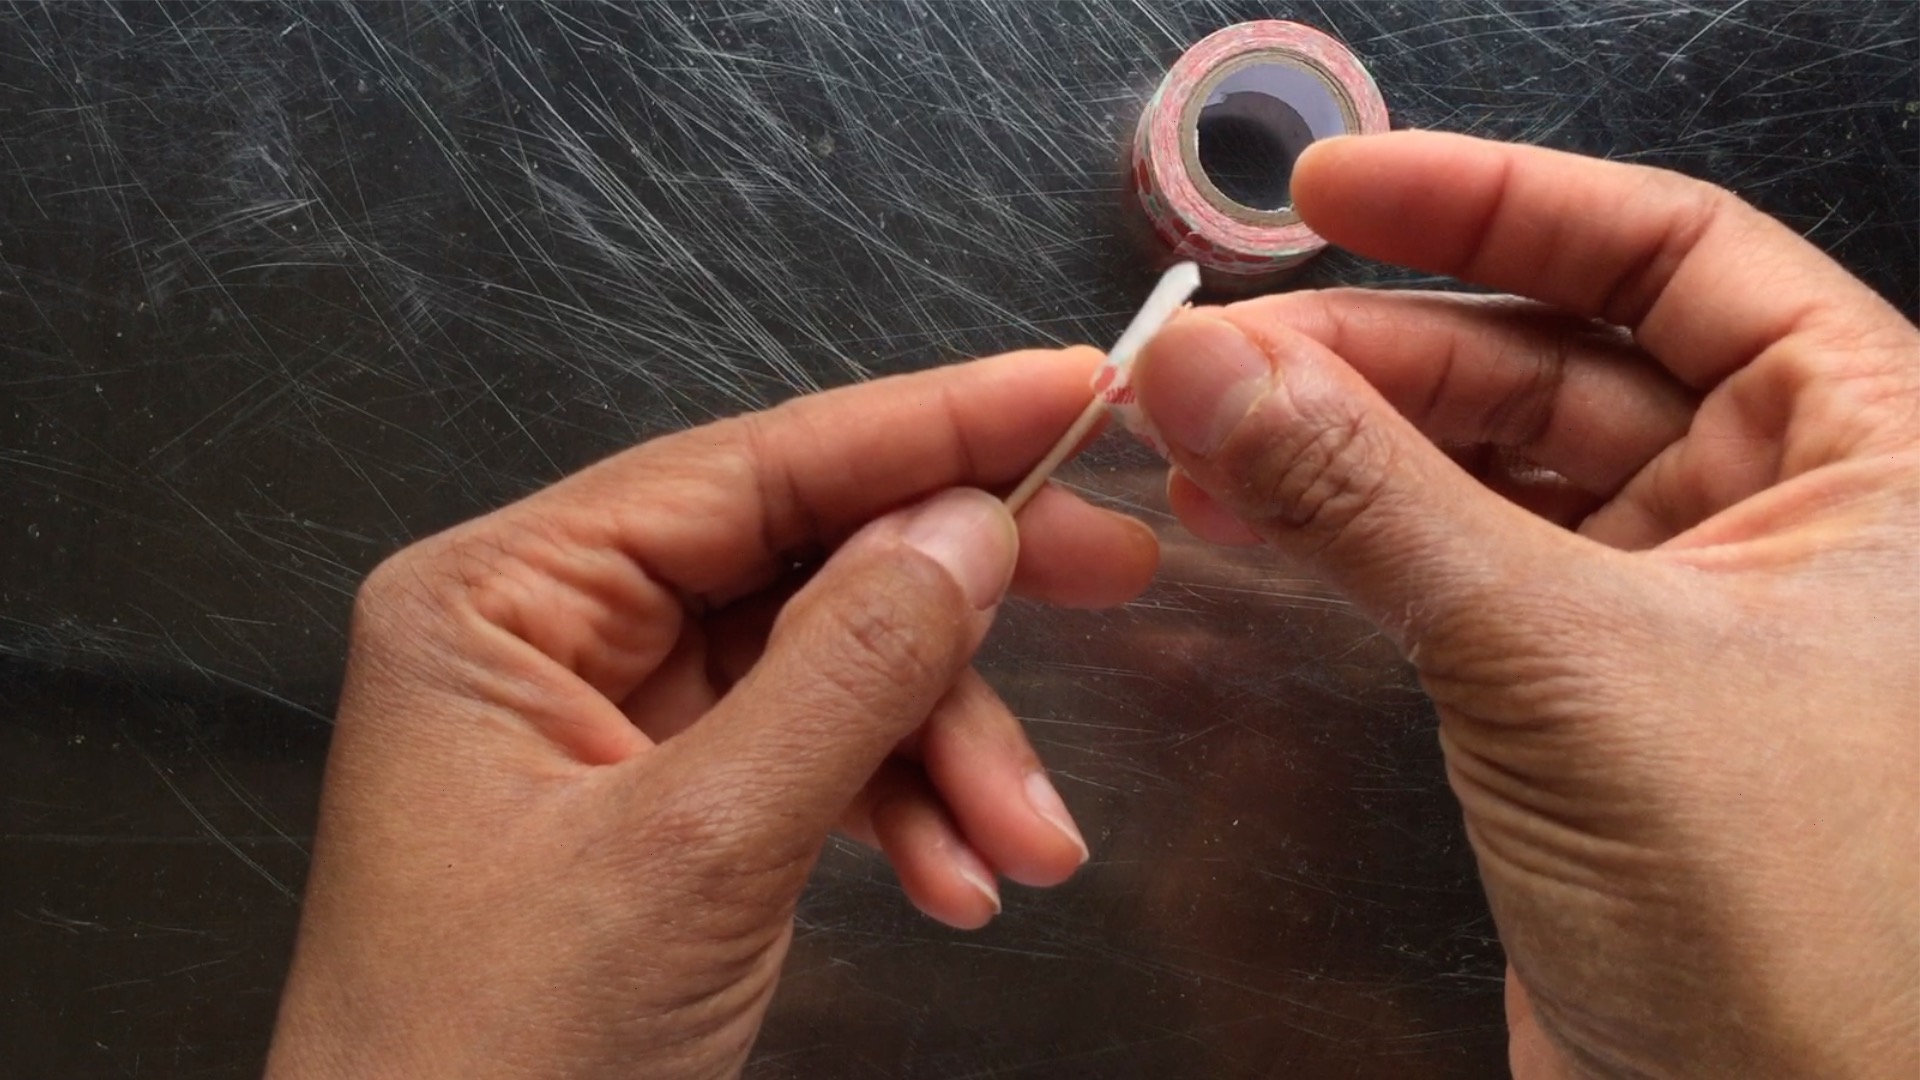
Center a toothpick on the cut strip of washi tap, and fold the washi tape in half onto itself. It the washi tape is uneven, gently un-peel and reposition it.
IMPORTANT: Make sure that the toothpick does not extend past the washi tape.
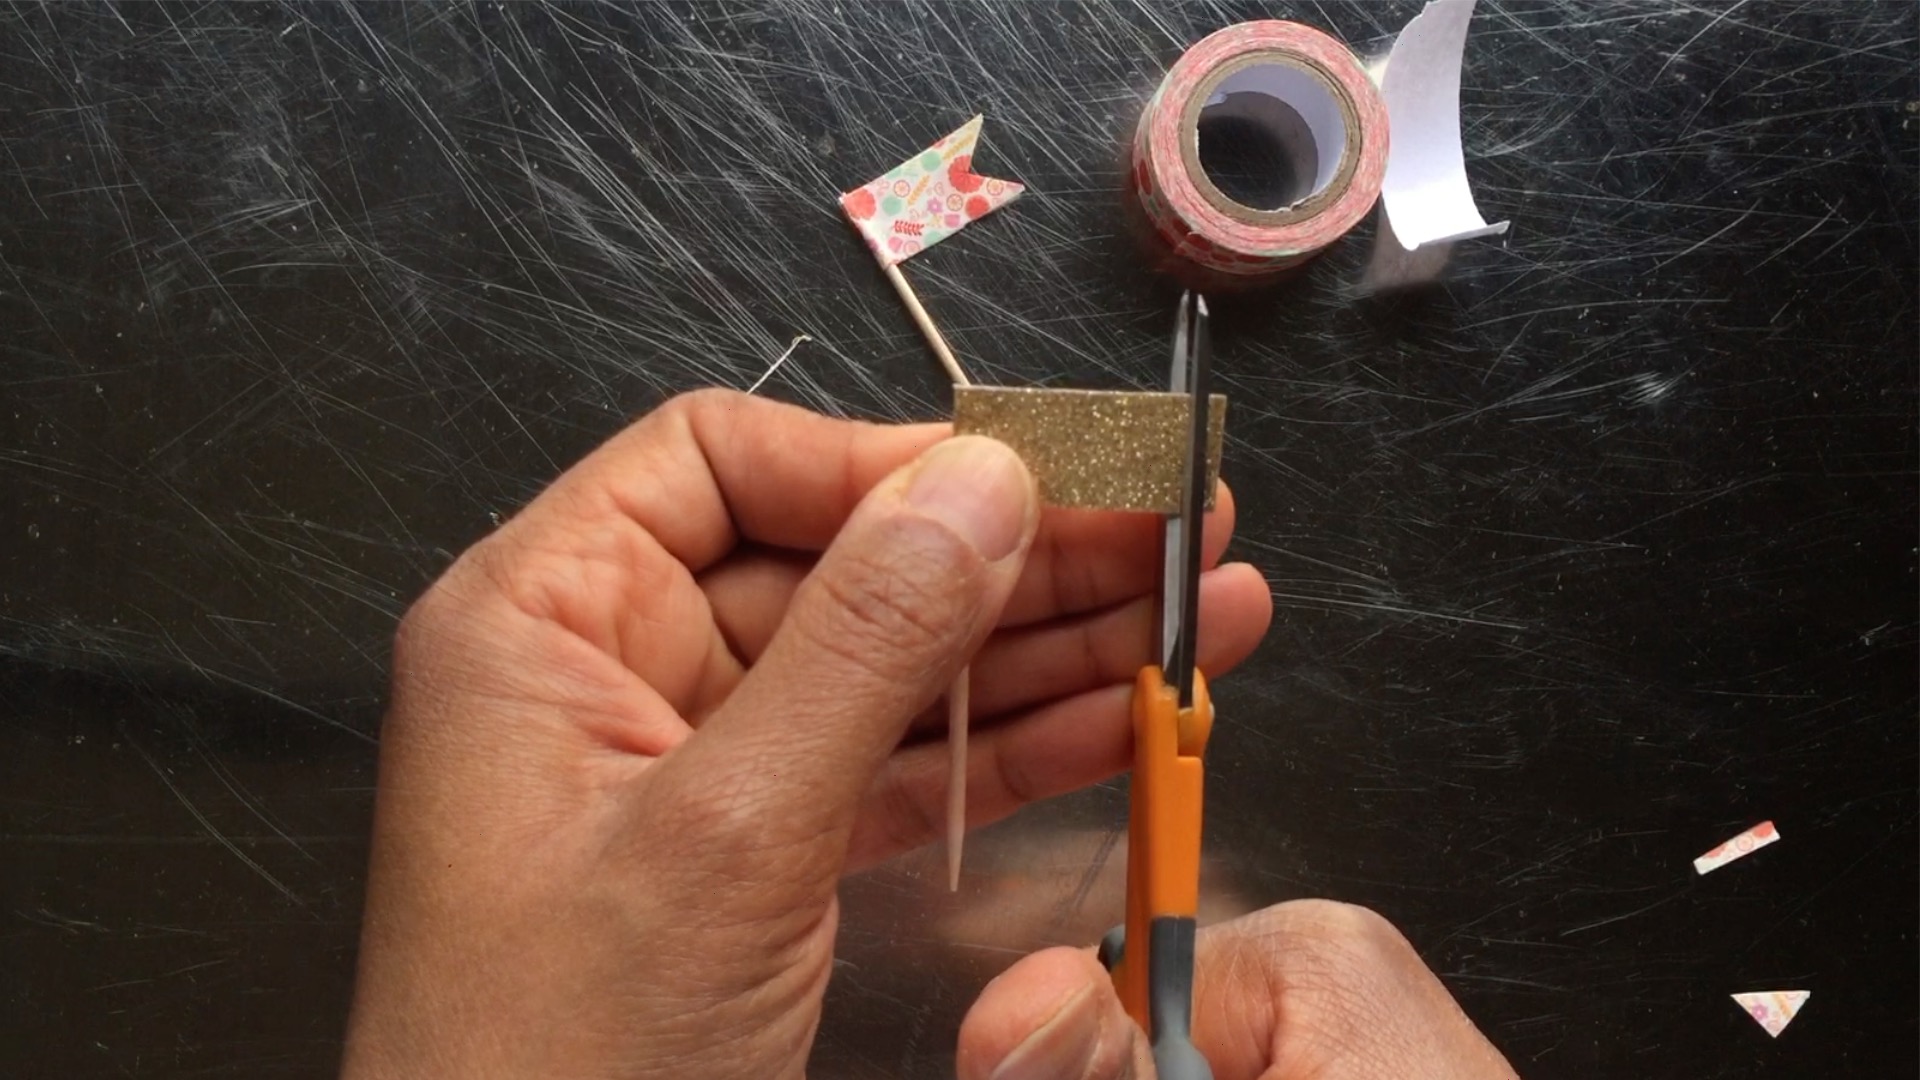
Cut Topper Into Desired Shape
![Step 5.jpg](/proxy/?url=https://content.instructables.com/FV9/1UDZ/KDN3M5CI/FV91UDZKDN3M5CI.jpg&filename=Step 5.jpg)
![Step 6.jpg](/proxy/?url=https://content.instructables.com/F6X/OHM2/KDN3M5CK/F6XOHM2KDN3M5CK.jpg&filename=Step 6.jpg)
![Step 7.jpg](/proxy/?url=https://content.instructables.com/FO9/PBOS/KDN3M5CL/FO9PBOSKDN3M5CL.jpg&filename=Step 7.jpg)
Ensure that the washi tape is even by cutting the end of it with scissors. At this point, you may leave it straight or cut it into a different shape.
Continue Making Toppers
![Step 8.jpg](/proxy/?url=https://content.instructables.com/F56/O4I2/KDN3M5CN/F56O4I2KDN3M5CN.jpg&filename=Step 8.jpg)
![Step 9.jpg](/proxy/?url=https://content.instructables.com/FYX/XK0S/KDN3M5CP/FYXXK0SKDN3M5CP.jpg&filename=Step 9.jpg)
![Step 10.jpg](/proxy/?url=https://content.instructables.com/FMK/1743/KDN3M5CQ/FMK1743KDN3M5CQ.jpg&filename=Step 10.jpg)
Repeat the previous steps to create as many cupcake toppers as you want!
Add Alphabet/number Stickers (Optional)
![Step 11.jpg](/proxy/?url=https://content.instructables.com/FVP/VGLJ/KDN3M5CT/FVPVGLJKDN3M5CT.jpg&filename=Step 11.jpg)
![Step 12.jpg](/proxy/?url=https://content.instructables.com/FR4/97IN/KDN3M5CV/FR497INKDN3M5CV.jpg&filename=Step 12.jpg)
![Step 13.jpg](/proxy/?url=https://content.instructables.com/F3T/Z2X5/KDN3M5CY/F3TZ2X5KDN3M5CY.jpg&filename=Step 13.jpg)
To add another creative touch to your cupcake toppers, you may add alphabet and/or number stickers to them.