Wall of Rainbow Koi


My friend saw a wall hanging of origami koi that she really liked, but the etsy shop that was selling it had it priced at over $1000. Thus, I set out to make this for her birthday/Christmas present, and after countless hours of folding while walking, an art that I have mastered, I finally finished the koi and attached them to the friend's bedroom wall.
UPDATE: Here's version 2.0 of this tutorial, complete with LED mood lighting.
Materials
- origami paper (one square per koi you're making)
- wire (not too thin; I used 20 gauge)
- hot glue gun
- tape
- ruler
- pliers
- (optional): string
Folding the Koi
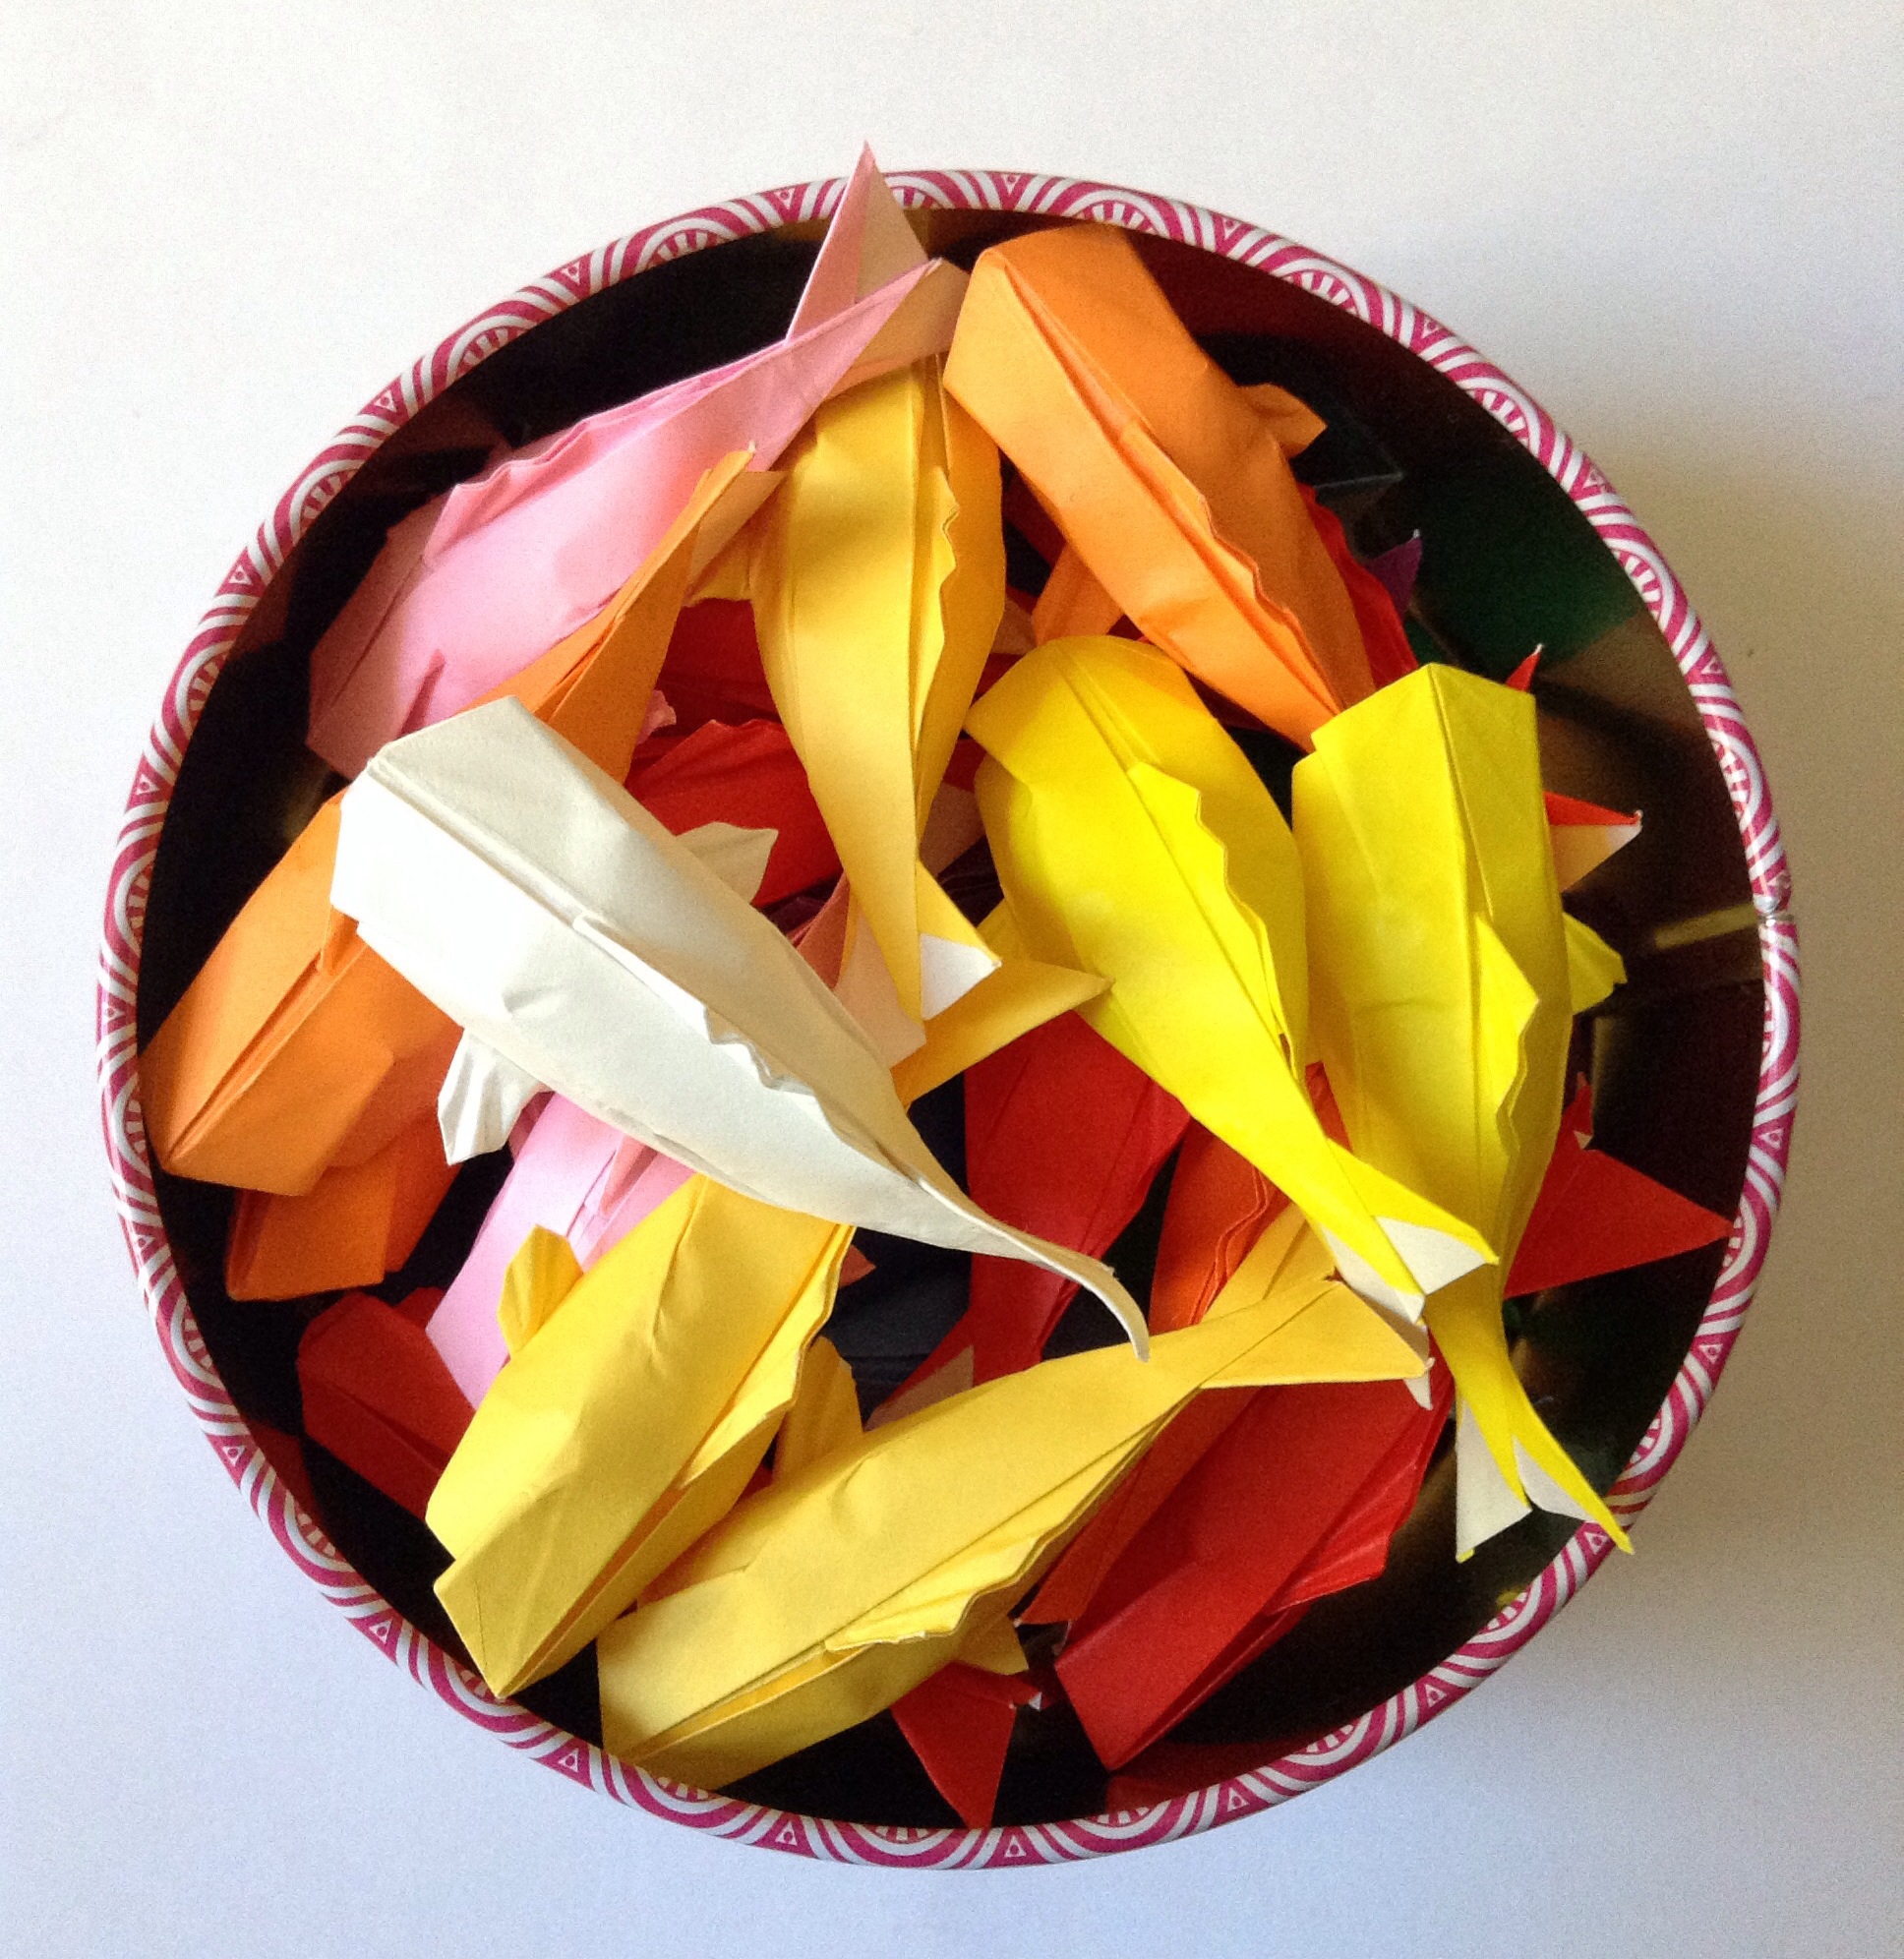
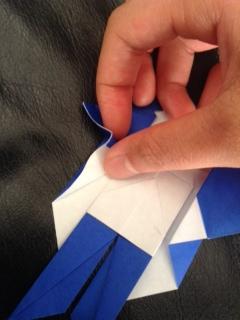
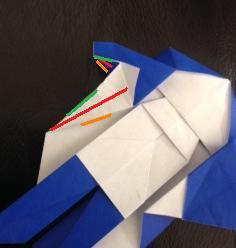
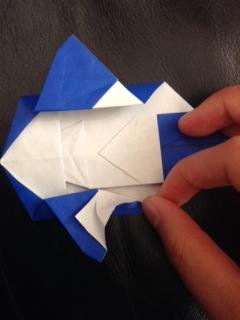
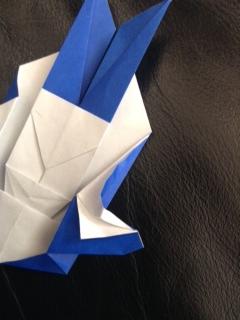
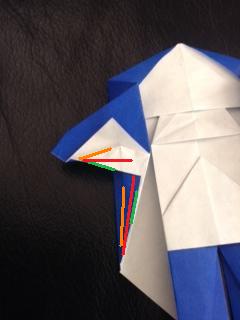
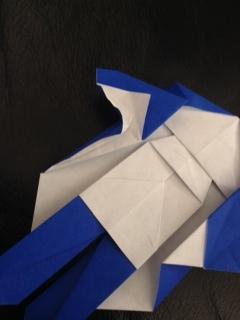
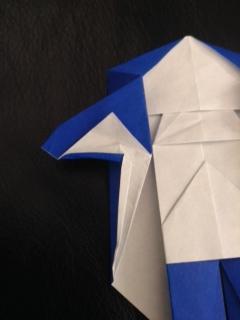
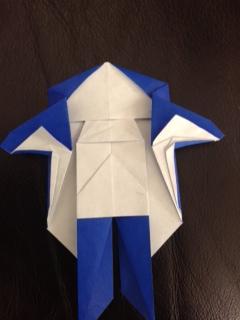
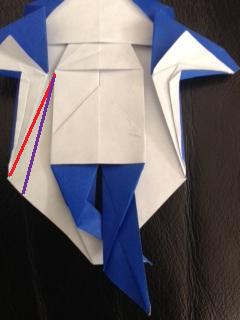
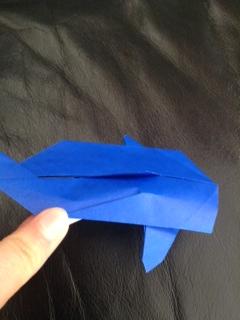
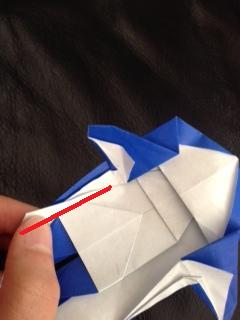
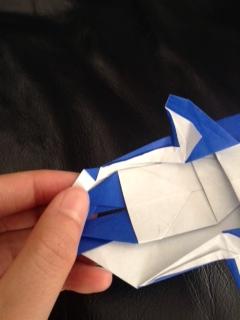
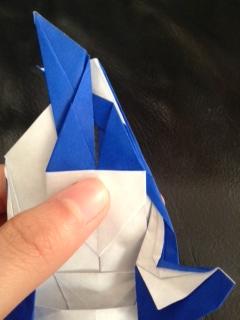
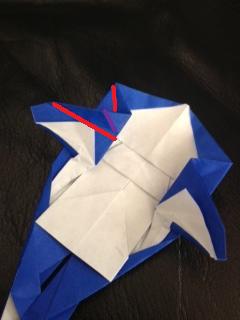
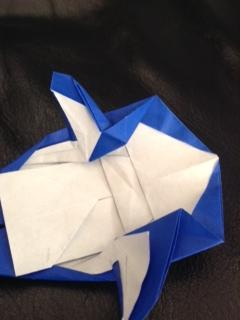
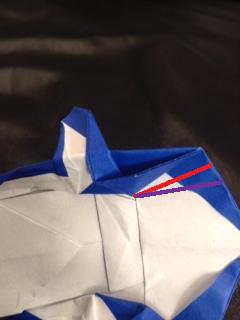
For making the koi, designed by Sipho Mabona, I used an online diagram (whose link doesn't work anymore for some reason) and a stop-motion video of the folding process so have fun! It's pretty tricky, especially the swivel folds, but feel free to comment below if you have difficulties and I'll try to help. Fold as many as you want, but I folded 39 of them: 1 white, 2 bright yellow, 3 yellow-orange, 2 dark orange, 2 light orange, 7 red, 2 pink, 5 purple, 2 dark blue, 5 medium blue, 4 sky blue, 1 dark green, and 3 leaf green.
By the way, this link might help.
UPDATE: This is a link to a video tutorial for folding the koi; it'll make life a lot easier than following the stop-motion video. Thank you to DrGaf for bringing the video to my attention. ^^
Folding Tips
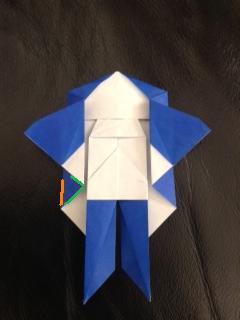
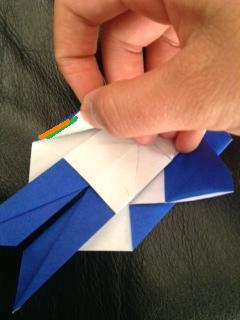
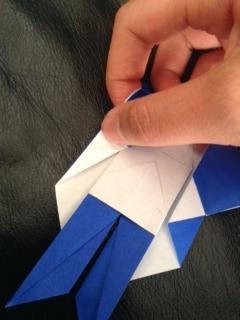
Wire Mounts


Arrangement


To be honest, even though I did this step, I ended up winging the design. And I like how everything turned out so skip this step if you want.
Mounting


Optional Part

But all in all, I hope you enjoyed my tutorial!