Voltage Multimeter Using Unity
by 24nilesn in Circuits > Electronics
1233 Views, 5 Favorites, 0 Comments
Voltage Multimeter Using Unity


I made a voltage-reading multimeter powered by an Attiny 412 microcontroller along with Unity. It reads negative and positive voltages and displays them via a number as well as a graph in Unity.
Supplies
- FR-1 one sided PCB (x1)
- 1/64 flat end mill bit (x1)
- 0.005 engraving bit (x1)
- ATTiny 412 chip (x1)
- 4x1 horizontal pin headers (x2)
- 2x1 horizontal pin headers (x2)
- Surface mount LED (x1)
- 330 Ohm surface mount resistor (x1)
- FTDI breakout board (x1)
- Voltage sensor (x1)
- Laptop or computer
Mill Board
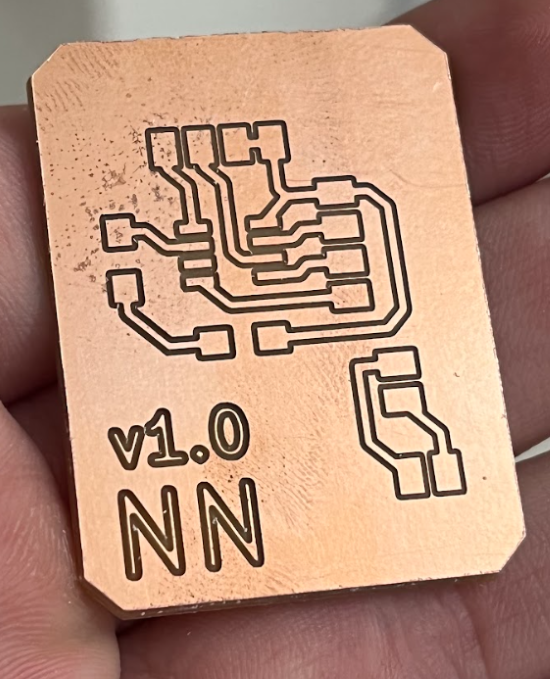
Using your at home milling machine, import the files for the front milling and edge cuts milling files. Import and mill. I personally used a 1/64 flat endmill bit as well as a 0.005" engraving bit on a Bantim milling machine.
Solder Parts
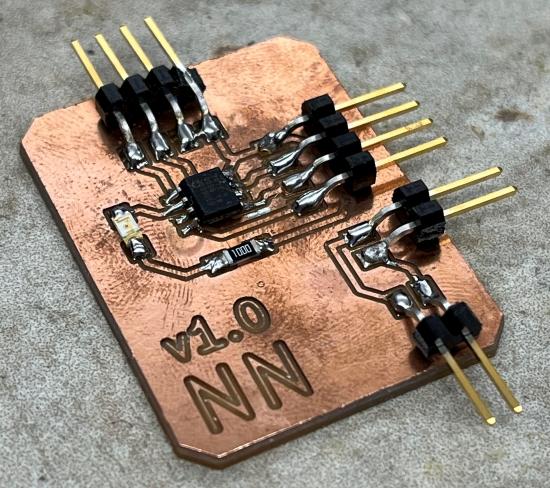

Next, solder on your components onto the board according to the parts list and the image attached. These parts should all be surface mount.
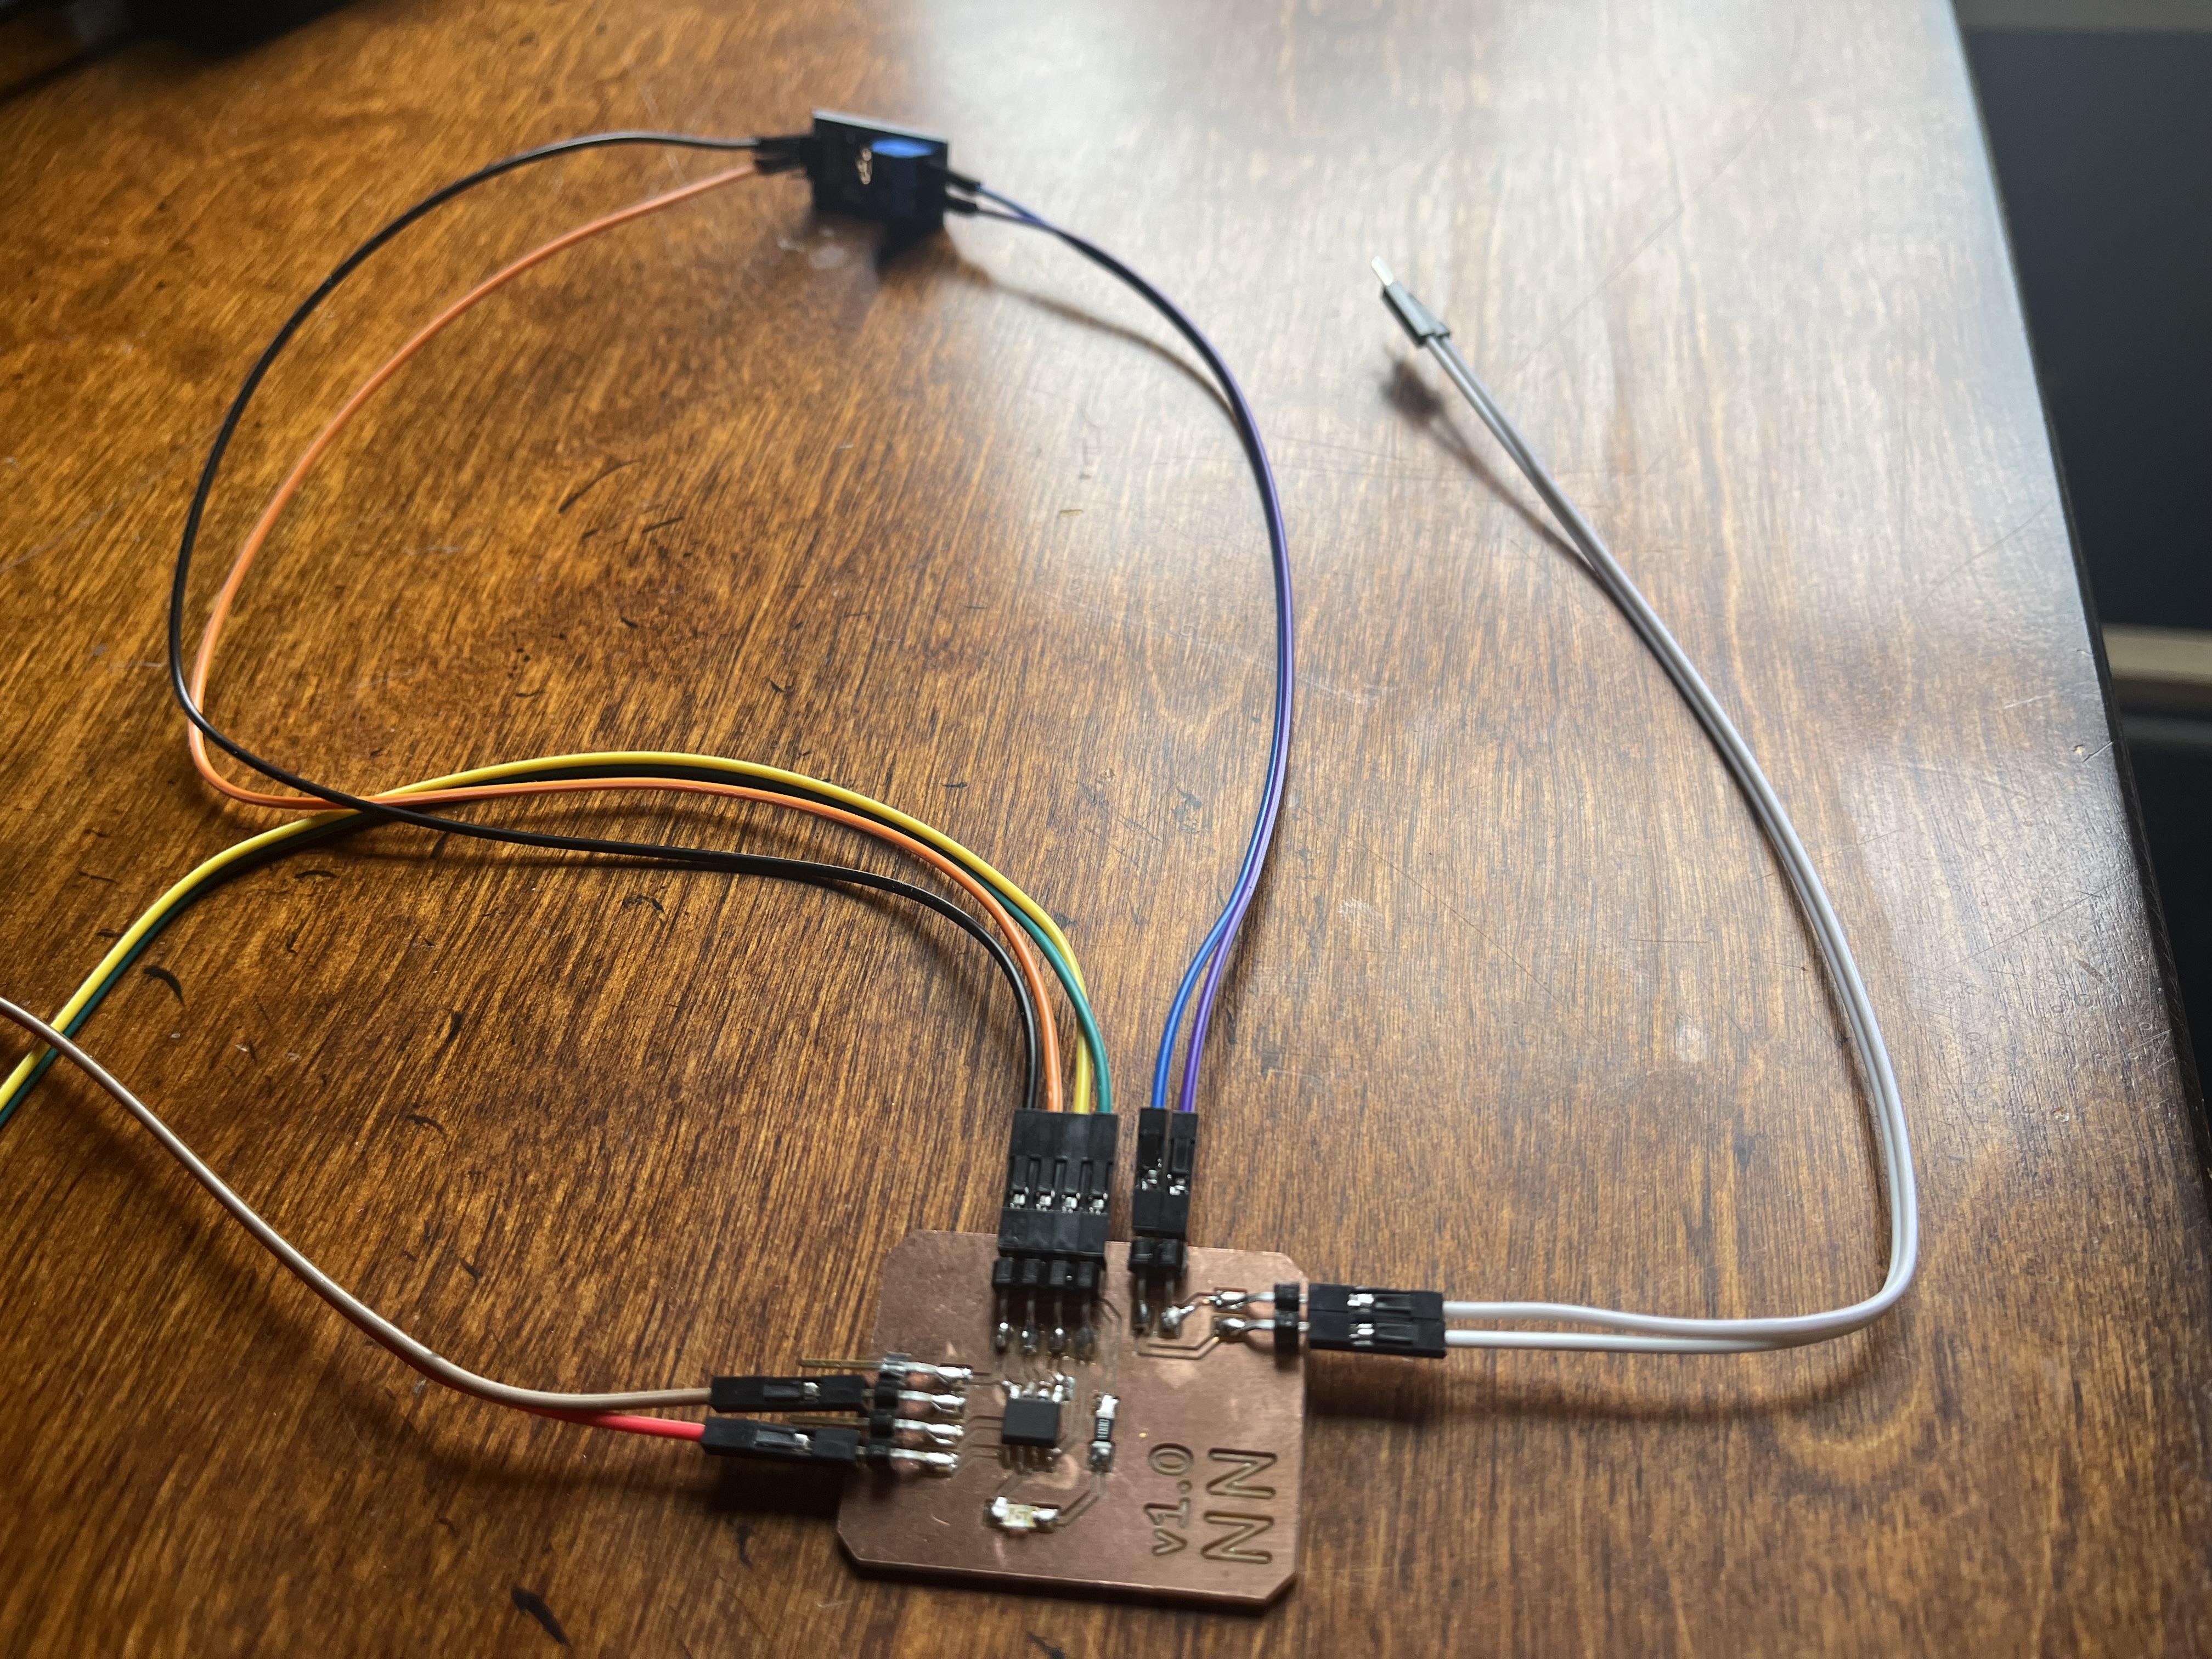
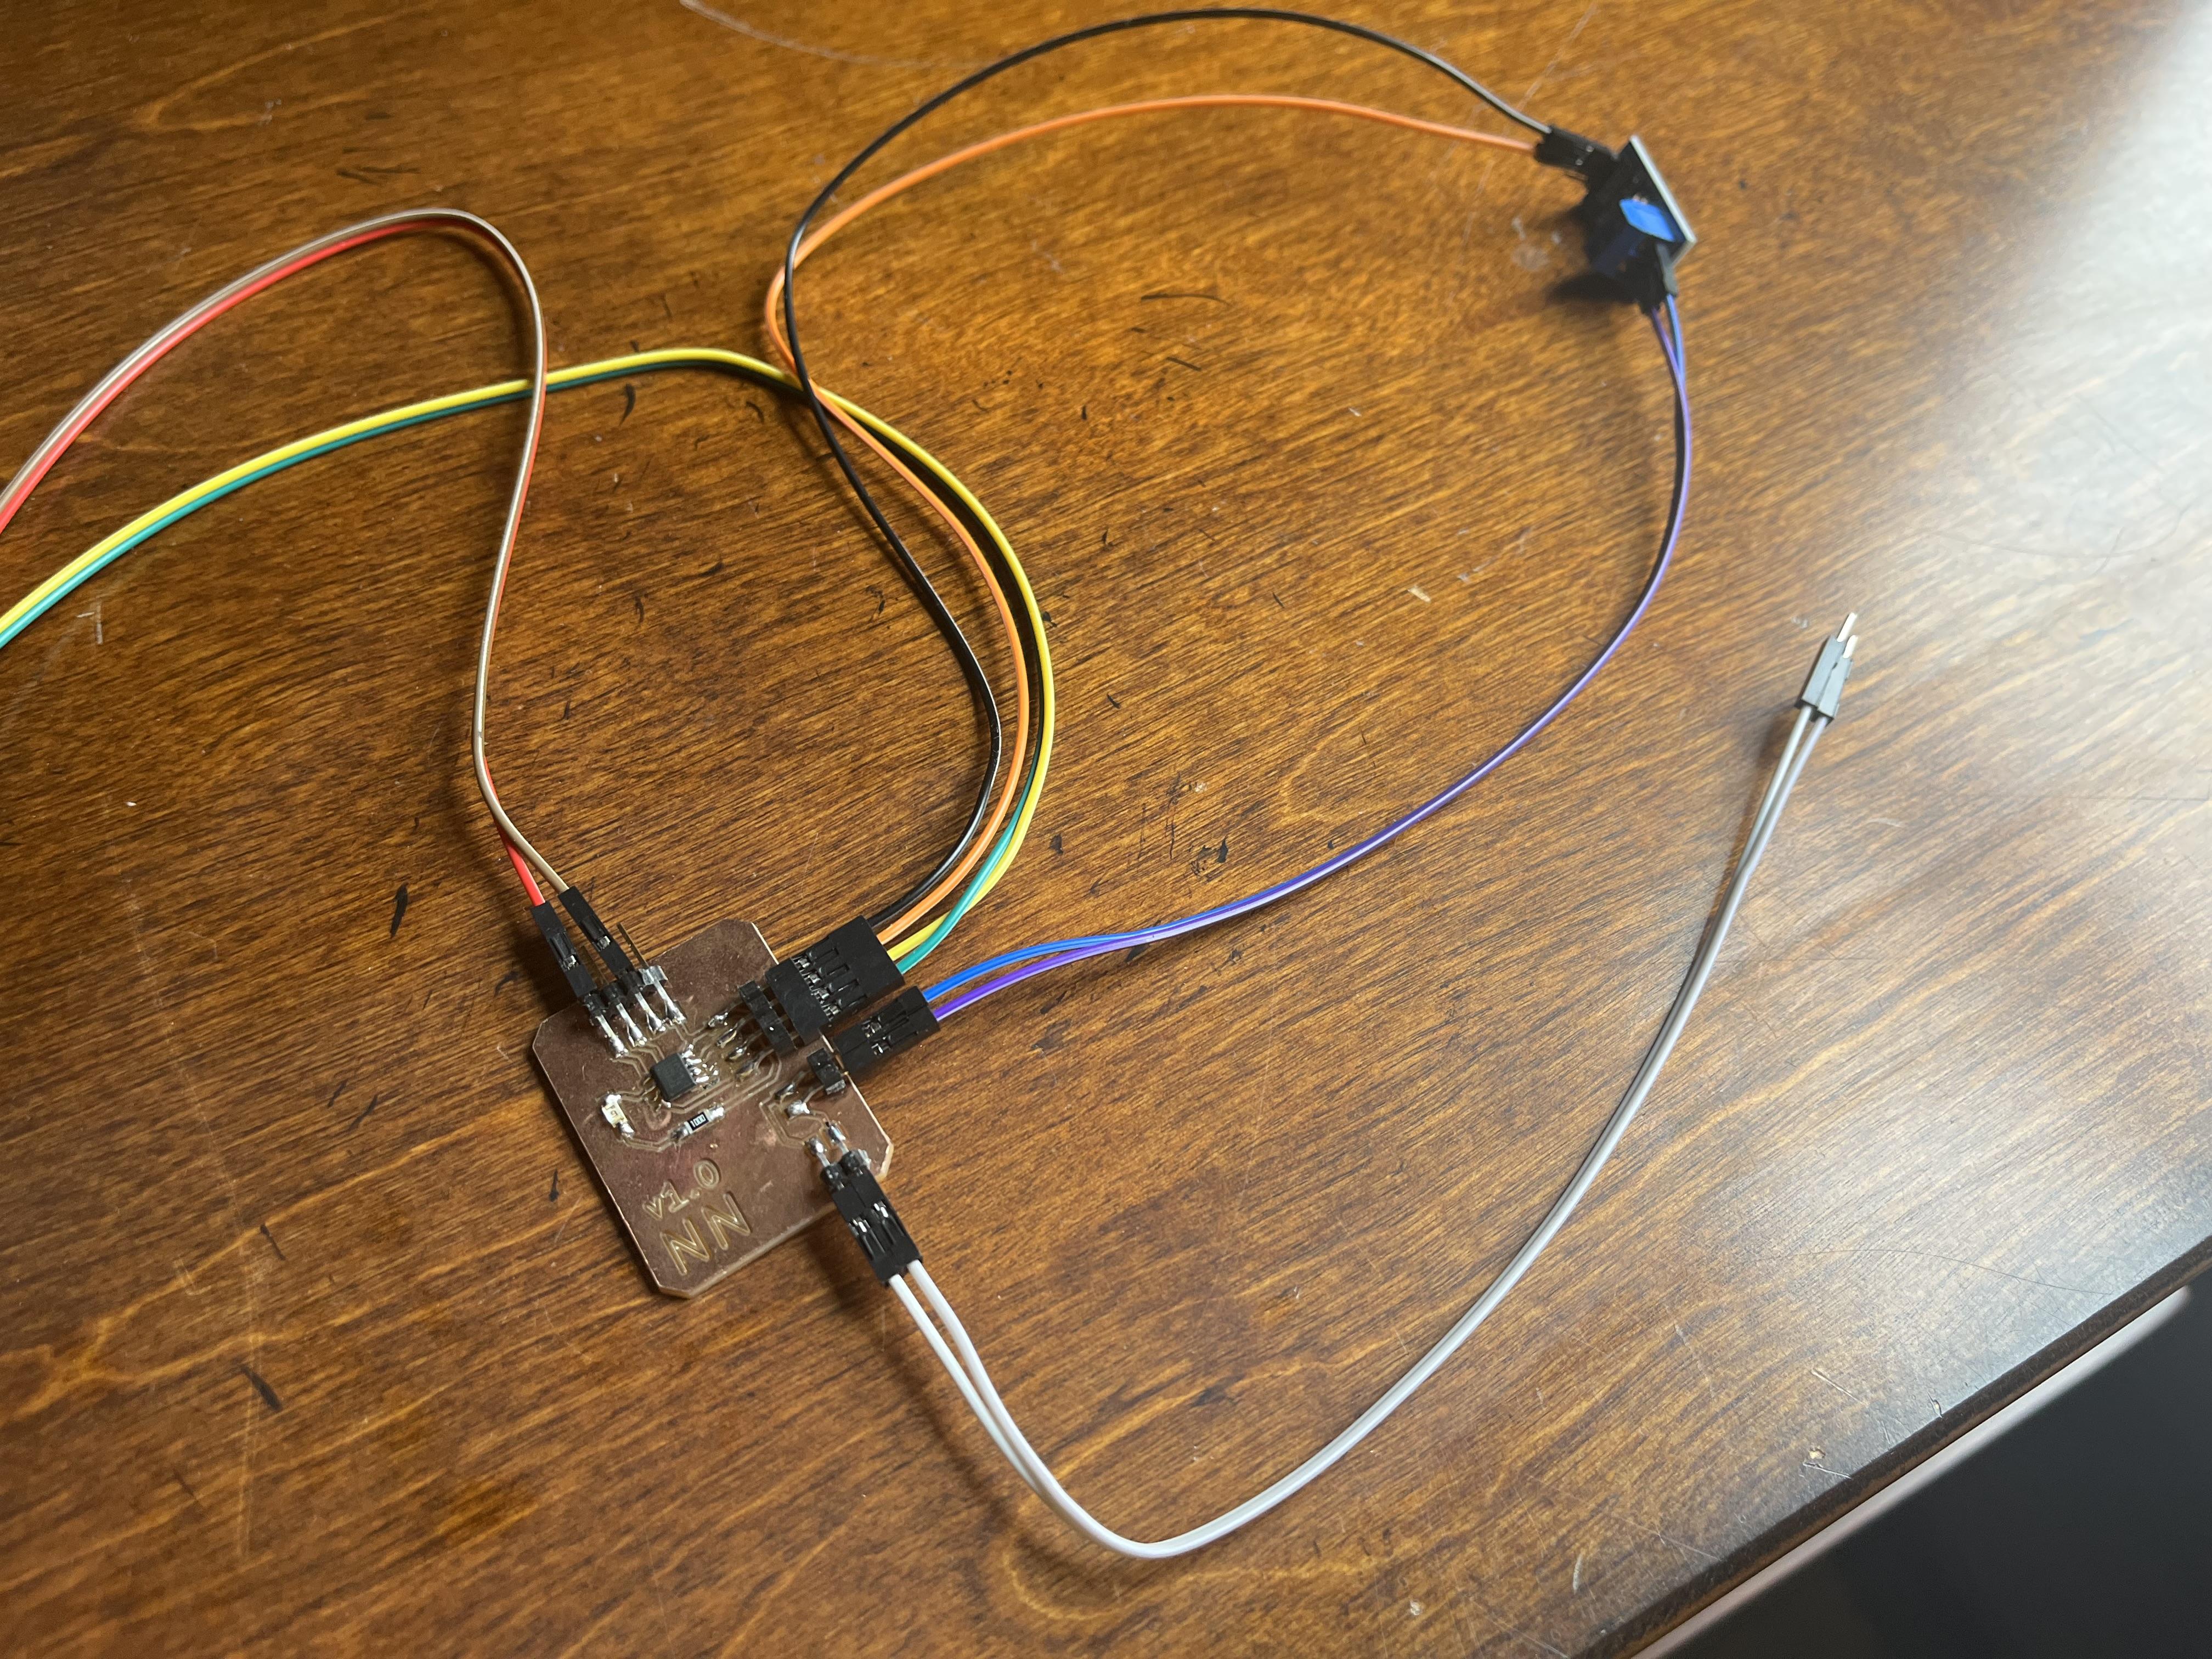
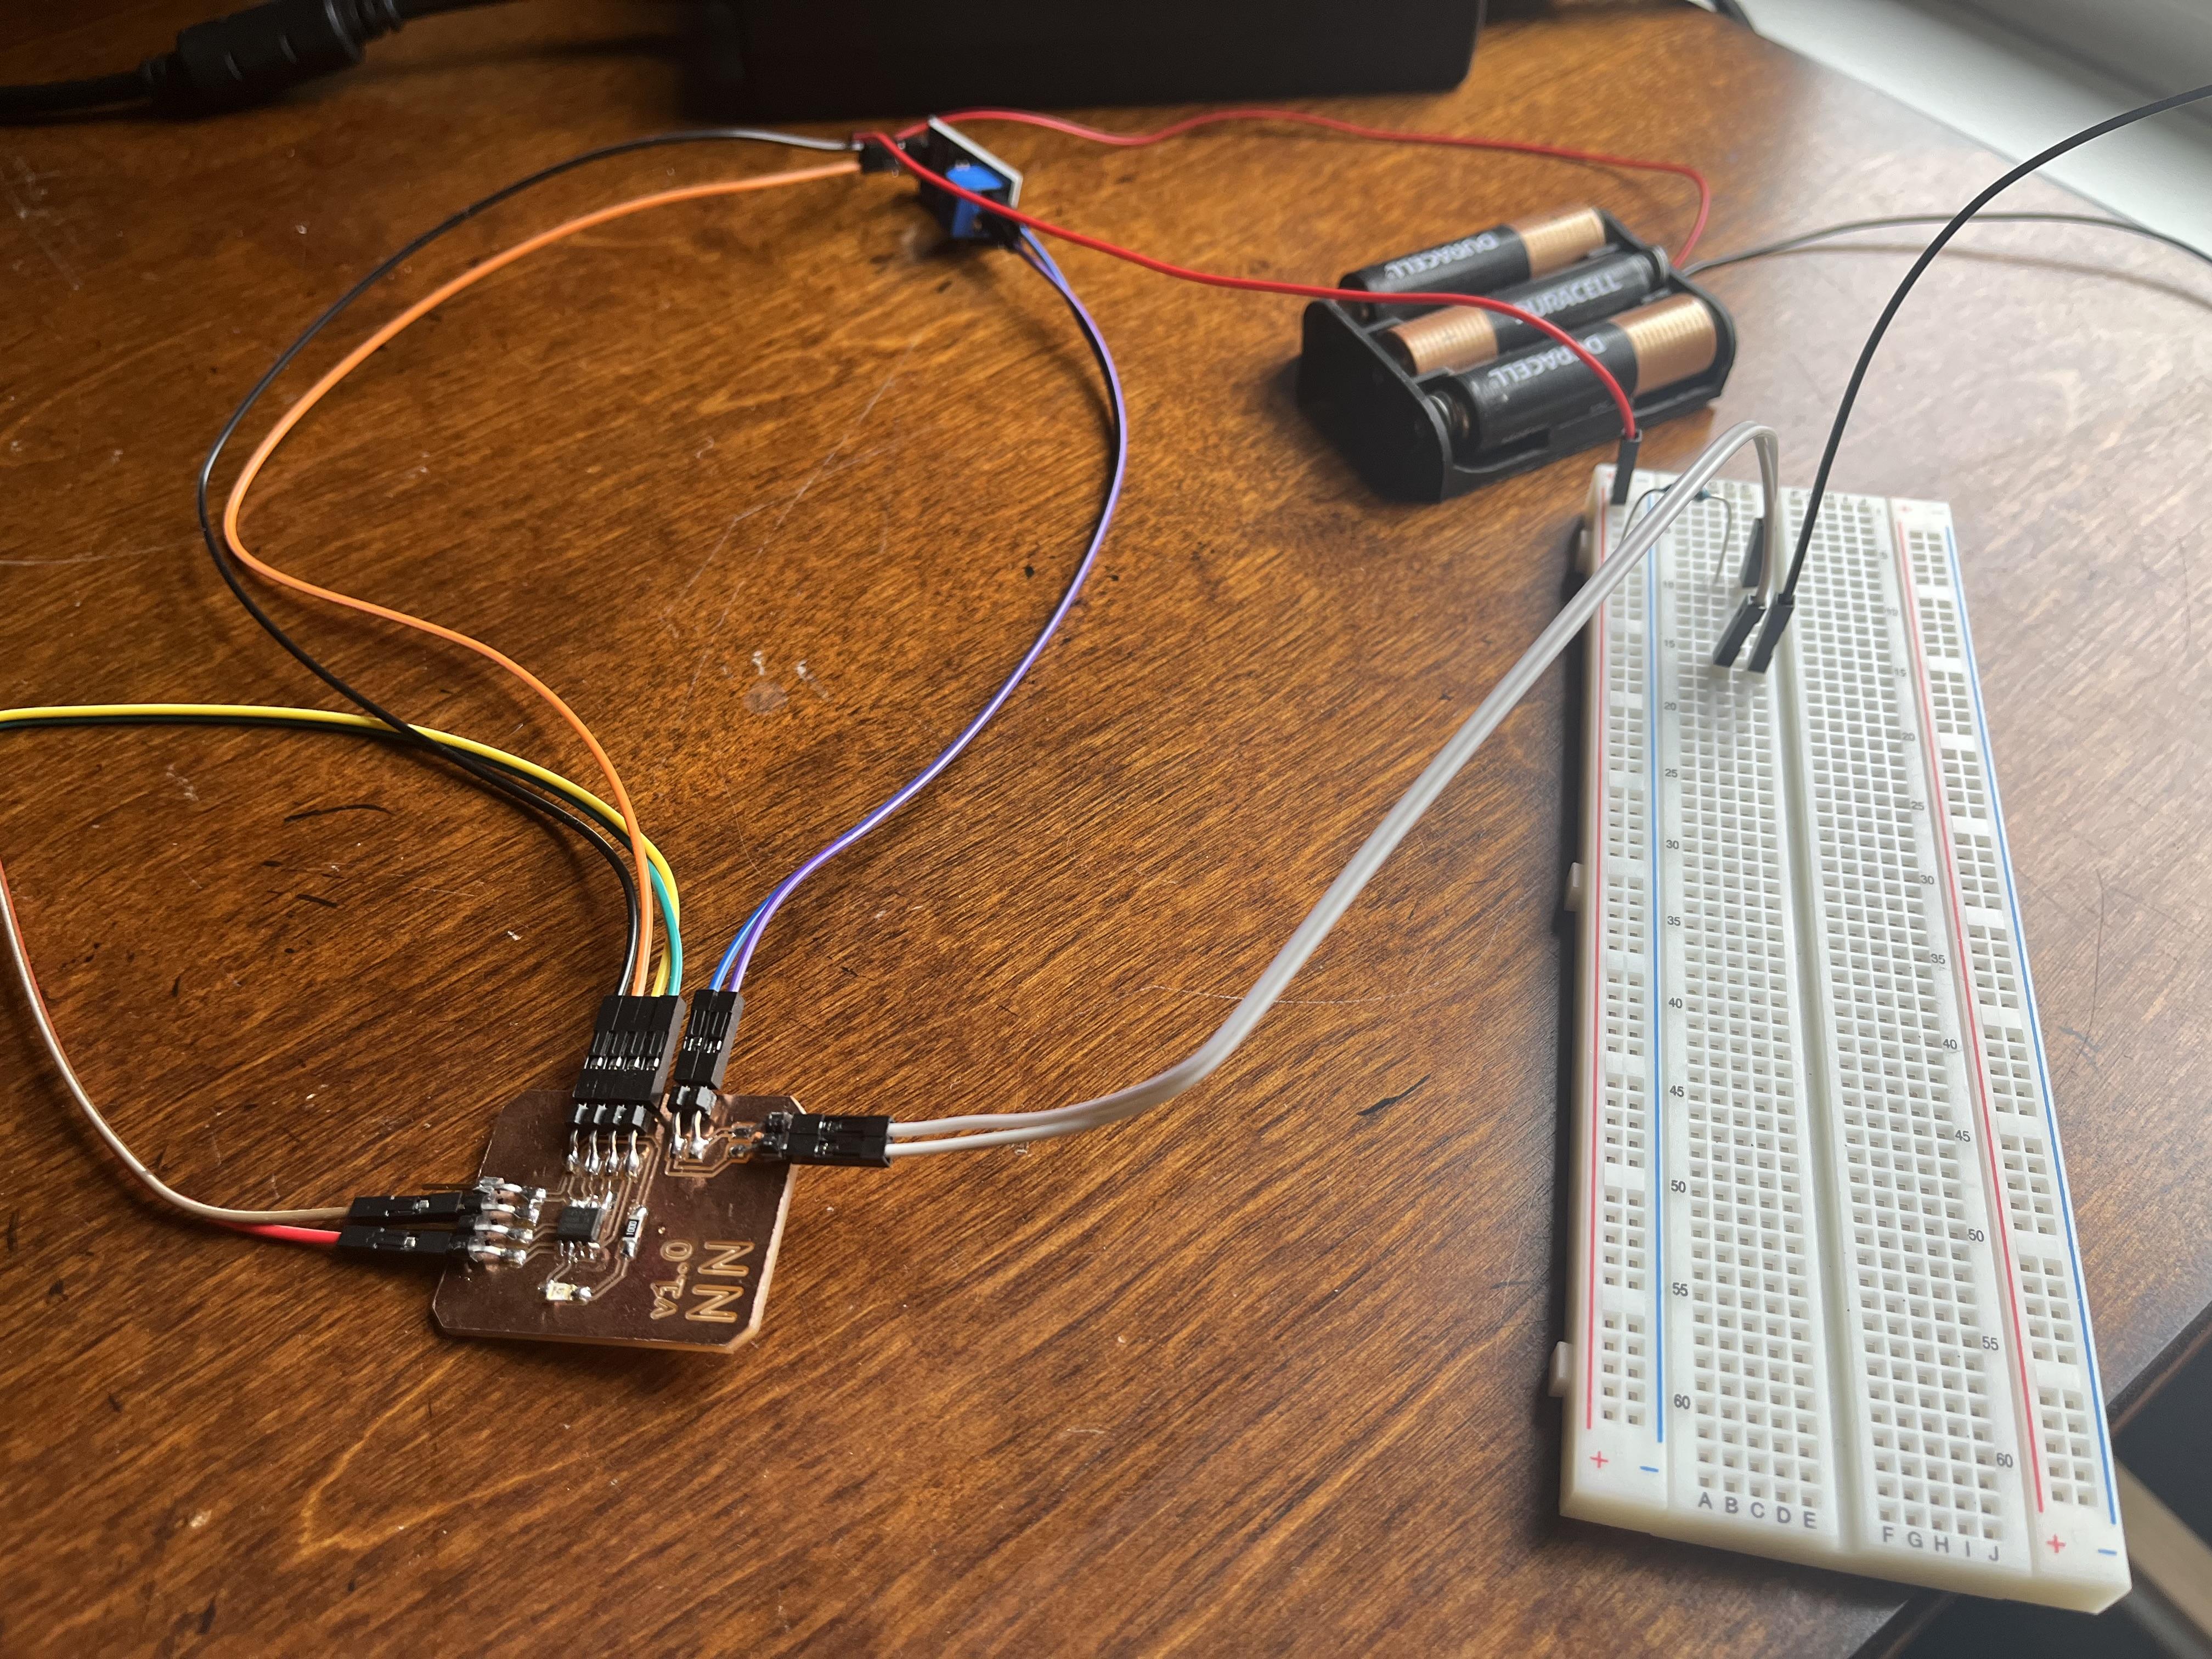
Wire
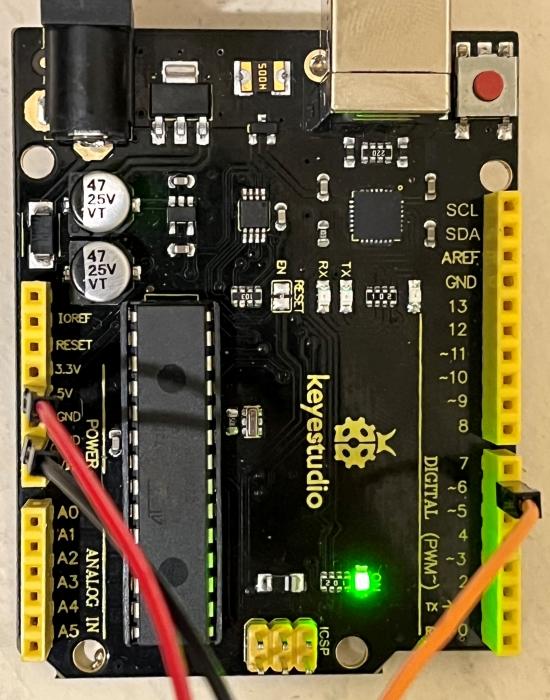
Wire the voltage sensor to the main board to the FTDI as seen in the image. I used basic arduino jumper wires to do so. All are color coded accordingly.
Program
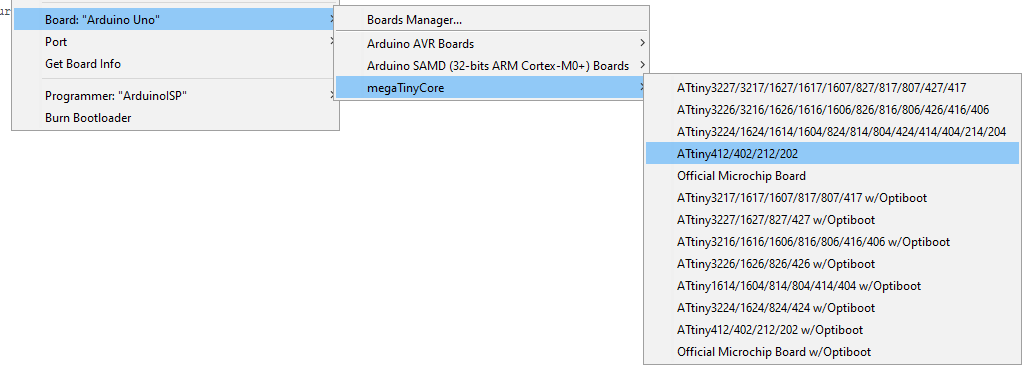
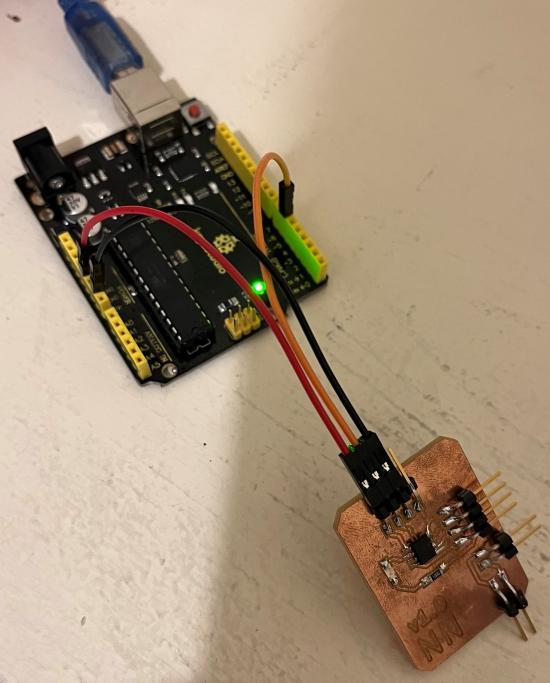
Finally, using your choice of programmer, program your ATTiny412 with the code in the downloads. I personally used Jtag2UPDI via an Arduino in order to program the 412.
Attach FTDI Breakout Board
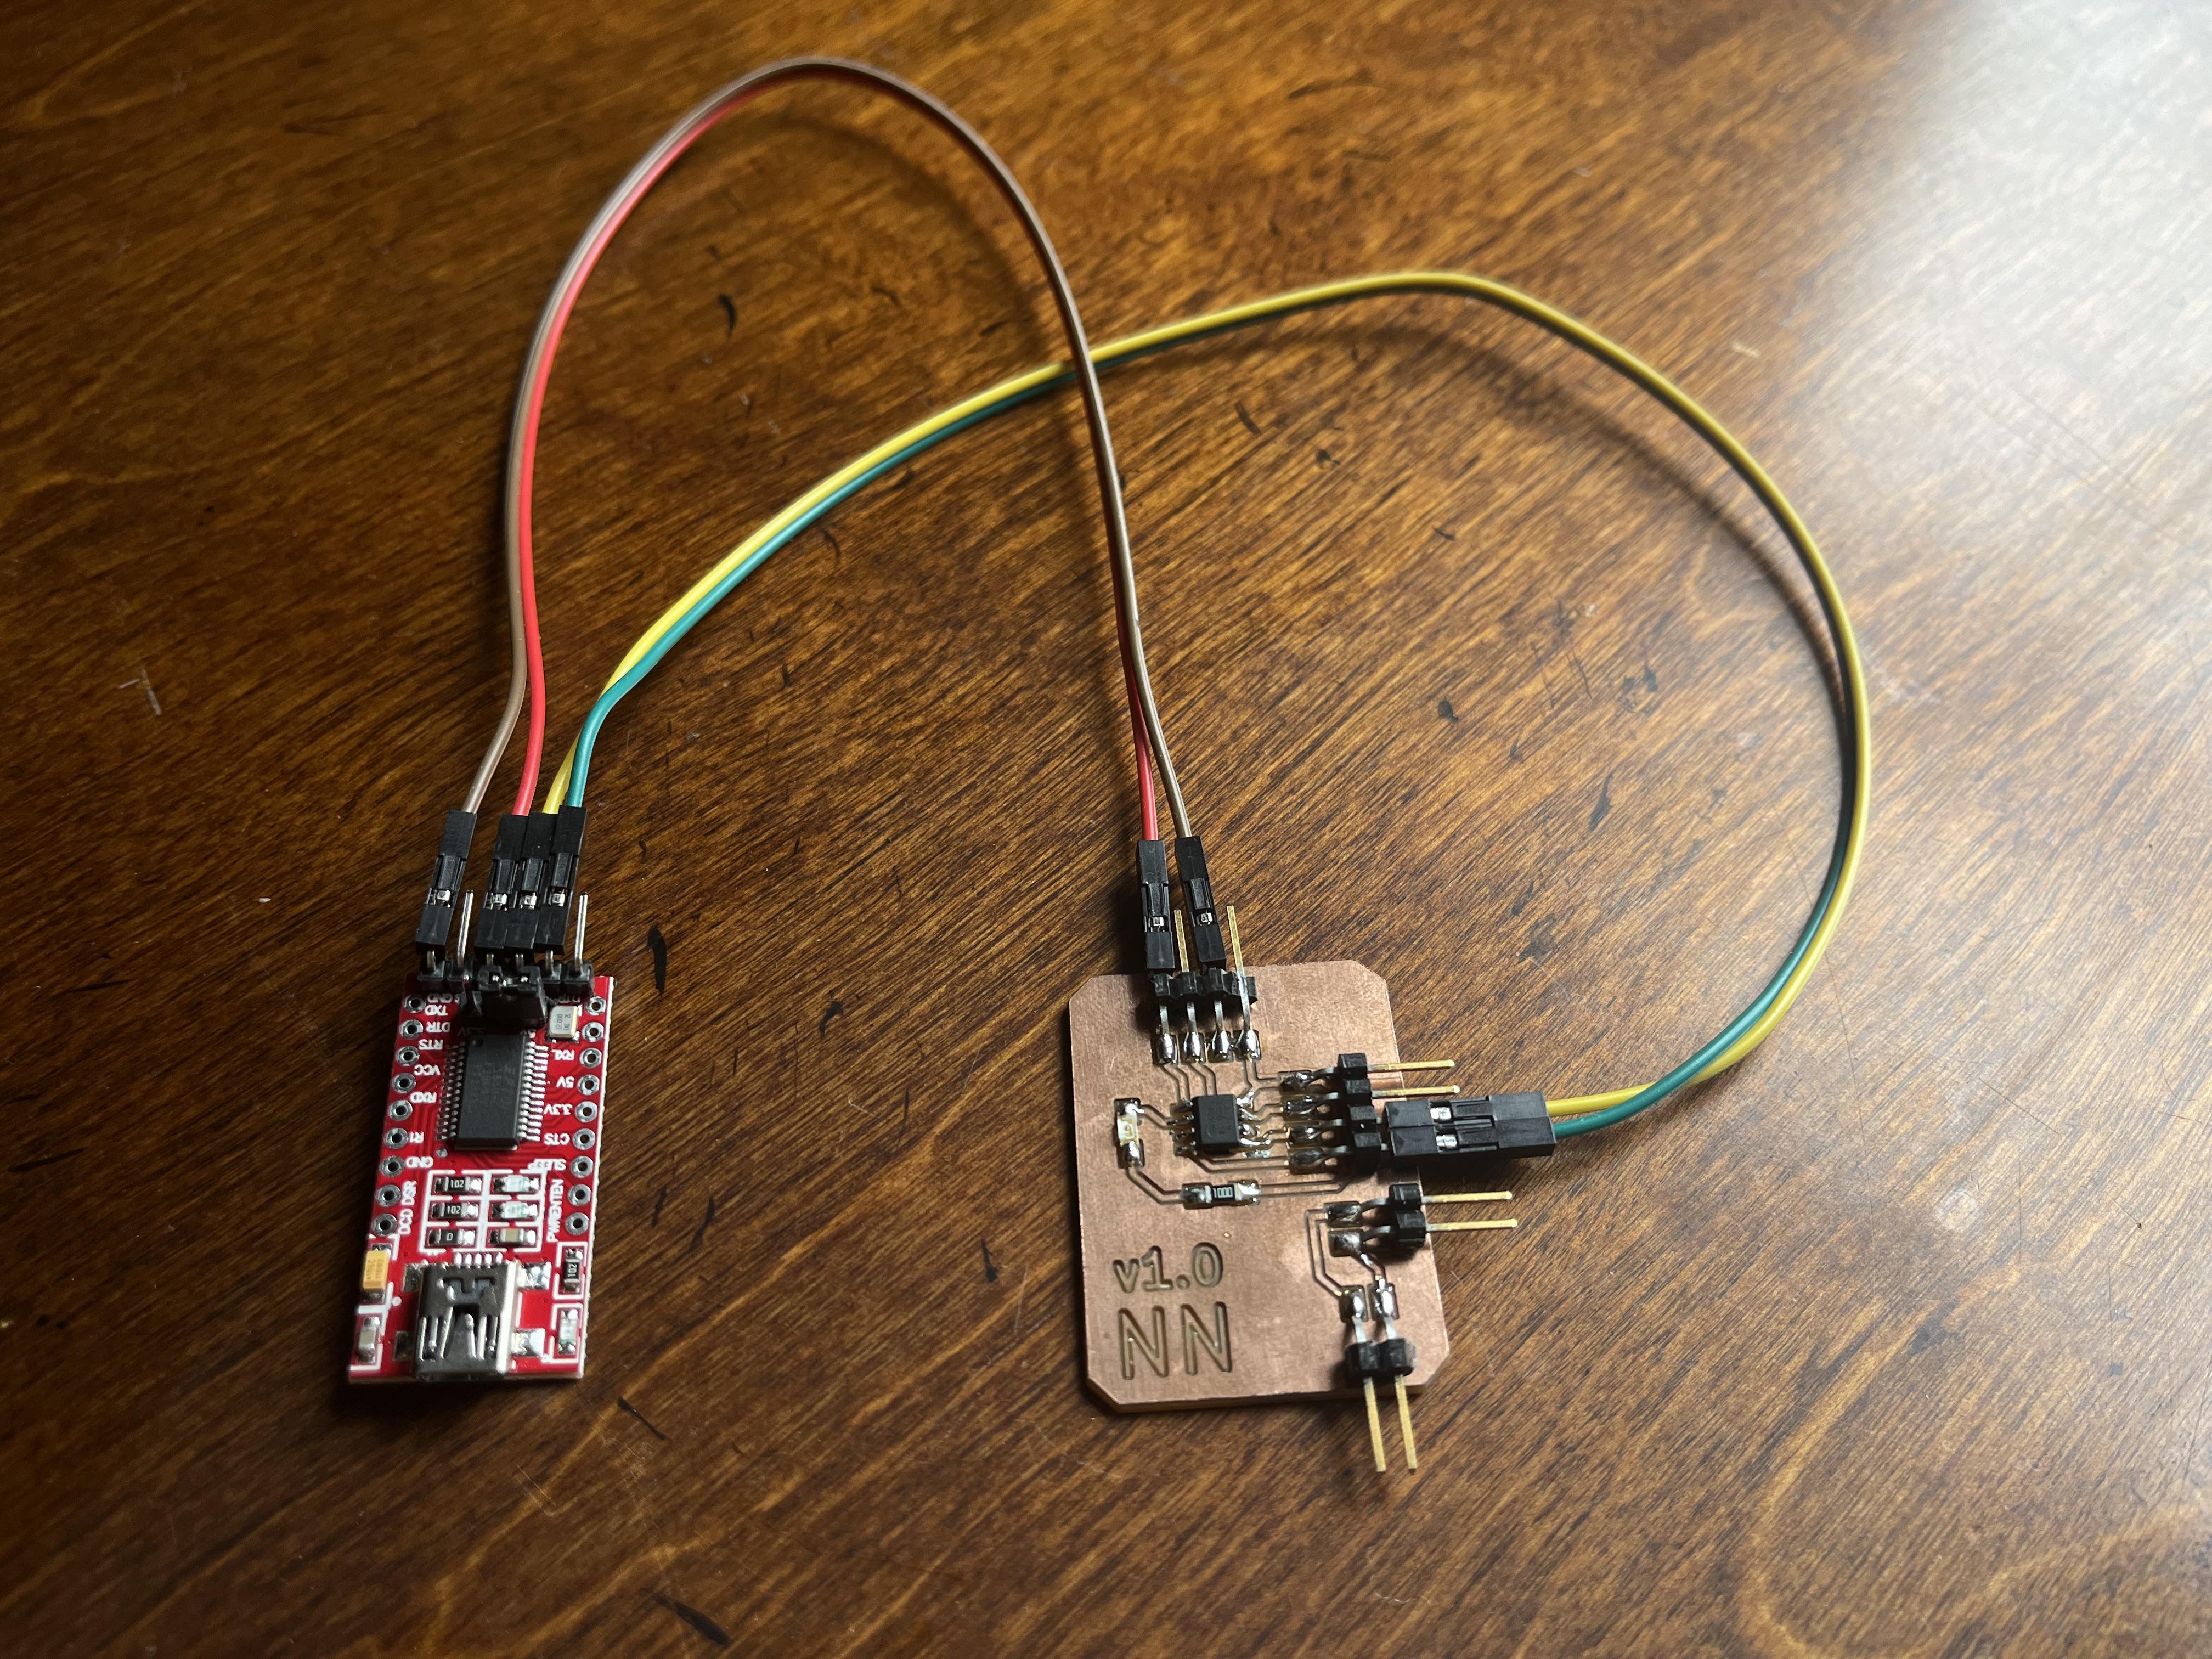
Wire your FTDI breakout board as seen in the image above.
Attach Voltage Sensor
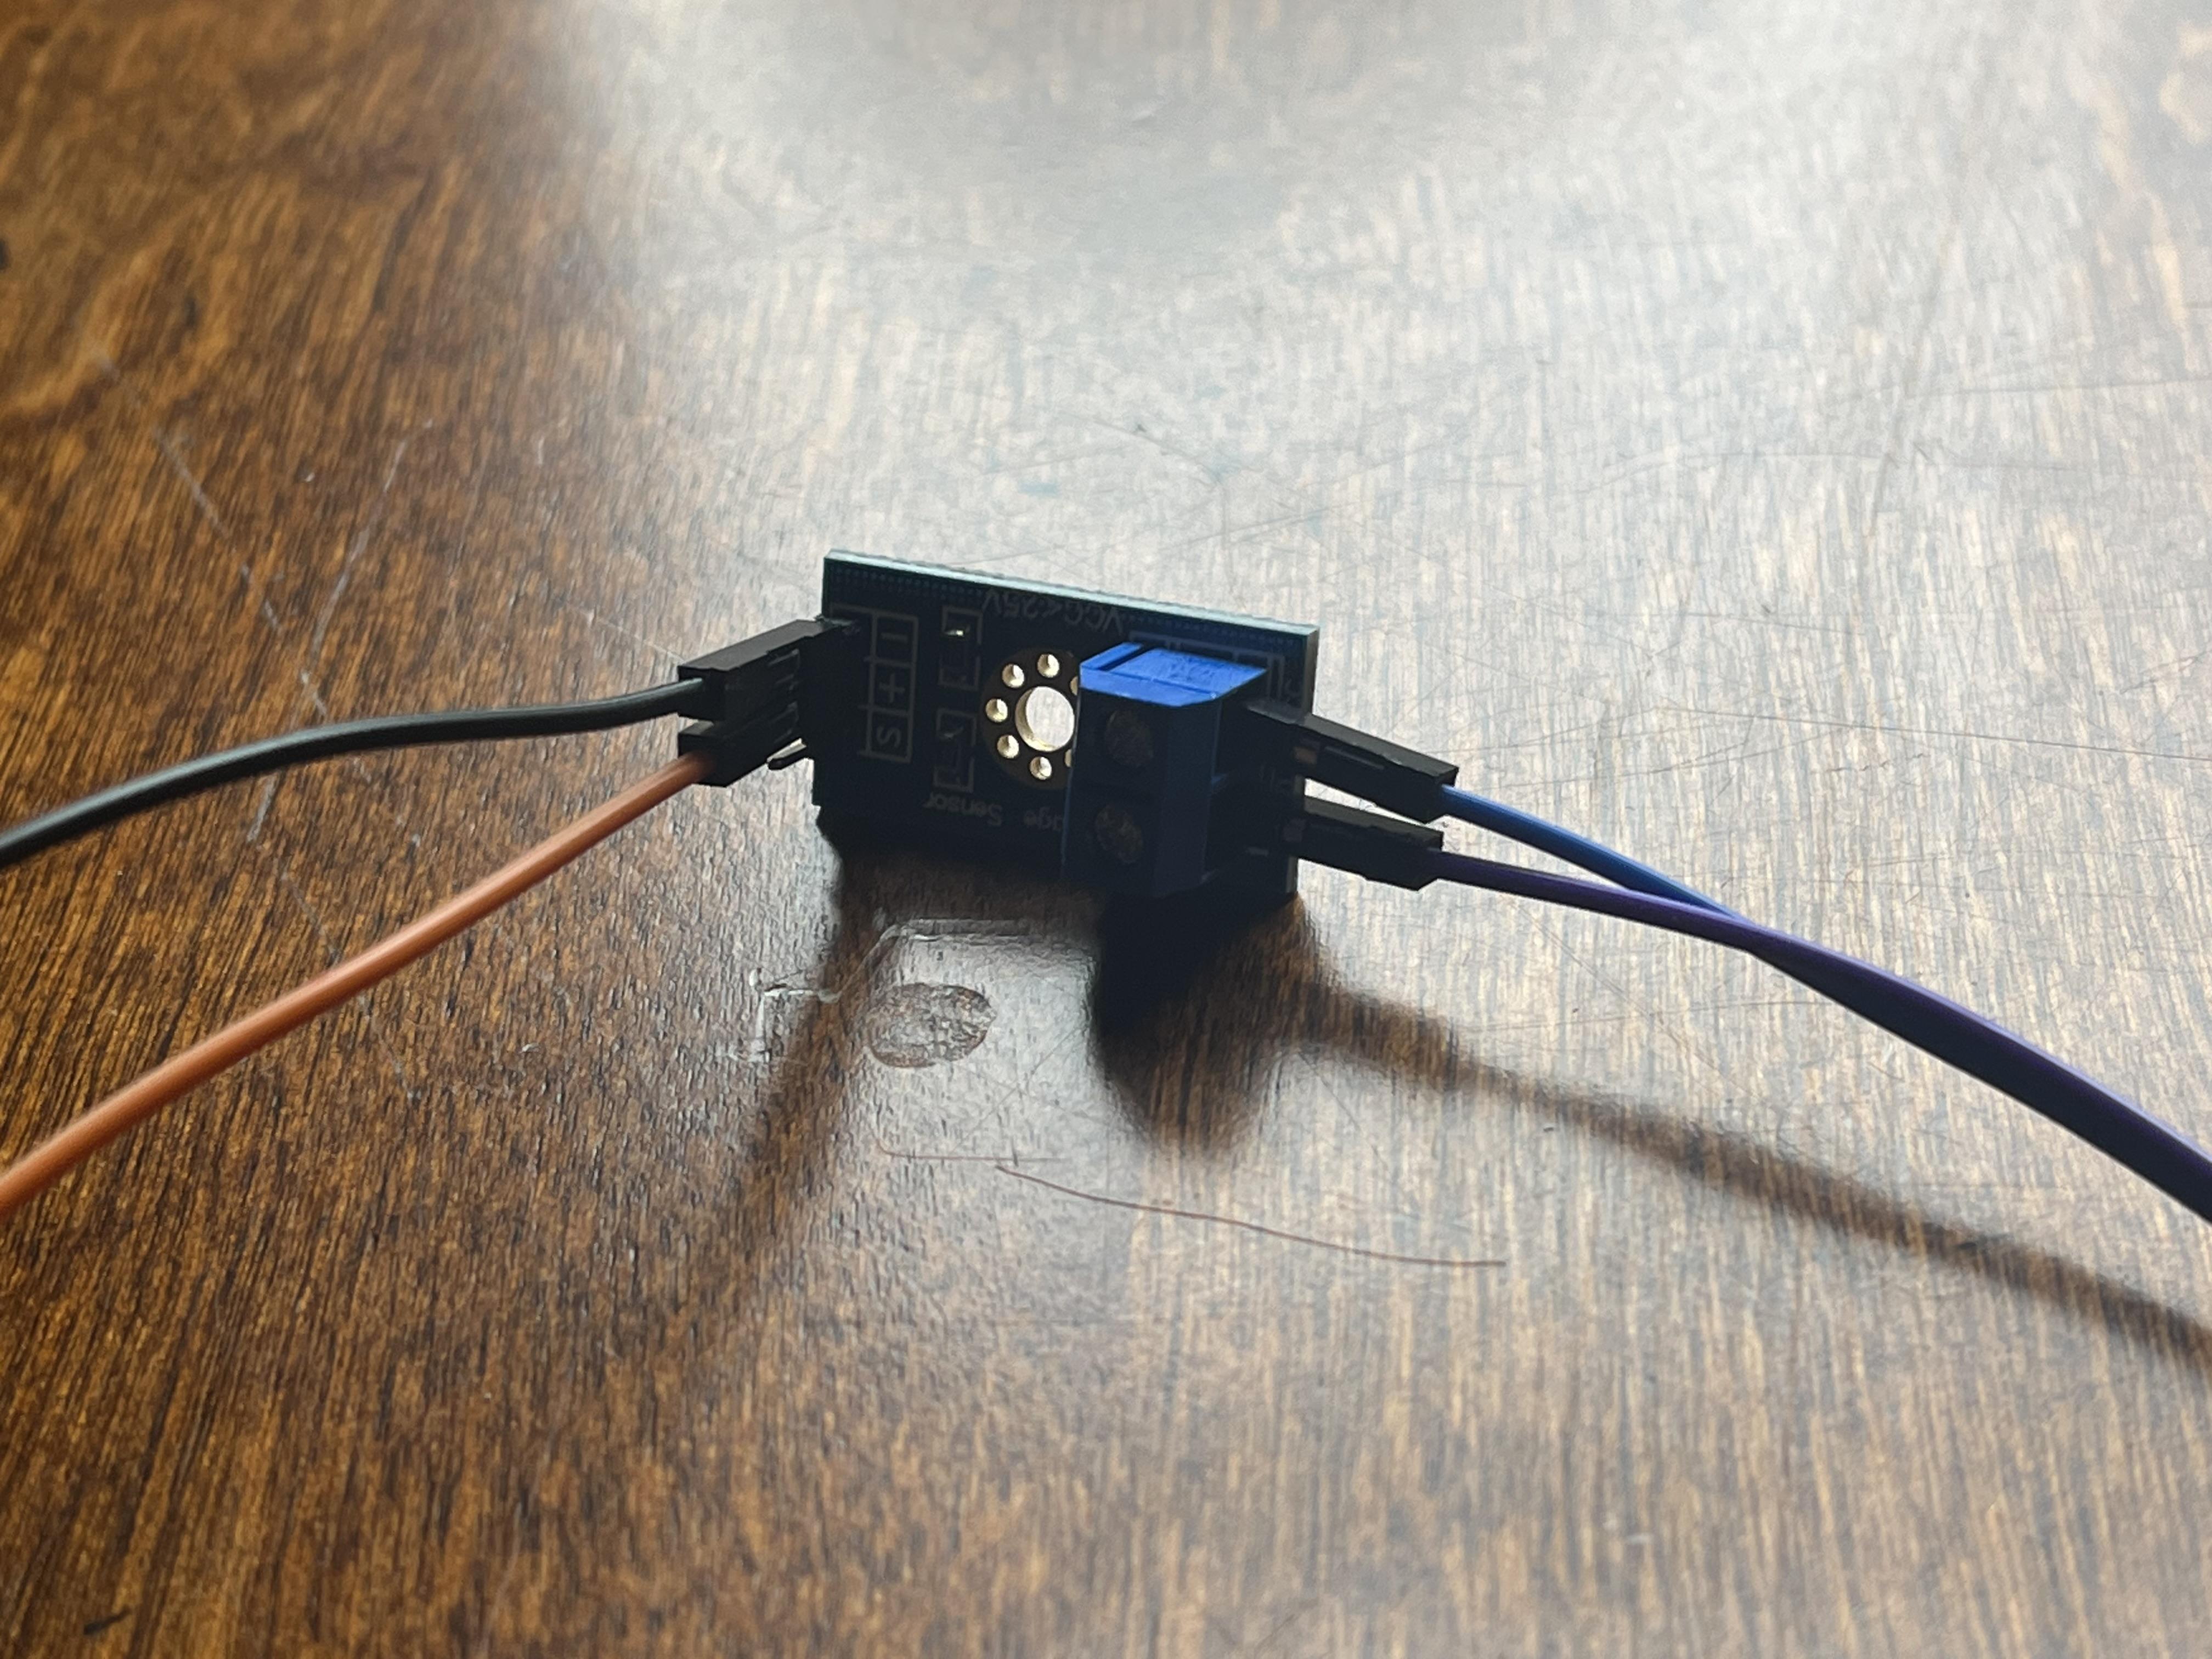
Wire your voltage sensor to your board after programming it as seen in the photograph above.
Plug-in and Download Unity Program
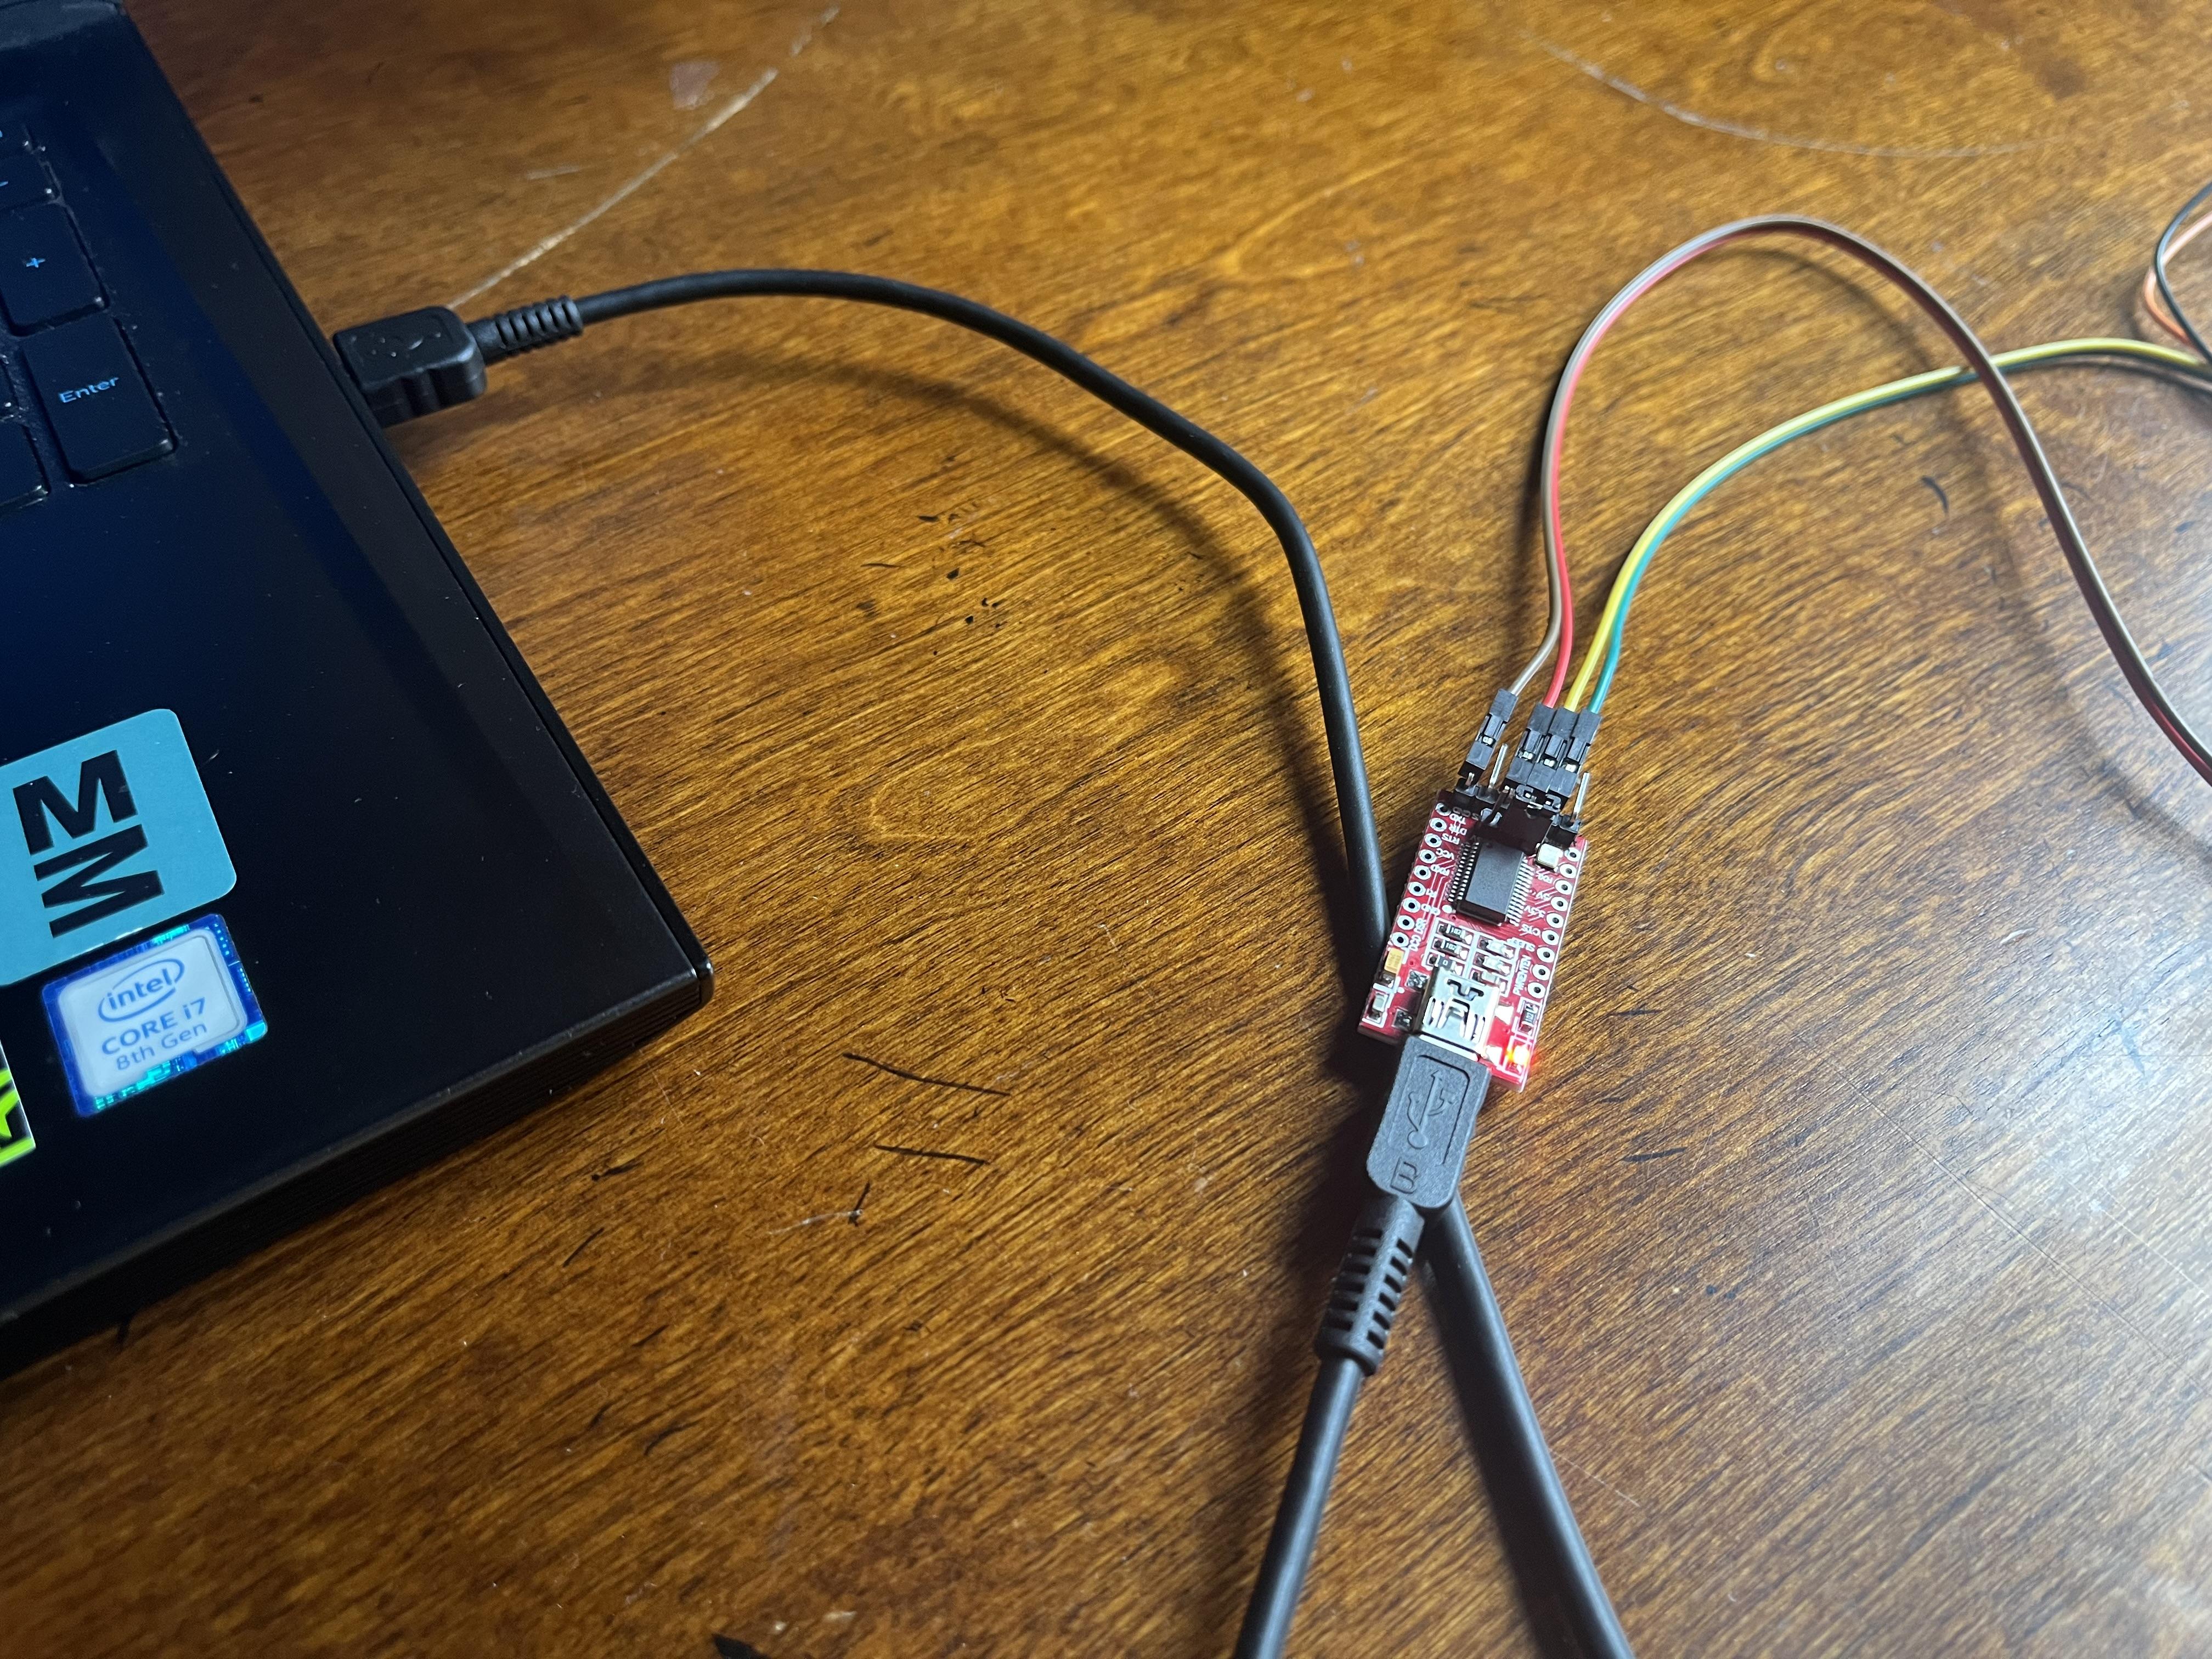
Finally, install the Unity program from GitHub, found here. Plug in the FTDI board via USB into your computer and open the Unity program. Select the COM port and begin testing voltages!
Test It
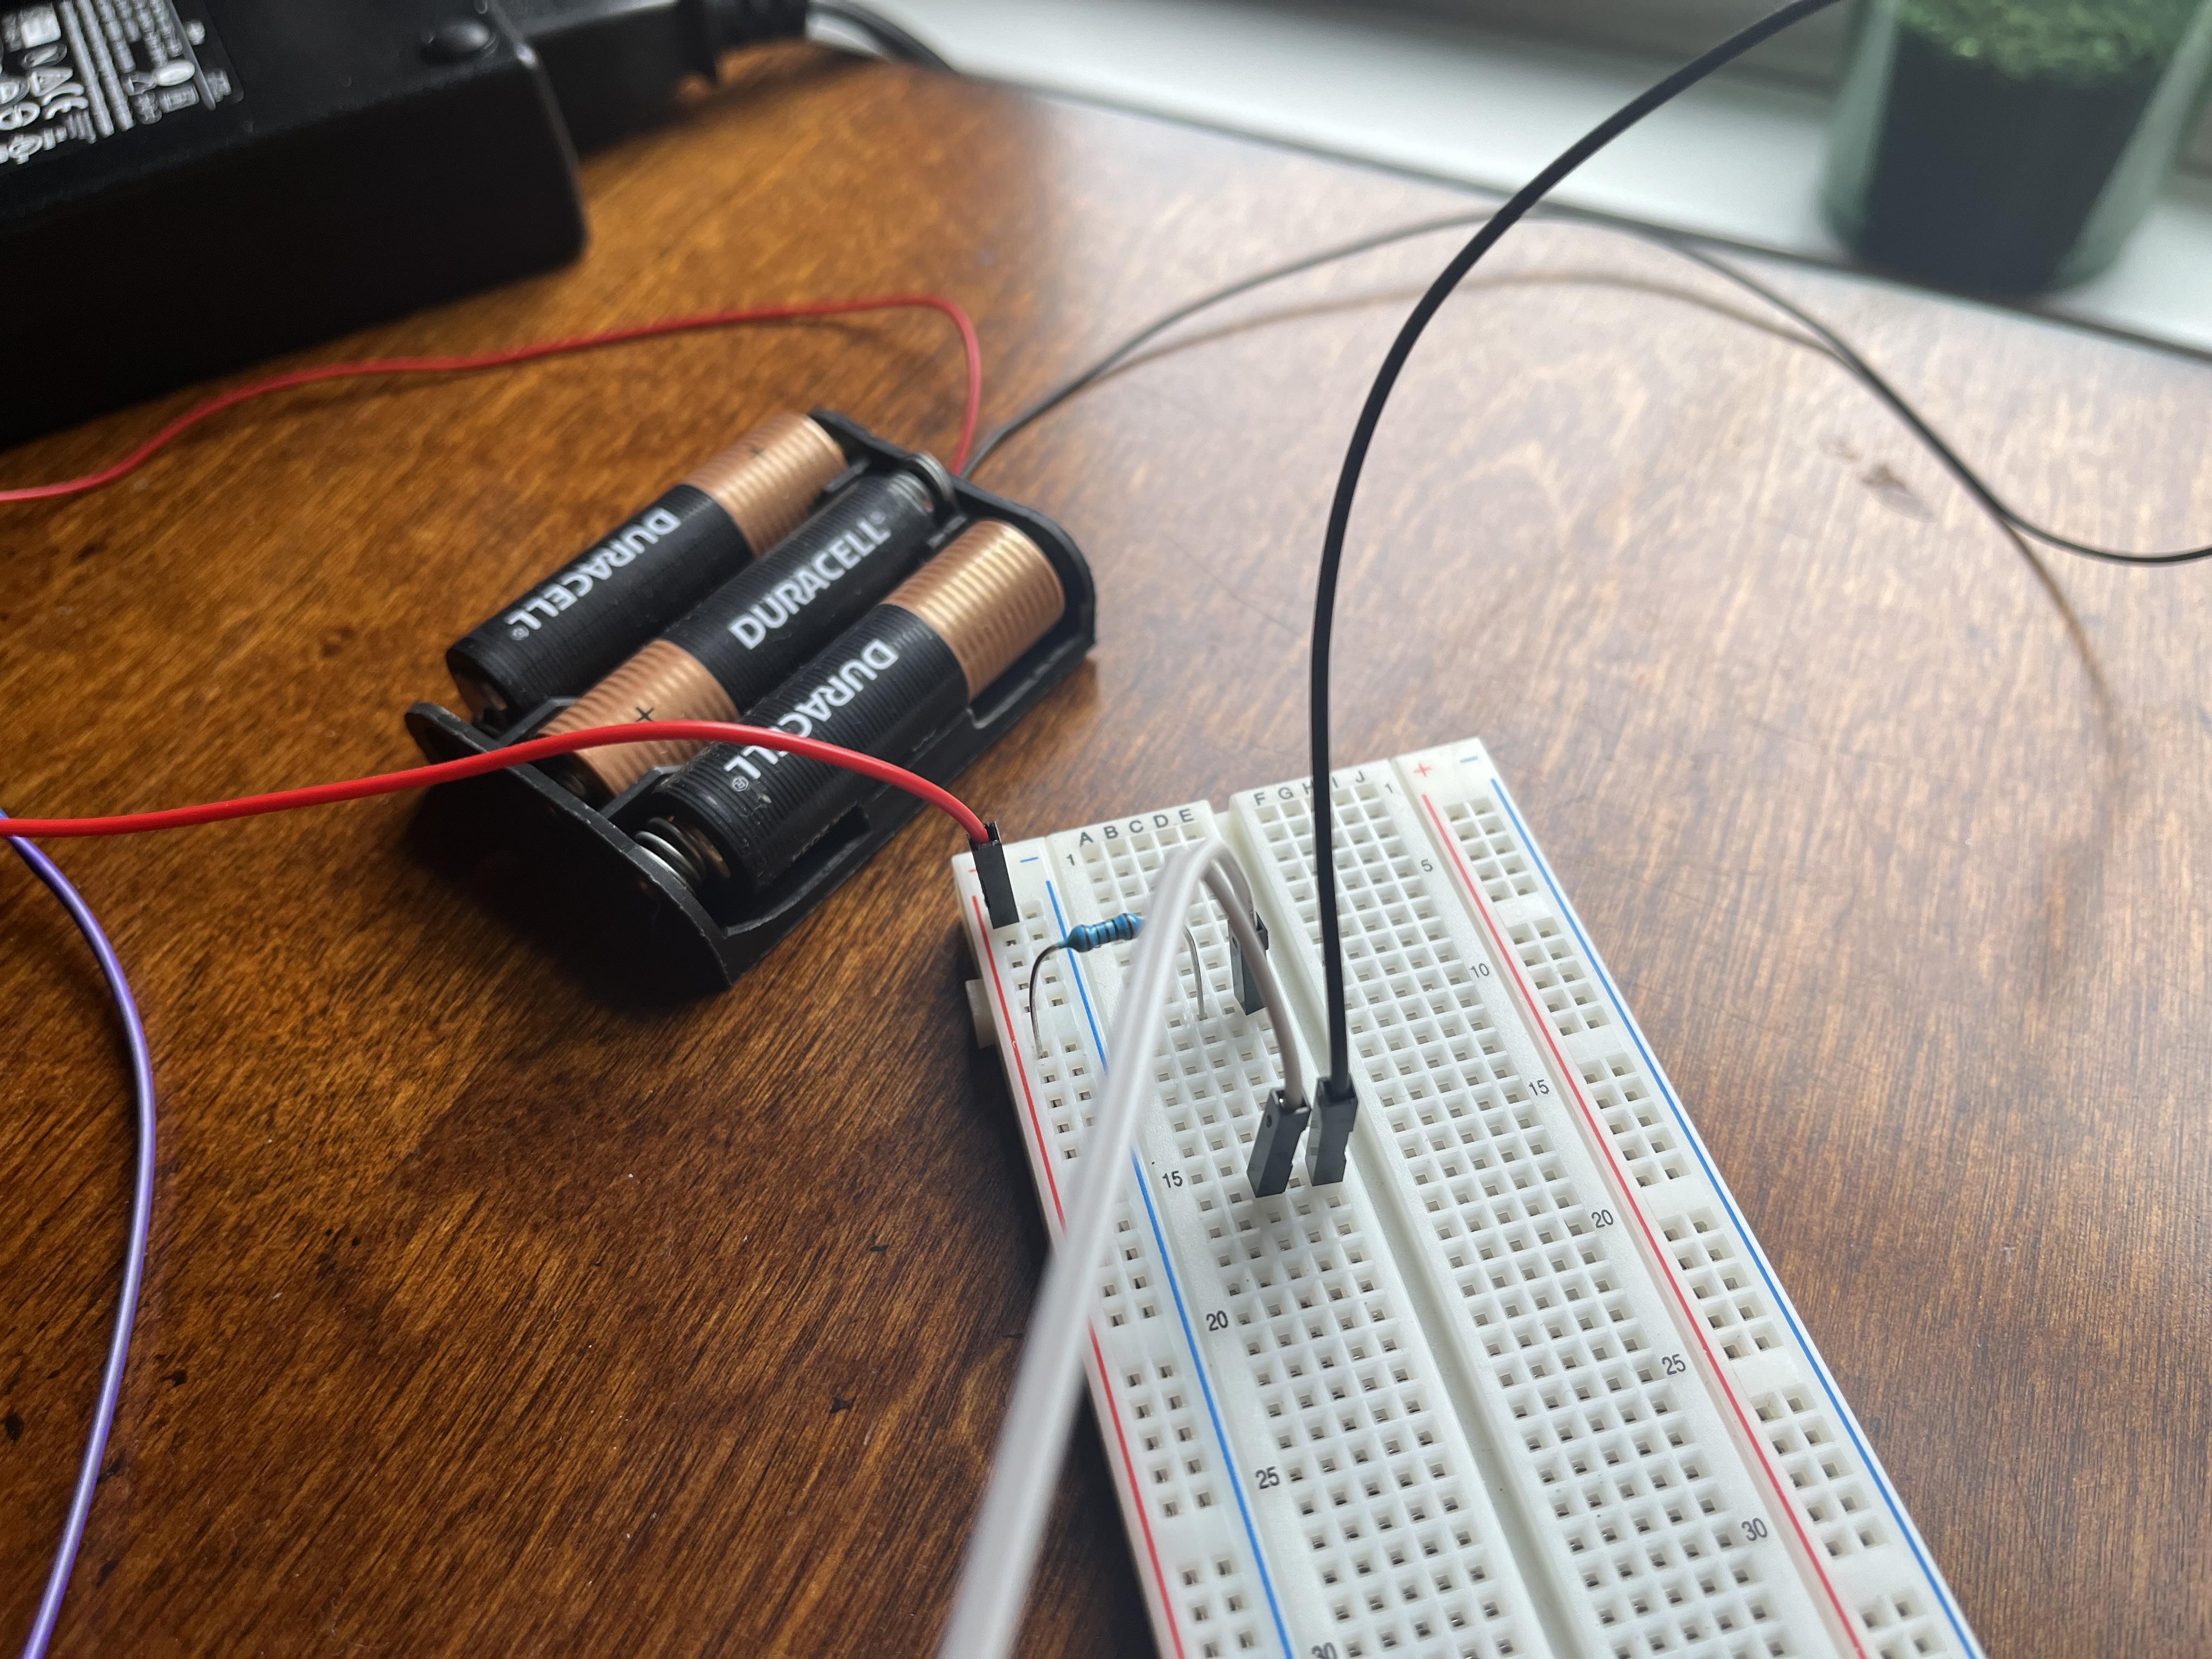
Plug your device's voltage probe into any circuit in which you want to measure voltage. Then, plug the device into your computer, run the Unity program, and see the voltage!