Voice Driven Camera Using Raspberry Pi
by avinasha33 in Circuits > Raspberry Pi
2552 Views, 5 Favorites, 0 Comments
Voice Driven Camera Using Raspberry Pi
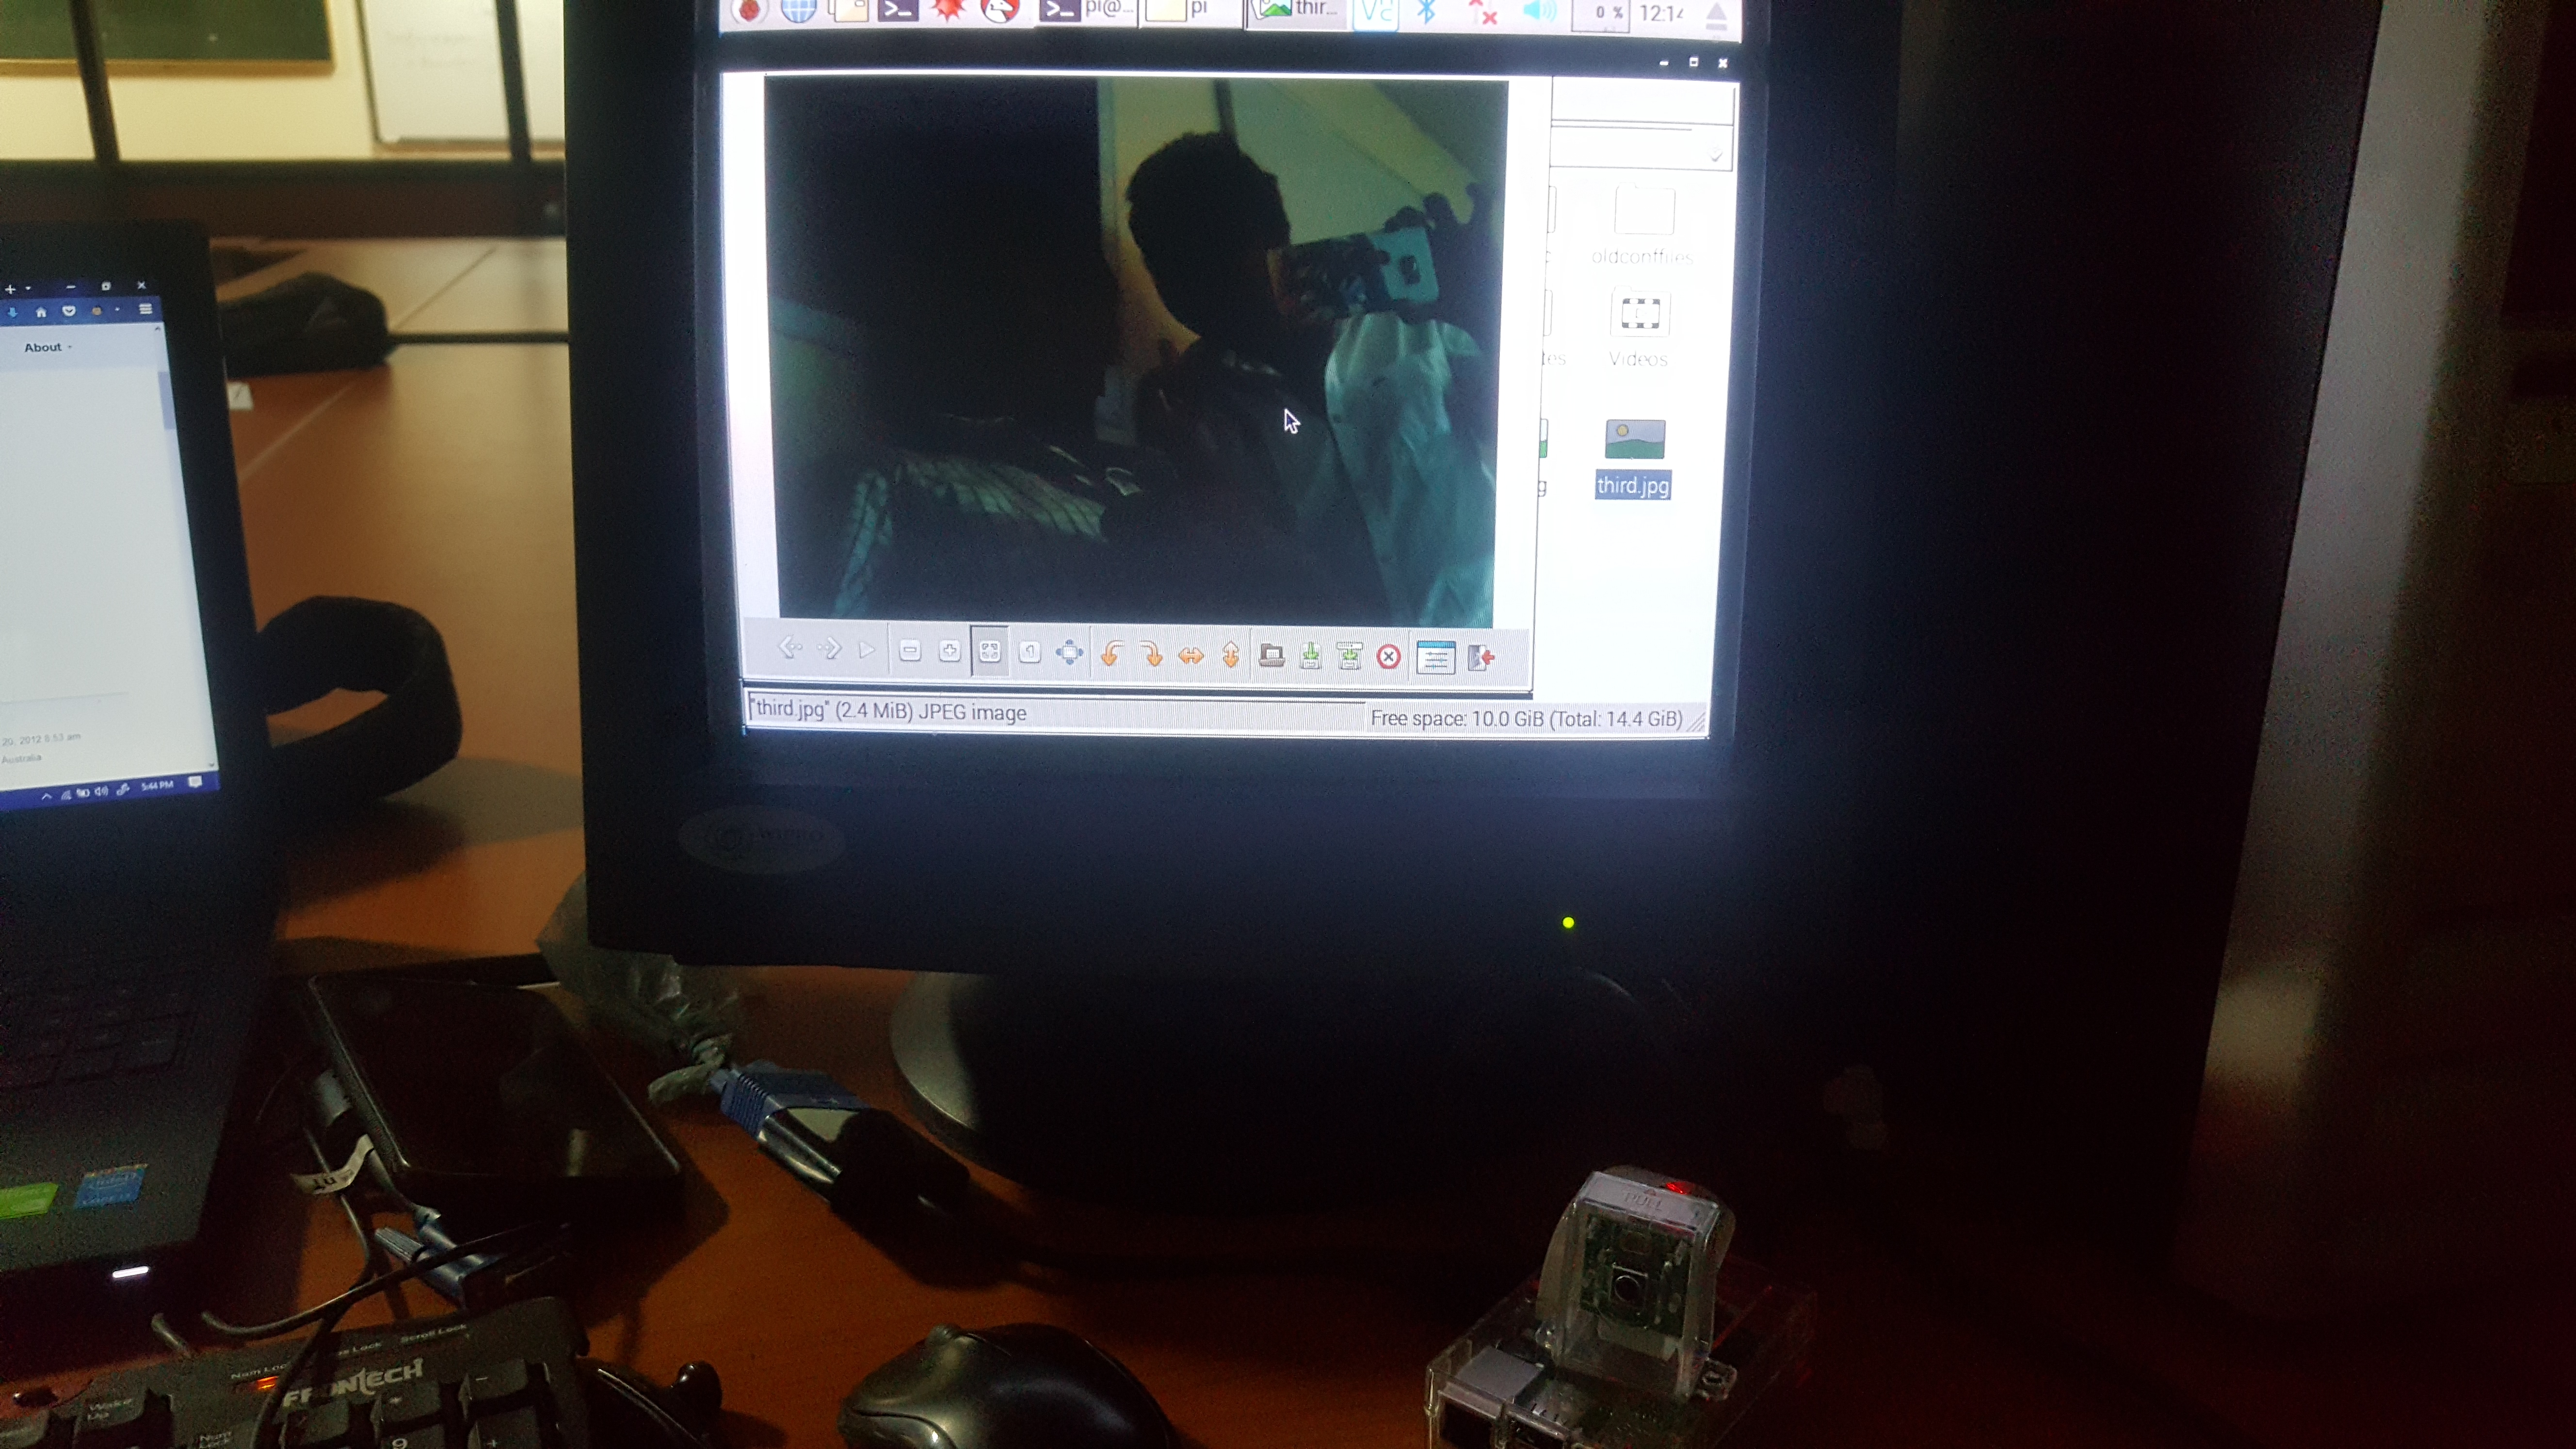
Develop a camera that can run on voice over commands, this is mainly designed for the people of all kinds, especially to the people who seek for the fun time photography.
Hardware Guide
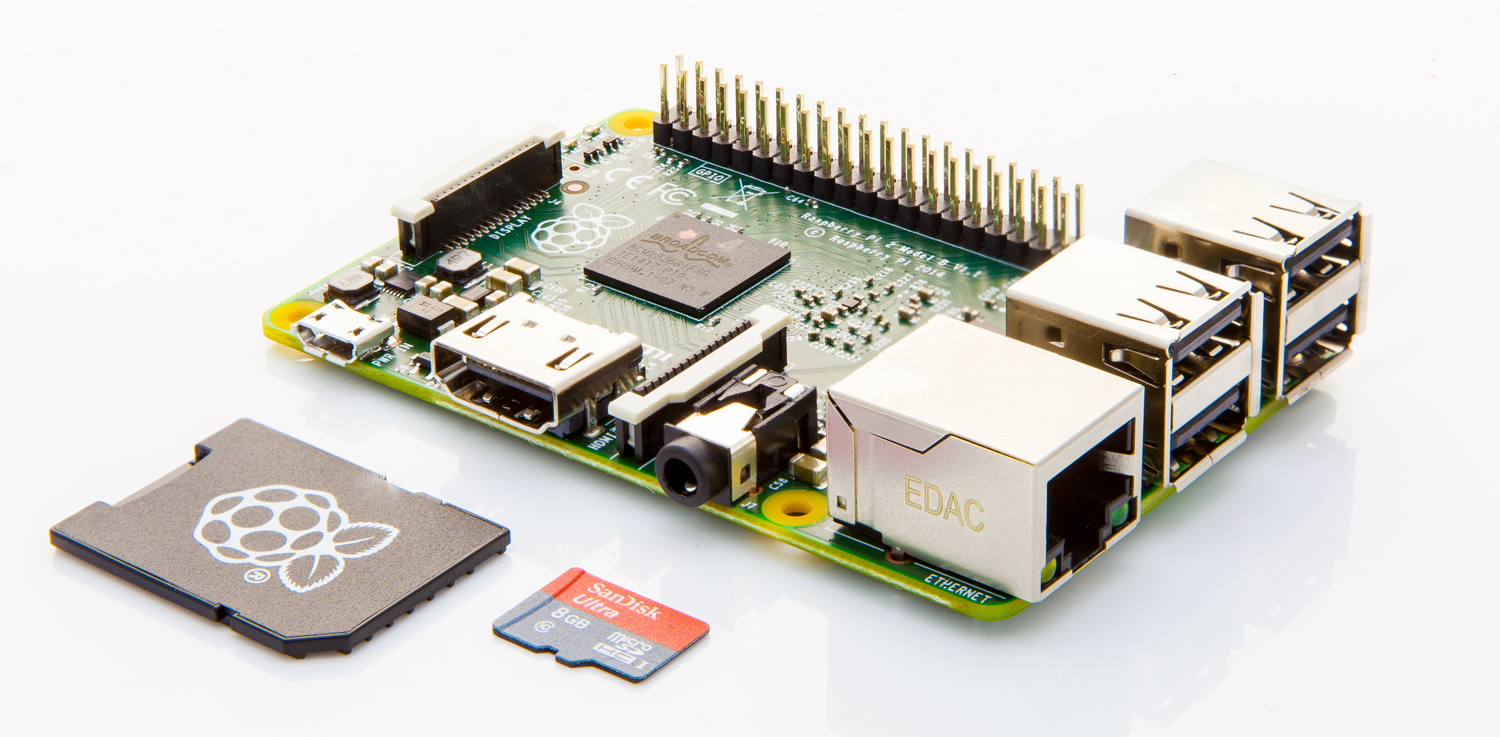
VDC is designed on the Raspberry Pi (Model B) and requires some additional hardware like a wifi-adapter(optional) and USB microphone. The suggested hardware is indicated below with links for further details. You may try slightly different brands/specifications of hardware. VDC is not affiliated with any of the linked hardware vendors.
The Complete List
- Raspberry Pi Model B
- Picamera
- USB mini Microphone
- SD Card
- Ethernet cable
- Mini-USB Adapter (optional)
- Micro USB - wall charger
- Speakers that work through the Raspberry Pi audio jack (probably need to be self-powered)
The Raspberry Pi Verified Peripherals List may be helpful for finding substitutes for the products recommended above.
Assembly
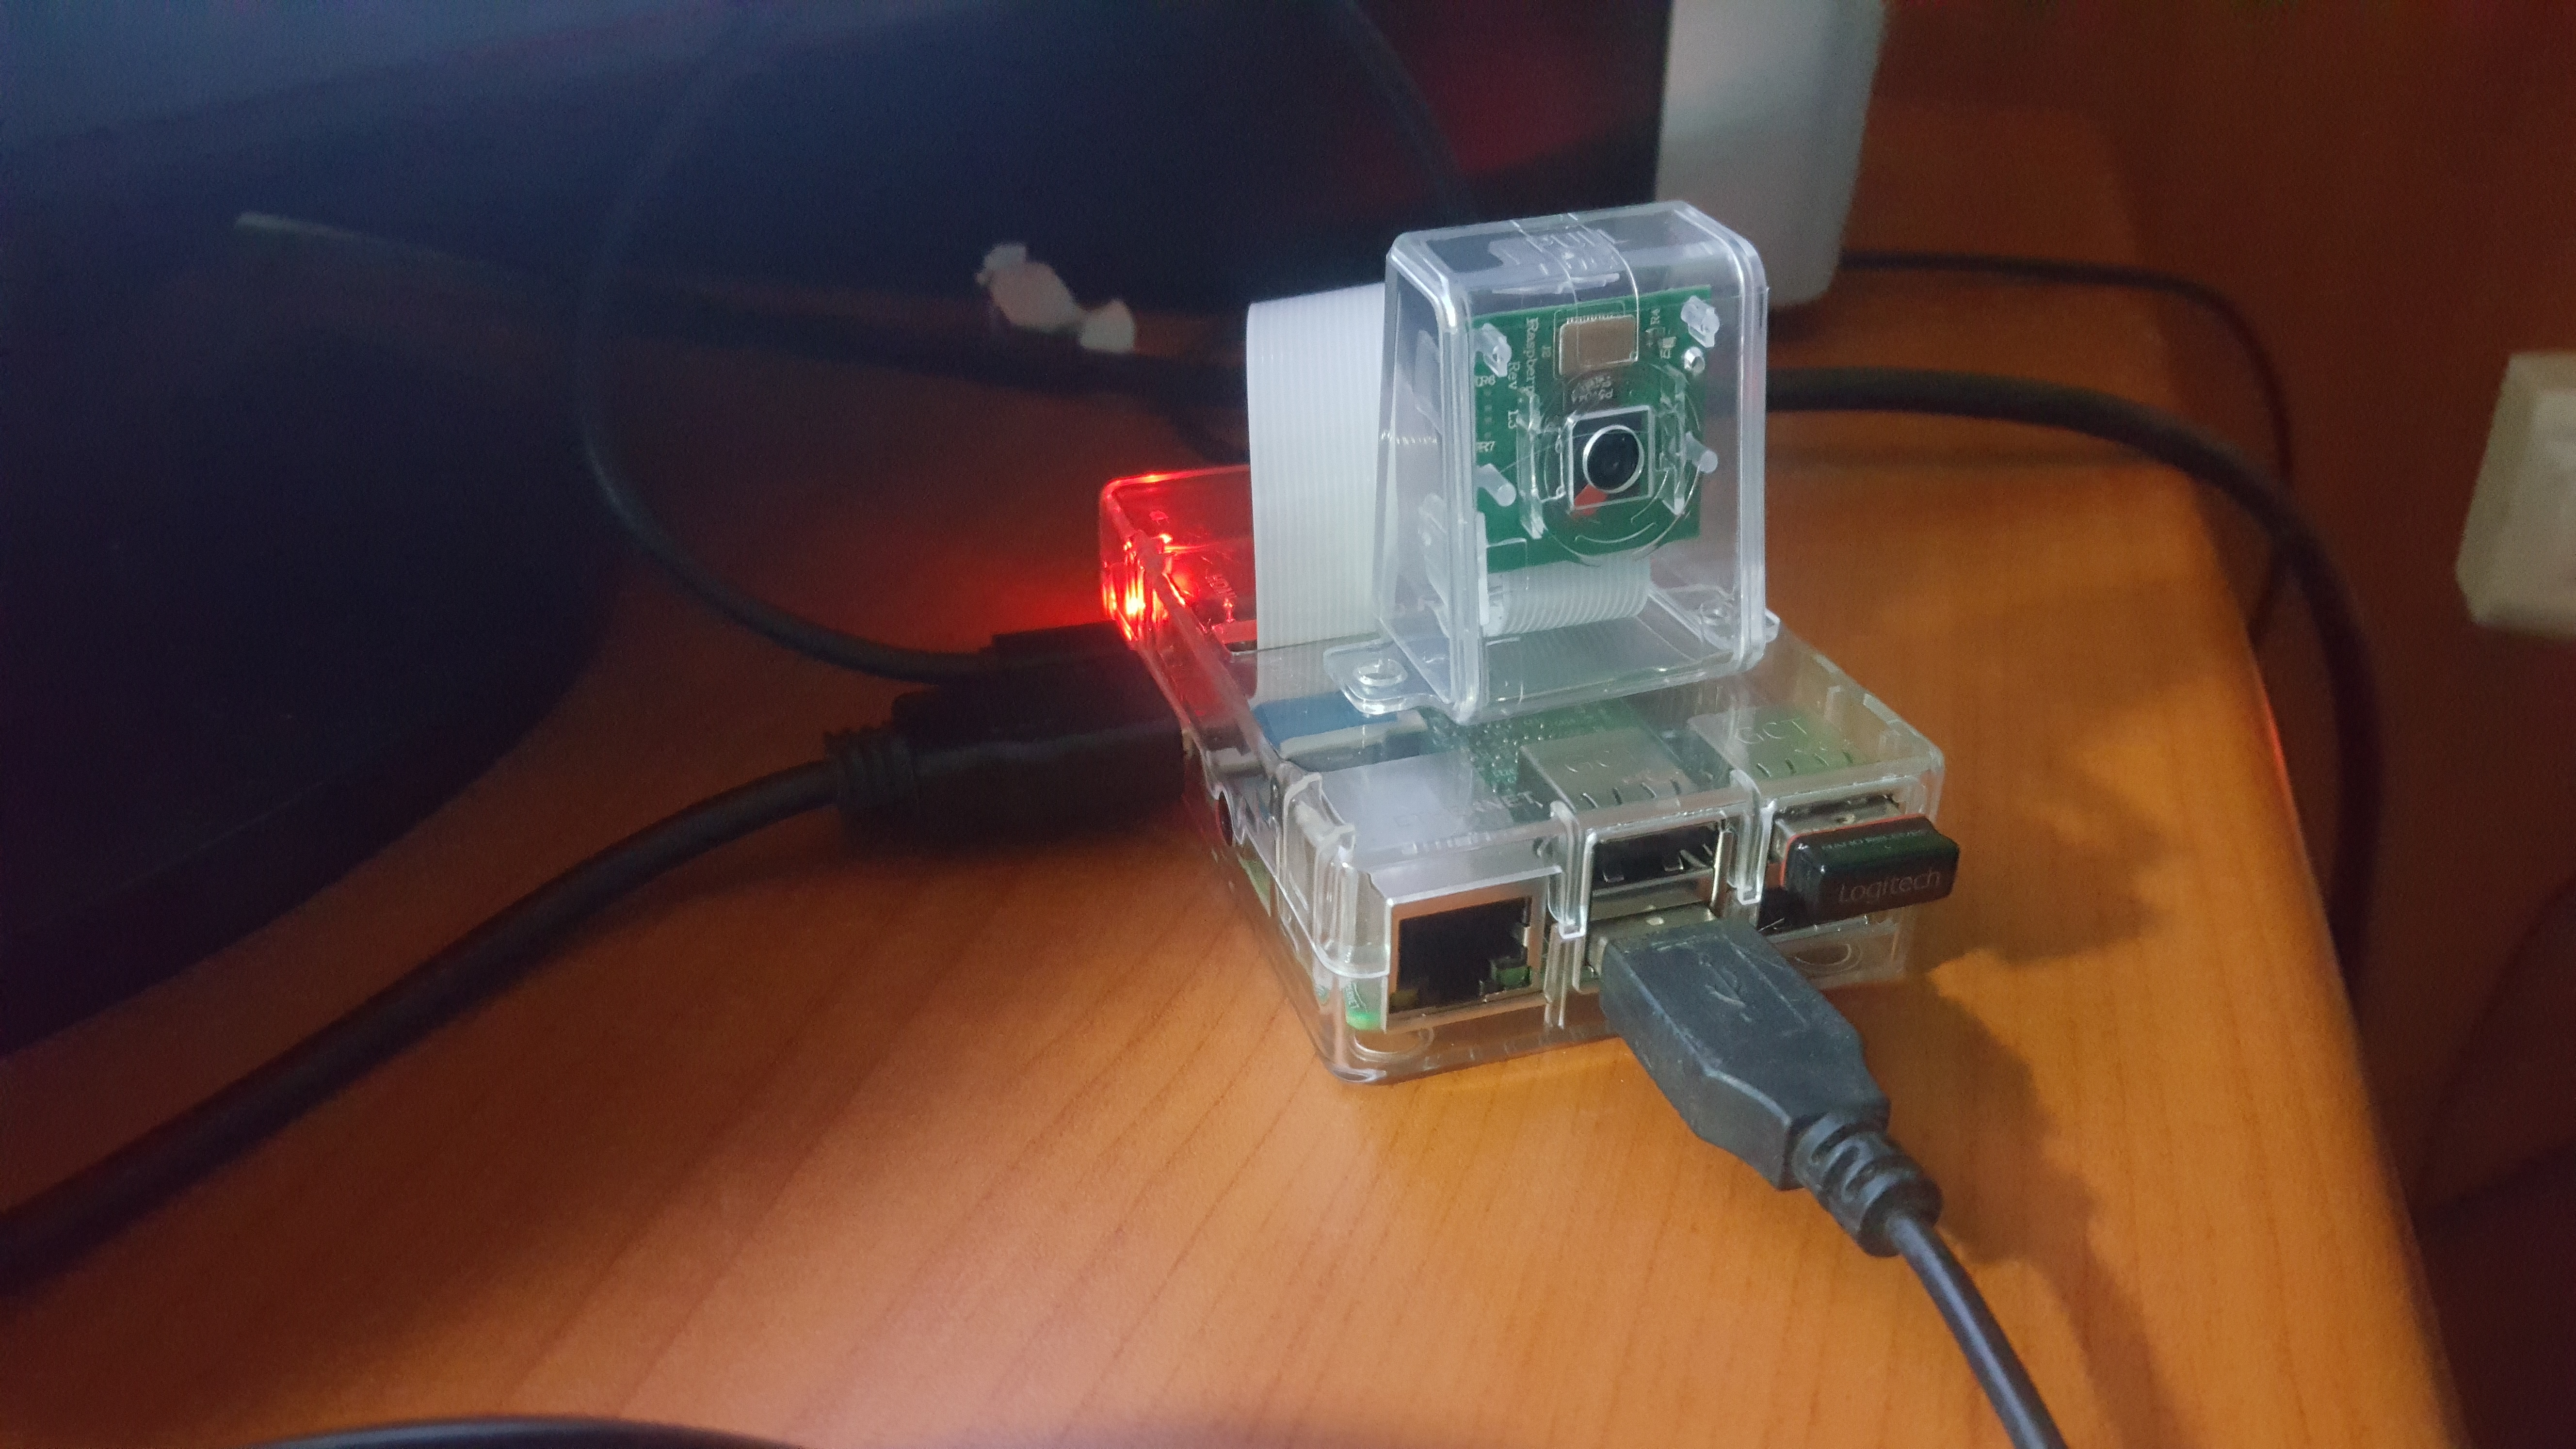
Assembly of the required components is straightforward. Insert the microphone, SD card, wireless adapter (if you have one), micro-USB cable, ethernet cable, and speakers into the Raspberry Pi. The USB wall charging adapter is recommended to power, as a standalone device.
The ethernet cable will be used to log in to the pi from a computer during the software installation step. After installation, if you prefer to use a wireless connection, this cable can be removed.
Internet Connection
As mentioned above, the wireless adapter is optional. It runs just fine on a wired connection (via ethernet), so you can choose between the two setups depending on what works best for you.
OS Installation on Raspberry Pi
Introduction
Raspberry Pi is a credit card sized micro processor available in different models with different processing speed starting from 700 MHz. Whether you have a model B or model B+, or the very old version, the installation process remains the same. People who have checked out the official Raspberry Pi website, might have seen them recommending the "NOOBS" or "NOOBS LITE" Operating System (aka "OS") for beginners. But using the Pi is very easy and from being a beginner, one will turn pro in no time. So, it's better to go with the more powerful and more efficient OS, the Raspbian. The main reason why Raspbian is extremely popular is that it has thousands of pre built libraries to perform many tasks and optimize the OS. This forms a huge advantage while building applications.
Downloading Raspbian and Image writer
Download the latest version of Raspbian from here. You can download it directly or via the torrents.
You will be needing an image writer to write the downloaded OS into the SD card (micro SD card in case of Raspberry Pi B+ model). So download the "win32 disk imager" from here.
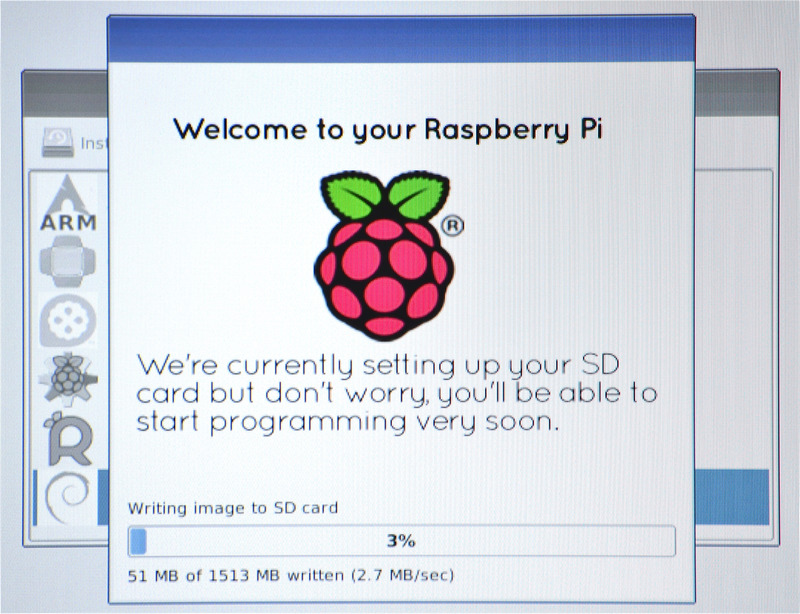
Writing the image
Insert the SD card into the laptop/pc and run the image writer. Once open, browse and select the downloaded Raspbian image file. Select the correct device, that is the drive representing the SD card. If the drive (or device) selected is different from the SD card then the other selected drive will become corrupted. SO be careful.
After that, click on the "Write" button in the bottom. As an example, see the image below, where the SD card (or micro SD) drive is represented by the letter "G:\"
Once the write is complete, eject the SD card and insert it into the Raspberry Pi and turn it on. It should start booting up.
Setting up the Pi
Please remember that after booting the Pi, there might be situations when the user credentials like the "username" and password will be asked. Raspberry Pi comes with a default user name and password and so always use it whenever it is being asked. The credentials are:
login: pi
password: raspberry
When the Pi has been booted for the first time, a configuration screen called the "Setup Options" should appear and it will look like the image below.
If you have missed the "Setup Options" screen, its not a problem, you can always get it by typing the following command in the terminal.
sudo raspi-config
Once you execute this command the "Setup Options" screen will come up as shown in the image above.
Now that the Setup Options window is up, we will have to set a few things. After completing each of the steps below, if it asks to reboot the Pi, please do so. After the reboot, if you don't get the "Setup Options" screen, then follow the command given above to get the screen/window.
The first thing to do:
select the first option in the list of the setup options window, that is select the
Expand Filesystem
option and hit the enter key. We do this to make use of all the space present on the SD card as a full partition. All this does is, expand the OS to fit the whole space on the SD card which can then be used as the storage memory for the Pi. The second thing to do:
select the third option in the list of the setup options window, that is select the "Enable Boot To Desktop/Scratch" option and hit the enter key. It will take you to another window called the "choose boot option" window that looks like the image below.
In the "choose boot option window" , select the second option, that is, "Desktop Log in as user 'pi' at the graphical desktop" and hit the enter button. Once done you will be taken back to the "Setup Options" page, if not select the "OK" button at the bottom of this window and you will be taken back to the previous window. We do this because we wan to boot into the desktop environment which we are familiar with. If we don't do this step then the Raspberry Pi boots into a terminal each time with no GUI options. Once, both the steps are done, select the "finish" button at the bottom of the page and it should reboot automatically. If it doesn't, then use the following command in the terminal to reboot.
sudo reboot
Updating the firmware
After the reboot from the previous step, if everything went right, then you will end up on the desktop which looks like the image below.
Once you are on the desktop, open a terminal and enter the following command to update the firmware of the Pi.
sudo rpi-update
Updating the firmware is necessary because certain models of the Pi might not have all the required dependencies to run smoothly or it may have some bug. The latest firmware might have the fix to those bugs, thus its very important to update it in the beginning itself.
here is the video link available :
Installing and Configuring Raspbian Jessie Operating System on Raspberry Pi ( click the link )
Setup VNC on Raspberry Pi to Remotely Control

VNC (Virtual Network Computing)
Sometimes it is not convenient to work directly on the Raspberry Pi. Maybe you would like to work on it from another device by remote control.
VNC is a graphical desktop sharing system that allows you to remotely control the desktop interface of one computer (running VNC Server) from another computer or mobile device (running VNC Viewer). VNC Viewer transmits the keyboard and either mouse or touch events to VNC Server, and receives updates to the screen in return.
You will see the desktop of the Raspberry Pi inside a window on your computer or mobile device. You'll be able to control it as though you were working on the Raspberry Pi itself.
VNC Connect from RealVNC is included with Raspbian. It consists of both VNC Server, which allows you to control your Raspberry Pi remotely, and VNC Viewer, which allows you to control desktop computers remotely from your Raspberry Pi should you want to.
You must enable VNC Server before you can use it: instructions for this are given below. By default, VNC Server gives you remote access to the graphical desktop that is running on your Raspberry Pi, as though you were sitting in front of it.
Enabling VNC Server
On your Raspberry Pi, run the following commands to make sure you have the latest version of VNC Connect:
sudo apt-get update
sudo apt-get install realvnc-vnc-server realvnc-vnc-viewer
Now enable VNC Server. You can do this graphically or at the command line.
Enabling VNC Server graphically
On your Raspberry Pi, boot into the graphical desktop.
Select Menu > Preferences > Raspberry Pi Configuration > Interfaces.
Ensure VNC is Enabled. Enabling VNC Server at the command line
You can enable VNC Server at the command line using raspi-config:
sudo raspi-config
Now, enable VNC Server by doing the following:
Navigate to Interfacing Options.
- Scroll down and select VNC > Yes. Connecting to your Raspberry Pi with VNC Viewer
There are two ways to connect to your Raspberry Pi. You can use either or both, depending on what works best for you.
Establishing a direct connection
Direct connections are quick and simple providing you're joined to the same private local network as your Raspberry Pi. For example, this might be a wired or wireless network at home, at school, or in the office).
On your Raspberry Pi (using a terminal window or via SSH) use these instructions or run ifconfig to discover your private IP address.
ifconfig
On the device you'll use to take control, download VNC Viewer. For best results, use the compatible app from RealVNC.
Enter your Raspberry Pi's private IP address into VNC Viewer:
Establishing a cloud connection
You are entitled to use RealVNC's cloud service for free, provided that remote access is for educational or non-commercial purposes only.
Cloud connections are convenient and encrypted end-to-end. They are highly recommended for connecting to your Raspberry Pi over the internet. There's no firewall or router reconfiguration, and you don't need to know the IP address of your Raspberry Pi, or provide a static one.
Sign up for a RealVNC account here: it's free and it only takes a few seconds.
- On your Raspberry Pi, sign in to VNC Server using your new RealVNC account credentials:
- On the device you'll use to take control, download VNC Viewer. You must use the compatible app from RealVNC.
Sign in to VNC Viewer using the same RealVNC account credentials, and then either tap or click to connect to your Raspberry Pi:
Authenticating to VNC Server
To complete either a direct or cloud connection, you must authenticate to VNC Server.
If you're connecting from the compatible VNC Viewer app from RealVNC, enter the user name and password you normally use to log in to your user account on the Raspberry Pi. By default, these credentials are pi and raspberry.
If you're connecting from a non-RealVNC Viewer app, you'll first need to downgrade VNC Server's authentication scheme, specify a password unique to VNC Server, and then enter that instead. To do this, open the VNC Server dialog on your Raspberry Pi,
select Menu > Options > Security,
and choose VNC password from the Authentication .
To turn this feature on:
On your Raspberry Pi, open the VNC Server dialog.
Navigate to Menu > Options > Troubleshooting and select Enable experimental direct capture mode.
On the device you'll use to take control, run VNC Viewer and connect.
Note: existing connections must be restarted in order for these changes to take effect.
If performance seems impaired, try these troubleshooting steps, or let RealVNC know.
Creating a virtual desktop
If your Raspberry Pi is headless (i.e. not plugged into a monitor) or controlling a robot, it is unlikely to be running a graphical desktop.
VNC Server can create a virtual desktop for you, giving you graphical remote access on demand. This virtual desktop exists only in your Raspberry Pi's memory:
To create and connect to a virtual desktop:
On your Raspberry Pi (using Terminal or via SSH), run vnc server. Make note of the IP address/display number that VNC Server will print to your Terminal (e.g. 192.167.**.**).
On the device you'll use to take control, enter this information into VNC Viewer. To destroy a virtual desktop, run the following command:
vncserver -kill :<display-number>
This will also stop any existing connections to this virtual desktop.
Camera Configuration
Setting up the camera hardware
Warning: Cameras are sensitive to static. Earth yourself prior to handling the PCB. A sink tap or similar should suffice if you don’t have an earthing strap.
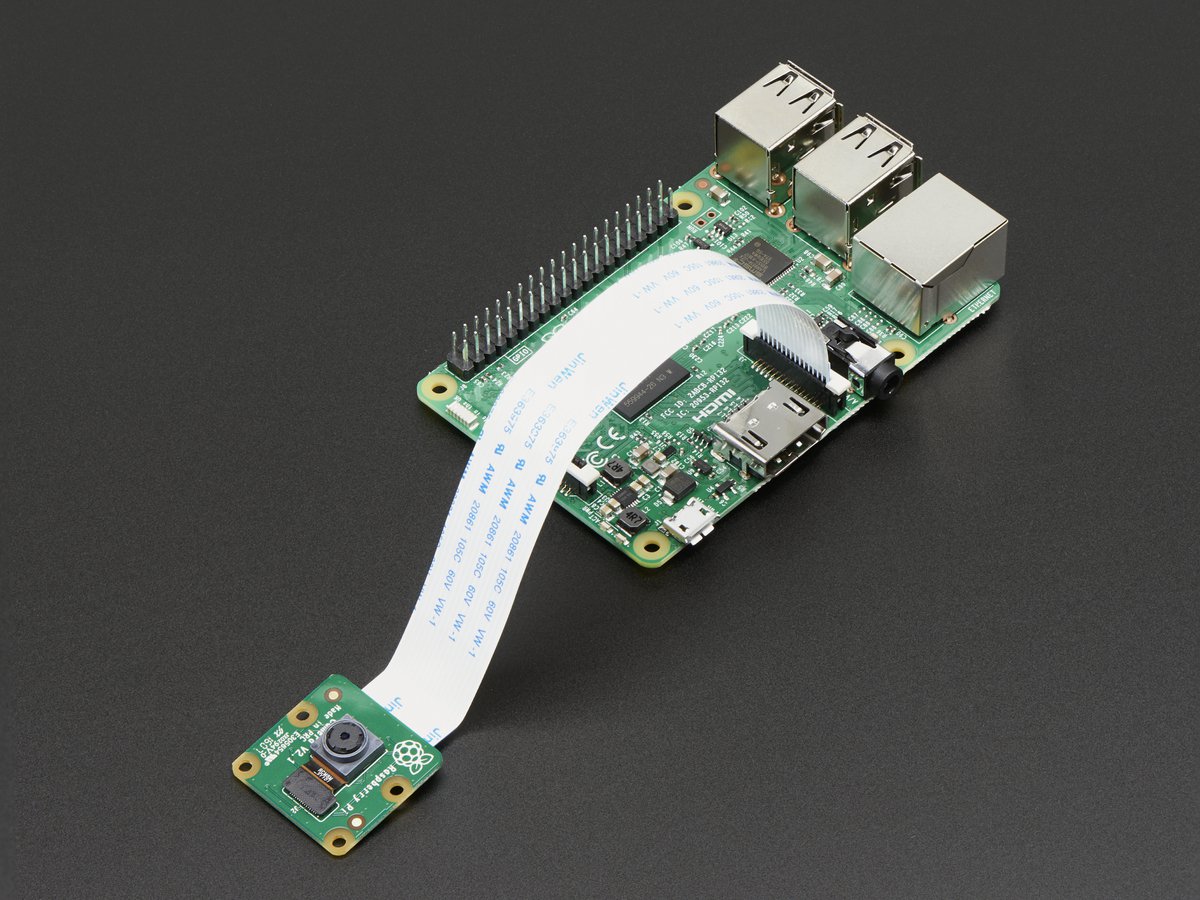
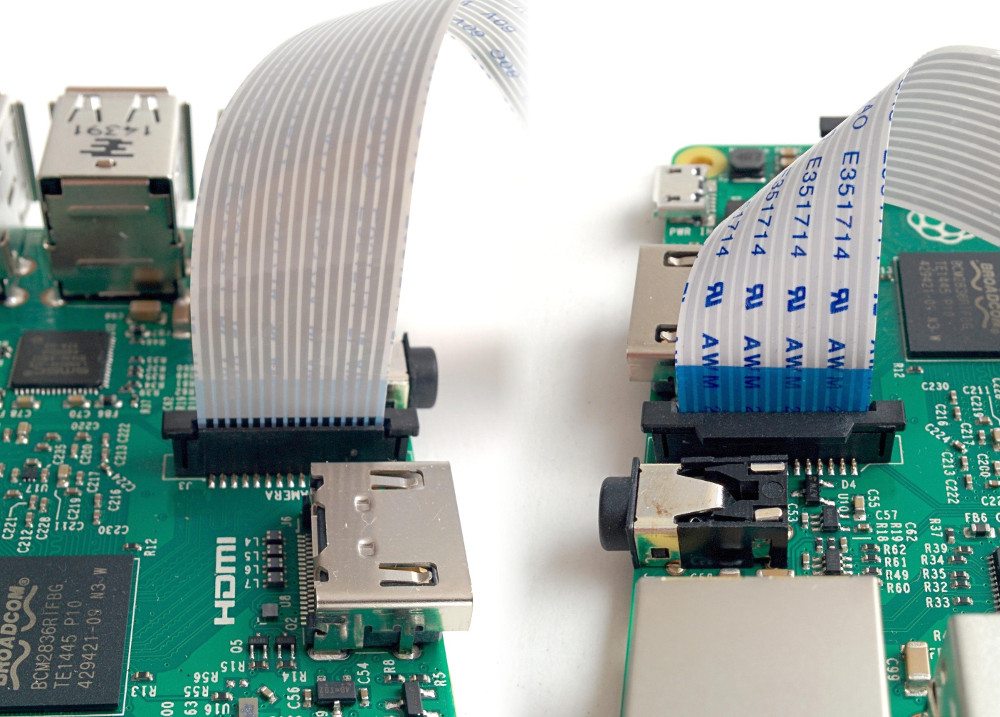
The camera board attaches to the Raspberry Pi via a 15-way ribbon cable. There are only two connections to make: the ribbon cable needs to be attached to the camera PCB, and to the Raspberry Pi itself. You need to get the cable the right way round, or the camera will not work. On the camera PCB, the blue backing on the cable should face away from the PCB, and on the Raspberry Pi it should face towards the Ethernet connection (or where the Ethernet connector would be if you're using a model A).
Although the connectors on the PCB and the Pi are different, they work in a similar way. On the Raspberry Pi itself, pull up the tabs on each end of the connector. It should slide up easily, and be able to pivot around slightly. Fully insert the ribbon cable into the slot, ensuring it is set straight, then gently press down the tabs to clip it into place. The camera PCB connector also requires you to pull the tabs away from the board, gently insert the cable, then push the tabs back. The PCB connector can be a little more awkward than the one on the Pi itself.
Setting up the camera software
Execute the following instructions on the command line to download and install the latest kernel, GPU firmware, and applications. You'll need an internet connection for this to work correctly.
sudo apt-get update
sudo apt-get upgrade
Now you need to enable camera support using the
raspi-config
program you will have used when you first set up your Raspberry Pi.
sudo raspi-config
Use the cursor keys to move to the camera option, and select 'enable'. On exiting raspi-config, it will ask to reboot. The enable option will ensure that on reboot the correct GPU firmware will be running with the camera driver and tuning, and the GPU memory split is sufficient to allow the camera to acquire enough memory to run correctly.
- If it's not enabled, enable it and reboot your Pi to begin.
To test that the system is installed and working, try the following command:
raspistill -v -o test.jpg
The display should show a five-second preview from the camera and then take a picture, saved to the file test.jpg, whilst displaying various informational messages.
RASPIVID
Raspivid is the command line tool for capturing video with the camera module.
With the camera module connected and enabled, record a video using the following command:
raspivid -o vid.h264
Remember to use
-hf
and
-vf
to flip the image if required, like with
raspistill
This will save a 5 second video file to the path given here as vid.h264 (default length of time).
Specify length of video
To specify the length of the video taken, pass in the -t flag with a number of milliseconds. For example:
raspivid -o video.h264 -t 10000
This will record 10 seconds of video.
MP4 Video Format
The Pi captures video as a raw H264 video stream. Many media players will refuse to play it, or play it at an incorrect speed, unless it is "wrapped" in a suitable container format like MP4. The easiest way to obtain an MP4 file from the
raspivid
command is using MP4Box.
Install MP4Box with this command:
sudo apt-get install -y gpac
Capture your raw video with raspivid and wrap it in an MP4 container like this:
# Capture 30 seconds of raw video at 640x480 and 150kB/s bit rate into a pivideo.h264 file:
raspivid -t 30000 -w 640 -h 480 -fps 25 -b 1200000 -p 0,0,640,480 -o pivideo.h264
# Wrap the raw video with an MP4 container
MP4Box -add pivideo.h264 pivideo.mp4
# Remove the source raw file, leaving the remaining pivideo.mp4 file to play
rm pivideo.h264
Alternatively, wrap MP4 around your existing raspivid output, like this:
MP4Box -add video.h264 video.mp4
Installation and Configuration
Follow these instructions only if you wish to compile your software from scratch. These below steps are necessary and recommended as the same proccess of installing on your Raspberry pi.
Installing the dependencies
Installing Sphinxbase/Pocketsphinx
First, you need to install Pocketsphinx. If you’re using Debian Sid (unstable) or Jessie (testing), you can just do:
sudo apt-get update
sudo apt-get install pocketsphinx
Begin by installing some dependencies:
sudo apt-get install subversion autoconf libtool automake gfortran g++ --yes
Next, move into your home (or Jasper) directory to check out and install CMUCLMTK:
svn co <a href="https://svn.code.sf.net/p/cmusphinx/code/trunk/cmuclmtk/" rel="nofollow"> https://svn.code.sf.net/p/cmusphinx/code/trunk/cm...</a>
cd cmuclmtk/
./autogen.sh && make && sudo make install
cd ..
Then, when you’ve left the CMUCLTK directory, download the following libraries:
Installing Phonetisaurus, m2m-aligner and MITLM
To use the Pocketsphinx STT engine, you also need to install MIT Language Modeling Toolkit, m2m-aligner and Phonetisaurus (and thus OpenFST).
If you’re not using Debian, perform these steps:
#-original:
# wget <a href="http://distfiles.macports.org/openfst/openfst-1.3.3.tar.gz" rel="nofollow"> http://distfiles.macports.org/openfst/openfst-1.3...</a>
#-new:
wget <a href="http://distfiles.macports.org/openfst/openfst-1.3.4.tar.gz" rel="nofollow"> http://distfiles.macports.org/openfst/openfst-1.3...</a>
wget <a href="https://mitlm.googlecode.com/files/mitlm-0.4.1.tar.gz" rel="nofollow"> https://mitlm.googlecode.com/files/mitlm-0.4.1.ta...</a>
wget <a href="https://m2m-aligner.googlecode.com/files/m2m-aligner-1.2.tar.gz" rel="nofollow"> https://m2m-aligner.googlecode.com/files/m2m-alig...</a>
wget <a href="https://phonetisaurus.googlecode.com/files/is2013-conversion.tgz" rel="nofollow"> https://phonetisaurus.googlecode.com/files/is2013...</a>
Untar the downloads:
tar -xvf m2m-aligner-1.2.tar.gz
tar -xvf openfst-1.3.4.tar.gz
tar -xvf is2013-conversion.tgz
tar -xvf mitlm-0.4.1.tar.gz
Build OpenFST:
cd openfst-1.3.4/
sudo ./configure --enable-compact-fsts --enable-const-fsts --enable-far --enable-lookahead-fsts --enable-pdt
time sudo make install # come back after a really long time
cd ..
real 66m38.394s
user 64m42.620s
sys 1m2.150s
df -h /
Filesystem      Size  Used Avail Use% Mounted on
/dev/root        14G  4.4G  8.3G  35% /
Build M2M:
cd m2m-aligner-1.2/
sudo make
cd ..
Build MITLMT:
cd mitlm-0.4.1/
sudo ./configure
sudo make install
cd ..
Build Phonetisaurus:
cd is2013-conversion/phonetisaurus/src
sudo make
cd
Move some of the compiled files:
sudo cp ~/m2m-aligner-1.2/m2m-aligner /usr/local/bin/m2m-aligner
#-original:
# sudo cp ~/phonetisaurus-0.7.8/phonetisaurus-g2p /usr/local/bin/phonetisaurus-g2p
#-needs to be:
sudo cp ~/is2013-conversion/bin/phonetisaurus-g2p /usr/local/bin/phonetisaurus-g2p
Note the changed path for the executable.
Get and build the Phonetisaurus FST model
wget <a href="https://www.dropbox.com/s/kfht75czdwucni1/g014b2b.tgz" rel="nofollow"> https://www.dropbox.com/s/kfht75czdwucni1/g014b2b...</a>
tar -xvf g014b2b.tgz
cd g014b2b/
./compile-fst.sh
cd ..
Finally, rename the following folder for convenience:
mv ~/g014b2b ~/phonetisaurus
Once the installations are complete, restart your Pi.
Following the instructions from http://raspberrypi.stackexchange.com/questions/40...
I also added the (new) file `/etc/modprobe.d/alsa-base.conf` with this content:
# This sets the index value of the cards but doesn't reorder.
options snd_usb_audio index=0
options snd_bcm2835 index=1
# Does the reordering.
options snd slots=snd_usb_audio,snd_bcm2835
to ensure proper ordering of the sound devices (not fully sure this is really needed, though)
Done with installations - some debugging next ...
Trying to start jasper:
pi@AVIV:~ $ ./jasper/jasper.py
Traceback (most recent call last):
File "./jasper/jasper.py", line 12, in
from client import tts, stt, jasperpath, diagnose
File "/home/pi/jasper/client/tts.py", line 41, in
import diagnose
File "/home/pi/jasper/client/diagnose.py", line 9, in
import pip.req
File "/usr/lib/python2.7/dist-packages/pip/__init__.py", line 74, in
from pip.vcs import git, mercurial, subversion, bazaar  # noqa
File "/usr/lib/python2.7/dist-packages/pip/vcs/mercurial.py", line 9, in
from pip.download import path_to_url
File "/usr/lib/python2.7/dist-packages/pip/download.py", line 25, in
from requests.compat import IncompleteRead
ImportError: cannot import name IncompleteRead
Fixed with:
sudo easy_install -U pip
Next issue:
pi@AVIV:~ $ ./jasper/jasper.py
*******************************************************
*             JASPER - THE TALKING COMPUTER           *
* (c) 2015 Shubhro Saha, Charlie Marsh & Jan Holthuis *
*******************************************************
ERROR:root:Error occured!
Traceback (most recent call last):
File "./jasper/jasper.py", line 143, in
app = Jasper()File "./jasper/jasper.py", line 88, in __init__
stt_engine_class = stt.get_engine_by_slug(stt_engine_slug)
File "/home/pi/jasper/client/stt.py", line 648, in get_engine_by_slug"dependencies, etc.)") % slug)
ValueError: STT engine 'sphinx' is not available (due to missing dependencies, missing dependencies, etc.)
trying
sudo apt-get install -y python-pocketsphinx
Fix path to `../phonetisaurus/g014b2b.fst` to be `/home/pi/phonetisaurus/g014b2b.fst` instead (in `.jasper/profile.yml`)
pi@AVIV:~ $ ./jasper/jasper.py
*******************************************************
*             JASPER - THE TALKING COMPUTER           *
* (c) 2015 Shubhro Saha, Charlie Marsh & Jan Holthuis *
*******************************************************
ERROR:client.stt:hmm_dir '/usr/local/share/pocketsphinx/model/hmm/en_US/hub4wsj_sc_8k'
does not exist! Please make sure that you have set the correct hmm_dir in your profile.
Fix/activate path for this in `profile.yml` as well:
hmm_dir: '/usr/share/pocketsphinx/model/hmm/en_US/hub4wsj_sc_8k' #optional
(note the absence of "local" in the path)
Partial success --:
pi@AVIV:~ $ ./jasper/jasper.py
*******************************************************
*             JASPER - THE TALKING COMPUTER           *
* (c) 2015 Shubhro Saha, Charlie Marsh & Jan Holthuis *
*******************************************************
ALSA lib pcm.c:2239:(snd_pcm_open_noupdate) Unknown PCM cards.pcm.rear
ALSA lib pcm.c:2239:(snd_pcm_open_noupdate) Unknown PCM cards.pcm.center_lfe
ALSA lib pcm.c:2239:(snd_pcm_open_noupdate) Unknown PCM cards.pcm.side
ALSA lib pcm.c:2239:(snd_pcm_open_noupdate) Unknown PCM cards.pcm.hdmi
ALSA lib pcm.c:2239:(snd_pcm_open_noupdate) Unknown PCM cards.pcm.hdmi
ALSA lib pcm.c:2239:(snd_pcm_open_noupdate) Unknown PCM cards.pcm.modem
ALSA lib pcm.c:2239:(snd_pcm_open_noupdate) Unknown PCM cards.pcm.modem
ALSA lib pcm.c:2239:(snd_pcm_open_noupdate) Unknown PCM cards.pcm.phoneline
ALSA lib pcm.c:2239:(snd_pcm_open_noupdate) Unknown PCM cards.pcm.phoneline
ALSA lib pulse.c:243:(pulse_connect) PulseAudio: Unable to connect: Connection refused
ALSA lib pulse.c:243:(pulse_connect) PulseAudio: Unable to connect: Connection refused
Cannot connect to server socket err = No such file or directory
Cannot connect to server request channel
jack server is not running or cannot be started
Expression 'paInvalidSampleRate' failed in 'src/hostapi/alsa/pa_linux_alsa.c', line: 2048
Expression 'PaAlsaStreamComponent_InitialConfigure(
&self->capture, inParams, self->primeBuffers, hwParamsCapture,
 &realSr )' failed in 'src/hostapi/alsa/pa_linux_alsa.c', line: 2719
Expression 'PaAlsaStream_Configure( stream, inputParameters,
outputParameters, sampleRate, framesPerBuffer, &inputLatency,
&outputLatency, &hostBufferSizeMode )' failed in
'src/hostapi/alsa/pa_linux_alsa.c', line: 2843
Traceback (most recent call last):
File "./jasper/jasper.py", line 148, in
app.run()
File "./jasper/jasper.py", line 118, in run
conversation.handleForever()
File "/home/pi/jasper/client/conversation.py", line 31, in handleForever
threshold, transcribed = self.mic.passiveListen(self.persona)
File "/home/pi/jasper/client/mic.py", line 110, in passiveListen
frames_per_buffer=CHUNK)
File "/usr/lib/python2.7/dist-packages/pyaudio.py", line 747, in open
stream = Stream(self, *args, **kwargs)
File "/usr/lib/python2.7/dist-packages/pyaudio.py", line 442, in __init__
self._stream = pa.open(**arguments)
IOError: [Errno Invalid sample rate] -9997
OK, fixing RATE and CHUNK like this seems to get further:
diff --git a/client/mic.py b/client/mic.py
index 401cddb..dee49fe 100644
--- a/client/mic.py
+++ b/client/mic.py
@@ -93,8 +93,8 @@ class Mic:
"""
THRESHOLD_MULTIPLIER = 1.8
- RATE = 16000
- CHUNK = 1024
+ RATE = 44100 # 16000
+ CHUNK = 4096 # 1024
# number of seconds to allow to establish threshold
THRESHOLD_TIME = 1
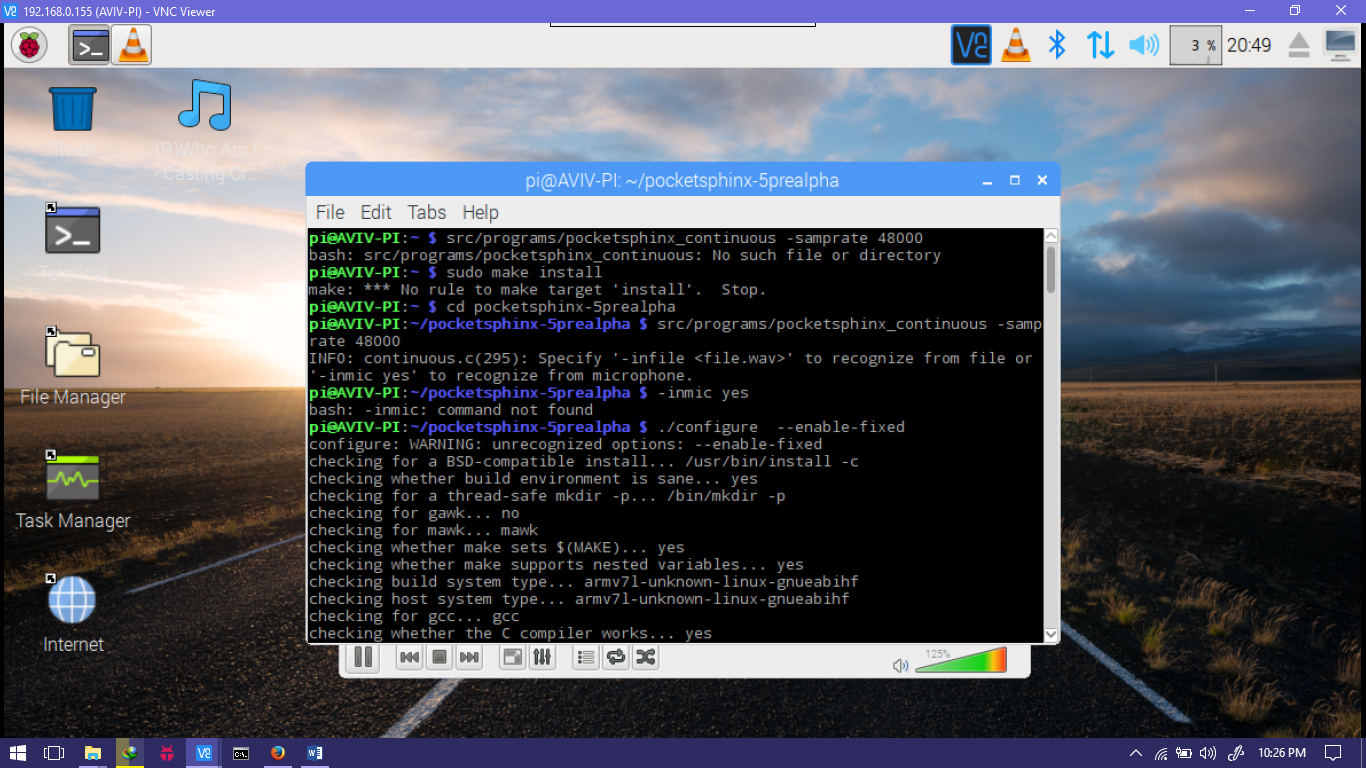
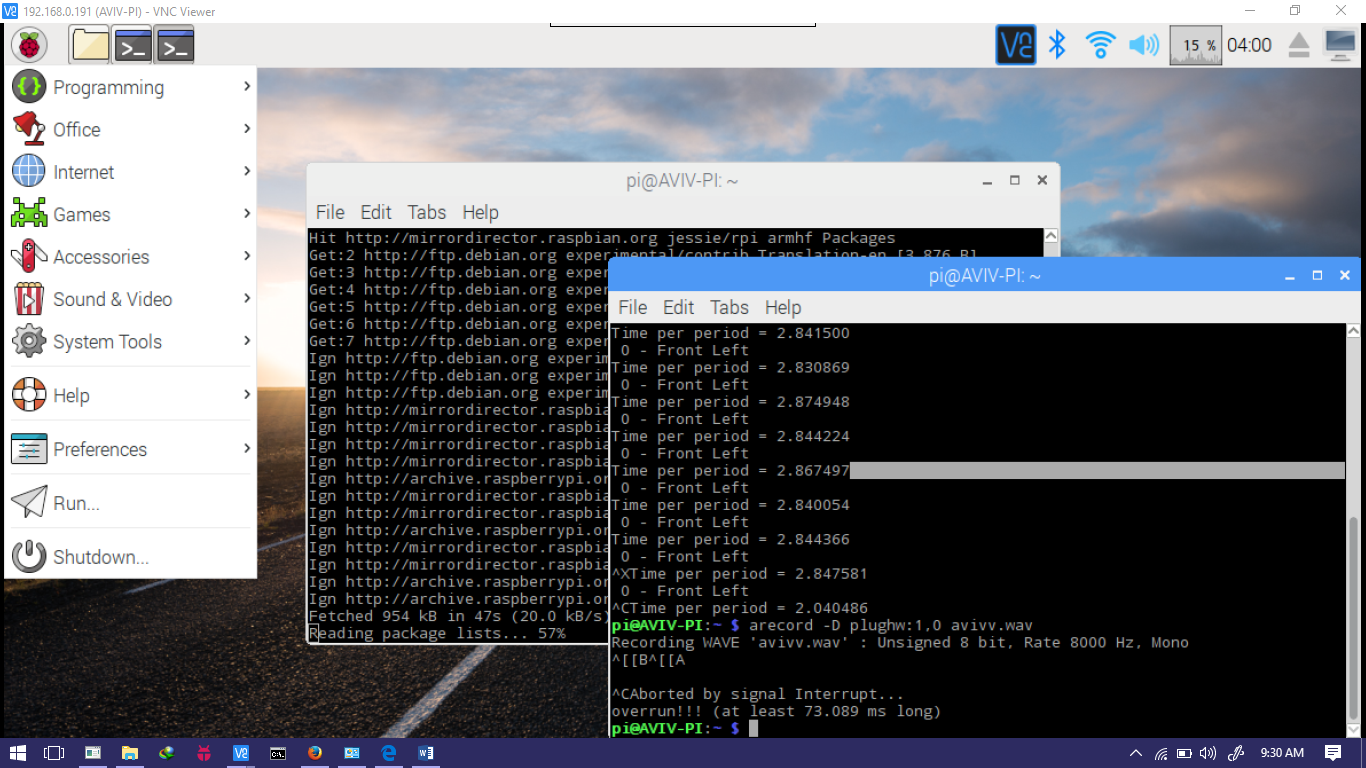
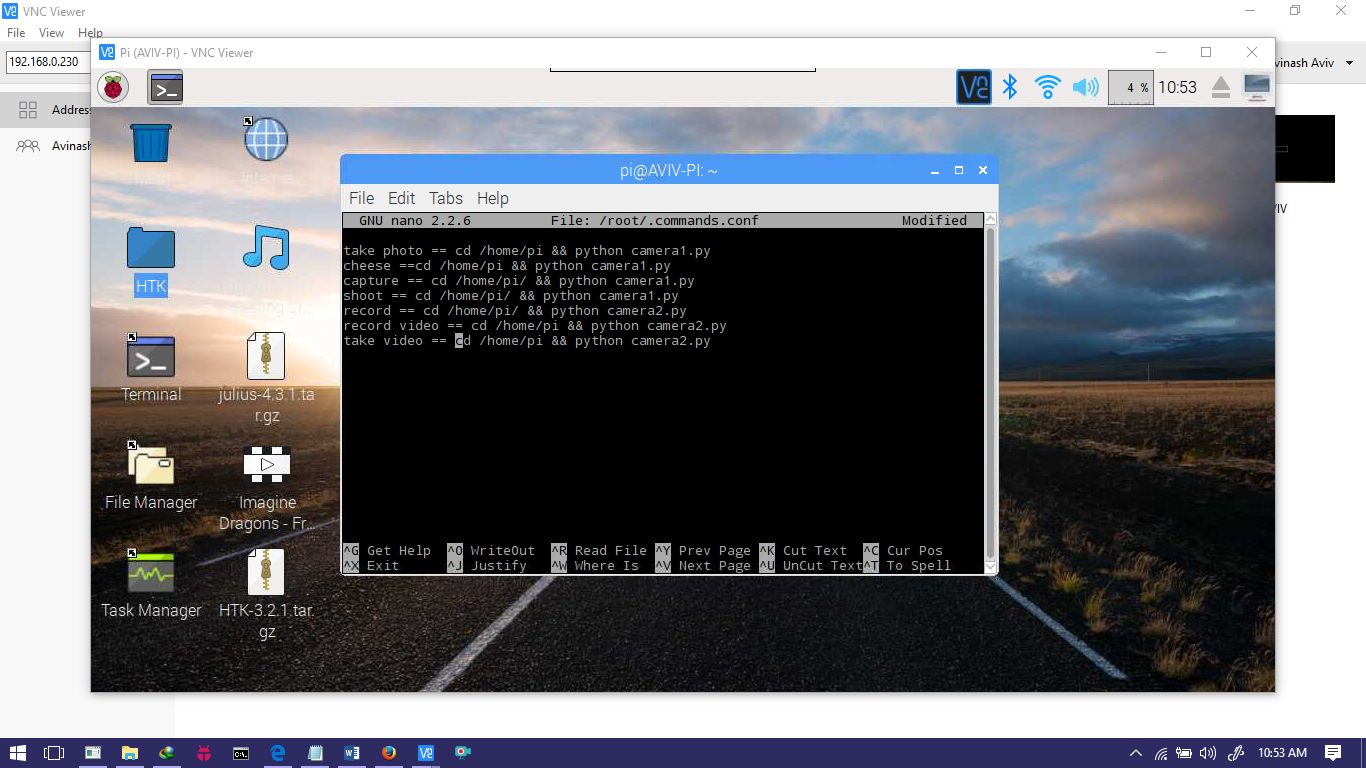
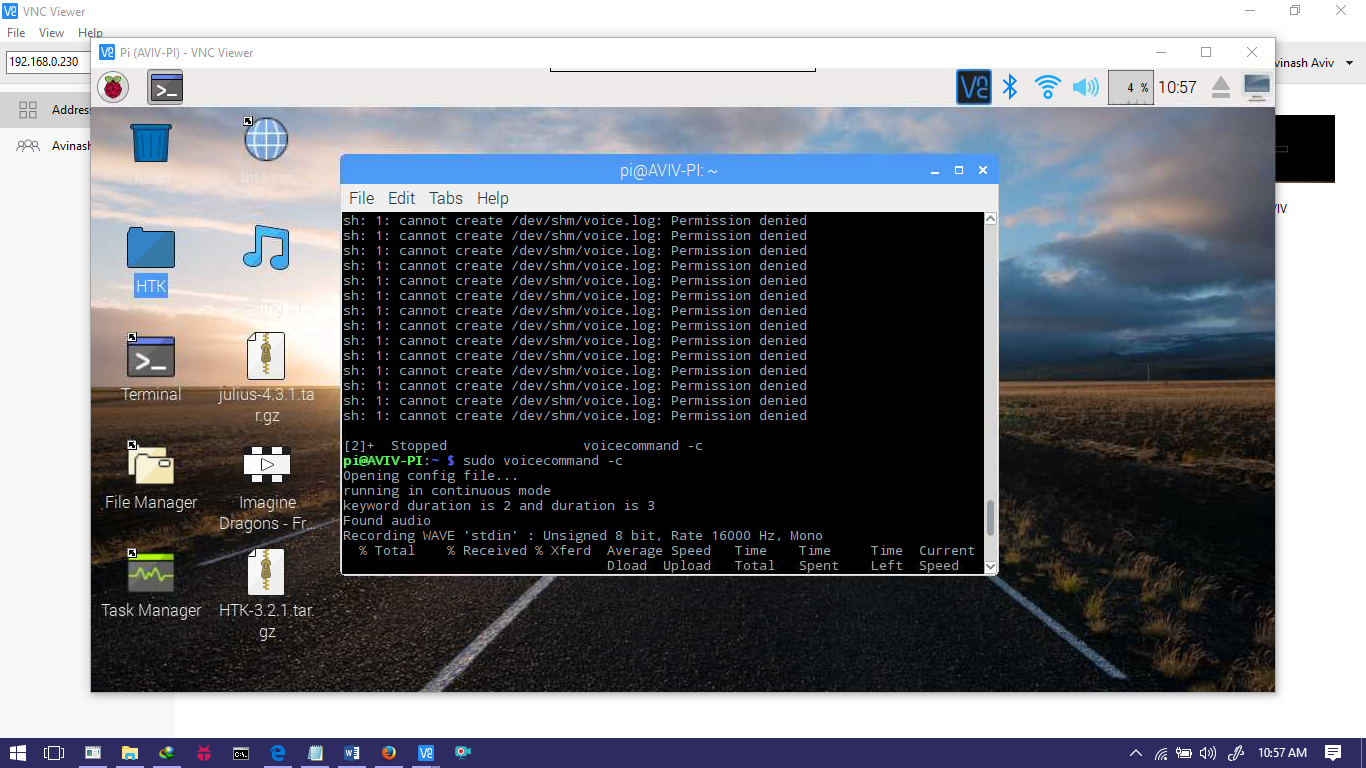
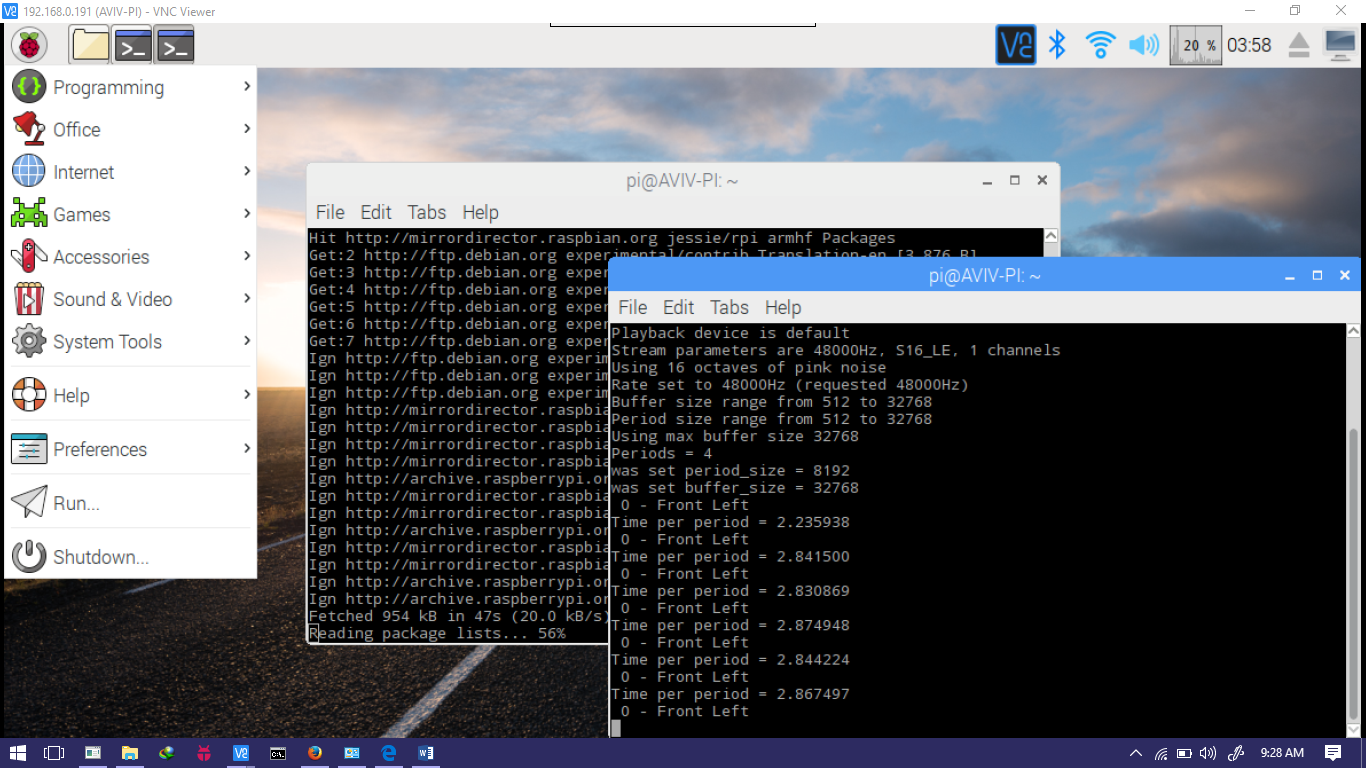
OUTPUT Screenshots
.png)
.png)
.png)
.png)
.png)
