Voice Controlled Pi Based Media Station With Built-in Google Assistant
by ssiddharth in Circuits > Raspberry Pi
2606 Views, 5 Favorites, 0 Comments
Voice Controlled Pi Based Media Station With Built-in Google Assistant
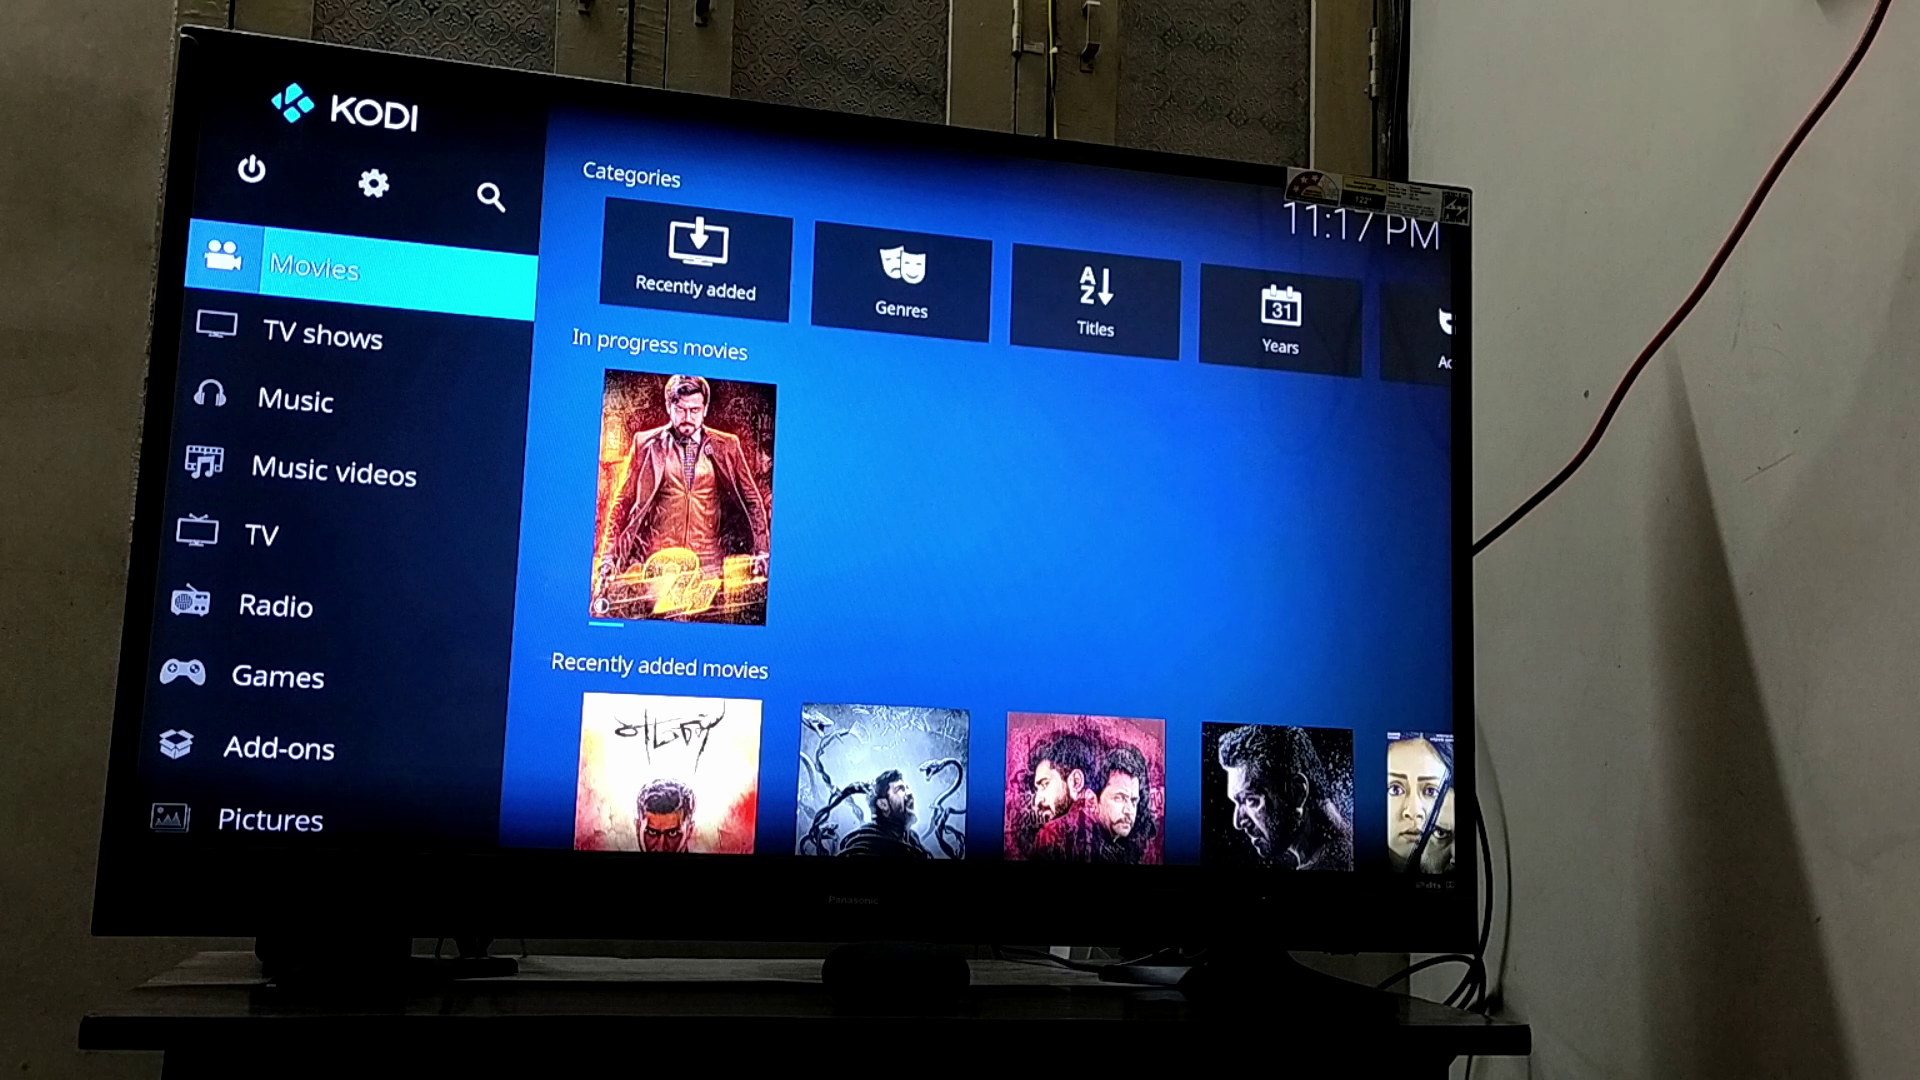
This is not your typical Kodi based media player implemented using Pi. This features voice control and built-in Google Assistant. The Kodi is invoked by wakeword "Kodi" (if you want some other wakeword, of course you can change) and the Google Assistant with the usual "Hey Google" and "Ok Google" wakeword. Commands issued with "Kodi" wakeword is processed for Kodi control and "Hey Google" or "Ok Google" wakeword is processed for queries.
Putting the Media Player Hardware Together
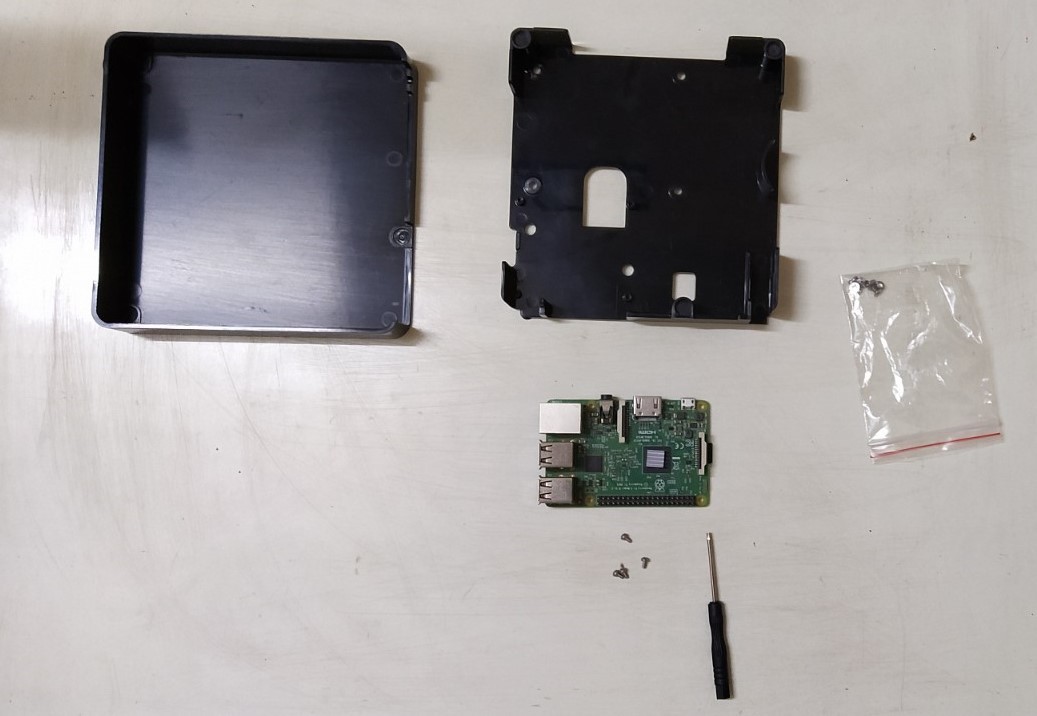
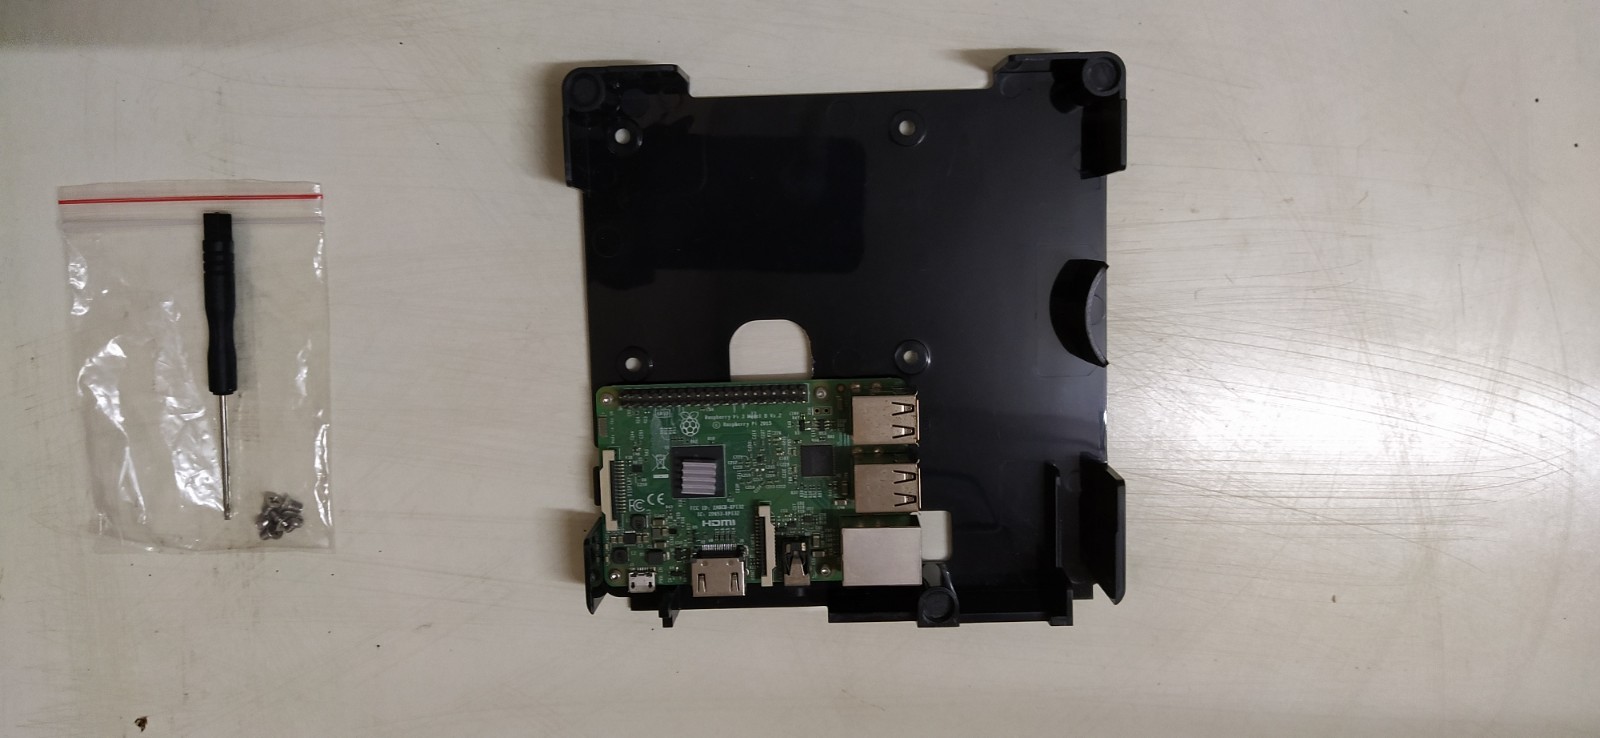
I used an old Western Digital Labs NAS case that was designed exclusively for Pi. At the time of writing this instructable, I had a fully functional Buffalo NAS and hence, did not use a hard drive for this build.
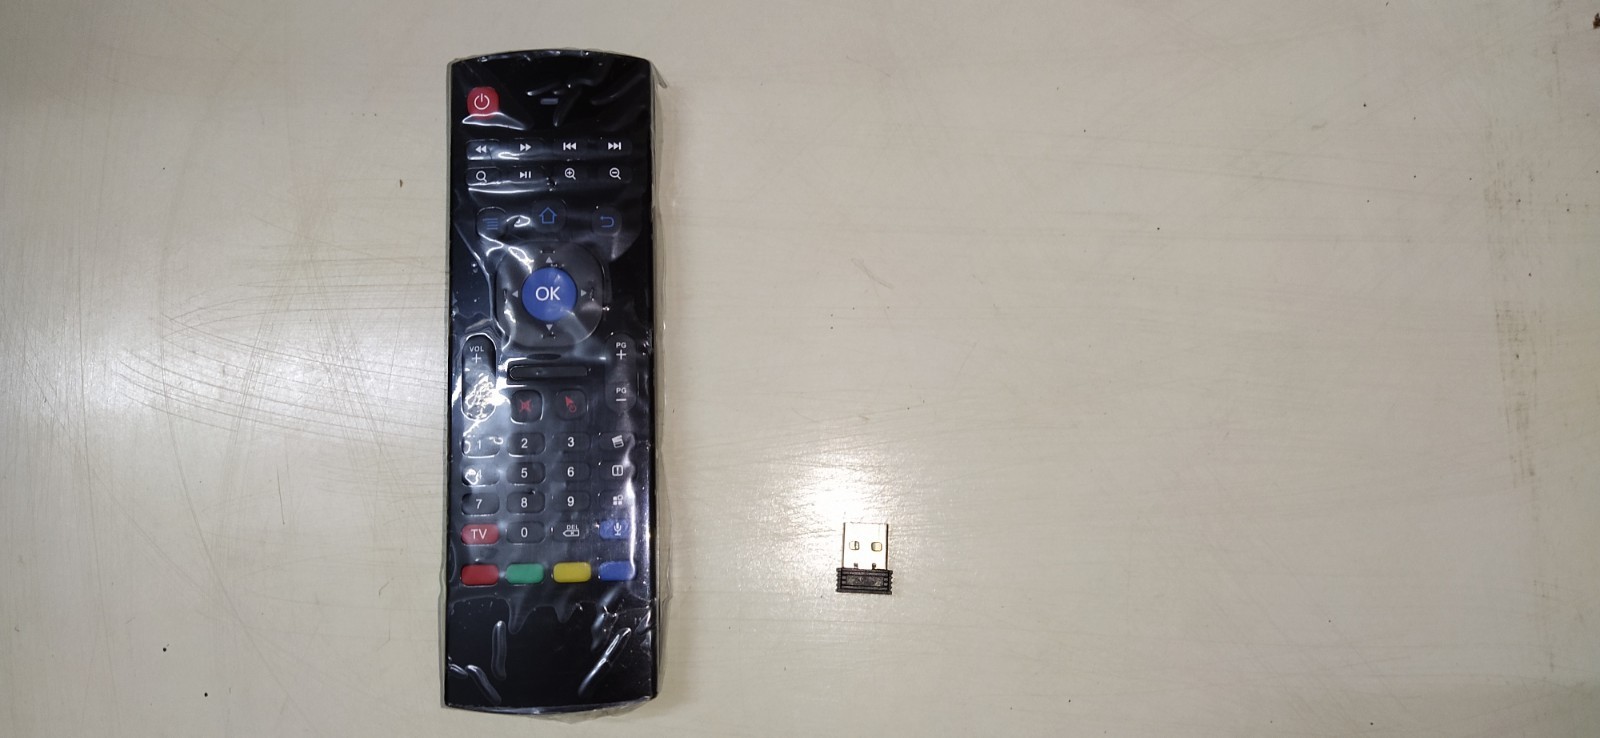
A media box is nothing without a keyboard or mouse, so used an Air Mouse for controlling the media player. A key highlight of the Air Mouse is that, it also has a built-in mic and hence, voice commands can be easily sent without a dedicated mic.
For audio-out, we will be using the Pi's HDMI port.
OSMC - Operating System for the Pi
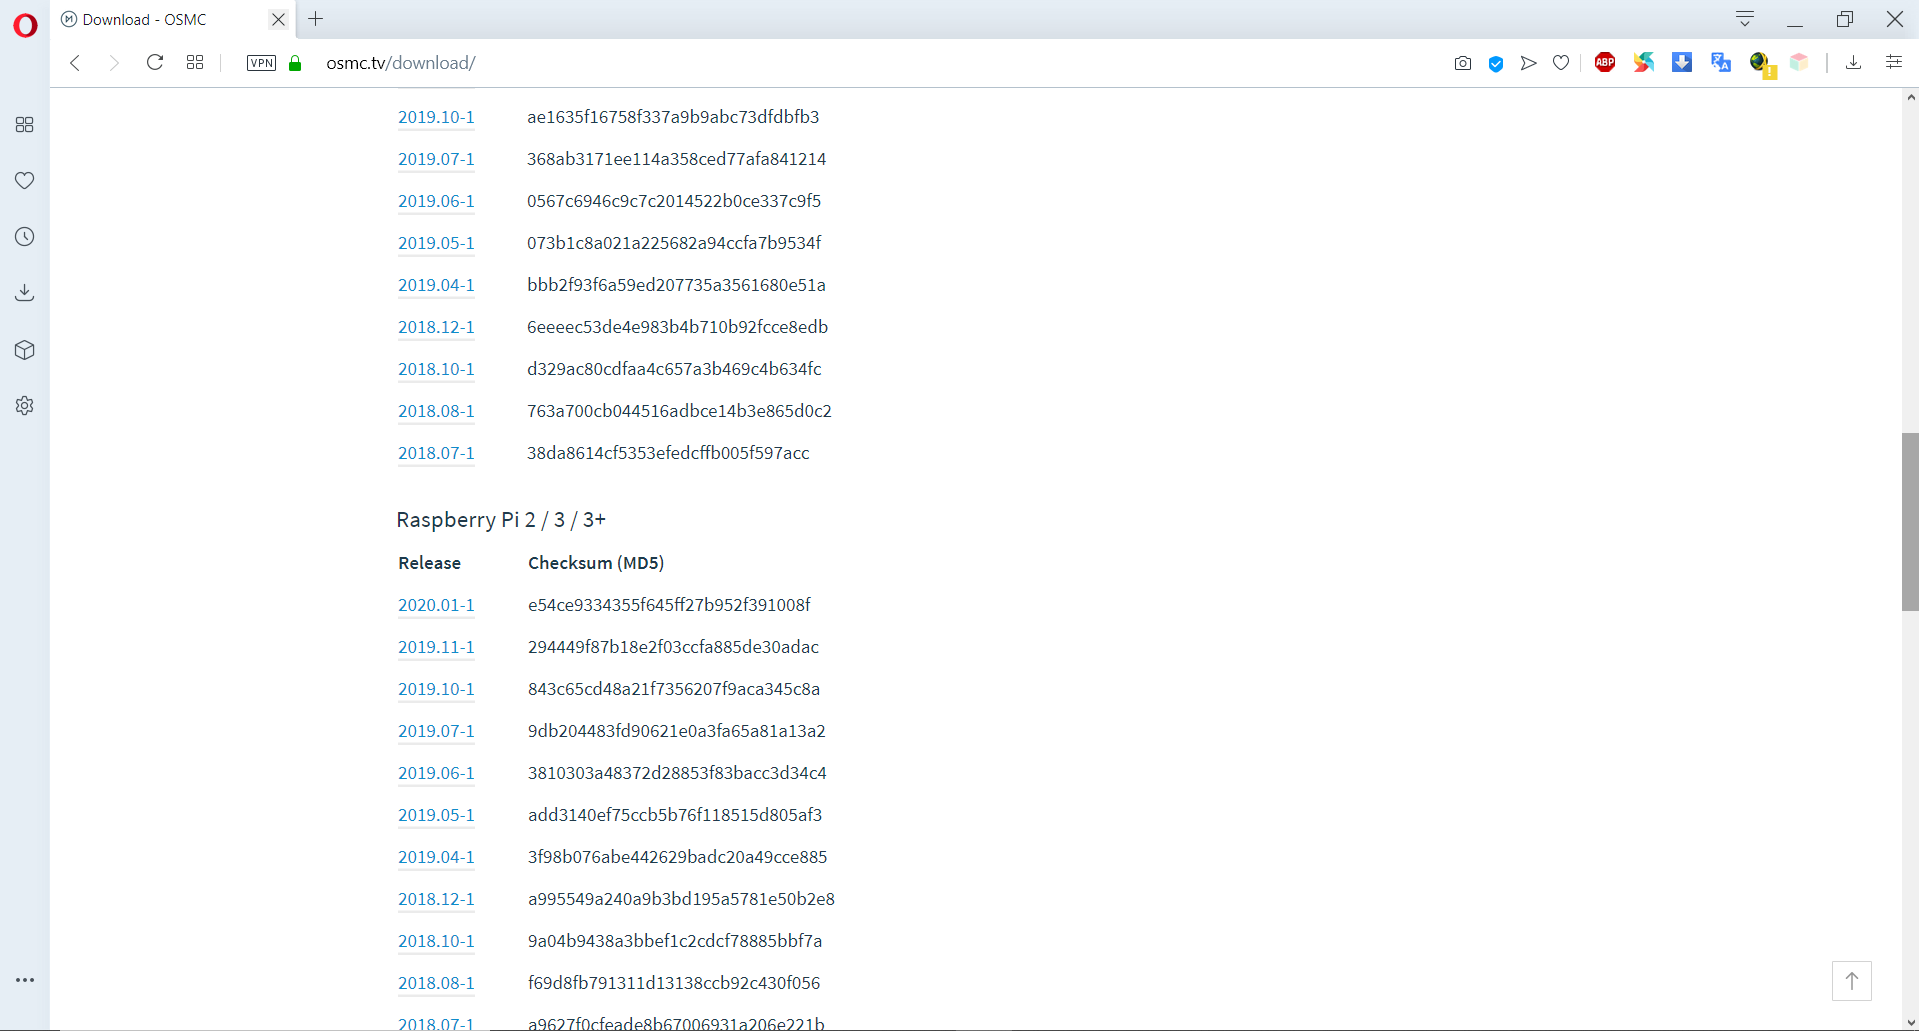
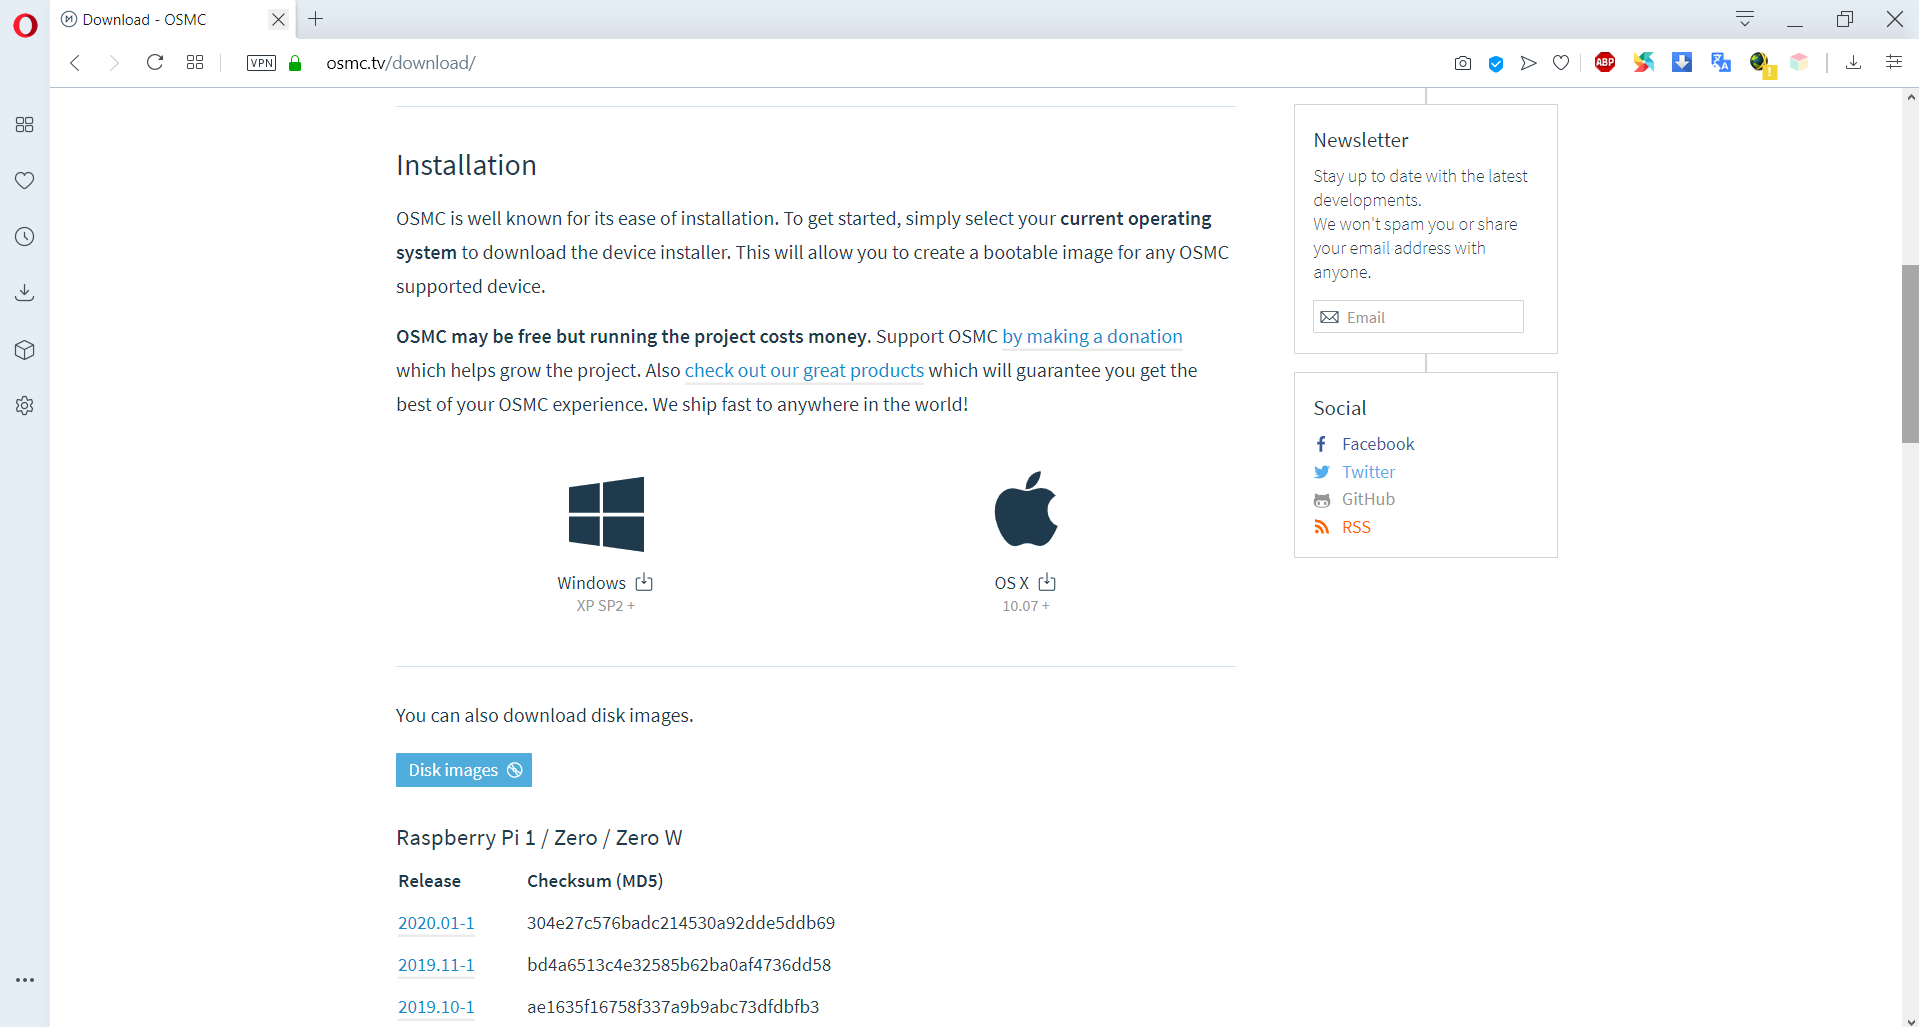
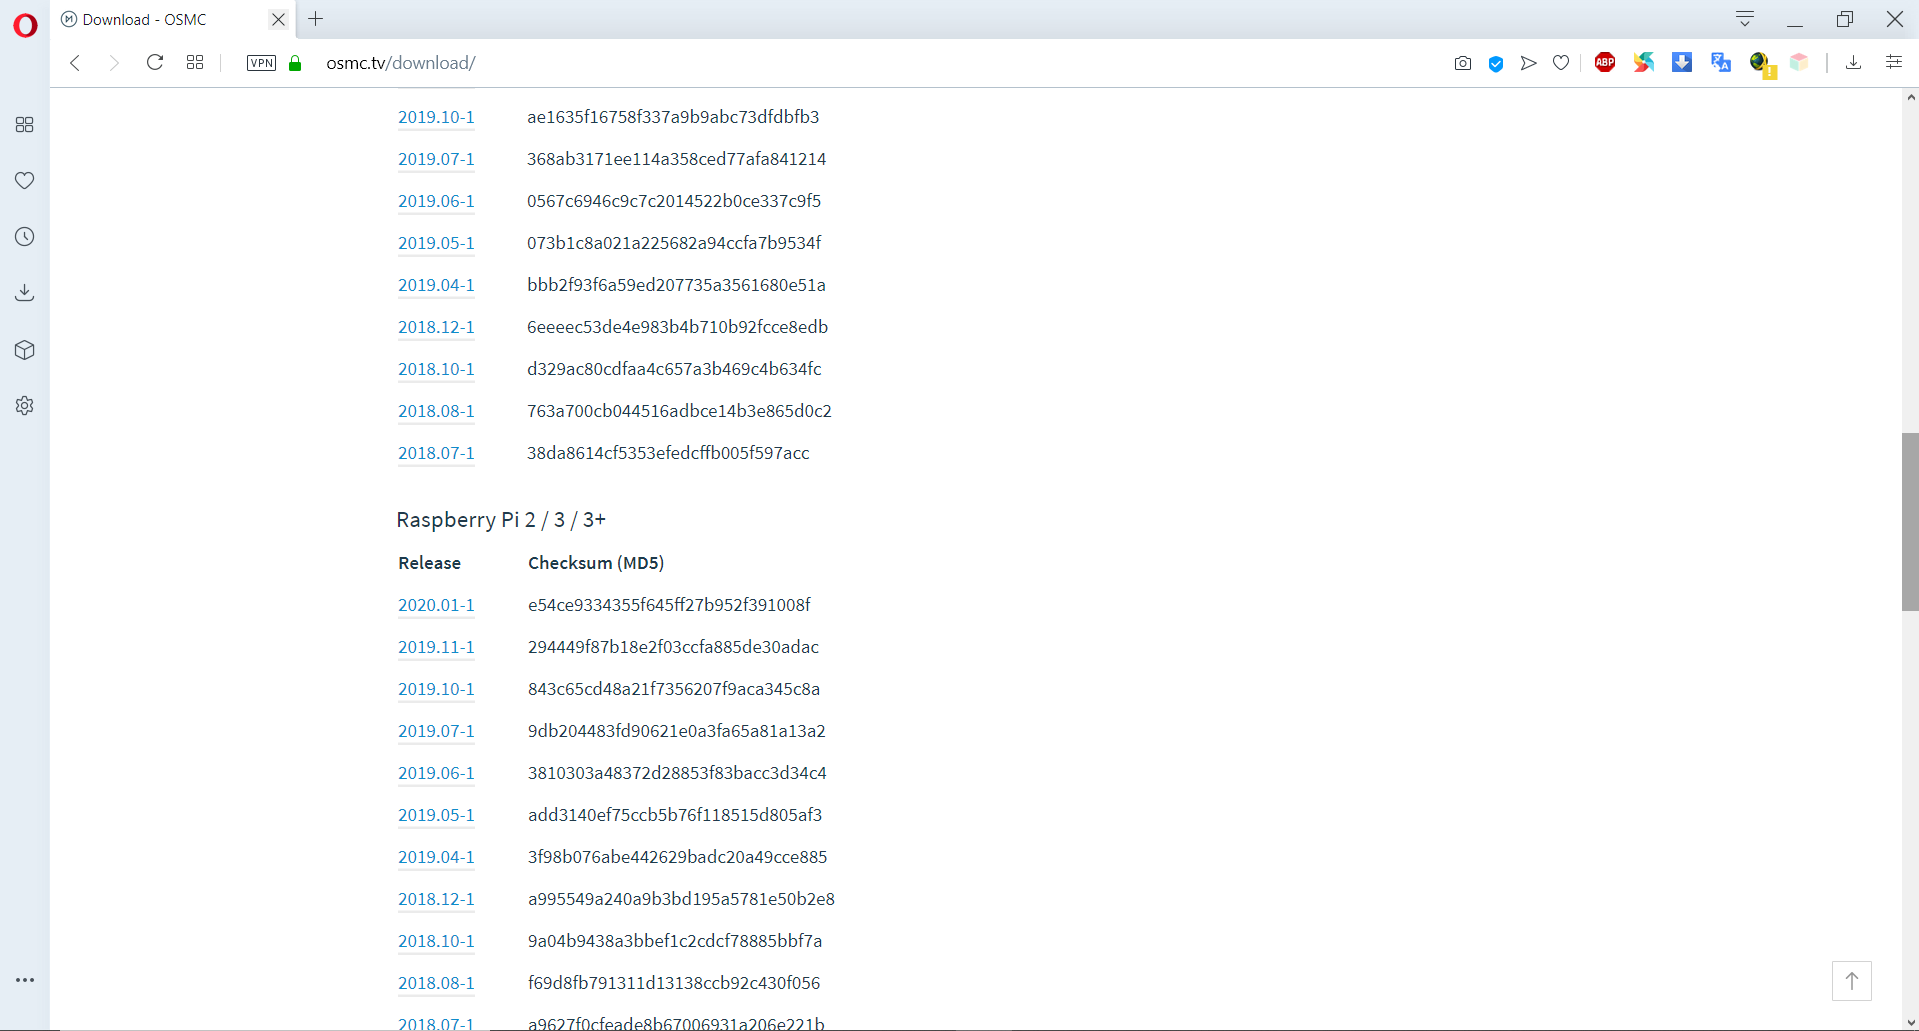

Installing OSMC on Pi is as easy as taking a candy off a kid's hands.
Head over to OSMC's official website by clicking here. Head over to downloads section to download the OSMC installer and the OSMC image.
Upon downloading the OSMC installer, double click and run the installer.
The process is self-explanatory from here, continue with the on-screen prompts to finish with the writing of the image on the SD-Card.
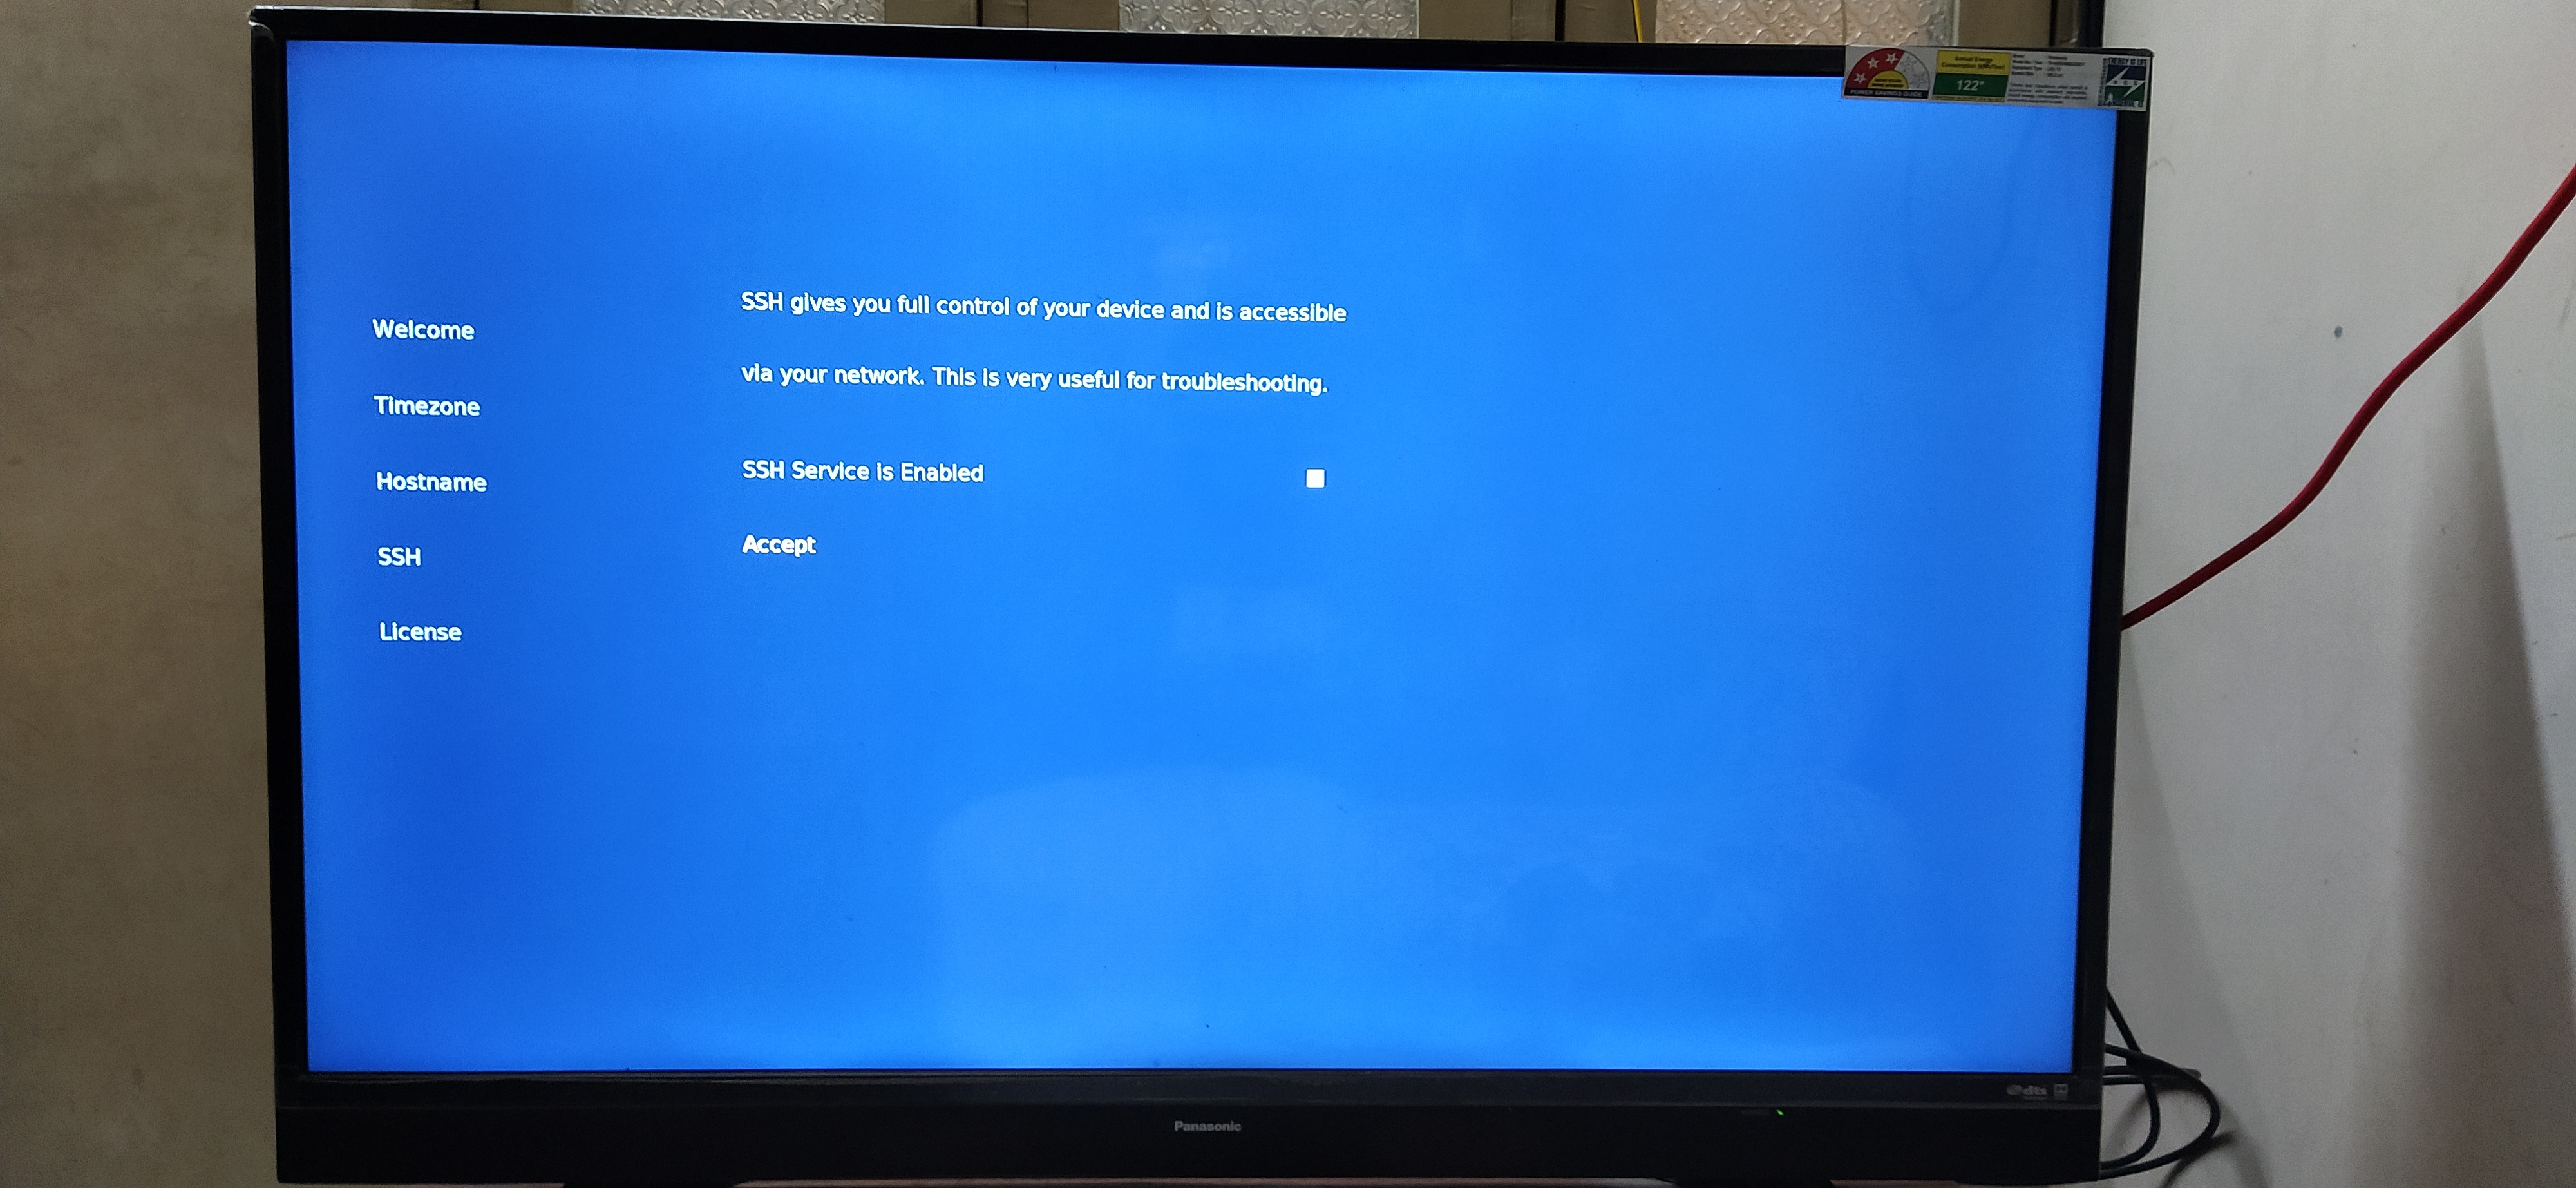
When booting for the first time, you will get an option to setup the language, time-zone and SSH settings. Enable SSH to help with further setup processes as shown.
Setting Up Voice Control and Google Assistant
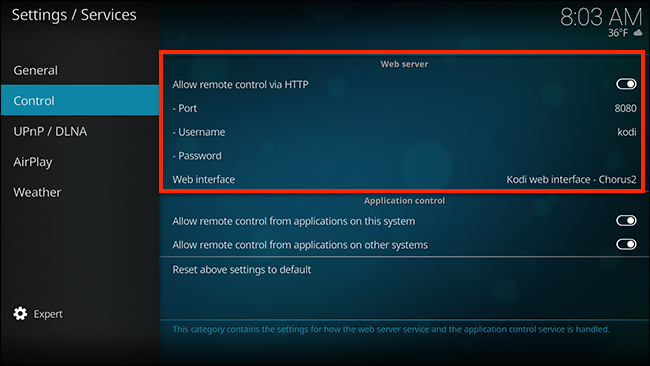

As a first step, enable remote control of Kodi from the settings as shown in the first image. If the port is set to 80 by default, change it to 8080 and also assign a password and username.
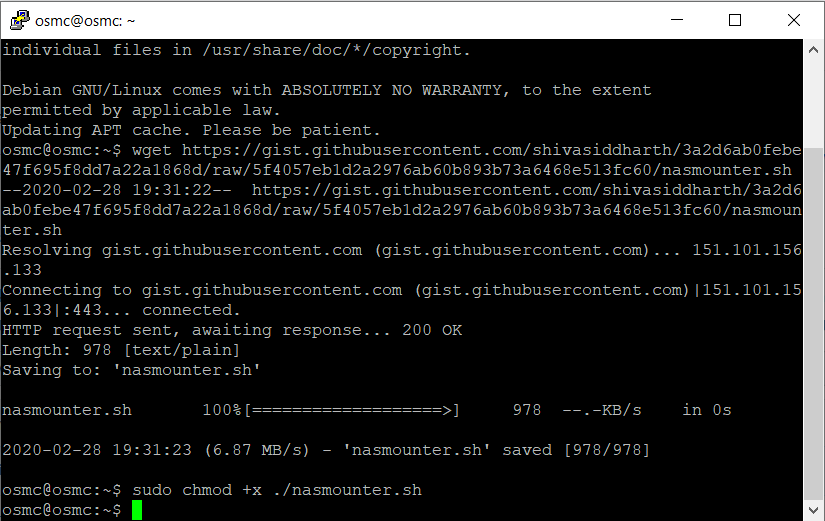
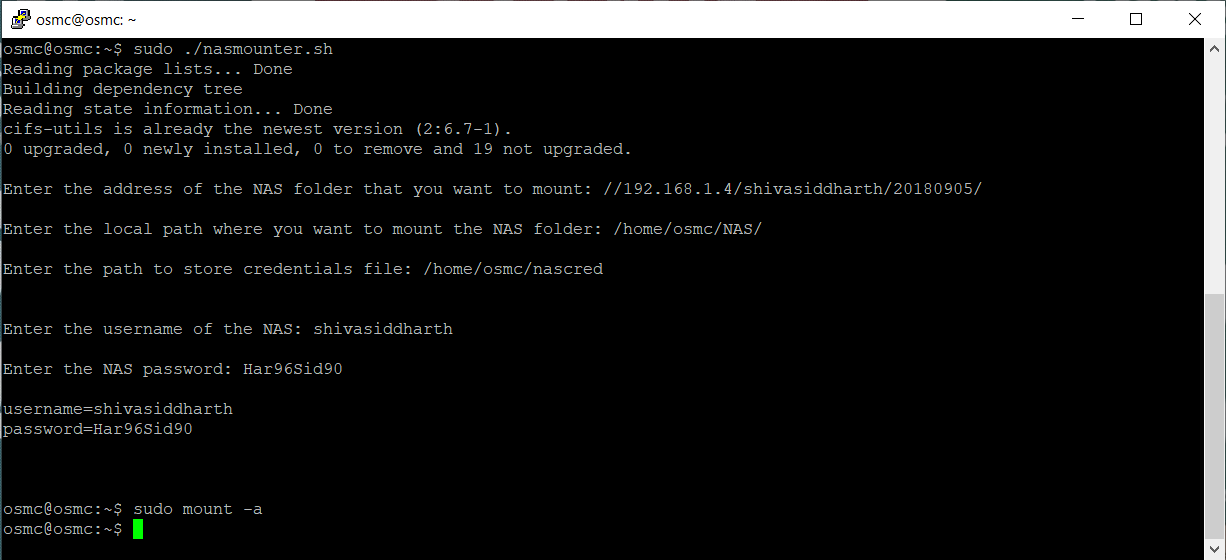
If you have any NAS, it must be mounted on to a local Pi directory. I have create a script to do that easily. Check out this NASMOUNTER SCRIPT. I have made a detailed video already on how you can use this script. Check that out for guidance.
Next step in the process is to install Google Assistant. We will be using Google Assistant Librray for the speech to text translation service.
This page on Google's website, gives detailed step-by-step instructions for setting up the project before the actual installation. DO NOT WORRY ABOUT THE DEPRECATION WARNING. Also, you might find this video useful.
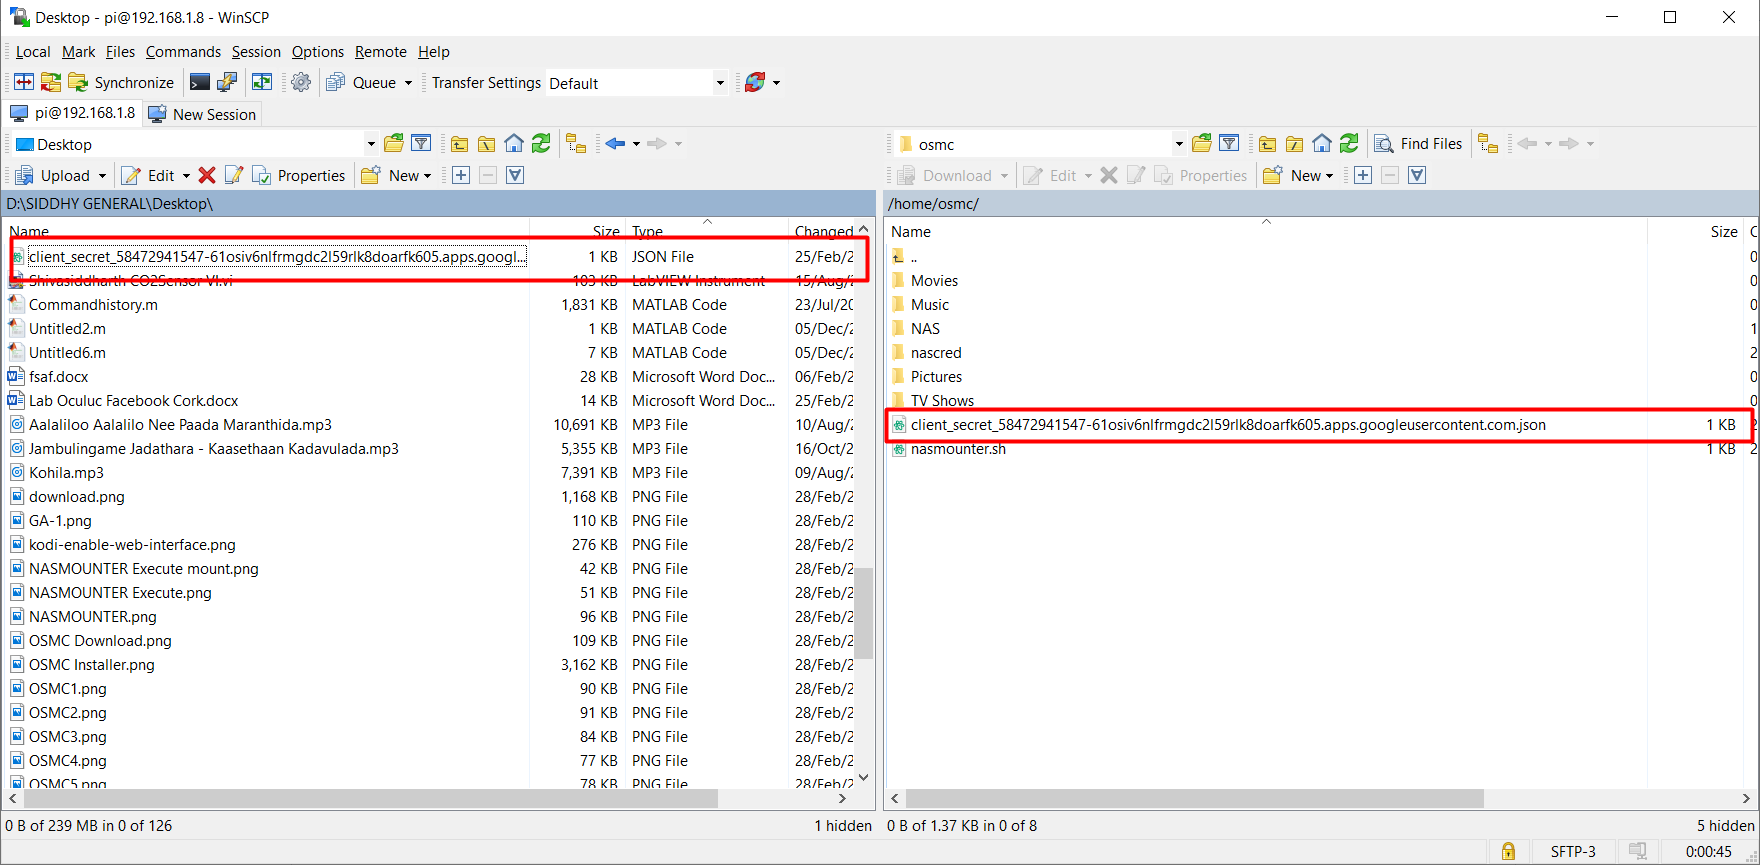
After the preliminary project setup is complete, we will start with the actual installation of the Assistant itself. You can use WinSCP to copy the credentials file from PC to Pi as shown.
From time to time, the instructions might change due to developments, hence I always suggest people to follow the project's README which will always remain up-todate. At the end of installation, you will prompted to authorize just like how its shown in the image. If some issue arises in between, always feel free to open an issue in the Git or ping me in the Gitter.
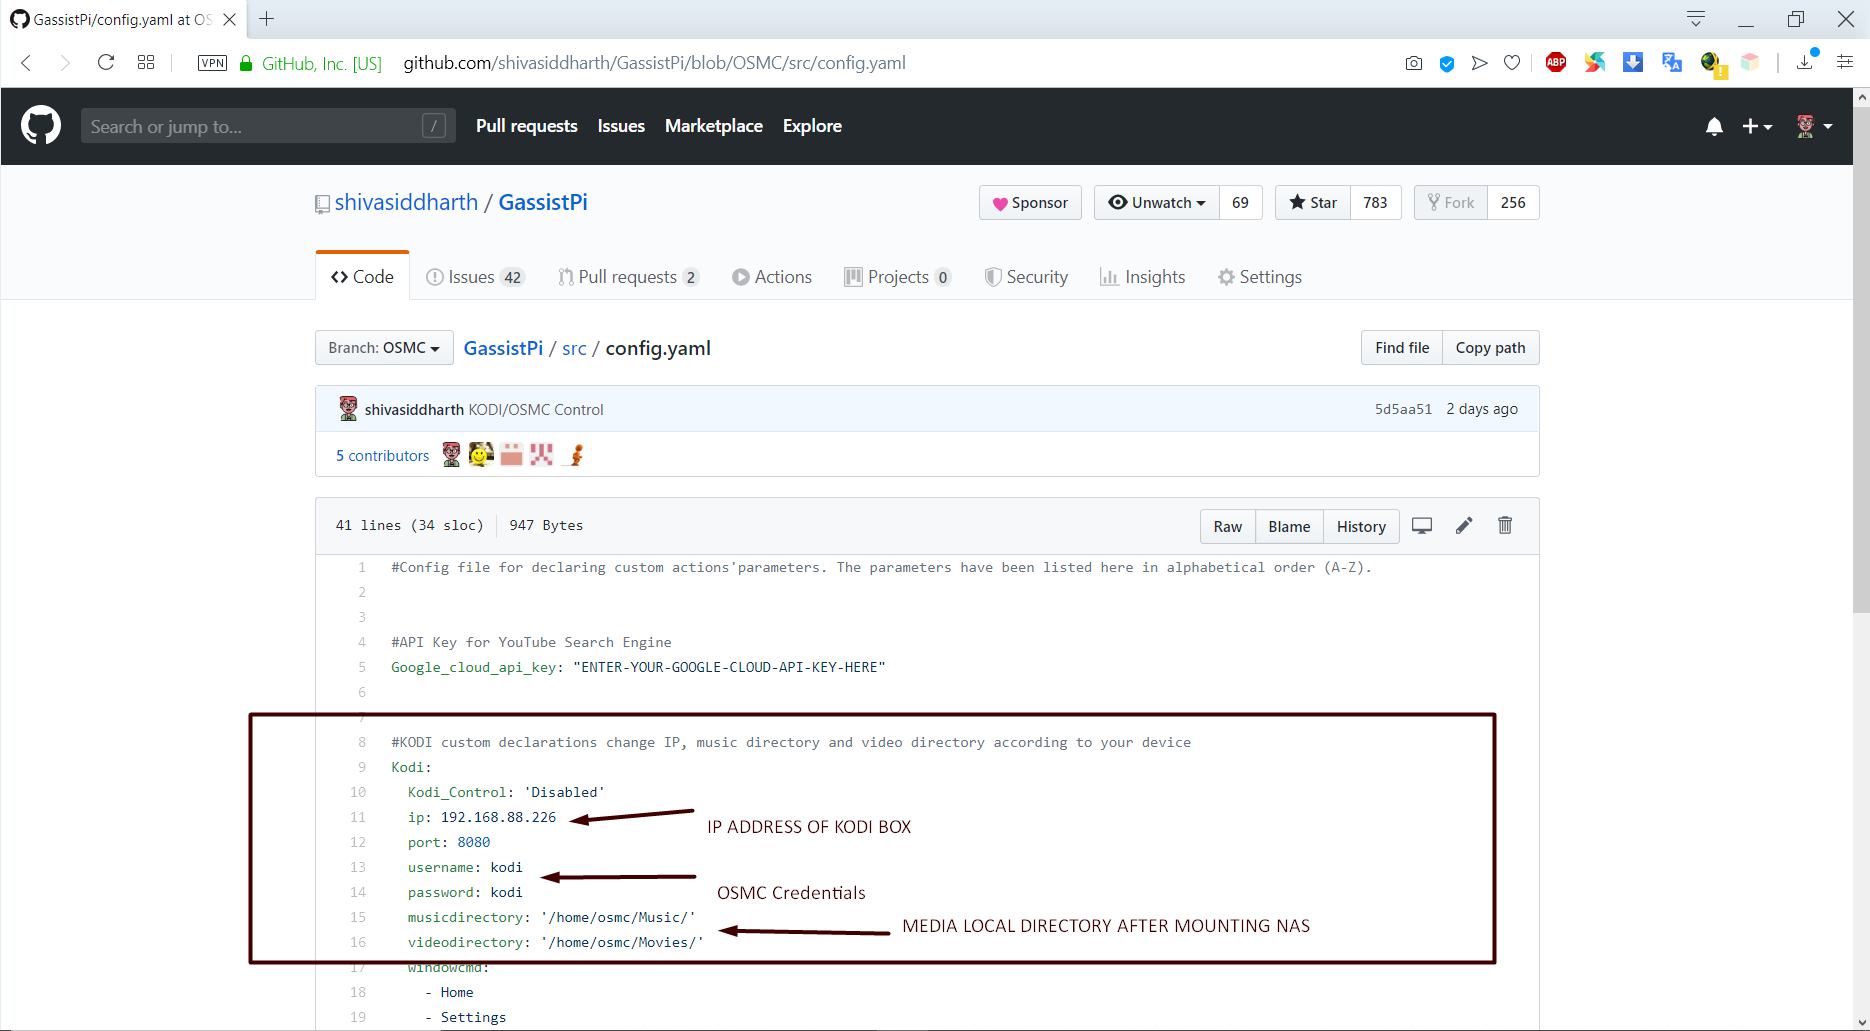
Before, we start issuing commands to the Kodi, we need to configure the settings. This can be done in the config.yaml file located in /GassistPi/src directory as shown.
Setup the assistant to start as a service on boot using the instructions provided in the README. Now, you should be able to control Kodi and make Google Assistant queries immediately after boot.
Now Lets Give It a Run
Here is below the demo of this project working.