Virtual Halloween Costumes Using Adobe Photoshop
by KingOnTrack in Design > Digital Graphics
1385 Views, 0 Favorites, 0 Comments
Virtual Halloween Costumes Using Adobe Photoshop
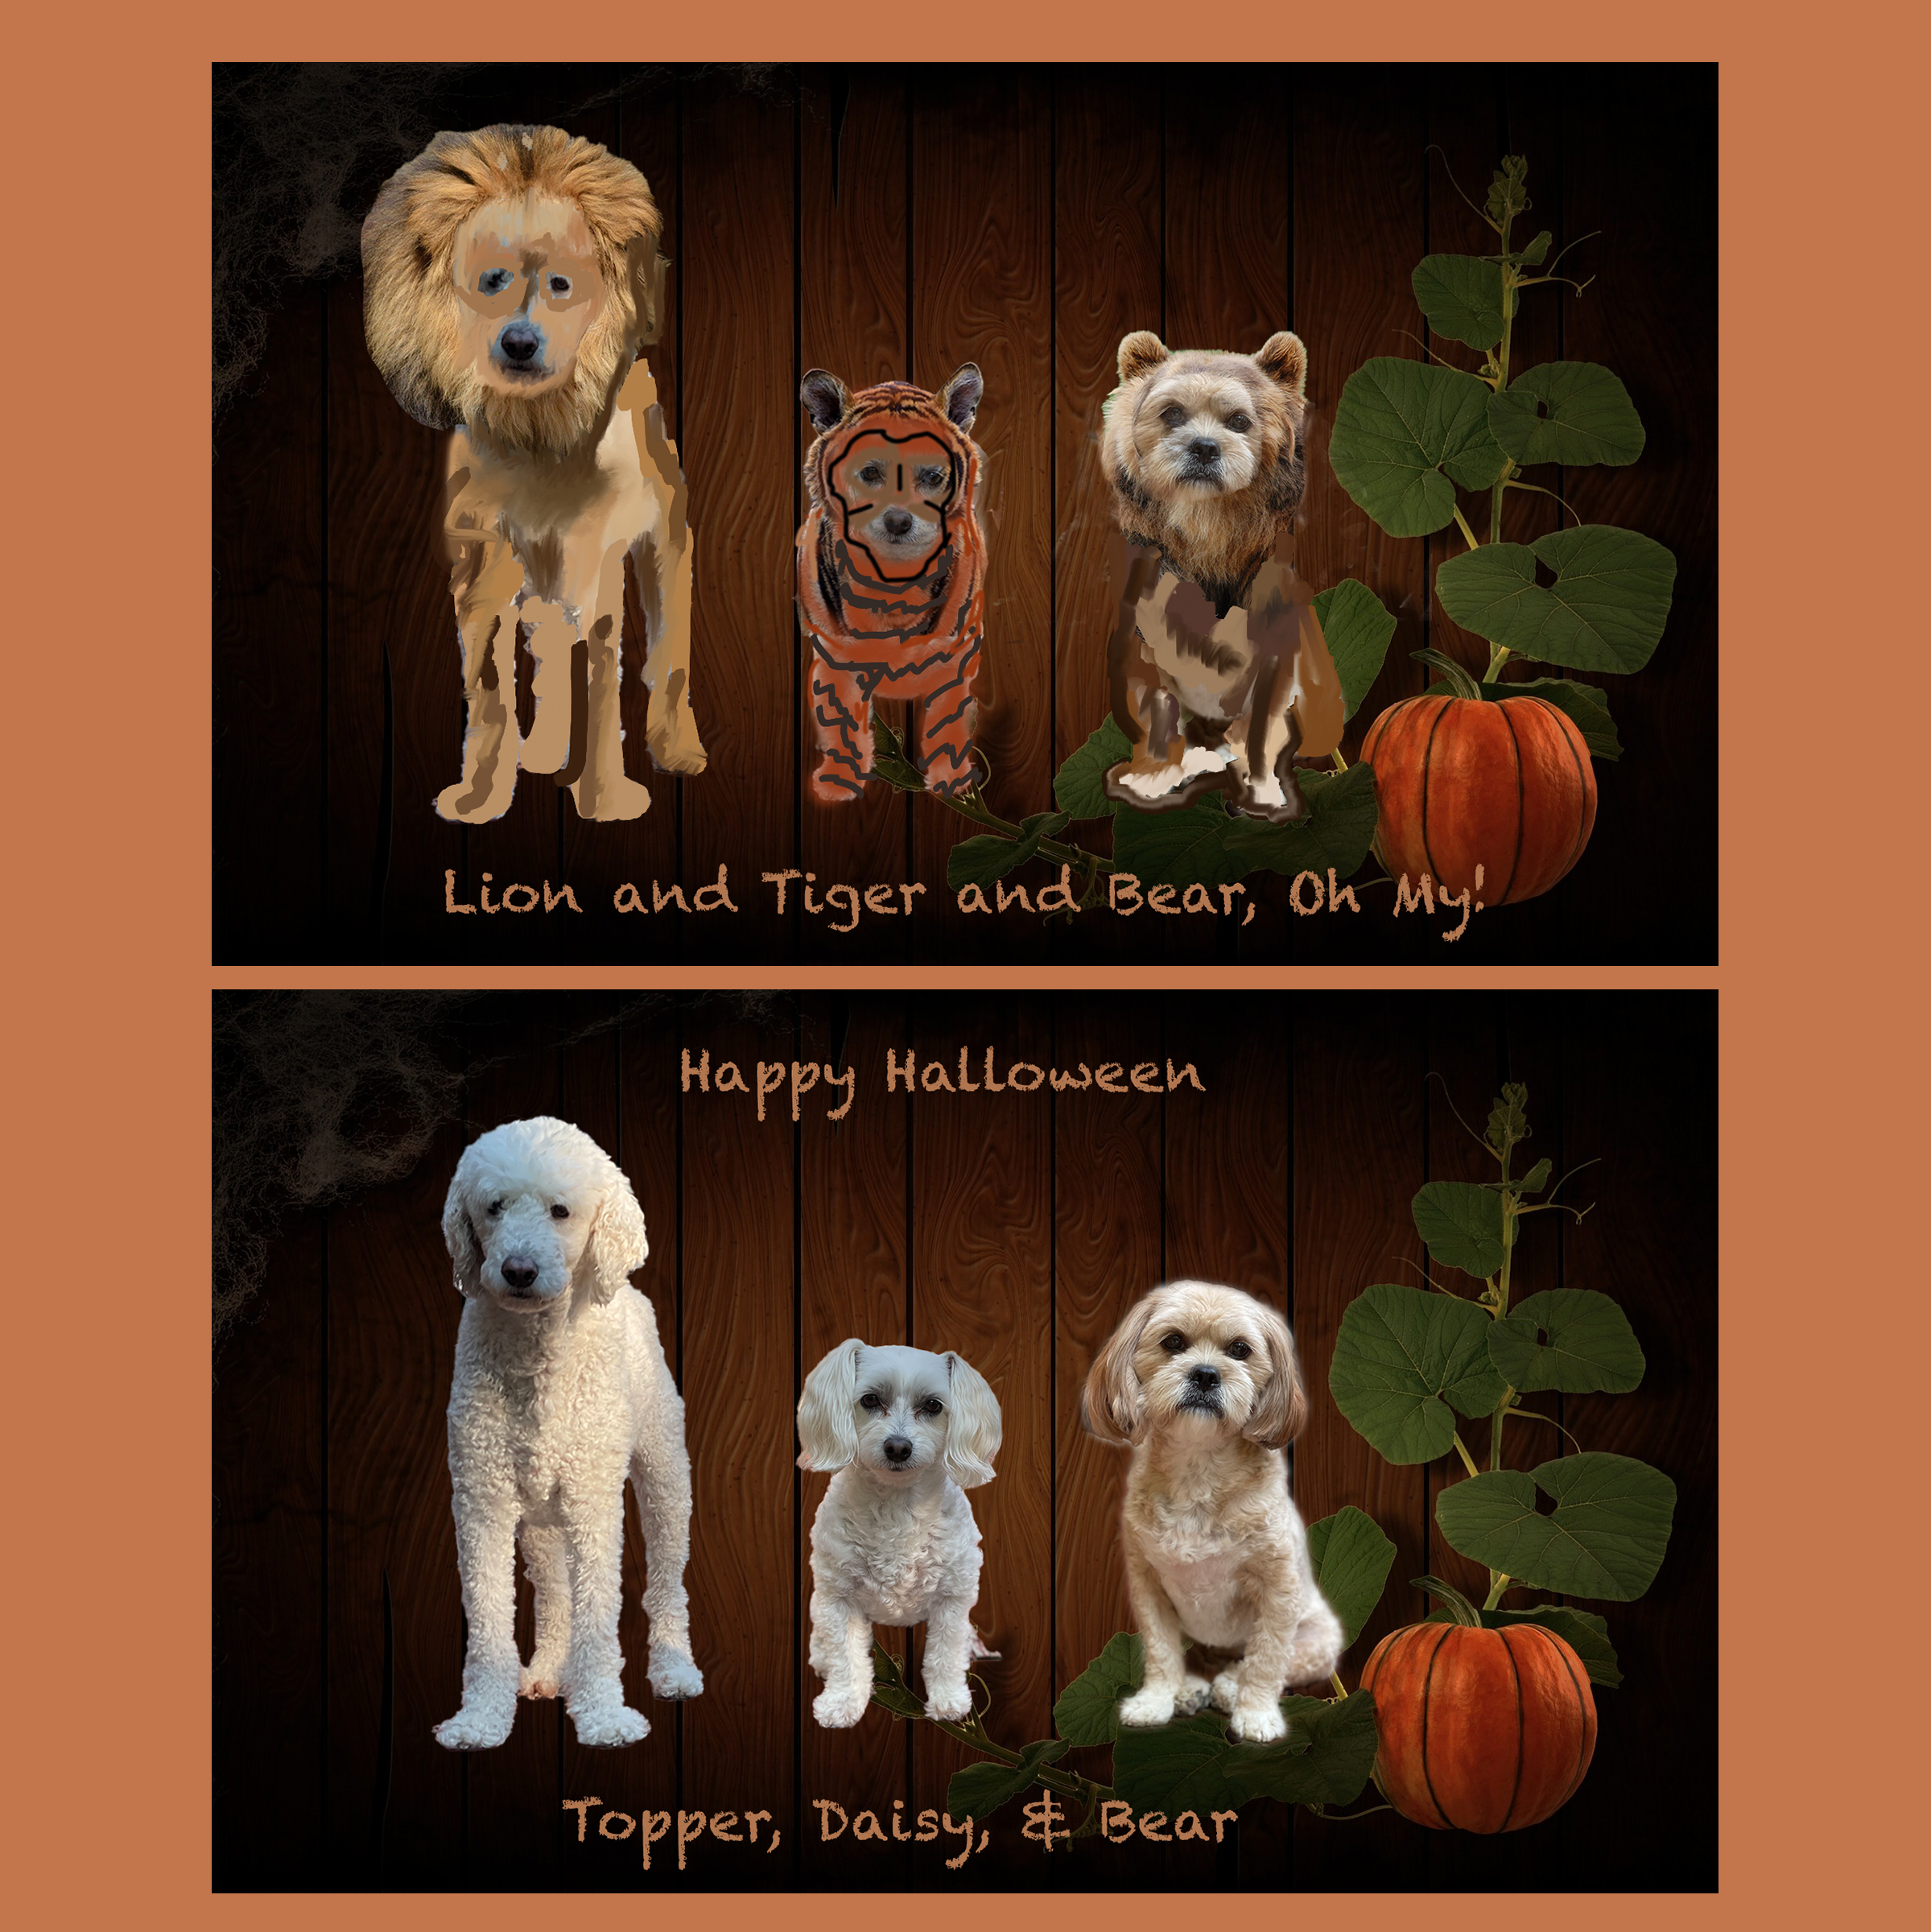
During the past few years I have made very elaborate Halloween costumes for our three dogs. Halloween 2019 was a rain-out and there were no trick-or-treaters in 2020 and 2021 due to the Pandemic. Furthermore, most of the neighborhood kids (including ours) have moved out or left for college. So this year, I decided to skip the hassle of dressing the dogs and posing for pictures by creating virtual costumes to post on Instagram, Facebook, etc.
Over the summer I had completed an online Photoshop class offered by ed2go.com through my local community college. I primarily wanted to learn how to make composites for my blog, but the 12-lesson course was very comprehensive and I enjoyed learning a variety of techniques, such as digital painting and photo restoration. I particularly enjoyed digital painting, so I thought I would incorporate this technique into my Halloween costume design.
Our final assignment was to create a portfolio with a sampling of the projects we completed during the class, as well as our own work. My portfolio is available at https://behance.net/kingontrack. I am by no means a Photoshop expert, but I have enjoyed the challenge of learning new computer skills. This Instructable is also my first attempt at creating YouTube videos.
Supplies
This Instructable requires a Windows PC or Apple Computer. If possible, the computer should be equipped with a mouse, although a trackpad can also be used.
Intermediate computer skills--i.e., knowledge of the following:
- download files and install programs
- transfer photo files from a camera, iPhone, or other device
- familiarity with computer terminology and file structure
Digital photos of subjects (pets or people) in JPEG or PNG format (see Step 2)
You would also need at least a trial of Adobe Photoshop to create this project (see Step 3)
Decide on a Theme for Your Costume
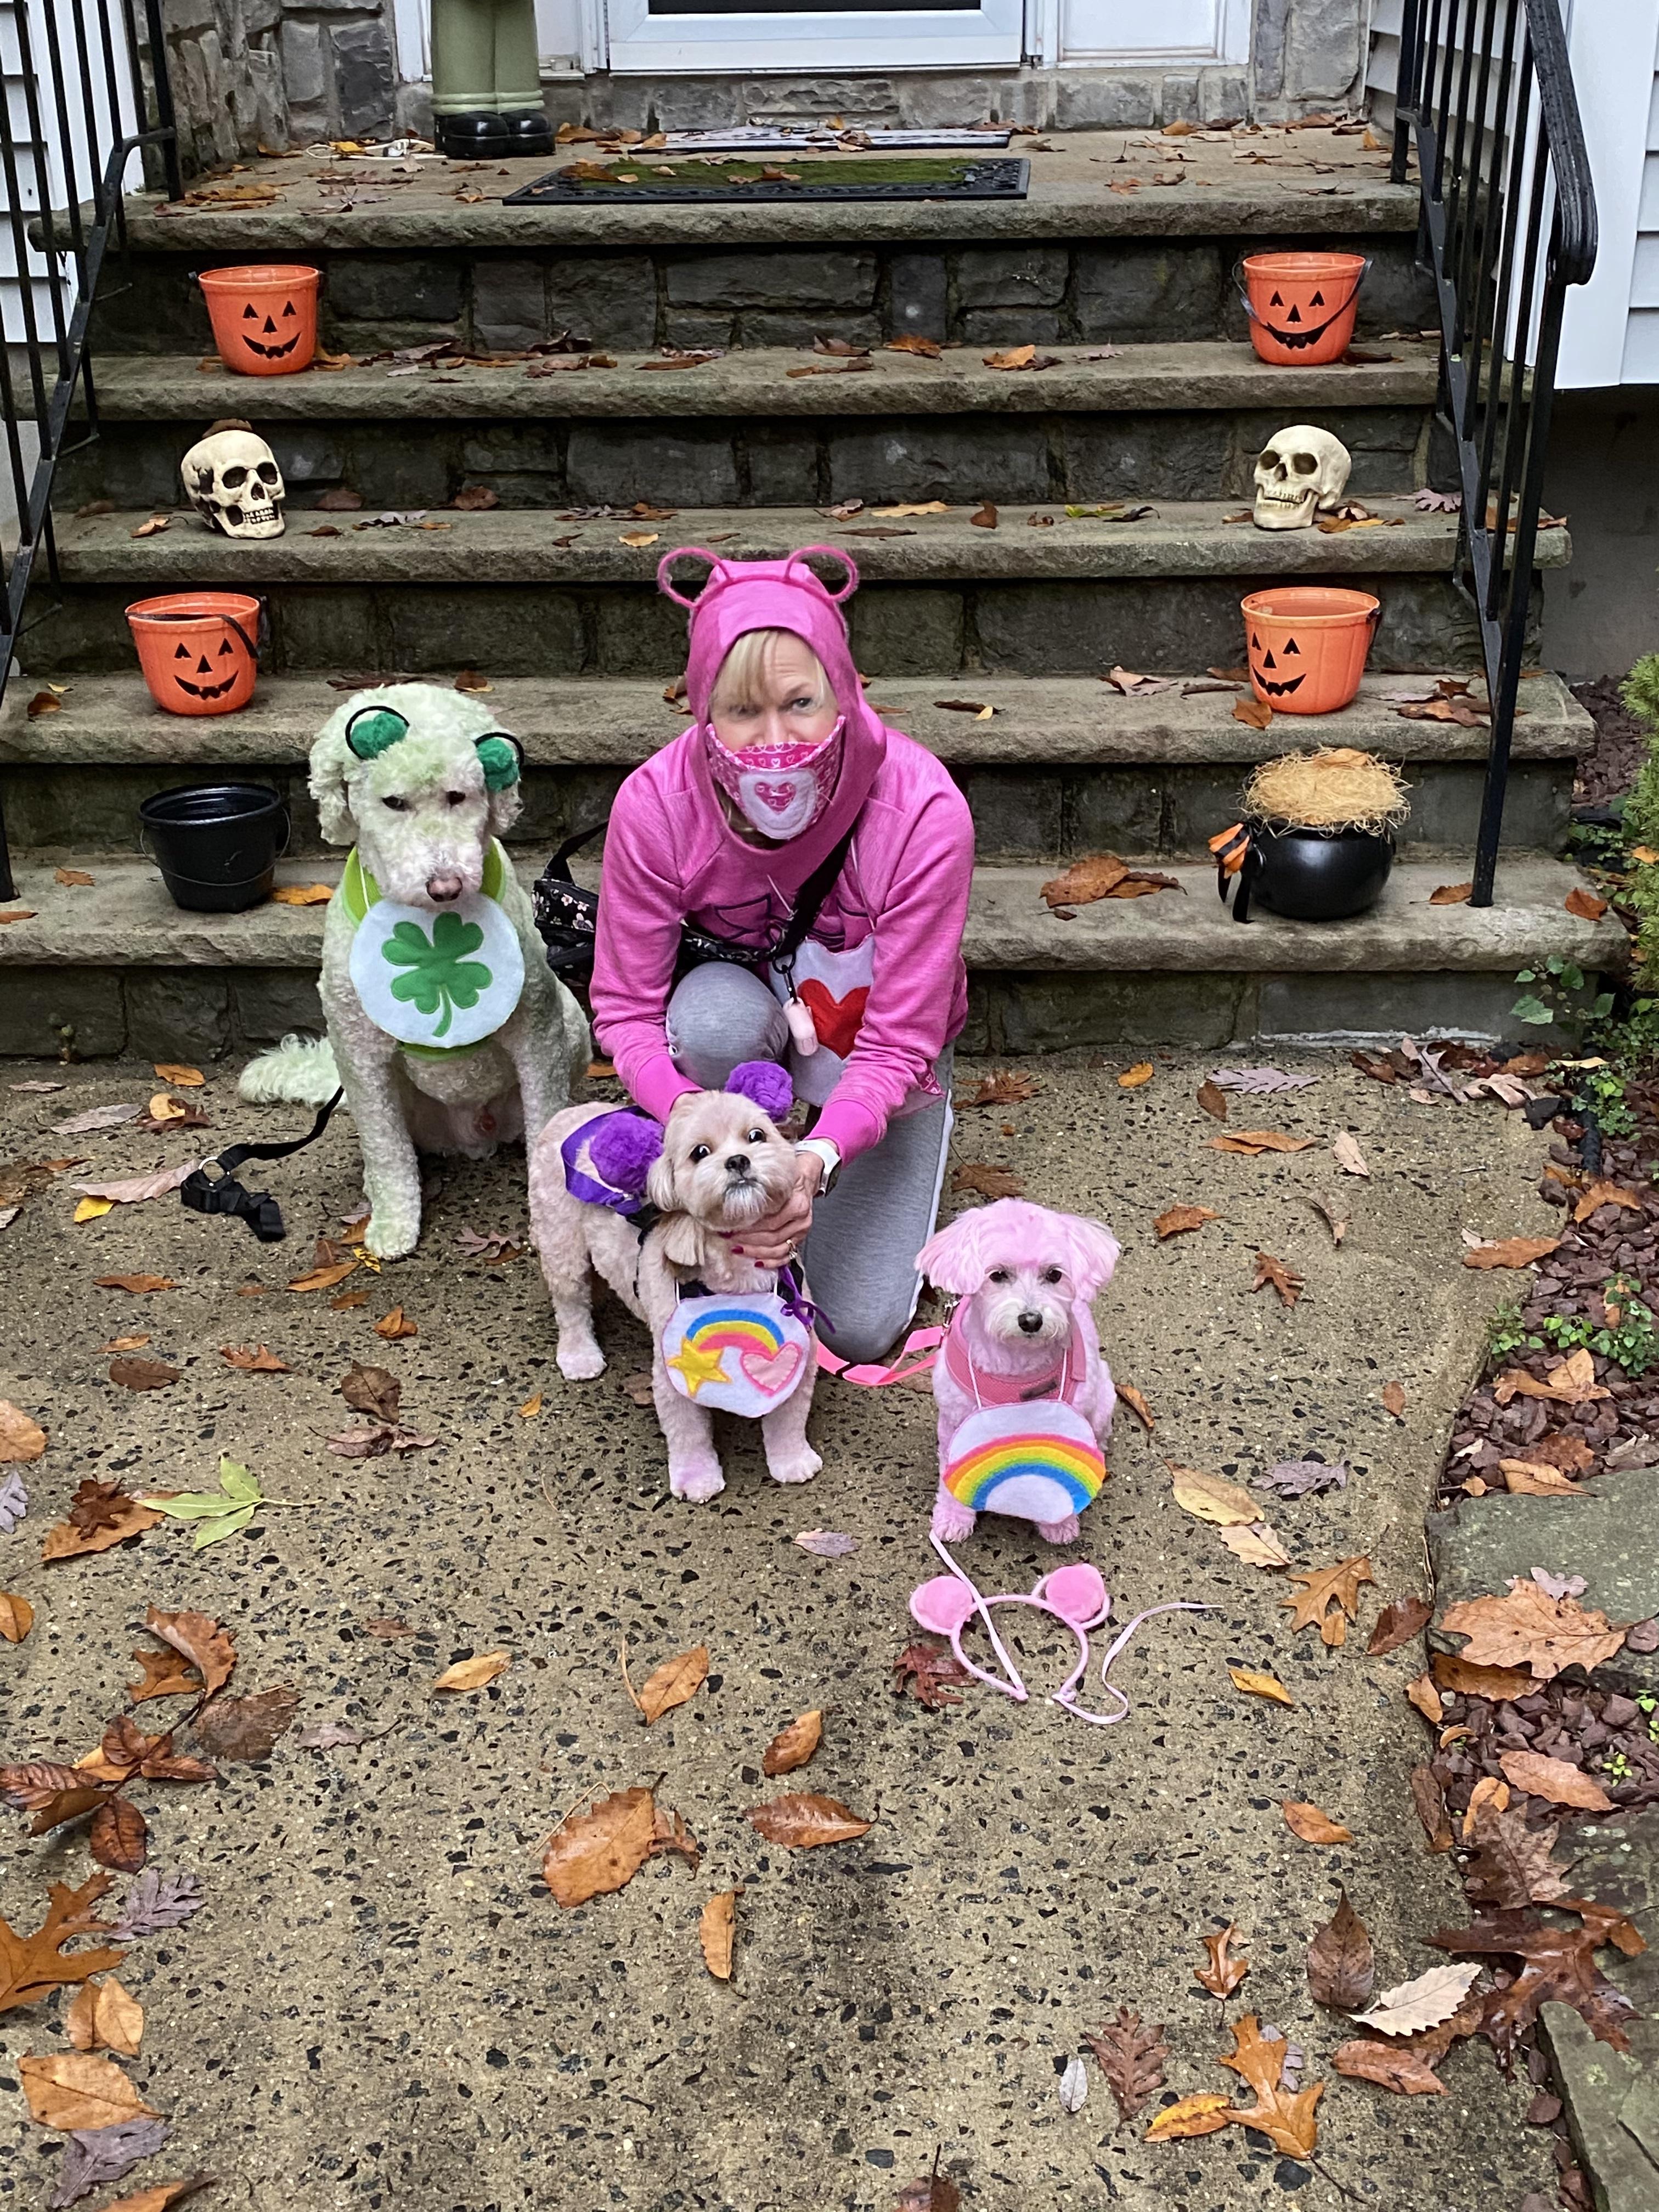
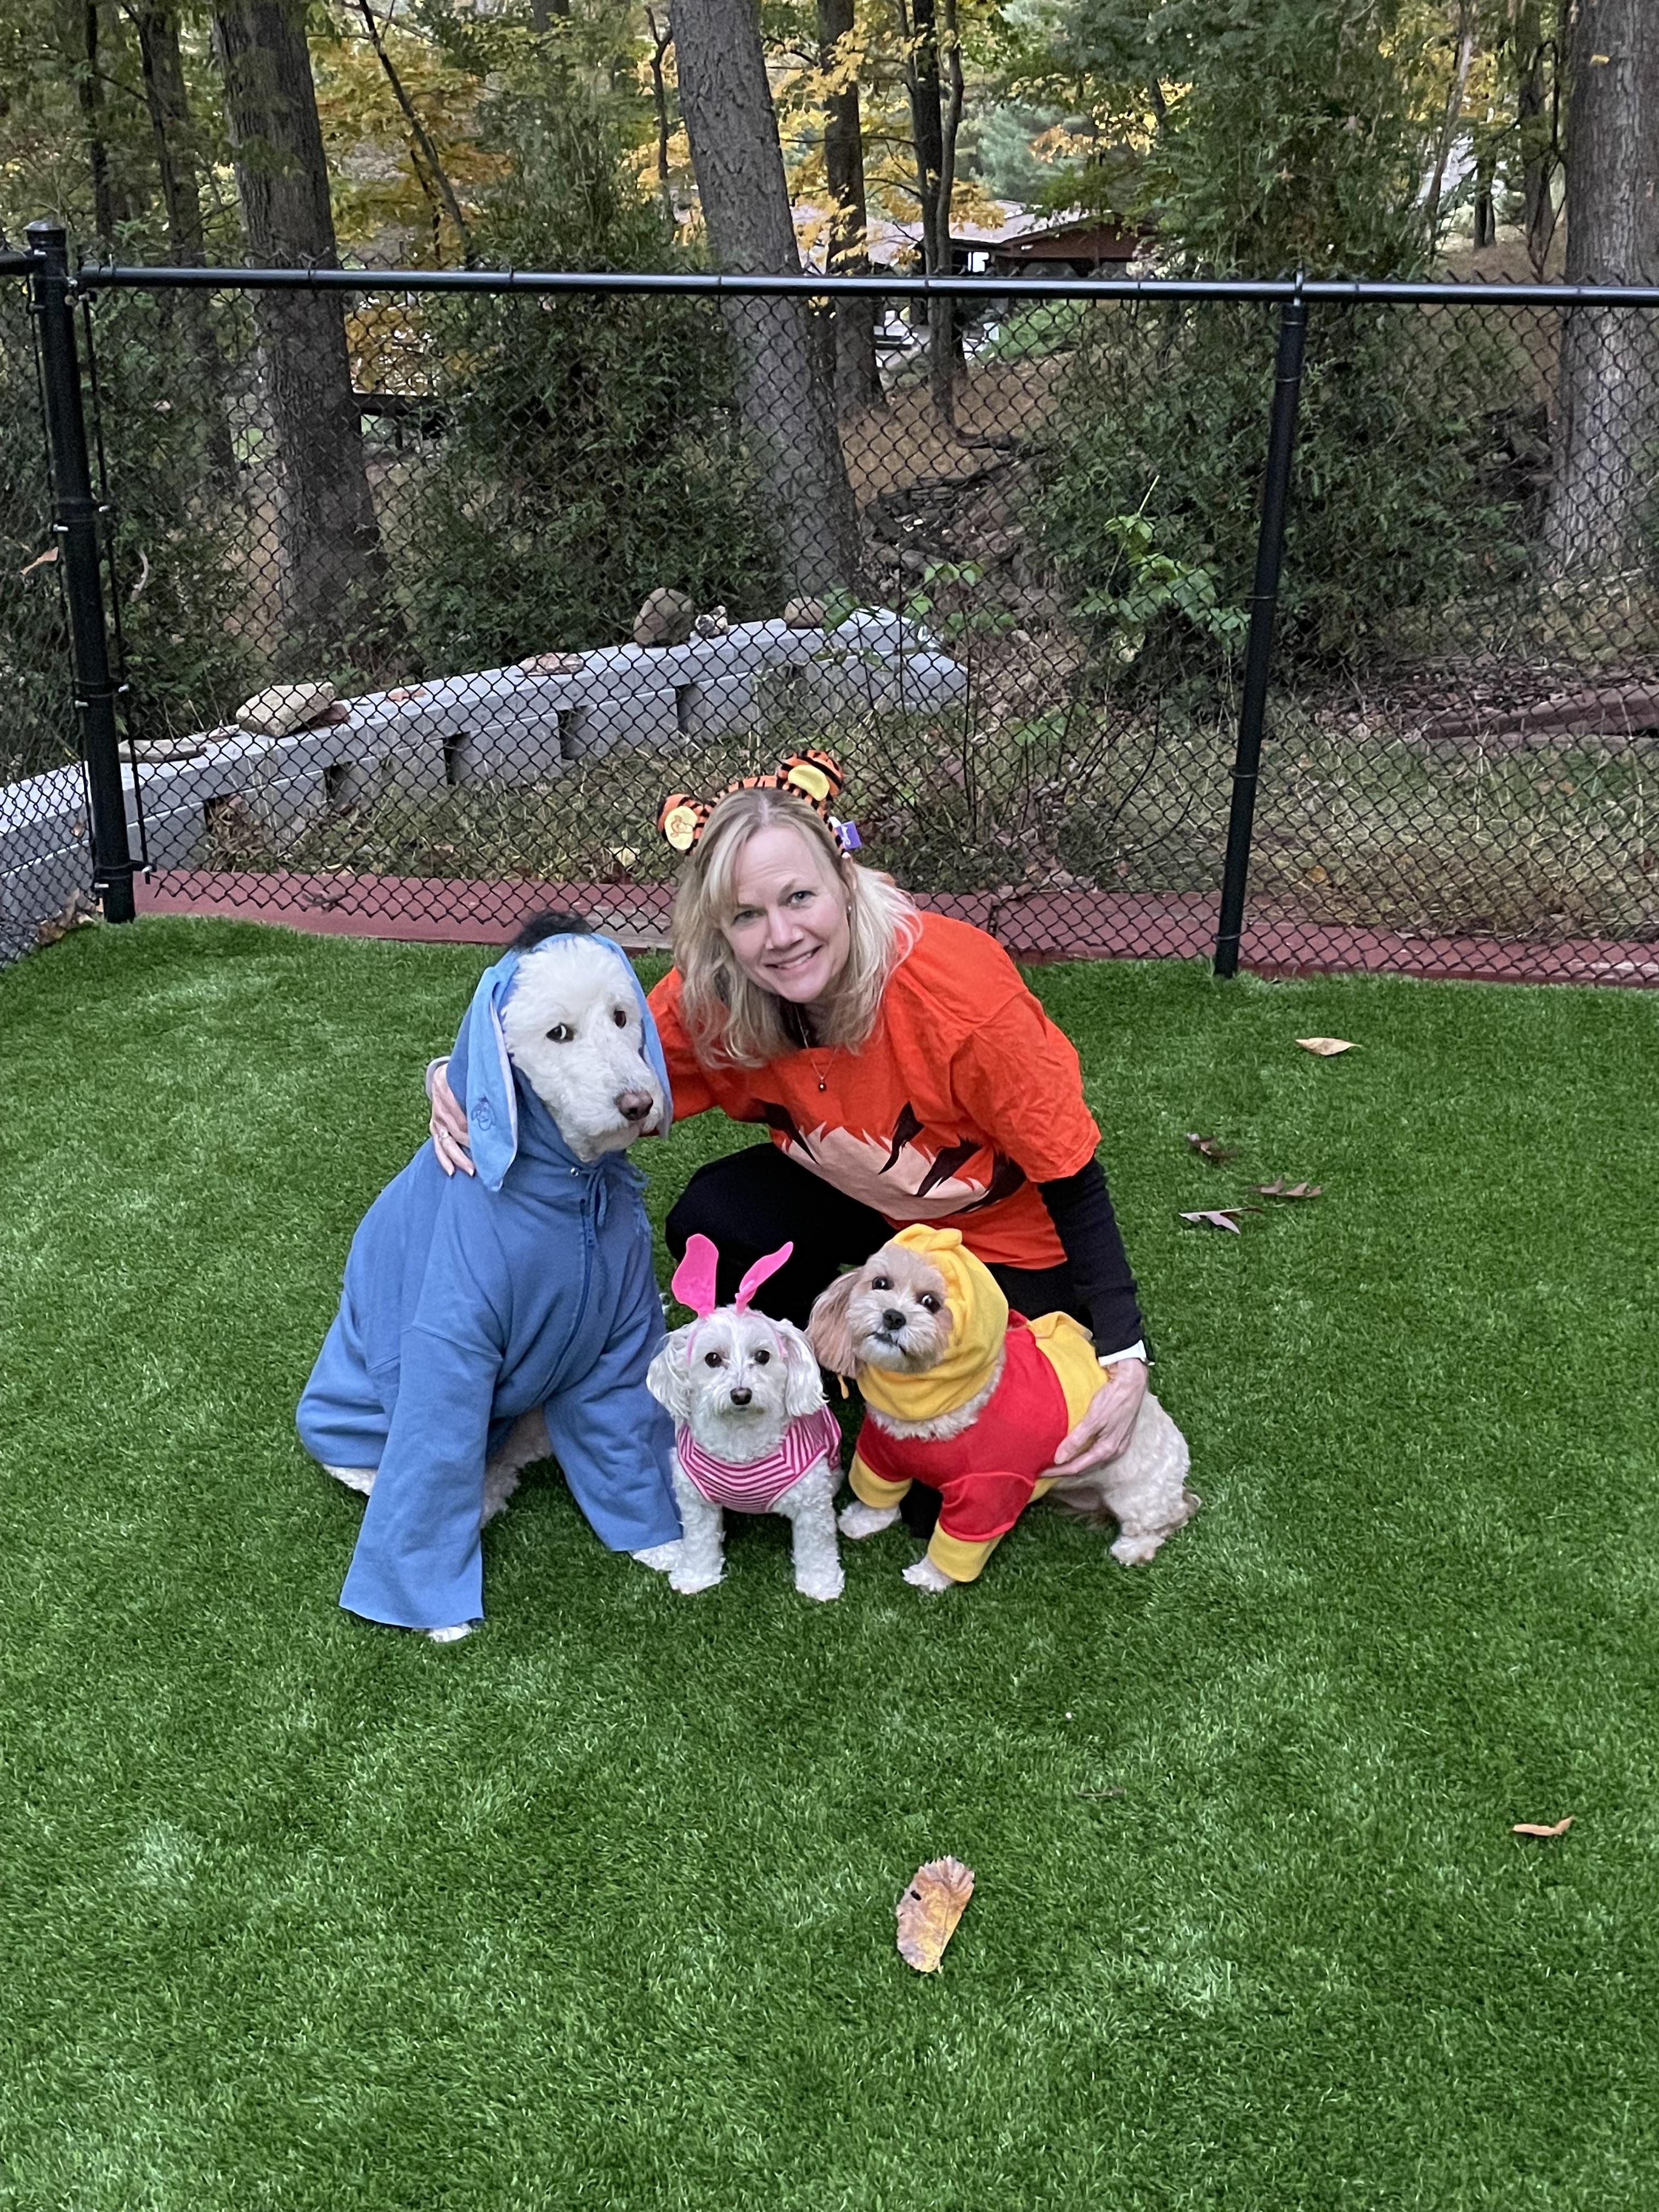
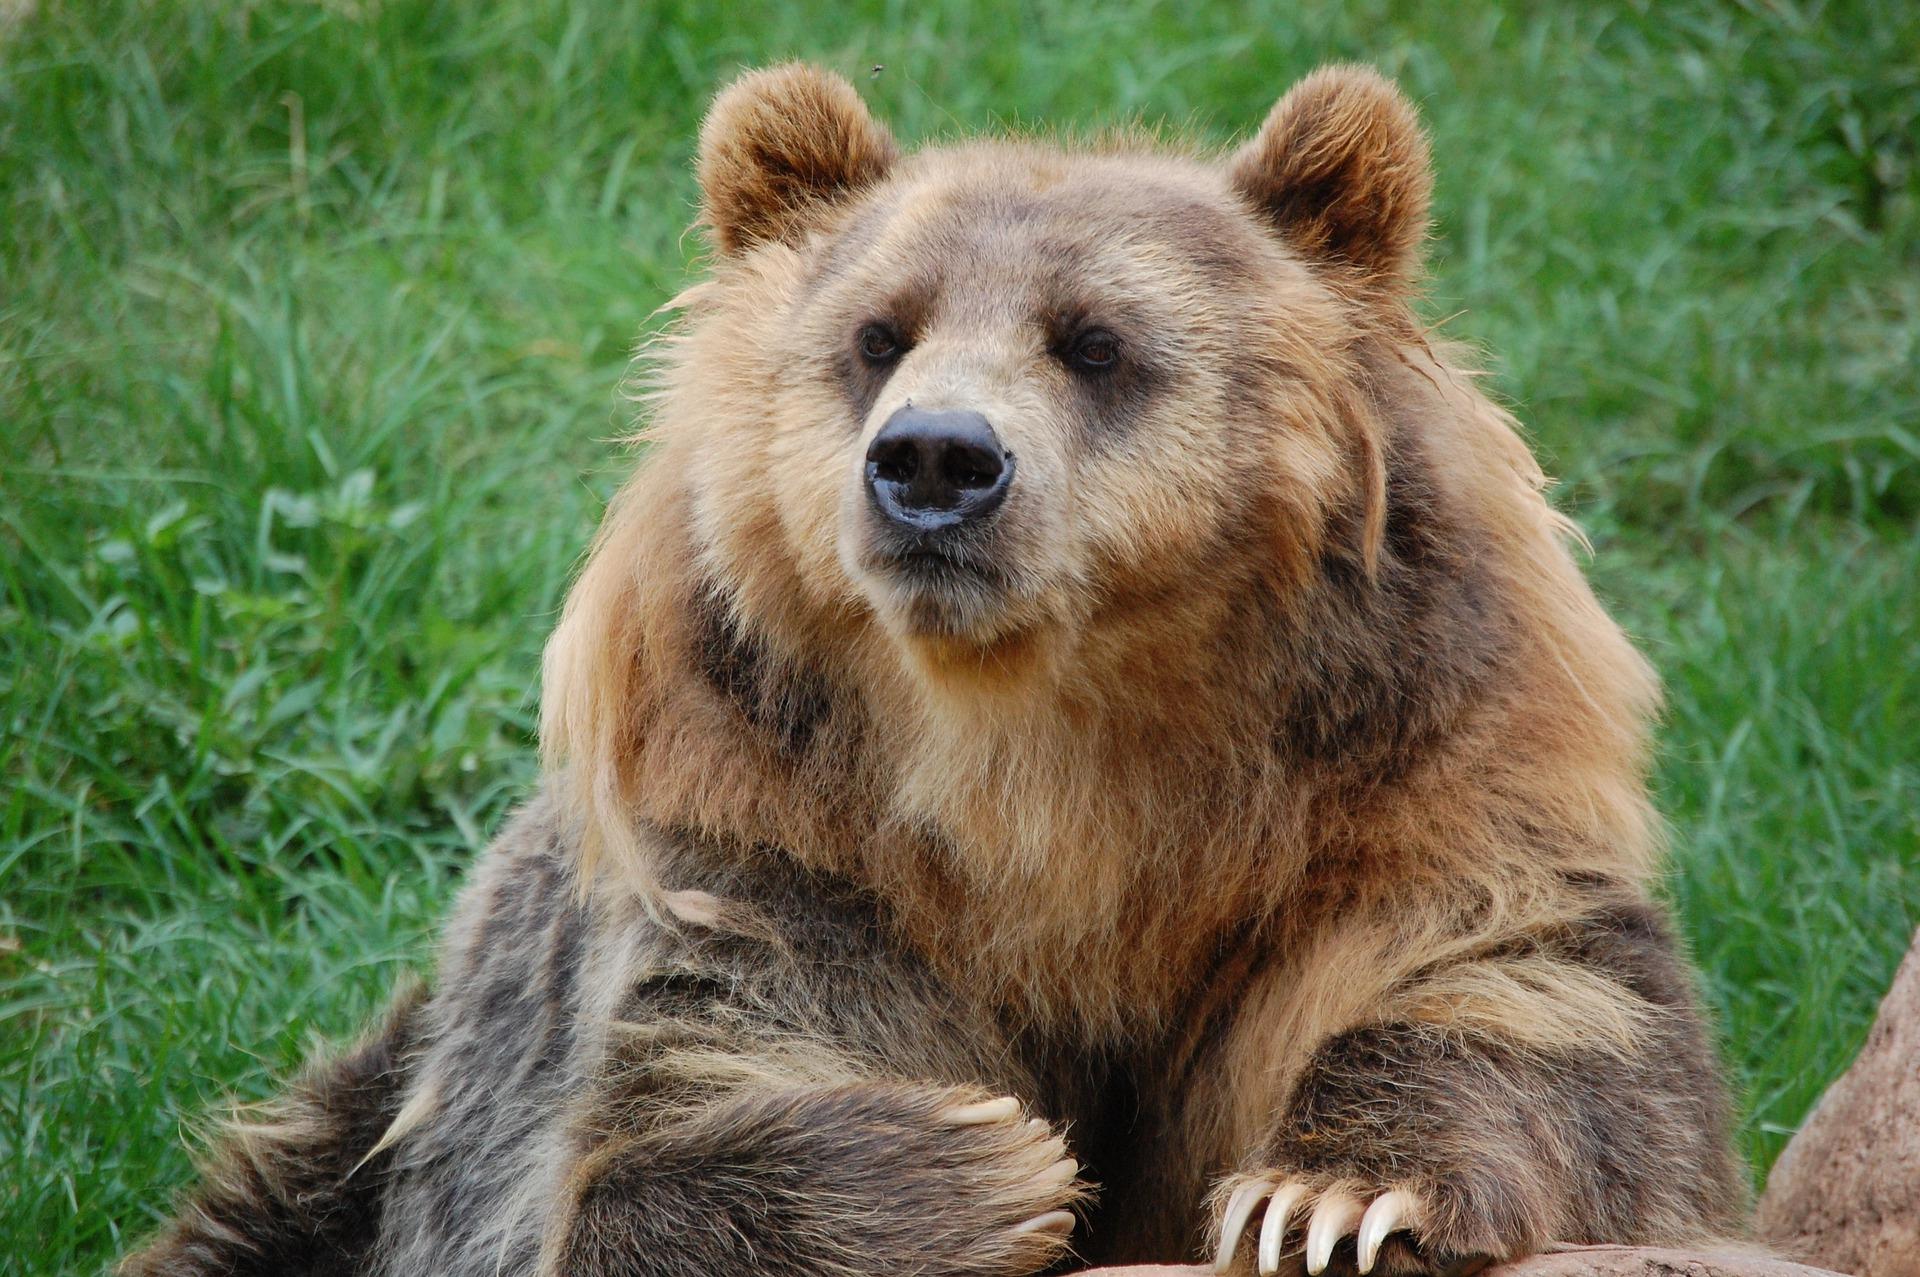
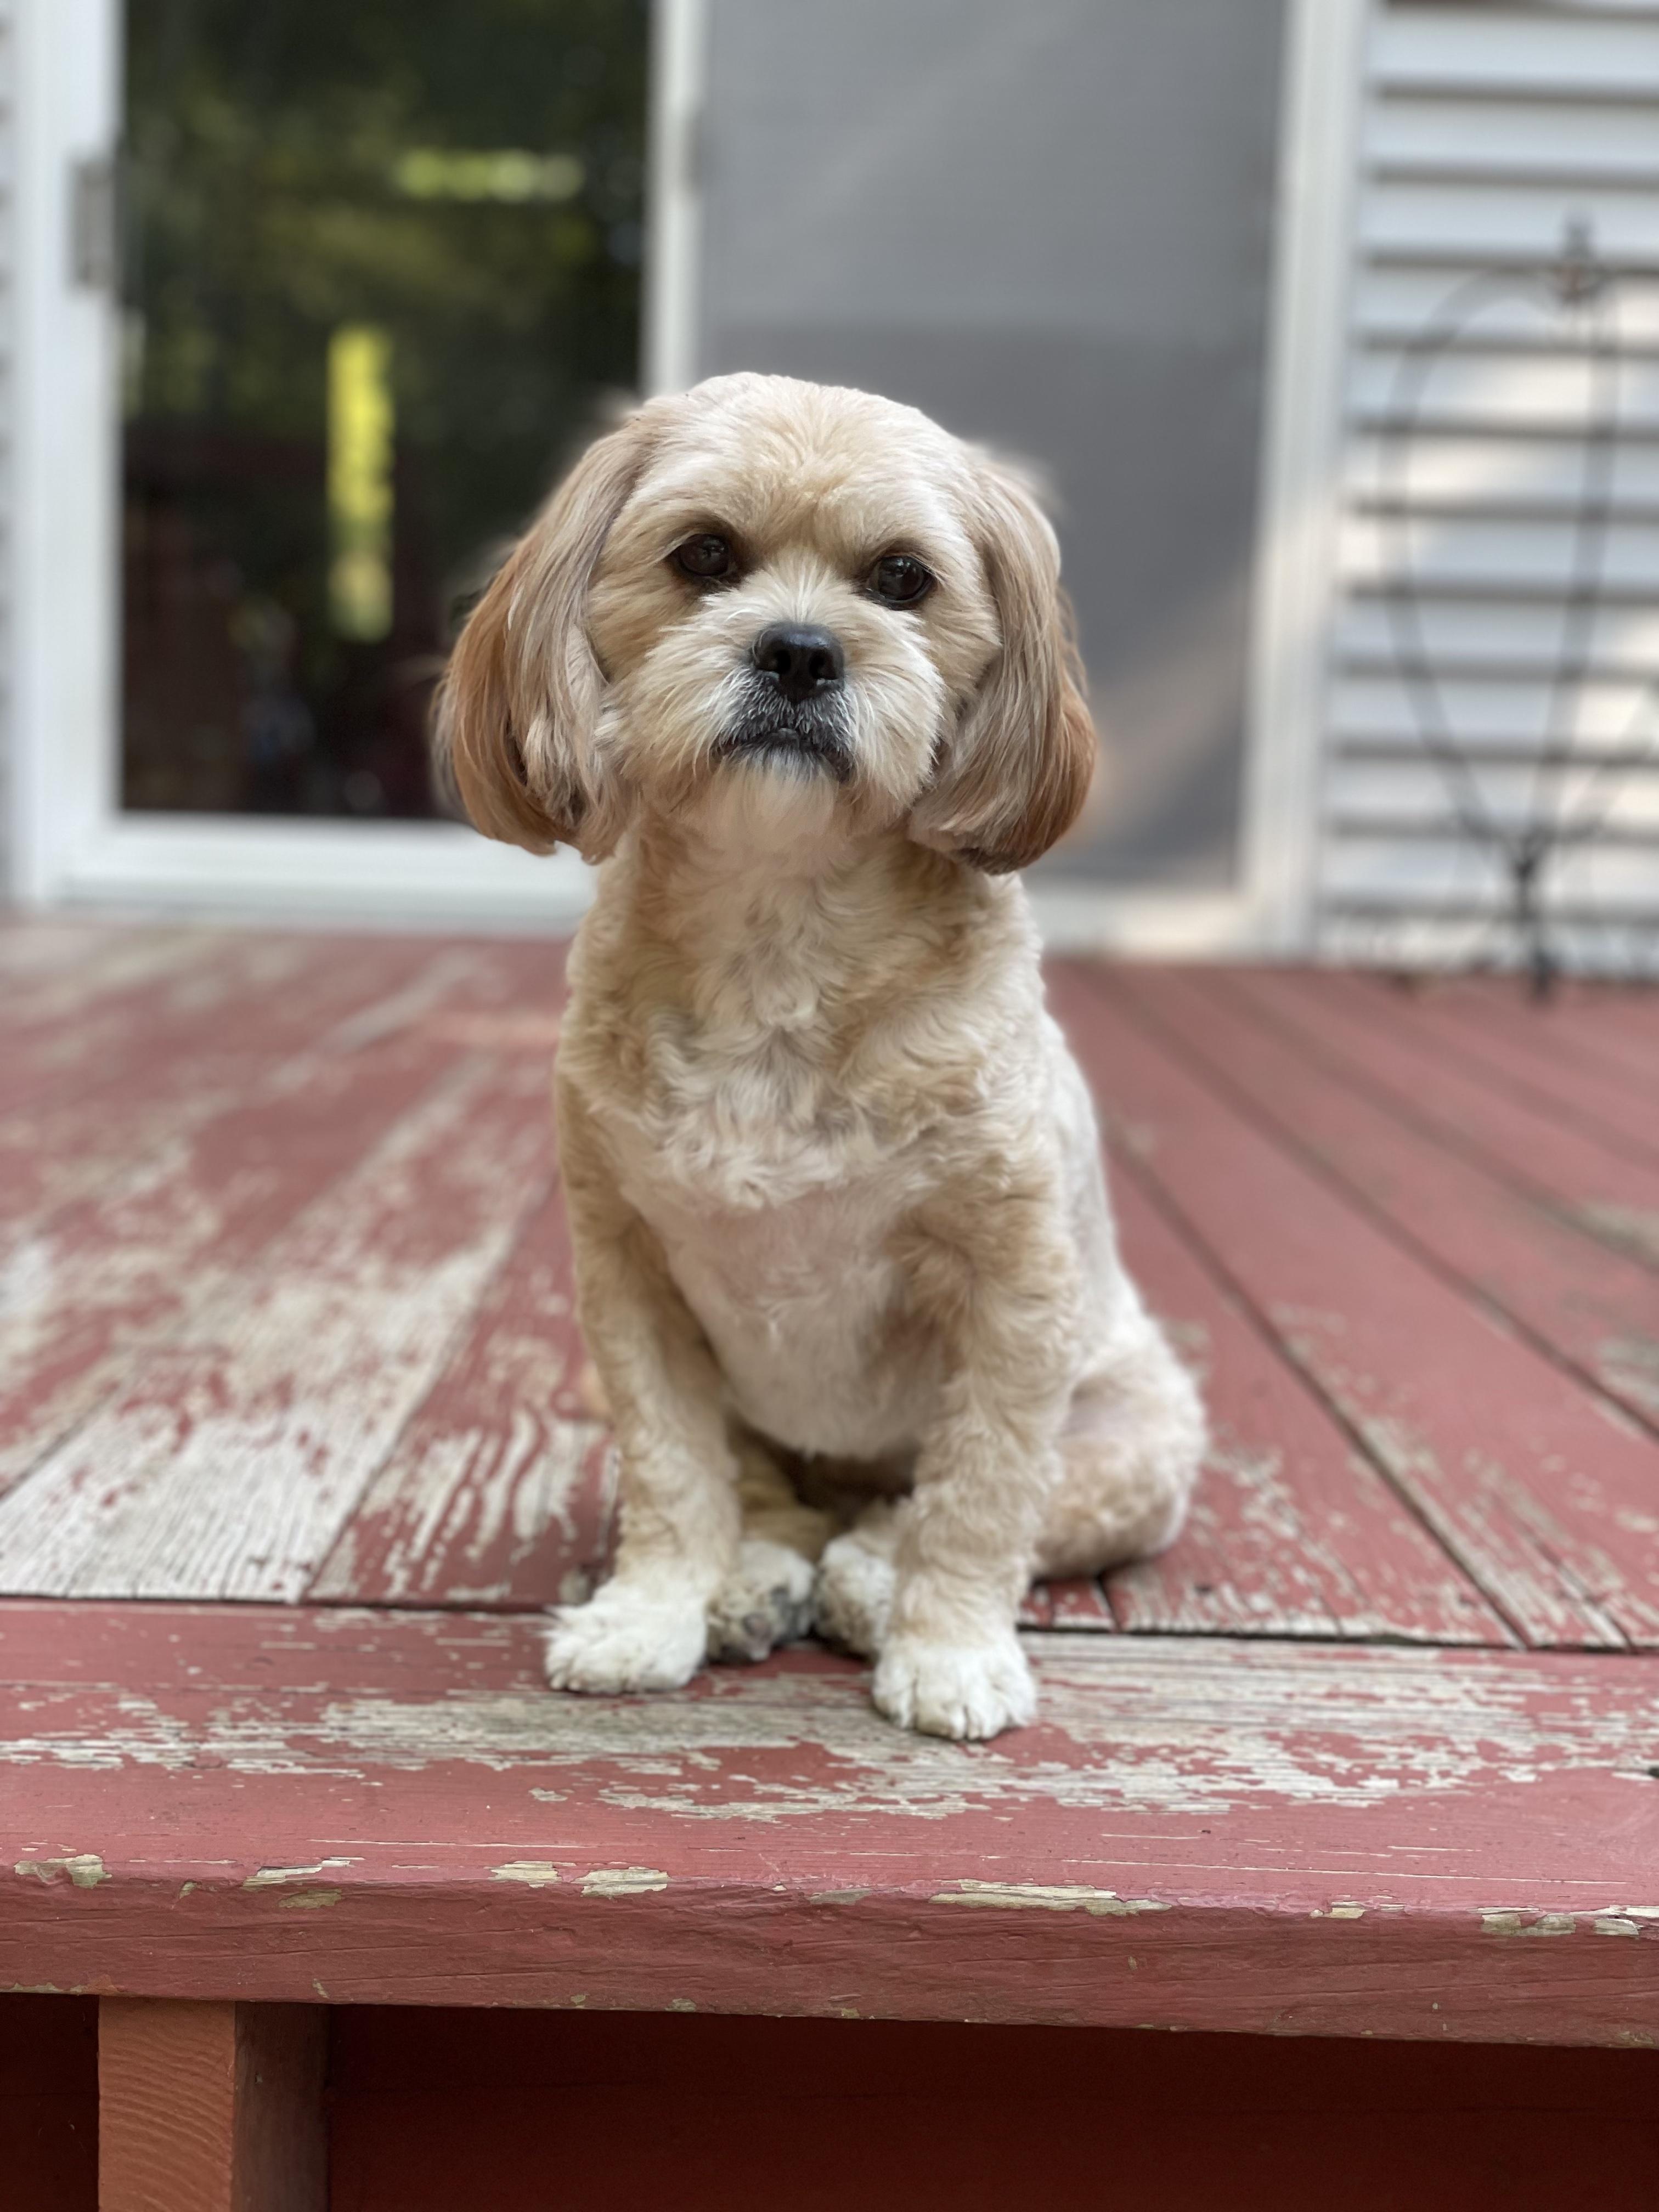
Our newest dog, Bear, who we adopted in 2020, inspired my recent costumes. In fact, my very first Instructable was the Care Bear Reboot I published in 2020. In 2021, I used a combination of store-bought and hand-made costumes to recreate Winnie-the-Pooh and Friends. For 2022, I decided to stick with the Bear theme.
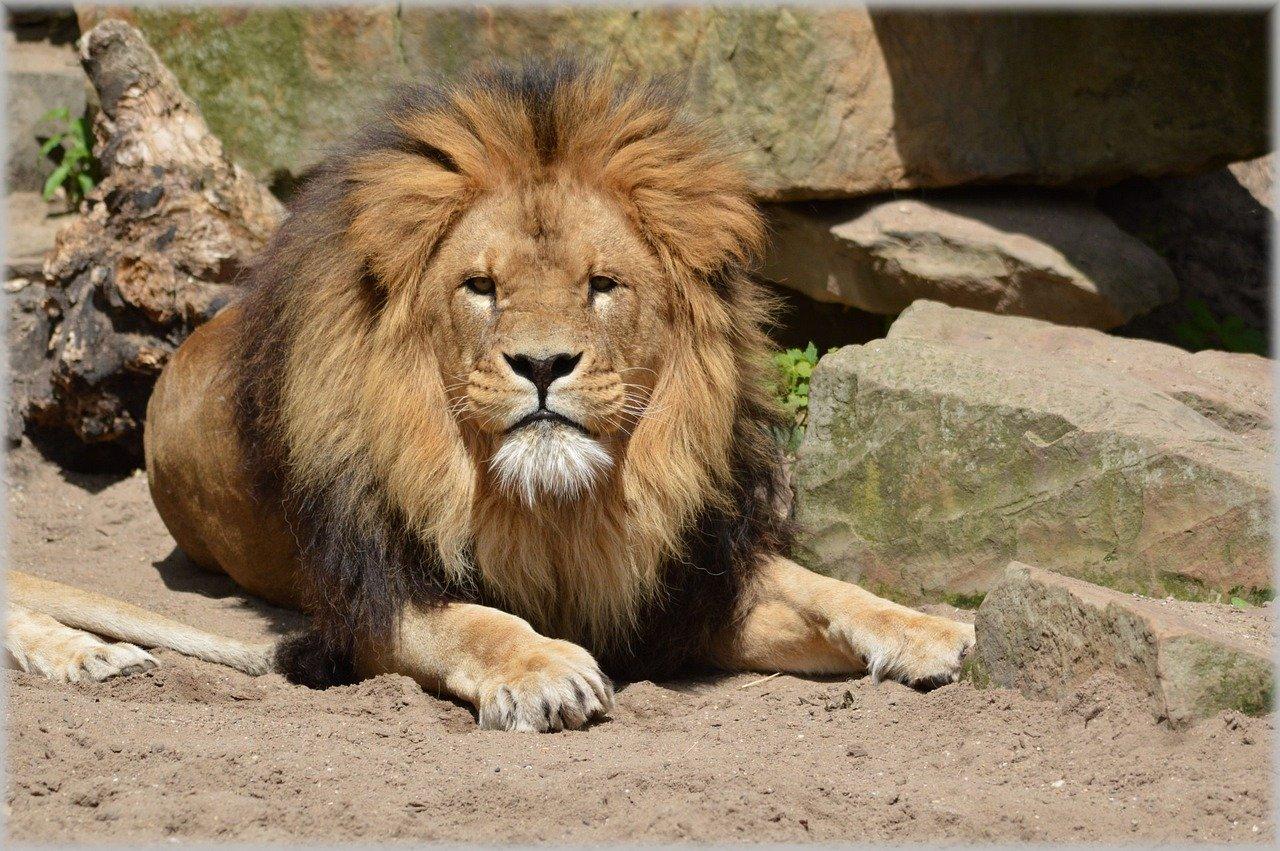
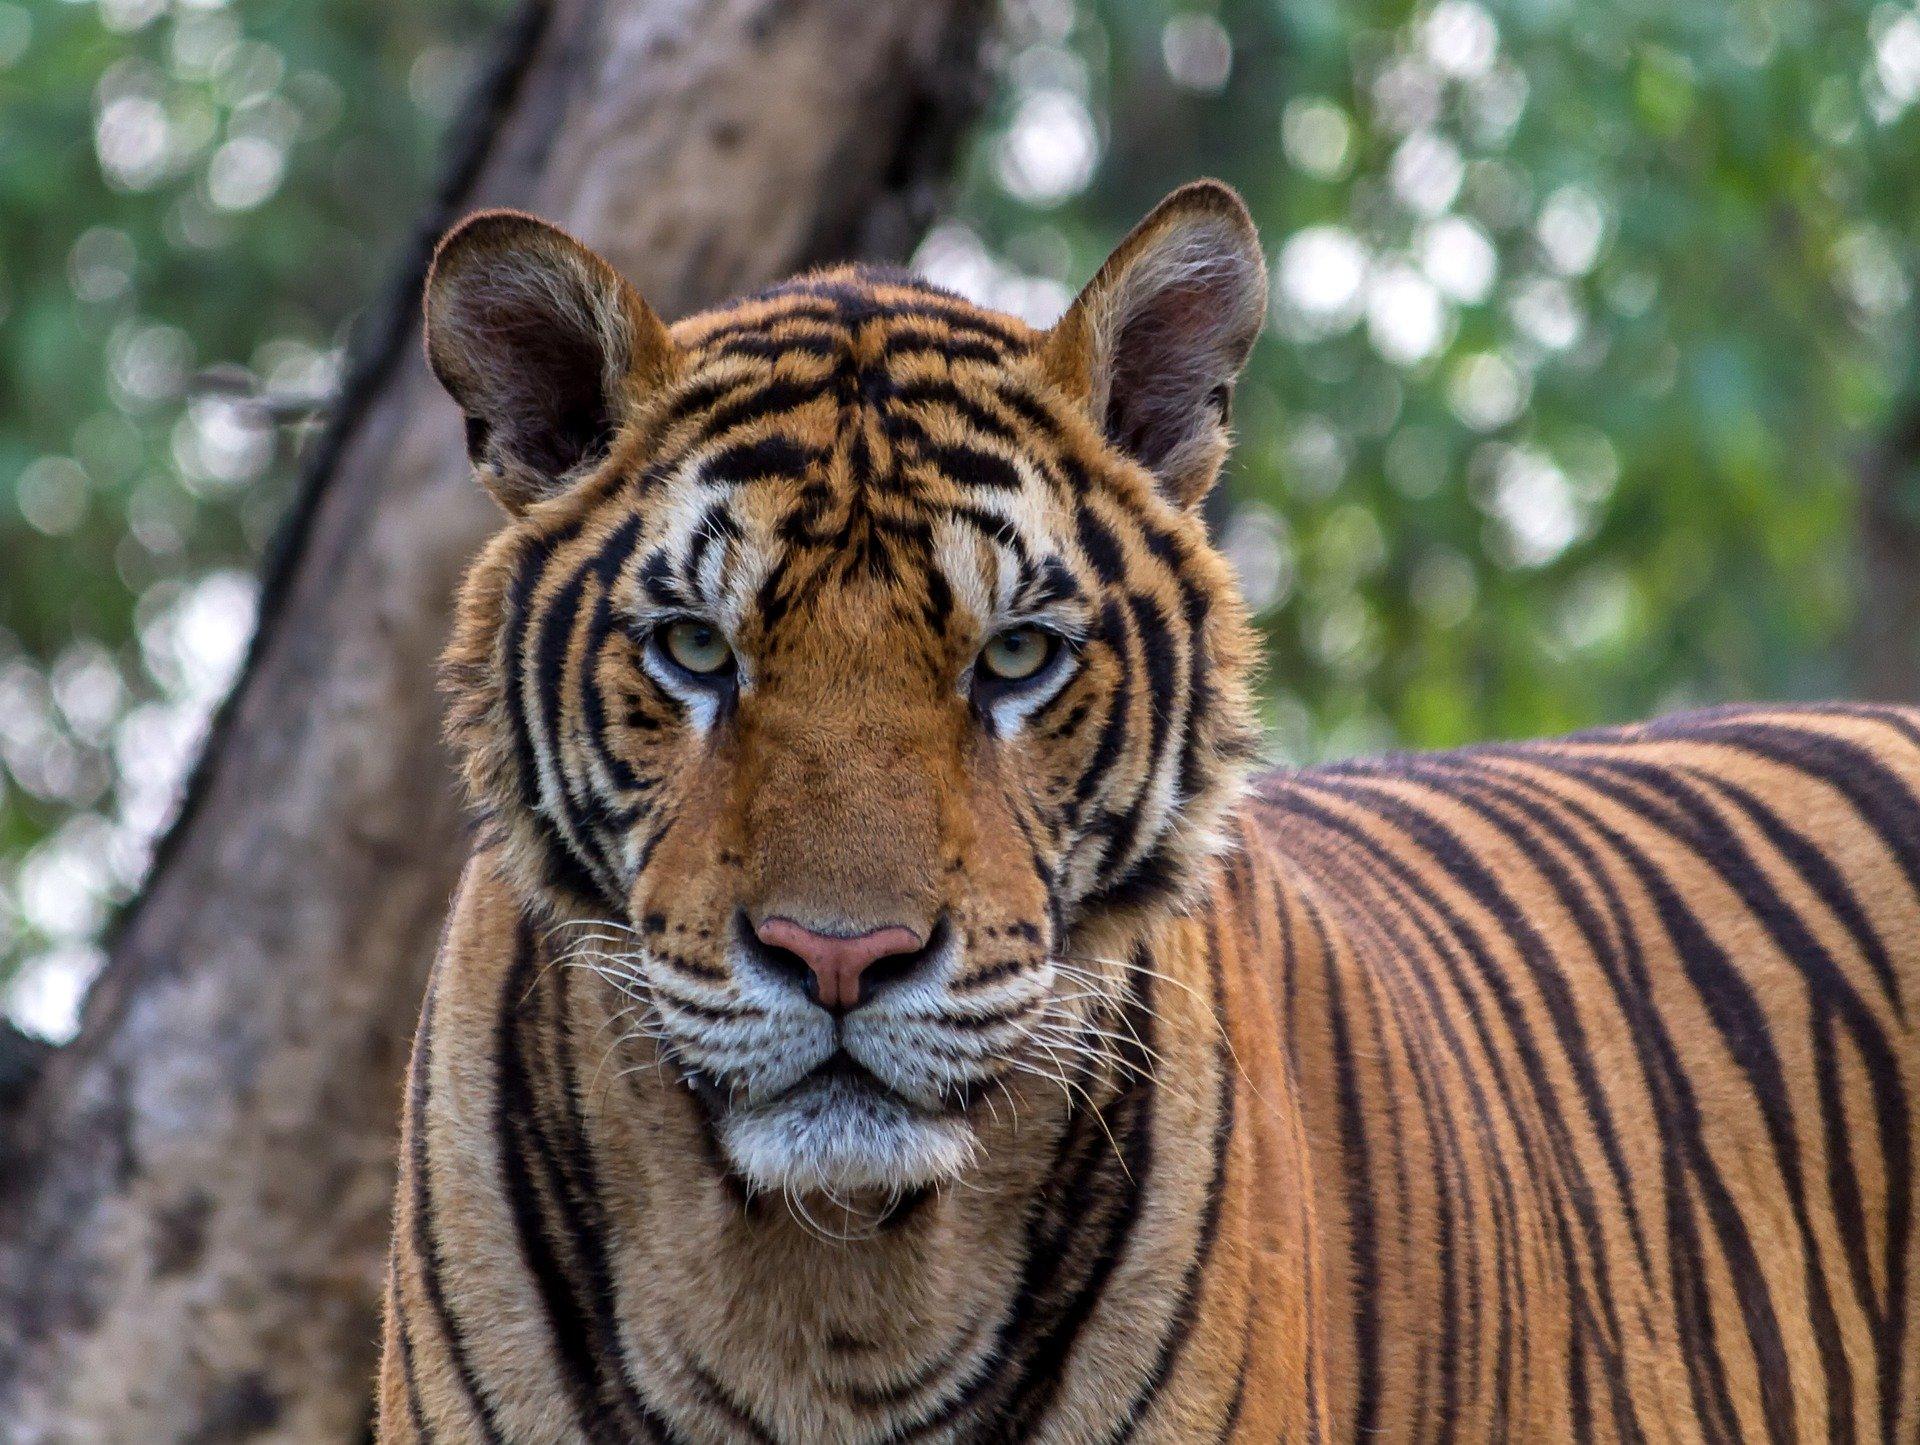
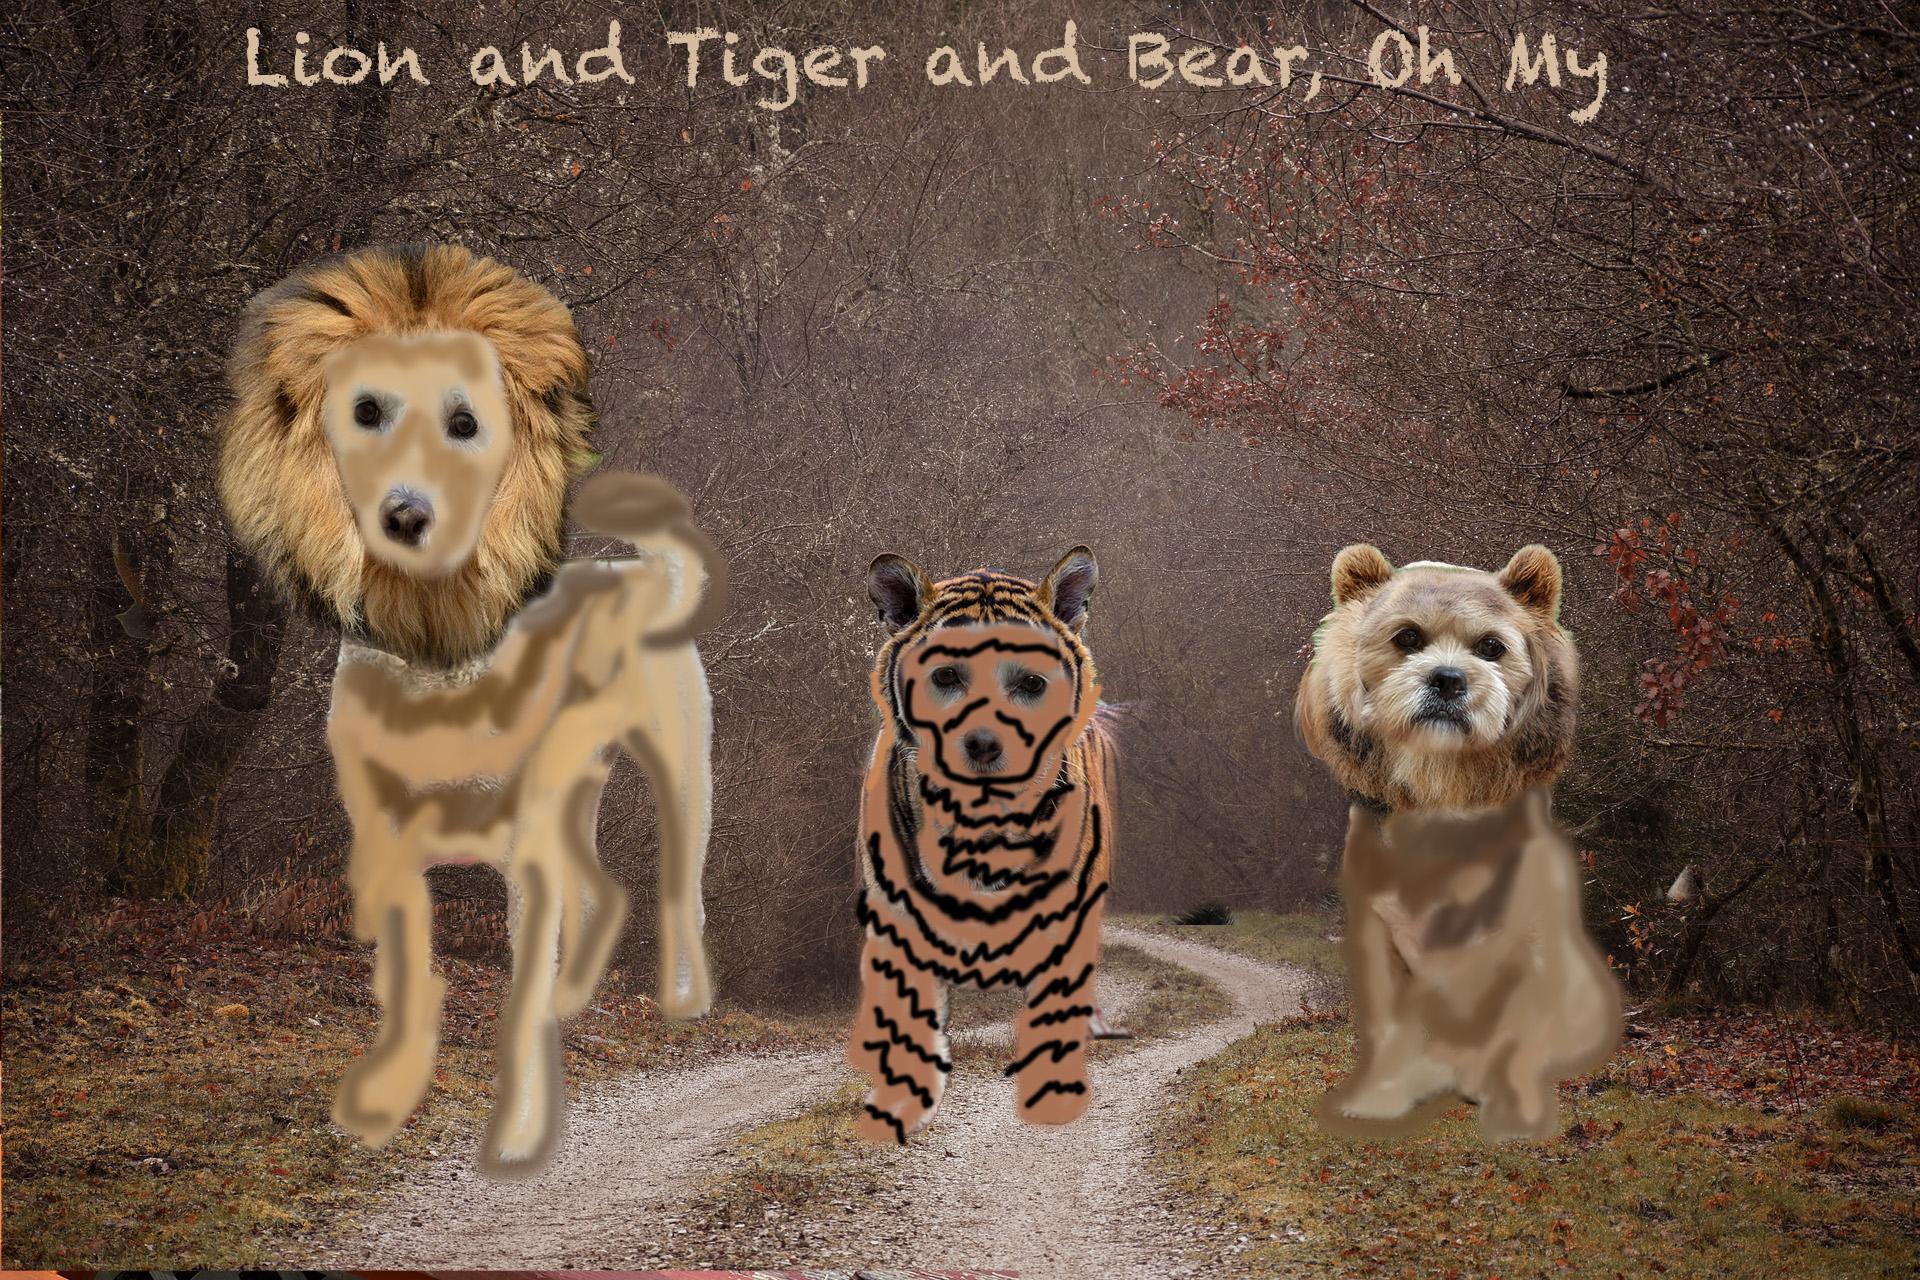
I remembered a picture I had seen a few years ago of dogs dressed as characters from "The Wizard of Oz," which I suspect had also been created using Photoshop. I thought of the line from that movie, "Lions, and Tigers, and Bears, Oh My." Since I already had a Bear, I decided to turn Topper into a Lion and Daisy into a Tiger.
Select Background, Costume, and Subject Photos


I recommend creating a folder (directory) on your computer or laptop for the photo files you will use for your project. For example, in my Downloads folder, I have created a folder called "Adobe Photoshop," and then a sub-folder called "Halloween."
During my online class, I learned about a website called Pixabay.com to search for free images (see note below). You will need to login to download pictures. You can login with Google, Facebook, or set up a username and password.
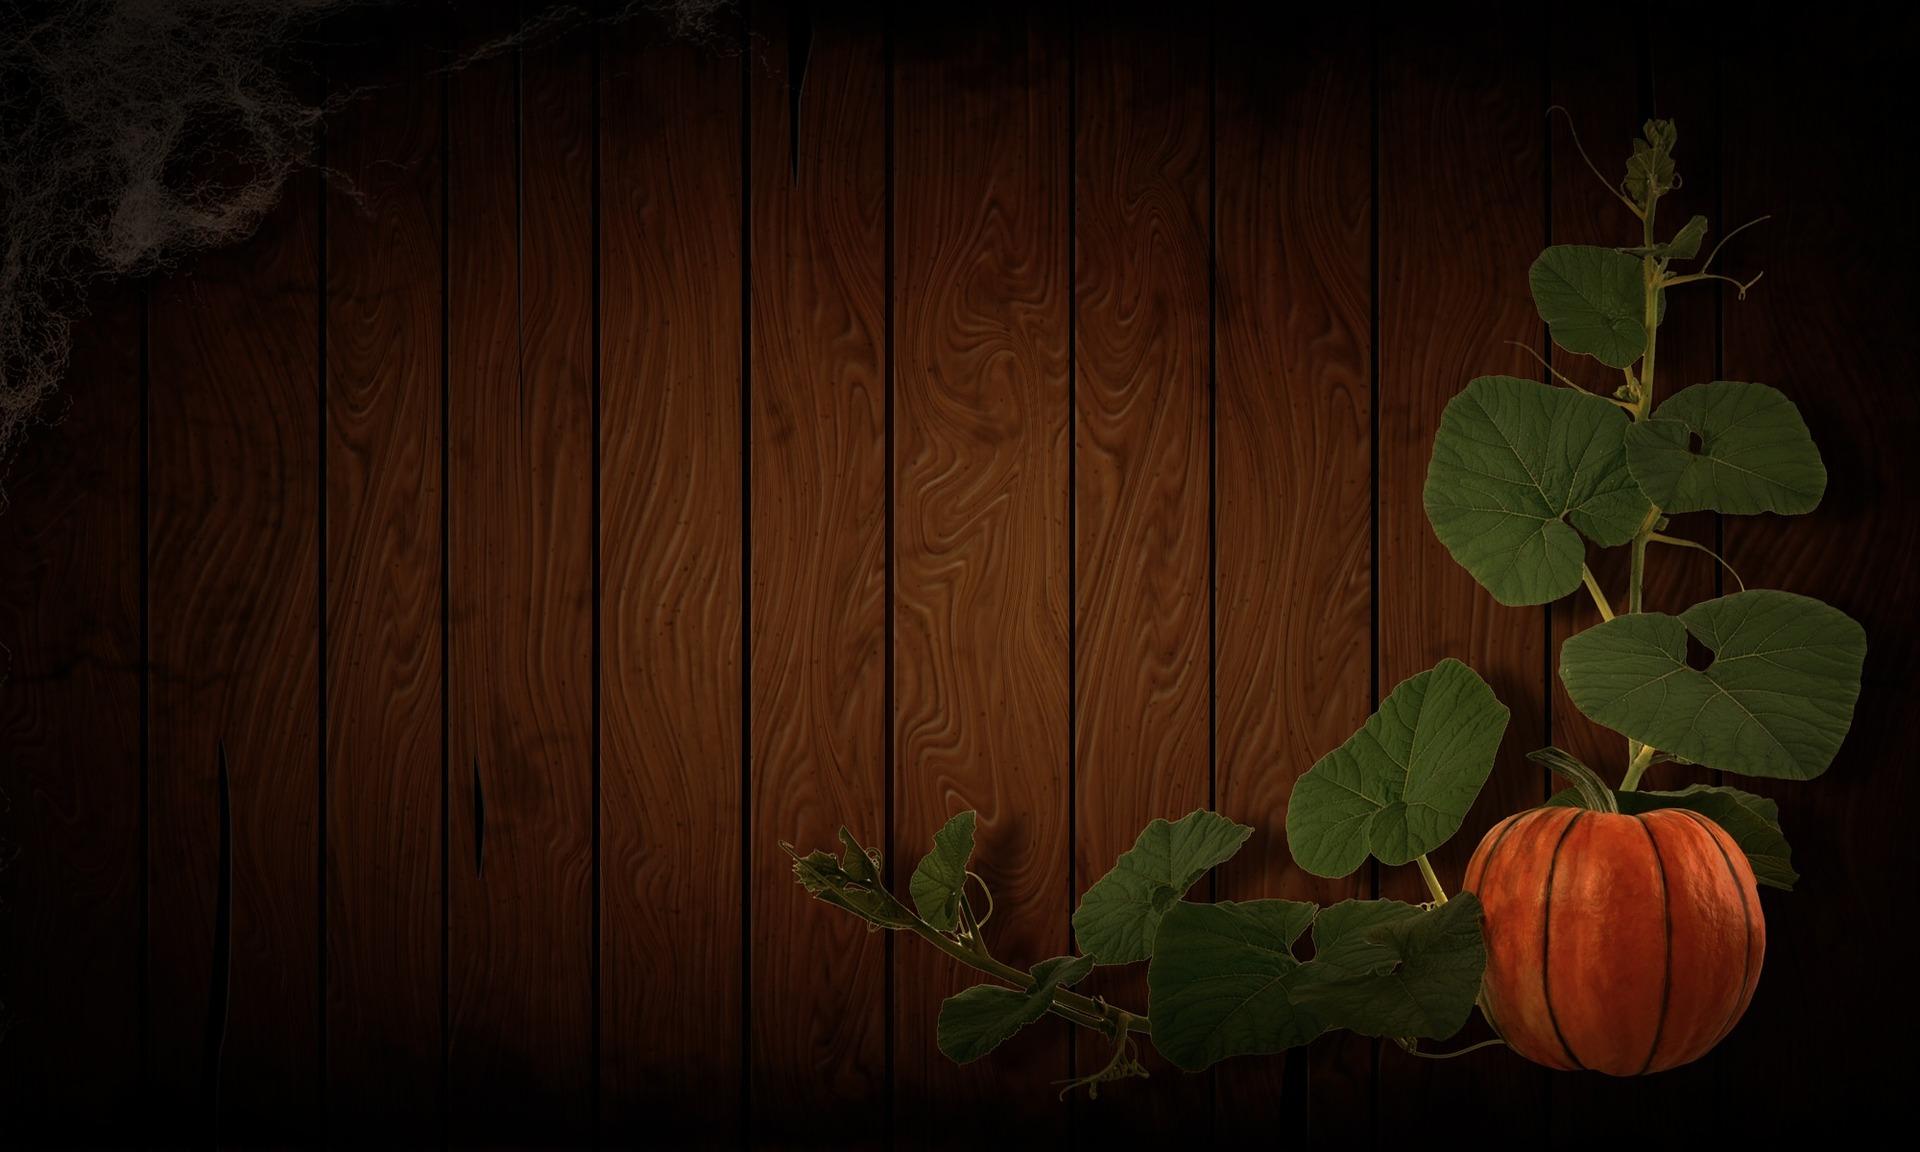
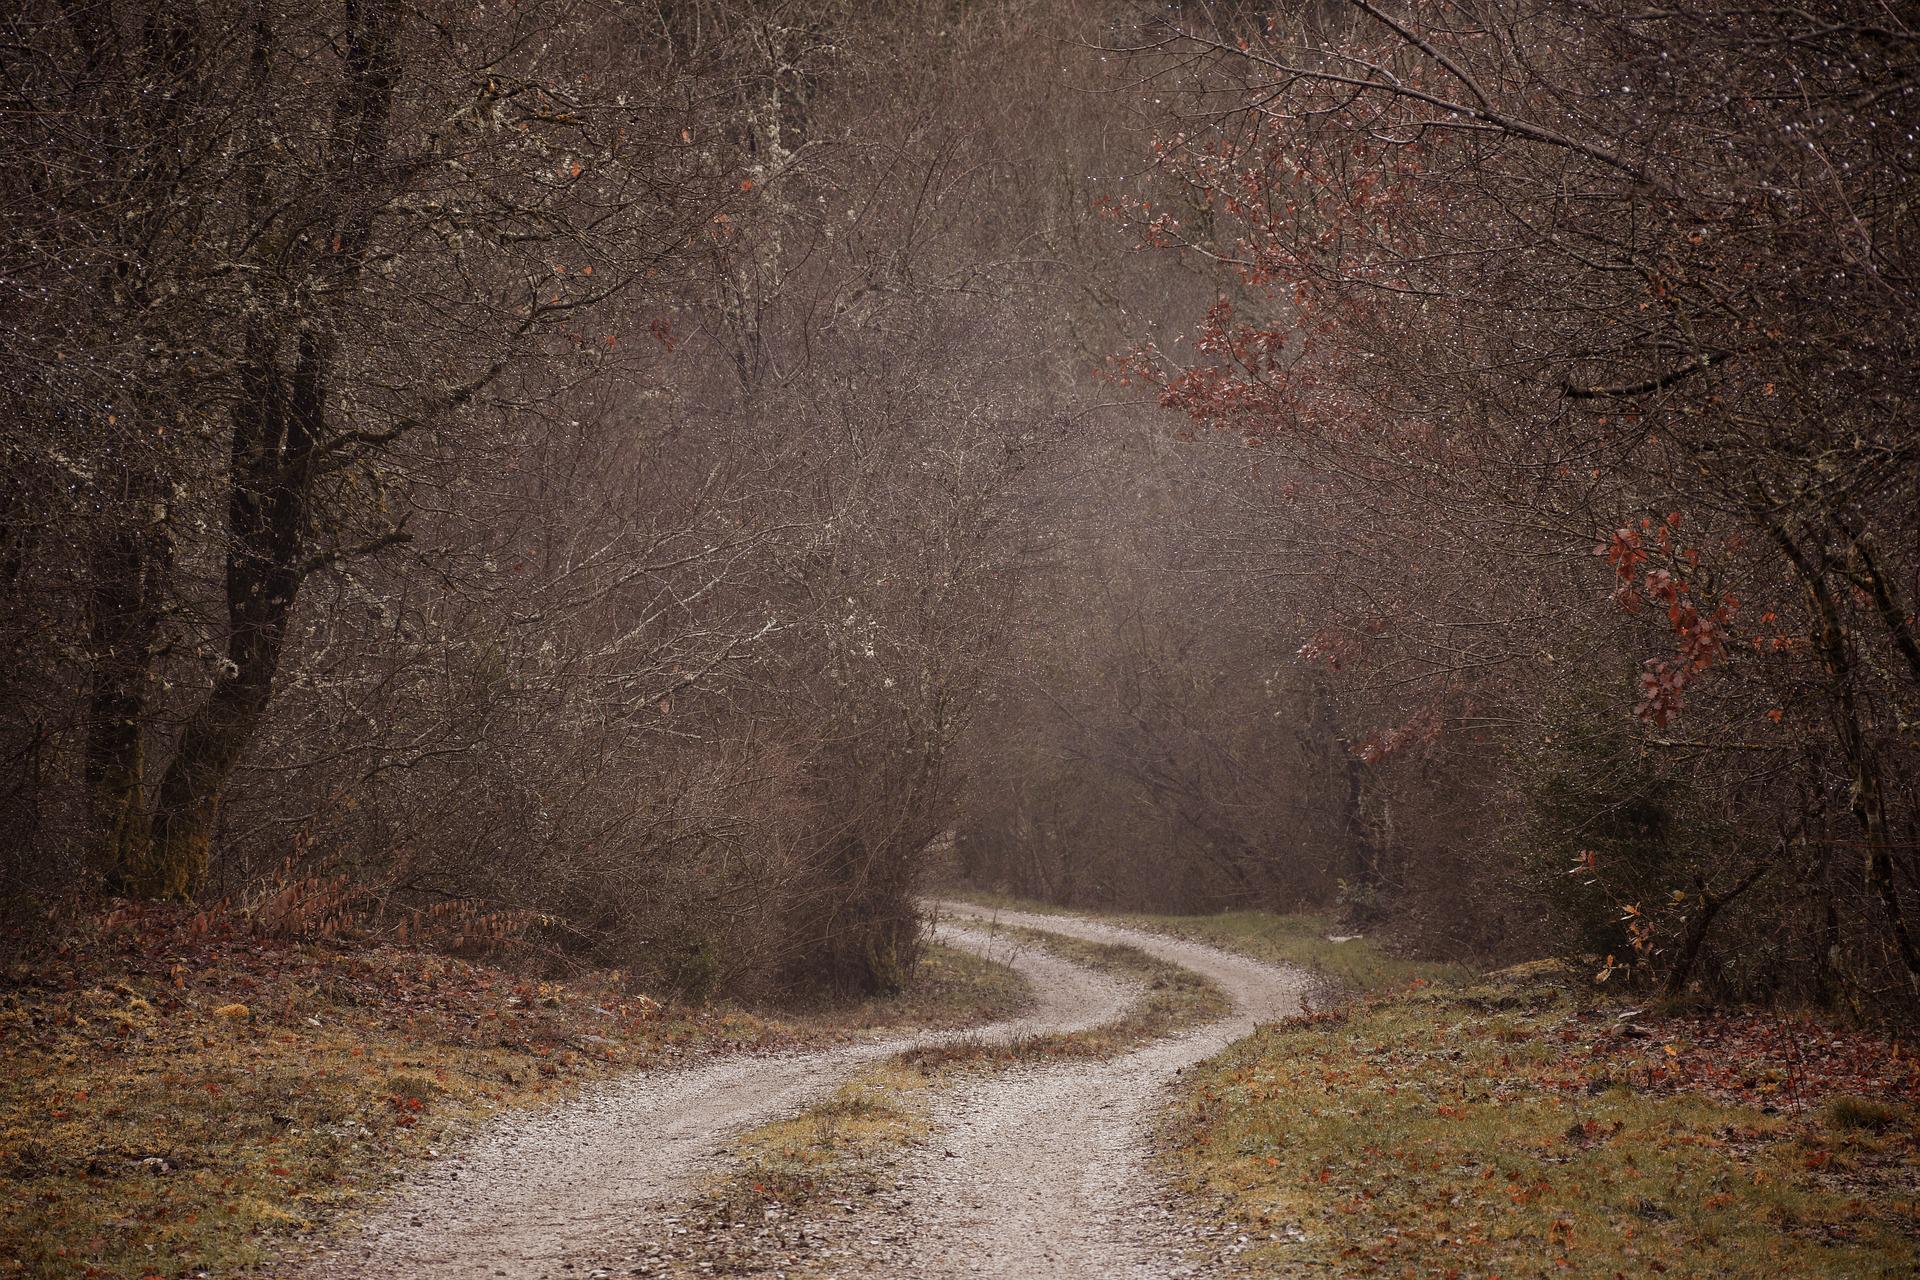
I searched "Halloween background" and downloaded the pumpkin image. It is important to start with the background so you can place the subject images properly. I also searched on "haunted forest" for additional background ideas.
I searched for bear, lion, and tiger on Pixabay and found some clear headshots to use as "masks." I downloaded the files into the "Halloween" folder I had created on my laptop.
Finally, I took photos of the dogs after their most recent grooming, plus a group shot to keep the perspective accurate. I transferred the dog photos to my laptop using Airdrop. Photos taken with iPhone are usually in HEIC format, so I converted them to JPEG files using Preview (i.e., File>Export>select file type as JPEG).
**Note: Pixabay etiquette is to "thank" the creator of the photo by posting a comment.
Install Photoshop
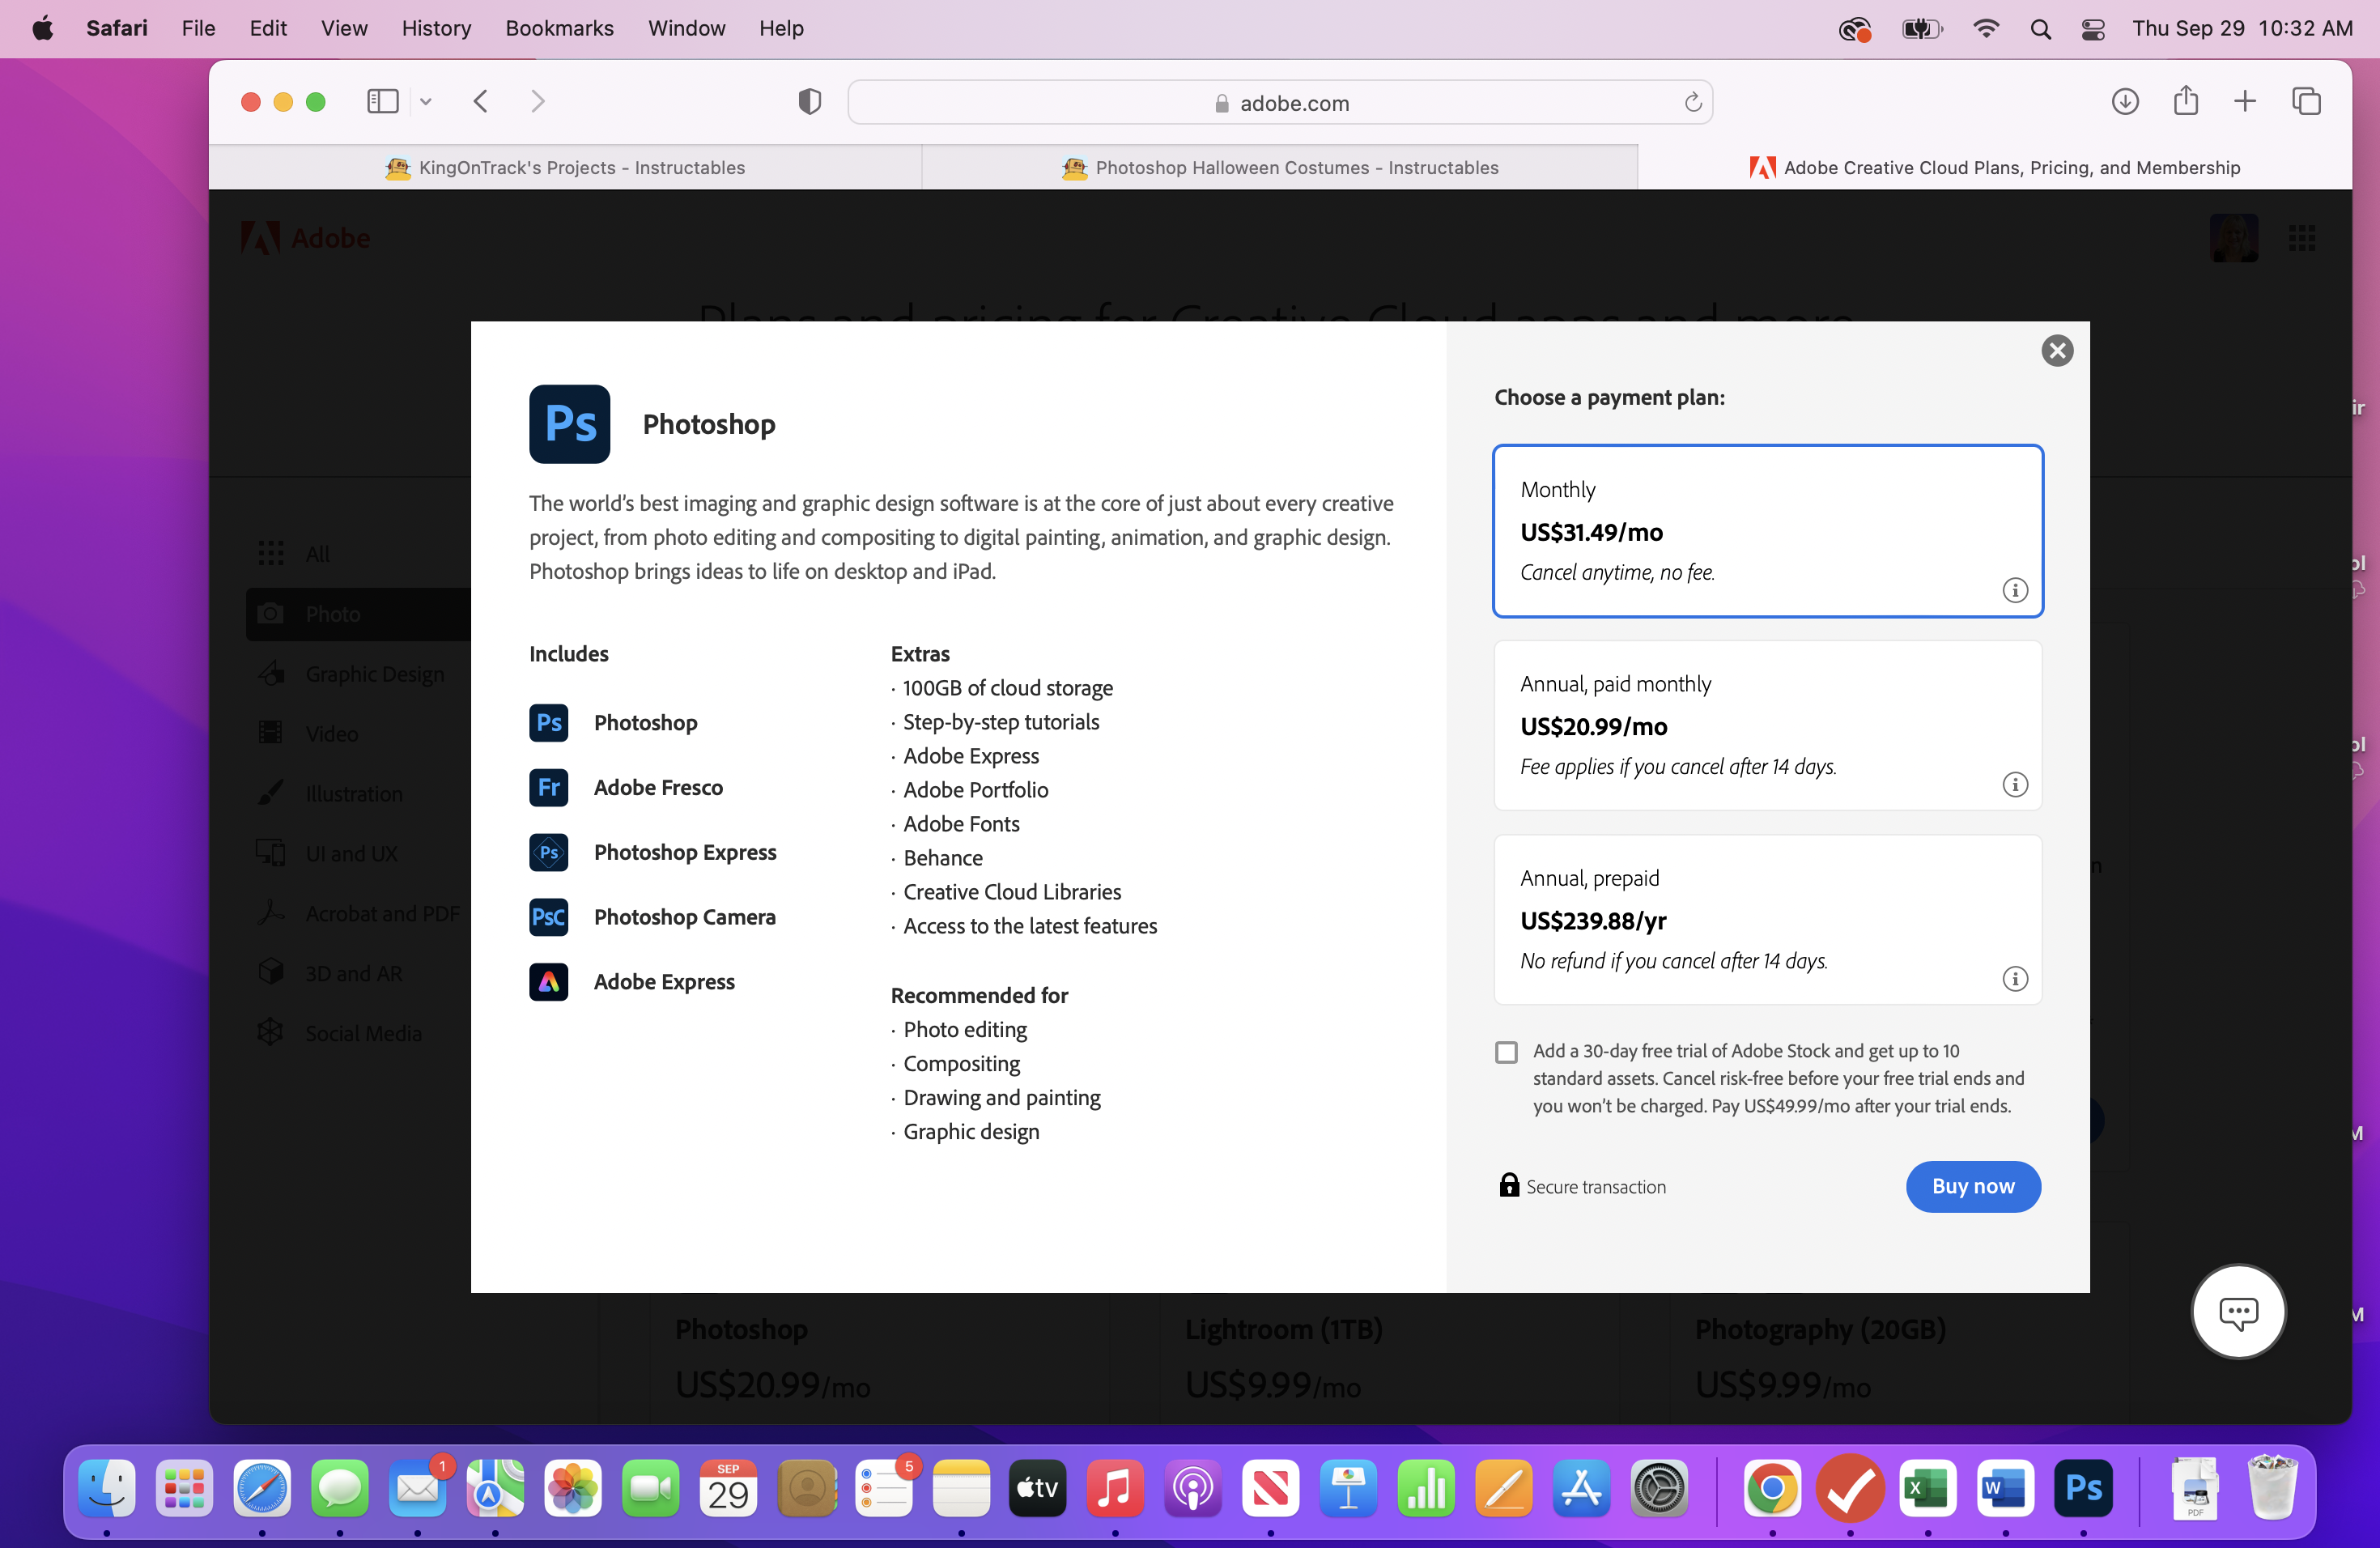
Adobe Photoshop is a subscription-based service, so you pay on a monthly or annual basis; however, they do offer a 1-week free trial.
To start a free trial, go to Adobe.com or type "free photoshop trial" in your browser which will take you to the correct page. Follow the instructions to create an account and select a plan--you will have to provide a credit card when you create your account, but you will get a reminder email when your card will be charged. I had planned to cancel my subscription after completing the 6-week course, but I keep thinking of new projects to try:)
Adobe Photoshop is an extremely powerful, feature-rich program. I am going to focus on the steps to make this specific project; however, there are many different things you can do with Photoshop. For consistency, I am going to primarily use the menu commands; however, there are multiple ways to accomplish the same task, such as keyboard shortcuts you can use that can speed up your work. Visit this link to Adobe’s website for more information, as the shortcuts differ slightly for Mac (uses Option/Command keys) vs. Windows (uses Alt/Control keys).
Photoshop Basics


To get started, we will create a simple project that will be used in a later step.
- From the Photoshop Welcome click New File. On the right of the screen, give your template a name, such as "Halloween Template."
- For the dimensions, click the drop down and choose "inches."
- Set the width to 12 and the height to 16.
- Set the resolution to 72 ppi (pixels per inch), which is the default resolution for computer graphics.
- For the background, click the drop down and select custom and select any desired color, such as orange (this can be changed later).
- Click Create
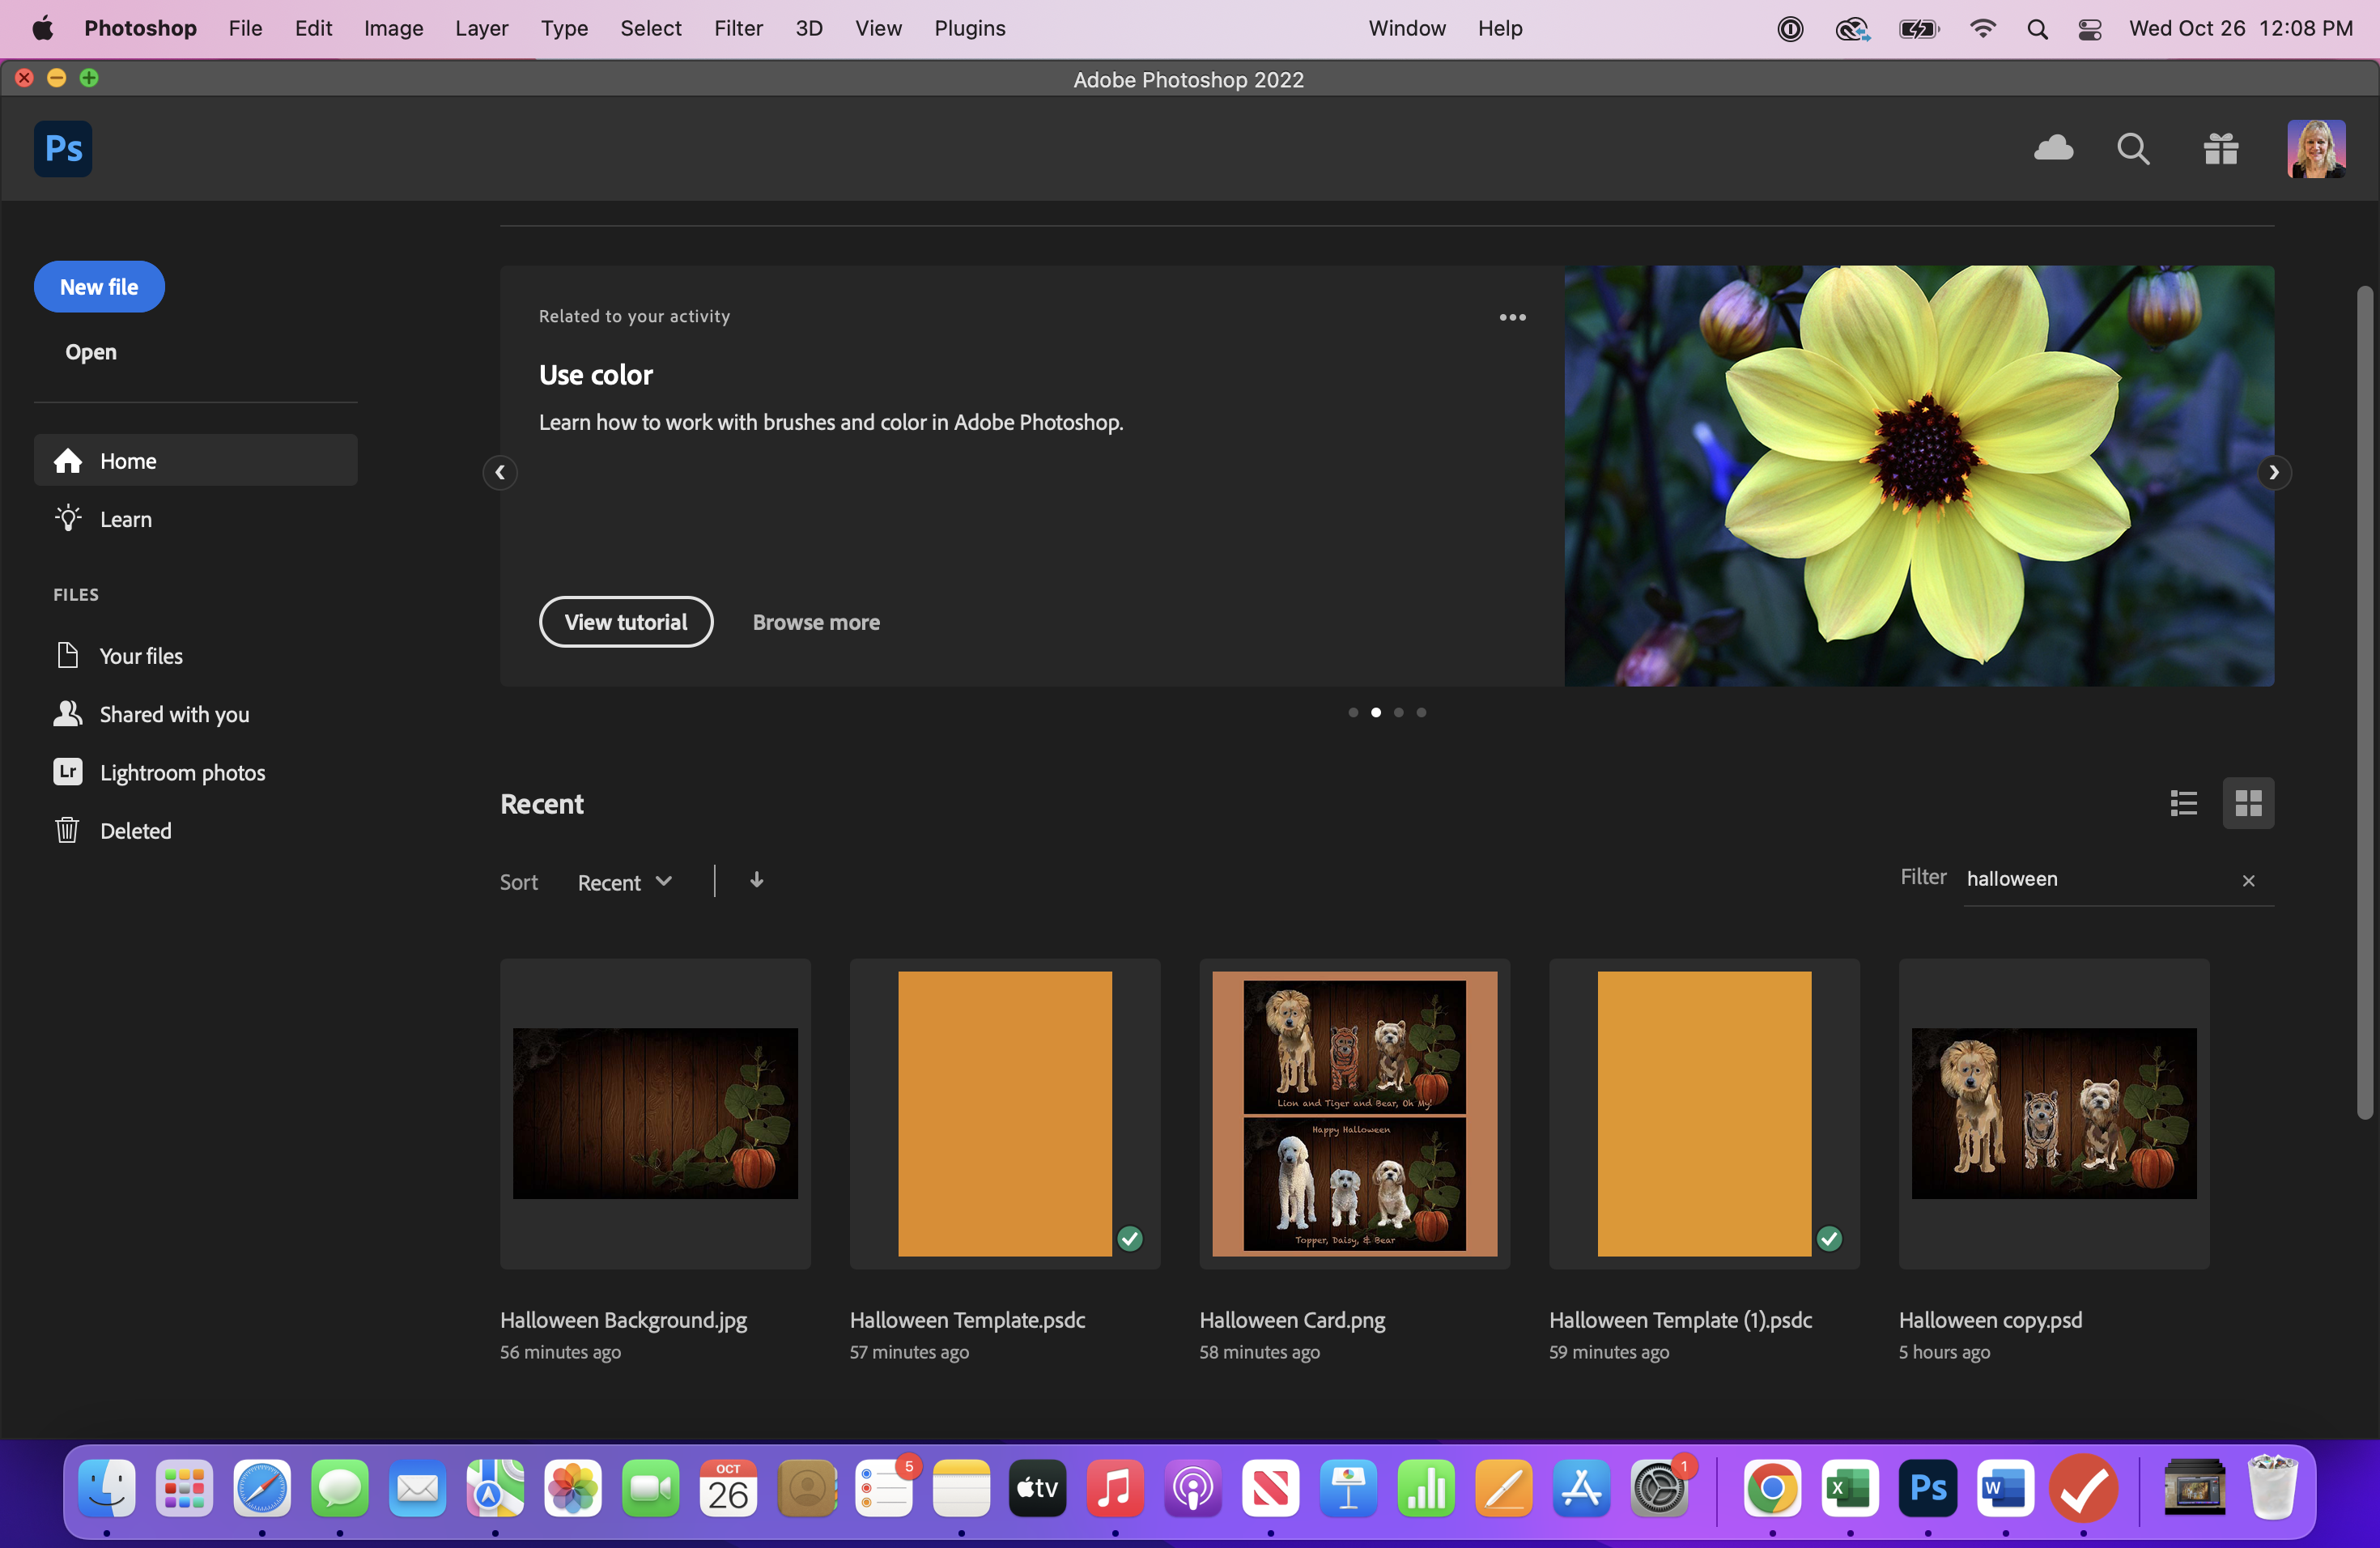
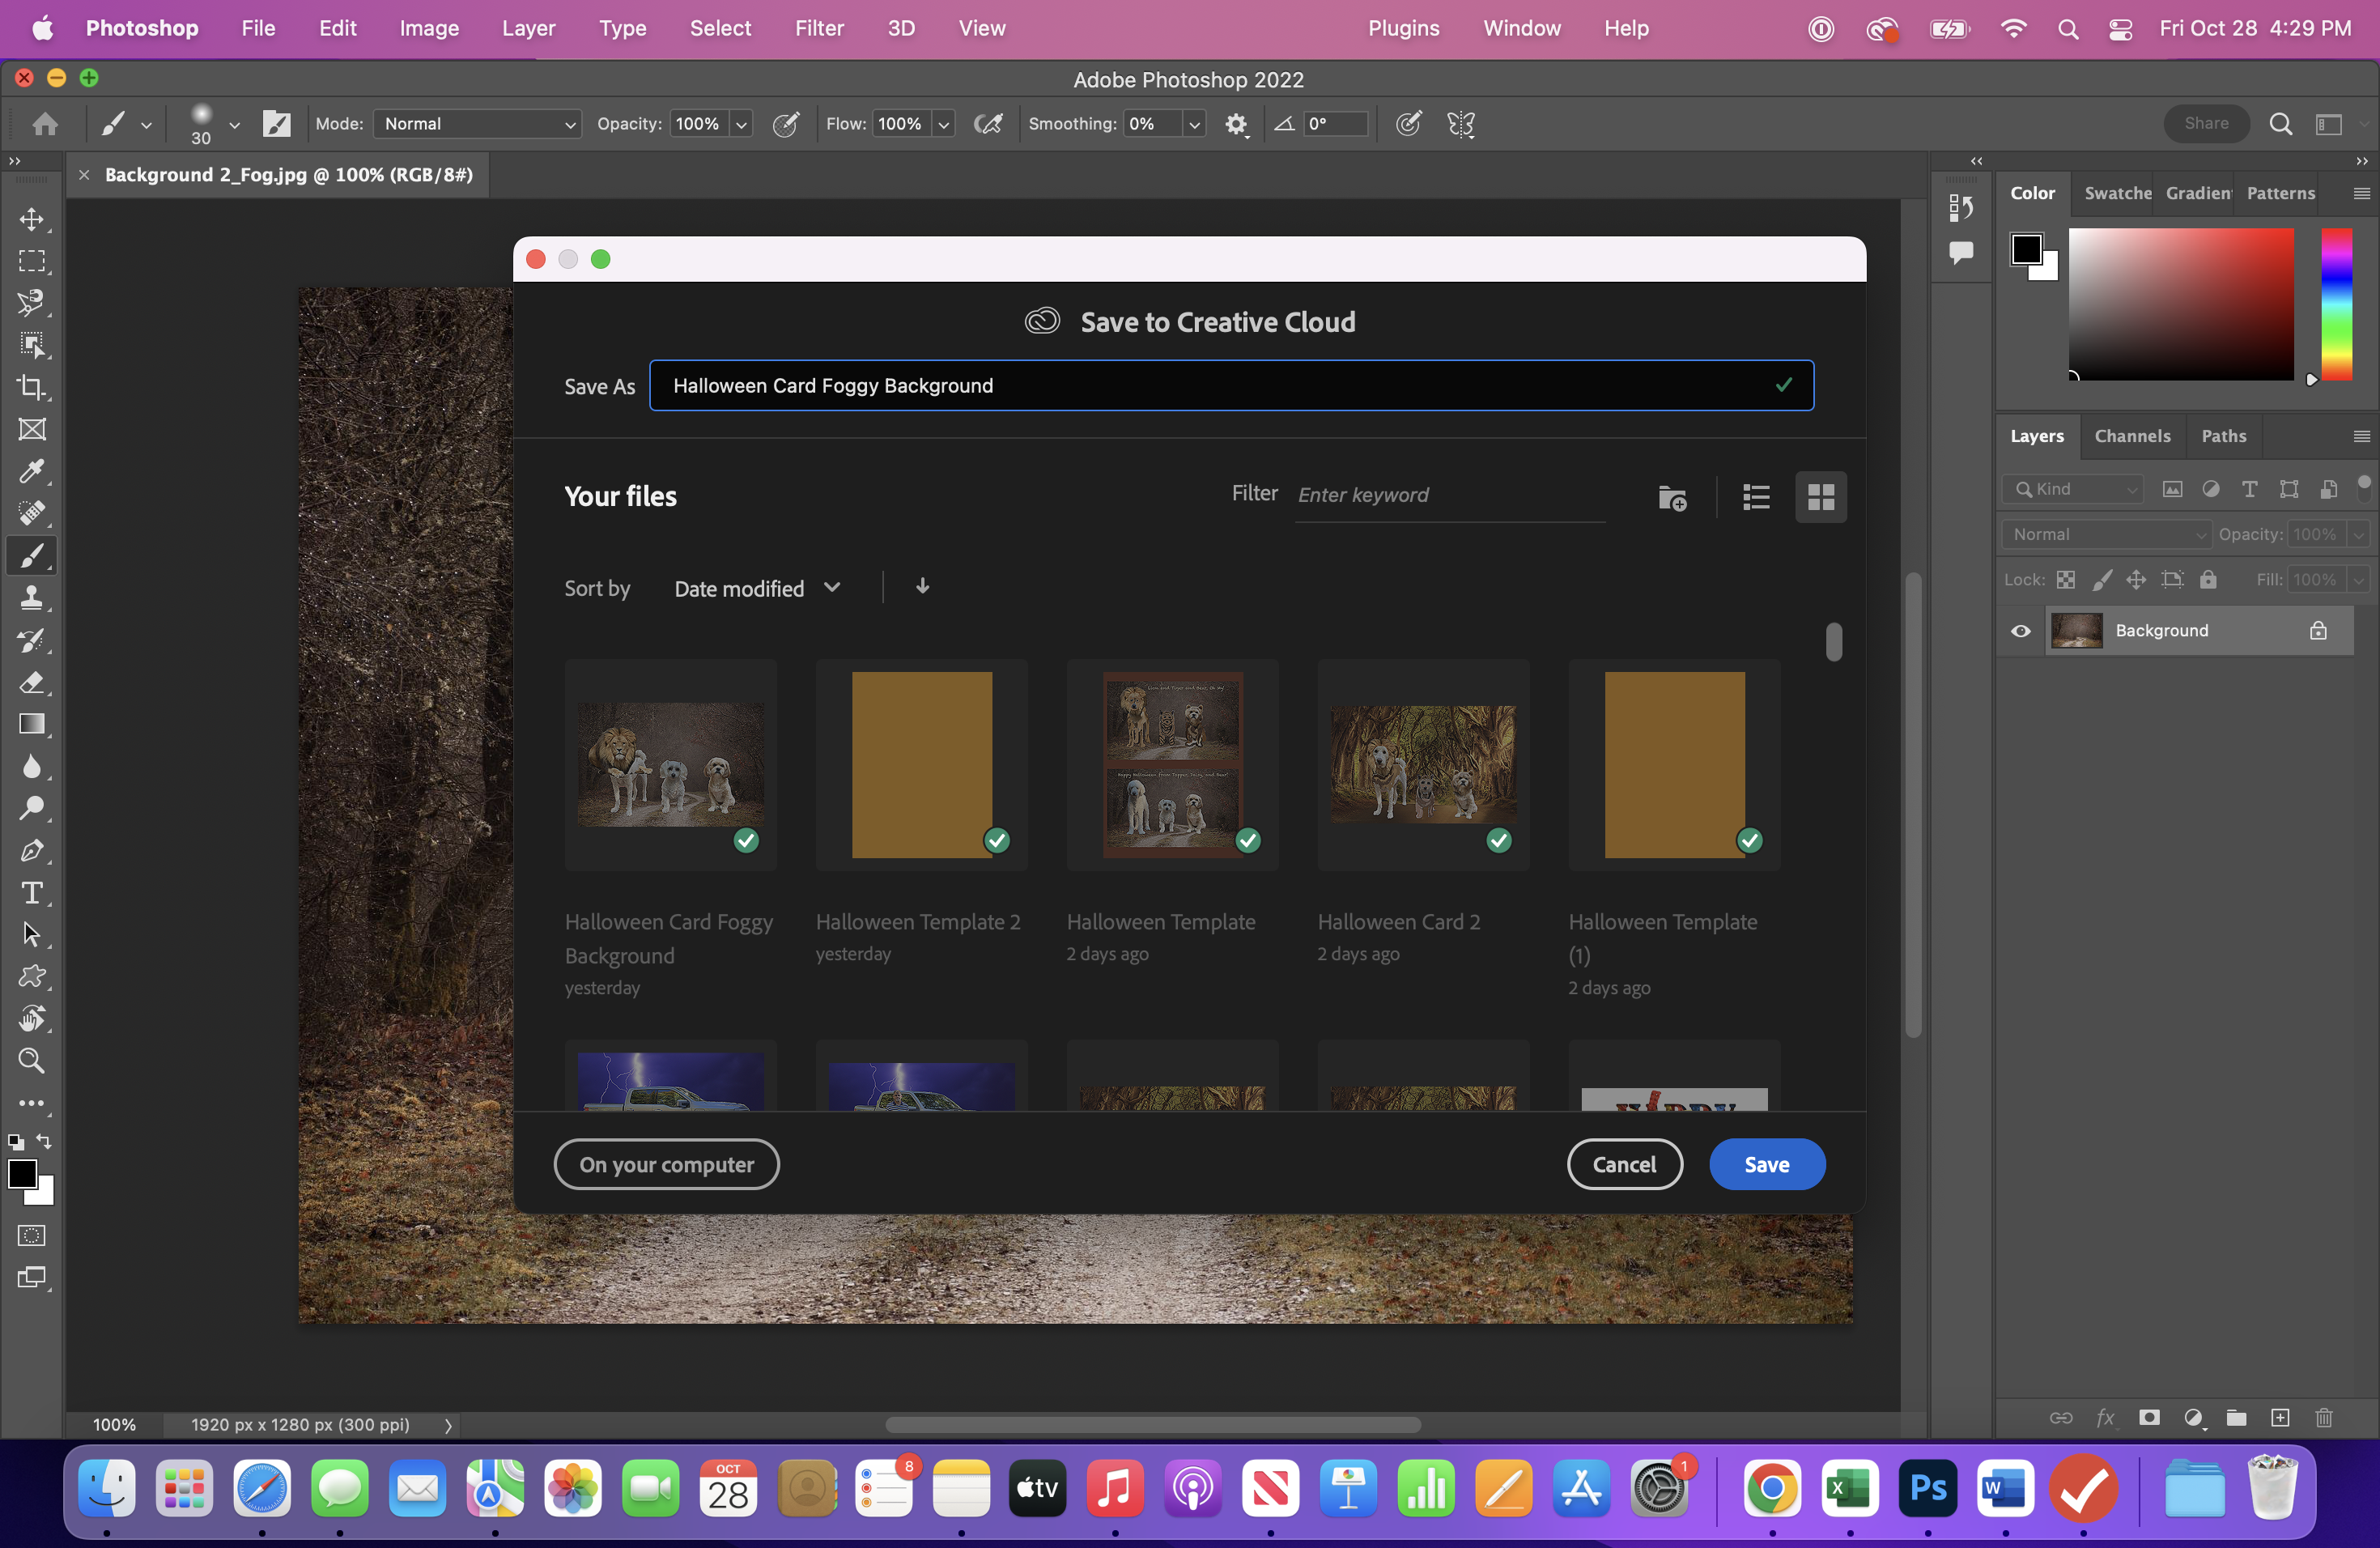
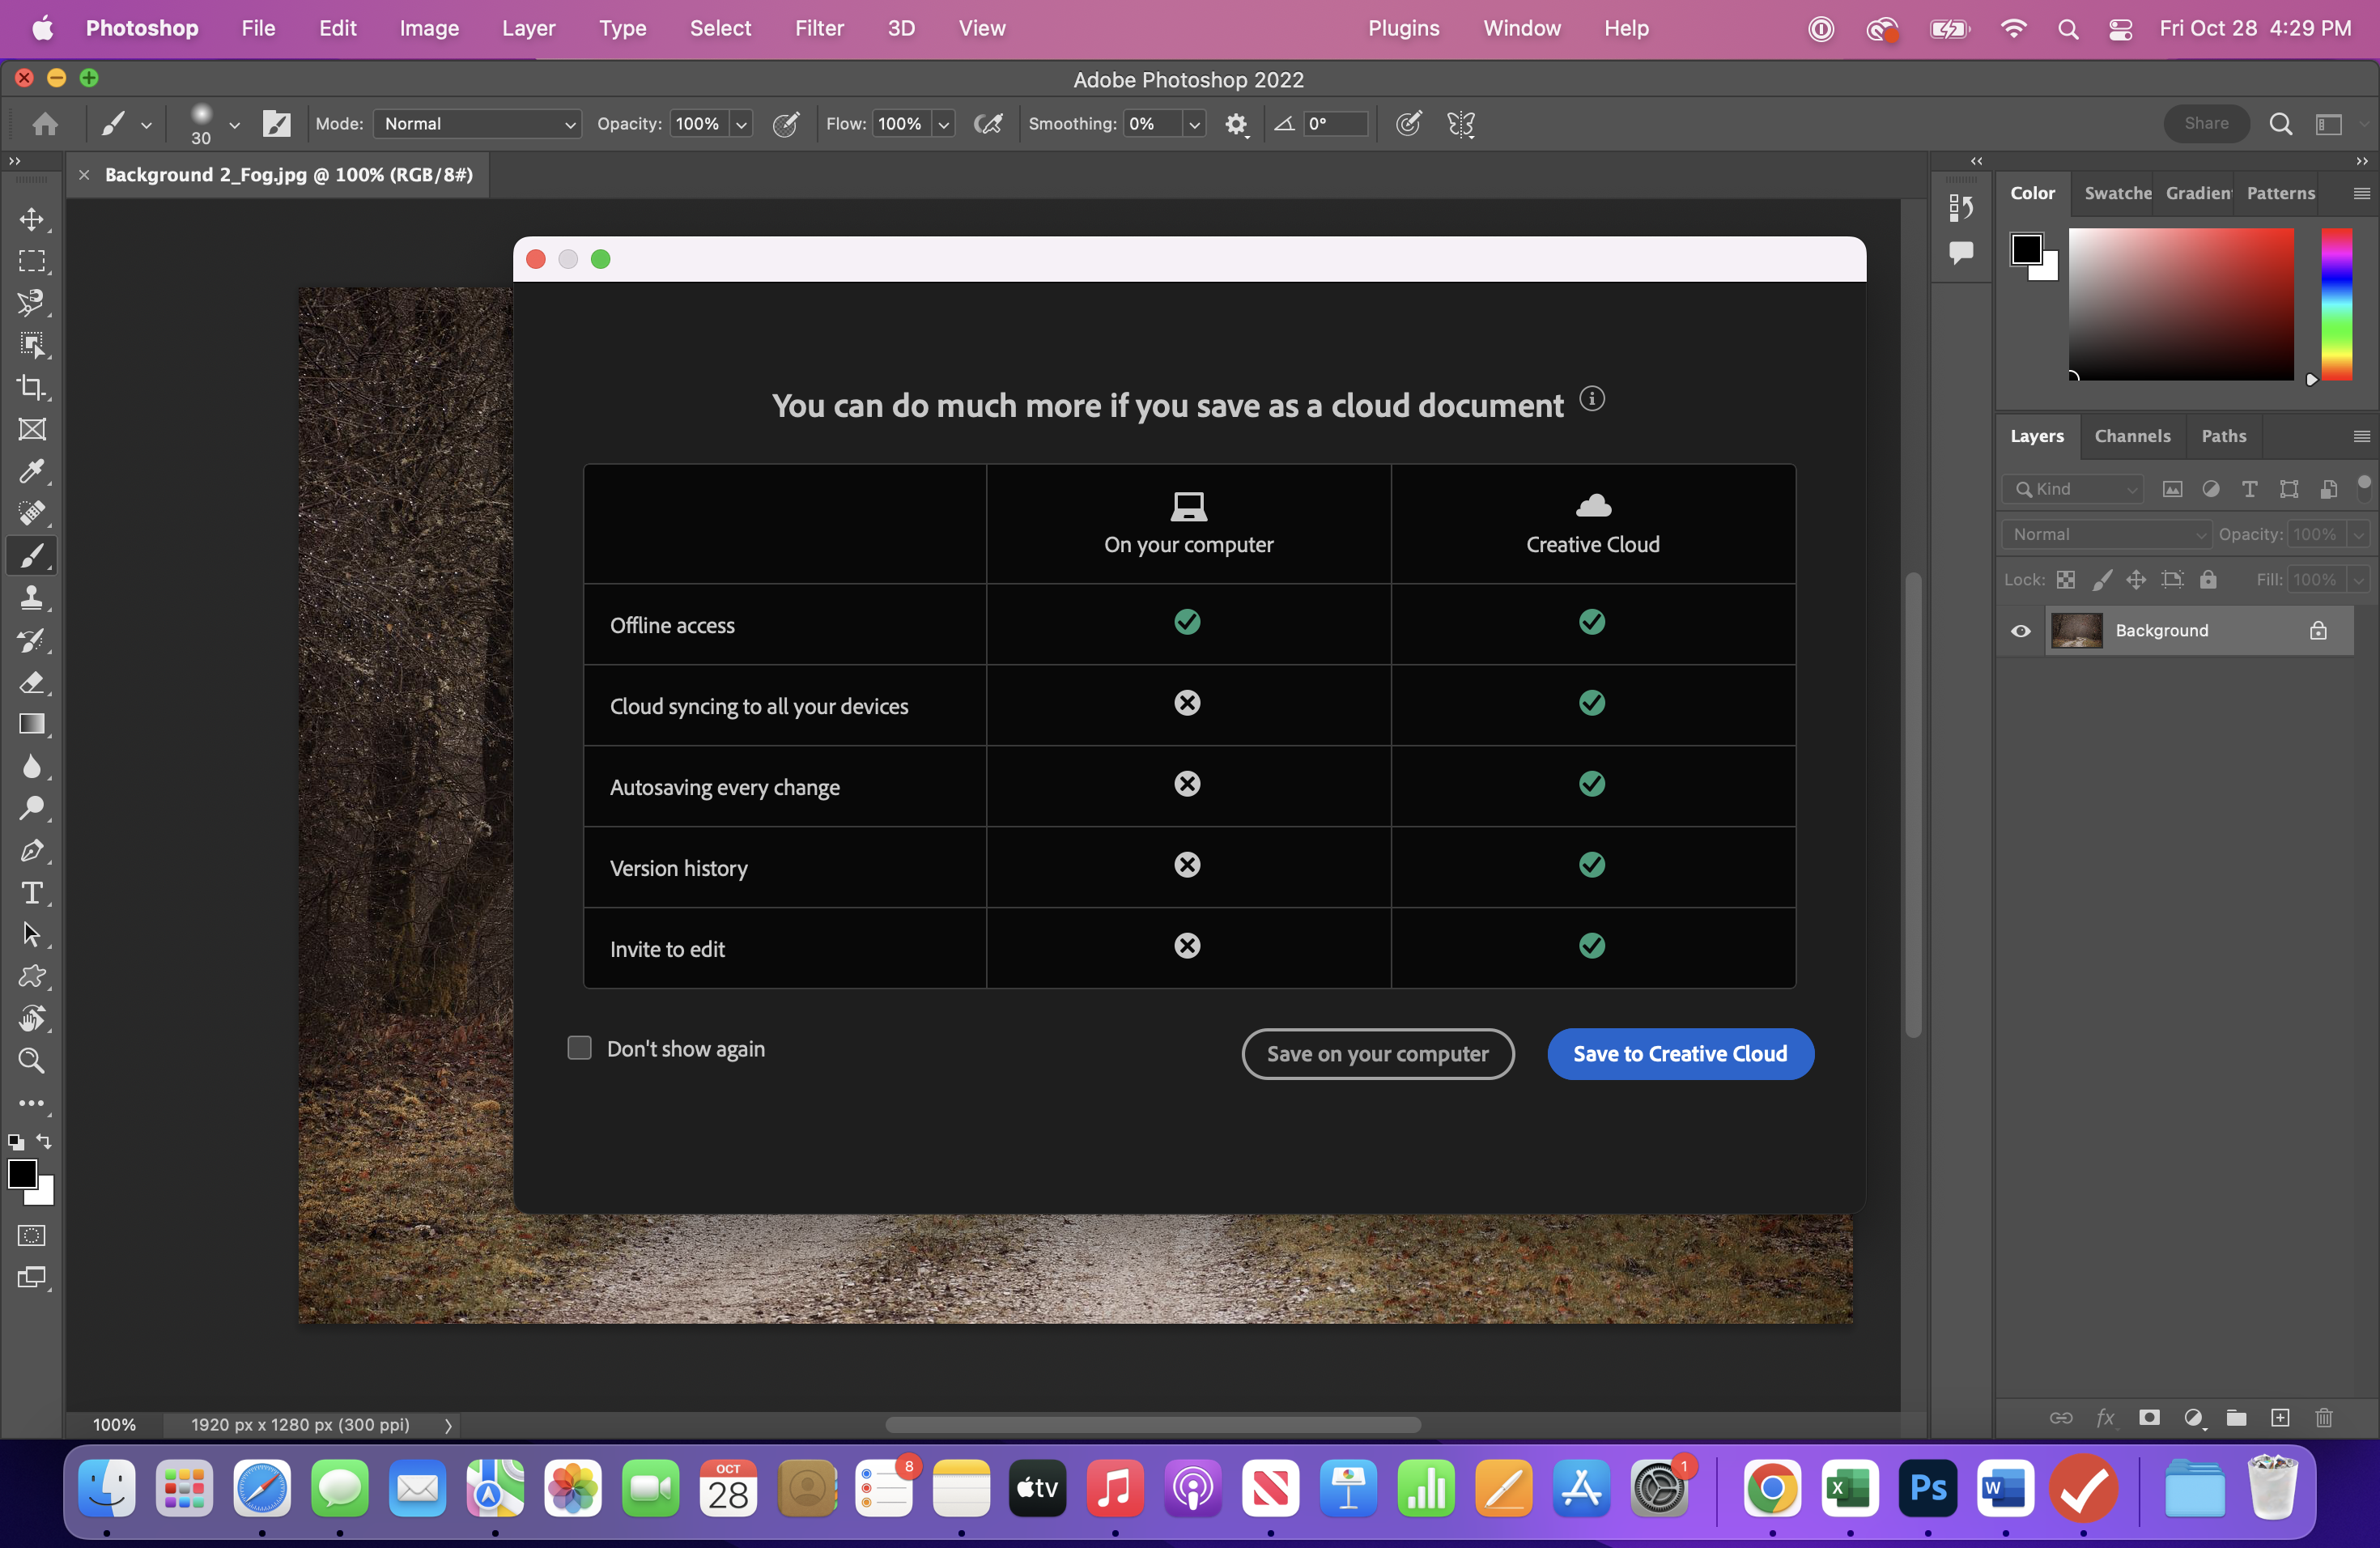
- Now is a good time to save your project. When I save the project, I use the Creative Cloud. This makes it easier to revert to an earlier version, since it autosaves at periodic intervals. It also allows you to open the project on another device, such as iPad.
The Photoshop Interface
- At the top of the screen, you see the "Menu Bar" which includes: File-Edit-Image-Layer-Type-Select-Filter-3D-View-Plugins-Window-Help. In many cases, there are short cuts to access these commands. The main commands used for this project are:
- File>Place Embedded
- try this by pressing File>Place Embedded, and when the dialog box opens, select one of the pictures from the Halloween folder.
- Now you will see a new layer appear above the background with the file name.
- Edit>Fill
- unlock background to change color (will rename it to Layer 0)
- double-click layer name to give it a different name
- Layer>Add Layer
- click [+] at bottom of layers panel
- new layer will be added above
- Select>Inverse>
- Select>Deselect
- The main workspace, where your imported photo files will appear as a stack (i.e., layers).
- Just above the workspace, there is an "Options Bar."
- Depending on the tool which has been activated (I.e., selected), the options will change.
- For example, when using the brush tool, you can set brush size, hardness, and color.
- On the left, you will find the "Tool Panel."
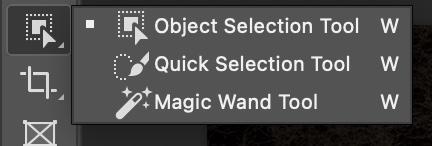
- Use your mouse to hover over each tool to see the name of the tool and the keyboard shortcut. For example, Option+V is the shortcut for the Move Tool (Alt+V for Windows)
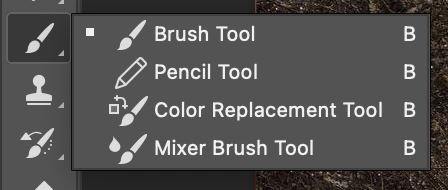
- You may also notice there is a small white triangle in the corner of some of the tools. This indicates that there are additional hidden tools. Click and hold the tool to see additional hidden tools. For example, the Brush tool includes a hidden "mixer Brush tool" that will be used in Step 8.
- The primary tools used are listed below:
- Move
- Select
- Text
- Brushes
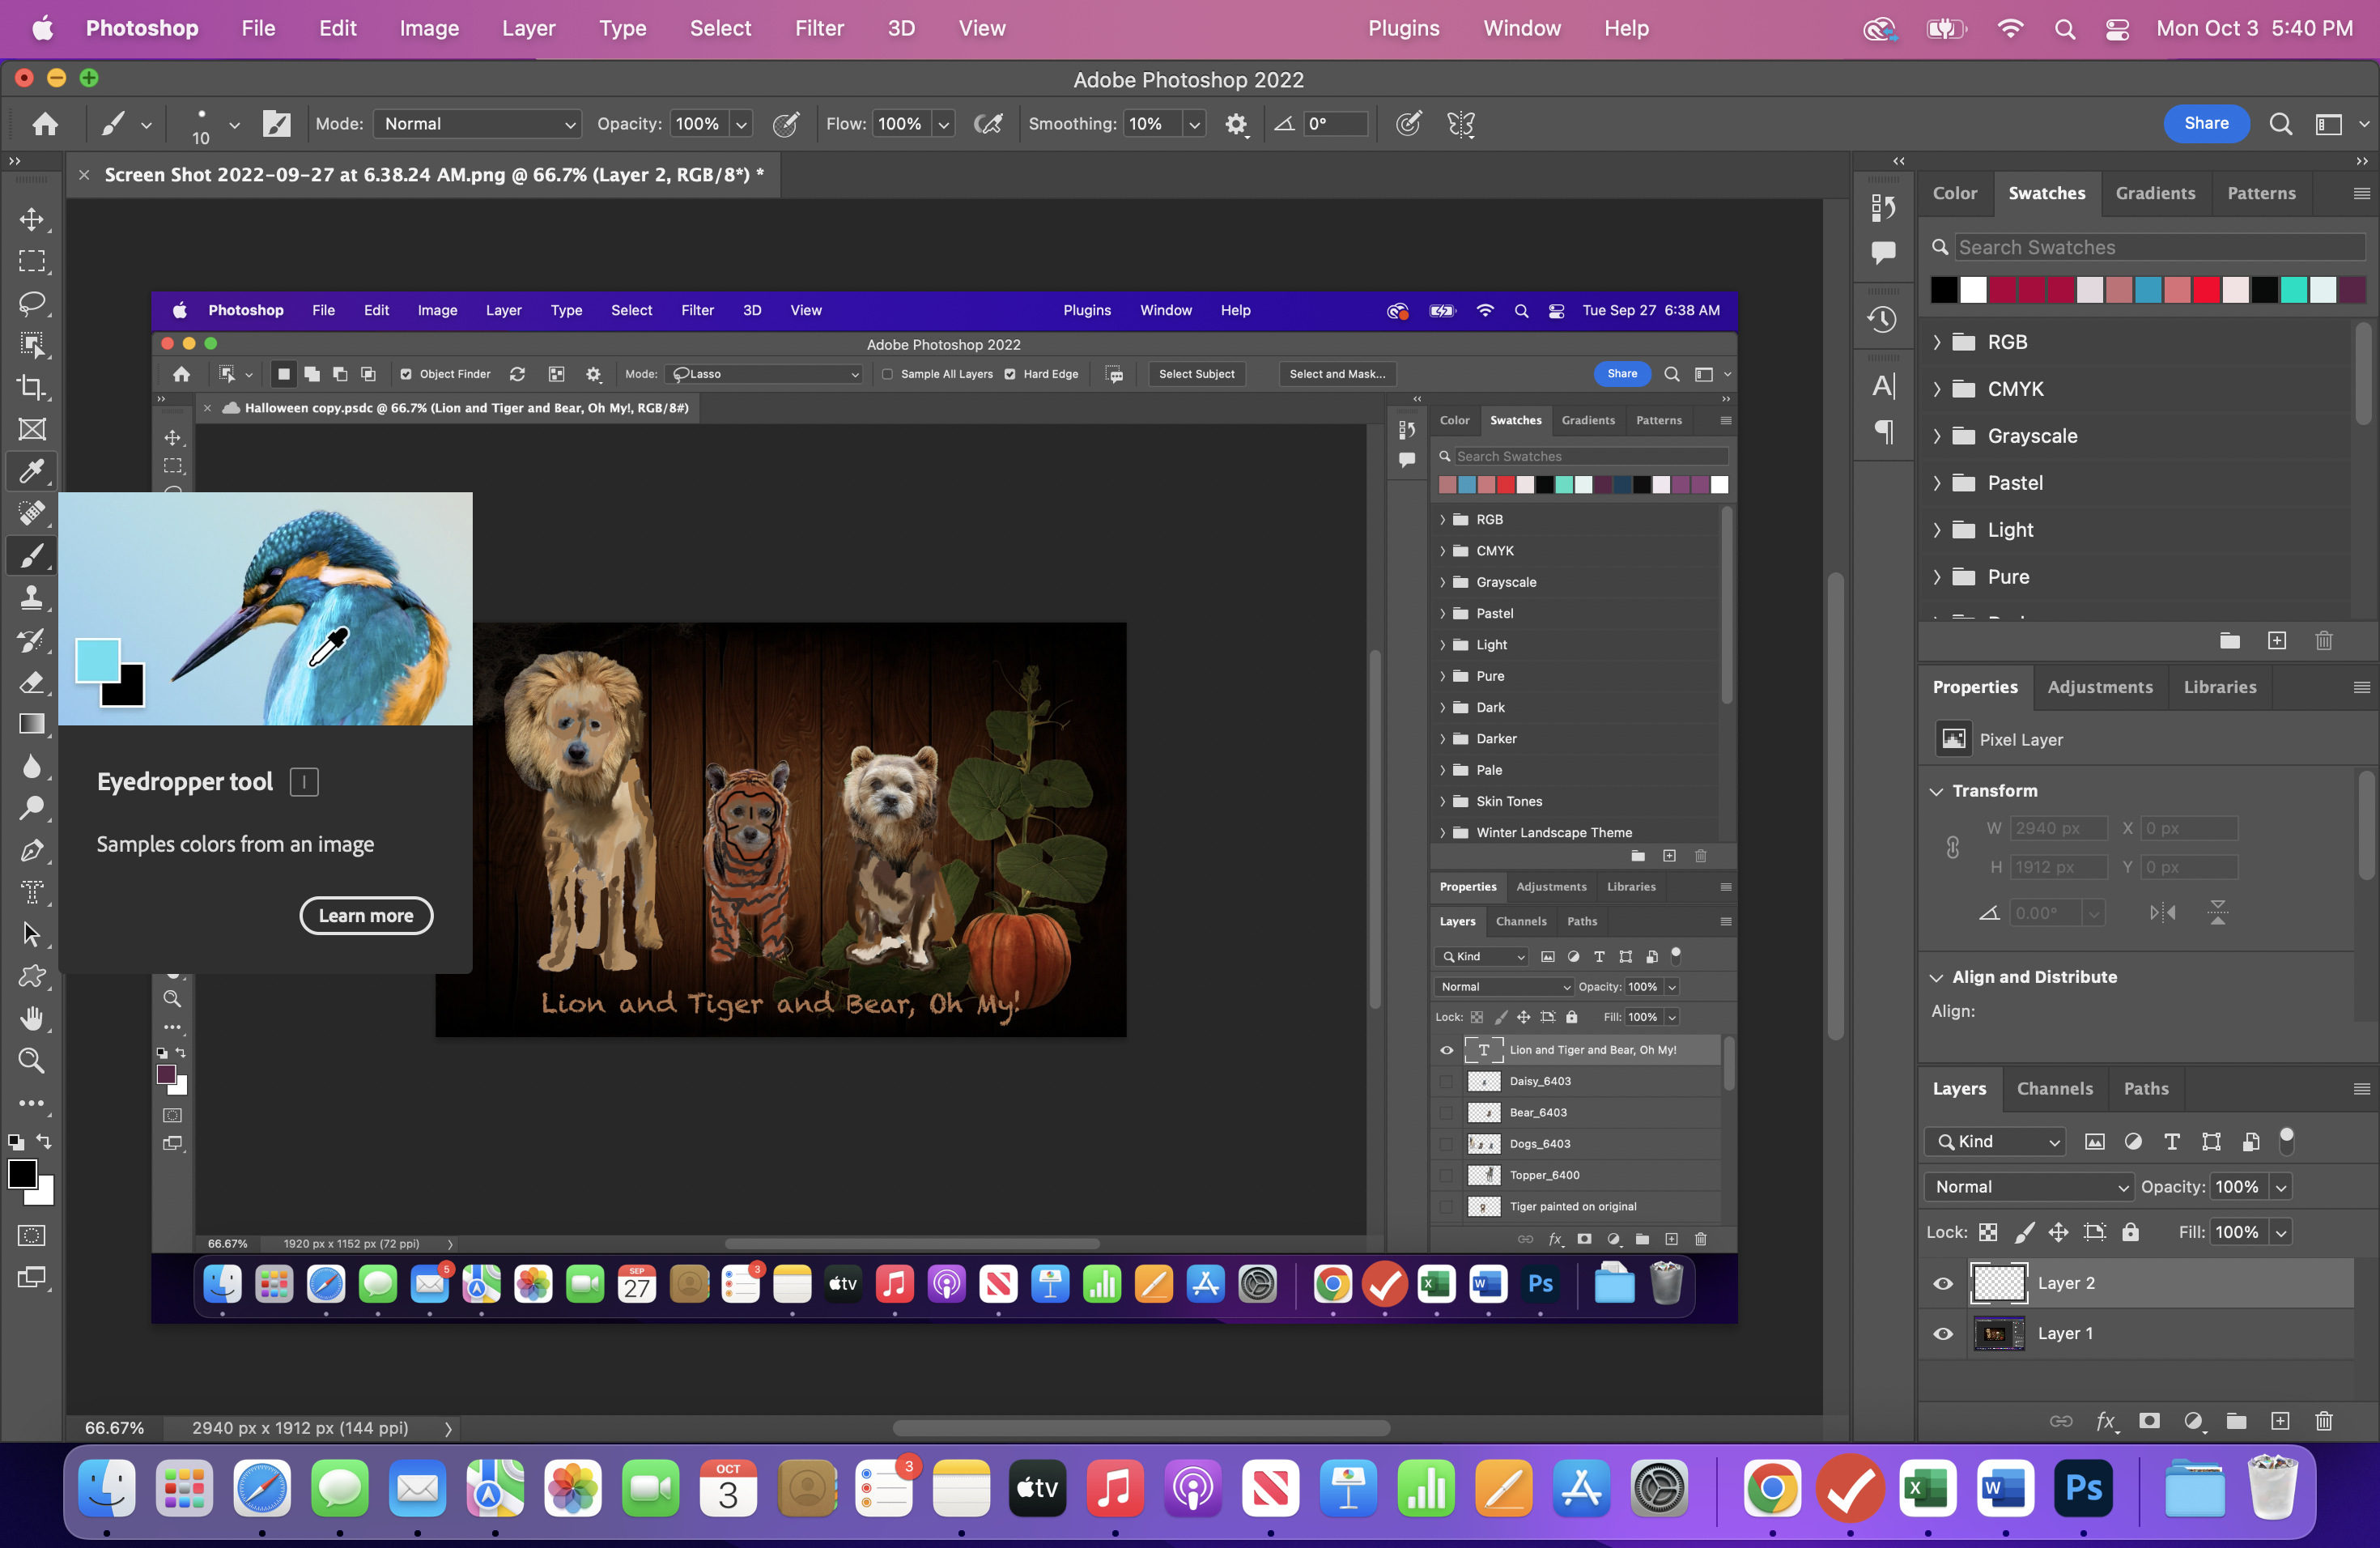
- Eye Dropper
- At the bottom of the tool panel you will see settings for foreground and background color.
- The default settings are black for foreground and white for background.
- Clicking either square will open the color picker. Use the eyedropper to select a color.
- Click the small black/white squares just above to restore defaults.
- To switch the foreground and background colors, click the arrows.
The Panels Dock
- To the right of the workspace you see the "Panels Dock." The default panels are Color, Properties, and Layers, known as "Workspace Essentials." The selected panels can also be viewed in the Menu Bar by clicking Window-you will see a check next to the panels which are active.
- The Colors panel group will be used when we get to the digital painting step (8)
- The Properties panel group is used for photo enhancements, such as lighting, contrast. You can close this panel by clicking the three dashes on the right and selecting Close Tab Group. This will provide more room for the Layers Panel, which is the most important concept of working in Photoshop (in my opinion).
- The Layers Panel group is the foundation of Photoshop.
- Every time you import a file into a project, it will show up as a new layer on top the previous layer.
- You can also duplicate a layer to make edits that will leave the original photo untouched.
- You can also turn layers on and off by clicking the eye next to the layer name.
- You can also create a "layer mask" that allows you to hide or reveal parts of a photo.
- You can also apply a filter to a layer to give it an effect, such as blur.
- Make sure the correct layer is selected (activated), when you want to make edits.
- It is a good idea to lock the layers you do not want to accidentally make edits to by clicking the "lock" icon next to the layer name.
- The Workspace can be customized by clicking Window and selecting one of the panel sets. For example, there is a workspace which contains the common panels used for painting projects.
- If your Workspace gets out of sync, you can reset Workspace Essentials by clicking Window>Workspace>Reset Essentials.
Close the Halloween Template file. We will use that in the final step to make a composite with the masked and unmasked versions.
Create Your Project Background
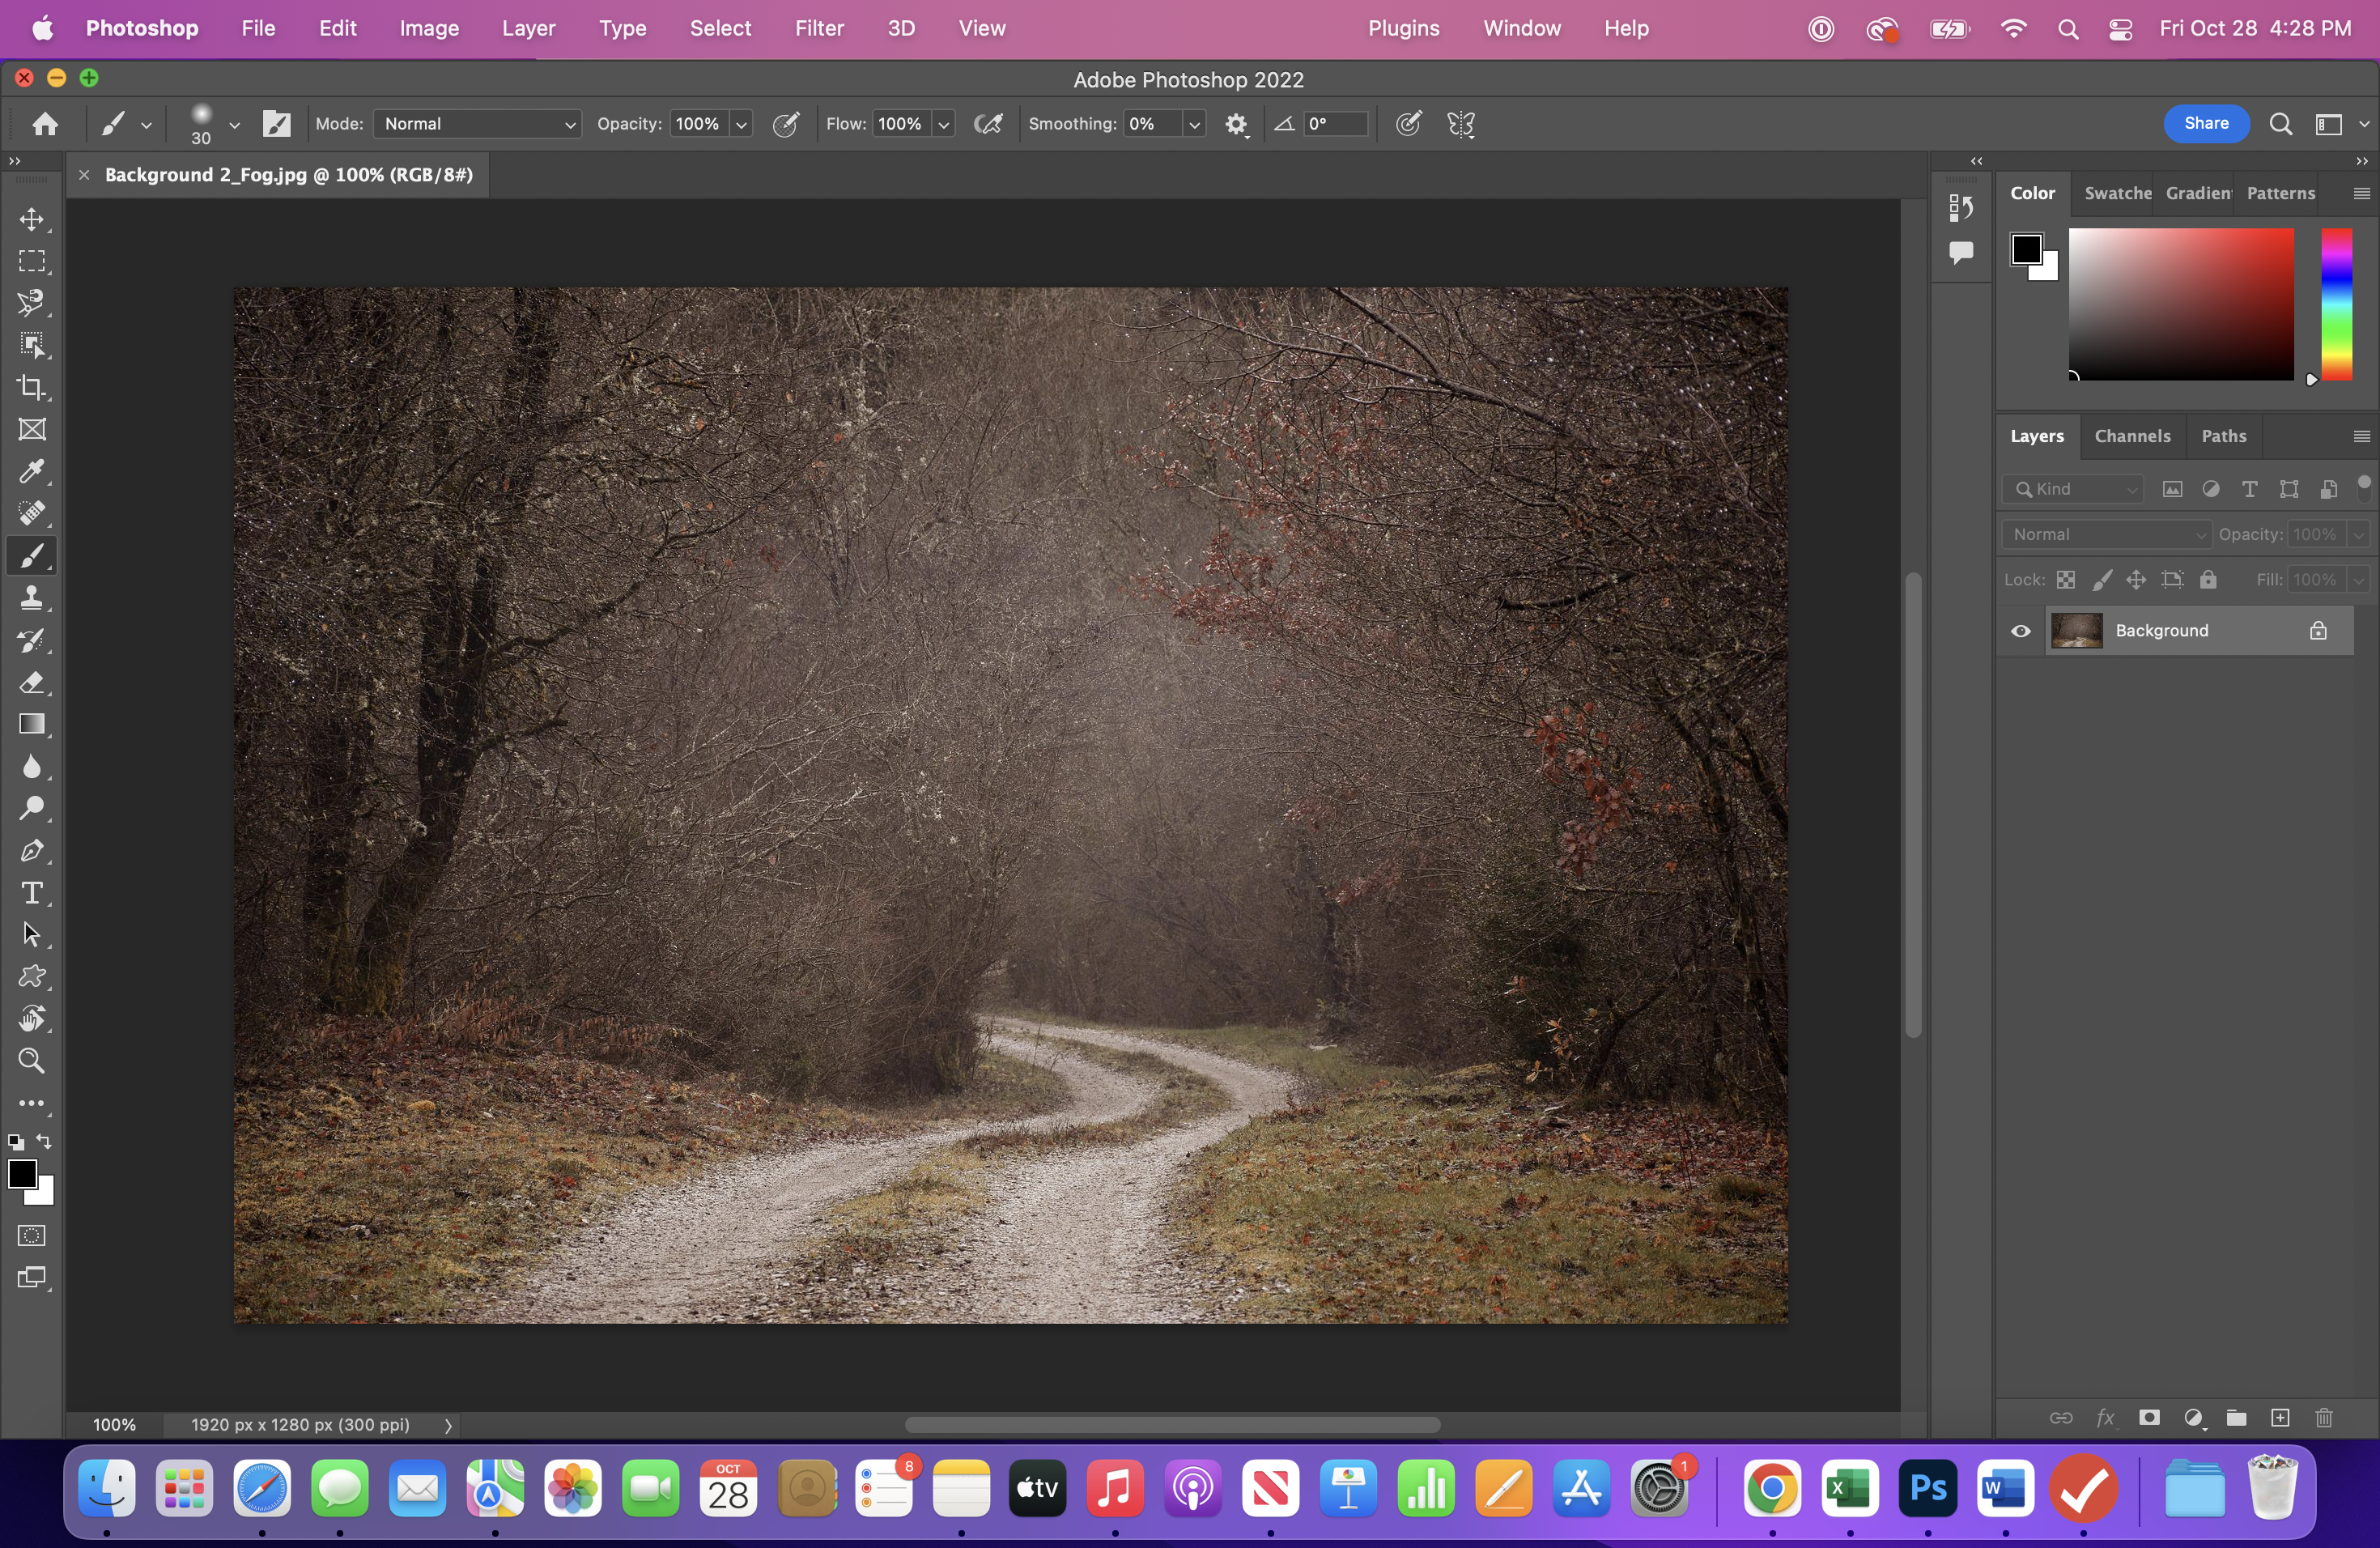
Click Open and on your computer, find the background photo you downloaded in Step 2. I am going to try a different background as I write this Instructable. I am also using a new photo of Topper taken after his grooming.
You will notice that the background photo is labeled “background” and has a lock symbol, which prevents you from making changes to the background layer. A layer named background is locked by default. If you click the padlock to unlock, the layer name will change from background to layer 0.
It is good practice to lock any layer that you don’t want to accidentally make changes to, especially when we get to the digital painting step.
Import Your Subject Photo(s)
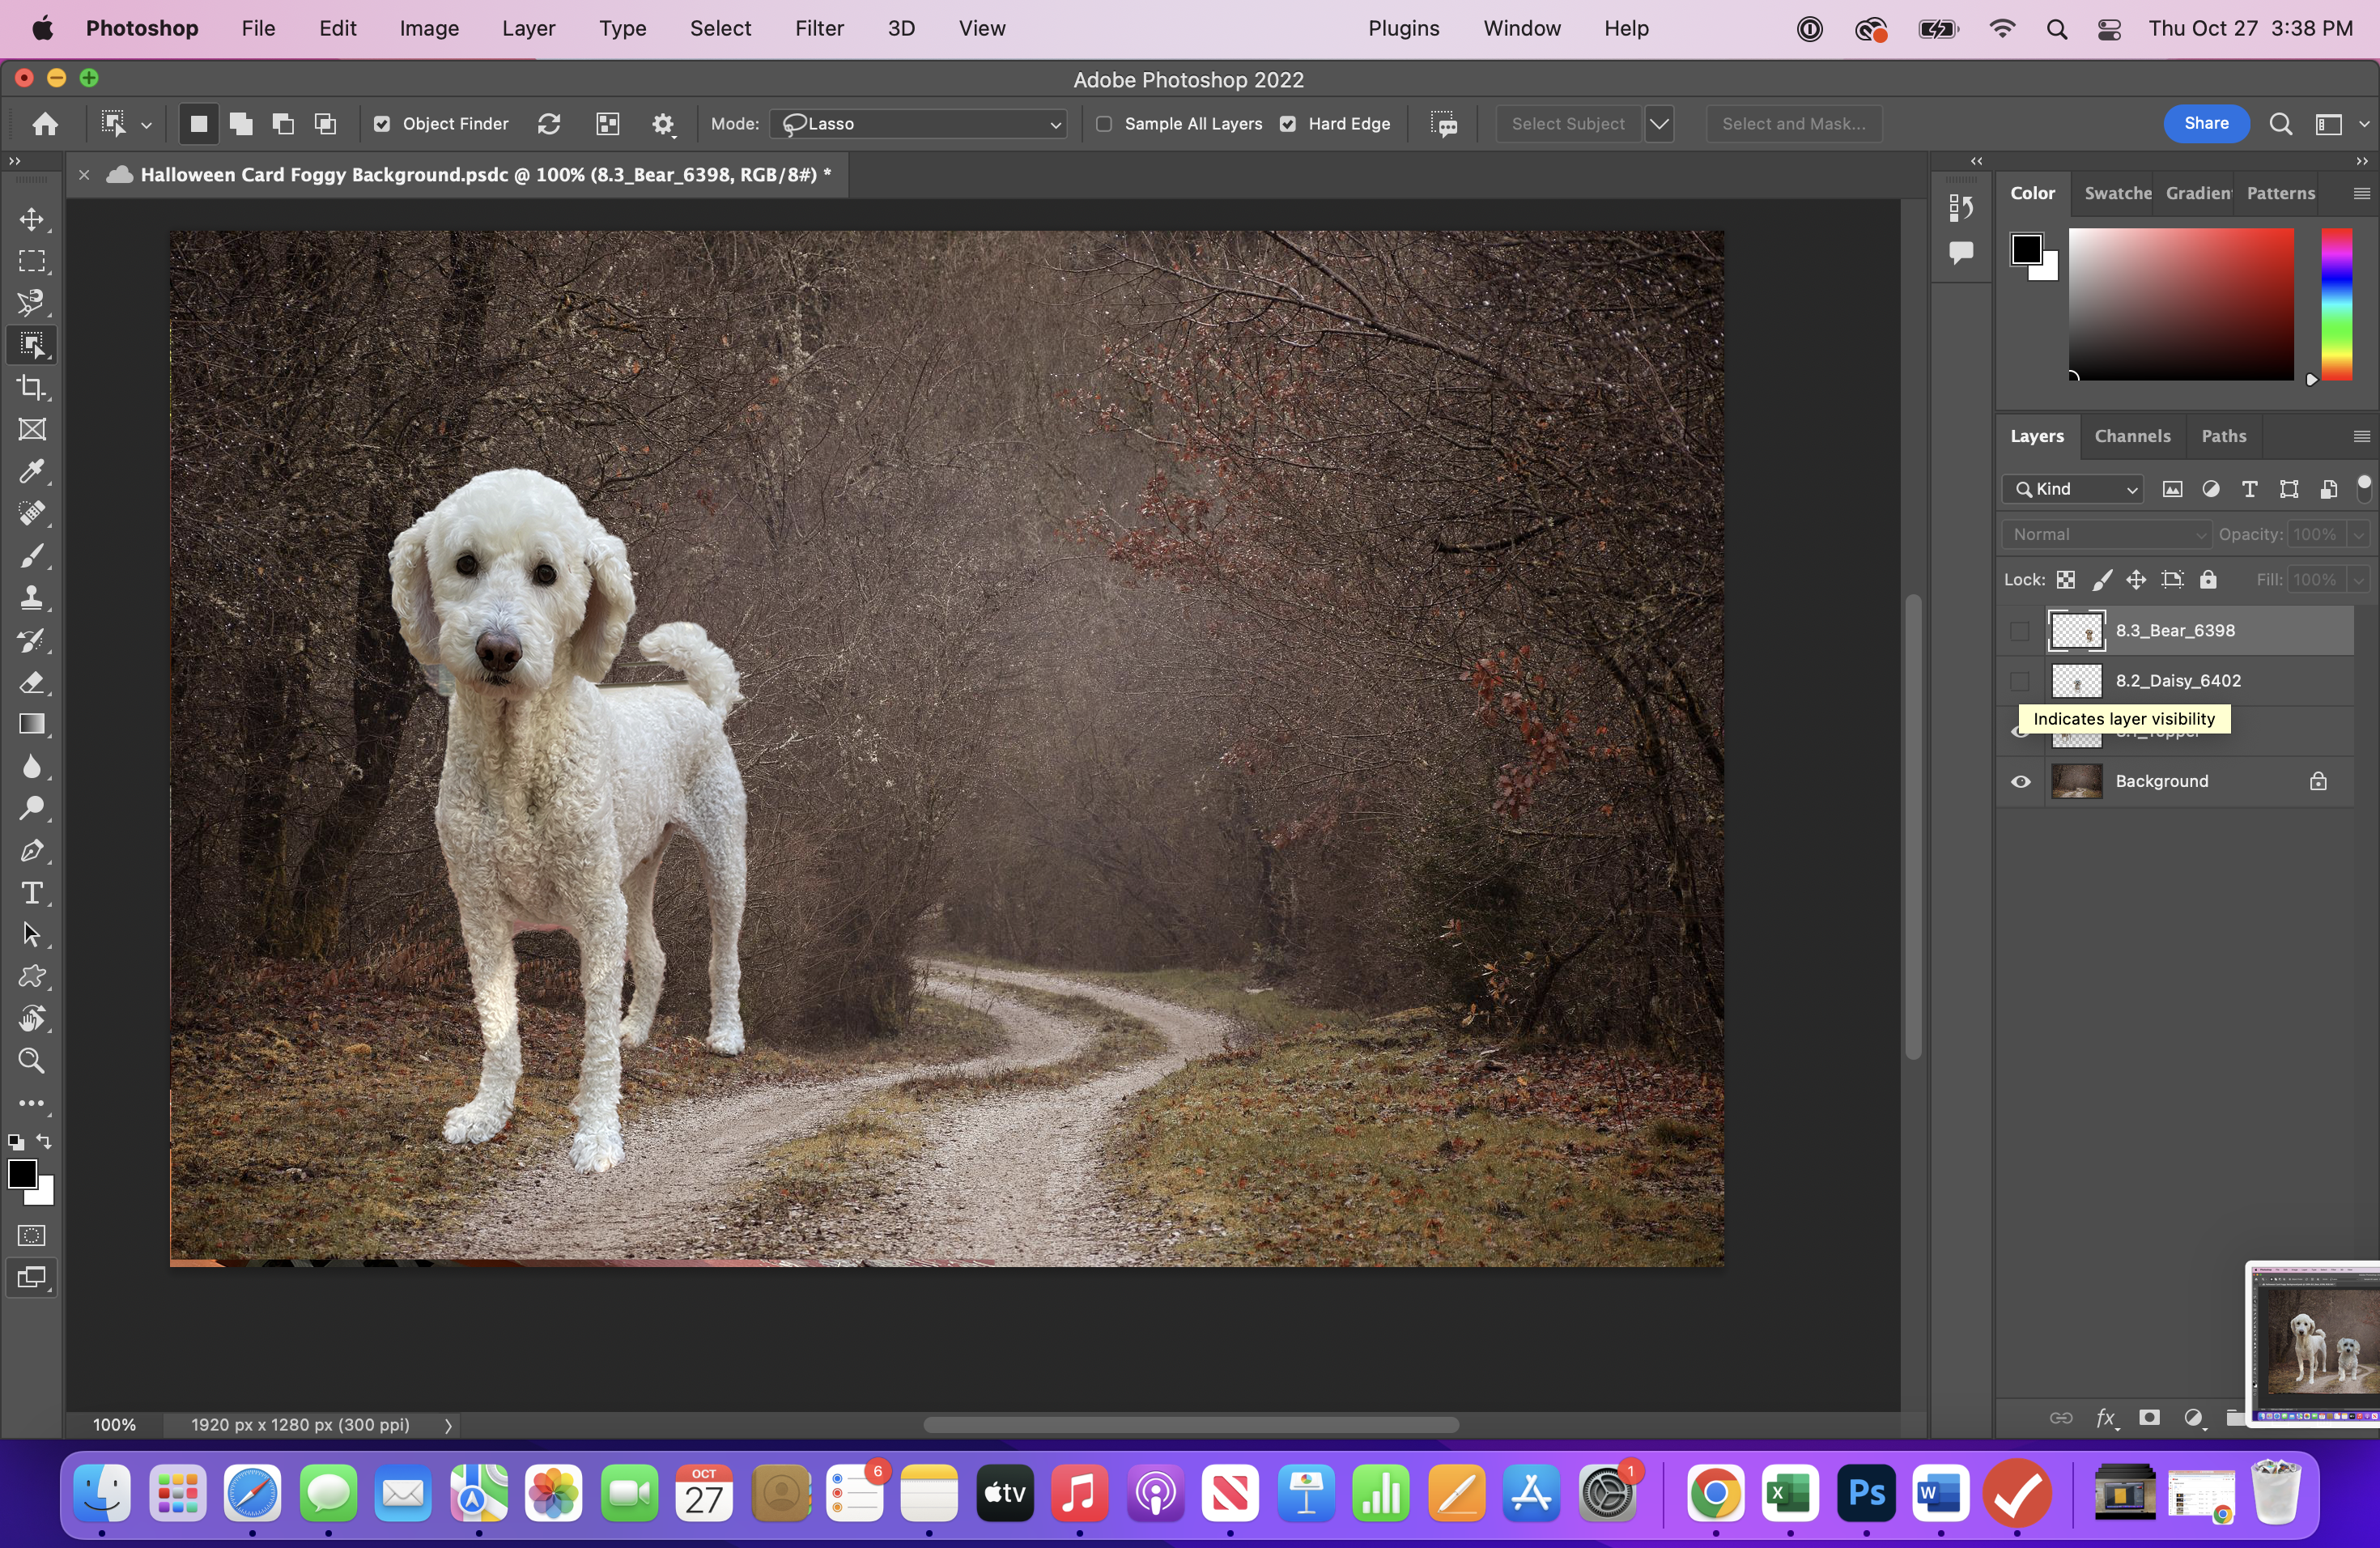
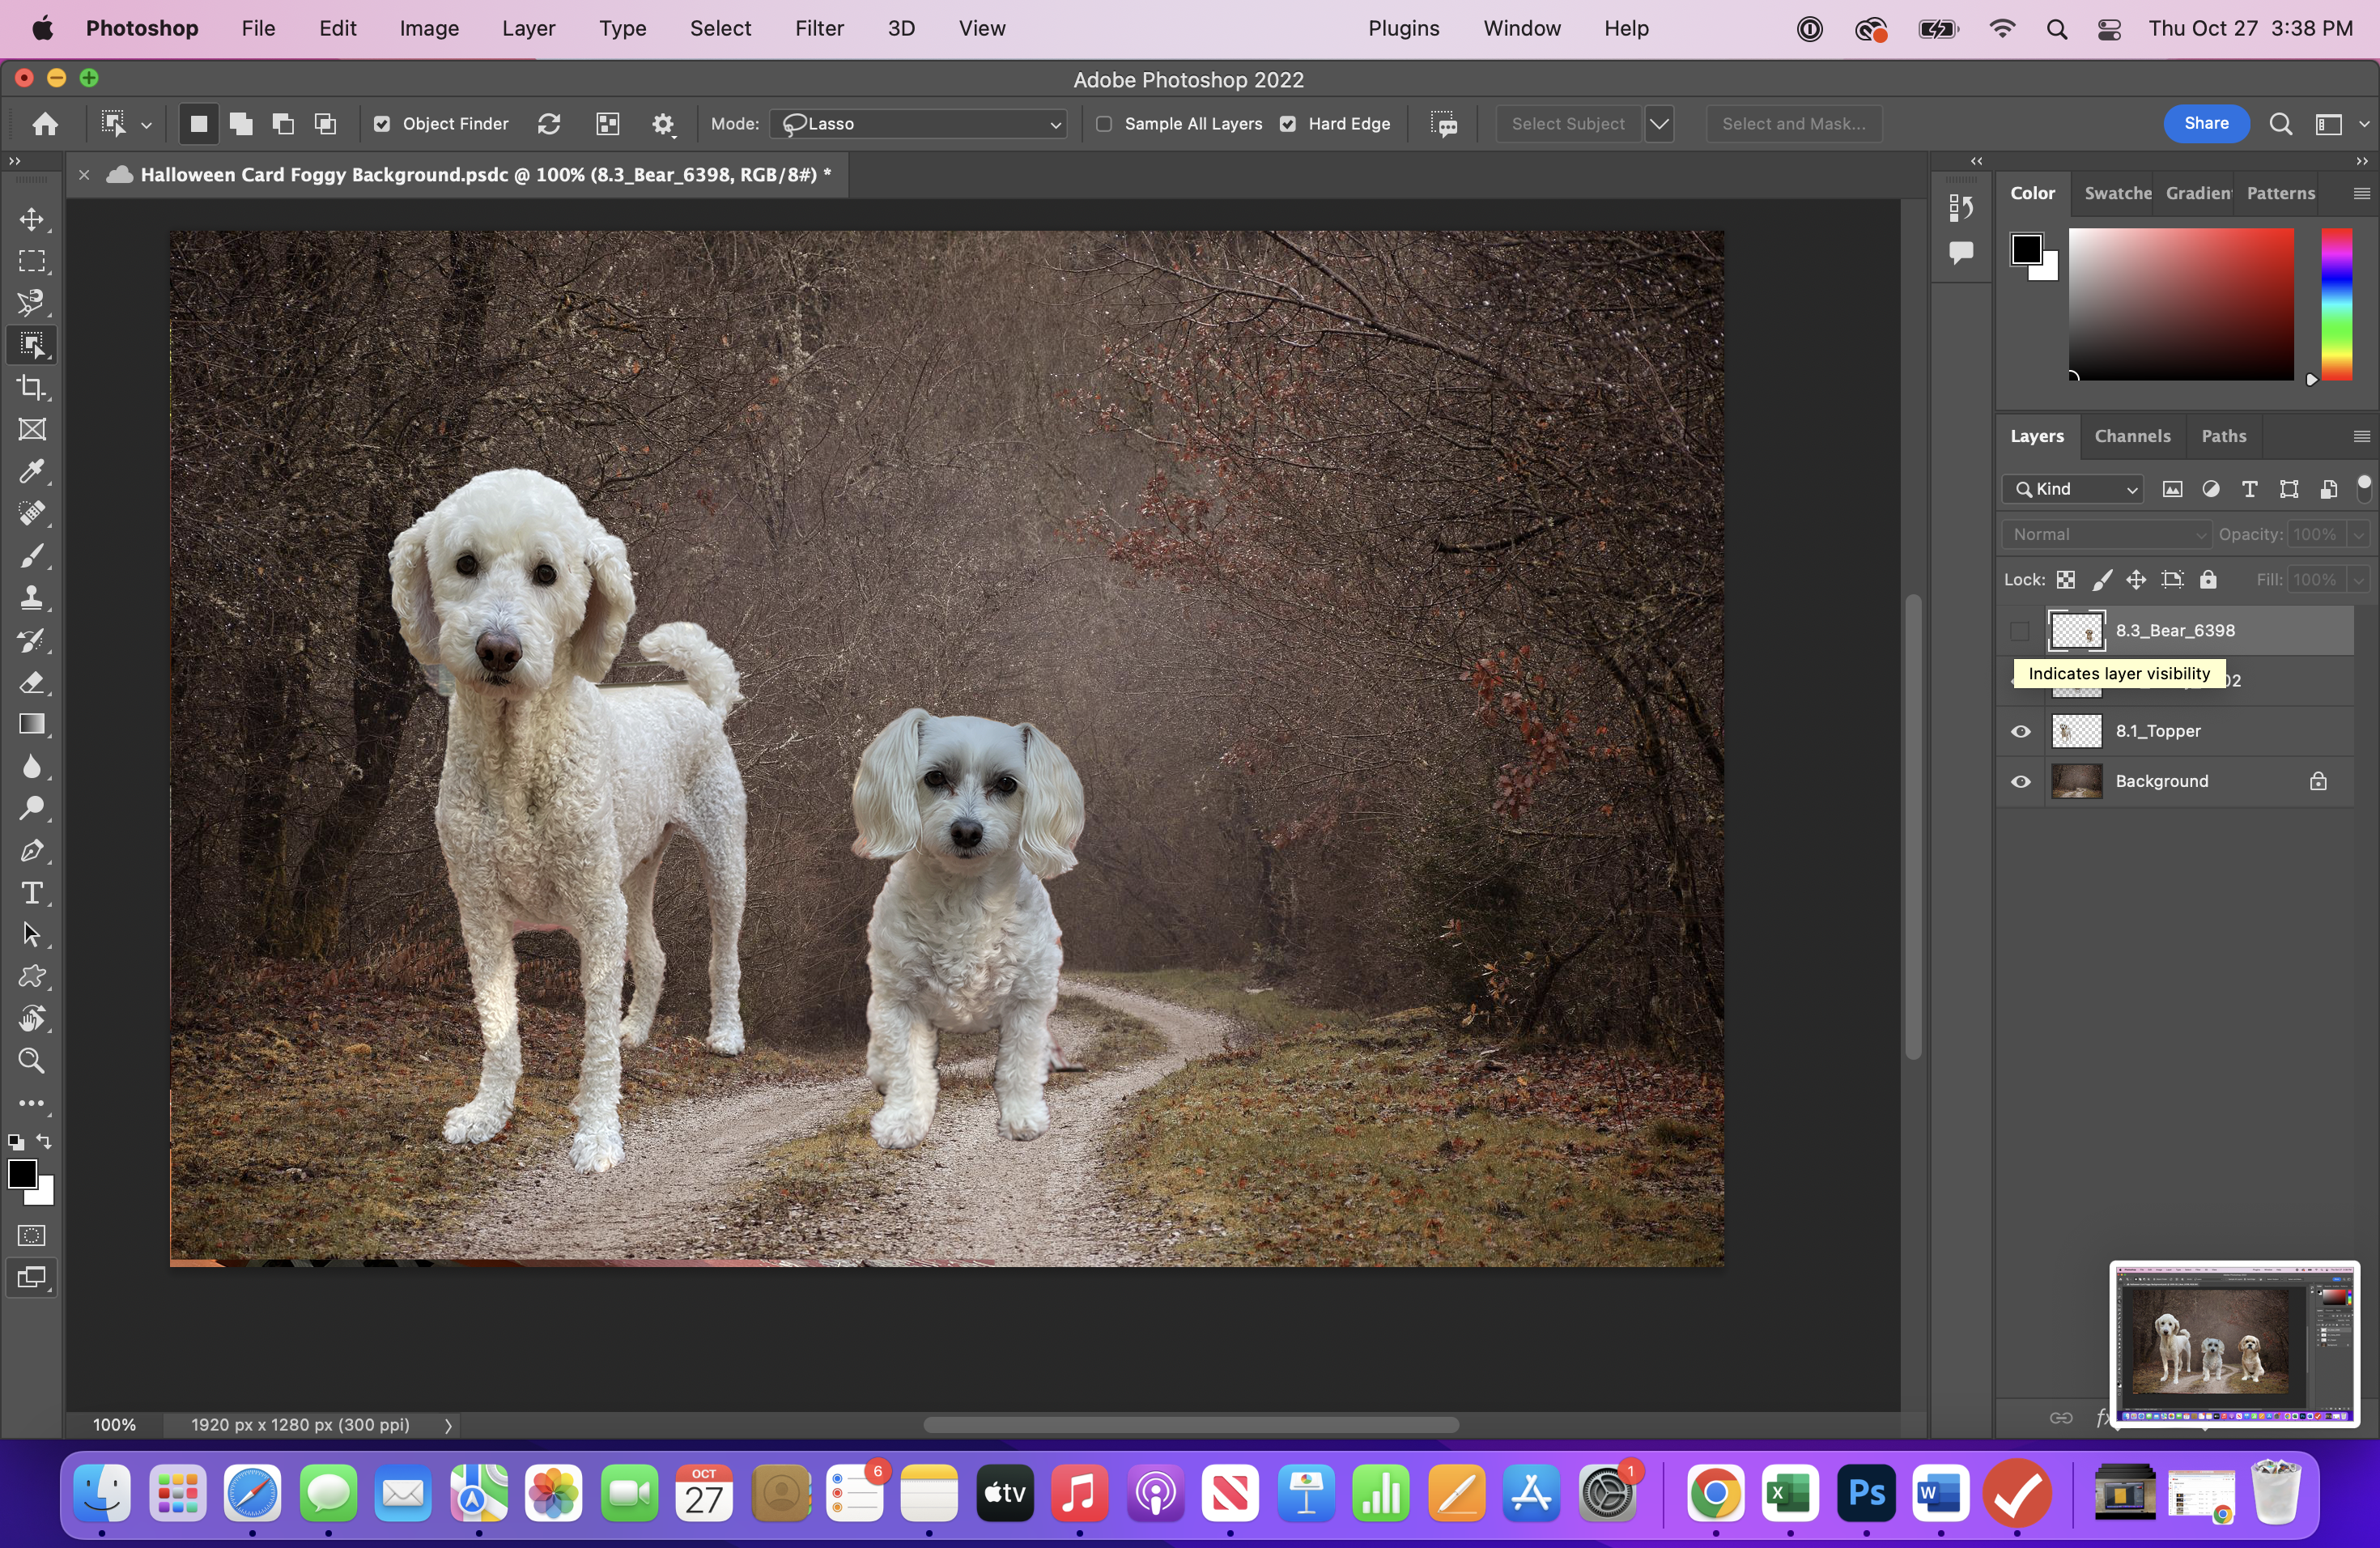
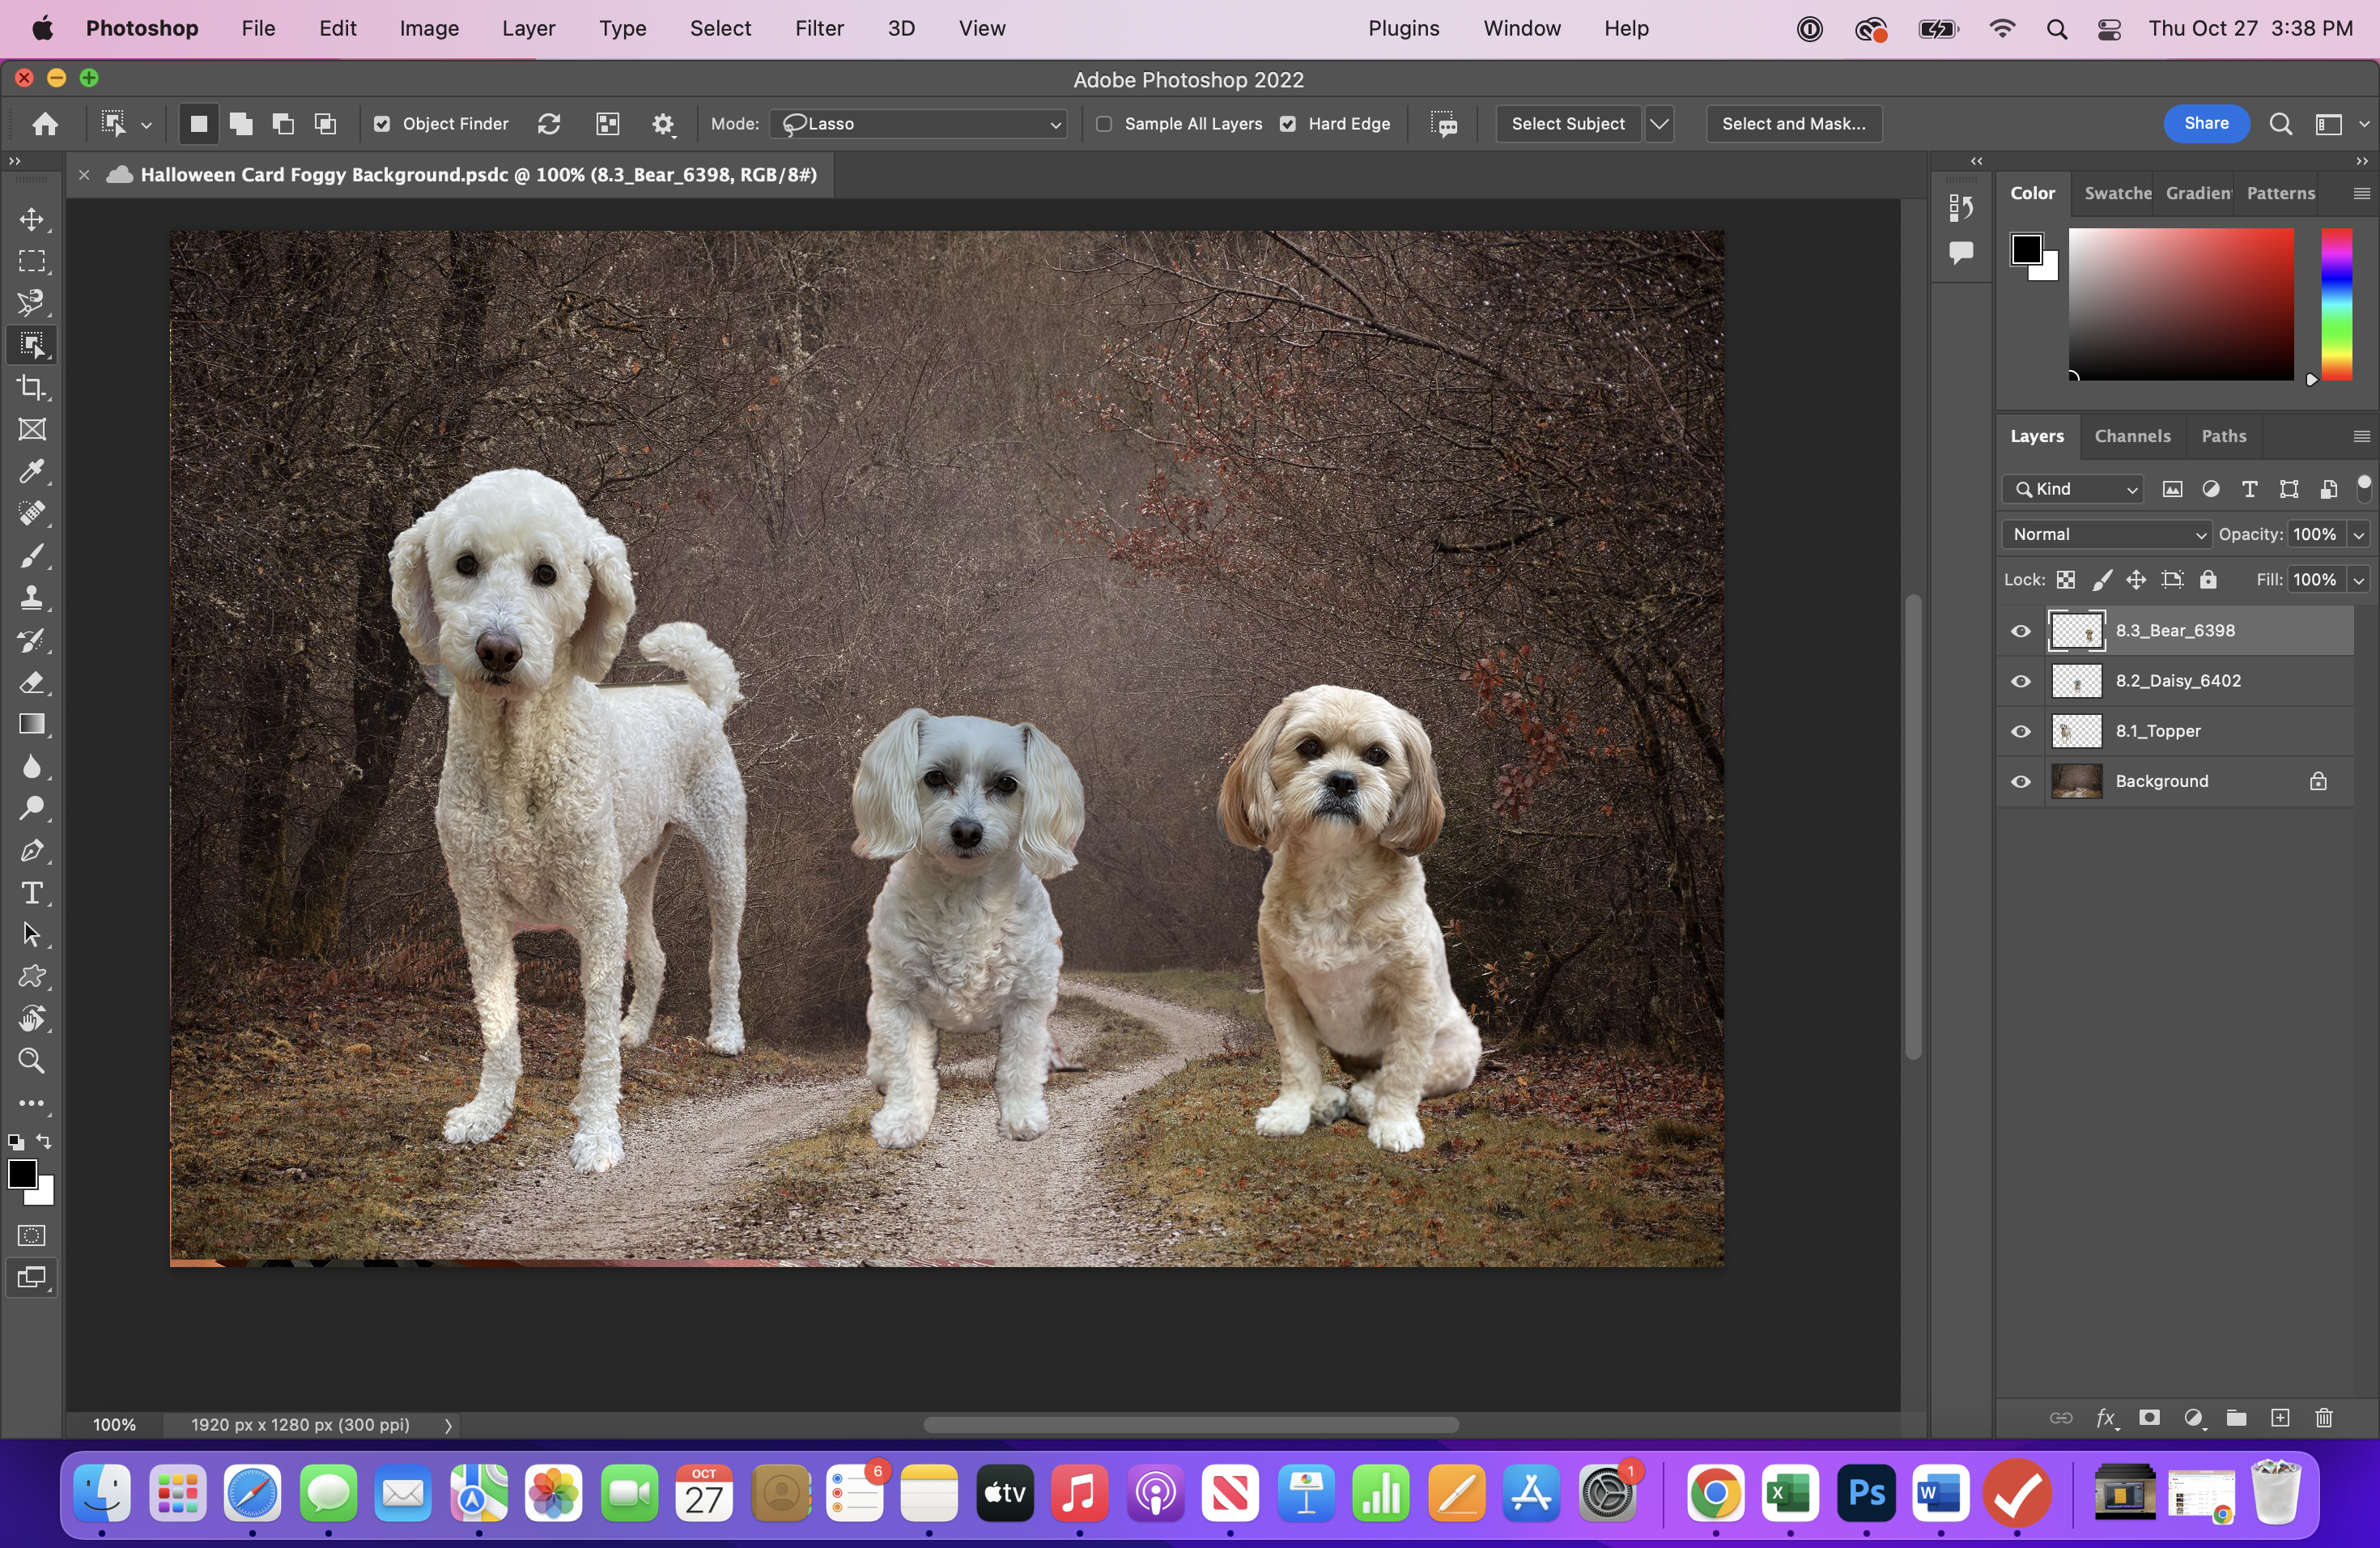


Click File>Place Embedded and open the search to find your first file.
When you press enter, the photo will appear over the background photo. There will be handles at each corner, as the “Move” tool is activated by default. You can click any one of the handles and drag to resize the photo. Then click and drag in an area of the photo (not a handle) to position it in the general area you want it. Press enter to see how it looks.
- The new photo will be a layer above the background. Double click on the layer and give it a name, for my project, Topper.
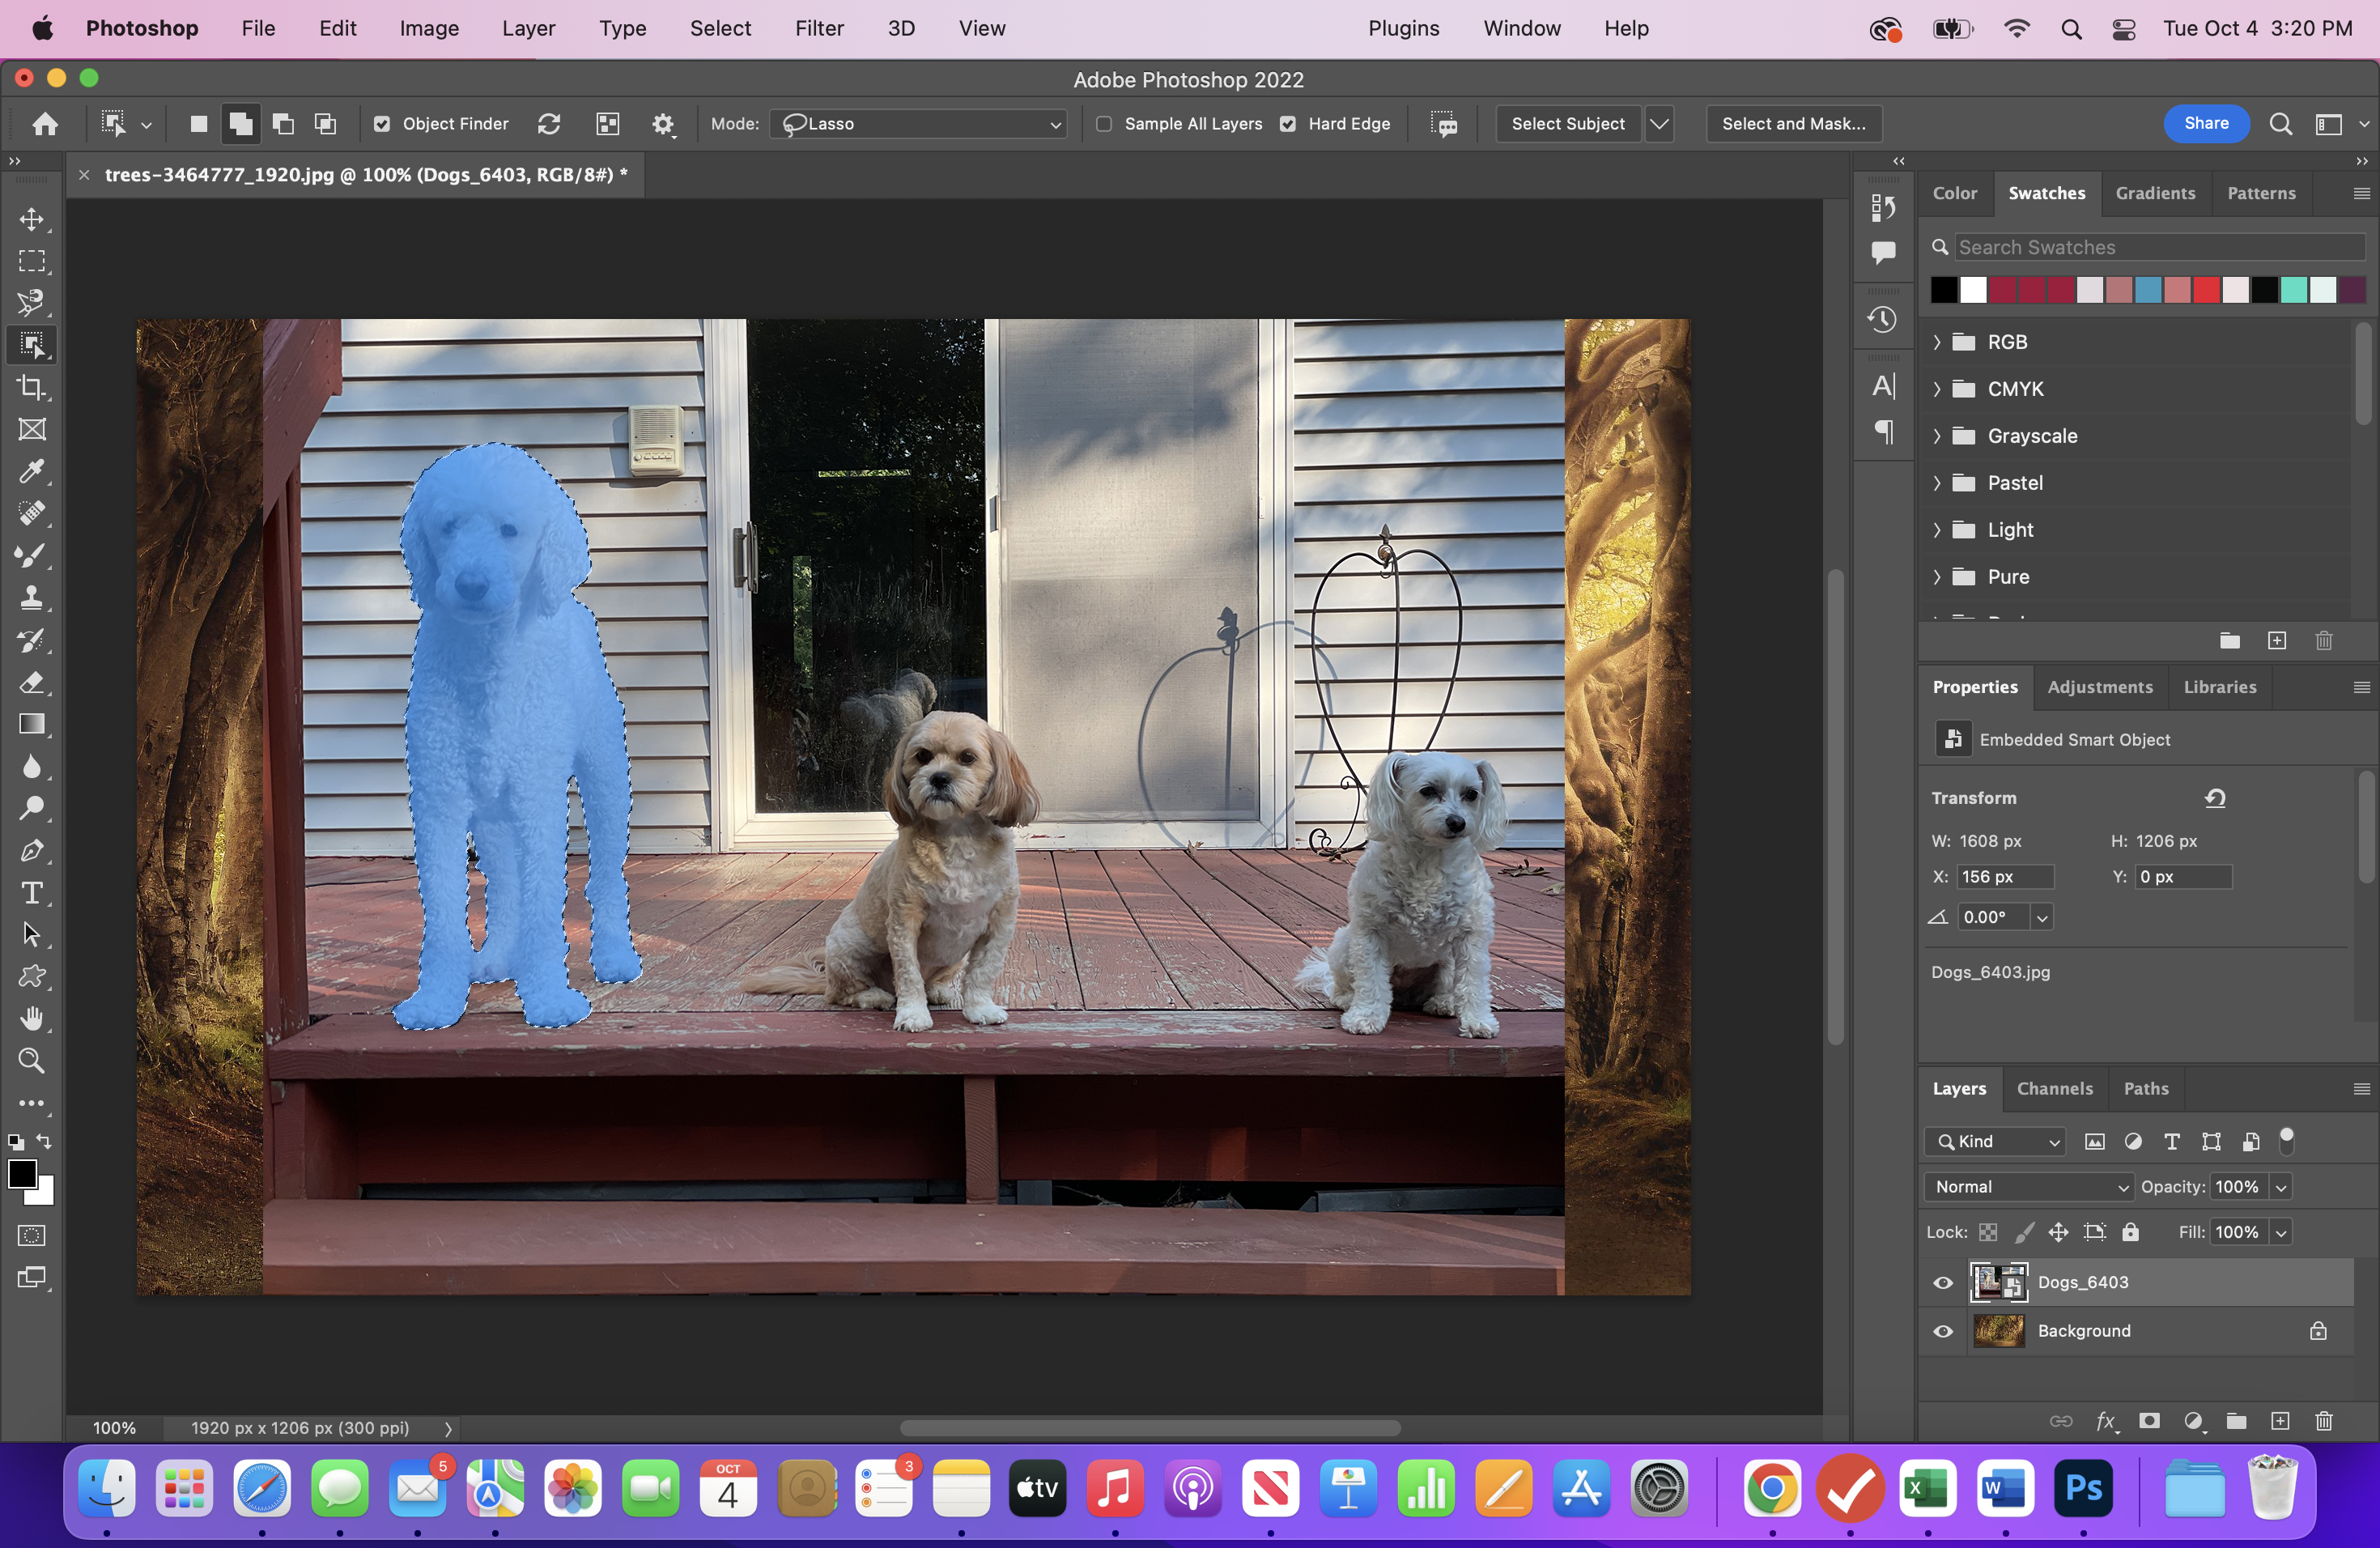
- Right-click on the layer name, and scroll down the list to Rasterize Layer
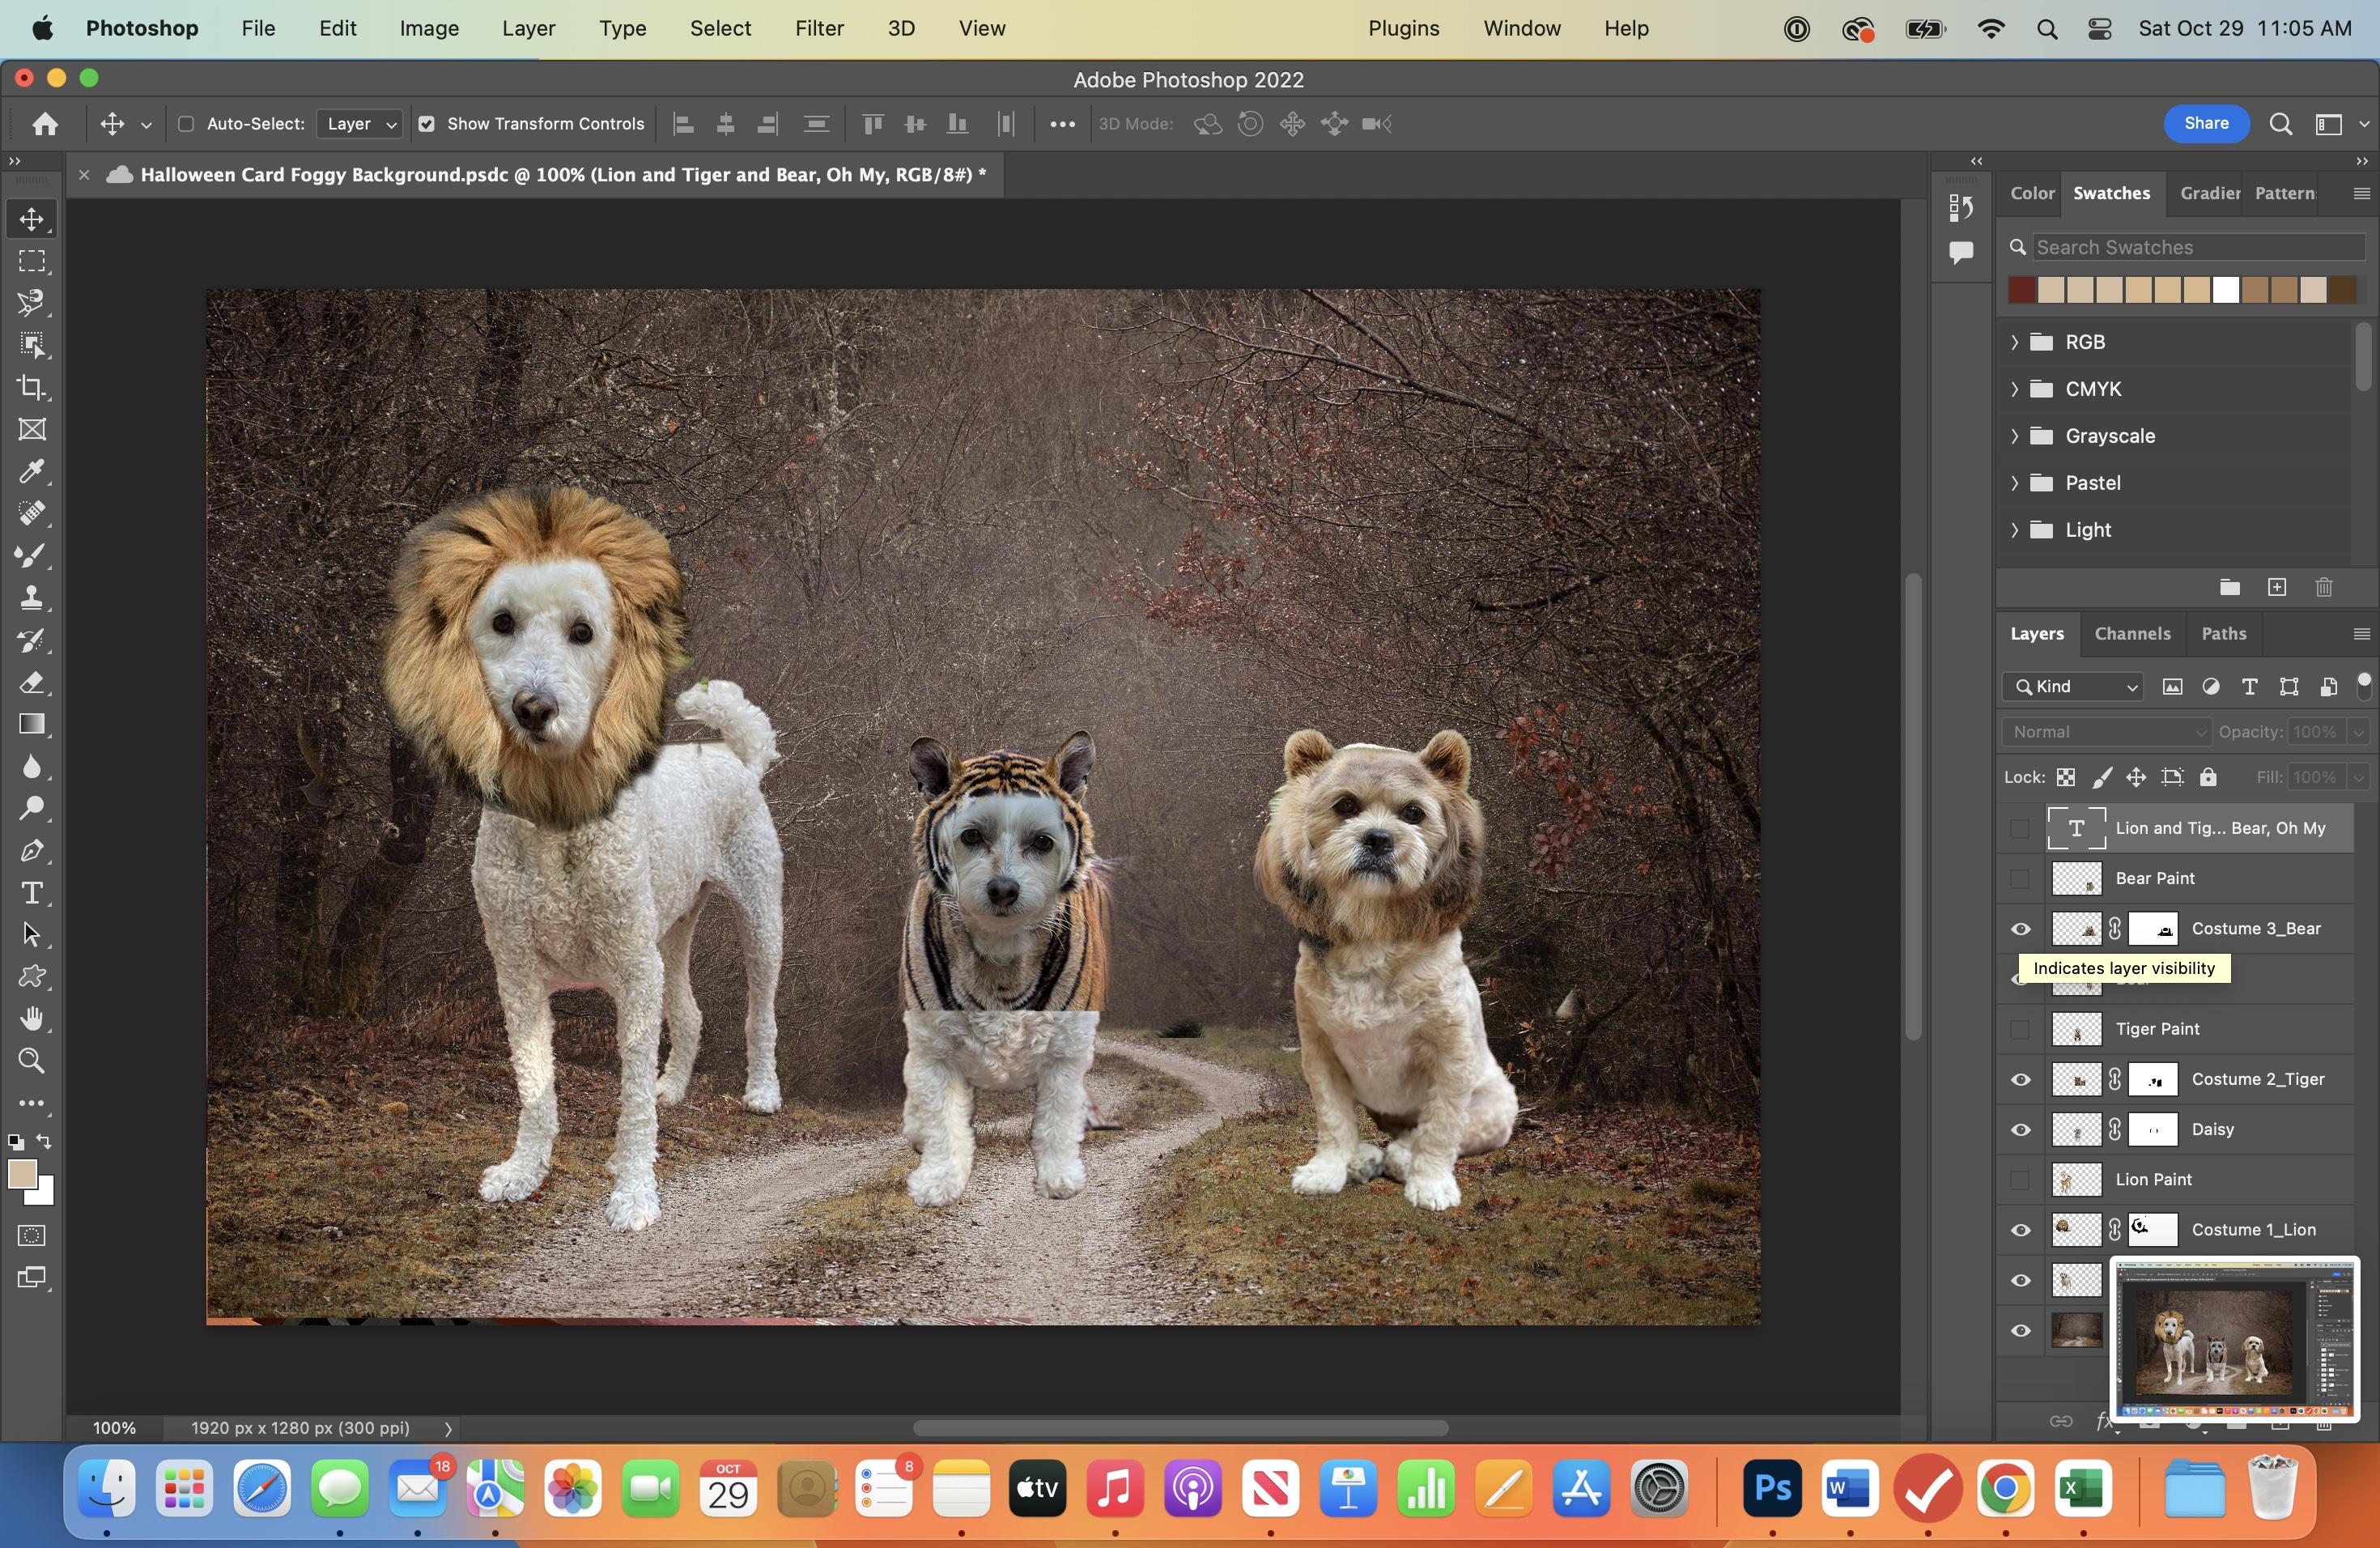
- Use Object Selection Tool to select the subject. It should appear in blue when you click on the subject. When you press enter, the border around the selection will be animated (marching ants). Press Select>Inverse, and then press delete to remove the background. Press Select>Deselect (or Command + D on an Apple computer)
- You can reactivate the Move tool if you need to reposition it or adjust the size.
Repeat these steps for each additional subject.
Now you will have at least two layers: the background plus one layer for each subject.
It is also good practice to have the layers organized. If your subjects are lined up left to right, start with leftmost subject just above the background layer and insert new layers above. Remember, any layer will cover the layers underneath, just like stacking pieces of paper.
Import Costume Photos

You are basically going to apply the same procedures in Step 6 to import the costumes; however, you have to match them with the correct subjects. There will also be an additional step: we will also create a layer mask to fit the costume to the subject.
Make sure you have the first subject selected in the layers panel. For my example, that is Topper, our Goldendoodle.
- Select File>Place Embedded, when the dialogue box opens up, select your costume. For my example, that is the Lion head.
- As in Step 6, you will see that the photo opens with the Move tool selected. Use the corner handles to resize the photo and then click and drag to move it into position. I like to line up the costume next to the subject's head to match the size.
- Rename the layer something like "Lion Costume." Right click the layer and scroll down to Rasterize Layer.
- Then use the Object selection tool to select the Costume. Click Select-Inverse-Delete. Press Select-Deselect (or Option + D) Use the Move tool to reposition if necessary.
Now remove the other parts of the Costume photo that are not needed.
- Click the layer mask icon at the bottom of the layers panel. (The small rectangle with a circle in it) You will see an additional rectangle appears on that layer. Click on the new rectangle to select it. This is the layer mask.
- Now select the Brush tool. In the Options Bar, select a soft round brush and set the pixels to about 30.
- Press Option to switch to the Eyedropper tool and select the foreground color (black)
- Use the brush to paint out the unwanted elements. You will see the layer beneath appear as you paint.
Repeat for each additional costume.
Now you will have at least three layers:
- Background Layer
- Subject Layer (lock layer when finished editing)
- Costume Layer (lock layer when finished editing)
Save your project!
Enhance the Costumes With Digital Painting
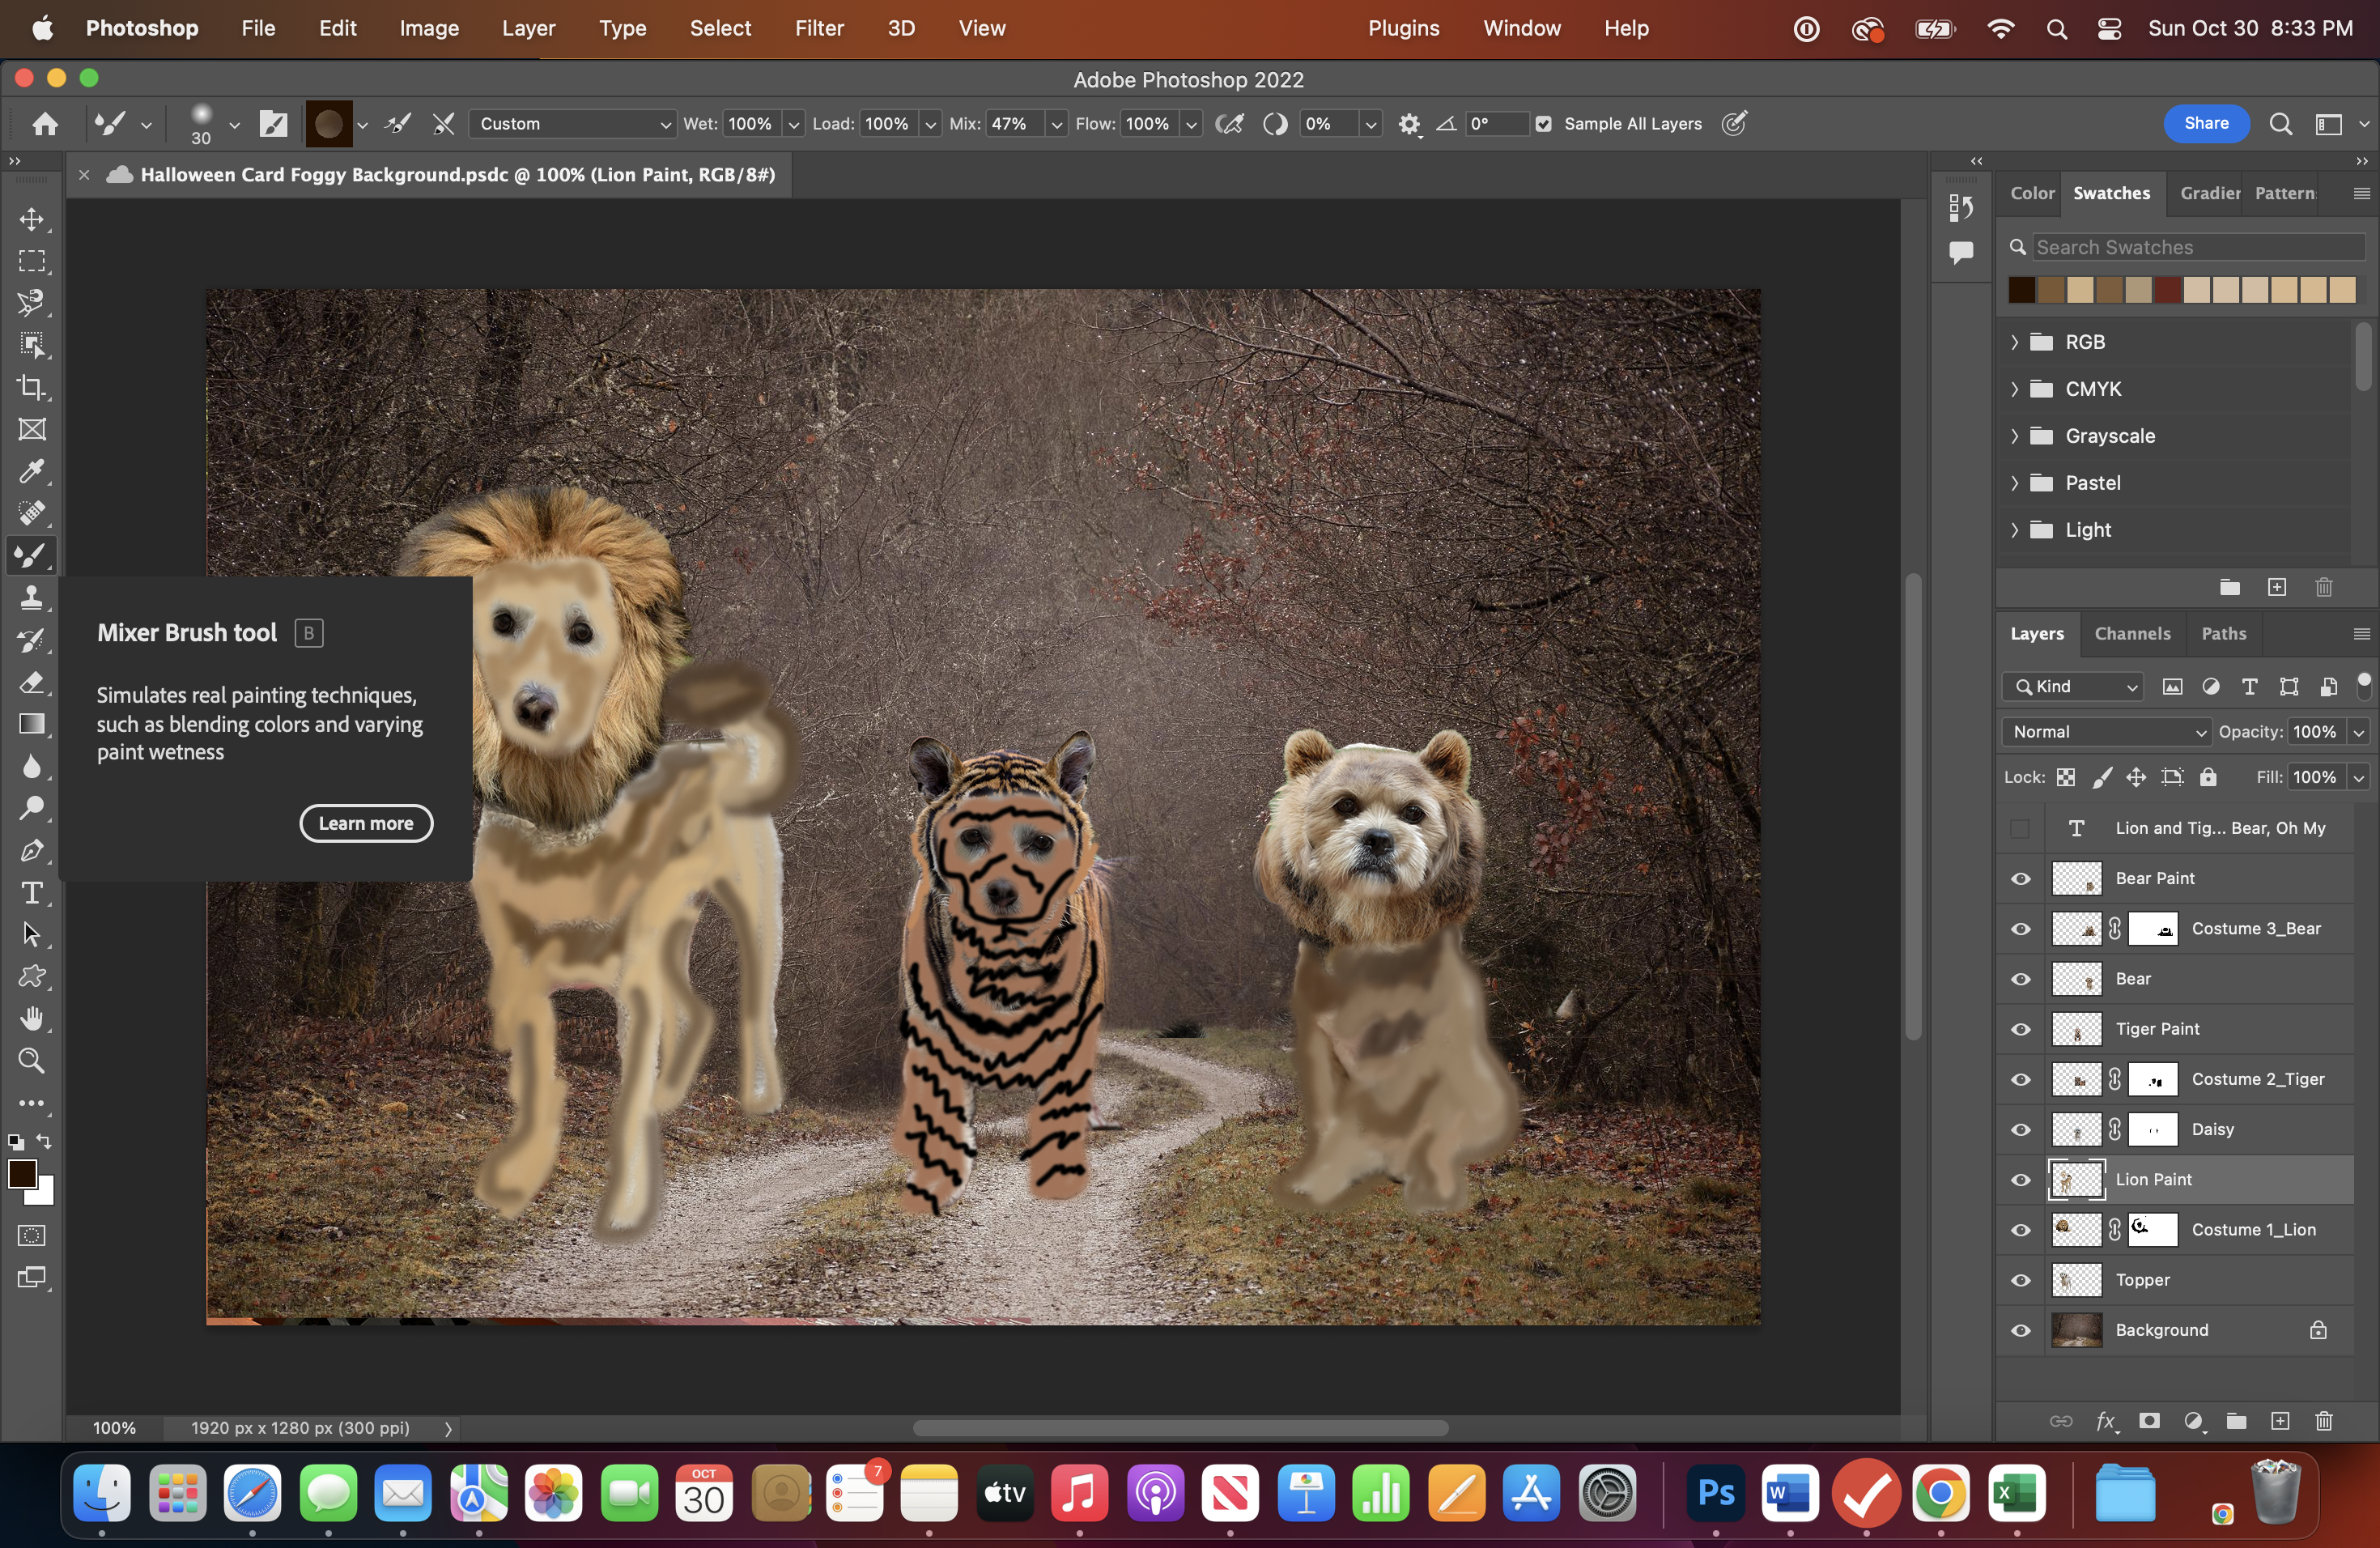
Now it is time to try the Mixer Brush tool. The Mixer Brush simulates real painting, so you will blend colors as if you are using an actual paint brush. I used the Mixer Brush for the Lion and Bear costumes, but I used the regular Brush for the Tiger costume, because I didn't want the black and orange to blend together. For more information about the brush tools, visit this link at Adobe.com
Watch Video Step 8.1 to see how I painted the Lion Costume.
- Click on the Costume Layer for the first subject (for my project, the Lion Costume)
- Click [+] at the bottom of the Layer Panel. Name this layer "Costume Name-Paint" (for my project Lion Paint)
- Click on the brush tool. Click and hold the little triangle and move down to the Mixer Brush tool.
- Set your options as follows:
- Soft round brush
- About 20-30 pixels
You can sample colors from the picture to paint with. Click the Eyedropper tool or, simply press Option/Alt to toggle between the brush and eyedropper tool.
Remember to add a layer to paint each costume, I accidentally painted on the Costume Layer.
To see how I painted the Tiger costume Watch Video Step 8.2
To see how I painted the Bear costume Watch Video Step 8.3
Digital Painting is time consuming, and if you don't like your project you have several options to fix without having to redo the whole layer. Of course you can delete the layer and start again.
Edit>Undo (or CMD +Z) will undo the most recent brush stroke.
File>Version History allows you to look back at various times. If you find a version you like better, you can restore.
You can also use the Eraser tool to erase parts that you would like to correct.
Add Text to Card

Now you can add a greeting to your card.
Make sure you are at the topmost layer.
Click the Text Tool (Text automatically will be created on a new layer)
Set the following Options:
- Font (I like the Chalkduster font for whimsical cards)
- Color (Use eyedropper to pick color from photo)
- Size (18)
- Orientation (Left-Right-Center)
- Type your message and press enter-you will see the layer name change to whatever text you type.
- Use the Move tool to select and reposition if necessary.
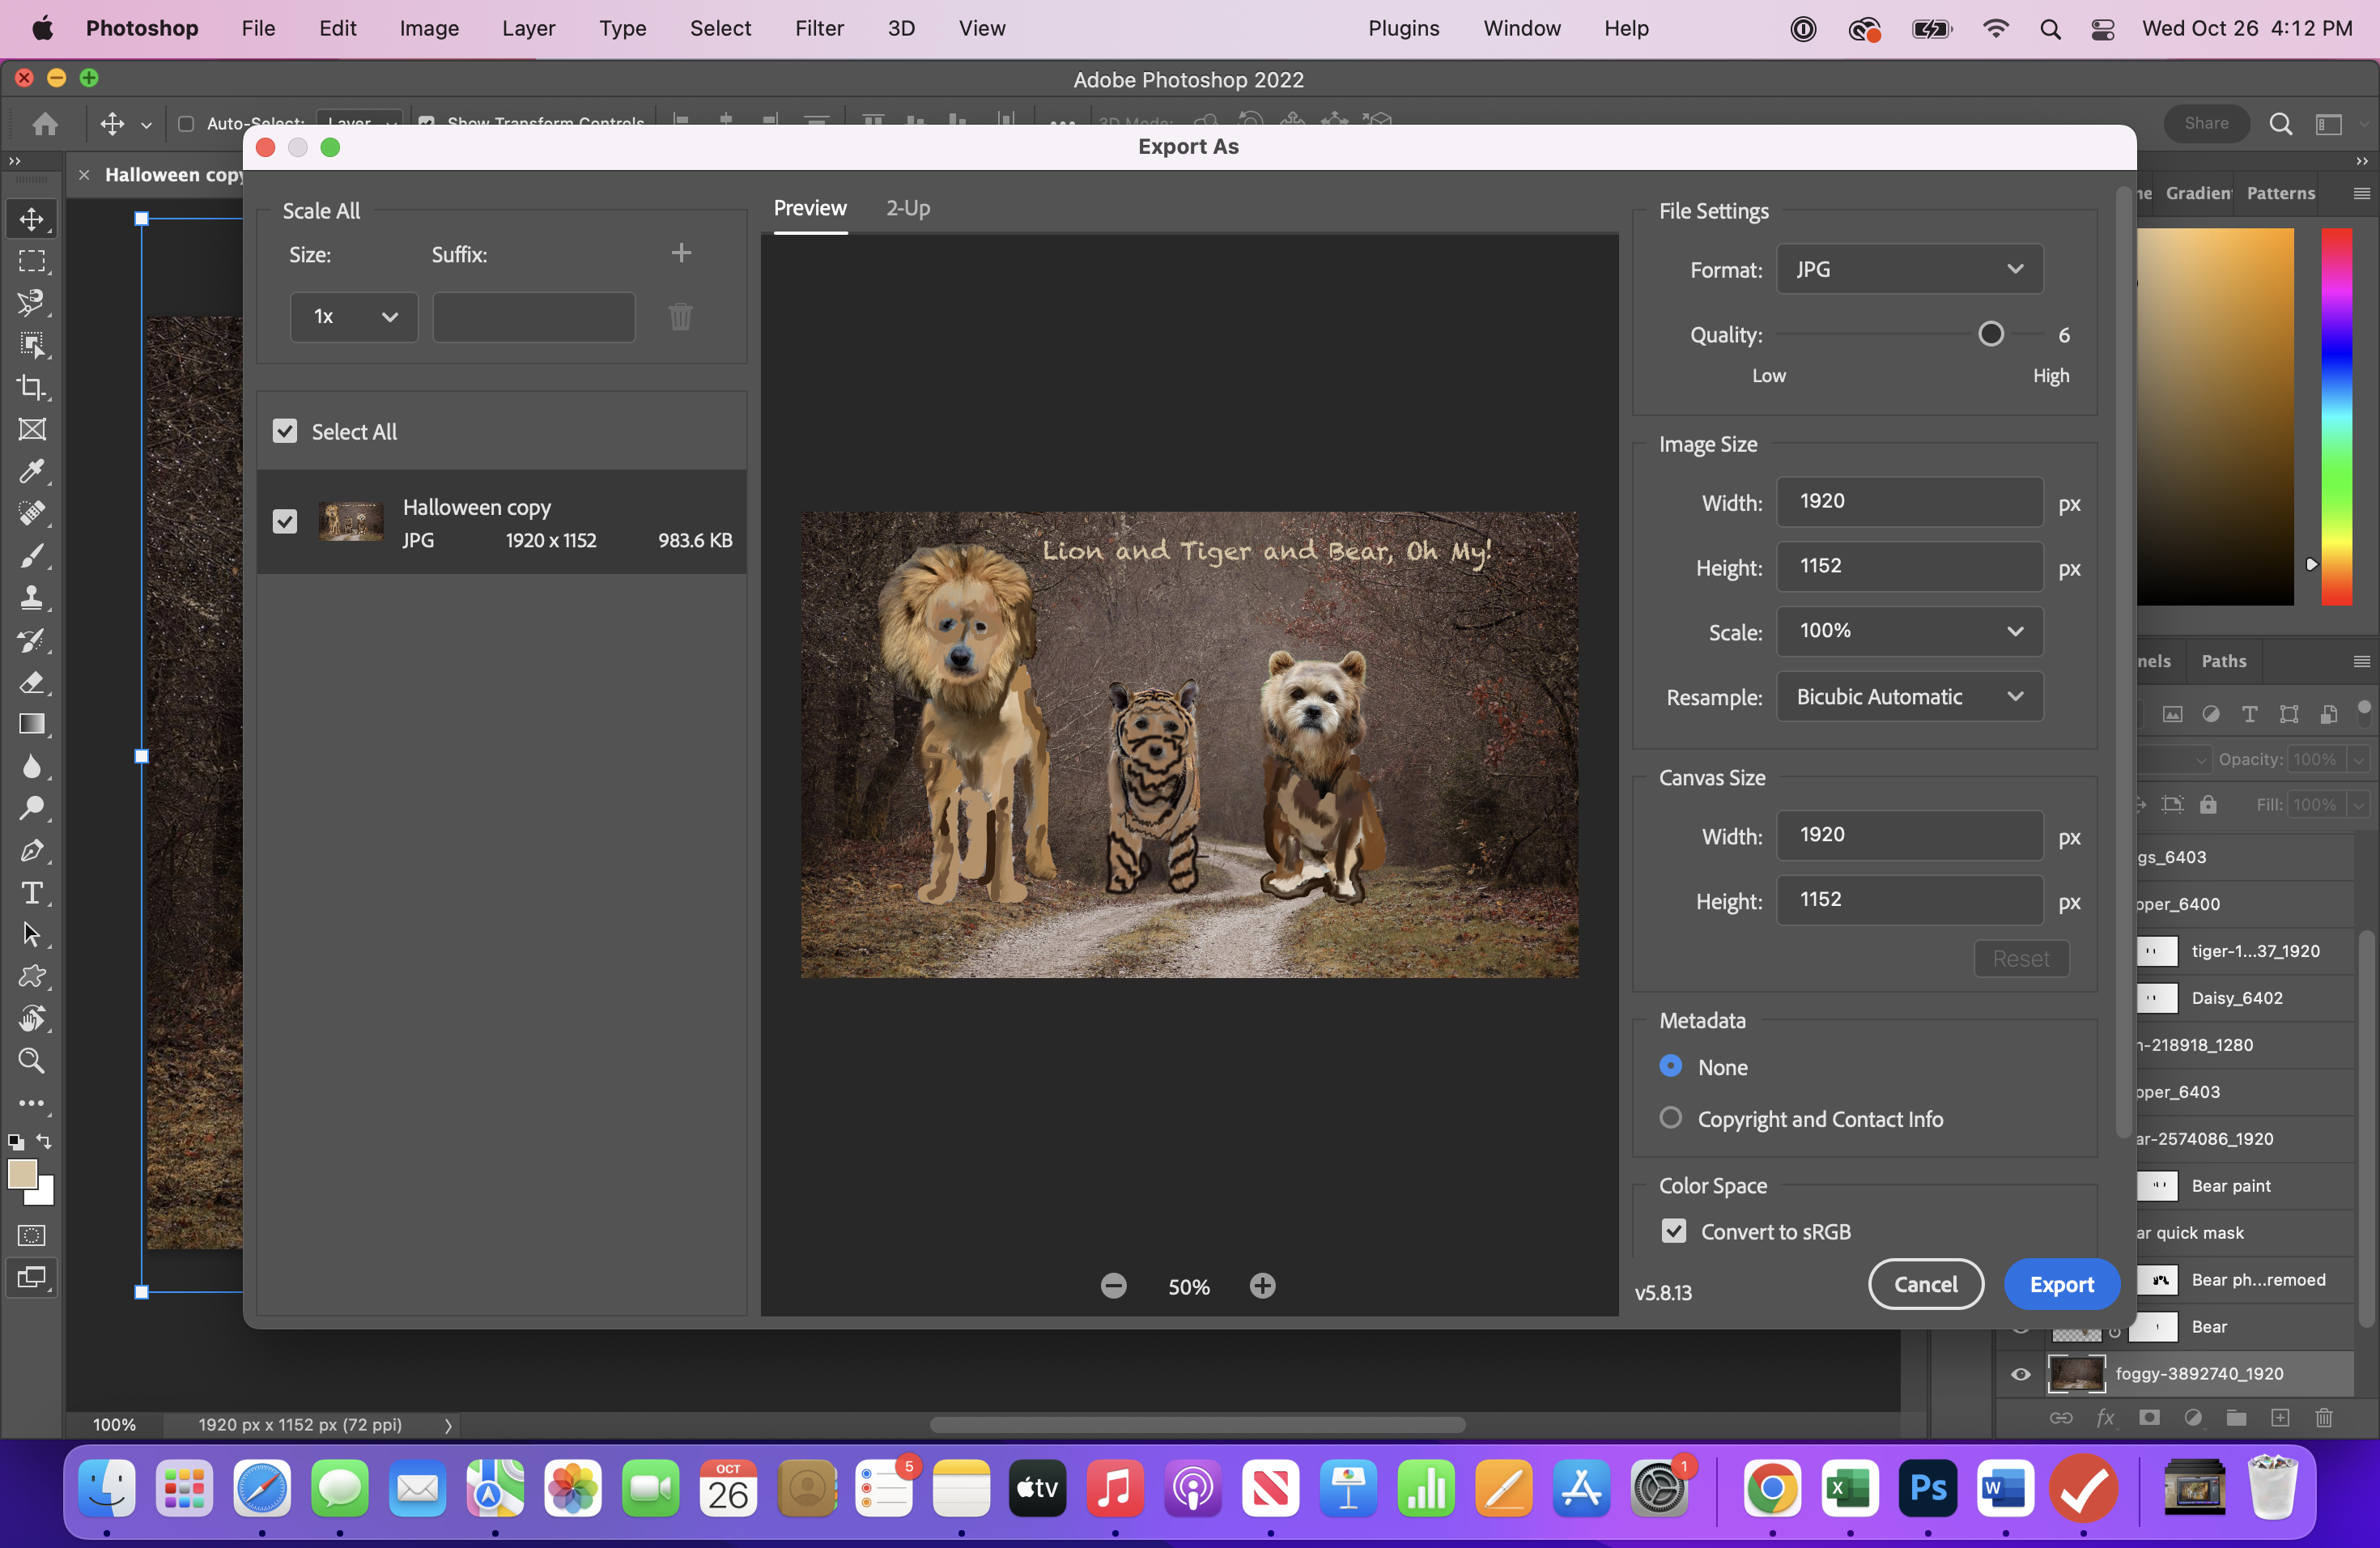
Export your card as a JPG file
- File>Export>Export As>JPG>Export
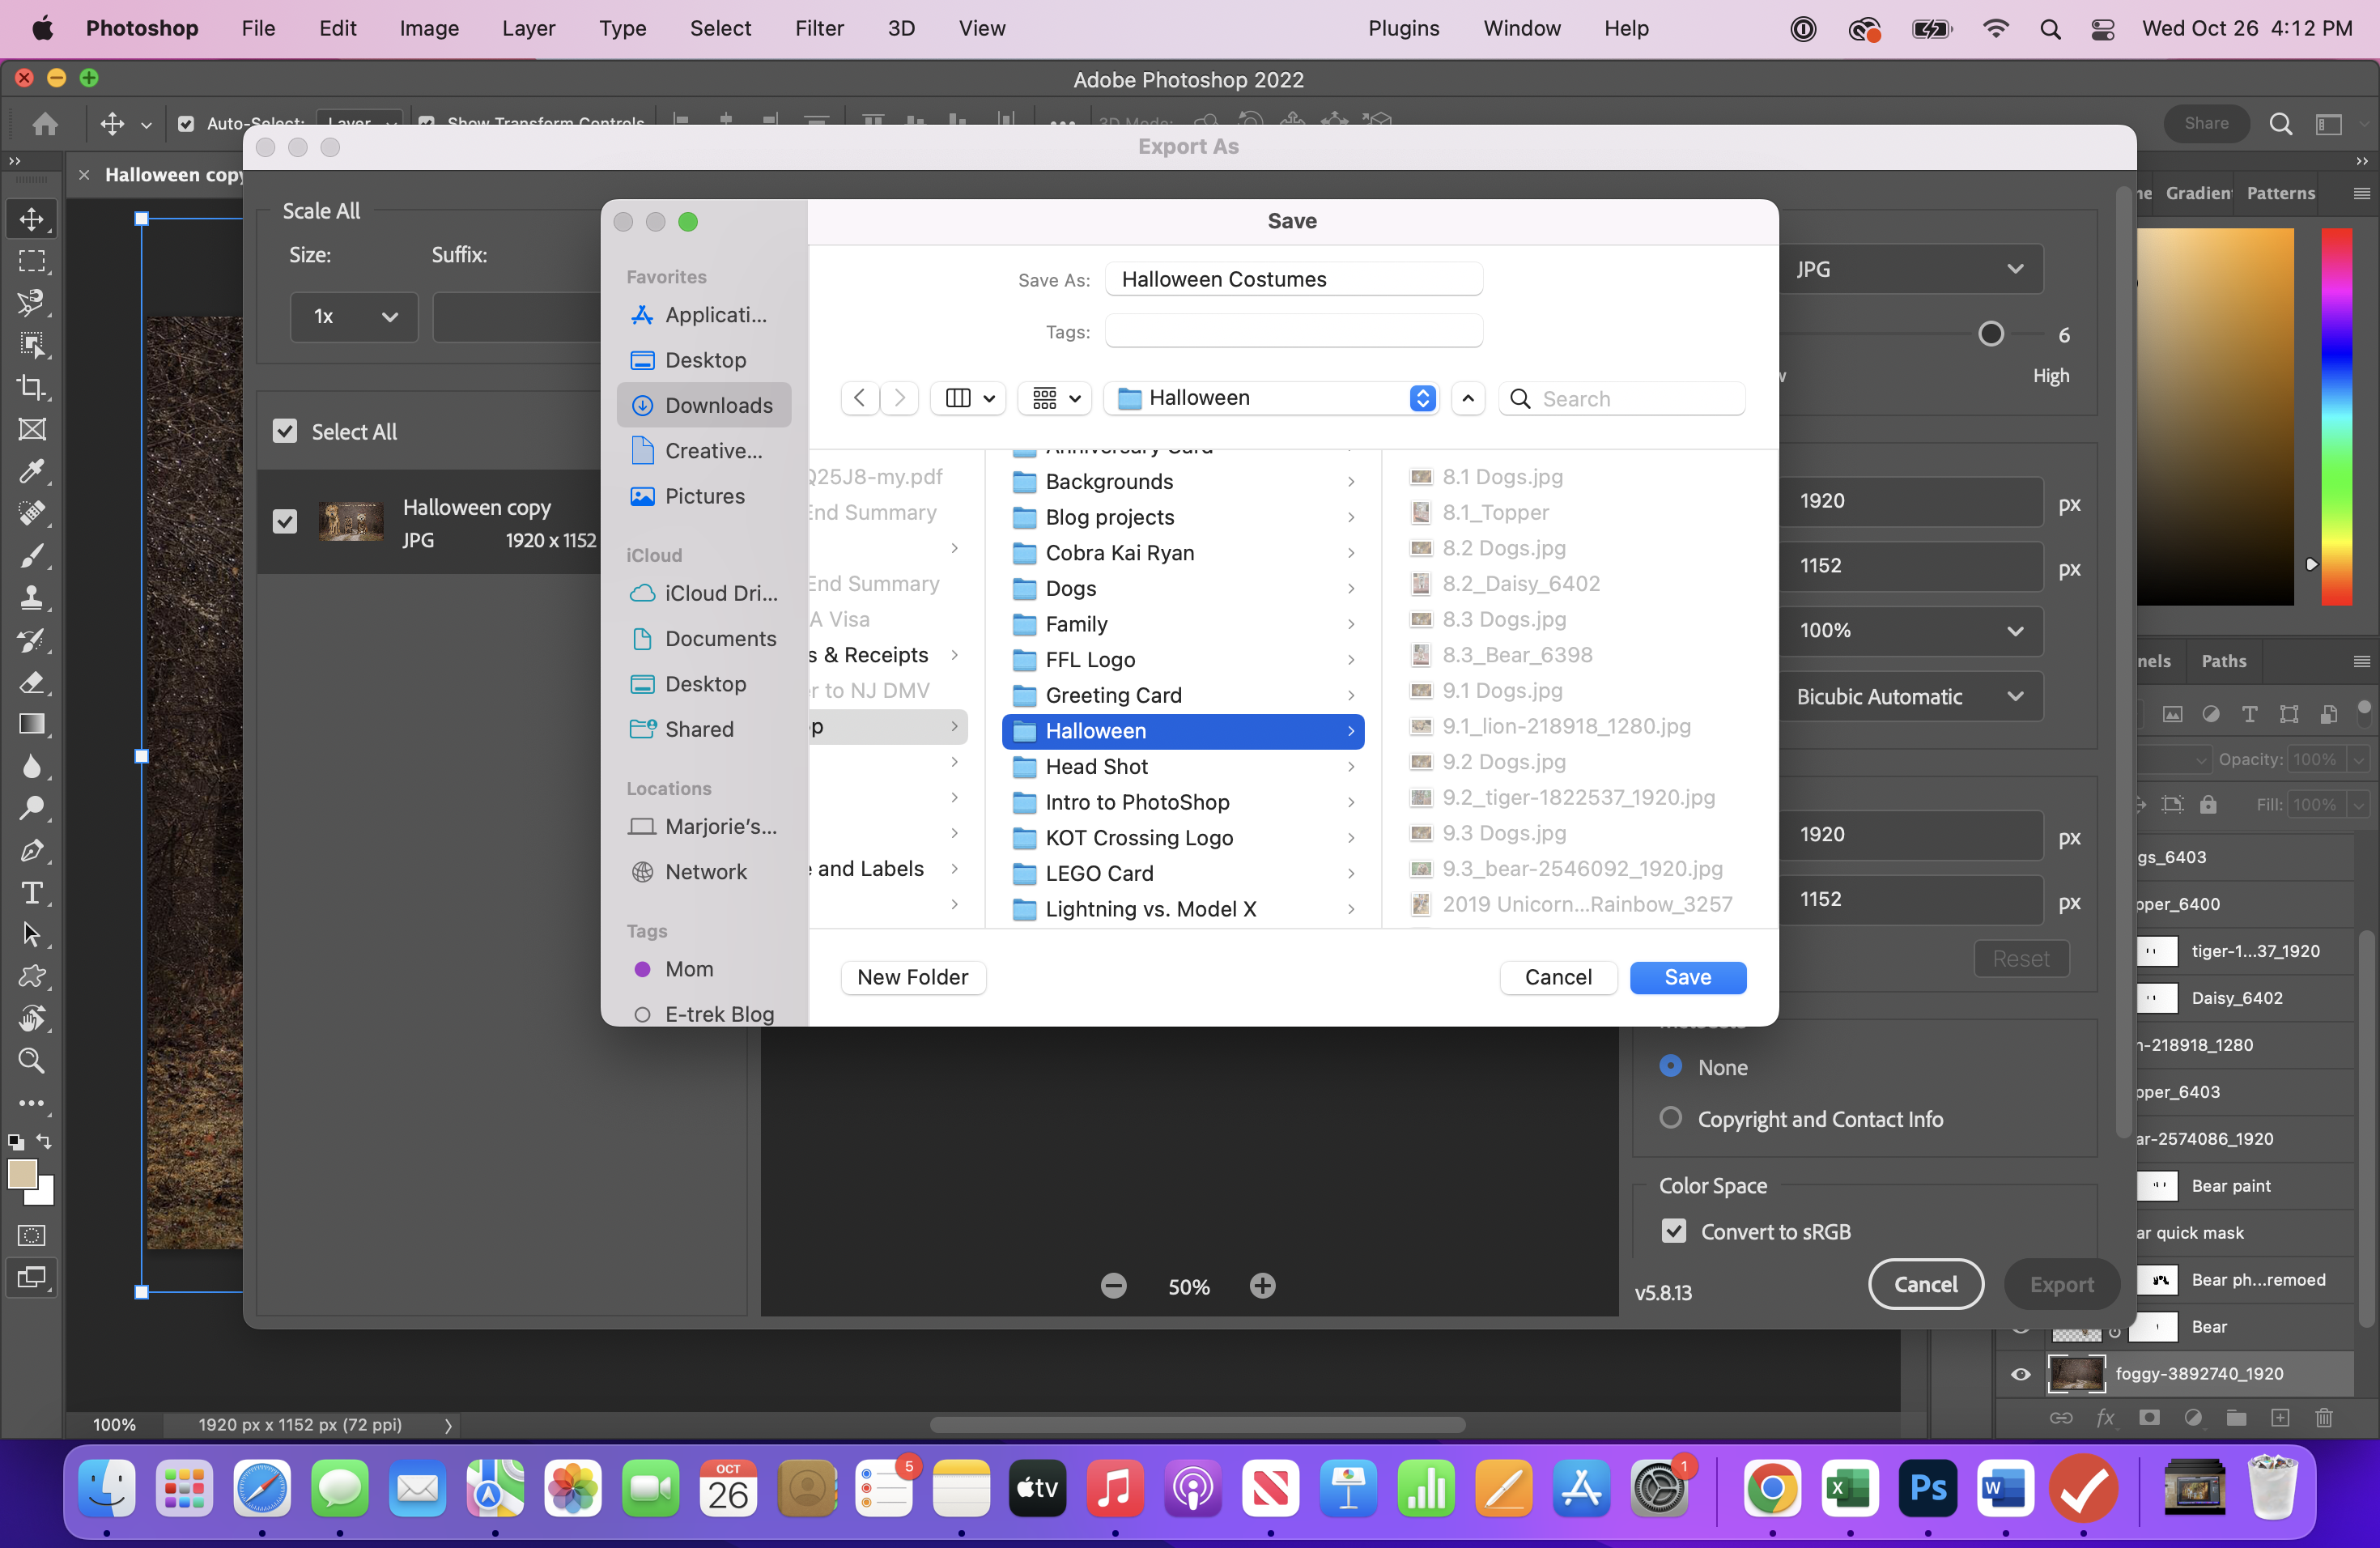
- Type in your filename, and select the correct directory.
- Click Export
Now create a second version with the costumes removed
- Hide the costume layers and text layer
- Create a new text layer, such as "Happy Halloween from ....!"
Repeat the export instructions above, saving it as a different name such as "Halloween Unmasked."
Create Finished Card

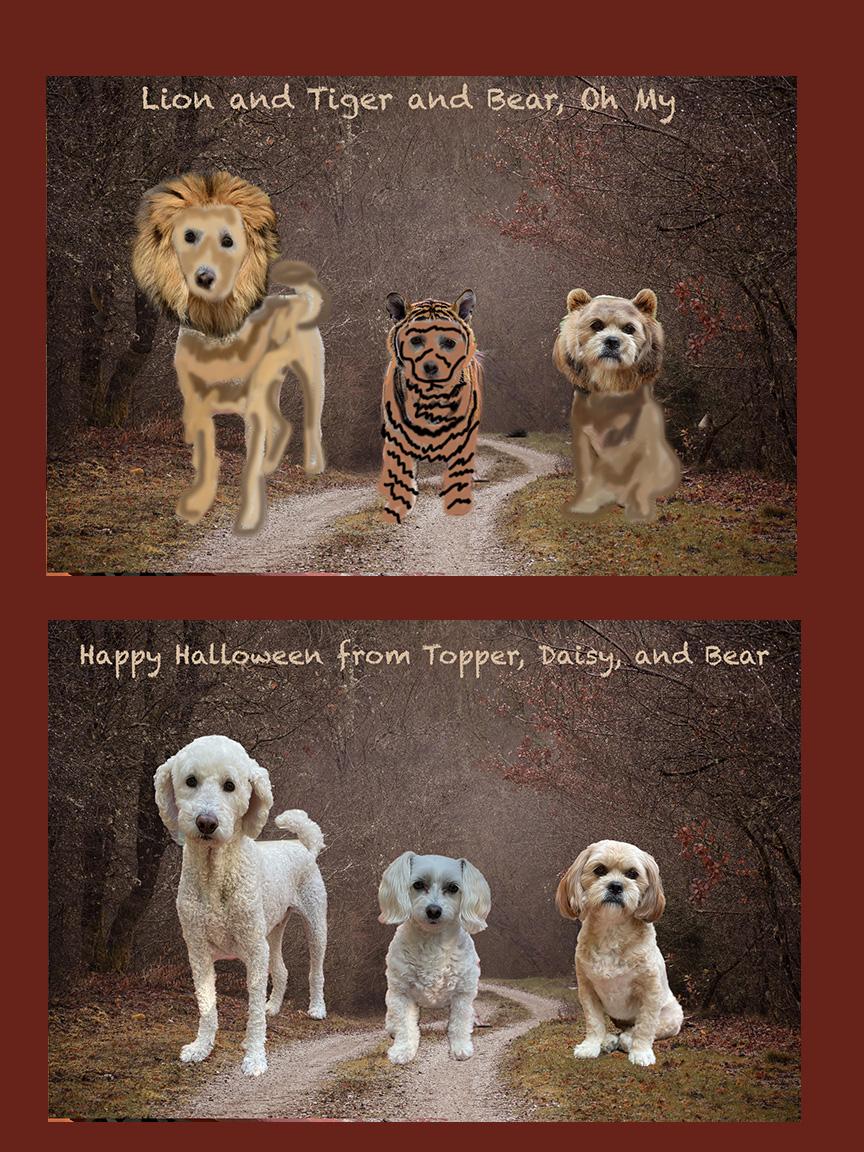
Close your Project and Open the original Project from Step 4: Halloween Template.
Click File>Place Embedded>select the first JPG file you created in Step 9 (e.g., Halloween Costumes)
Use the Move tool to size and move the picture into the top half of the card.
Repeat for the second JPG (Halloween Unmask)
Change the background color if desired.
- Select background layer.
- Click Edit>Fill>Color click drop down to bring up the Color Picker
- Choose a color from the Color Box or use Eyedropper tool to select a color from the photo and click Okay.
- Click Okay to Fill.
Save your project.
Export as Halloween Card (Step 9)
Now you are ready to share on Facebook, Instagram, or via email and text.
Let me know which background you prefer!