Virtual 3D Imaging
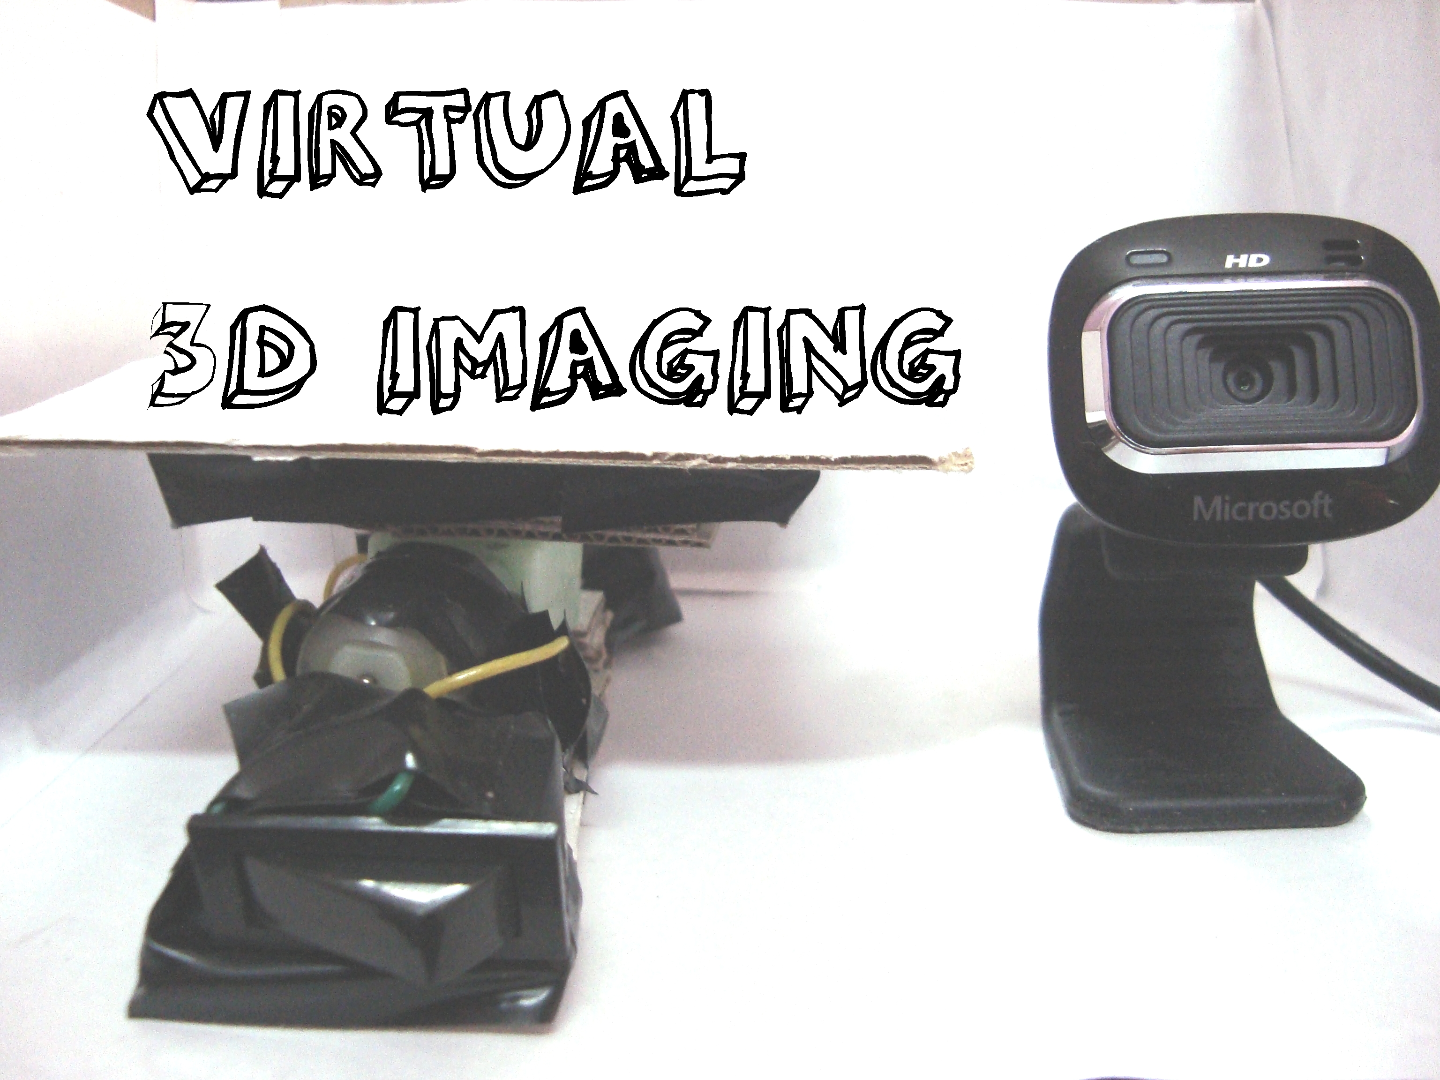
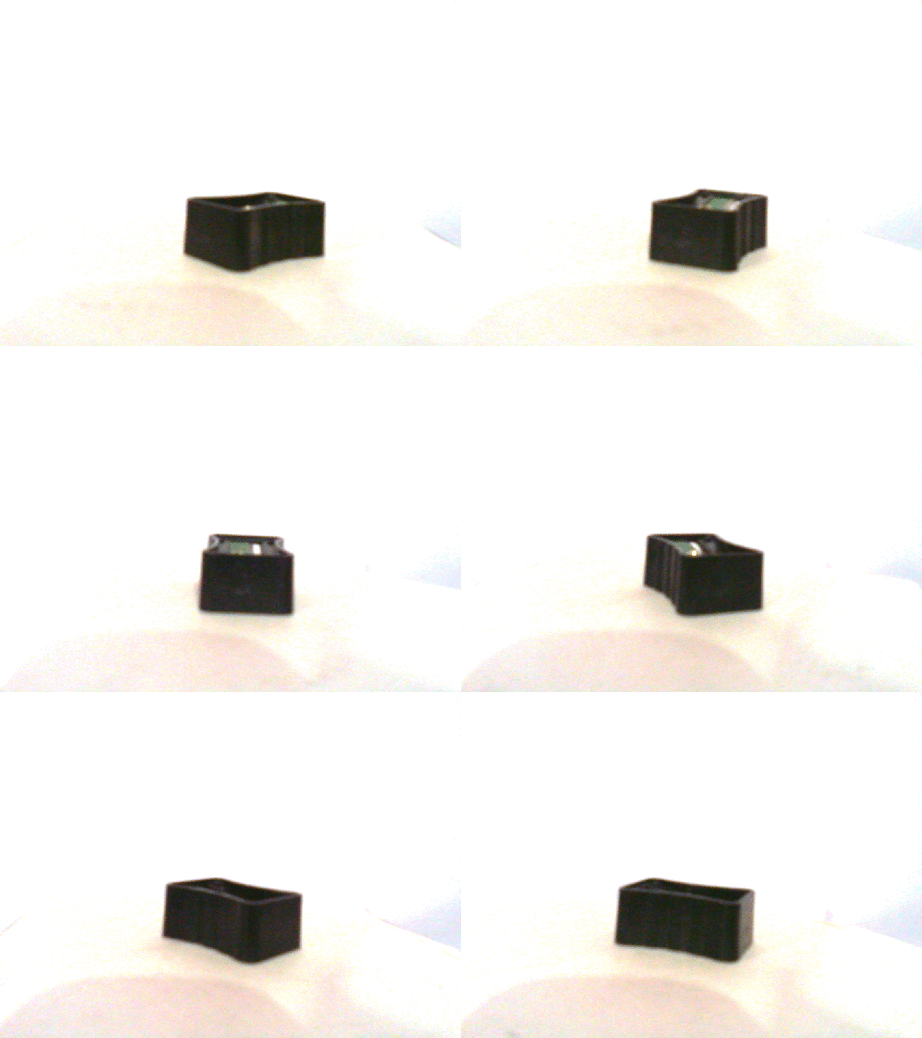
Ever wished to view or share your real life objects from all sides on your big screens ? In normal images, we can only view a part of the the image from a specific angle. Virtual 3-D images provide an amazing experience of sharing and viewing objects and products. This tutorial will show you how make required software to capture the minimum number of required images and view your object on computer from all sides.
DOWNLOADS: Processing IDE 3.0a5
Link: https://processing.org/download/?processing
Under the category: "Pre-releases" select 3.0a5 and download for your OS.
PART LIST:
- Cardboard Box of dimensions: 20 cm x 16 cm x 12 cm
- Cardboard 15 cm x 15 cm
- 10 RPM DC motor x1
- 1.5 V DC Cell x1
- USB LED x1
- HD Webcam / Camera with Audio-Video to USB cable x1
- White Papers
TOOLS:
- Pair of scissors
- Wire Strippers
- Glue
- Duct Tape
OPTIONAL
- If your motor shaft has a hole in it, you will need a screw for it with a broad head.
Build the Rotating Platform
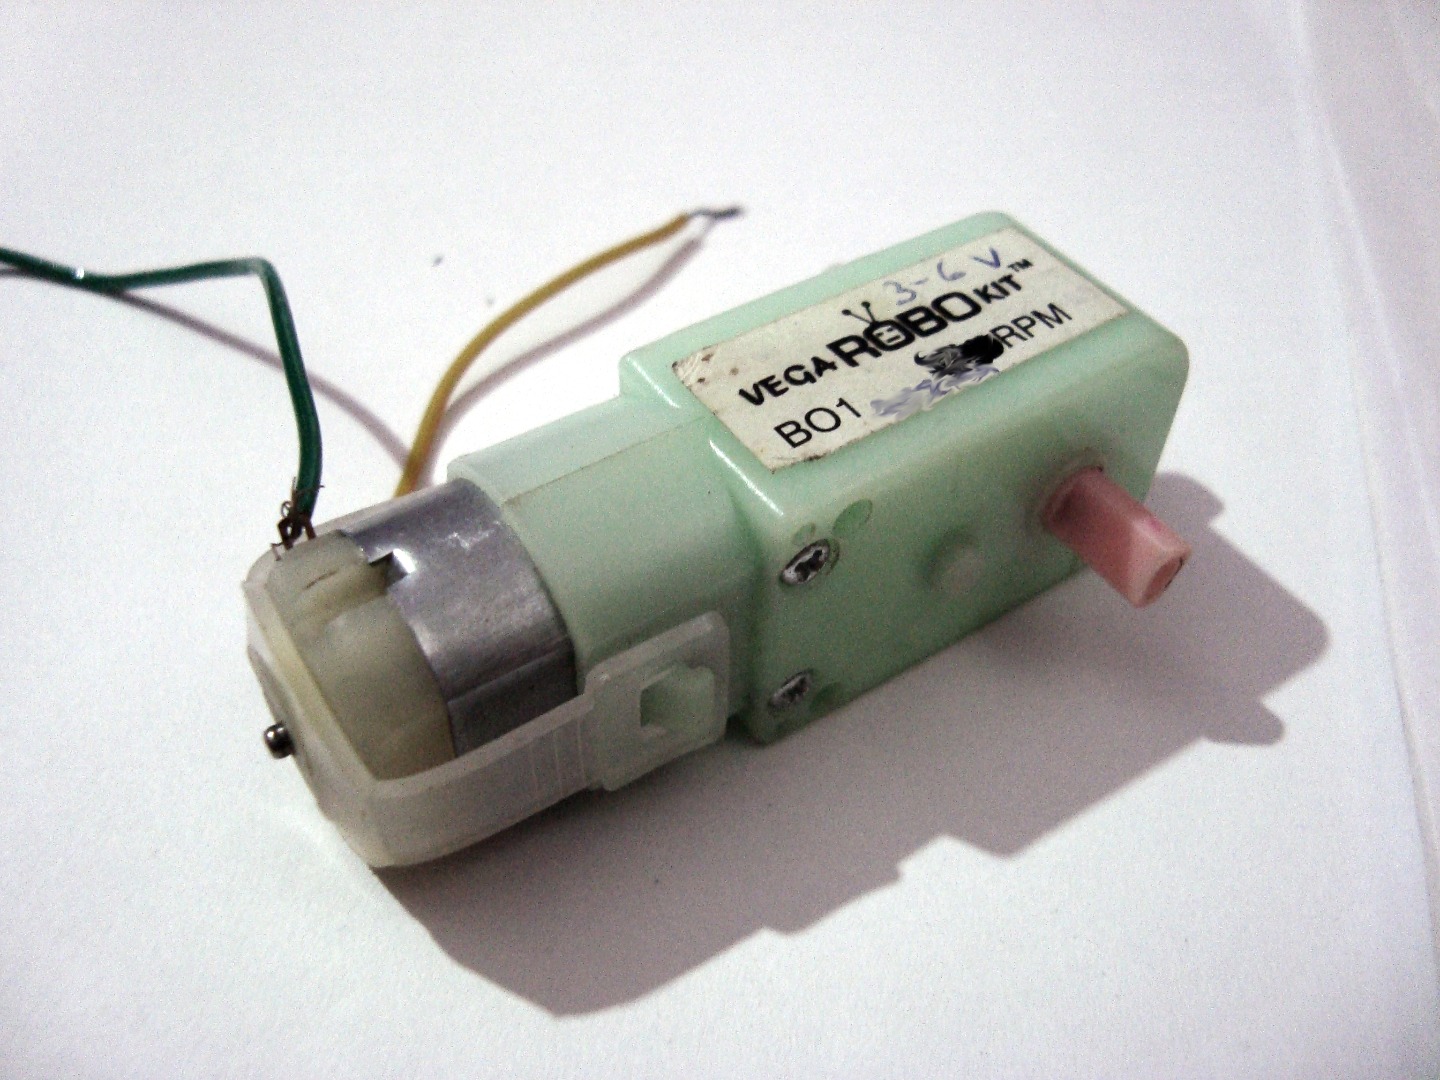
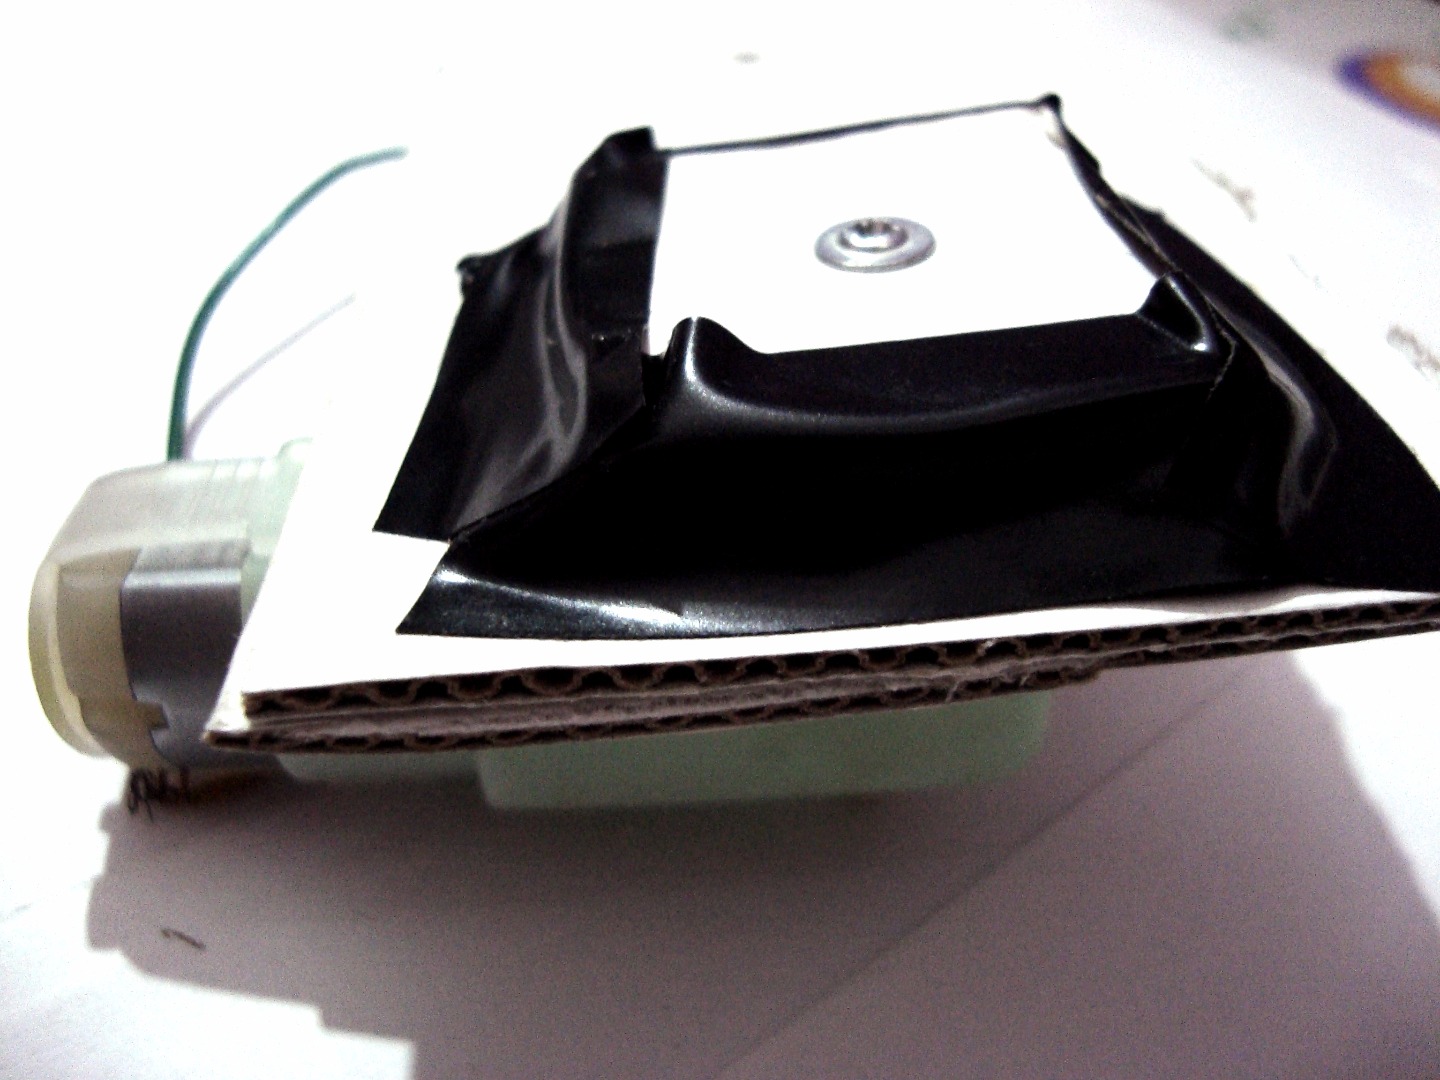
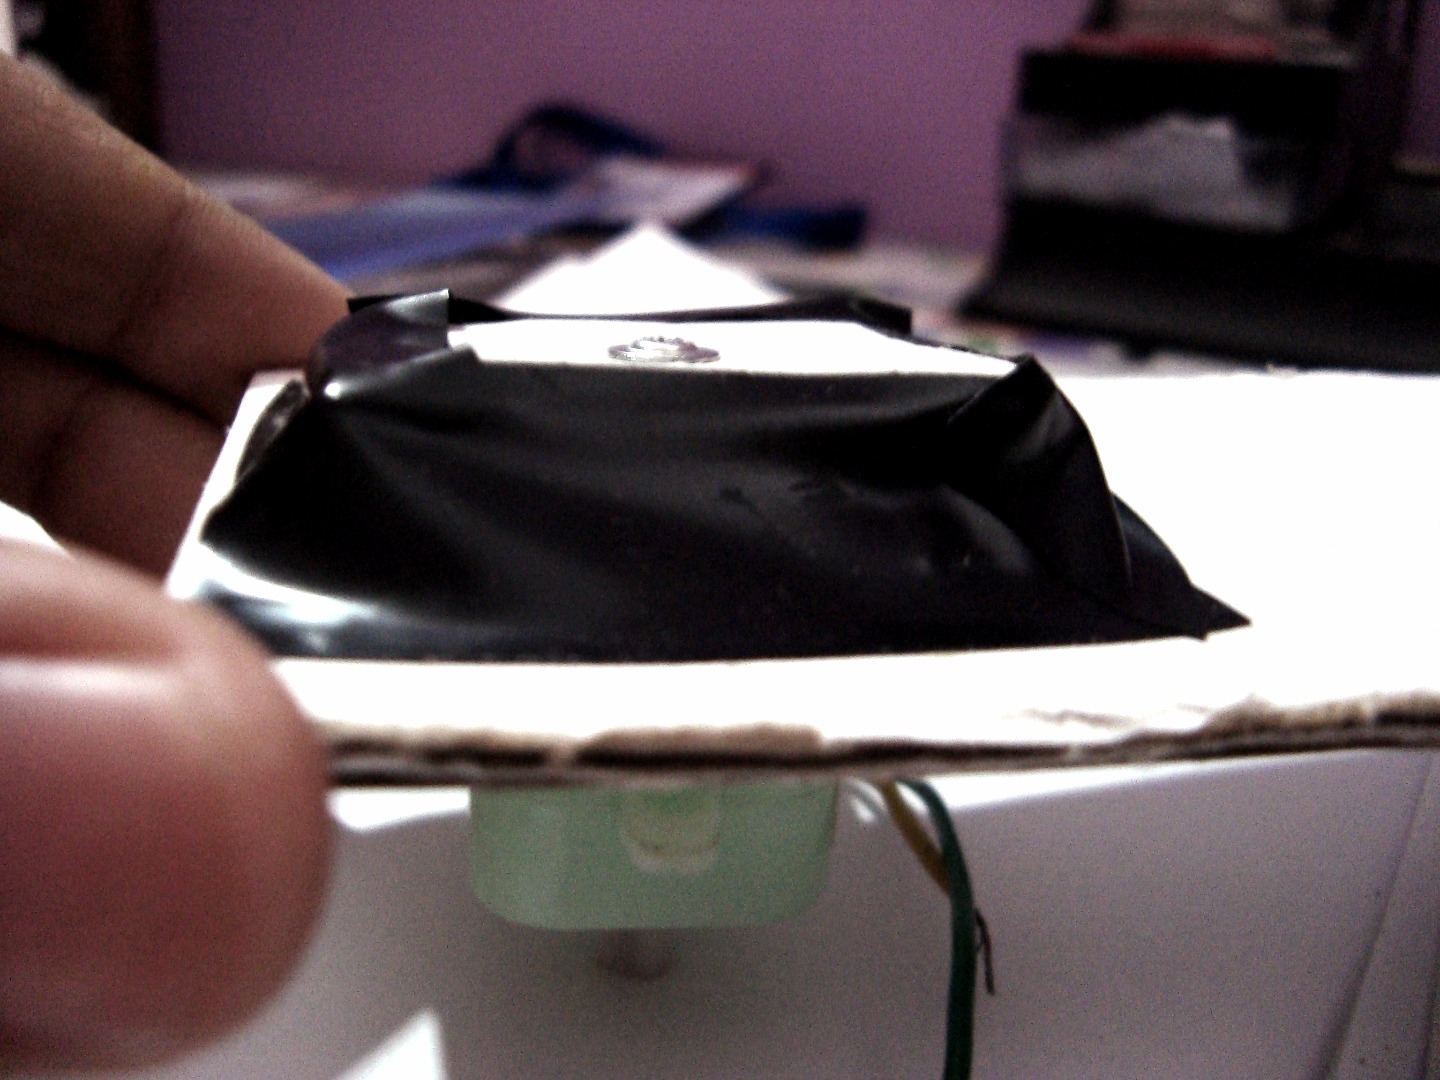
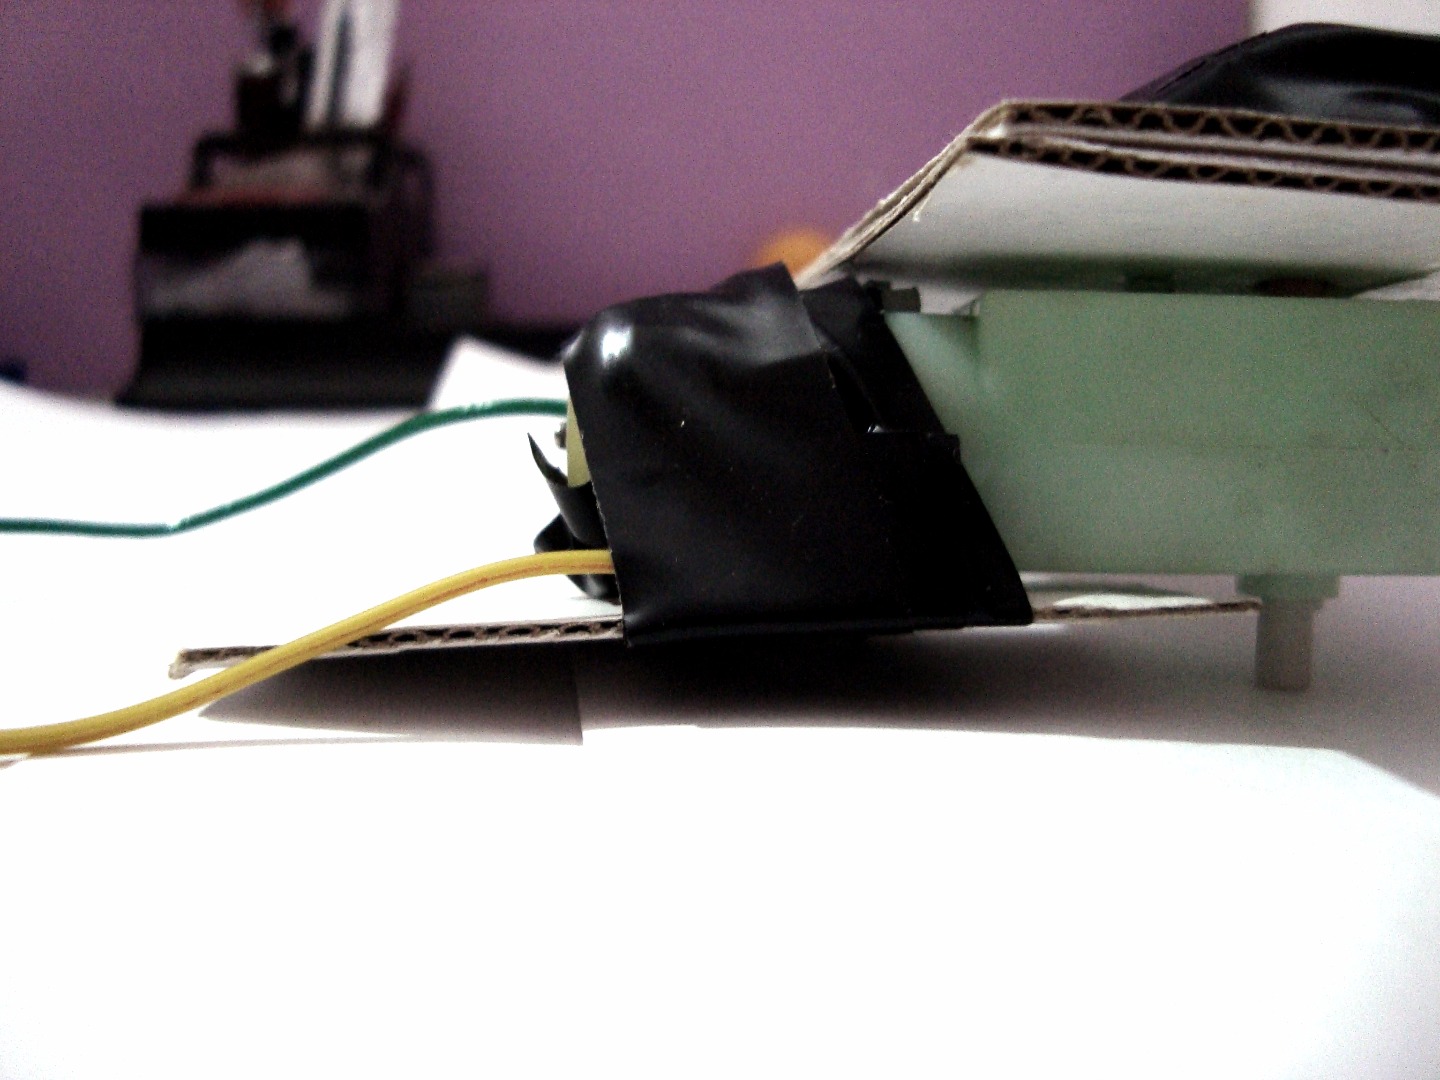
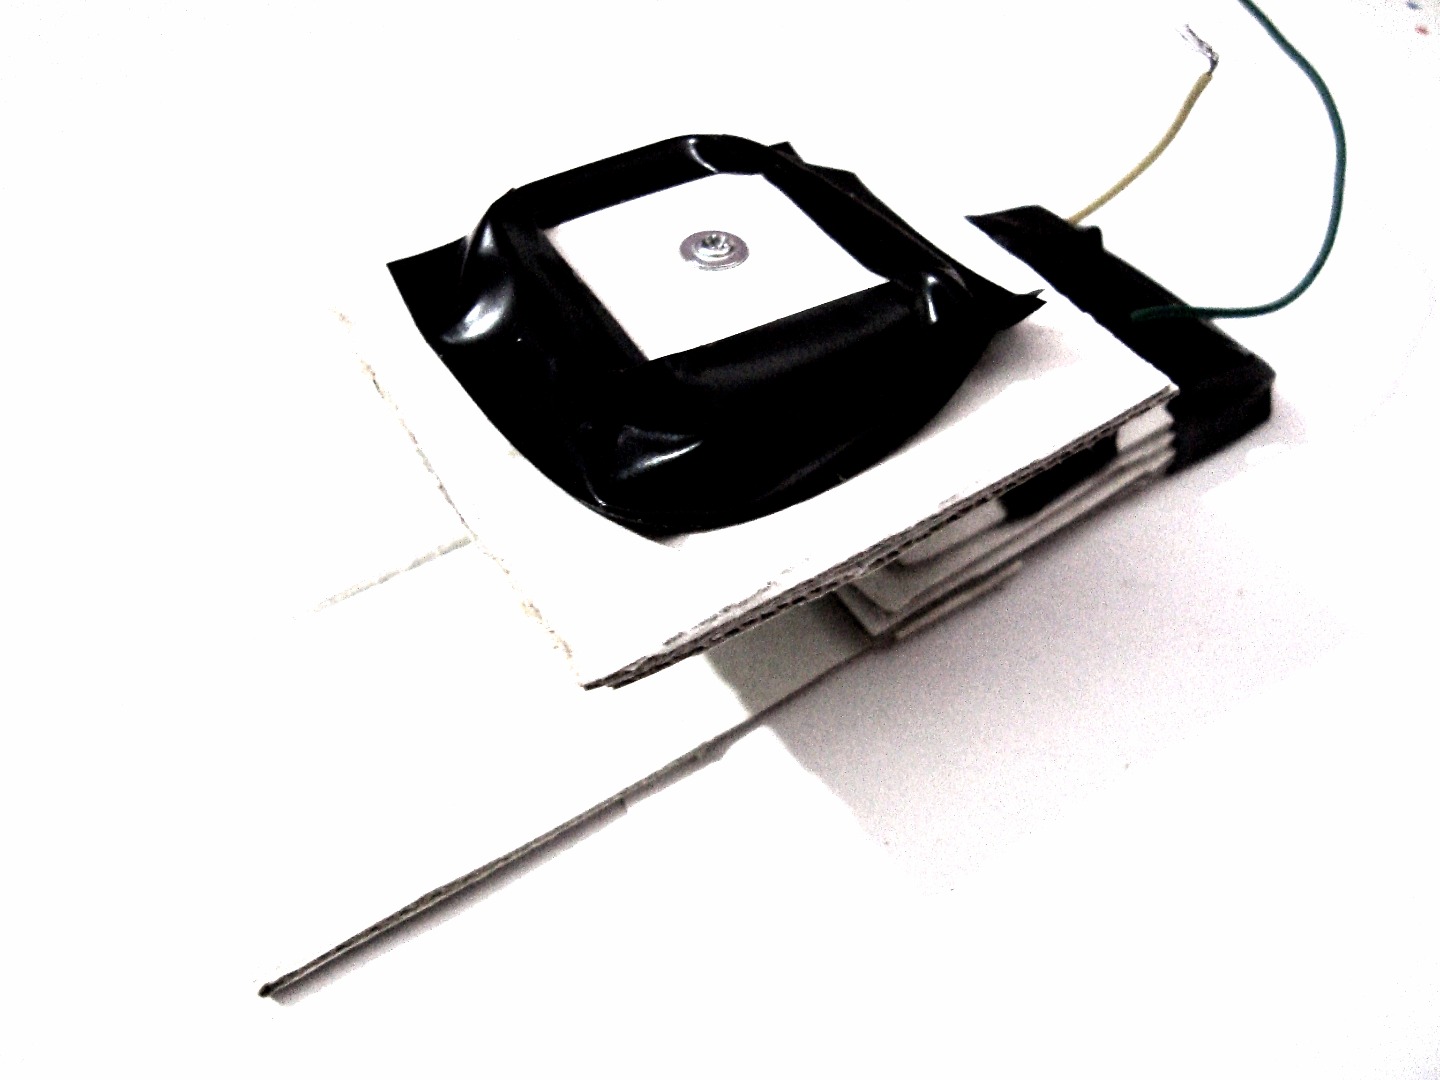
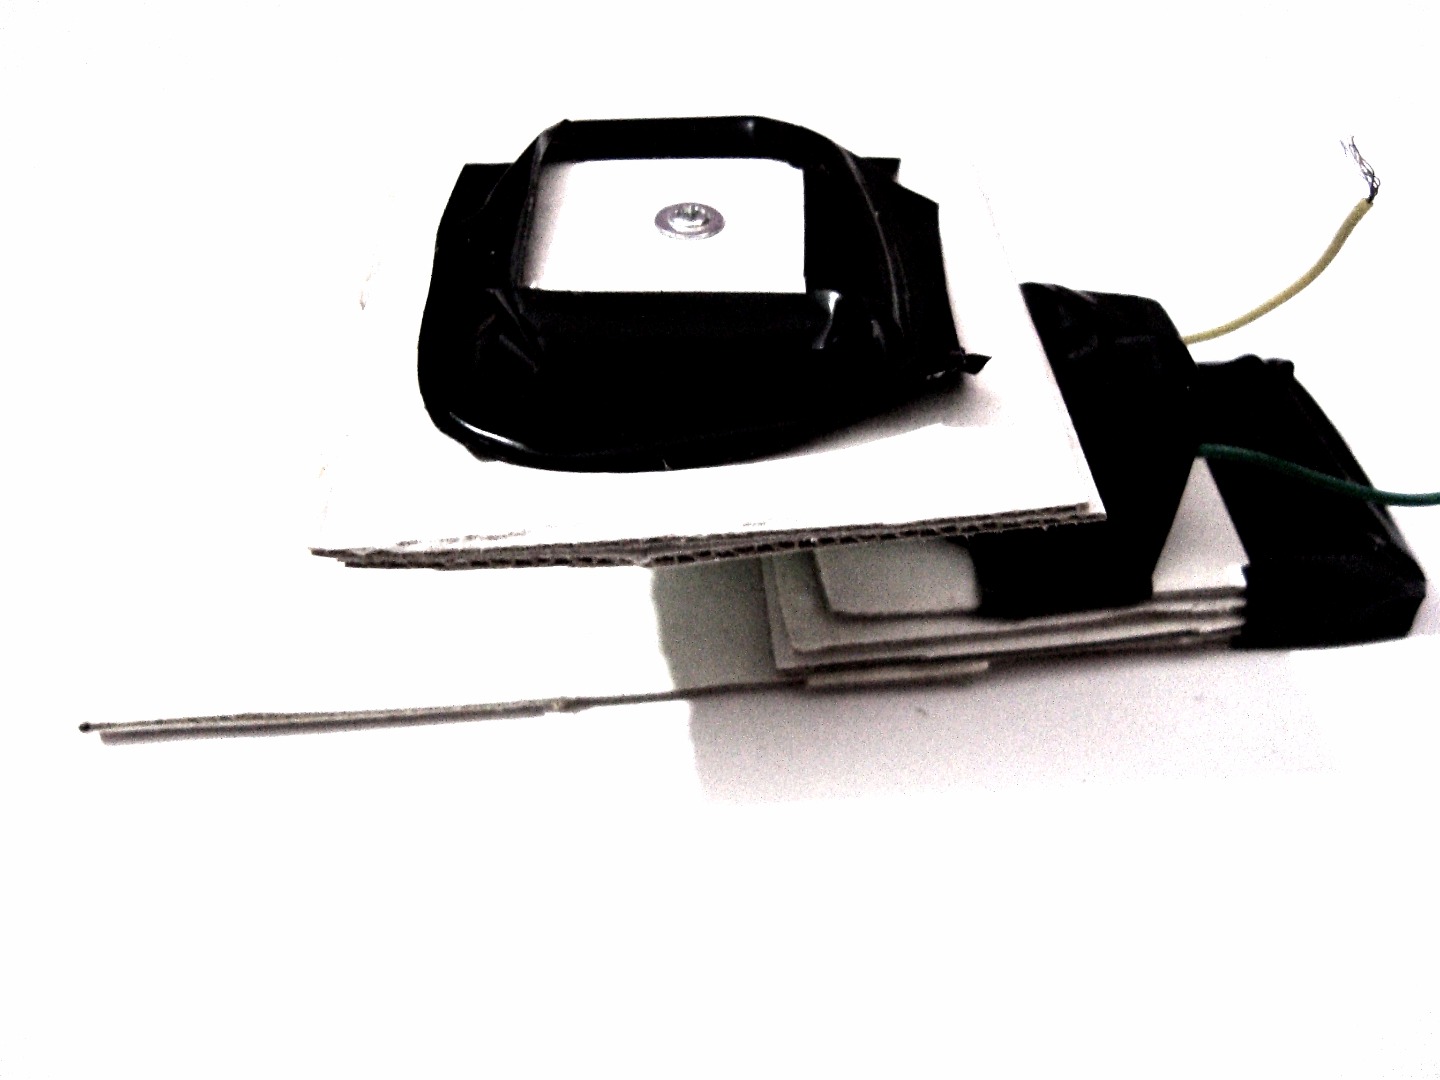
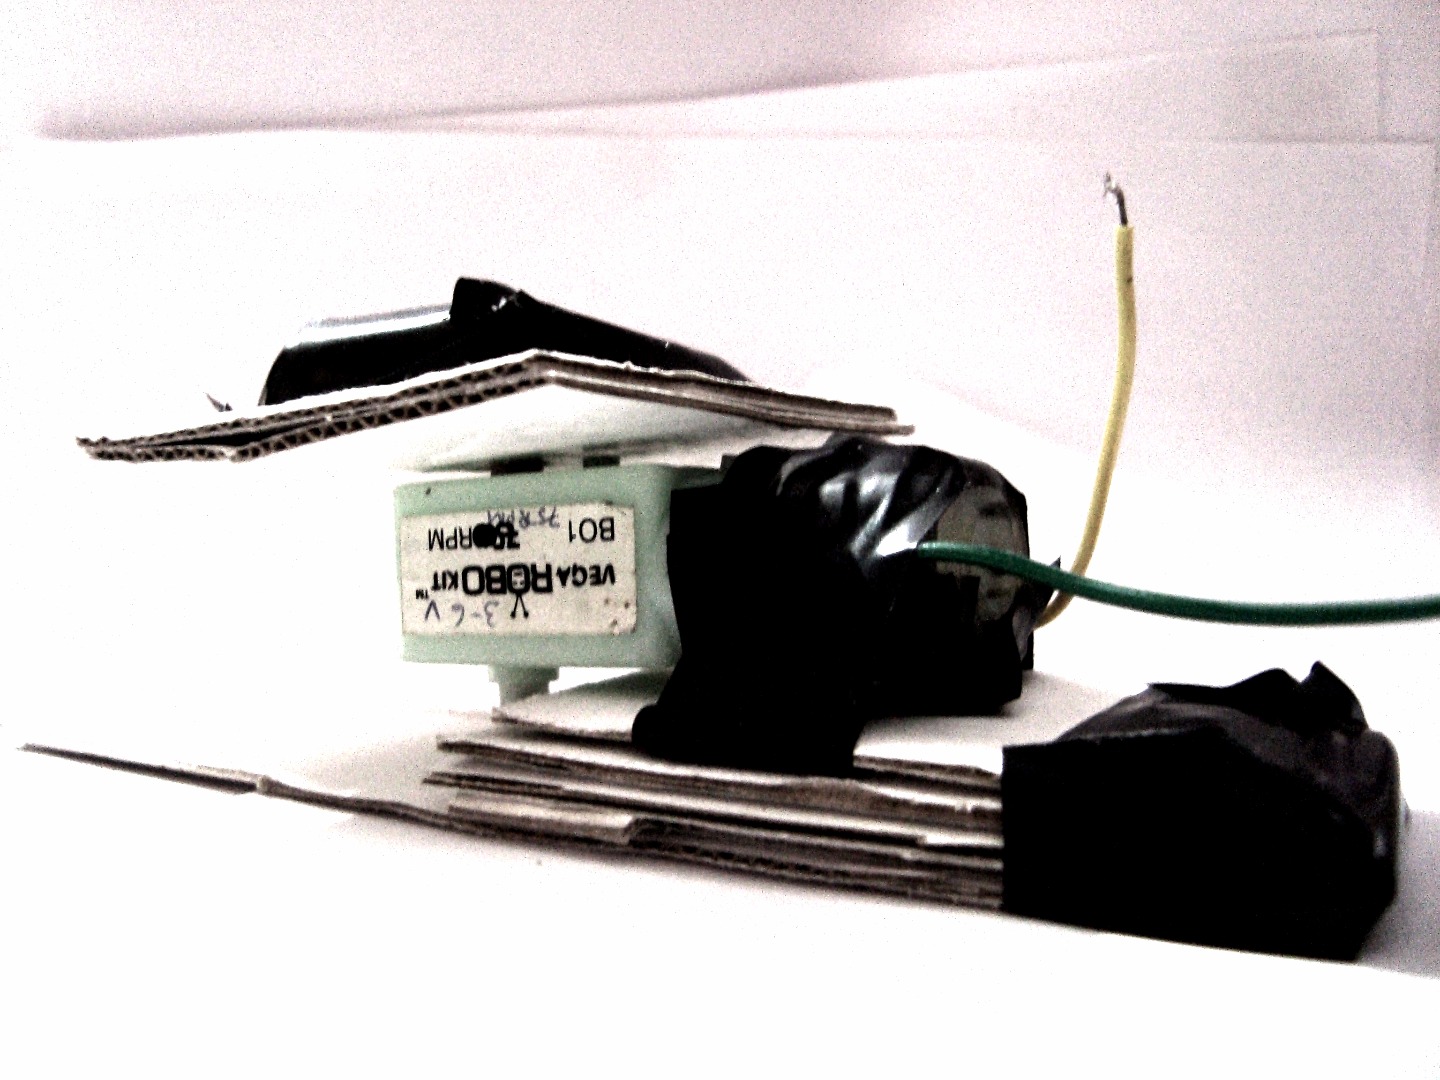
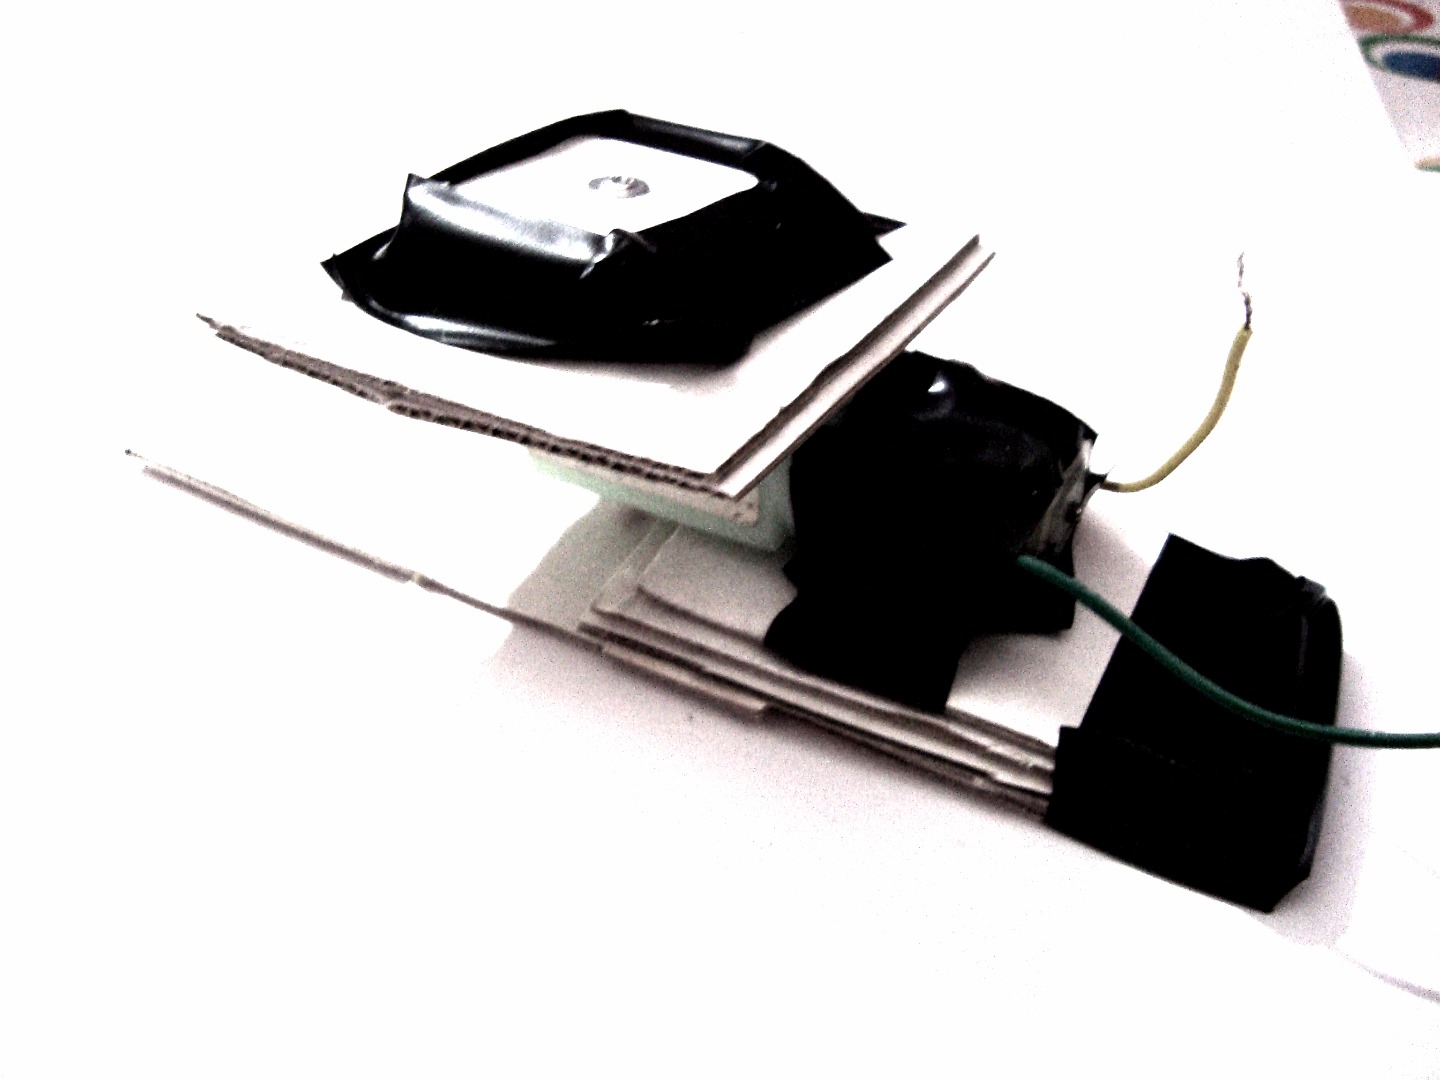
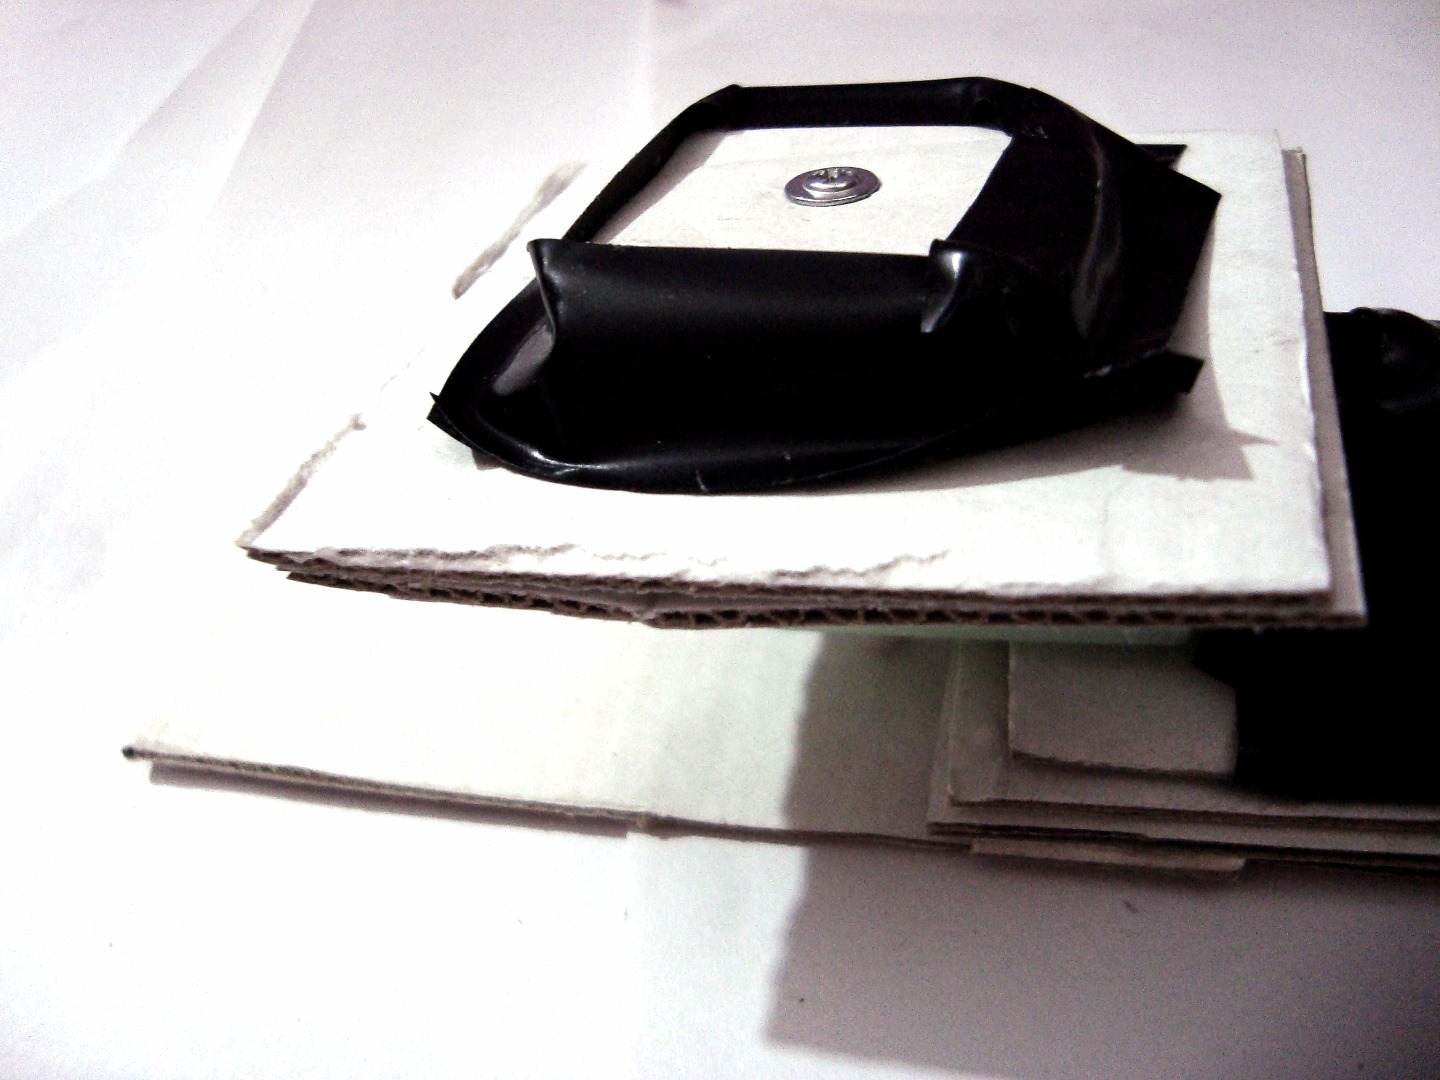
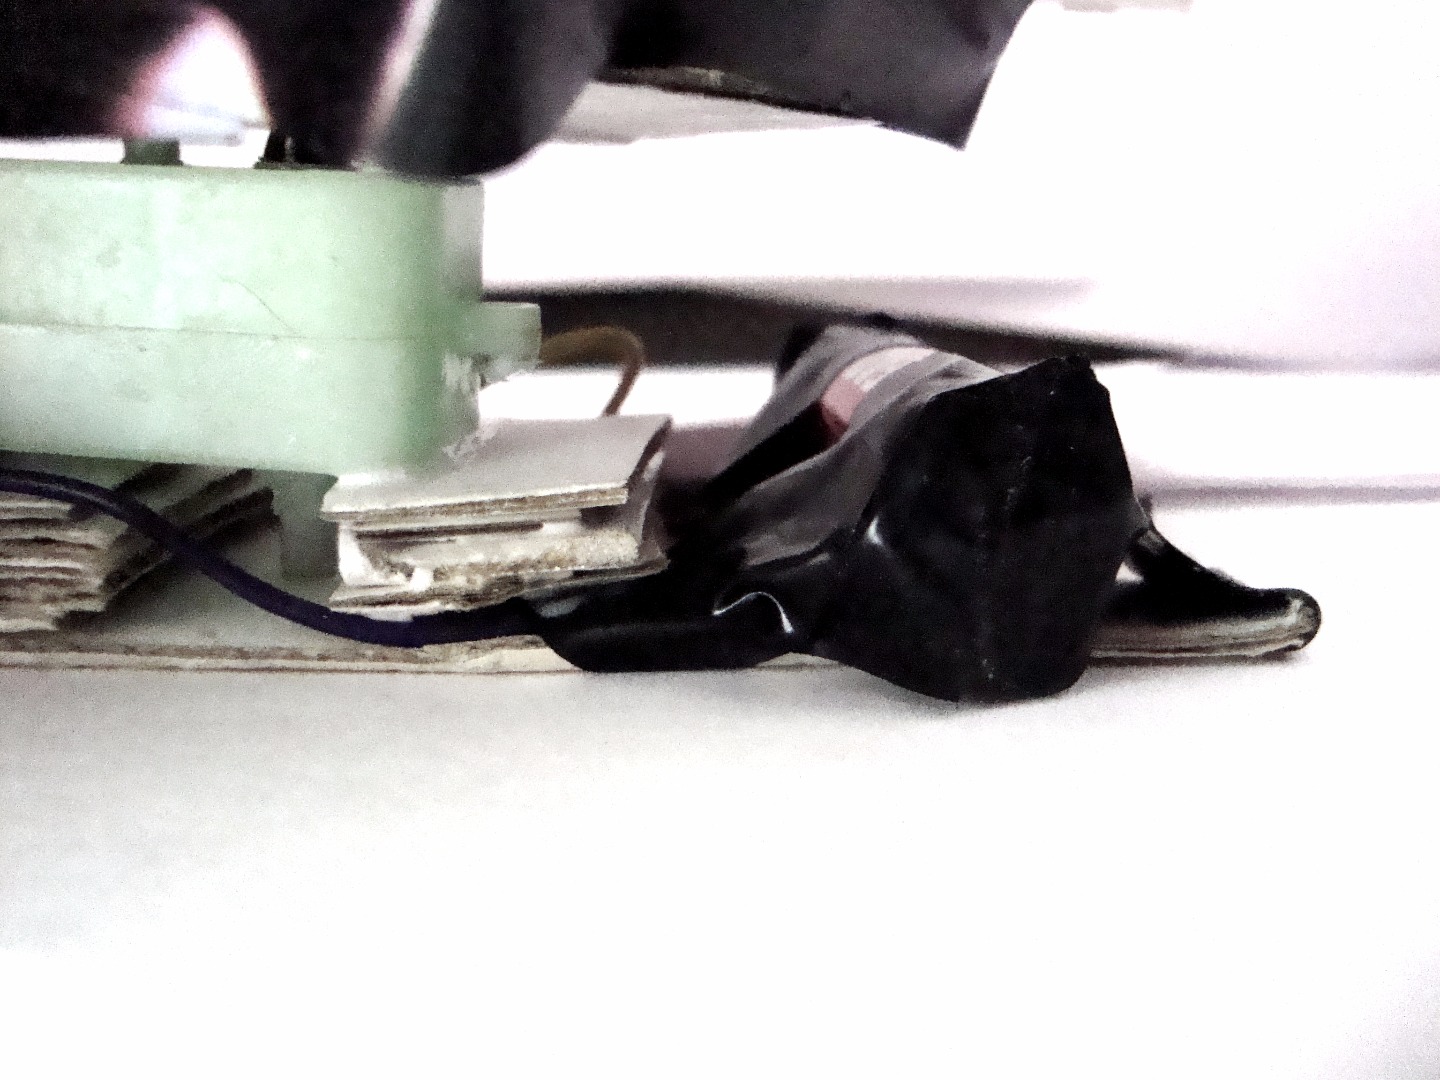
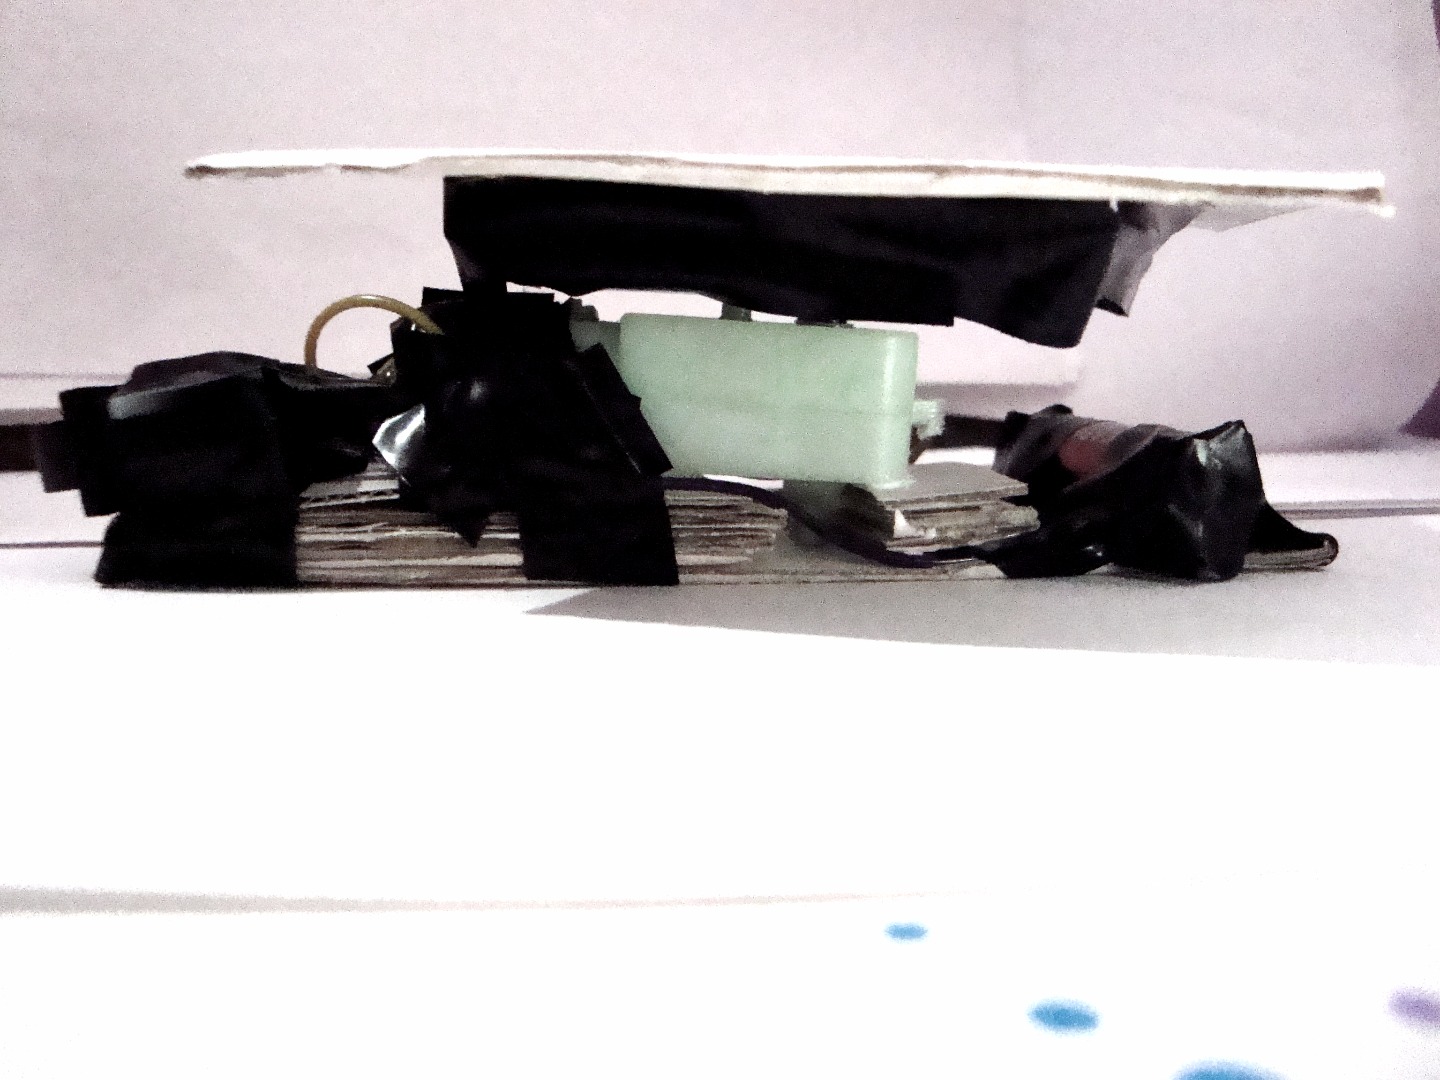
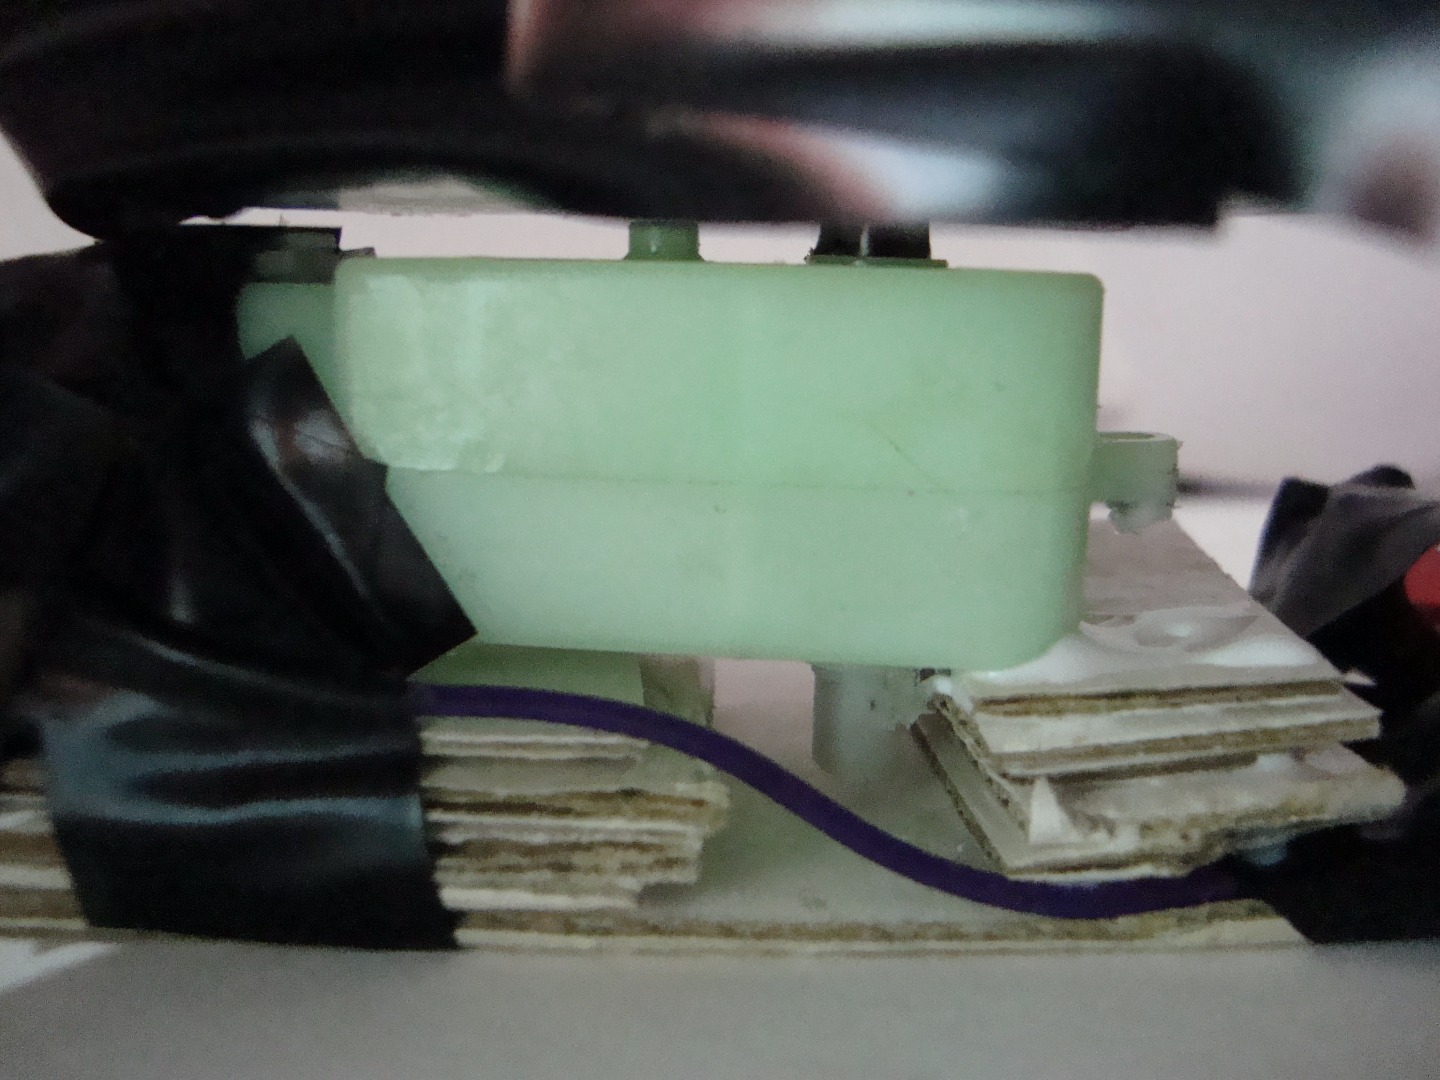
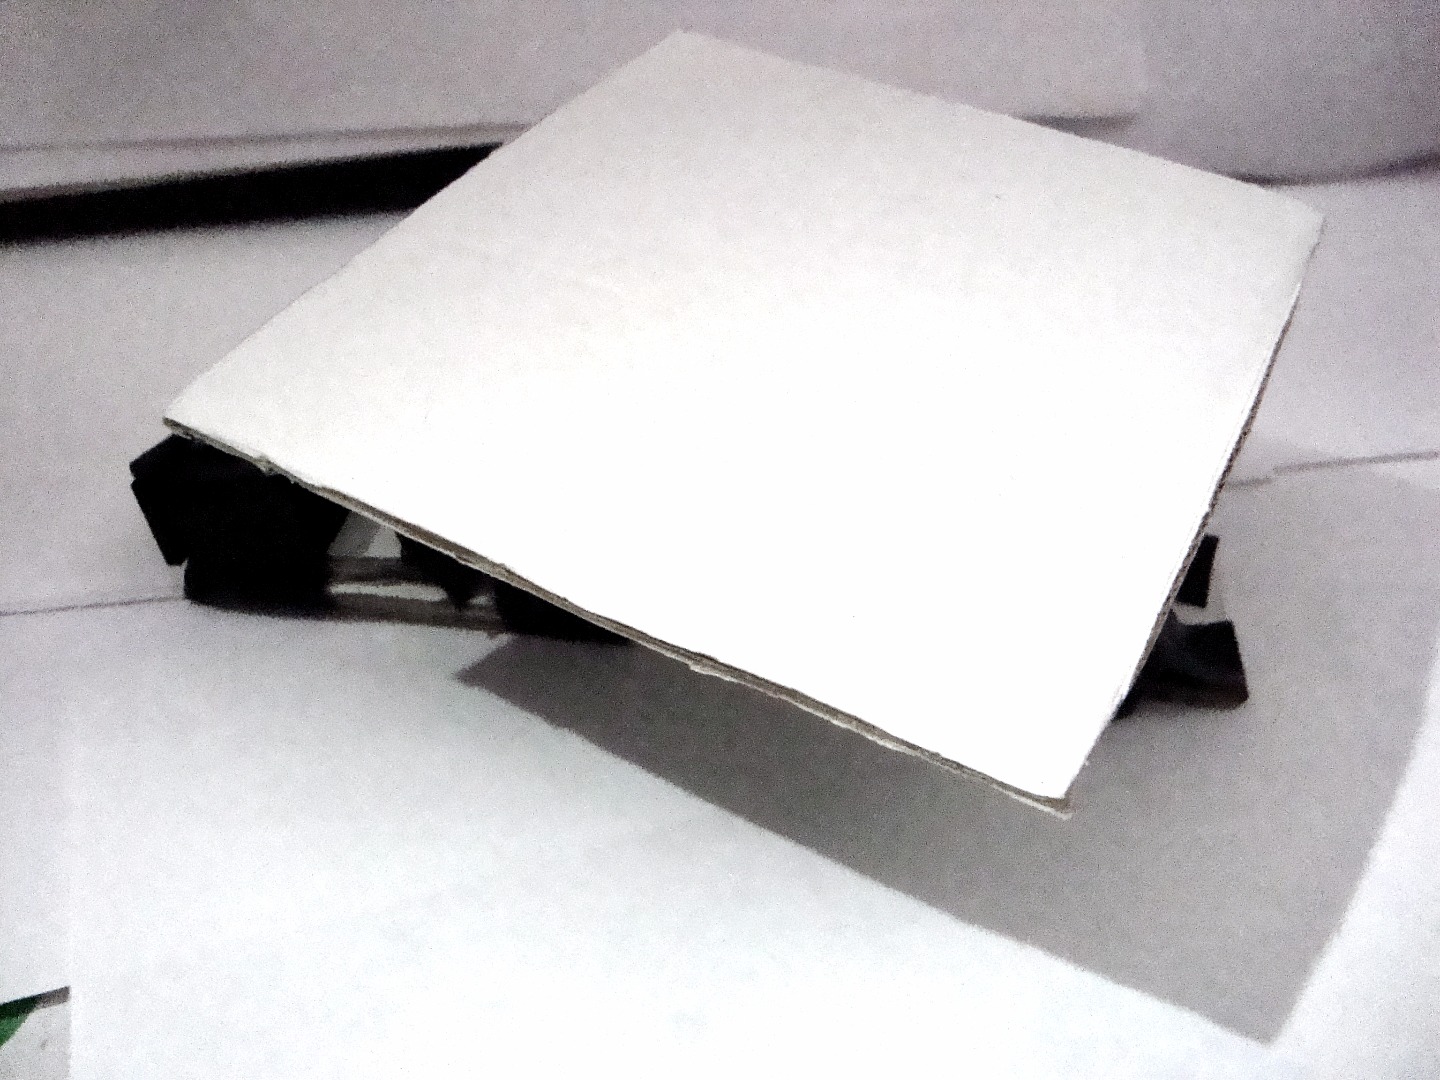
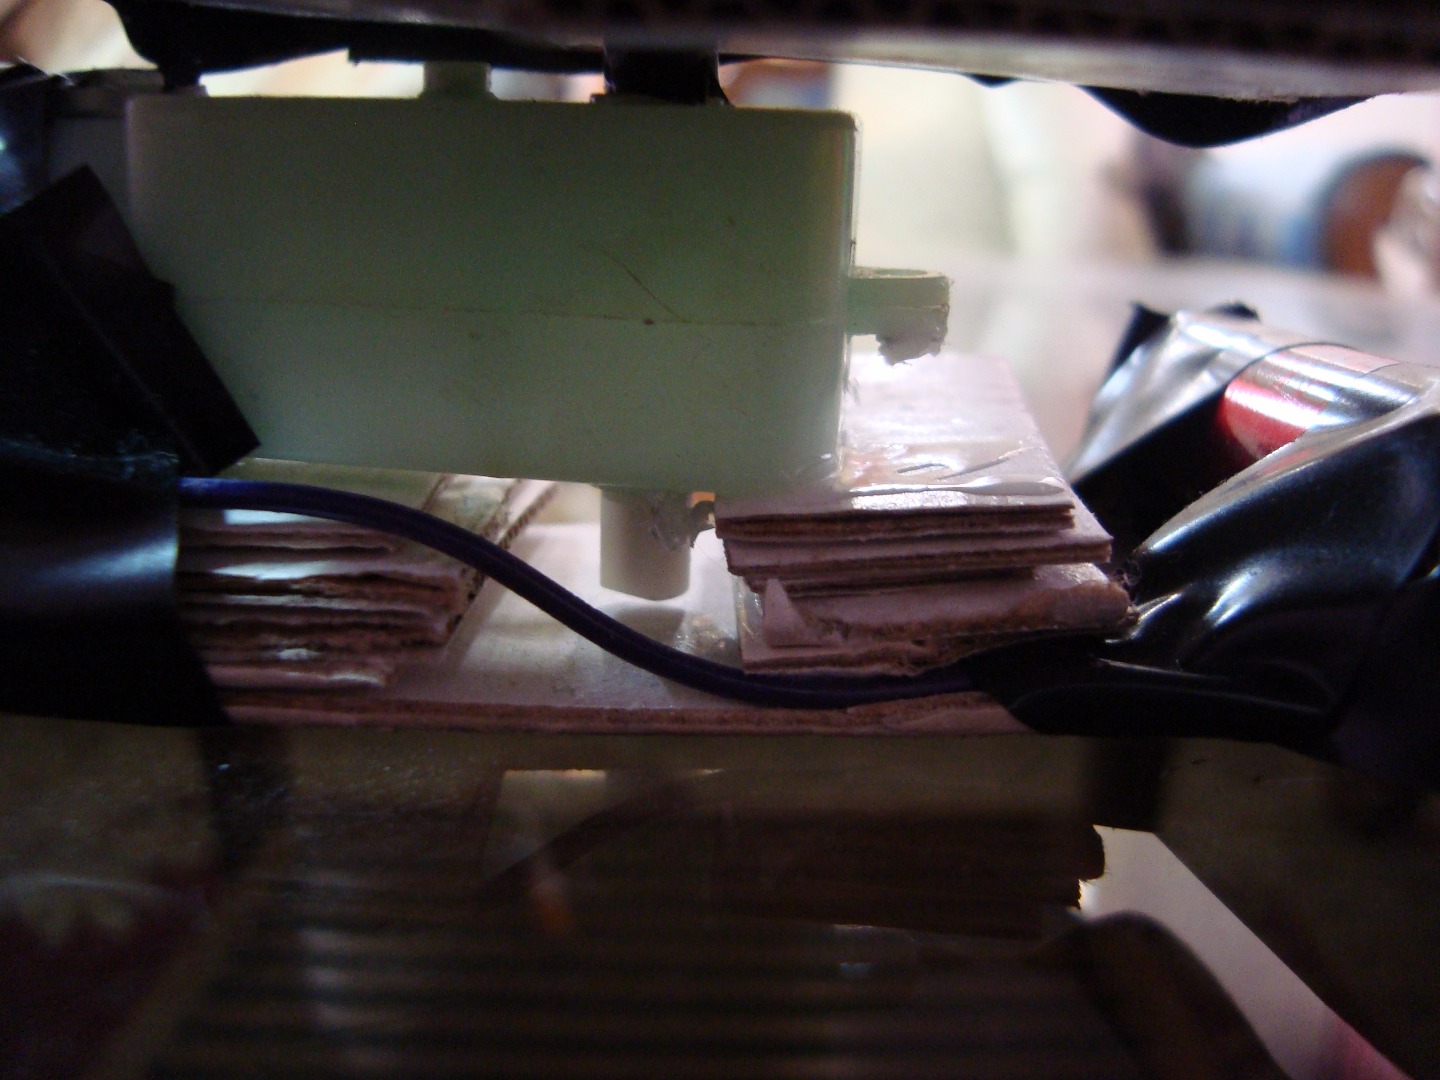
First, cut a 5 cm x 5 cm square out of your cardboard with a hole in the center so that the shaft of the motor can fit in tight and easy. Cut out 4 such squares and stick them together. Make sure that the holes are above each other.
(OPTIONAL) If the motor shaft has a hole in it, do add a screw with a broad head as show in the pictures for firm attachment.
You can be sure of this by first inserting the shaft in all the 4 pieces and then sticking them together. On this, your main rotating platform will rest. This small base ensures that the actual base does not swindle but is always horizontal to the ground. Add Duct tape on surrounding edges.
If the shape of your motor does not match with what shown in the pictures ( I have used a gearbox ), you can still get an idea of how to build a holder for yourself. The aim is to keep the motor shaft upwards. In order to hold the motor in position, add cardboard pieces at the points where the motor can sway or fall.
For the base of the motor holder, cut out another rectangular cardboard of dimensions 14.5 cm x 3 cm. Then cut 10 small pieces of 4 cm x 3 cm. Place and glue 5 of the pieces on one end. Then place the motor above it with least part hanging and use duct tape all around. In order to give support from the other side, place the remaining 5 cardboard pieces below the other side. Make sure that the motor shaft is free and does not touch anything. Add more cardboard pieces if the shaft touches the base.
Next, place a 1.5 V cell one side and a switch on the other side. Make a simple on/off circuit to turn the motor on and off.
The current path will be: Positive terminal of cell > Switch > Motor > Negative terminal of cell
Finally cut out card board piece of 11.5 cm x 11.5 cm and stick it on the small base you attached to the motor shaft earlier.
Setting Up the IDE
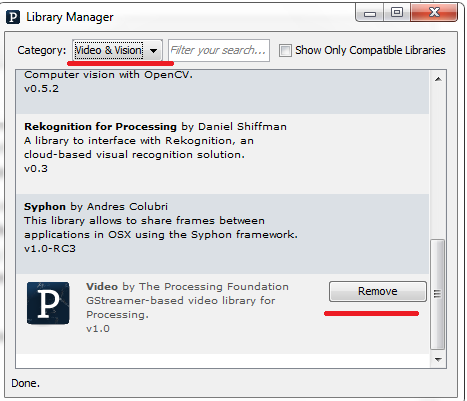
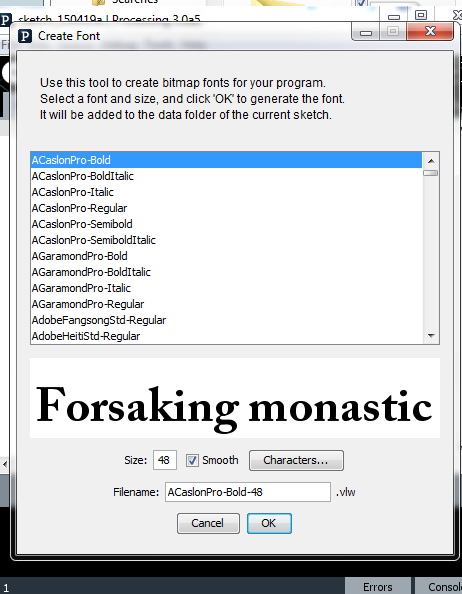
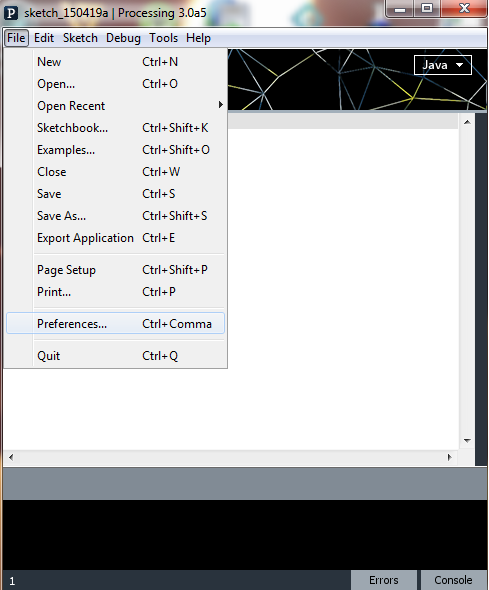
After you have installed the IDE, open it.
First save this blank file anywhere you want with any name. Now, open the blank .pde file.
In the menu bar, go to: Sketch > Import Library > Add Library. A new applet with title "Library Manager" will appear. In the category sub-menu, select Video & Vision. Find the library "Video" by The Processing Foundation. Install it. After it is done, close and restart processing. Now if you go and find the Video library, you will see a "Remove" button next to it. This tells you that you have successfully installed your library.
Now, connect your camera to the computer.
Next, copy and paste the following code:
import processing.video.*;
void setup()
{
  println(Capture.list()); //Capture.list() returns an array of list of available cameras
}
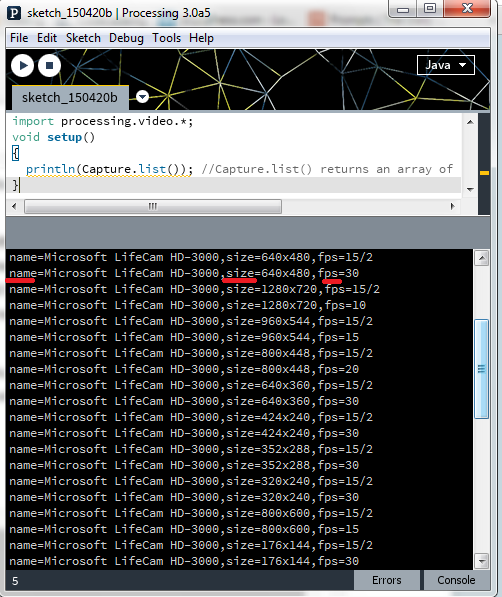
Click Run and then click Stop to stop execution of the code. In the console(the black area in the IDE), you will see a list. Each line is in the following format: name="nameOfCamera", size=X x Y, fps=FramesPerSecond
Now, look for a line that states the name of your camera and the dimensions (in pixels) of the image you want to be in, given after size, and rate of change in images to be displayed on screen, given after fps. Frames per second signifies the number of images changed on screen in 1 second. For example, if fps = 30, 30 images from your camera will be captured and displayed on screen in 1 second. So, it seems like you are watching a video. Once you have selected the line, copy that line in notepad and saved it anywhere. This data will be required later. You can delete the text file you saved after the next step.
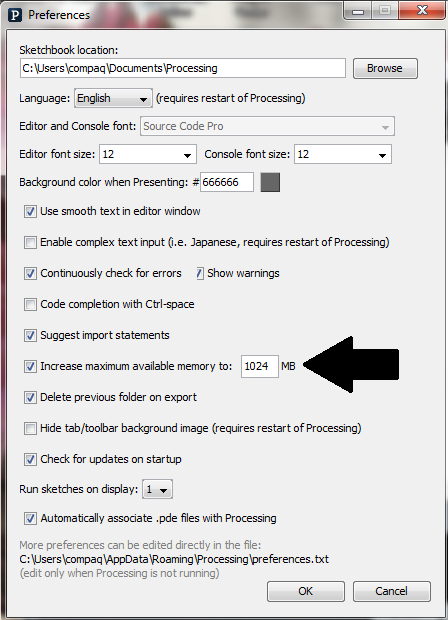
Next, go to: File > Preferences . A new window will appear. Click on the check-box next to "Increase maximum available memory to..." Refer to the images. The default memory is 256 MB. Now, increase the memory to 1024 MB. This is done because you will need to store a large array of images and for which, 256 MB is insufficient.
Finally, go to: Tools > Create Font . A new window will come up. Select the font you want. Once done with it, Click OK. In the location where you saved this blank code file, you will find a new folder named "data" will be created and in it, you will see a .vlw file. This is your font file.
Coding: Capturing Images

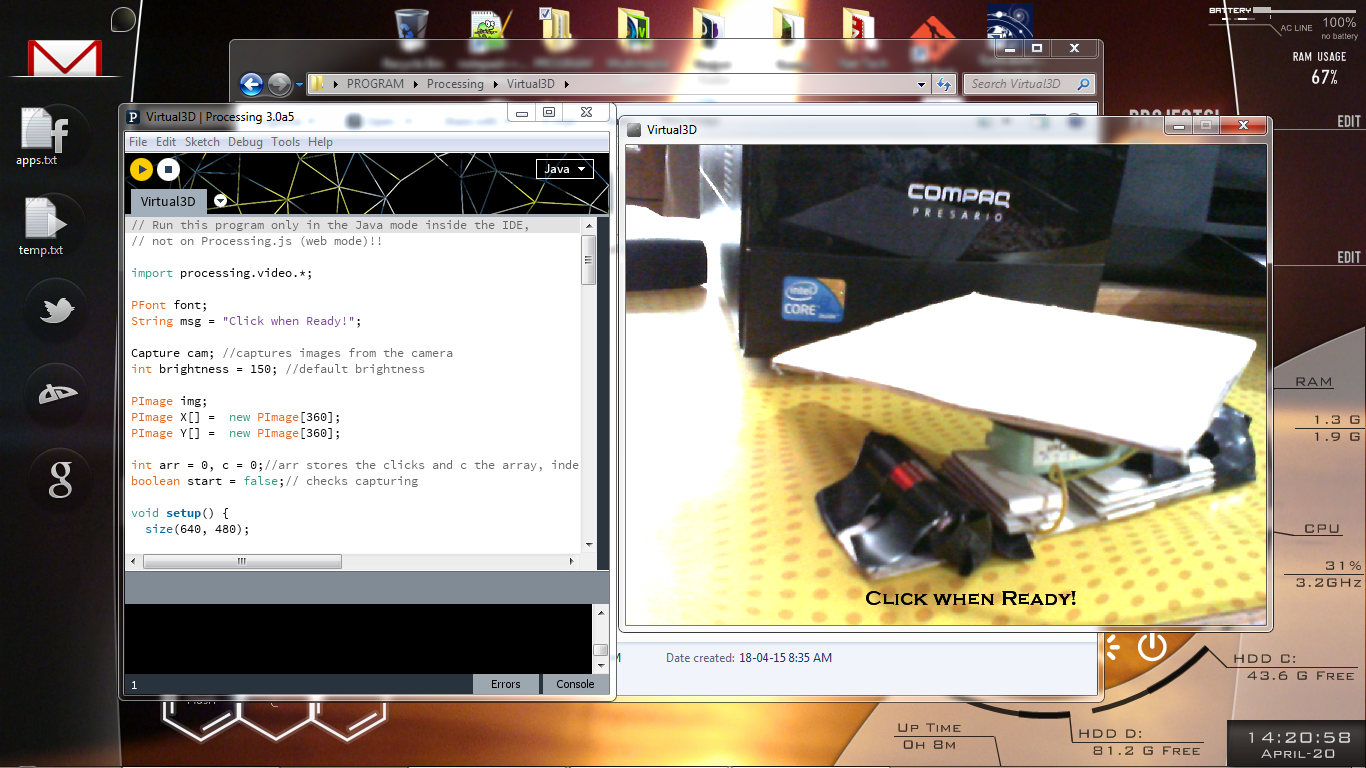
Copy and Save this code in the blank file you saved earlier.
// Run this program only in the Java mode inside the IDE, <br>// not on Processing.js (web mode)!!</p><p>import processing.video.*; </p><p> PFont font;
String msg = "Click when Ready!";</p><p>Capture cam; //captures images from the camera
int brightness = 150; //default brightness</p><p>PImage img;
PImage X[] =  new PImage[360];
PImage Y[] =  new PImage[360];</p><p>int arr = 0, c = 0;//arr stores the clicks and c the array, index
boolean start = false;// checks capturing</p><p>void setup() {
  size(640, 480);

  font = loadFont("CopperplateGothic-Bold-48.vlw"); //Replace the font with your selected font. Do include the extension .vlw
  textFont(font, 20);
  fill(0, 0, 0); //set font color in RGB format

  cam = new Capture(this, 640, 480, 30); //set the camera resolution to 640x480 and frameRate to 30fps
  cam.start();   //activate the camera
}</p><p>void draw() {
  if(cam.available()==true && arr<3) //cam.avaialbe() checks if there are any bytes available to read from camera
                                     //also check if the number of clicks do not exceed 2
  {
    cam.read(); //capture the imagees
  }
  img = cam;           // store image from camera in variable
  image(cam, 0, 0);    //display camera image on window
  Brighten();          //brighten the image for better visibility

  if(start)
  {
  if(arr == 1)              //check if user has clicked once
  {
    X[c] = get();           //capture the screen
    println("X"+c+" saved");//display status in console
    c++;                    //update index

  }
  if(arr == 2)               //checked if the user has clicked twice
  {
    Y[c] = get();            // capture the screen
    println("Y"+c+" saved"); //display status in console
    c++;                     //update index
  }
  }
  if(arr == 3)           //check if the user has clicked thrice
  {
    saveImages(X, "X"); // save images set X to data folder
    saveImages(Y, "Y"); // save images set Y to data folder
    arr++;              // update click so saving process is not repeated
    msg = "Done!";      // Display status
  }
  if(c>359) { start = false; msg = "Click when ready"; } //check if the number of images captured do not exceed the array size, ie, 360
 text(msg, width/2-80, height-20);                       //display required messages
}
void saveImages(PImage pic[], String ini)
{
  for(int i = 0;i<360; i++)  //loop runs 360 times
    pic[i].save(ini+i+".png"); // PImage_Variable.save("nameOfFile") saves images
} </p><p> void mousePressed() //called when mouse buttons are pressed
{
  msg = ""; //clear text on screen so that the text is not saved in the images
  arr++; //update number of clicks
  c = 0; //reset array index
  start = true; //to begin capturing
}
void keyPressed() // called when keyboard buttons are pressed
{
  //brightness variable stores the amount of brightness
  if(key == 'w') brightness++; //Press 'w' to increase brightness
  else if(key == 's') brightness--; //Press 's' to decrease brightness
  if(brightness<0) brightness =0; //avoid unnecessary reduction
}
void Brighten()
{
   loadPixels(); </p><p>  // We must also call loadPixels() on the PImage since we are going to read its pixels.  img.loadPixels();
  for (int x = 0; x < img.width; x++ ) {
    for (int y = 0; y < img.height; y++ ) {</p><p>      // Calculate the 1D pixel location
      int loc = x + y*img.width;</p><p>      // Get the R,G,B values from image
      float r = red (img.pixels[loc]);
      float g = green (img.pixels[loc]);
      float b = blue (img.pixels[loc]);</p><p>      // We calculate a multiplier ranging from 0.0 to 8.0 based on mouseX position.
      // That multiplier changes the RGB value of each pixel.
      float adjustBrightness = ((float) brightness / width) * 8.0;
      r *= adjustBrightness;
      g *= adjustBrightness;
      b *= adjustBrightness; </p><p>      // The RGB values are constrained between 0 and 255 before being set as a new color.
      r = constrain(r,0,255);
      g = constrain(g,0,255);
      b = constrain(b,0,255); </p><p>      // Make a new color and set pixel in the window
      color c = color(r,g,b);
      pixels[loc] = c;
    }
  }
  updatePixels();
}</p>
Now in the text file you saved, suppose you have the following data:
name=myCamera, size = X x Y, fps=F
In the function setup(), find the line:
size(640, 480);
Change it and enter your values like this:
size(X, Y);
Then, find the line:
cam = new Capture(this, 640, 480, 30);<br>
Here, do the changes like this and enter your own values like this:
cam = new Capture(this, X, Y, F);
Now you can delete the text file and you do not need to remember any data.
The comments describe most part of working of code.
This is what happens:
- Capture from camera
- Change the brightness according to user input.
- Increase the brightness level
- Display the image on window
- If the user has clicked once, store the next 360 images in the array X
- If the user has clicked twice, store the next 360 images in the array Y
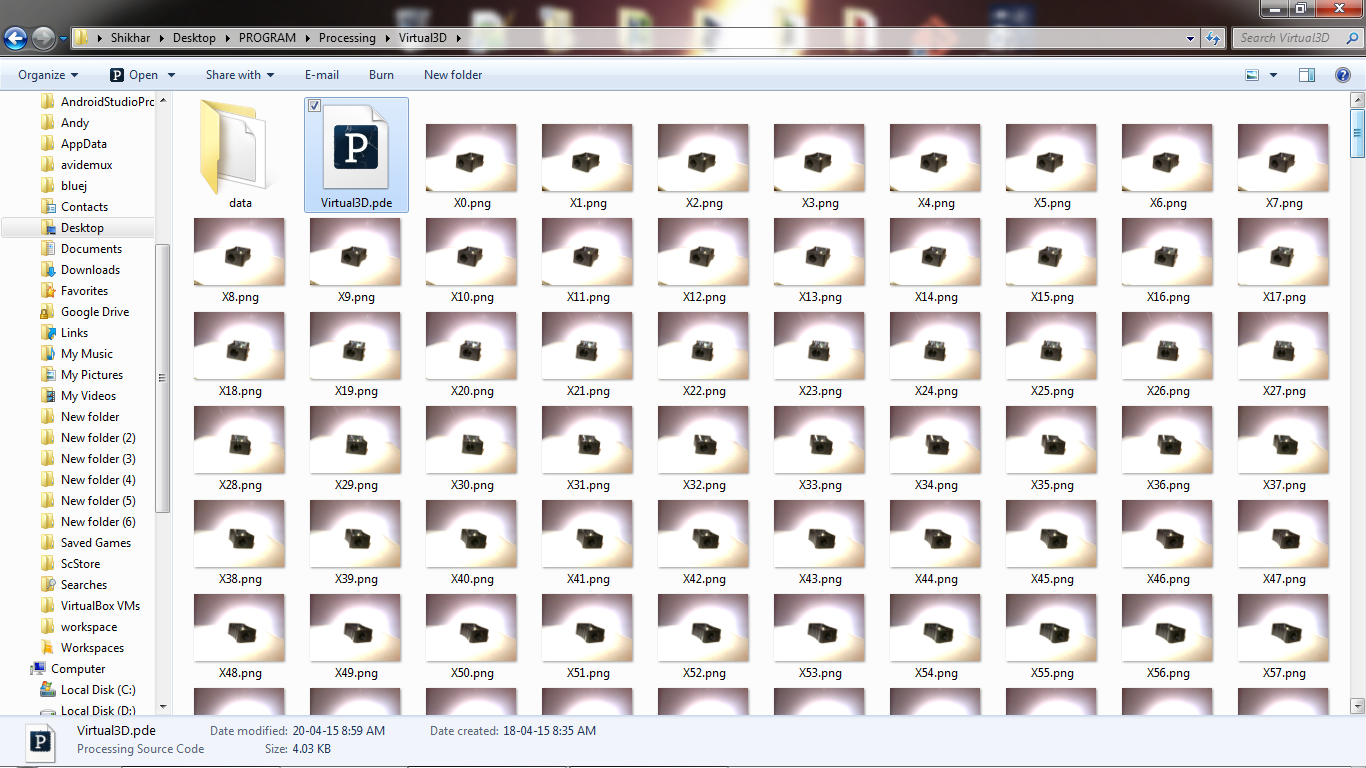
- If the user has clicked thrice, save the images stored in the arrays X and Y in the computer in png format.
This code helps you to capture the required number of images and store it in png format.
You may even download the file Virtual3D.rar. It contains all the required code and data files required.
Downloads
Coding: Viewing Images

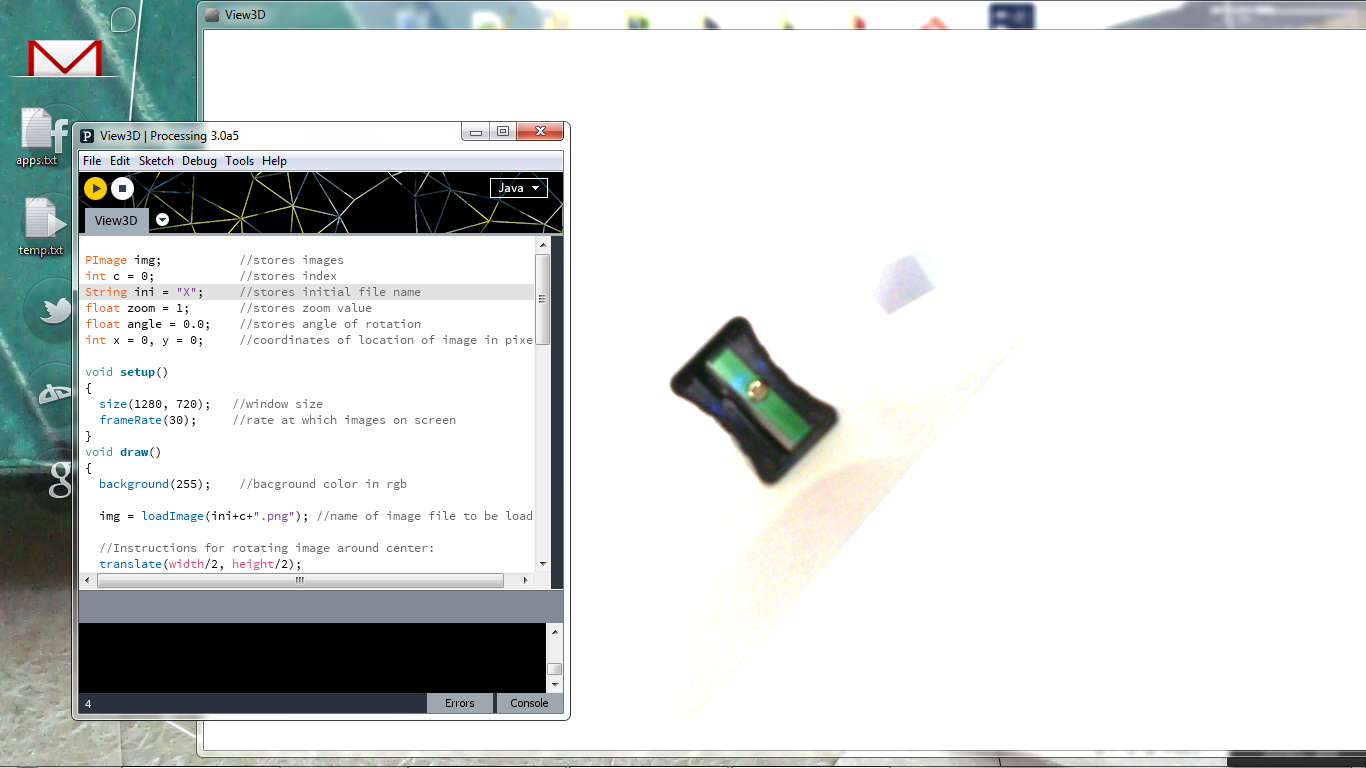
Now, create a new blank file and save it.
Copy the following code:
PImage img;           //stores imagesint c = 0;            //stores index
String ini = "X";     //stores initial file name
float zoom = 1;       //stores zoom value
float angle = 0.0;    //stores angle of rotation
int x = 0, y = 0;     //coordinates of location of image in pixels</p><p>void setup()
{
  size(1280, 720);   //window size
  frameRate(30);     //rate at which images on screen
}
void draw()
{
  background(255);    //bacground color in rgb

  img = loadImage(ini+c+".png"); //name of image file to be loaded

  //Instructions for rotating image around center:
  translate(width/2, height/2);
  rotate(angle*TWO_PI/360);
  translate(-img.width/2, -img.height/2);

  scale(zoom);      // zoom in and out according to user input
  image(img, x, y); //display the image
}
void keyPressed()
{
  switch(key)
  {
    case 'a': {

                 ini="X";  //X is name of file in set 1
                 c--;      //change the image
                 break;
              }
    case 'd': {
                ini="X";  //X is name of file in set 1
                c++;      //change the image
                break;
              }
    case 'w': {
                ini = "Y"; //Y is the name of file in set 2
                c++;      //change the image
                break;
              }
    case 's': {
                ini = "Y"; //Y is the name of file in set 2
                c--;       //change the image
                break;
              }

    case 'i': angle++; break; //increase andgle
    case 'k': angle--; break; //decrease angle

    case '+': zoom+=0.1; break; //zoom in
    case '-': zoom-=0.1; break; //zoom out

    case 'j': x++; break; //move the image right
    case 'g': x--; break; //move the image left
    case 'h': y--; break; //move the image up
    case 'y': y++; break; //move the image down
  }
  //prevent the name of file from being out of reach
  if(c<0) c=0;
  else if(c>359) c=359;
}
The comments describe the working of the code.
With it you can create a viewer that helps you to rotate, zoom and view your every part of your object.
You can download the file View3D.pde . It contains all the required code you need.
Downloads
Build the Photo Booth
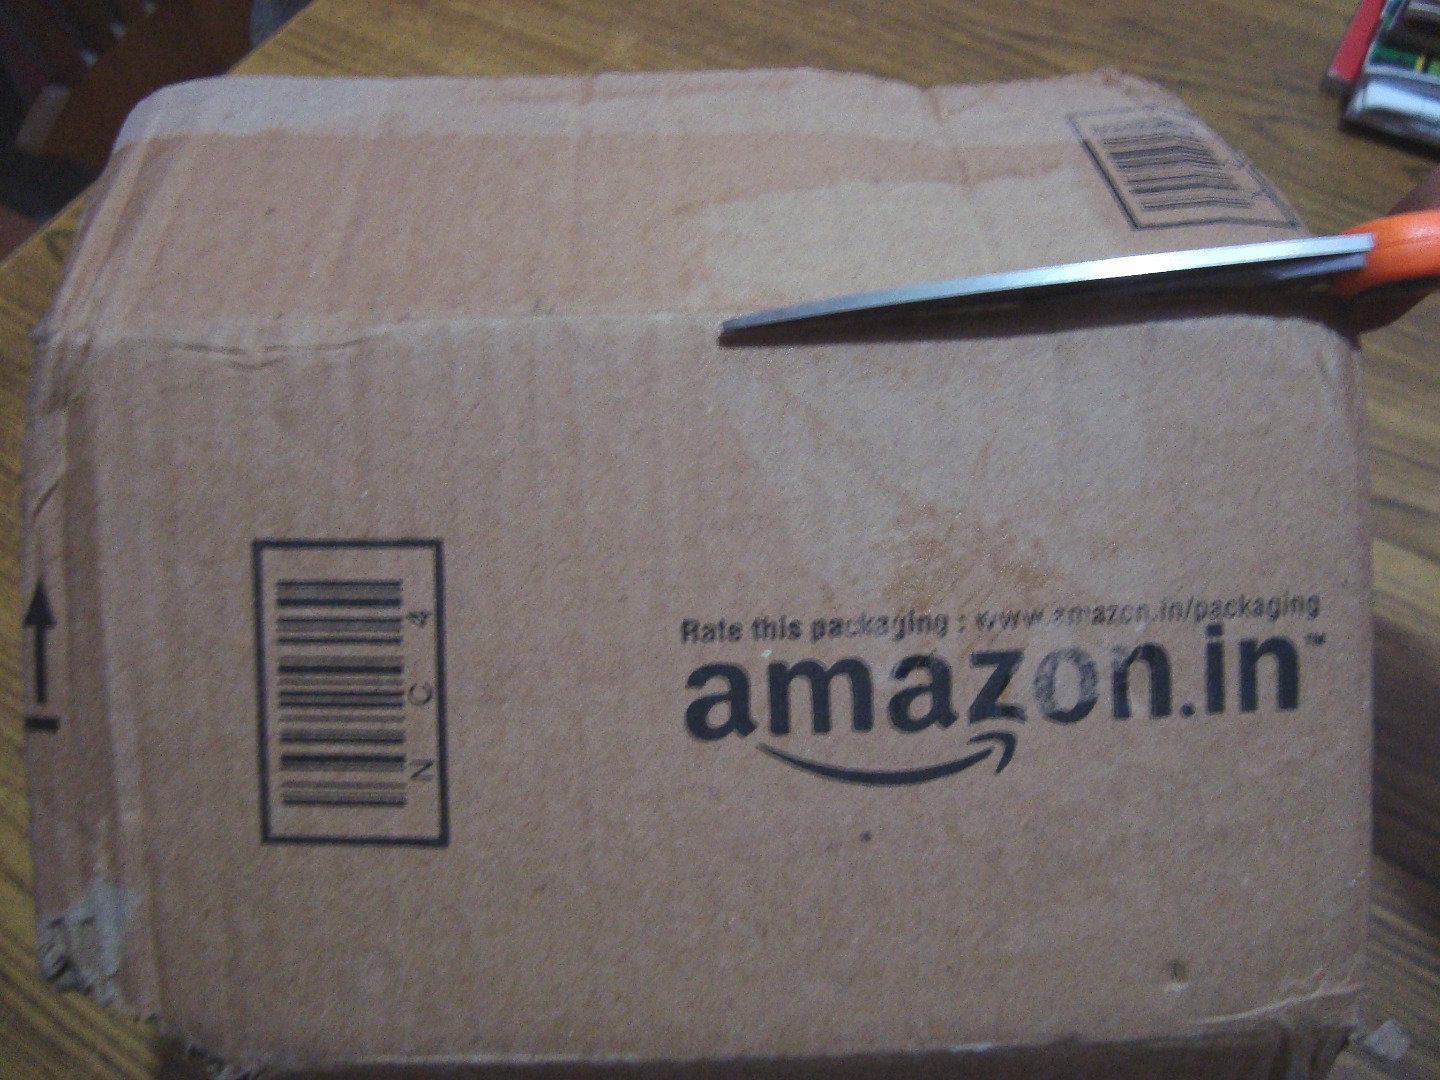
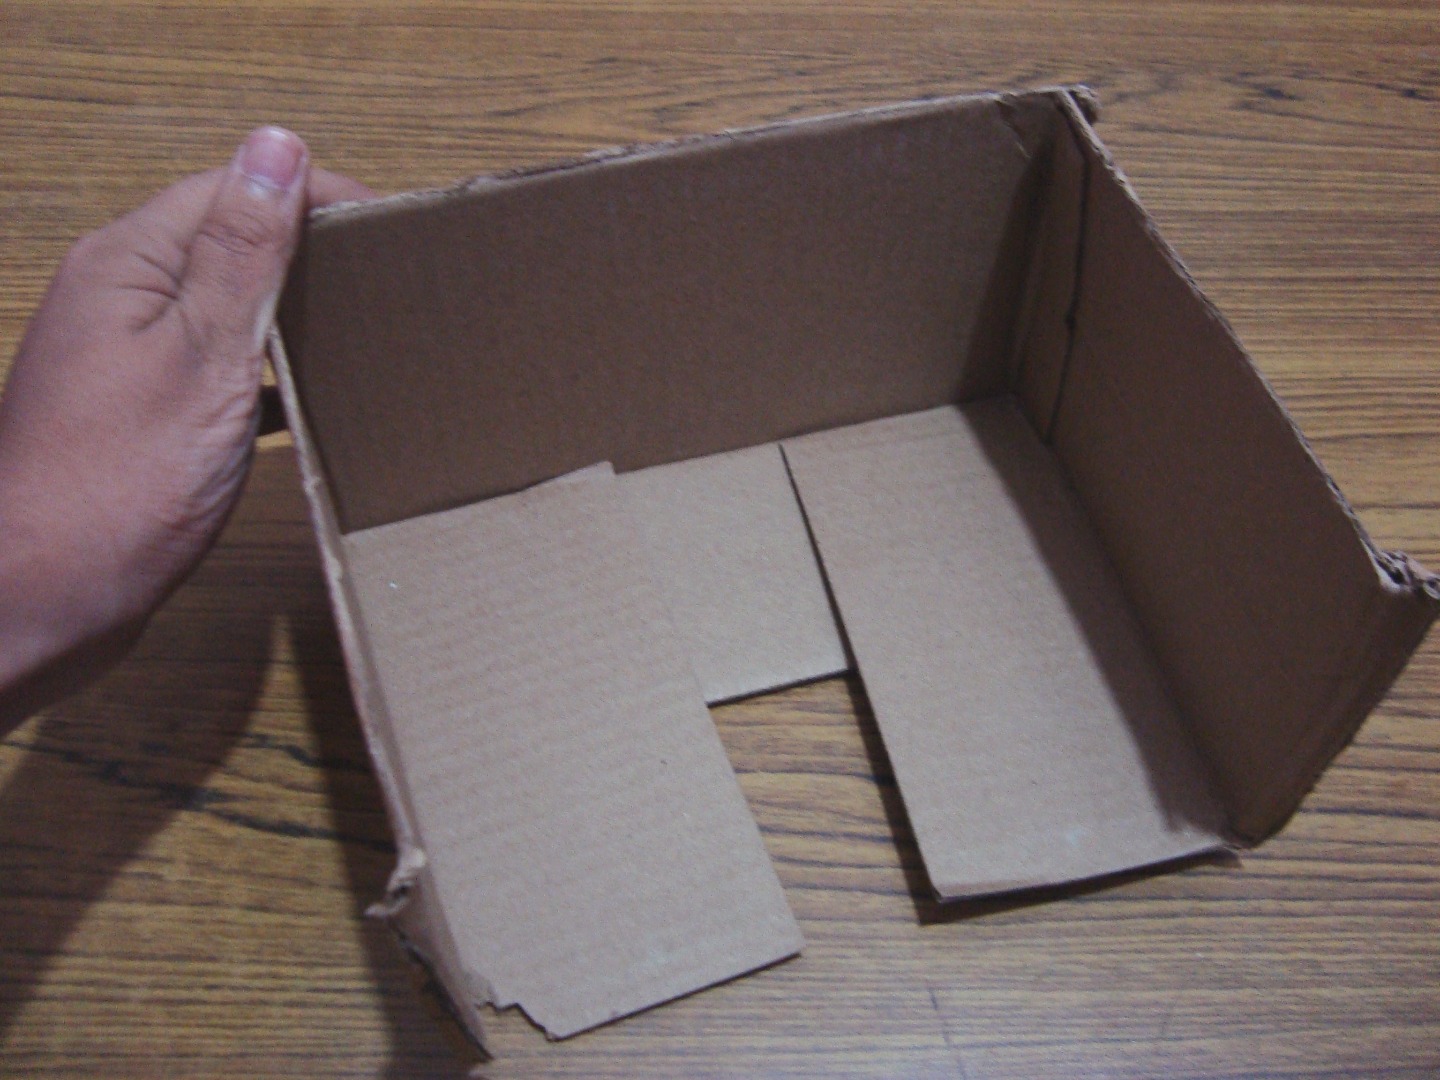
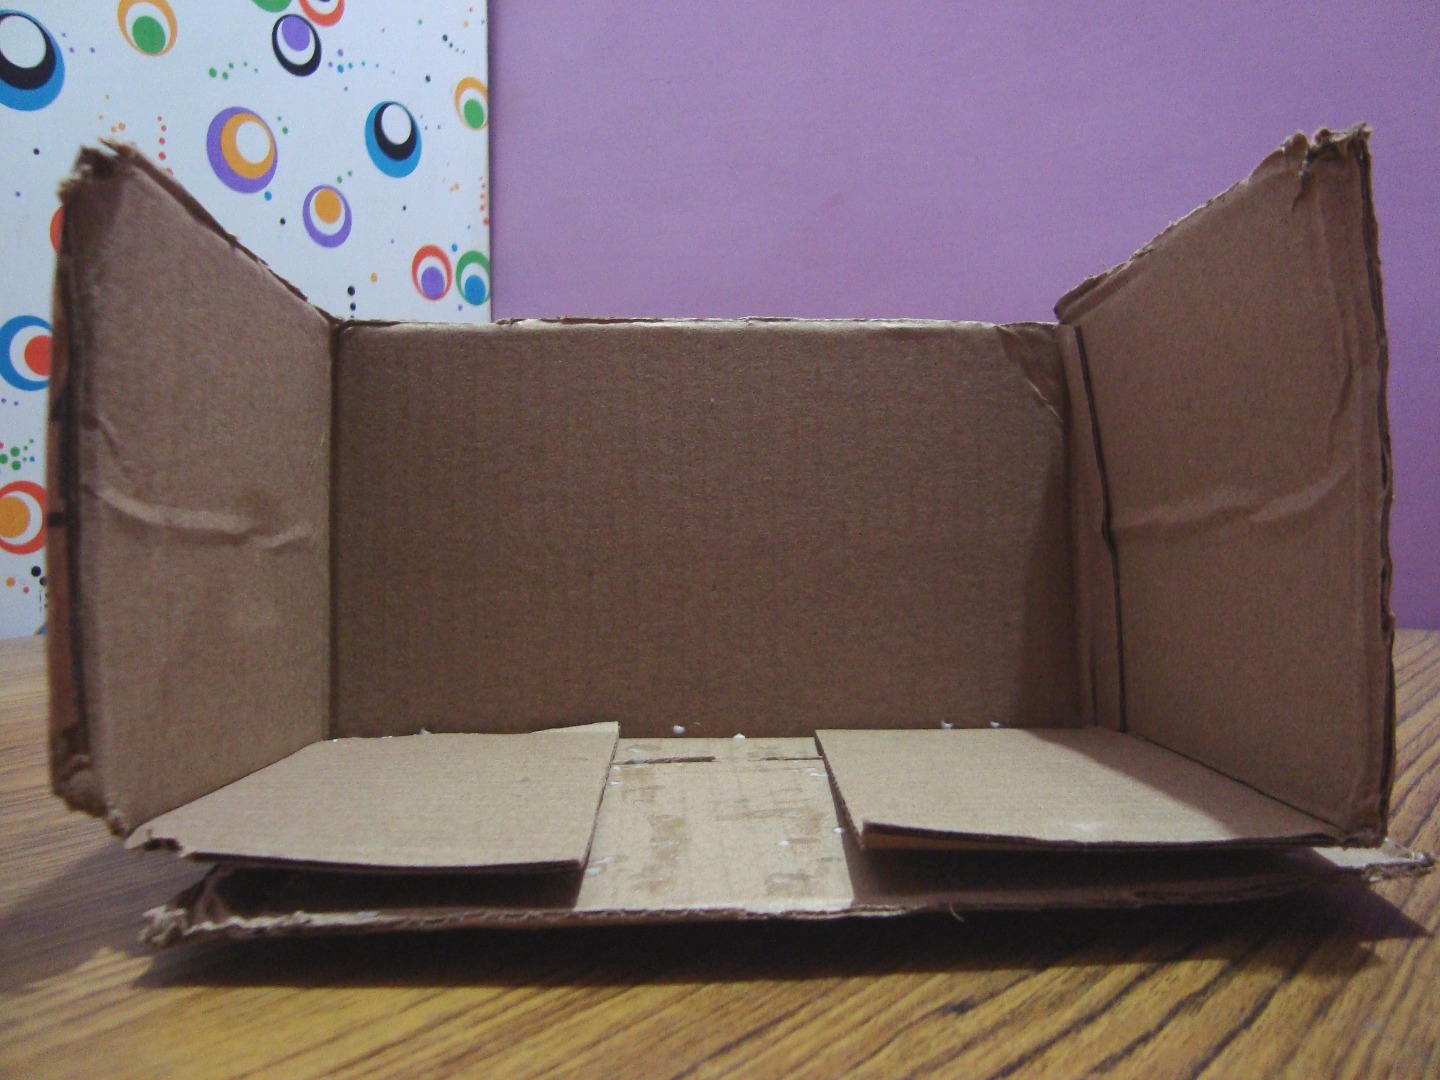
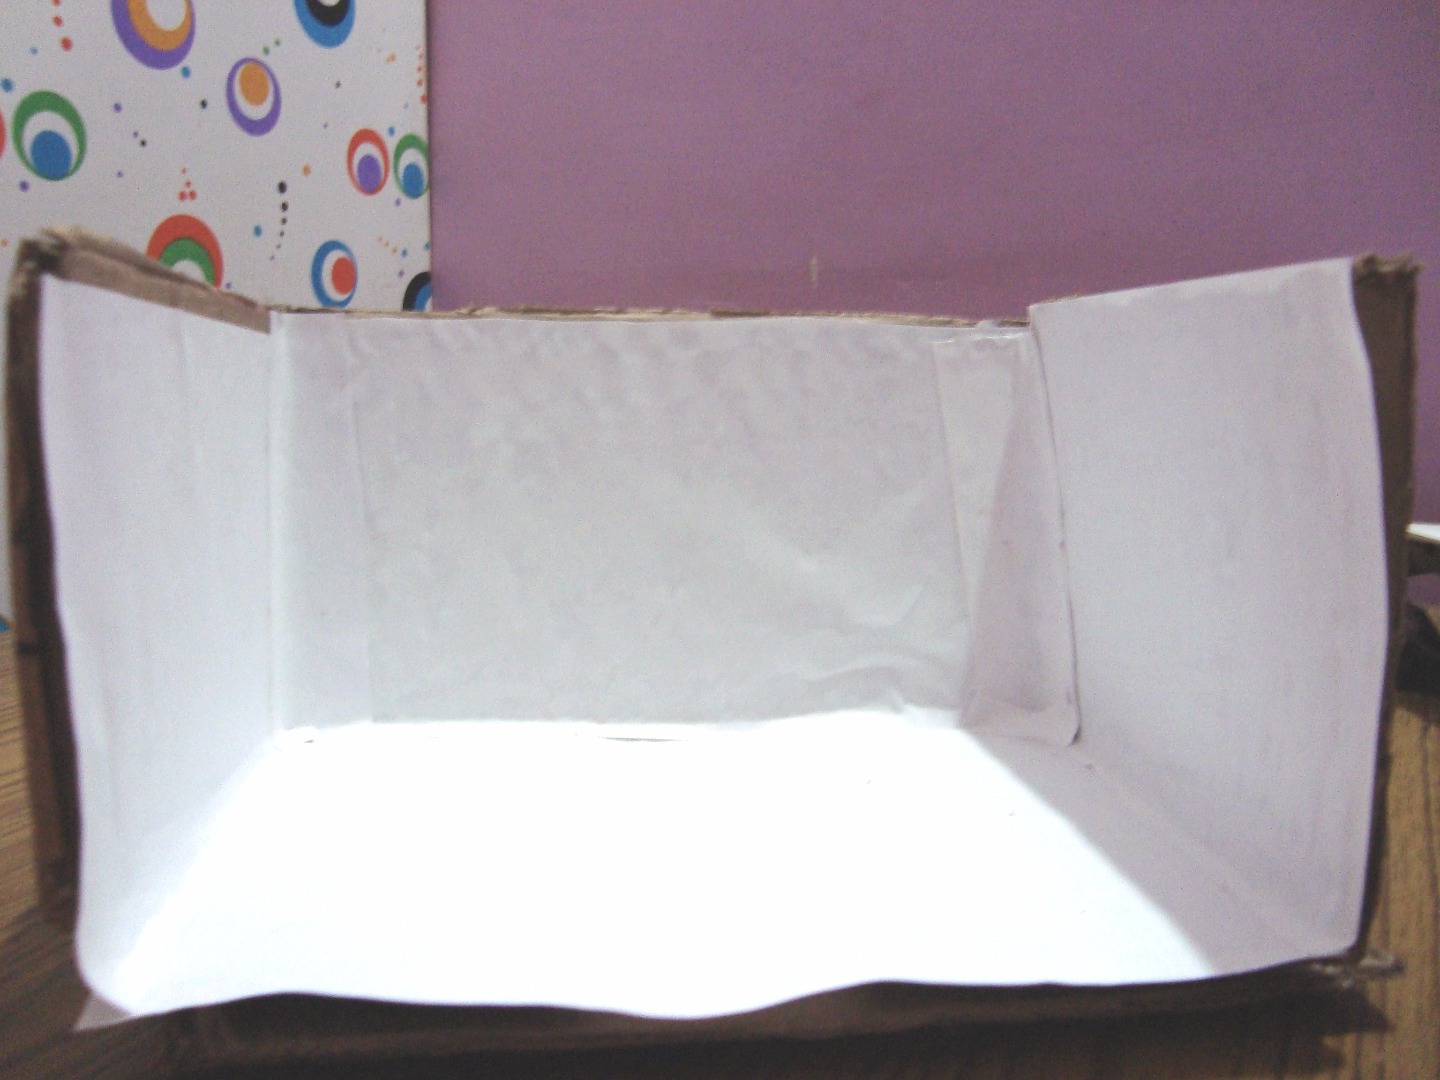
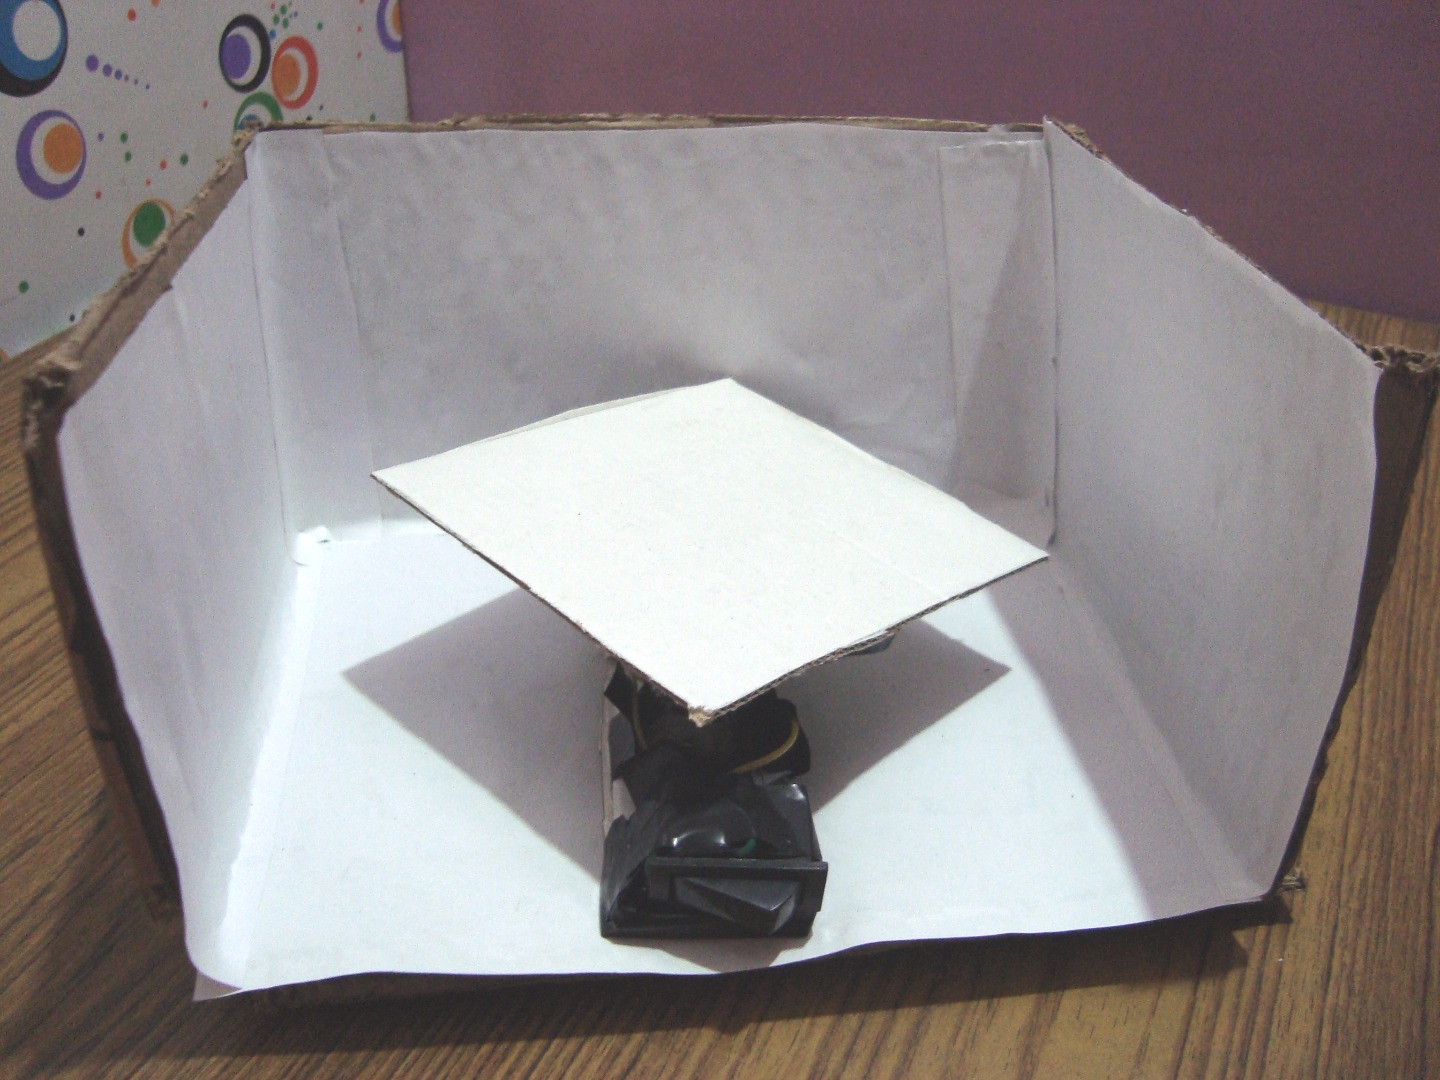
Using a pair of scissors, cut the top cover of your cardboard box. The cut pieces are not to be thrown. Now, cut any of the long side of the cardboard. Refer to picture for which side to cut. Now you have a small room with three walls. Use the remaining pieces to cover the bottom and make sure it is flat.
Now, cover the inner sides with white paper. This is the place where you will keep your rotating platform.
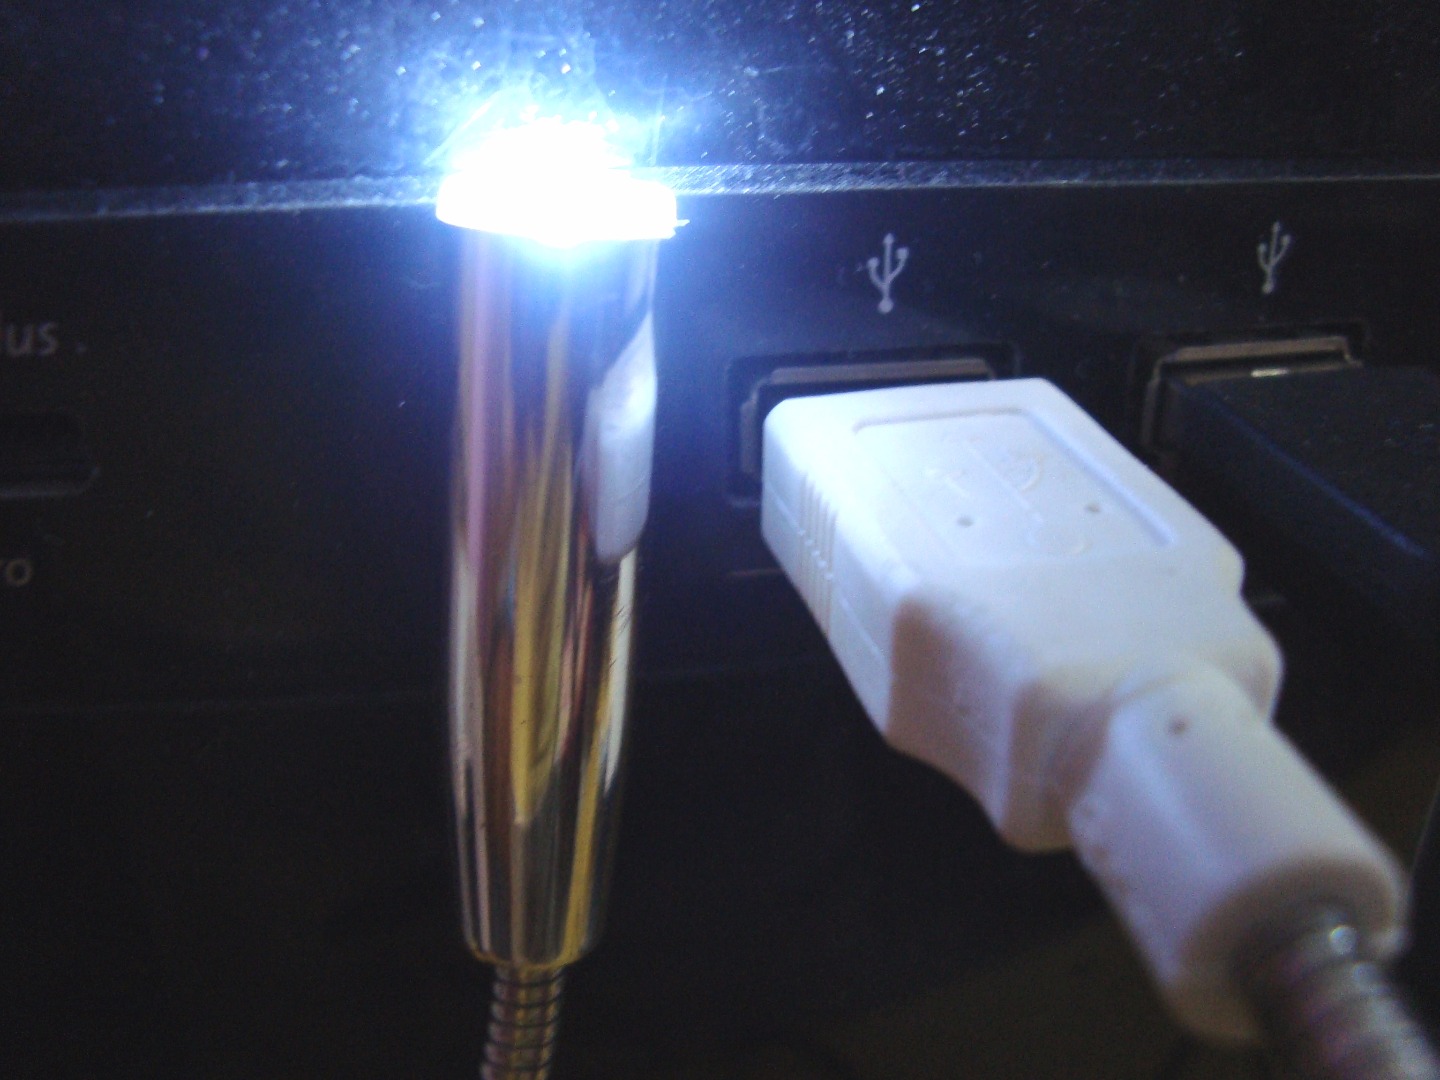
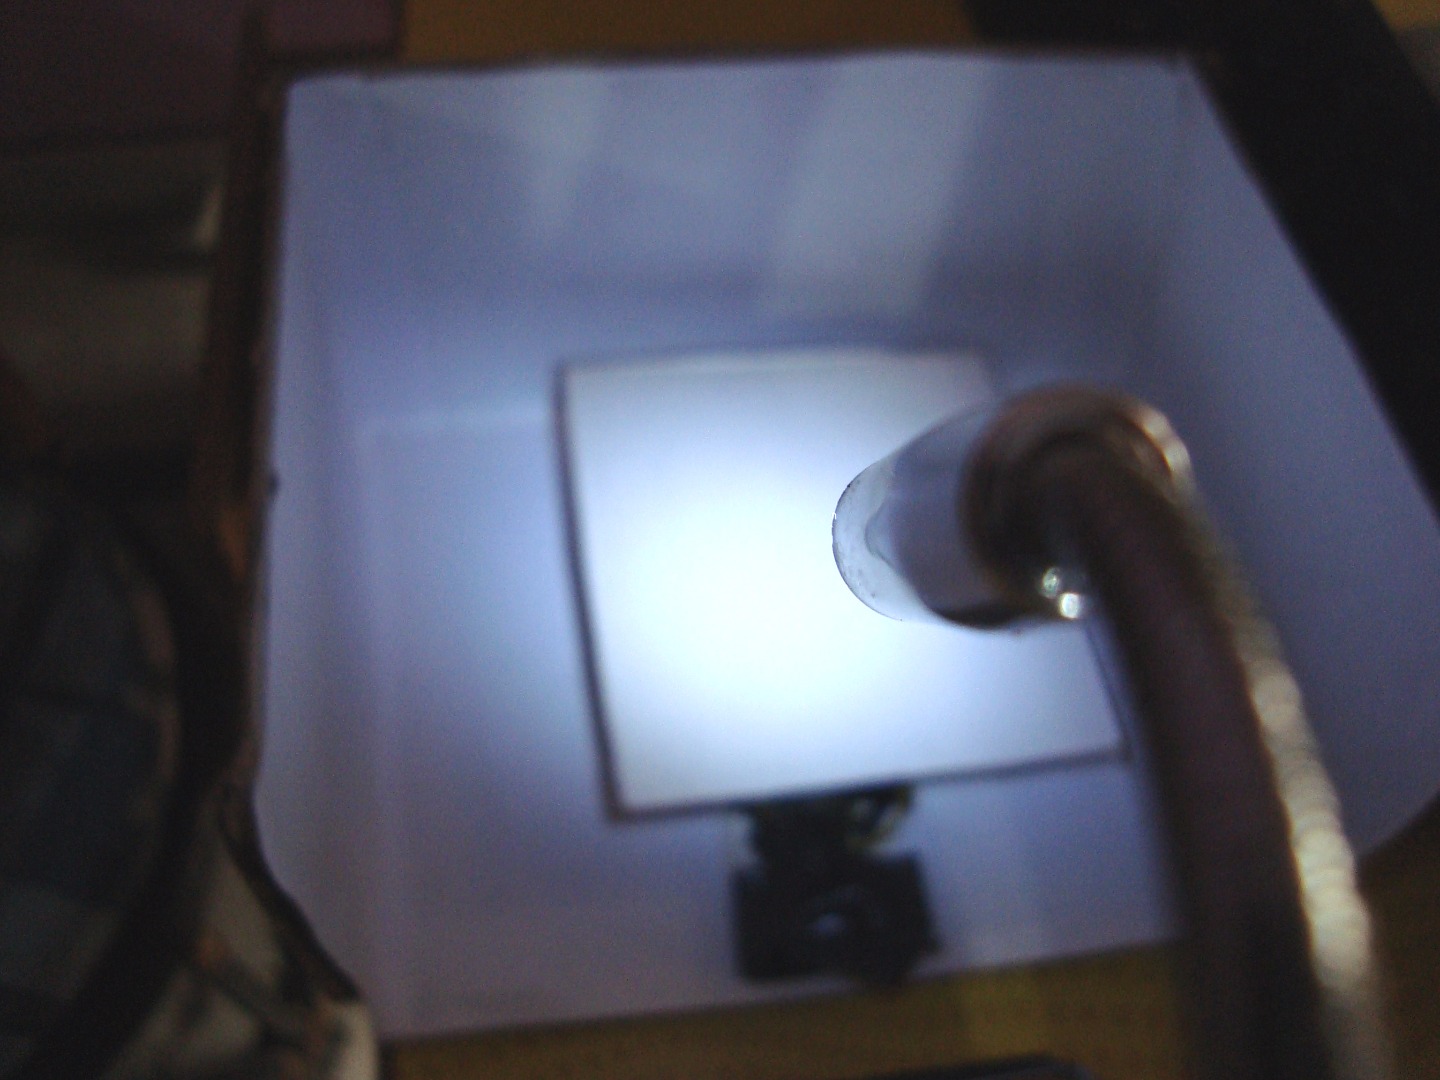
Connect your USB light to the USB port of your computer and place the box near your computer. Next, place the USB light so that the light falls all around around the center, where the object will be kept. Leave no room for shadows above the platform and the cardboard wall just behind the platform.
Run the Code!
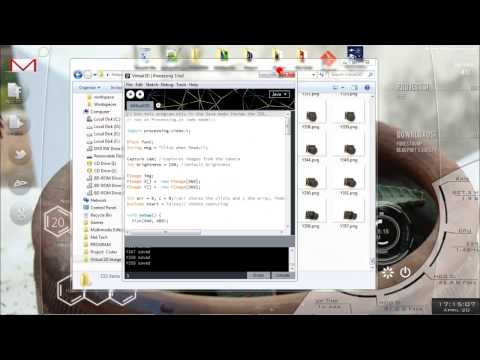
First, place the rotating platform inside the box. Keep the object at the center of the platform.
Next, Run the Image Capturing code (the code in Step 4). Position your USB light and increase the brightness so that the background of the object is white and only the object is visible. Move the position of your camera to an appropriate angle and height.
Switch on the motor to rotate the object.
Click once anywhere in the window where you can see the object. When the text in the bottom says "Click When Ready", turn the object to 90 degrees left and click again.
Again, the same message will be displayed. Now, you can switch off the motor and remove the object. Click again and images will be saved where you saved your code.
Create a new folder named "data" in the same location where you saved your Image viewing code (the code in Step 5). Inside this "data" folder, paste all these images.
Finally, run the code. The instructions are:
d - turn right
a - turn left
w - turn up
s - turn down
+ - zoom in
- - zoom out
y - move up
h - move down
g - move left
j - move right
i - rotate clockwise
k - rotate anticlockwise
You can use the captured images to make GIF files.
You can even export the viewing code to make an executable file for Windows as well as Linux and share it with your friends. Thus, you can share your 3-D images with your friends instead of the usual image which let you see only a part of an object. This can be useful in sharing what you make, even small products for digital advertisements.