Vinyl-laminated Labels With Silhouette Cutter
13445 Views, 159 Favorites, 0 Comments
Vinyl-laminated Labels With Silhouette Cutter
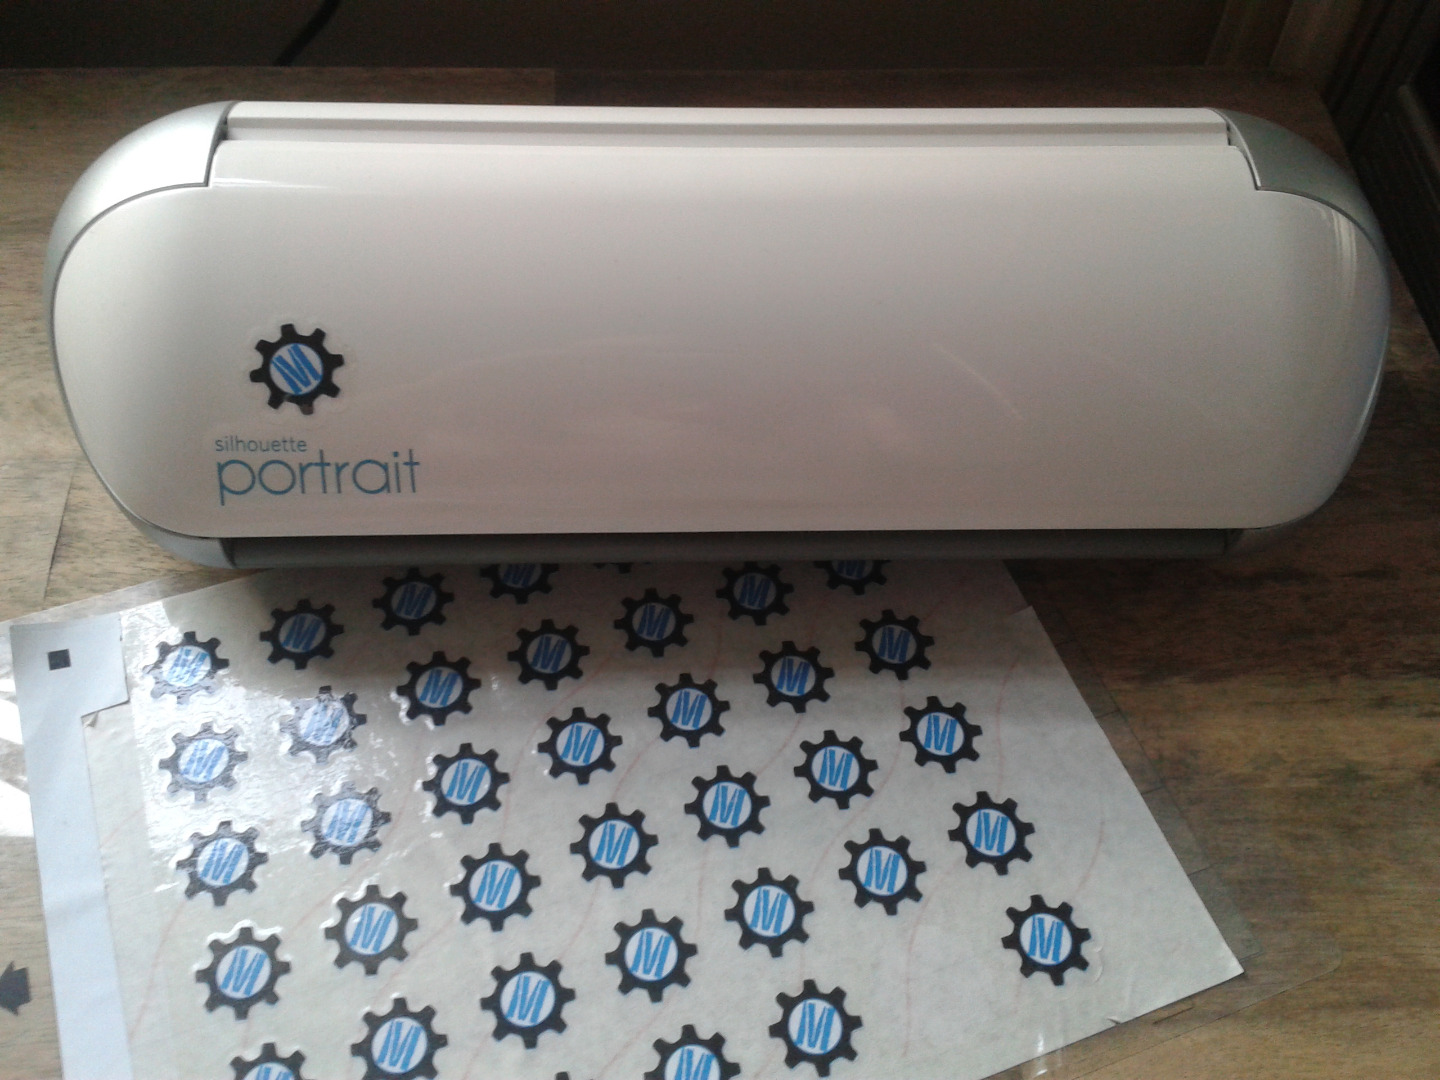
Who doesn't love a sticker?! Boring people, that's who! ;-)
When we were given a Silhouette Portrait by Instructables, labels were one of the first things I wanted to try out. Our Makerspace's logo is a cog, which means that cutting it out by hand is fiddly and time-consuming. Professional labels are out of our budget, as are fancy-pants label media for our copiers. But with the Silhouette, we can have awesome-looking, durable vinyl labels whenever we want, in just a few steps!
You will need:
- Silhouette machine and copy of Silhouette Studio
- Full-sheet shipping labels
- Access to a printer
- Clear vinyl
And that is just about it! Both the labels and vinyl were obtained inexpensively from our local Scrapstore.
Add in Registration Marks
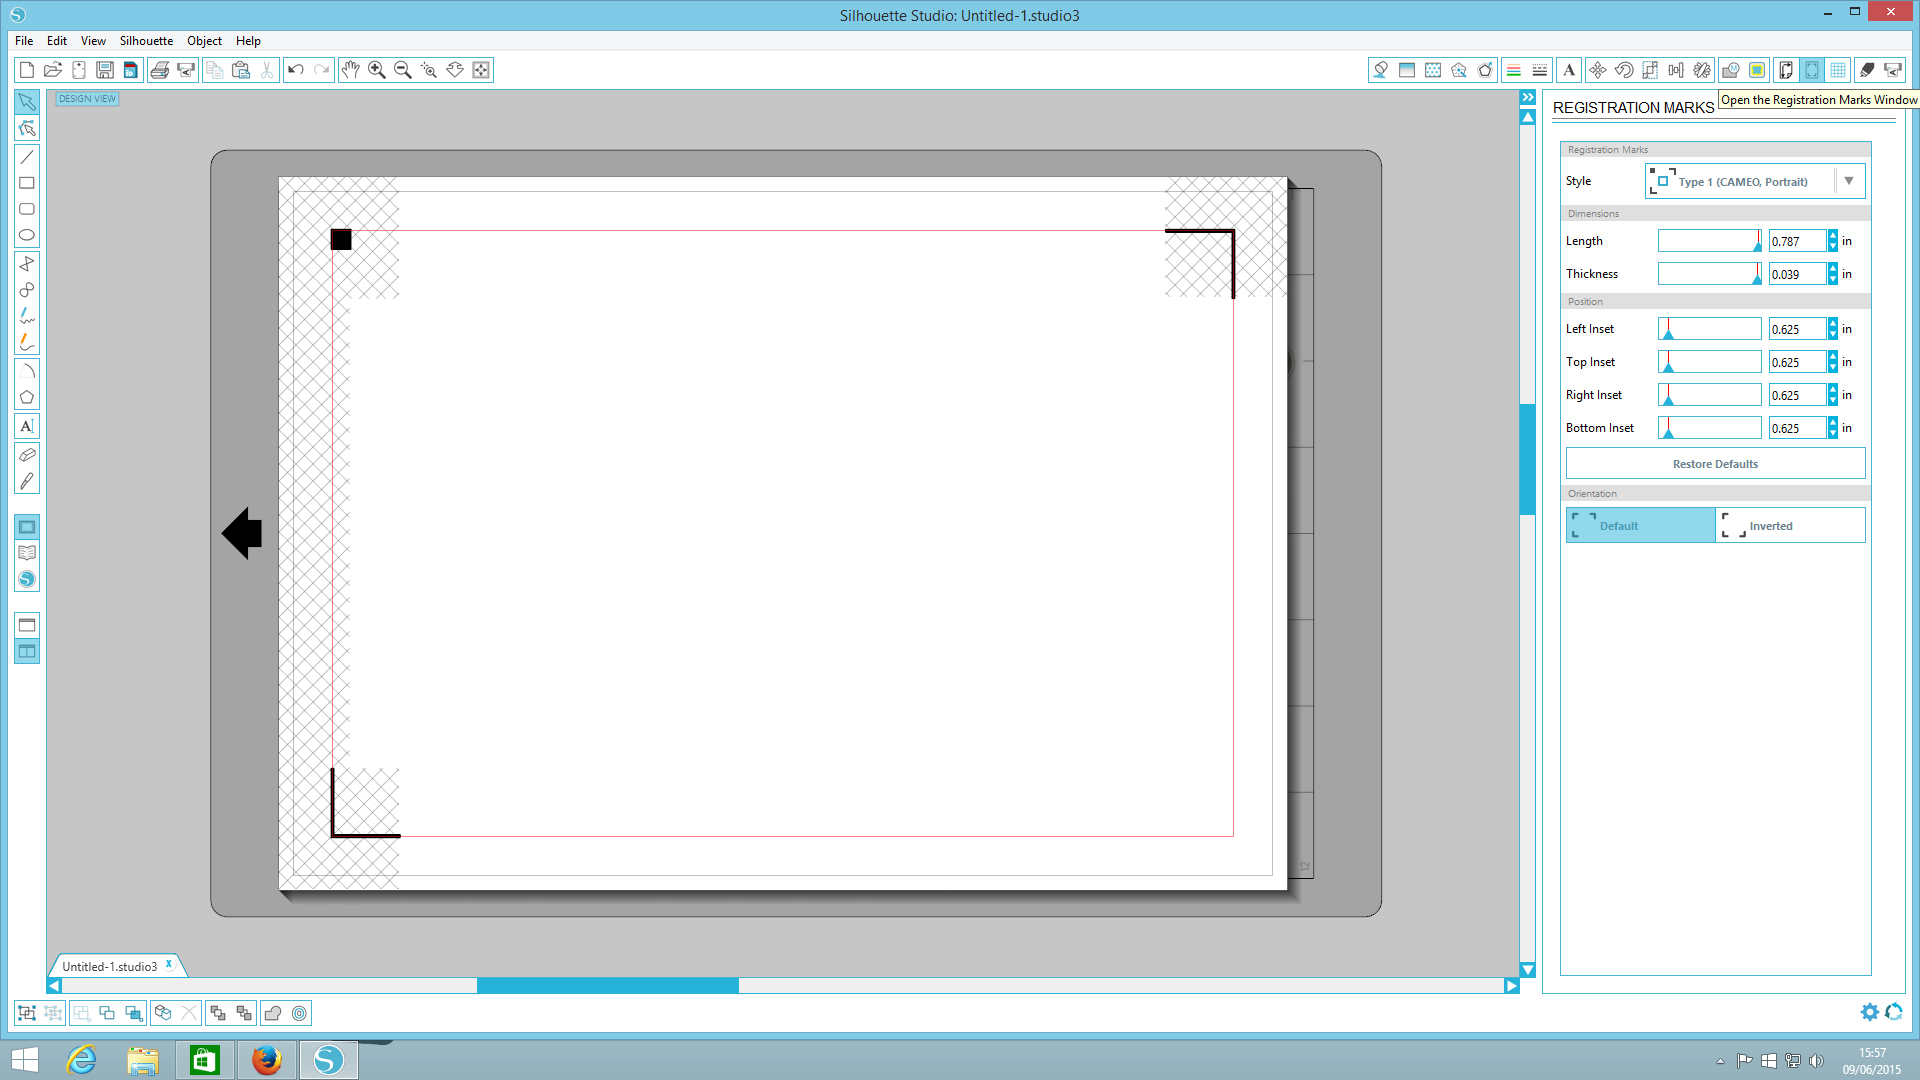
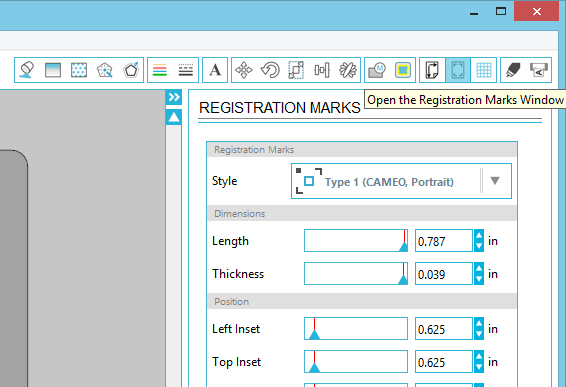
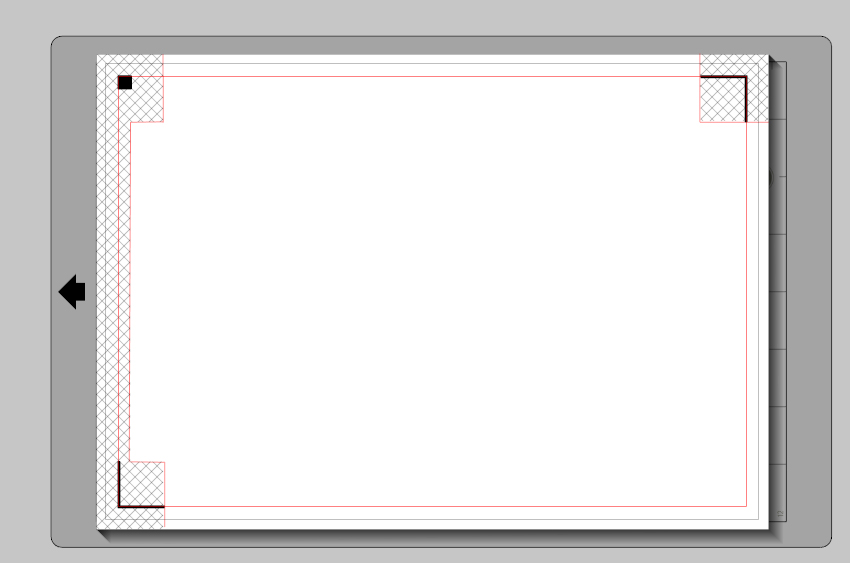
Open a new document in Silhouette Studio. Add the appropriate registration marks for your model of machine using the registration marks tool (fourth icon from right along the top bar) and adjust the inset until you are happy - I prefer a low inset to maximise the cutting area available to me.
Once you are happy, use the line tool to add lines along (but not on top of) the edge of the cross-hatched area (if you use the shift key as you draw you will ensure straight lines). This will allow us to weed out excess label material later without losing our registration marks.
Add Your Image
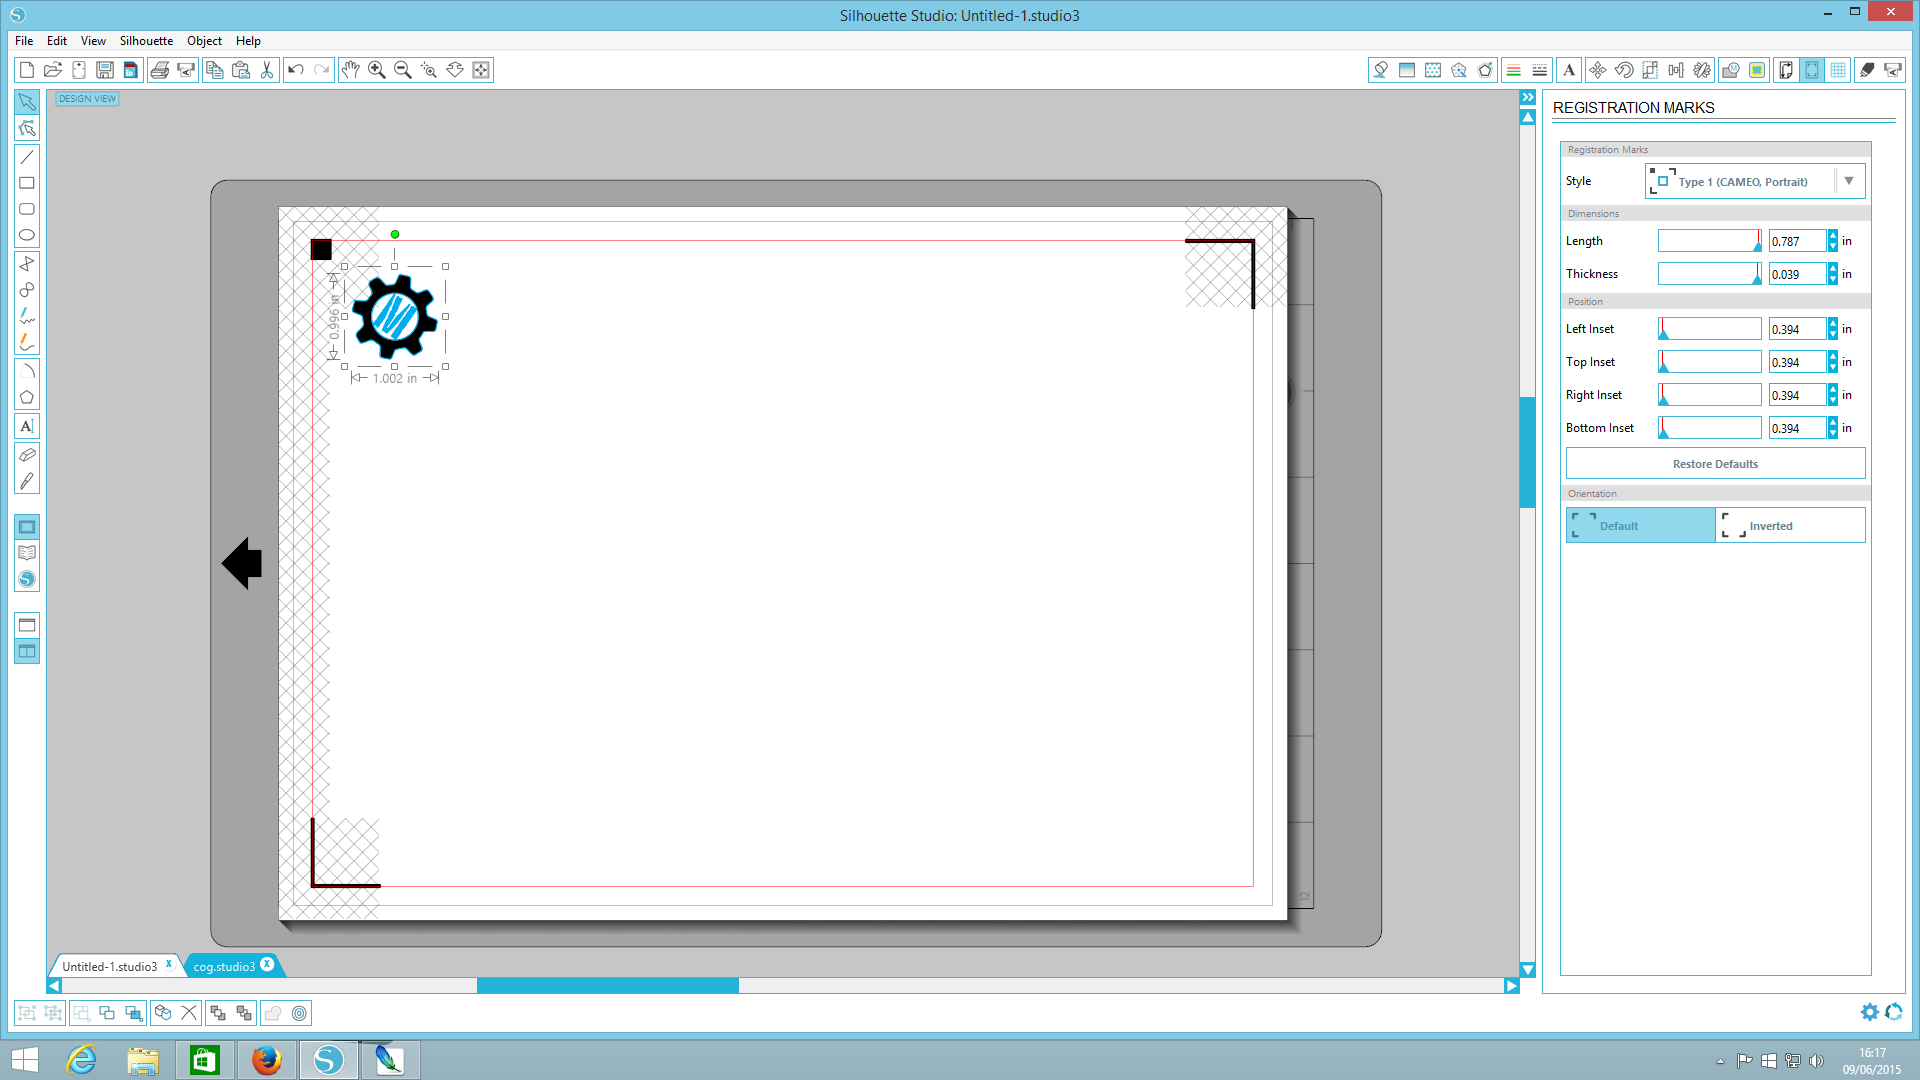
Open your chosen image in Silhouette Studio. It will open in a new document - that's fine, just cut and paste it onto your existing document. While it is selected you can adjust the size if you need to - select one of the corner anchor points and move it in or out until you are happy. Holding shift as you do this will ensure that the image retains the correct proportions and will not distort.
Replicate Your Image
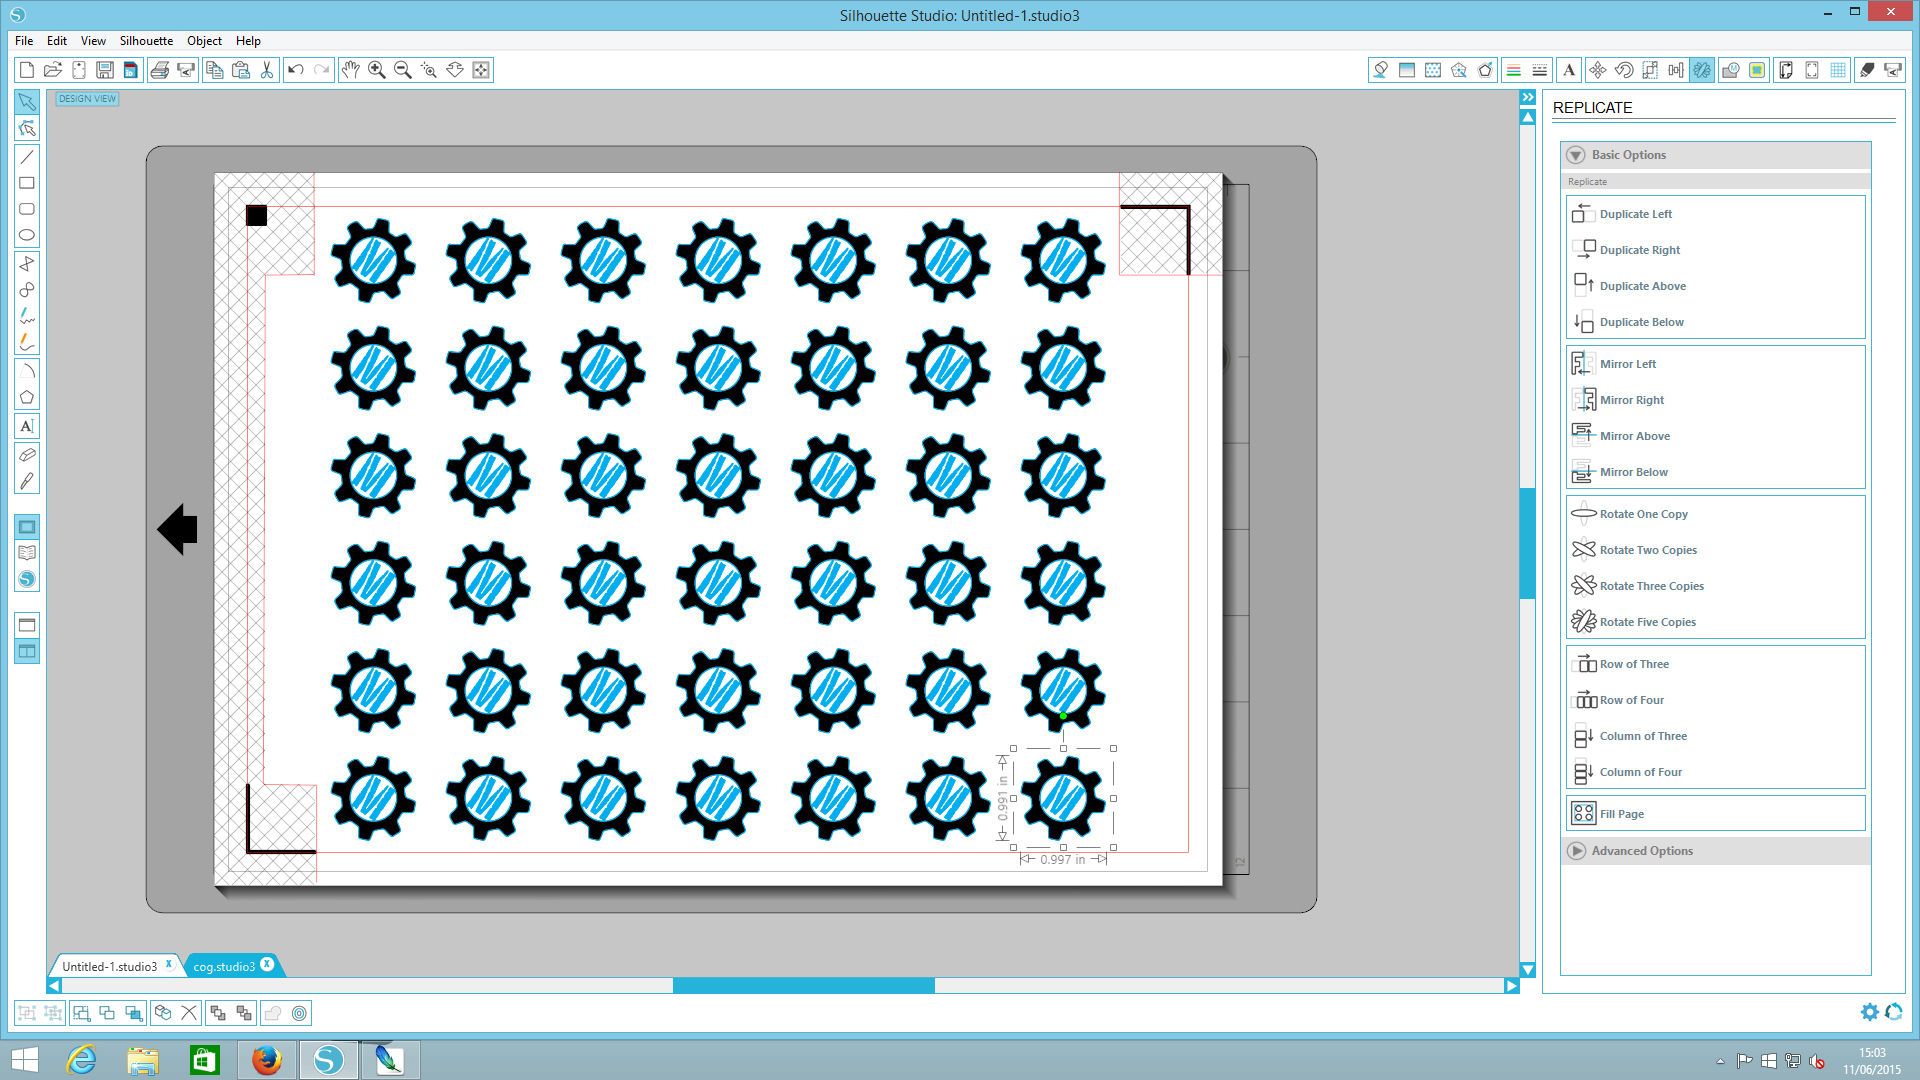
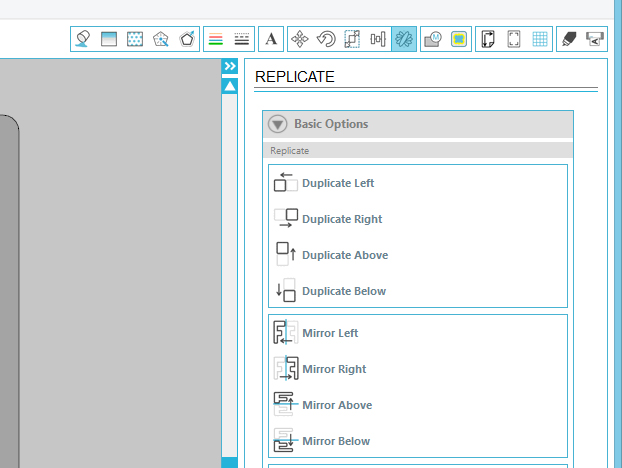
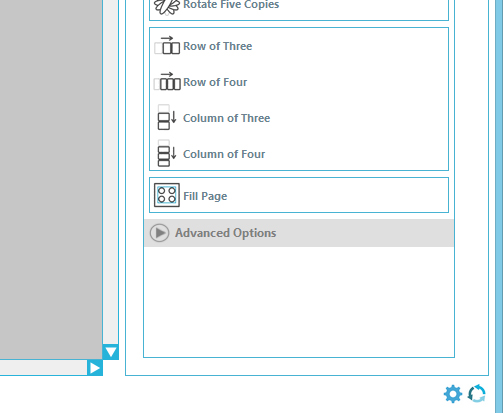
Now if you only want the one sticker, you can ignore this step. But I'm going to assume you want a whole sheet of them. Repeating your image across the page is really easy, Silhouette Studio has a tool that will do it for you.
Select the replicate tool from the top right-hand bar then choose fill page from basic options. If any of the images go out of the print area (bounded by a red line) or encroach into the cross-hatched area around the registration marks, you will need to delete these.
Create Cut Marks
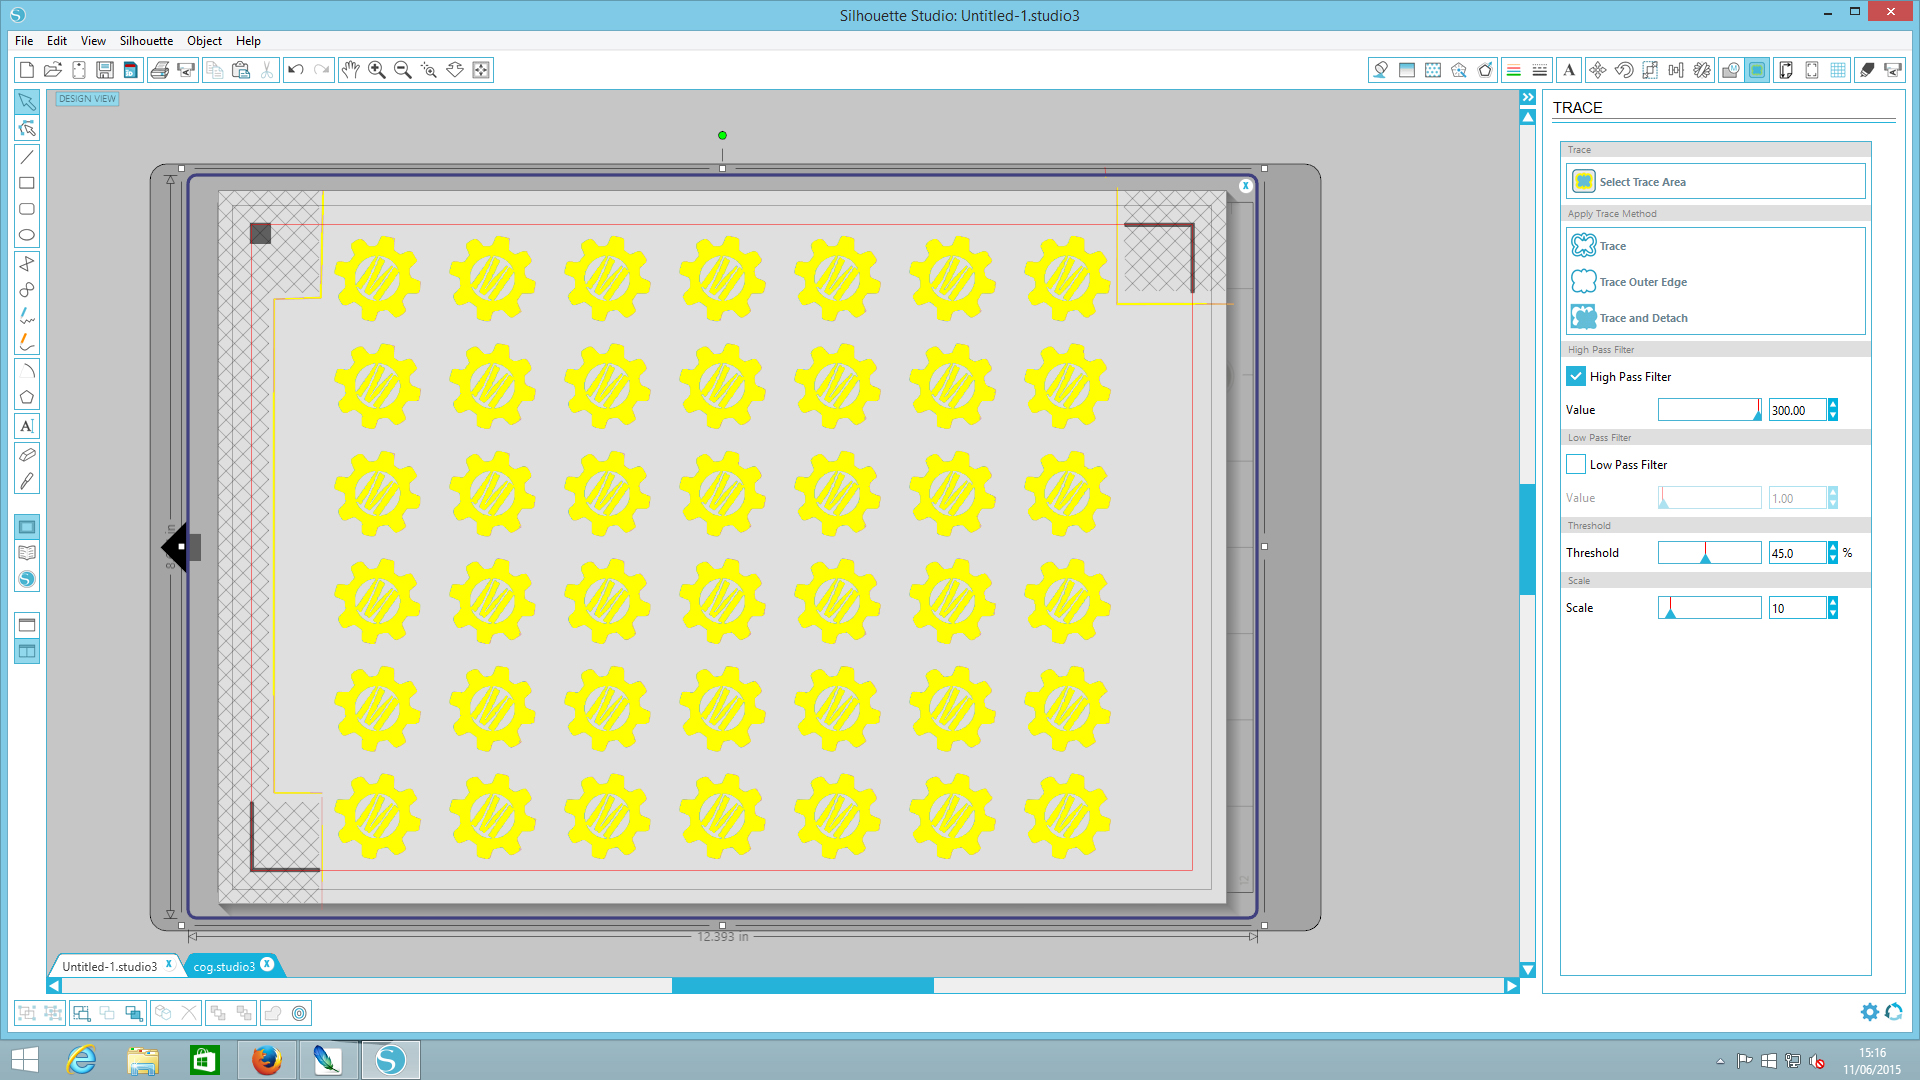
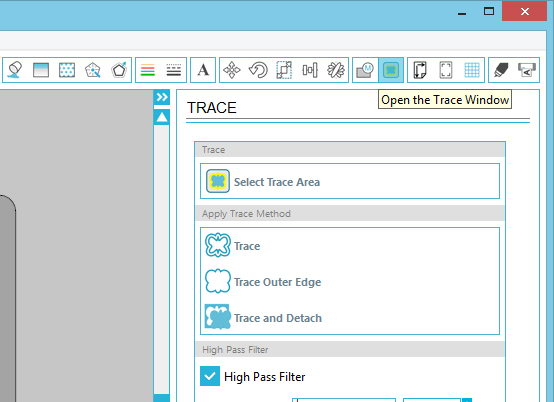
Select the trace tool, then select trace area. Make sure that your selection area covers the entire document.
If your image does not turn completely yellow, increase the high pass filter bar until all of your image turns yellow, but not so high that it starts to cover the surrounding area. Also double check that the lines you drew around the registration mark area turn yellow - if any of them don't, you drew them too close and will need to redraw them a little further out.
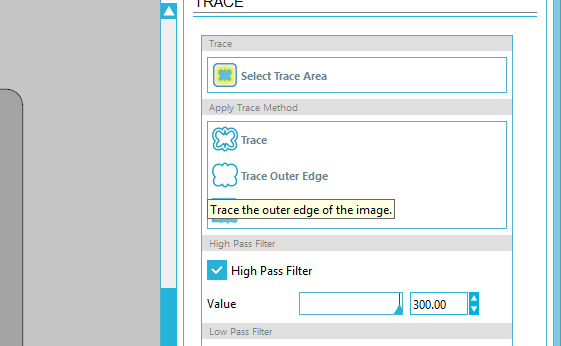
When you are happy, select trace outer edge. If you flick over to view with cut lines (the little triangles at the top of the extended pane) you will see thick red lines where the Silhouette will cut.
Print and Cut Your Stickers!
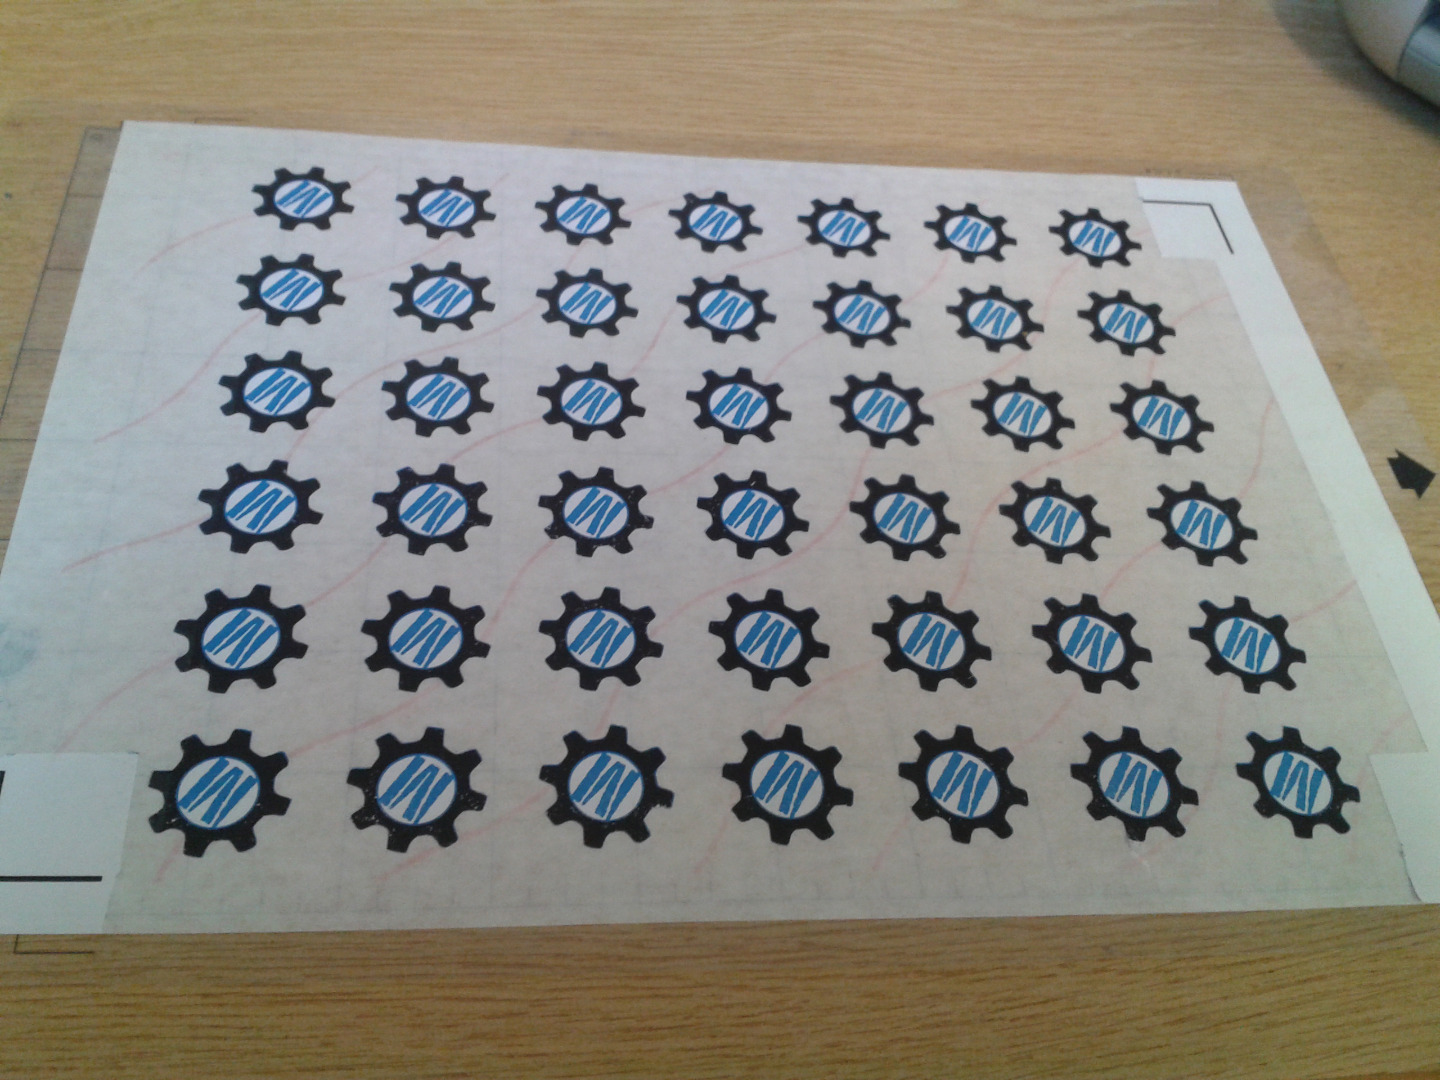
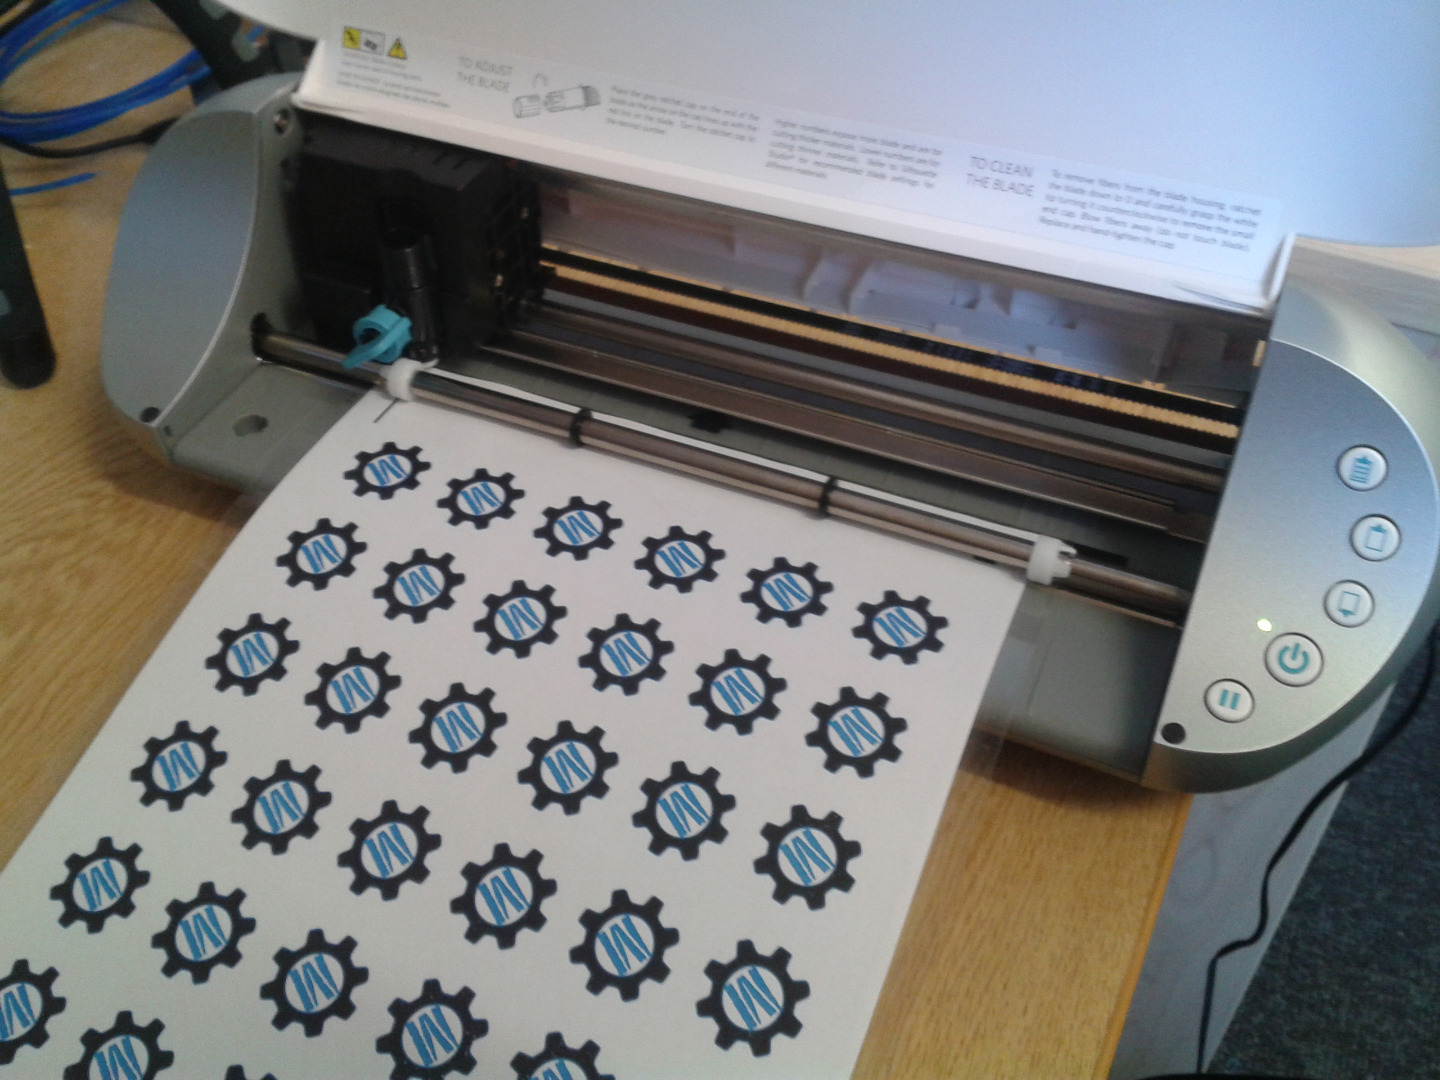
Print your stickers using an inkjet or laser printer, depending on your labels and what printer you have available. You can do this by clicking the printer icon in the top bar, or by selecting file then print. Don't forget to set the printer for label printing! I forgot to take a photo of them printing... but we all know what a printer looks like, right?
Once you have printed them, the fun starts! Carefully lay your printed sheet on the Silhouette cutting mat, being careful to line it up within the markings. Gently press it down on the mat and load it into the Silhouette cutter (be sure to press the top button to load cutting mat, not the one just below which is designed to load vinyl). Click on send to Silhouette in the top right hand of the screen, double check your blade set up on the ratchet cap*, and click to start cutting. You will see the Silhouette check the registration before it begins to cut around your graphics.
* I actually always set my blade one number lower on the ratchet cap than the Silhouette software suggests, because I find that my machine consistently cuts too deep. As well as the official Silhouette ratchet cap, I have a replaceable blade holder that I find gives me far more flexibility. Our goal here is to 'kiss cut', that is, cut the top sticky layer without cutting through the backing layer, so err on the side of caution!
Weed Your Sticker Sheet and Top With Vinyl
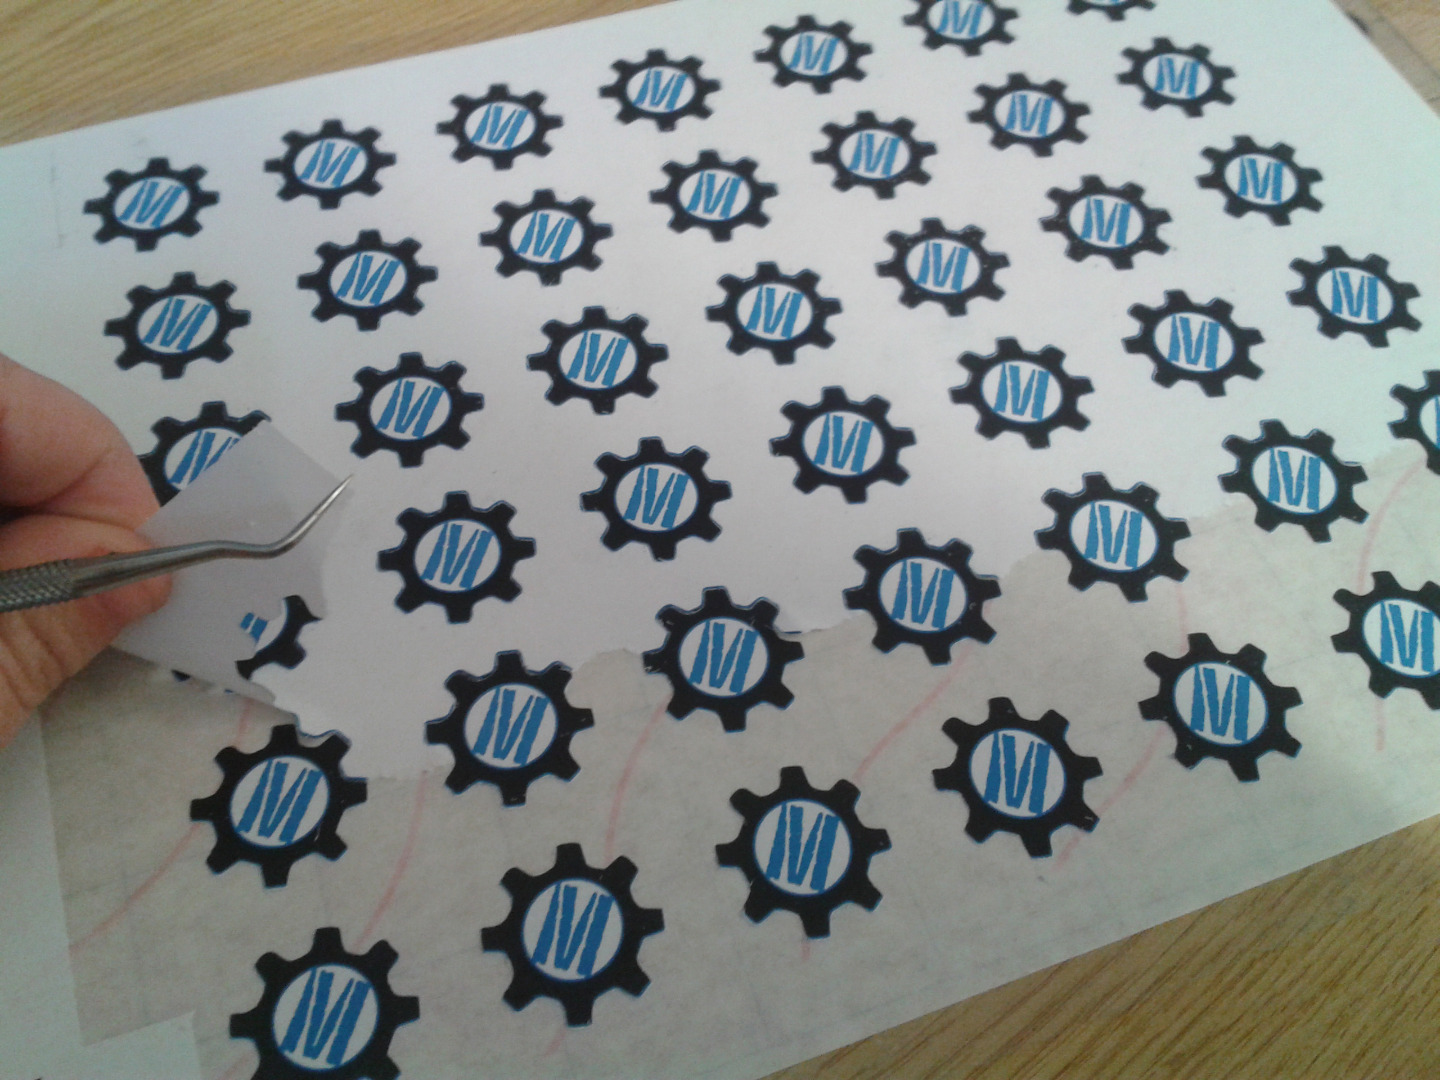
Once your stickers have cut out, carefully weed out the excess sticker material from around your stickers, without dislodging the registration area, backing paper, or the stickers themselves if possible. The Silhouette will not cut to the edge of the sheet, so to retain the registration marks you will have to cut or tear the edge of the sticker paper just a little.
Once you have done this, carefully lay your vinyl over the top of the stickers, avoiding the registration area (as the reflection can interfere with the optical tool). I didn't get a photo of this as it's a little tricky to do, but my advice - start in one corner, go slow, and use a credit card or similar to gently push the vinyl out as it detaches from the backing, in order to avoid air bubbles.
Offset-cut the Vinyl
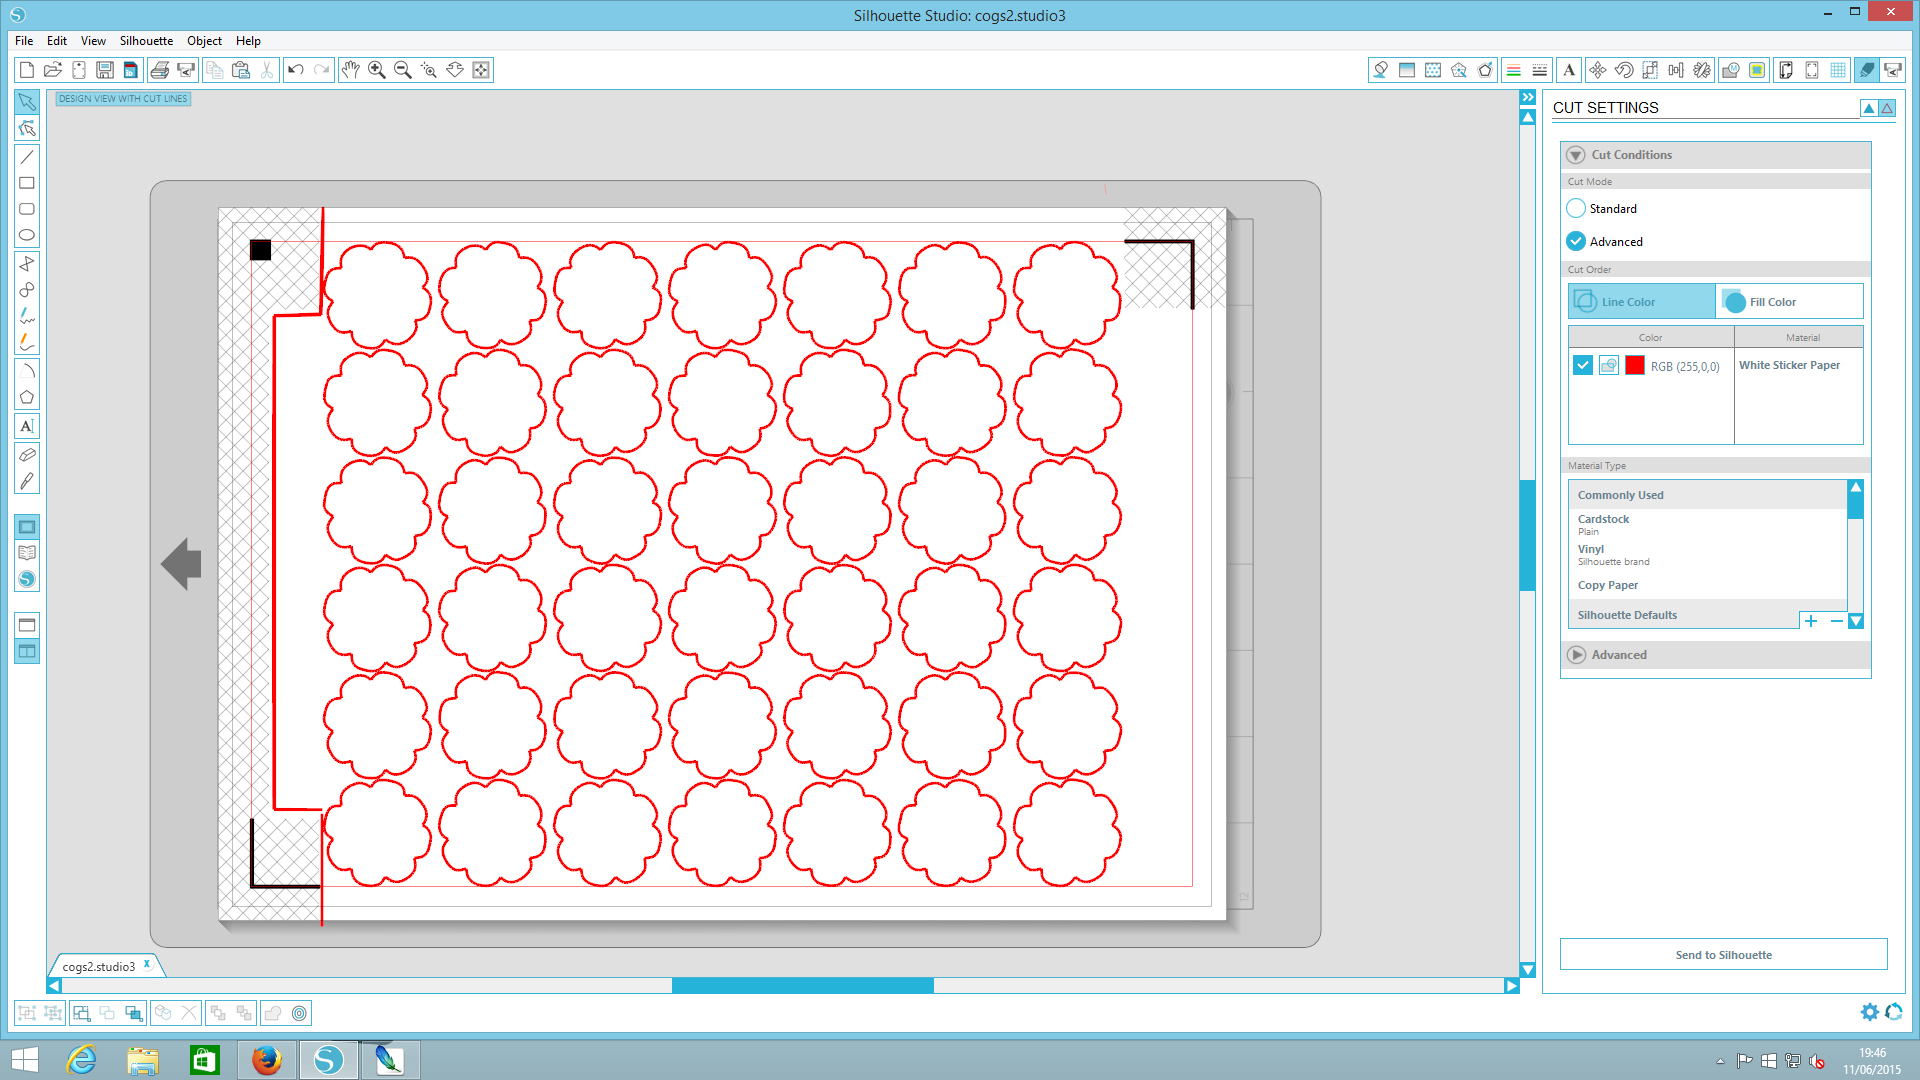
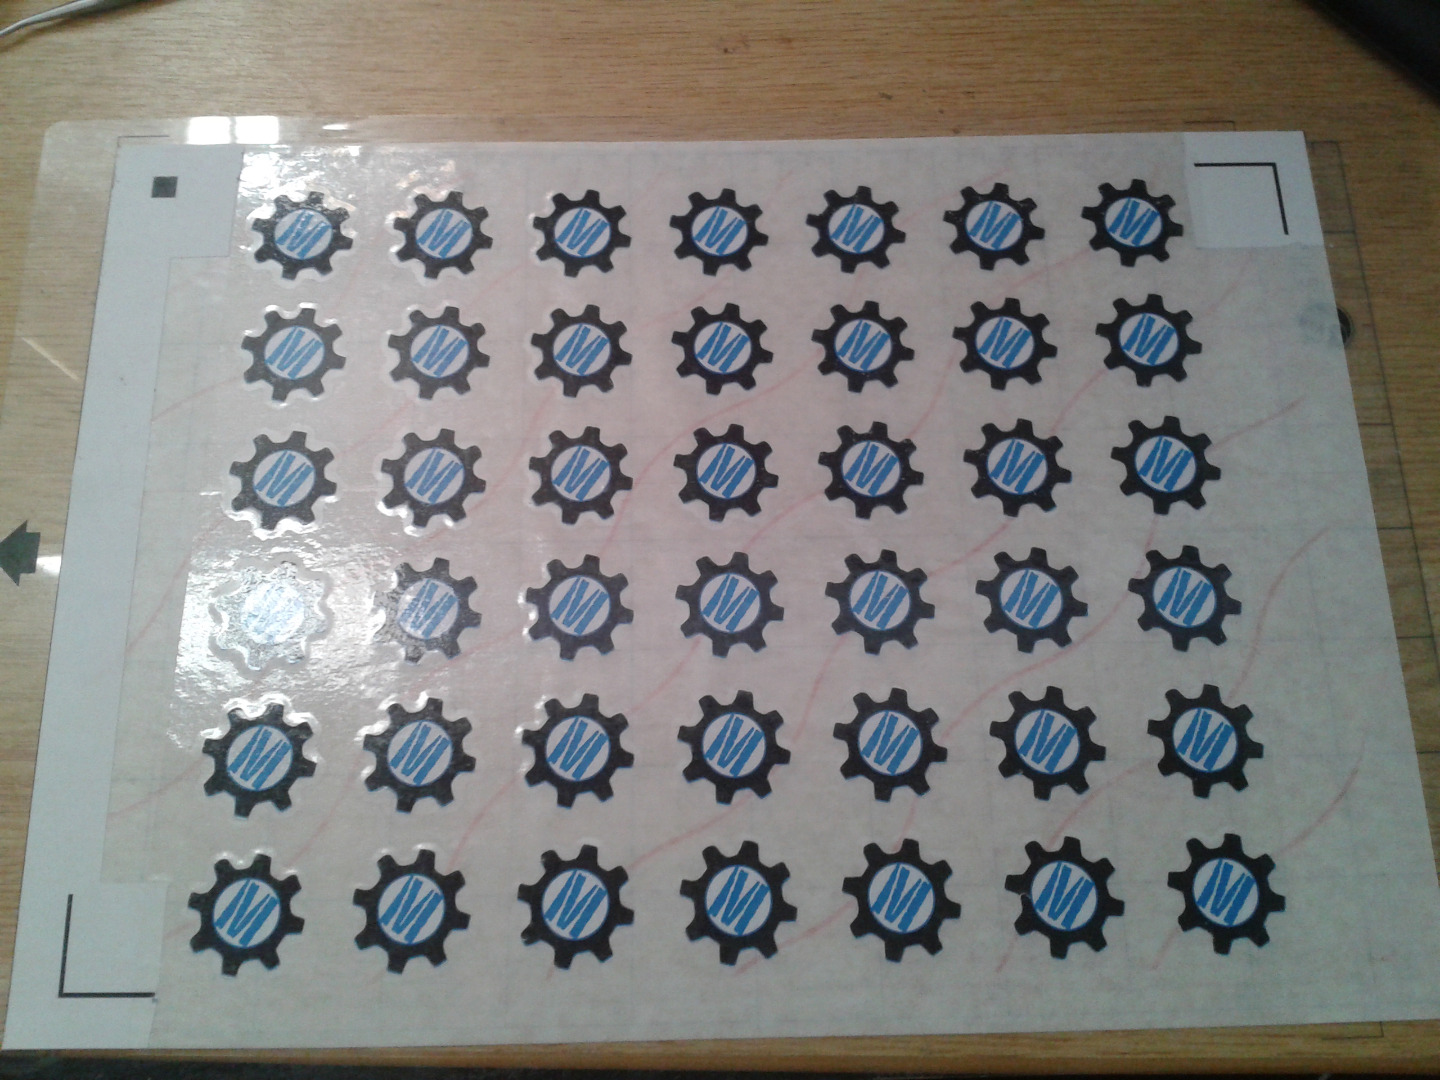
Now that your stickers are covered in vinyl, it is time to cut them. I found that simply cutting around the shape again was not ideal, as over time the vinyl starts to delaminate away from the sticker. Adding a little border of clear vinyl wears far better, and looks pretty awesome too!
To do this, highlight one of your images and select offset. It's the last button to the right at the bottom of the screen area. Once you have done this, the extended pane will give you the option to increase or decrease the offset area. Tweak it a little to see what you like then press apply. If all of your images are the same, it will do the same for all of them.
Then, you need to delete the cut marks that you have already used. The easiest way to do this is to delete the graphic itself, then select the cut mark and delete that. I haven't found any easier way to do this yet - if you know of on please tell me!
Cut the Vinyl and Get Sticking!
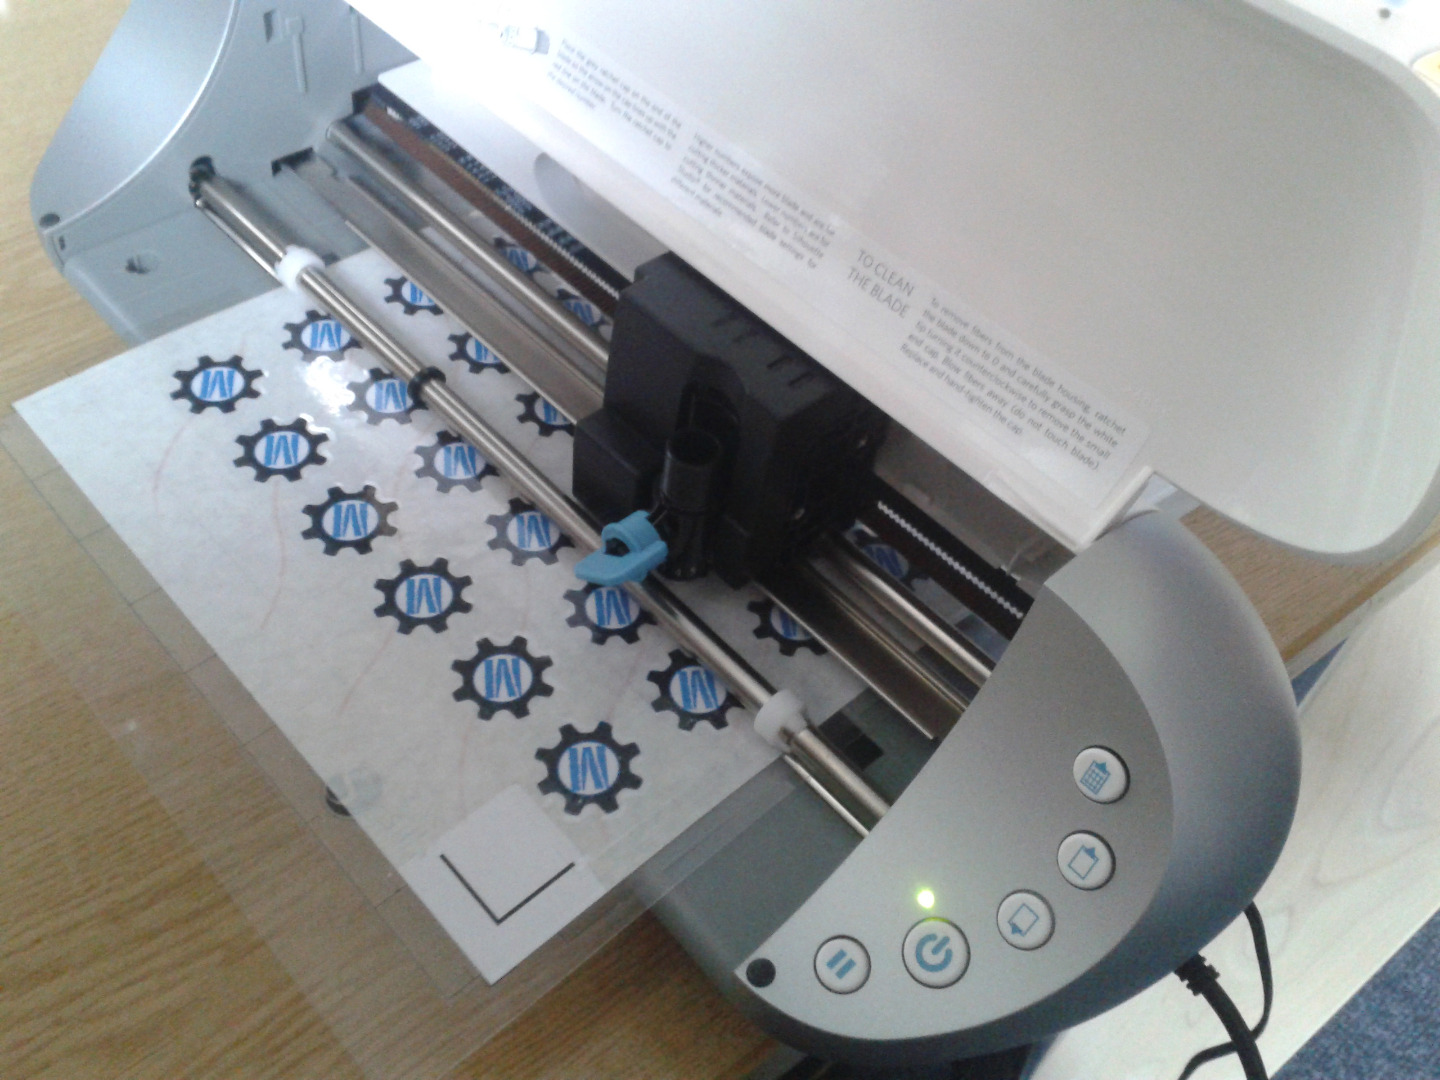
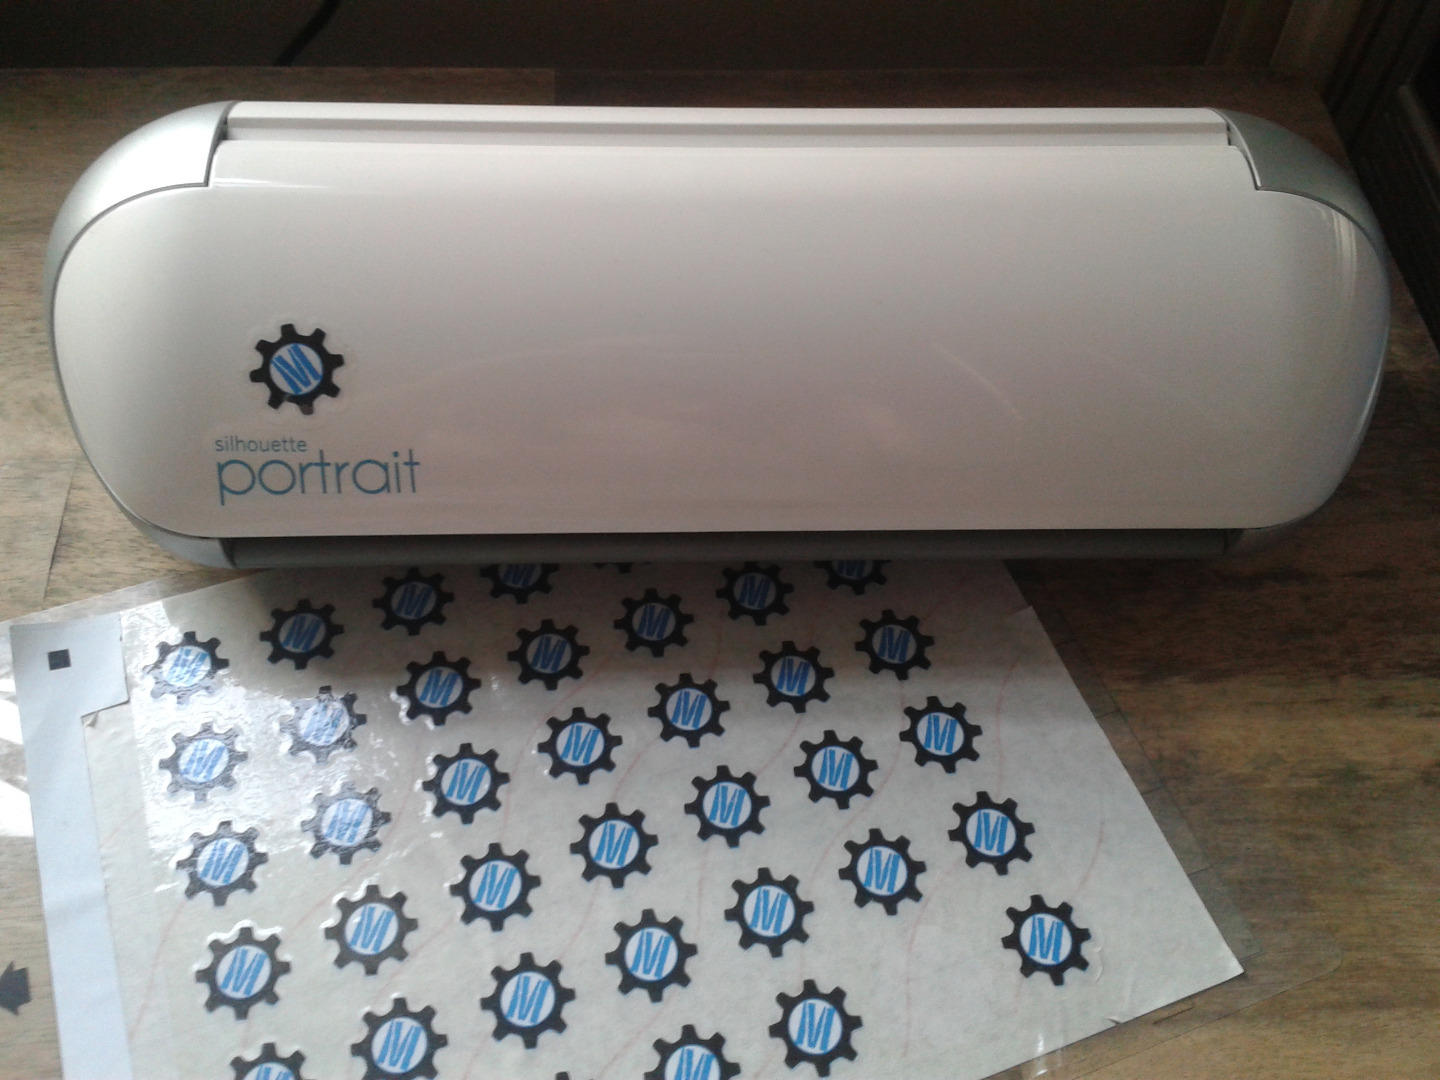
Repeat the cutting process using your new set of lines to cut around the outside of the vinyl. You should end up with awesome vinyl-covered stickers that look great and will brighten up anything you stick them to!