Vinyl Printed T-shirts
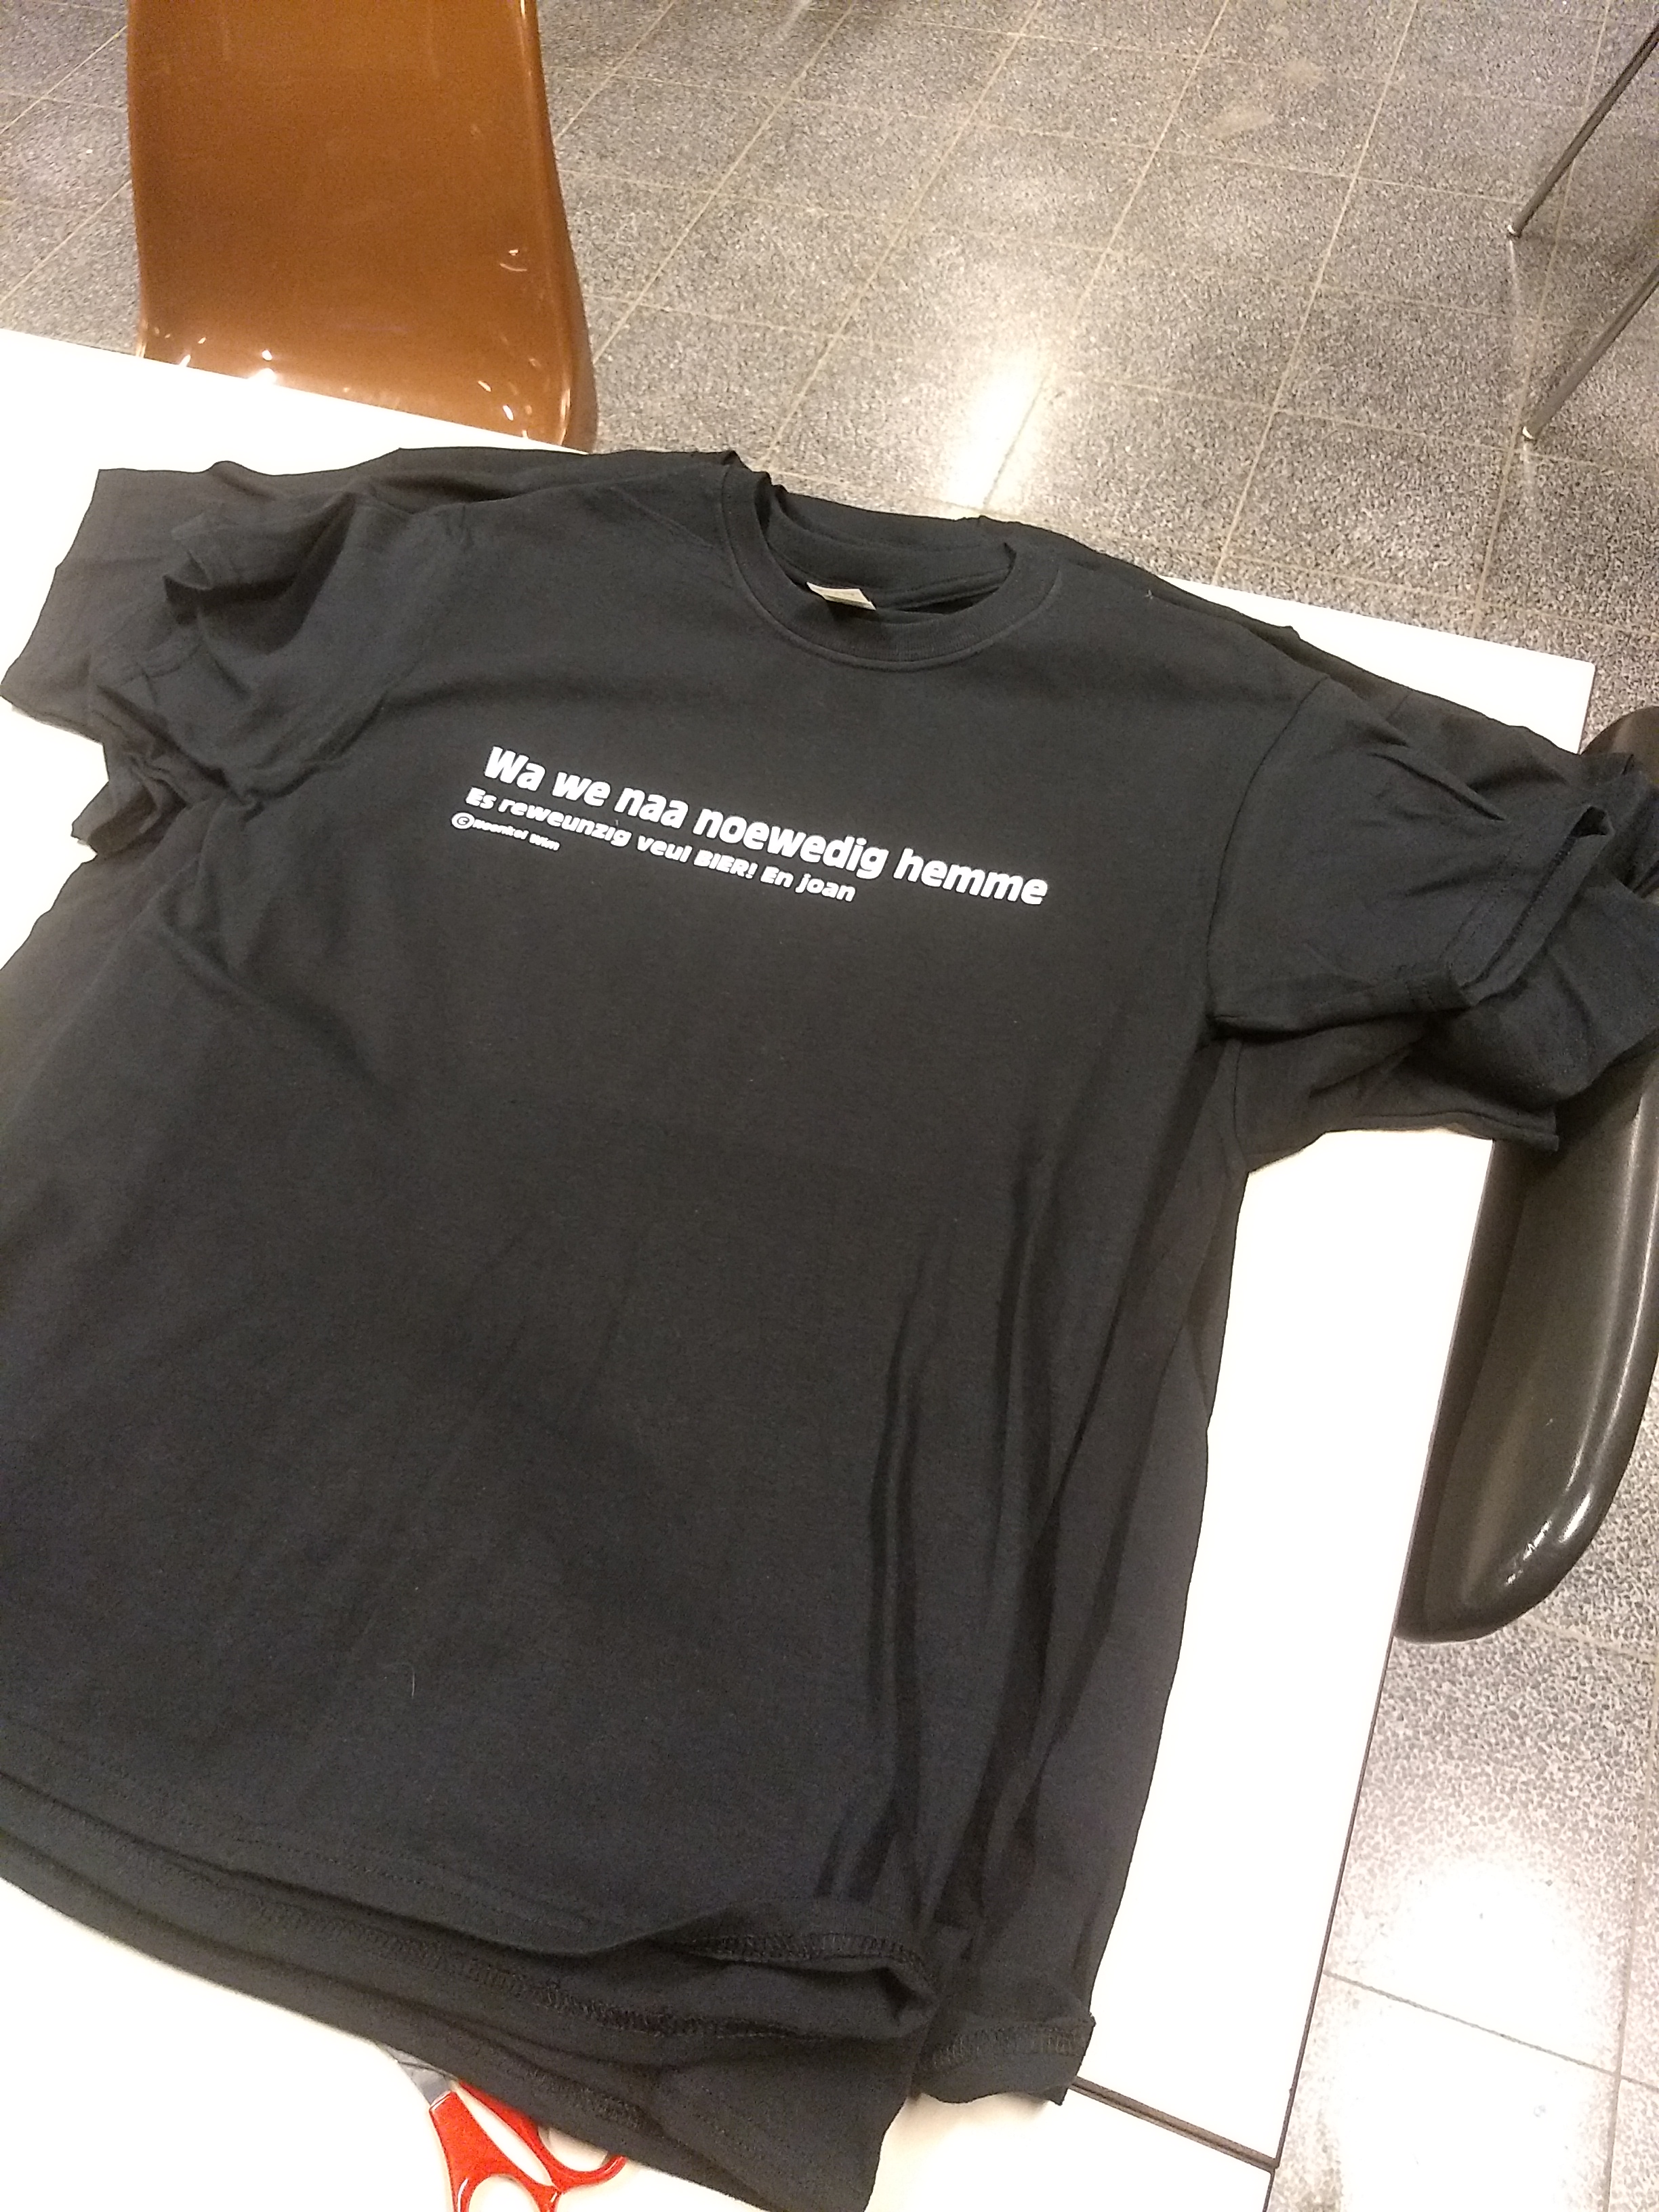
The idea is to make short instructable for putting a text on a tshirt via a heatpress and vinyl foil for an event.
Supplies
see next step for supplies
Preparation
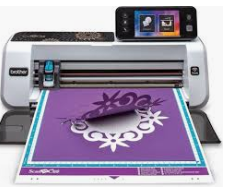
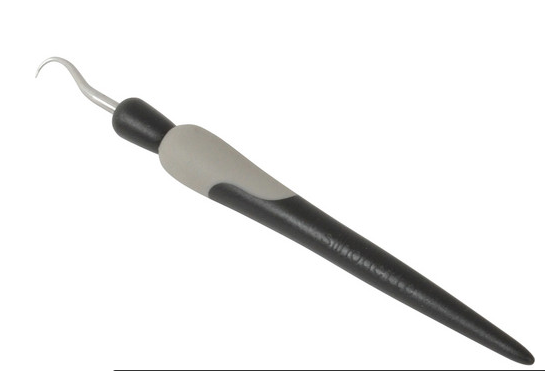
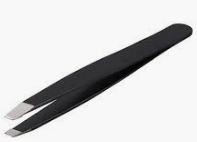
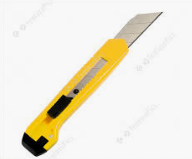
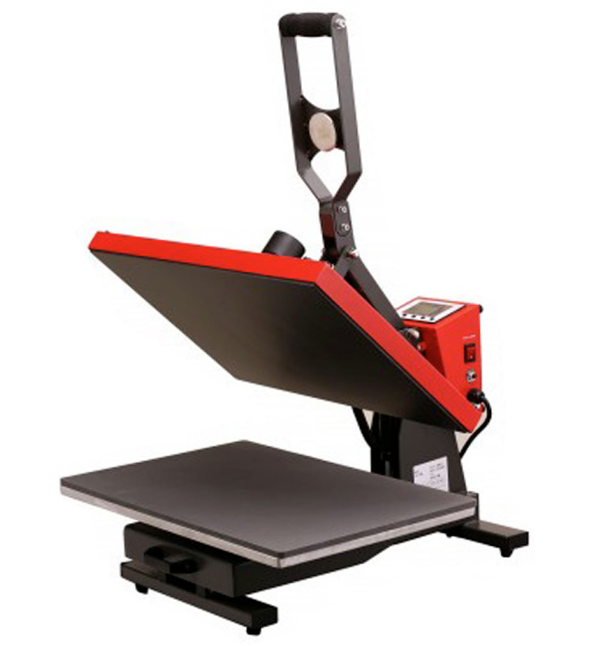
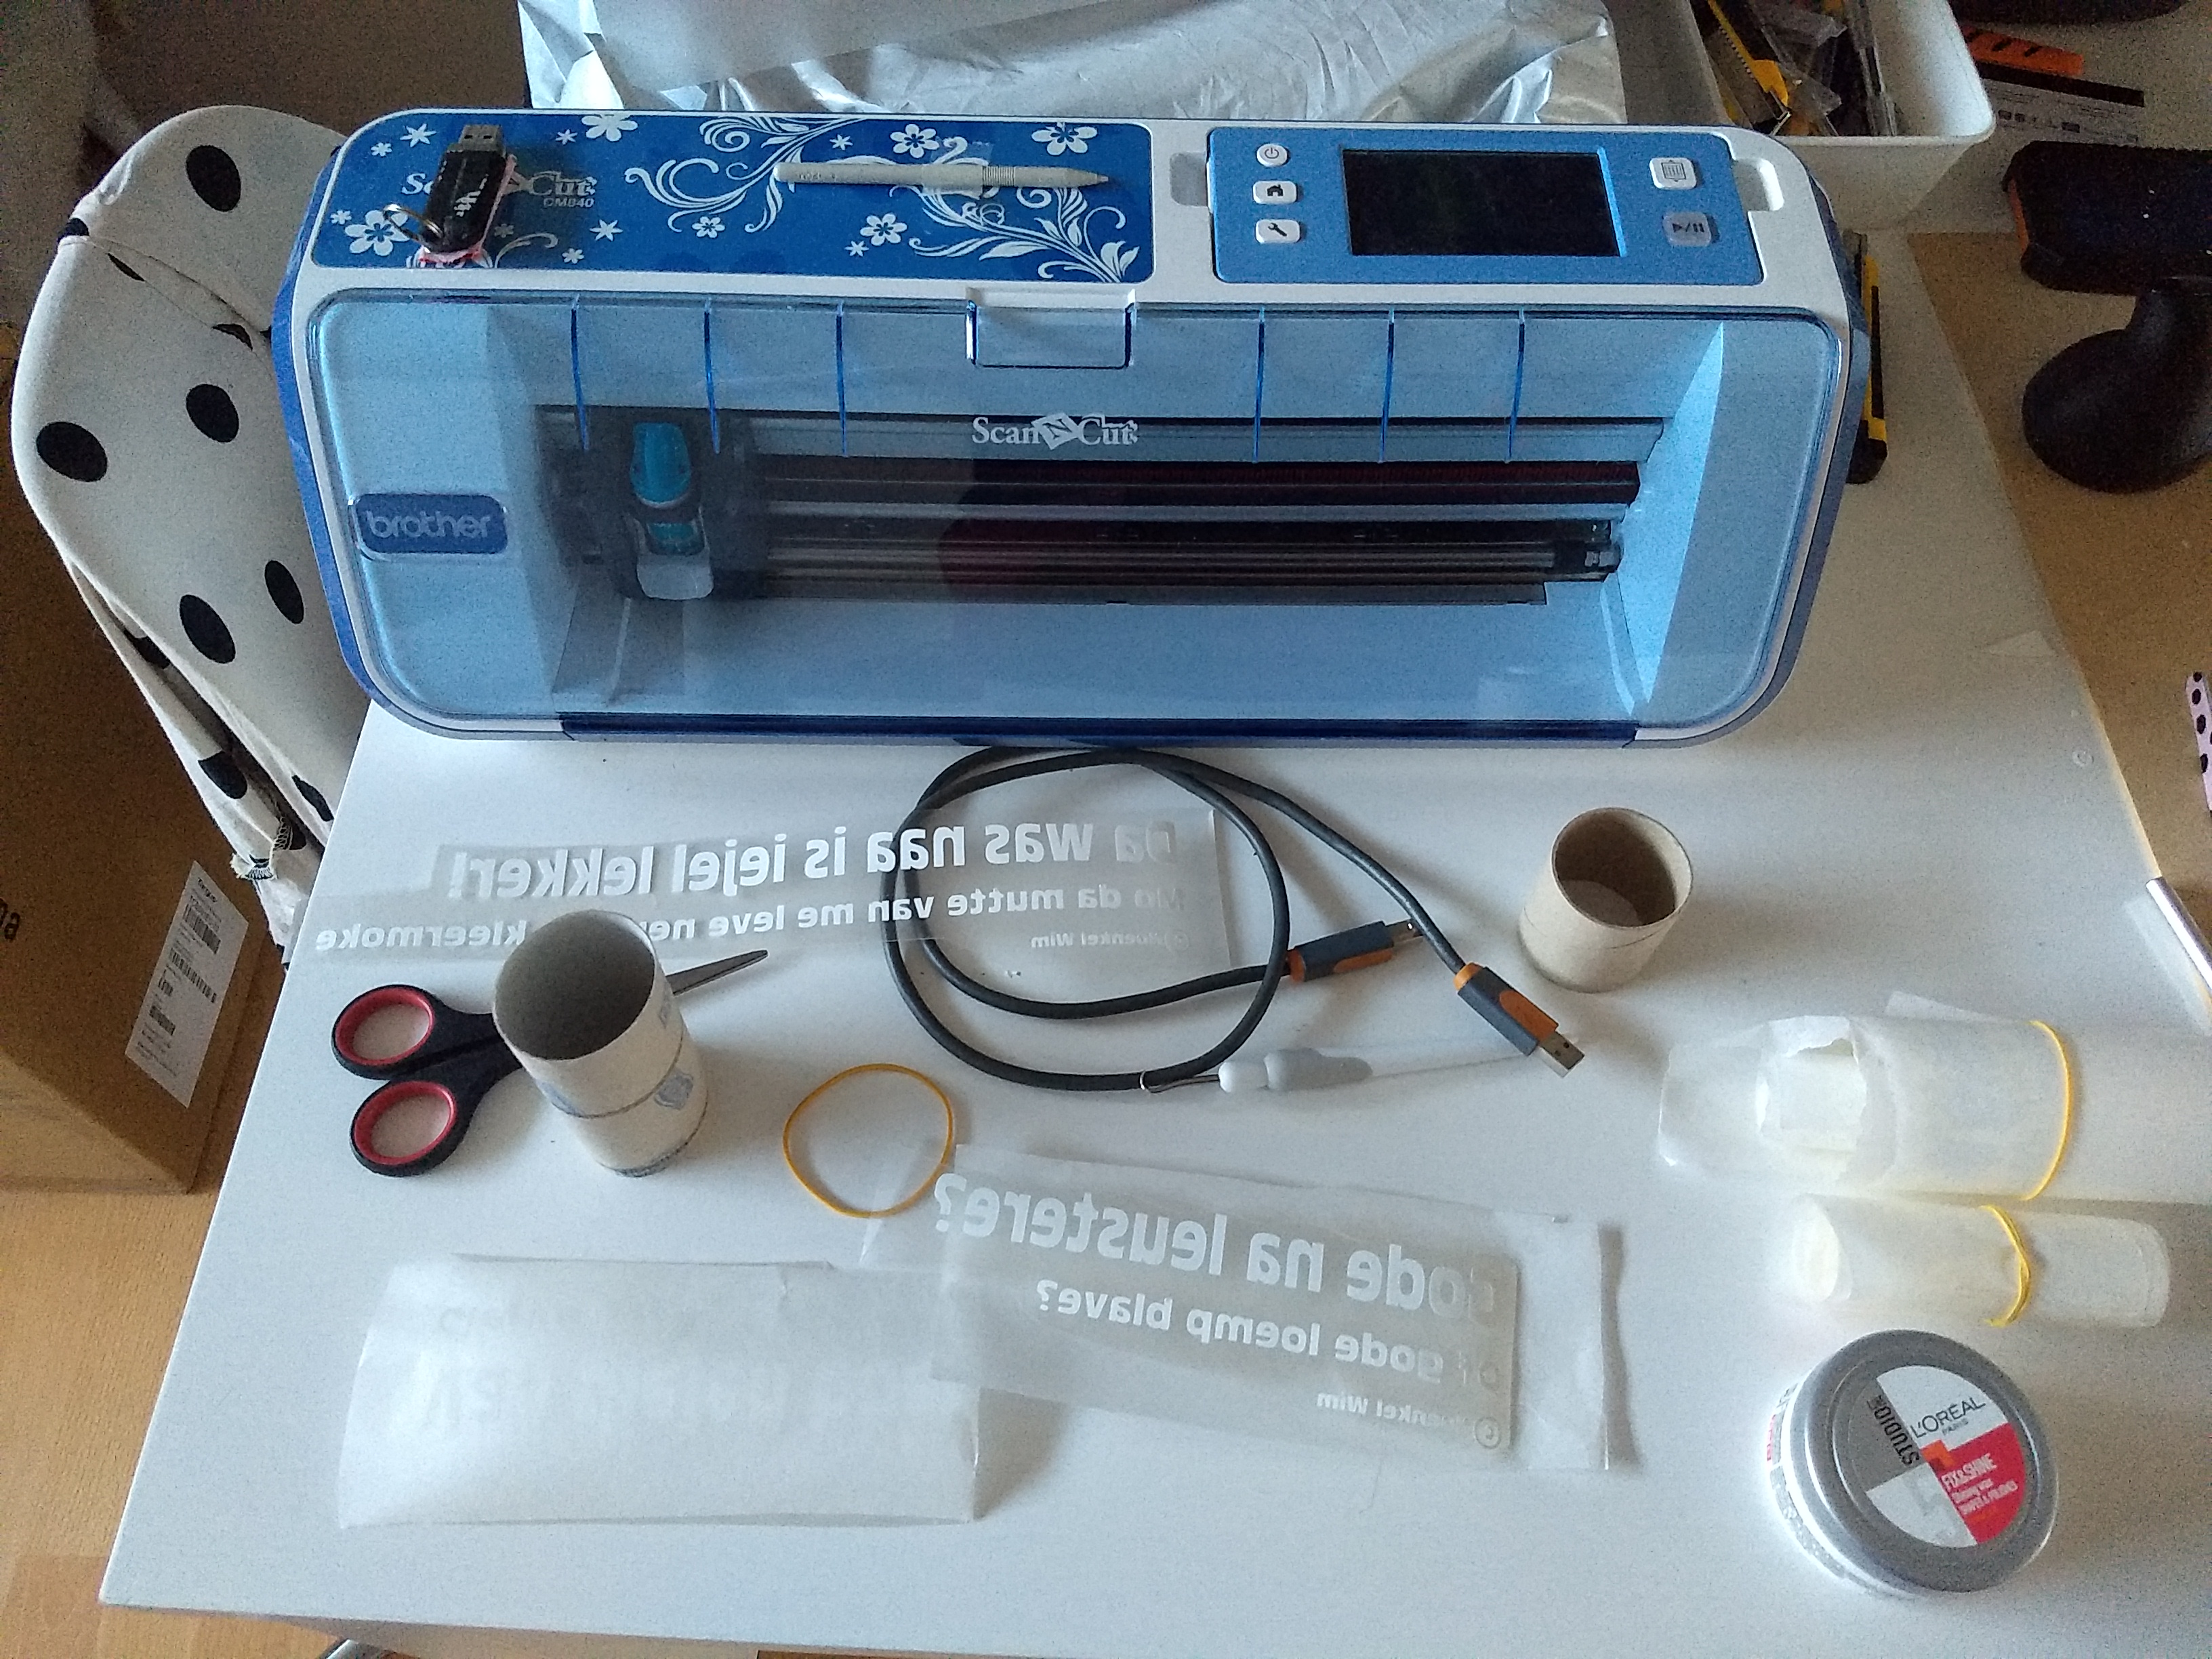
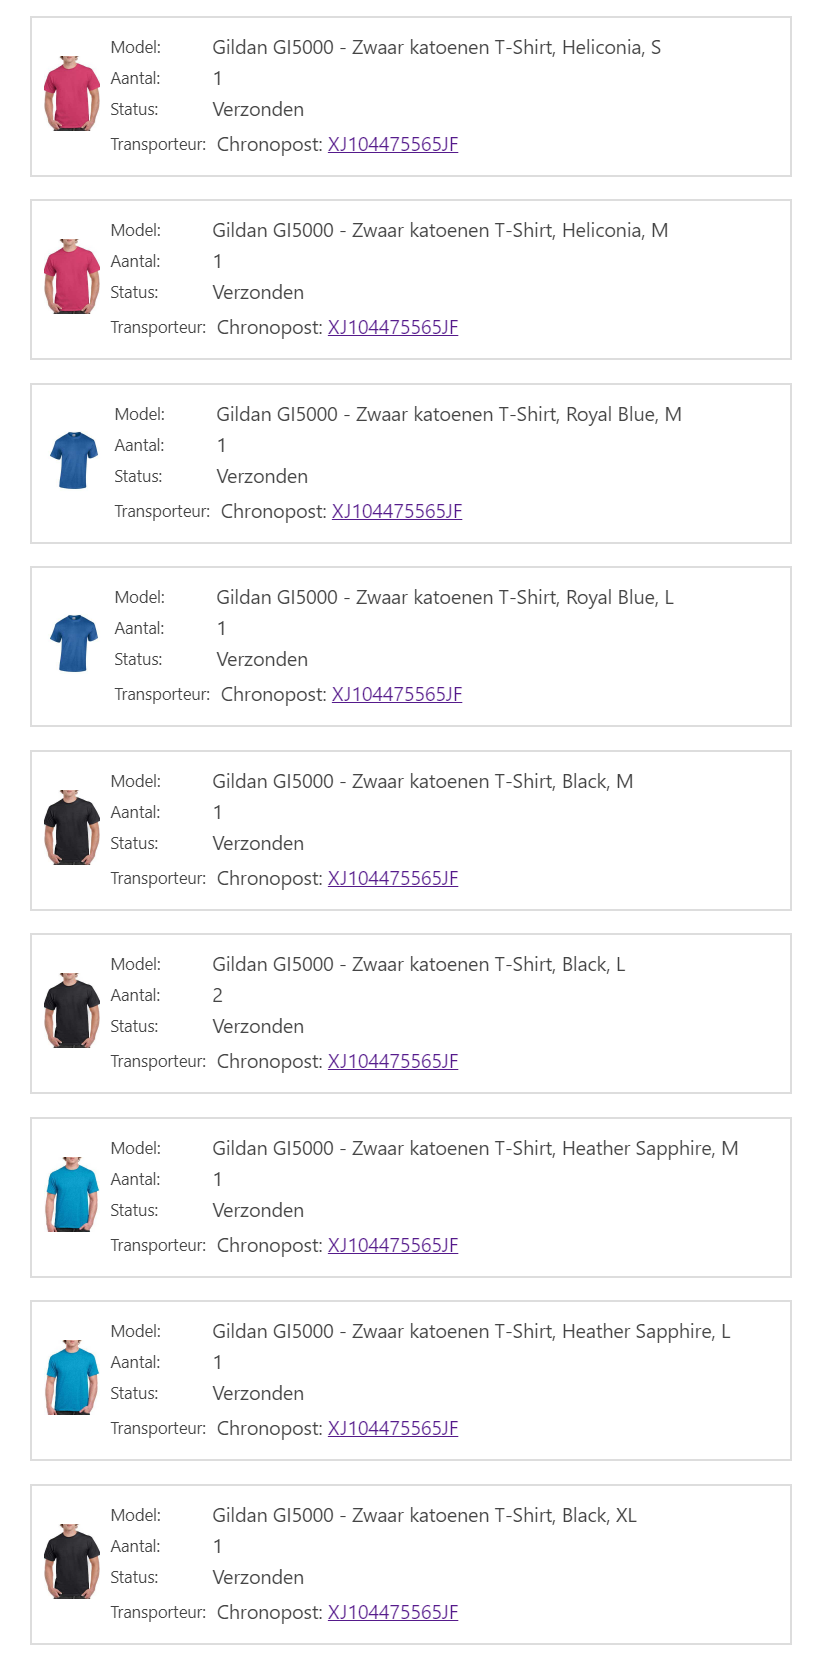
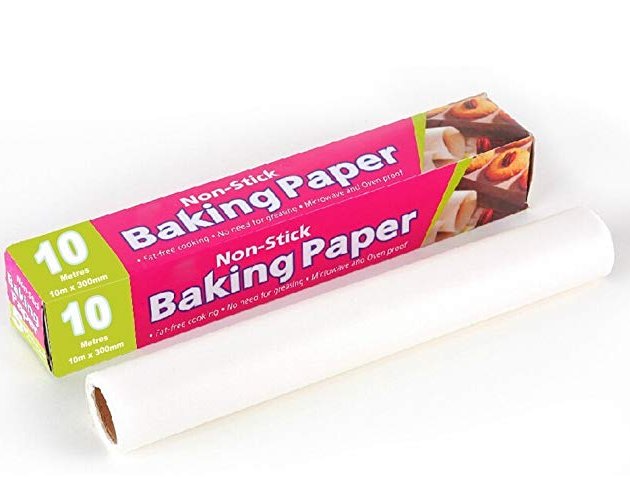
Requirements:
- vinyl foil
- tweezers
- small metal hook is also handy
- box cutter
- heat press
- baking paper
- T-shirts
- inspiration
Design the T-shirt
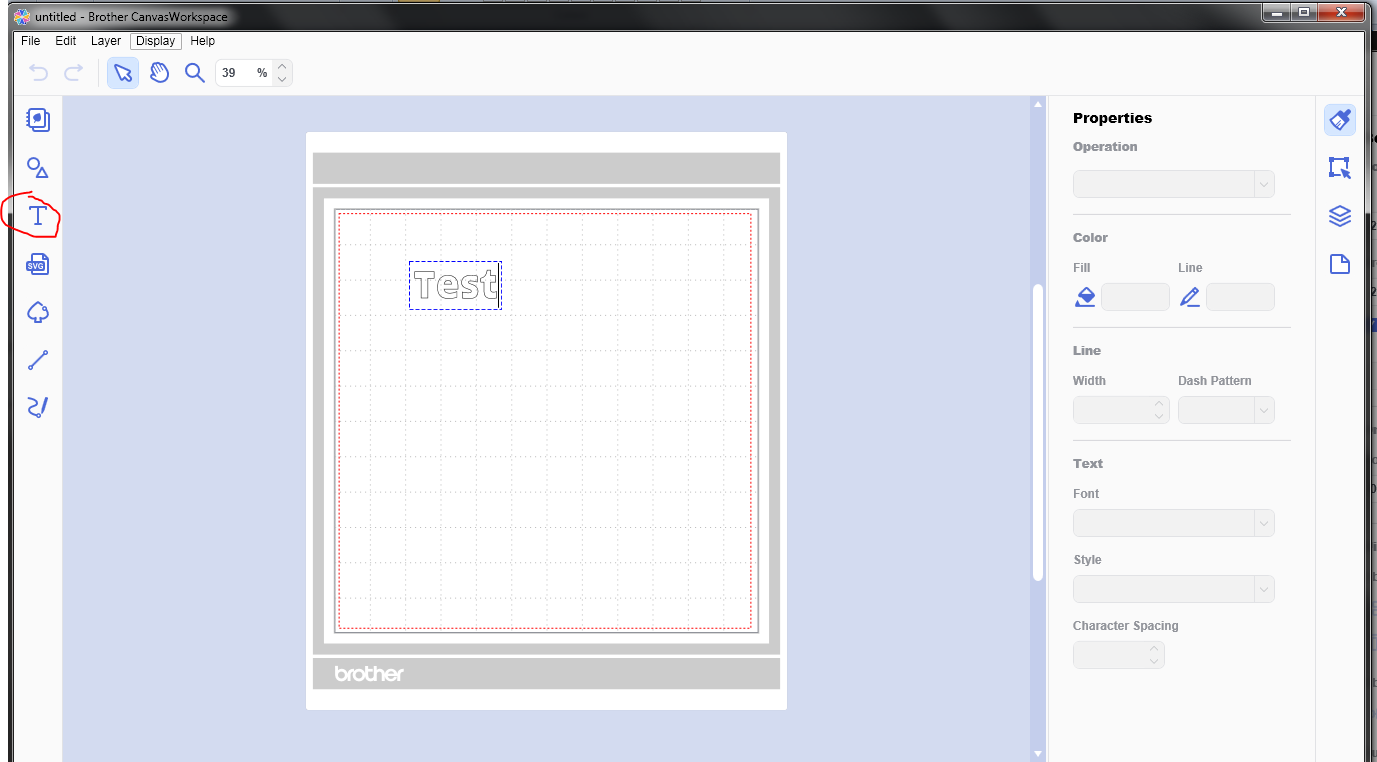
Make a design or text that you want to have on the T-shirt/sweater in Brother Canvas software for mechanical cutout by a cutting machine.
The standard size of a cutting mat is 305x305mm
Before You Cut..
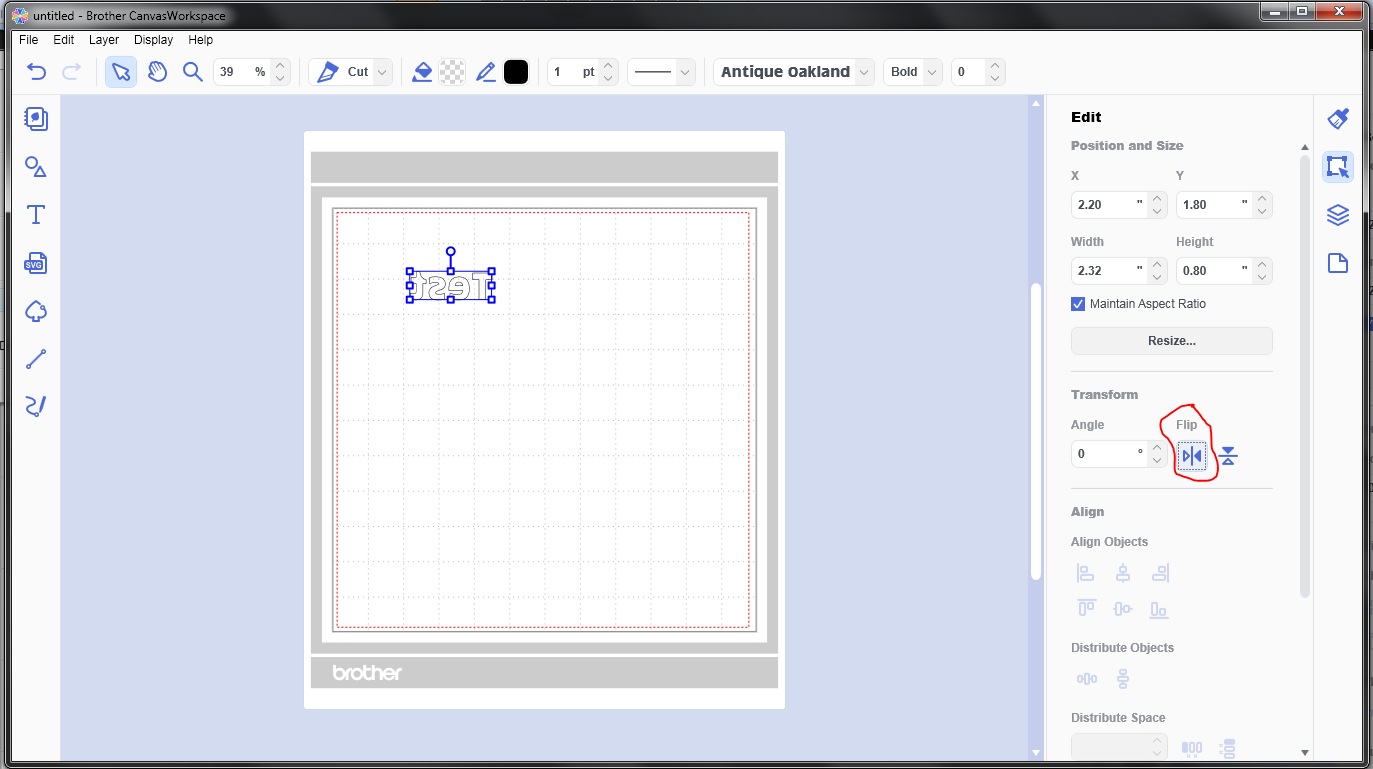
If the design is made, you have to mirror it (horizontally) because you cut on the backside of the vinyl foil.
Export the Design to the Machine
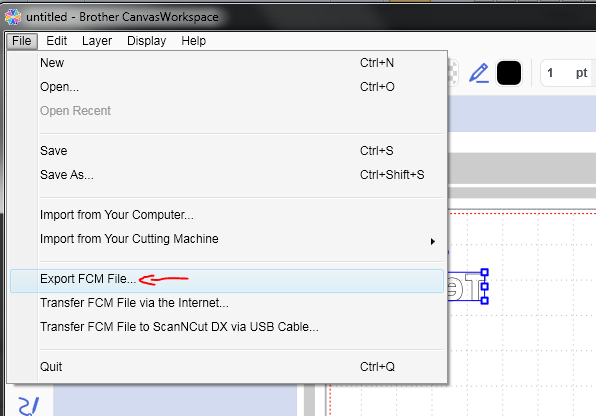
Either you can do this with an usb stick or via usb cable if the Brother Scan 'n Cut supports it.
Import the Design in the Machine
Load the file from the usb stick or from the internal memory of the scan cut and do a quick visual check if all text is mirrored and is properly scaled.
--> If necessary you can still adjust the size and position on the LCD of the scan cut machine
A few designs in attachment below.
Cutting Vinyl
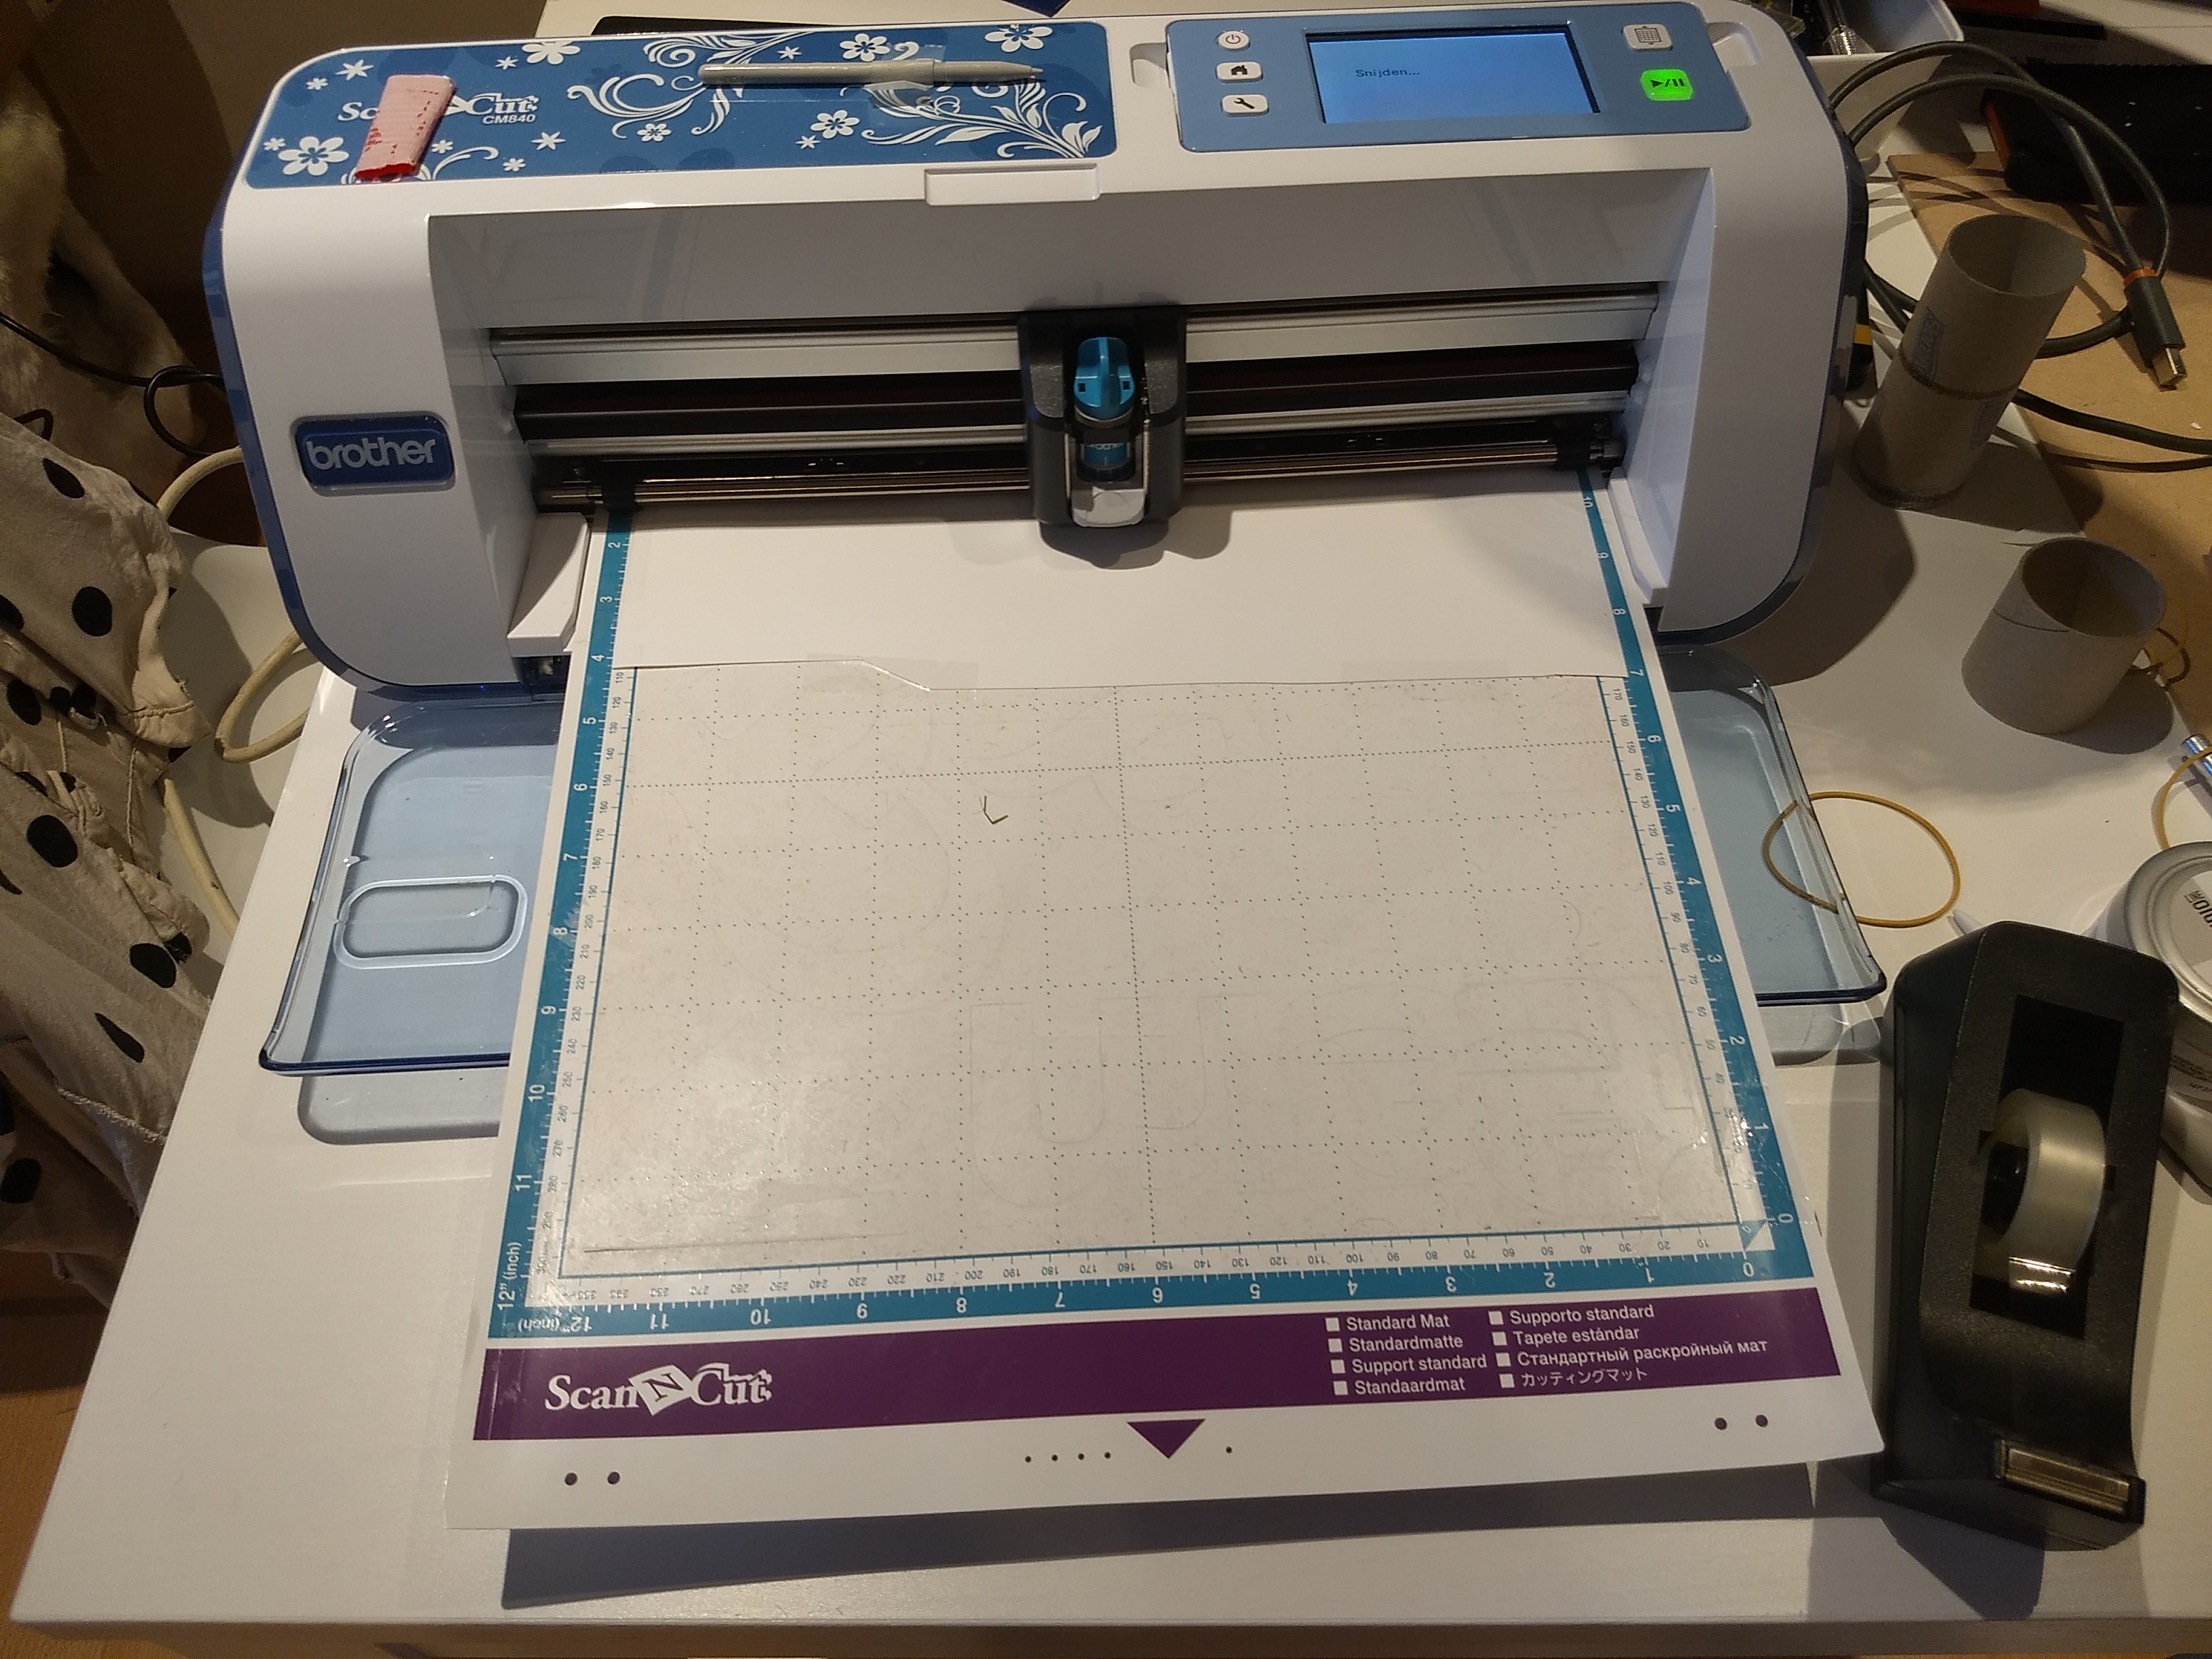
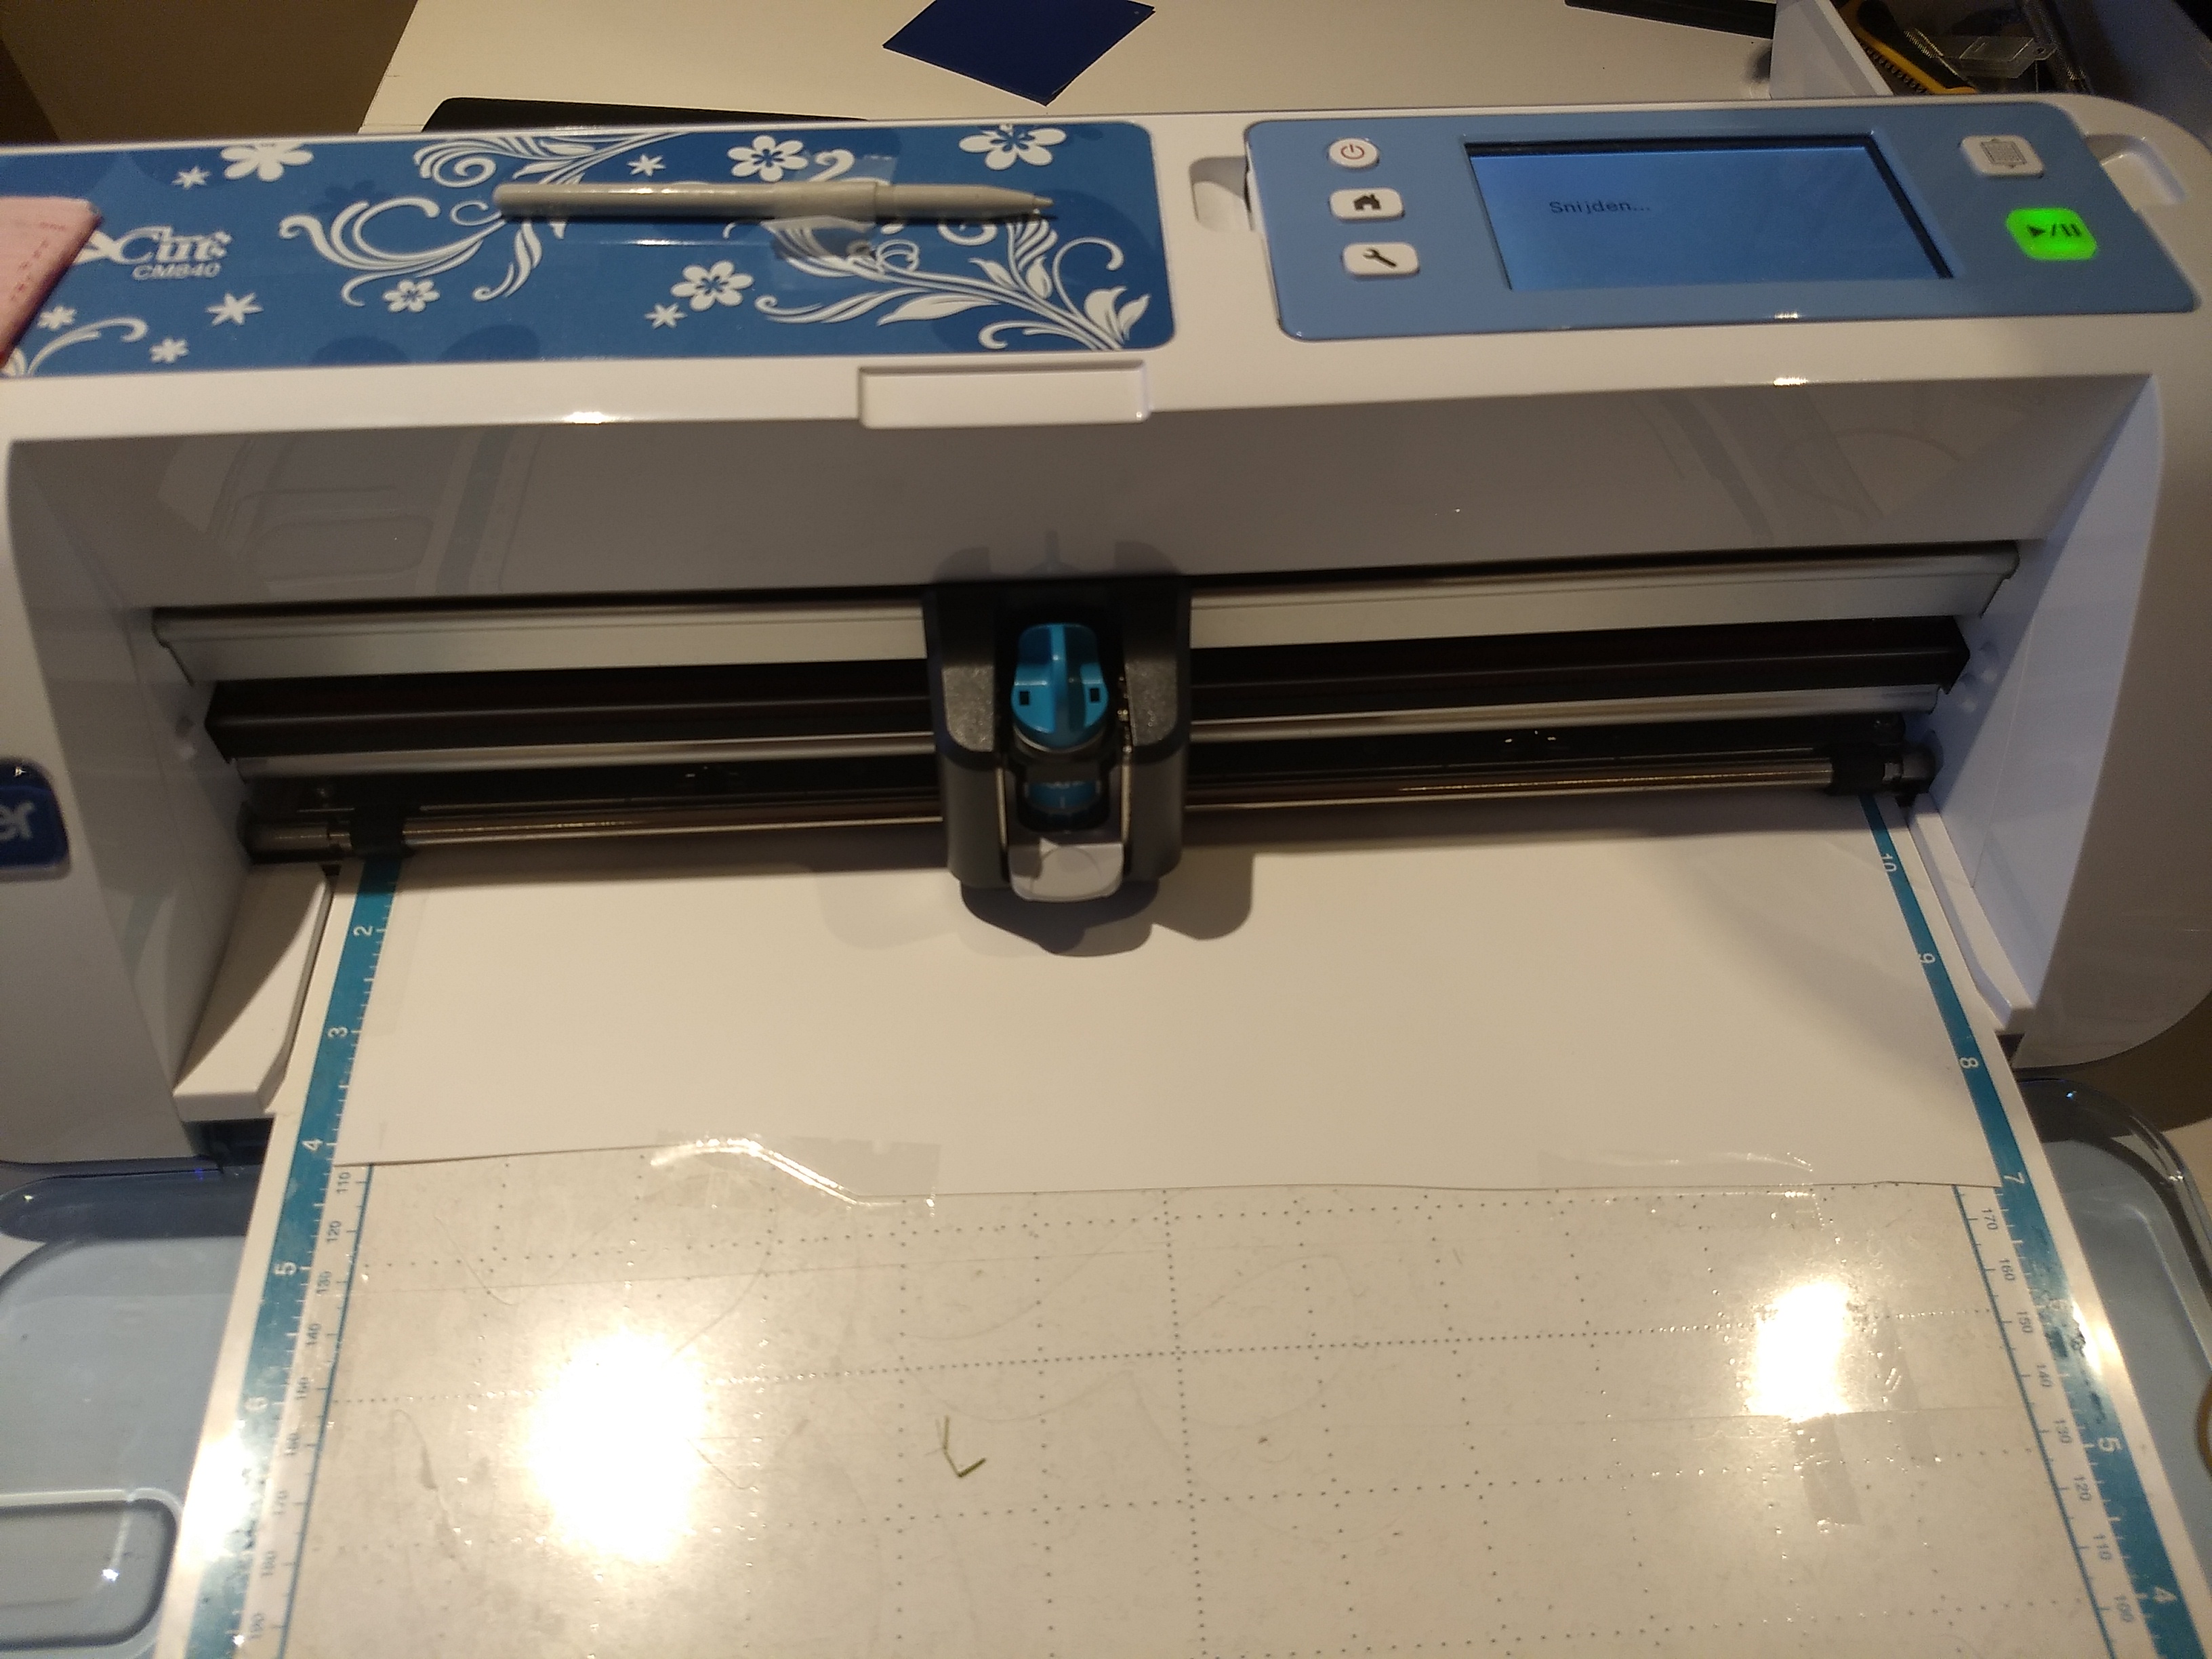
- lay the vinyl upside down on the mat. The transparant plastic foil should be underneeth tht vinyl so the machine cuts only the vinyl
- Put the cutting mat in the machine
- update the setting to the thickness of the vinyl (check manual of the machine)
- cut the design
Removing the Remaining Vinyl
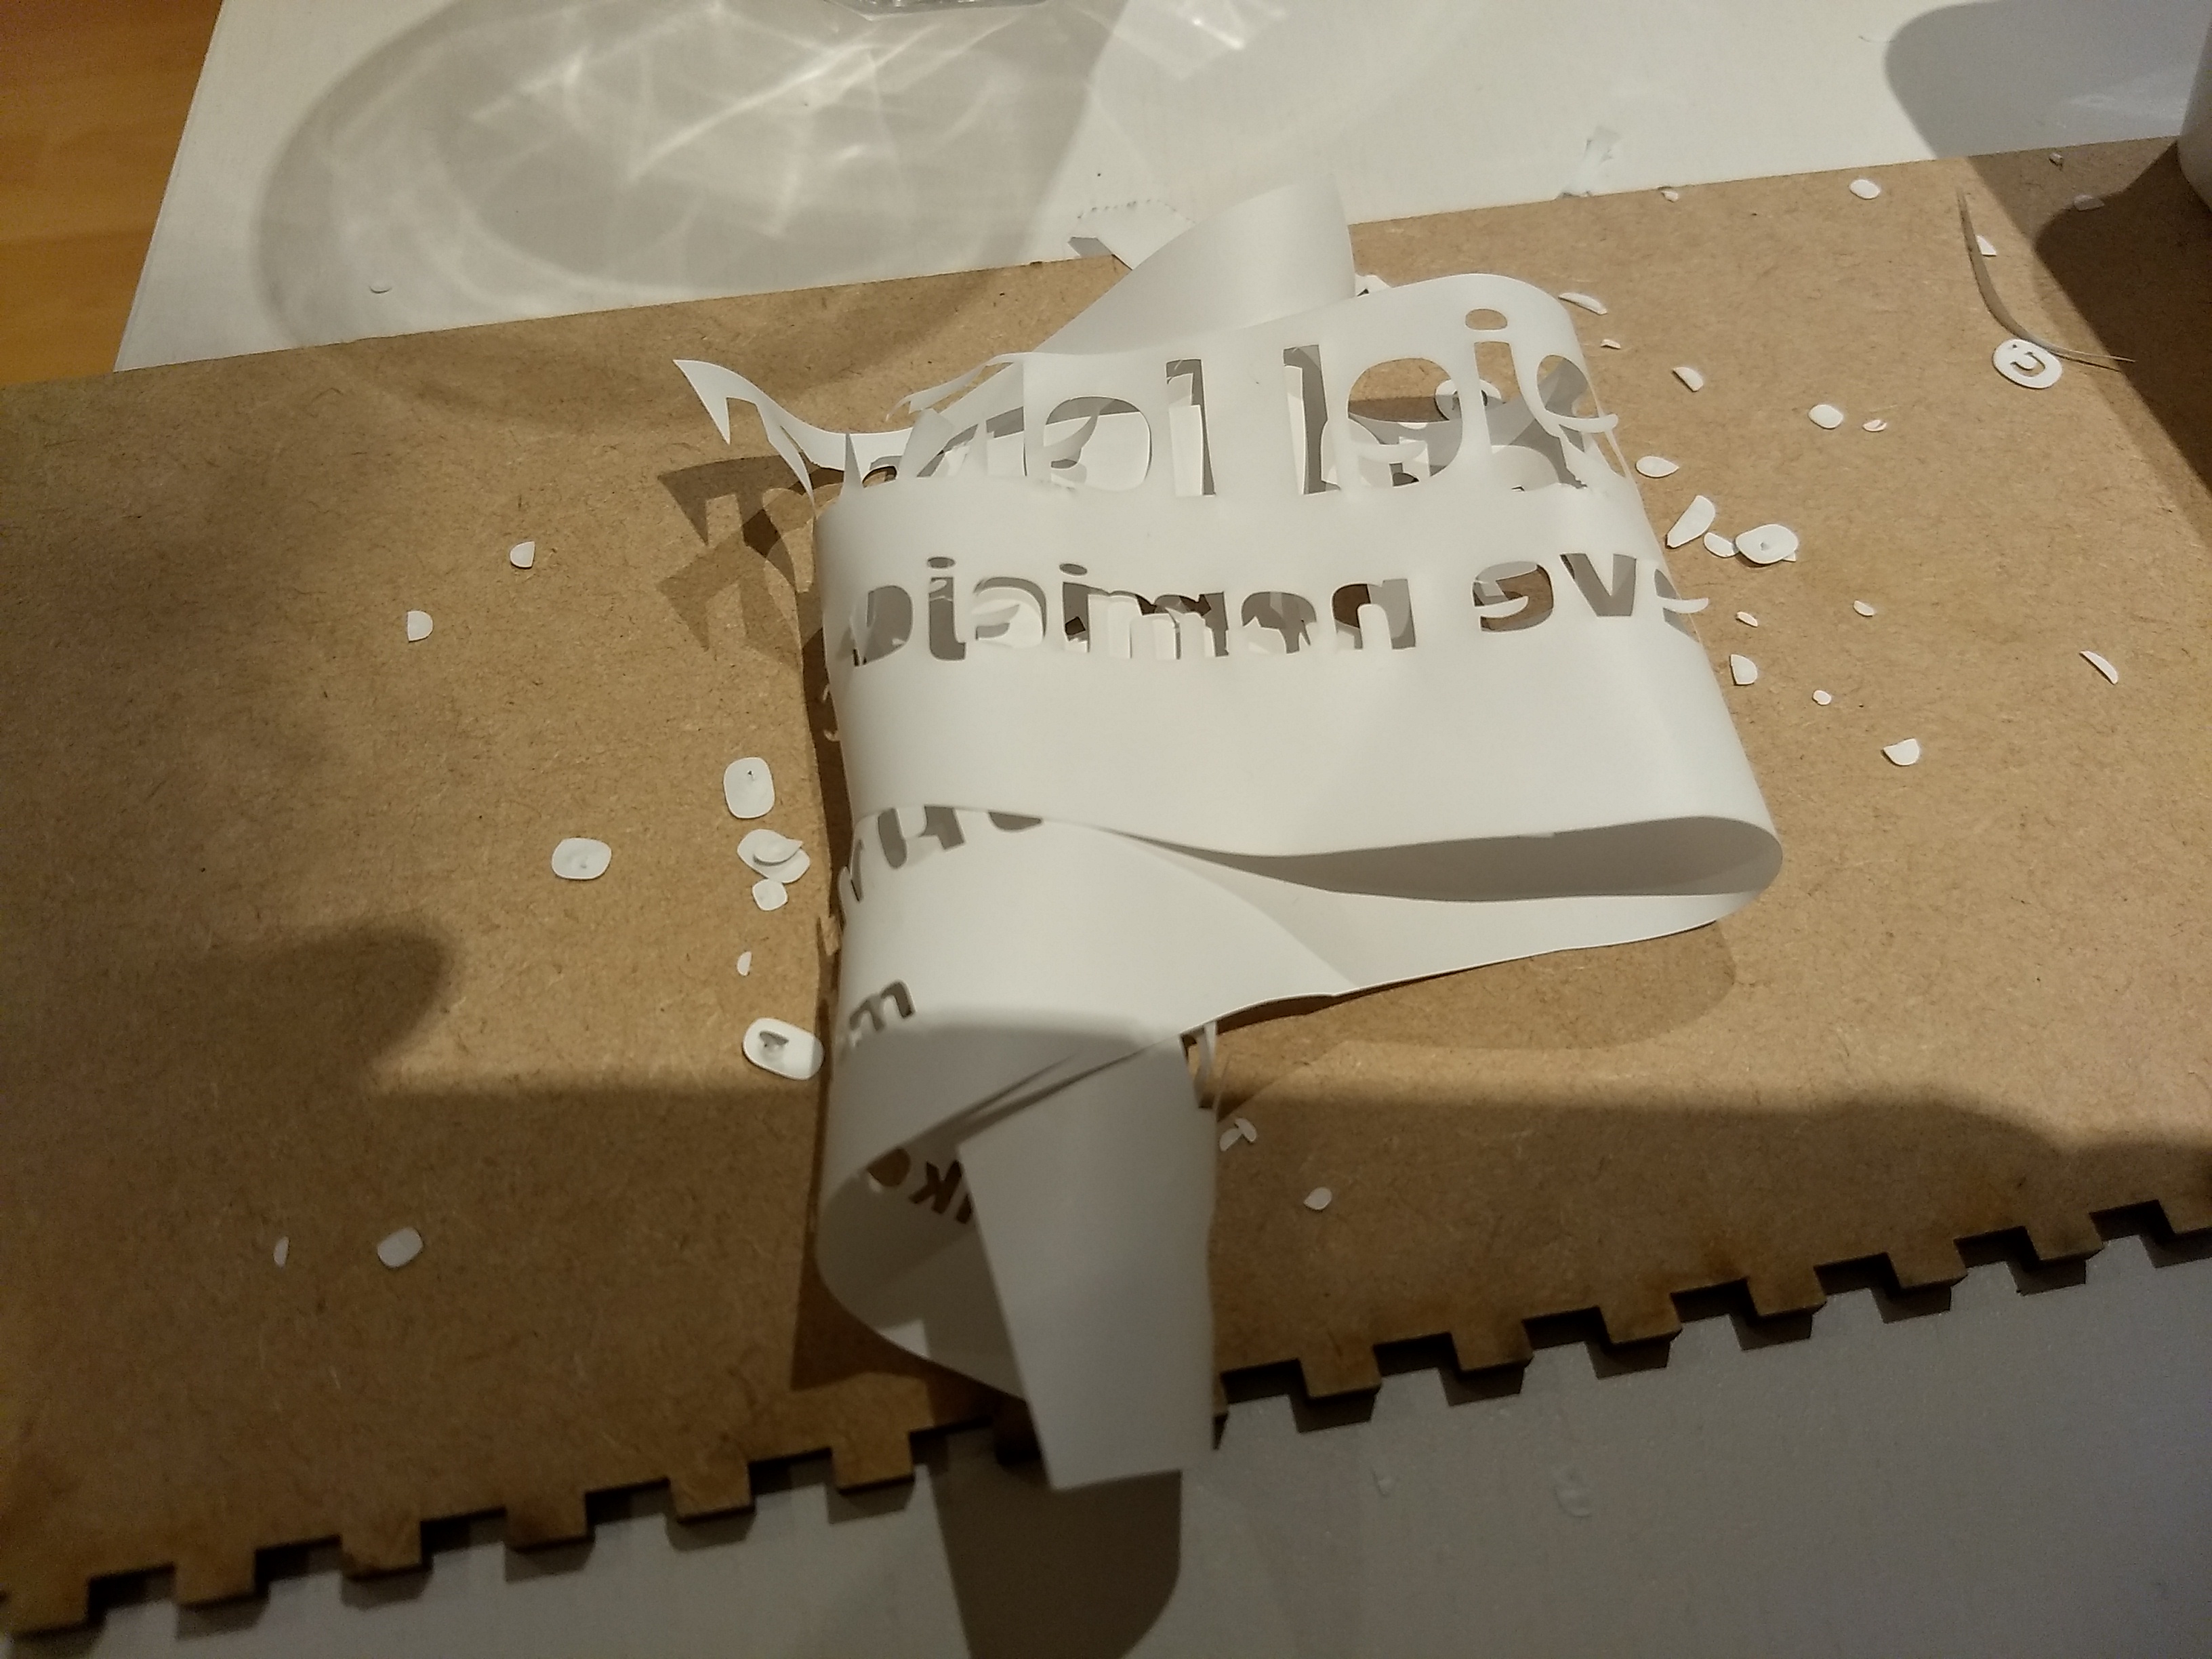
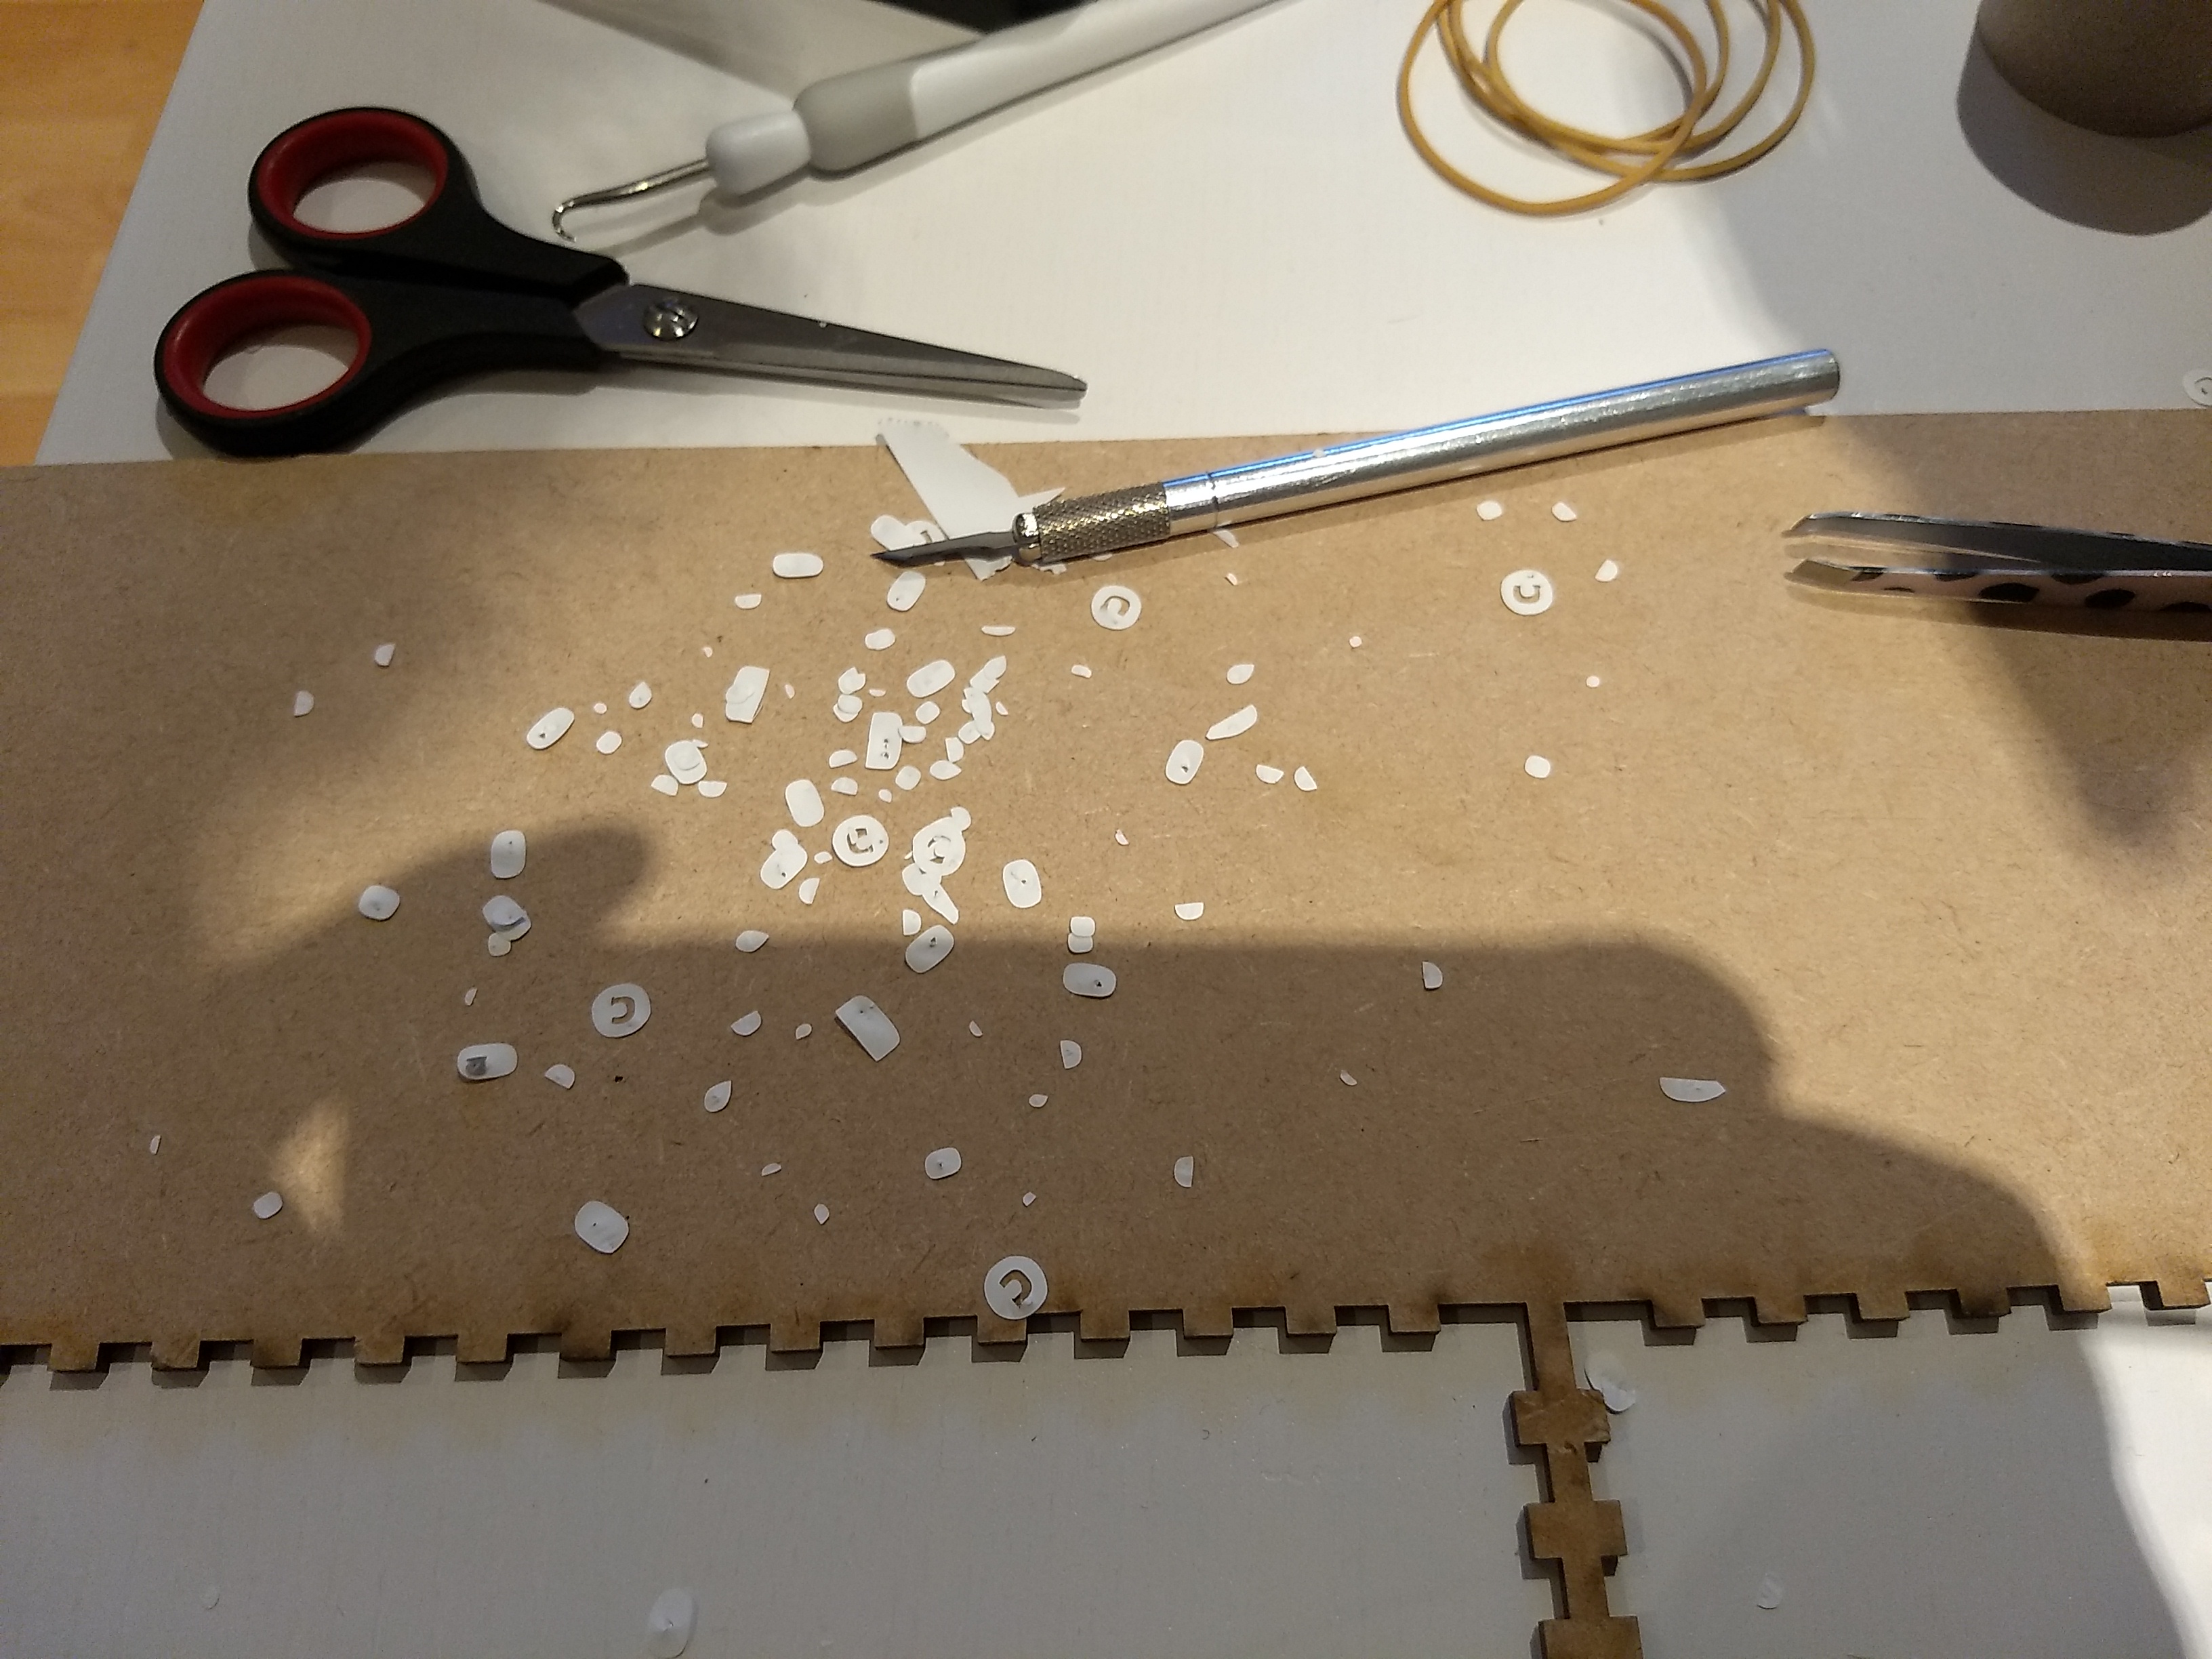
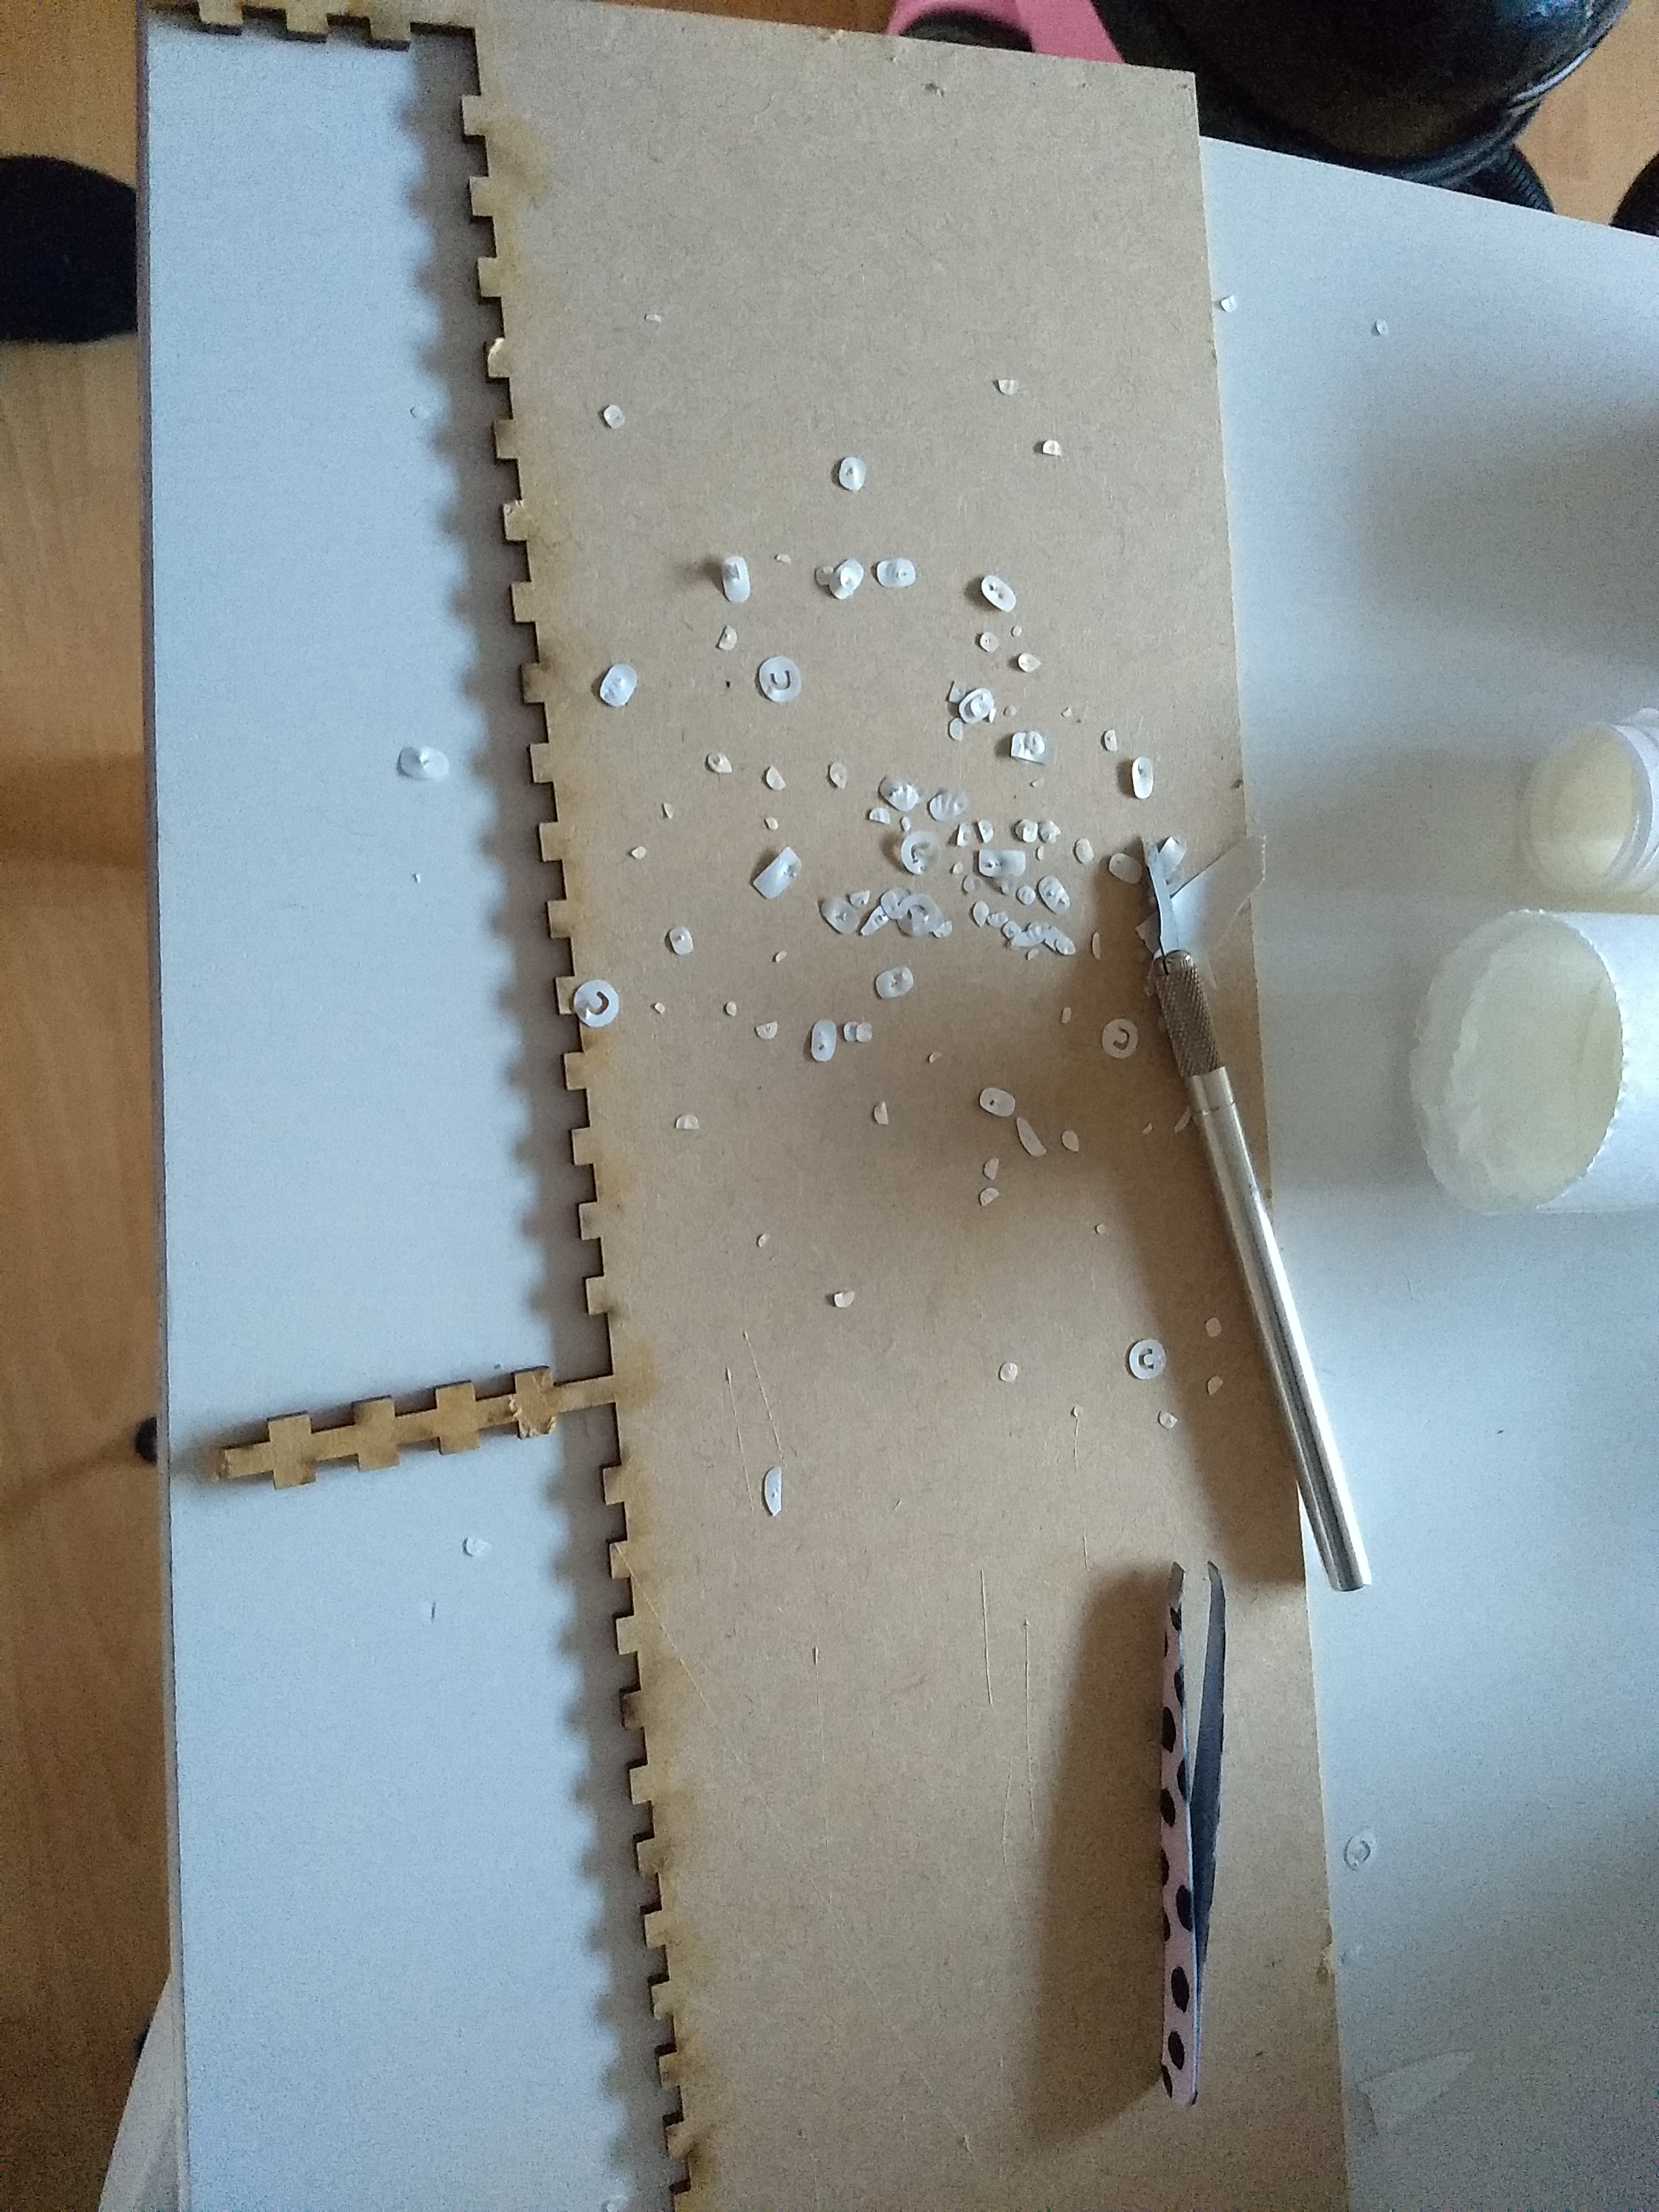
- After the machine has cut the vinyl, remove the mat from the machine
- start pulling the remaining vinyl so only the design remains (so you only remove what is NOT needed)
Printing the T-shirt
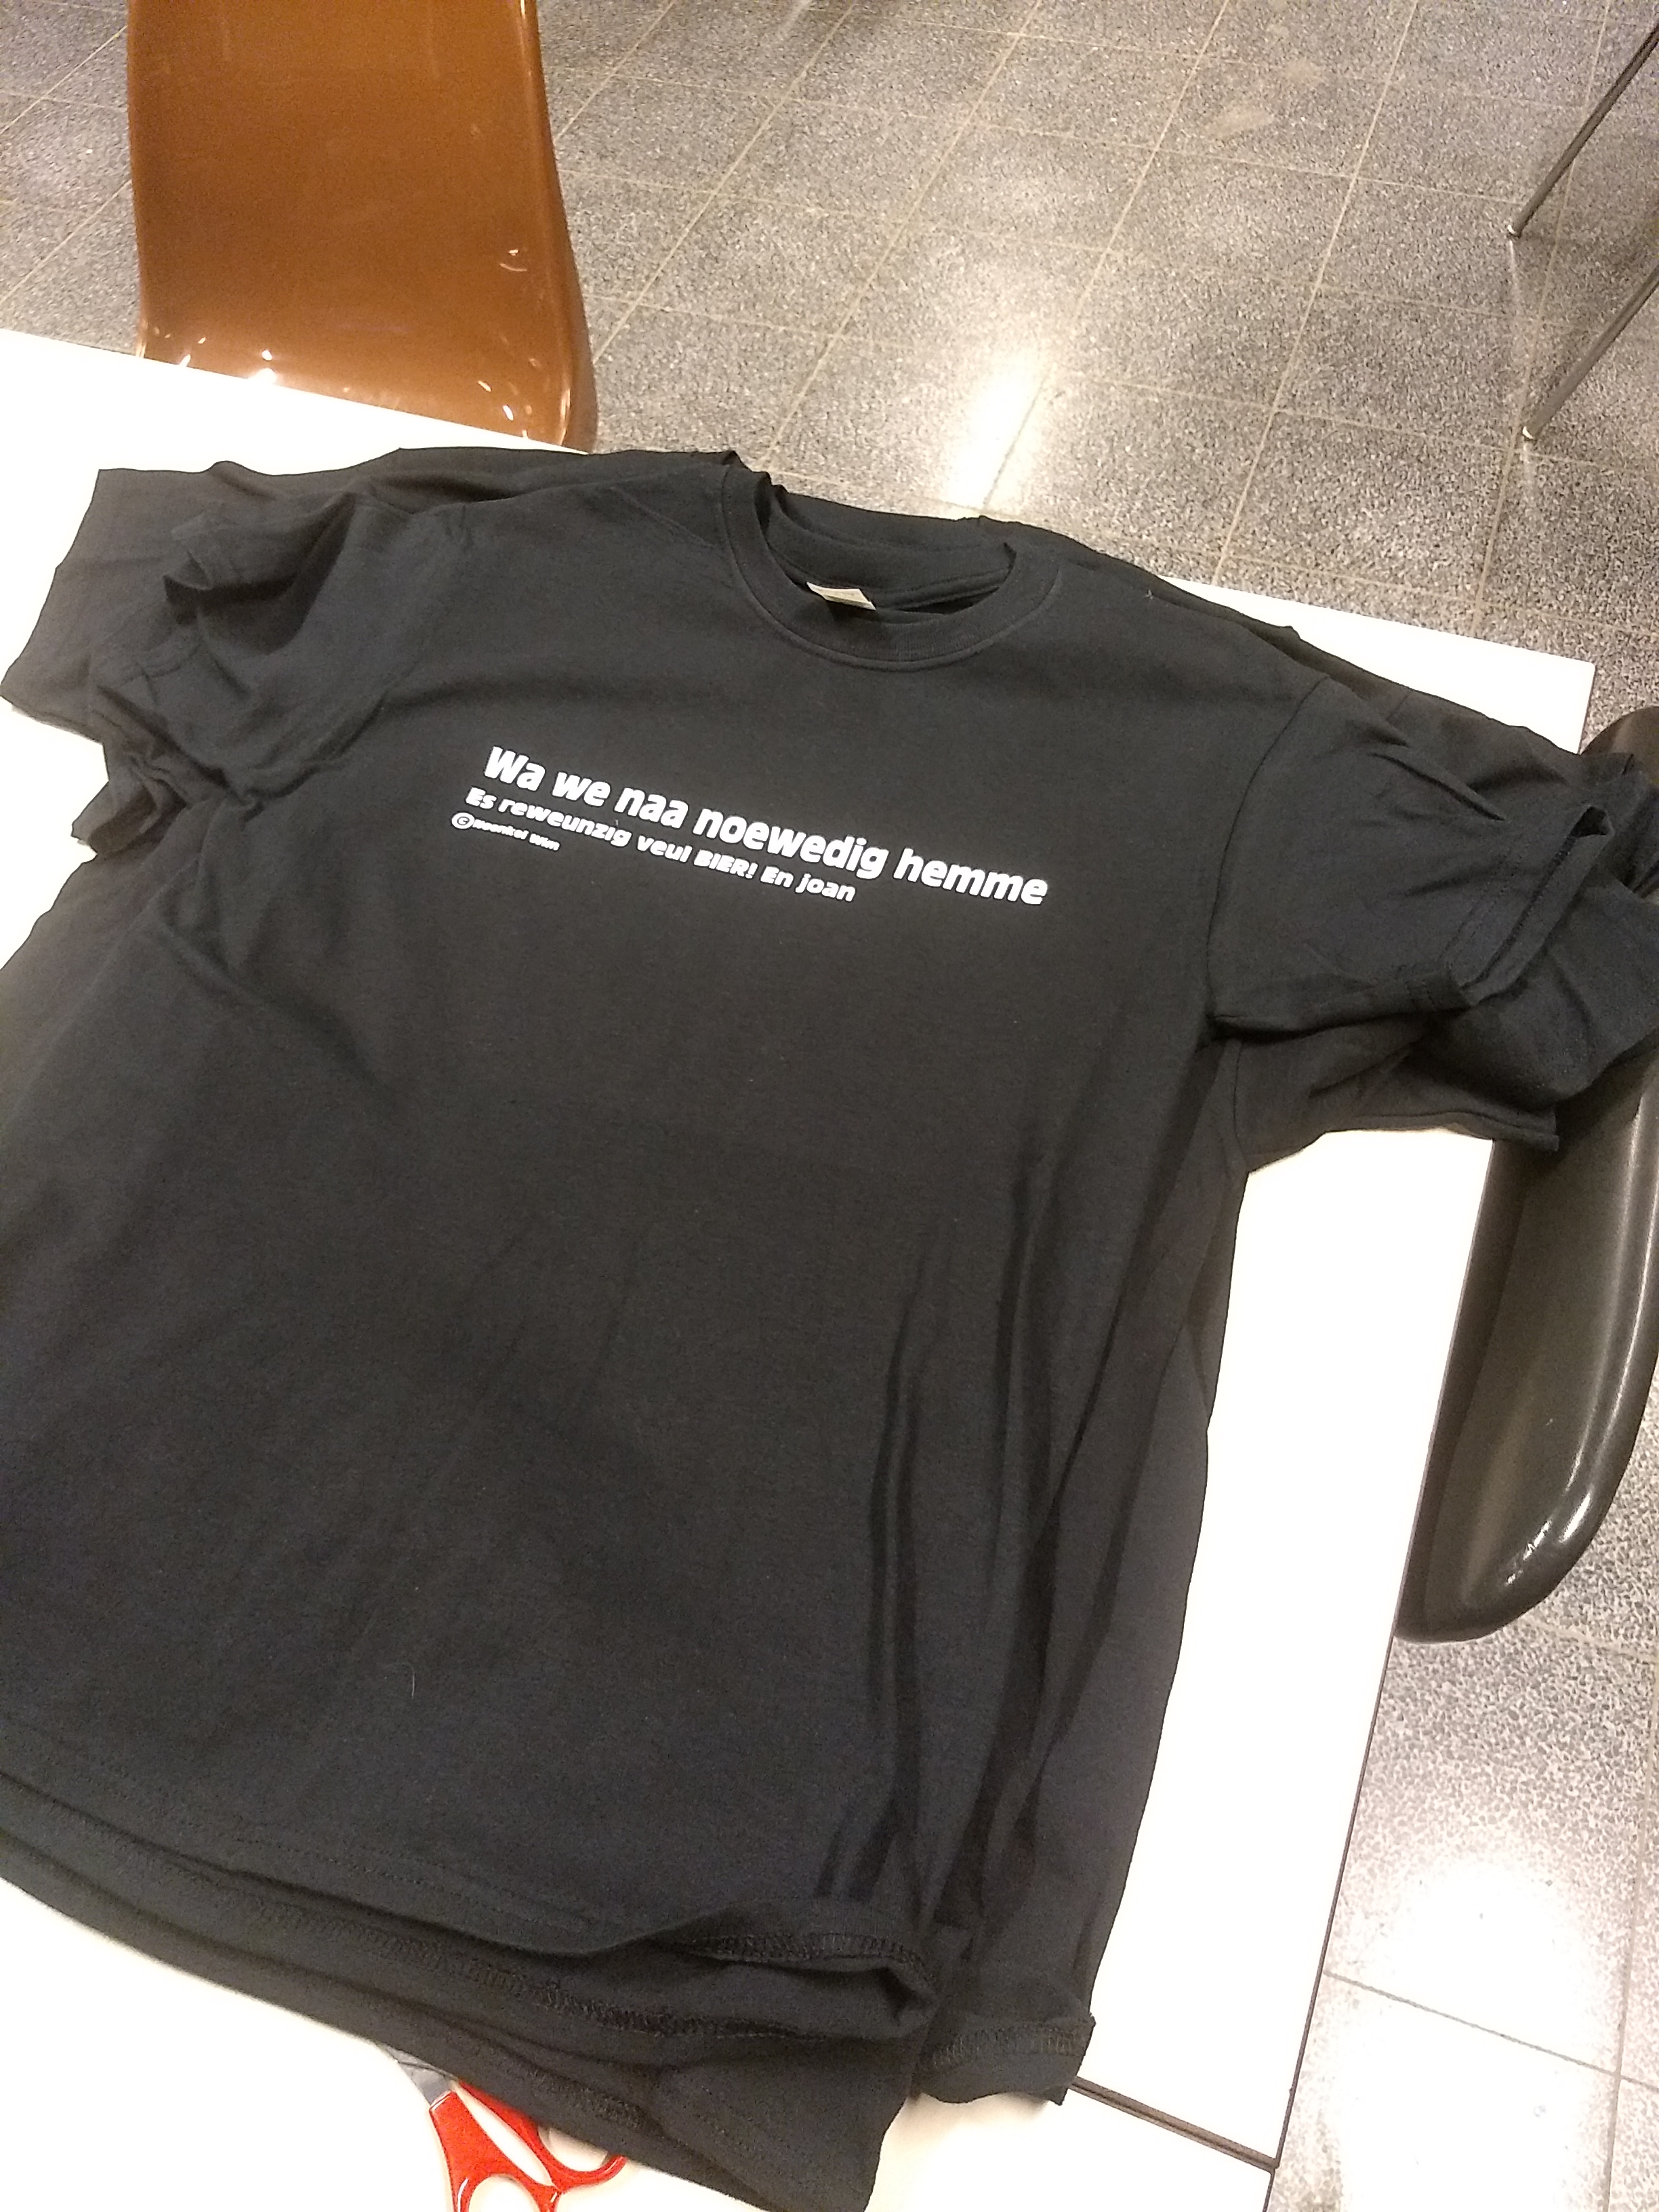
Be careful - following steps have to be done very carefully to avoid severe burns !!
Preheat the heat press on +- 150°C
put the T-shirt over the lower plate (" the cold one" )
place the cut out vinyl on top of the T-shirt - not touching the hot top plate!
place a piece of baking paper in between the upper plate and the protective transparant plastic foil
In short - top to bottom:
hot plate > baking paper > transparant plastic foil > vinyl > T-shirt > cold plate
- press the hot plate now for 10 to 15s onto the T-shirt
- let cool down for +- 15s (depending on the protective foil of the vinyl)
- remove carefully the protective plastic foil
- press the hot plate again 15 to 20s onto the T-shirt
- let cool down and remove T-shirt from the cold plate (this cold plate may heat up after a few T-shirts, be careful of skin burns !)
- peel off the plastic foil from the T-shirt
- up to the next one!