Vintage Waxed Canvas Bag

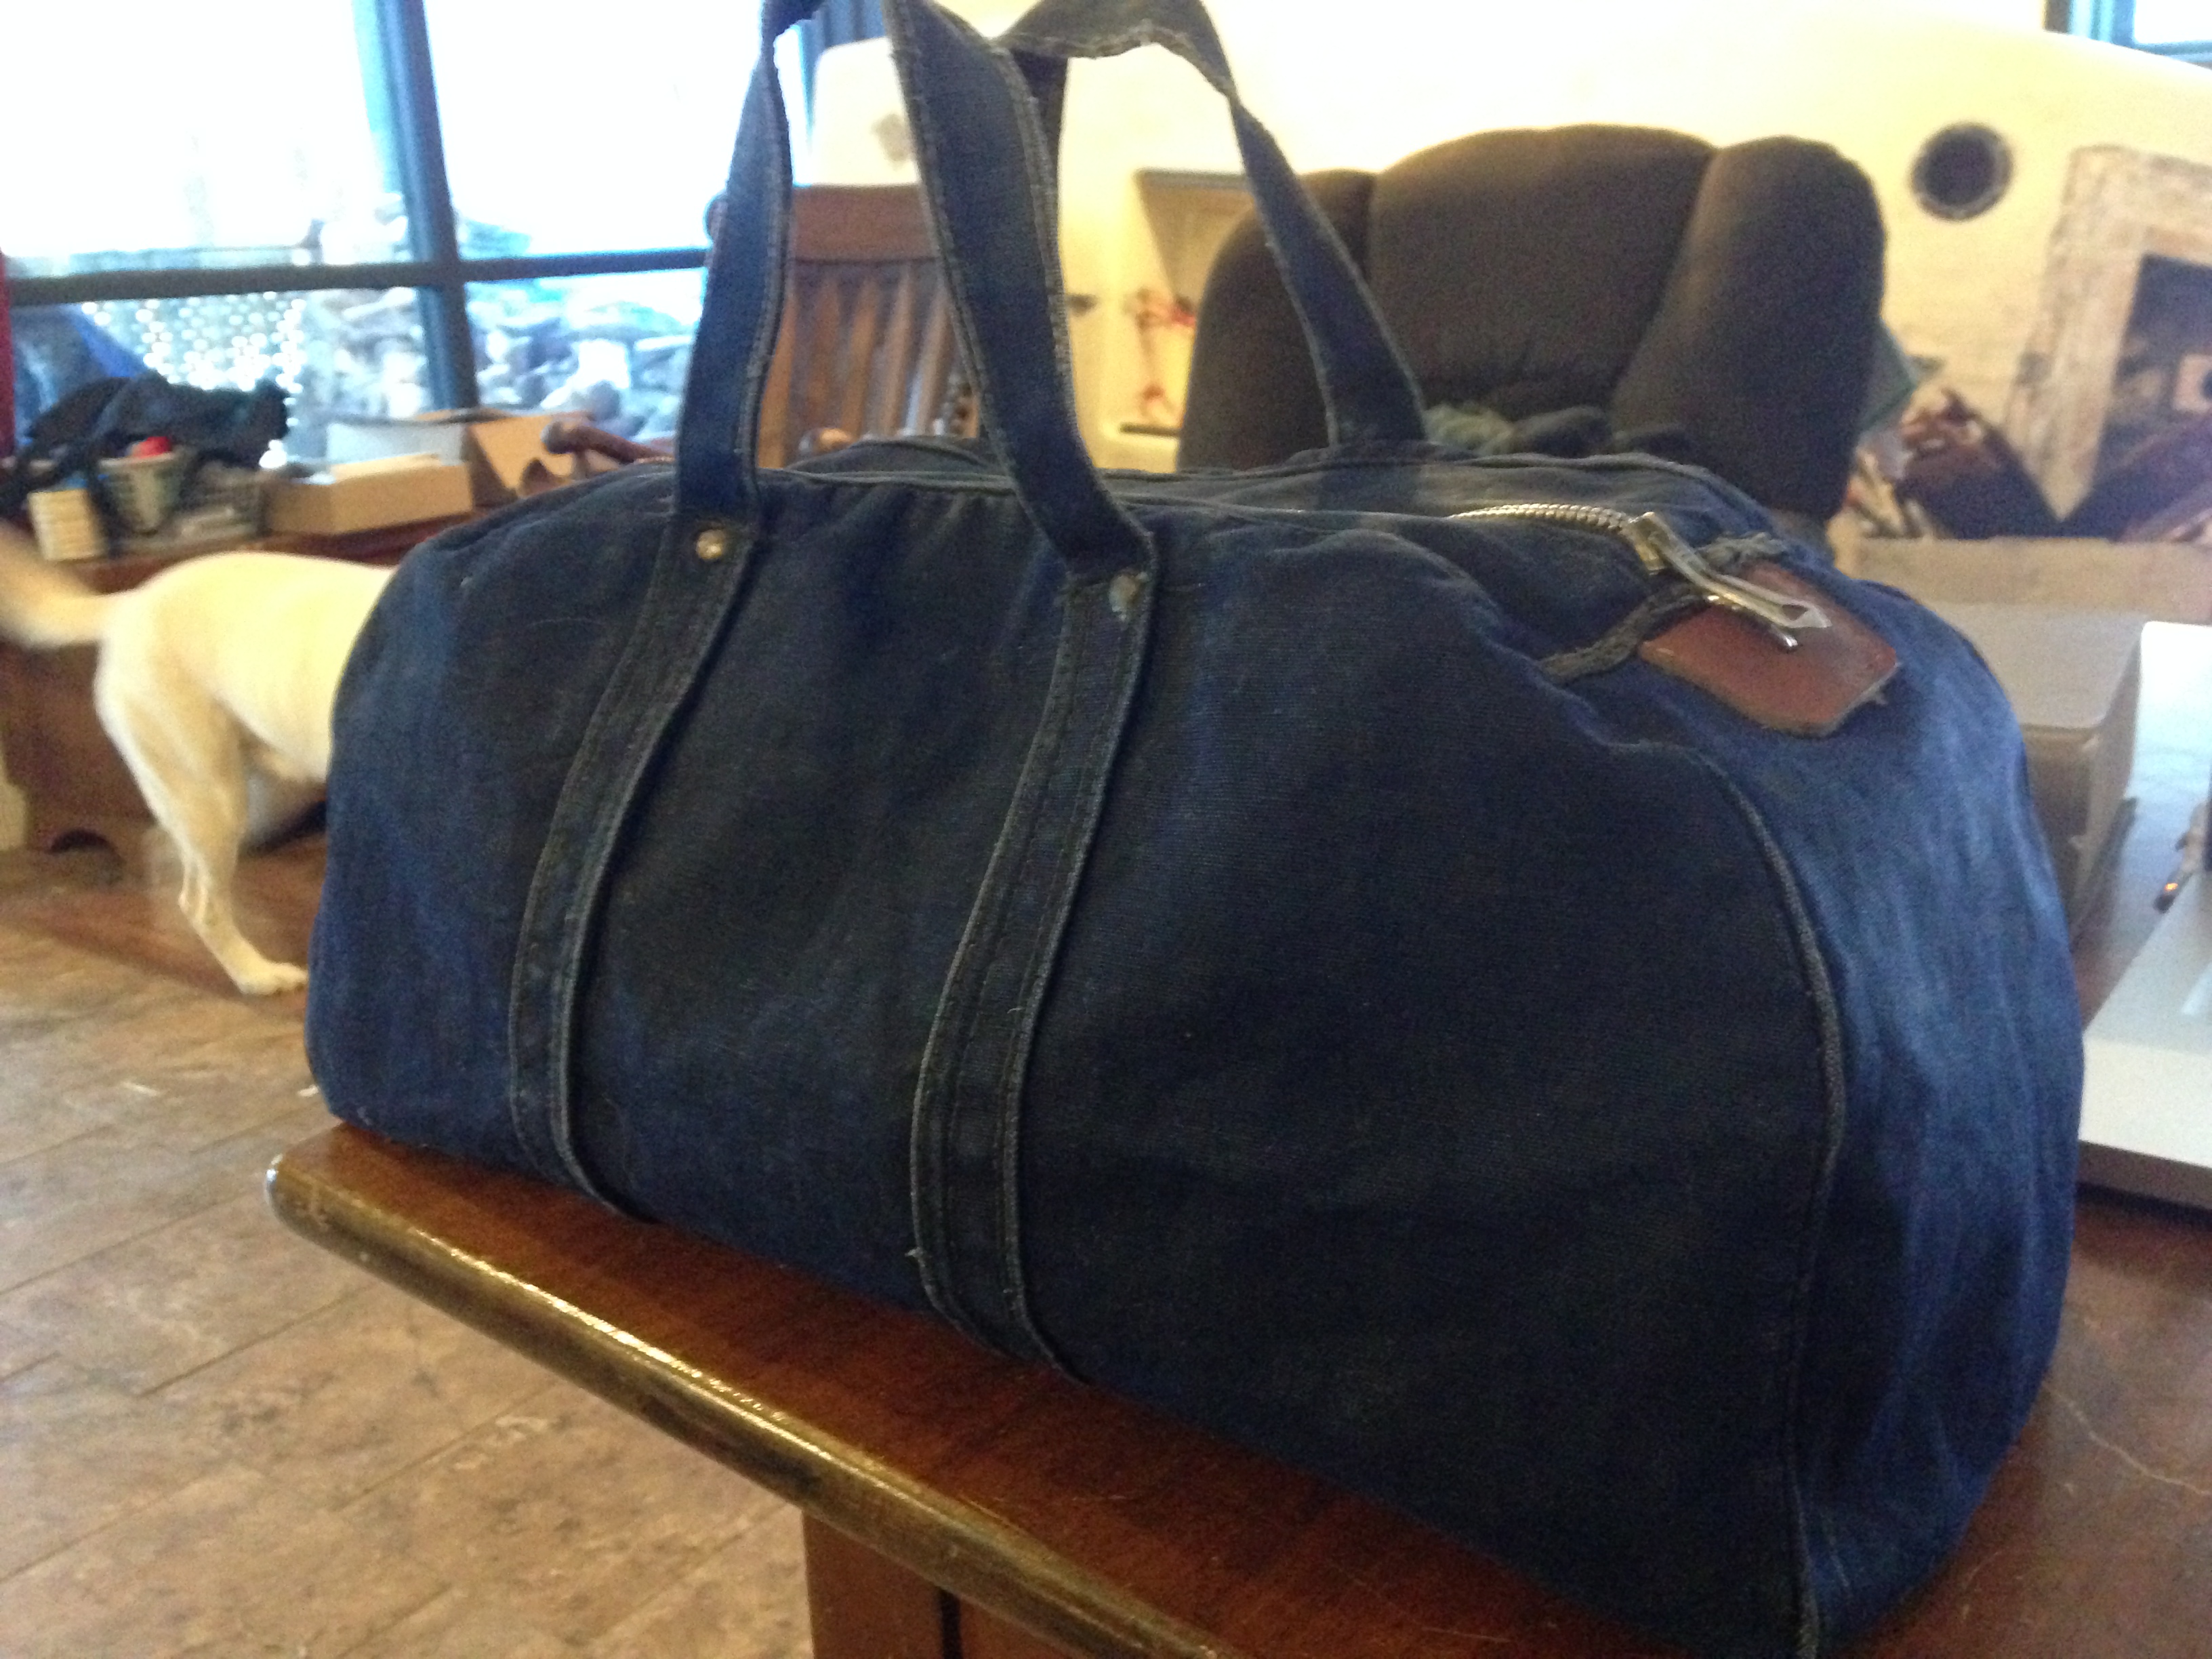
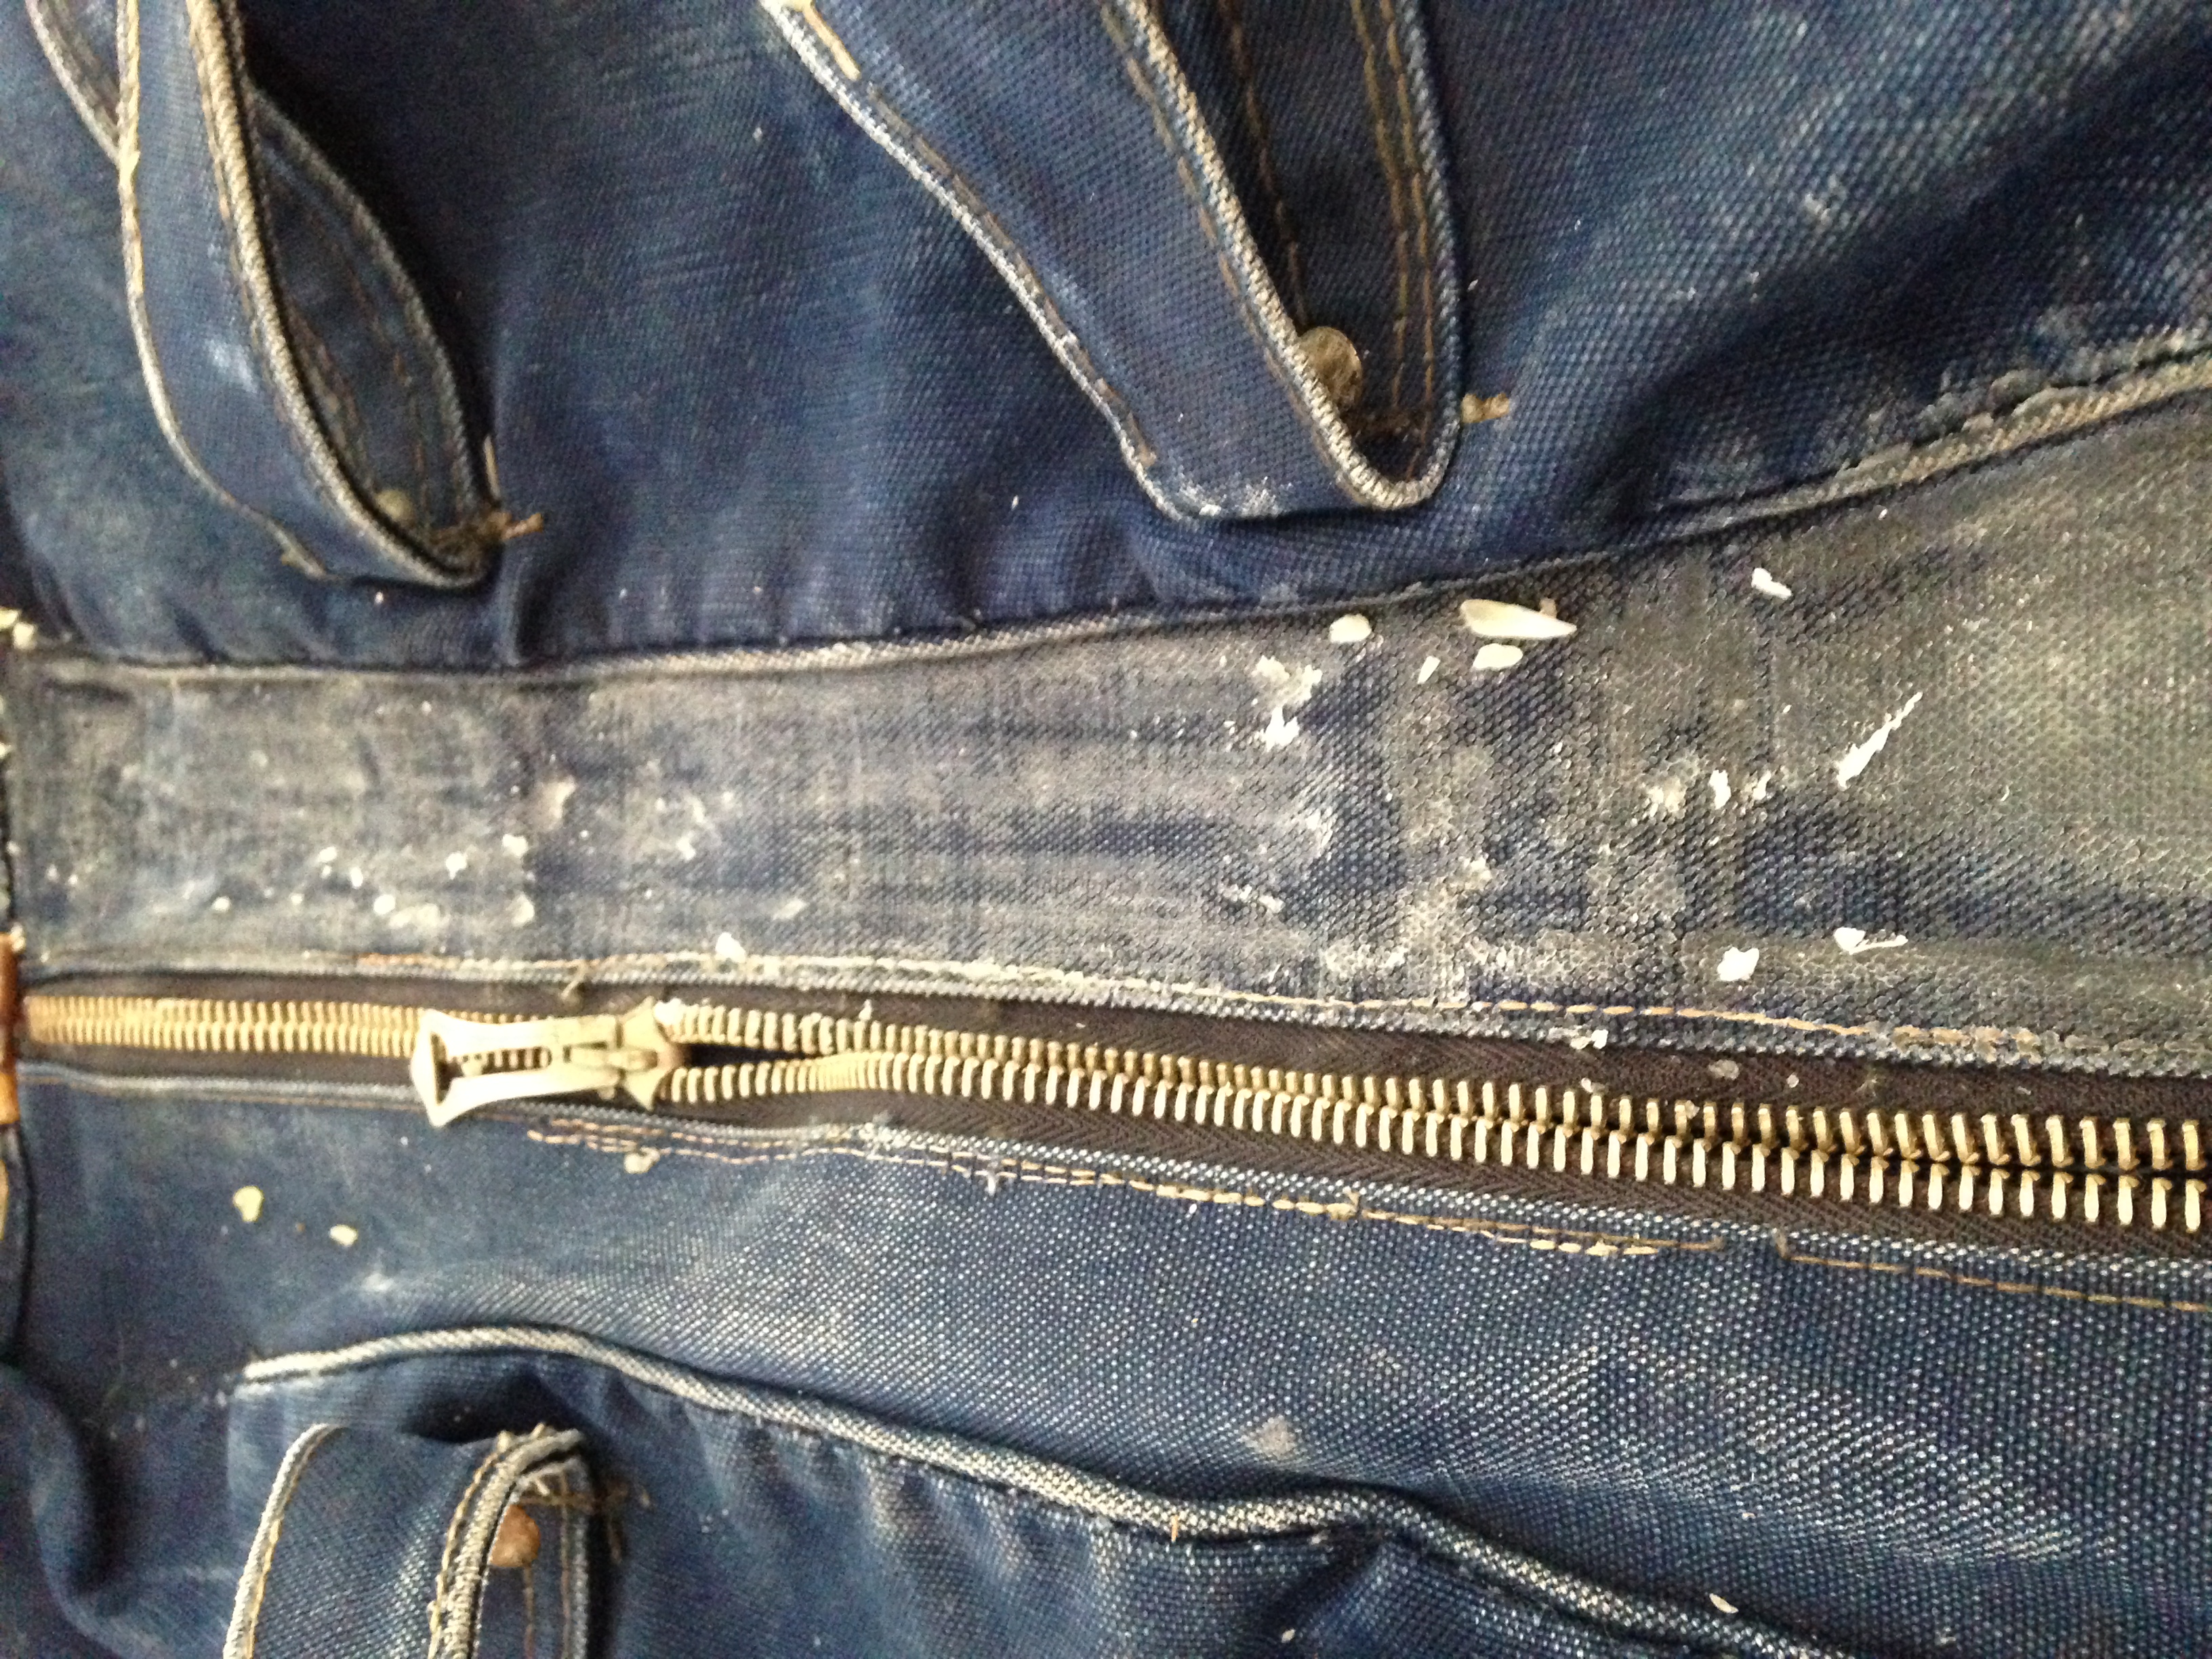
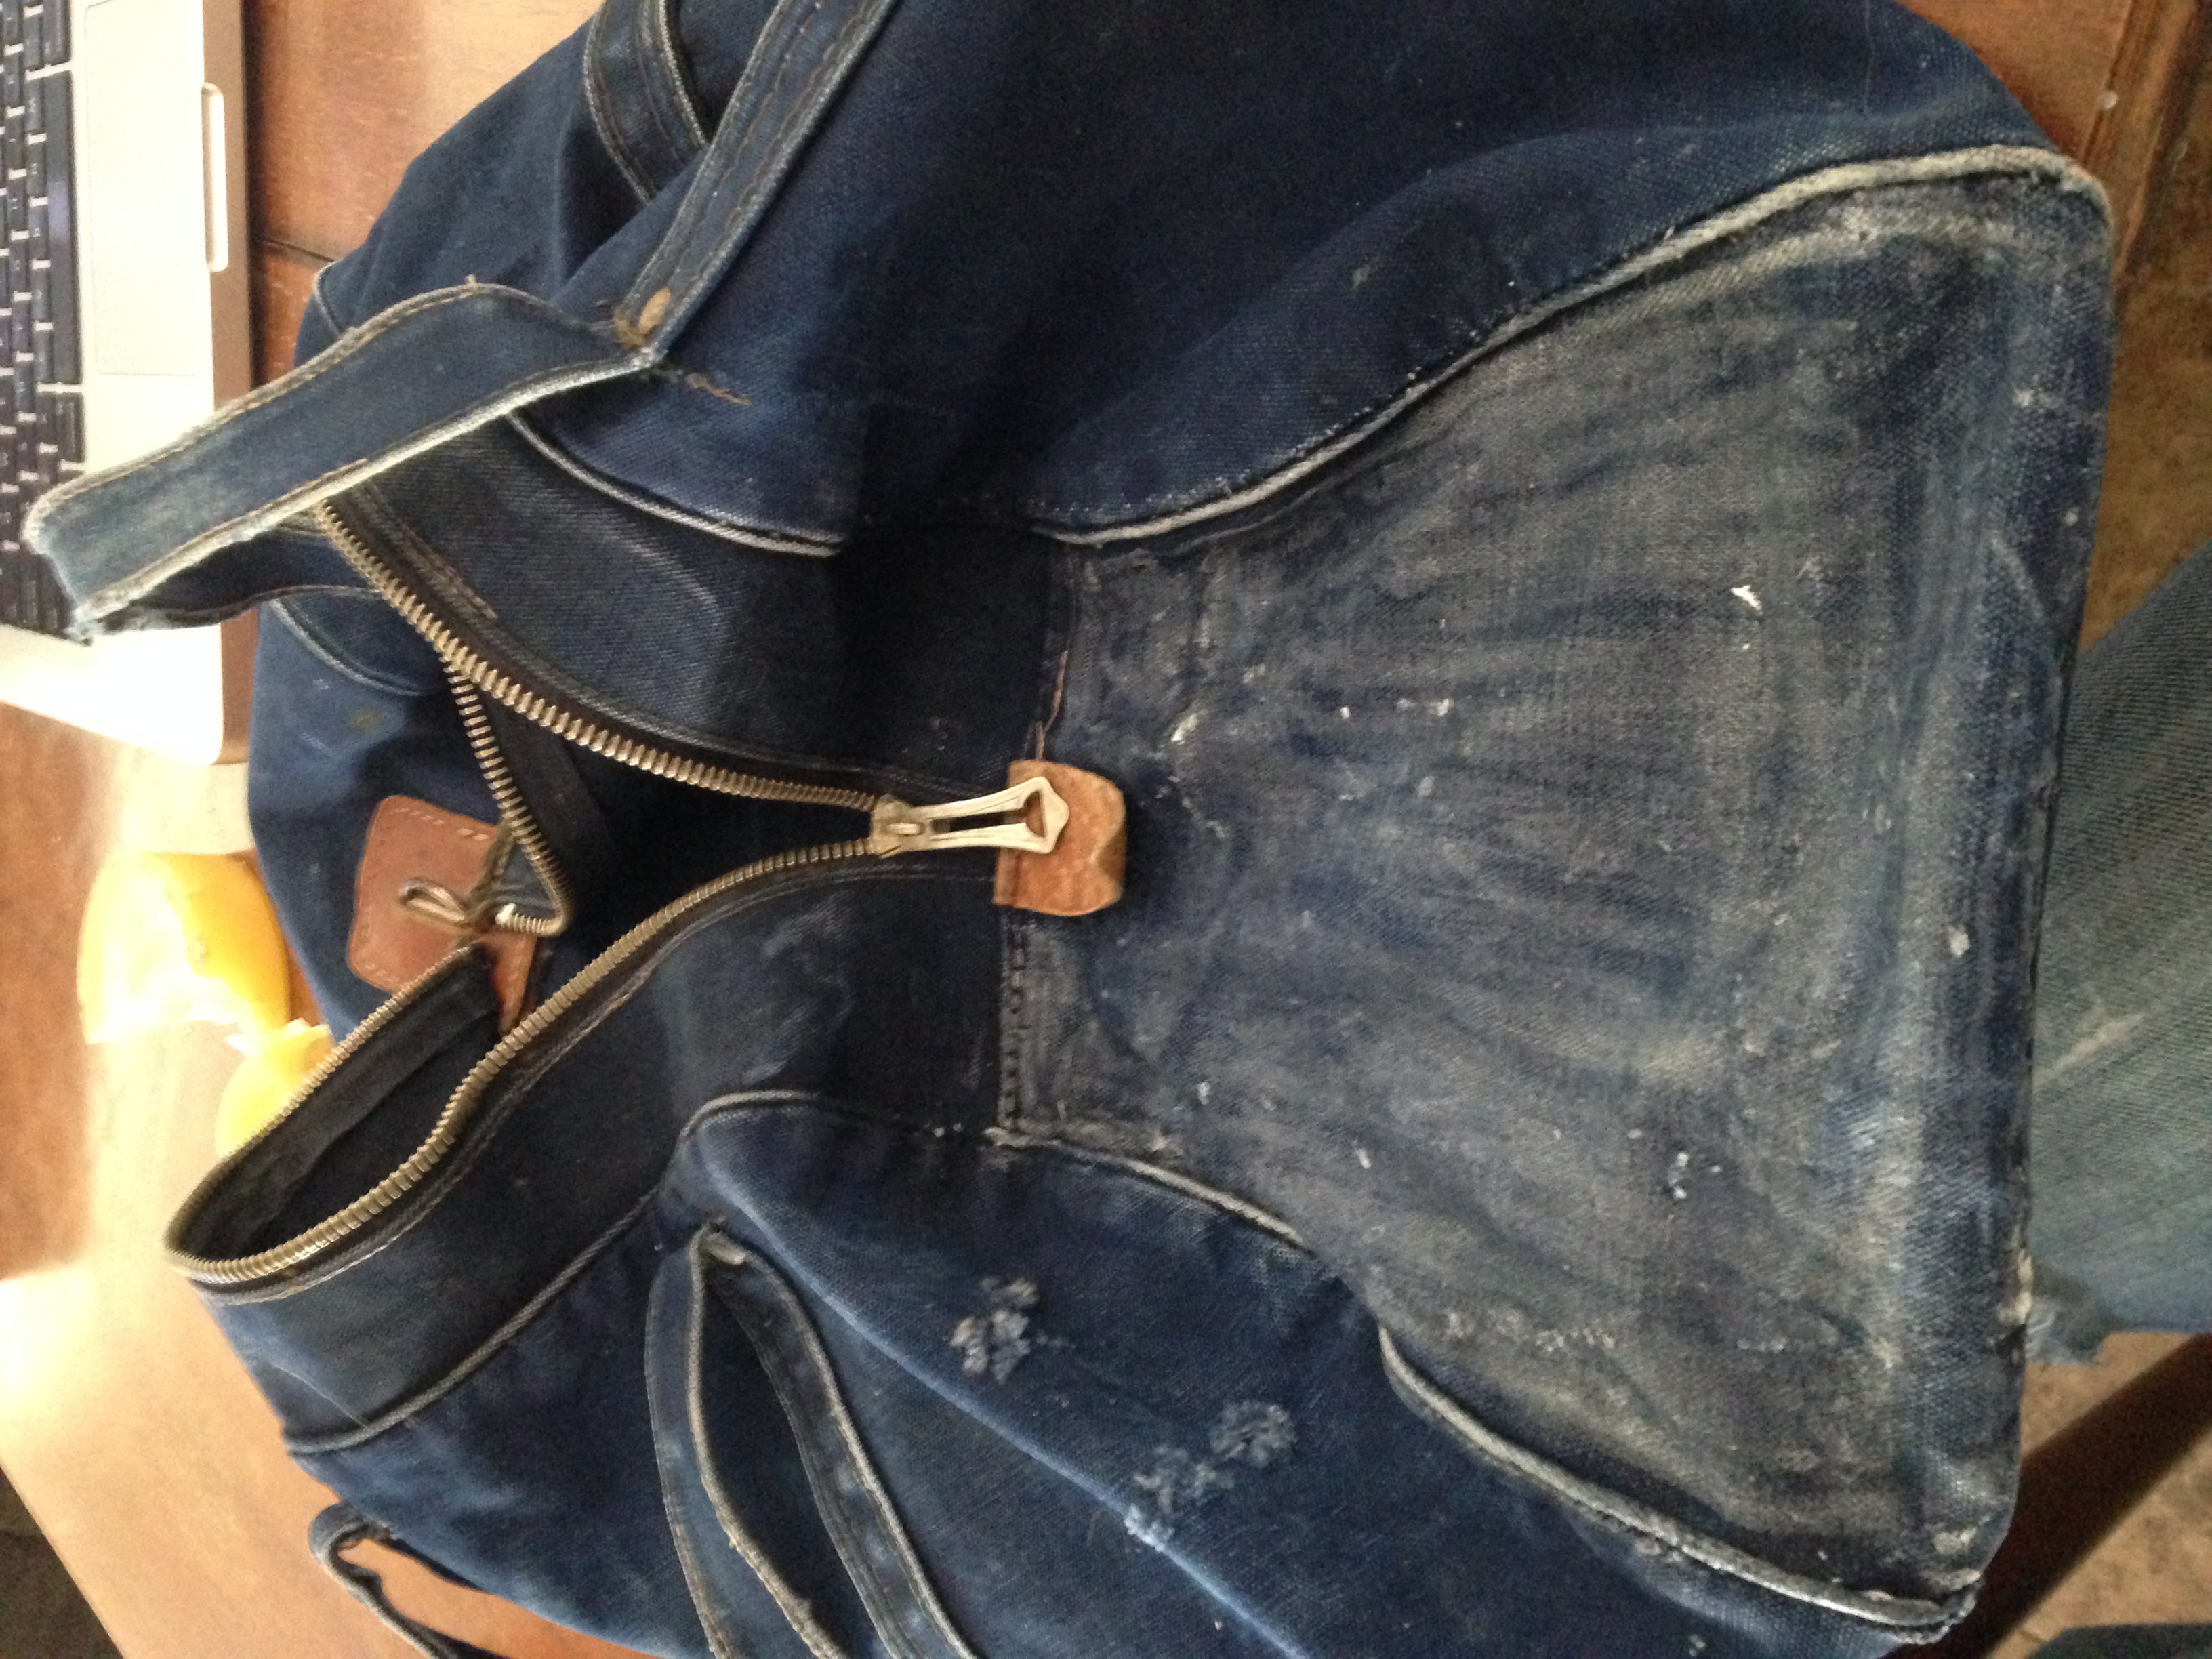
We were cleaning my grandfather's basement and I rescued this bag from the garbage. It had been on the floor of his workshop for years and evidently weathered many floods. It was filthy, maybe a little moldy, the plywood bottom had separated from the water damage and was in bad shape. It really did look like garbage. I saw some potential, though, and scooped it up. I suspect it was from when he was in the Navy at the end of WW2 but that's just a guess. The Instructable picks up after I had removed the plywood bottom, washed it a few times, and had my girlfriend sew some spots on it. It's not in new shape, that's for certain. It has a couple holes and abrasions but that gives it character. I've been using it as a boat bag. It's about the right size to keep things like sunglasses, sailing gloves, scraps of rope, some tools, a lighter, sail tape, etc. The stuff I take down to the boat with me whenever I go sailing. I think it would also make a good overnight bag or a bag for carrying random little bits and pieces around. I thought about using it to carry some stuff back and forth to the office but it's not really the right shape. Even being a boat bag I thought it could use a spruce up. It needed to be at least a little waterproof, have some feet on it, and have a solid bottom to give it some structure. The following steps are what I have done to it. I'm quite happy with the outcome and I hope it inspires you to rescue something old rather than buying something new.
The Wax

I looked around online for different ways to wax the bag. There seems to be a variety of opinions. All of them include some combination of beeswax and paraffin wax. After that if you like you can add either boiled linseed oil or turpentine. Because this bag is actually one of a number of test-runs for my girlfriend's coat and she has a sensitive nose, I left the linseed oil out. I believe the linseed oil makes it more of an oilskin type thing which could be neat in that it will actually dry on and get beat up looking like an old leather jacket. I don't think that will be the case with the plain wax. There is also a difference in application. The linseed oil turns the wax into a paste that is brushed in and then needs to dry for several days. The plain wax is rubbed in then wicked in with a heat gun.
I saw everything on the internet in terms mix from 10% beeswax to 100% beeswax. We have a few bee farmers around here so I got a brick of beeswax for $8. Because I had so much beeswax I did a 50/50 mix thinking the more beeswax the better but the paraffin must have it's place too. So far I can't see the flaw in that thinking.
To prepare it I boiled a pot of water, set another pot inside, and put the wax in that. It wasn't a true double boiler in that it was just two old pots but it was a double boiler setup. I then poured the wax into some old cream cheese containers I had. I ended up with two pucks of it. I've probably got a lifetime supply of canvas waxing wax now. Some people use an old crock pot.
As you can see I got settled in well. This took most of the afternoon because the bag is small and had lots of nooks and crannies. I spread out on my work table with my computer so I could chat with people. I made a clear workspace. I poured myself a nice cup of coffee. Since it was a Sunday afternoon I put on CBC Radio since that's when most of my favorite shows are on. It was a very pleasant afternoon but I think had I not set out to make a leisurely and enjoyable time waxing the bag would have gotten quite tedious.
More on Wax

If I could do one thing differently it would be the mold for the wax. The round pucks proved unwieldy for the work I was doing. You have to rub it into the canvas and for that a sharp edge helps. This is particularly the case with the seams which I read were extra important. Also a small wax surface seems to work better. Think more like a big crayon. The puck just wasn't working.
What I should have done was heated up a knife or a blade of some sort and cut the puck into more useful sizes. Because it was a Sunday afternoon and I was quite tired (I'm a minister and I had preached two services that morning) I took the lazy way out. I heat mostly with wood and so I chop wood regularly. Looking up and seeing my chopping block just outside the door I figured that might be a good solution. So I used a hatchet to chop the block in half. As you can see from the picture it more shattered than split and it actually continued to shatter all afternoon. I ended up with a little pile of wax chunks by the end of the afternoon that were hard to keep contained. The benefit was I had lots of random shaped pieces with sharp edges that proved useful later.
I'm not sure what I'd use for a mold next time and in fact I ended up melting the chunks back into a puck when I was done for ease of storage. The wax was quite sticky in the mold and so it was nice that the cream cheese containers were sacrificial. I ended up cutting them off.
Waxing


The waxing is fairly easy. As you can see there are lots of nooks and crannies so it takes a while. I went panel by panel and put on three coats. I probably could have gone faster by doing multiple panels but I was happy with this pace. It's just like coloring with crayons. I did the edges first to make sure there was lots of wax on the seams. For this I'd use the little chunks that broke off to really get into the crevices. Then I'd grab a bigger chunk and color in the large sections. After that I took a heat gun on low and just blew it onto the wax which would wick right into the fabric. Repeat two more times. I found three coats was about right. I went until I could feel the wax on the back side of the fabric, three coats.
The heat gun may be unnecessary. I suspect a hairdryer would work just fine. Other people put their stuff in an old pillow case and then in the dryer. If I left the heat gun on one spot too long it would start to discolor the fabric. I tried the lower setting and this worked but I was a little too impatient. I would have to wait a couple of minutes after wicking the wax into the fabric before coloring more wax in. You have to get the wax to it's melting point and that's obviously hot. So let the wax solidify a little again before your next coat.
At first the wax is really hard and thus difficult to rub in. I found it got easier as time went on, though. Part of it was that the heat gun heated up the fabric so after the first coat it was a little easier. Part of it was the friction heating the wax up so after a couple of rubs the wax went on better. Part of it was using a piece of wax small enough. I found the smaller the surface rubbing onto the fabric the easier it would go on. I settled on a chunk that was about a half inch square.
Because of the size and shape of this bag I found it hard to rub the wax in evenly. If there was a seam on the other side of the bag from where I was rubbing the wax in there would be a gap in the wax. Think of when you do a rubbing of something. I got around this by putting a great big book I had inside the bag and using the hard book cover as a surface. This proved very helpful, especially for the corners where you could spread the fabric in three dimensions over the corner of the book. Just remember to use a book you don't mind getting wax on. I actually got no wax on mine but I was allowing the wax to go all the way through so I'm sure it's possible.
Waxing Finished

So that's the bag when I finished the waxing. It's a little stiffer which in the case of a bag is nice. Being really old canvas it had gotten pretty floppy before which made it a little tough to root through. It also looked sad being carried because there was no structure left. The wax has fixed that. It's also made it a little darker and covered some blemishes. It still looks like an old bag but now it doesn't look like a wrecked old bag.
Plywood Bottom


This bag originally had a piece of plywood in the bottom to give it some structure and some metal feet. After having used it a bit, that bit of plywood is very useful. Without it the bag sags in the middle and makes it so that you have to dig through this pile that's always falling in on itself to find anything. I also miss the feet. The feet aren't going to keep the bag from getting dirty but they are going to keep it from going right into the dirt. The feet were a combination foot and rivet that just was stuck into the wood. They were flush with the wood but it wasn't pretty. The feet were getting pretty rough and I had lost a couple. Also I wanted the board to be somewhat easily removable because I suspect small things and dirt will collect underneath it. So I decided to do something different and use bolts.
The board itself is a scrap of thin oak plywood I had. It's pretty rough on the bottom but I won't see it. I cut it to size and drilled the holes for the feet then put two coats of urethane on it. I used floor urethane for two reasons. First, I had some left over. Secondly I knew the board would take a kicking so I wanted to ensure it had a tough finish and I suspect the floor stuff is tougher. I was originally going to use some spar varnish I had from the boat but it had gone bad.
The feet are five large stainless steel Phillips oval head bolts. They are sort of triangle shaped on the top with a slight curve on the head. I got some sizable ones so that they would stick out far and make good feet. These are 5/16". I also added some finishing washers to them to make them look a little nicer. On the inside I used a washer and a speed nut. These bolts are a little under and inch which was more than I wanted but they were the shortest I could get. As you can see they stick fairly far past the floor. I could have used T-Nuts and had flush bolts to the wood but the size I needed required thicker plywood than I had and I suspected they would have damaged the veneer of the plywood. Using nuts from a bicycle might work well here too. Bike nuts are often very thin so while they would be proud of the plywood they would still only be about 1/8 proud. You'd have to scrounge them and find matching threaded bolts though. That could prove difficult. I might cut the bolts down with a small cut off wheel one day but I'm going to see if they actually prove useful. Being a sailing bag I could see having nubs on the bottom being useful. They could keep rolls of tape from moving around, perhaps I could use them for some kind of small rope storage aid. Who knows. I suspect time will tell and I'd hate to act too quickly.
I like stainless steel hardware period. I was surprised at how much these bolts cost me. I think it was about $20. Stainless stuff used to be cheaper at hardware stores. That said, this bag is going to be outside and the feet are going to get scraped and dinged. If they're stainless they won't rust. Also I can cut the bolts without worrying about leaving exposed ungalvanized steel to rust. Rust is particularly bad in this case because it will stain the fabric and will look bad in terms of something we want to look good. In addition, a stainless finish is just nicer looking than galvanized and this bag has a bit of a fashion element to it.
So that's it. I'm looking forward to trying it out over the summer. I suspect one day I might do something with the handles. Probably just add some rope where you hang on to dress it up and give something more substantial to grab. I'll probably use square knots or a similar technique to whipping when the right bit of rope presents itself.