Vintage Edit
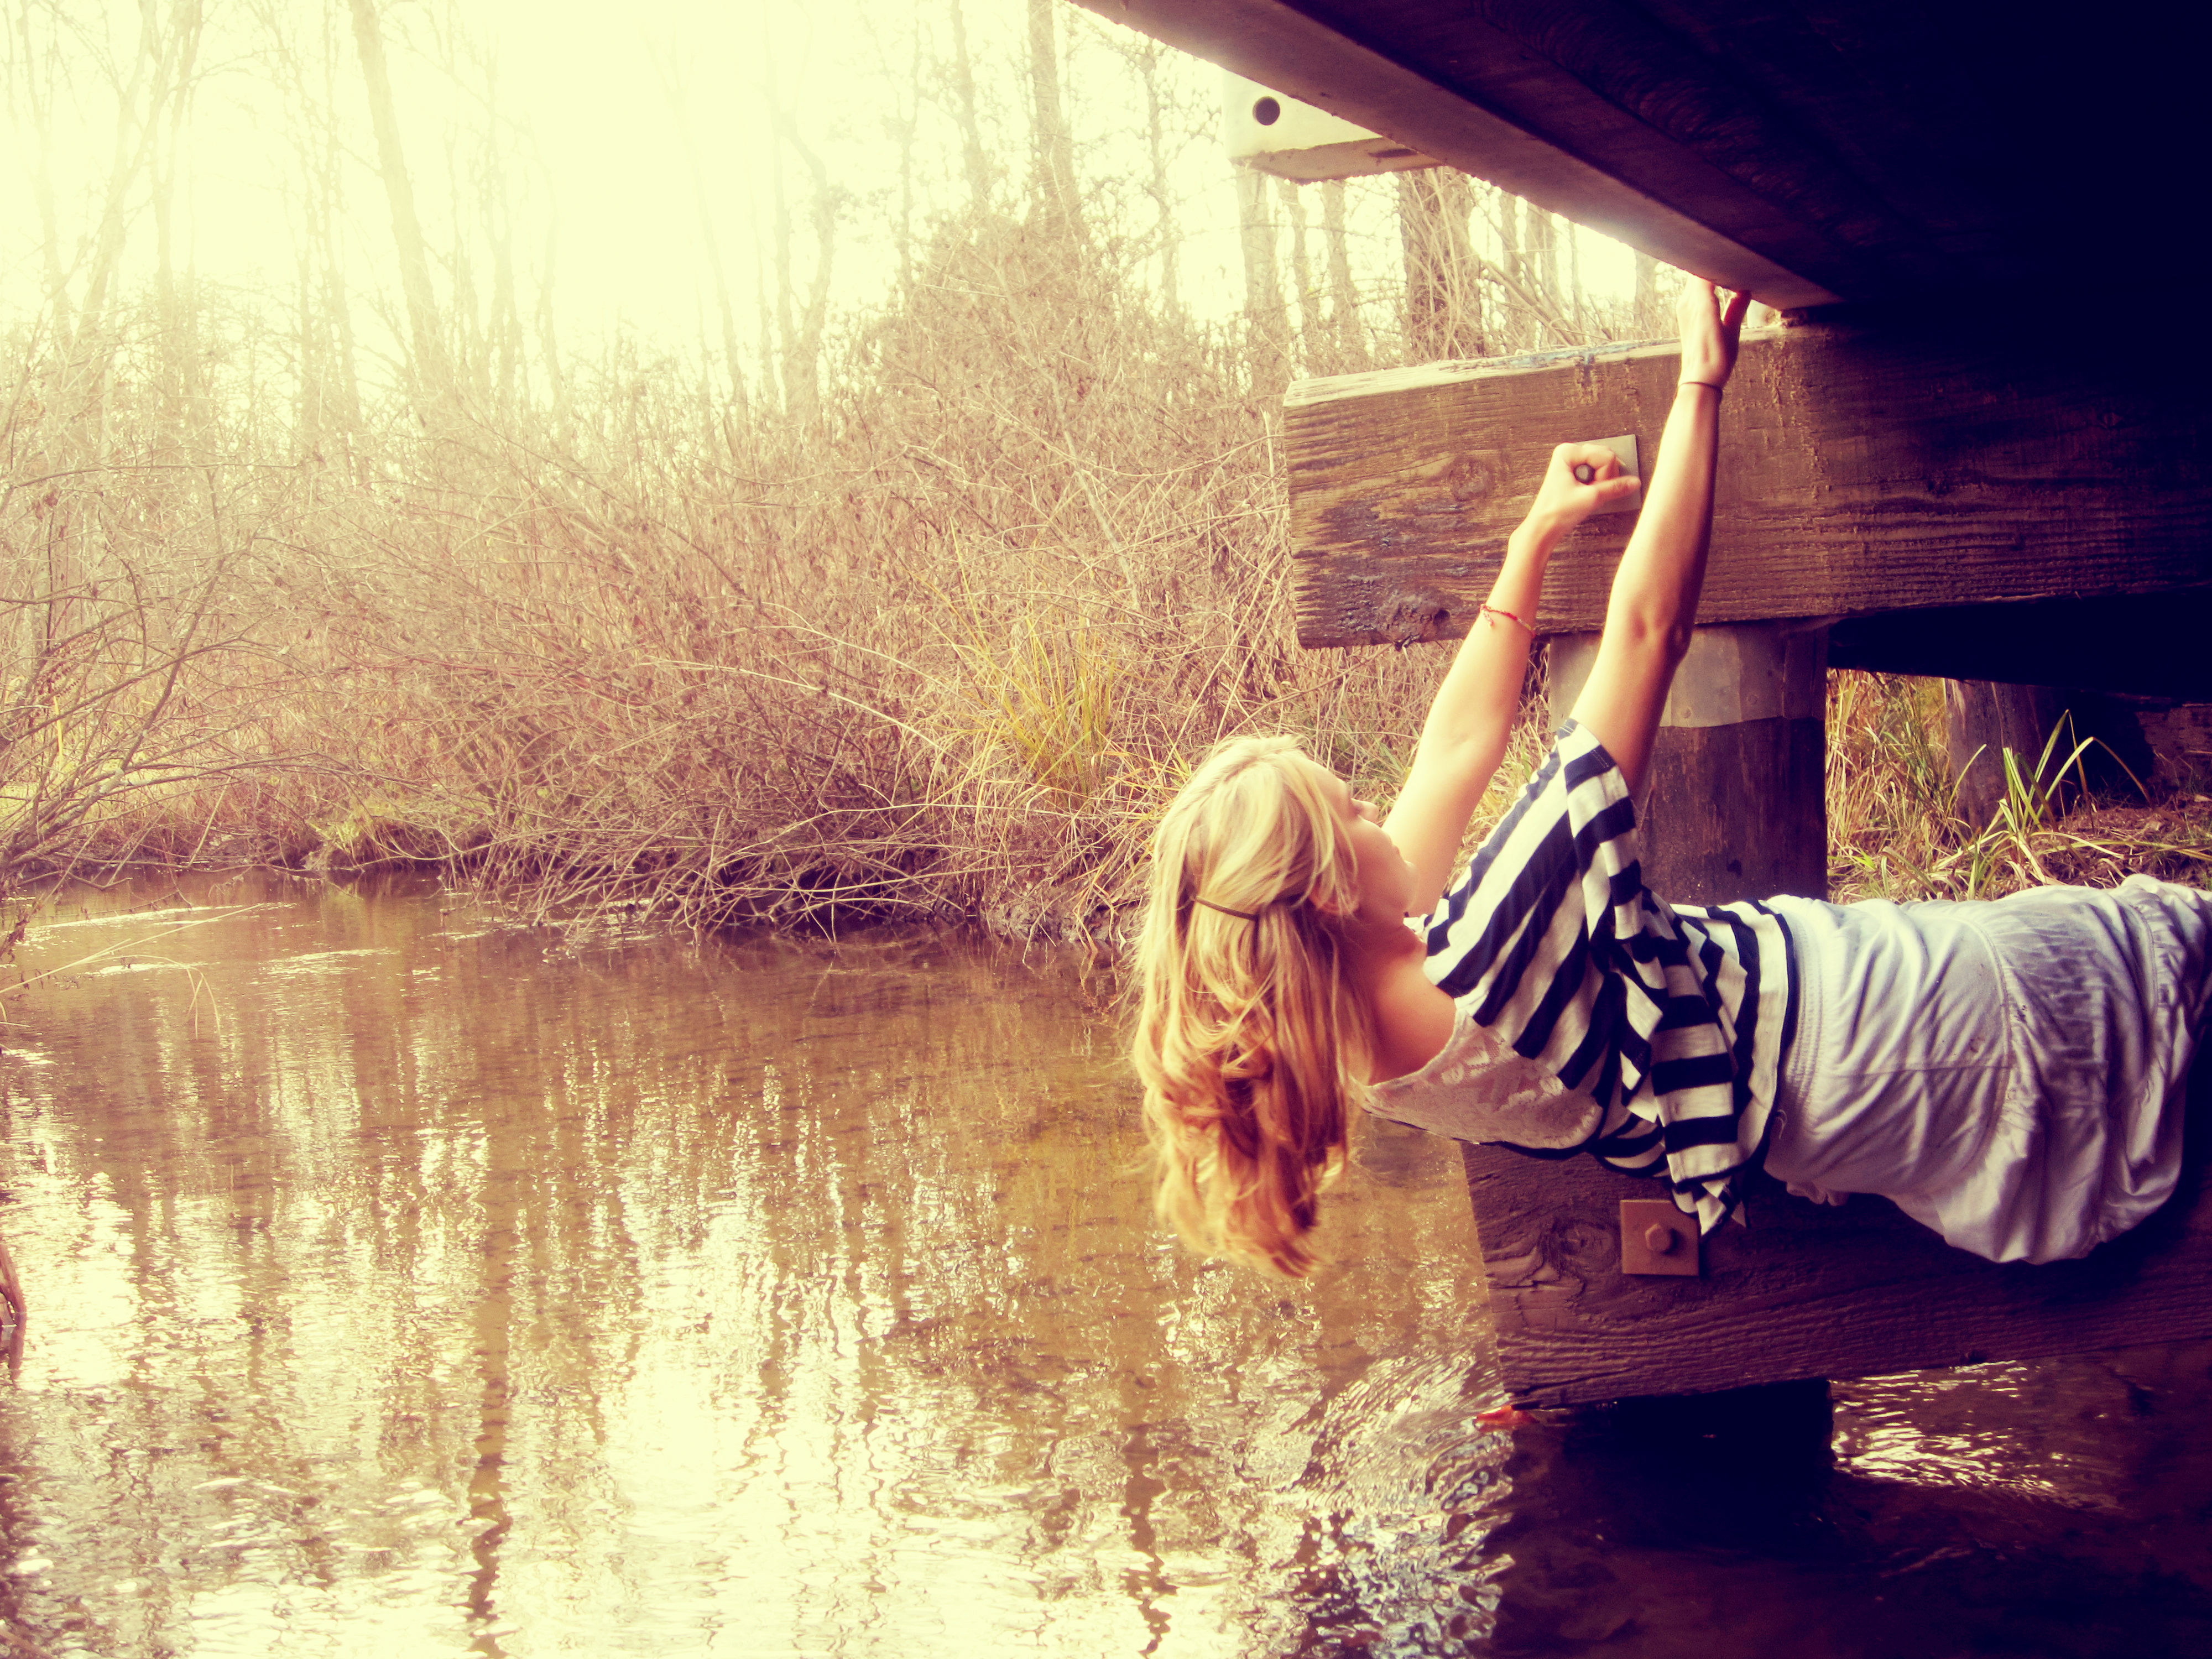
Here's how to make a "normal" picture look vintage!!... I used Adobe Photoshop CS3.

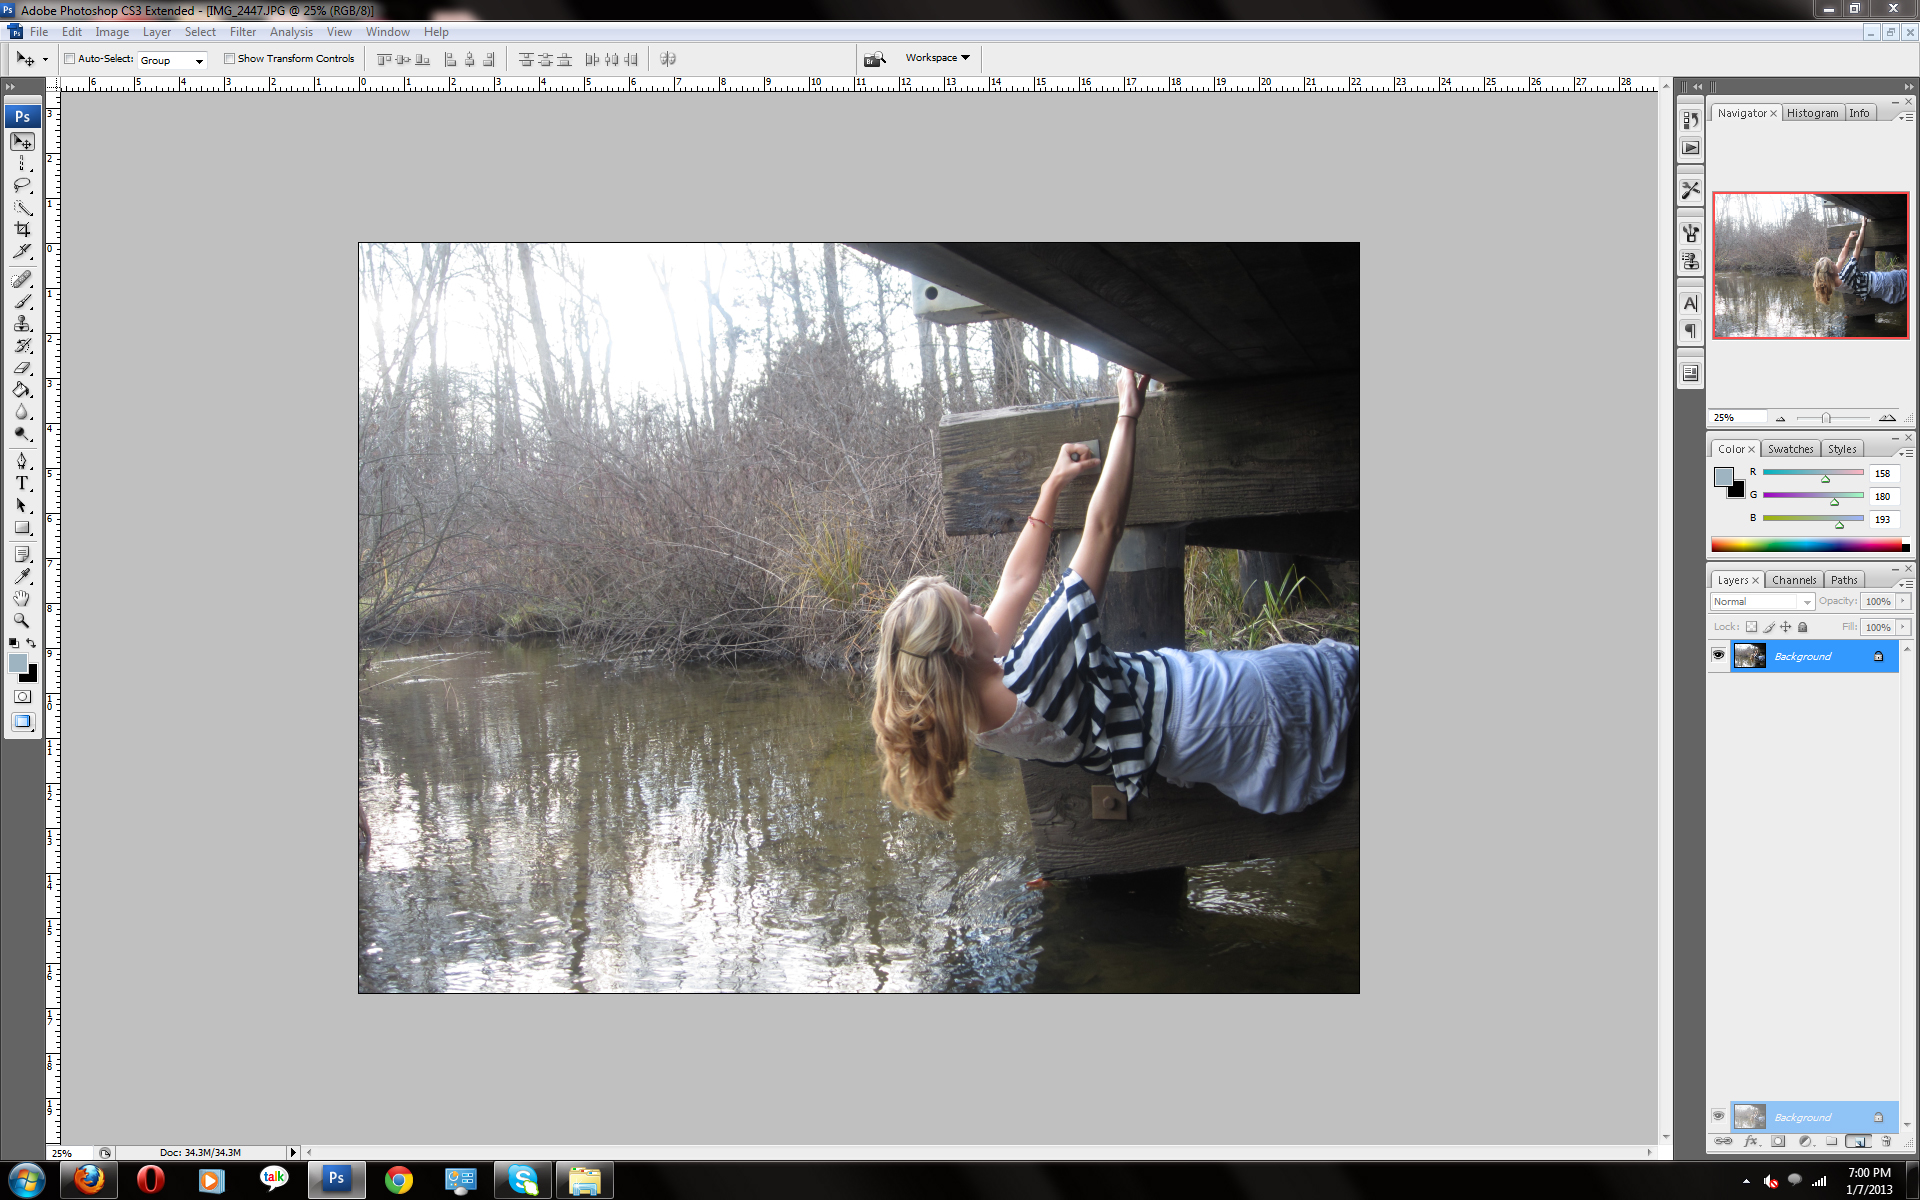
(Click the images to make bigger)
1. Open your picture into Photoshop and duplicate (copy) the picture.
1. Open your picture into Photoshop and duplicate (copy) the picture.
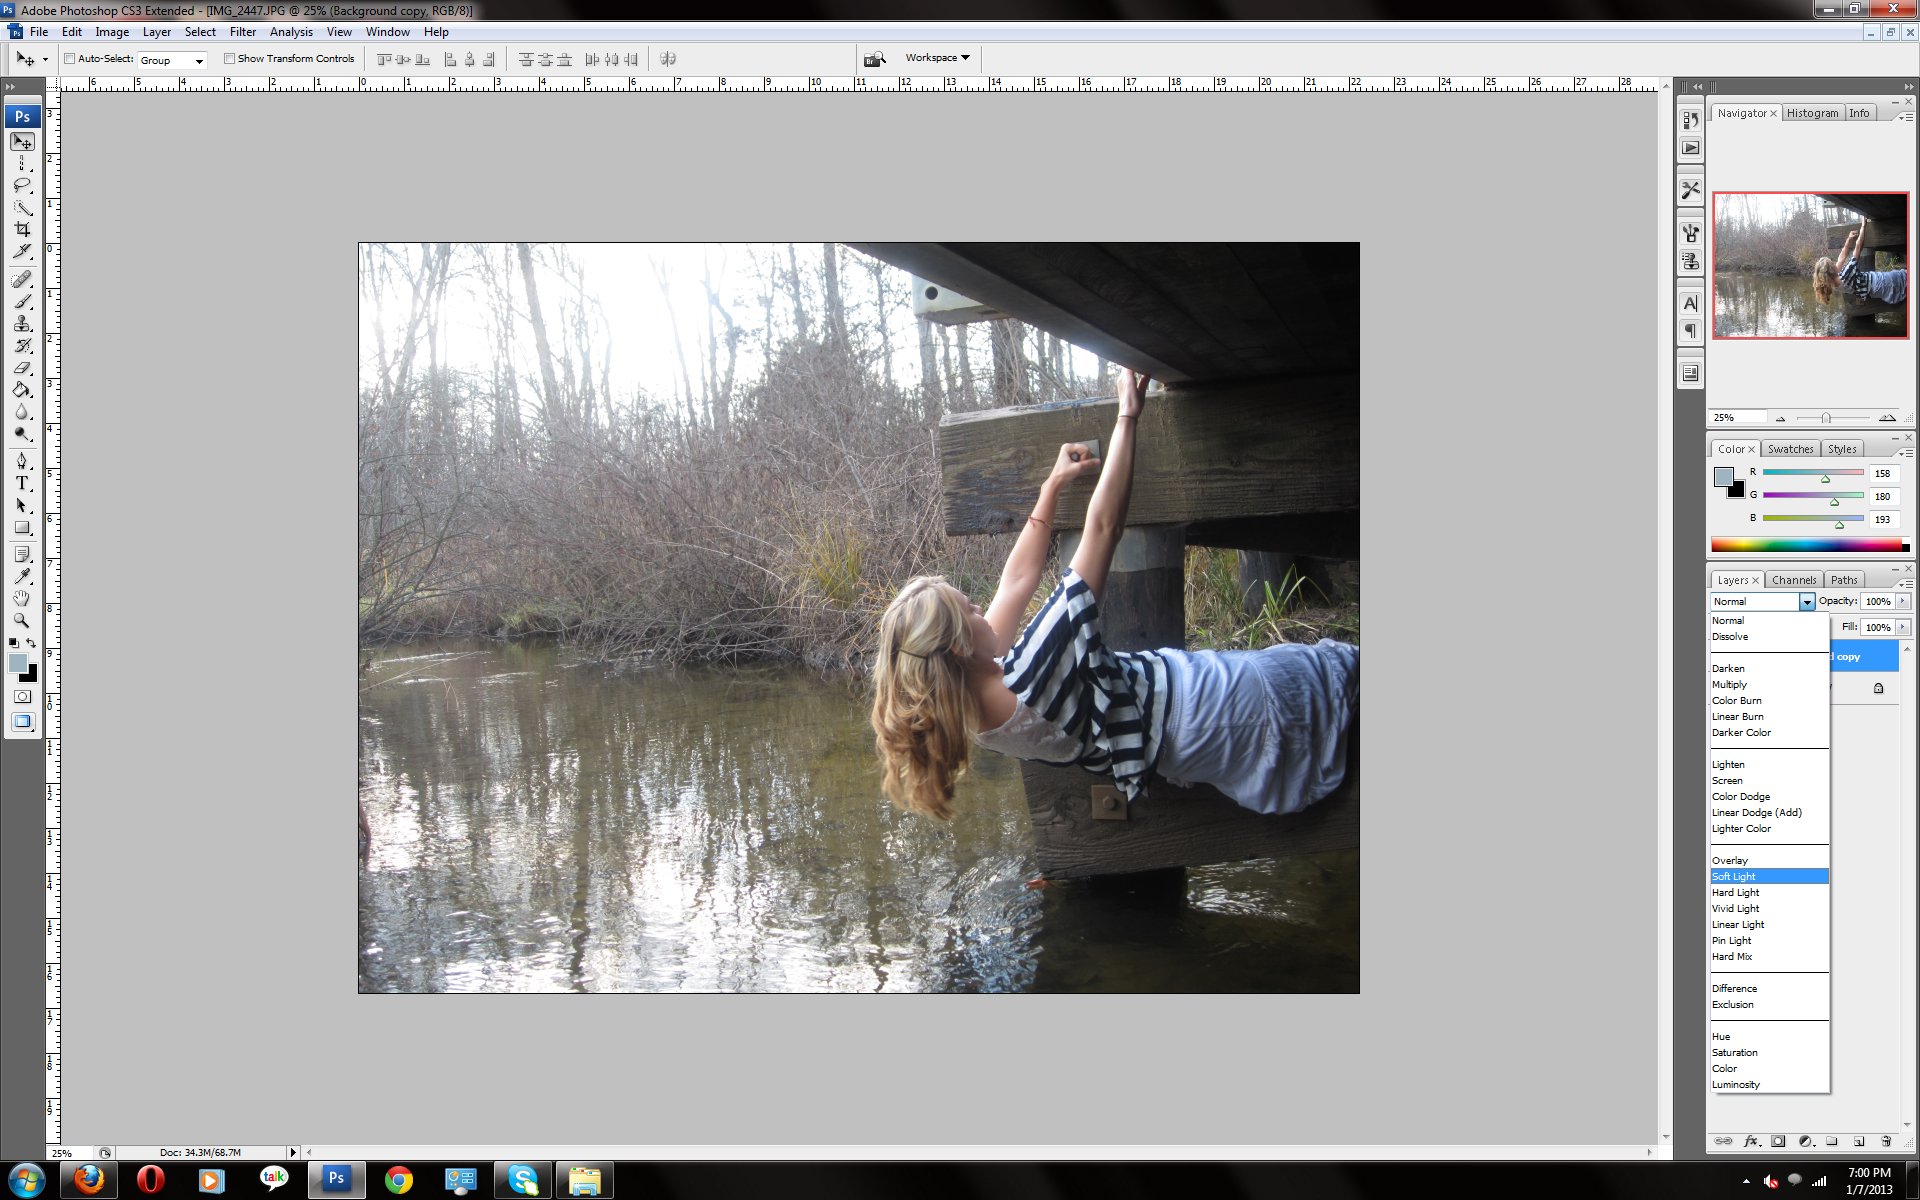
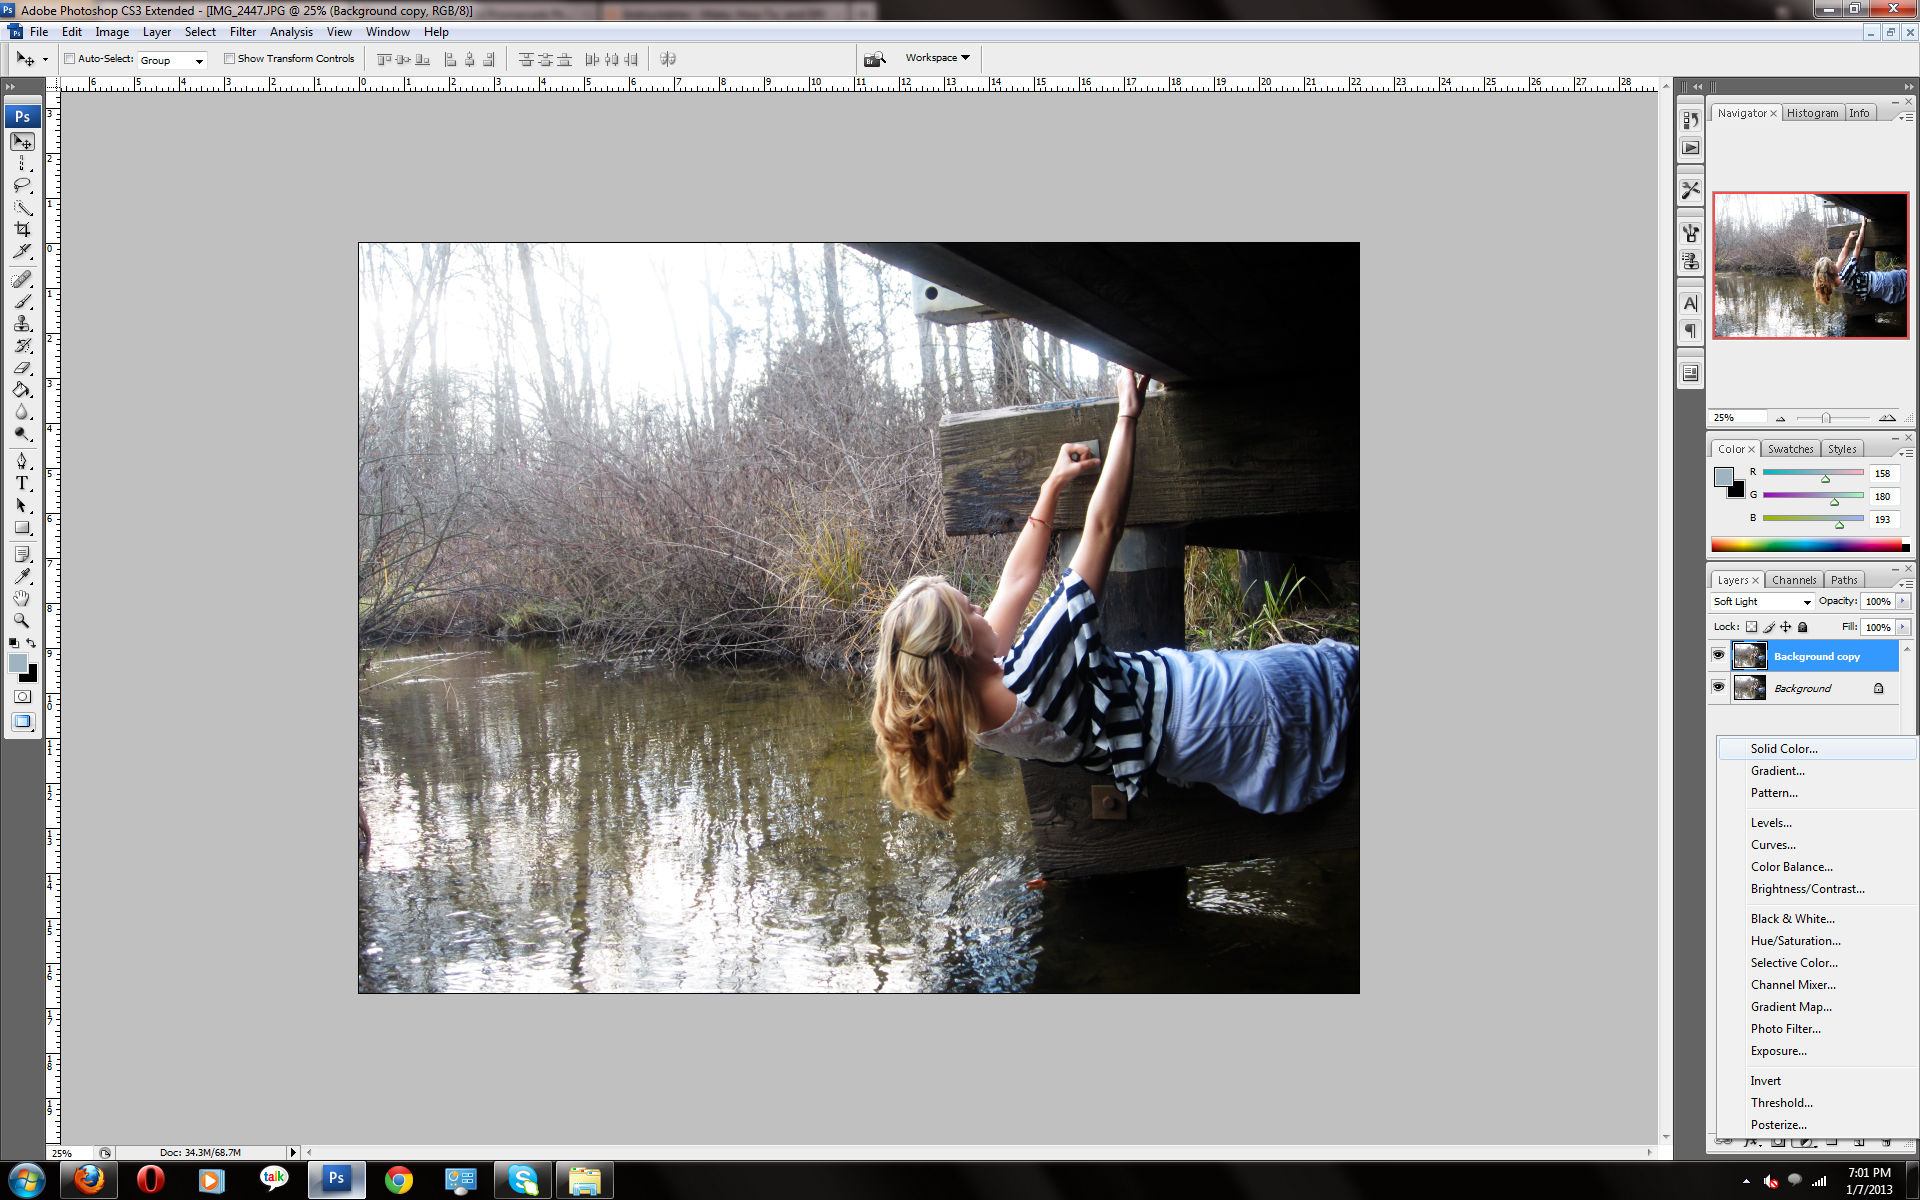
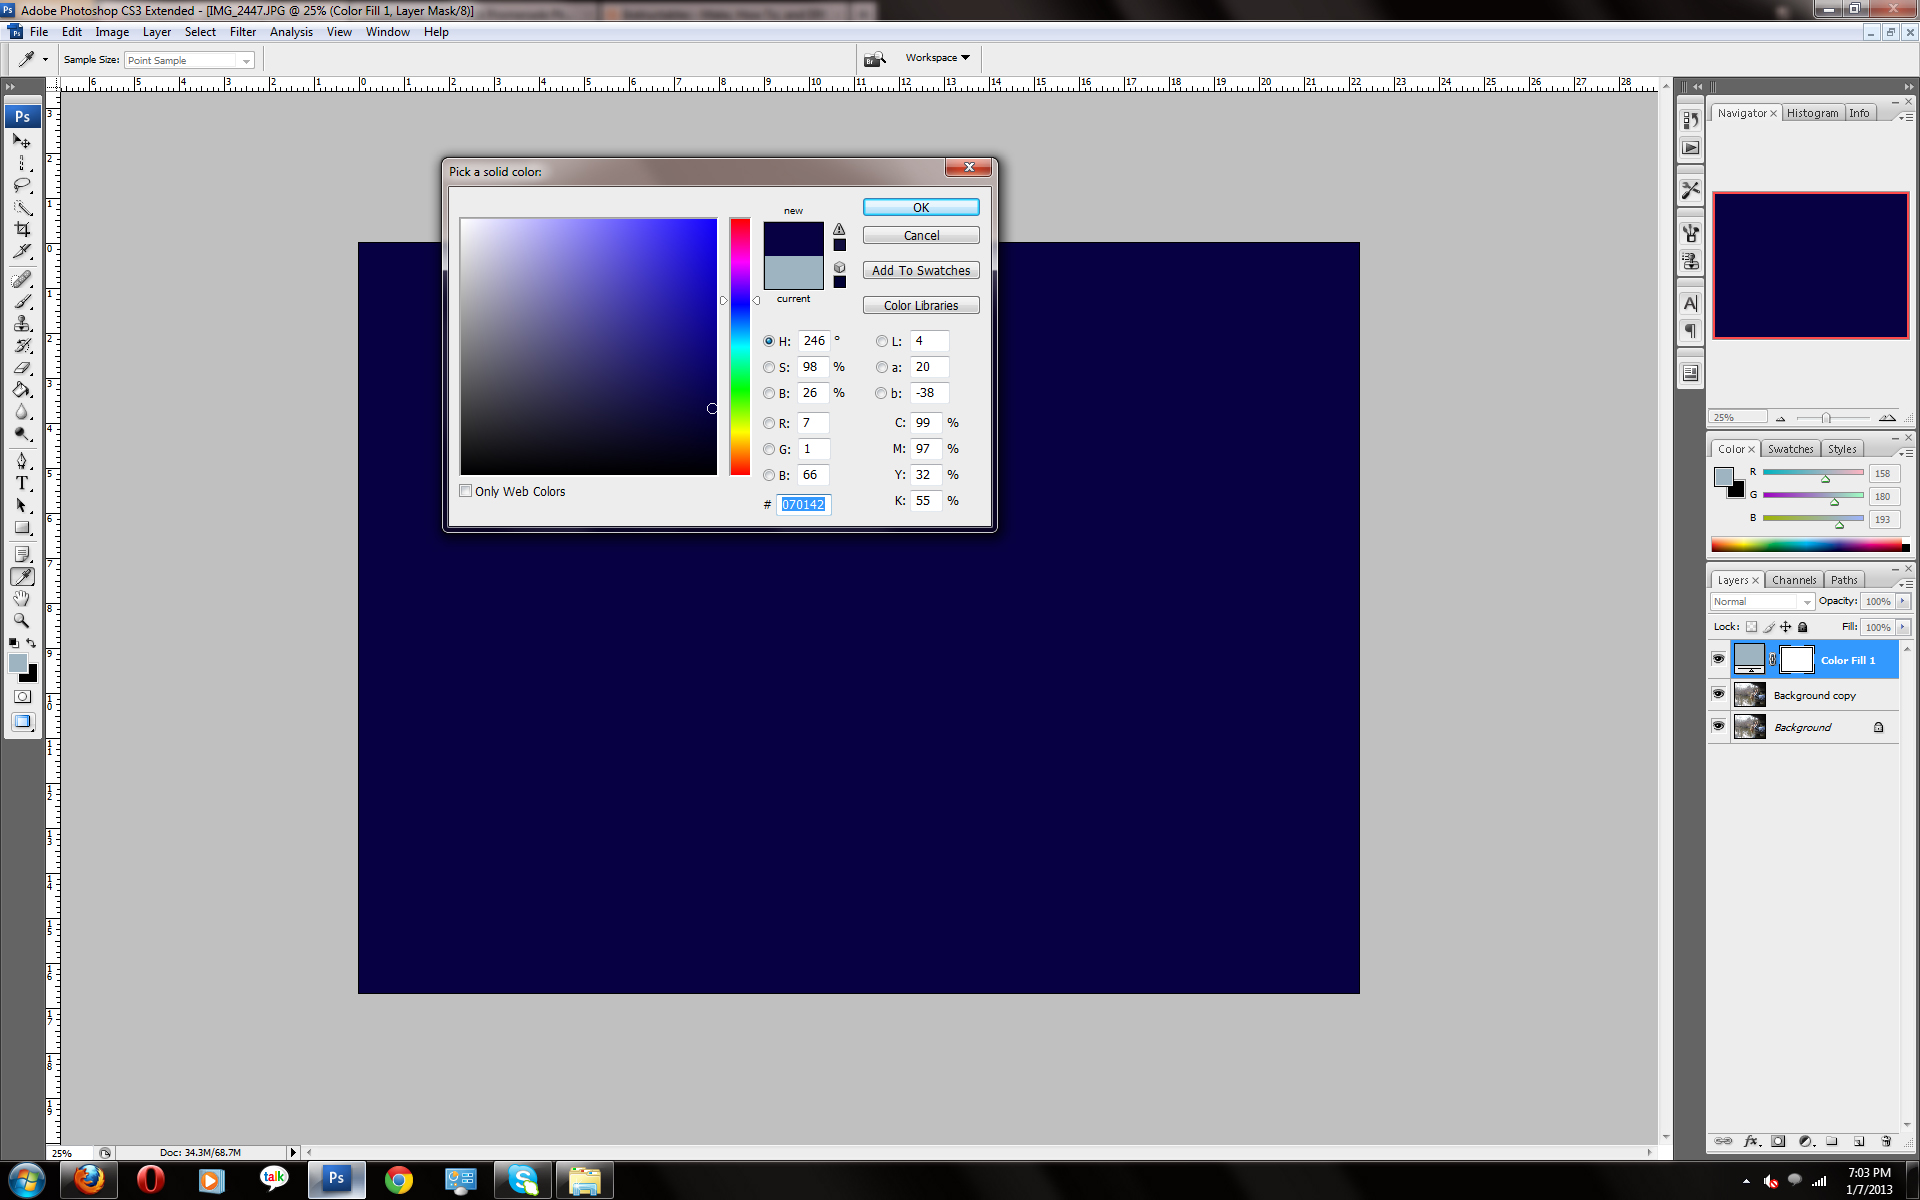
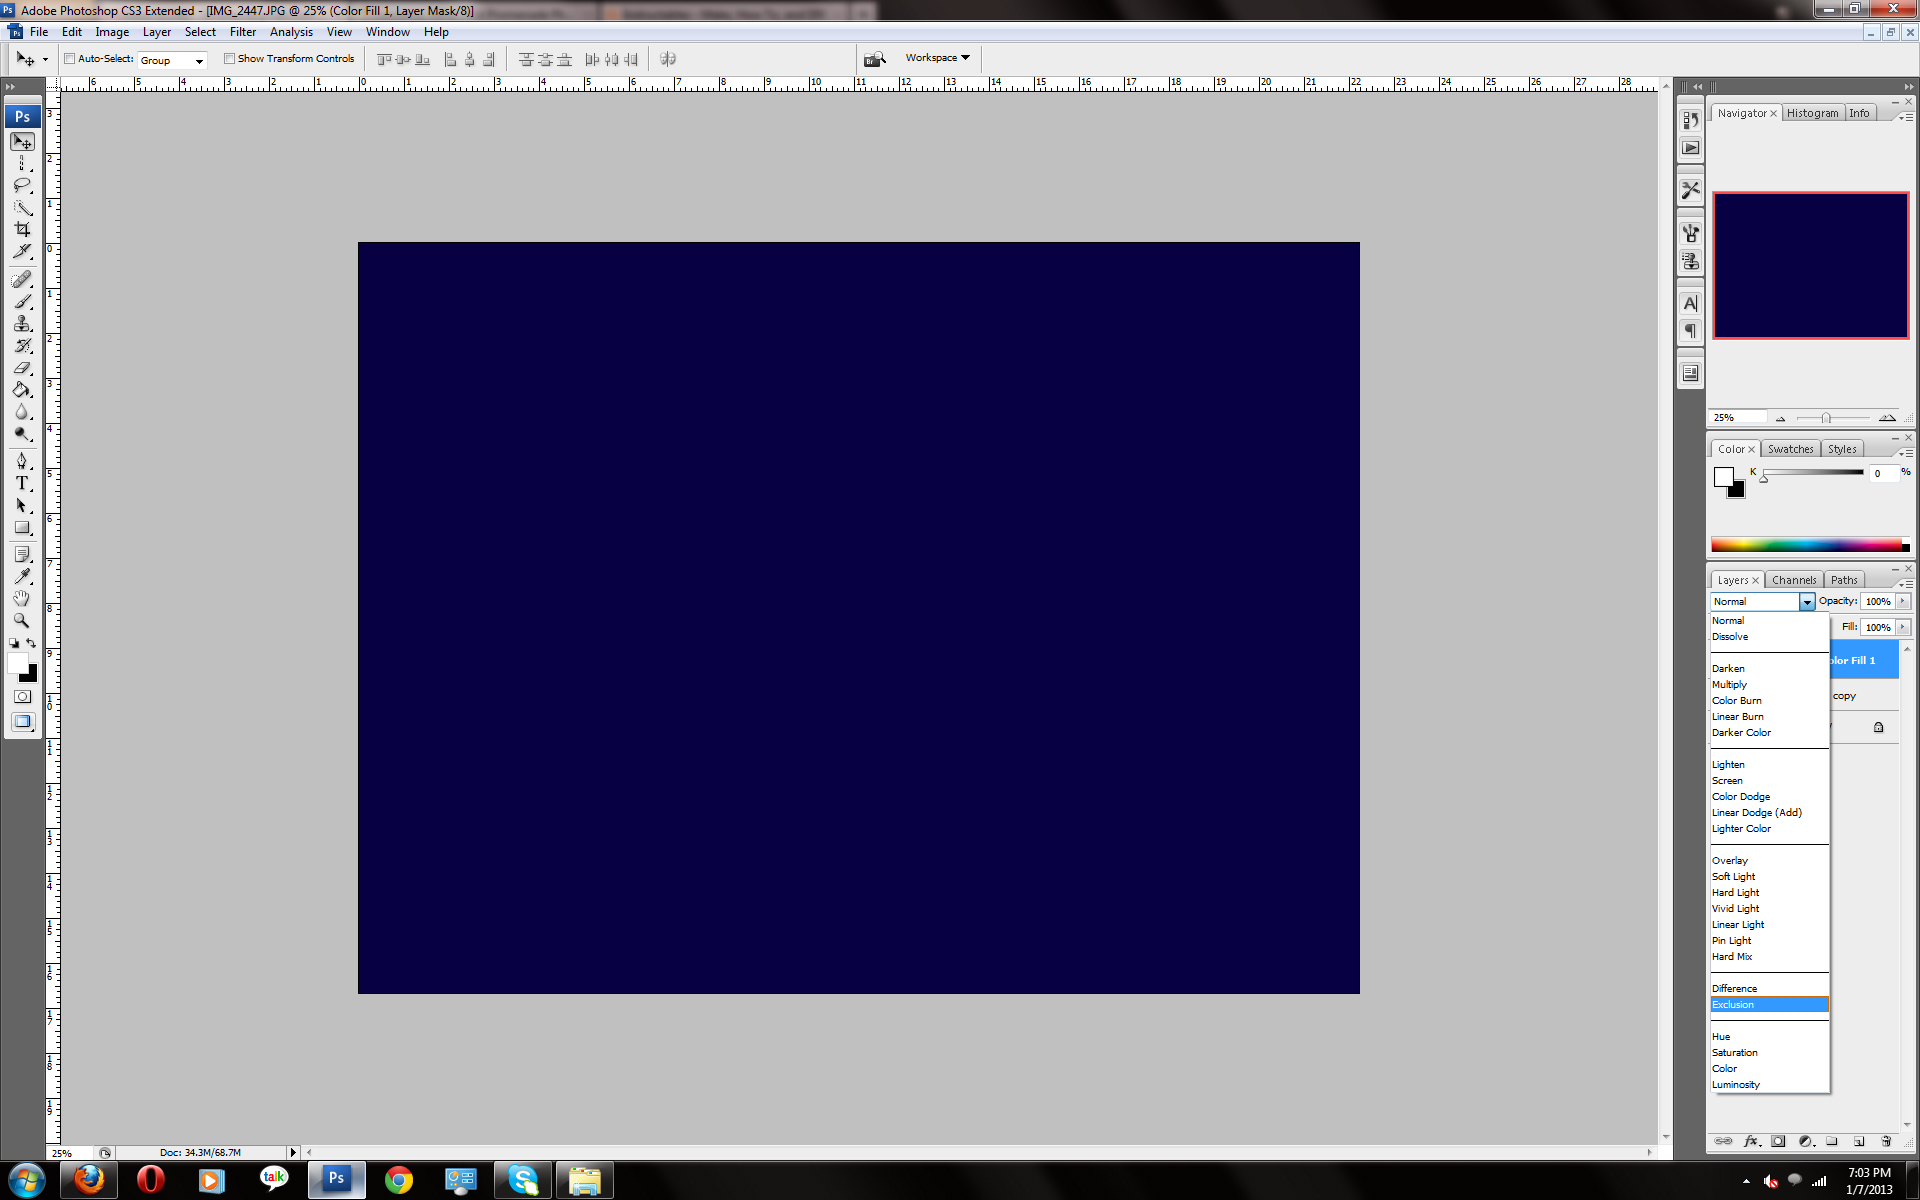

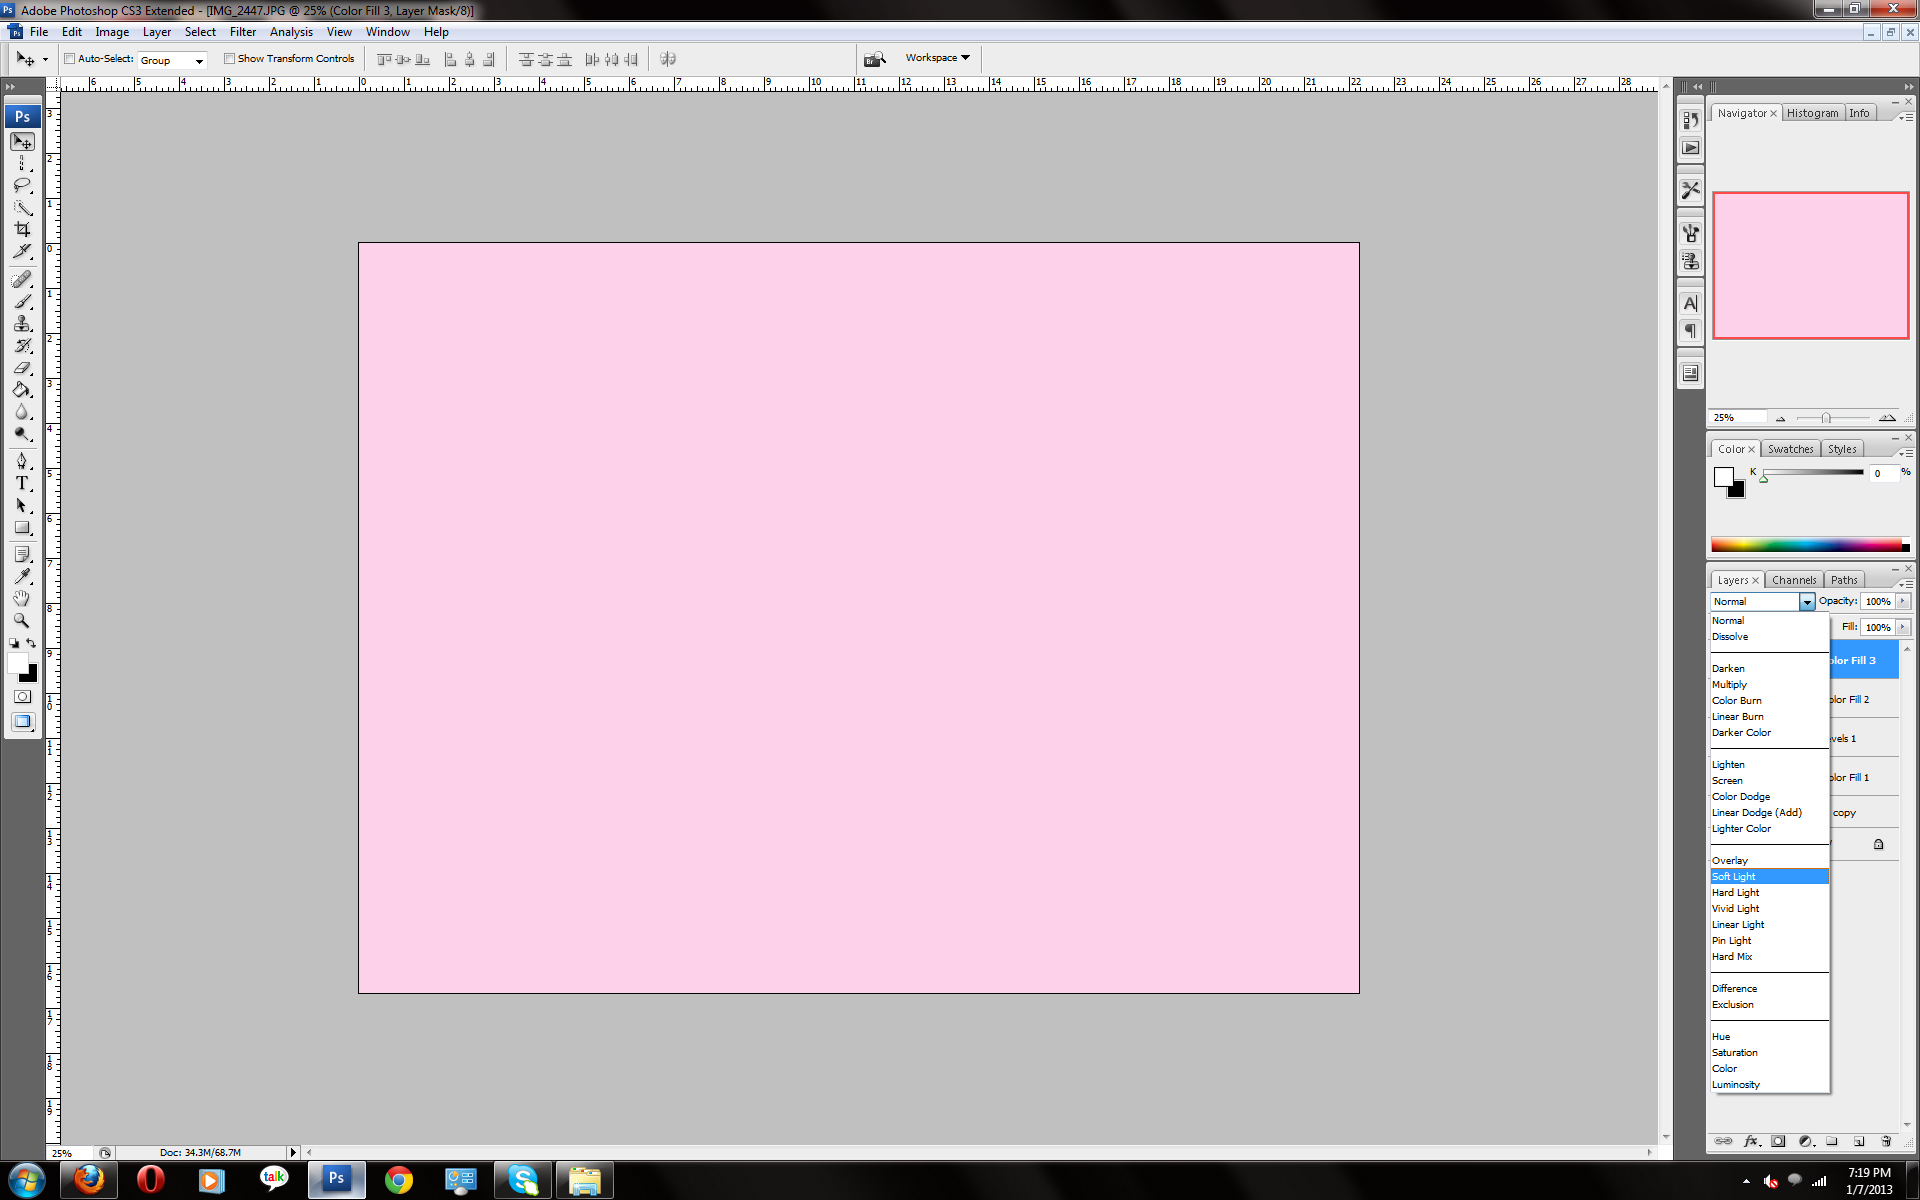
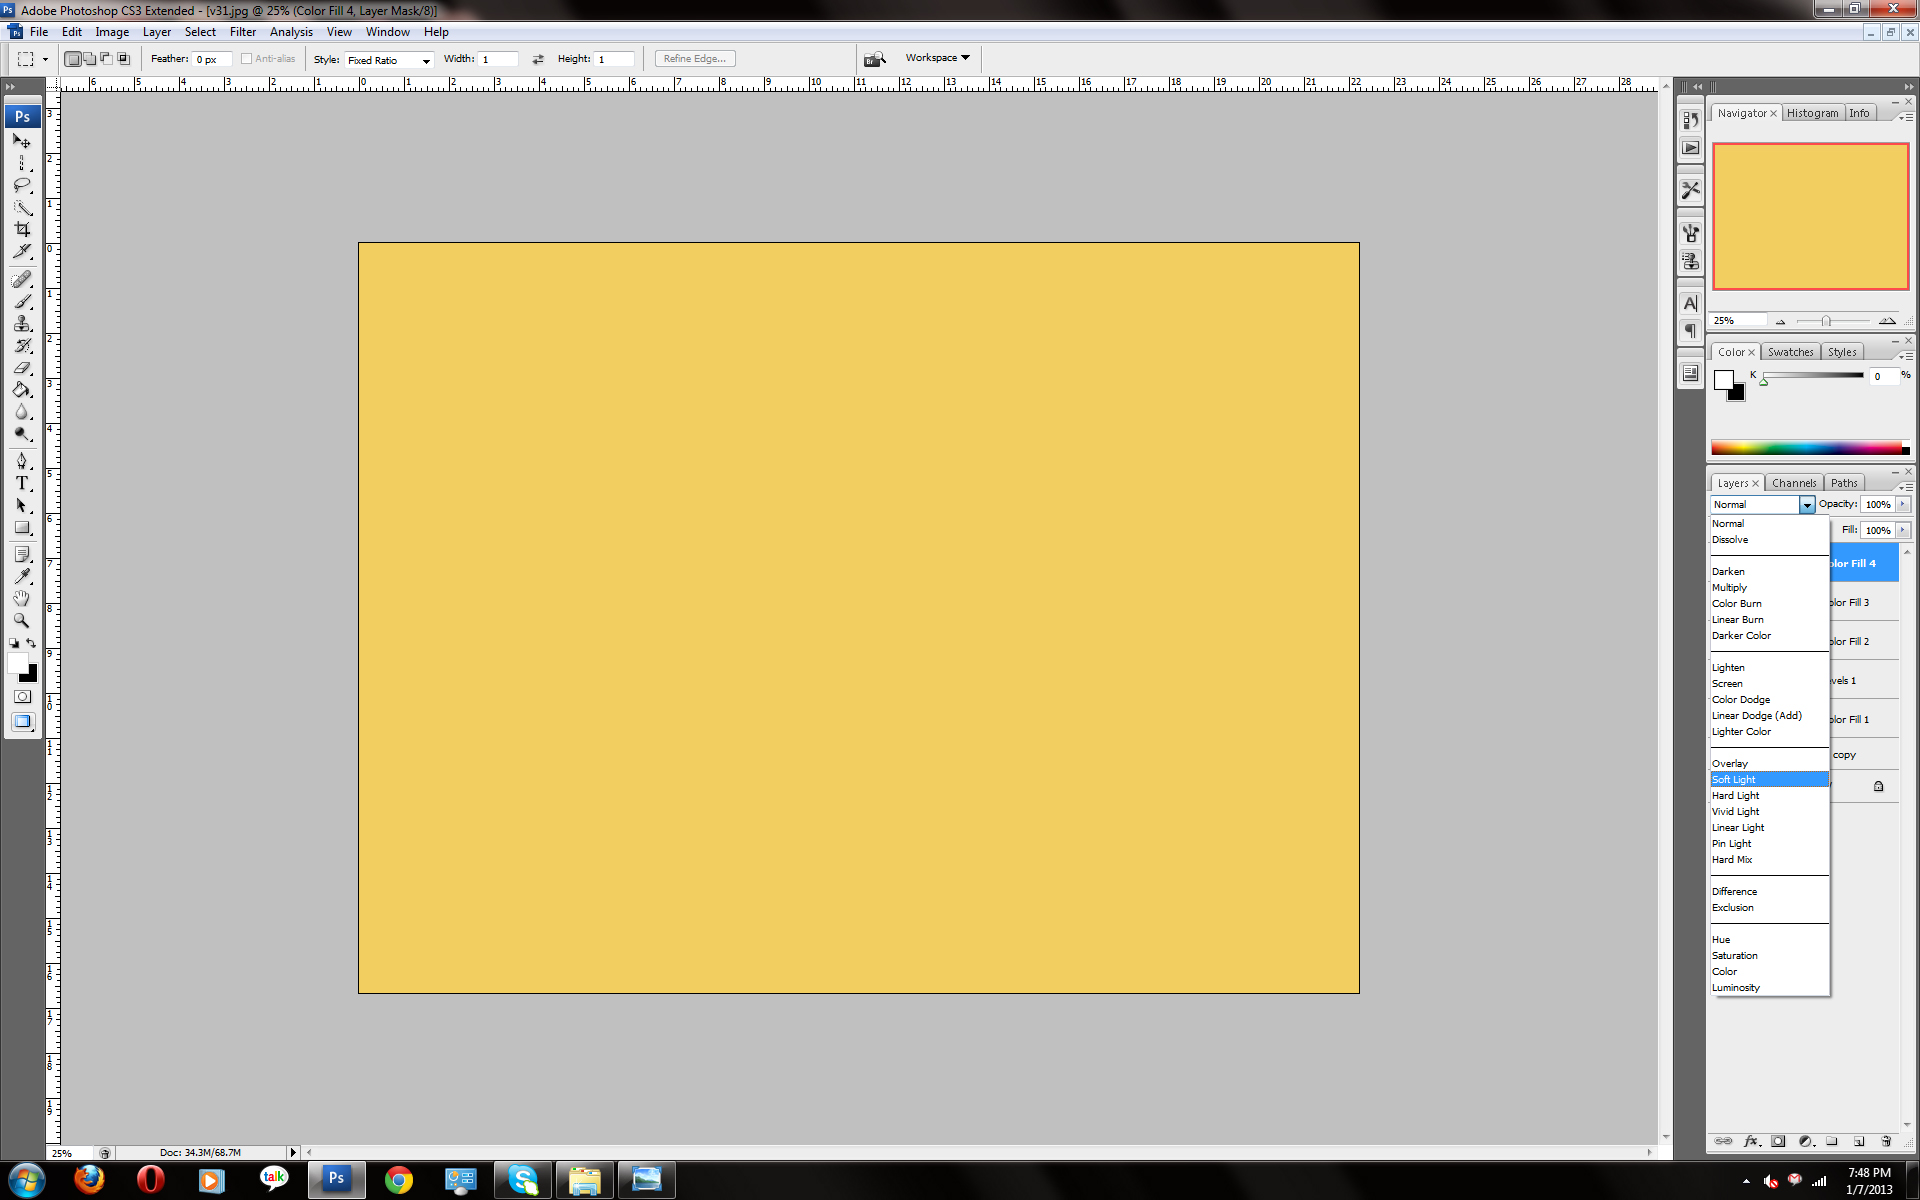
2. Click "normal" and look for "soft light", click that.
Then click the little circle, half shaded, and then click "solid color".
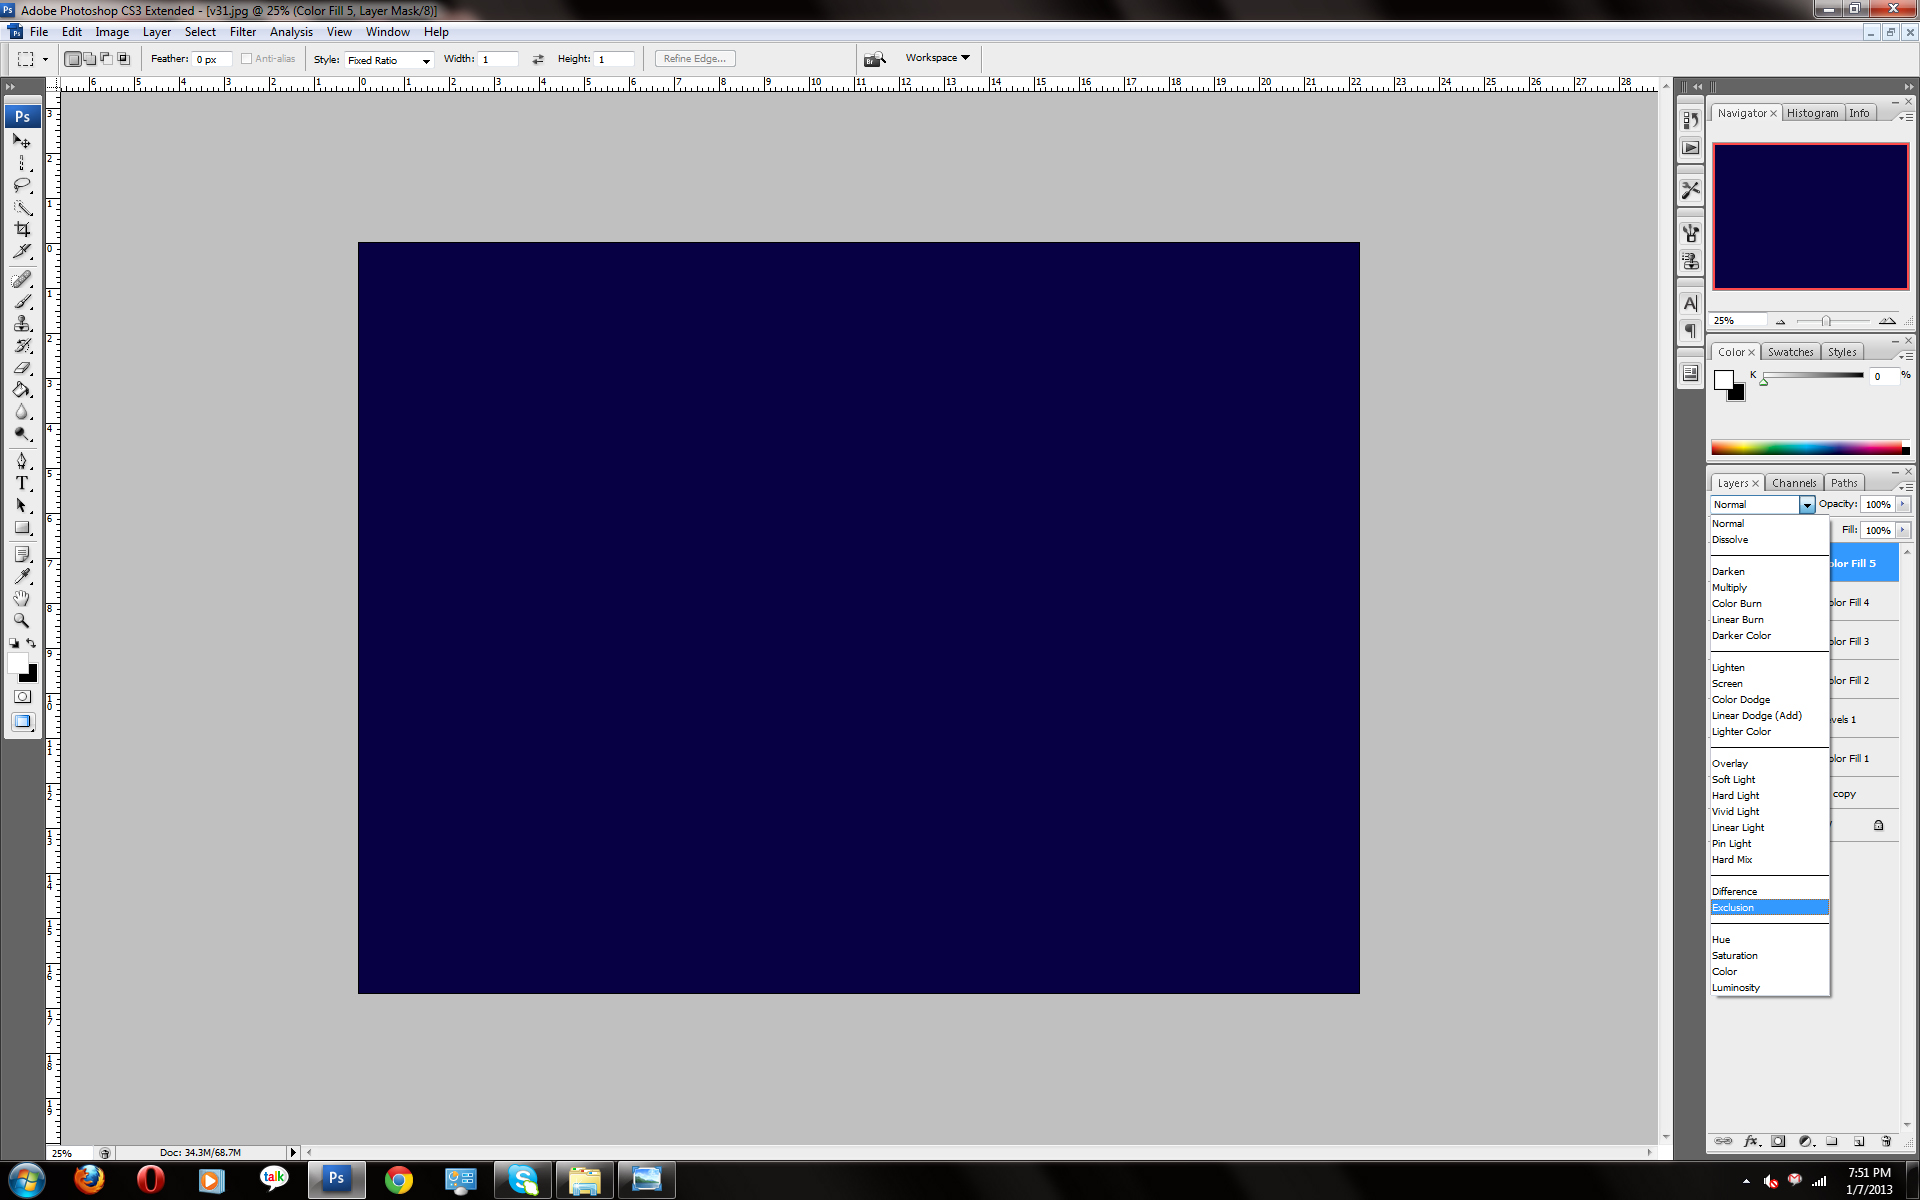
Change the color number to 070142 and click ok. Click on normal again and click Exclusion.
Then click the little circle, half shaded, and then click "solid color".
Change the color number to 070142 and click ok. Click on normal again and click Exclusion.

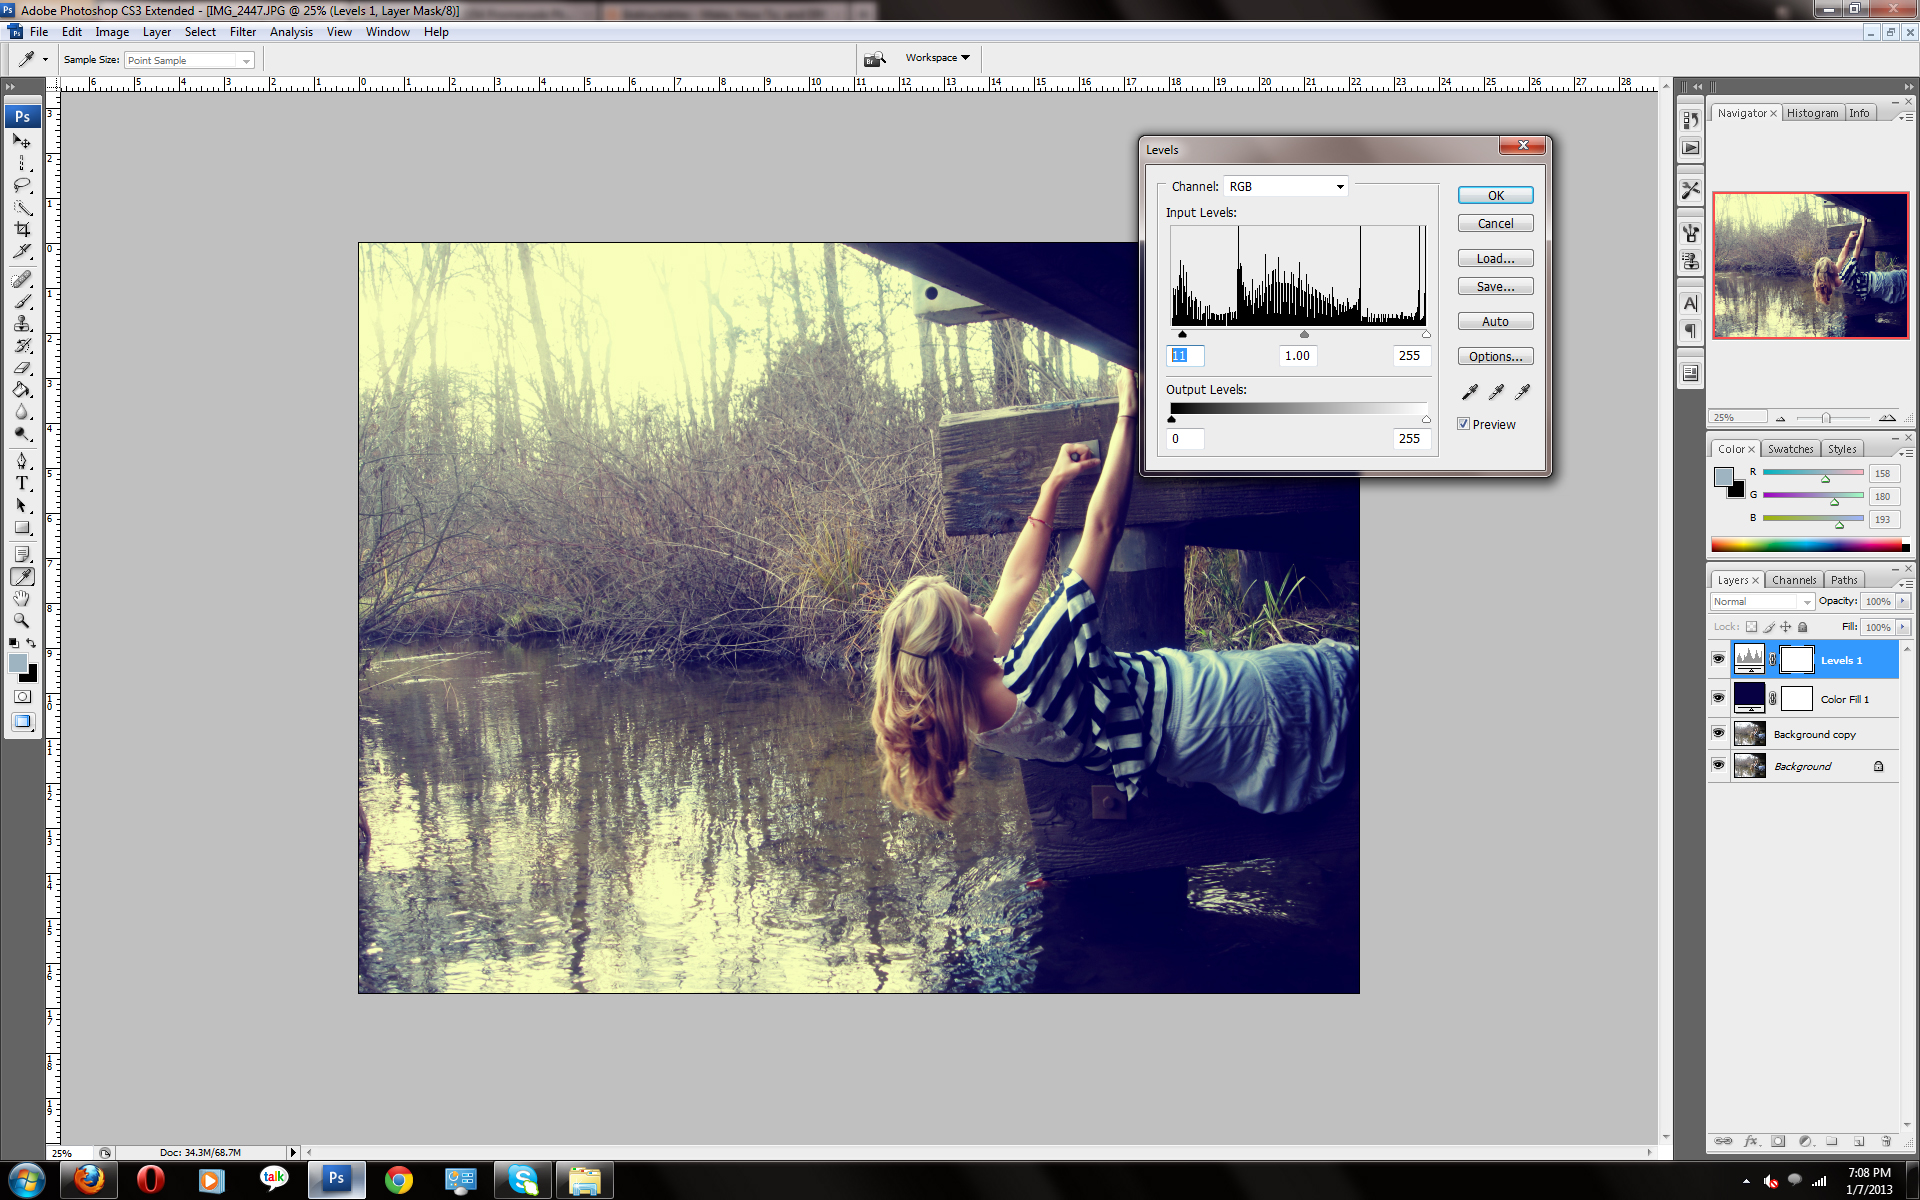
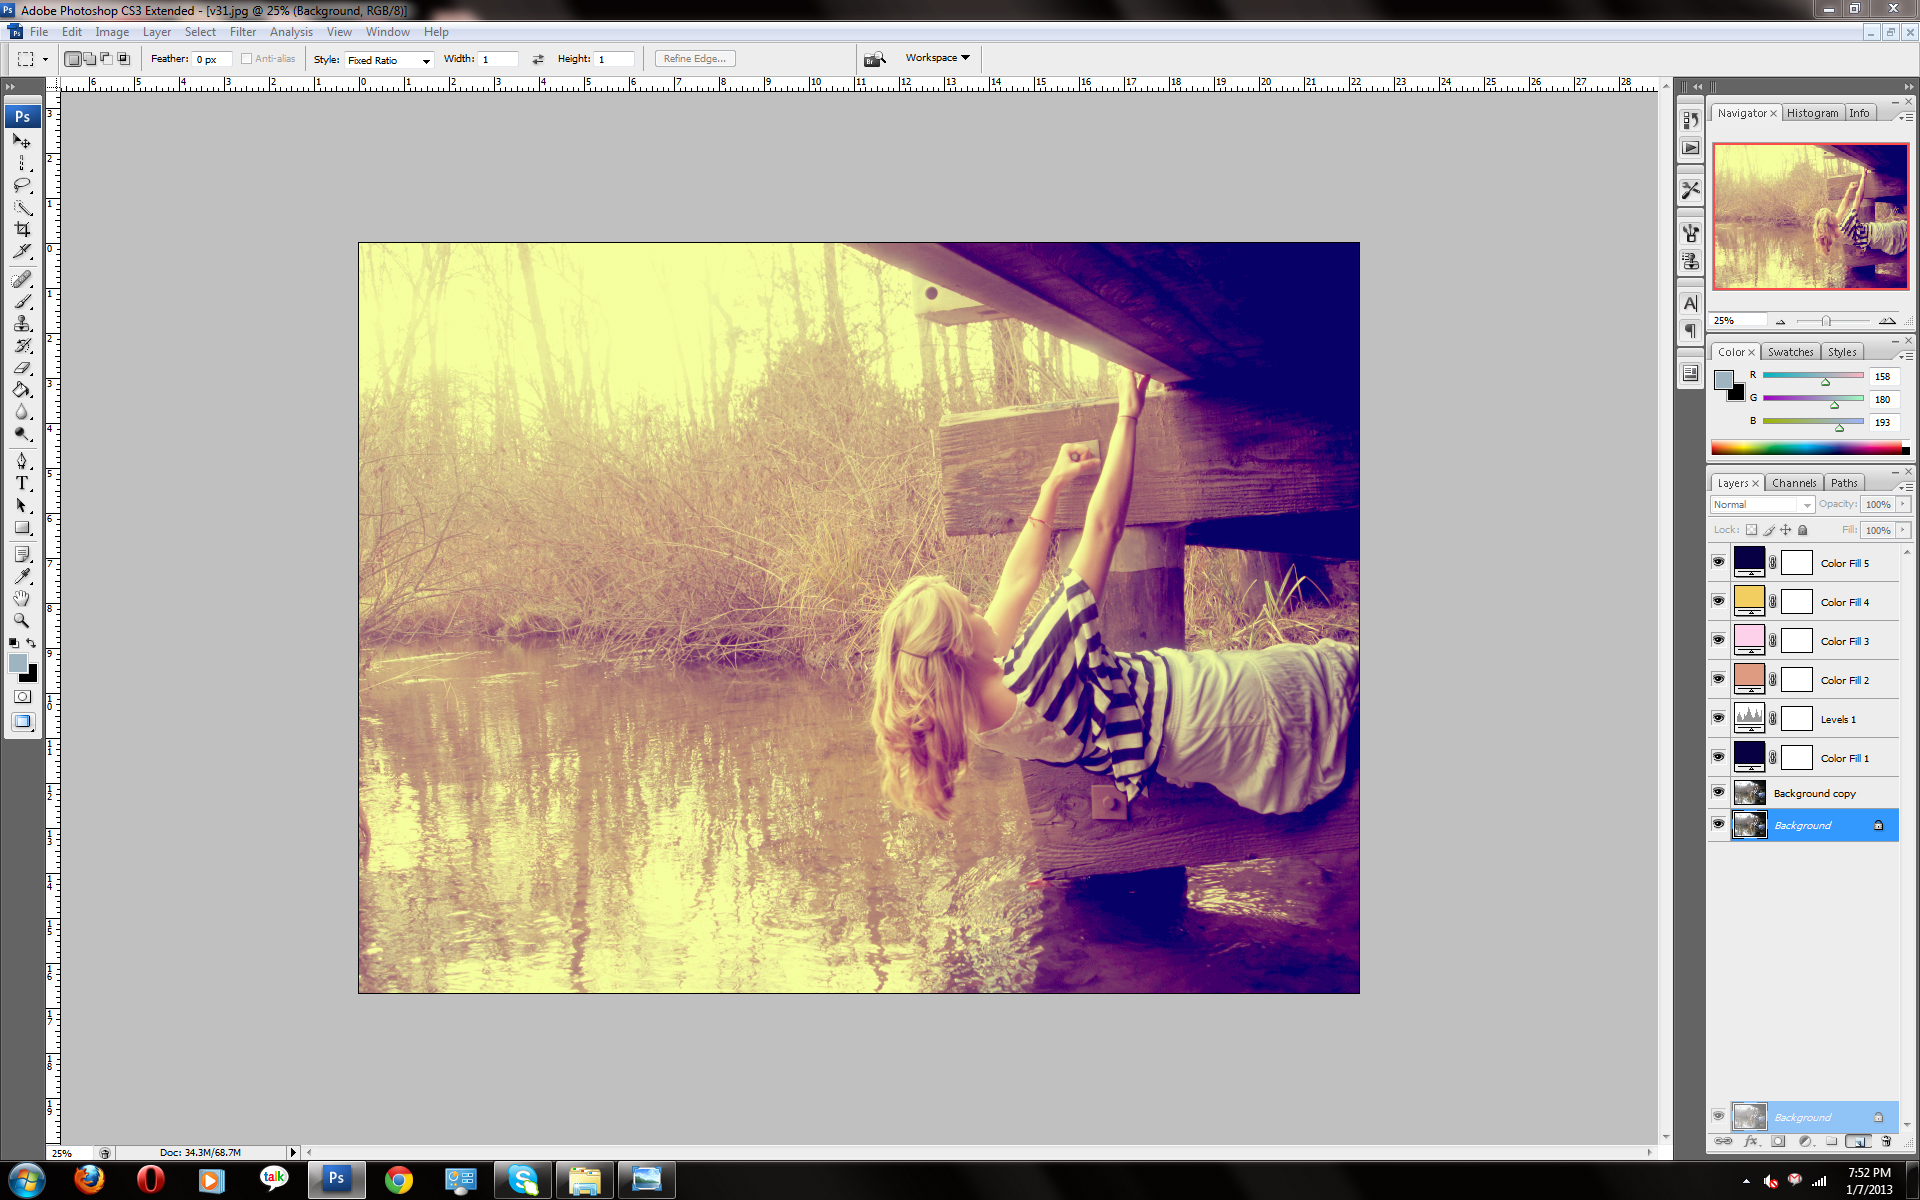
3. Click the small circle again and then levels. Change the first box with numbers to 11.
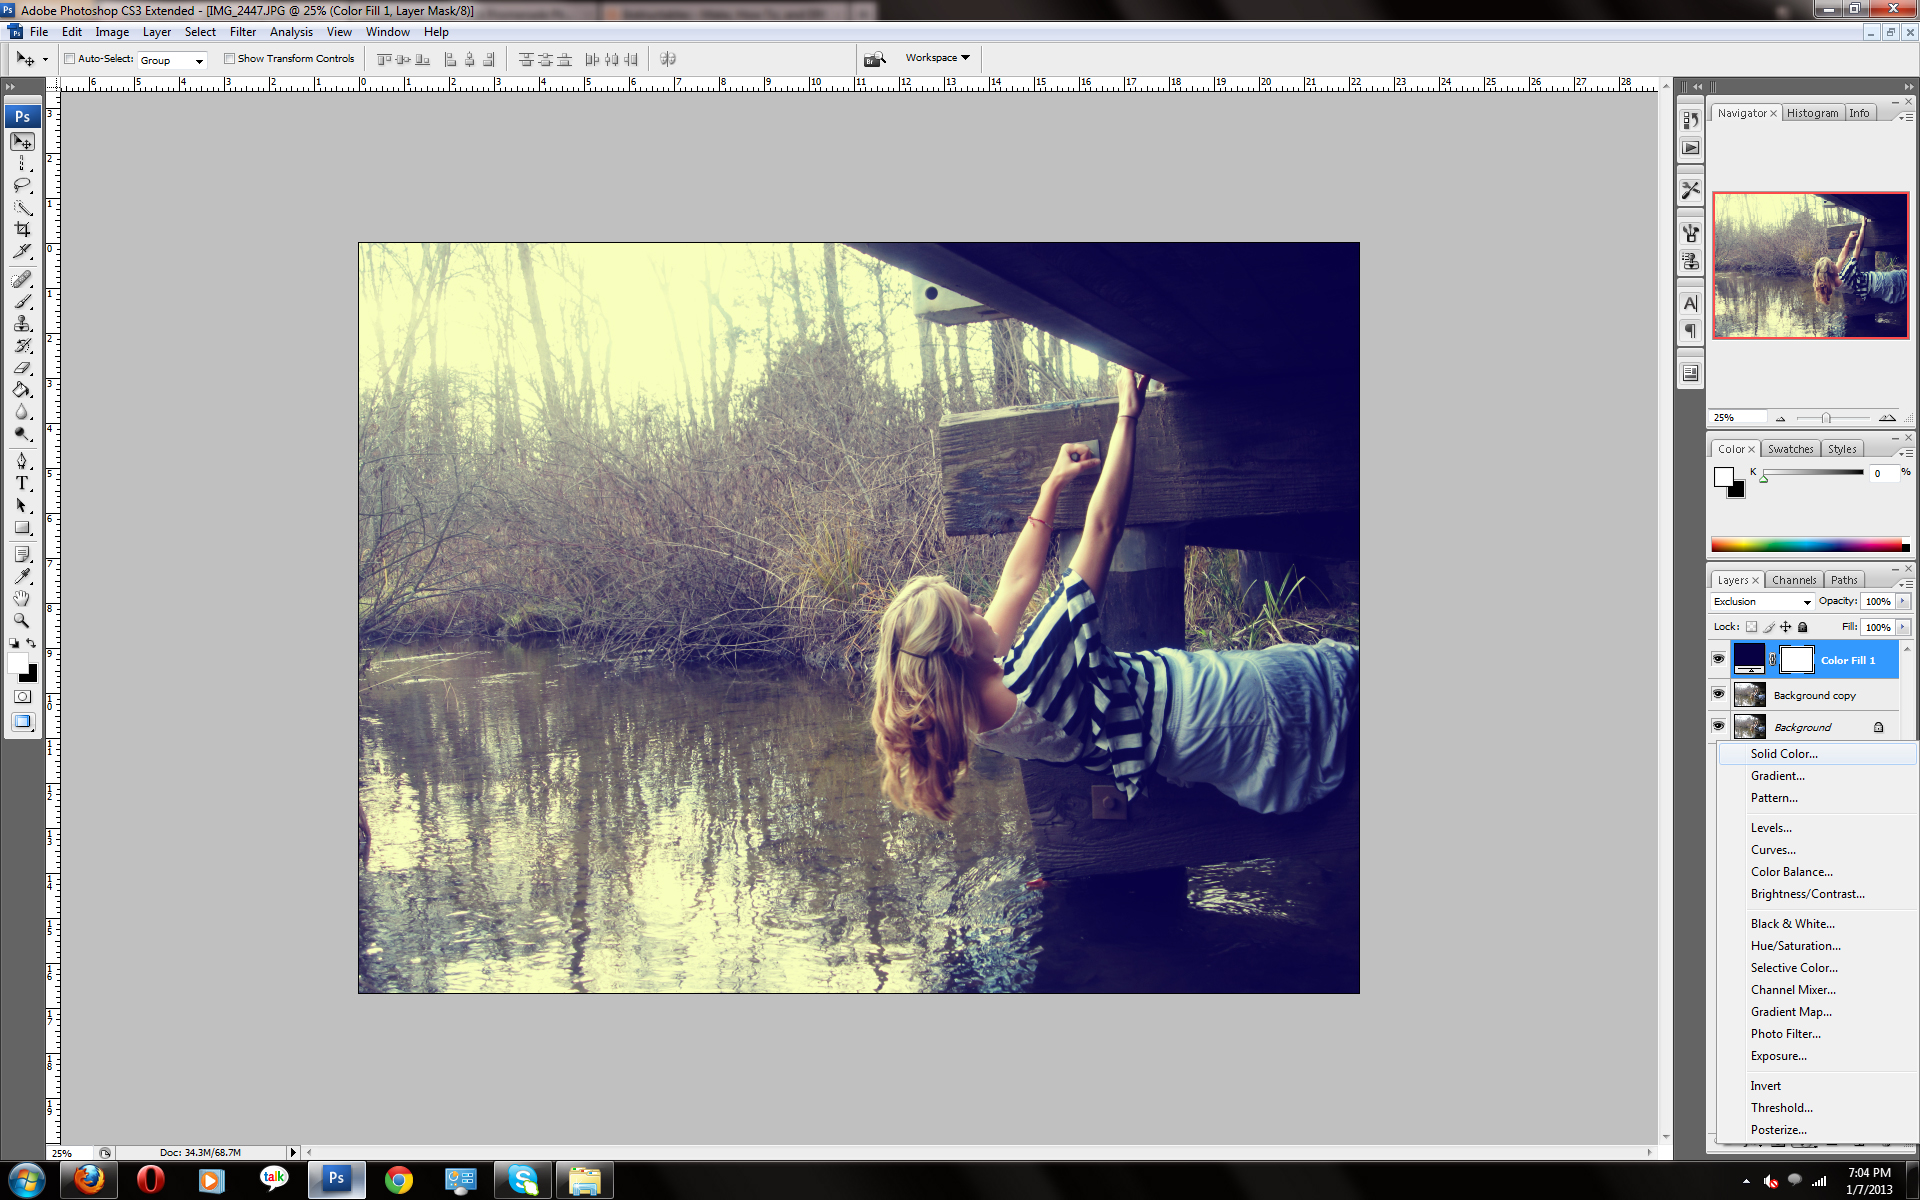
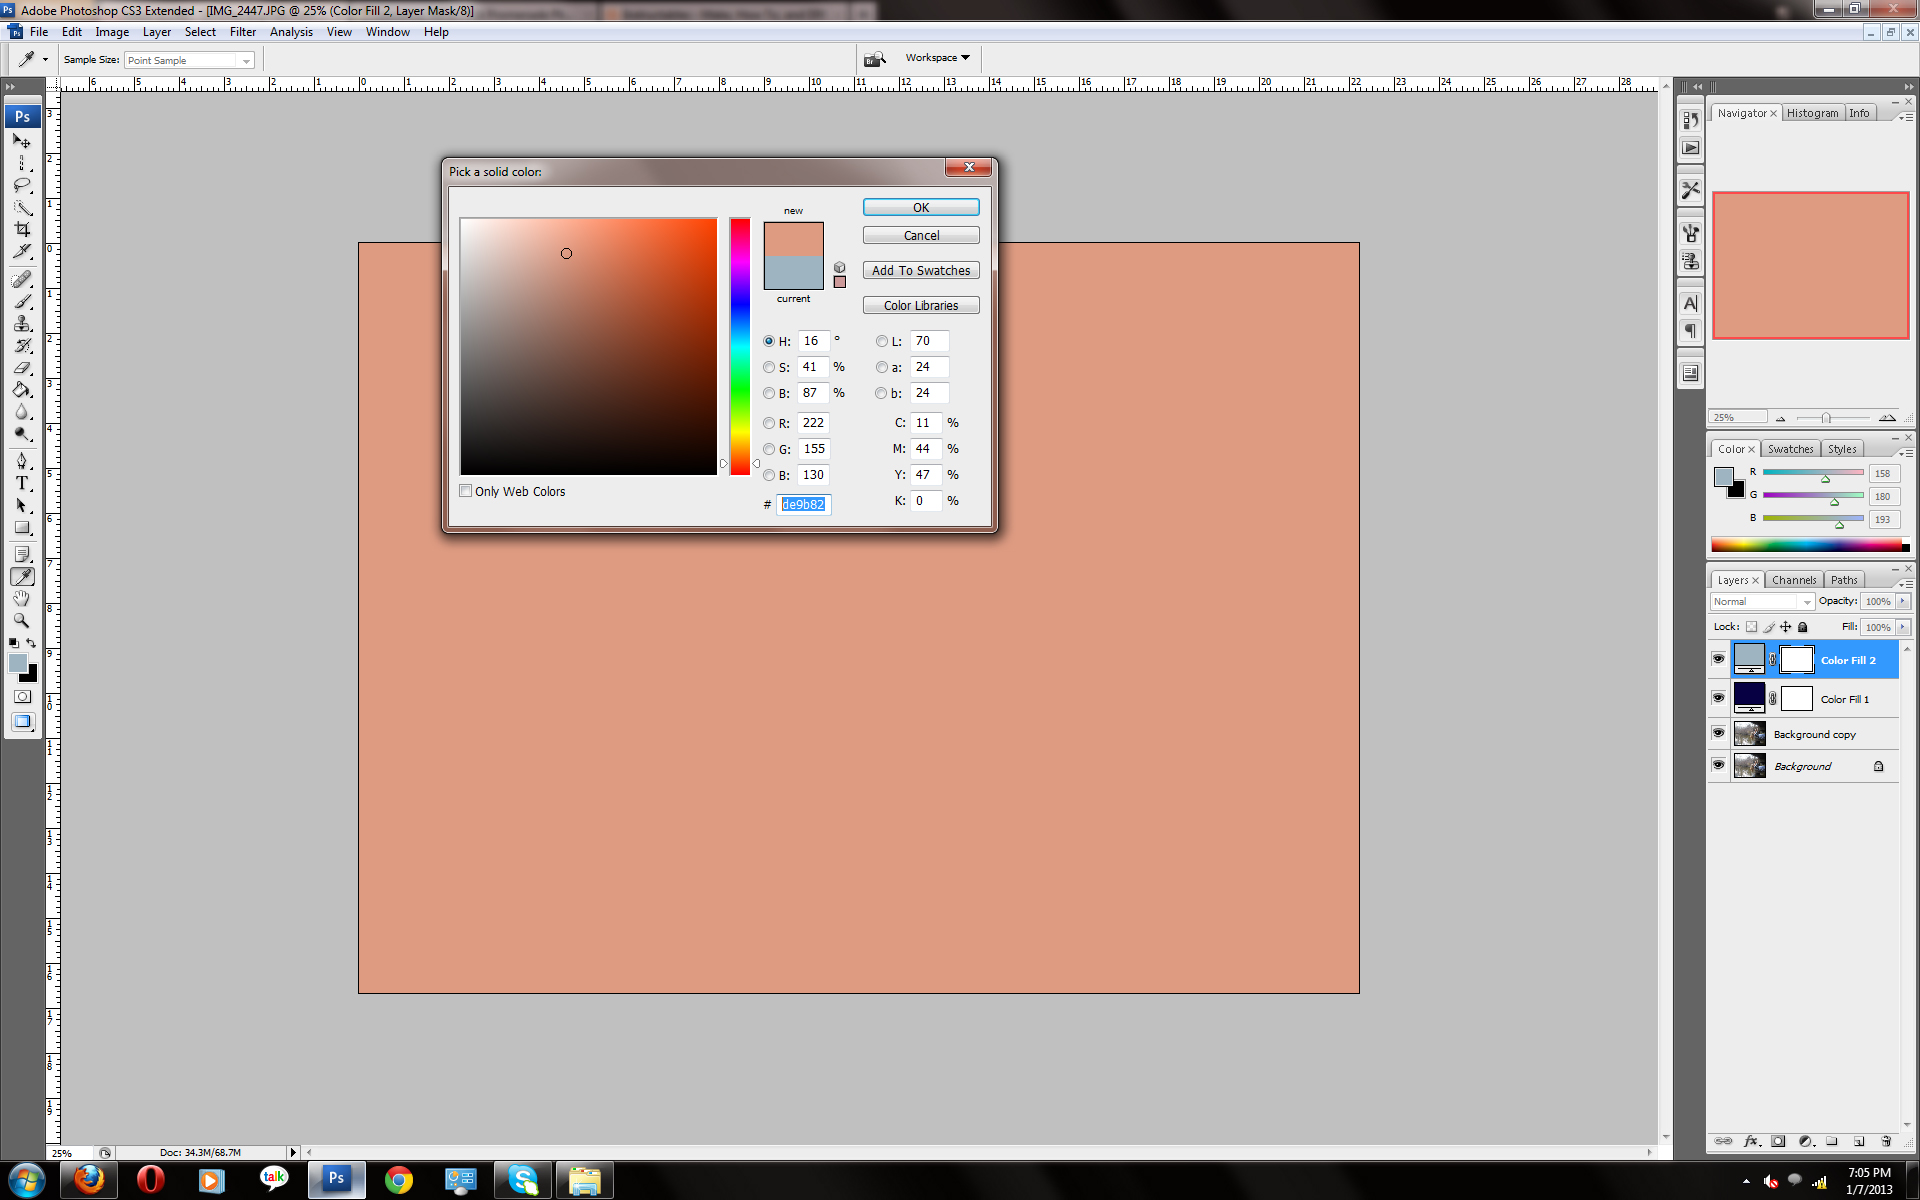
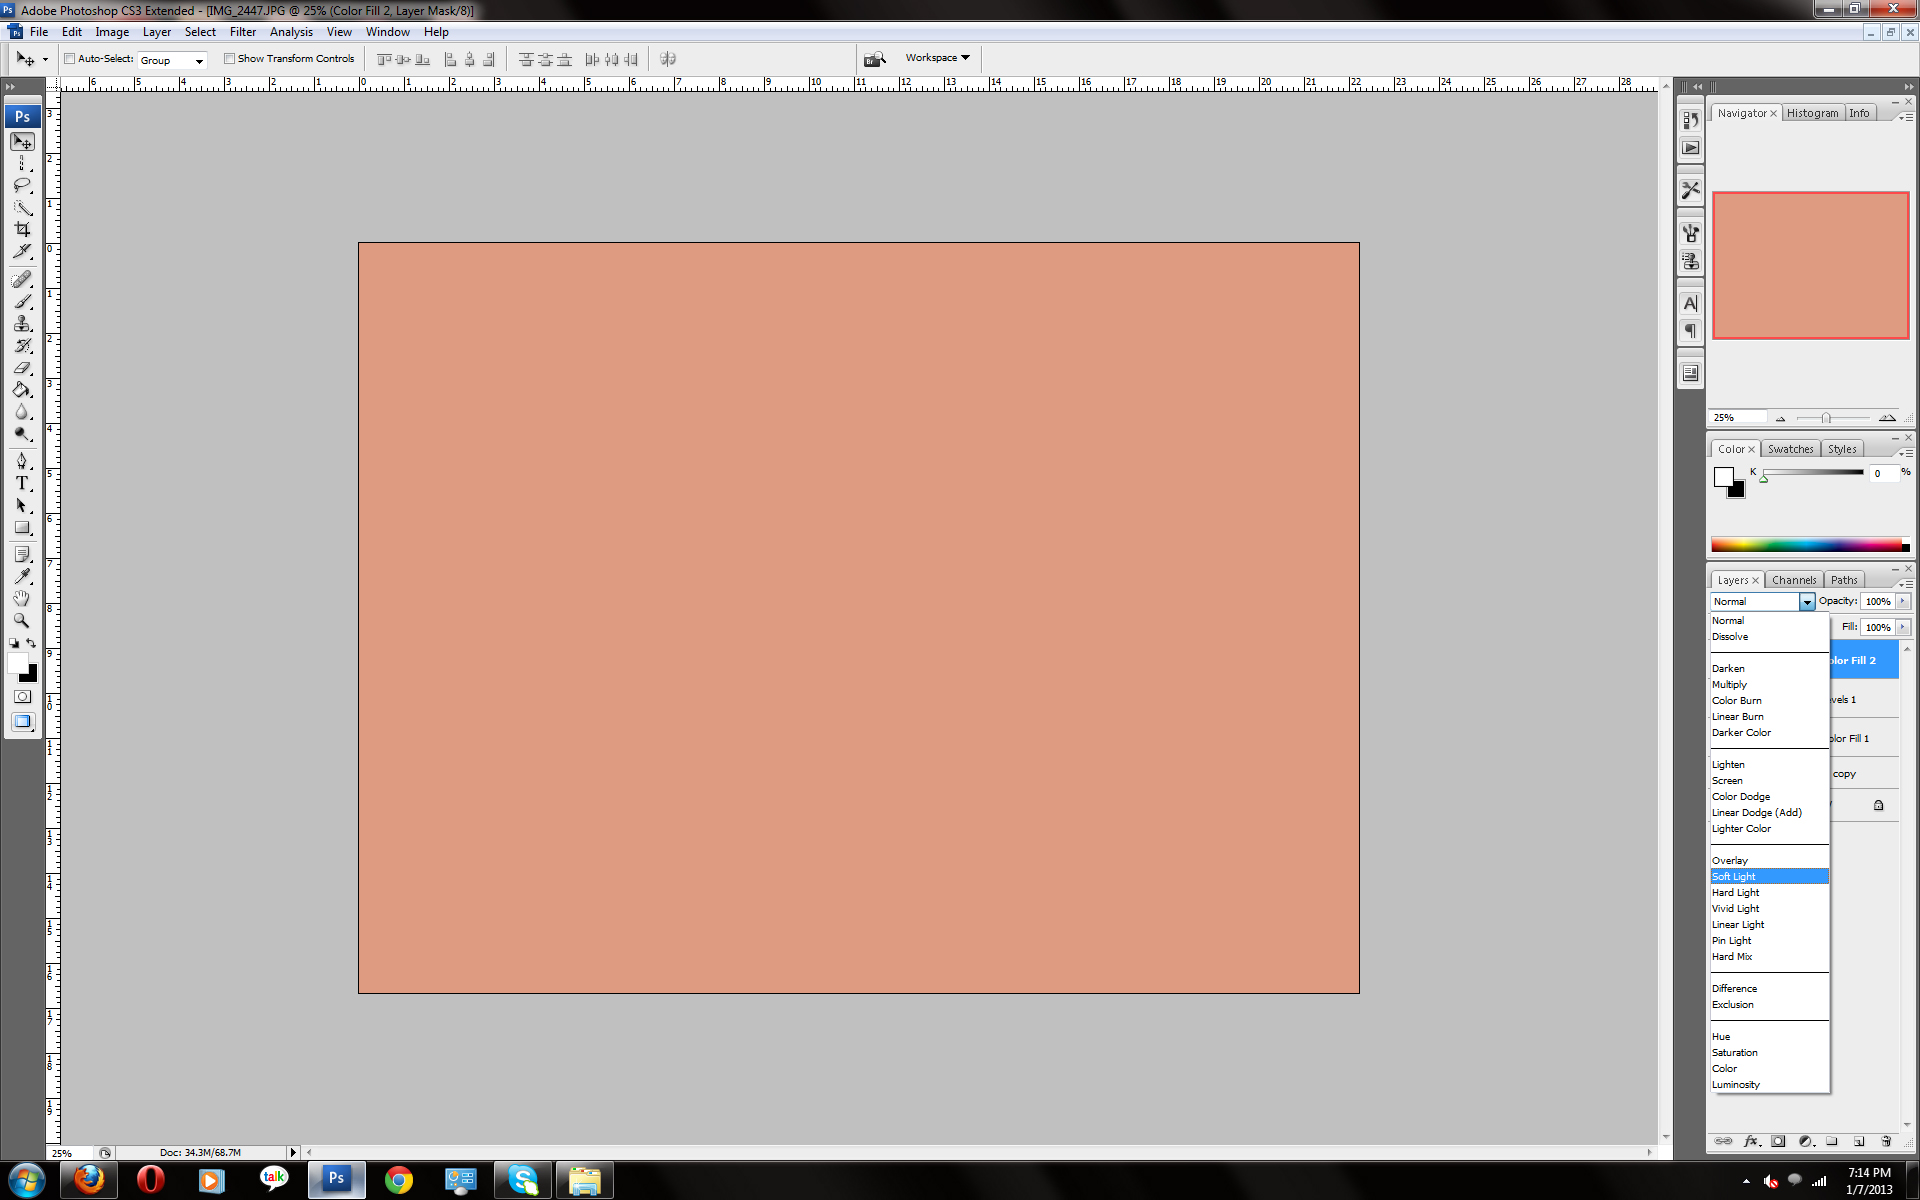
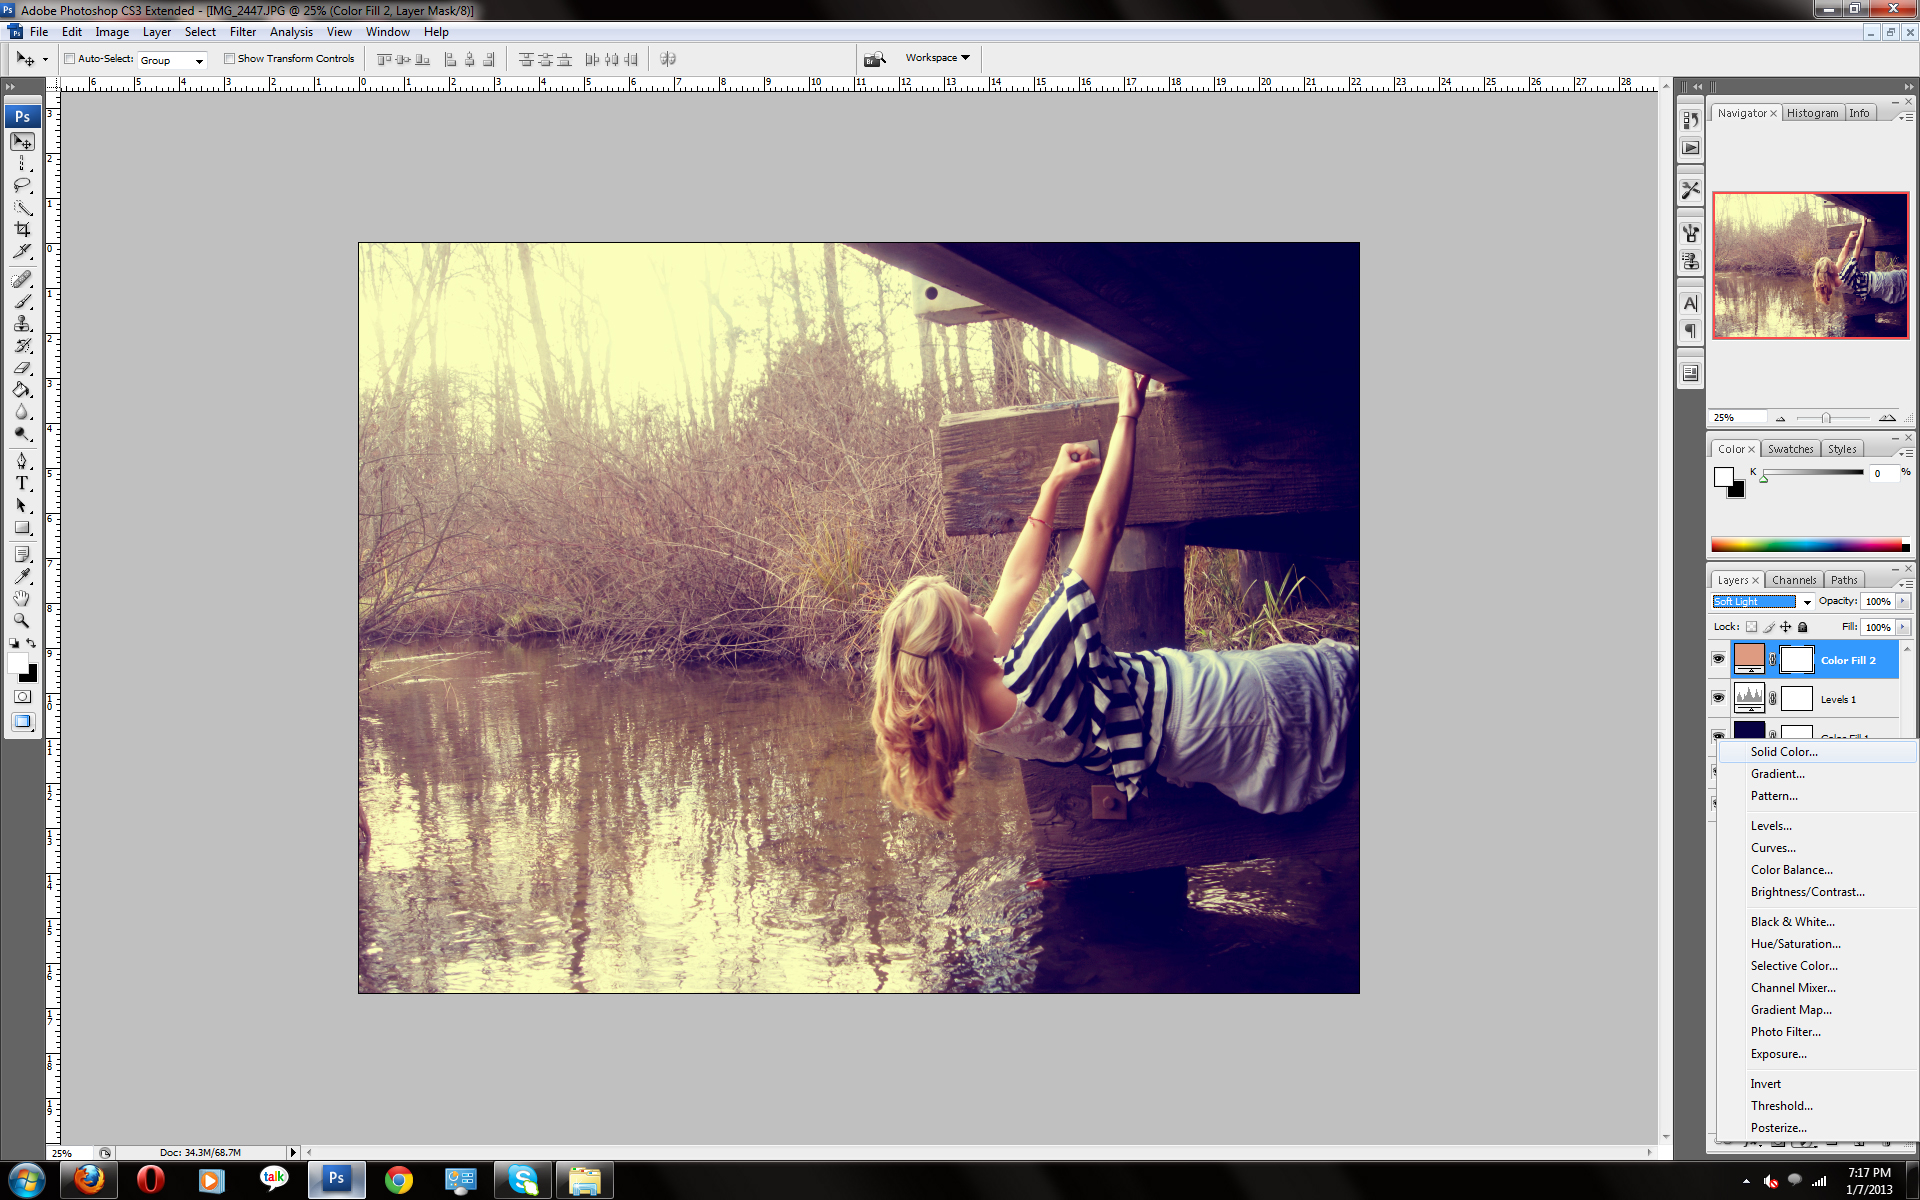
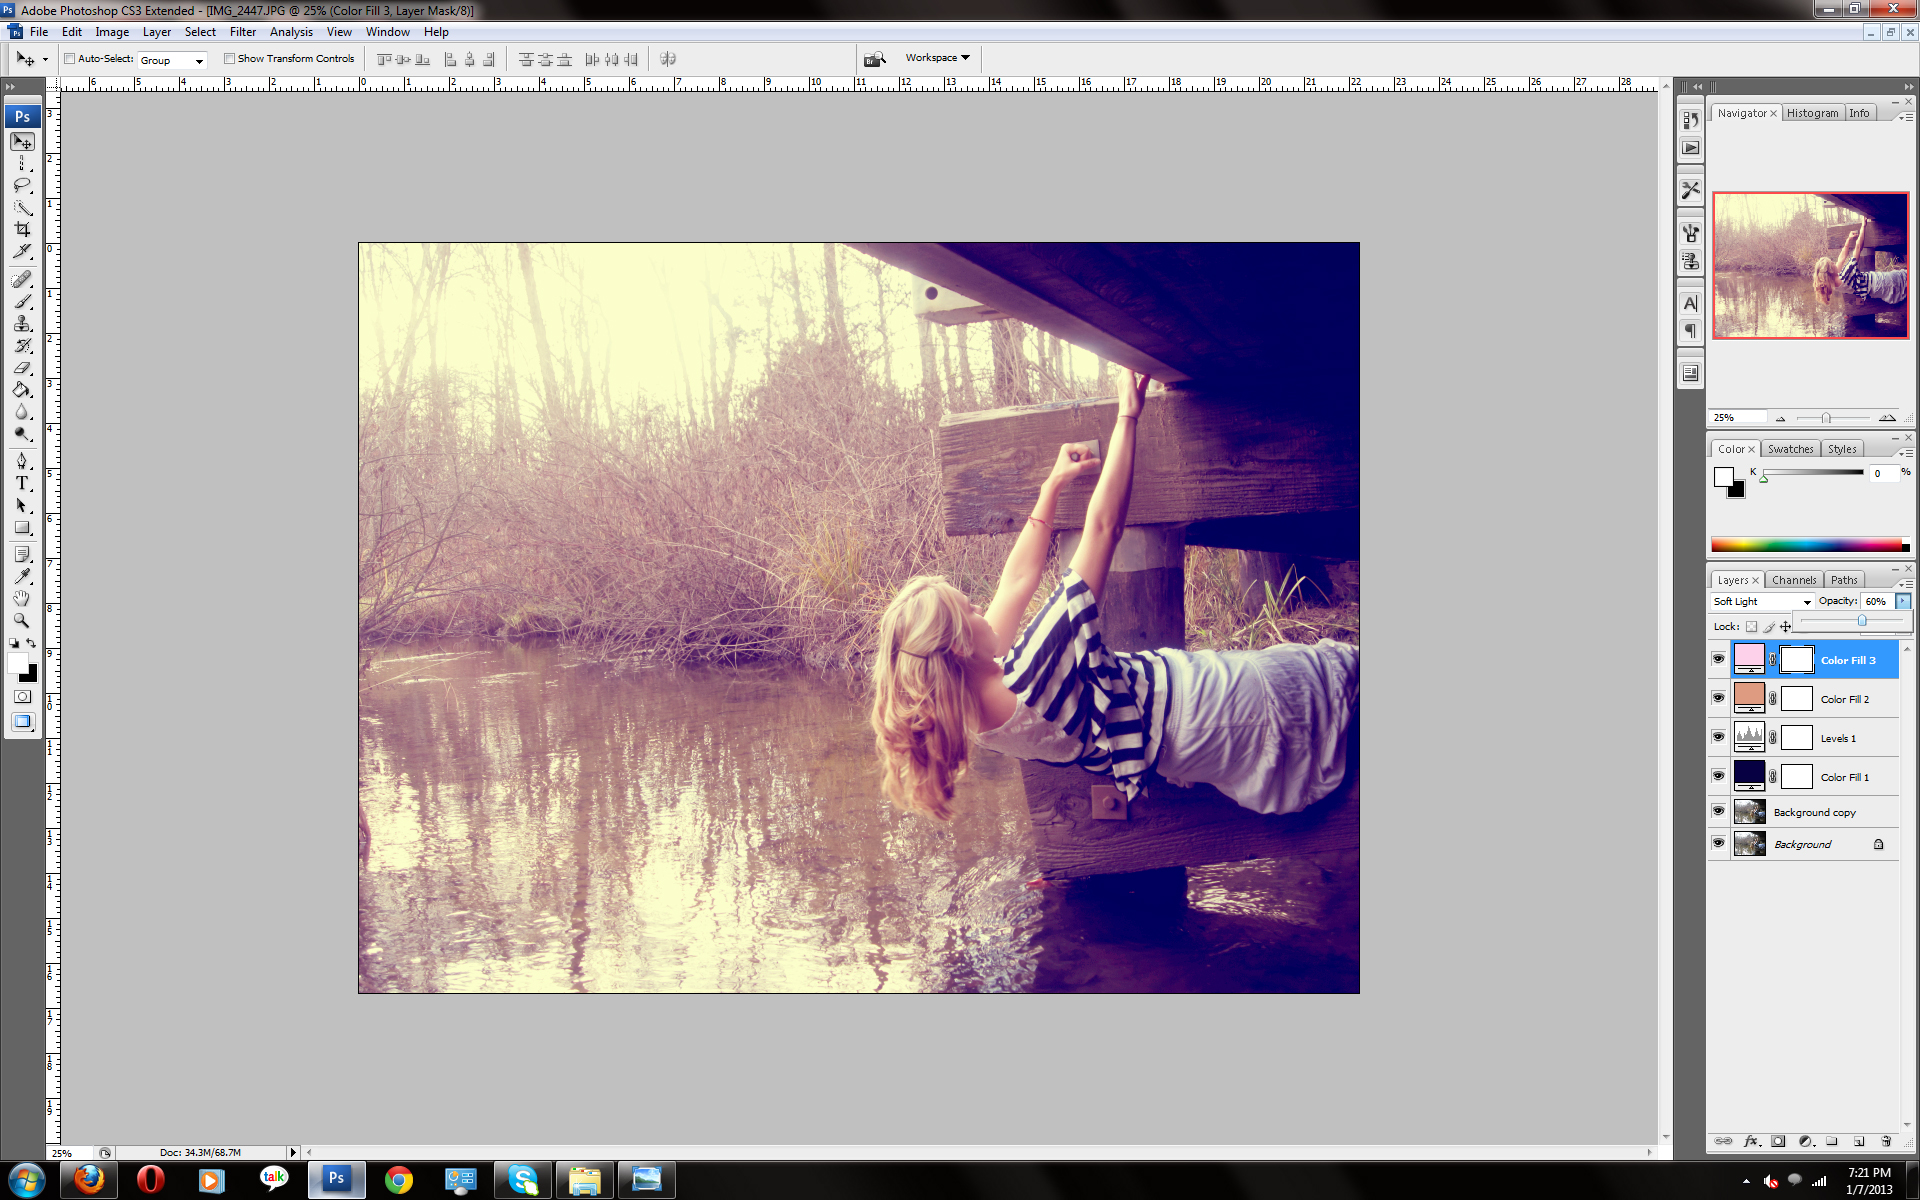
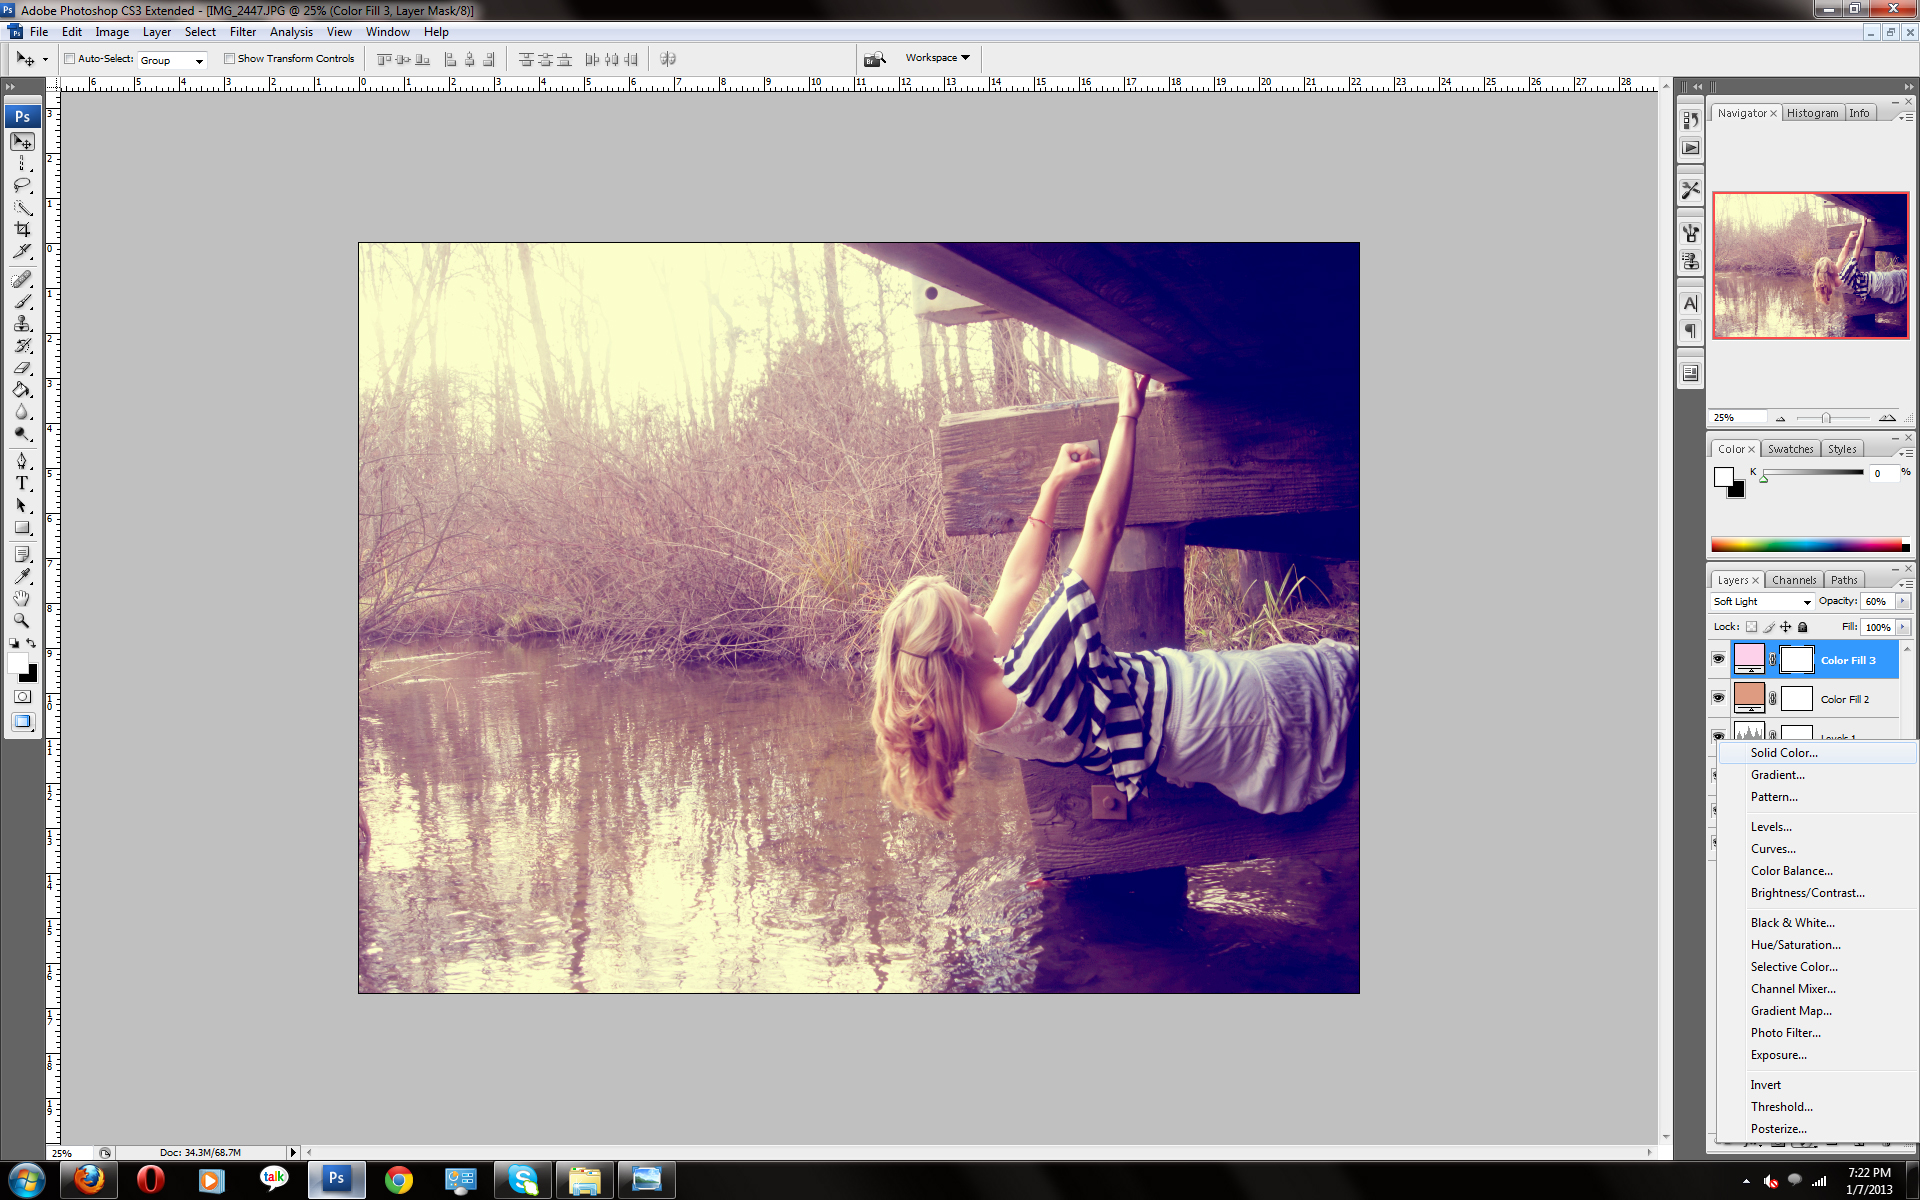
4. Click the small circle again and solid color. Change the color number to de9b82. Click ok, go to normal and click soft light.
Were going to be doing the same thing about four times, just the color numbers will be different.
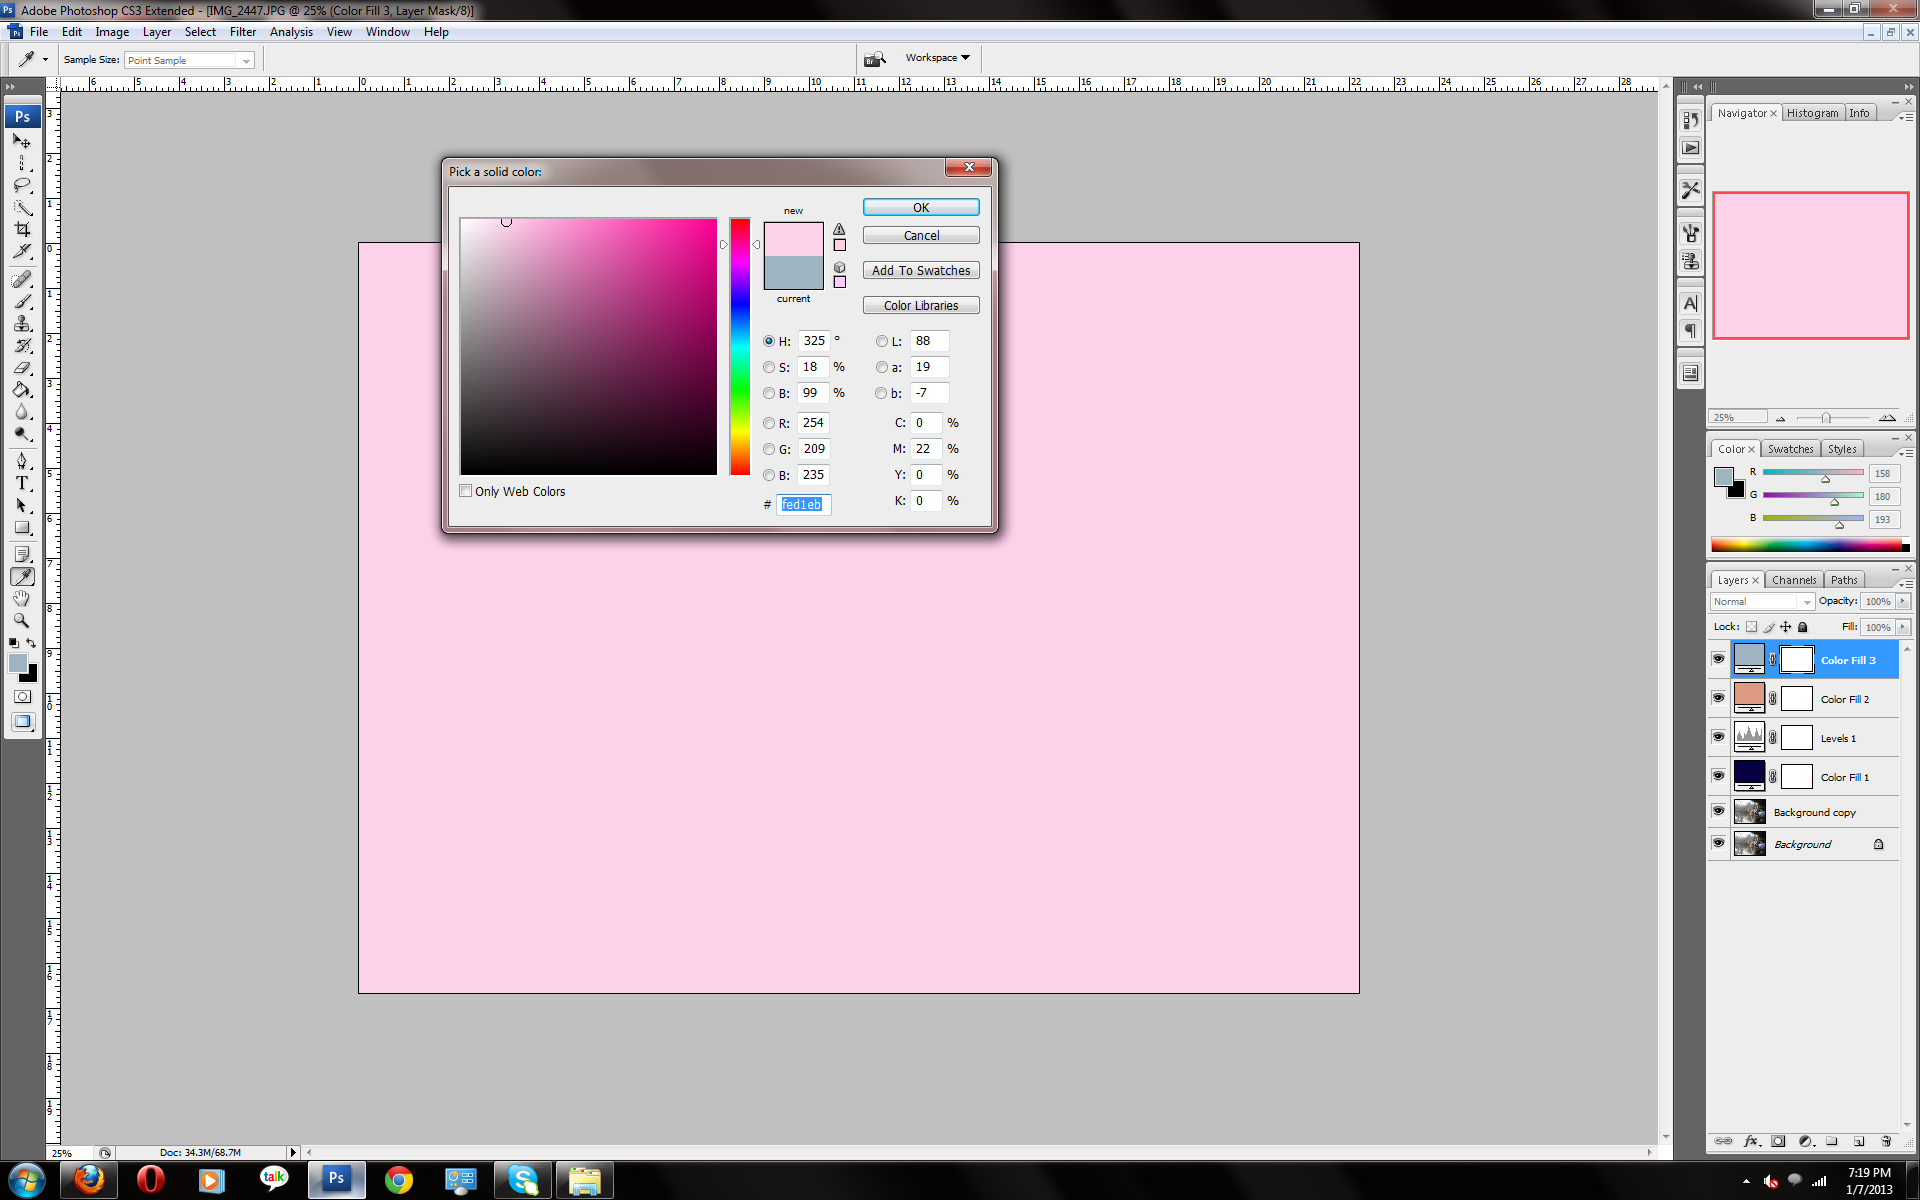
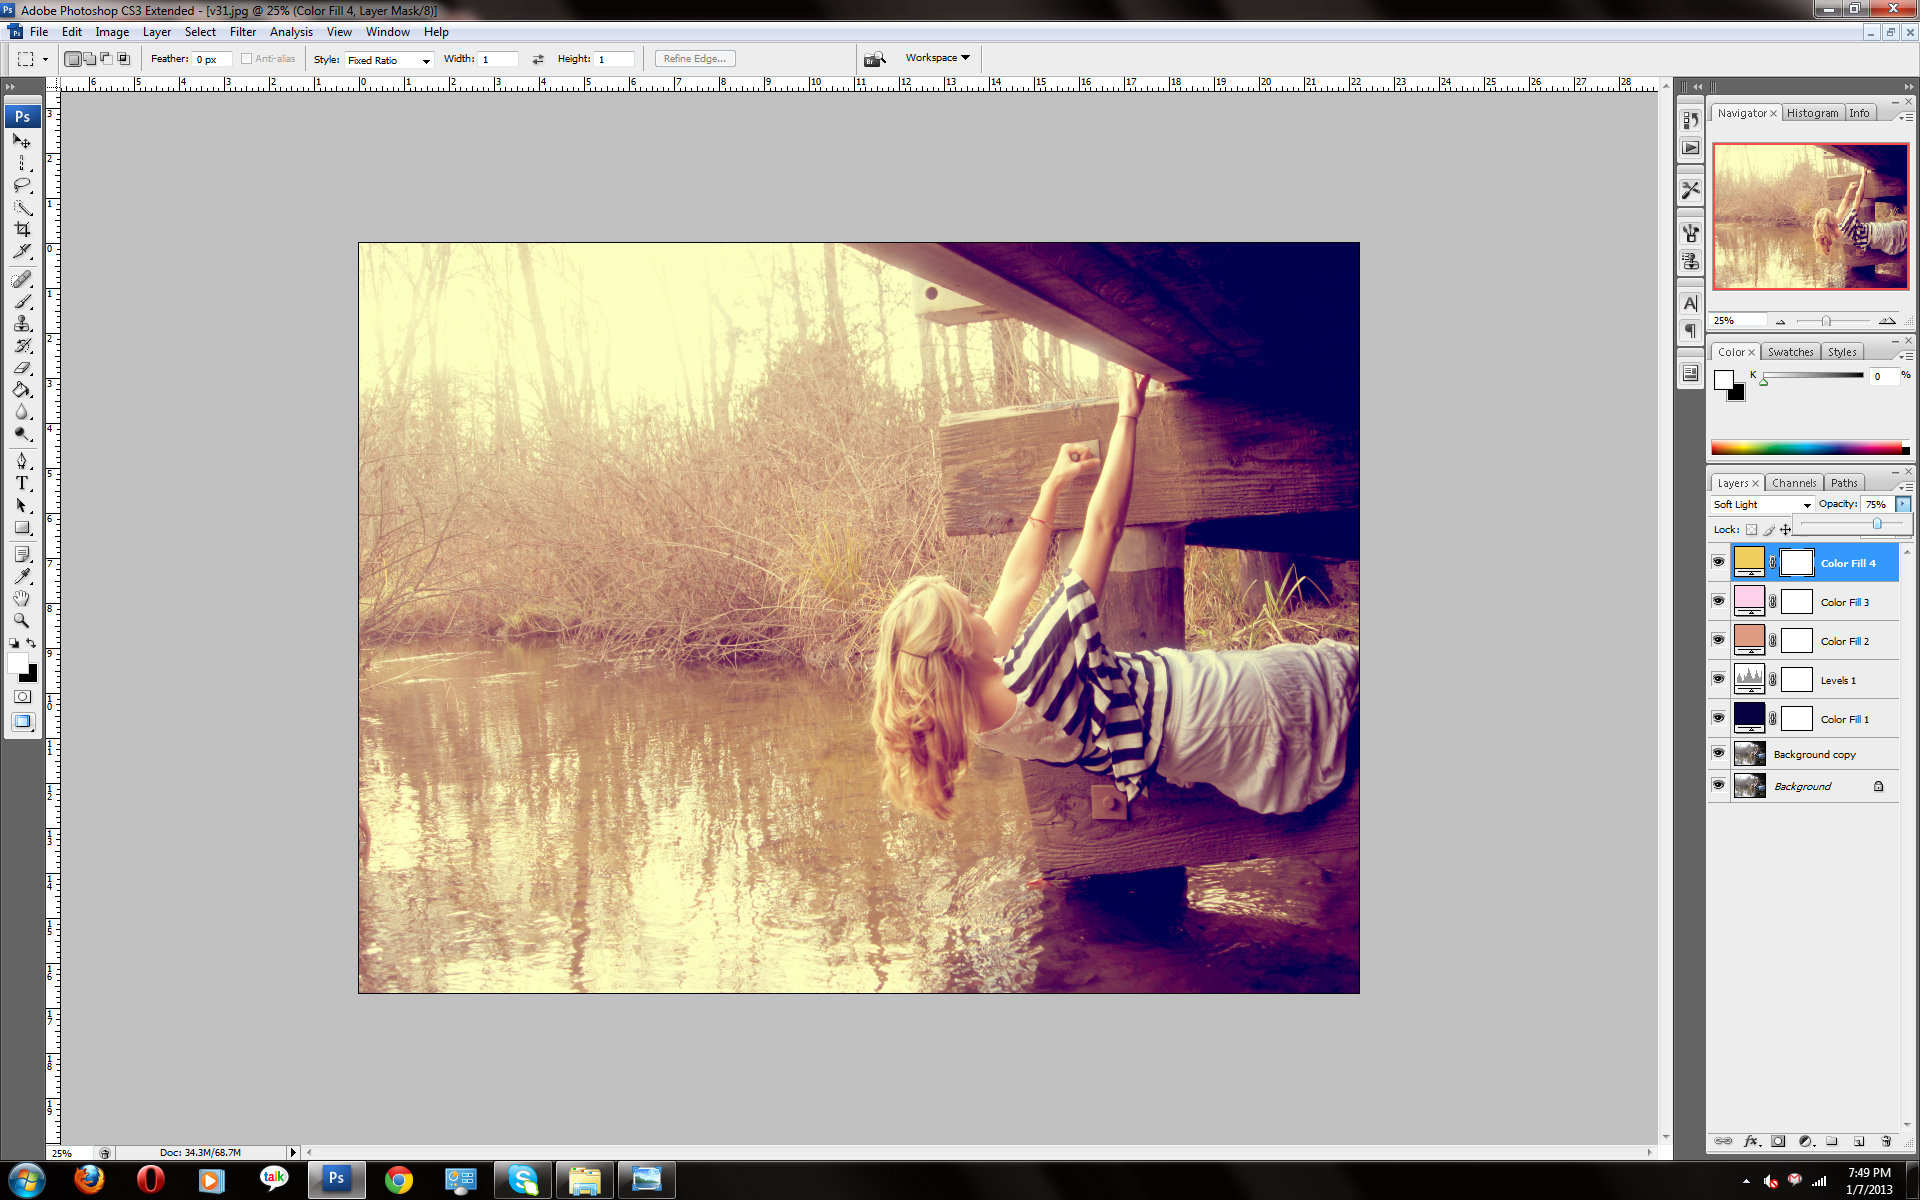
The second, pinkish color's number is - fed1eb (after clicking soft light, a little to the right of that is a little box that says opacity, change the opacity to 60%.
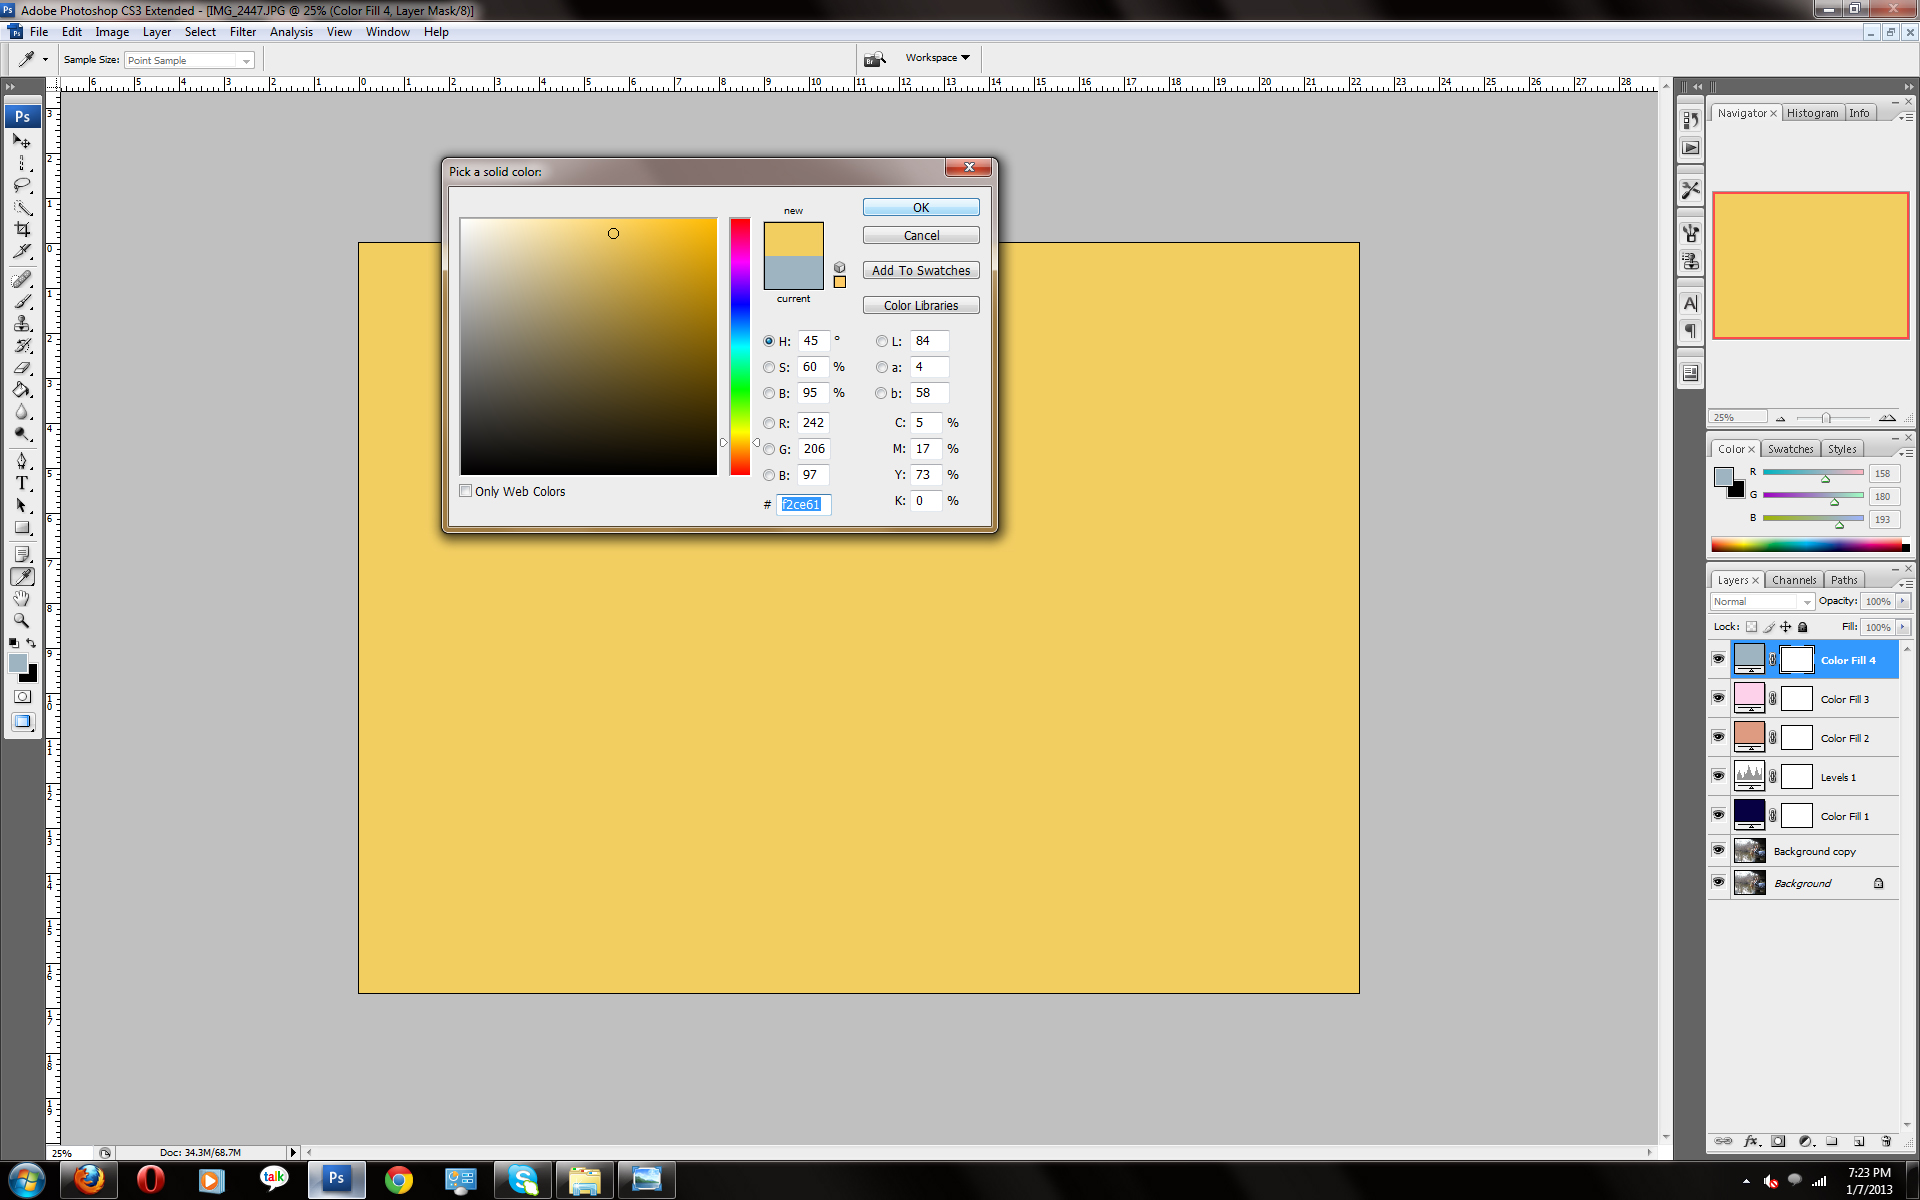
The yellow number is - f2ce61 (like you did with the pink, change the opacity, but only to 75%.
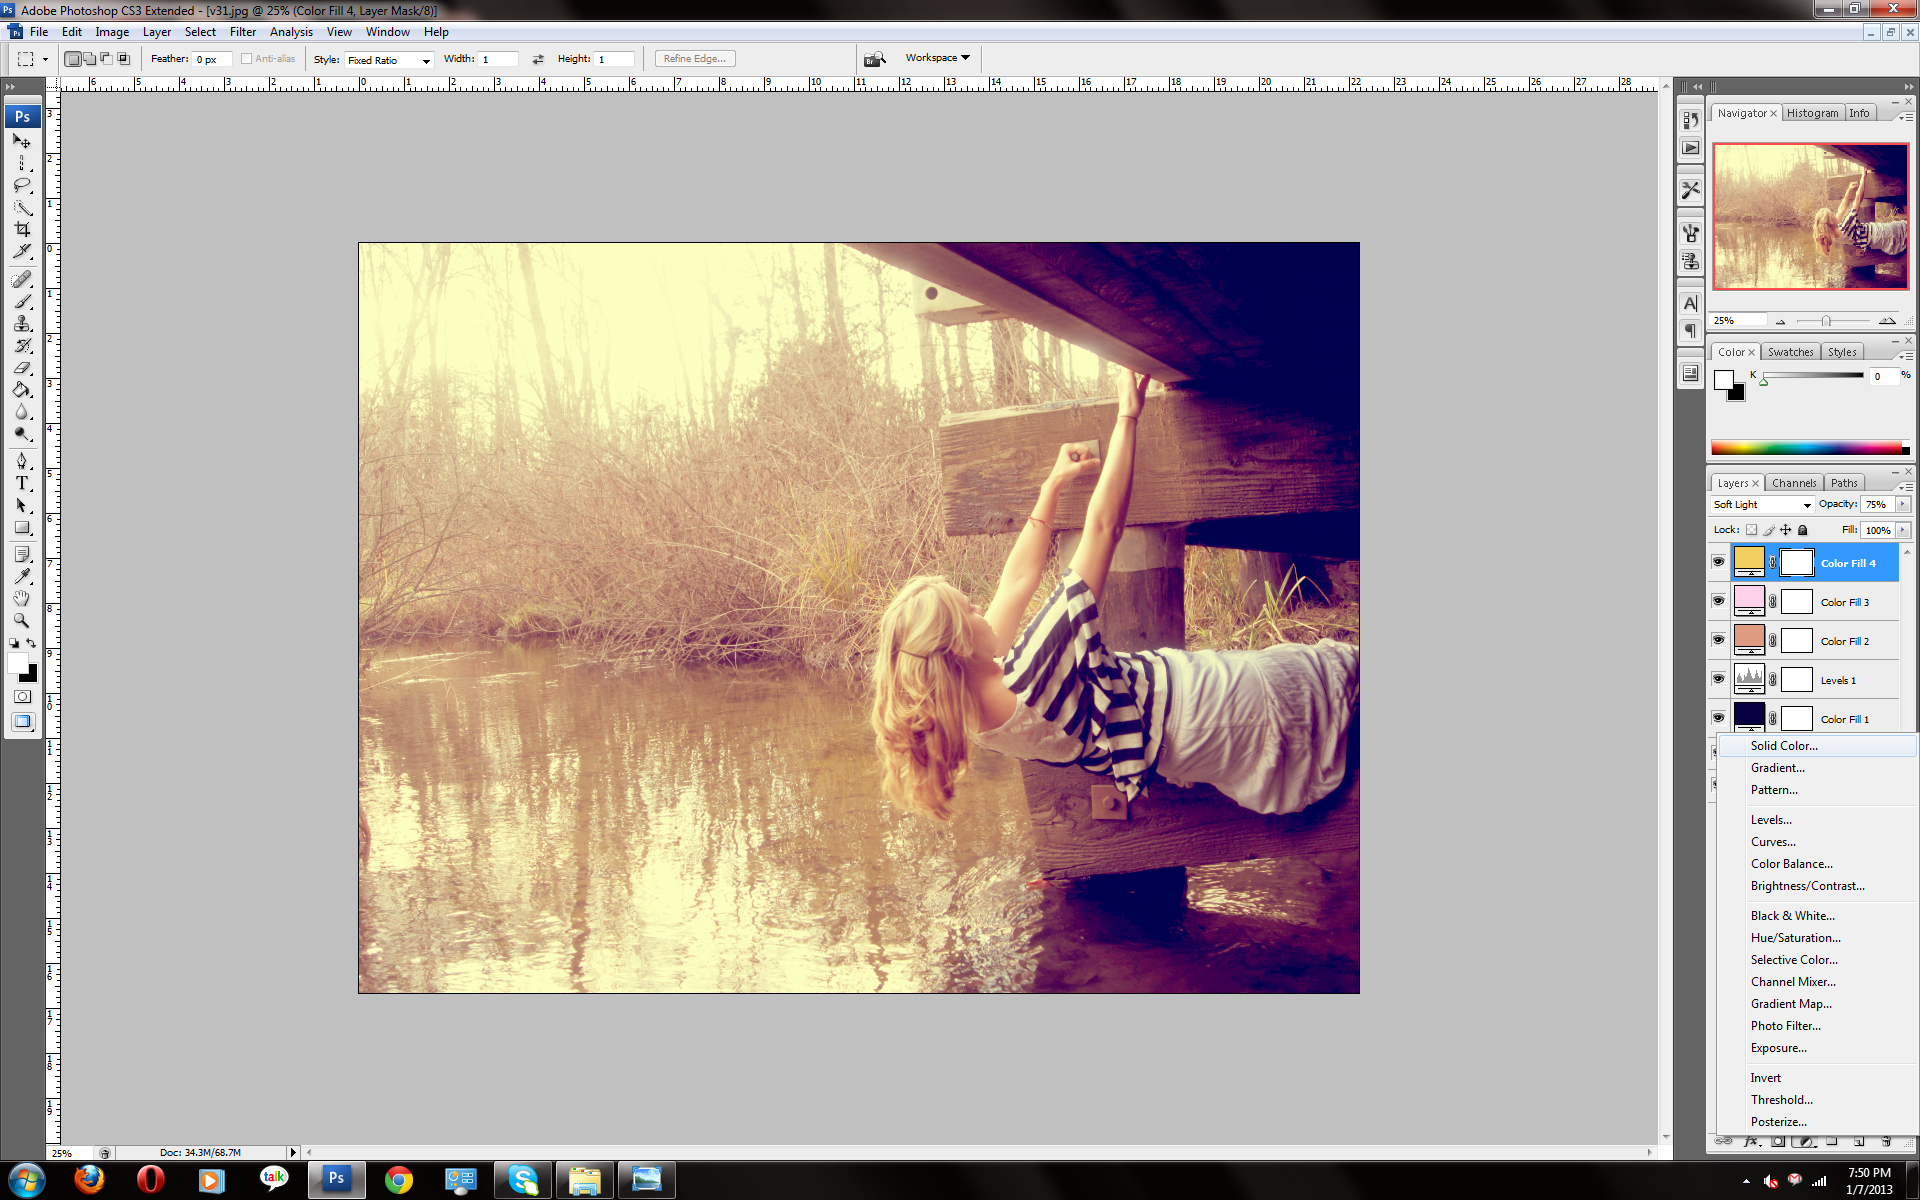
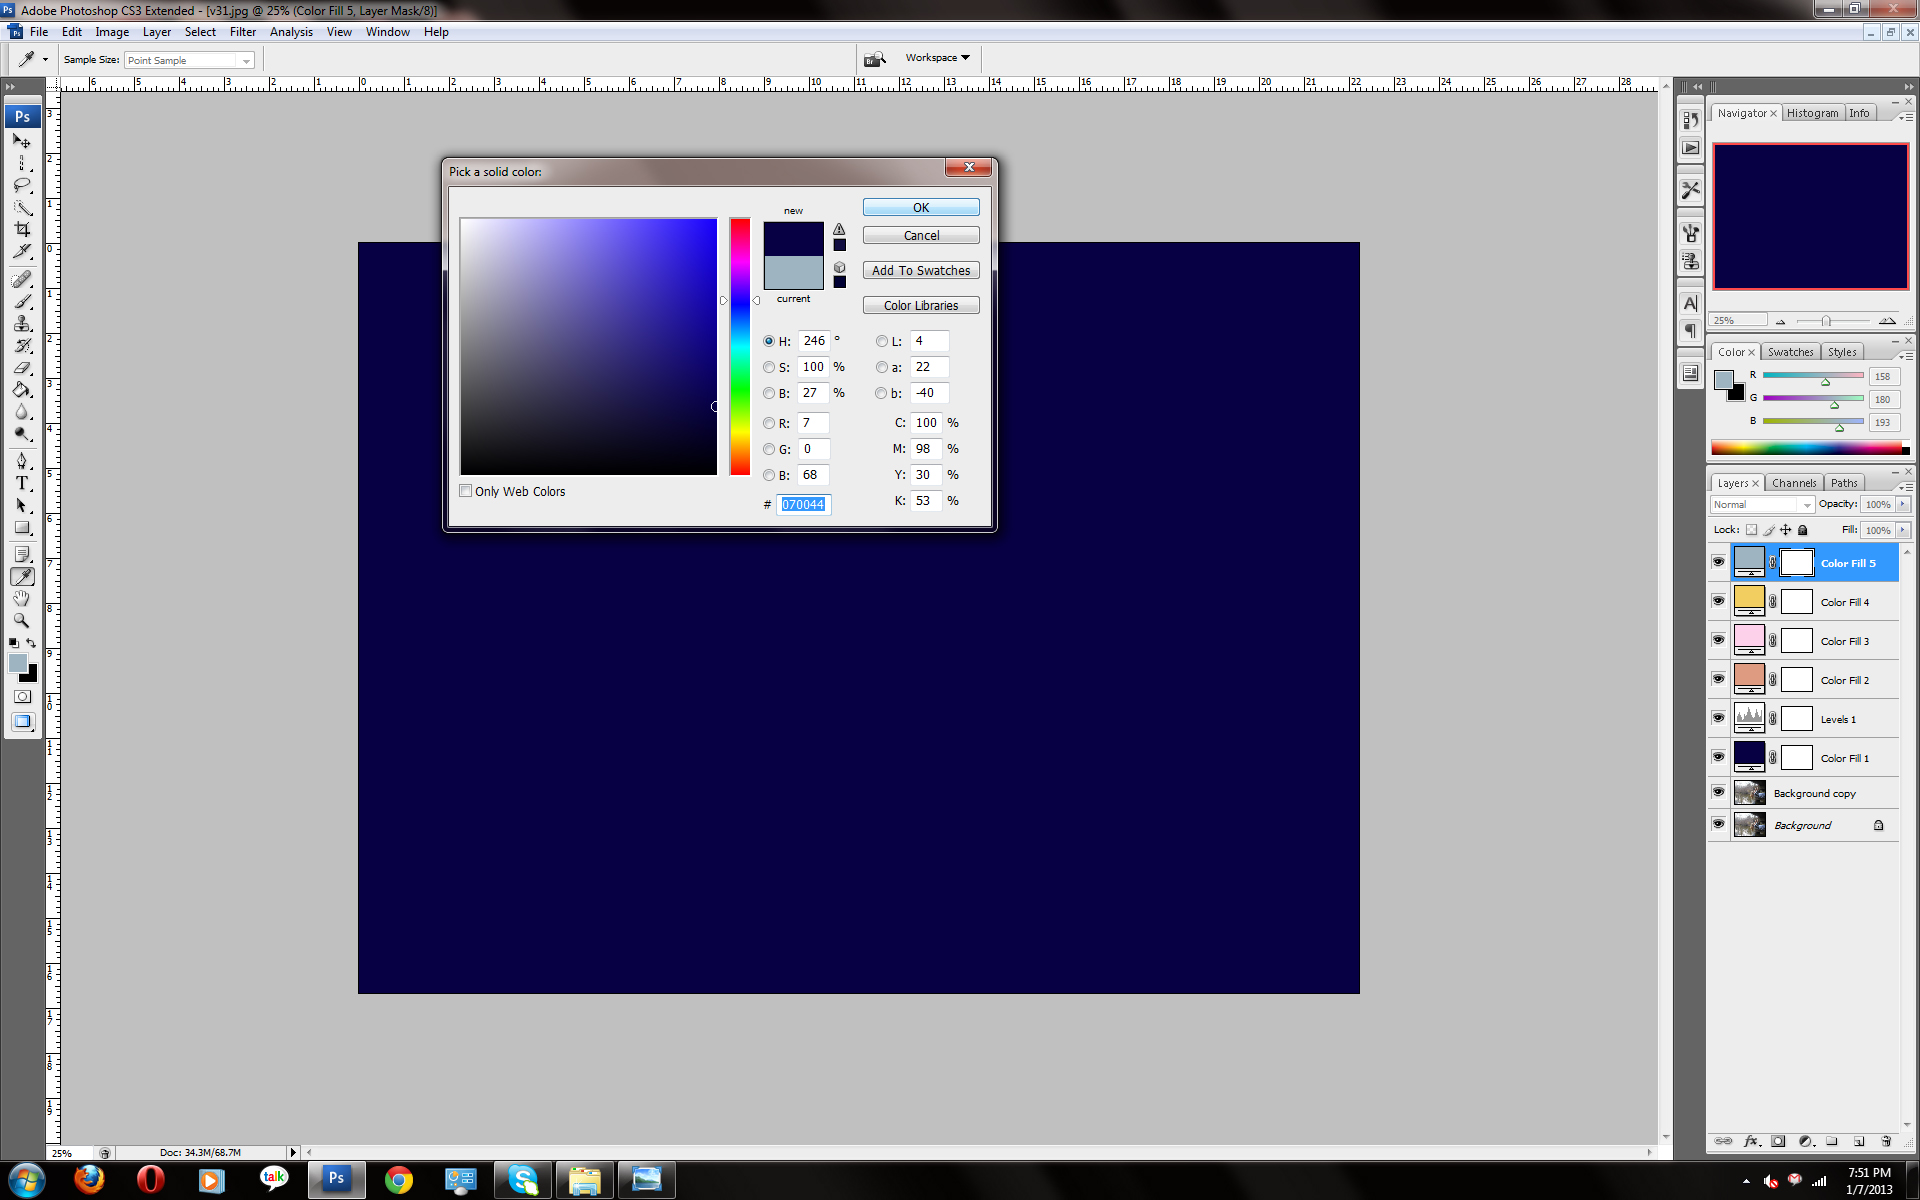
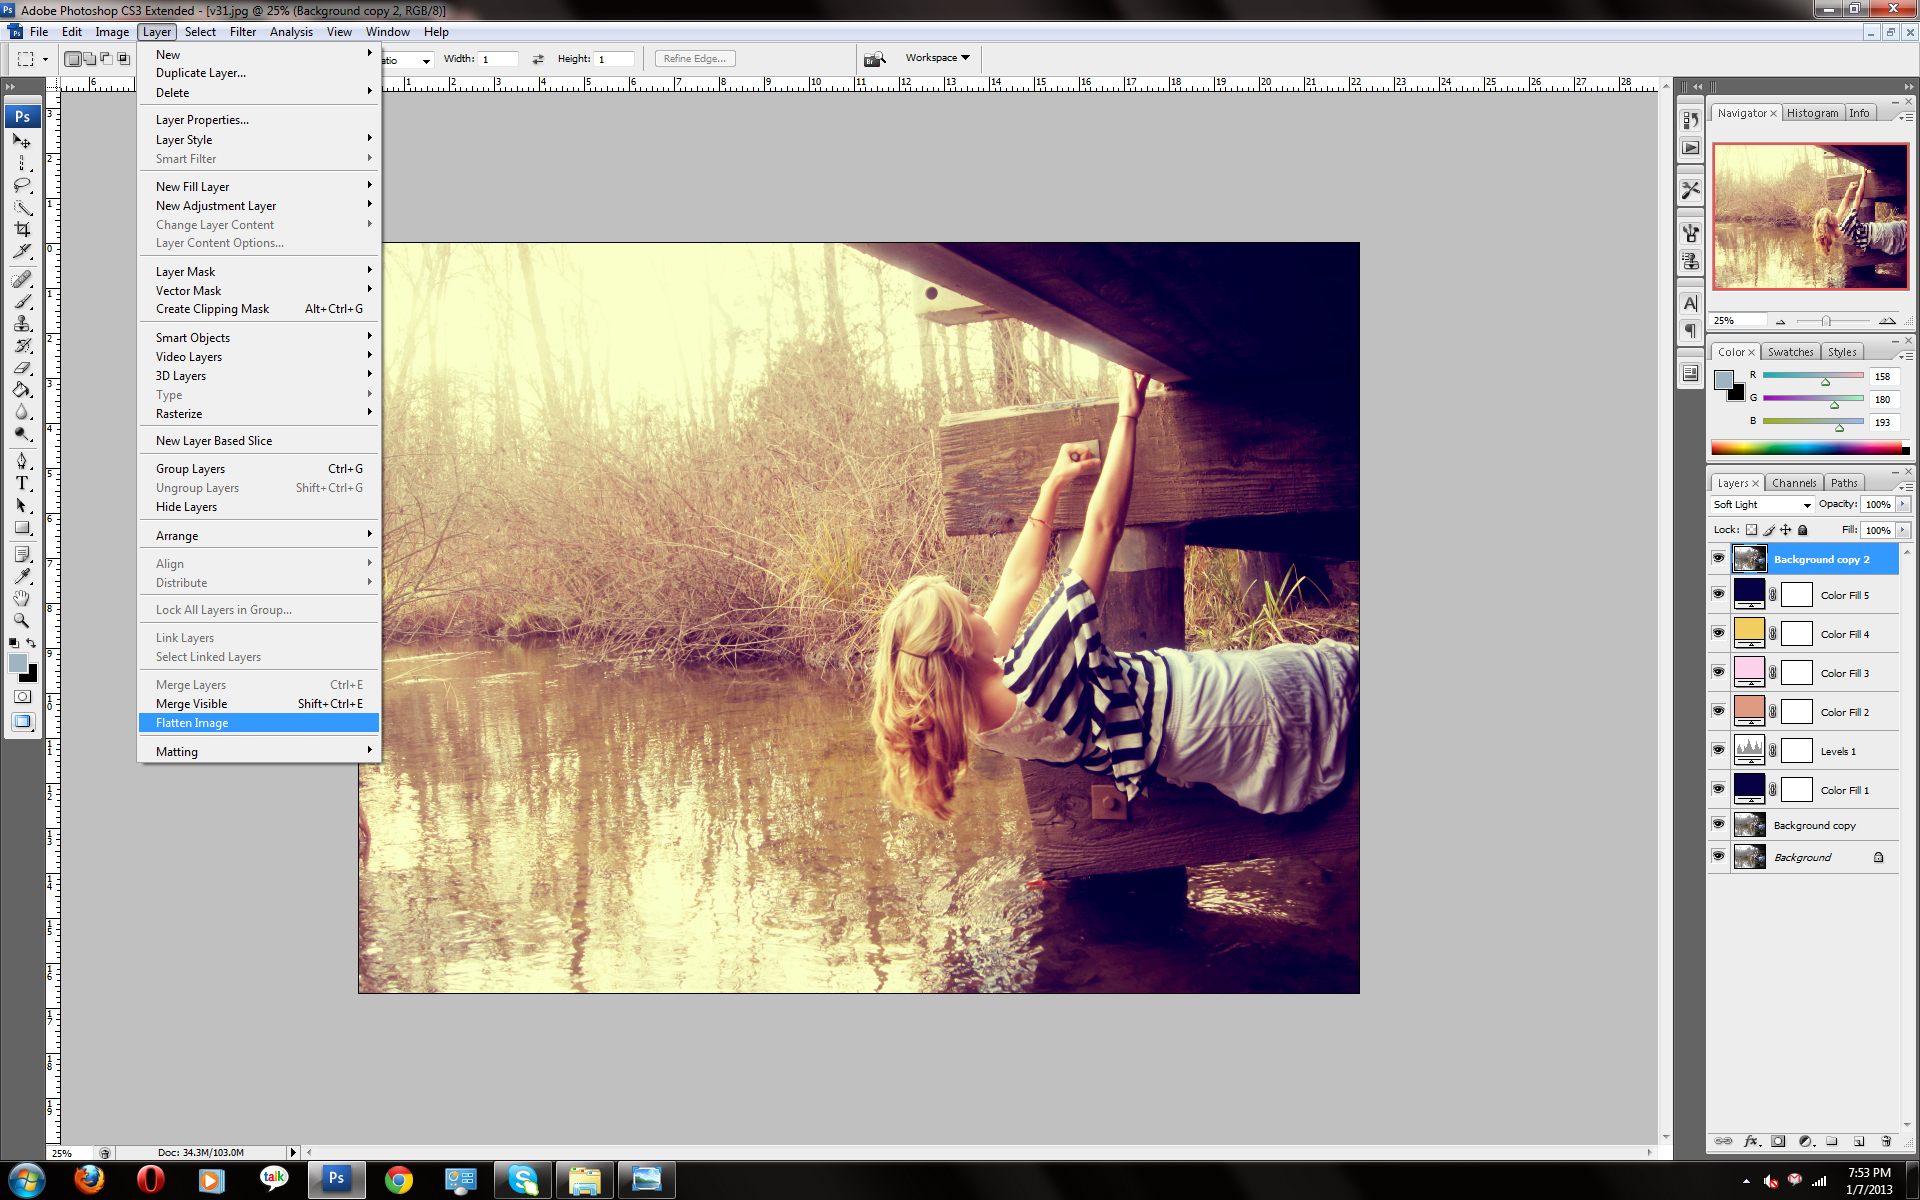
5. Almost done, click the small circle again, and solid color.
Make the color number - 070044
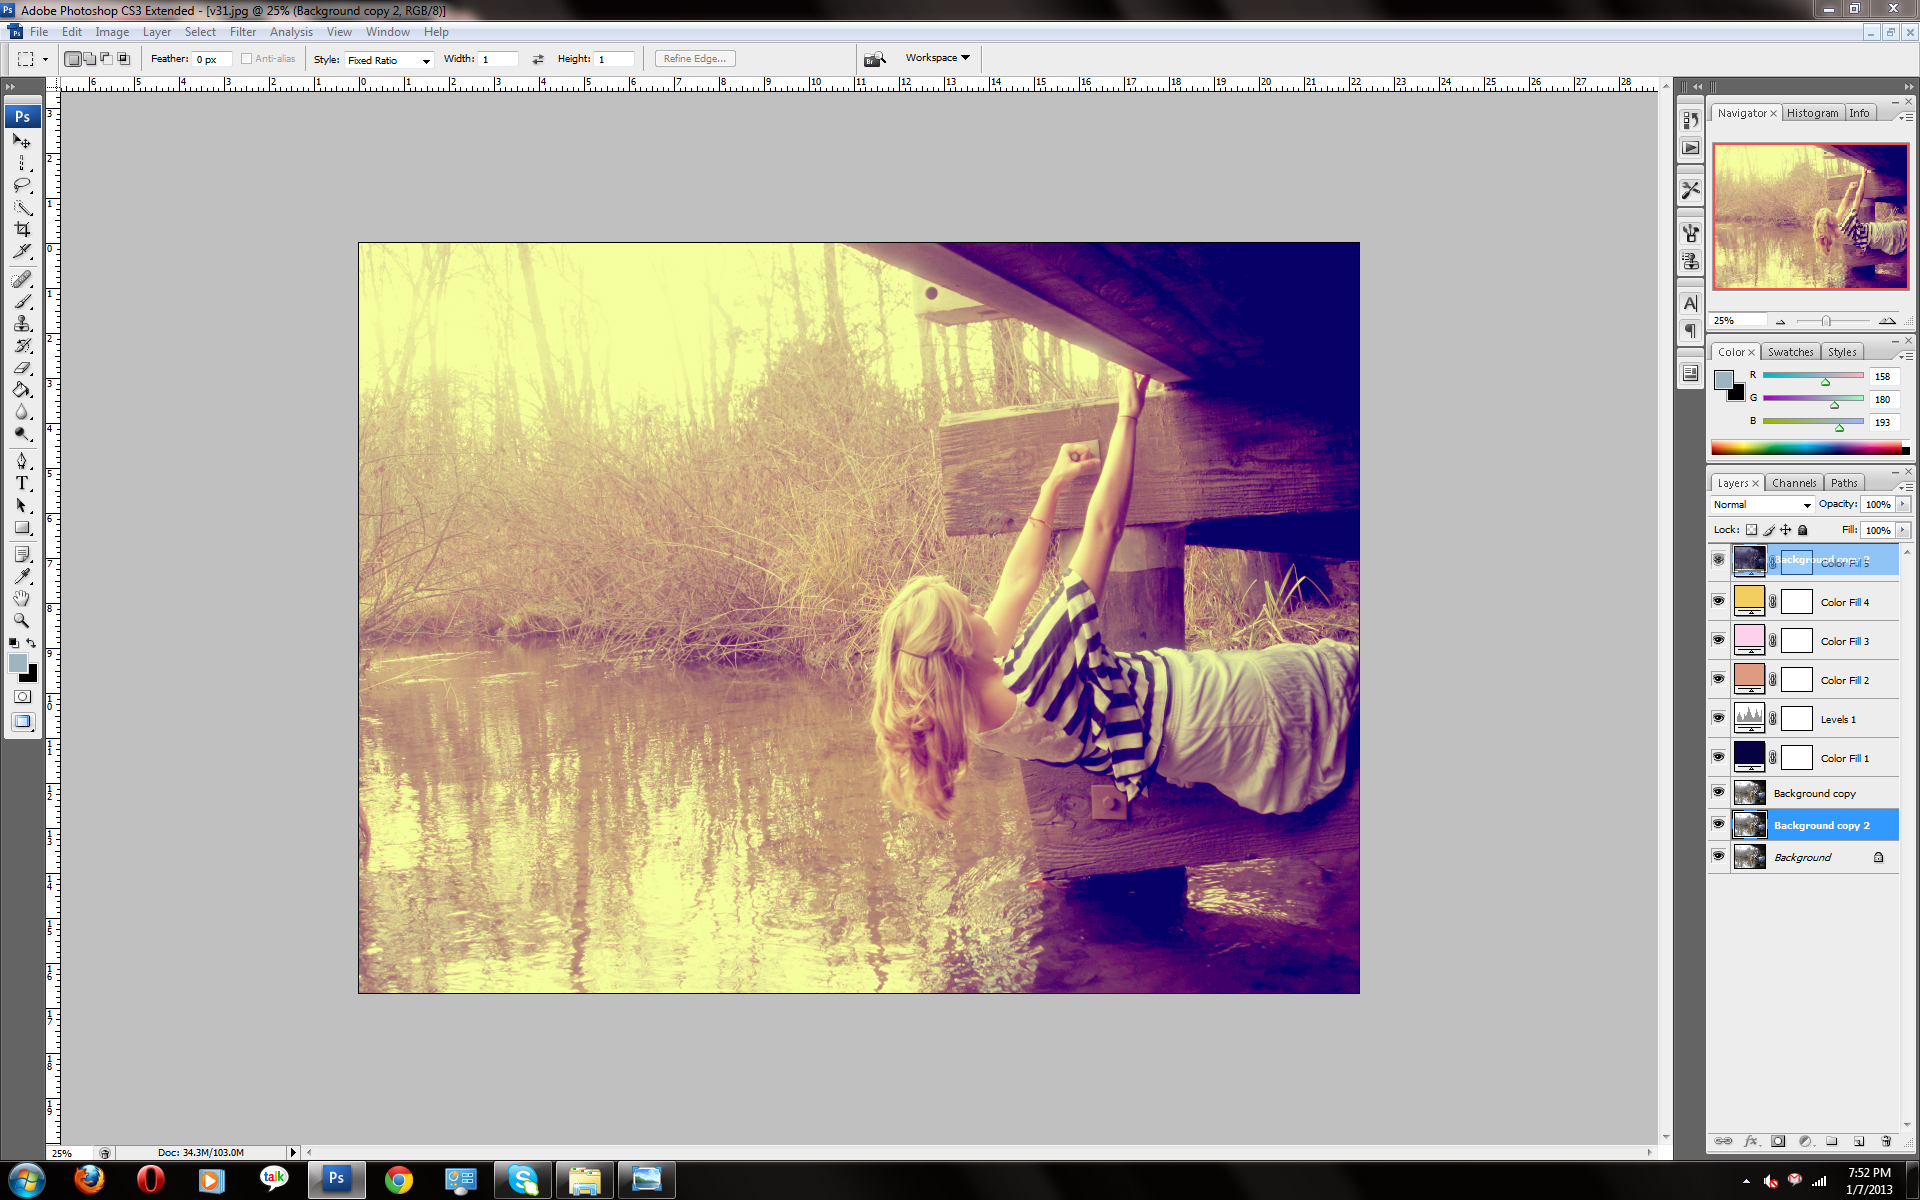
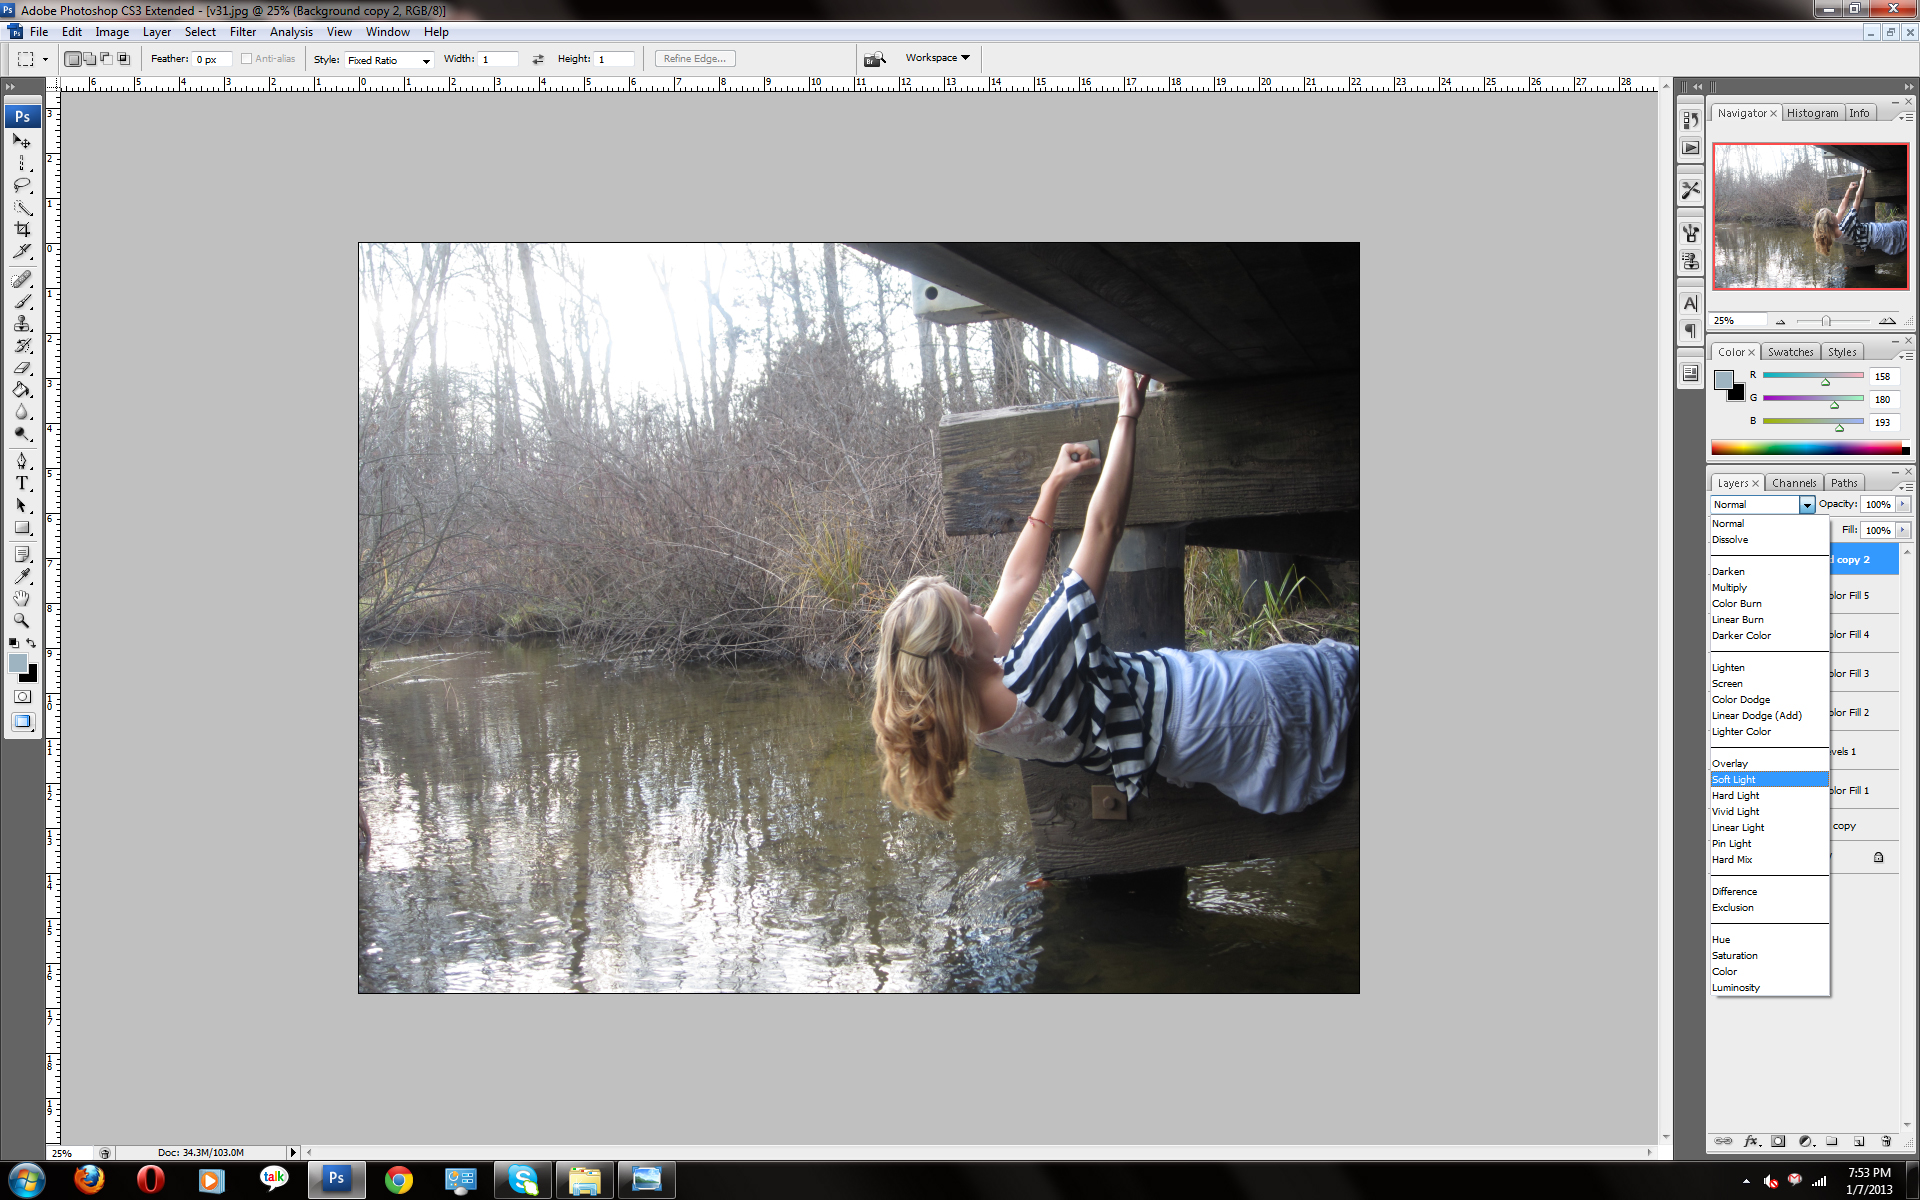
Click normal and instead of soft light, click Exclusion. Drag the background layer down to the create new layer icon beside the little trash can and let go. You'll see a new layer called backround copy 2. Now drag it so its abouve all the other layers.
Click on normal and then soft light.
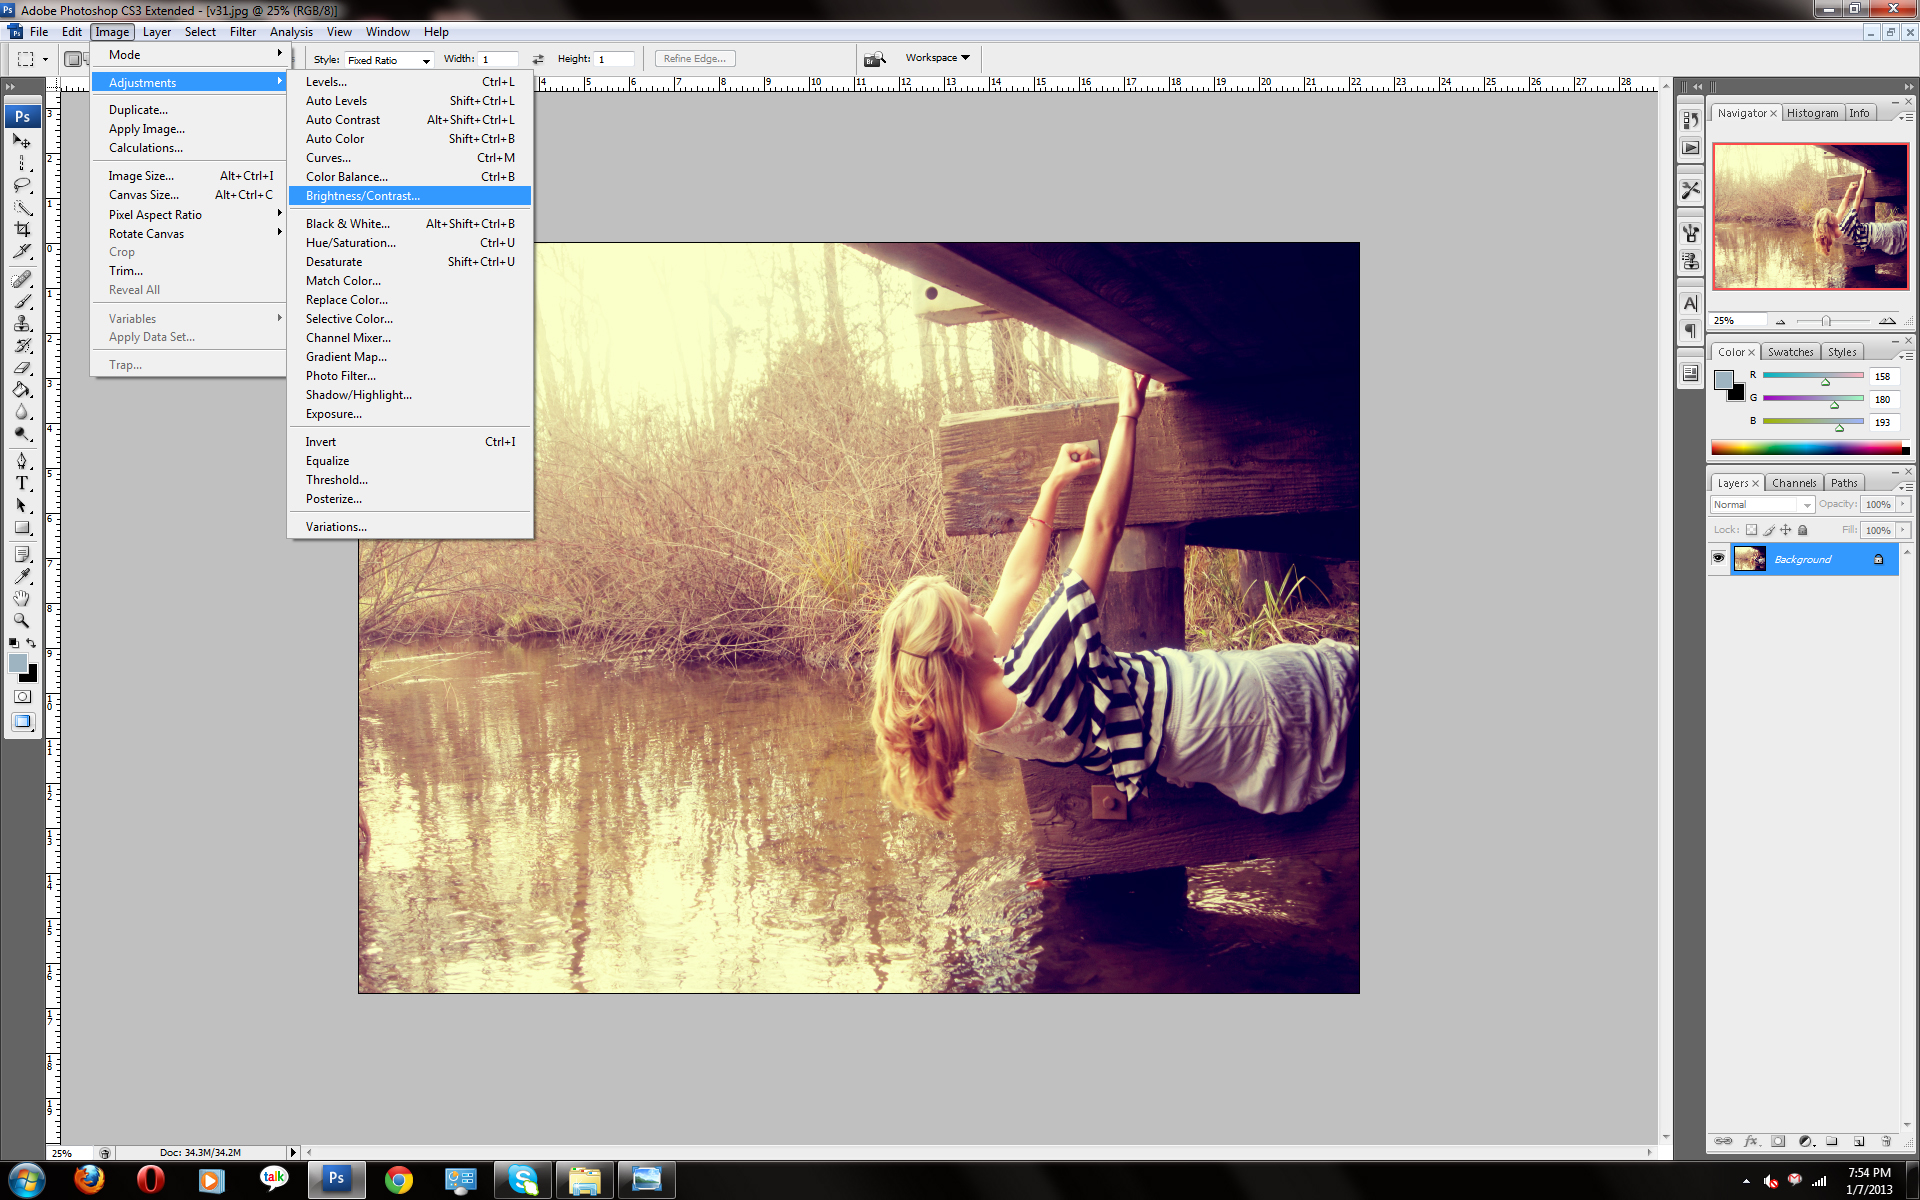
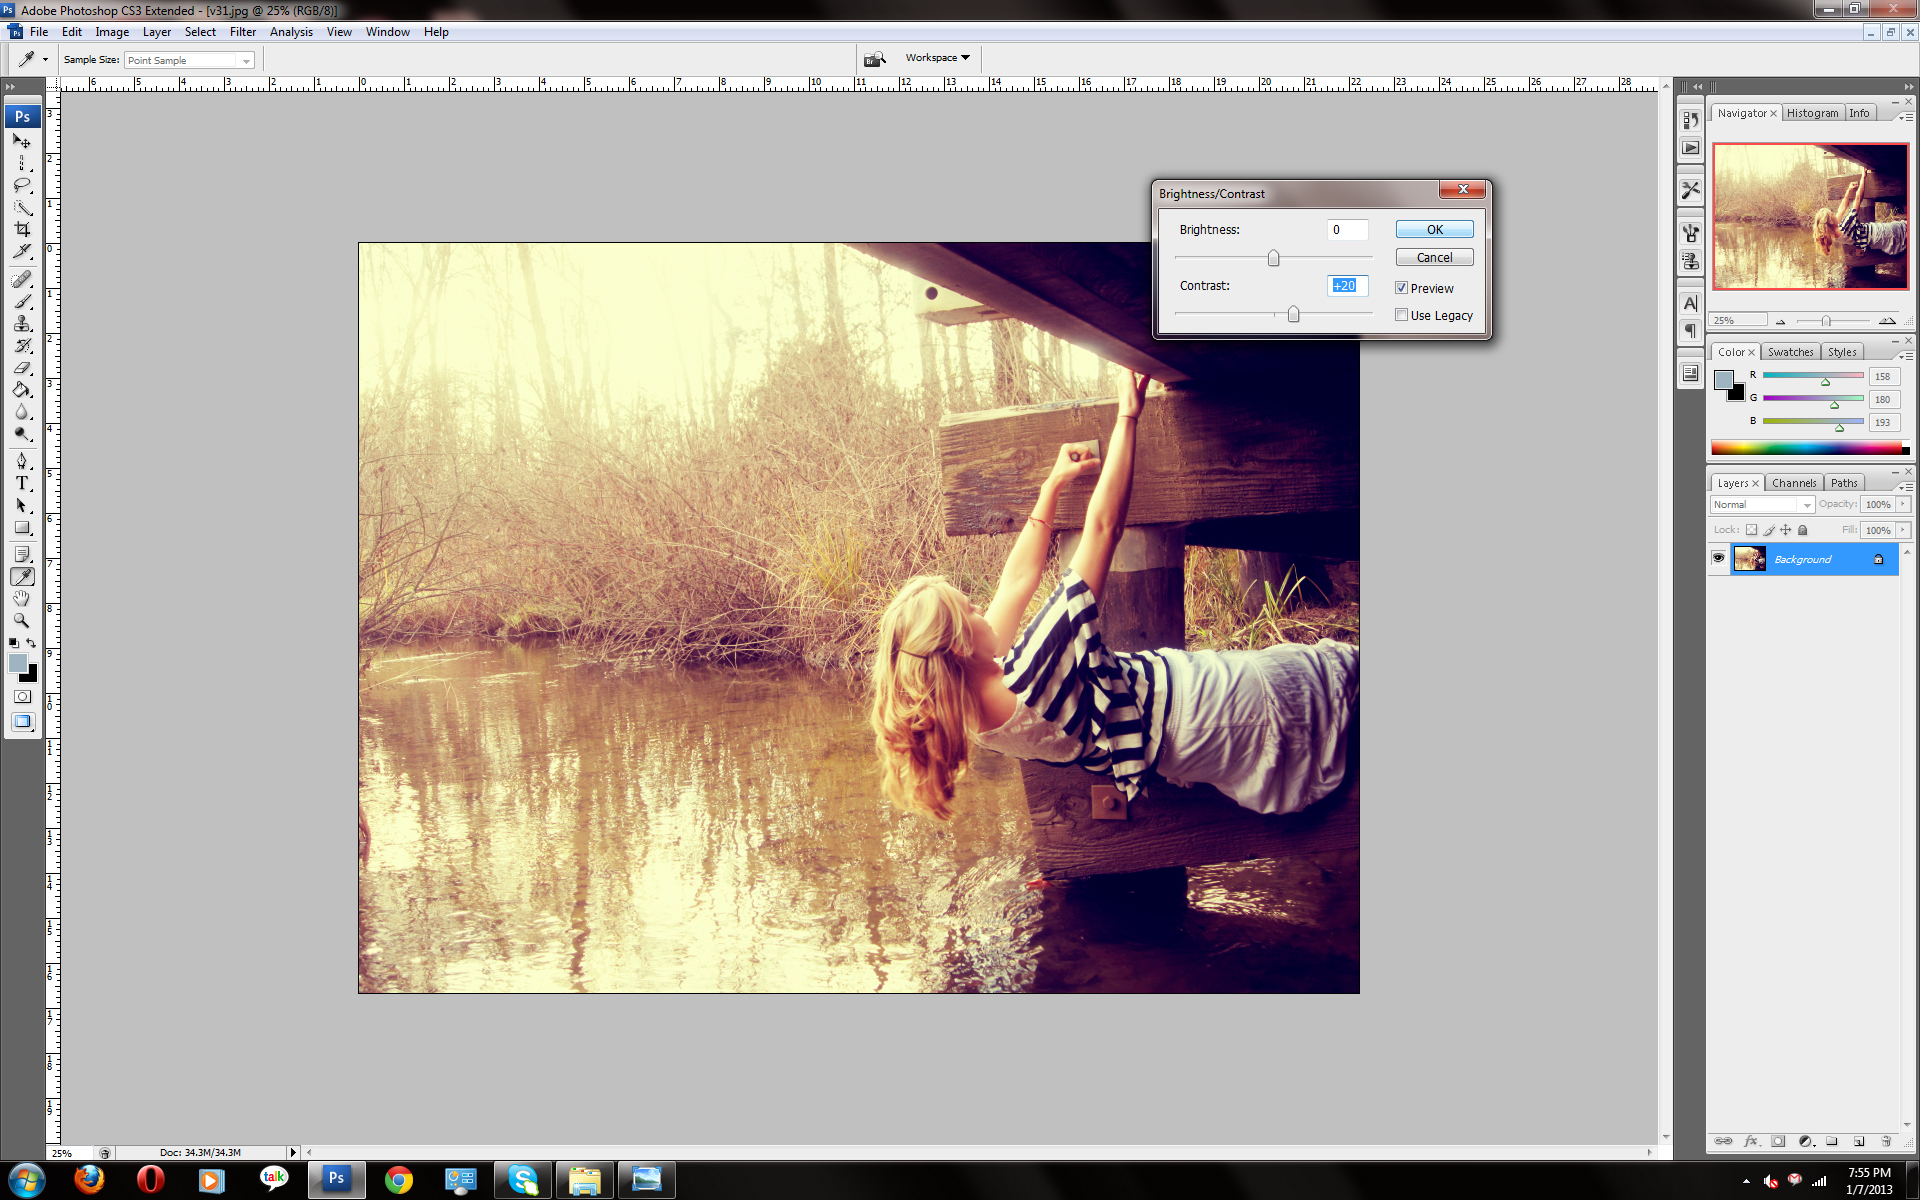
6. Go to layer and click flatten image. The next part is optinial.. click layer - ajusments - brighness/contrast.
Change the contrast to about +20 and click ok.
And thats it. Besides saving it of coarse :)
Change the contrast to about +20 and click ok.
And thats it. Besides saving it of coarse :)
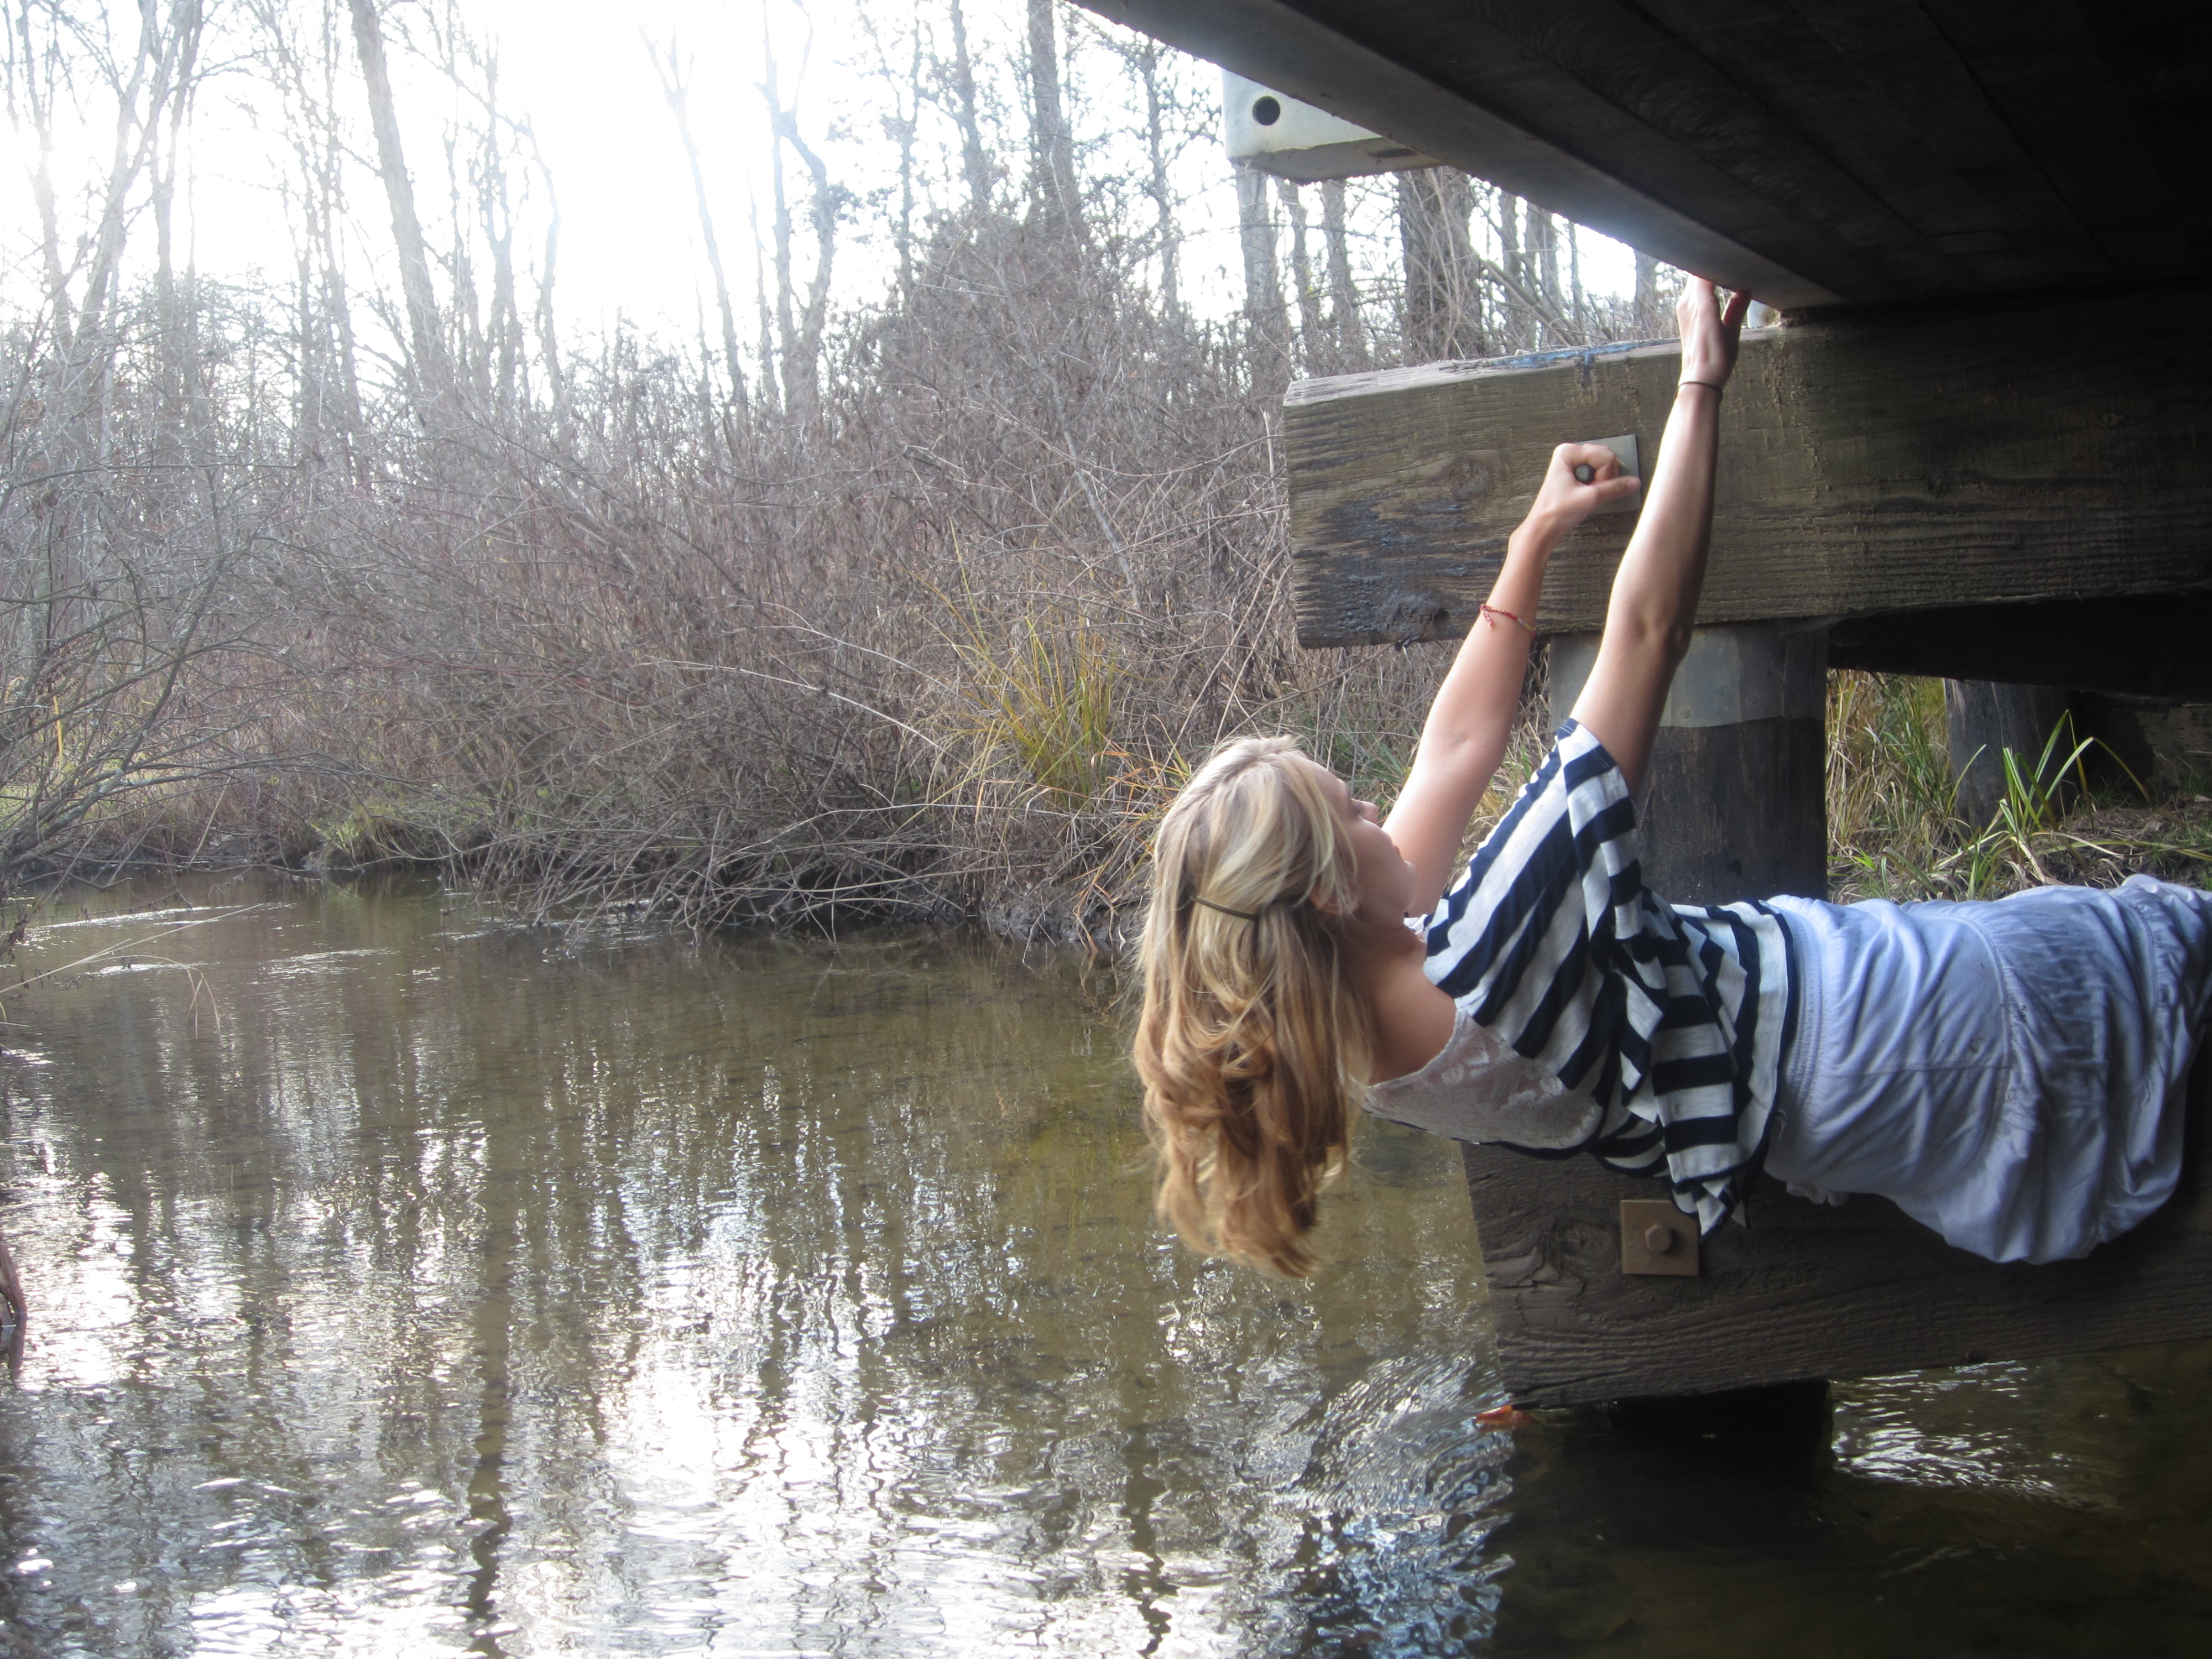

A before and after picture..