Vinegar Etching (The Instructables Robot in Clay)
by Julia J Barton Designs in Craft > Clay
34027 Views, 412 Favorites, 0 Comments
Vinegar Etching (The Instructables Robot in Clay)
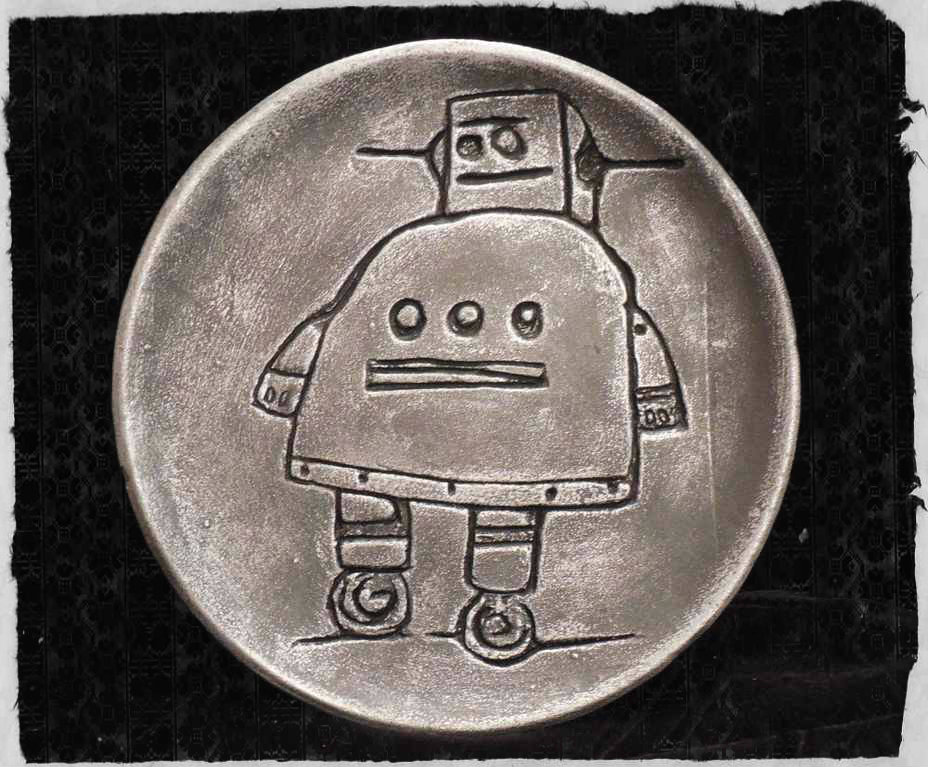
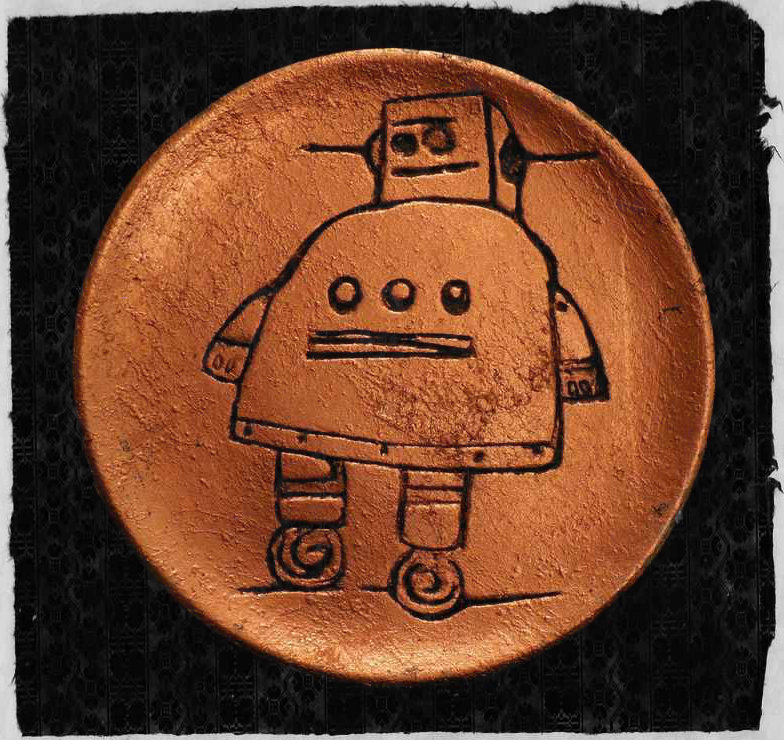
Using vinegar to etch and mend ceramics and pottery has been around for many years. I like this technique very much!
A potter named Benny showed this to me when I was only 12 years old, he used the vinegar to paint flowers on a dry, thrown vase, just by brushing the vinegar on, it would eat into the clay, and once the bubbled material was wiped away, you image was etched and ready to fire.
As you all know I love different mediums, and clay is definitely on my list. With its versatility, not to mention it's history, we all have been exposed, to it one time or another in our lives.
My 4H students really enjoyed doing this. Some did their names on tiles and made trivets and others created etched paintings on their hand thrown pots. This is by far one of the cleanest ways to remove clay,no dust or scrapings everywhere.
I love children their minds are so free.
Tools & Supplies
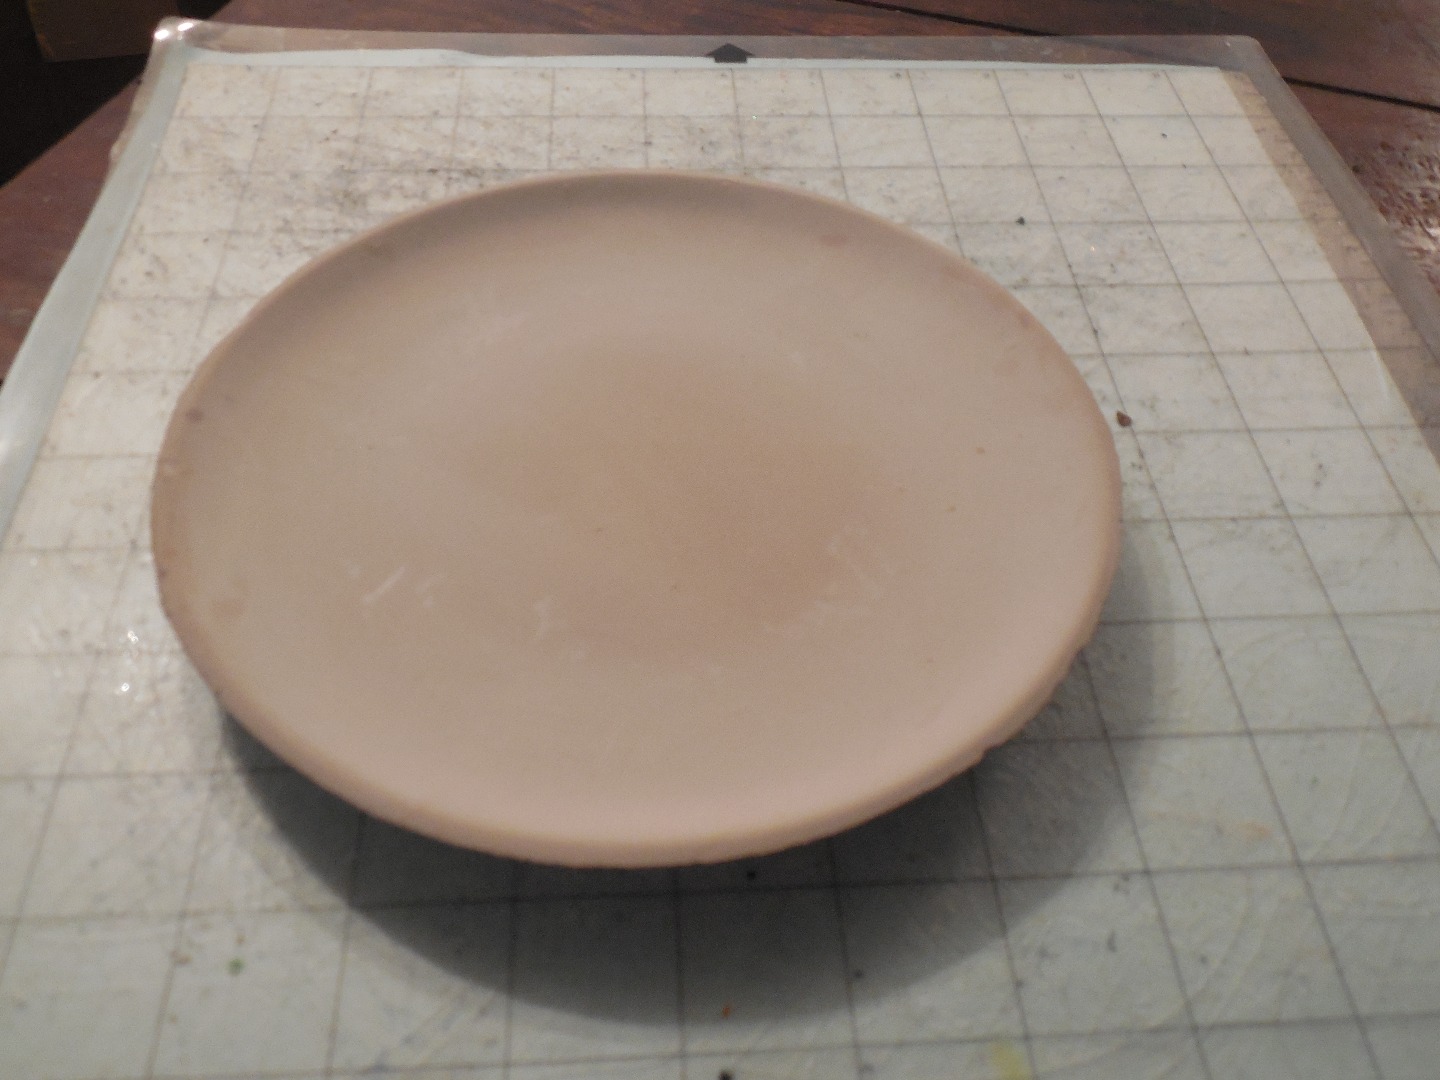
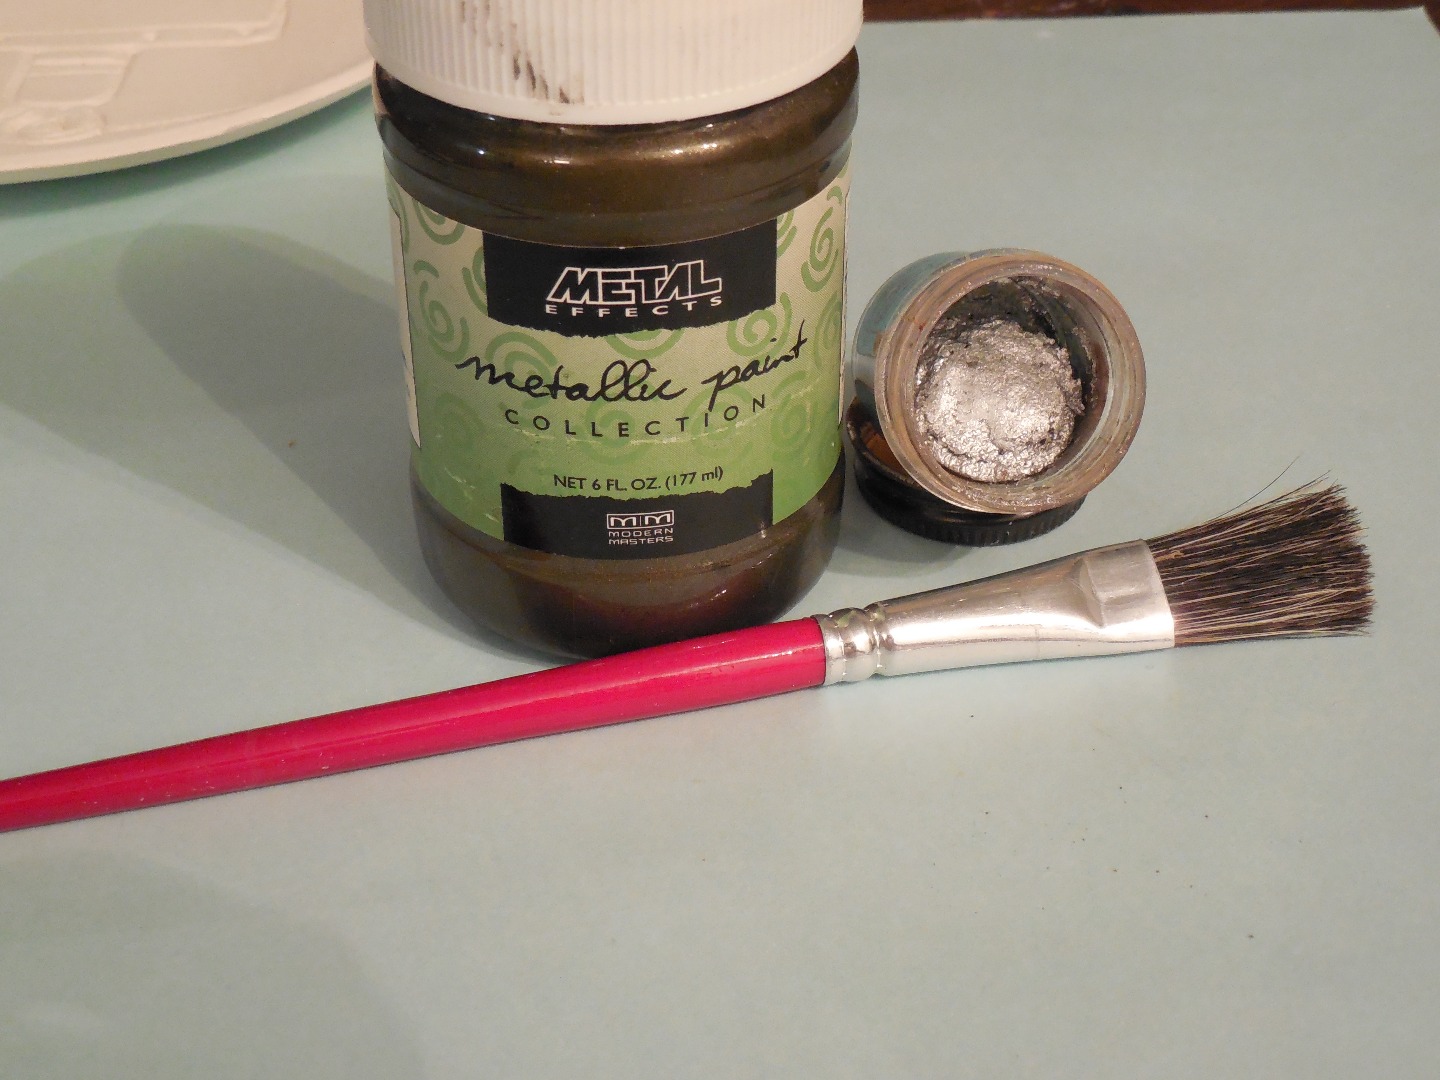
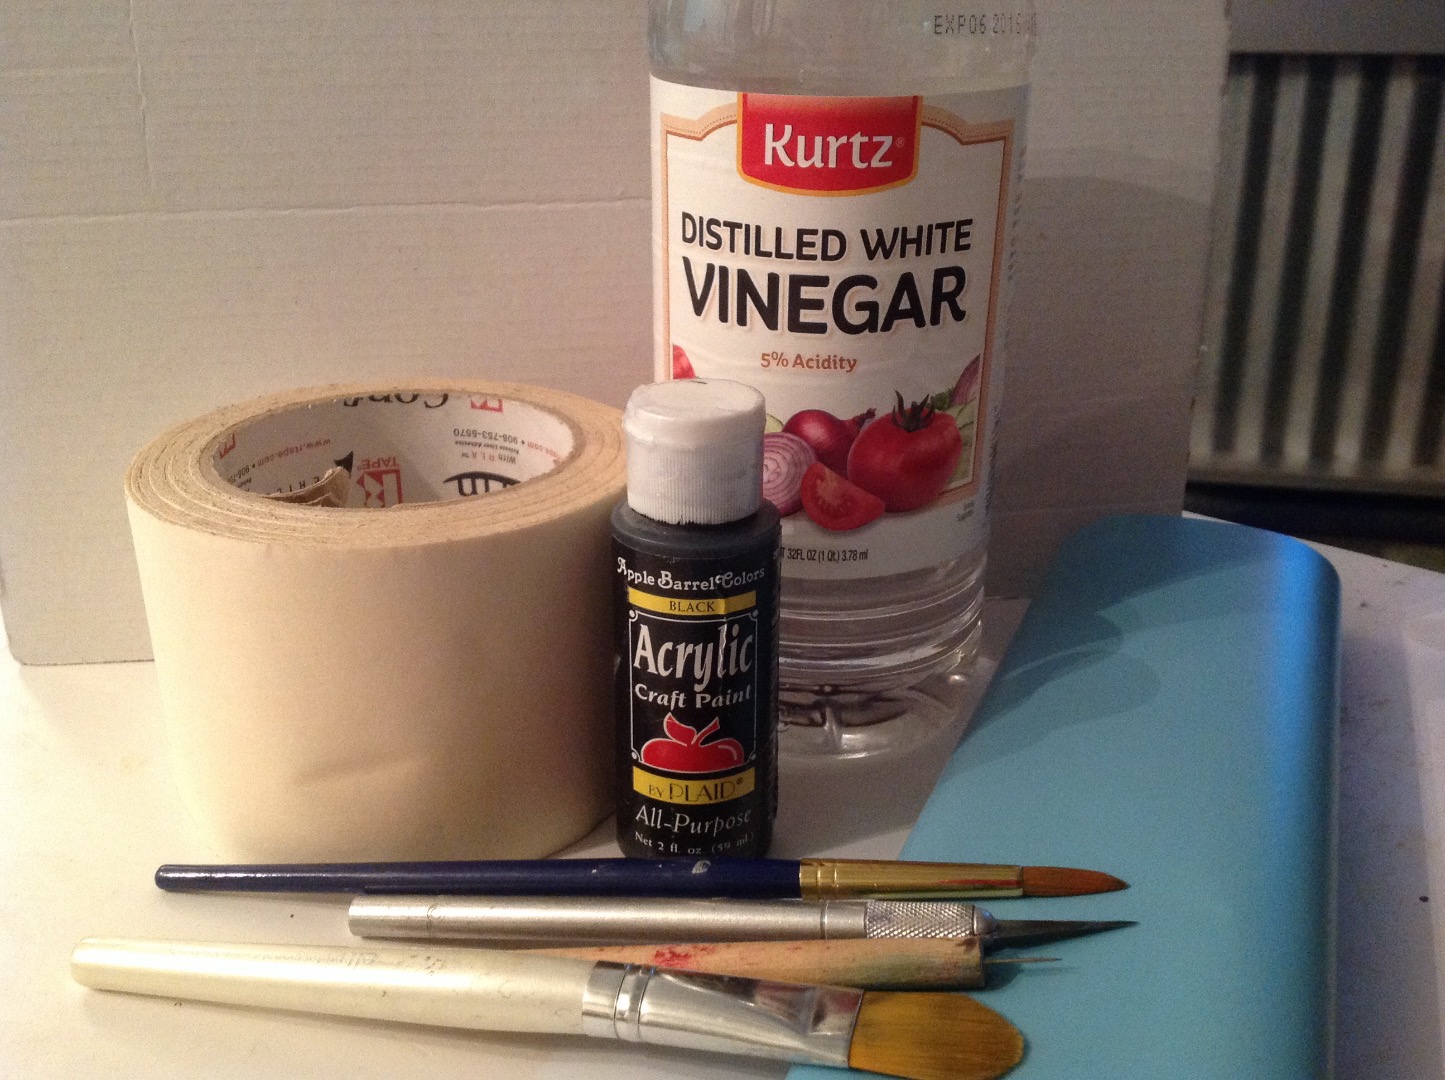
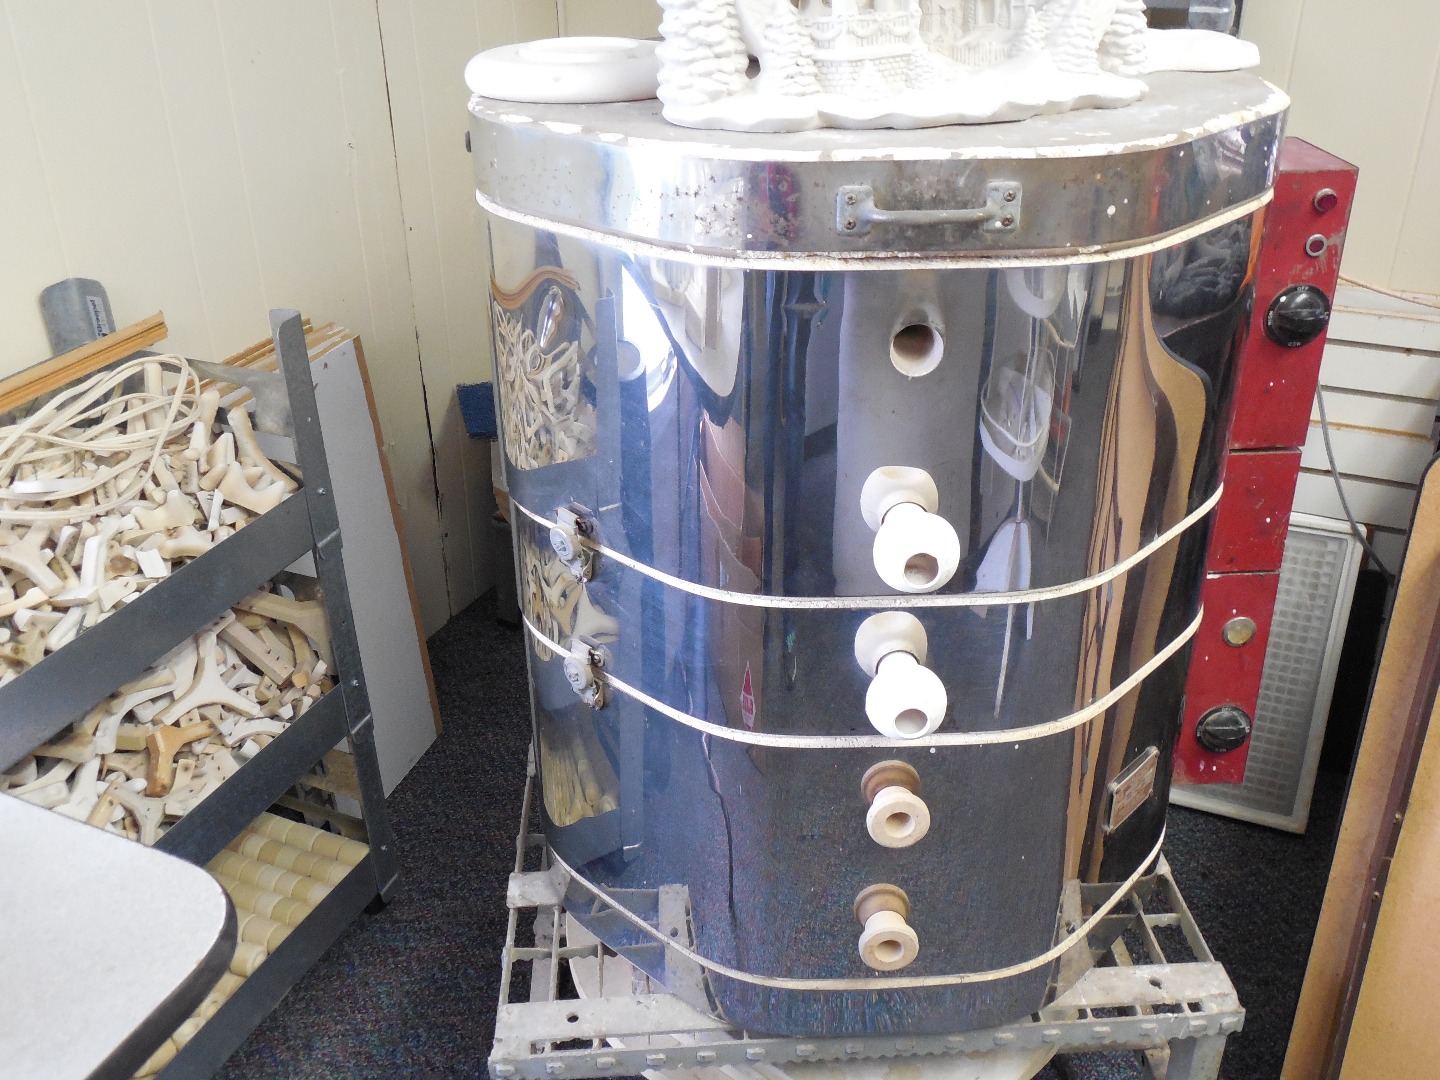
Greenware plate (greenware is what clay objects are called before they are bisque fired).
Sign vinyl (for making mask)
Vinyl release tape
Vinegar
plastic container for vinegar
Paintbrush
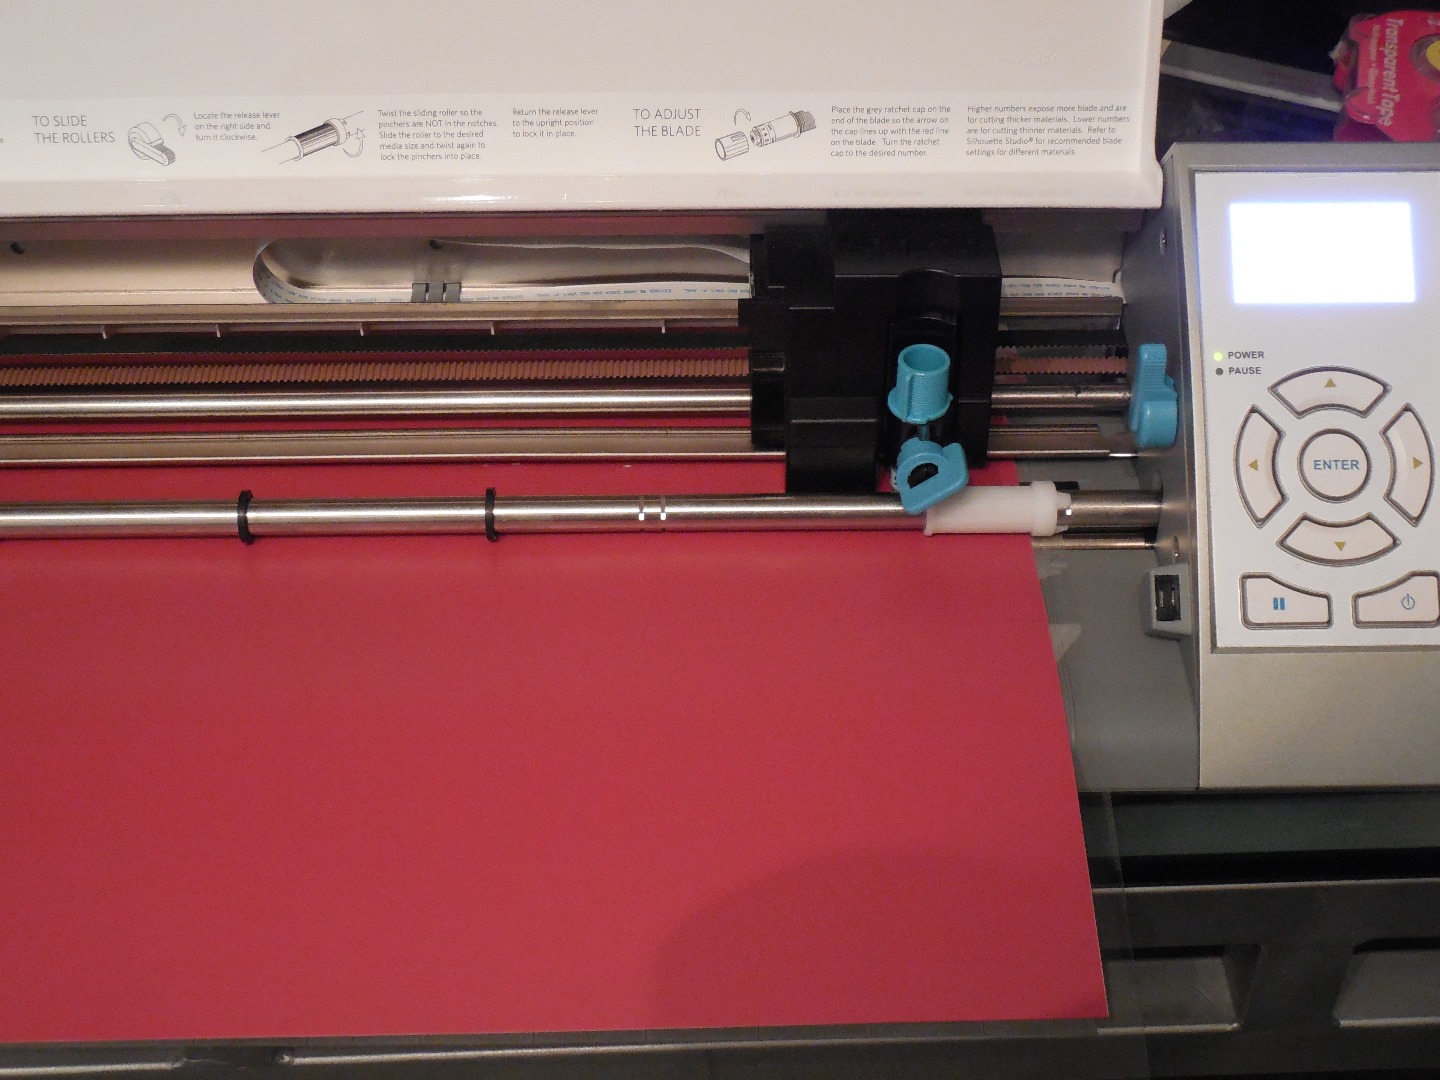
A way to cut vinyl. (The Silhouette cameo was used for this project) Your local sign shop can make for you.
Image (used instructables robot) be careful with copyright.
Tweezers (helpful)
Paper towels
Water and bowl
Rub-n-buff metallic
Paint for finishing
Kiln or place to have piece fired.
Cutting Design Mask
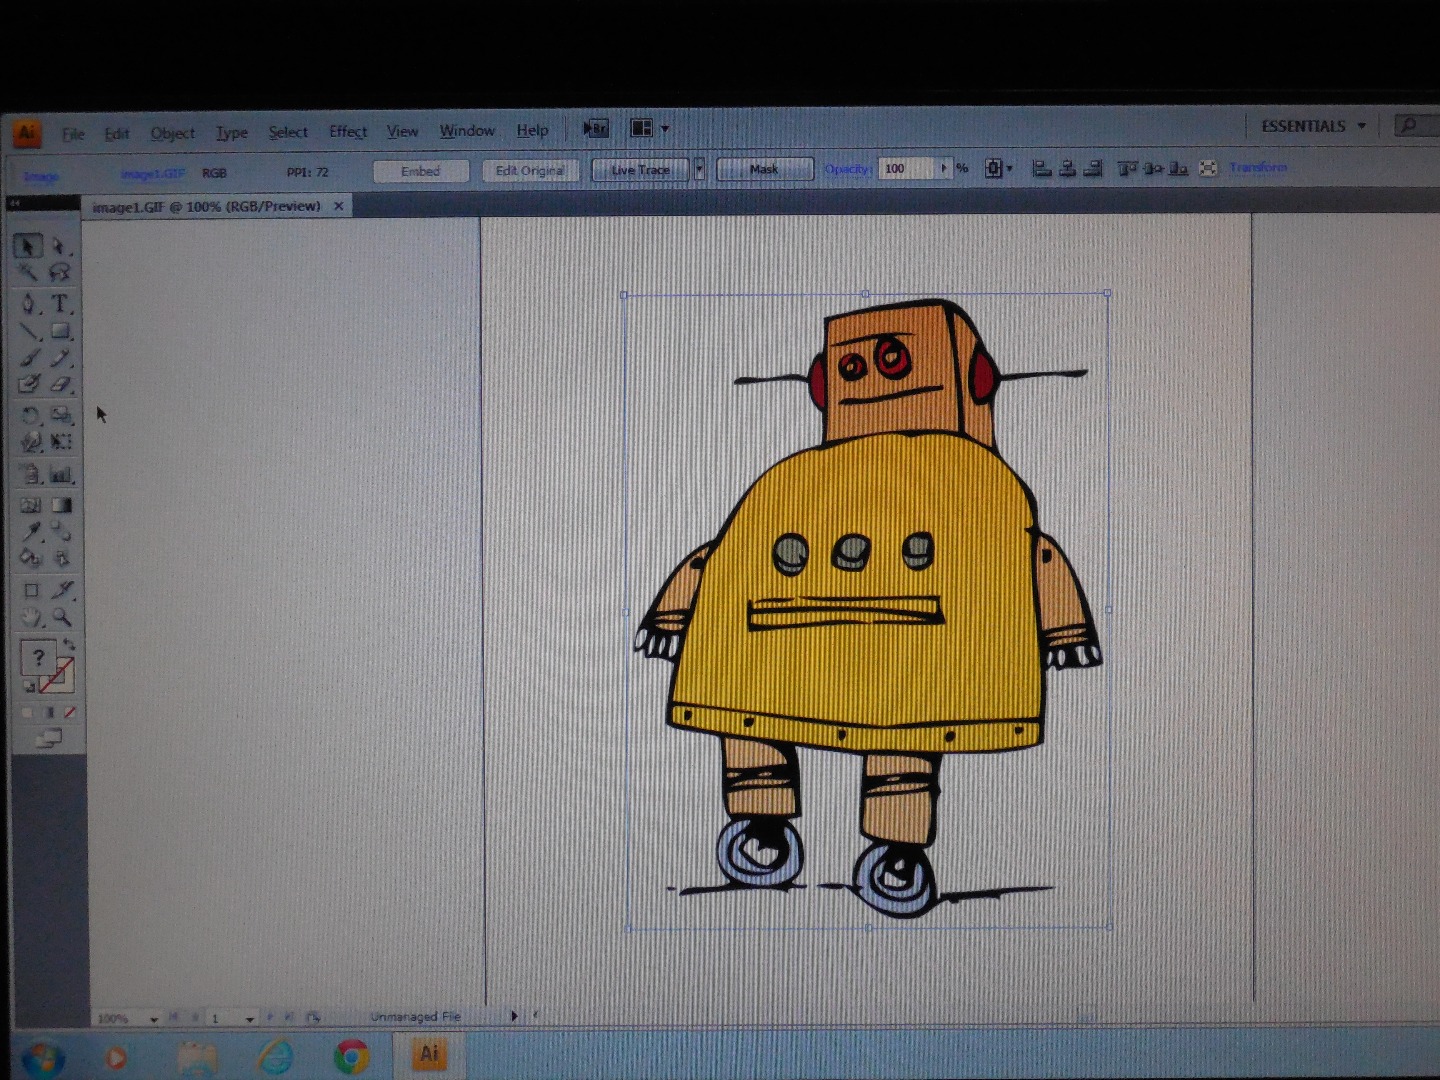
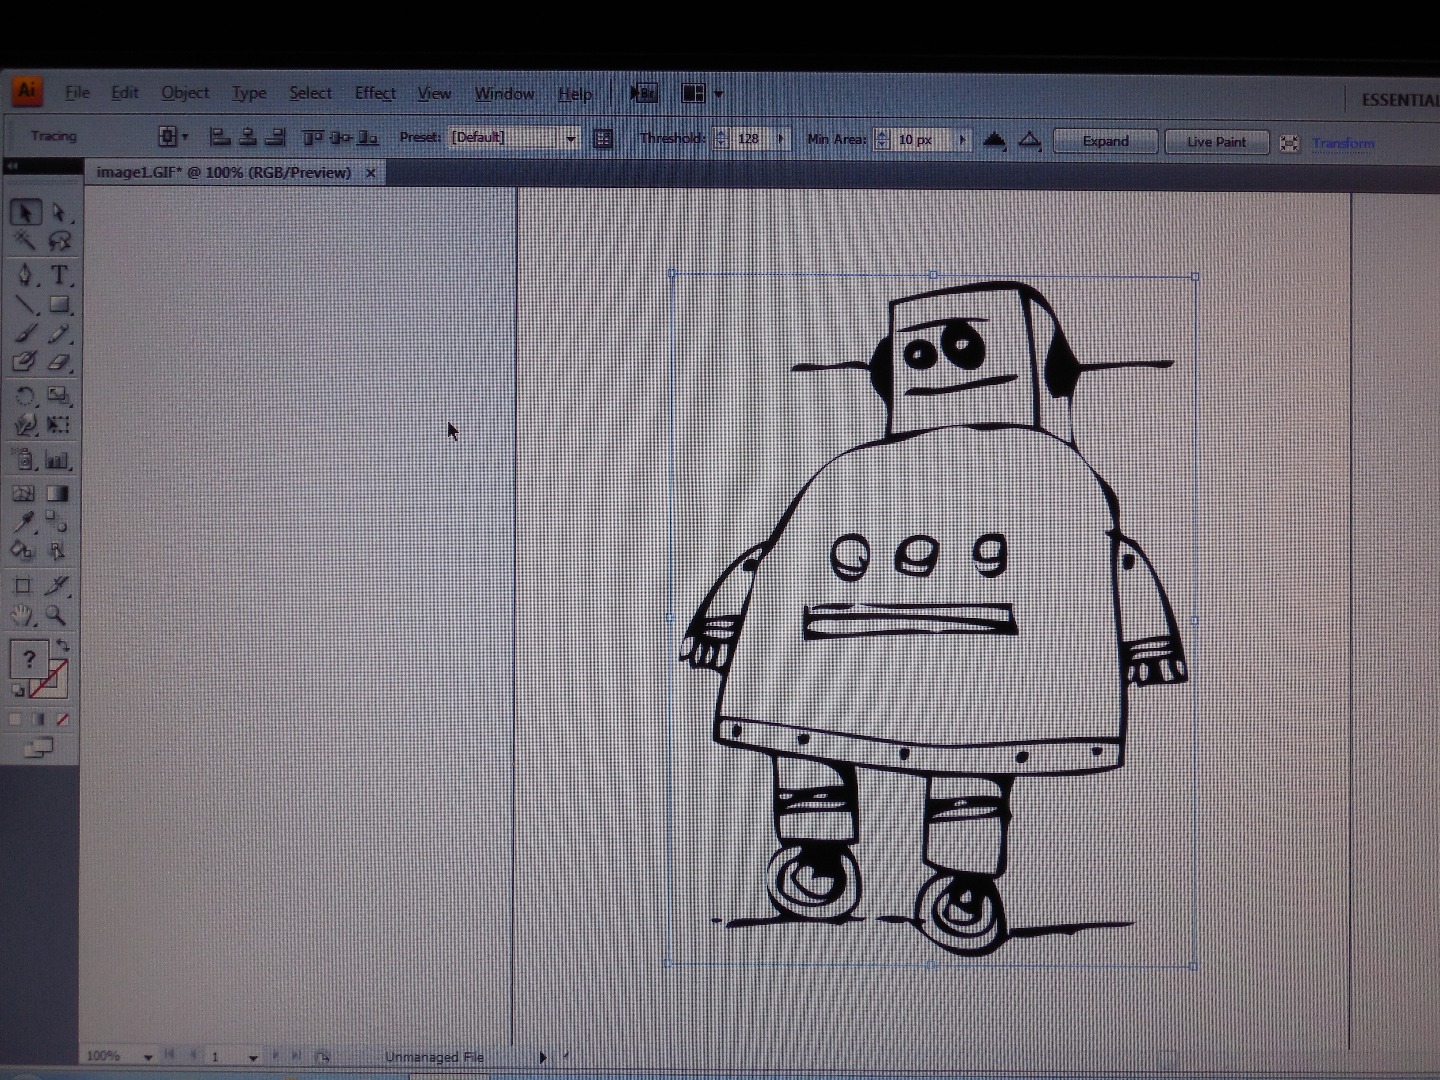
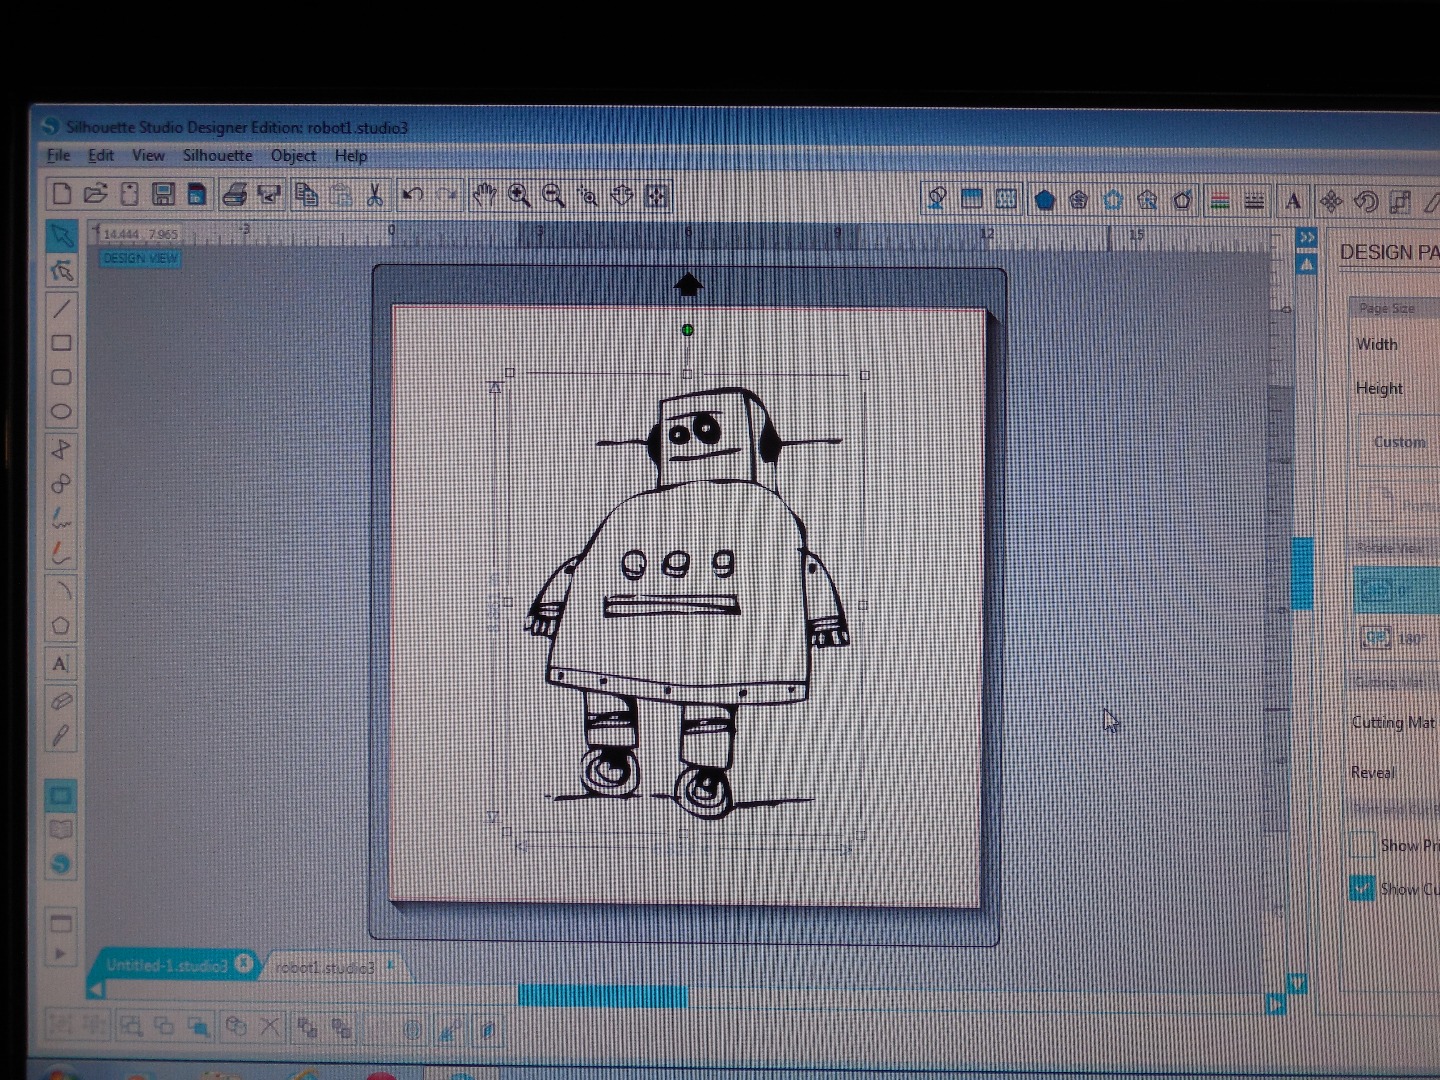
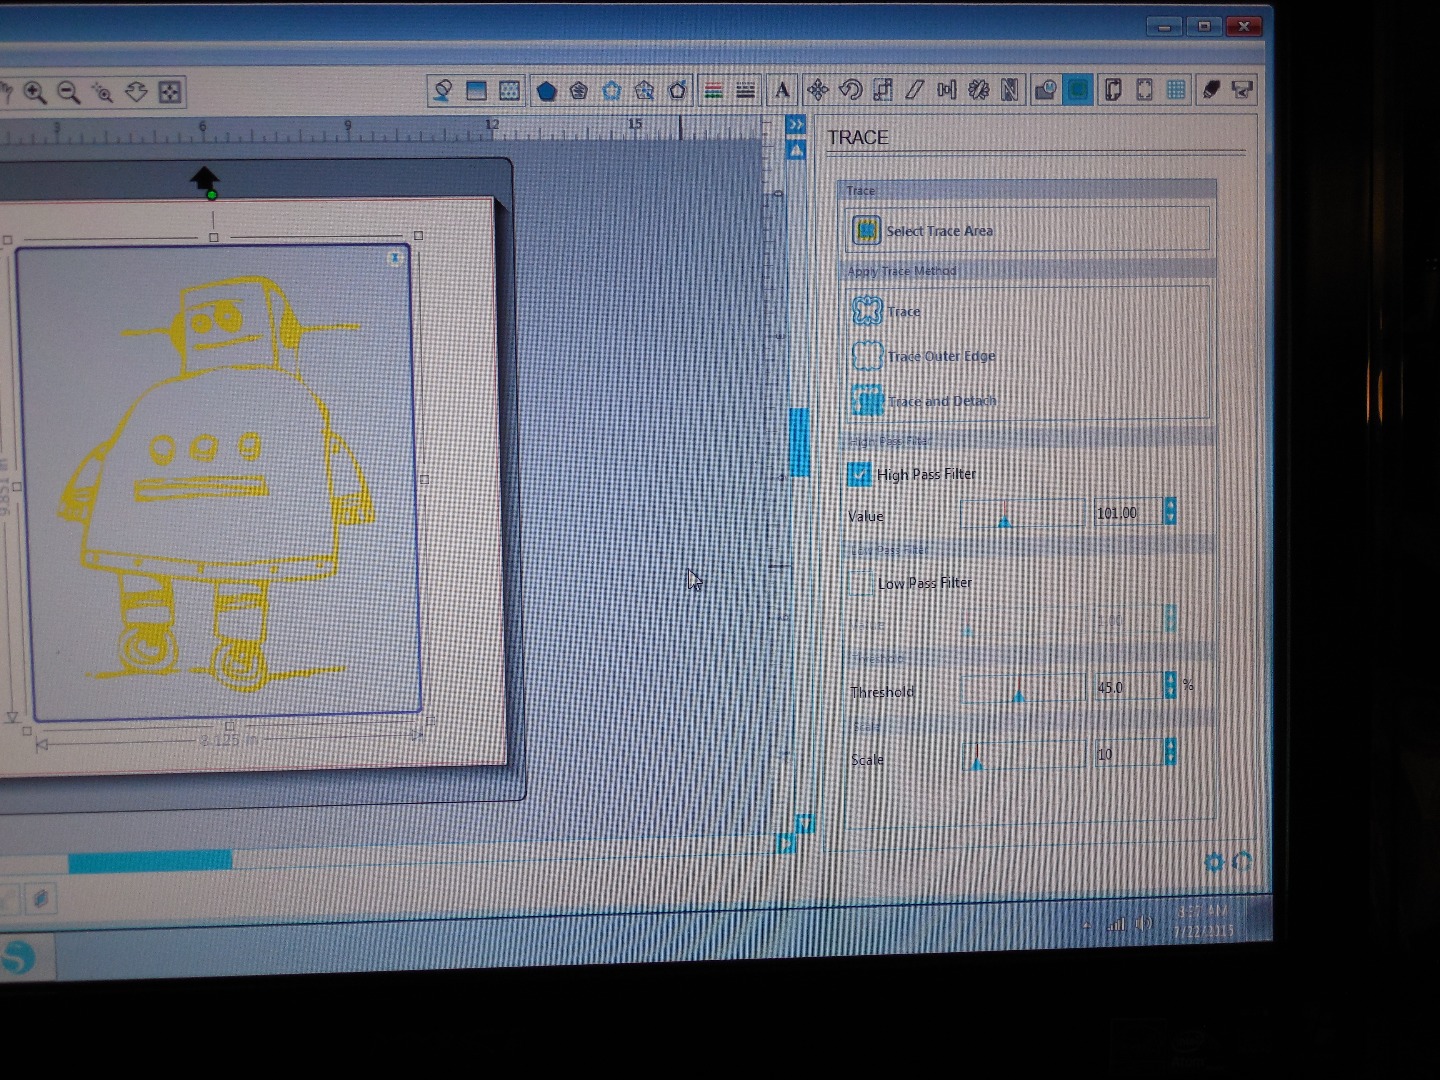
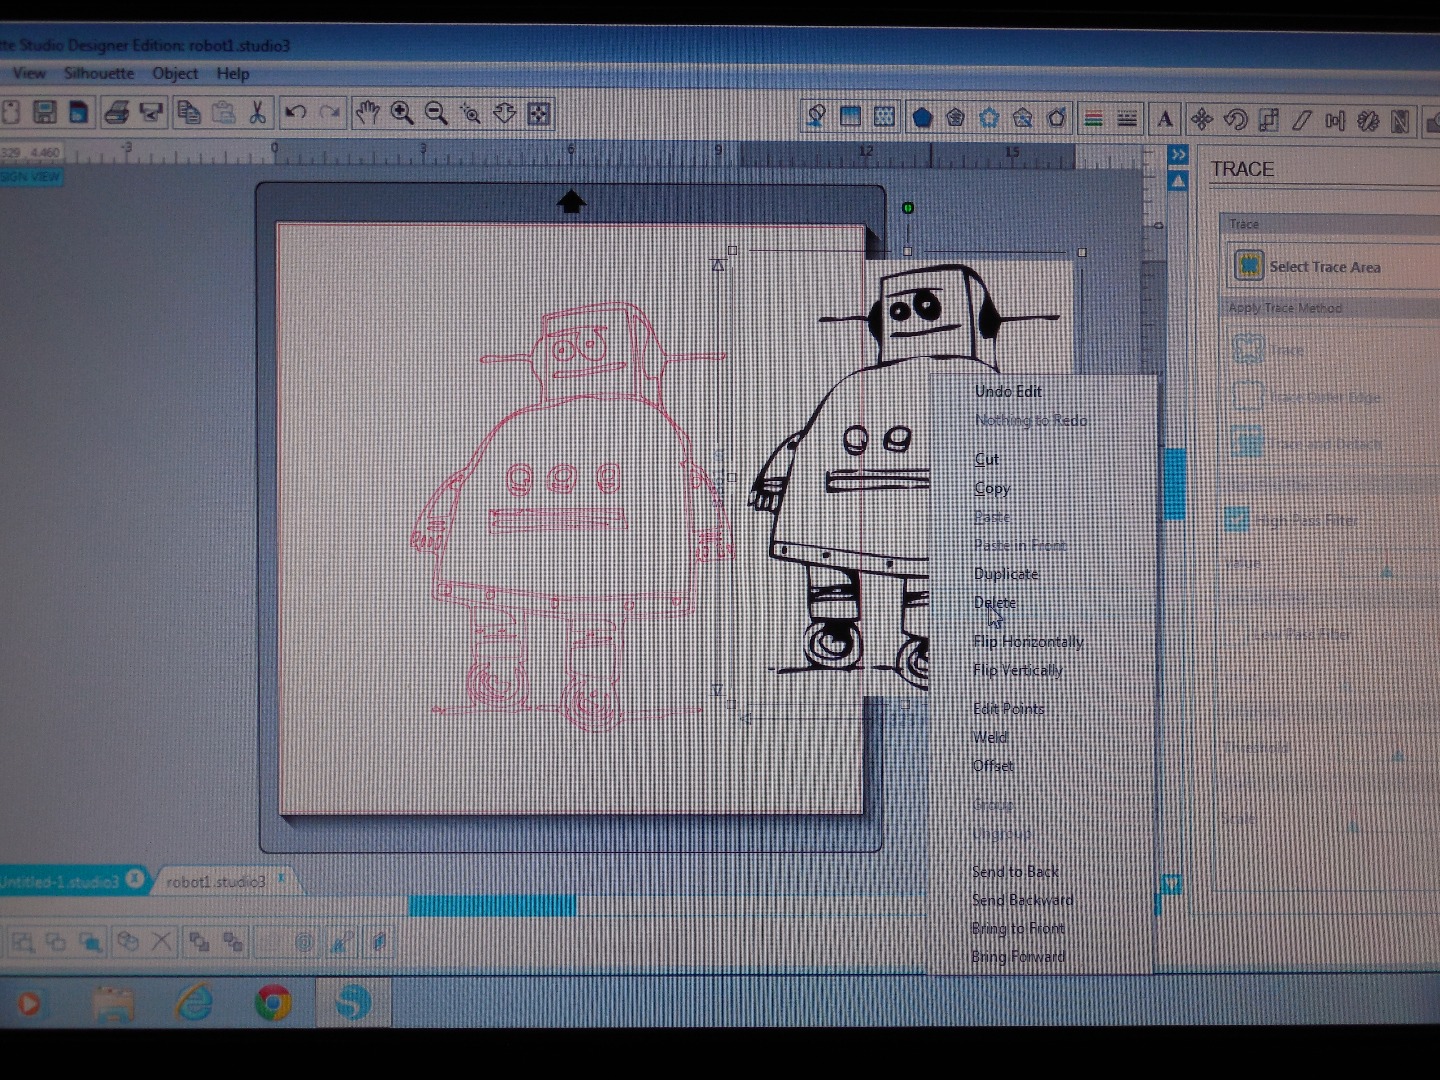
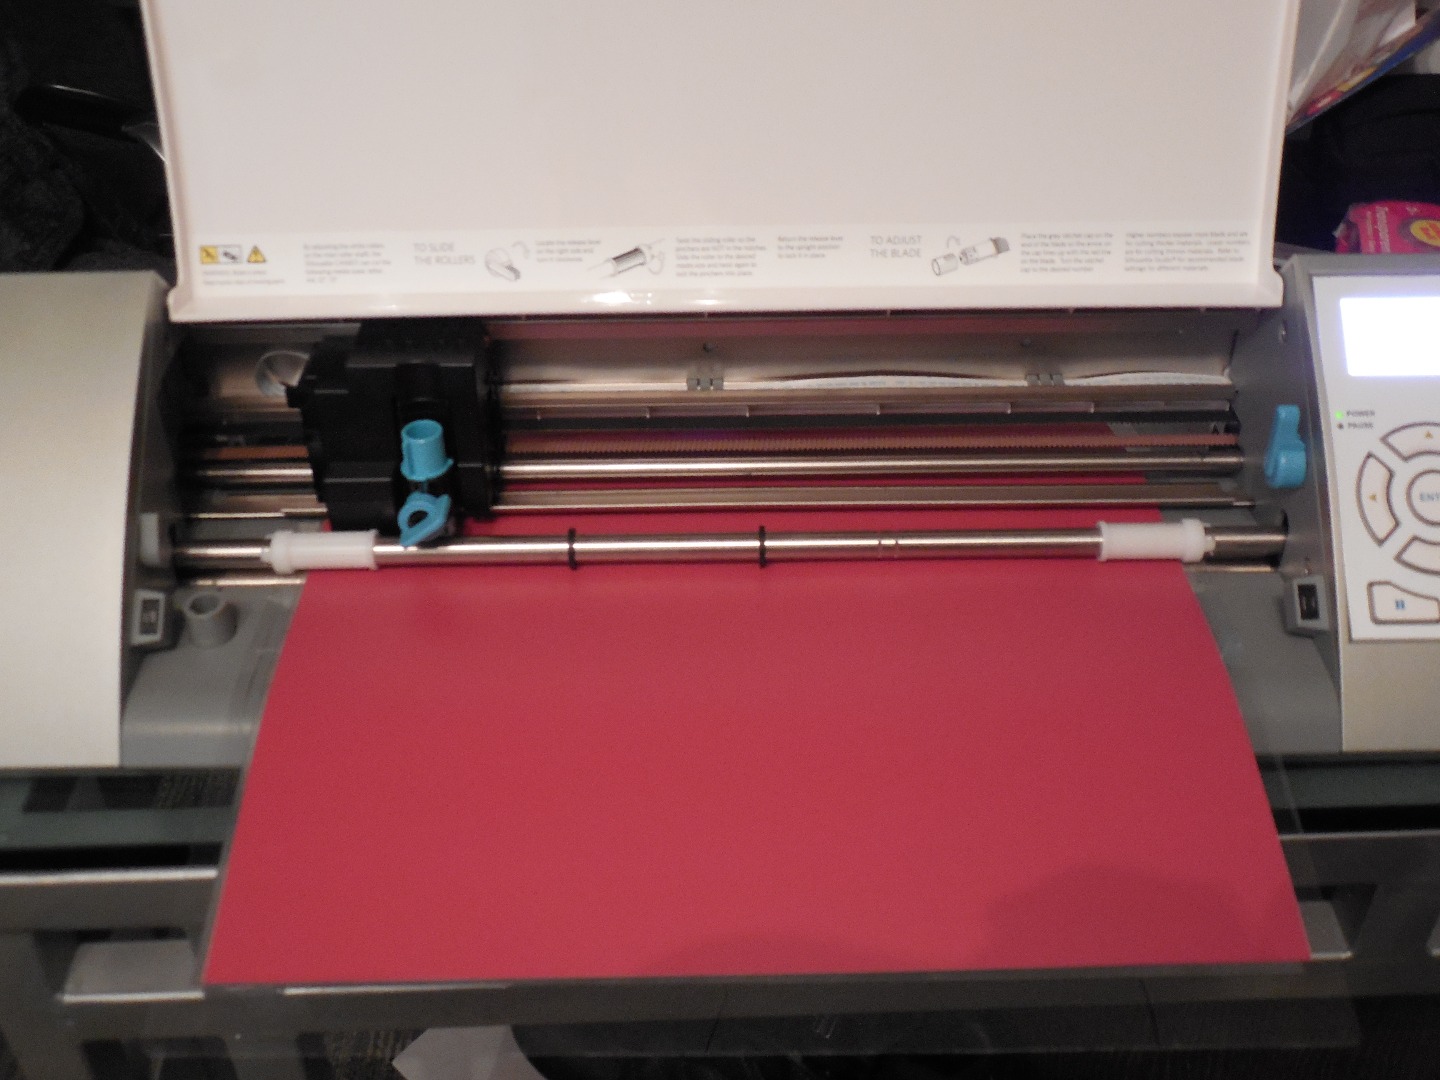
This step is only needed if you will be creating your own mask. The etching technique can be done freehand. I wanted to show just how, precise your design can be.
I first took the robot image and created a black and white live trace in Illustrator CS4. Then I saved it as a JPEG. With the Silhouette cameo design software, I opened the saved image. You can do tracing in the silhouette software but I use Illustrator.
After you open the image, you need to trace it to create the cut file, once the cut file has been created, send to the cutter.
The vinyl is silhouette brand.
Just a note: before I had a cutter, I went to my local sign shop, gave them my saved digital image and they cut vinyl, for me. I have used lots of auto decals with this technique, but remember the copyright. Ask them to not weed the vinyl, you want to do that yourself.
Now you have cut your image or had it cut, for this plate we need to use the negative part, this etching technique creates a void where the vinegar eats away at the clay body.
Moving on!
Weeding and Transfering Image
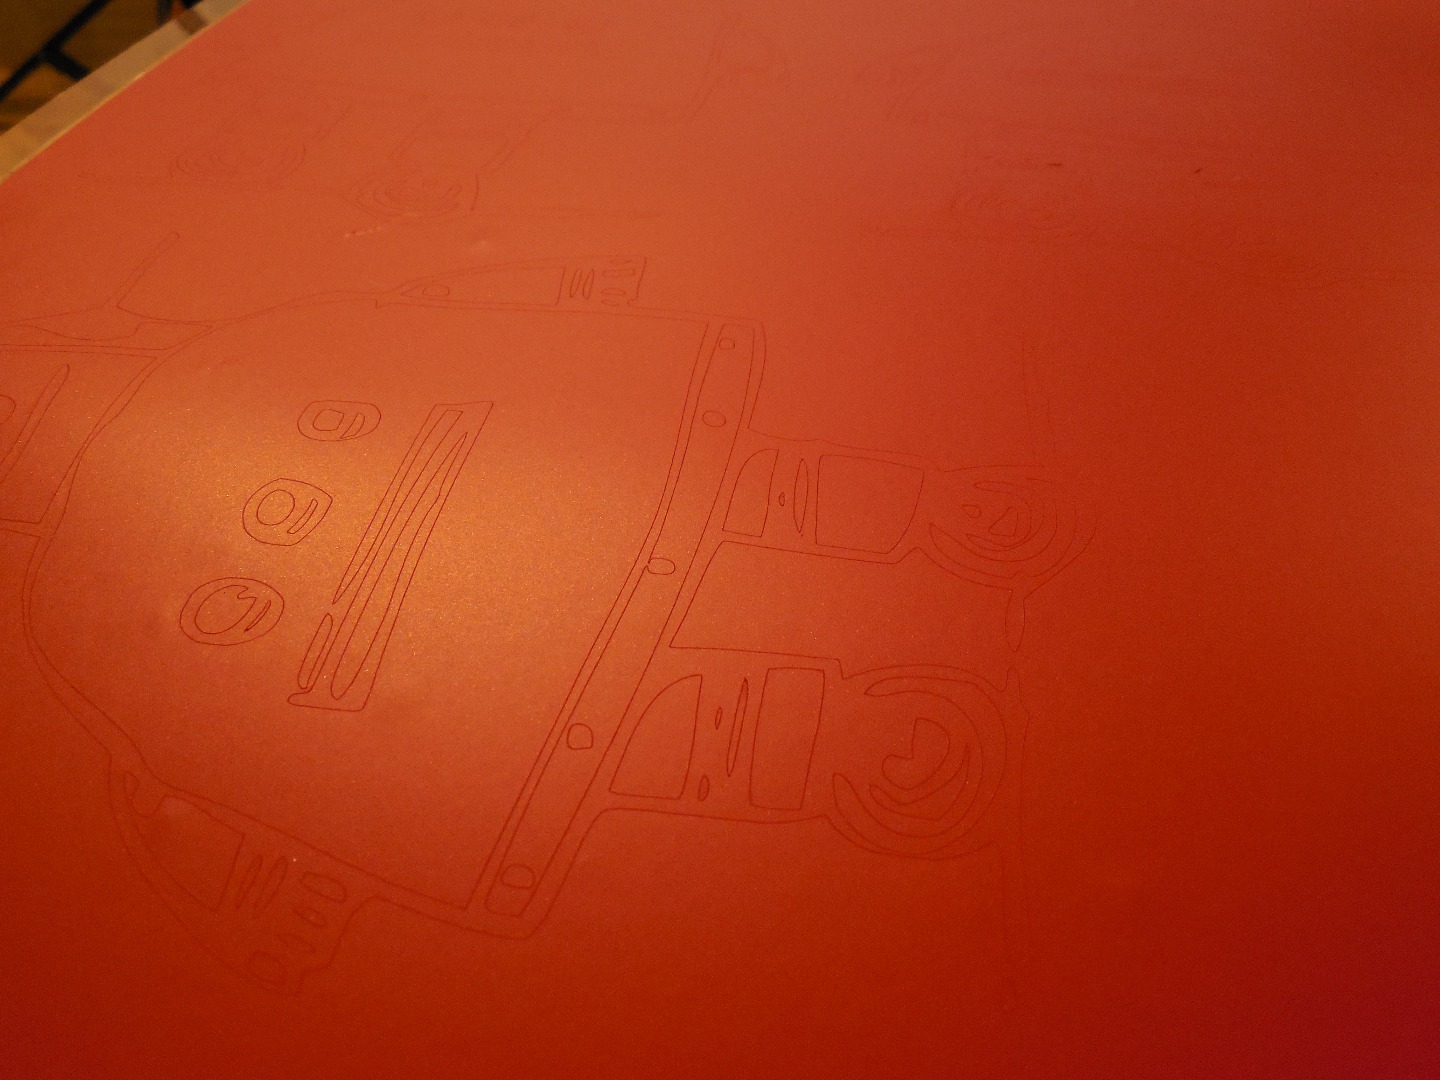
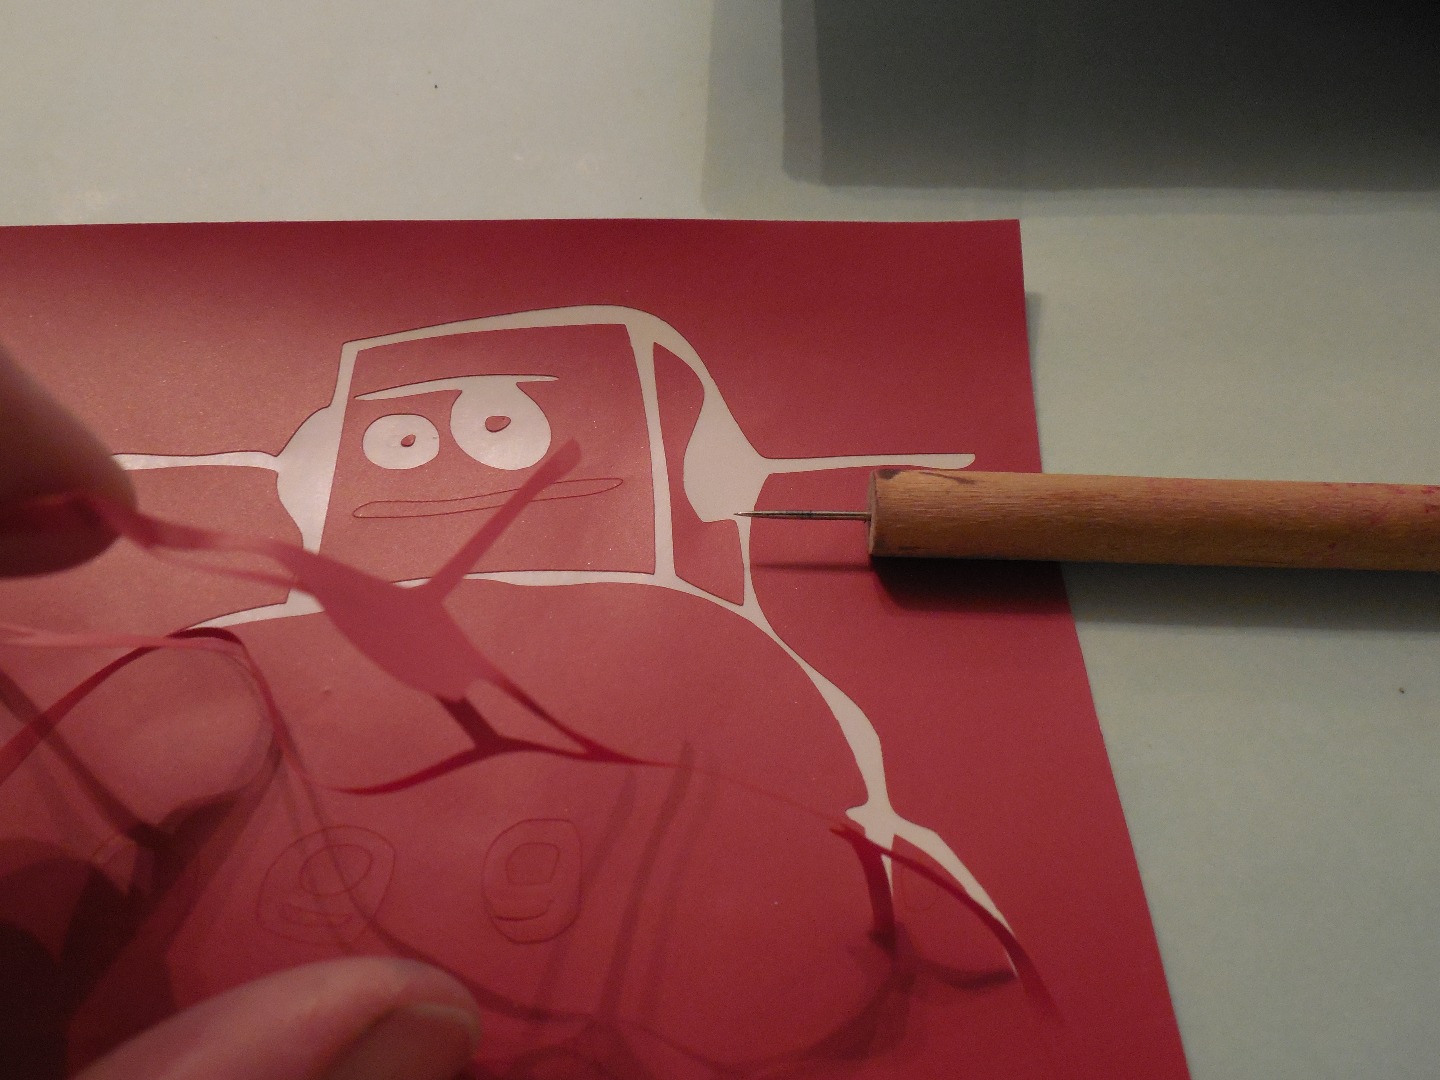
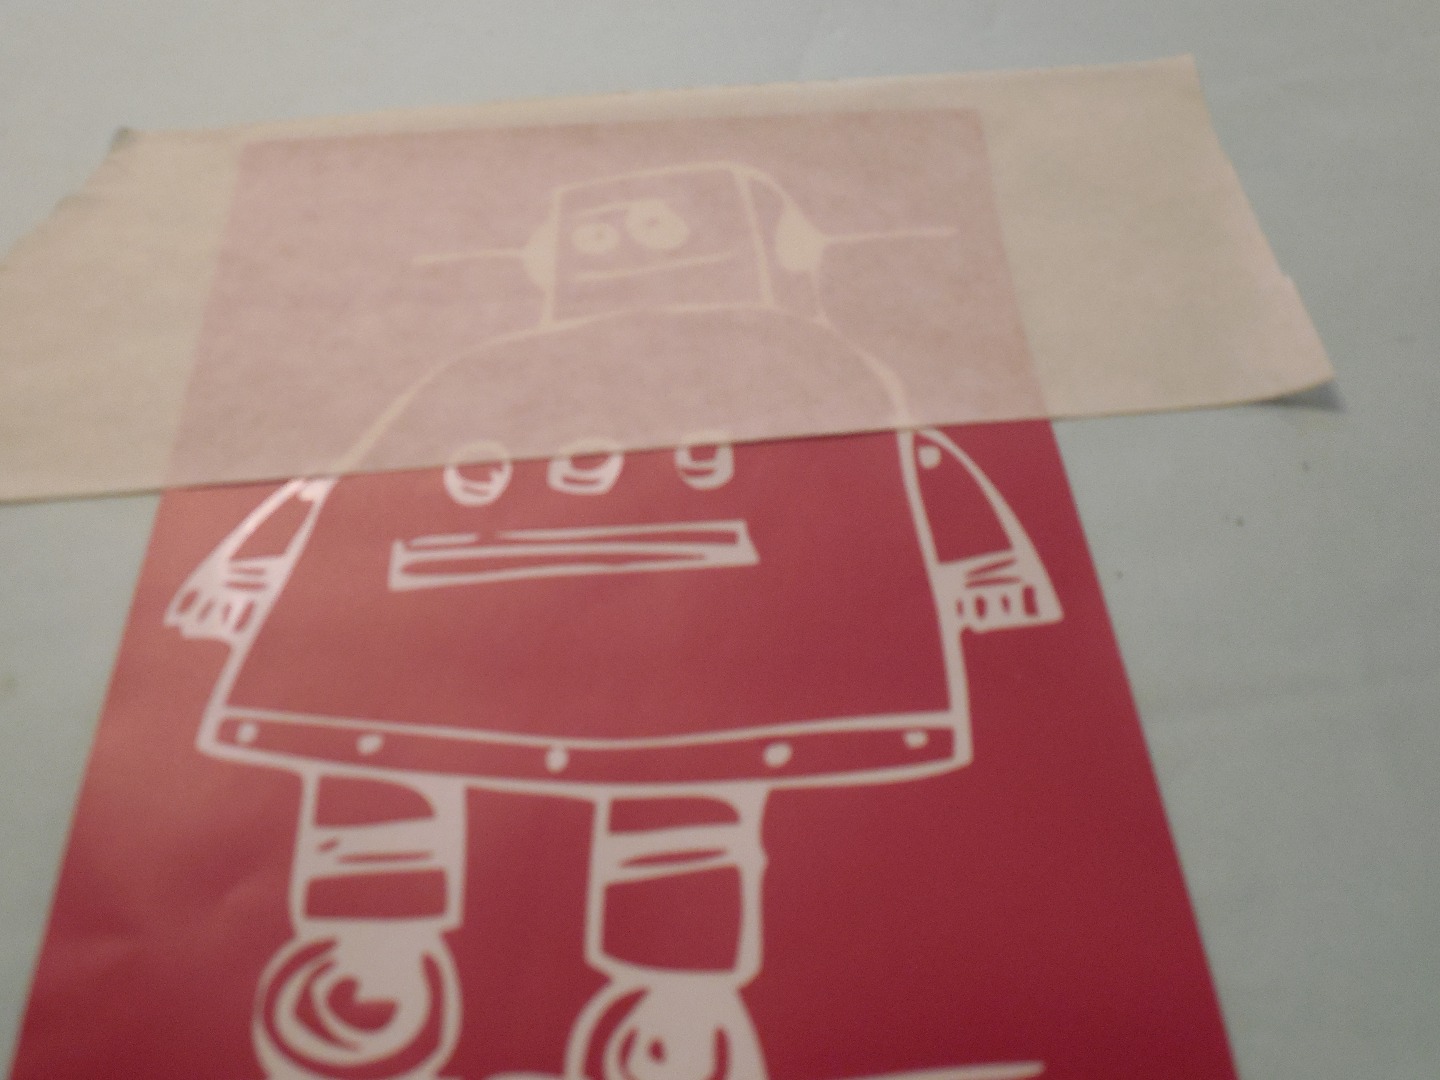
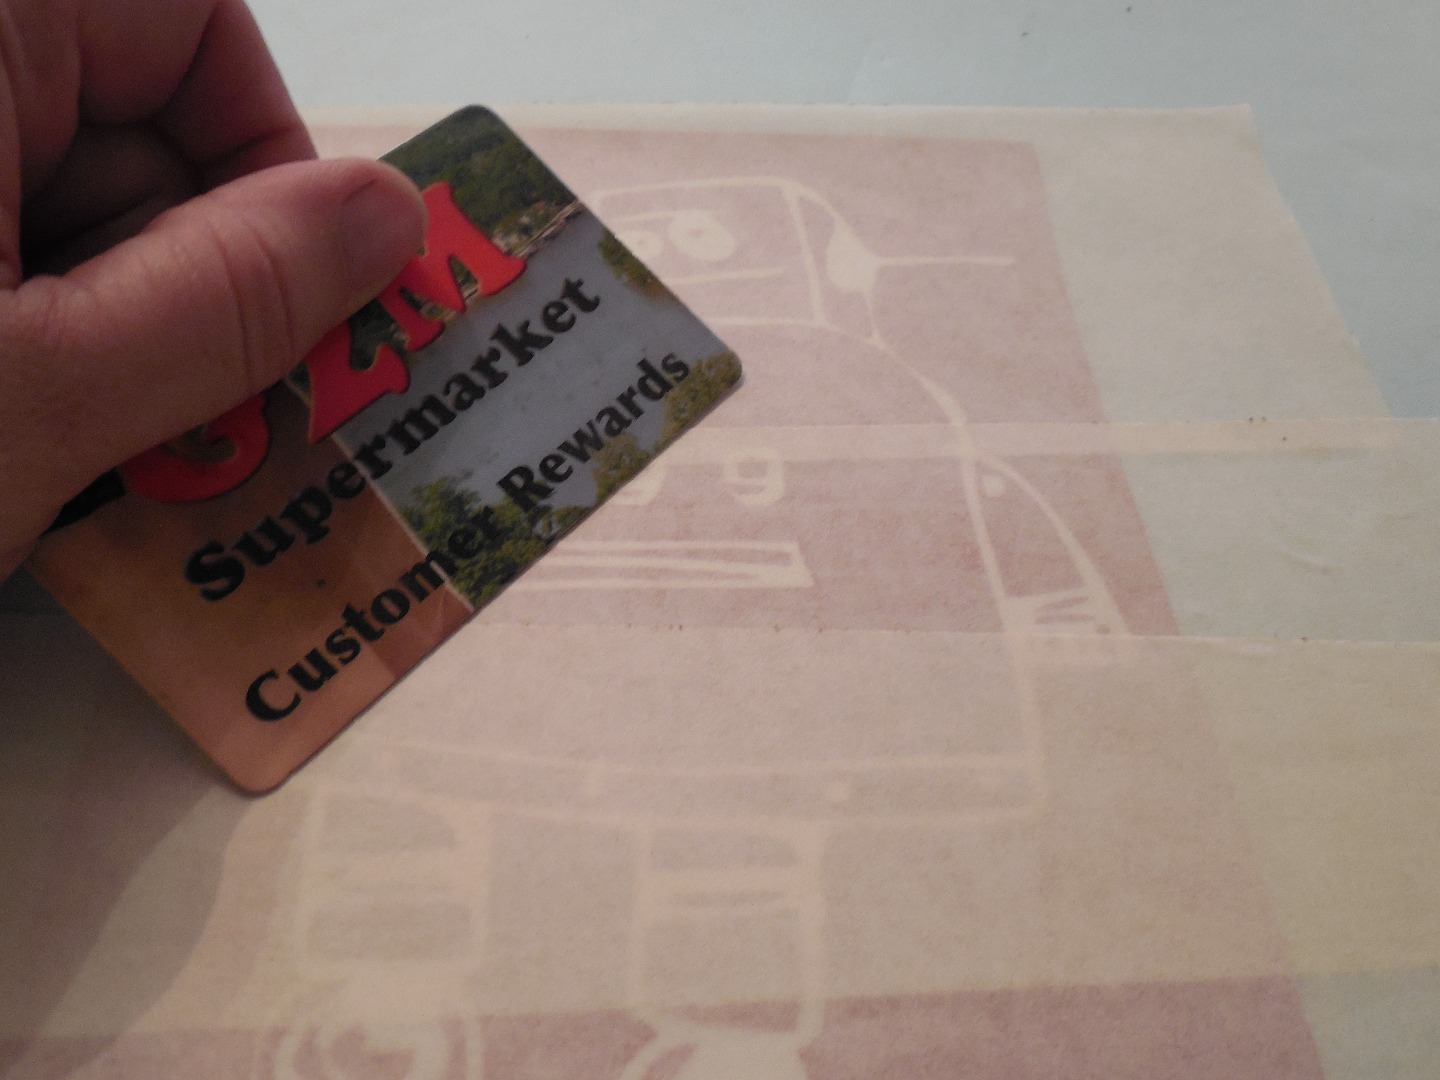
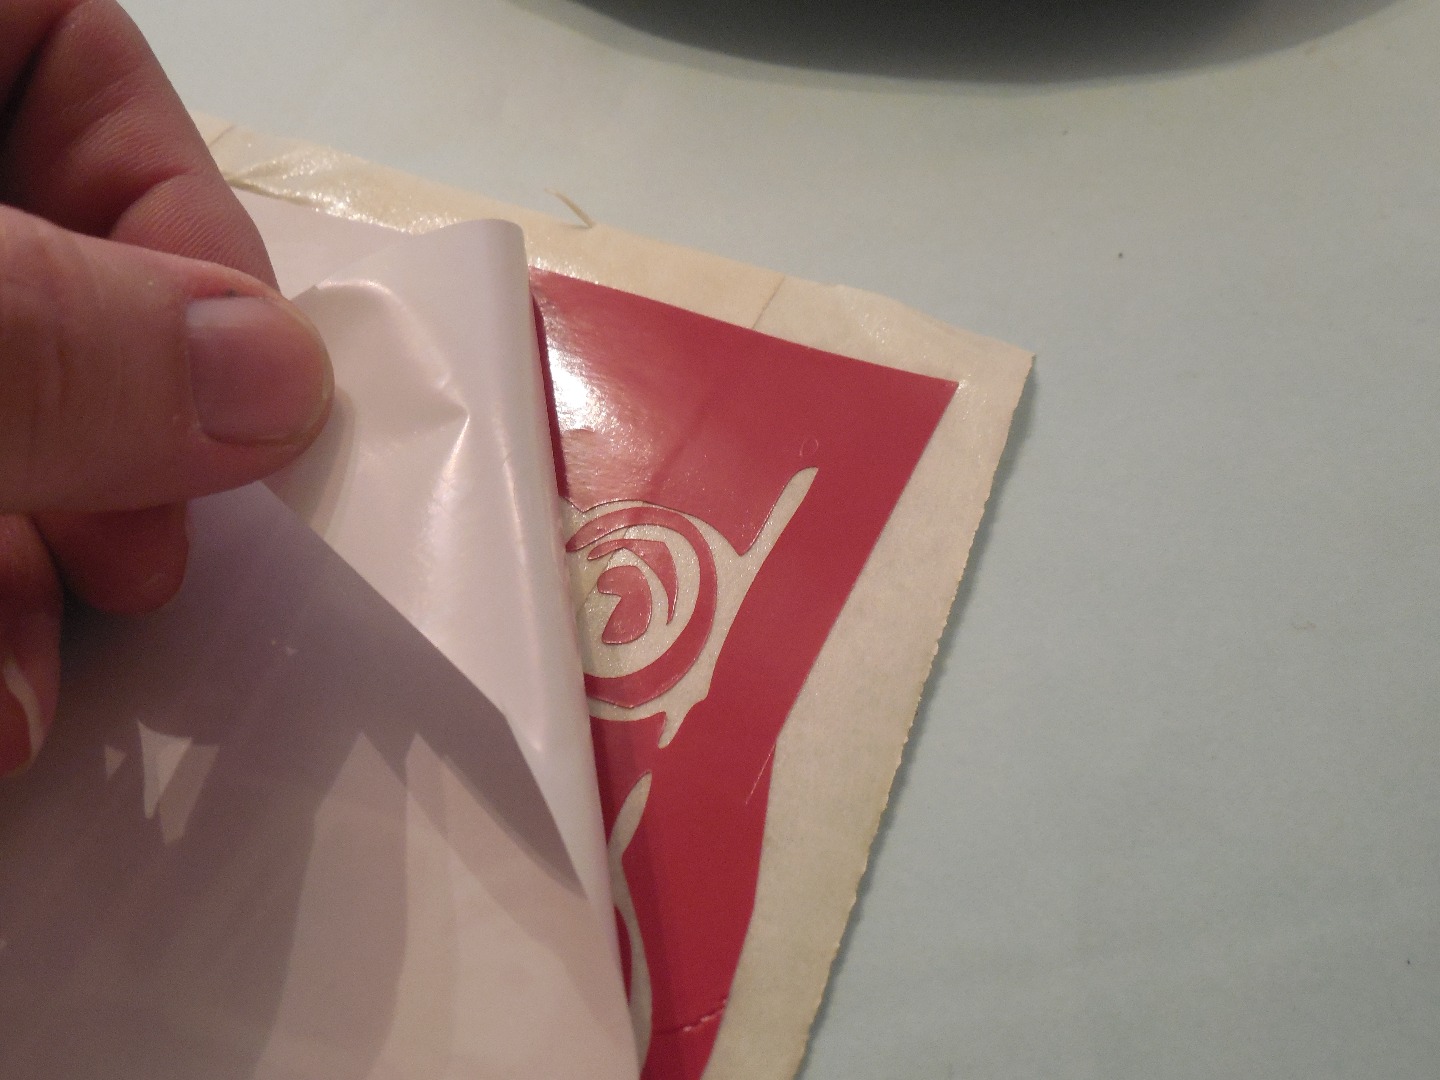
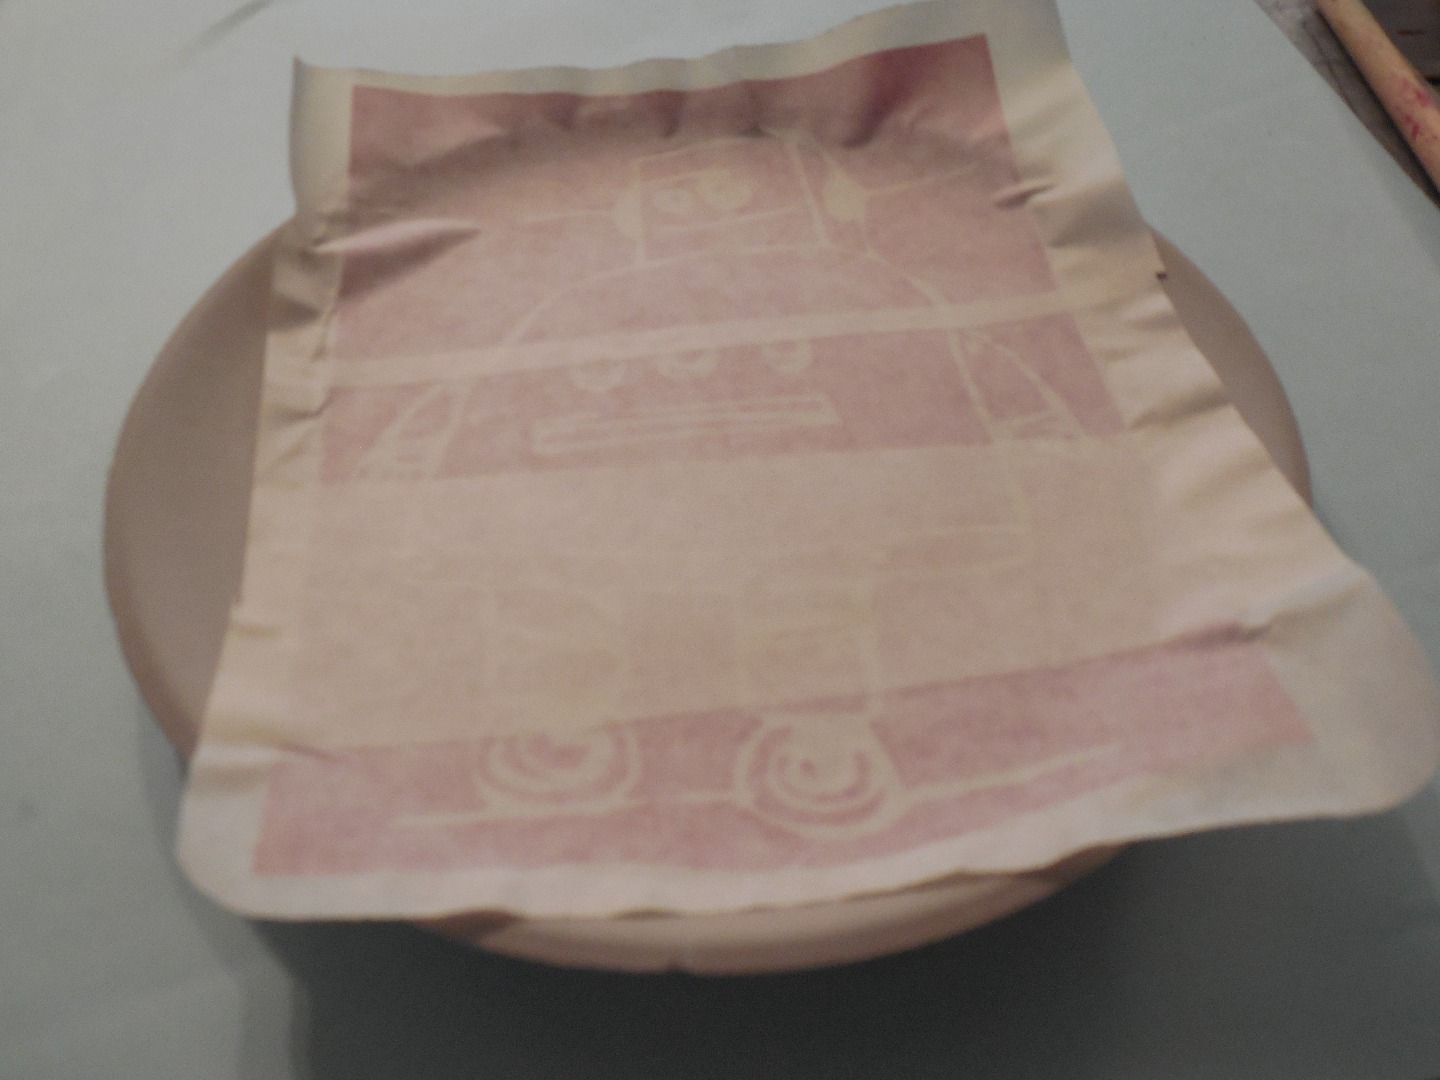
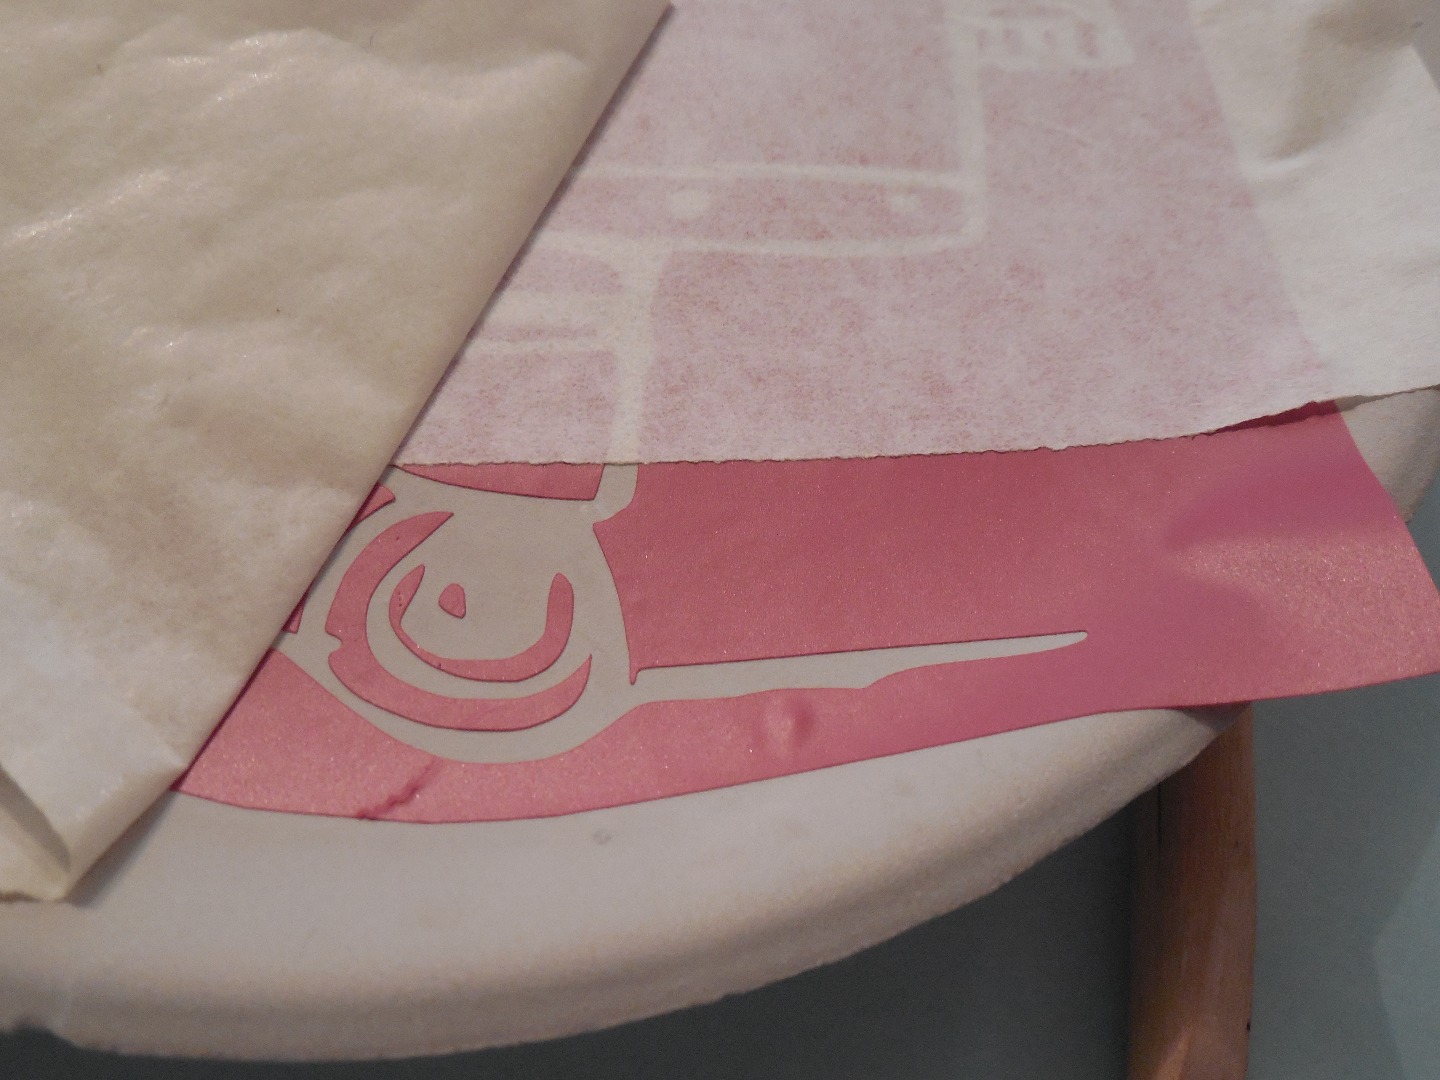
With the vinyl cut you can now take the image and begin removing all the pieces you don't need.
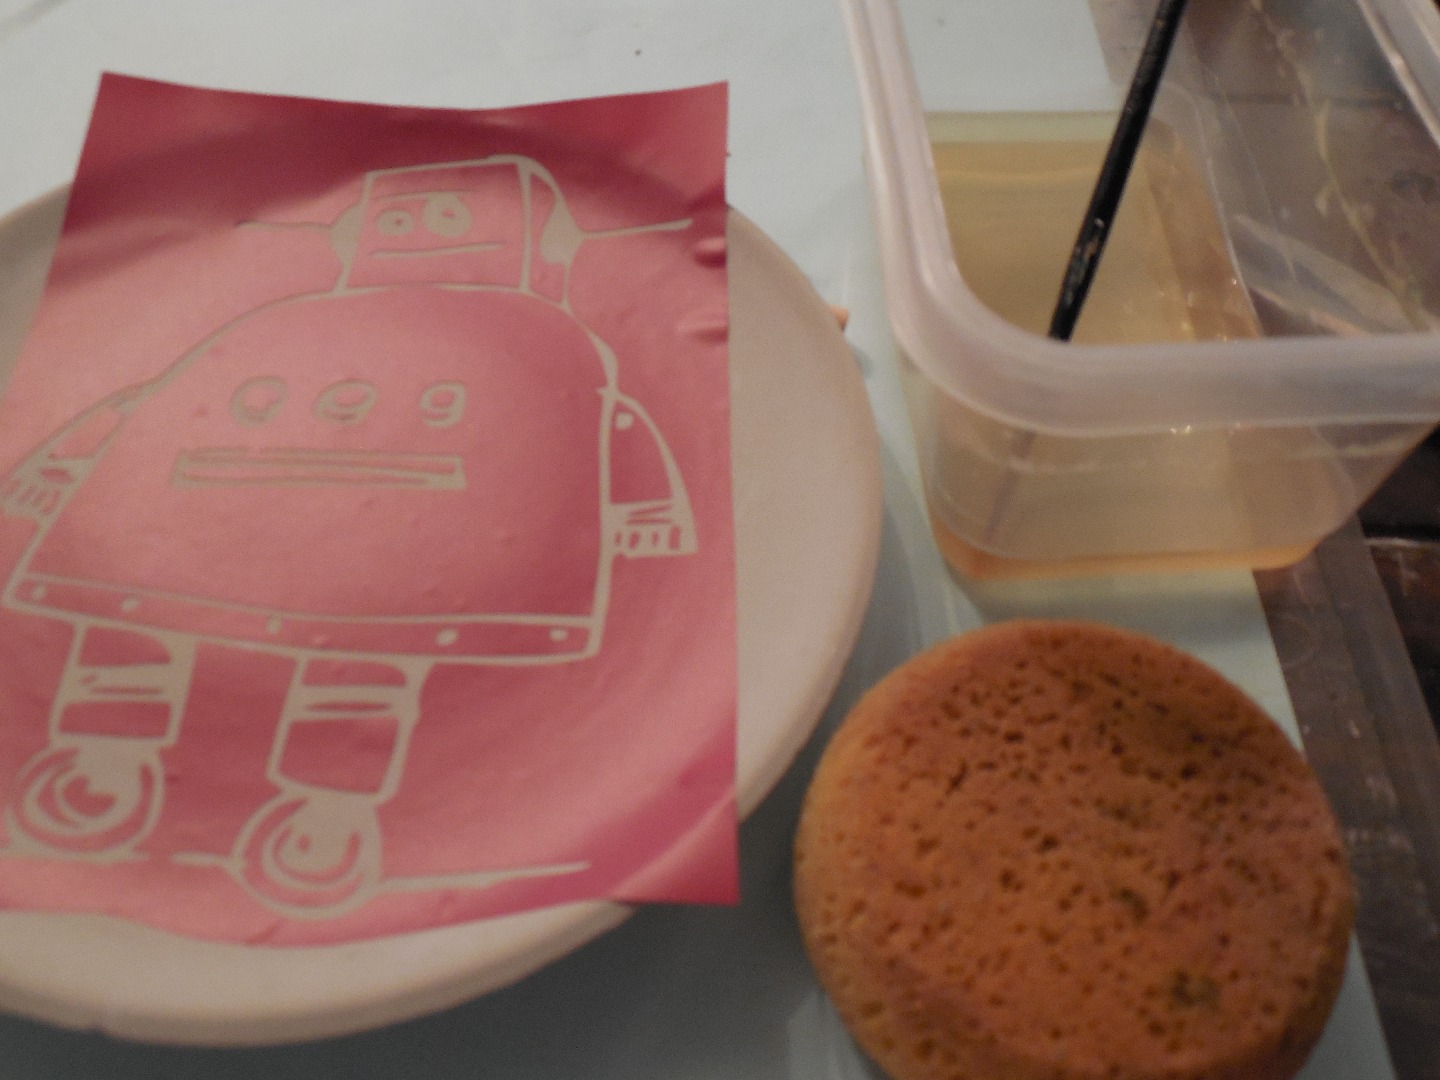
Once the weeding is done, you will take release tape and cover your entire image. Remember you making a sticker mask to place on the plate. You can use an old gift card as a squeegee to adhere the tape well to the vinyl. Like in the pictures.
Prepare the greenware or clay piece; making sure it is dust free. Then start placing down the image ,working one side to the other , making sure to get good adhesion and no bubbles use the card or a backside of a spoon to rub down.
Please be careful your clay piece is fragile and will break if your not careful.
Very good the image is down; remove the release tape, slow, making sure vinyl sticks to plate.
Time to move on.
Vinegar Etching Time
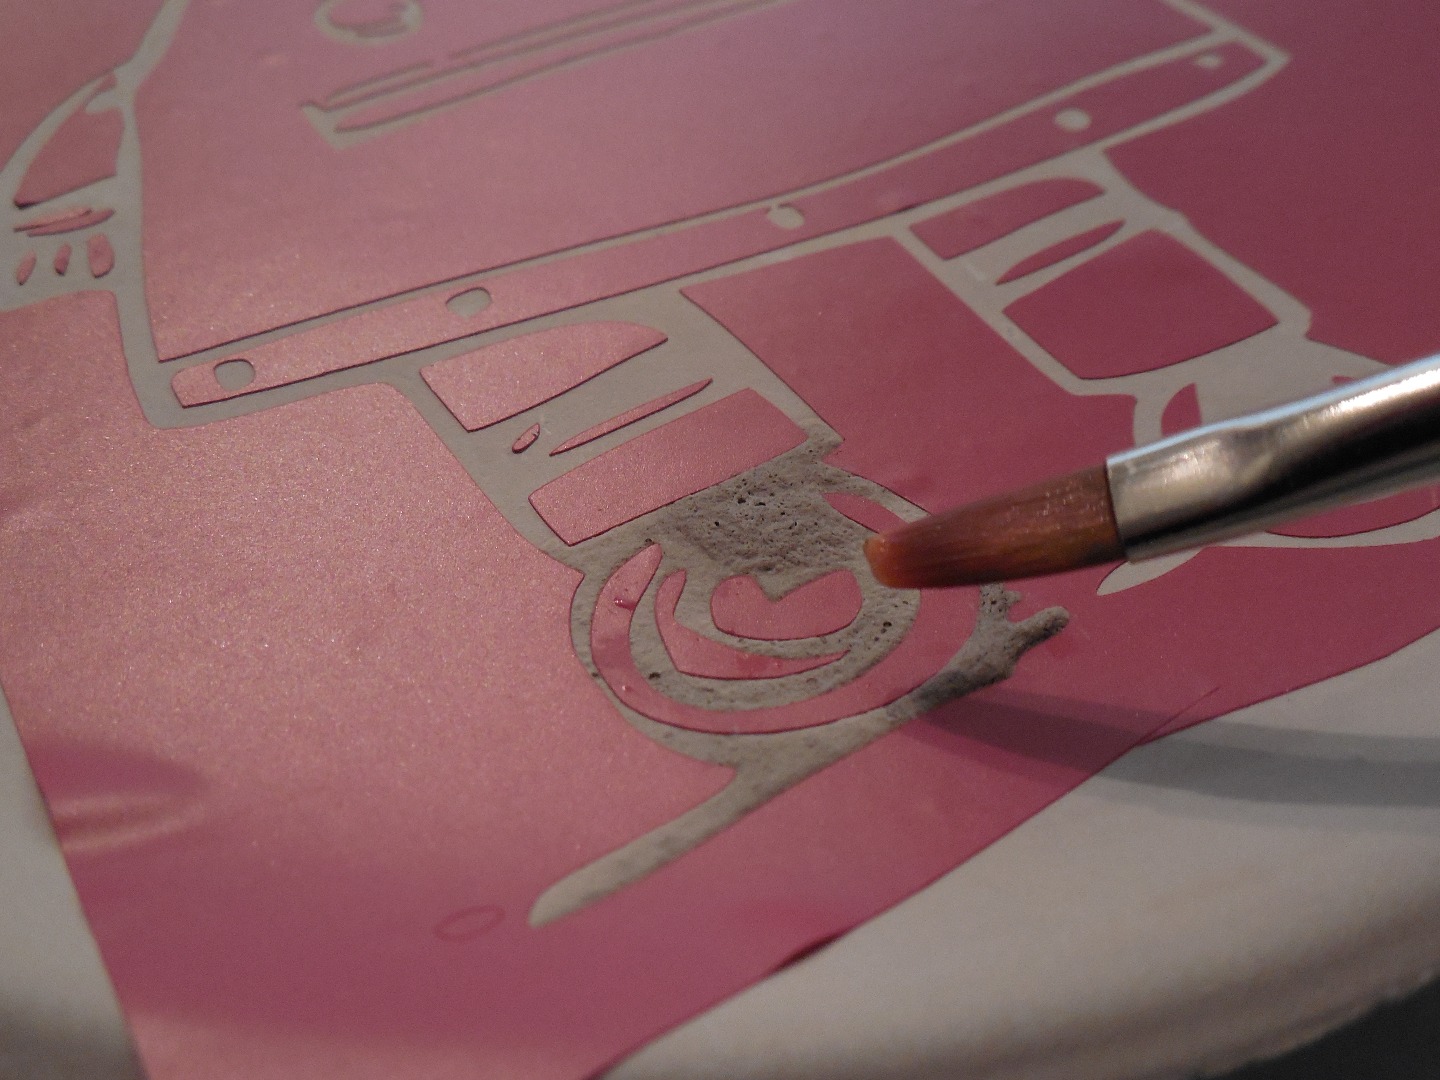
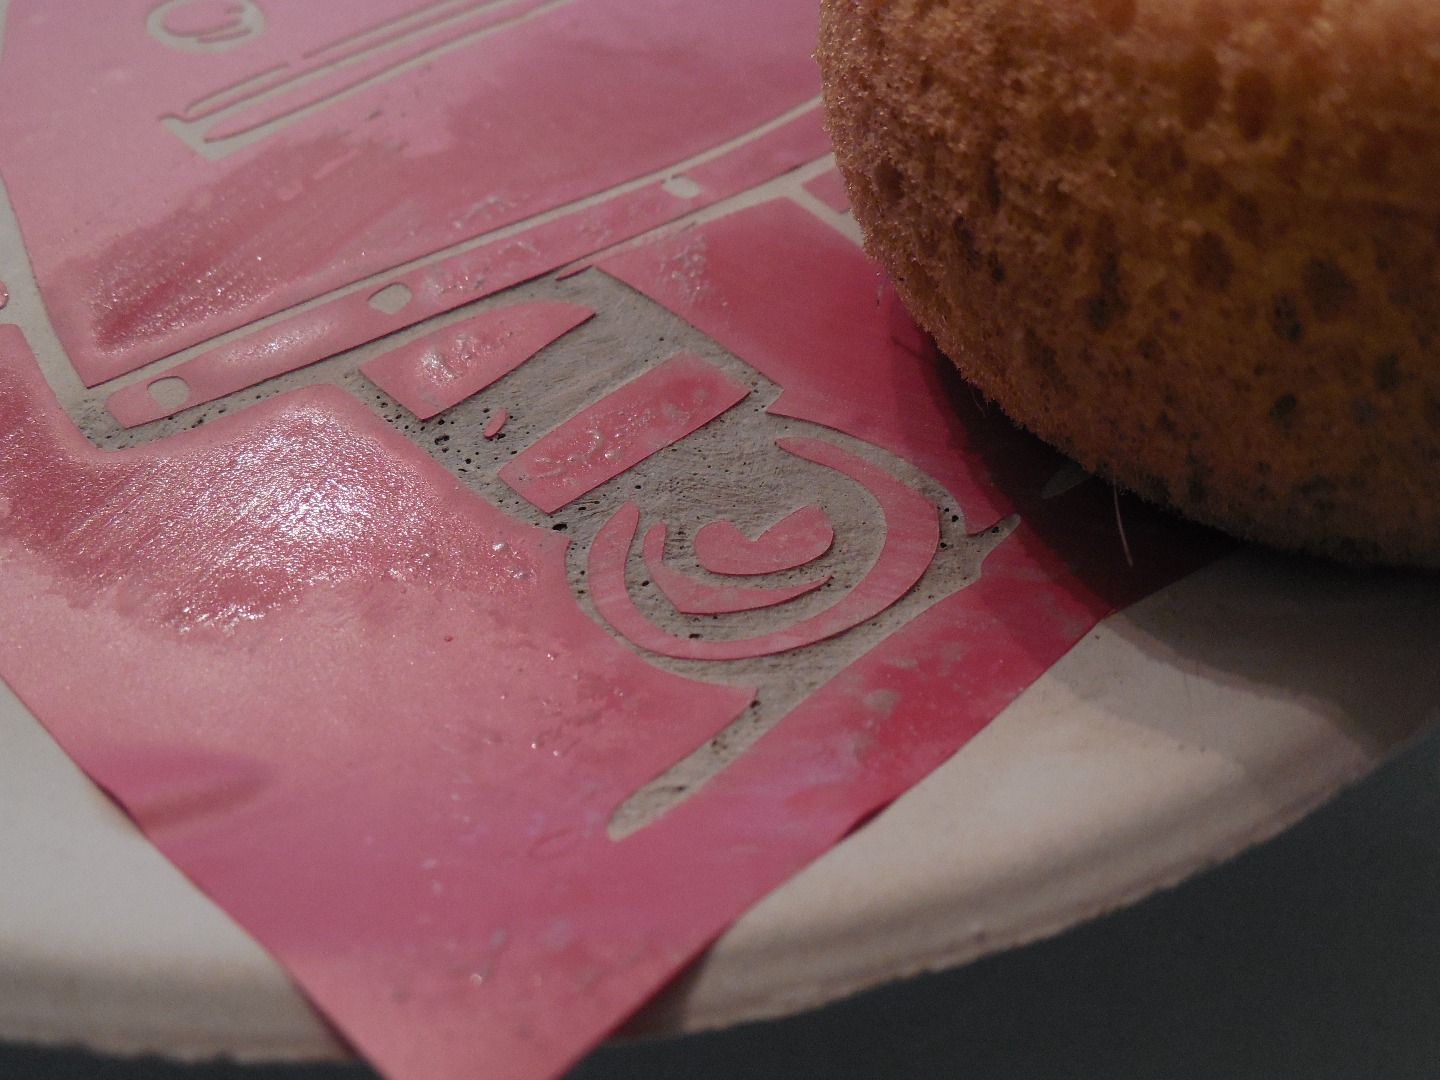
This step is really cool.
You should now have the image well in place. This next step should be taken slow in order to achieve the best detail..
Sometimes if you apply too much V, it can lift the vinyl, so do a little at a time, blotting with sponge and water. The water should be changed after you have blotted up the clay-vinegar after a few times. This will keep the design clean. Let the piece dry in between applications this keeps the V strong and from bleeding under the mask.
Refer to the pictures; you can see what you’re looking for. I do this about 4 times, it gives me a deep etch.
Let's roll!!
Peeling Up the Mask
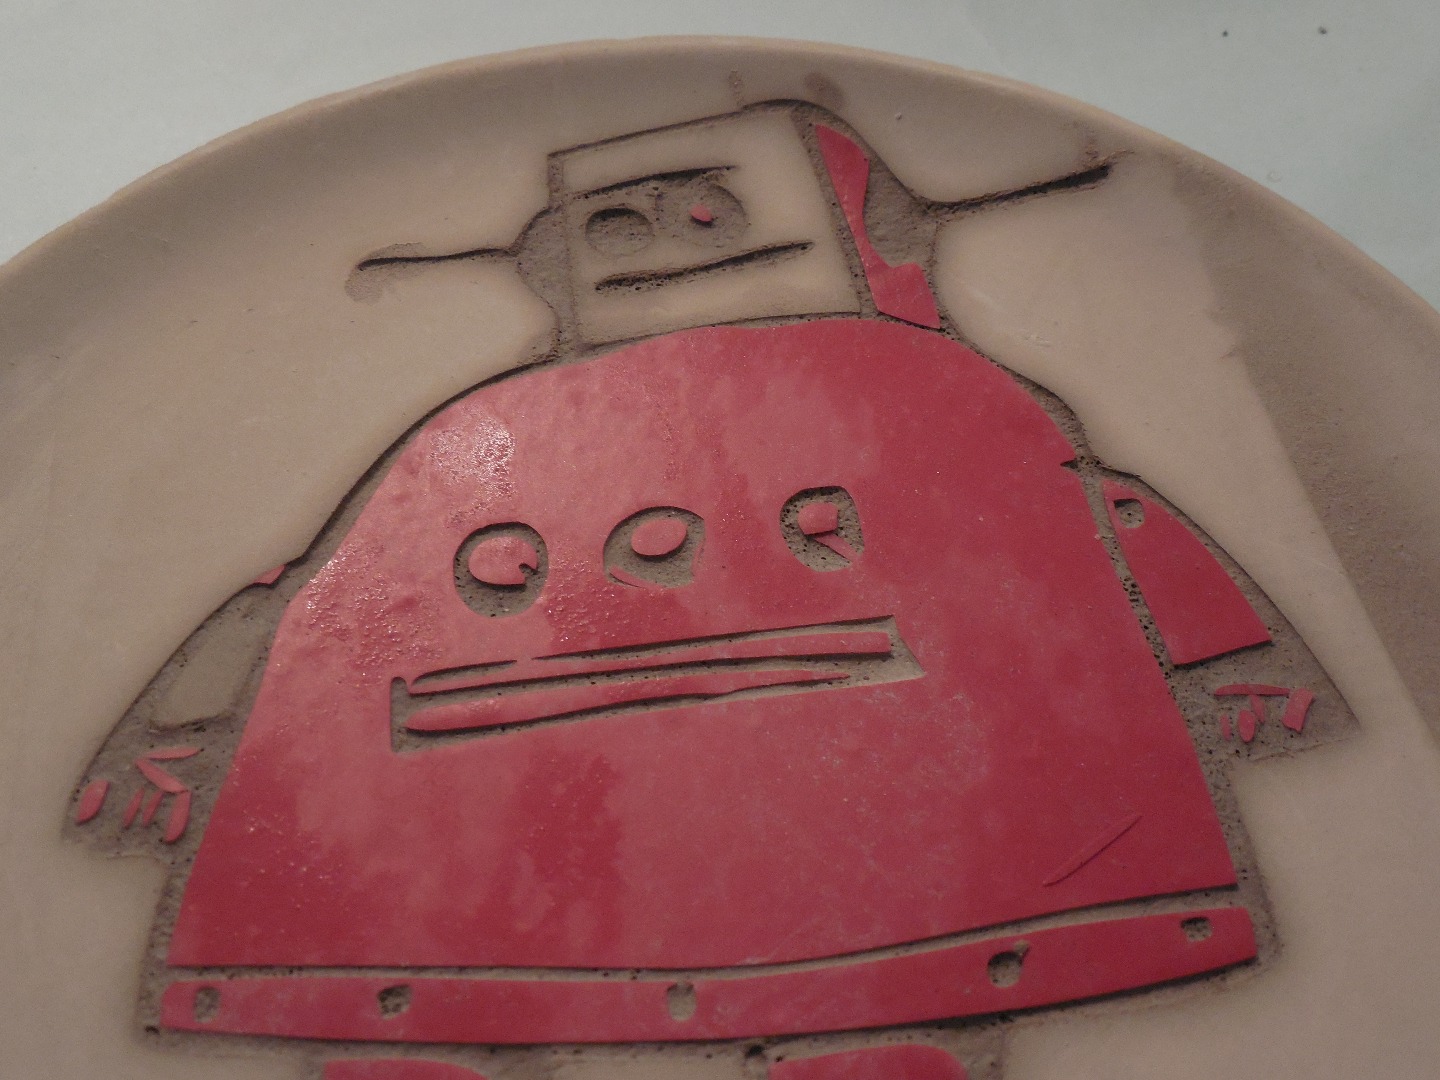
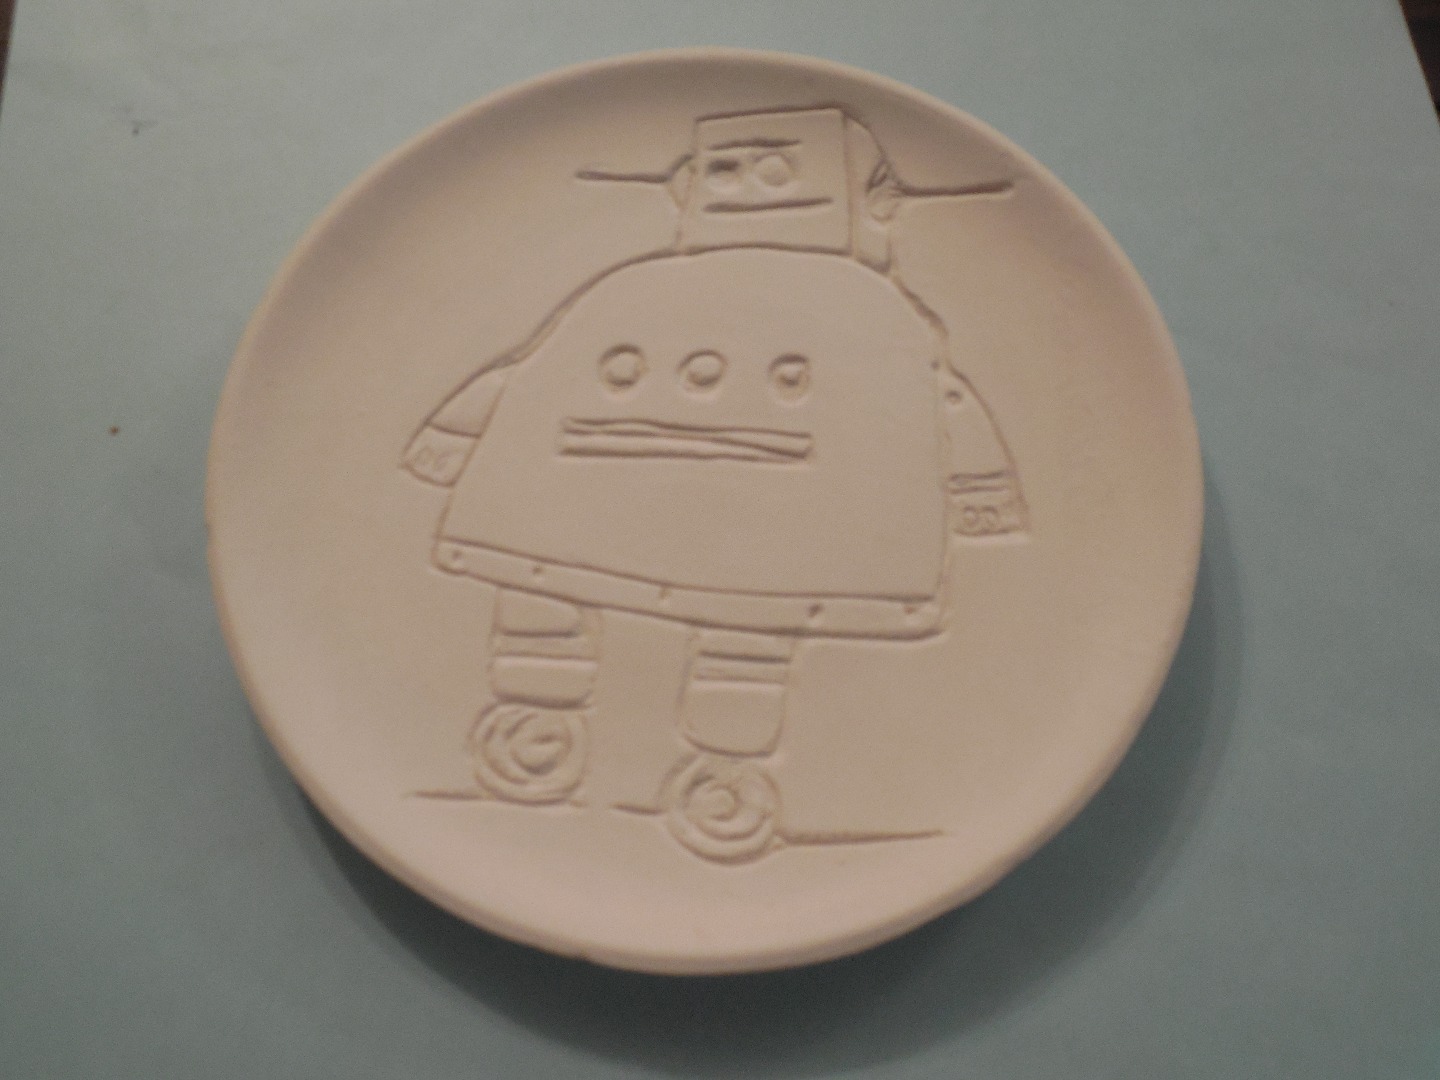
Take a needle, tweezers or your fingernail and begin taking up the vinyl mask. Careful not to gouge up the clay.
If some areas are not deep enough you can carve them out deeper. Remember this process is great for kids and adults.
Now you have reviled your design, with clean water and sponge blot the whole surface. (Don’t rub)
Fix what needs fixing, let dry.
Fire It Up.
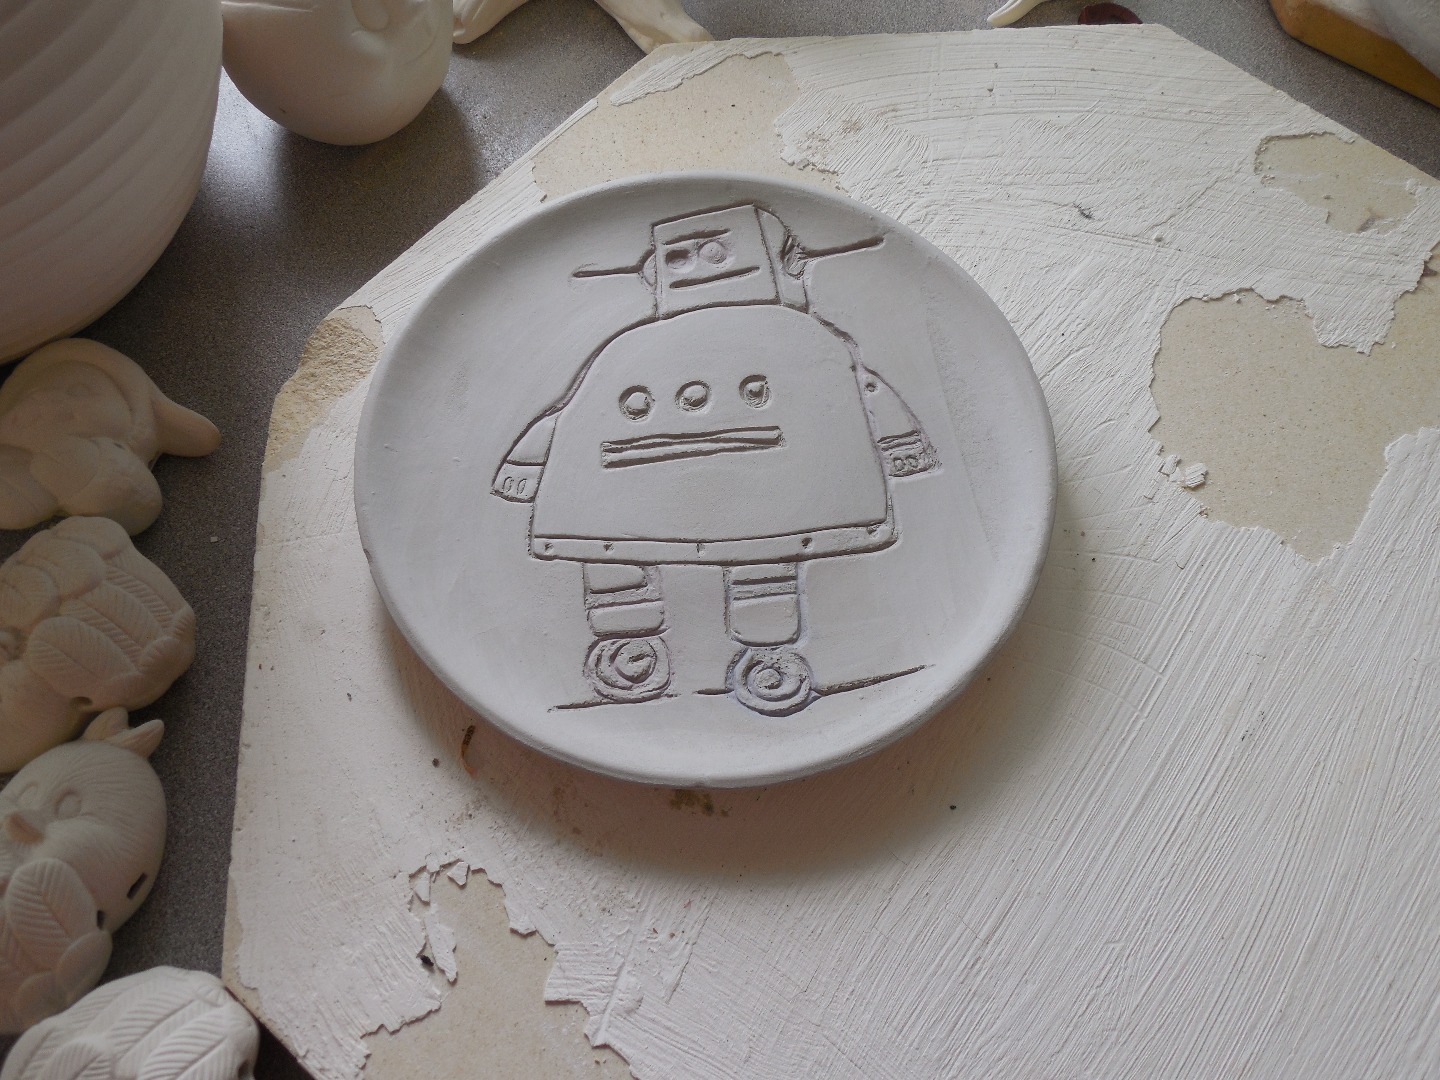
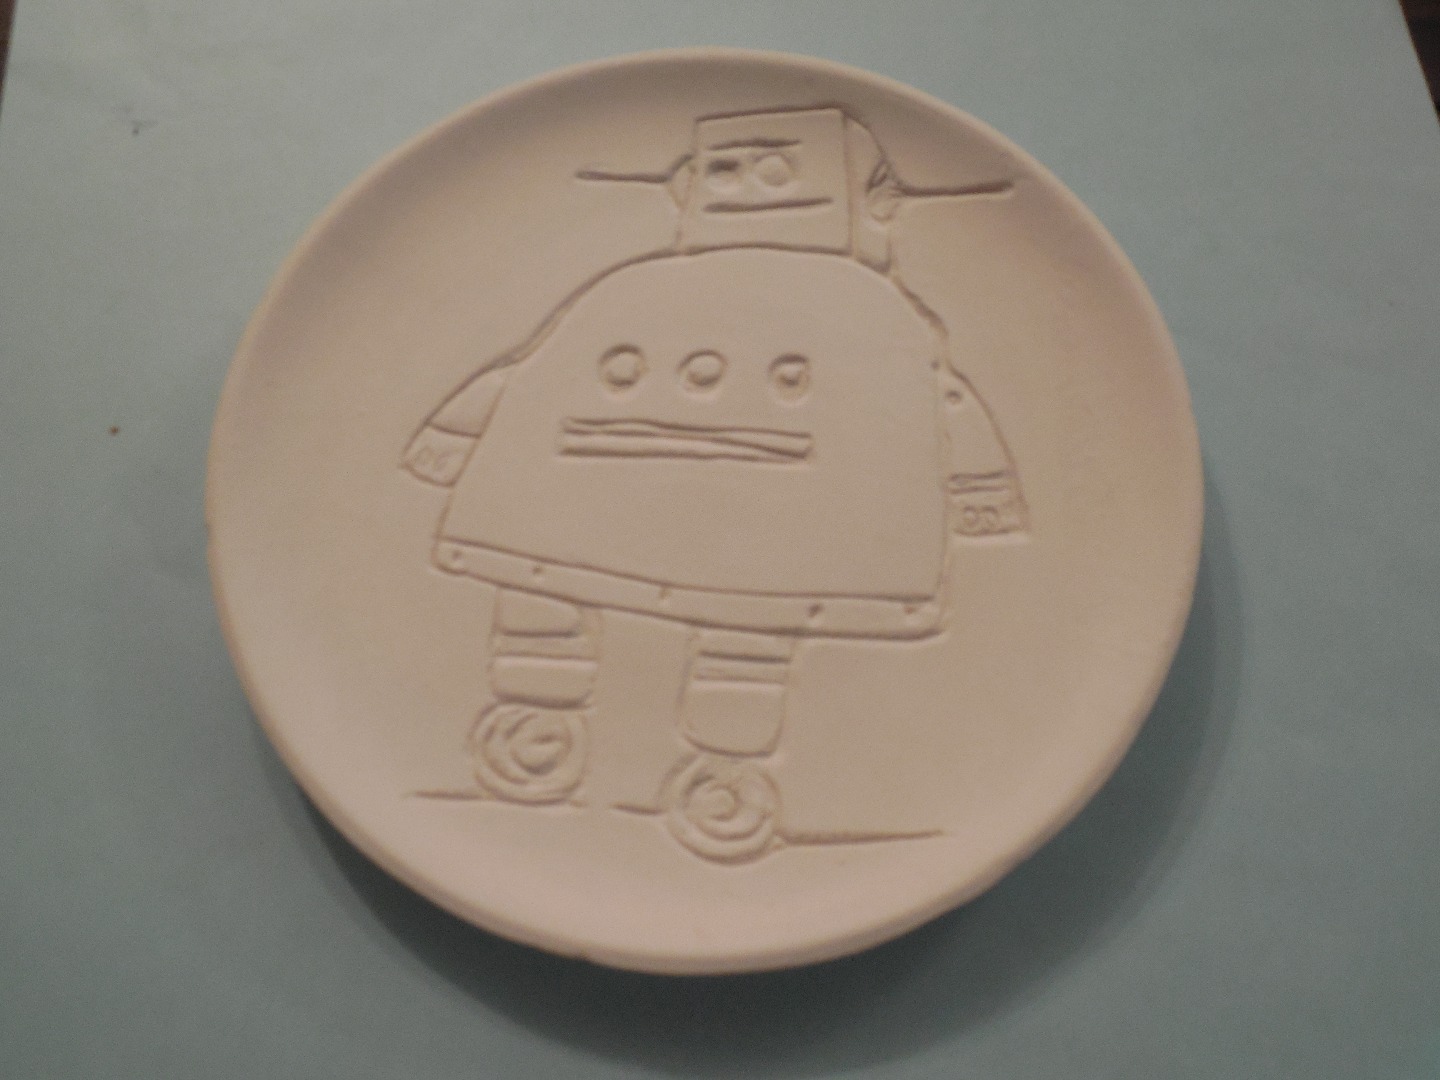
This really depends on you. If you have a kiln ,you know what to do.
So you don't have a kiln , well that's OK,the shop you got you greenware from, most likely does or can guide you in the right direction.
Once it has been fired to bisque.It is time to think about those finishing touches.
Finishing Touches
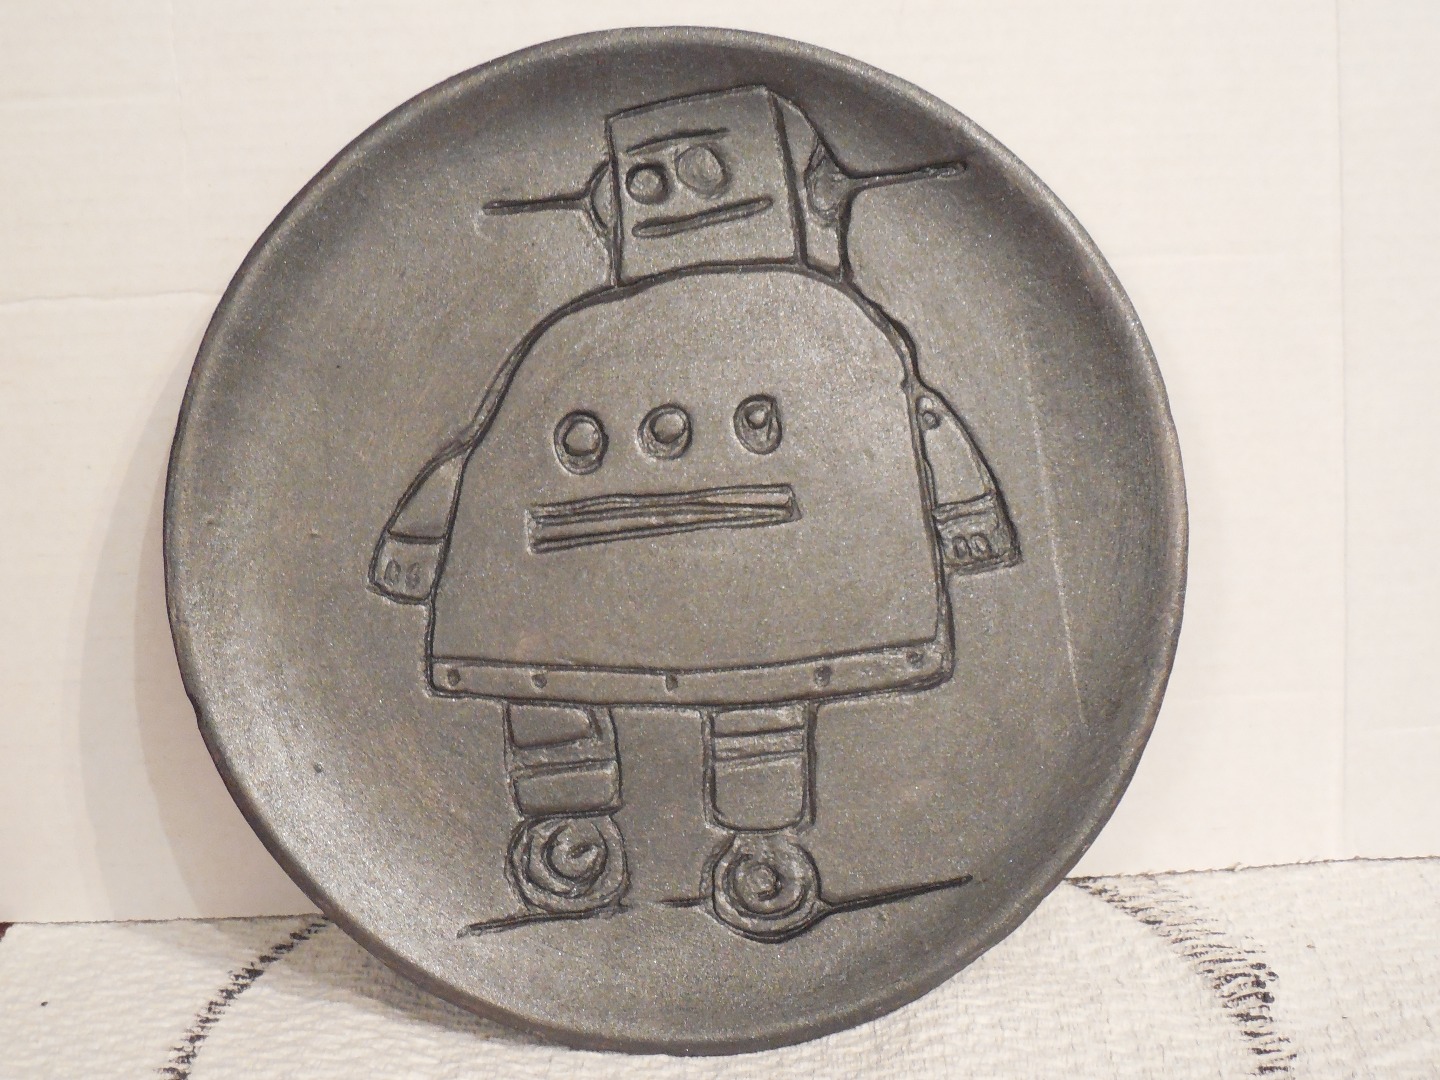
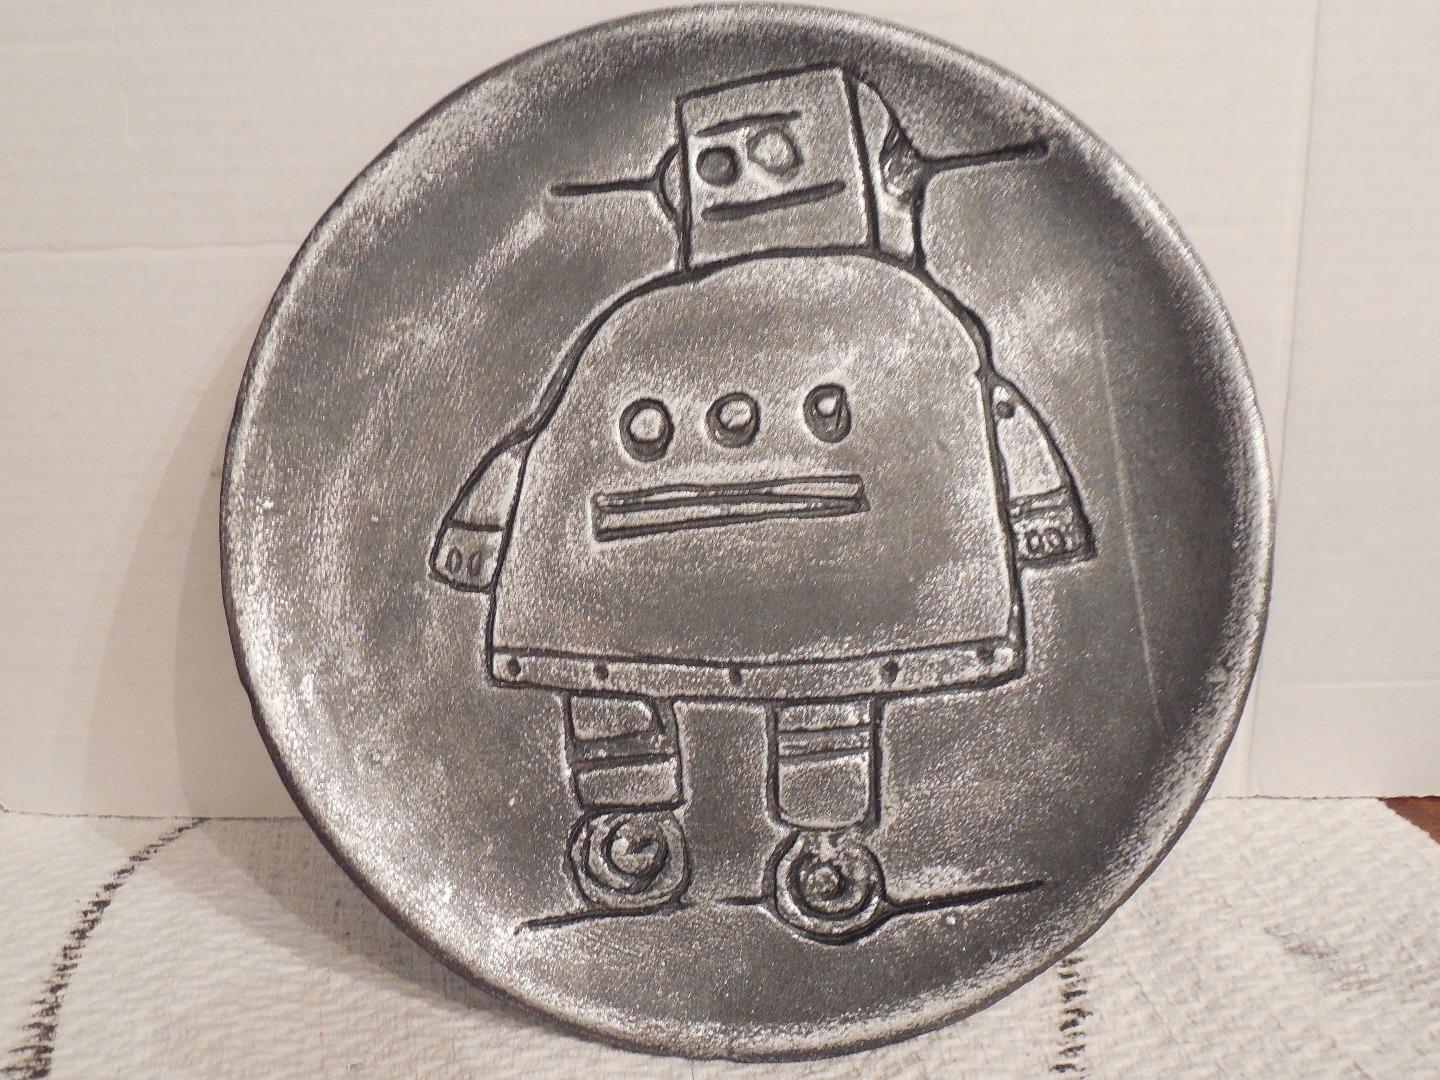
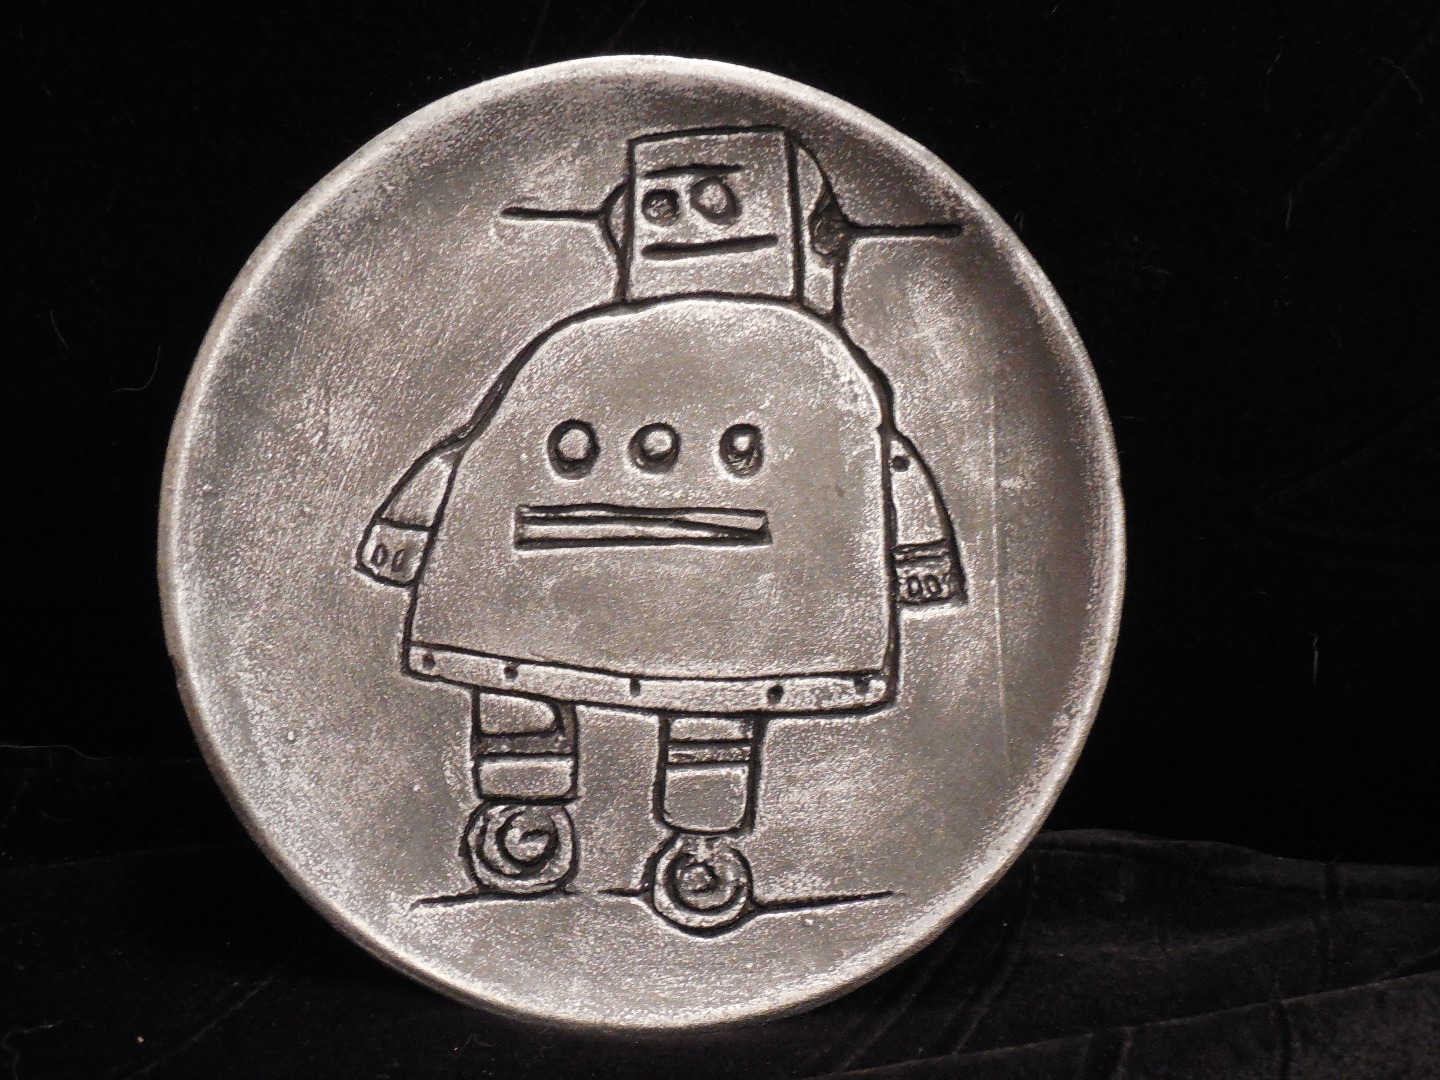
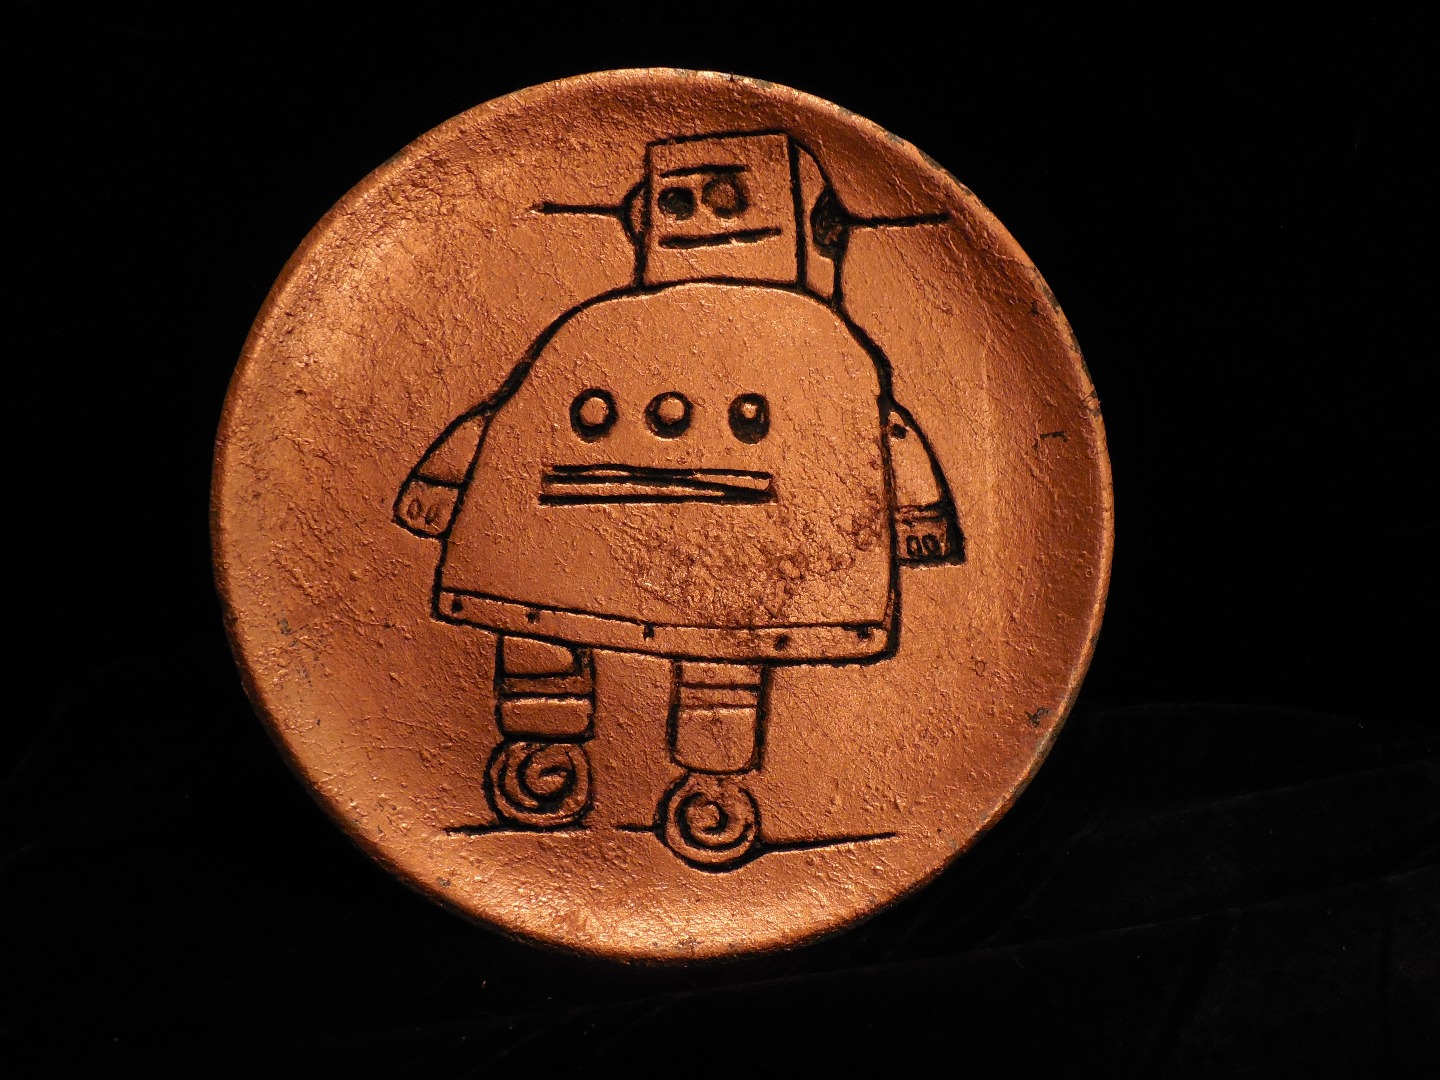
The times they have a changed. Glazing was the finish of choice many years ago and for some nothing can compare. I have to say each project dictates to me what and how it will be finished.
Pottery glazes are so awesome, they can create beautiful one of a kind looks, but do require one or more firings and if you don't own a kiln, the cost can add up.
So here we go acrylic paints, oil paints, gilding.spray paint, you name it, just have fun and paint it.
Black light paints, metallics, I love them all.
There is this company called Alsa Corp they have a product called killer cans, WOW.
My next project I am going to try it and lots of other stuff, stay tuned.
Anyhow the plate I did was just based in a modern masters metallic paint and then black paint was used to antique with. That's just putting on black paint in the crevices and wiping of the surface. So the black stays down inside.
Then after it dries I took rub-n- buff and touched the high areas and edges with it, buffed it and we are done.
The other picture shows copper leaf, just another quick finish.
Hope you like!