Videography Turntable
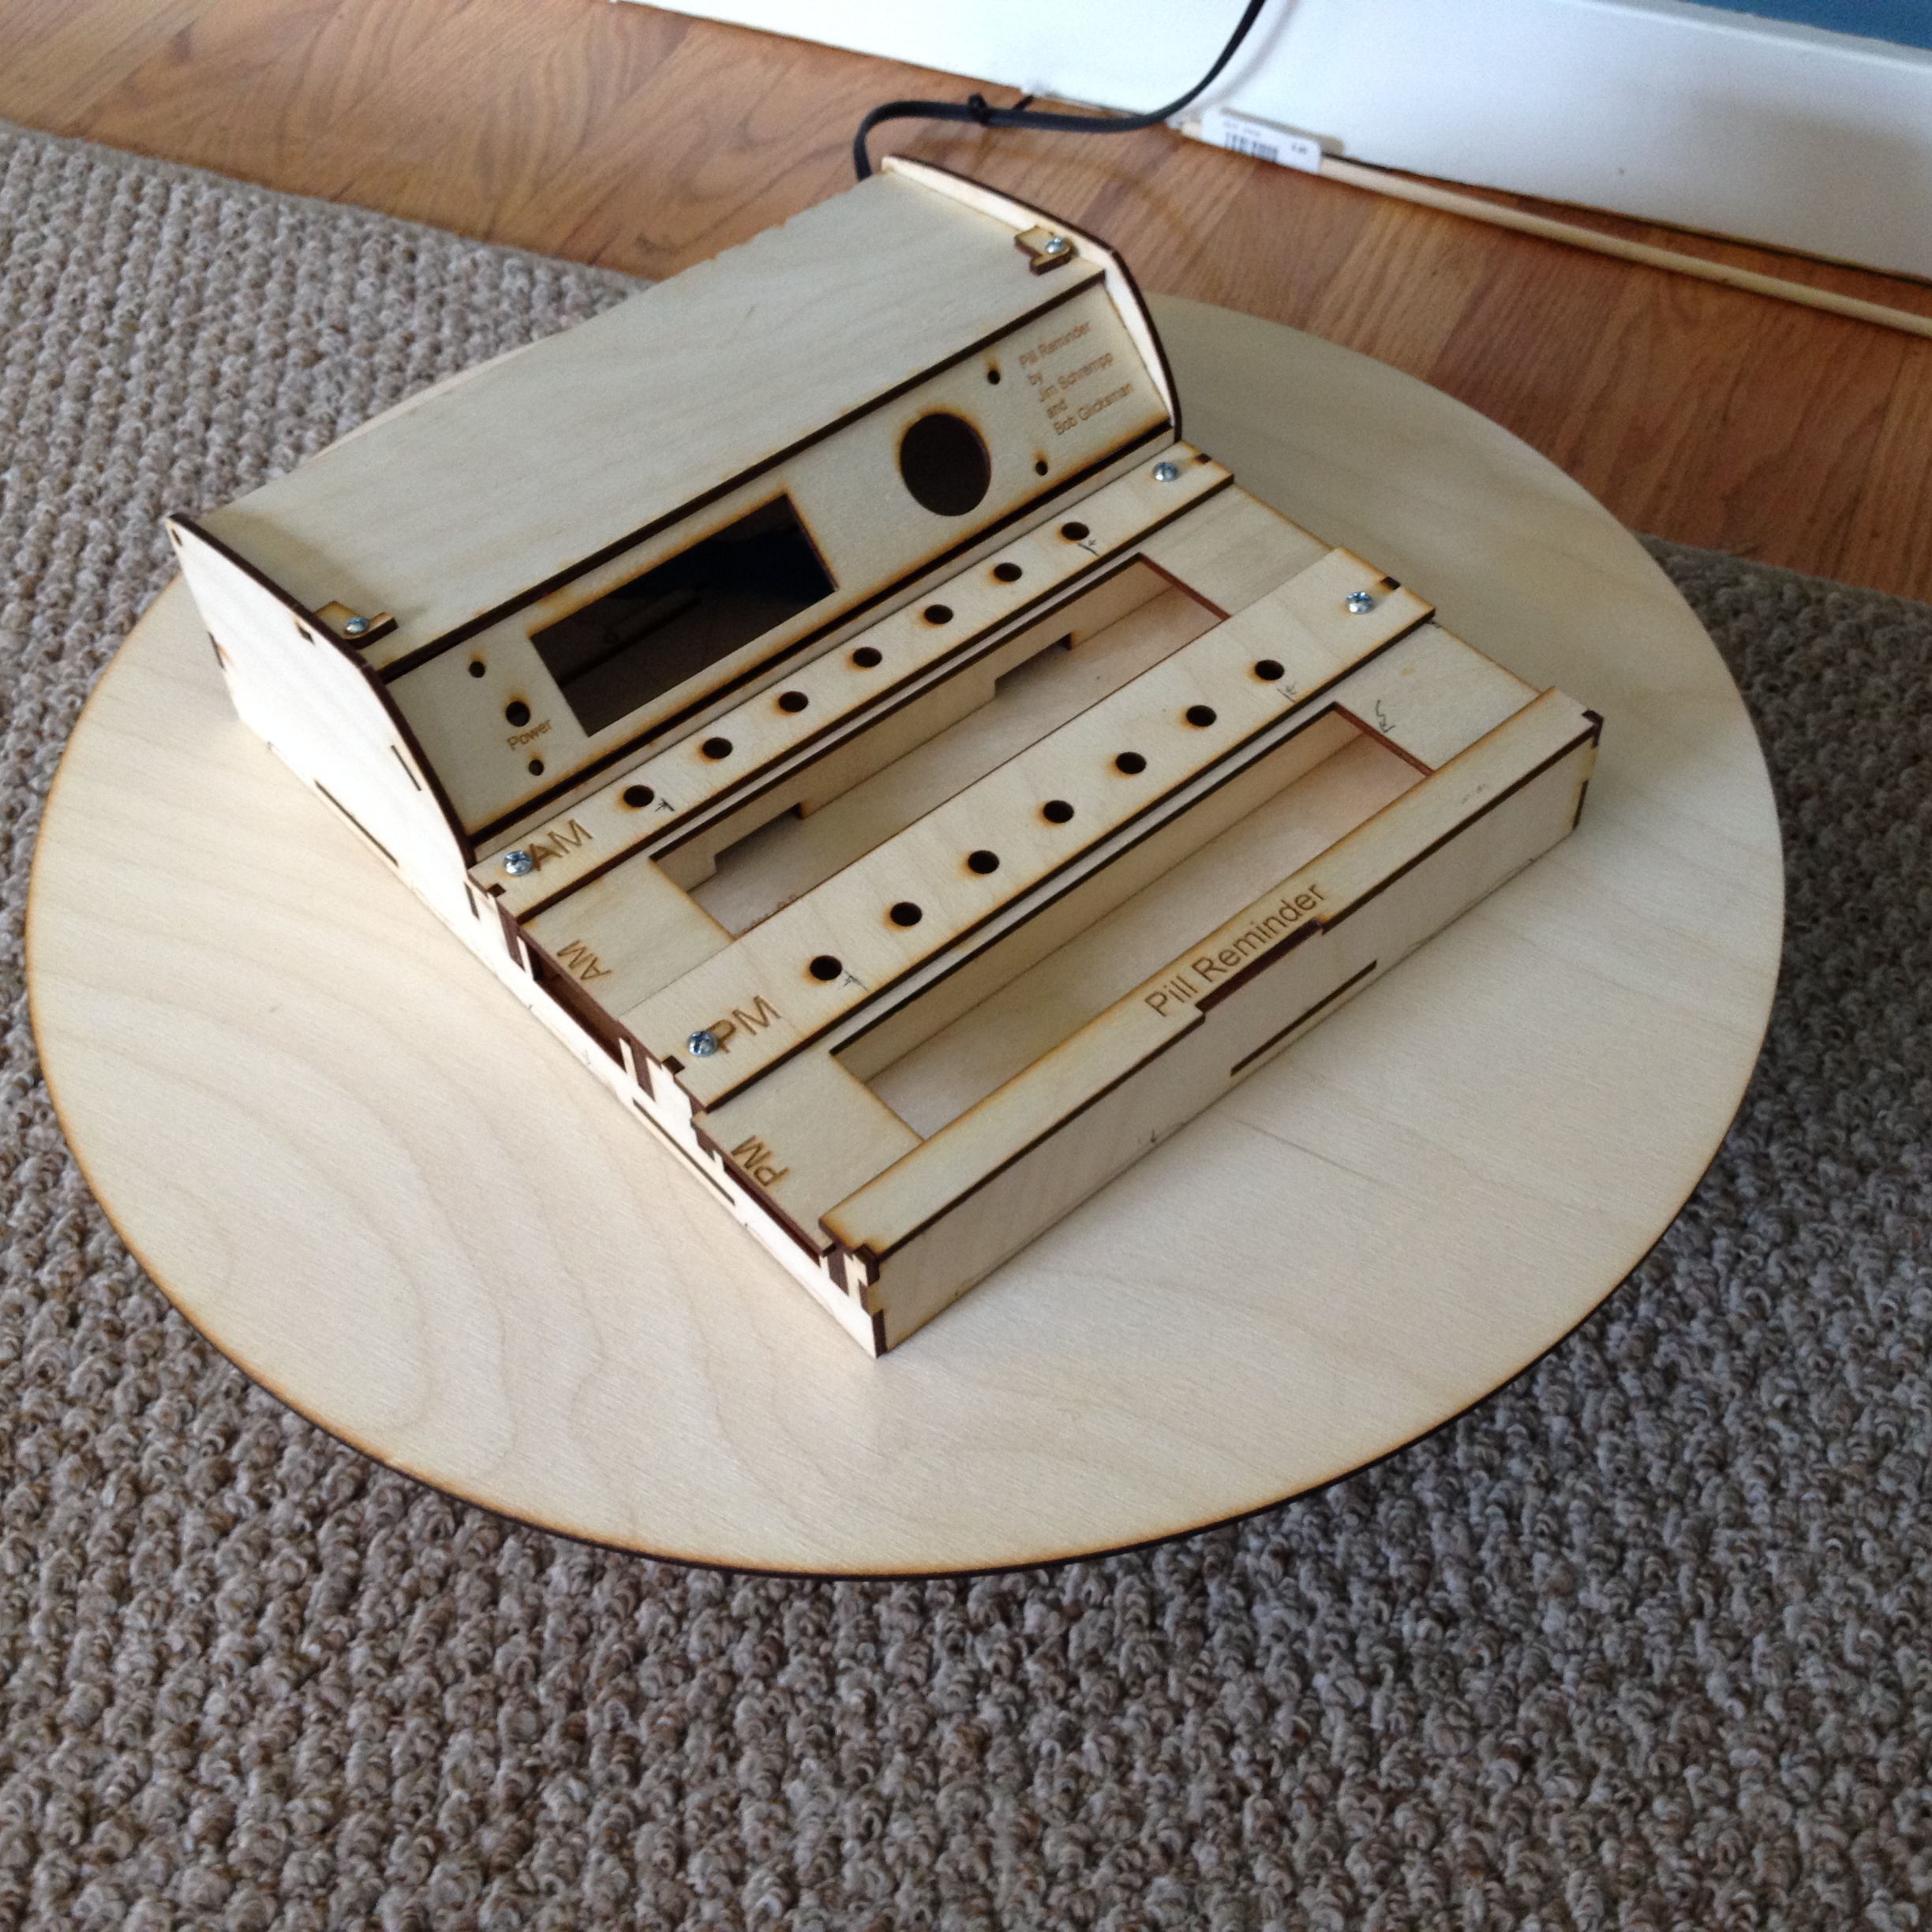
In this Instructable I'll show you how to create a turntable for use with your video camera. See it in action on YouTube.
The Story
When I finish a project I like to show it off like a proud papa. The Pill Reminder is now available under Creative Commons license for anyone to make. It's time to show off.
The case design went through a number of iterations and I kept every one. How about a video that slowly dissolves one case into the next? But static videos are dull; I decided to spice it up by having each version of the case rotate. Where would I get a turntable?
My first thought was to use a wind up microwave turntable, but my local kitchen gadget store didn't have one. The helpful clerk suggested using a record player. Good idea but I'd have to gear down the 45 rpms to something that would look good on video. Luckily my nearby Goodwill store didn't have any old record players and I was left to paw through their shelves of small appliances.
My eye found an old electric popcorn popper with a sweeper arm to move the kernels around. I plugged it in and it worked! A slowly revolving spindle was now mine for the nice price of $2.00.
Now I'll give you the steps to turn your old popcorn popper into a sweet videographer's turntable.
Downloads
Gather Parts
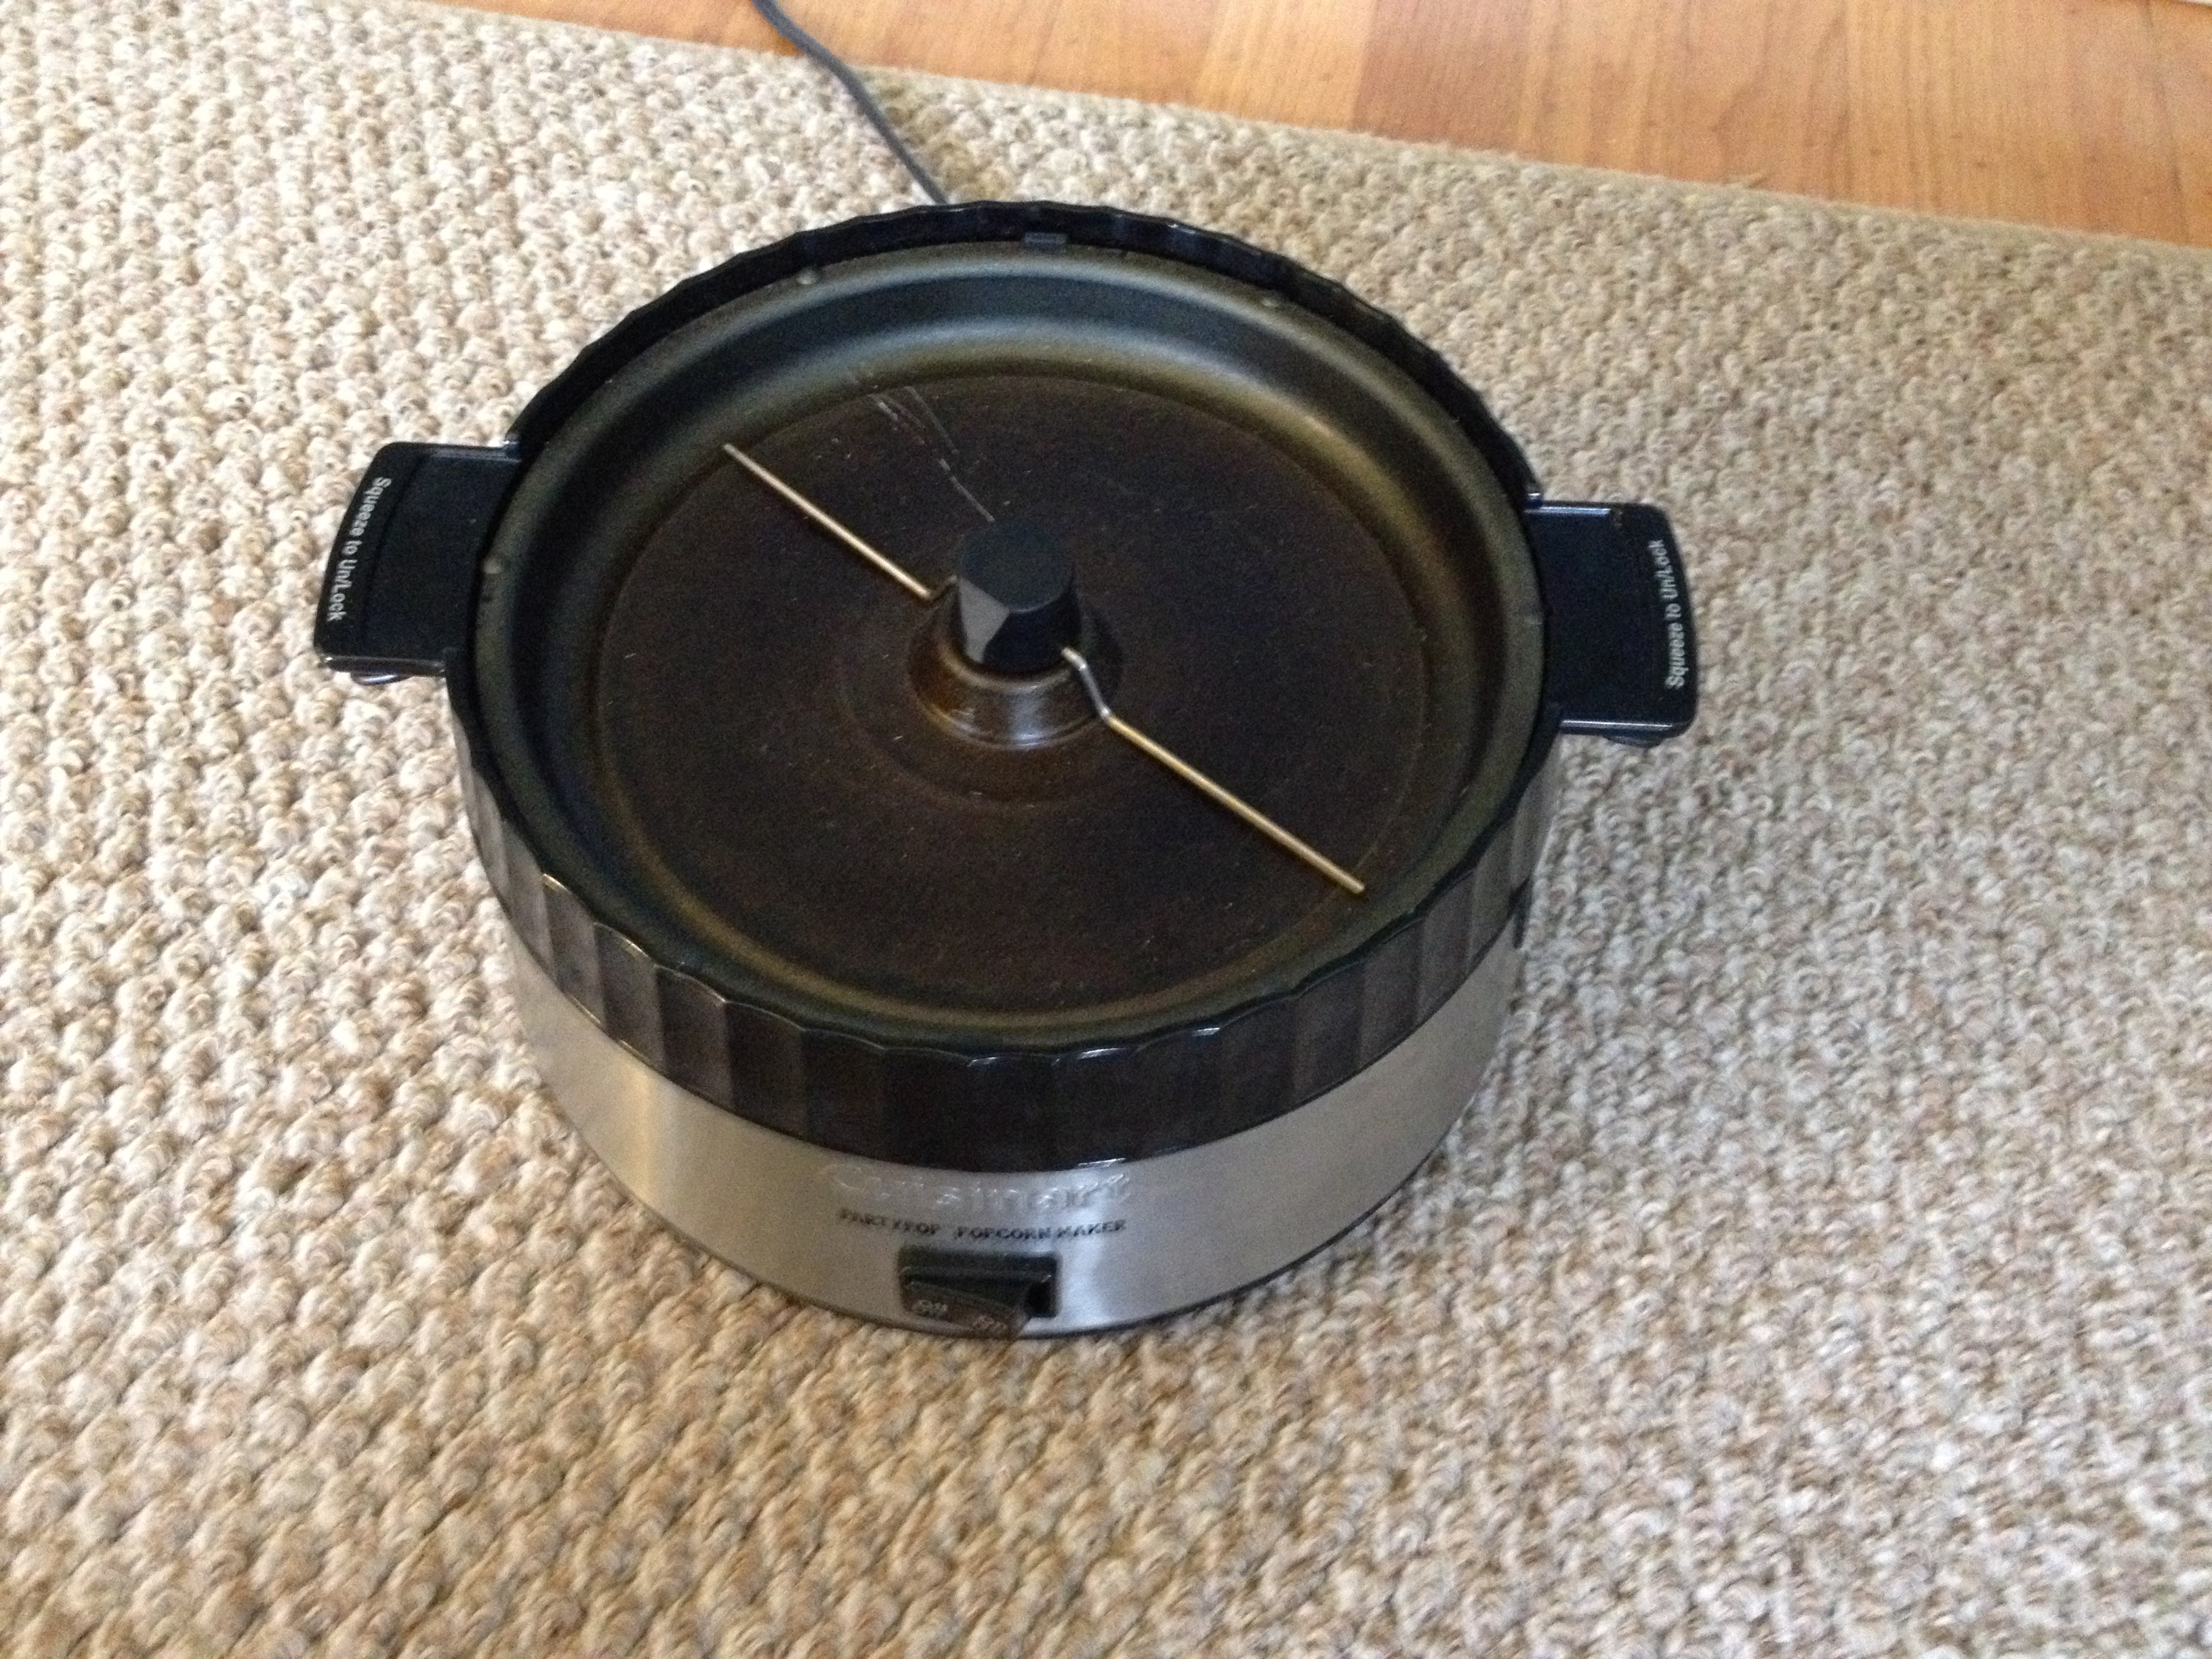
You will need:
- The base of an old electric popcorn popper.
- A 24x18 inch 3mm plywood sheet
- Electrician's tape
- Wood glue
- Wire cutters
- laser cutter (I used one at my local TechShop)
- CorelDraw software
- Medium coarse metal rasp
If your popcorn popper base has a heater in it, then you will need to disable it. Take the base apart any way you can. Locate the heating coils and disable them. If you cut wires YOU MUST tape them so that they cannot touch the case. It is very dangerous to have loose electrical wires dangling around the inside of your project. If you are not sure you can do this safely, then get help from someone who knows what they are doing.
Create Keyed Area
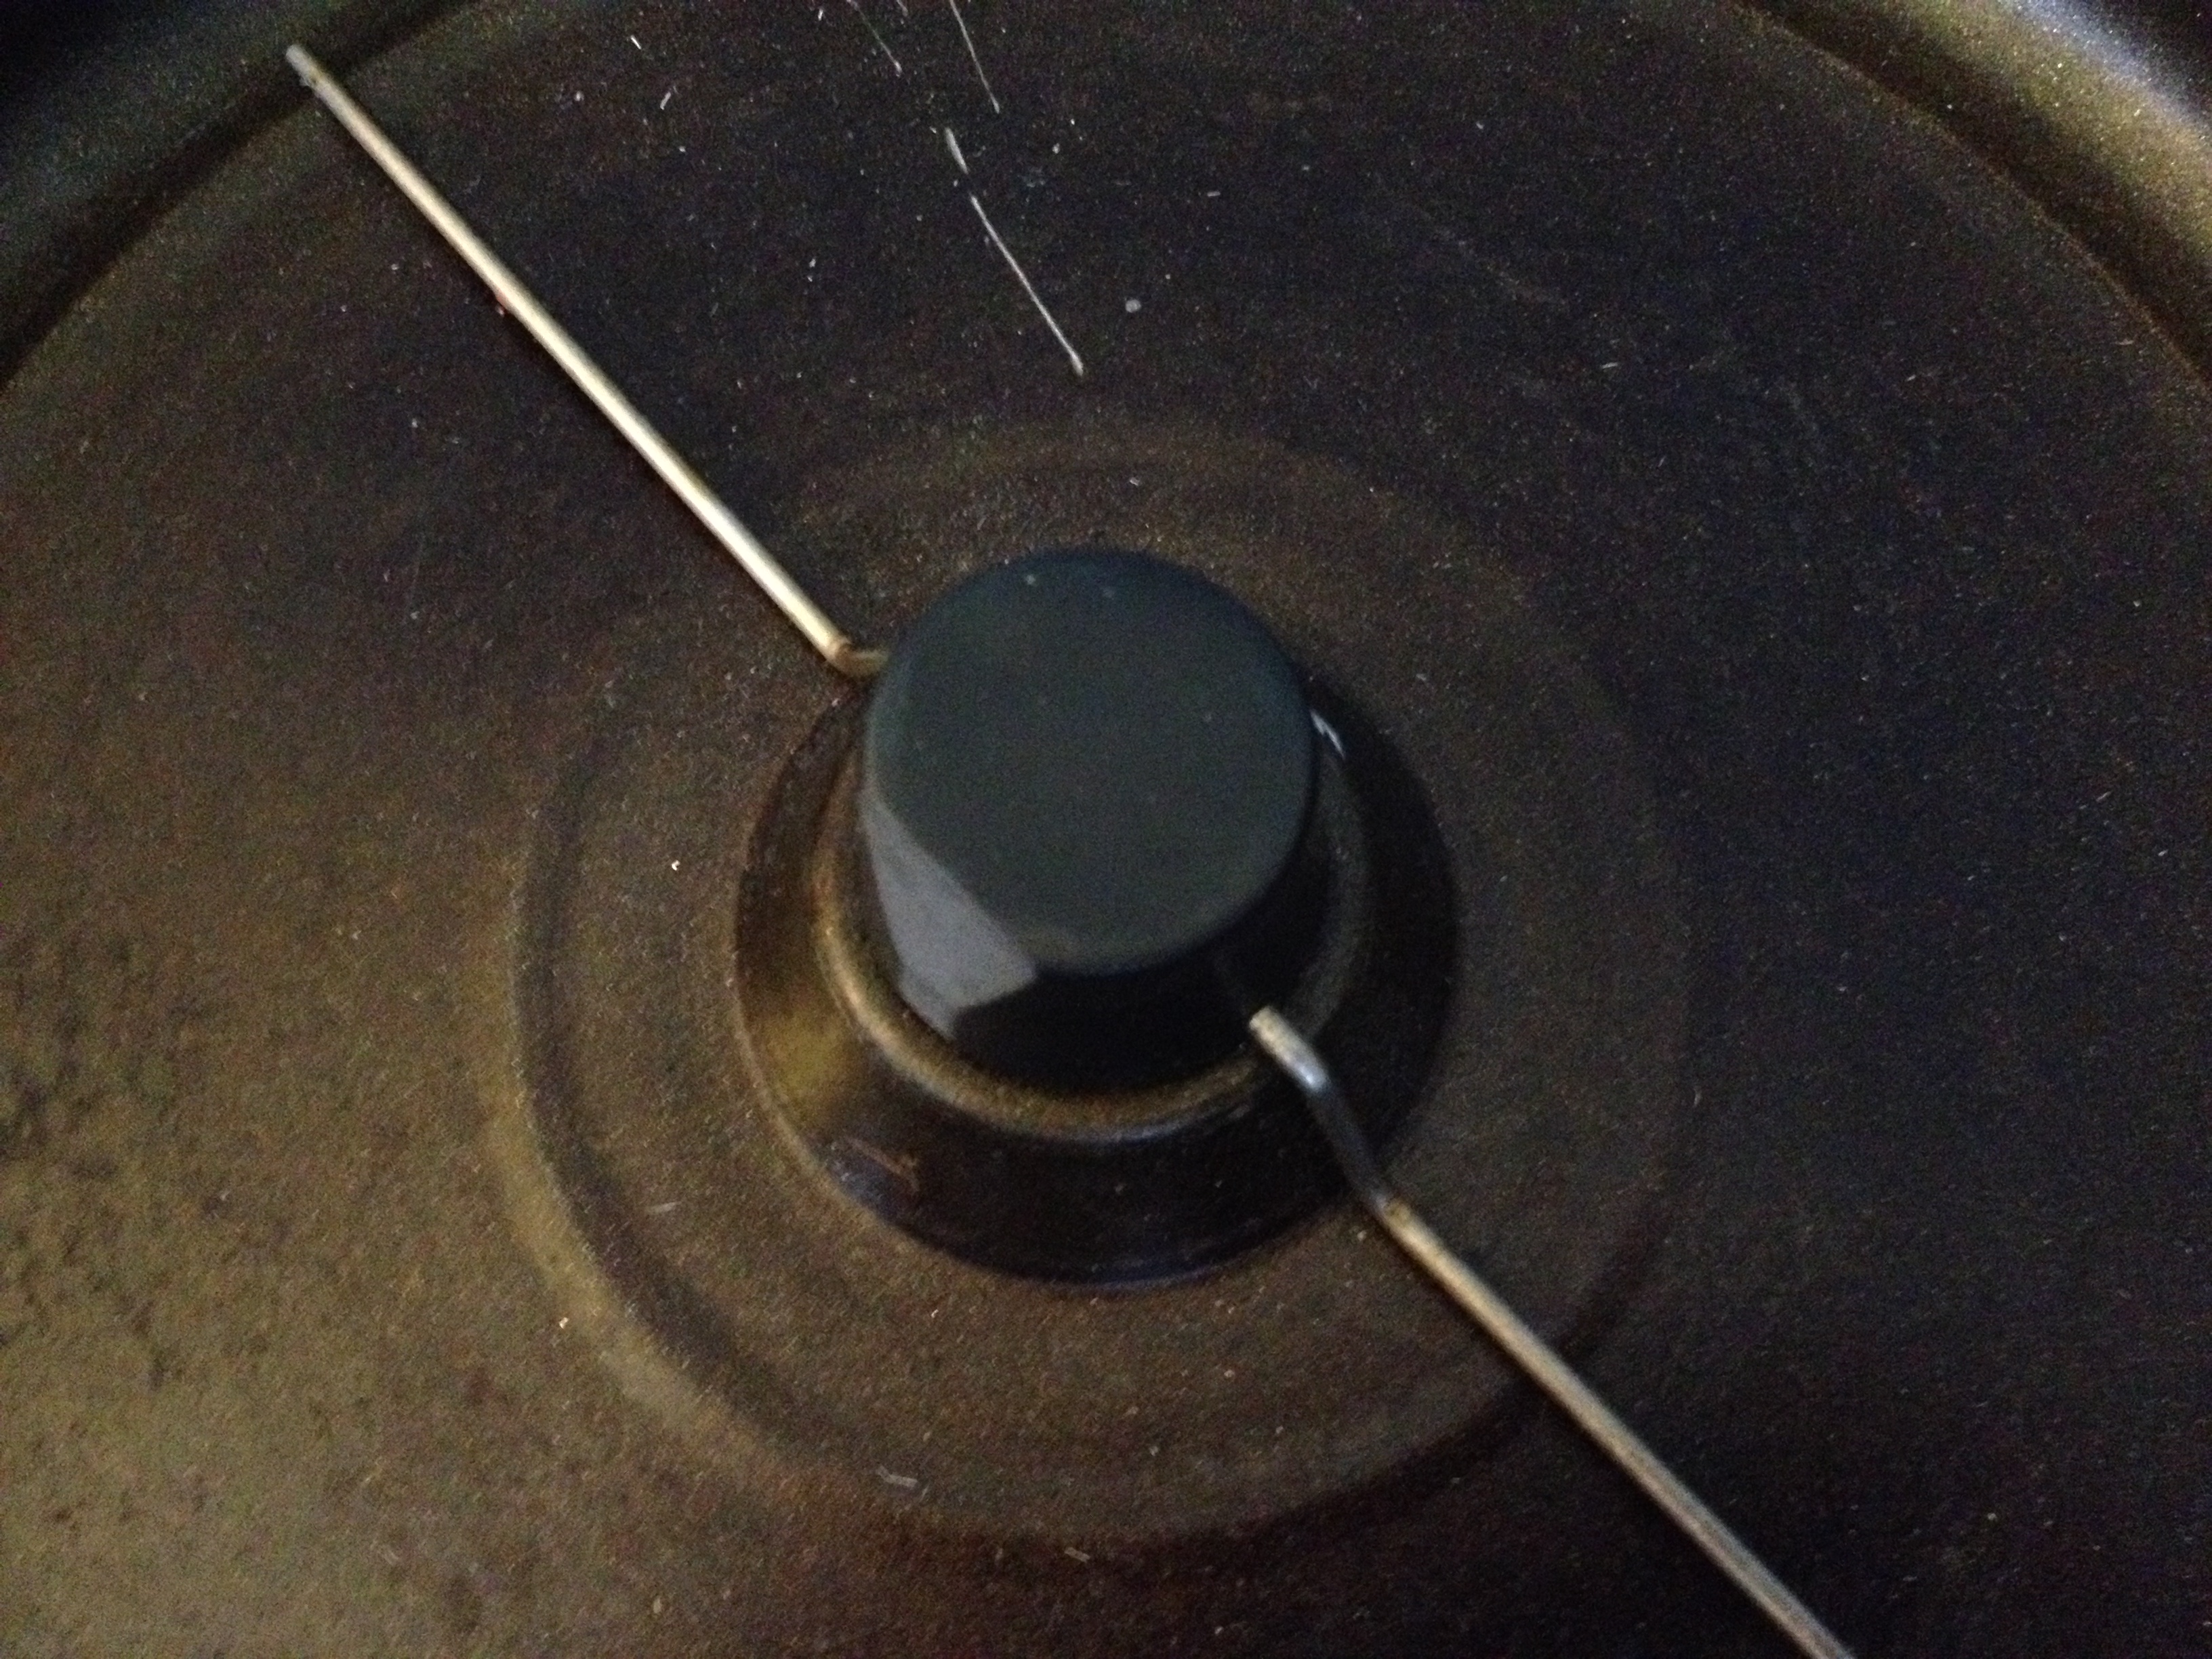
A round spindle is hard to grip. I used a medium coarse metal file to to shape a flat area on one side of the plastic spindle. Not too big, just enough for my turntable to get a good grip.
Determine the Size of Your Spindle
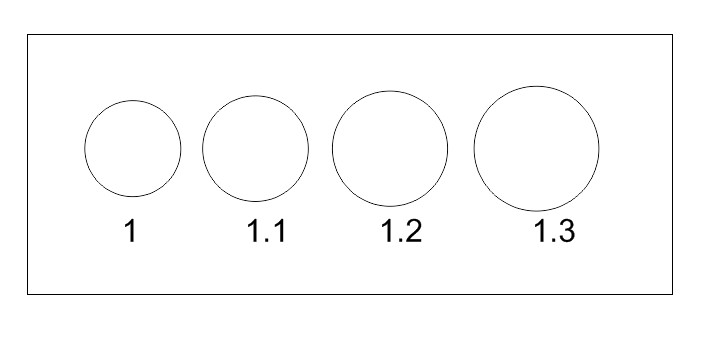
In the center of the popcorn popper base is a spindle that turns. Mine has a tapered spindle so I could not easily measure the size hole I would need.
Use CorelDraw to cut several circles of different size. Place the test cuts over the spindle until one of them fits over the spindle with about 3mm of the spindle poking out. For my popper the correct size was 1.35 inches.
Create a Keyed Hole
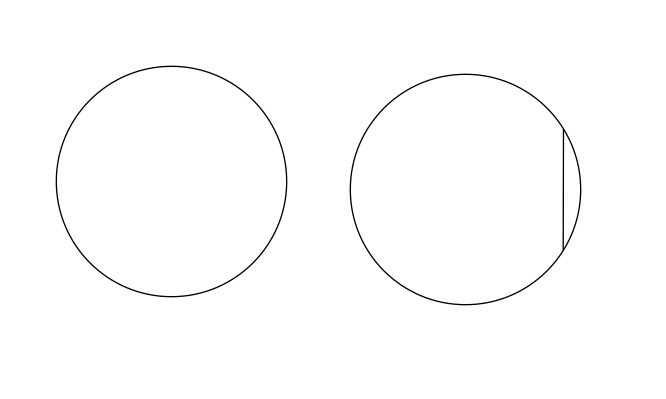

Now we'll use CorelDraw to make a hole that fits the keyed spindle.
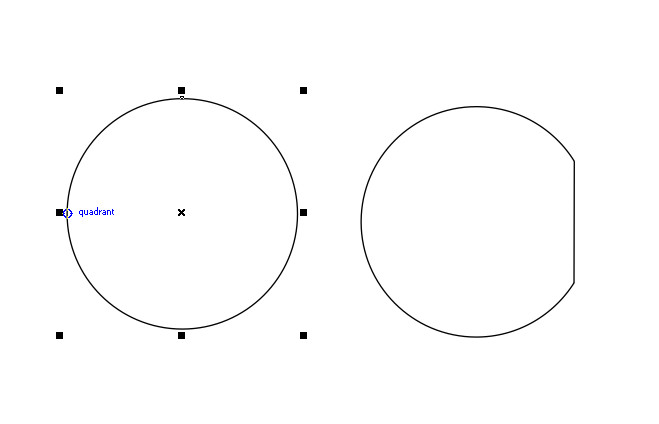
- Create two circles of the size you determined in the previous step. In my case 1.35 inch diameter.
- On the right circle use the Line tool to draw a vertical line that looks like it is approximately correct.
- Cut out the right circle on the laser cutter and test its fit on the spindle. If it doesn't fit just right, then move the vertical line and try again. Once you are satisfied with the fit, continue.
- Select the circle on the right and type Control-Q to convert it from a shape to a curve.
- Activate the Point selection tool and then select the right circle.
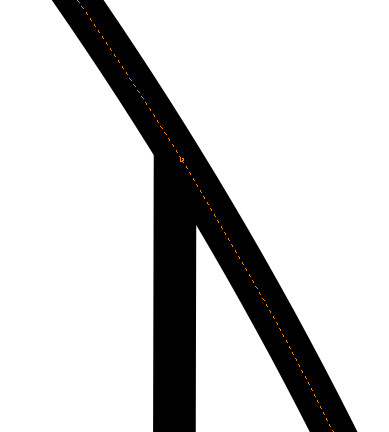
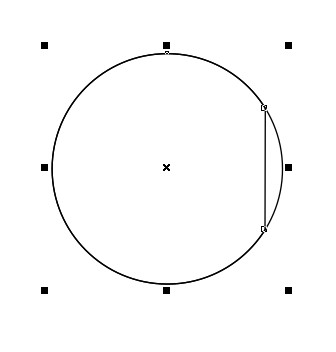
- Zoom in to the top of the vertical line. Double-click to add a point to the circle where the line meets it. Do the same to the bottom of the vertical line.
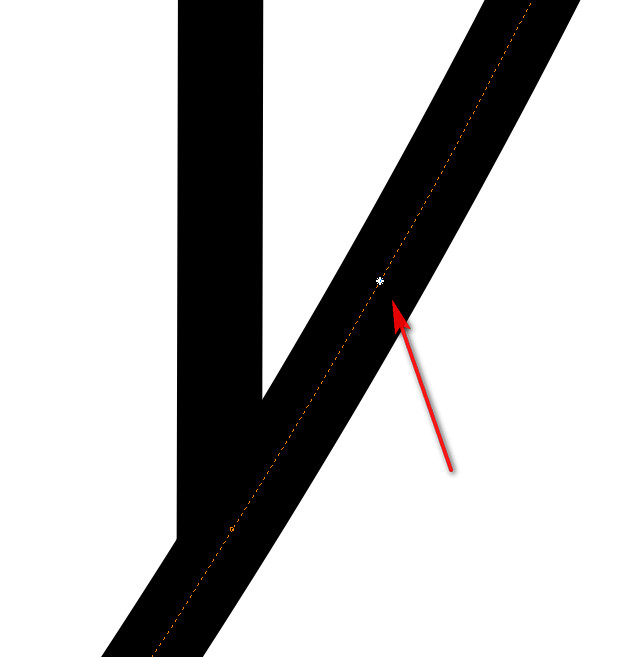
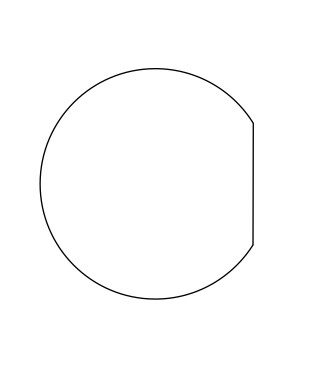
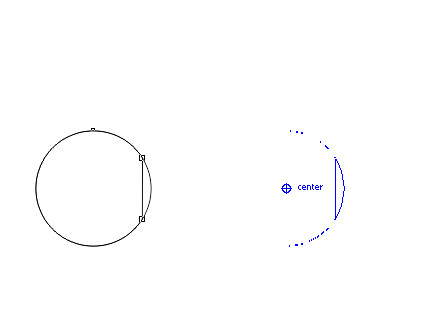
- Now single-click to select the segment of the circle that is to the right of the vertical line. You'll see a little star appear on the segment. Press the Delete key. Zoom out and do the same on the remaining arc. When you're done you'll have the proper shape to fit your keyed spindle.
Re-establish the Correct Center
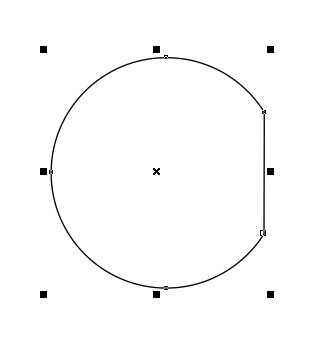
In the last step we altered a circle to make a hole to fit the keyed spindle. If you now select the whole group you'll see that the center point of the object is now slightly off center of the circle.
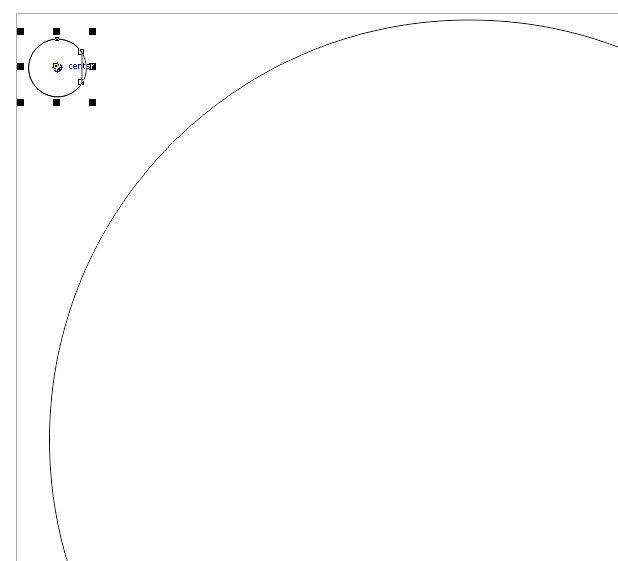
Select the circle on the left and then hover your mouse over the left quadrant point. Now click and hold.
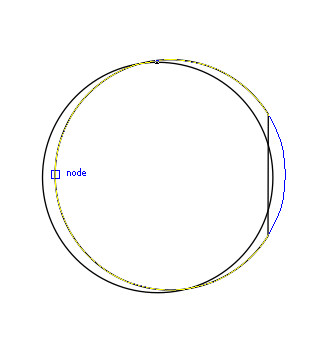
Drag the circle over to the modified circle until the cursor indicates "node". Release the mouse button.
Now you have the whole circle over the modified circle. If you select the entire group you can see that the center is once again in the center of the modified circle.
Create the Turntable
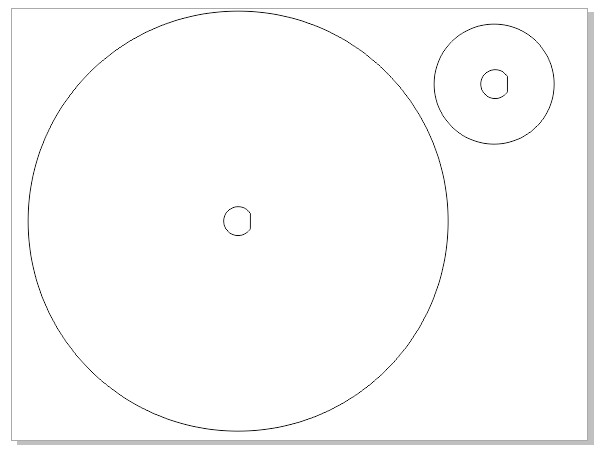
Using CorelDraw create two circles. One should be 18 inches in diameter. The other should be 5 inches.
Select the entire keyed hole group. Hover your mouse over the center, then click and hold it.
Drag the keyed hole group over to the center of the big circle. When you see the mouse cursor change to say "center" release the mouse button. You have now dropped the keyed hole group directly in the center of the big circle.
With the keyed hole group selected type Control-C then Control-V to create a copy. Again click and hold the center of this copy and drag it to the center of the small circle.
Go back to each keyed hole group, select the circle part that is to the right of the vertical line and hit the Delete key.
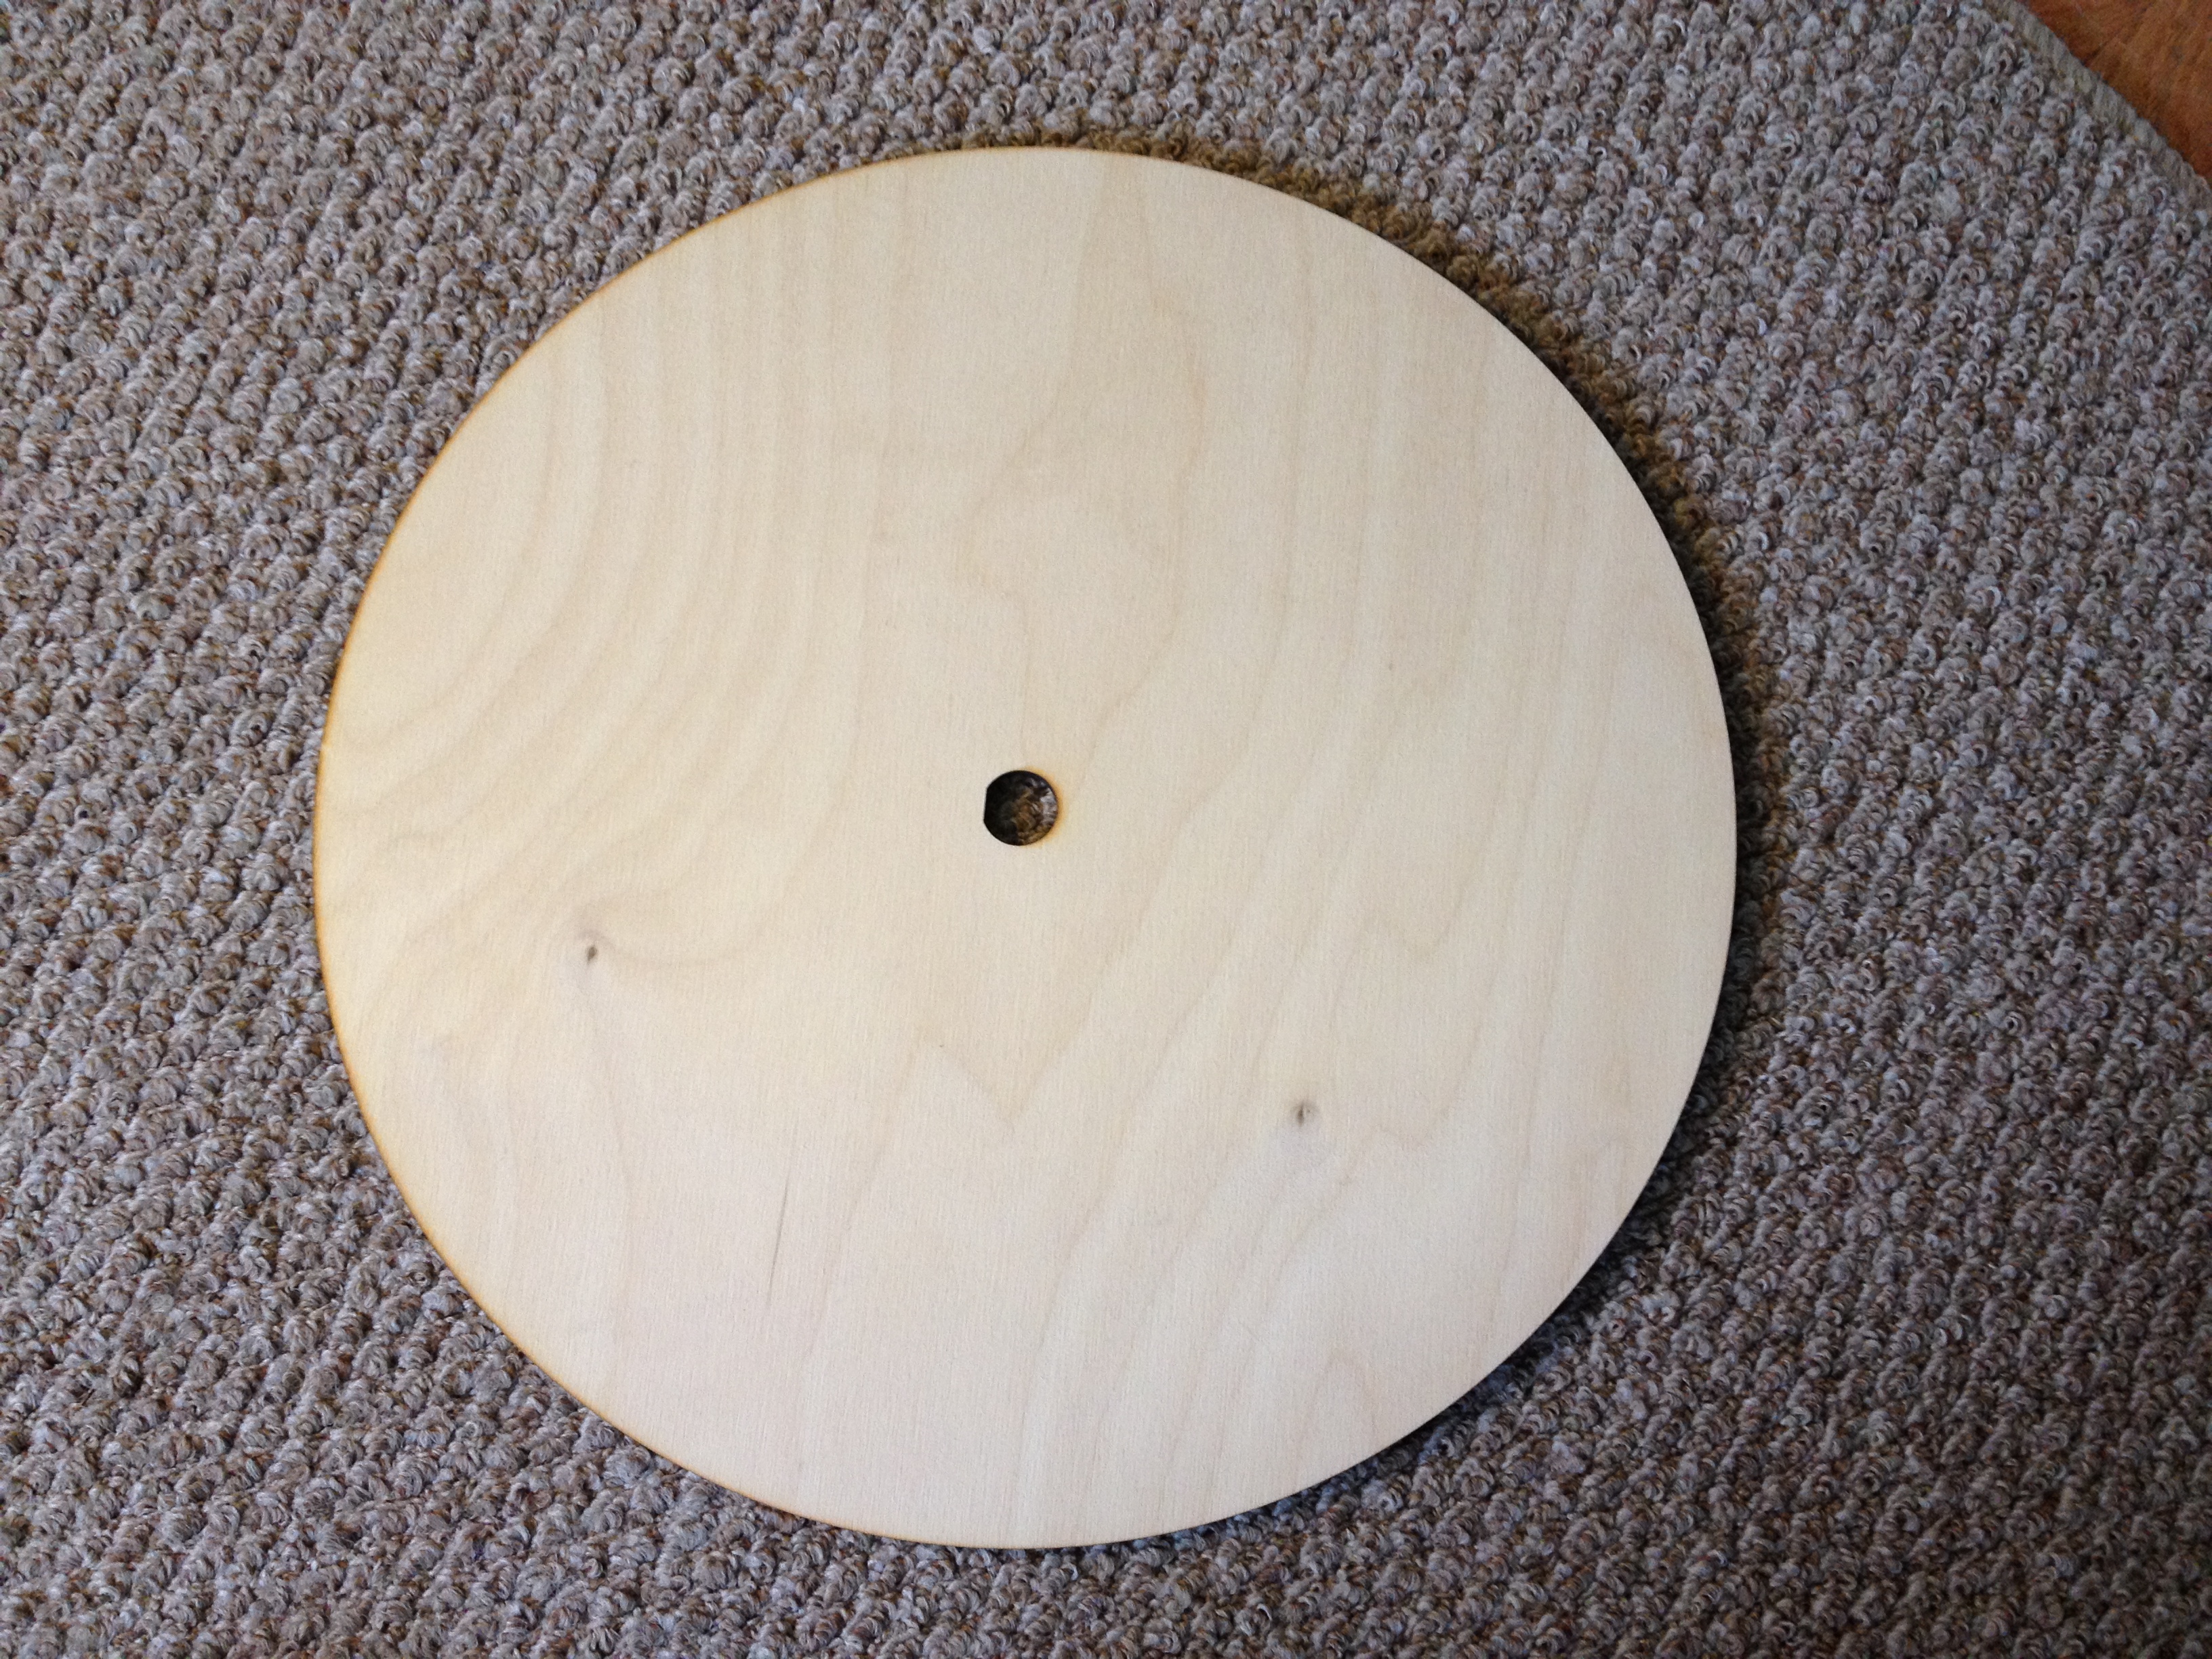
You are now ready to cut your two turntable pieces.
Glue It Up
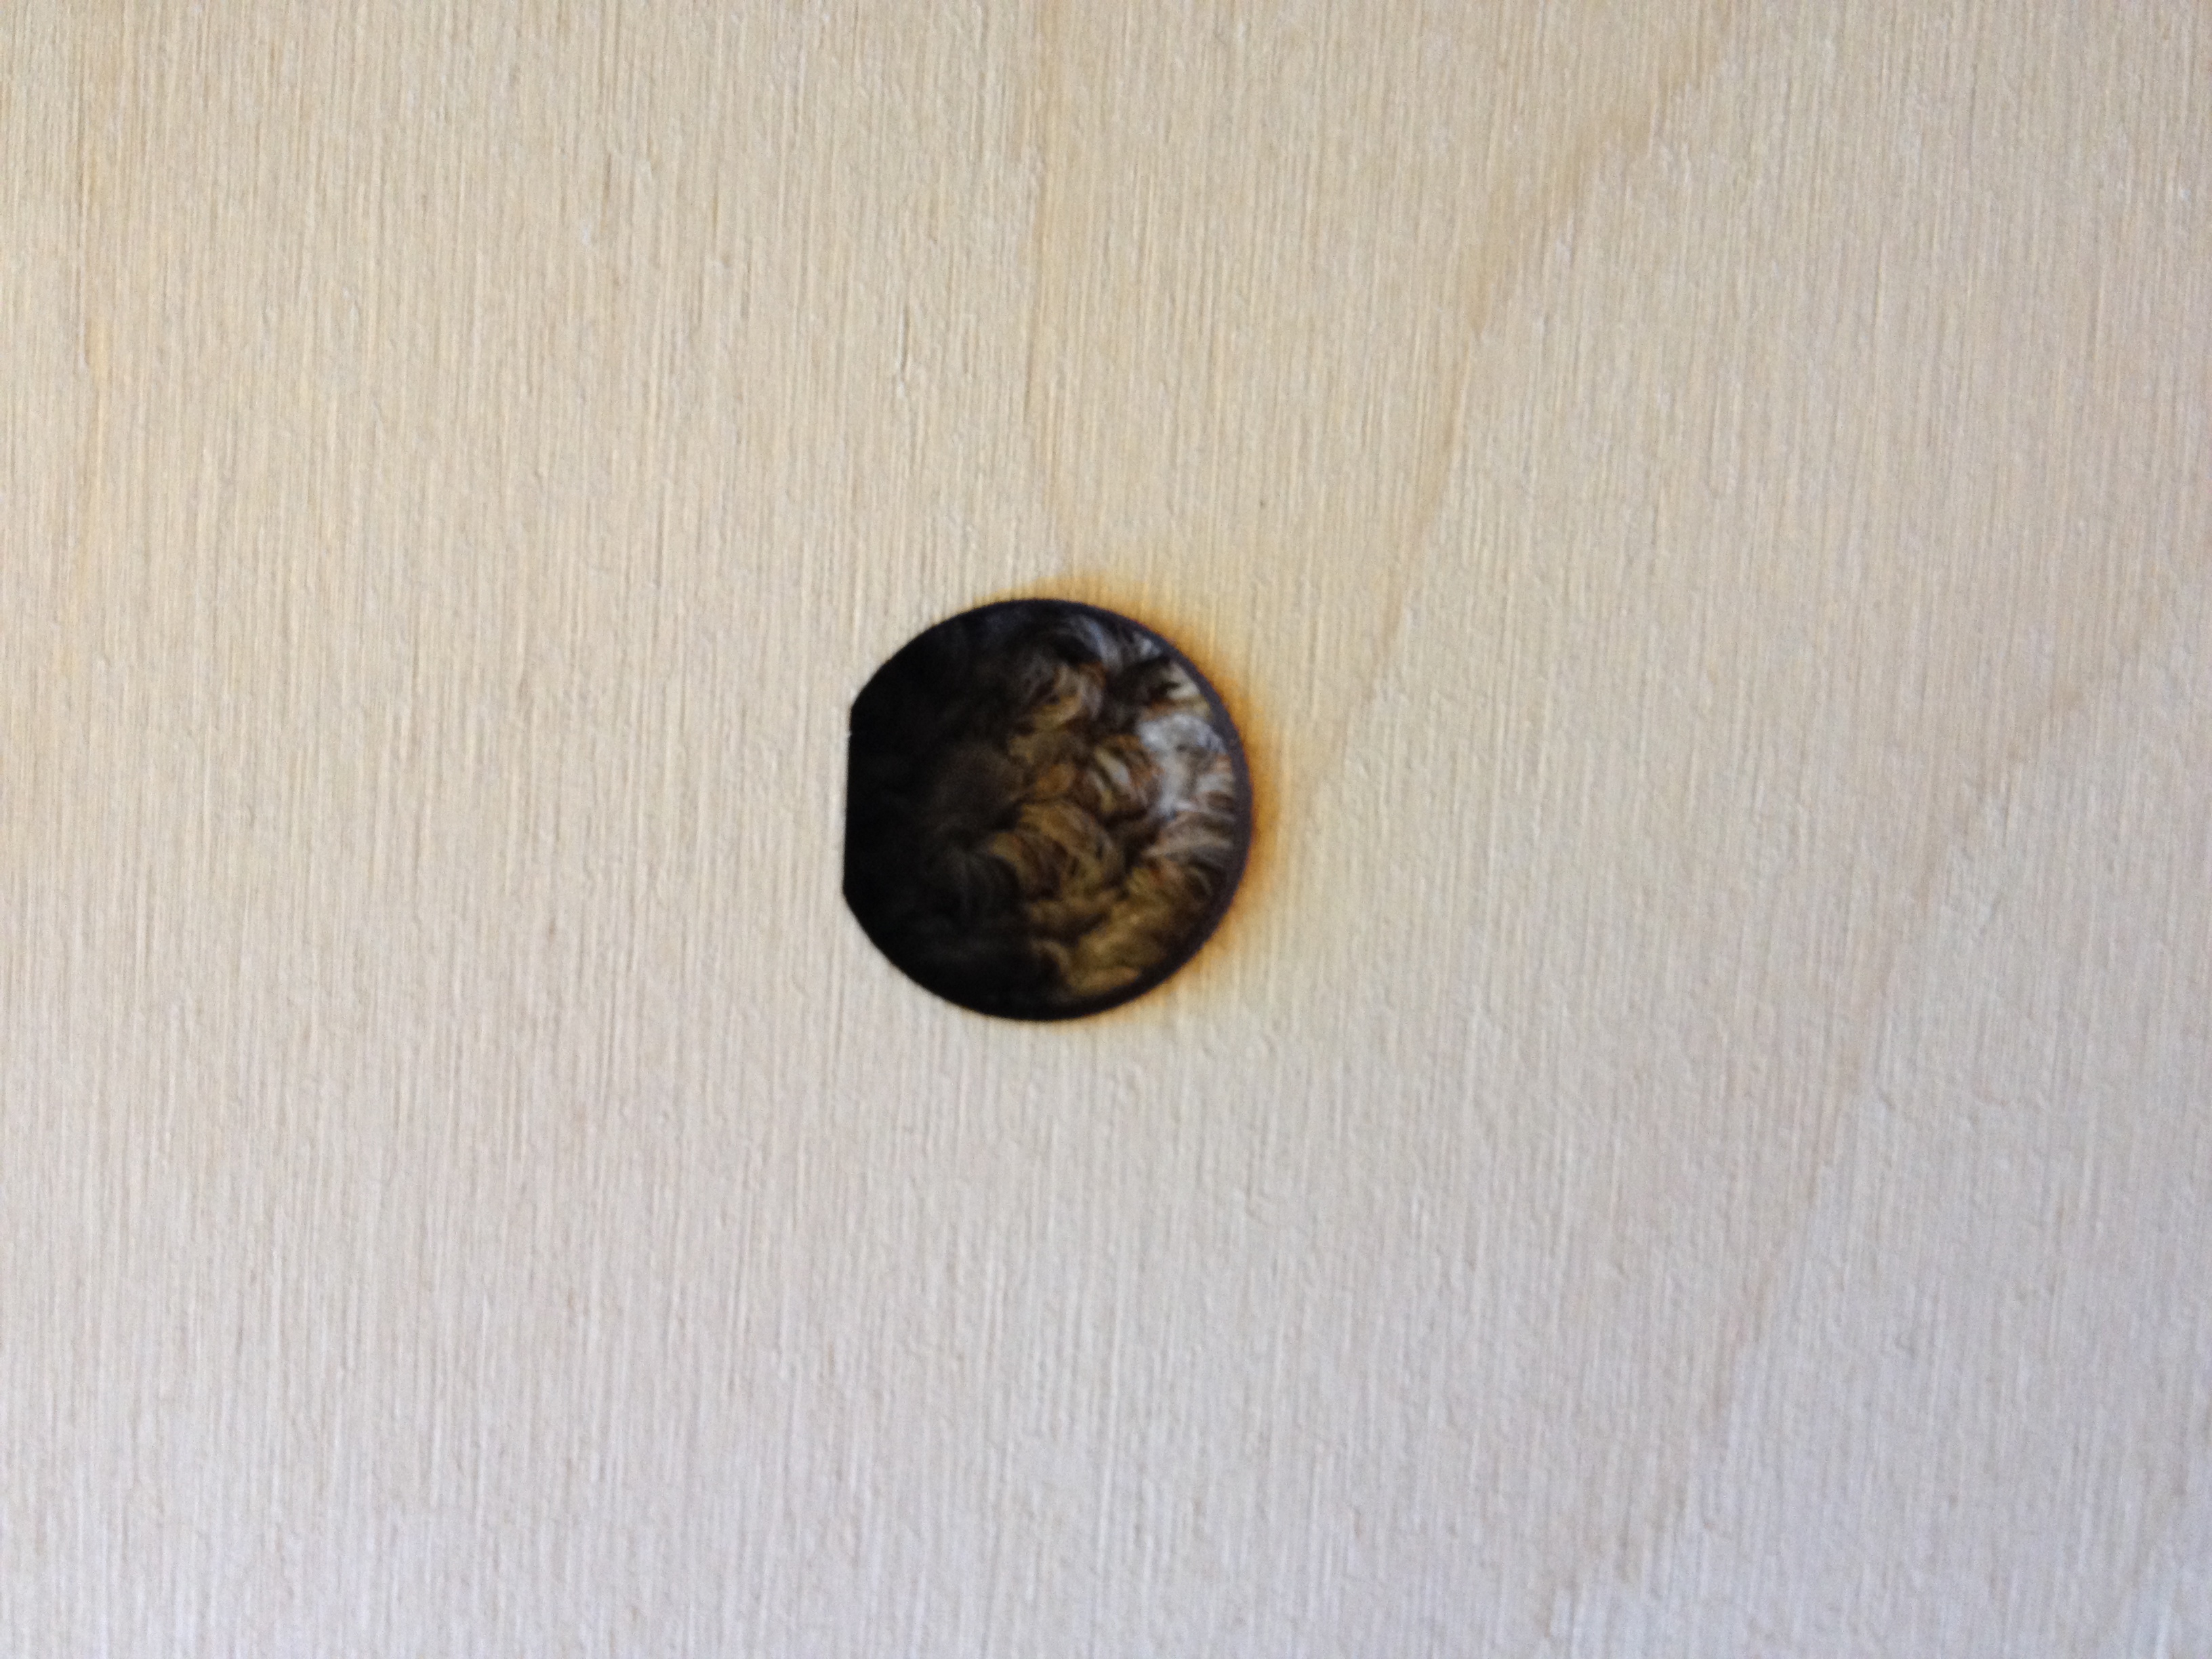
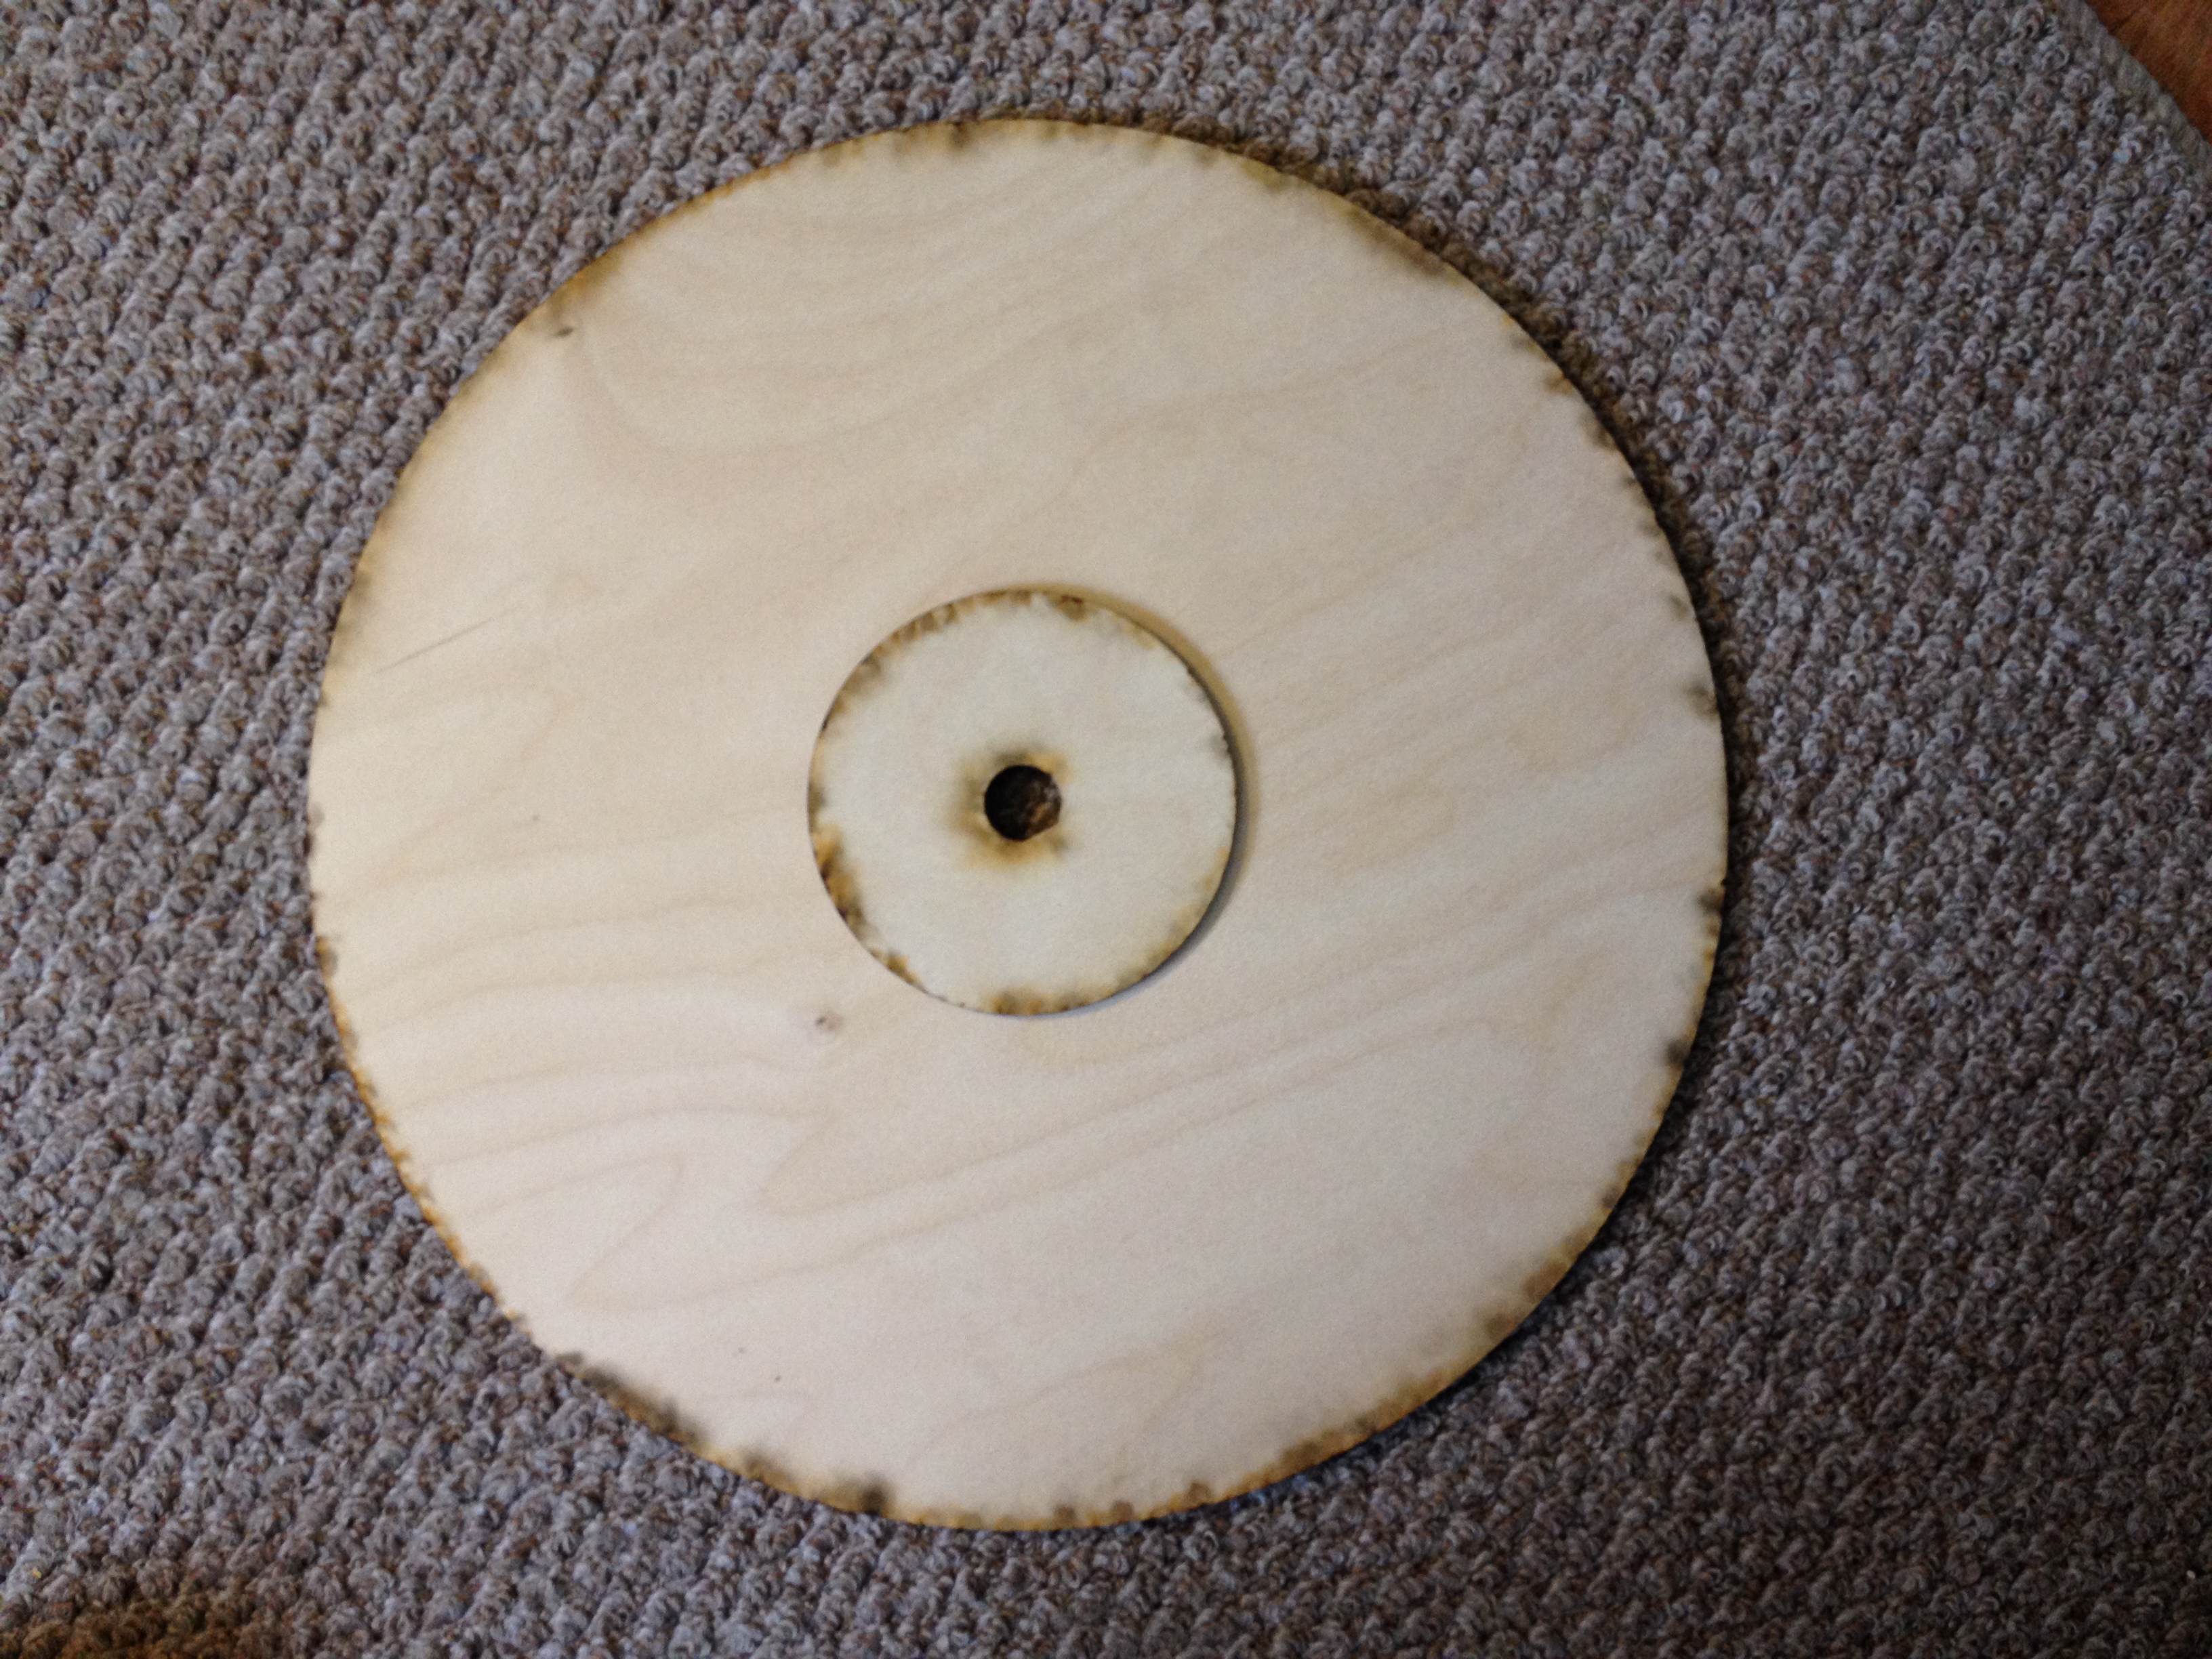
Apply a bit of wood glue to the small circle. Carefully center the small circle on the bottom of the big circle making sure that the keyed holes line up. Press the two tightly together and let the glue dry.
Final Assembly
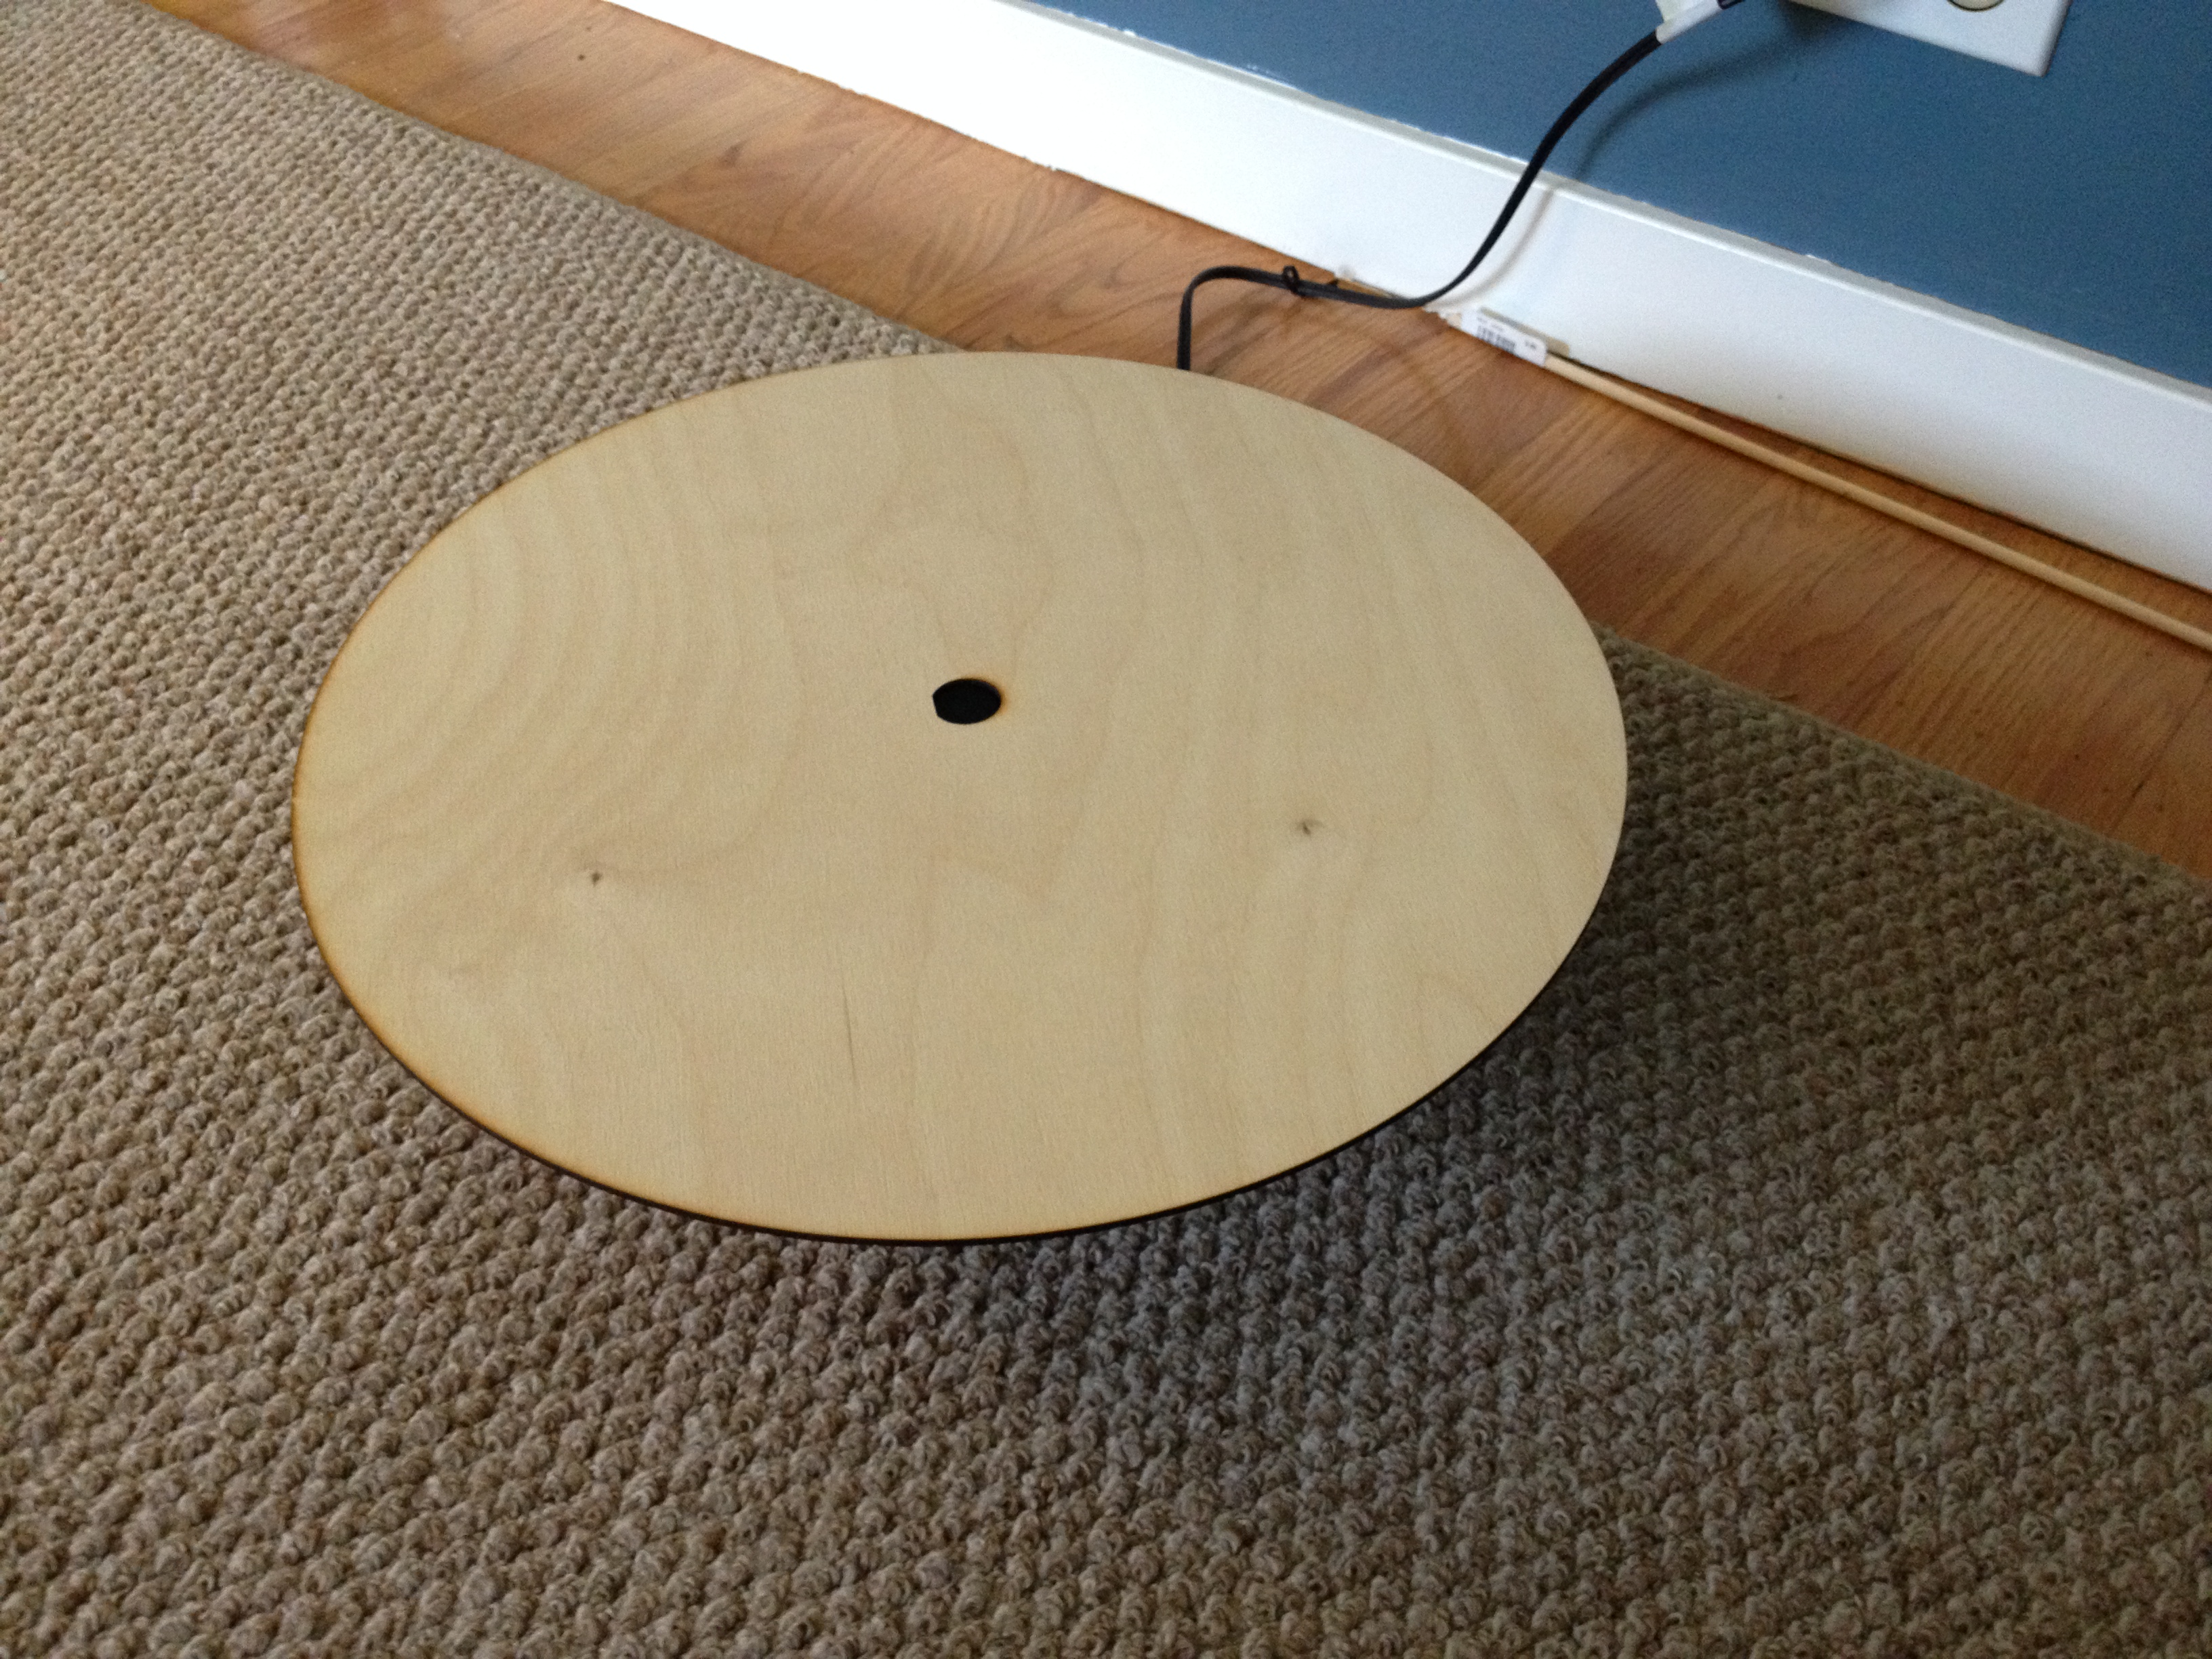

You're done! Just place the turn table on the popcorn popper base and turn it on.
I made my video by putting my camera on a tripod pointed at the turntable. I let the camera run and placed each case on the turntable for two full revolutions. I then used the Womble MPEG Video Wizard to edit out the parts where my hand was in the frame and to add titles, dissolves, and end panels. YouTube supplied the background music.
You can see the video I made on YouTube. As you can tell, I am a proud papa!