Video Game Diorama Cube (Paper)
by dariannigro in Craft > Paper
24856 Views, 15 Favorites, 0 Comments
Video Game Diorama Cube (Paper)
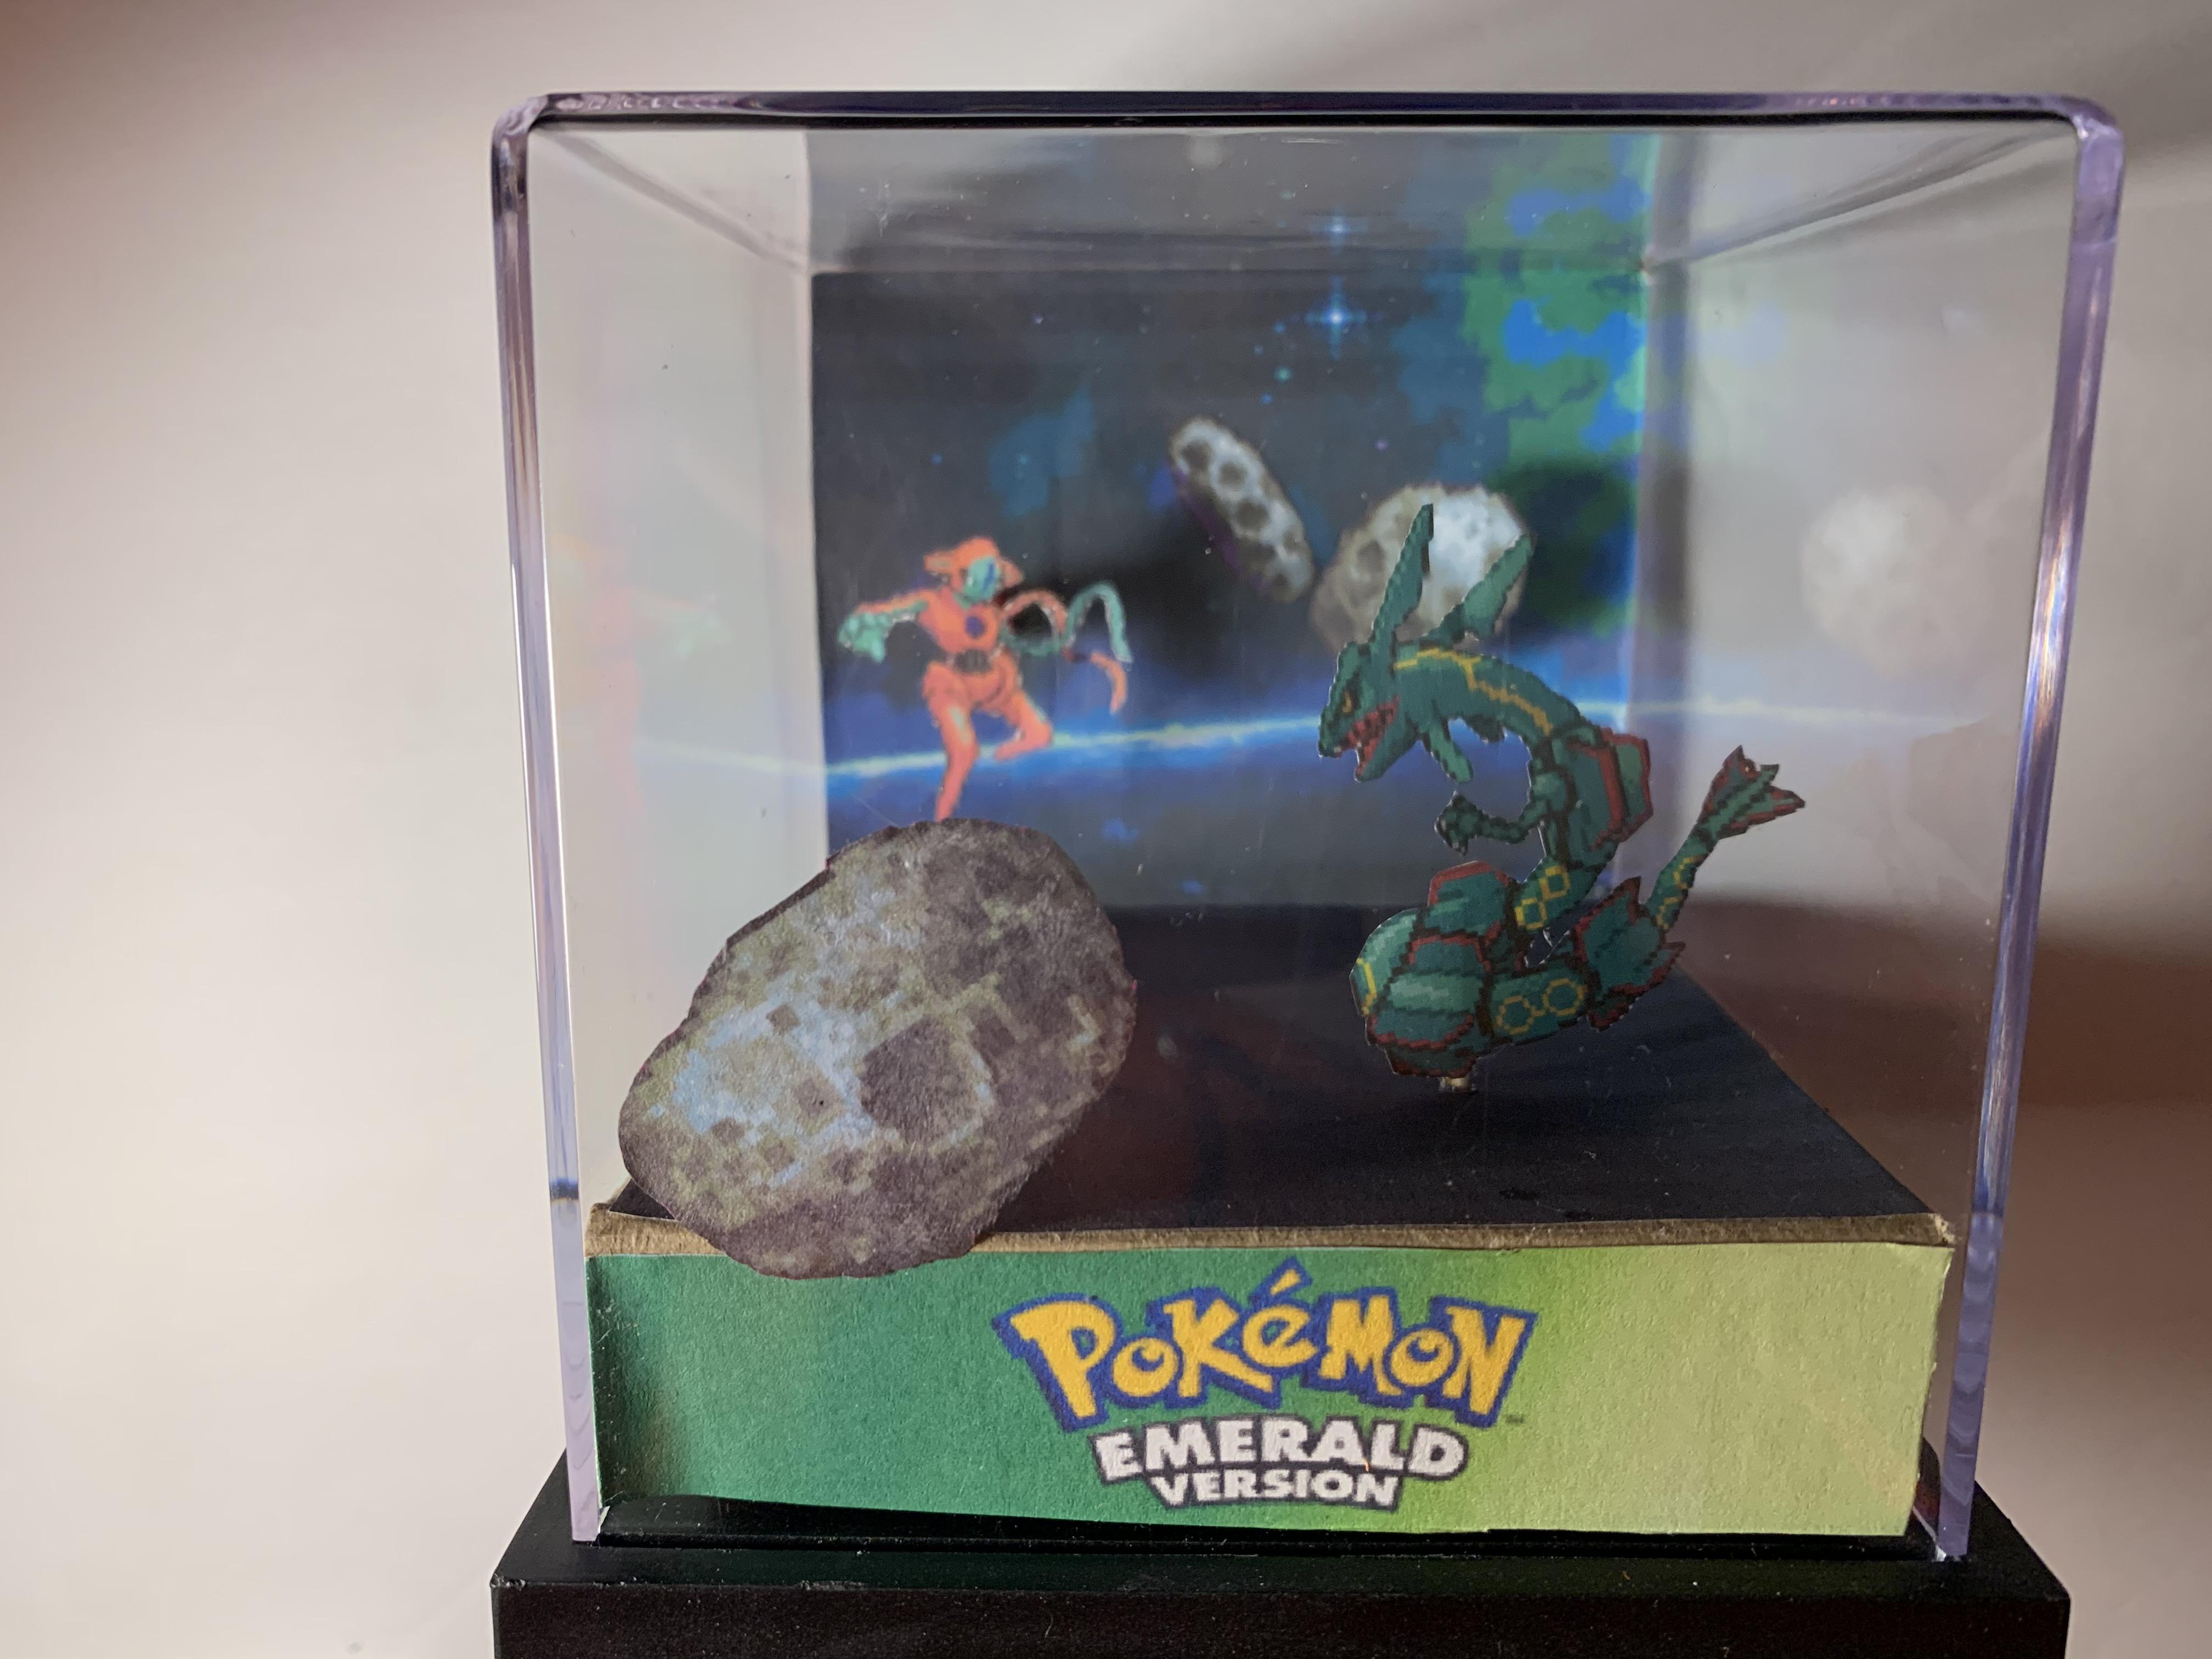
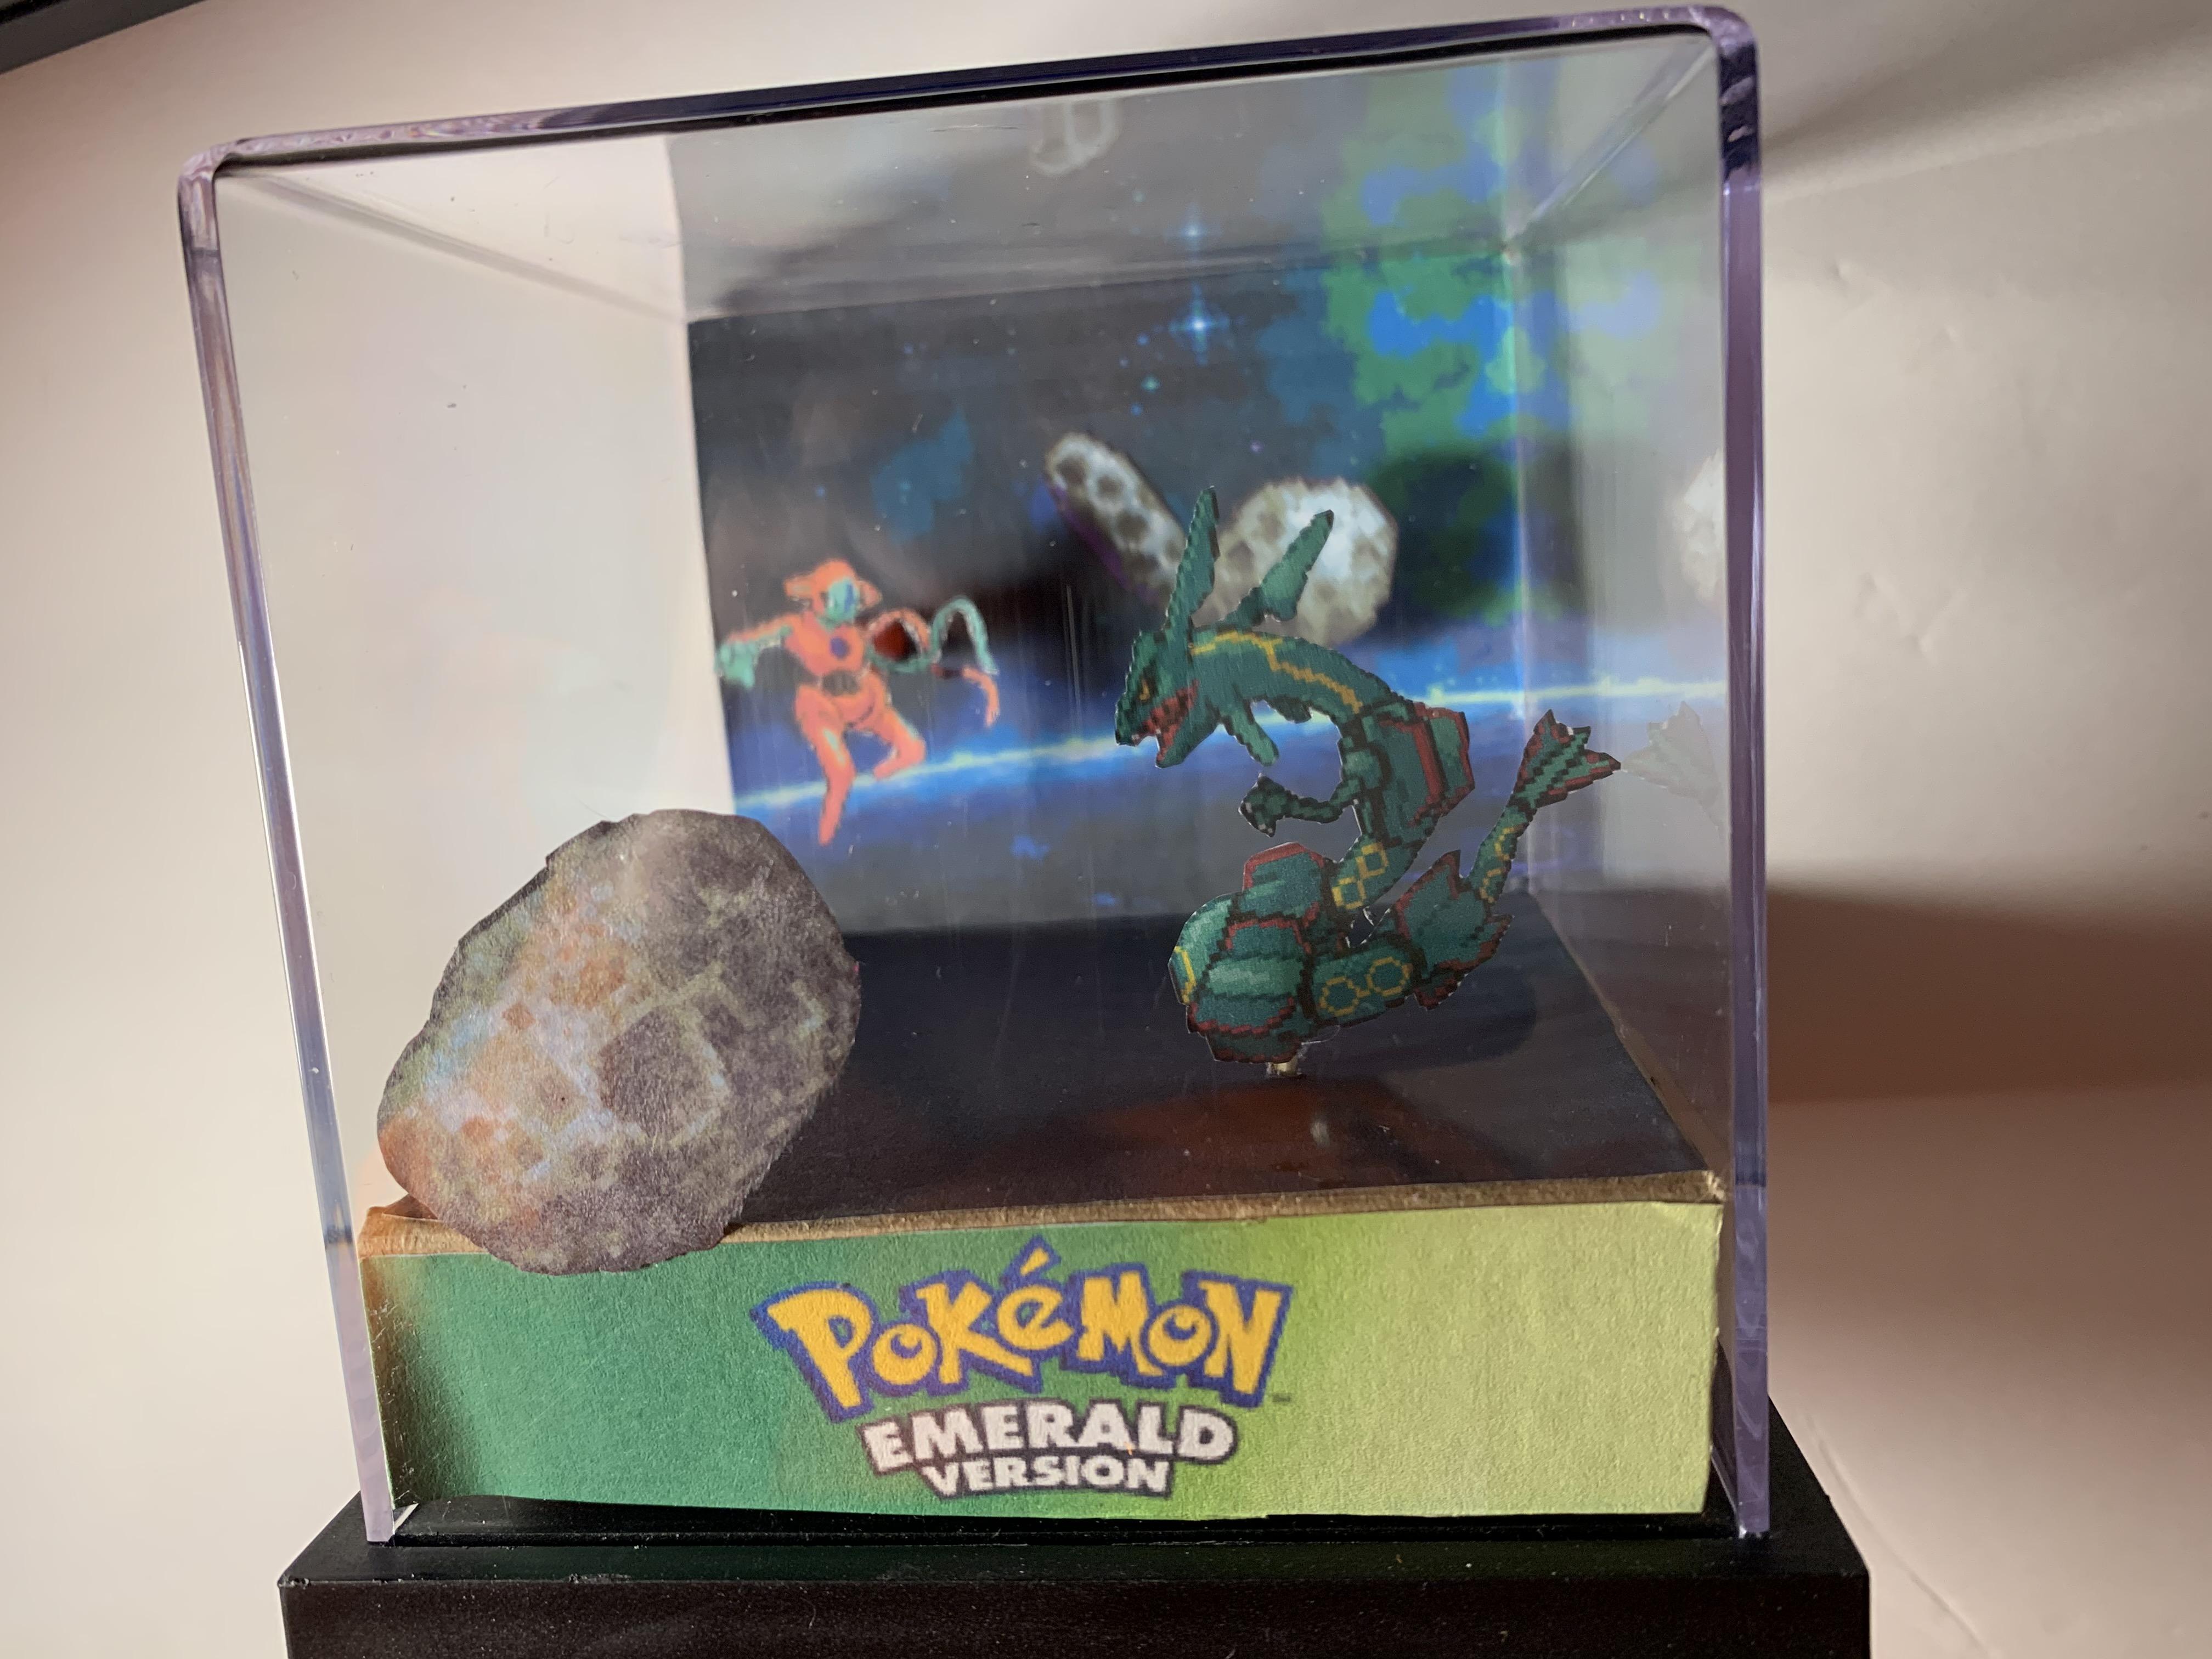
You may have seen one of these on Etsy, and they can cost you upwards of $50!
Why not just make one yourself?
If that sounds like a better option to you, then I will show you exactly how to do it! These cube dioramas can be used to represent any 2D scene in a 3D environment. You can create an original scene as I have, or you can replicate an iconic scene from your favorite video game! I chose to go with my favorite video game franchise, Pokemon!
Supplies
- Baseball Display Case ($10 on Amazon Here)
- Color Printer
- Paper
- Scissors
- Scrap Carboard
- Glue Stick
- Super Glue
- Ruler
- A Straw
- Toothpick
- Optional: X-Acto Knife
Selecting Images to Use
Depending on what you want to represent with your diorama, you will have to find the appropriate images to print out. If you're creating a scene from a 2D video game, then the two sources listed below will be very useful for finding images to use in this step.
Spriters Resource: Sprites and assets from nearly every video game! (Spriters Resource)
Pokemon Database: Every Pokemon sprite from every game! (Pokemon Sprites Database)
In addition to these sources you can always Google what you're looking for. The term "sprite" in addition to a character's name such as "Link" will normally offer the result you're looking for. There are also tons of custom sprites that hobbyists create and share for public use! Be sure to check that an artist allows this before using their images, and give them credit when sharing your project! You can also always create your own images if you are into that!
Shoutout to Norma2D for the free to use space background seen in my example!
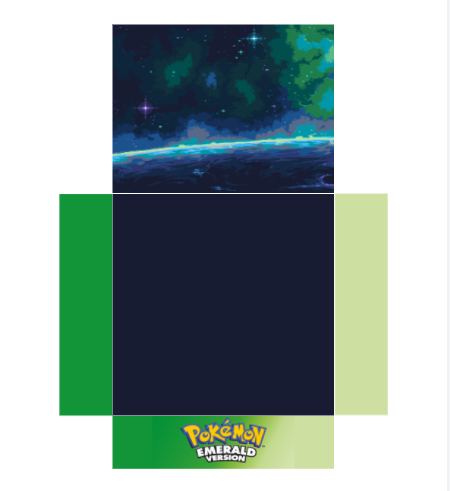
When creating your diorama there are a few specific things you will need to cover with your images.
The first are the images that comprise the base of the model. These are three smaller rectangles and the square in the center of those. When folded these create a stage for the rest of your diorama.
Second is the background piece. This is the image that is above the center square. It is slightly shorter to account for the height of the rectangle at the base (I will explain this in detail in the next step).
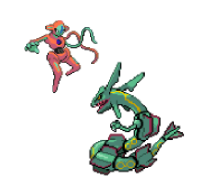
Finally, you need to add images that you wish to use as foreground pieces in the diorama. In my case these are the two Pokemon seen in the second photo.
Formatting Images and Printing
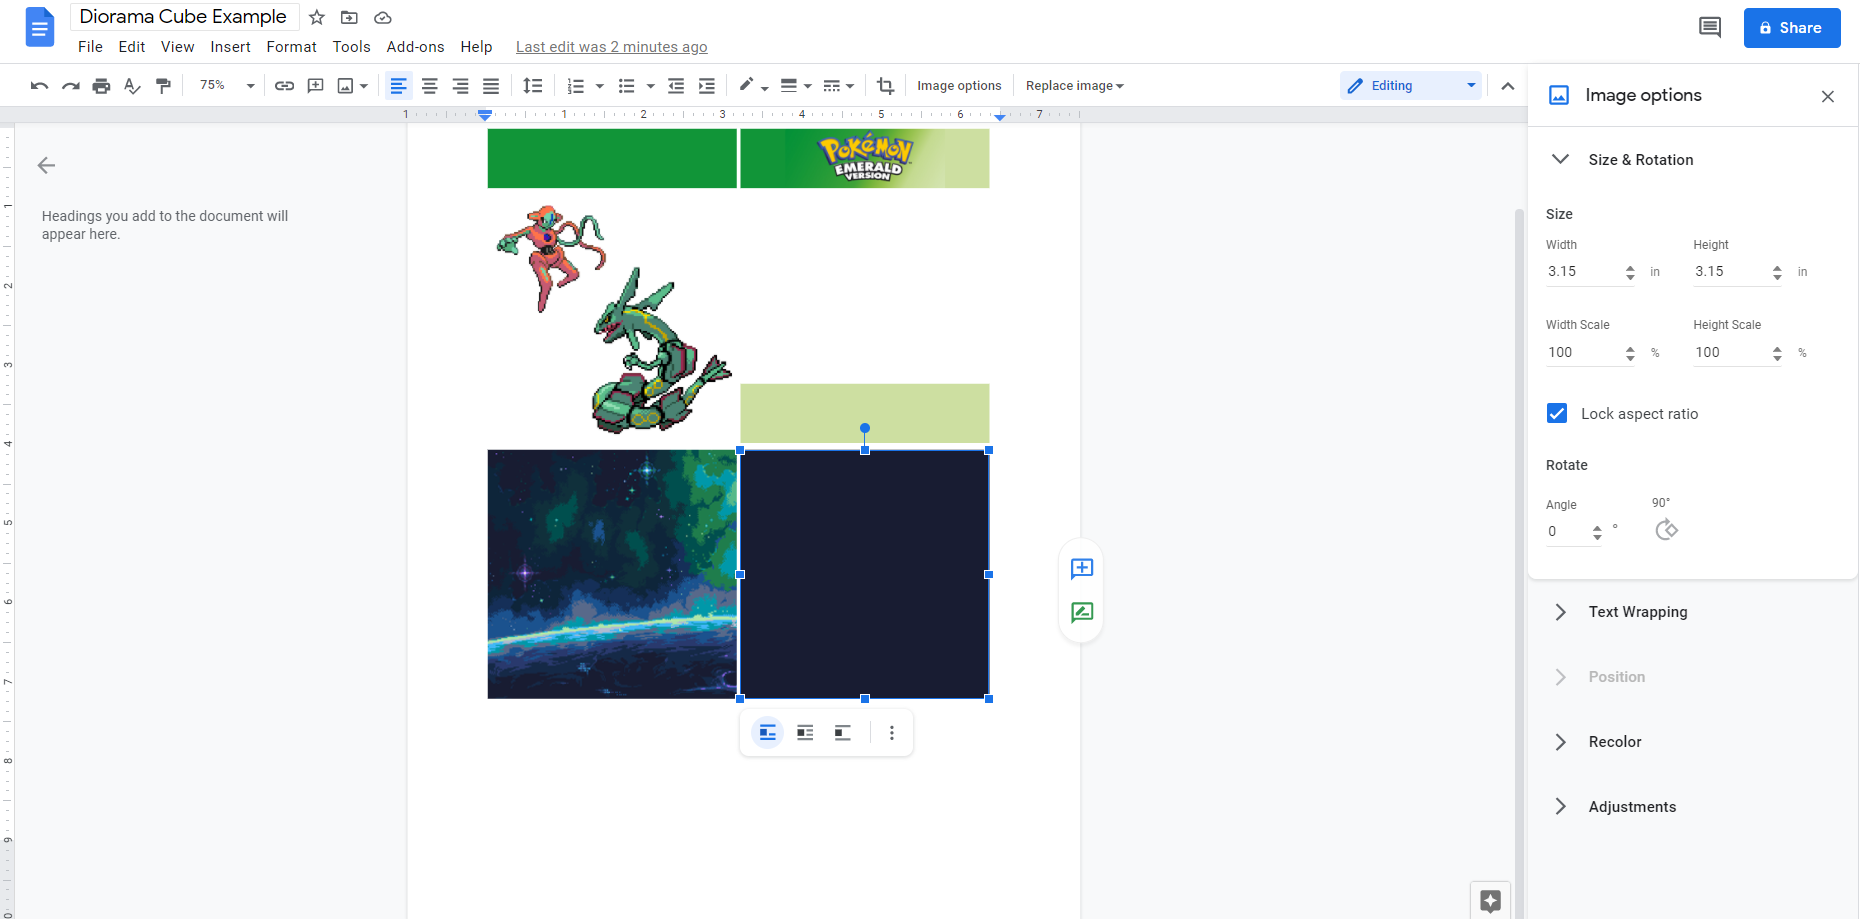

Formatting your images before printing is key so that the images are the correct size and easily assembled inside your cube.
All you need for this step is Google Docs and maybe a ruler.
First figure out the dimensions of the cube you are using so that you can size the images appropriately. My cube's dimensions were 4.2 in. x 4.2in x 4.2 in. You might find this info on the packaging, or you may have to measure it yourself.
While the sizes of each image depend on your cube's size here are some guidelines to follow.
- The large square of your diorama's base should be the same dimensions as your cube
- The three rectangles on the sides of your base should be the same width as the square, but only an inch tall
- The background should be the same width as the base, but one inch shorter to account for the height of the base
Now, create a new document in Google Docs and drag in the images that you want to use.
Once you know the dimensions of your cube and have added each image to the document, do the following:
- Right click on the image and click "Image Options" to open the bar on the right side of the screen
- Click on "Size & Rotation" to expand the section (it is seen expanded in the first photo)
- Next, type in the dimensions and make sure that the unit of measurement is correct
- Repeat this process for each image accordingly
If you need to rotate one of the base rectangles, then you can do this in the same "Size & Rotation" Tab.
Next you want to align the images so that they can be folded in the correct manner.
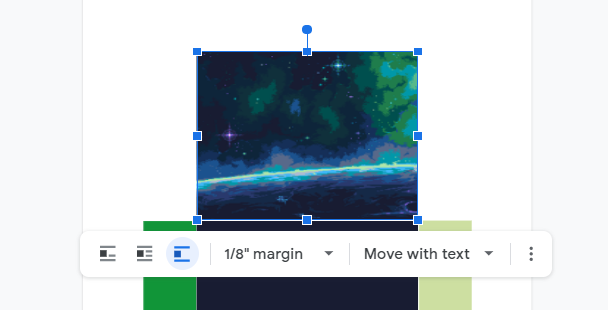
To assist in doing this, click on each image. From the drop down bar below your images, click on the option just to the left of "1/8 margin" (The one highlighted blue in the second photo here).
This allows each image to be dragged into place without moving the others.
Once you have done this, simply drag the images to align with one another on the edges that you are going to fold them. Use the red lines that appear when moving your images to make sure that the edges are touching.
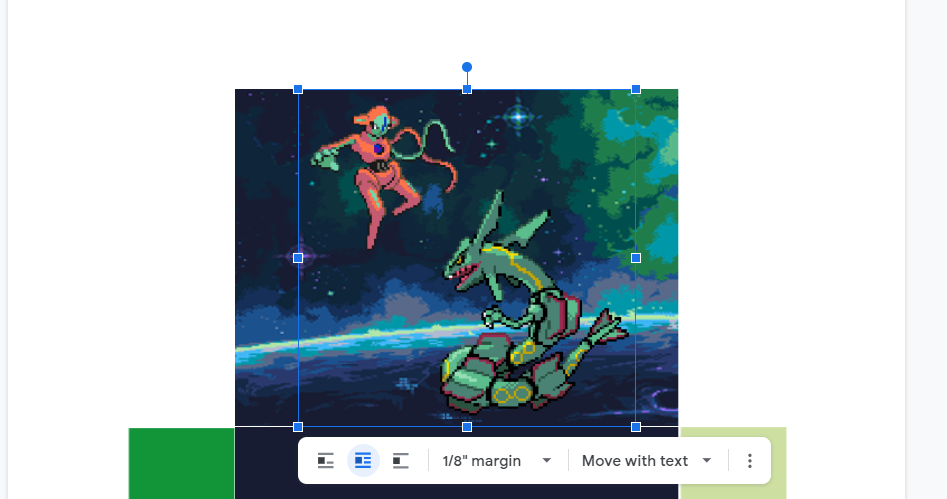
After each image is in place, click on your base square. Then, click on the "Border Weight" option from the top toolbar (it is pictured in the third photo here and looks like three lines). Set your border weight to "1pt" from the drop down.
This outlines the base square in a thin white line that gives you a straight edge to fold each side on.
TIP: To help figure out the size for your foreground props (the Pokemon in my example) you can simply drag those images on top of your background image to see if they look the right size in relation to the background (As seen in Photo 4 here).
Now all you have to do is print out your images!
Optional: You can print your images using higher quality paper such as photo paper, and you can adjust your printer's setting for higher quality printing on certain types of paper. This will also give your pieces more stability, but it is not a necessary step by any means.
Cutting Everything Out!
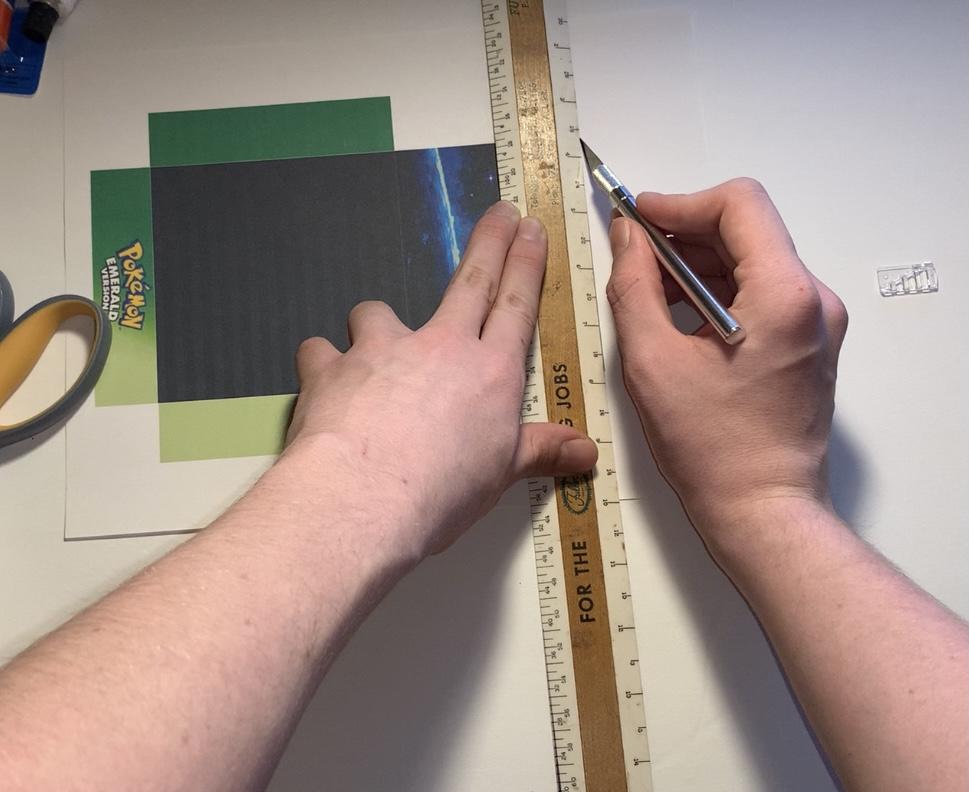
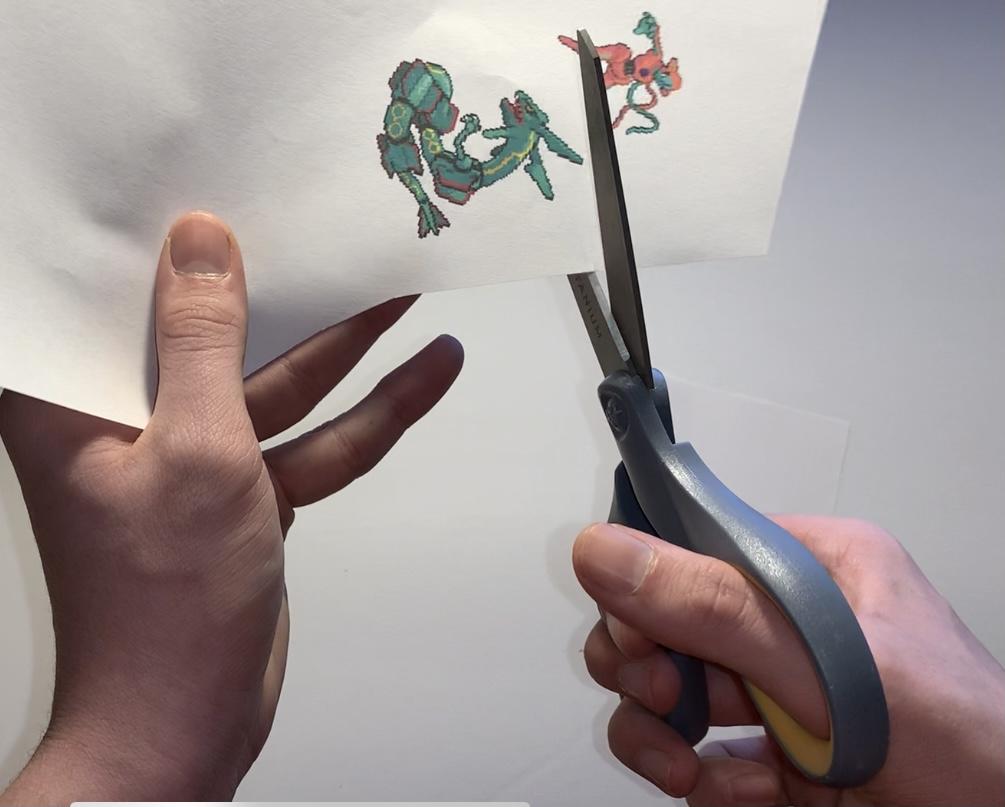
Once you've printed out all of your images you have to cut them and fold them before we can assemble the diorama.
The easiest way to do this is to simply use a pair of scissors.
For the straight lines around the base and background, however, it is somewhat beneficial to use a ruler and an X-Acto knife to ensure a straight cut. If you choose to do this, be extremely careful with the blade so you don't get cut!
For the foreground props (the Pokemon in my example) I used scissors, but you could use an X-Acto knife for this too.
Assembling the Base
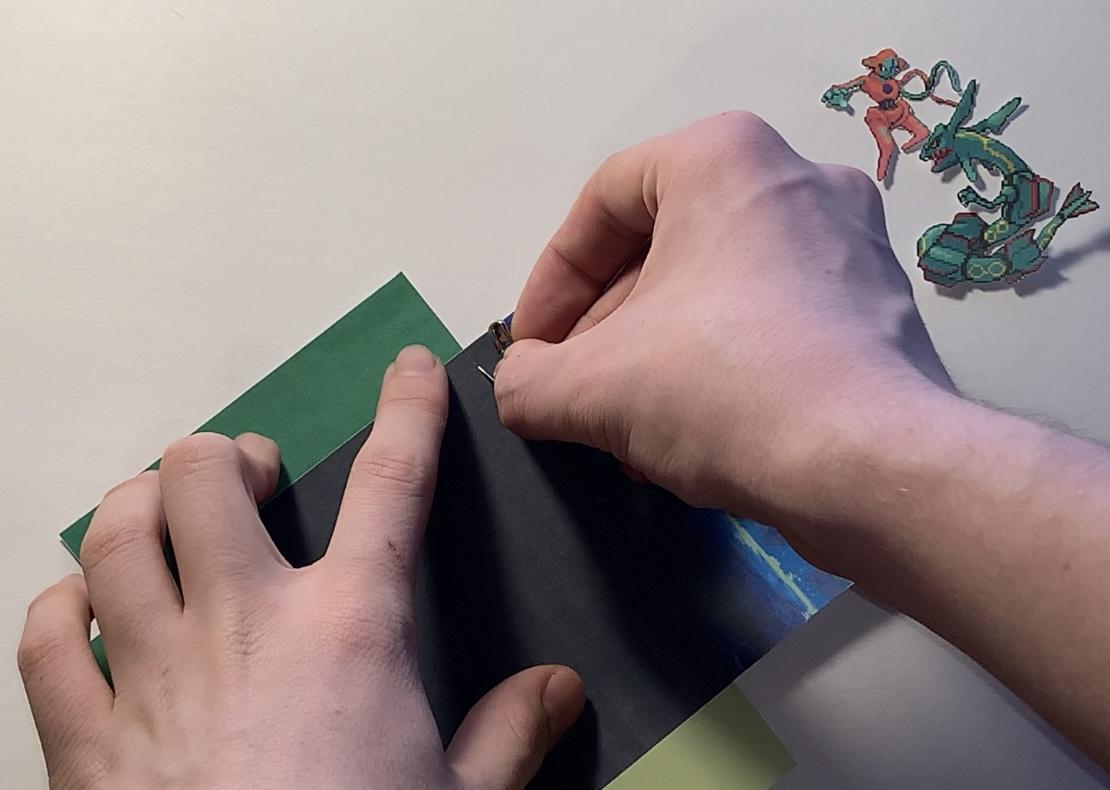
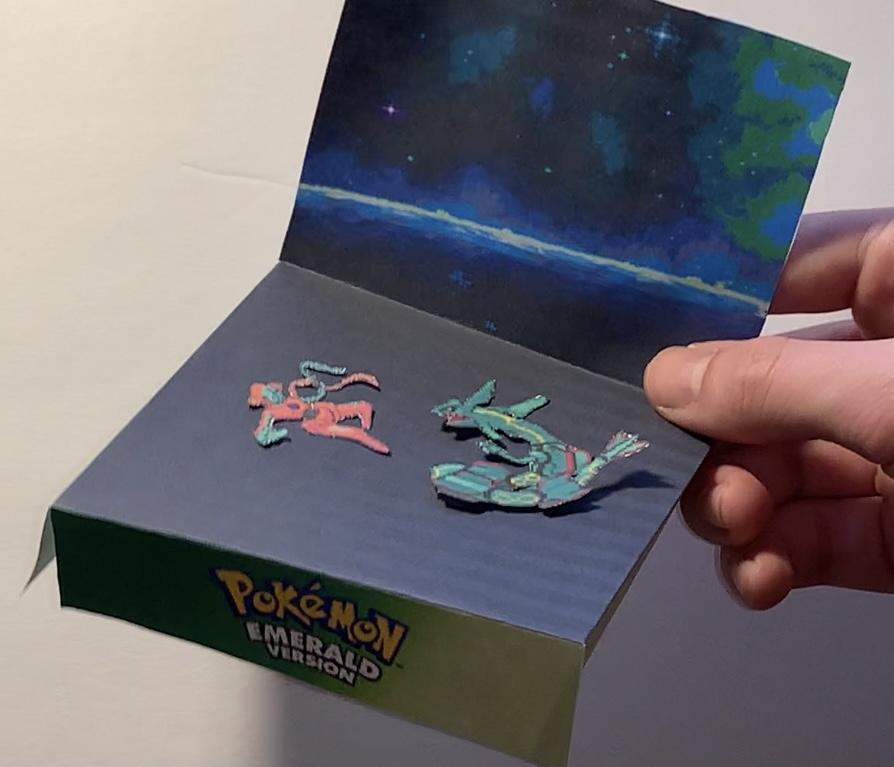
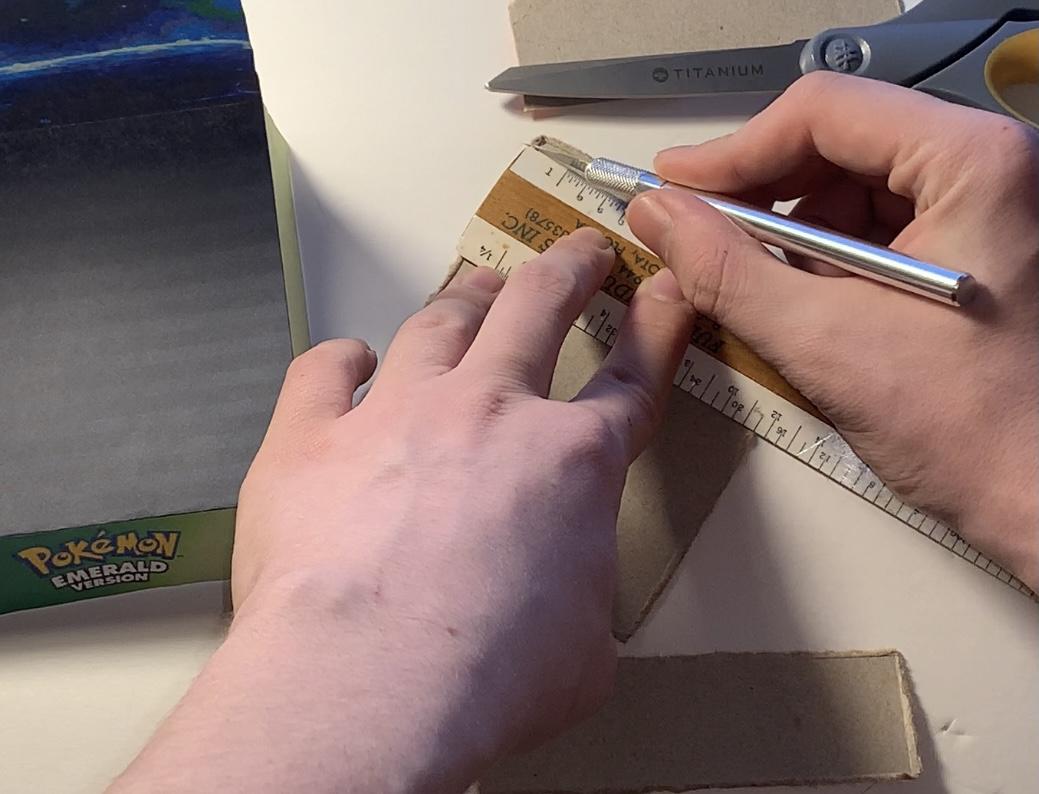
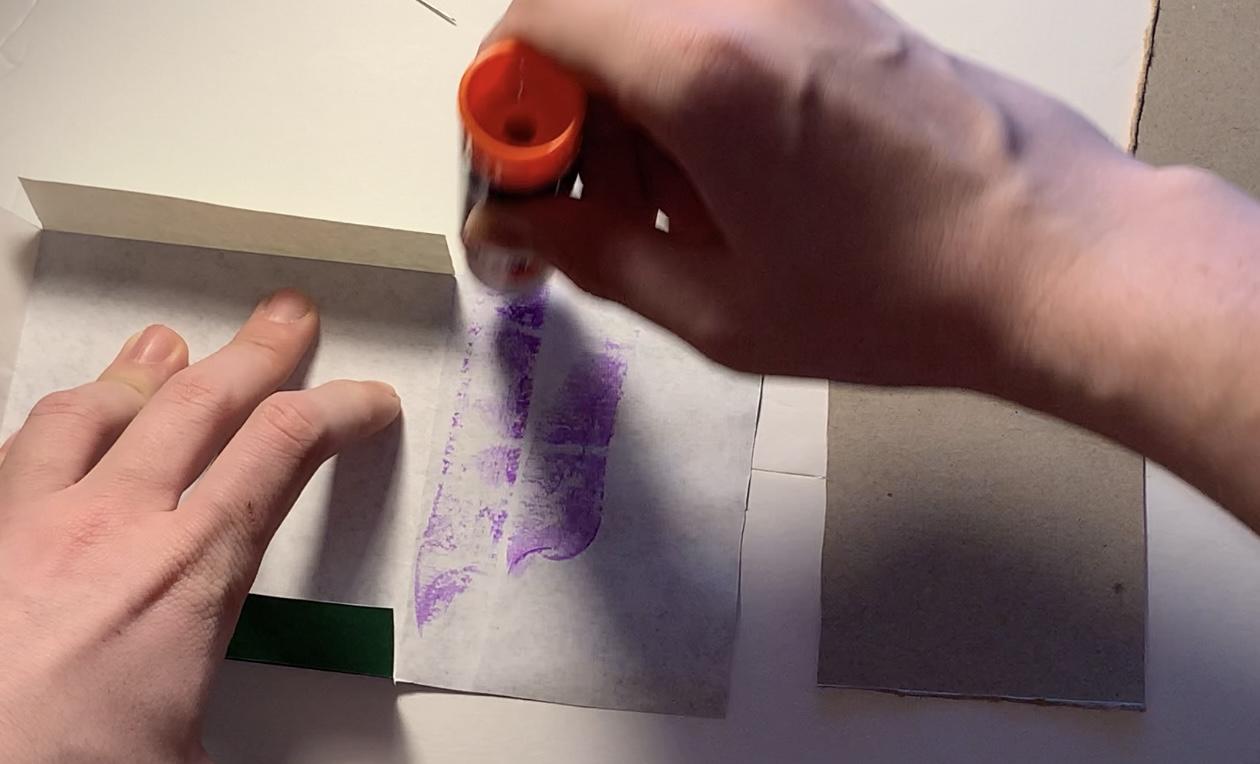
After you've cut everything out then you can fold the base and reinforce it with cardboard.
Reinforcing the paper base with cardboard is a necessary step. Without this added rigidity it will be nearly impossible to insert the diorama into the cube without crumbling the paper.
When folding the paper I recommend using something small and pointed, such as a safety pin in order to make creases. This just makes it easier to fold the paper along a straight line. If you choose to do this, be careful so as to not poke through the paper.
After folding the paper we need to glue it to cardboard. Measure the dimensions of the cutout onto some scrap carboard and cut this out.
Once you have cut the cardboard go ahead and glue the paper to it. I use a glue stick for this step as super glue, or liquid glue generally, may affect the way the paper looks.
Assembling the Rest of the Diorama
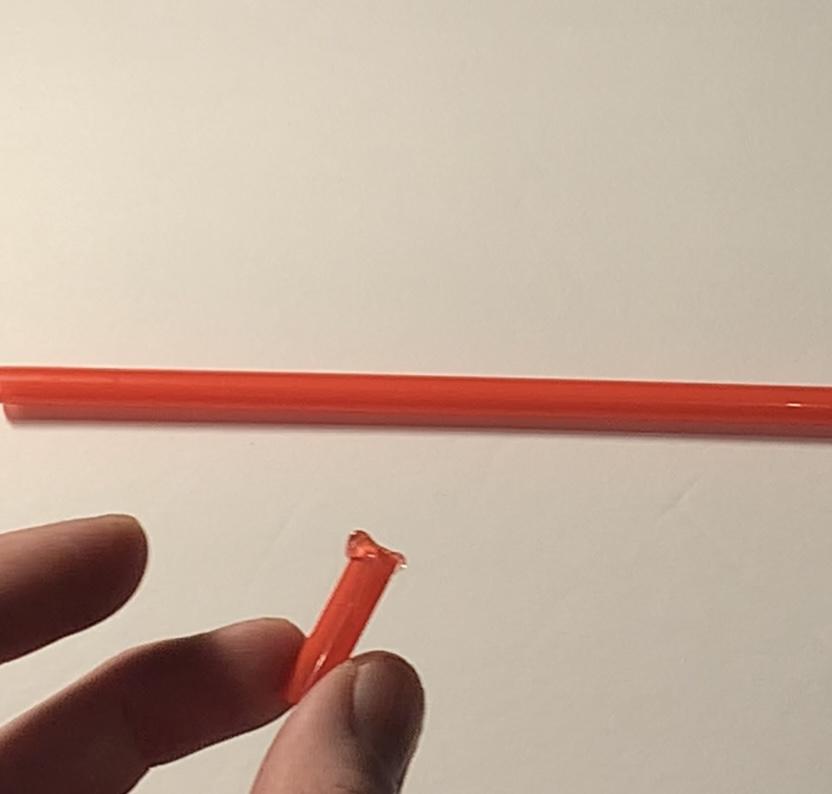
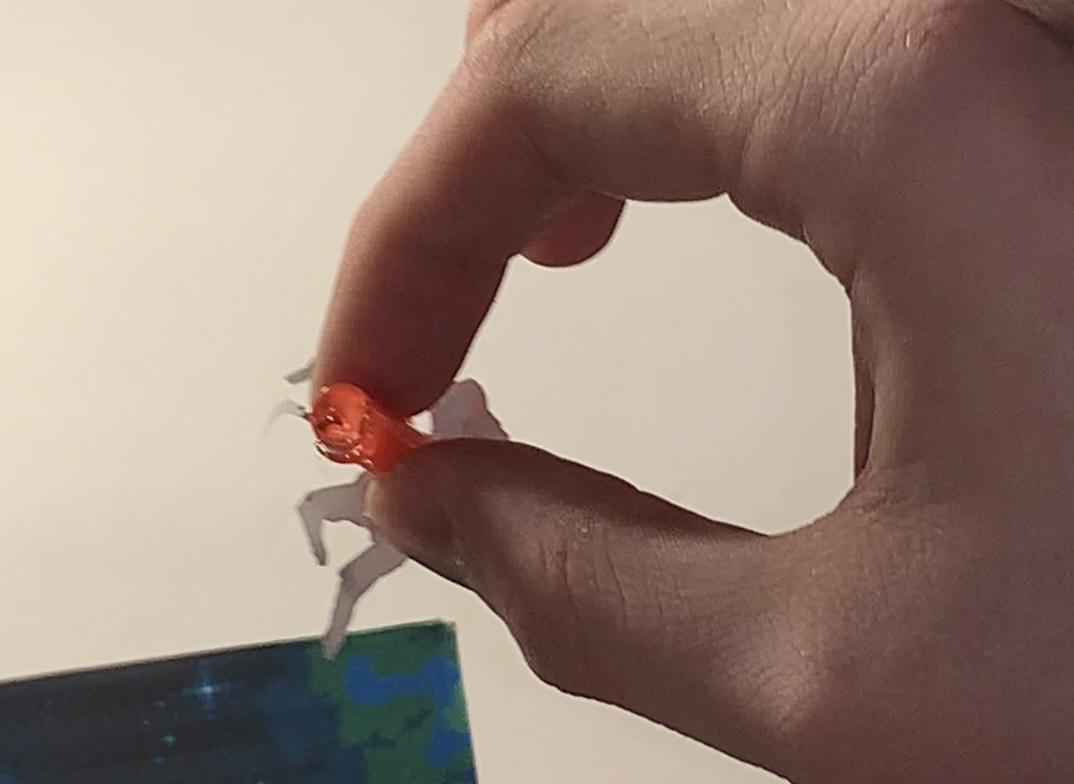
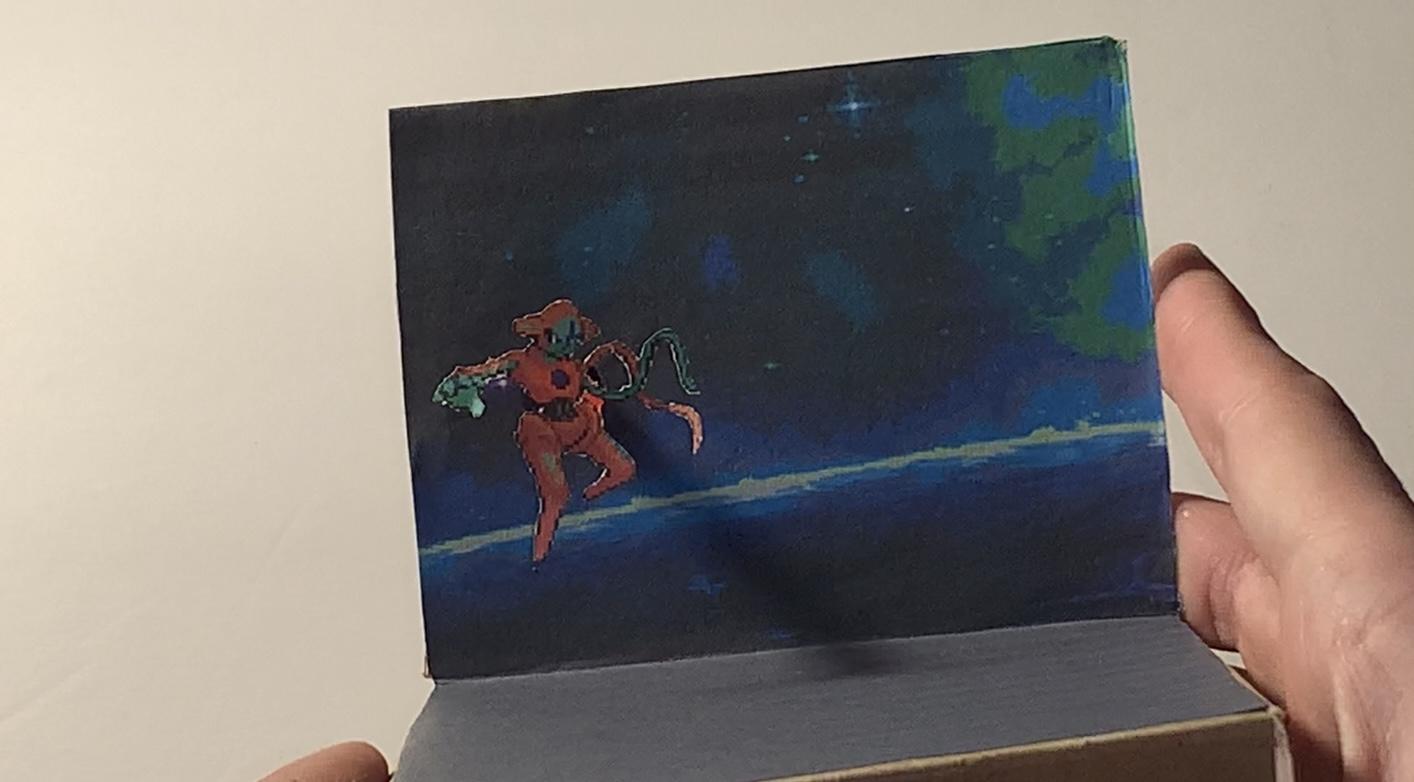
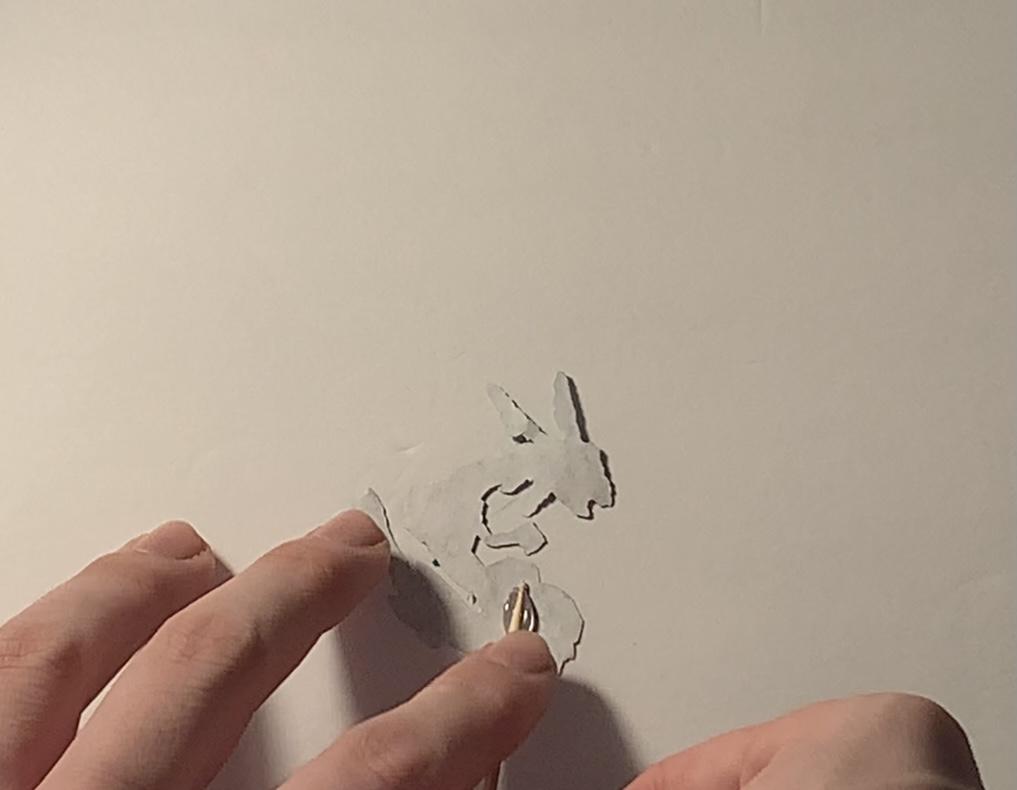
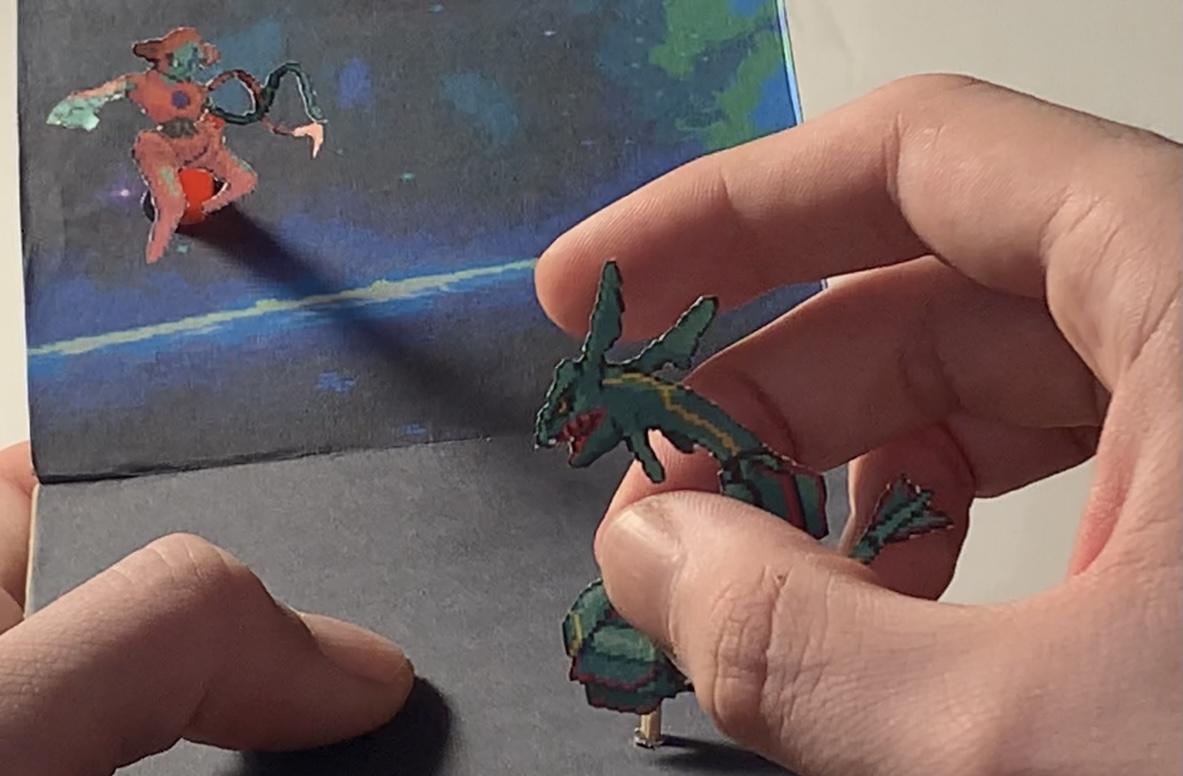
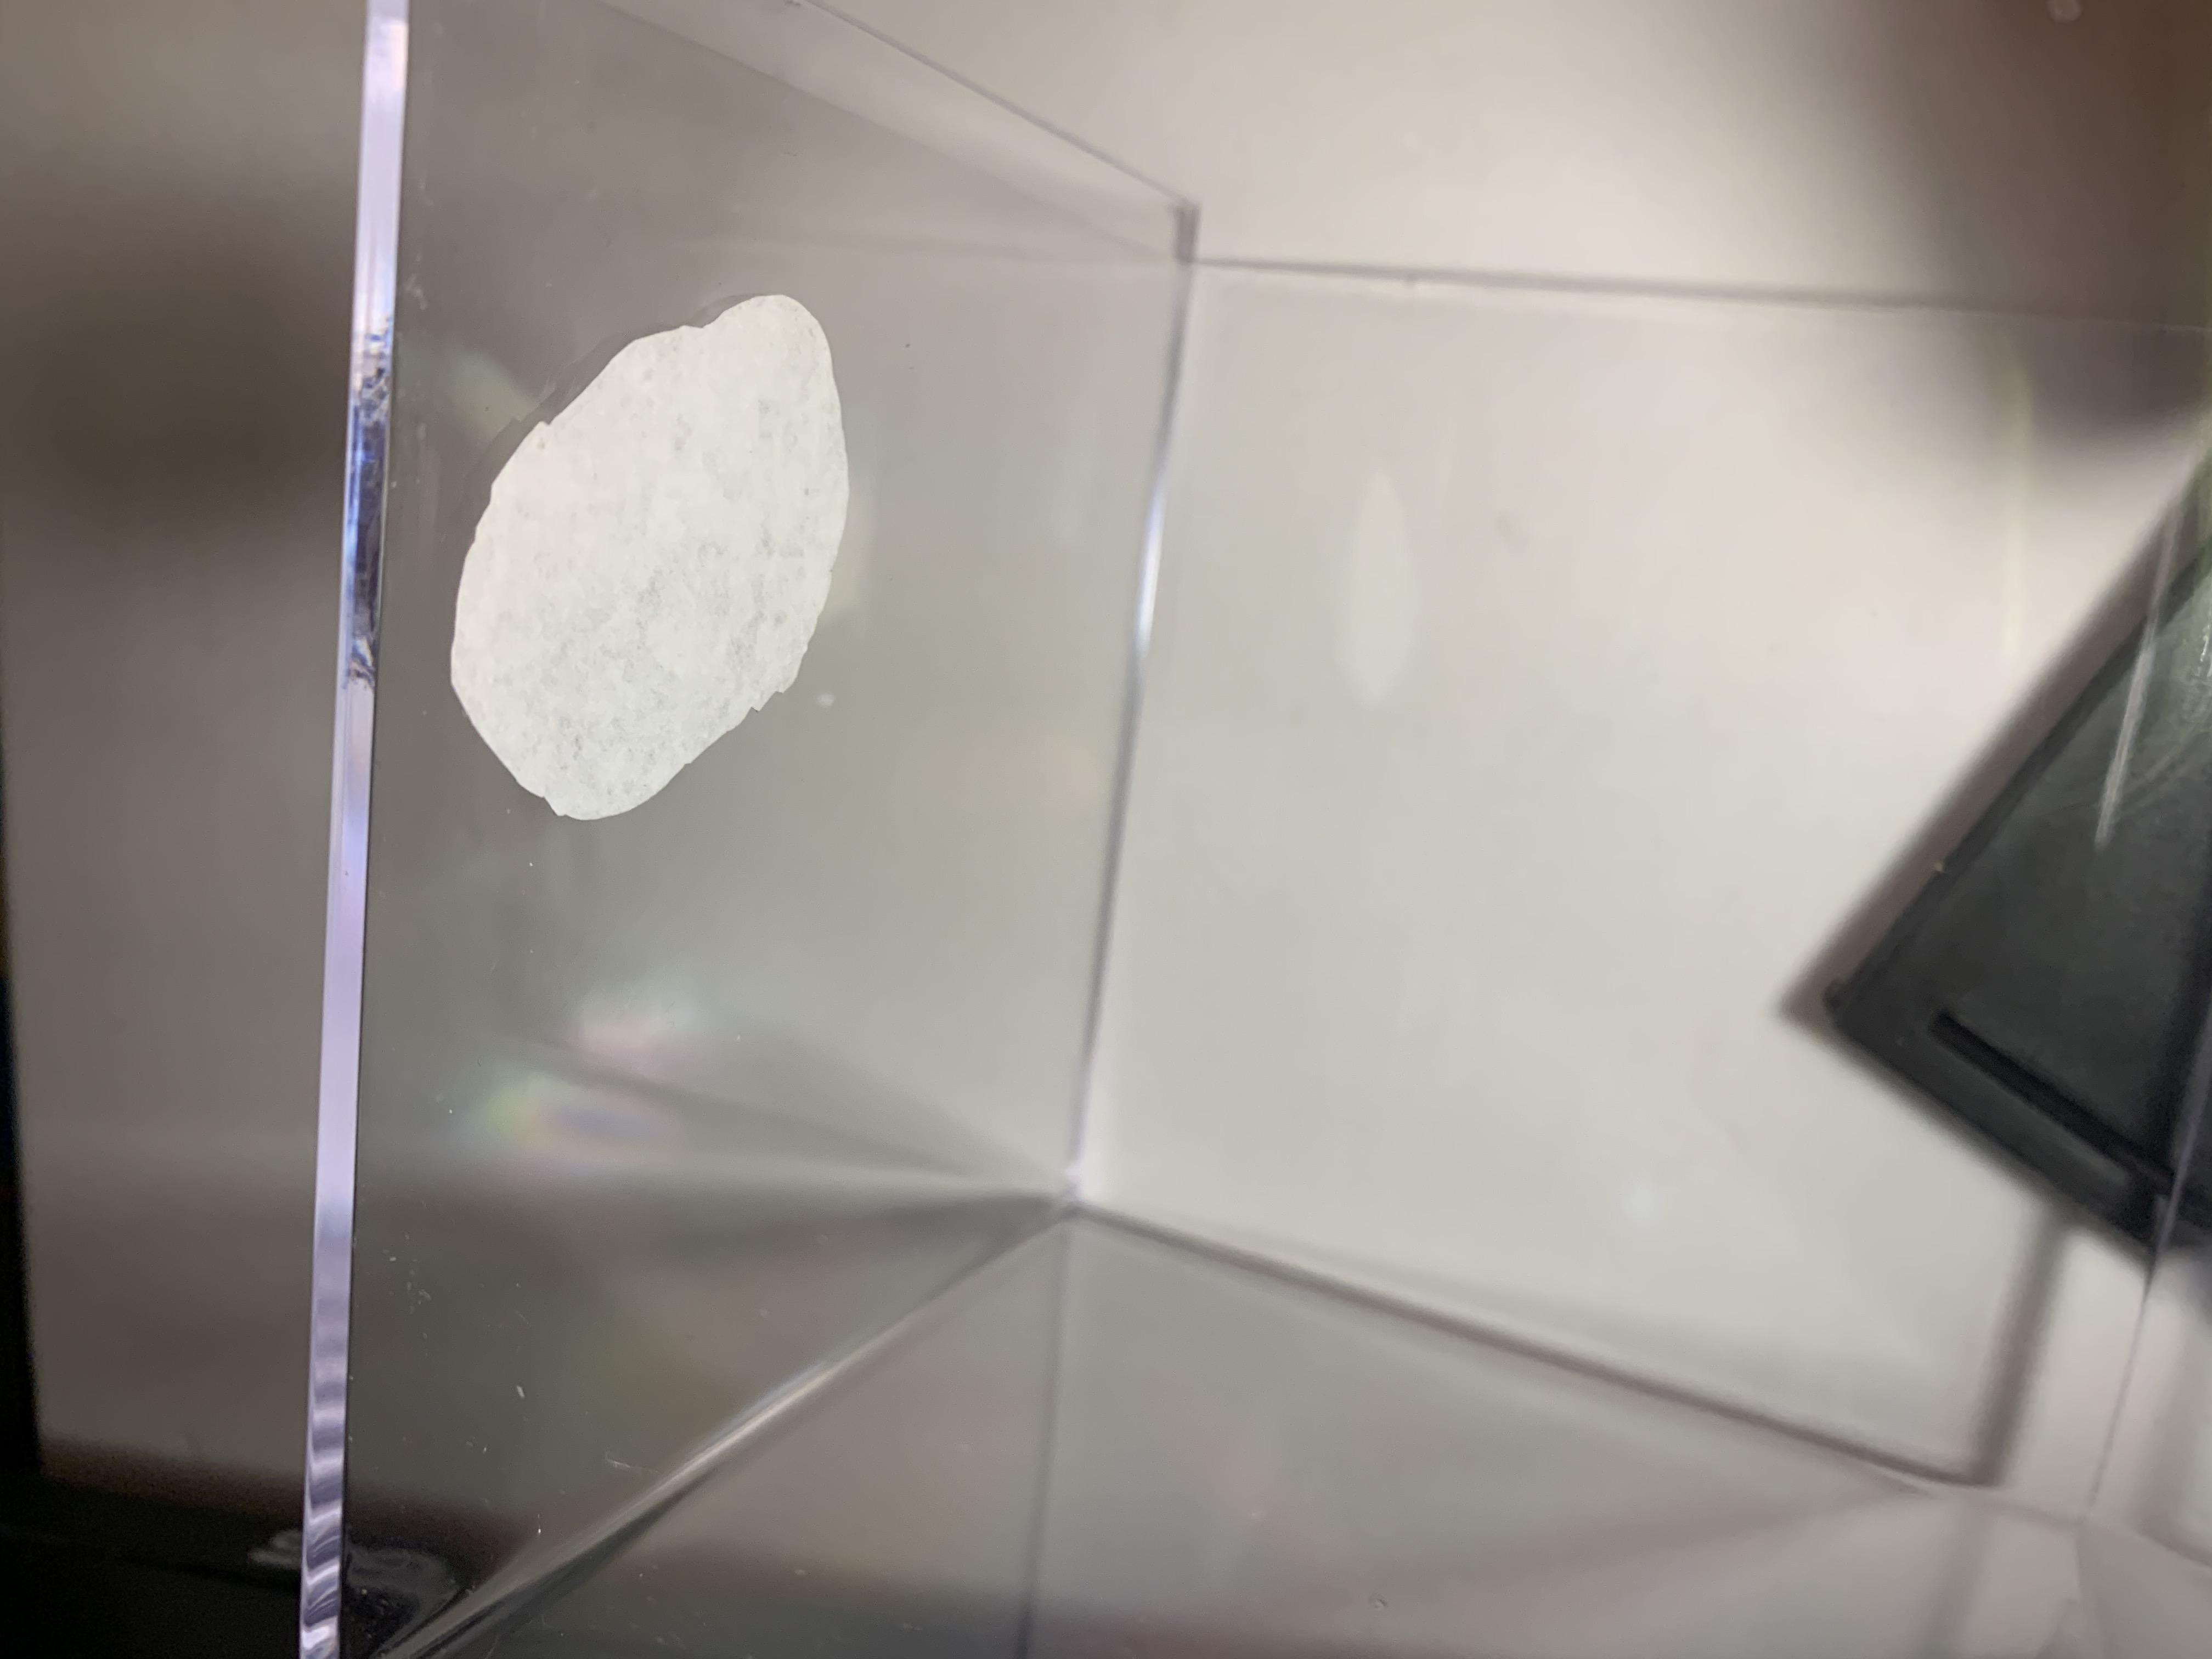
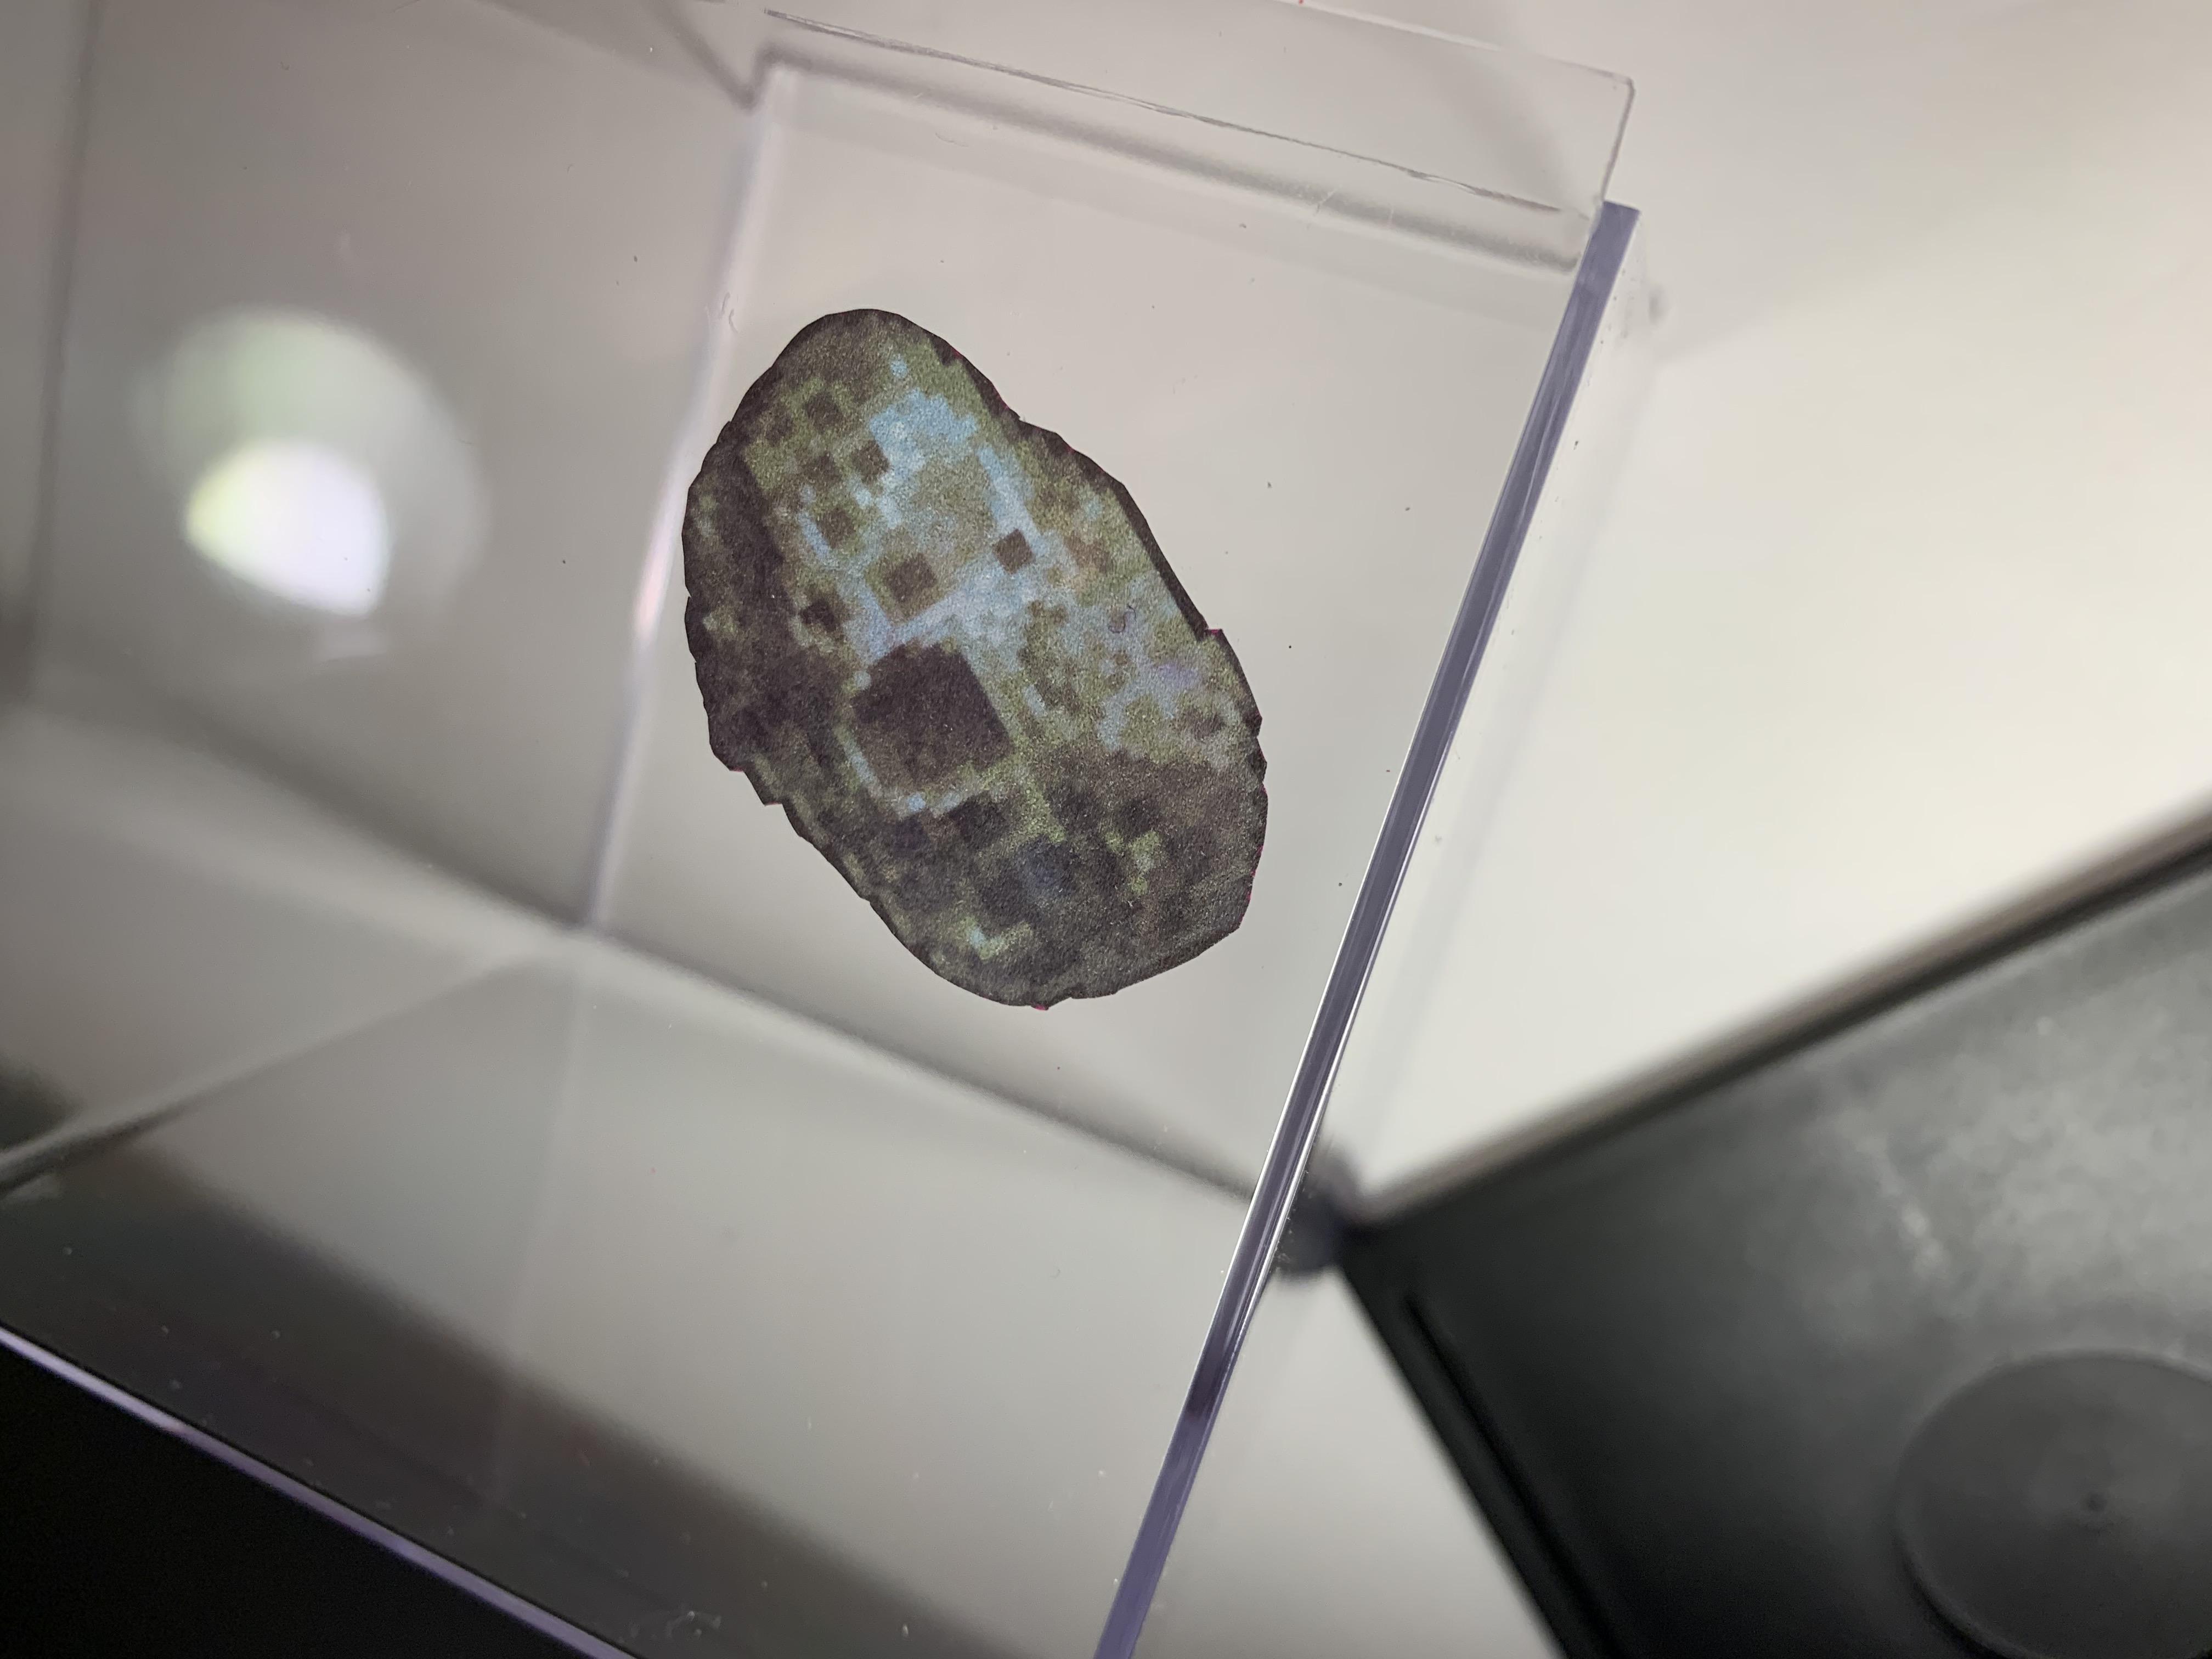
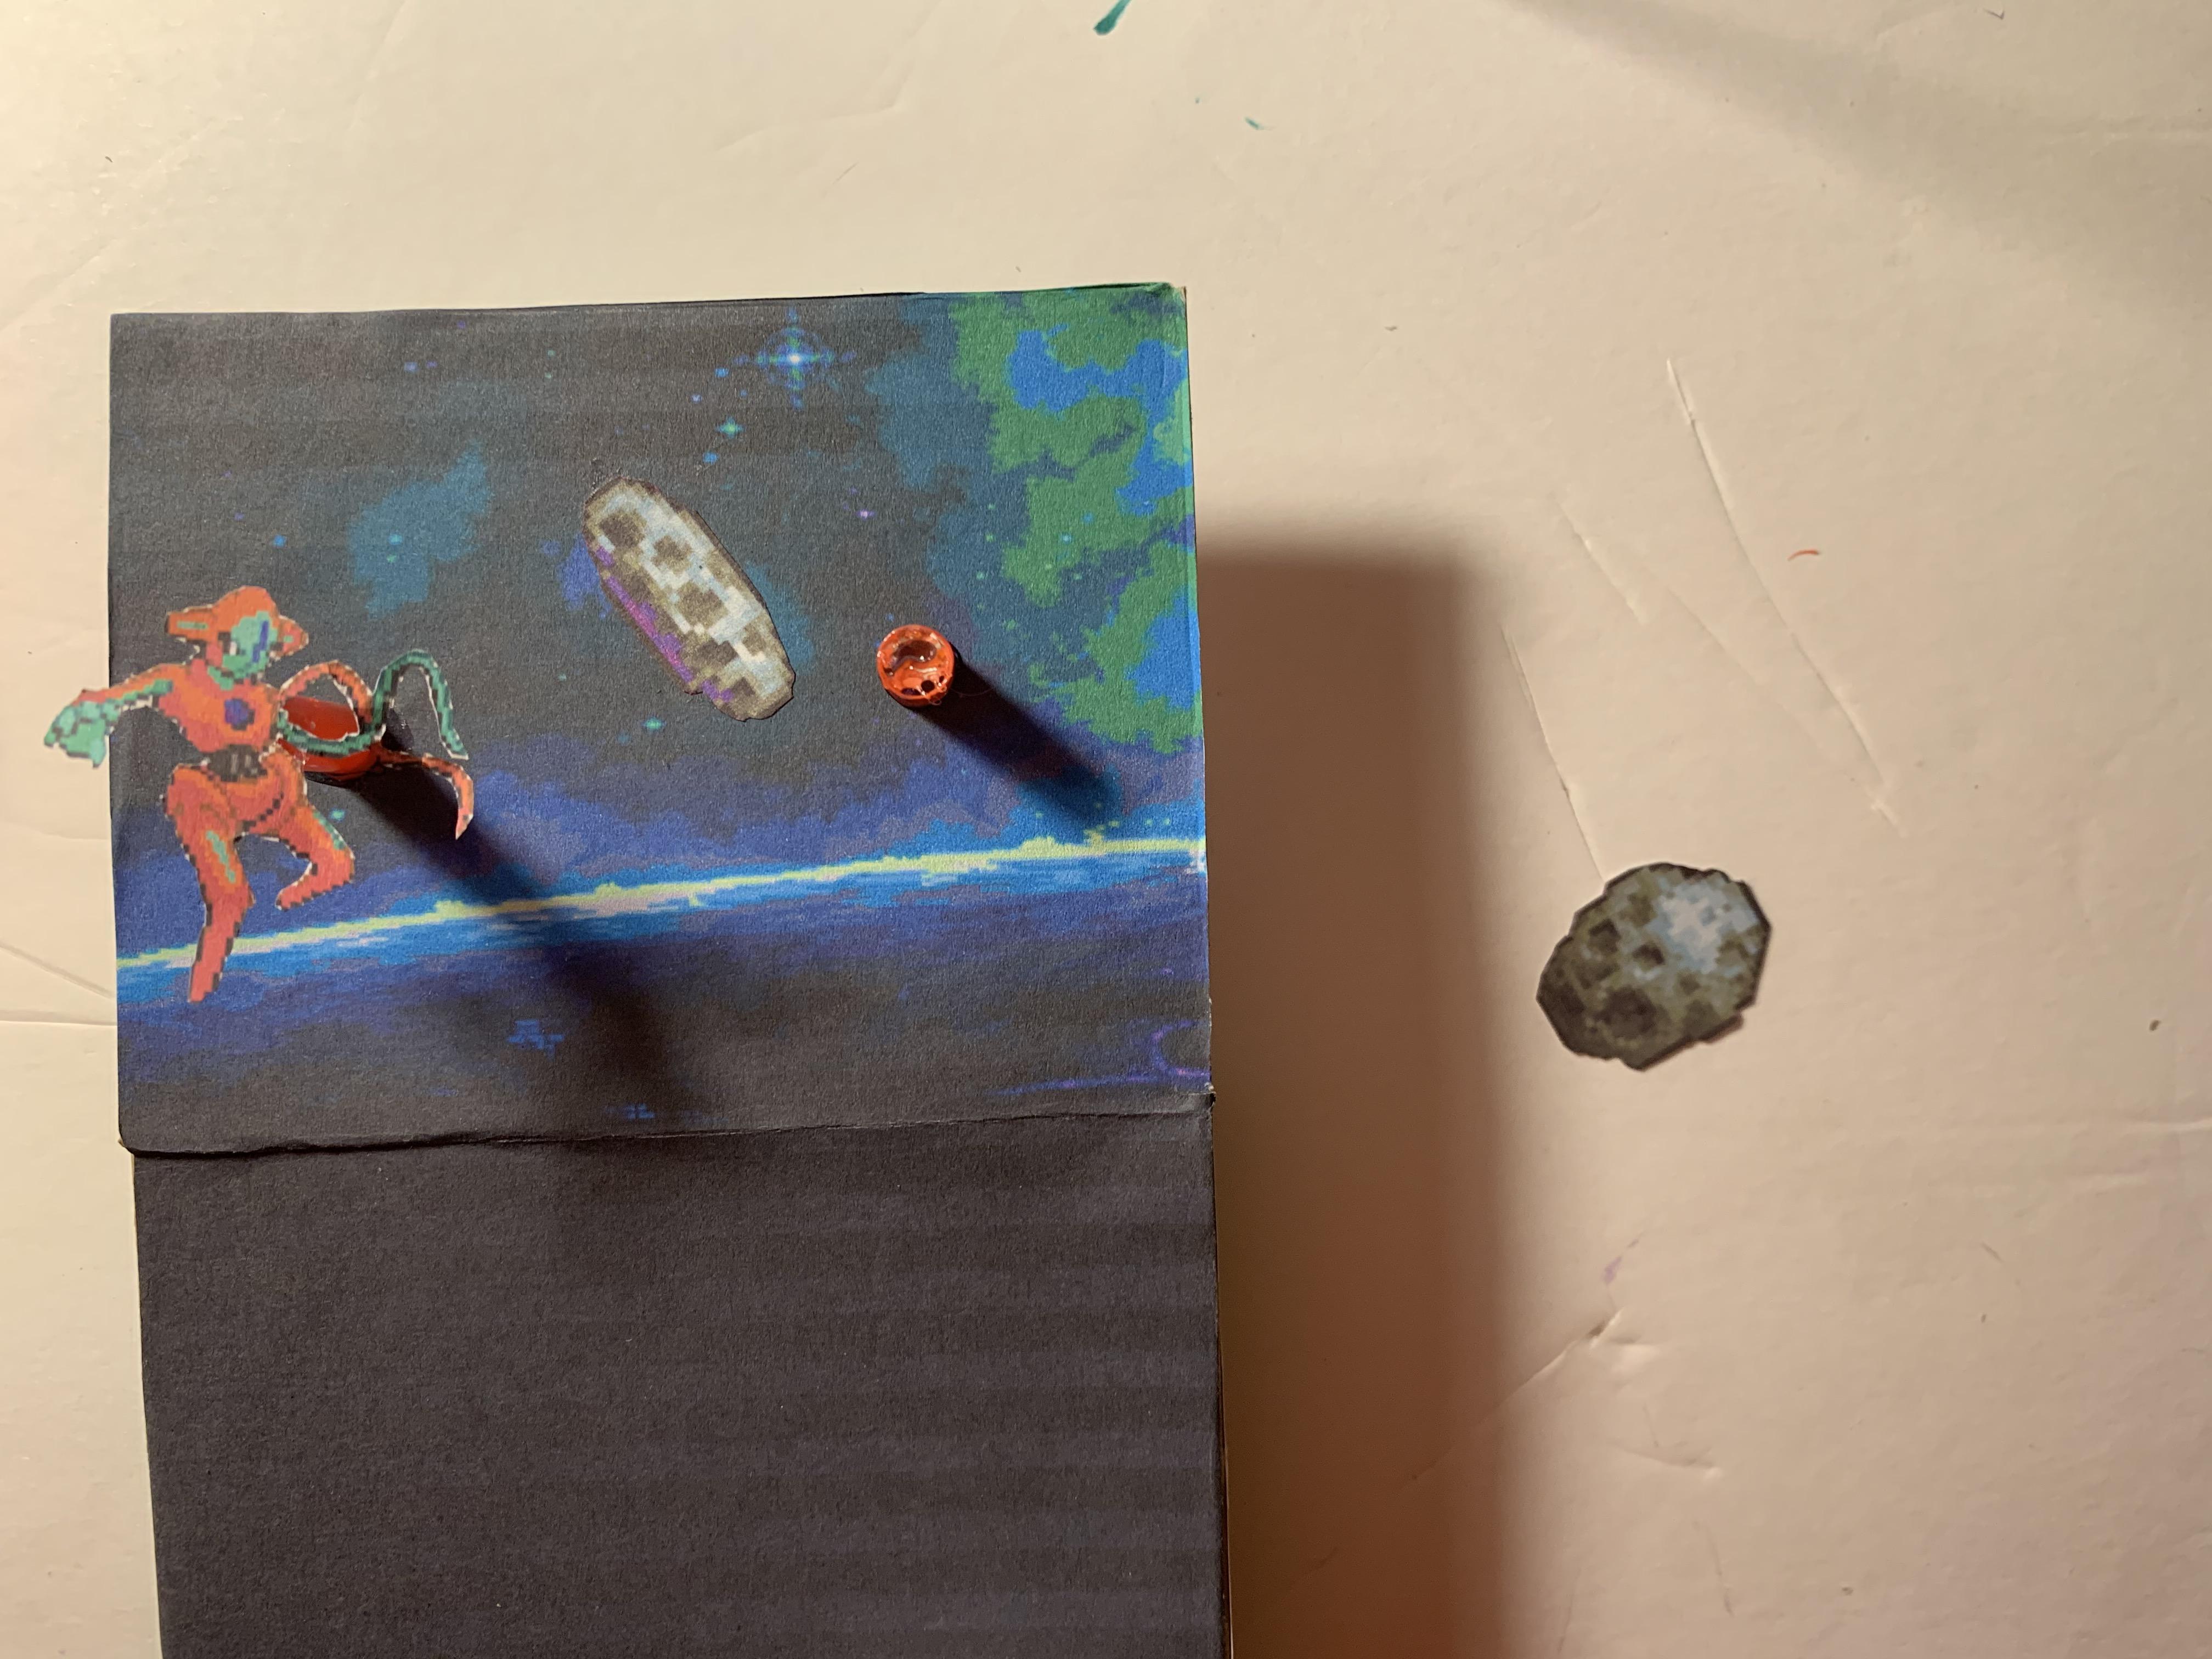
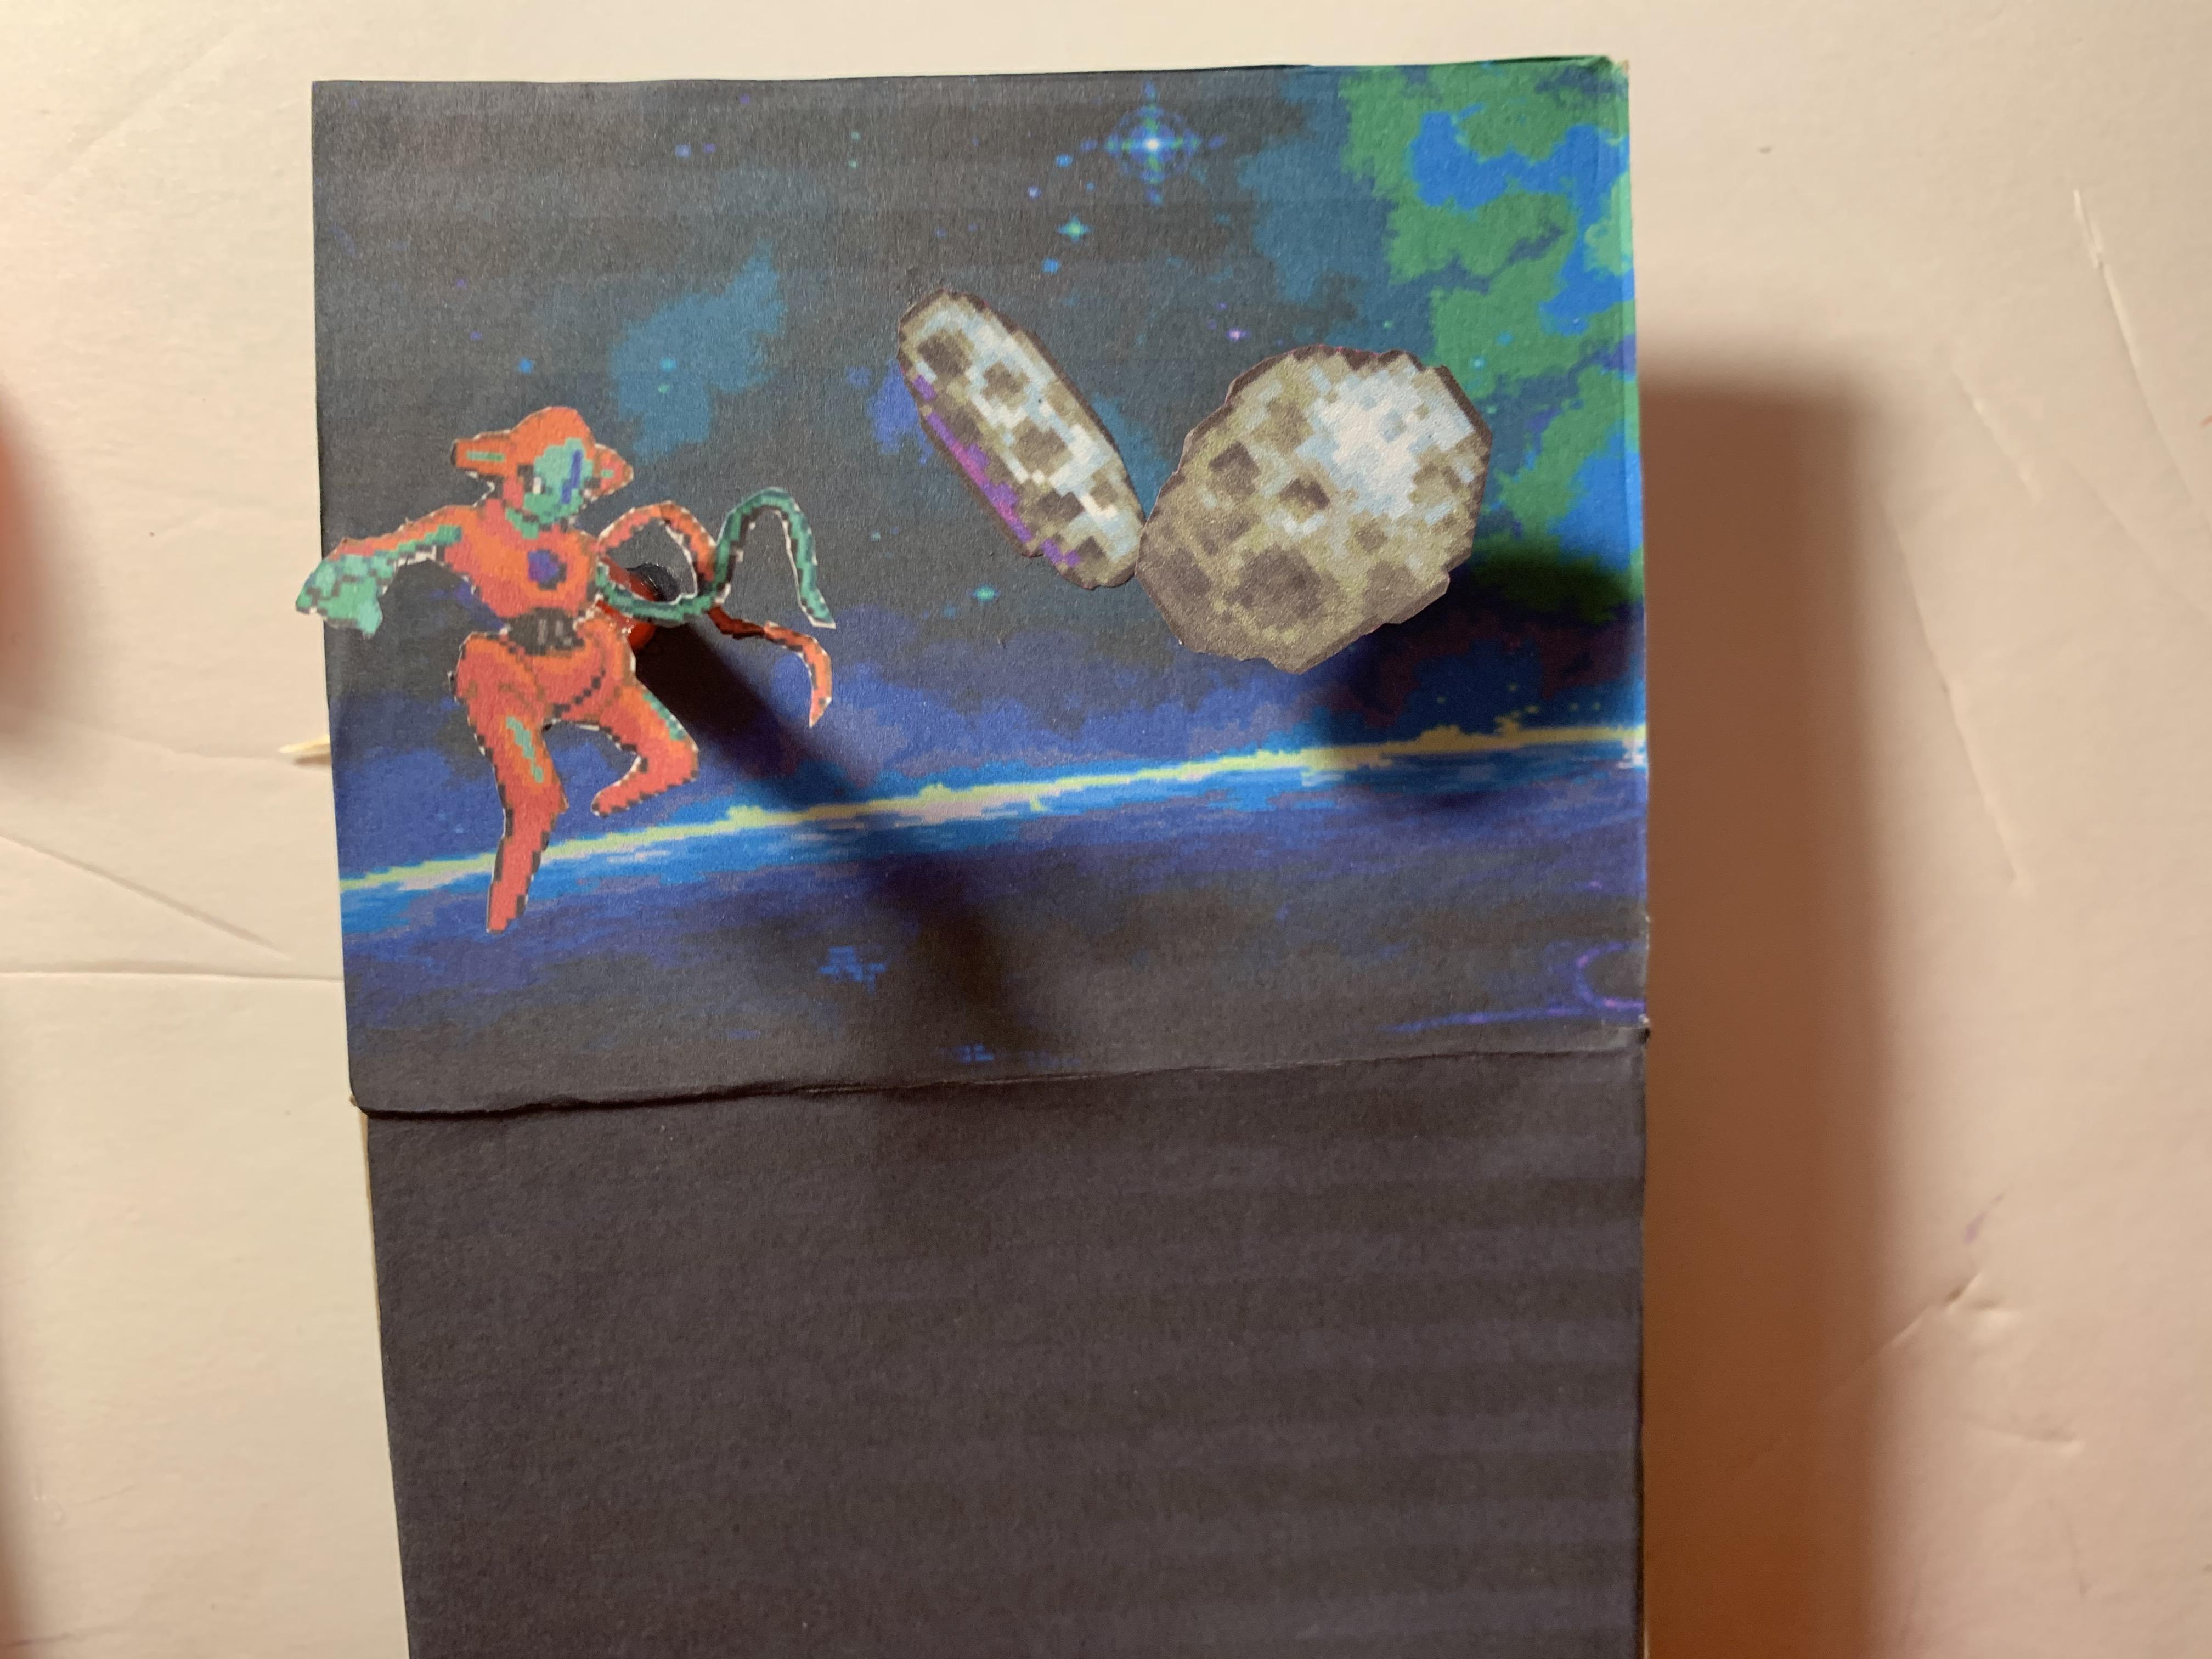
This step will change dependent on what you choose to include in your diorama. However, there are some universally useful methods that I will use in my example. These are aimed at taking advantage of the 3D format and to add depth to otherwise 2D images/scenes.
Technique 1: The first tactic I use is gluing a character to a segment of a straw. This allows me to attach it to the diorama, provide the effect the depth, and present it as free floating within the scene all at once. You can use this approach to achieve either of the three effects independently or all three at once. Additionally, you don't have to use a straw. This could easily be a segment of cardboard or anything really. Make use of what you have lying around!
Technique 2: The second tactic I use in this example is gluing the other character to a toothpick. I then push the toothpick through a hole I created in the base. This allows me to attach it to the diorama's base while concealing the point of attachment. It also provides a somewhat floating effect in this example. Again, this does not have to be a toothpick. Regardless, I do recommend reinforcing whatever you use to attach the object with some more glue around the hole.
Technique 3: The third unique tactic I use in my example is gluing an object to the wall of the cube itself. This allows you to present an object as being as close as possible to the viewer. This is also a super easy way to provide a floating effect without using some of the more involved methods. Using a glue stick is definitely the best idea if you decide to do this, specifically one that dries clear. It adheres surprisingly well to the plastic and the glue itself is not visible at all.
Technique 4: Finally, I decided to fill out some blank space in the scene by attaching another asteroid with the straw method. This time, however, I used a different length of straw. This furthers the effect of varying depth in the scene. I also glued one straight to the background so that it looks even farther back, and this is something you can do to manipulate a background without even using photo editing software. It's real life cut and paste!
Shoutout to Billified for these awesome, free to use asteroids!
Alternate Assembly Techniques:
I wanted to include some other techniques you can use to attach different pieces of your diorama that I chose not to include in my example.
Option 1: The first idea that I wanted to mention was the use of fishing line or some thin, transparent type of string. Using such a material is useful in allowing you to hang objects from the top of the cube by gluing the string/line to the ceiling. You can then attach these to the object you want to hang. This is necessary in some cases where you want an object to be seen as suspended mid air in the center of the cube.
Option 2: The second idea that I ended up not using in my final work, but did experiment with, was the use of cotton balls or pillow stuffing. Either one of these things can be pulled apart and used for its texture in certain scenes. I have seen such material used commonly to represent clouds, fog, or even movement in water. Simply gluing this into your diorama using a the same adhesive you've used elsewhere works fine!
You can extend this material's use by coloring the cotton. While this may sound somewhat involved or tricky, it surprisingly is not. You can color a pulled apart cotton ball using a permanent marker! This might sound strange, but it does end up being the optimal method in my experience. Painting the cotton with a brush takes away from the light, airiness in the texture and just does not work very well. I could see using dye on a cotton ball as a viable option, but I am sure less of you have access to dye than a Sharpie. Pulling apart the cotton end of a Q-tip also works the same if you don't have cotton balls or a pillow to cut open.
The final step in assembling your diorama is to simply slide the scene into your cube! That's it!
Once you have done this, display your cube as you like! You can even make use of lights inside or in the bottom of the cube to add additional effects in your display process!