Victorian Cameo Light Switch Cover - 2 Piece Hueforge Design
by Penolopy Bulnick in Workshop > 3D Printing
1660 Views, 26 Favorites, 0 Comments
Victorian Cameo Light Switch Cover - 2 Piece Hueforge Design
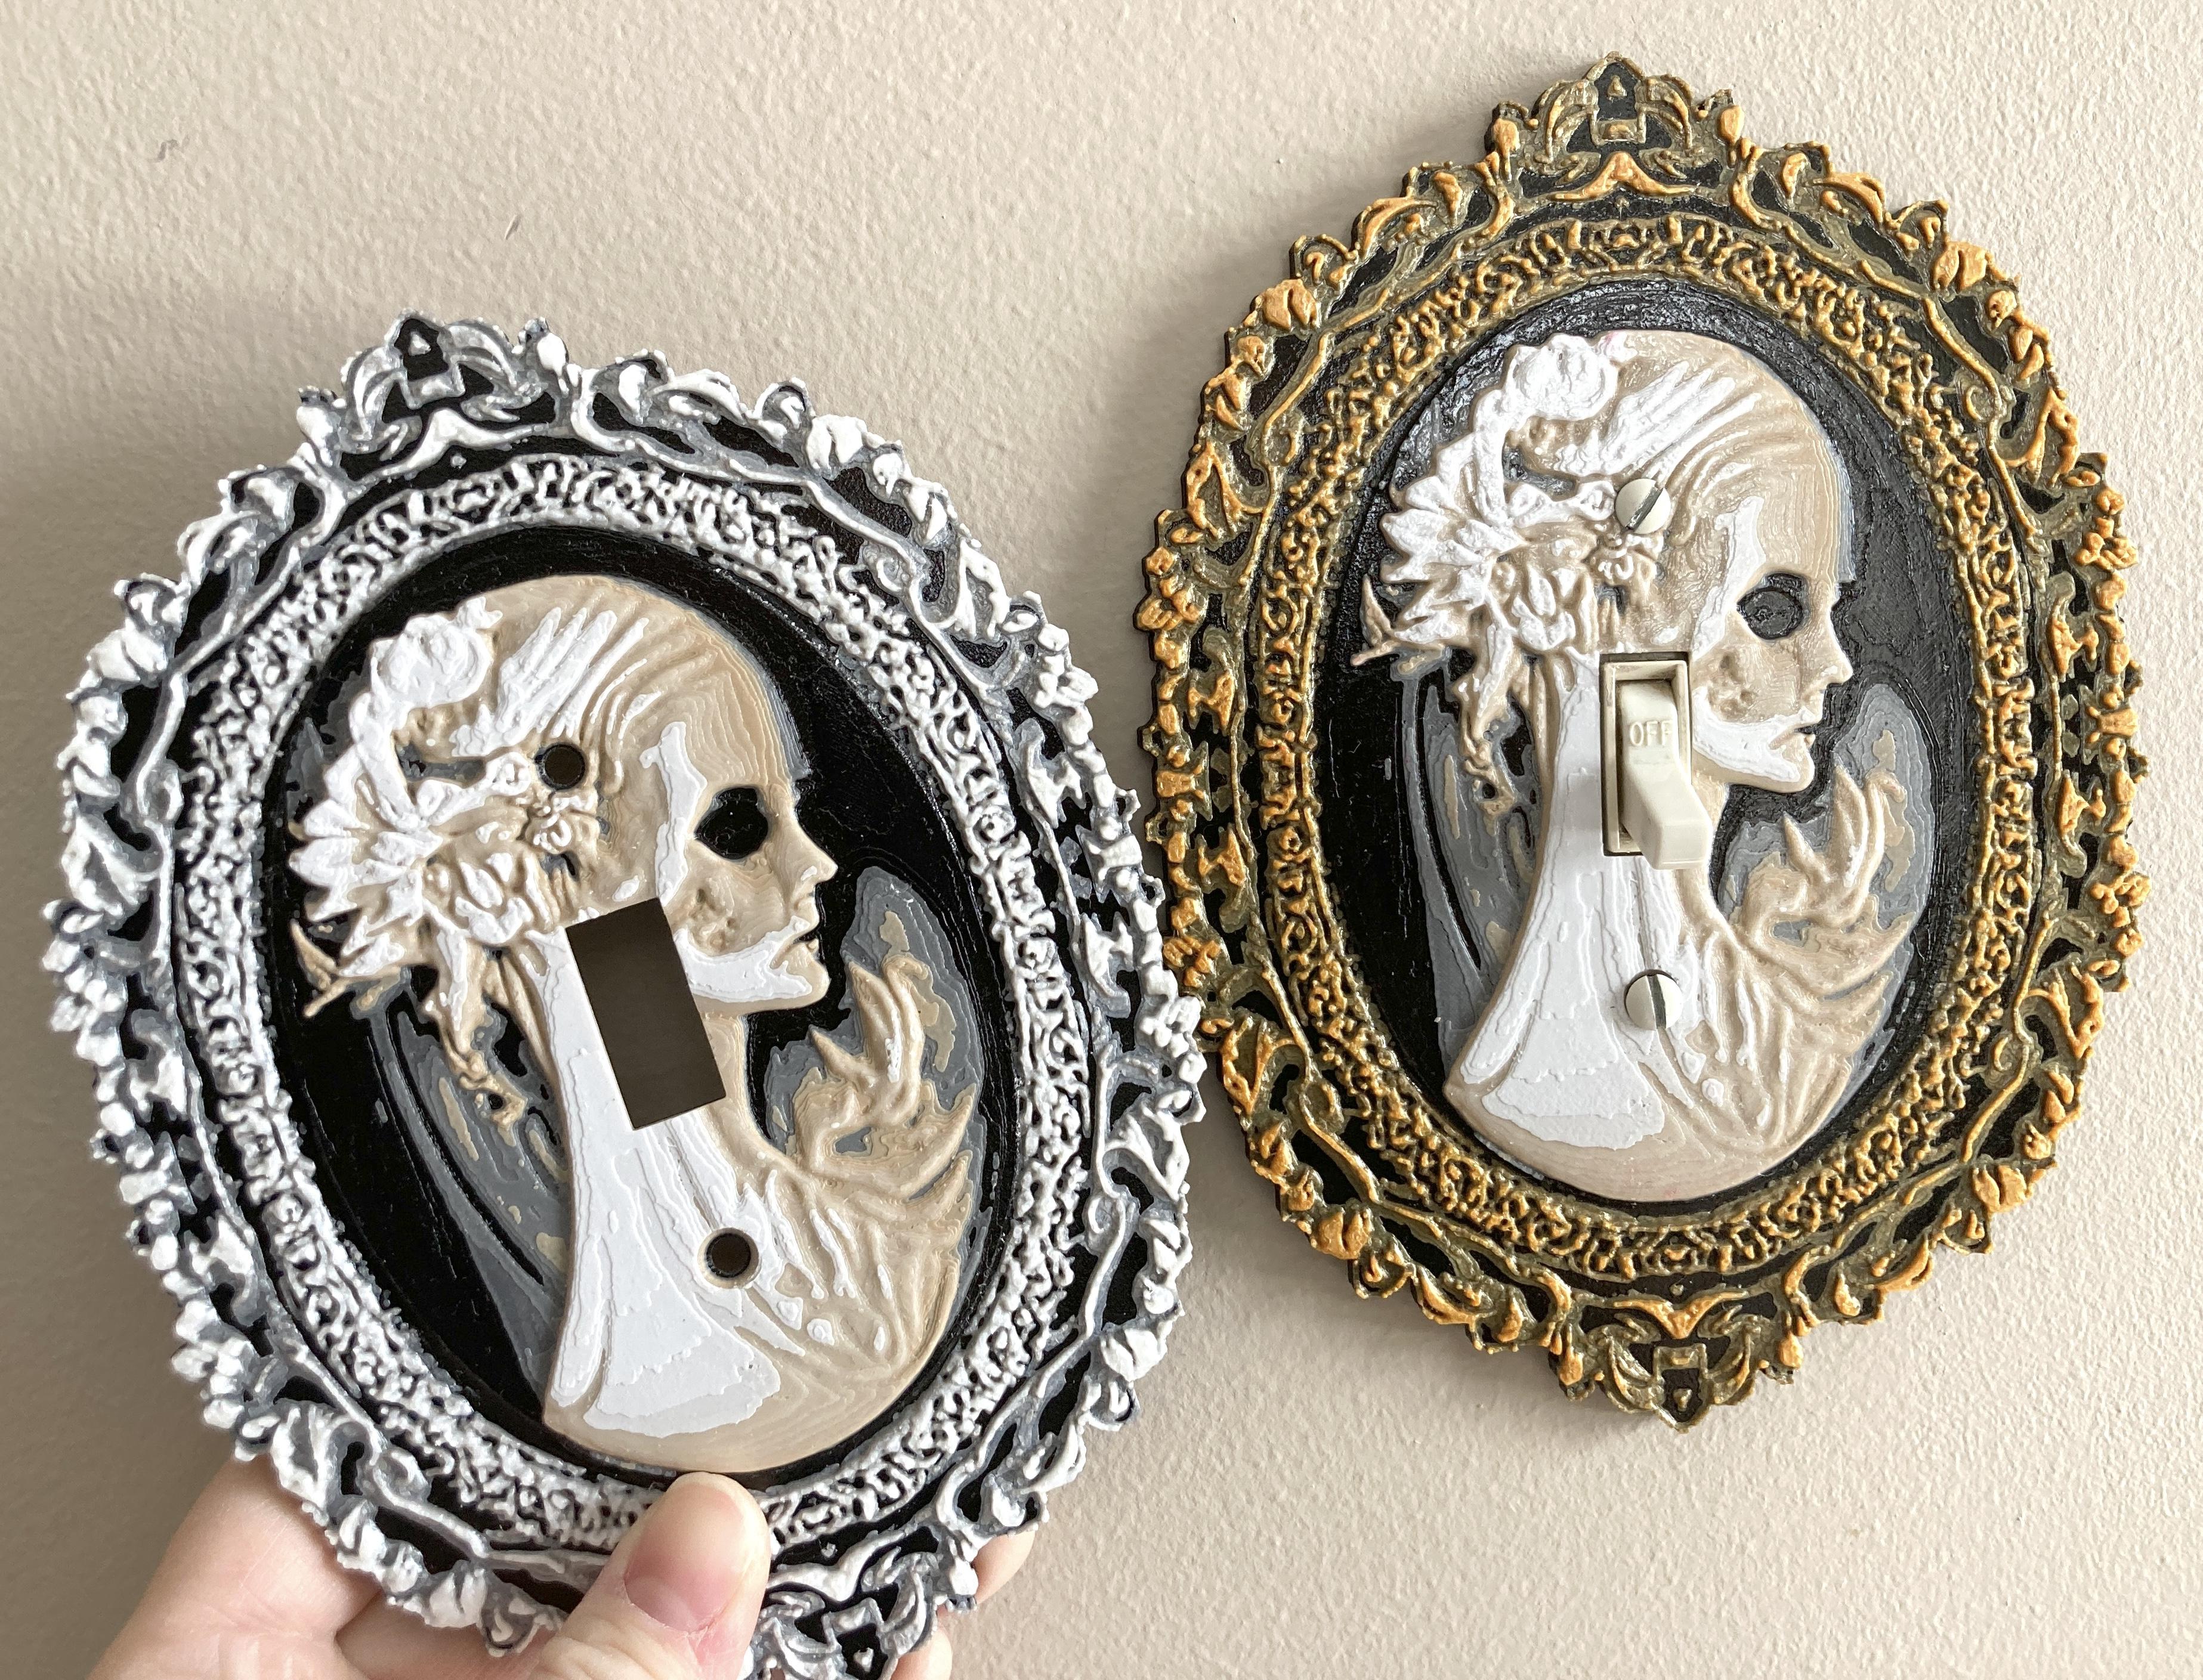
While generating images on Craiyon, I came up with a skeletal feminine face that was like a traditional victorian cameo! I really loved it and knew I would want to create something with it. I originally thought jewelry (which I did eventually make and shared on MakerWorld) but worried that it was too small for that. A wall hanging in general is nice, but I like for things to have another purpuse if possible. I had been working on light switch covers so thought I would see if it would work for that, and I think it turned out great! The holes even line up decently to not distract from the image too much.
For this to work, I used the image generated on Craiyon (as indicated), then I had to do some photoshopping to separate it into multiple pieces, then I ran them through HueForge to get the layering and colors right, then it was on to printing and assembling! It is a bit of a process, but I think it's worth the work.
Instructable 390
 Check out my shop on Etsy! You can also purchase this on Etsy.
Supplies
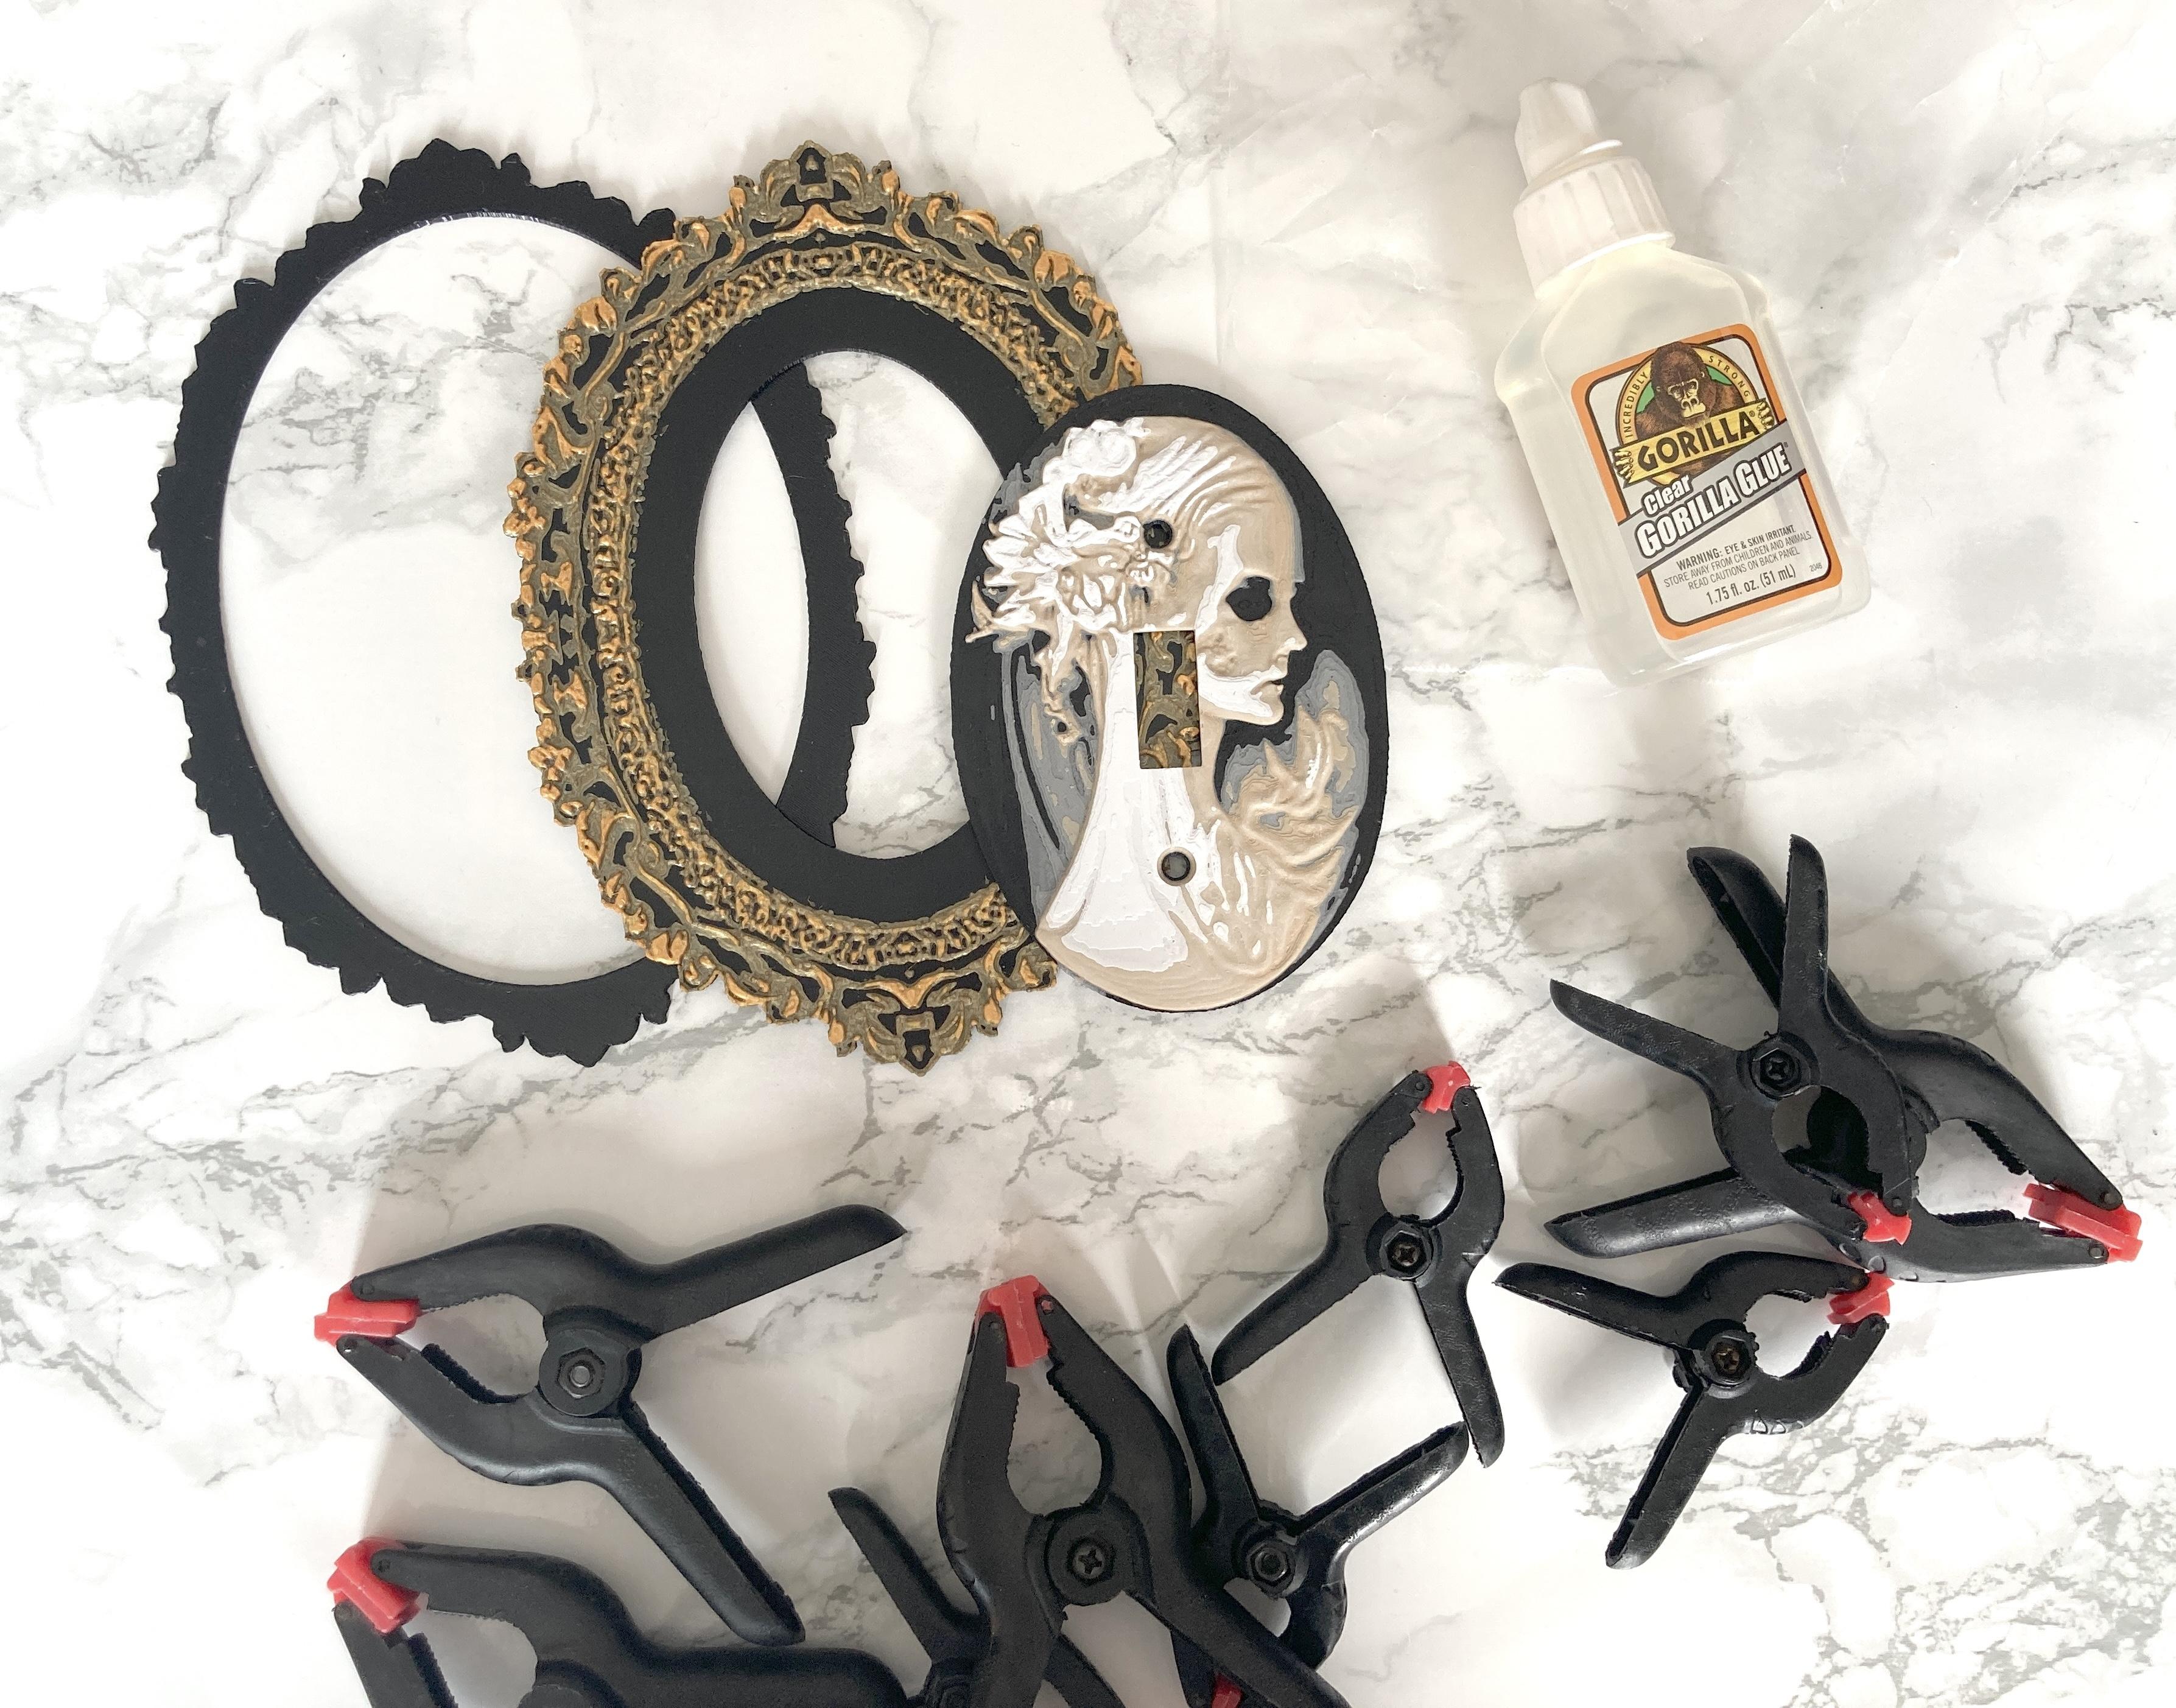
This is all I used, though you won't need Craiyon, Hueforge, or Photoshop as I've already done that work.
- 3D Printer
- Filament - here are the specifics of what I used
- Black
- White
- Silver MatterHackers
- Pastel Peanut (Polymaker PolyTerra Matte)
- Bone White (Inland)
- Antique Gold CC3D Silk Antique Gold
- Shiny Gold FF SUNSENKJ Silk Gold
- 3D Printing Files - free, but I have them on MakerWorld because the files are pretty big
- Image created on Craiyon.com
- HueForge to generate 3D printable designs
- Photoshop or other photo editing program
- Gorilla Clear Glue - or your glue of choice for PLA 3D prints
- Clamps - I'm using both 2.5" smaller ones and 3.5" little bigger ones. The bigger ones reach the inner image I need to clamp and the big and small both work for gluing the outside.
- Something to protect your design from the clamps - I'm using some packing material I use as well as wax paper
- Ruler
*Any Amazon links are Amazon Associates Links
Original Image - Craiyon
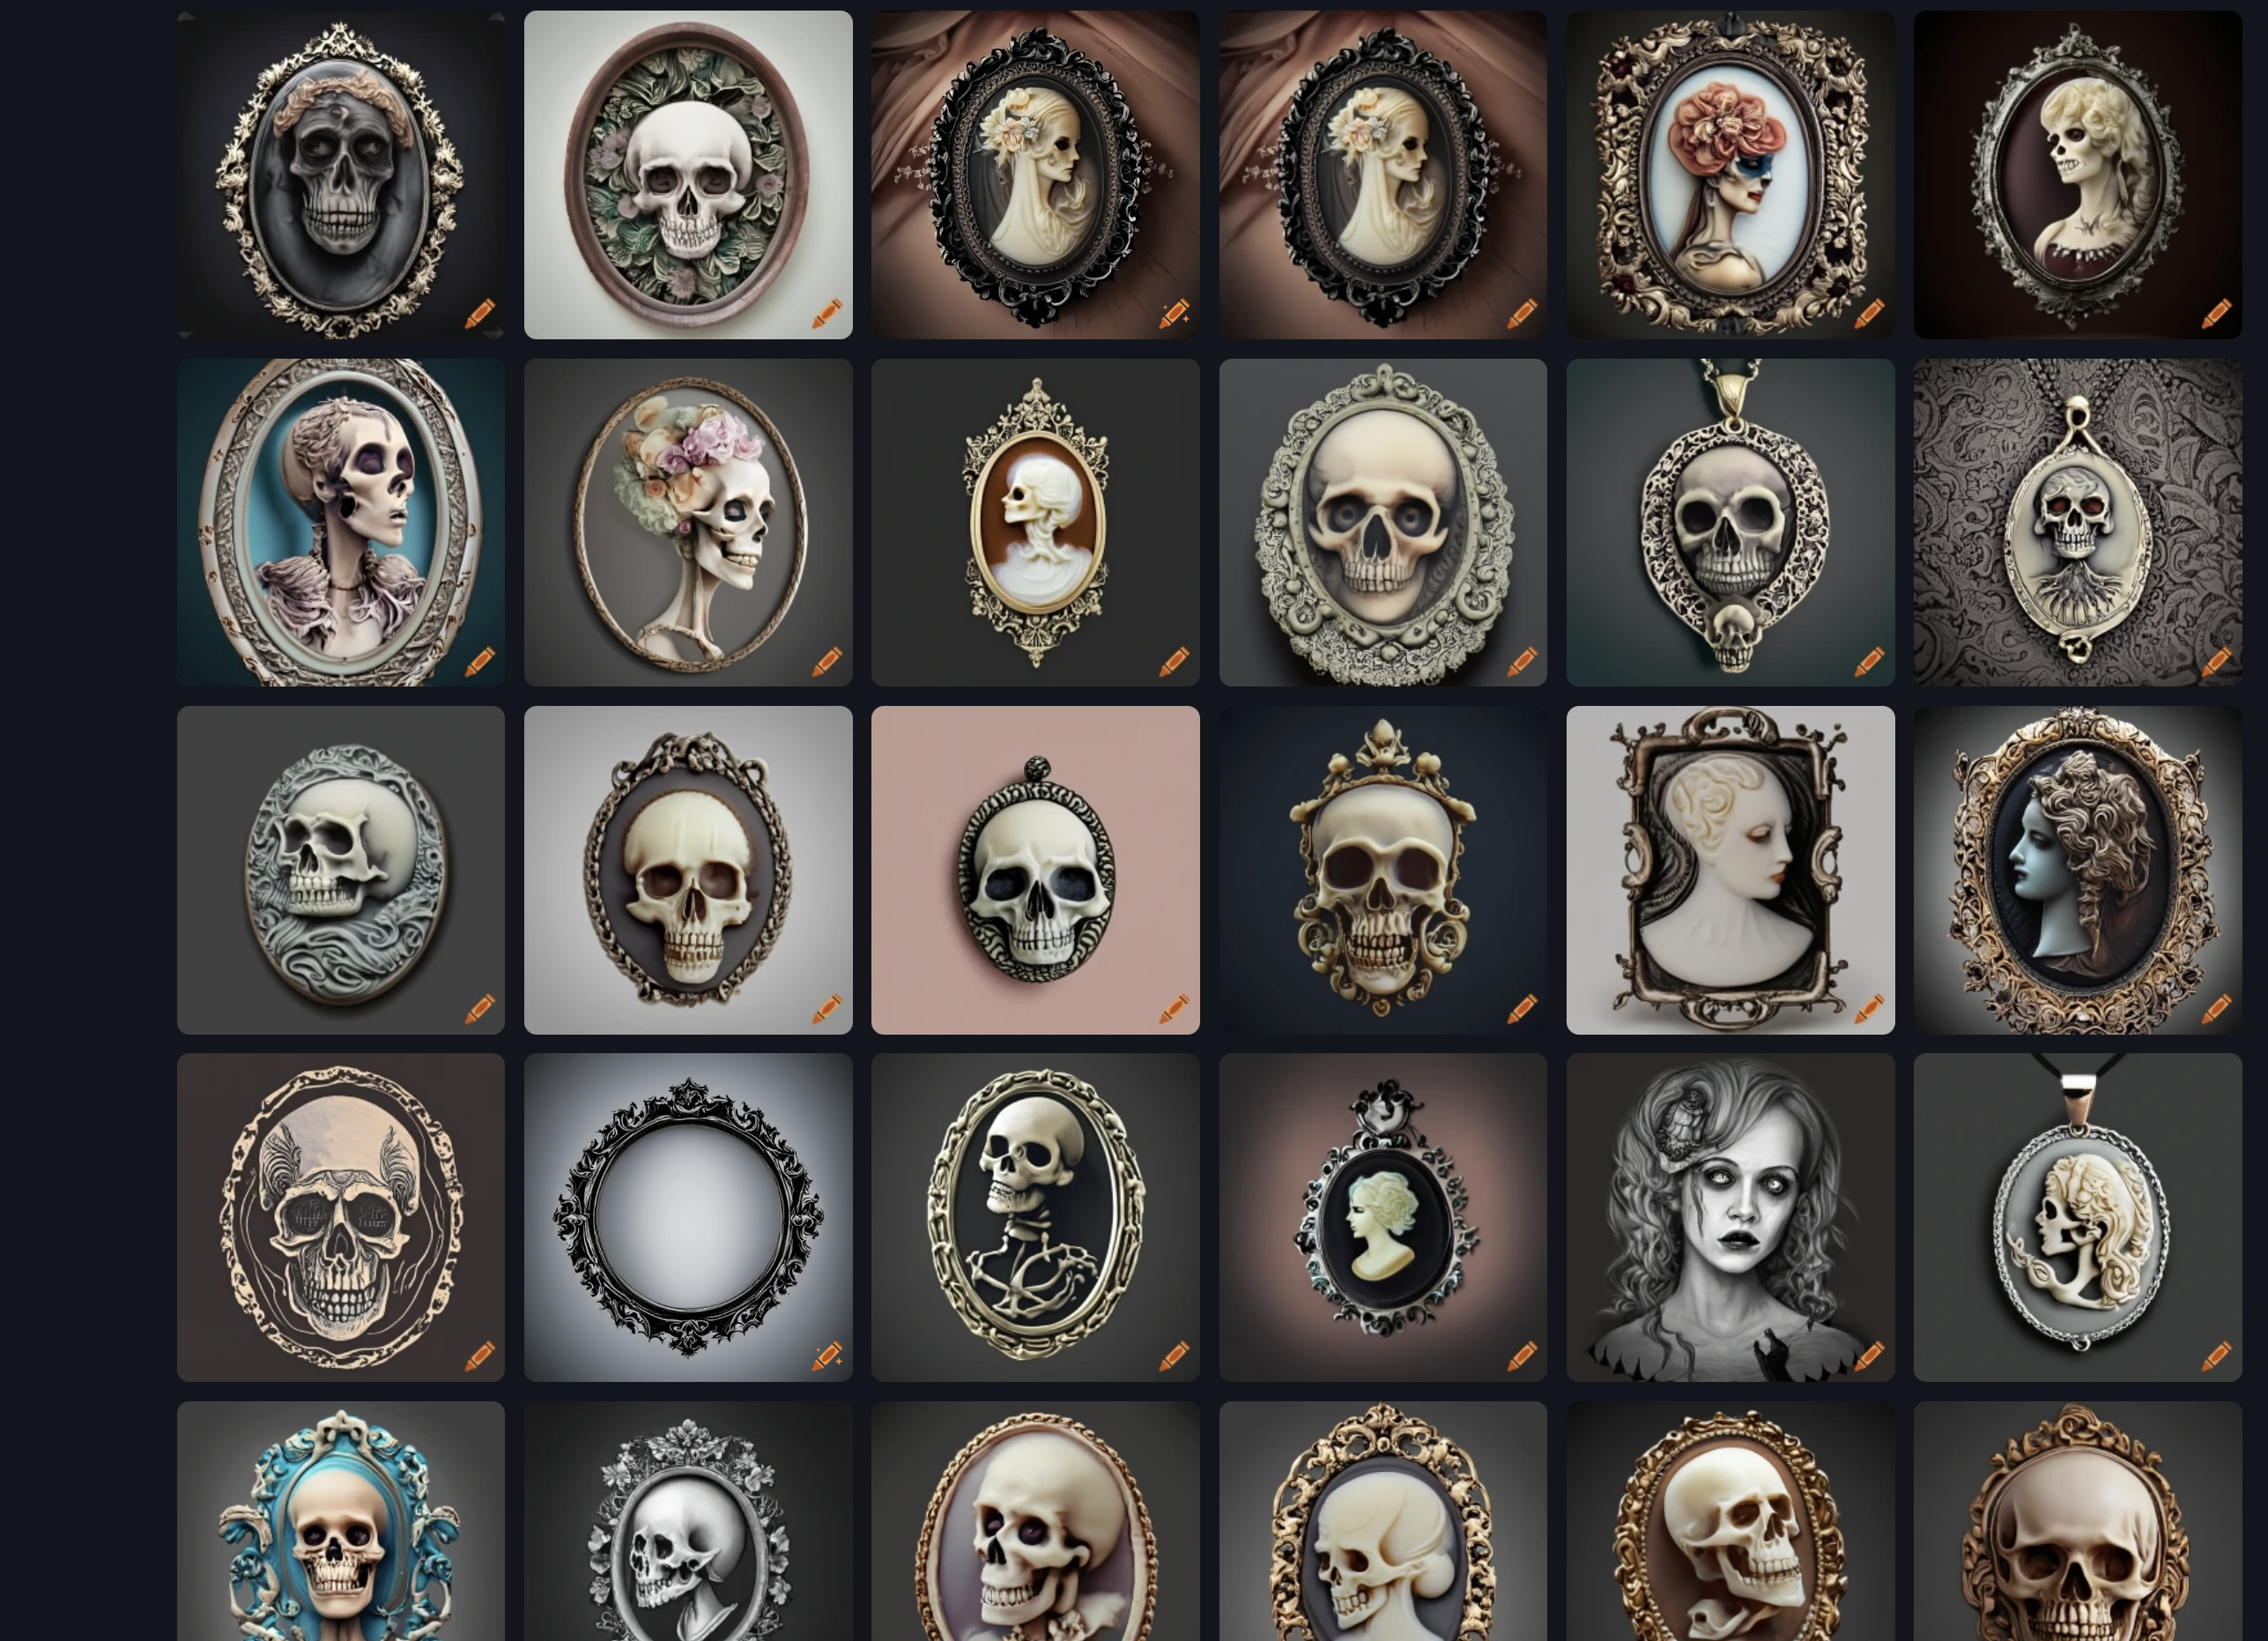
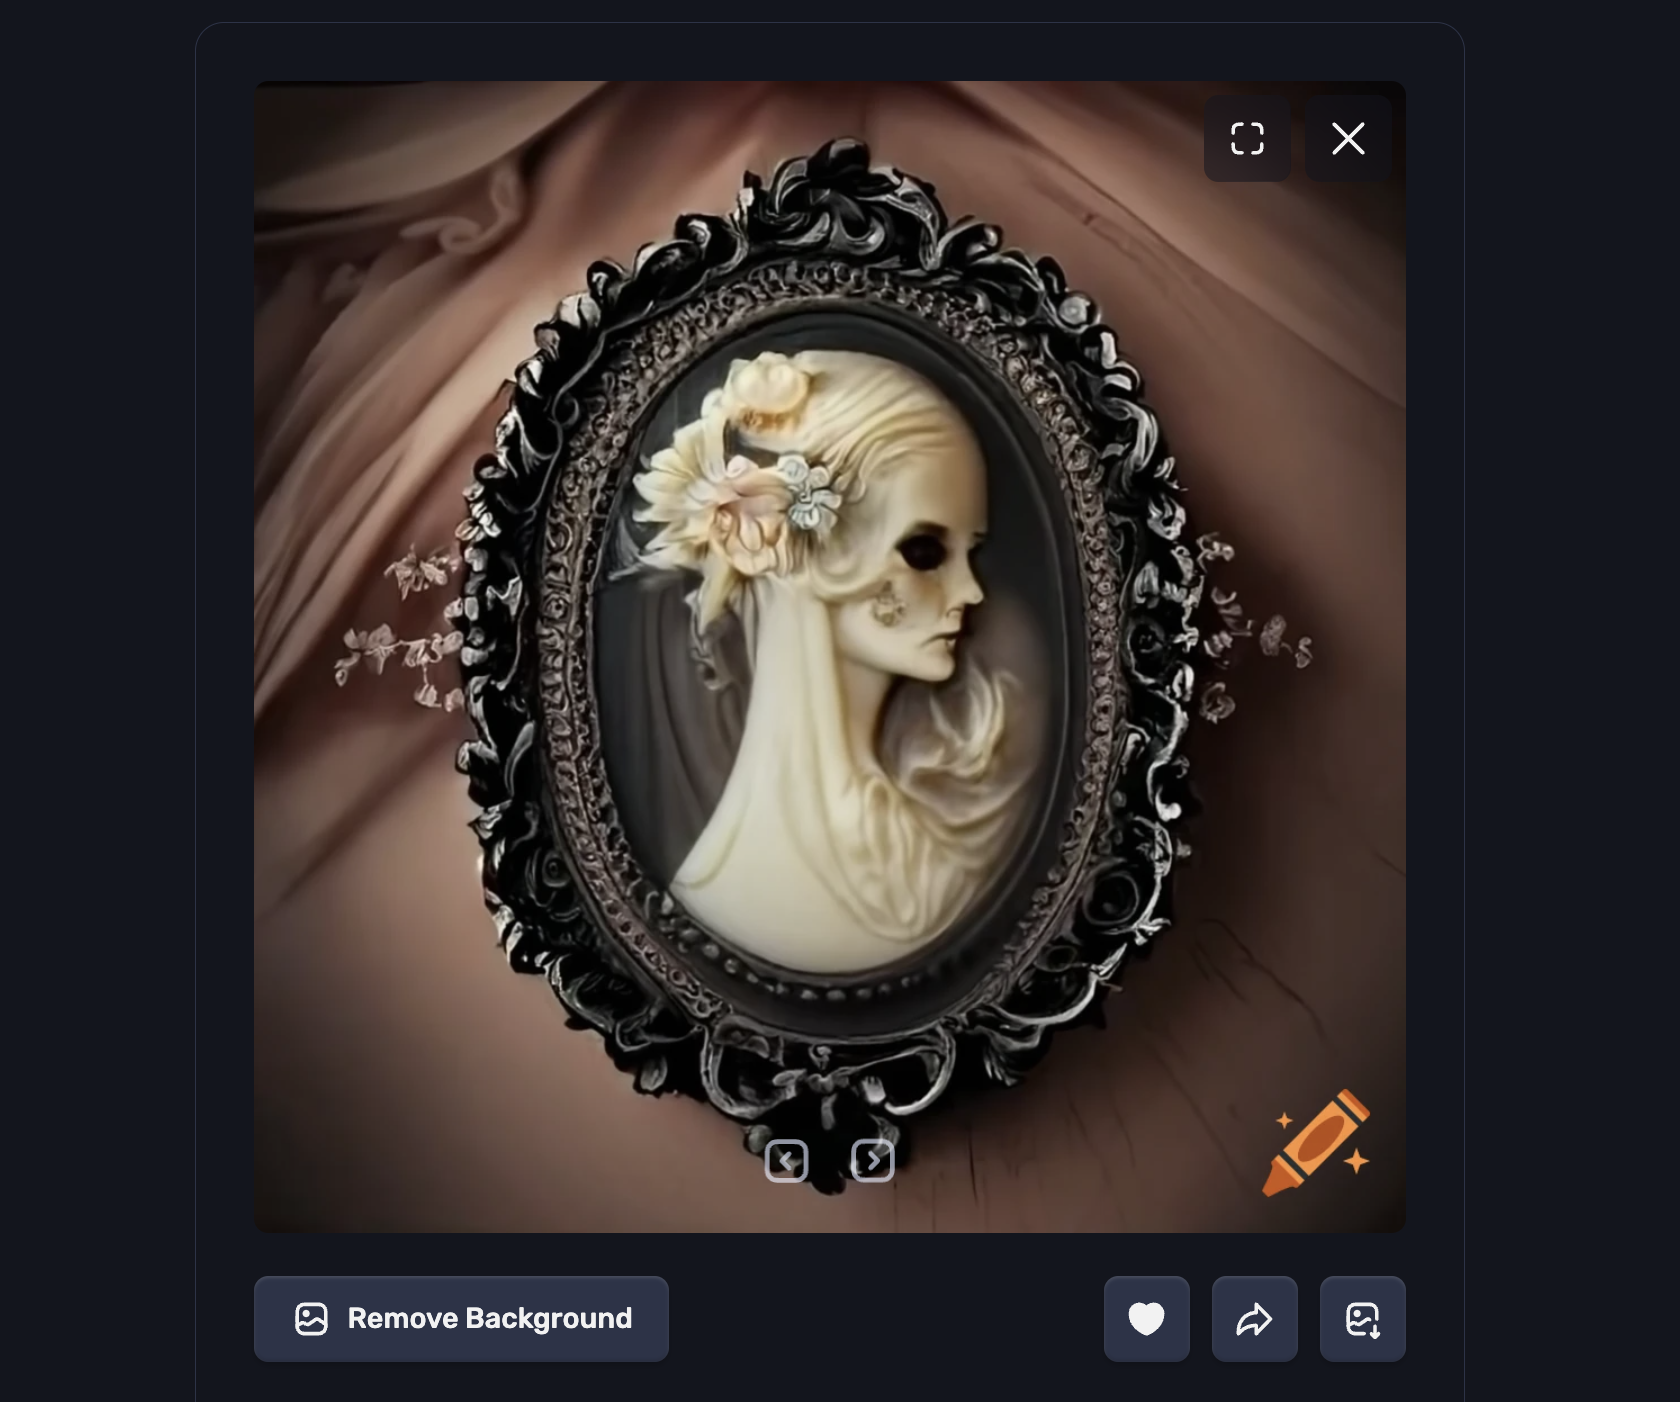
I had to start with an image. I decided I wanted a traditional Victorian cameo design, but wanted some kind of macabre spin to it. After doing many many cycles on Craiyon, I finally got this image that I just love!
Photoshop
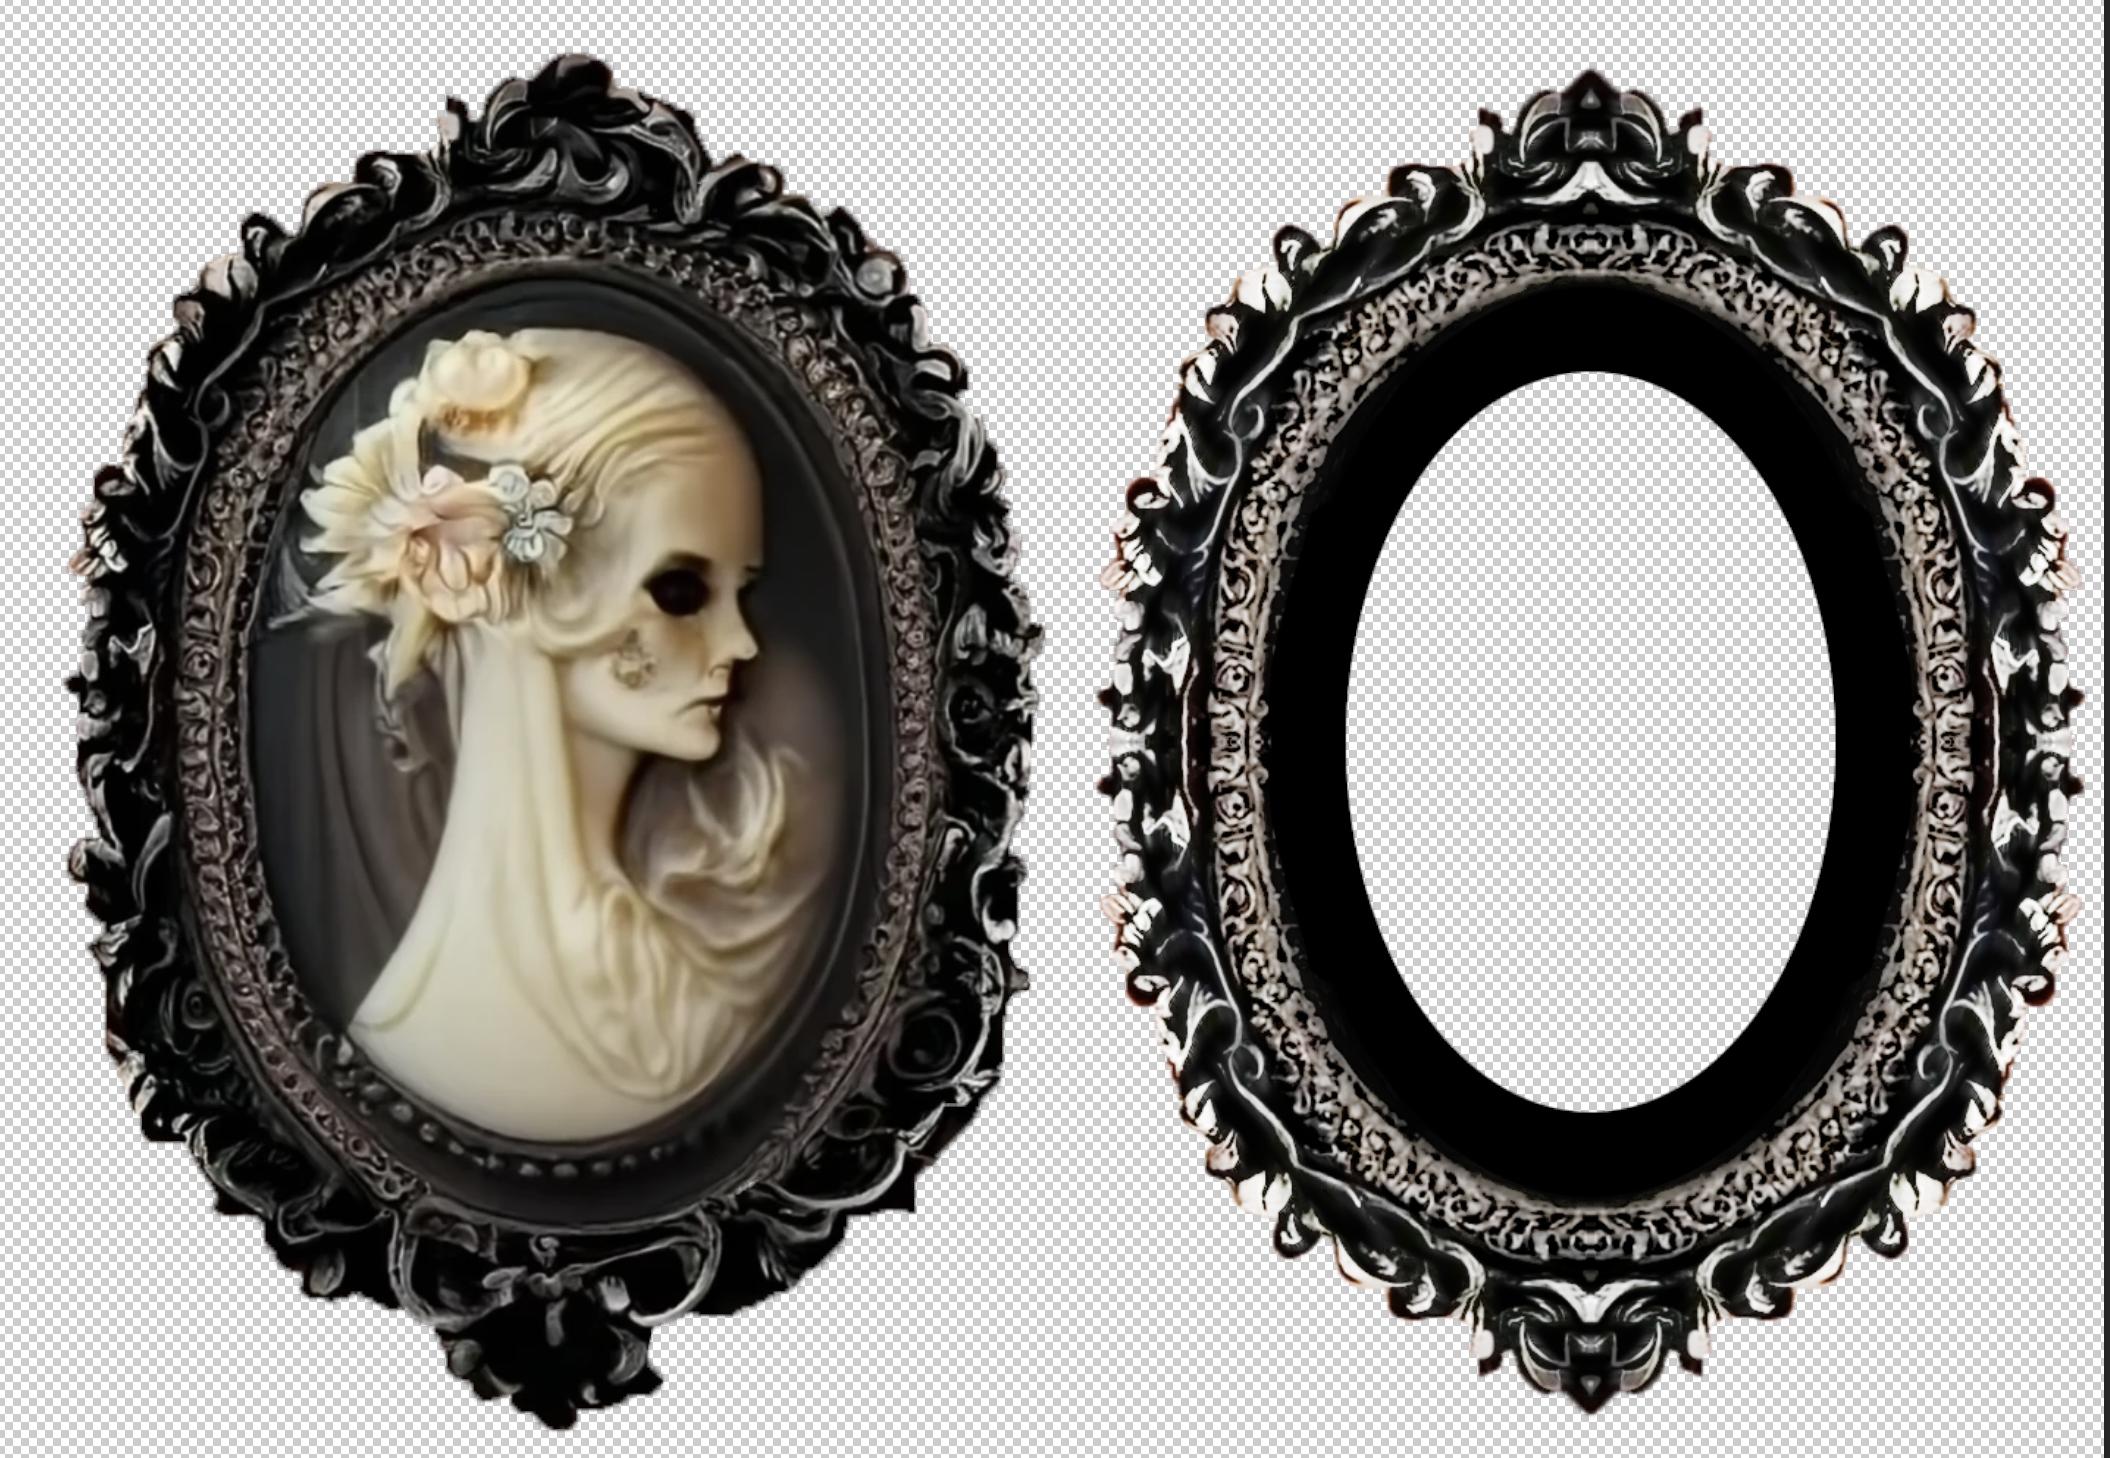
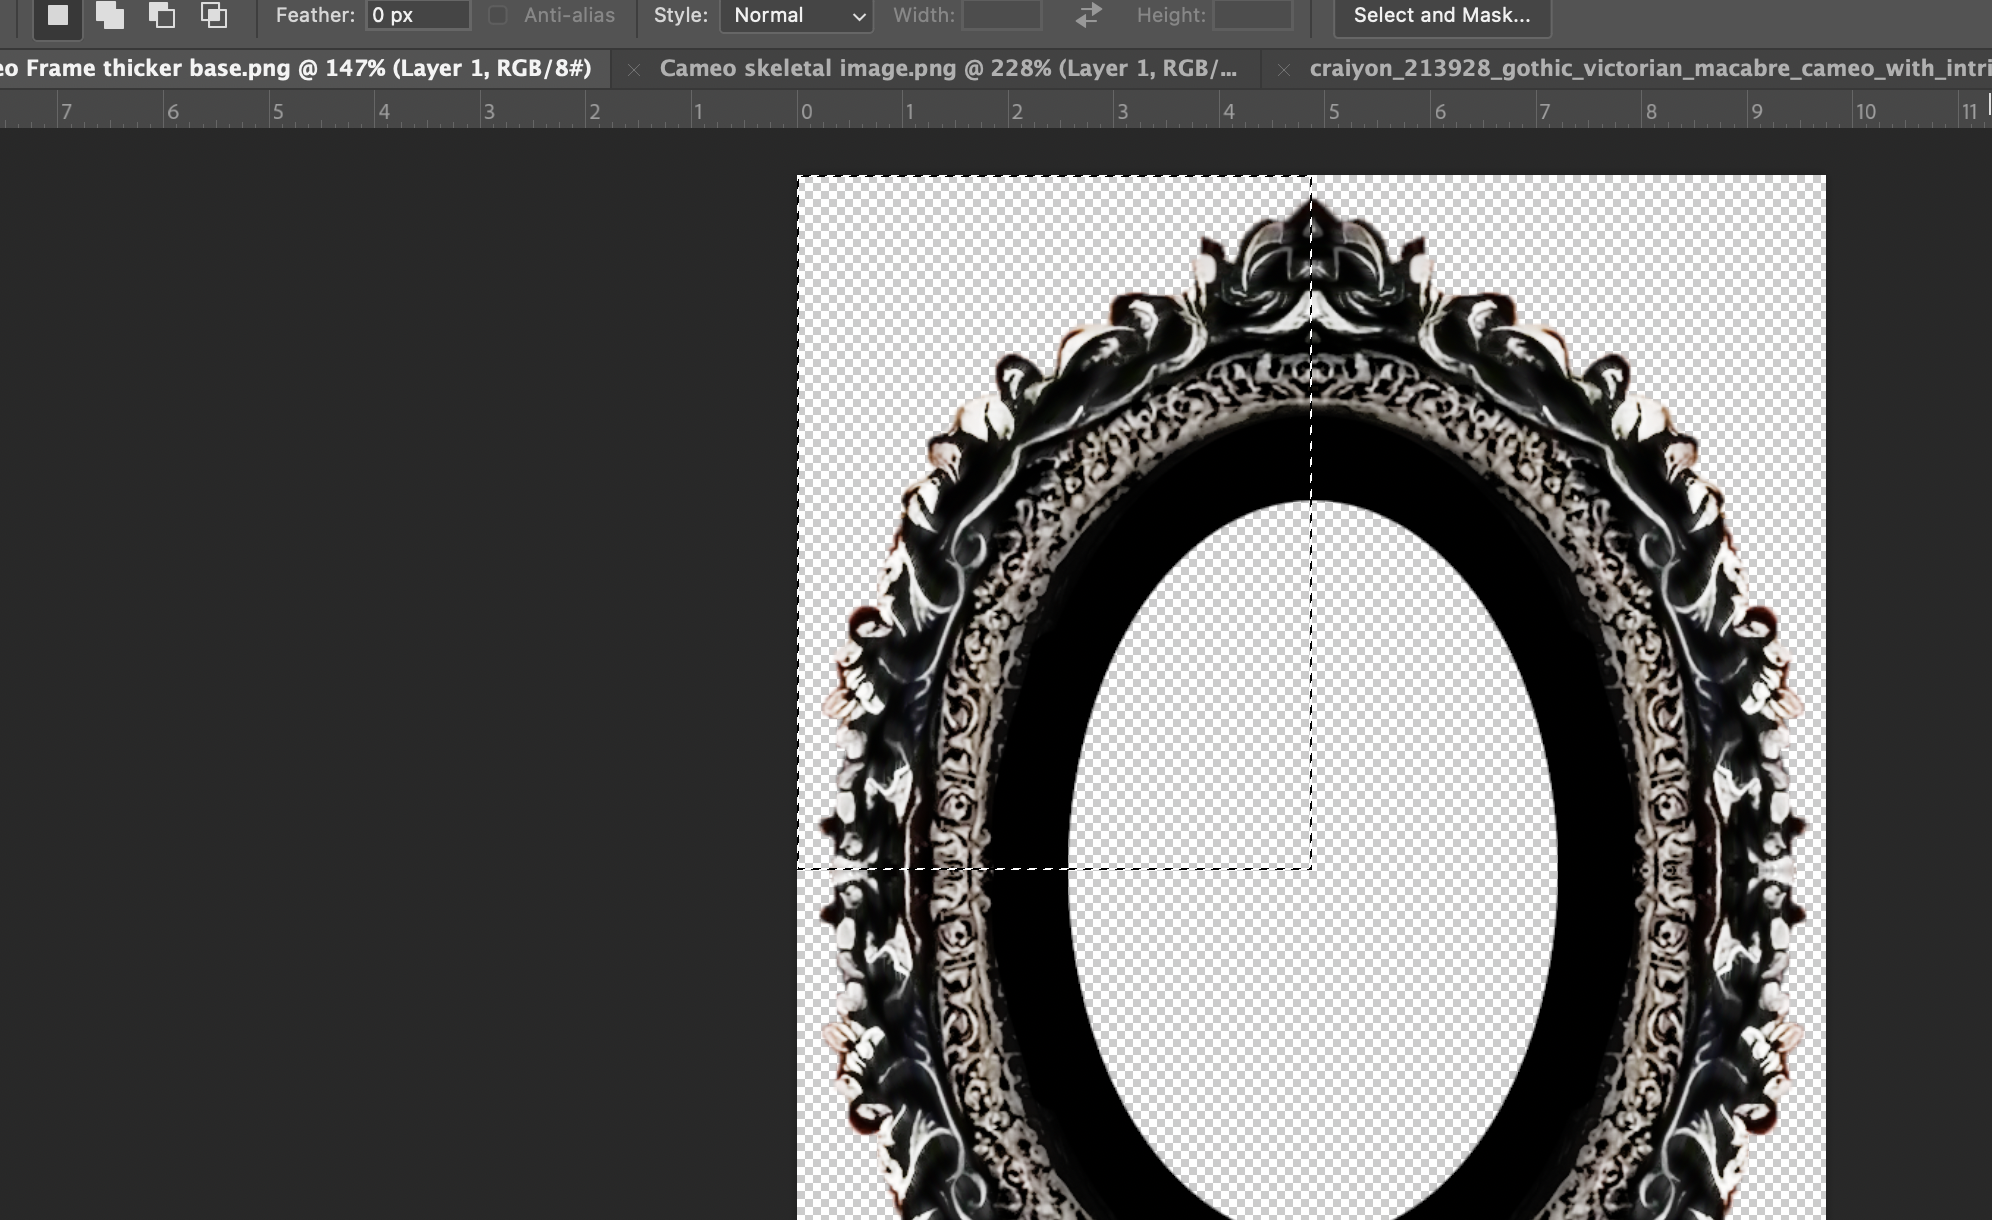
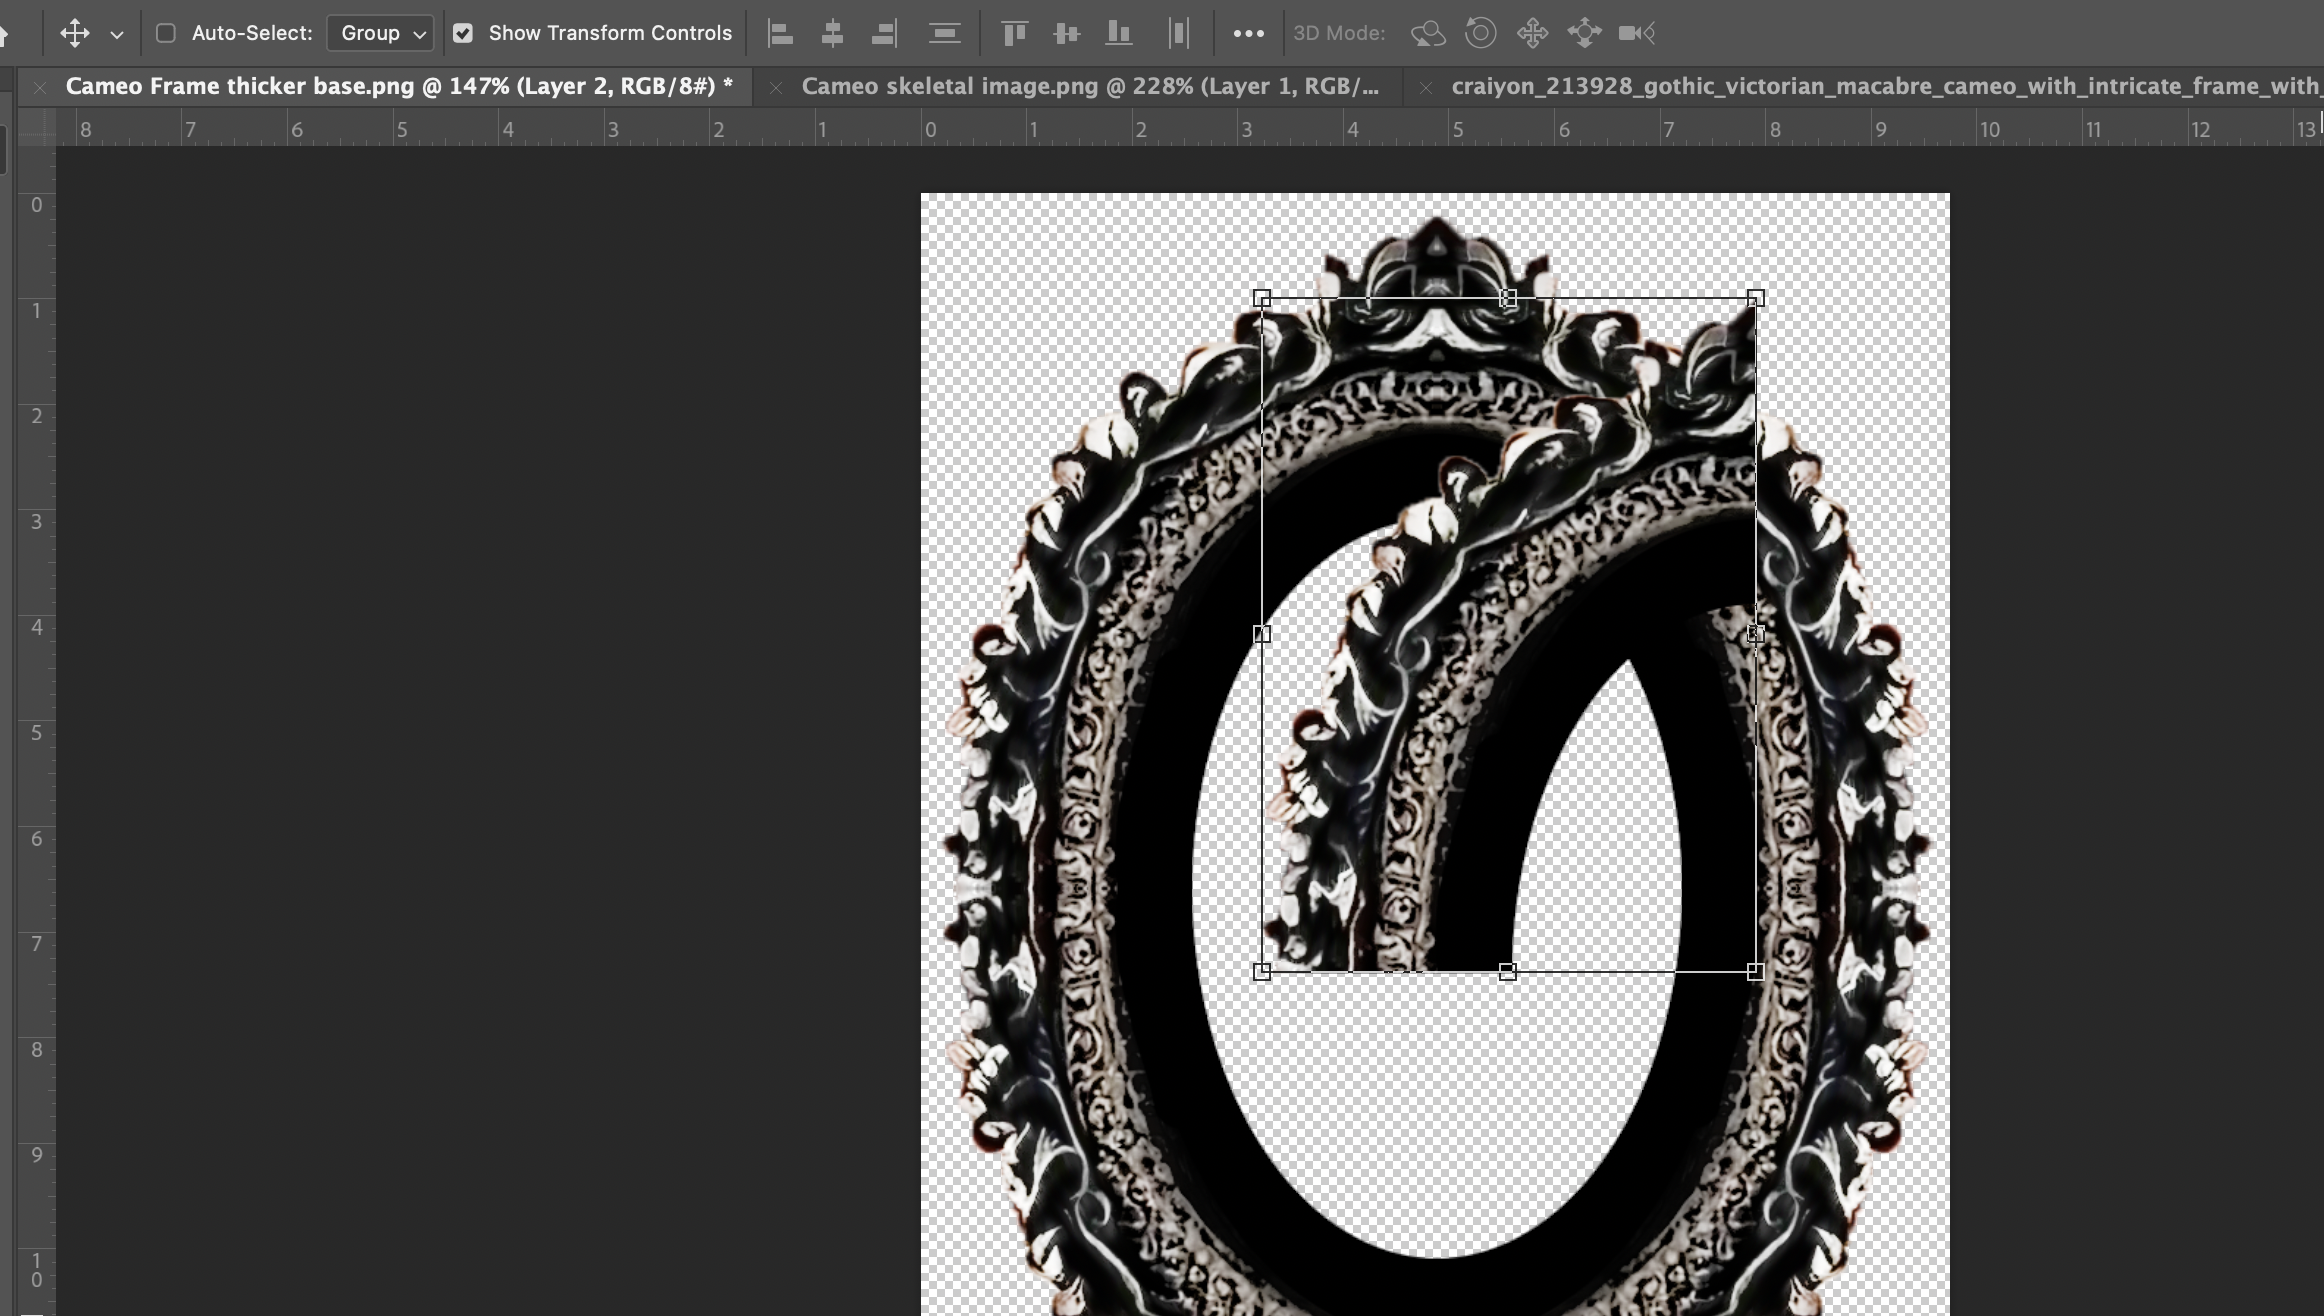
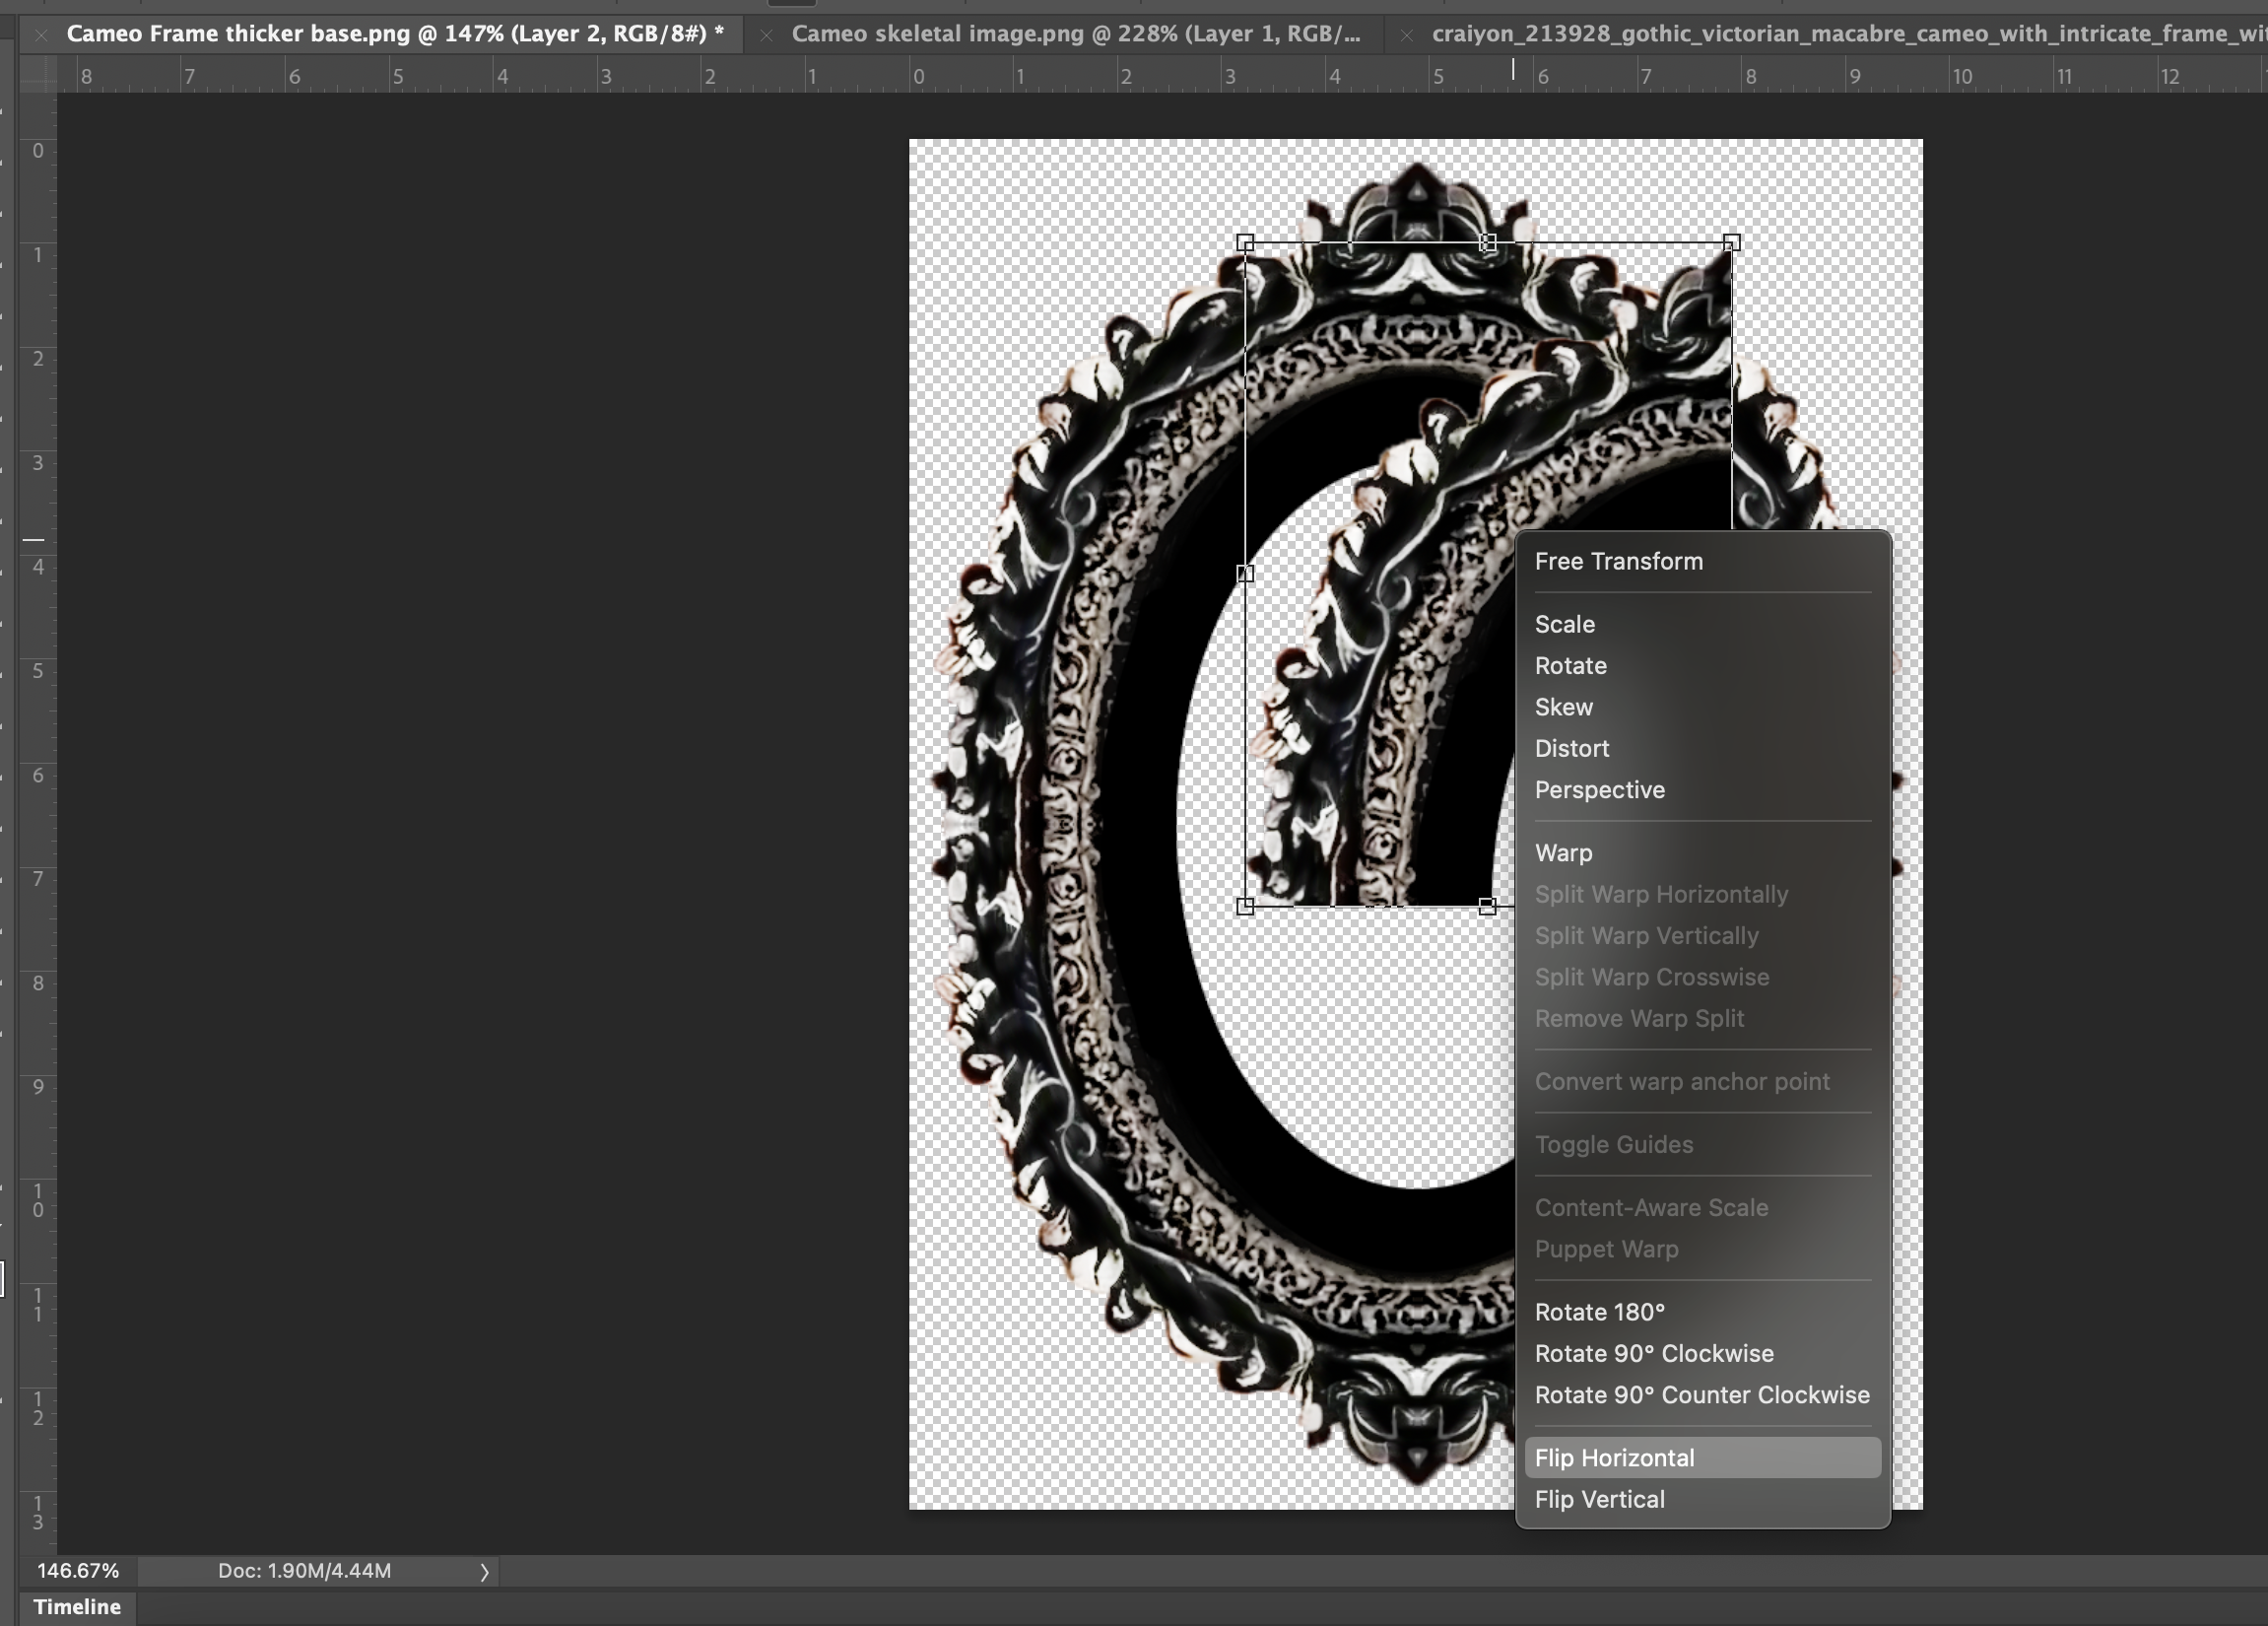
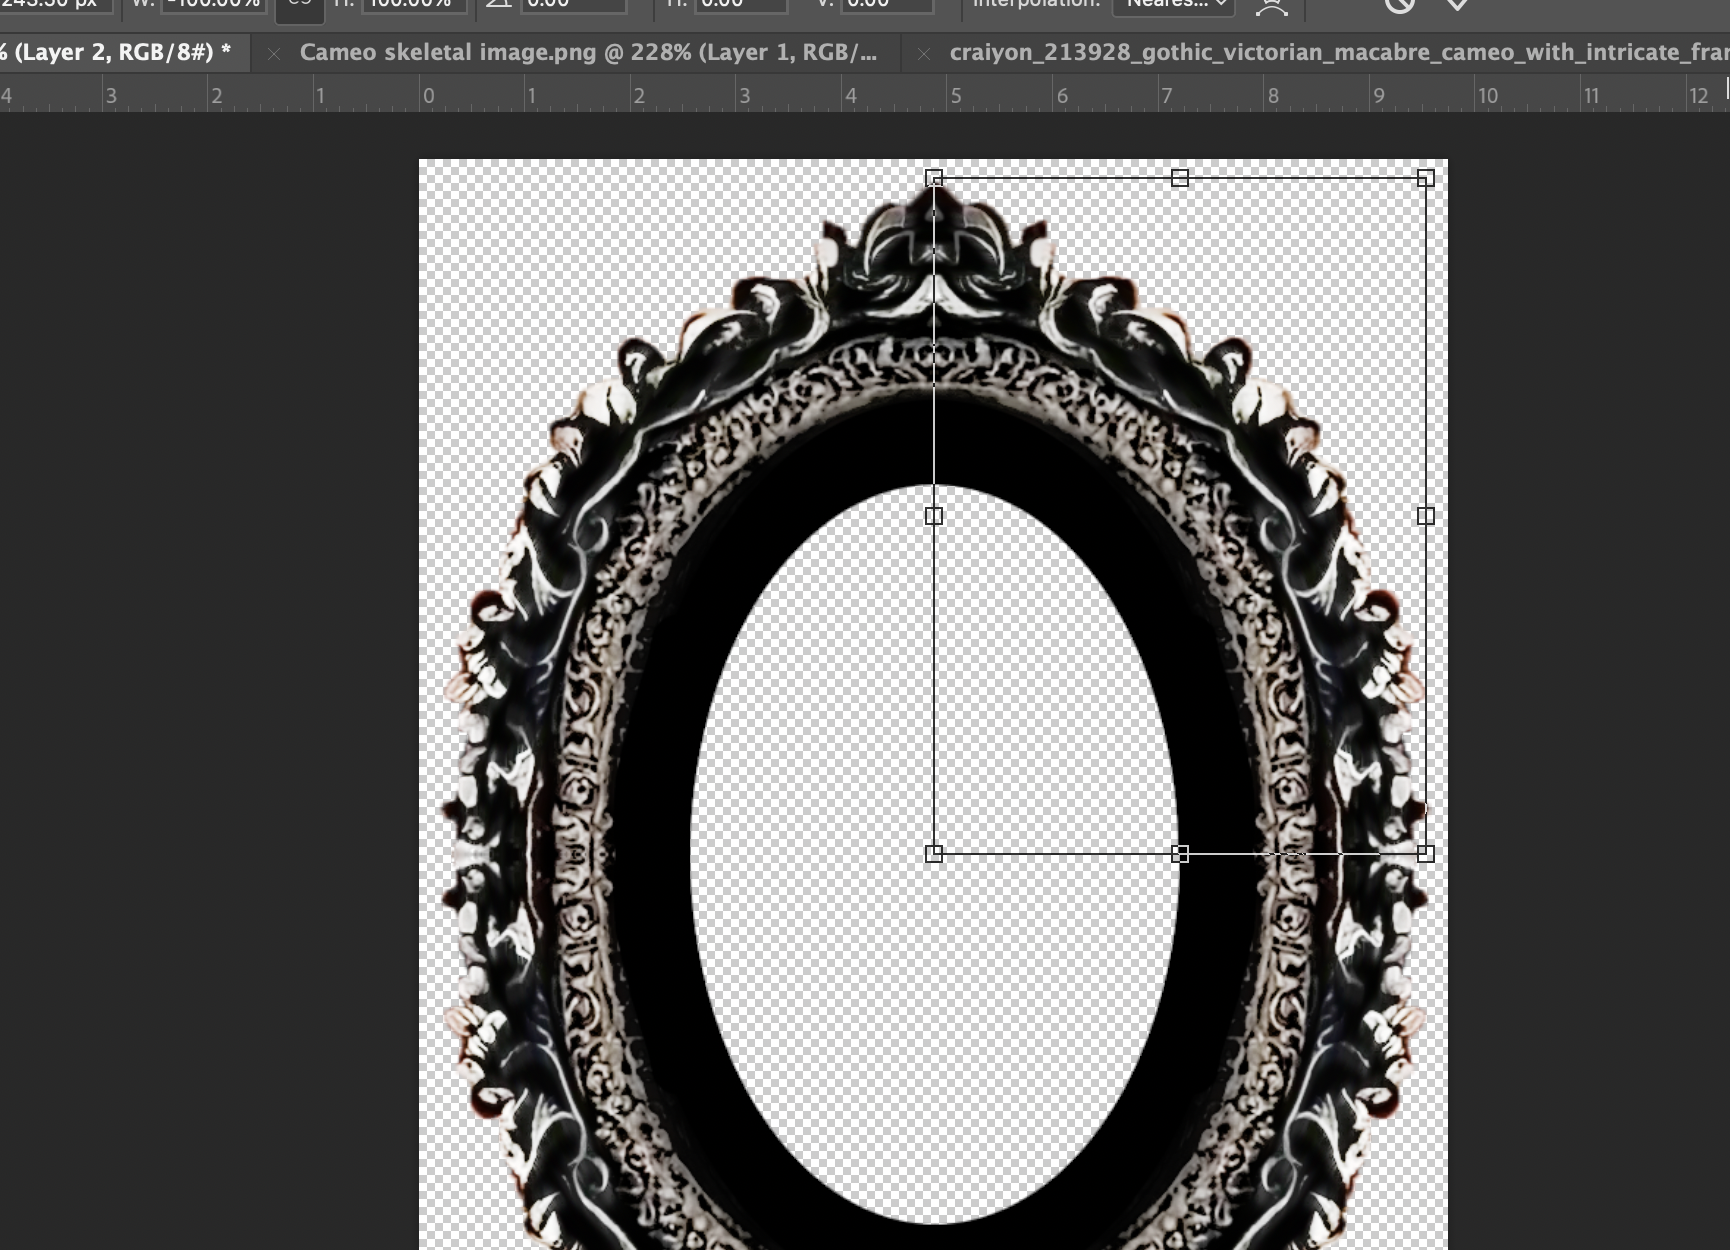
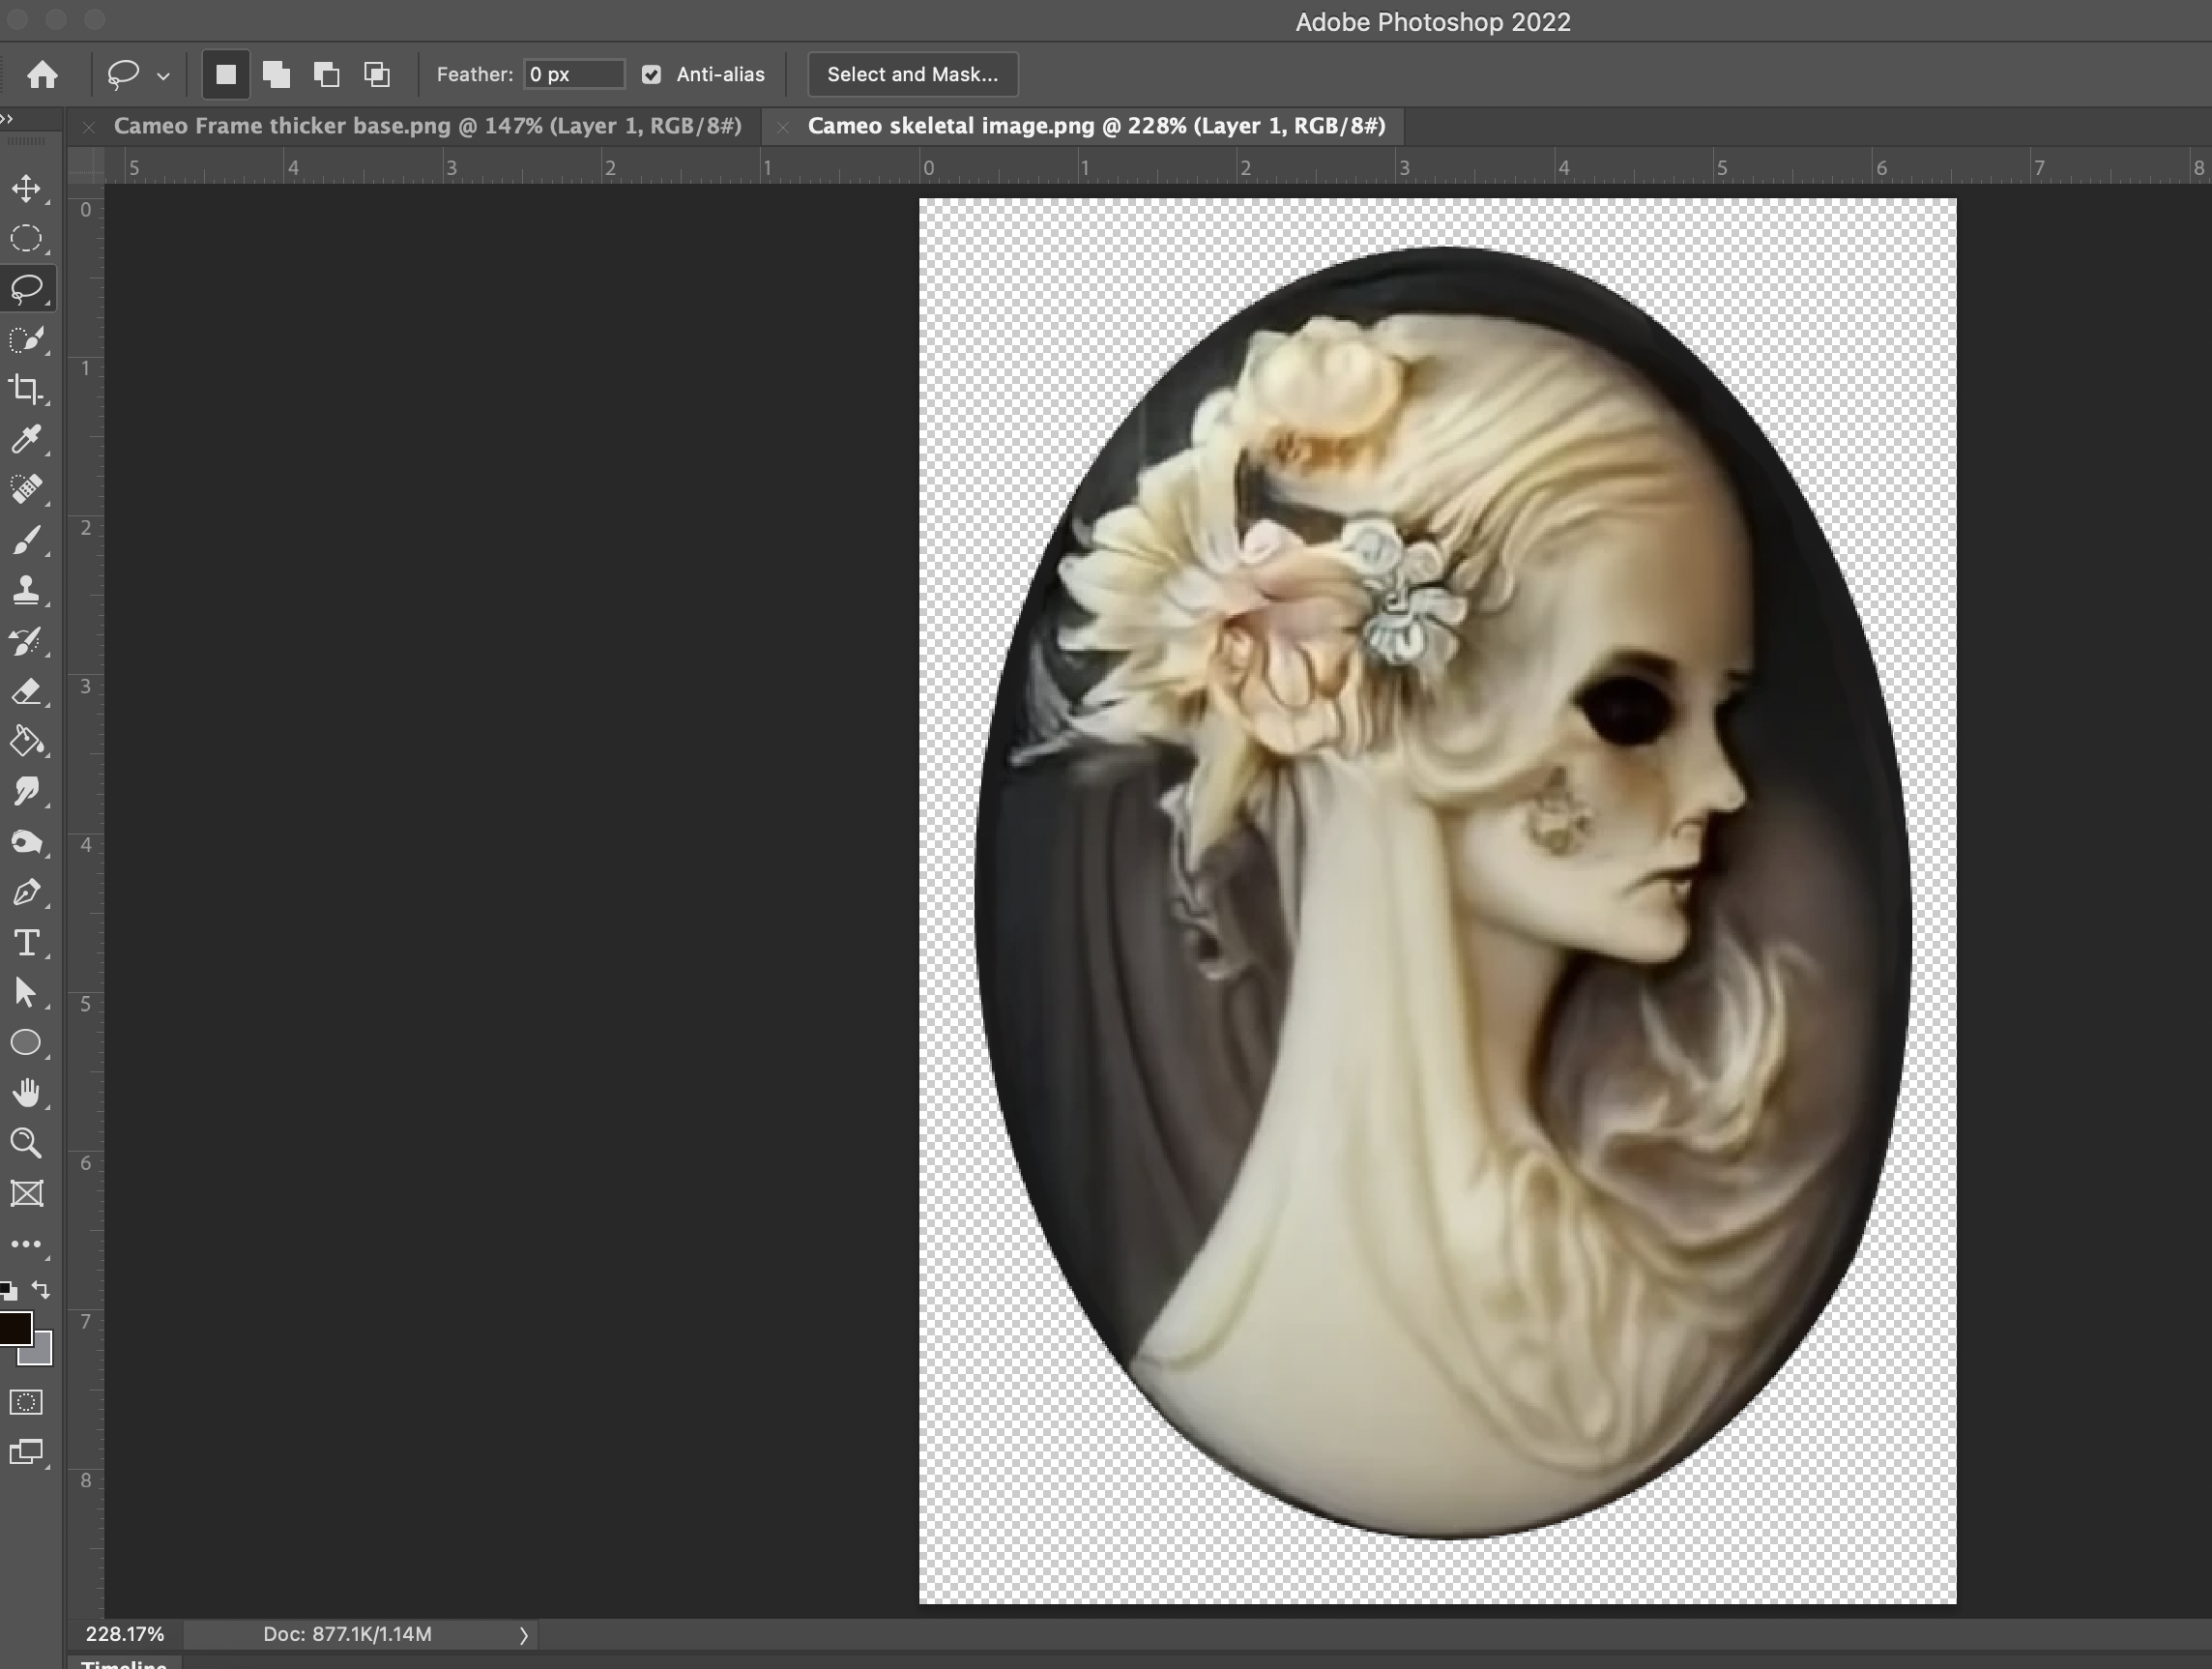
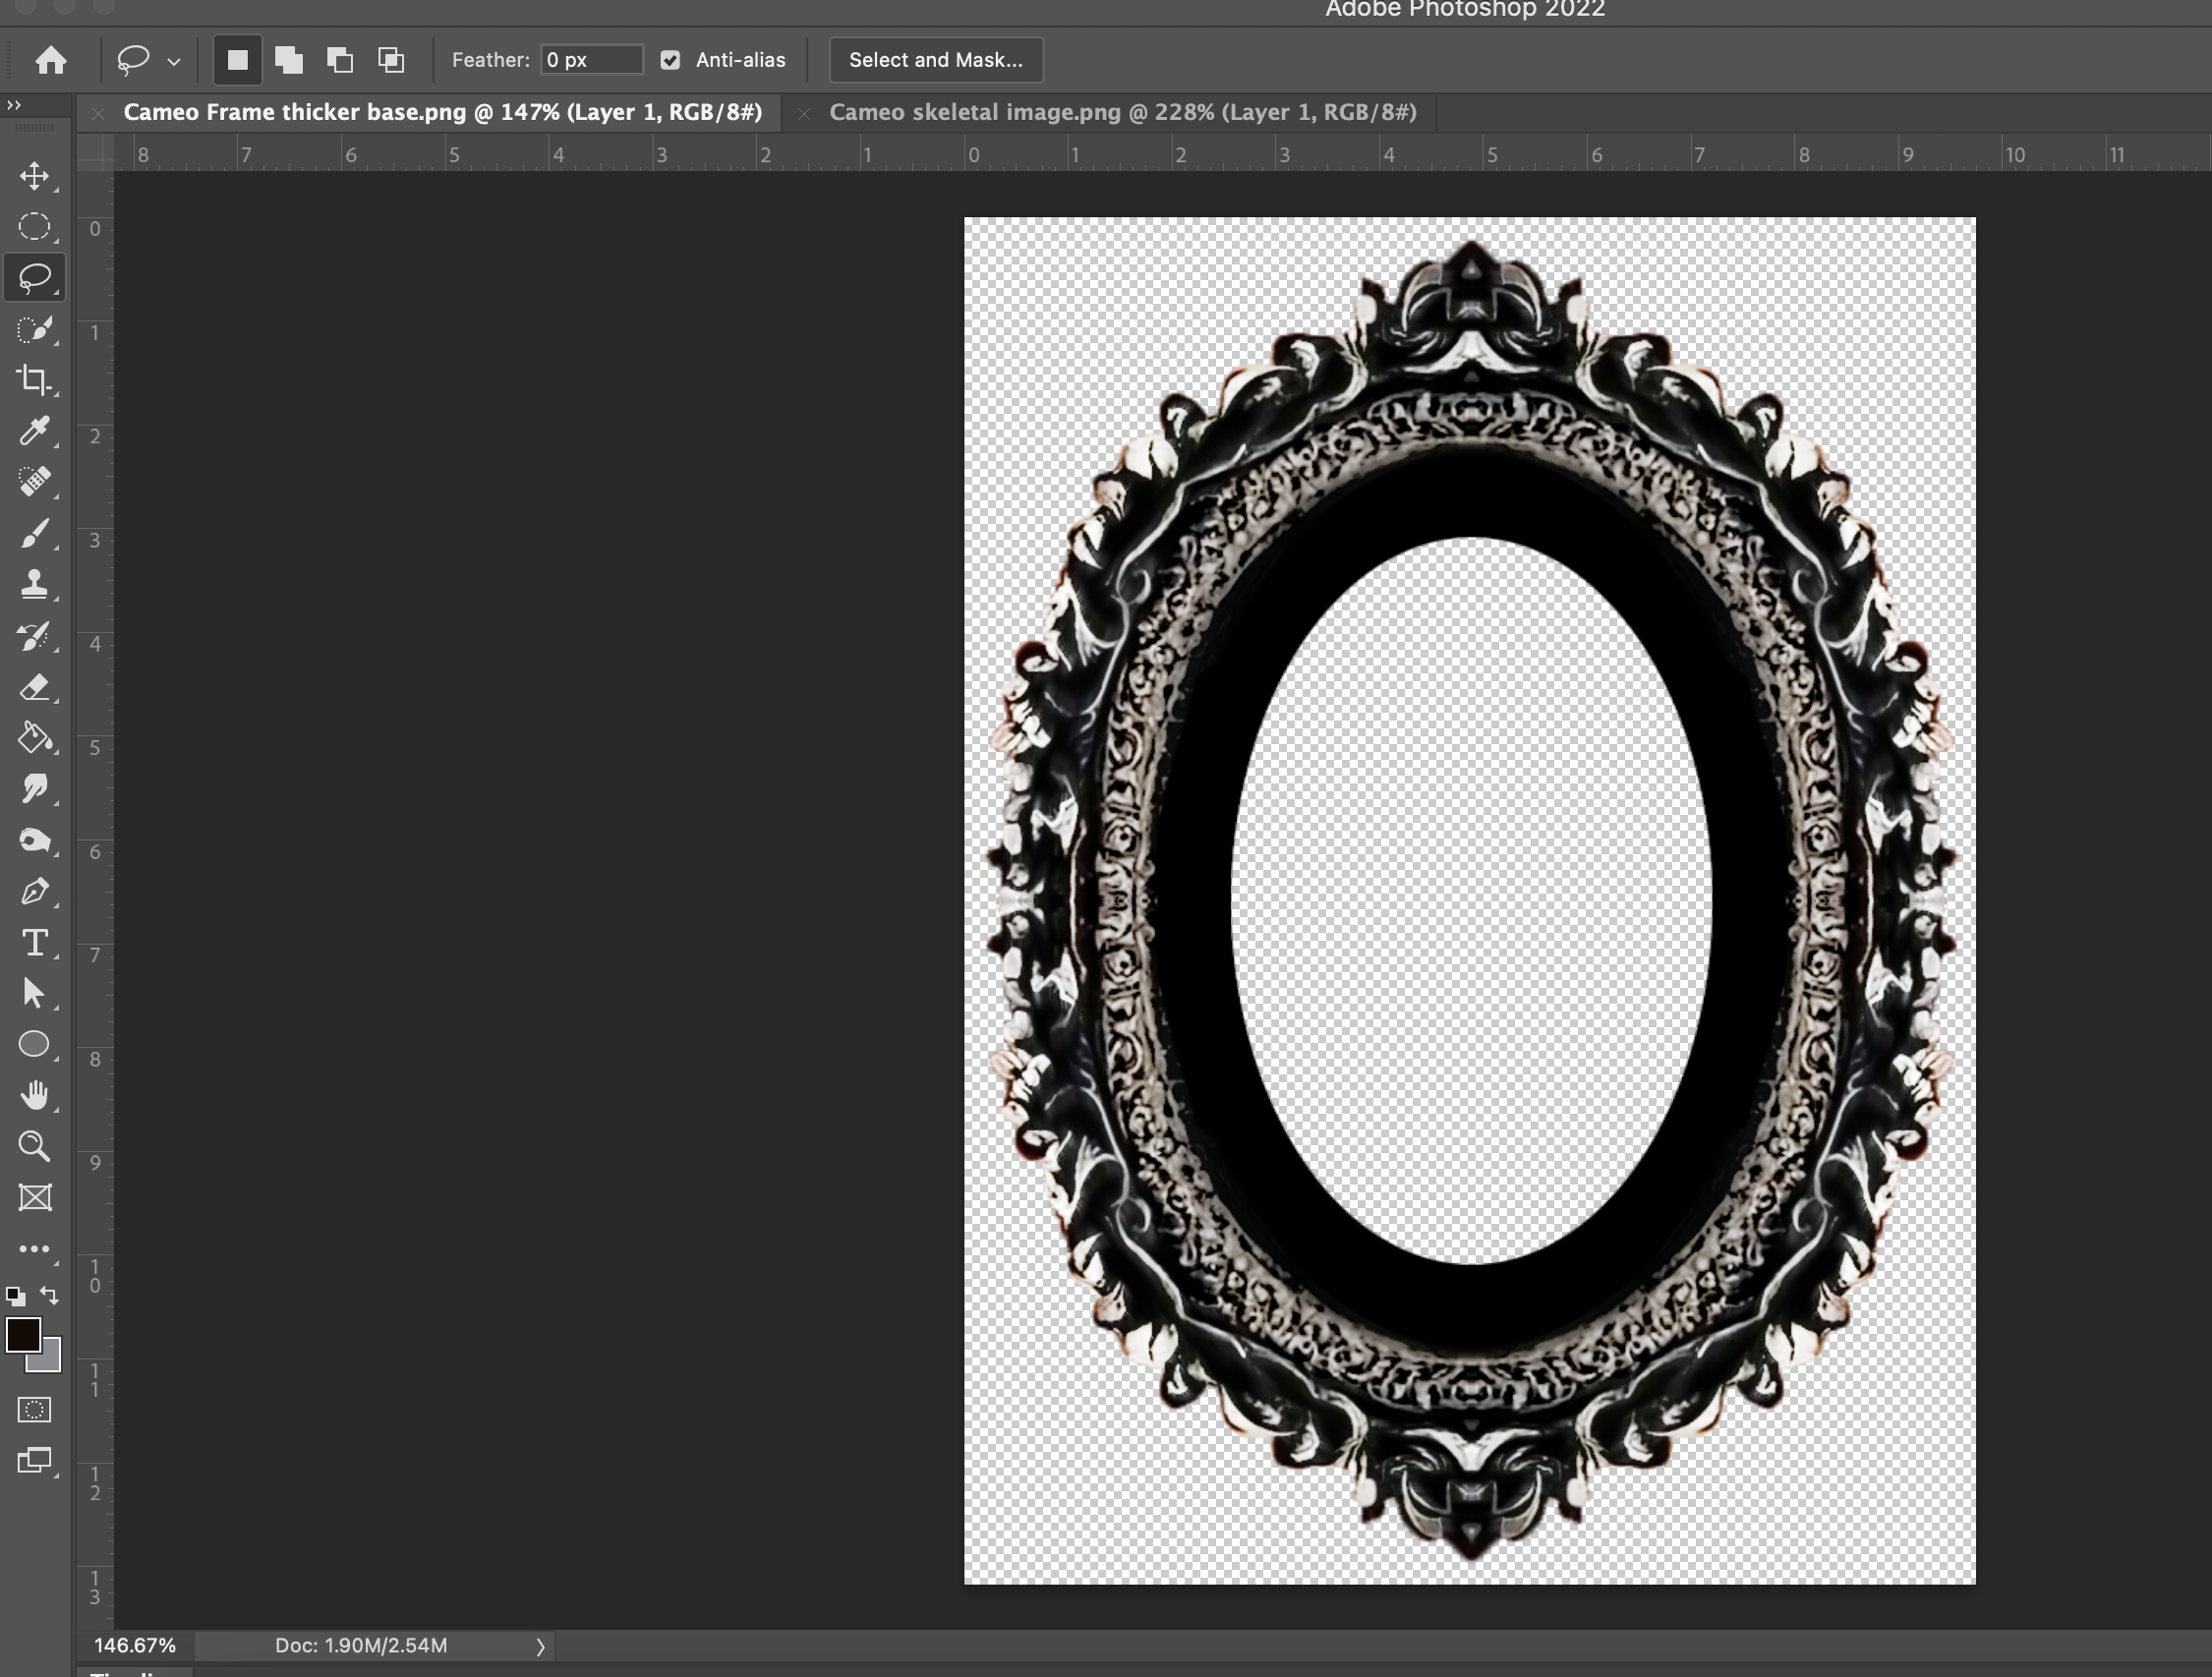
Time to get this image ready!
I first just used Mac's image preview to remove the background as I wasn't going to need it.
Bringing it into Photoshop, I started by copying out the center face image to use on it's own.
When left with the frame, I added more black around the middle interior as I was going to need somewhere to glue the face piece onto. I also messed with the lighting of it to give it more contrast and copied one quadrant of it and flipped and pasted it around so the frame is symmetrical.
To get the final thin exterior of the frame for the back, I just cut even more out of it. You can color it darker now or just do it in HueForge.
HueForge
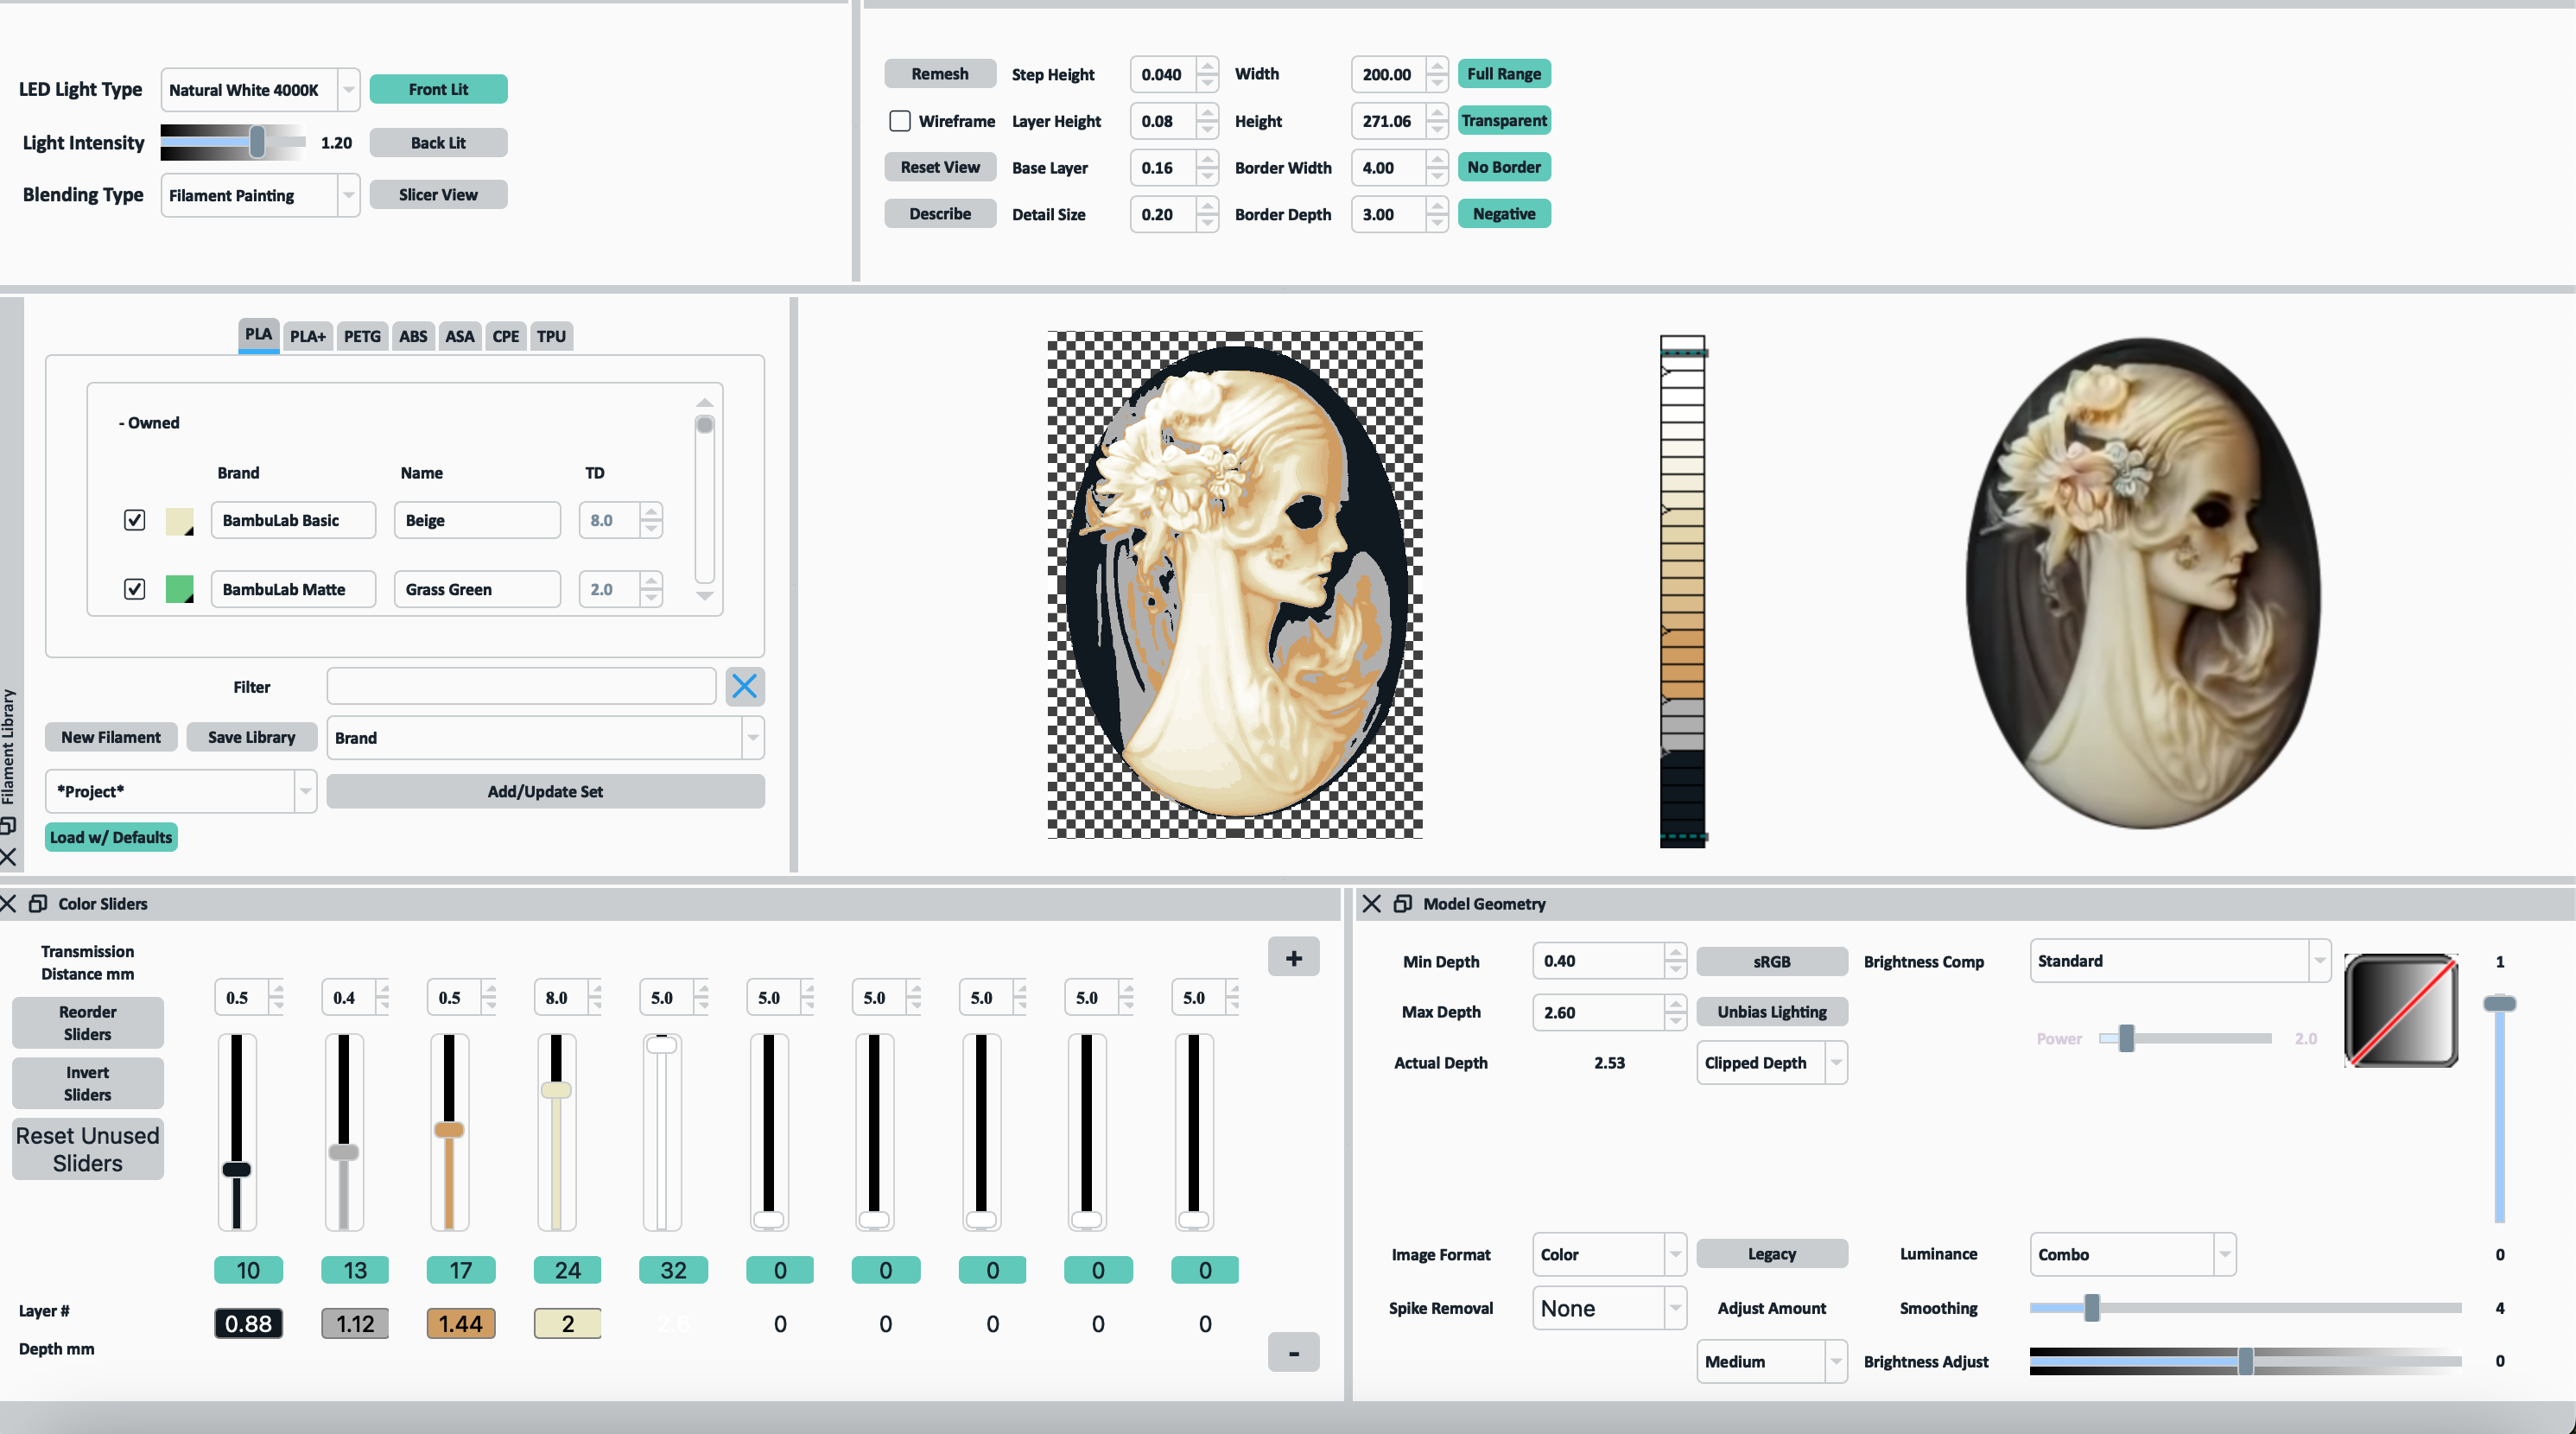
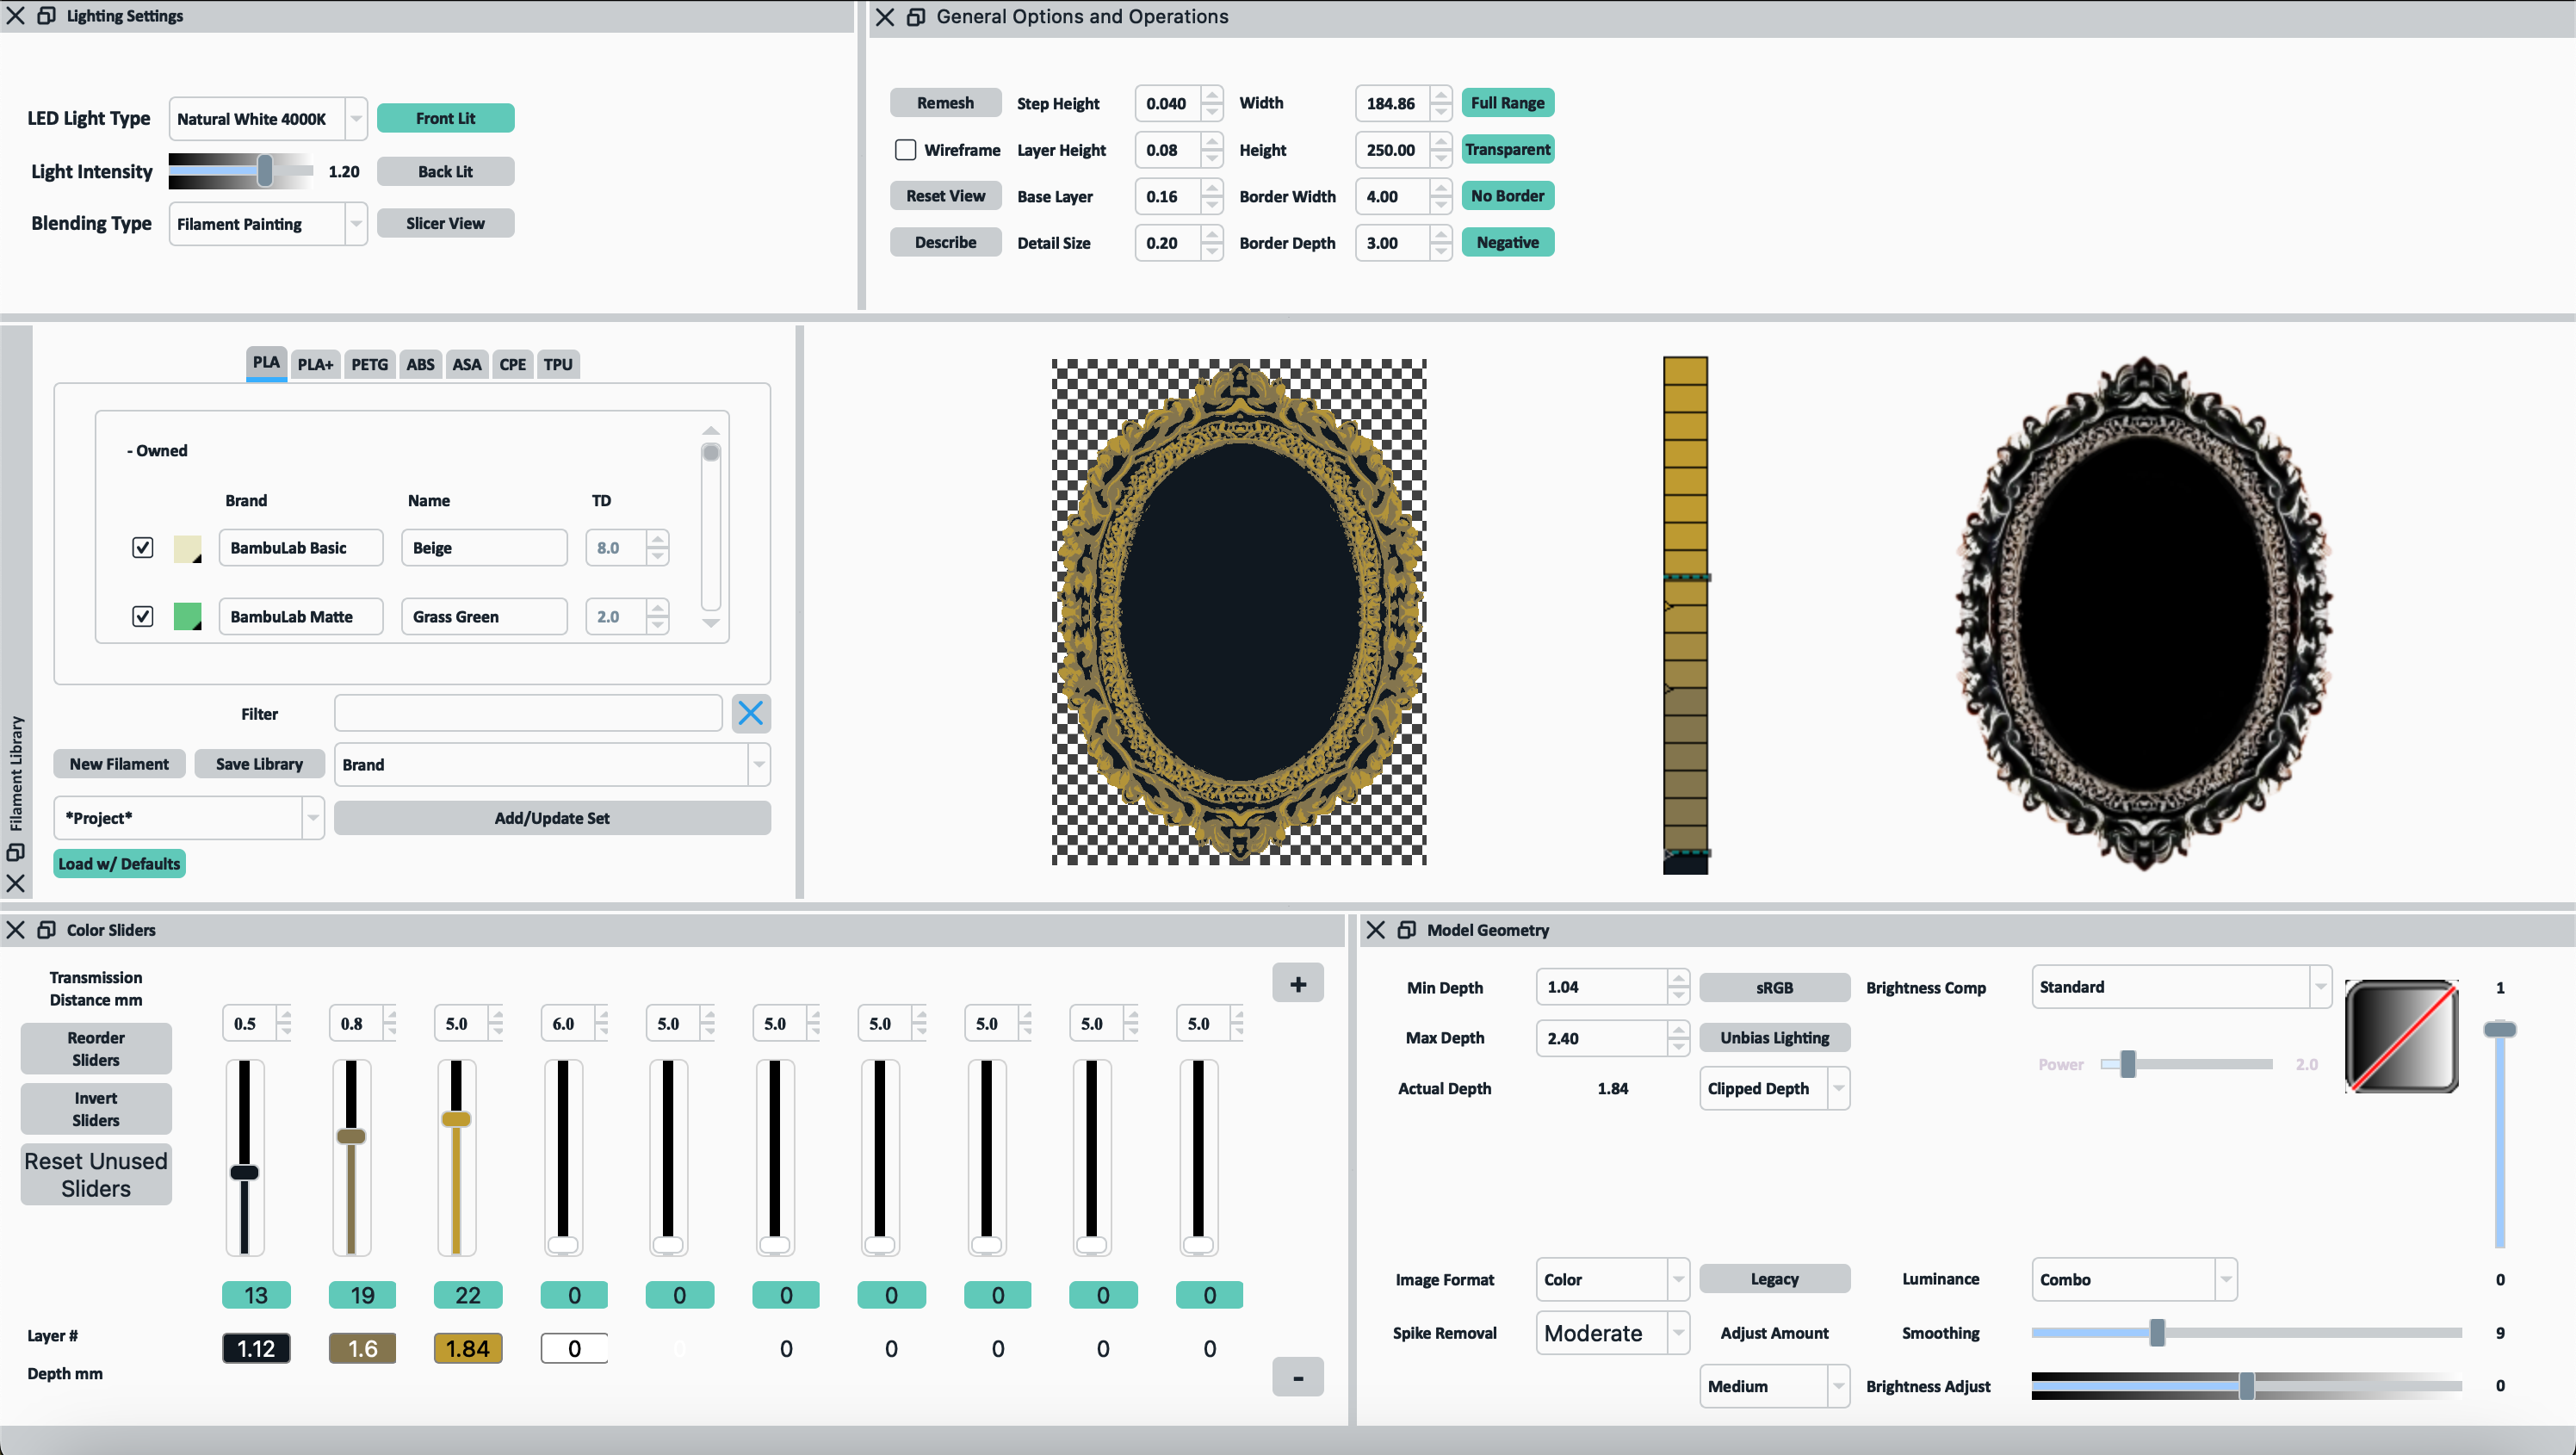
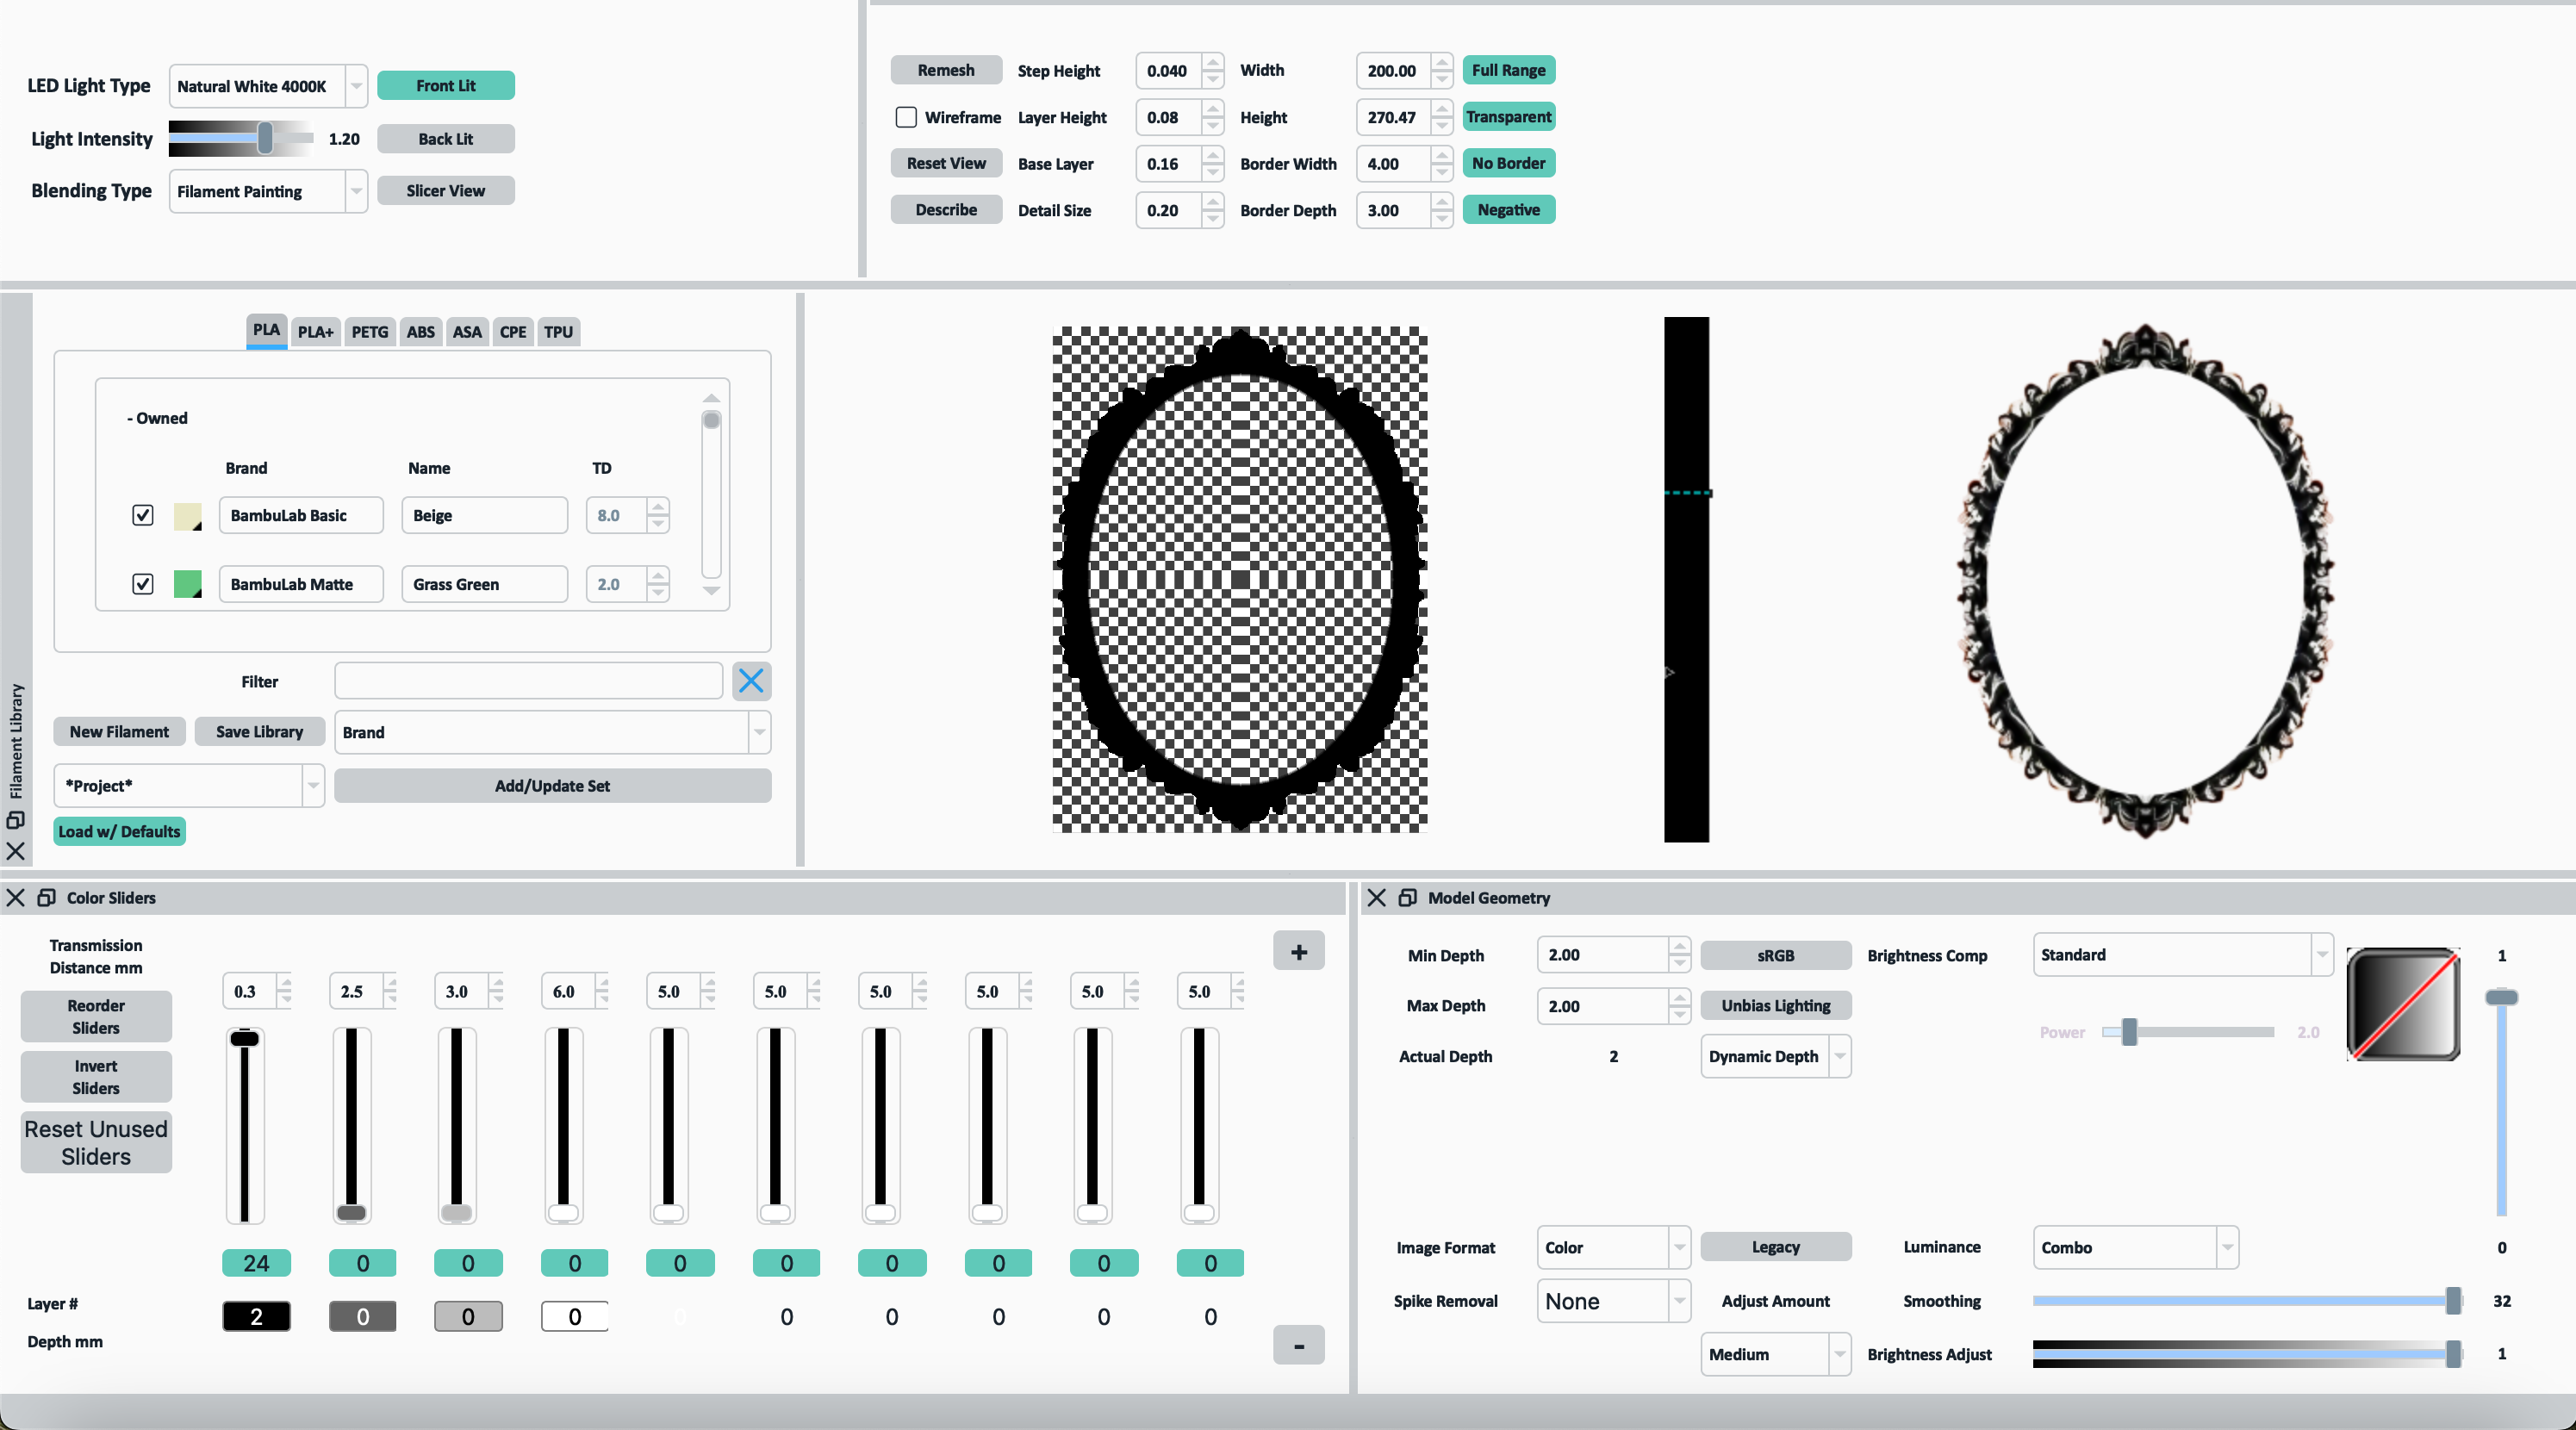
Now that I have my three images, I used HueForge to get the coloring just the way I wanted it. For the frame, I actually did some back and forth between here and photoshop. If the frame wasn't looking how I wanted, I would go back to Photoshop to either brighten or darken areas until I got a balance I wanted in the colors.
I also messed with the minimum depth for the frame to make sure it would be as sturdy as I wanted it to be.
For the thin frame exterior, I just made it all black in HueForge.
Slice and Print
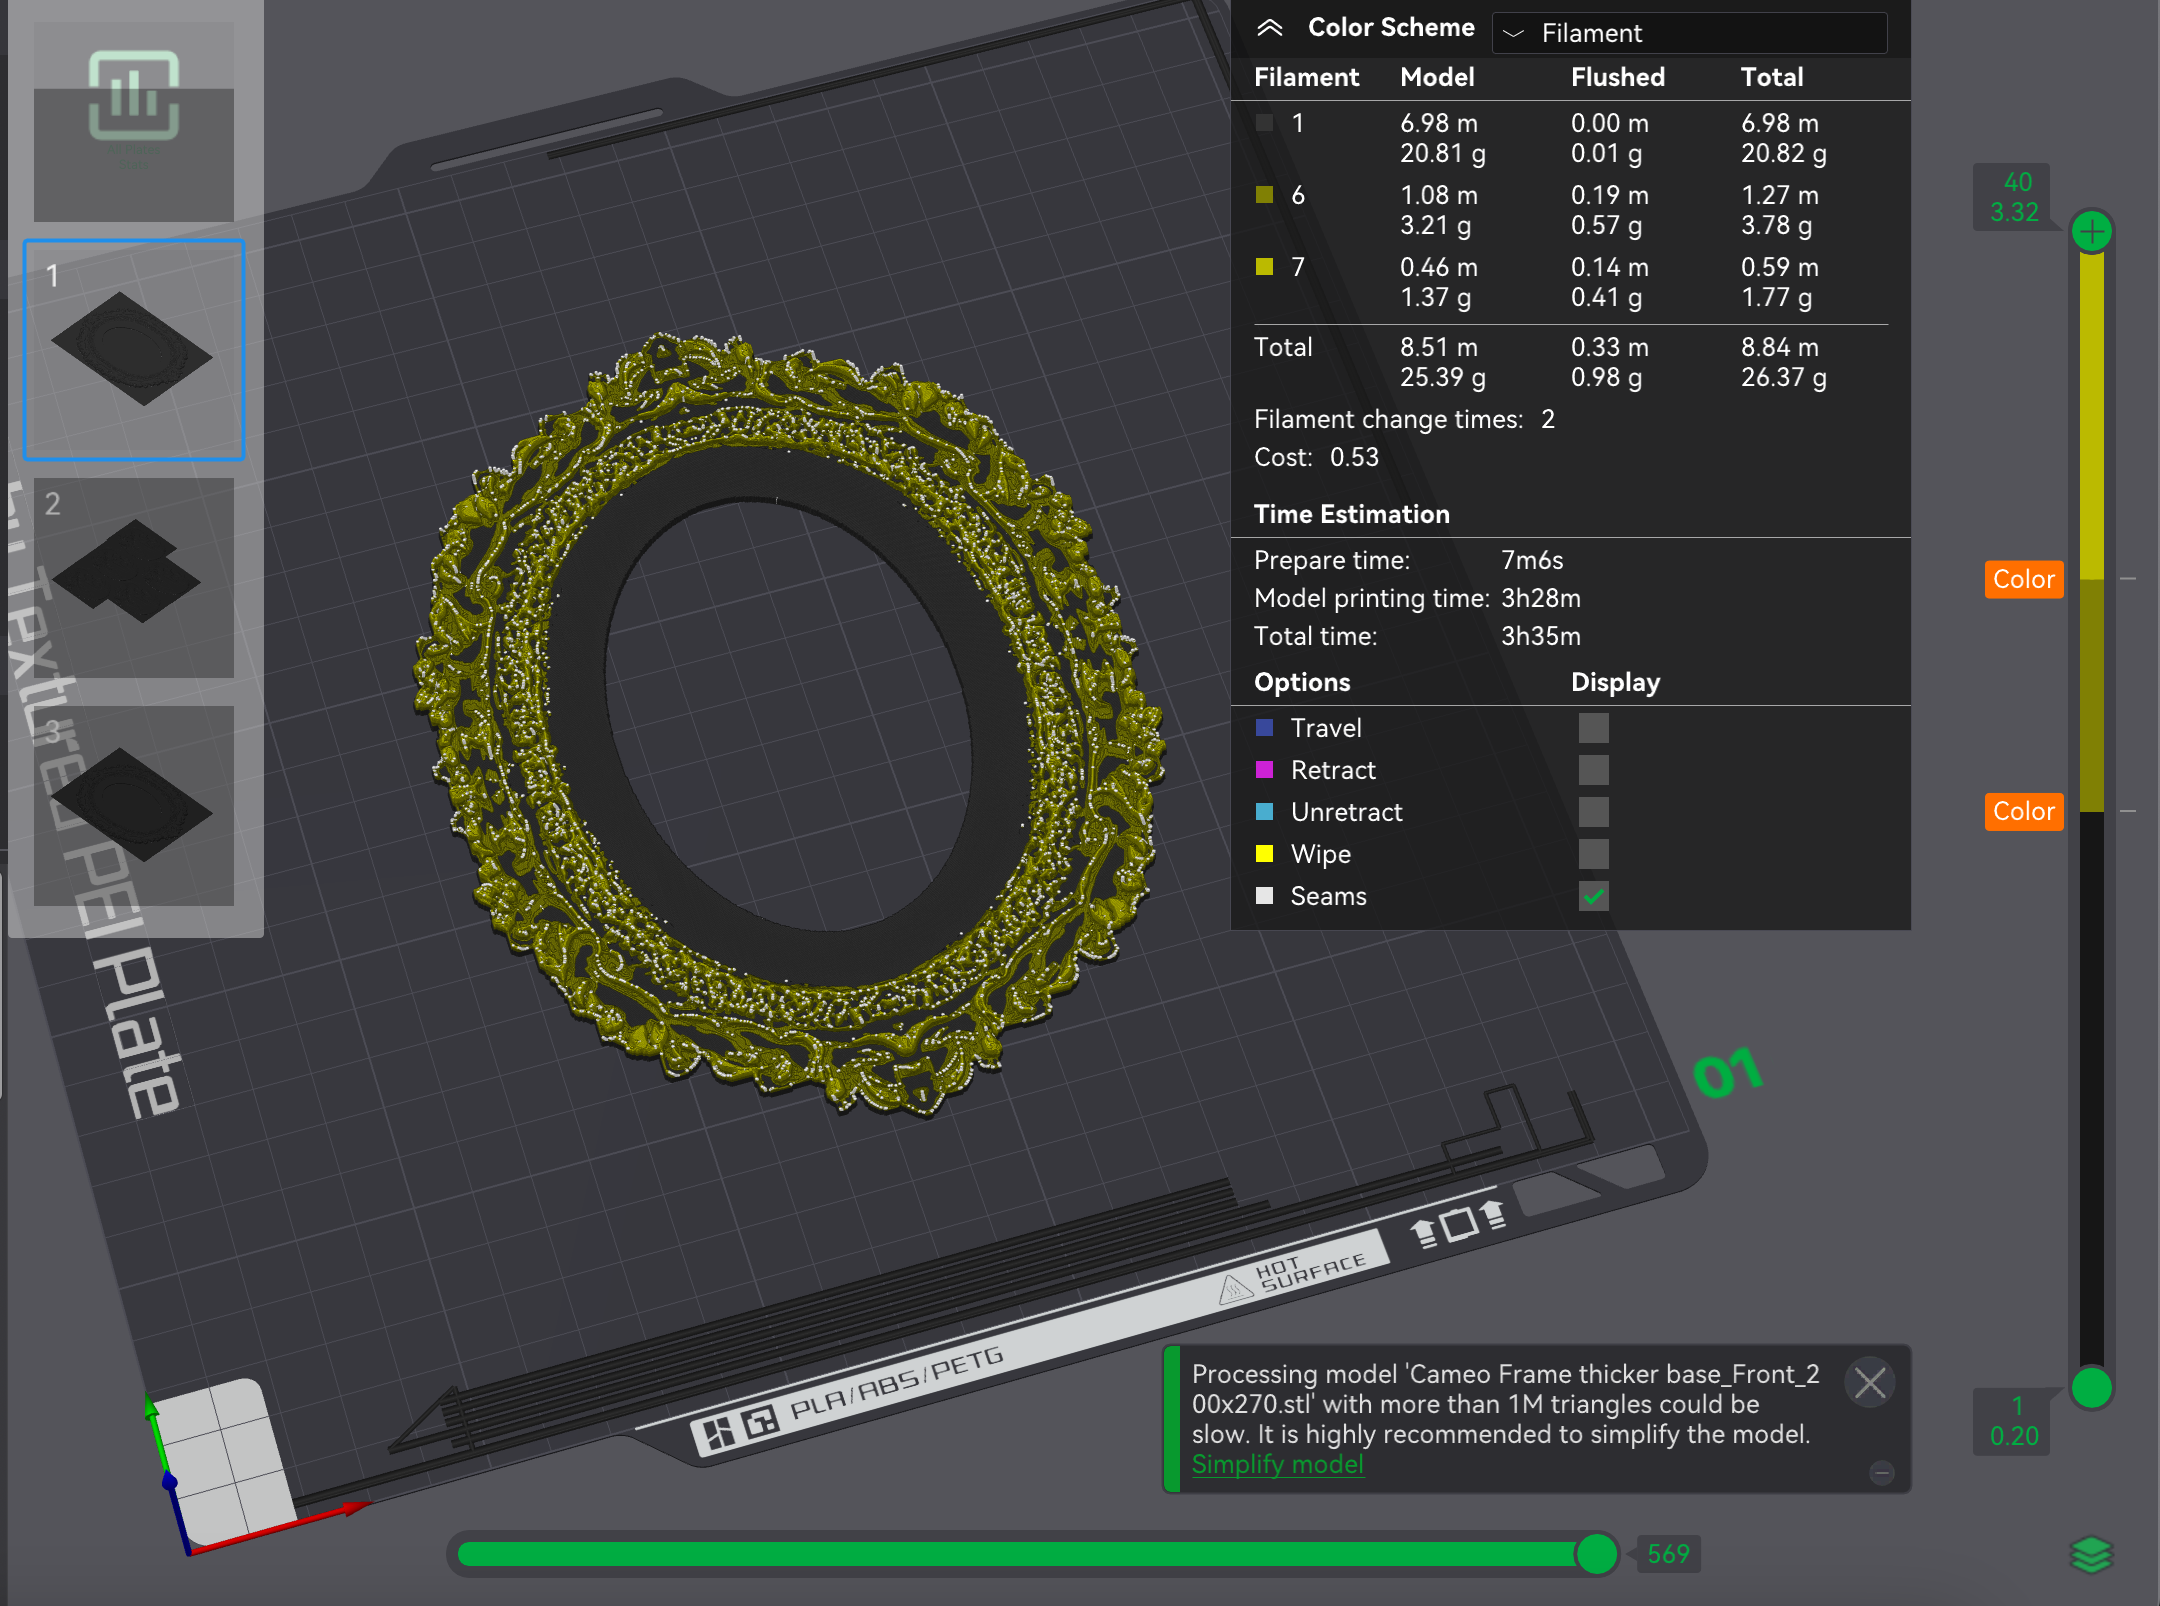
Slicing
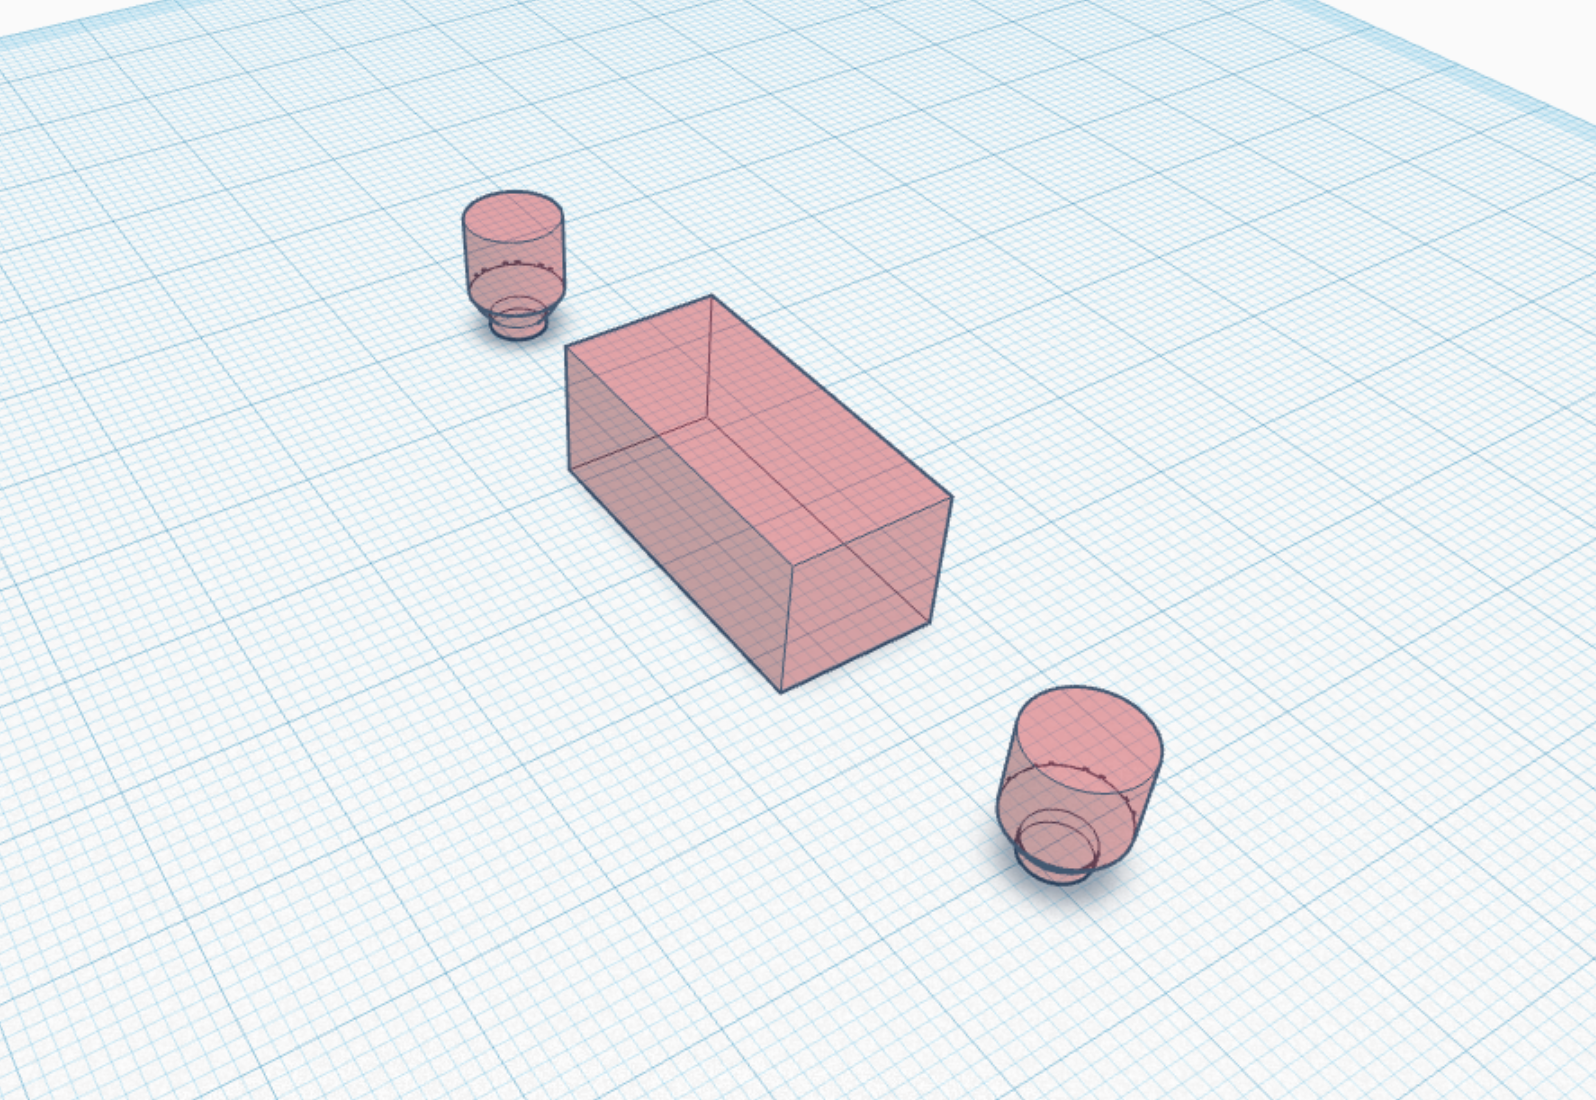
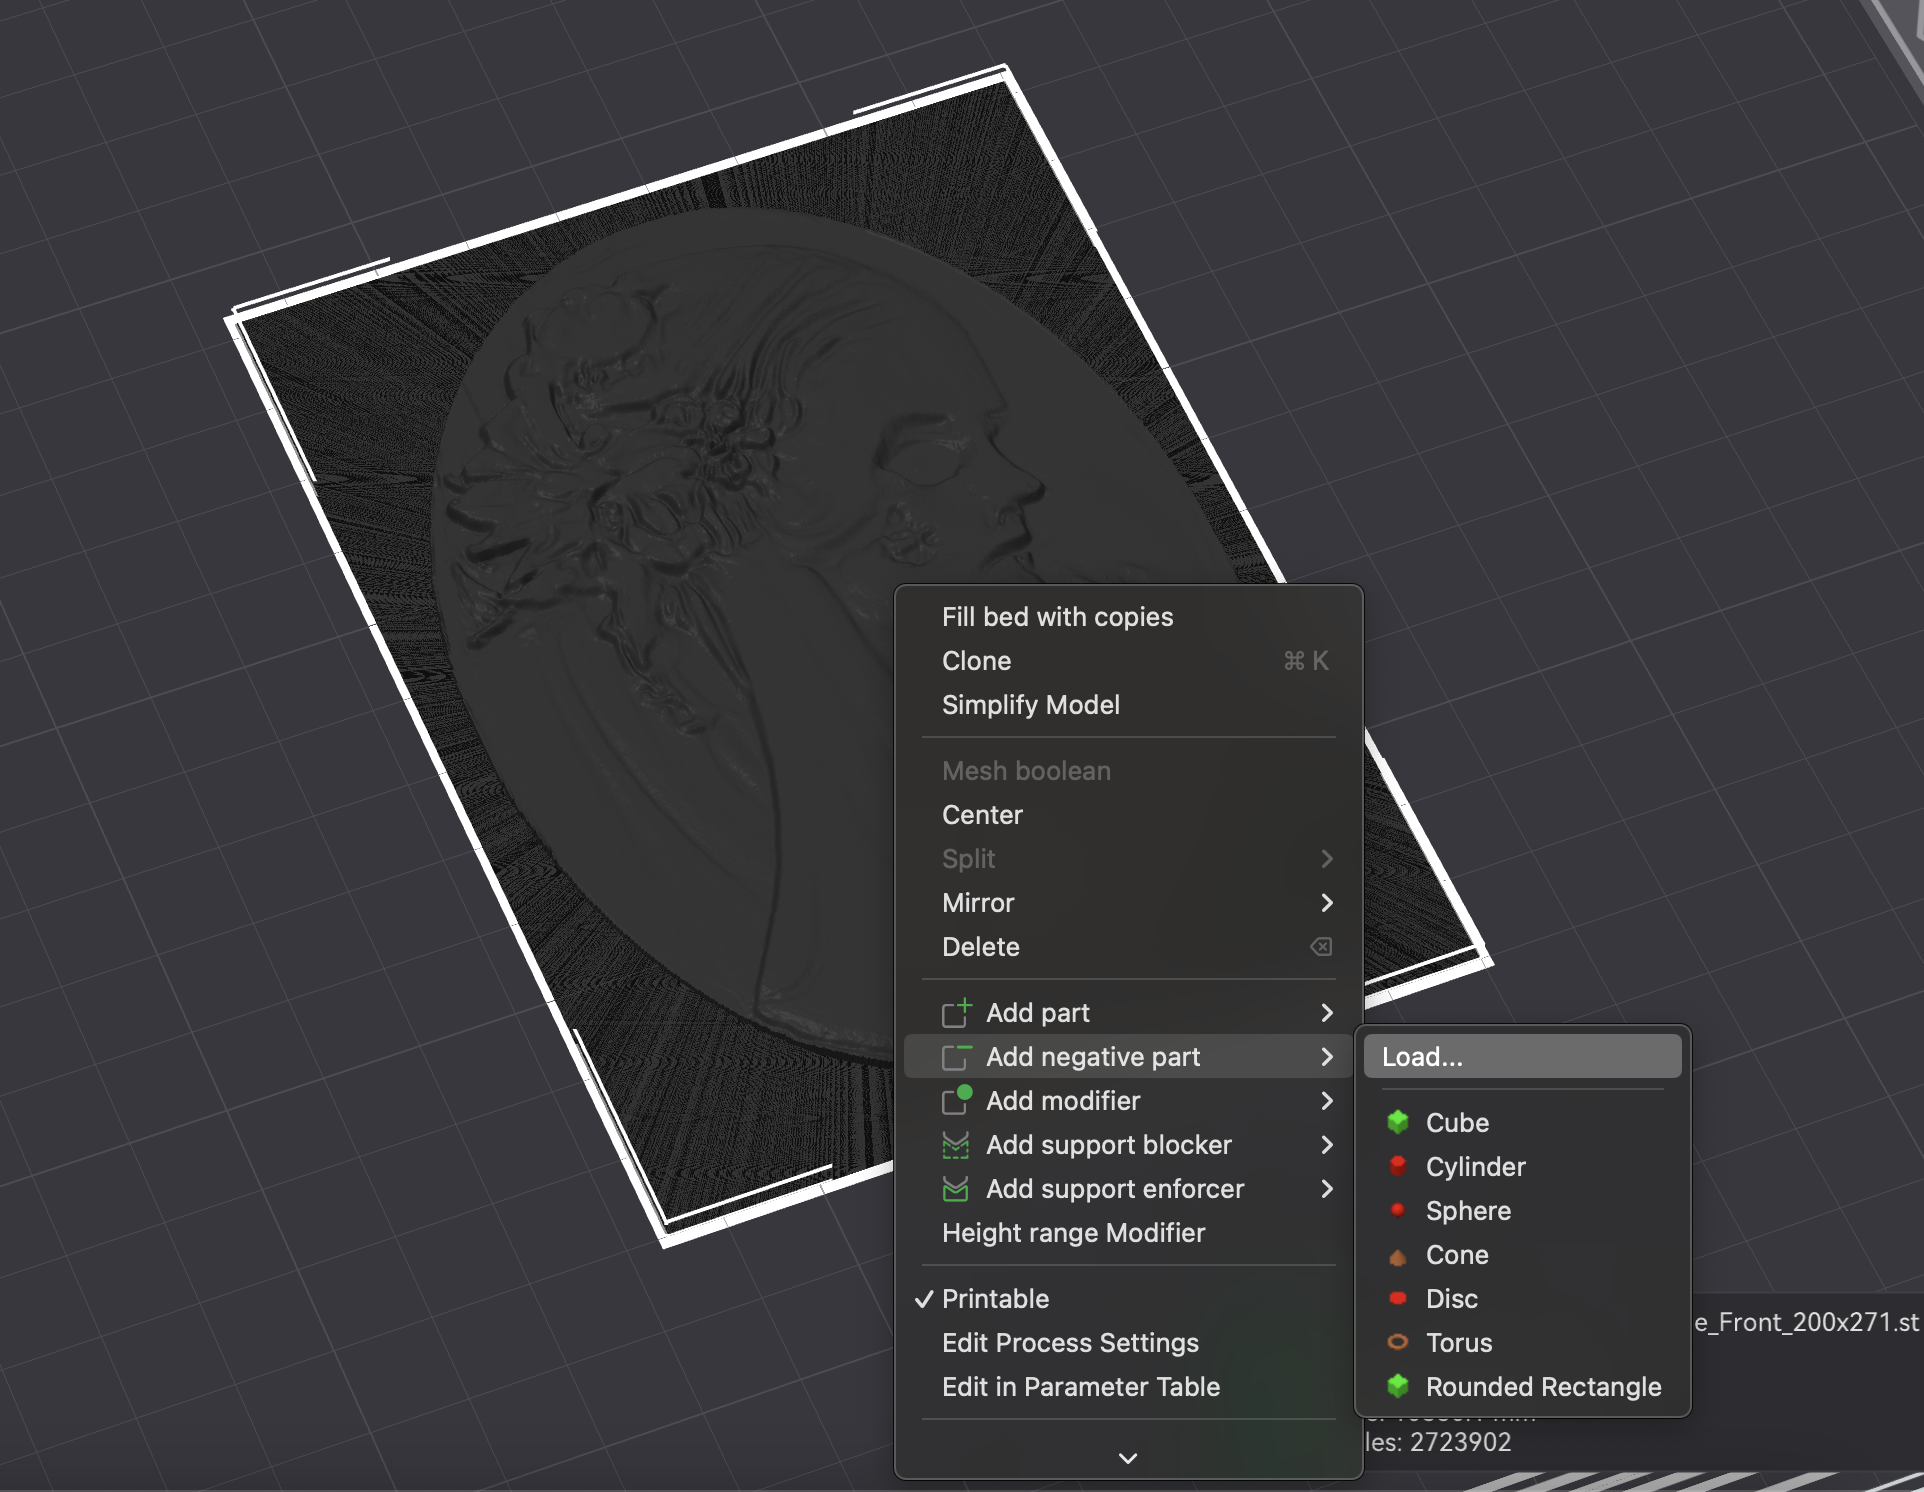
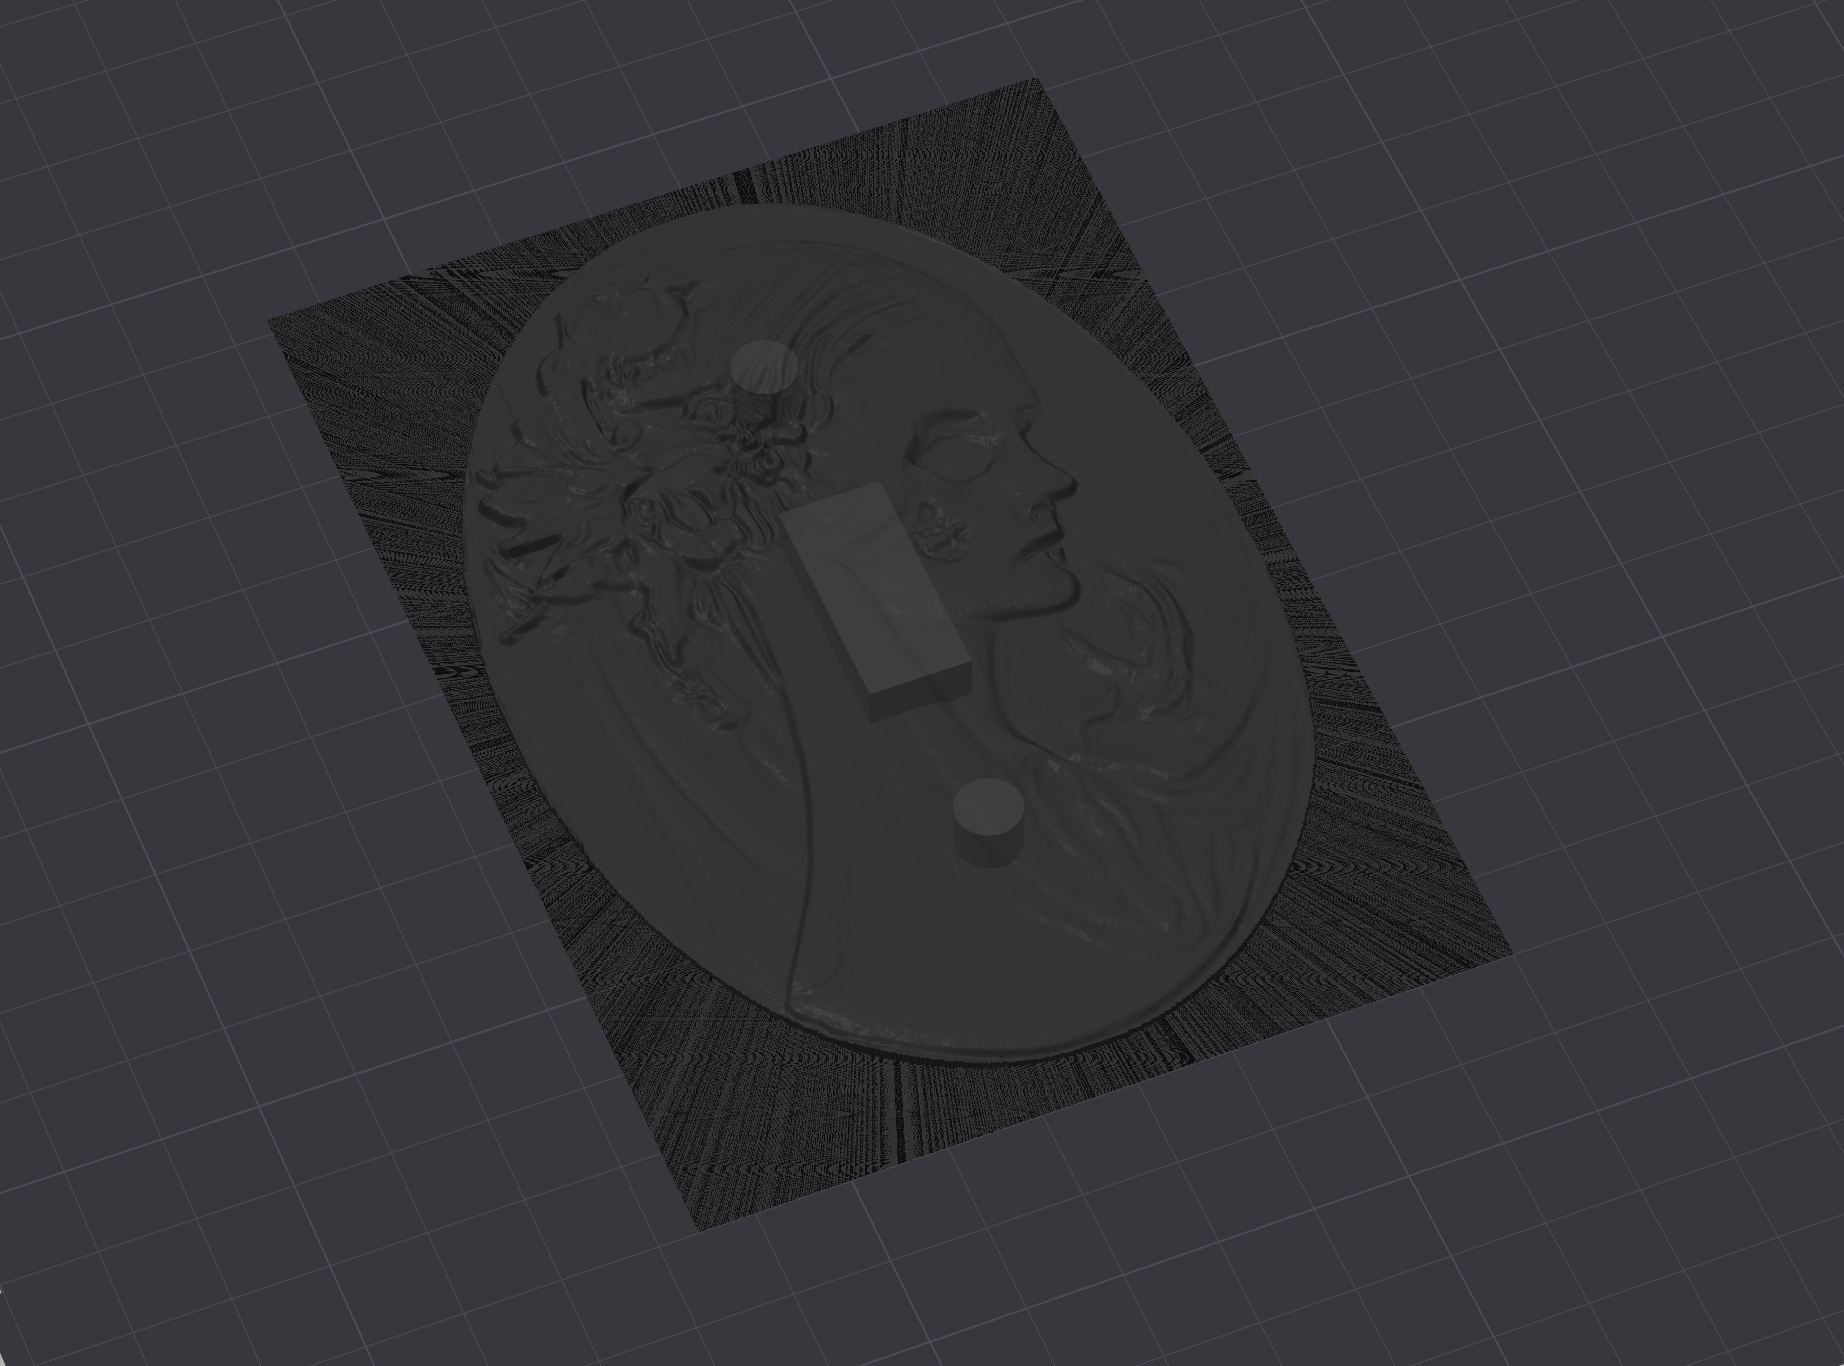
I decided to add the light switch and screw holes onto the face piece right in the Bambu Slicer.
I added it as a Negative Part by right clicking on the face and making that selection. I used the Move feature in the slicer to make sure the holes were centered on the face and then moved it up and down on the Z axis until I liked how it looked. I already had the parts I needed because I created them in Tinkercad for the basic switch cover I already shared.
Printing
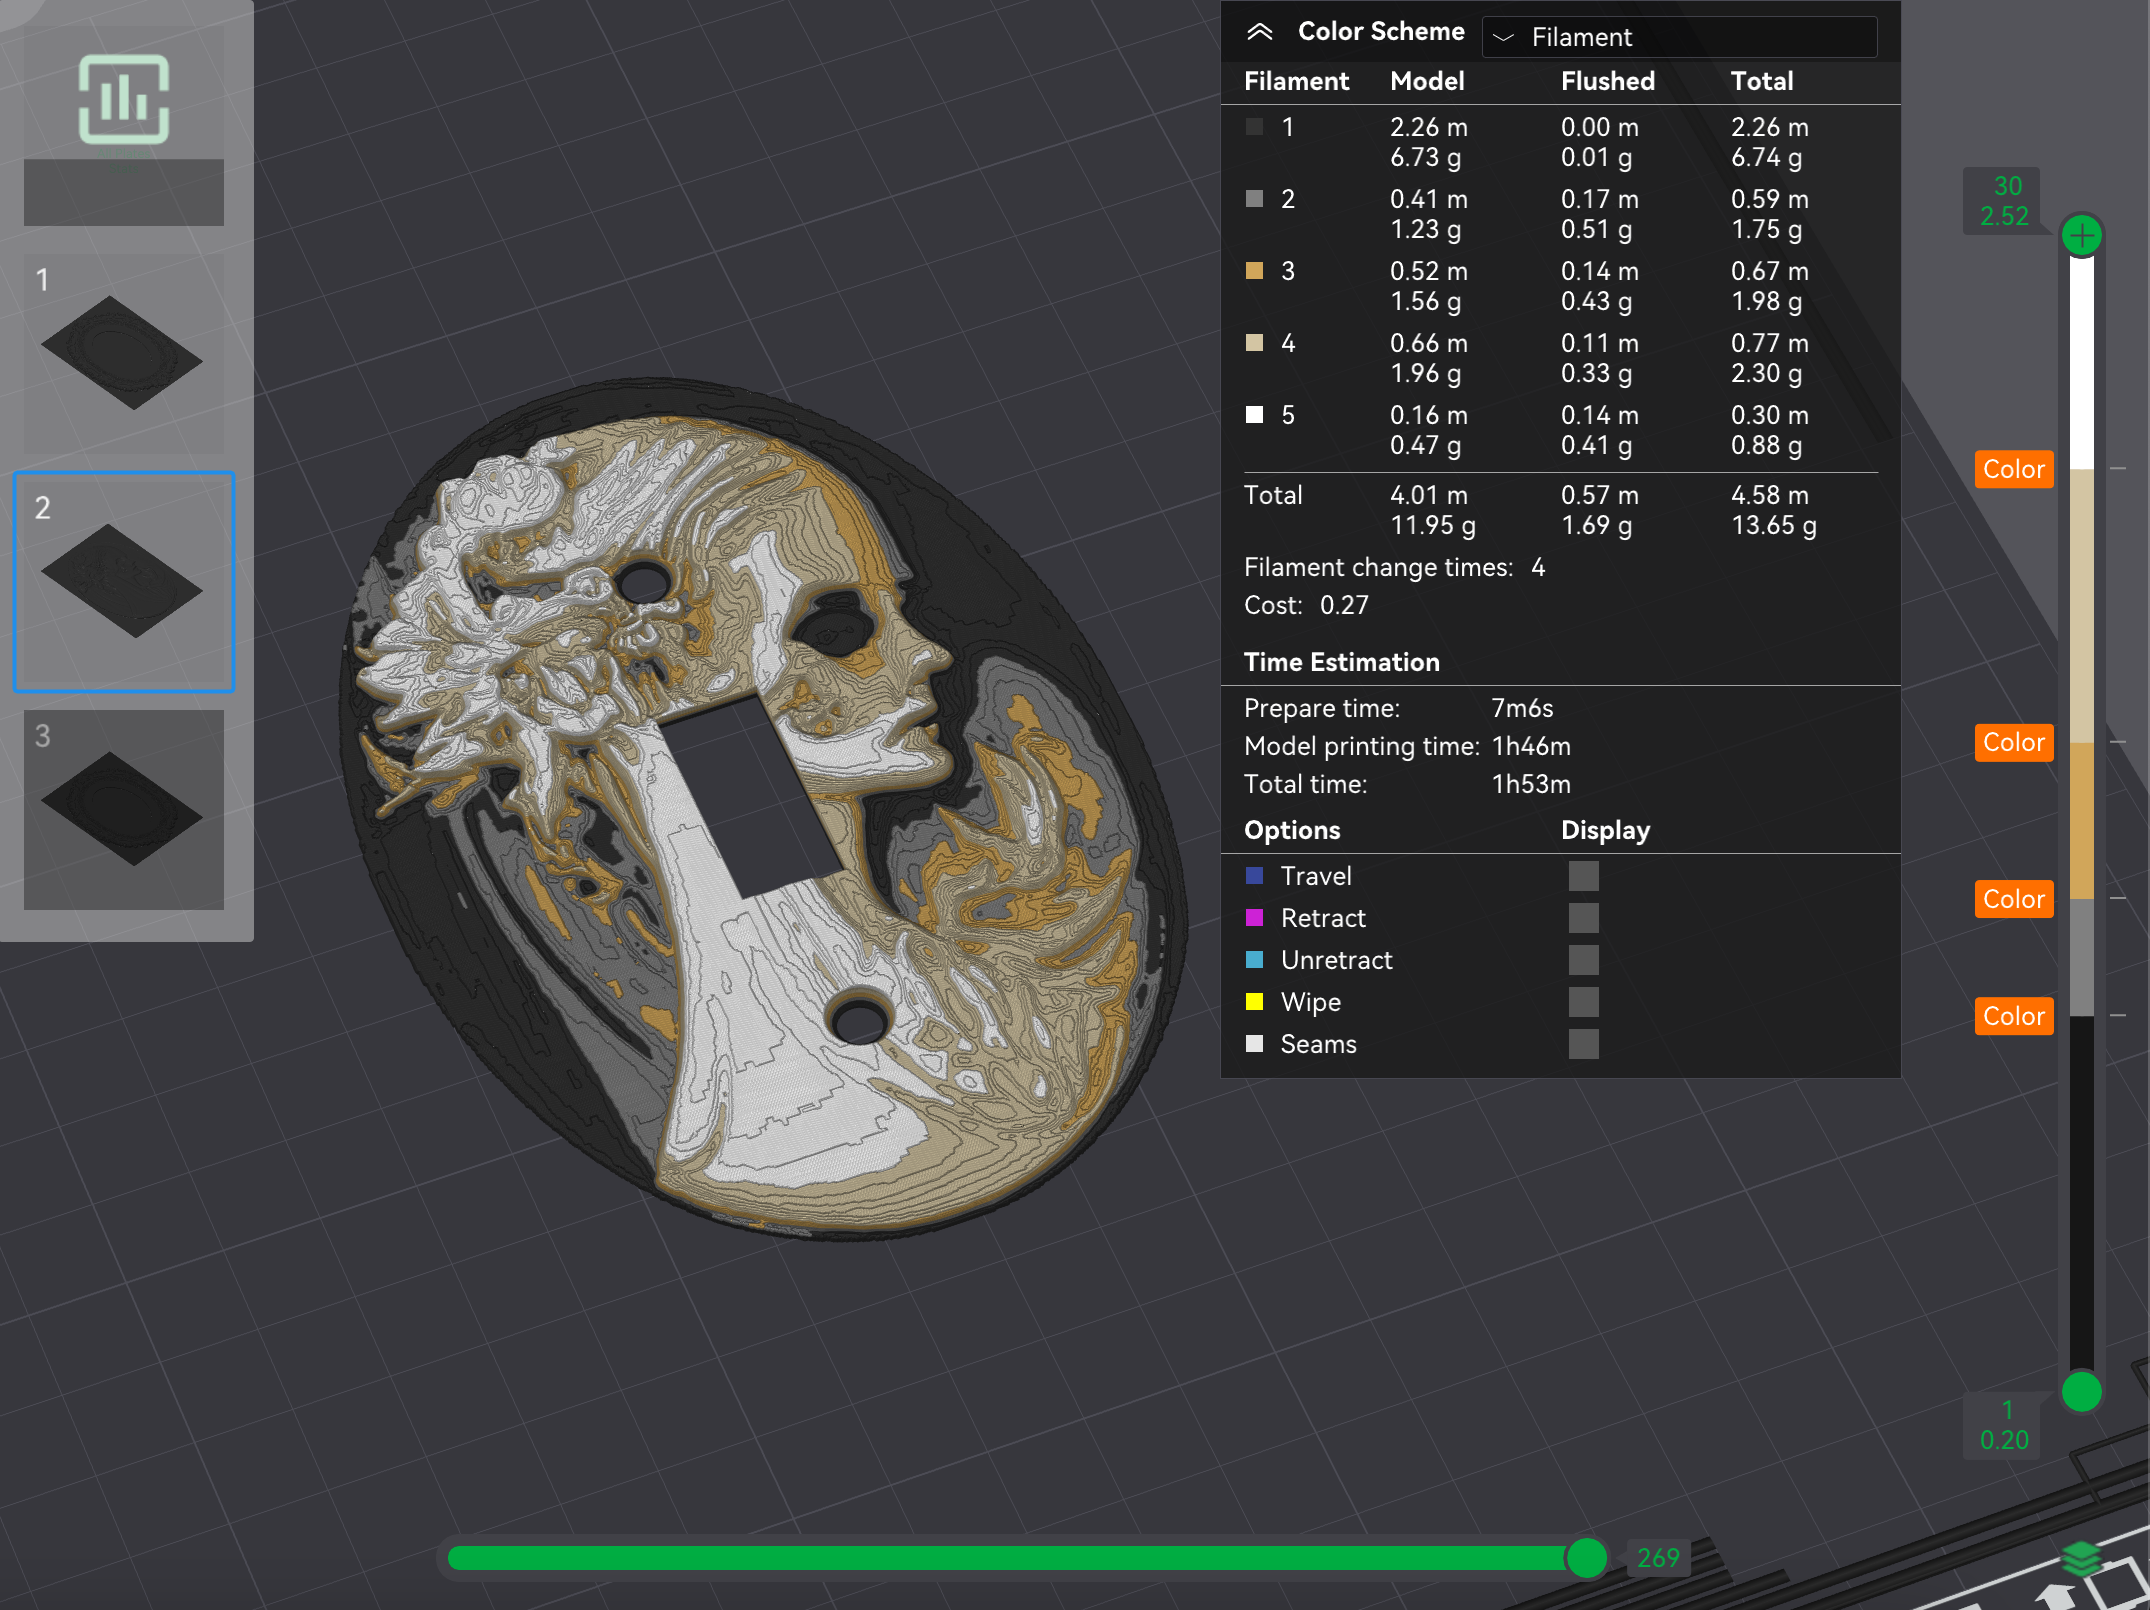
Once I had them how I wanted them and they also looked good in the Slicer, I printed them all. I used .08mm settings for the face and frame, and used regular .2mm settings for the exterior back piece as it didn't have any detail on it.
The frame, face, and frame border all need to be printed separately because they have different color changes and settings. I also used ironing on all top layers in the frame and face.
Color Changes Cameo Face:
- Layers 1 - 9 : Black
- Layers 10 - 12 : Silver MatterHackers
- Layers 13 - 16 : Pastel Peanut (Polymaker PolyTerra Matte)
- Layers 17 - 23 : Bone White (Inland)
- Layers 24 - top : White
Color Changes Frame:
- Layers 1 - 19 : Black
- Layers 20 - 27 : Antique Gold CC3D Silk Antique Gold
- Layers 28 - Top : Shiny Gold FF SUNSENKJ Silk Gold
Gluing
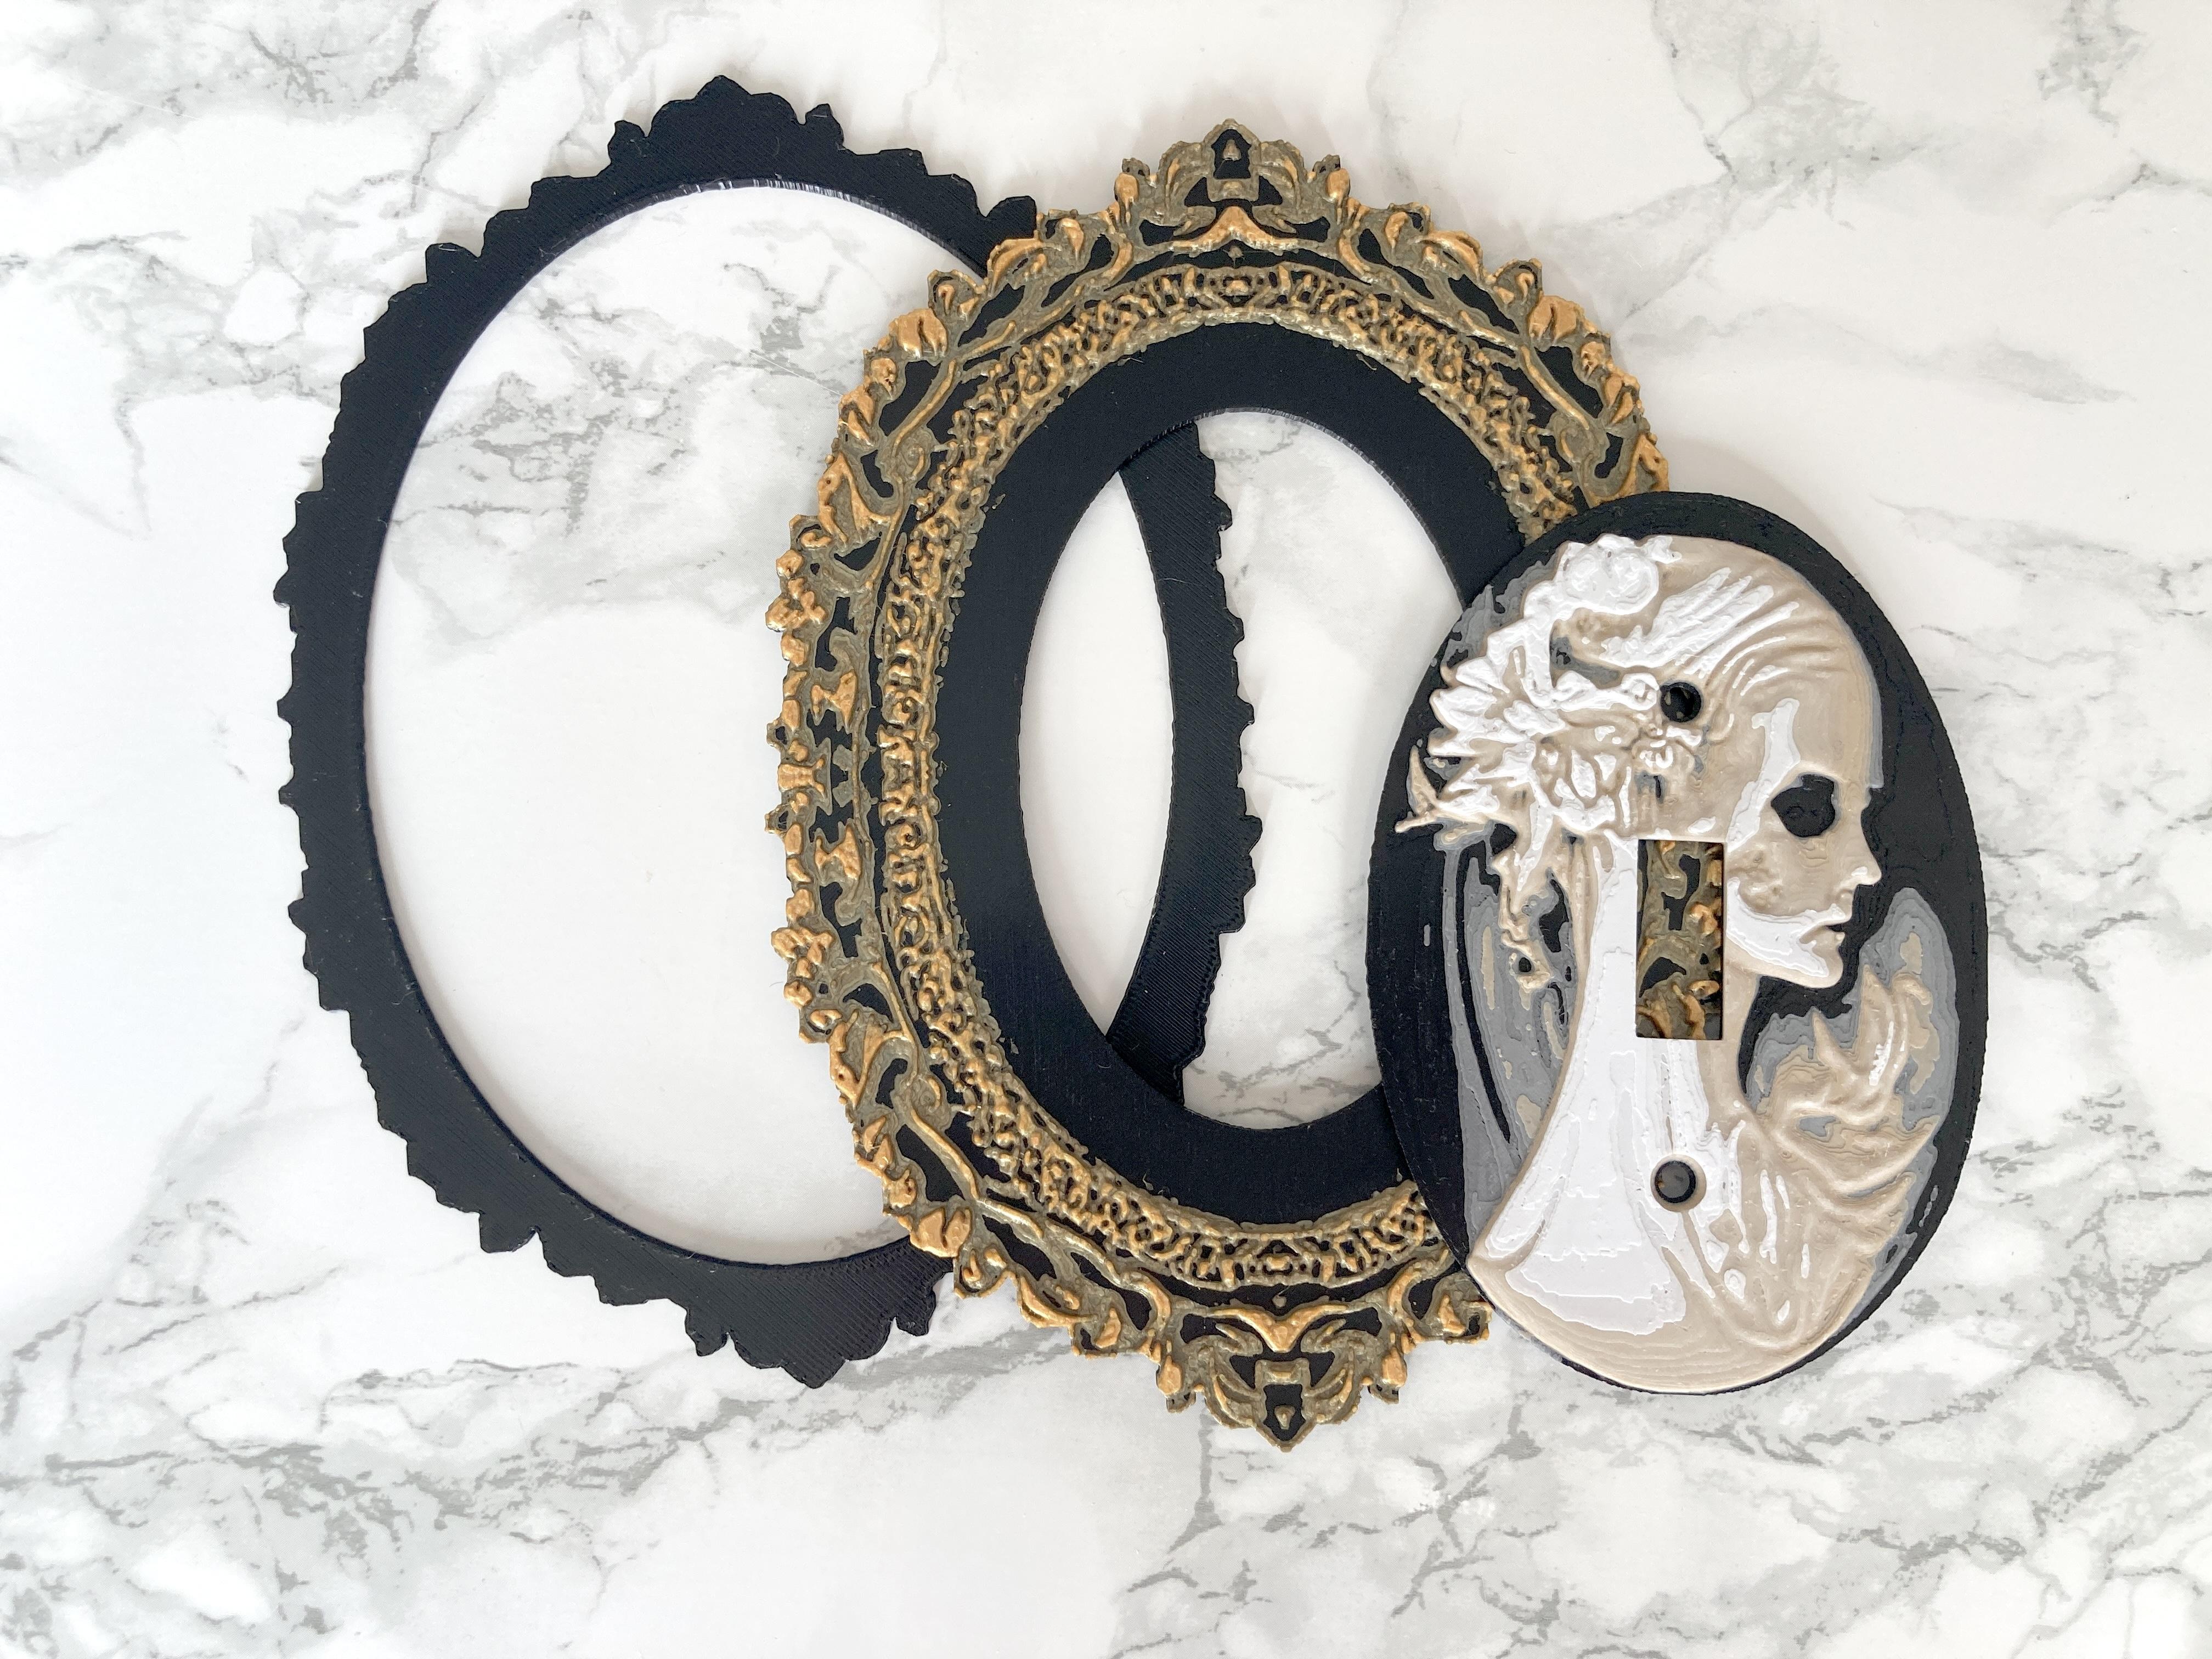
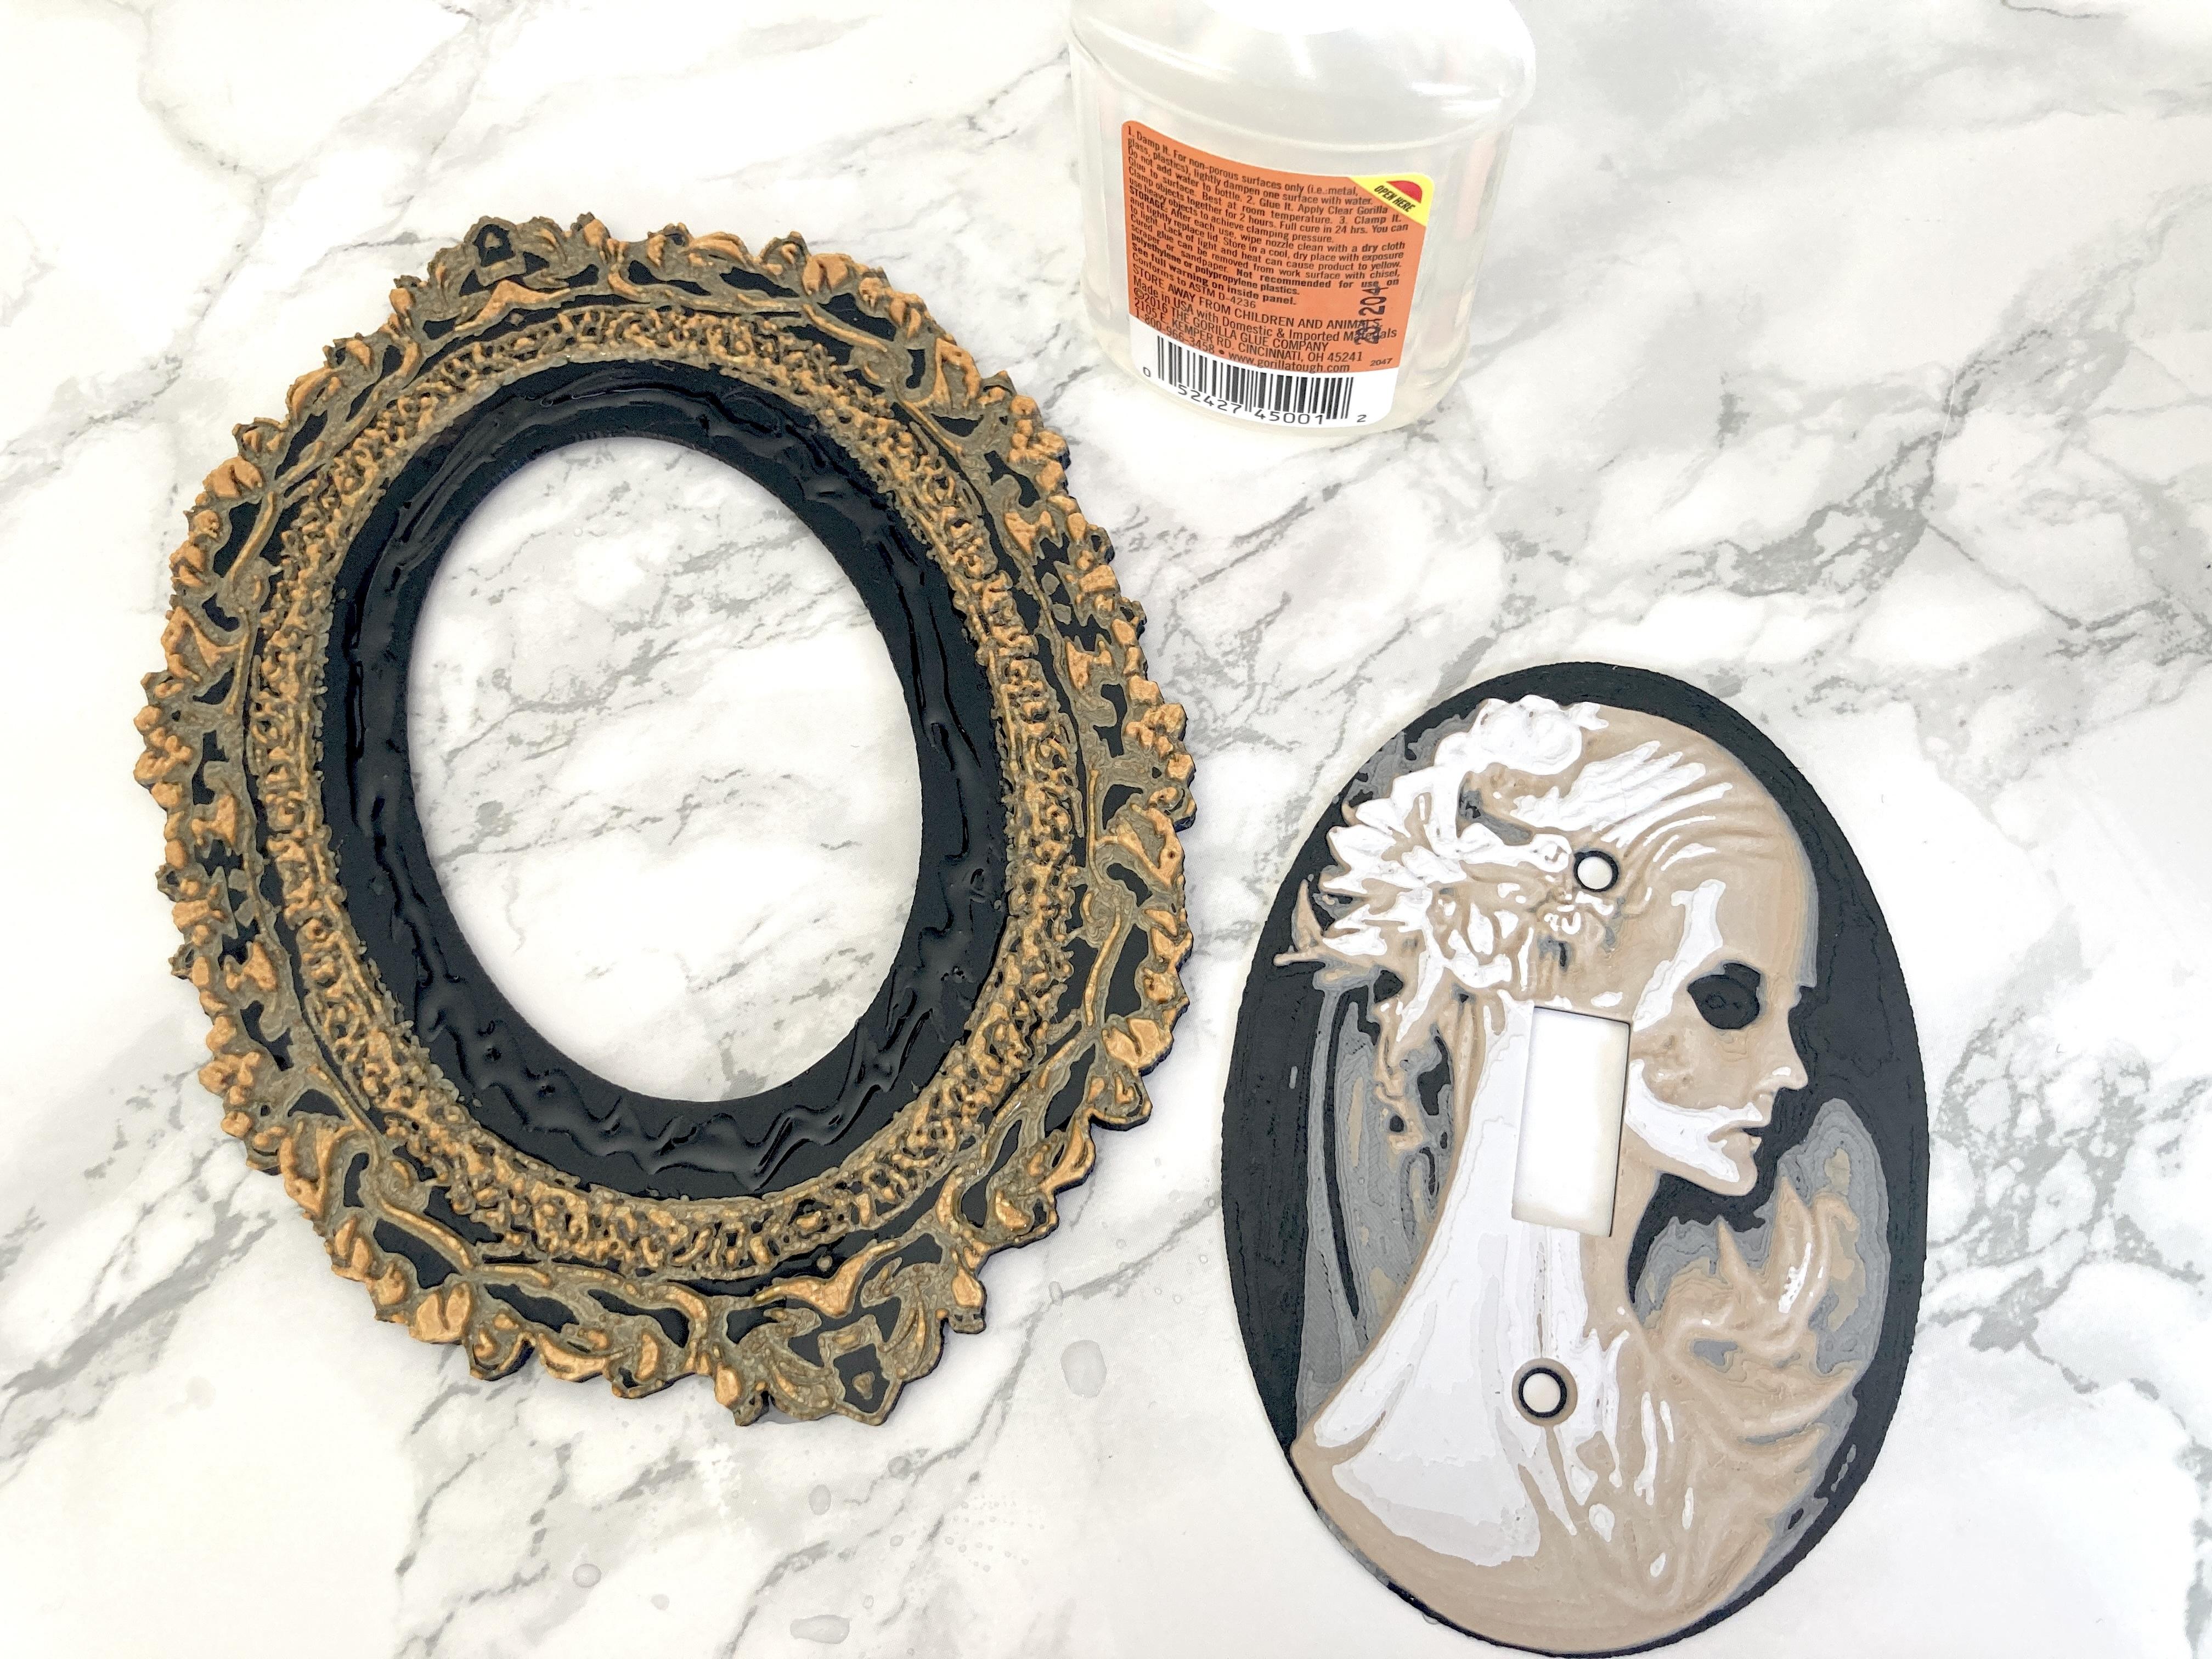
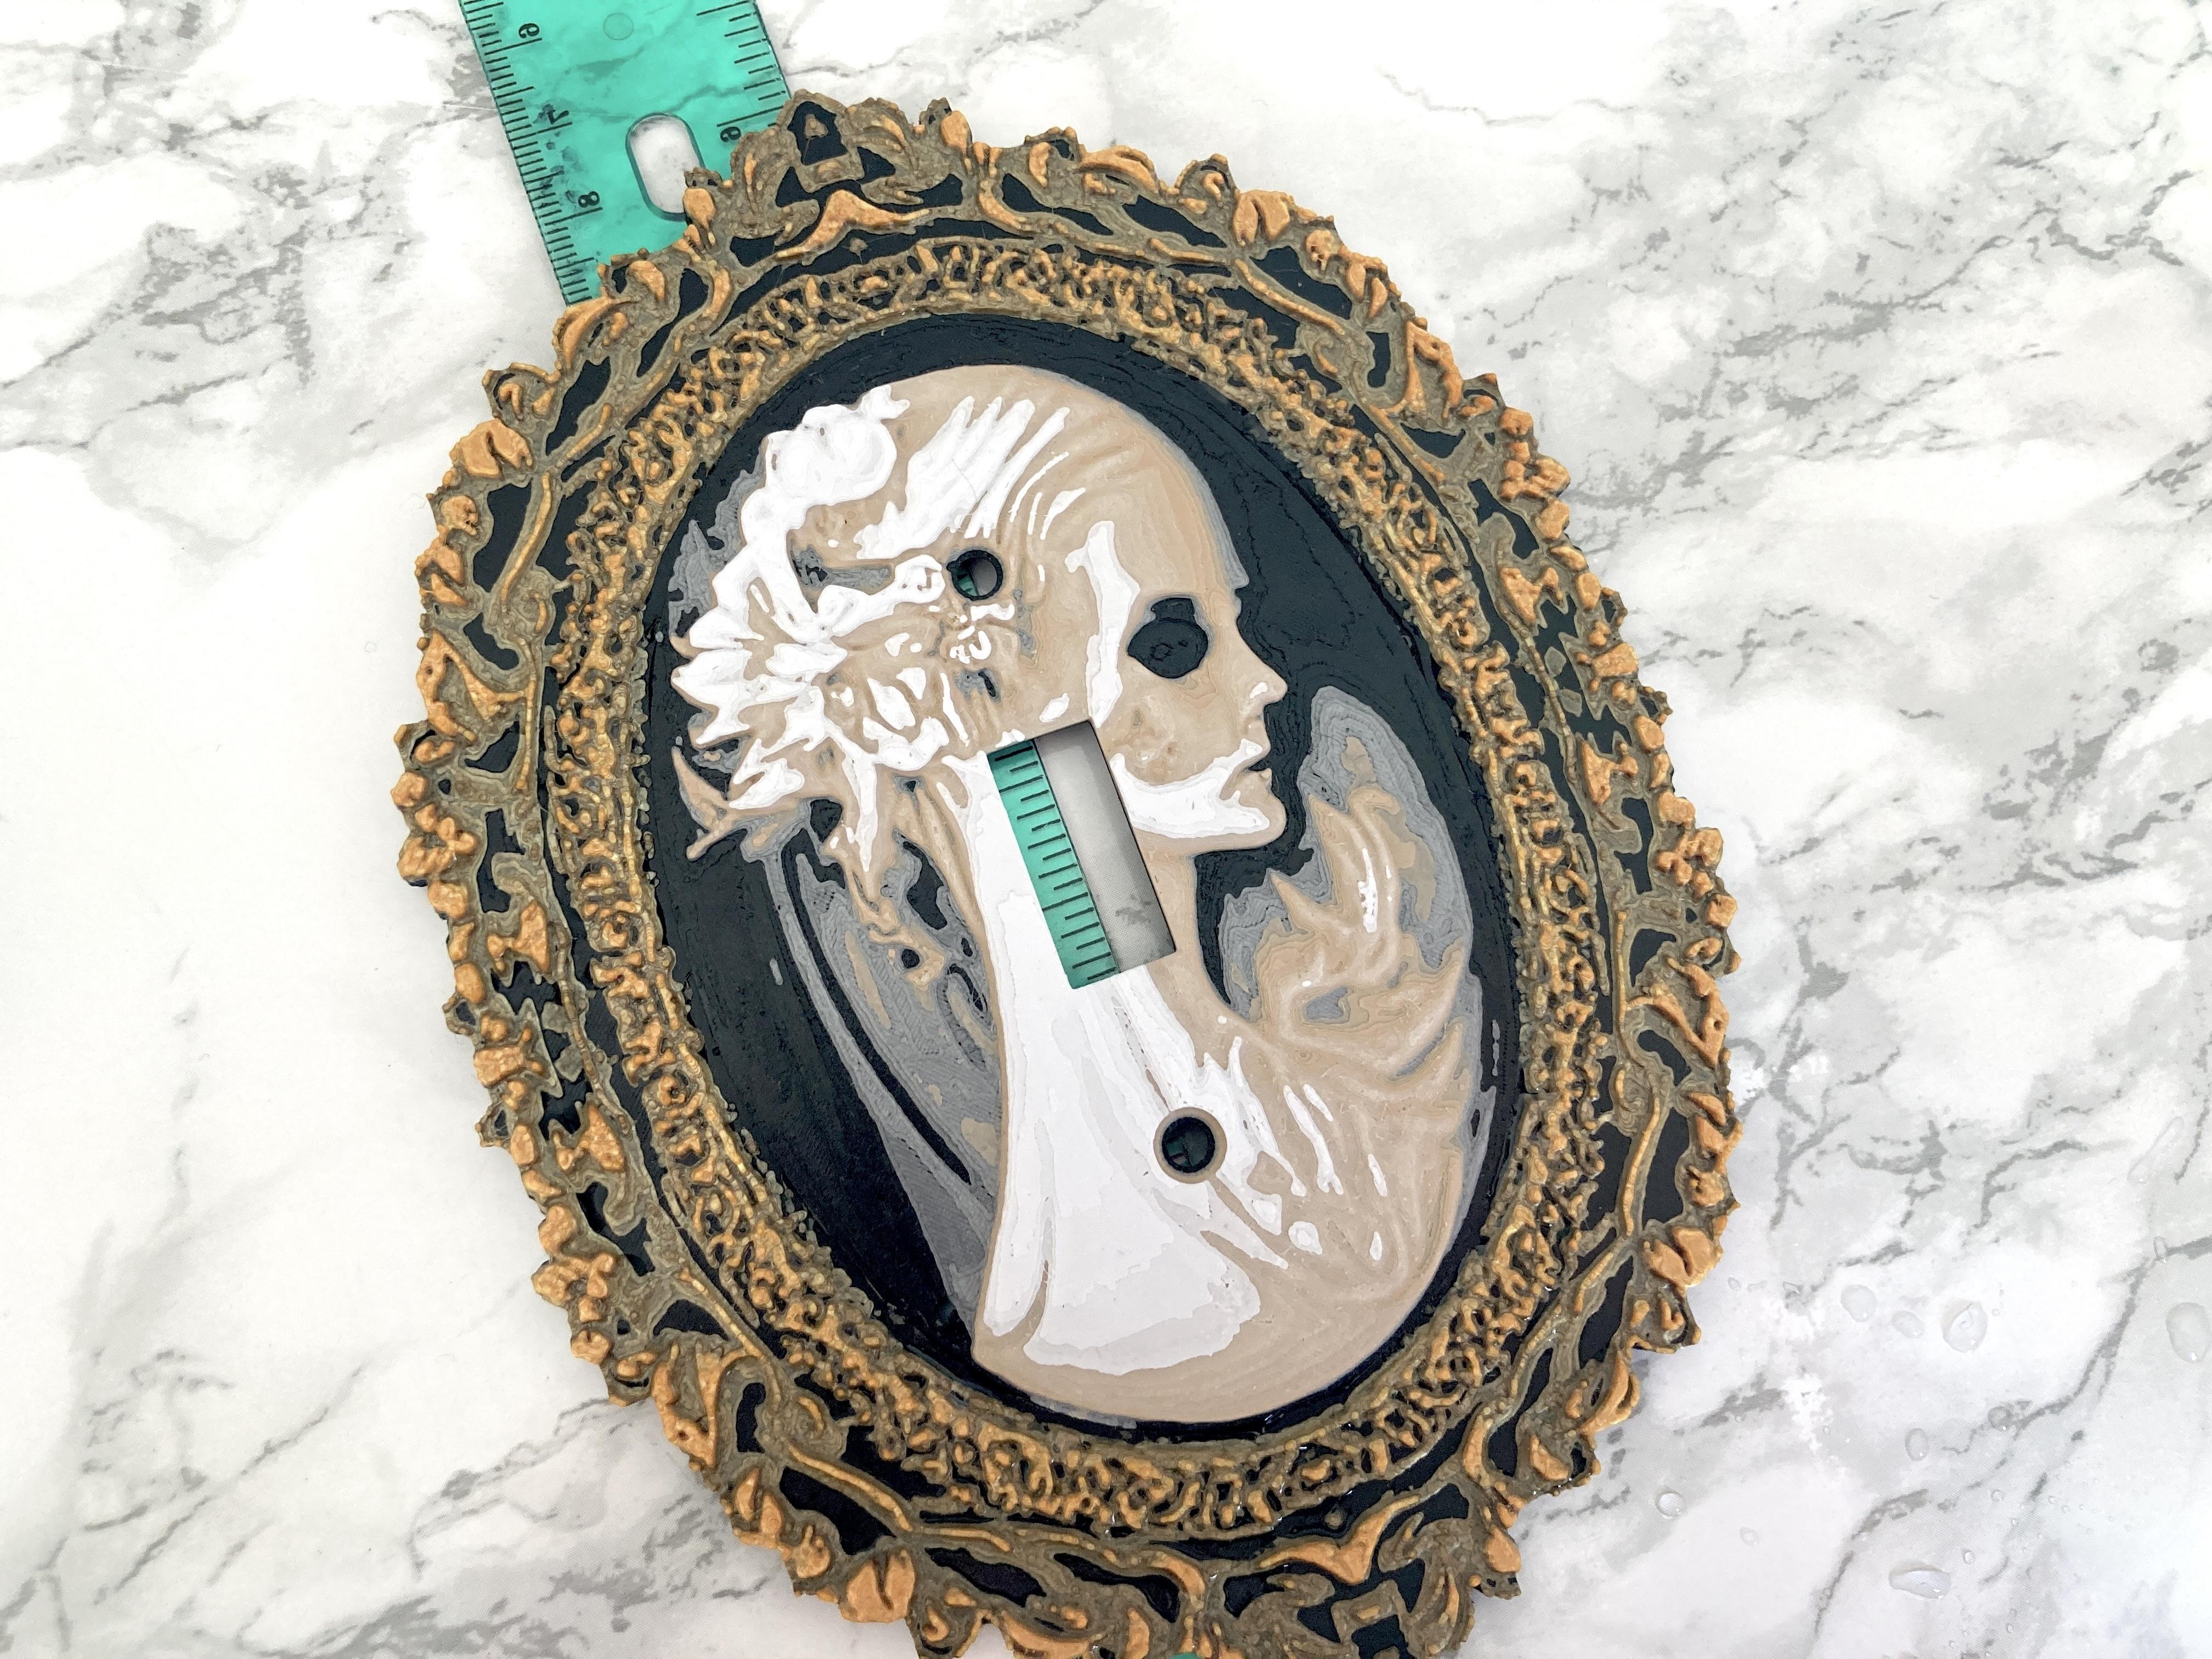
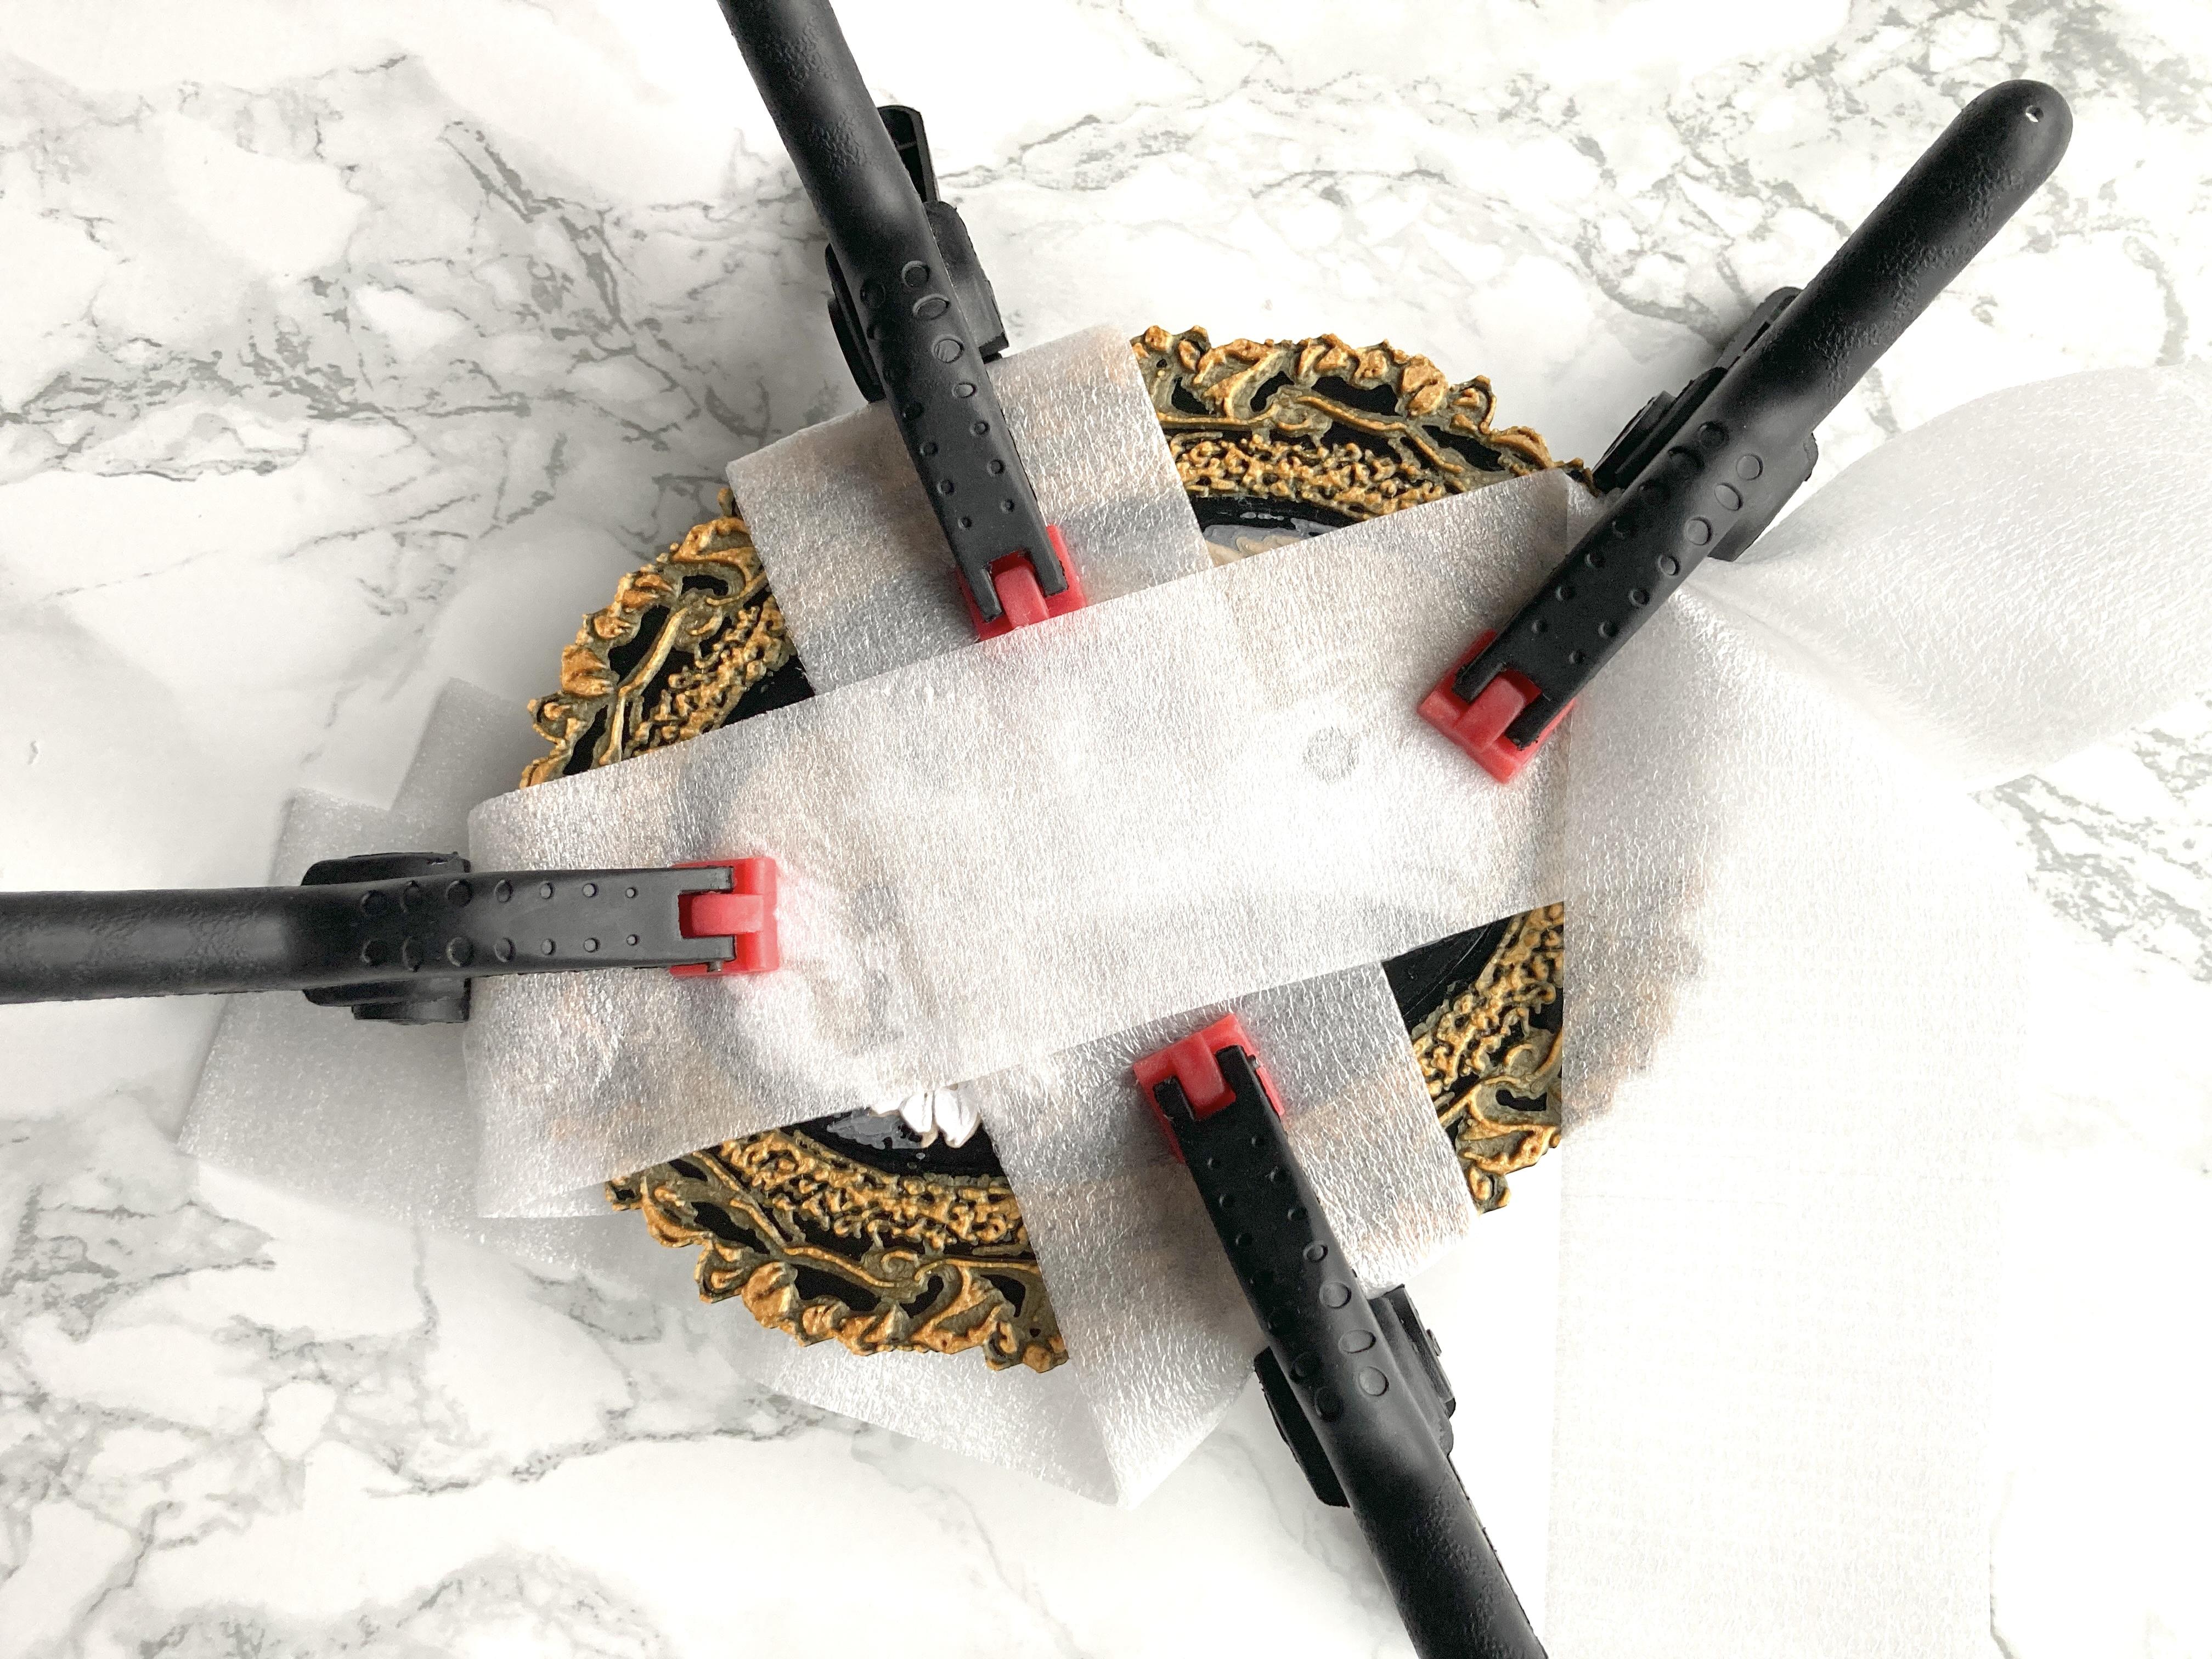
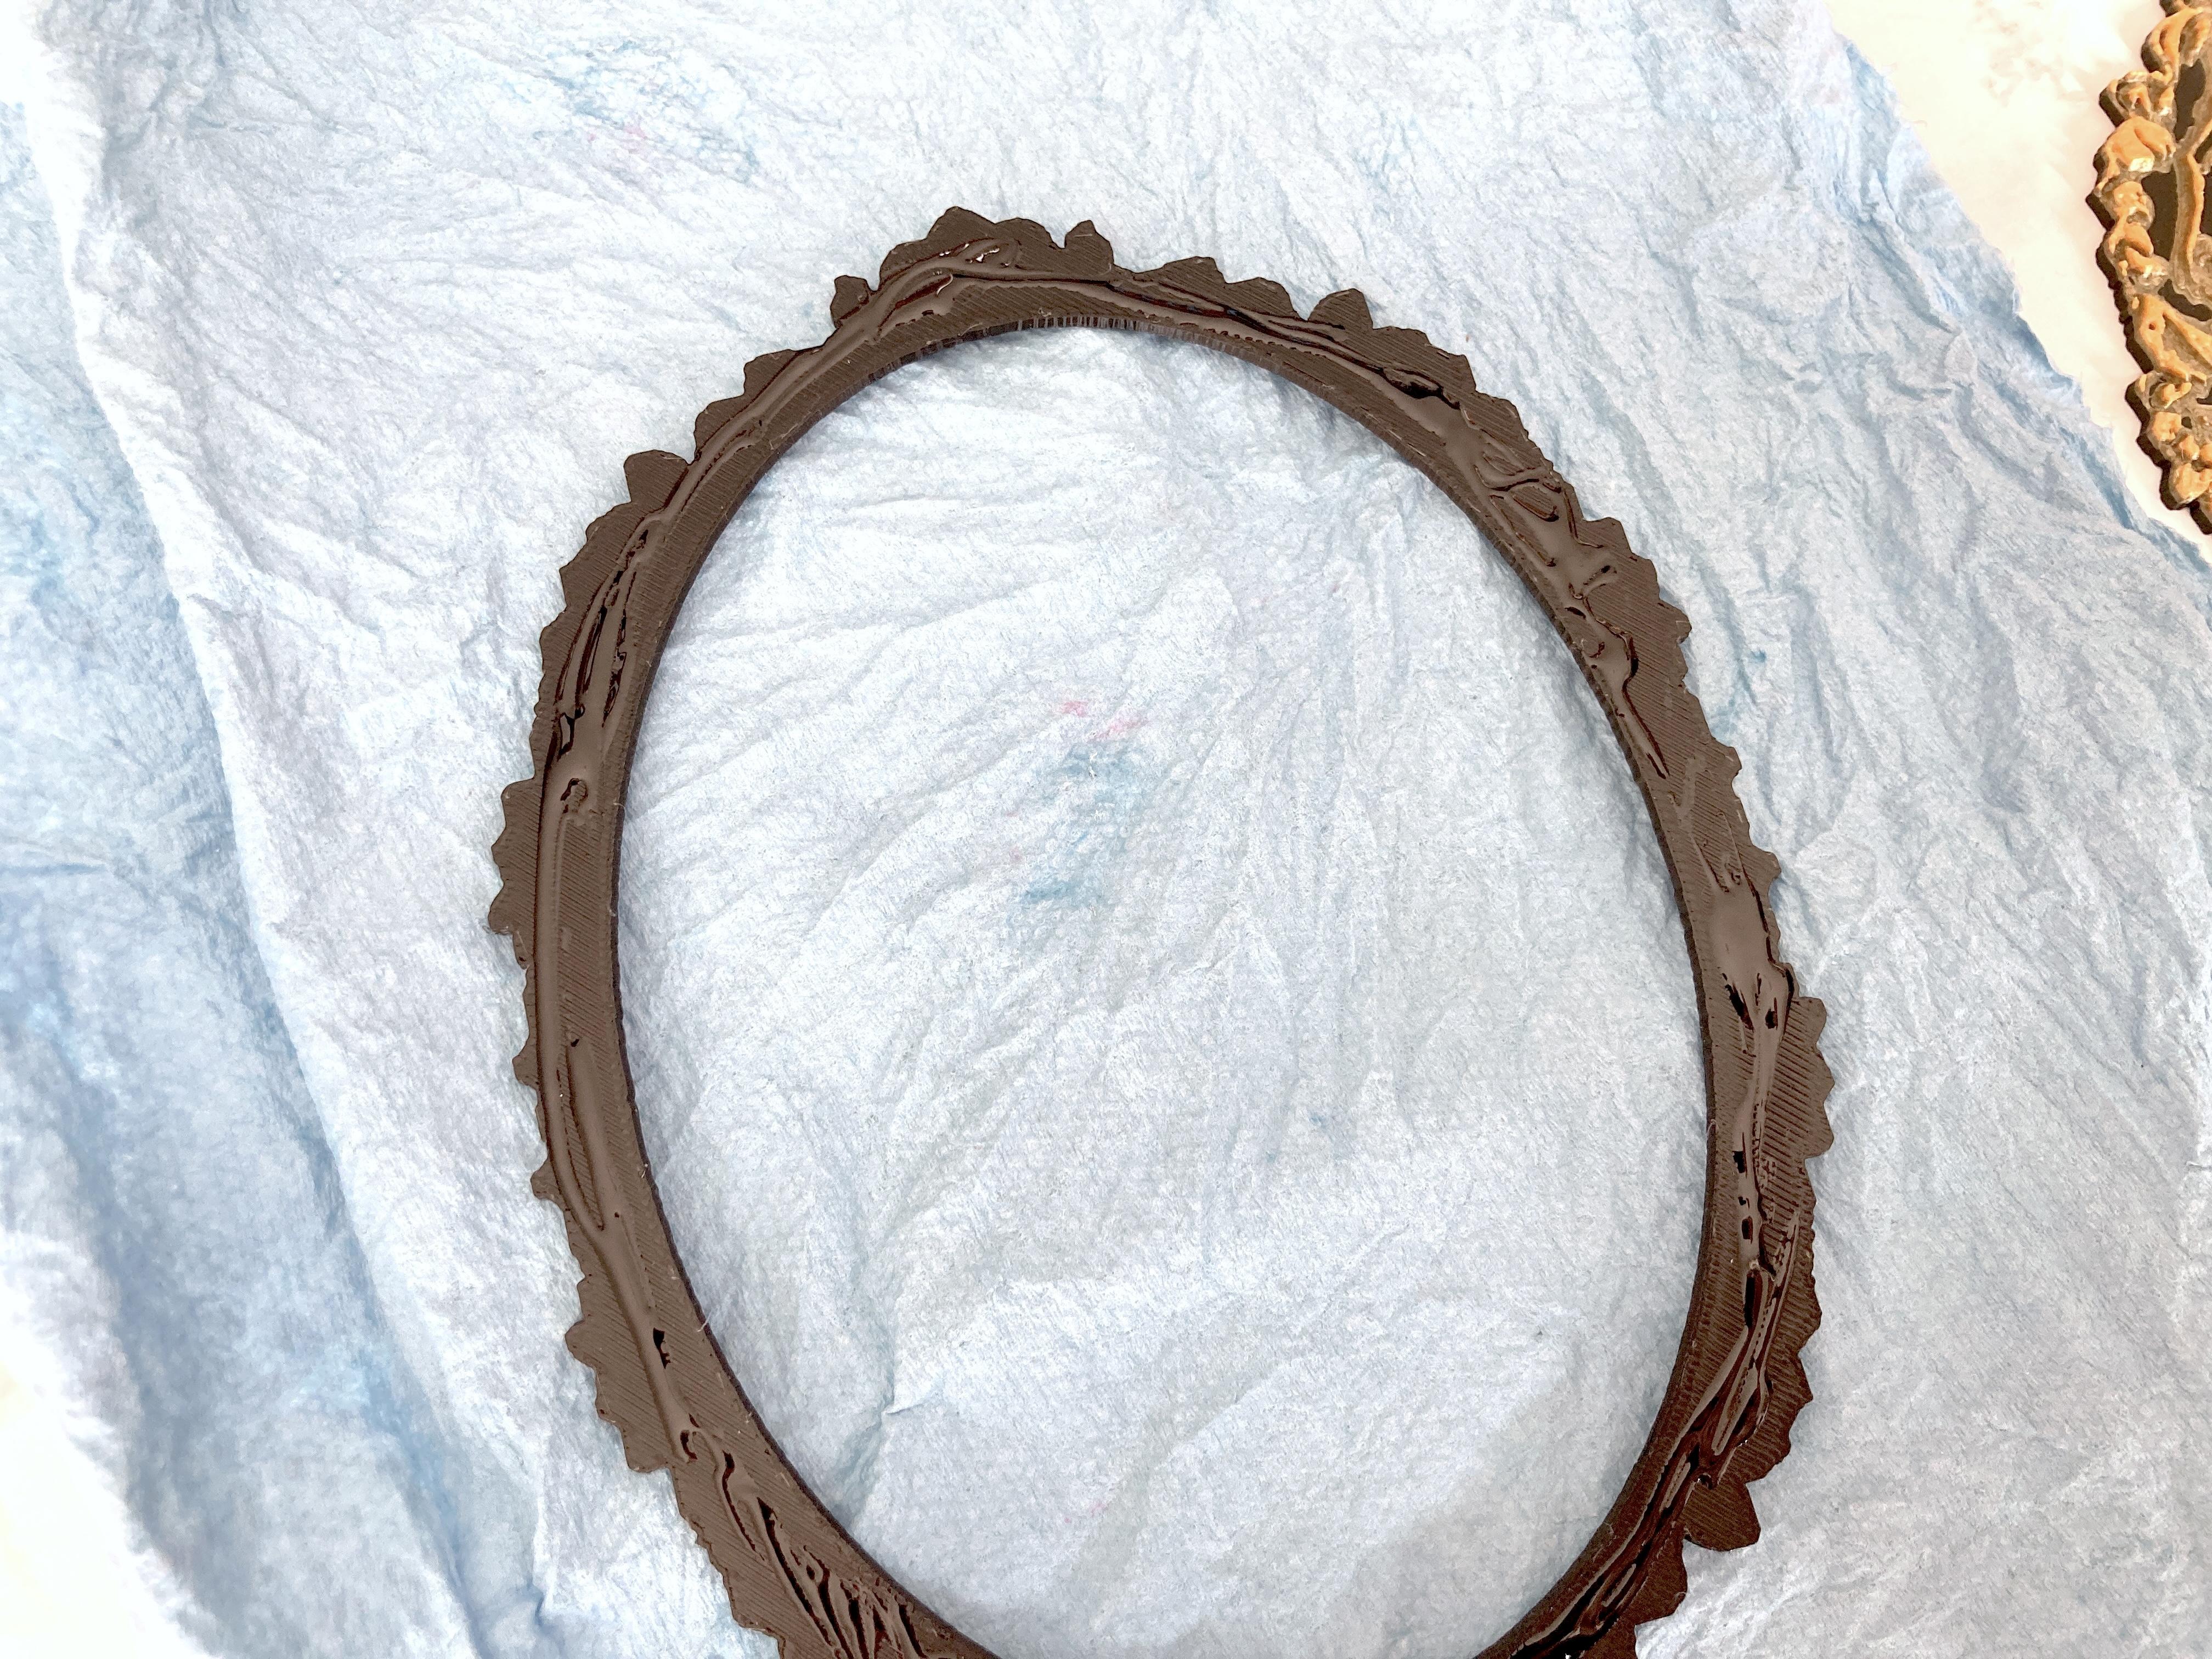
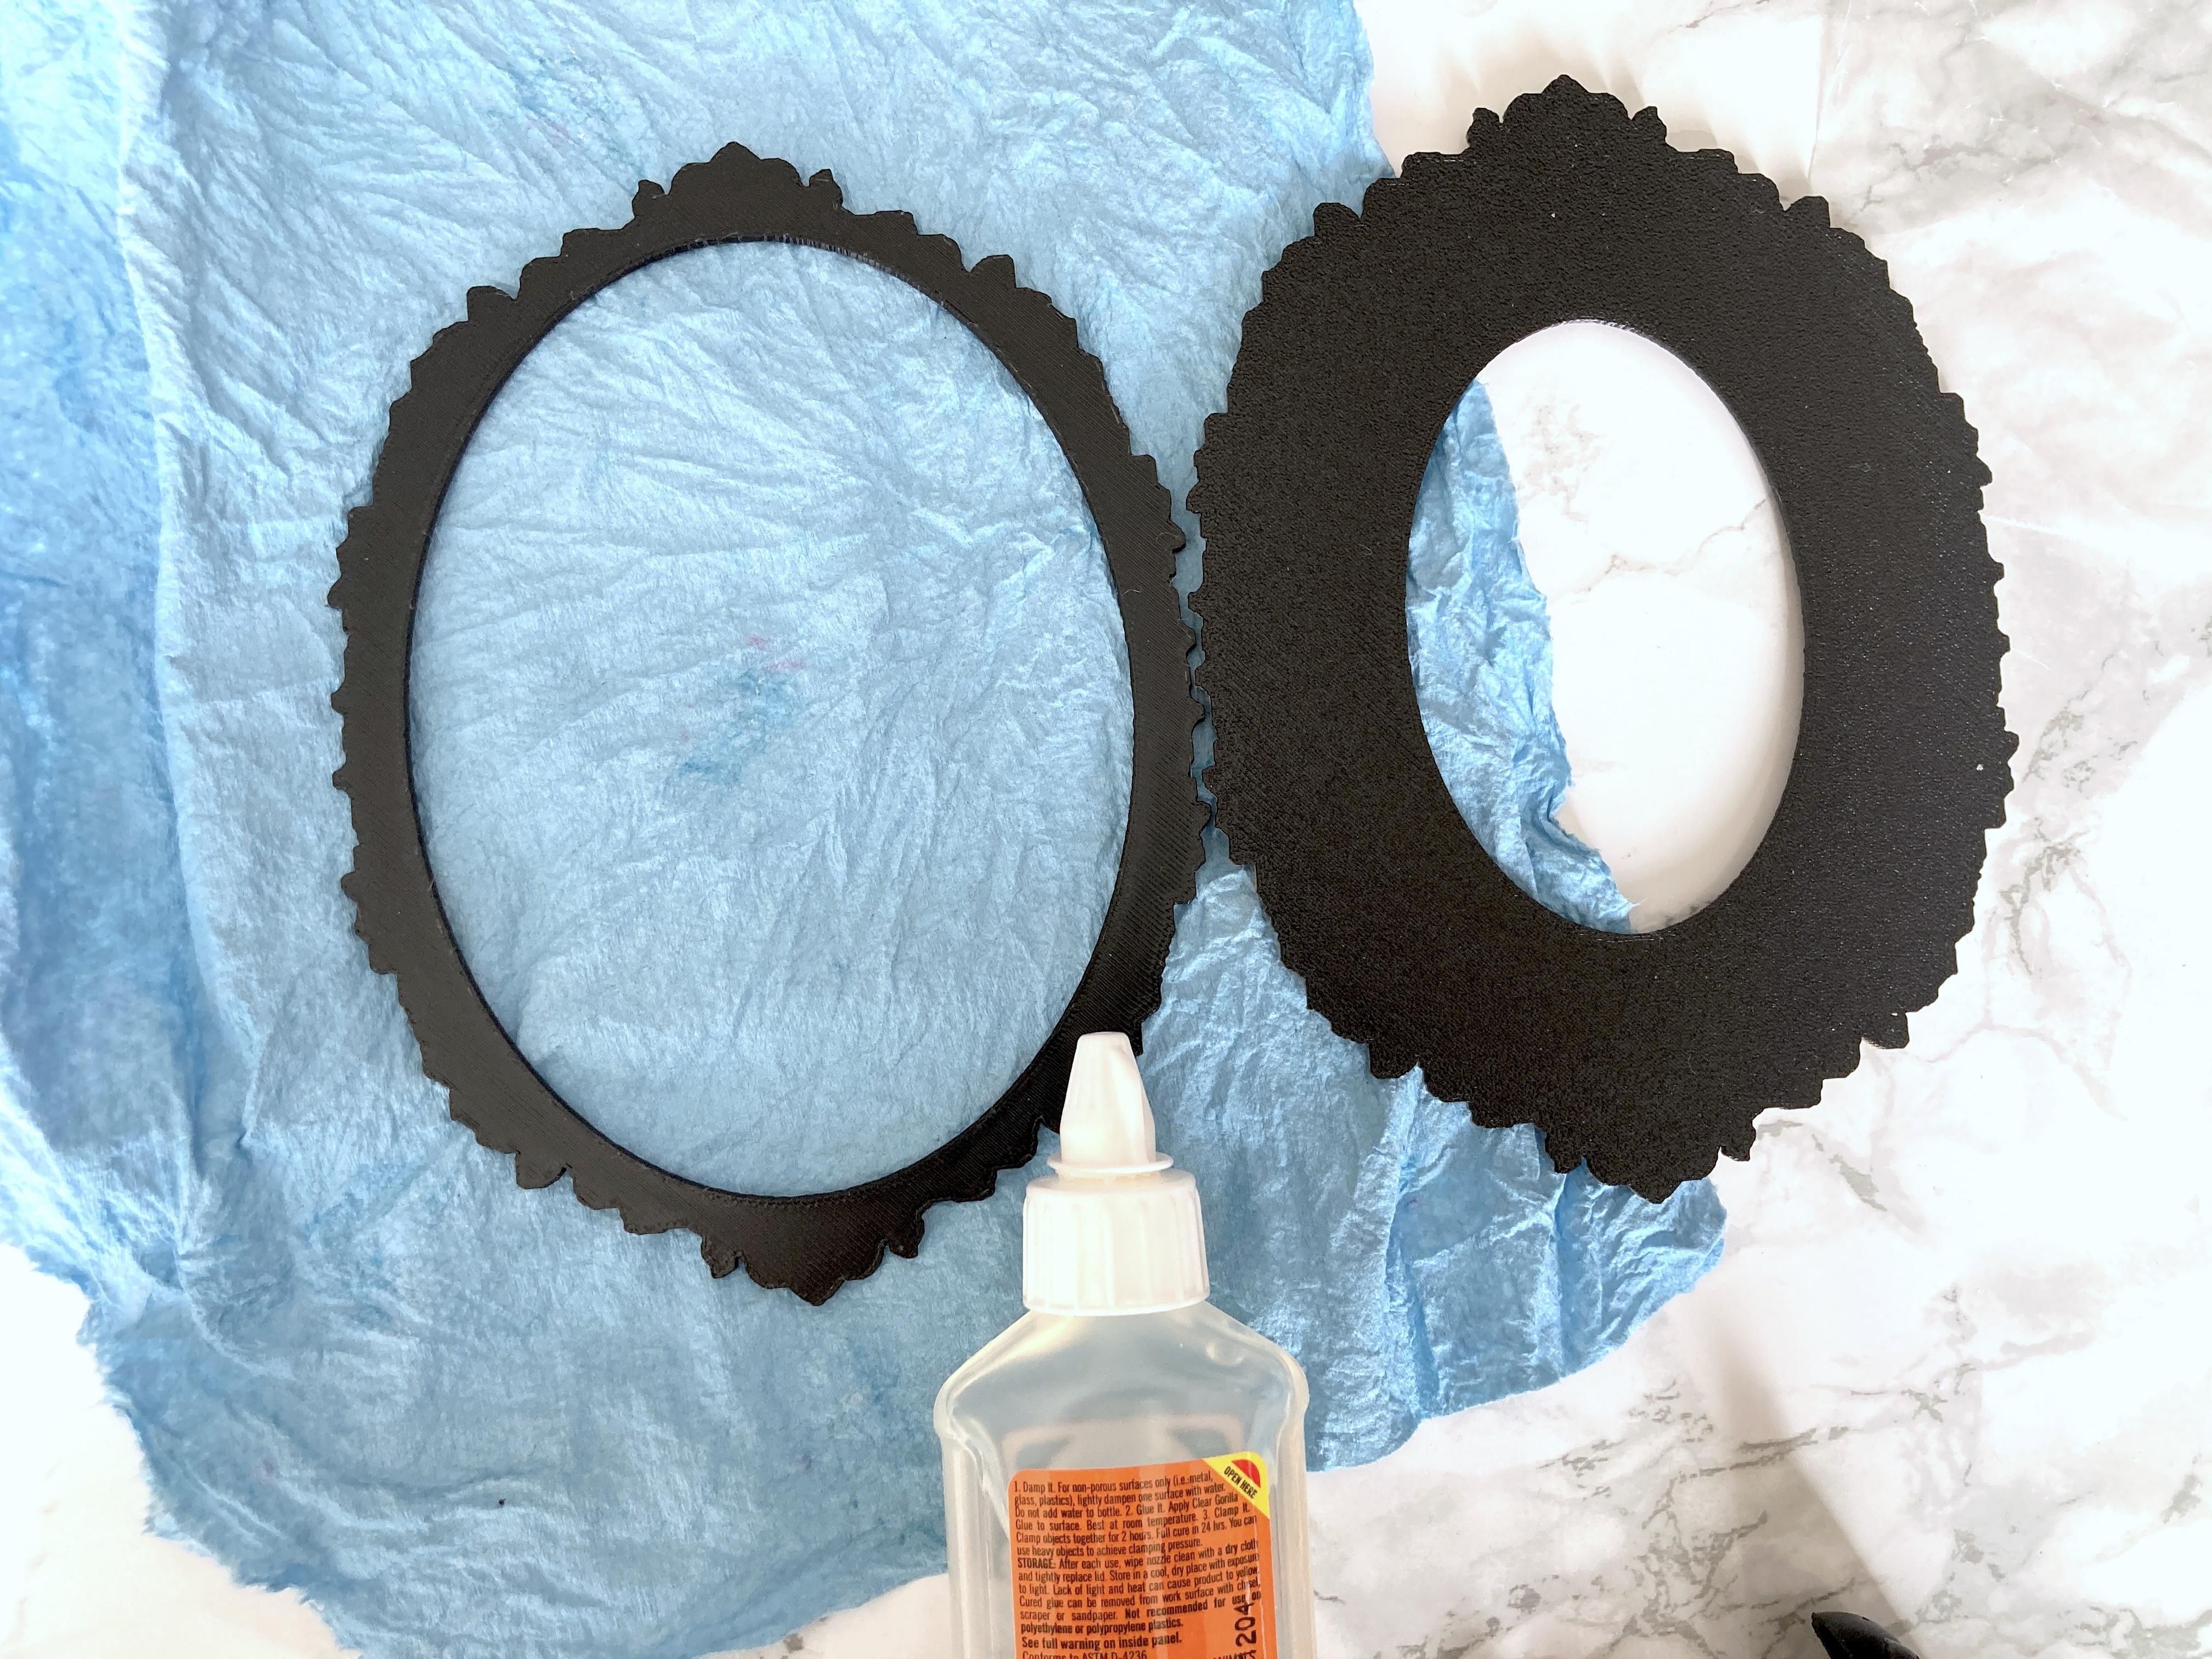
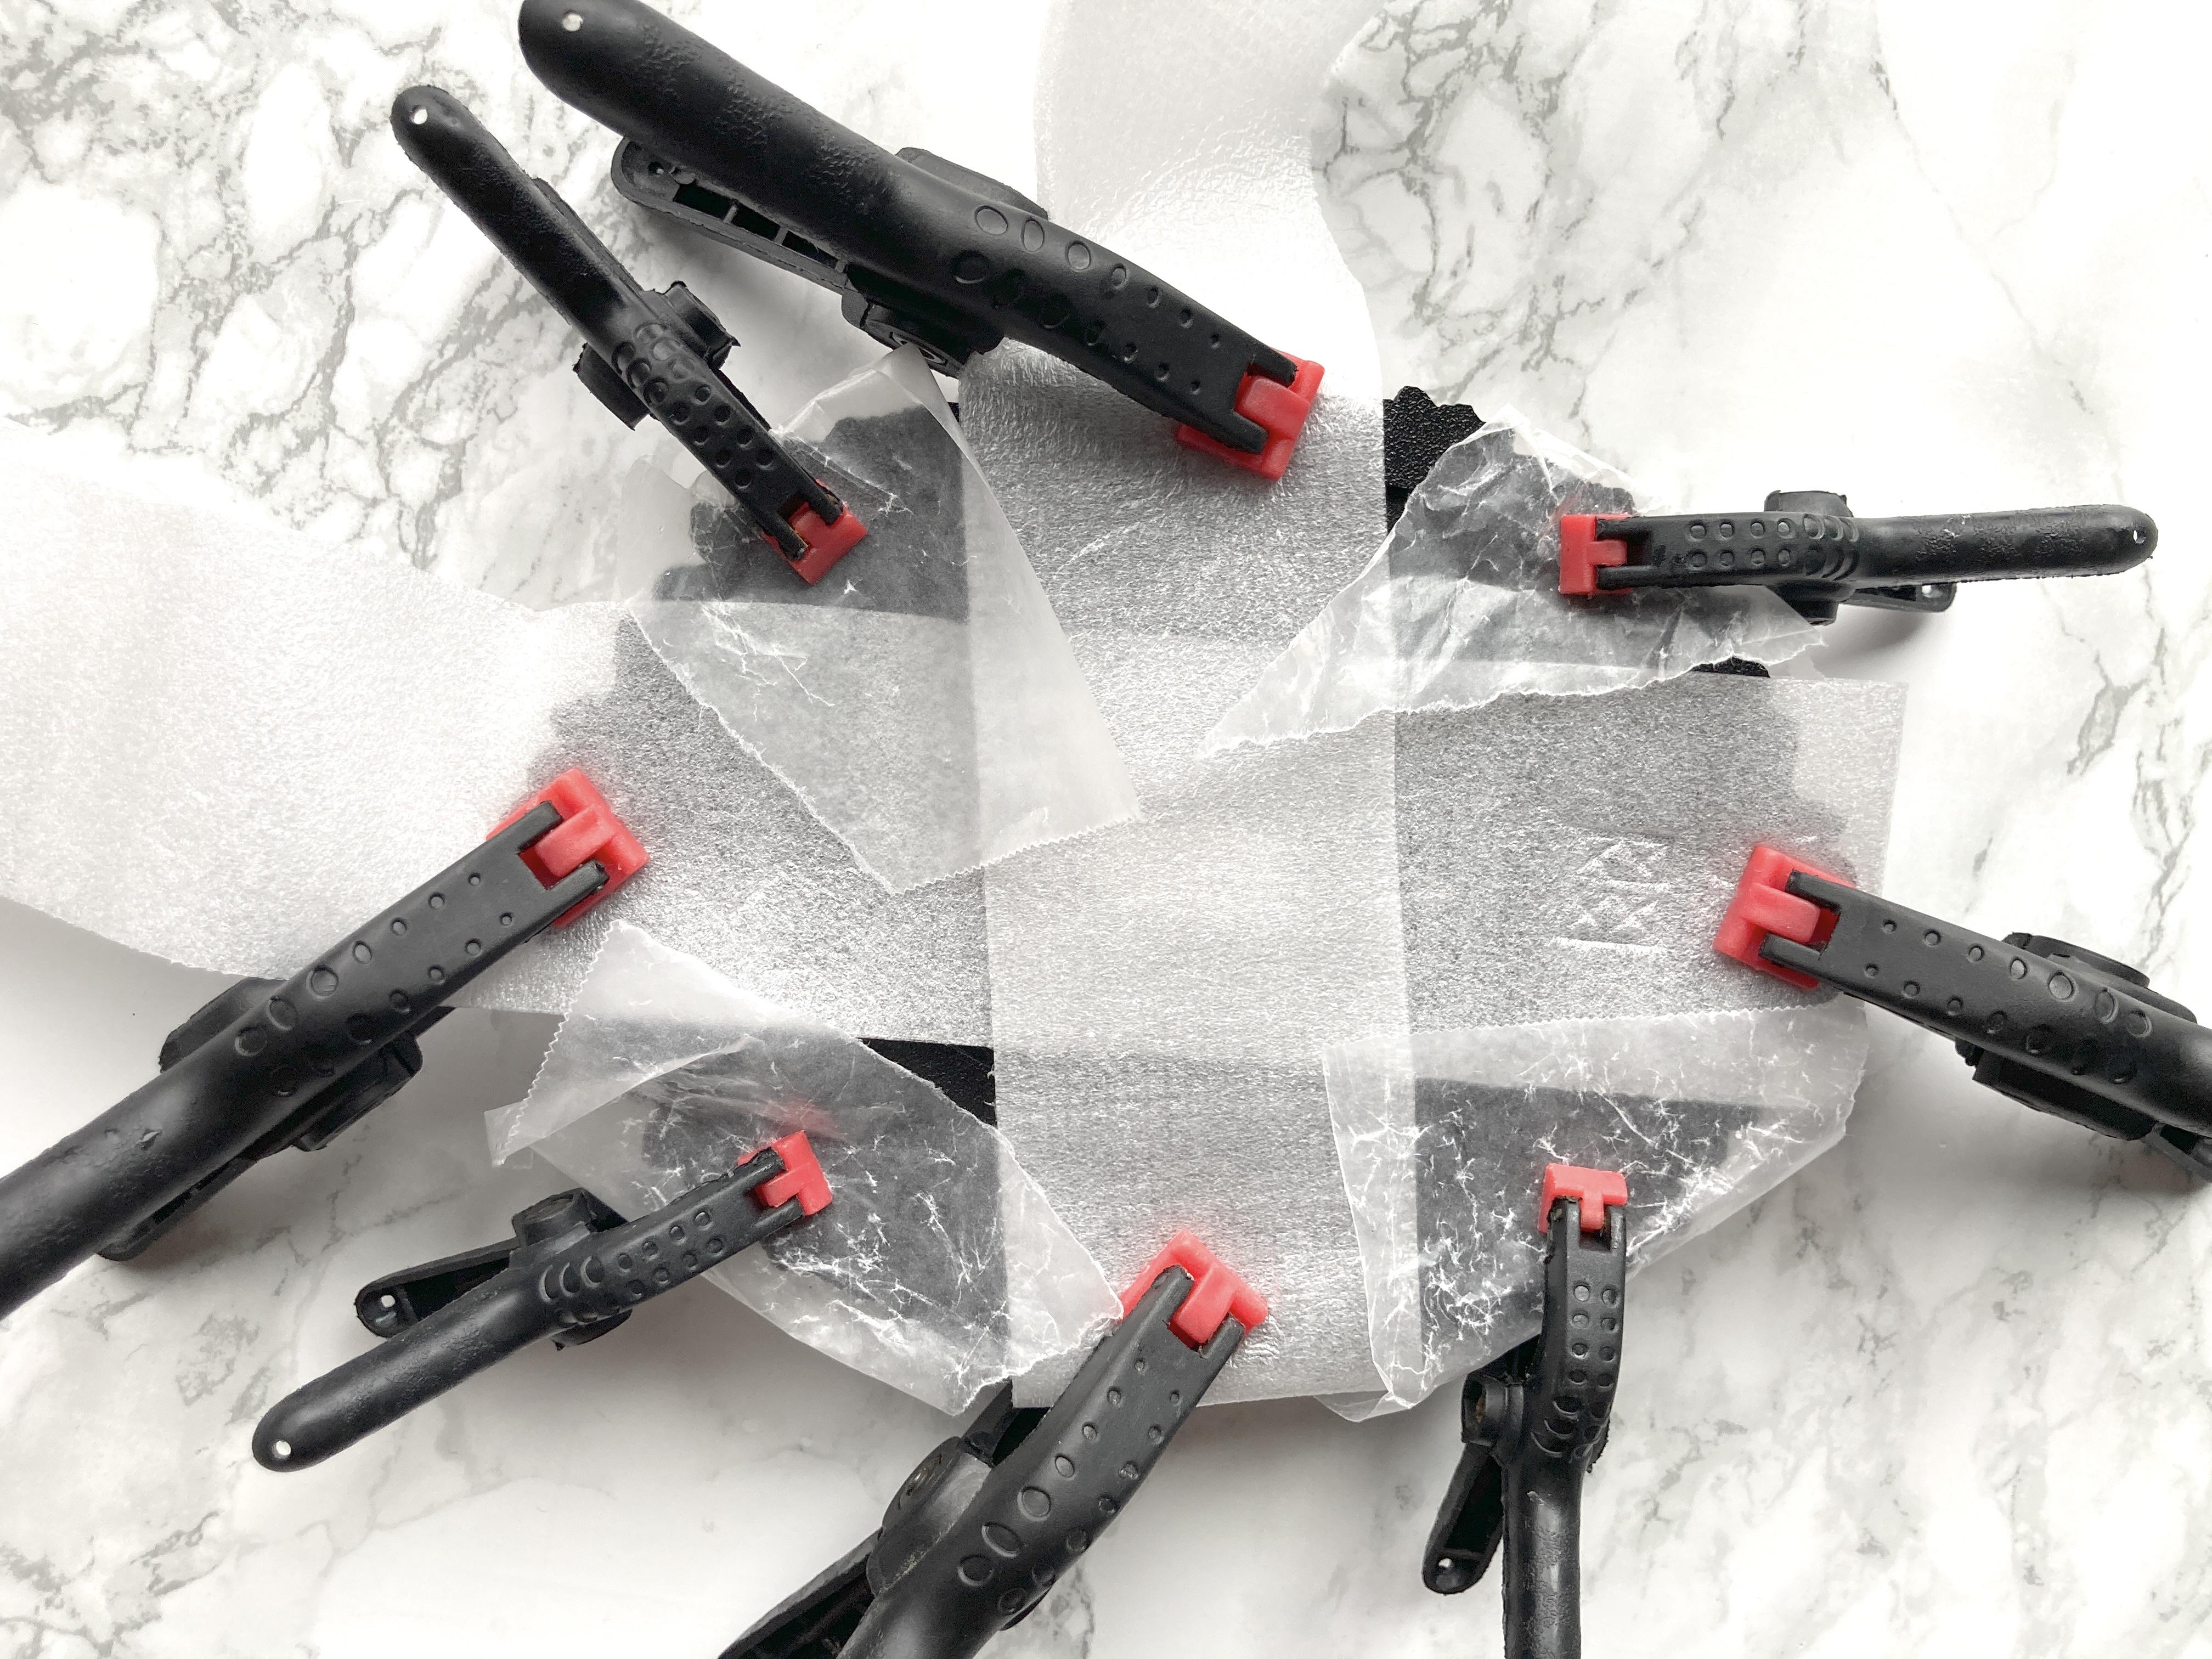
Time to glue!
I like to start by gluing the face into the frame. An important thing to keep in mind here is you want the holes in the face to line up with the top and bottom points in the frame. I use a combination of a ruler and a piece of paper I drew a line on, whichever works at the moment.
If you are using a glue like mine that takes time to dry, clamp it. Make sure to protect your piece from the clamps. I didn't the first time and I left some red residue on the came image :P
My method is to glue, then clamp, then take the clamps off and let it finish drying as it is pressed flat under something relatively heavy.
Once the face isn't going to move, you can glue the back to the frame. Again, I would clamp all the way around, then flatten it under something heavy.
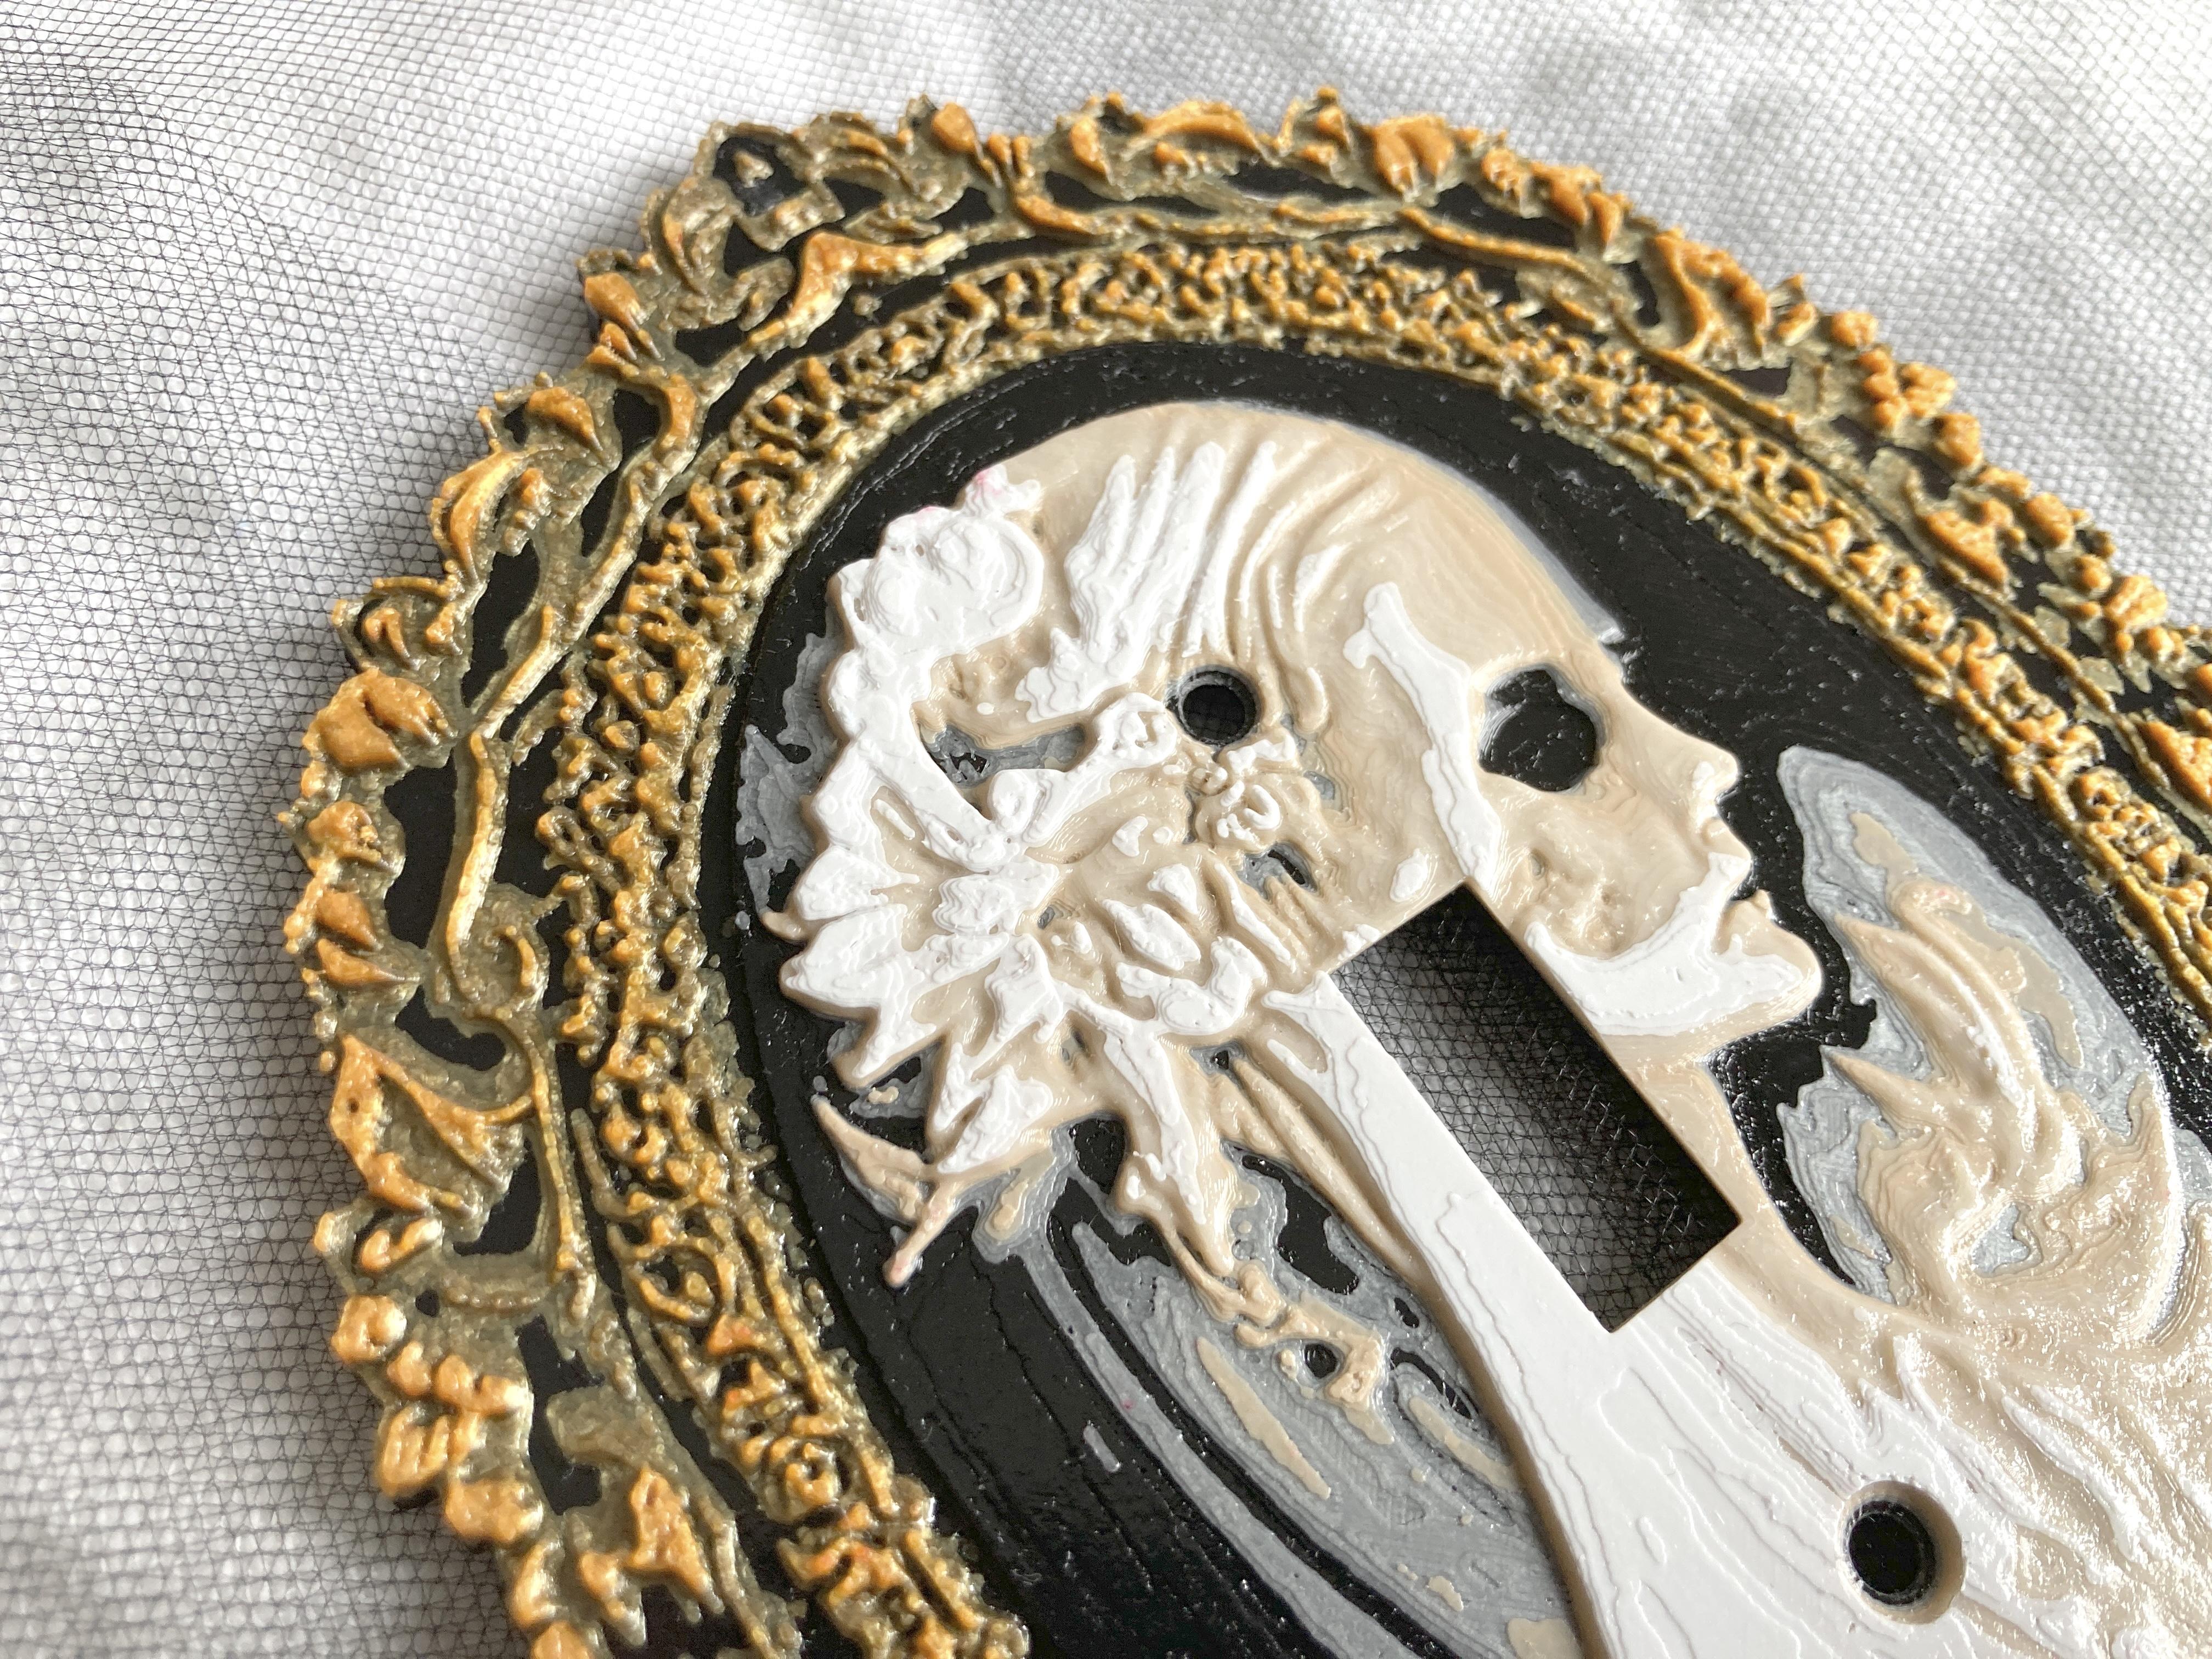
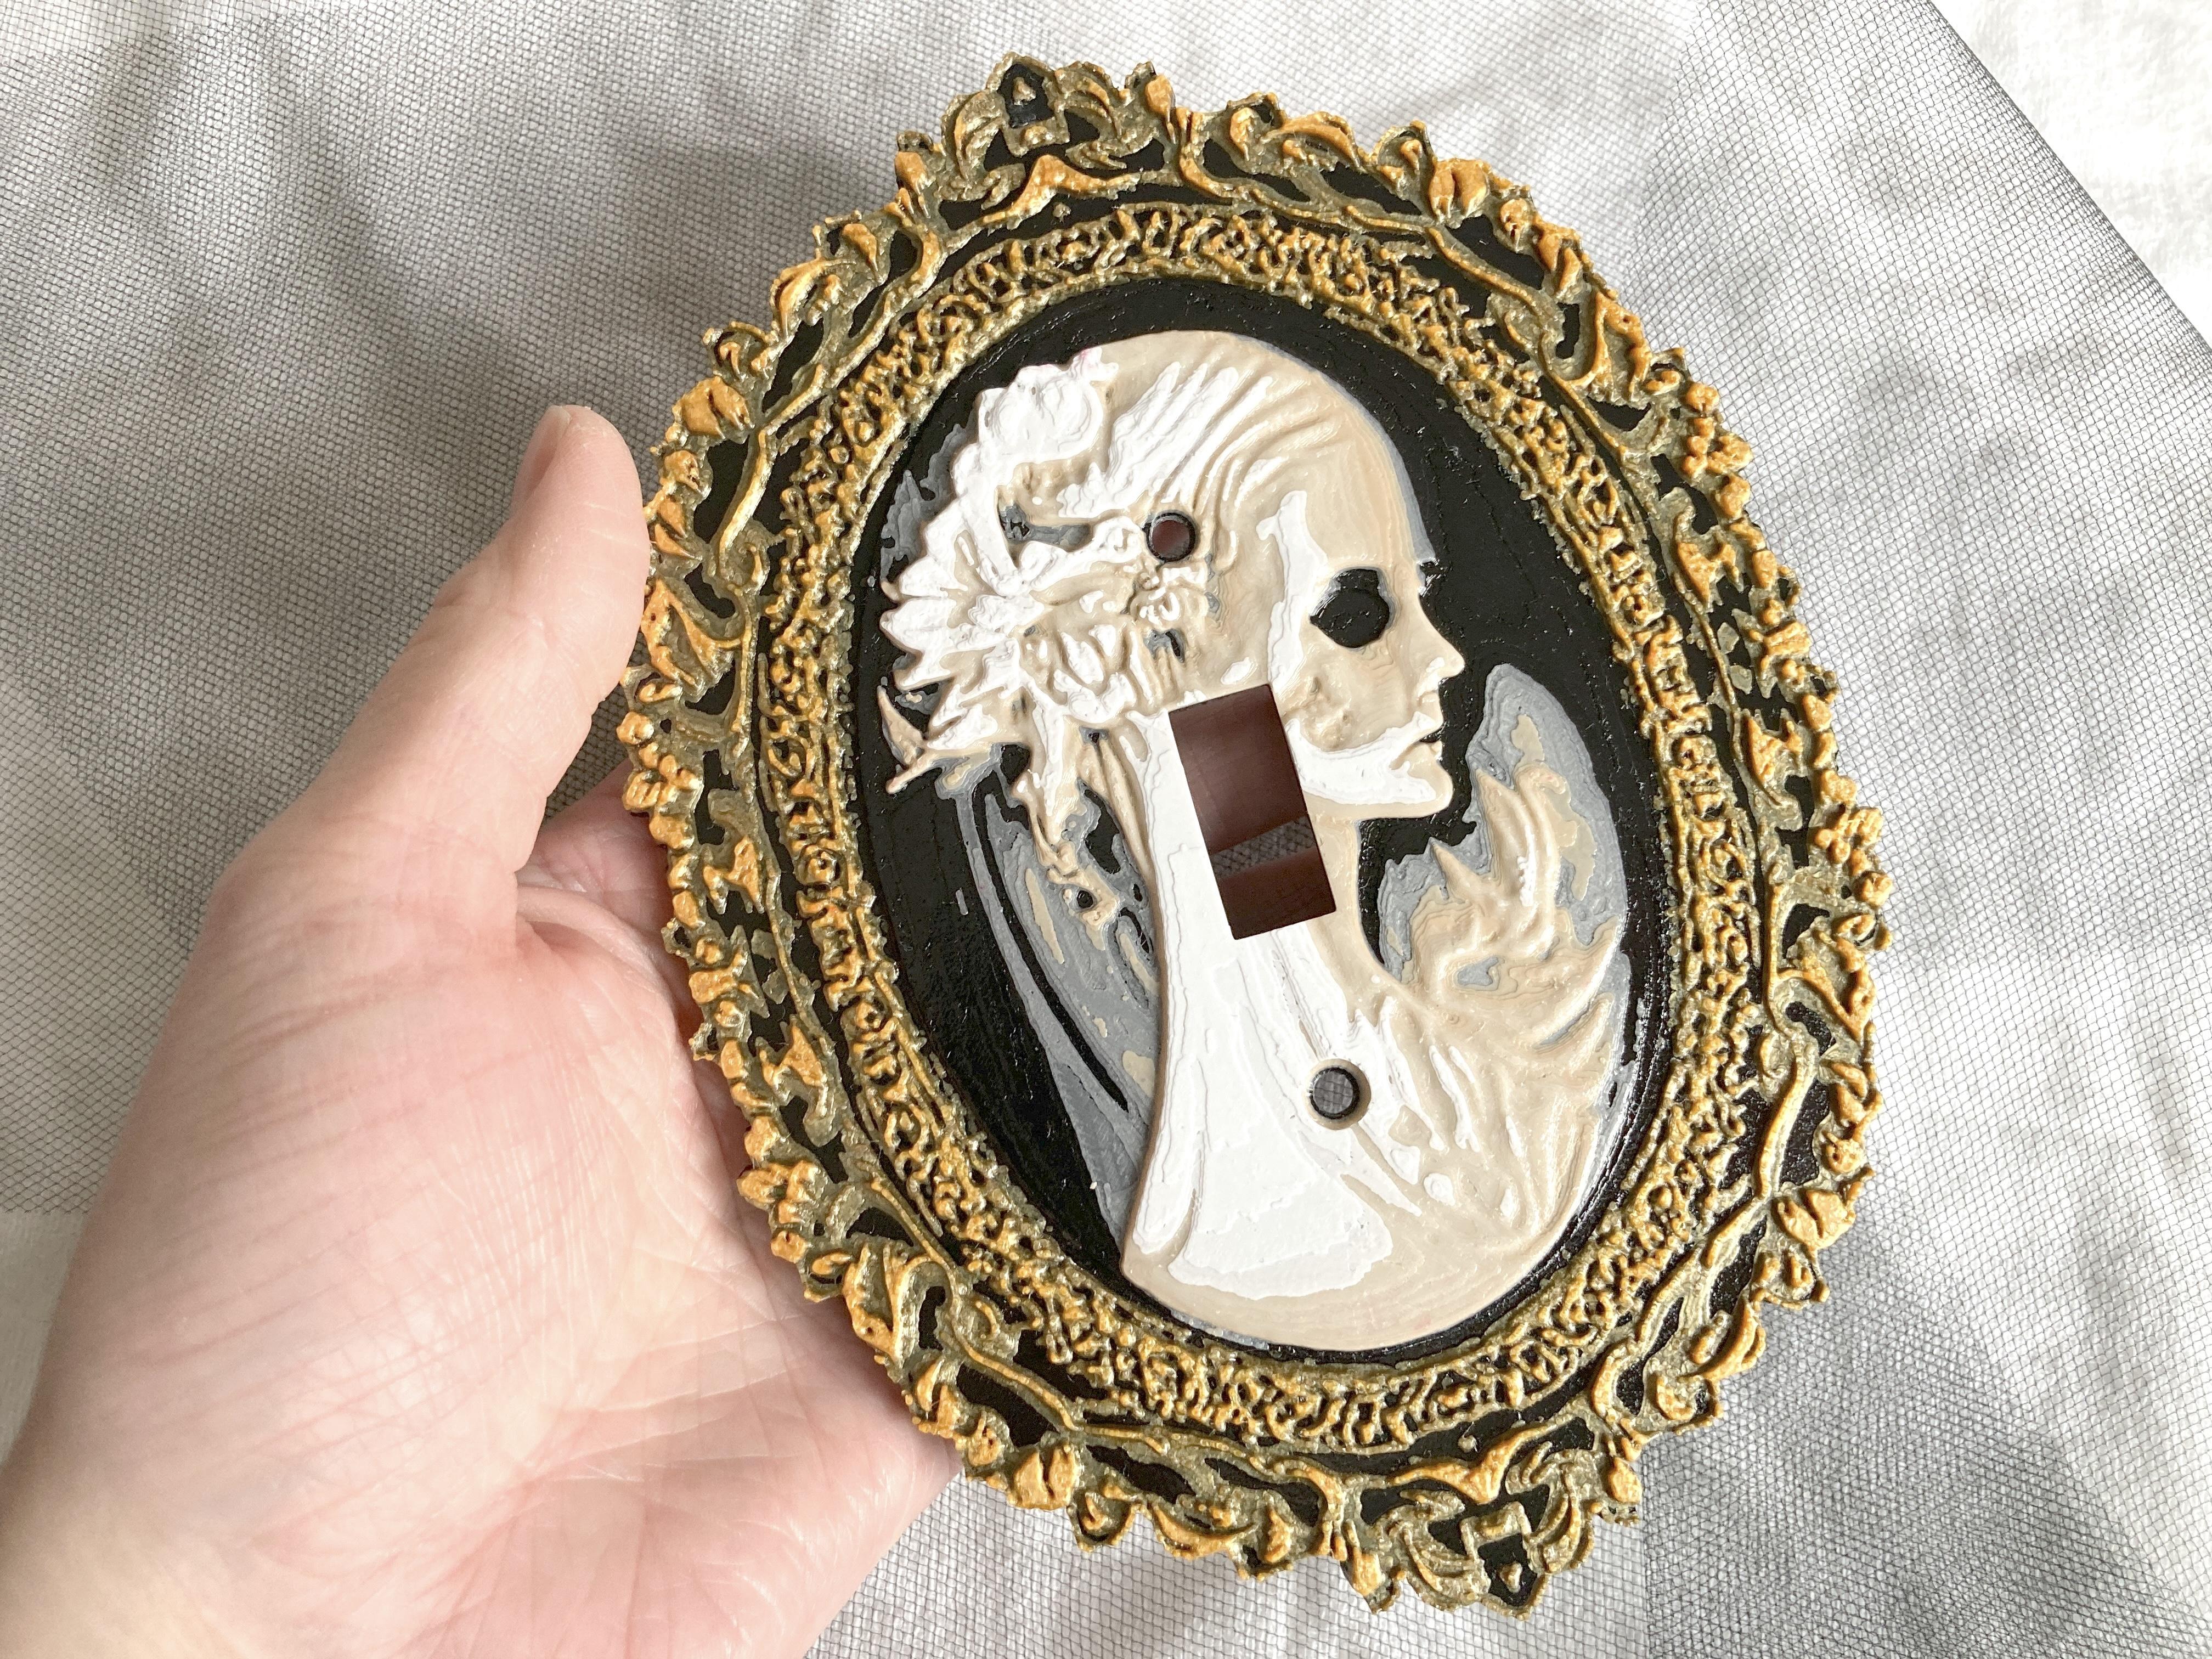
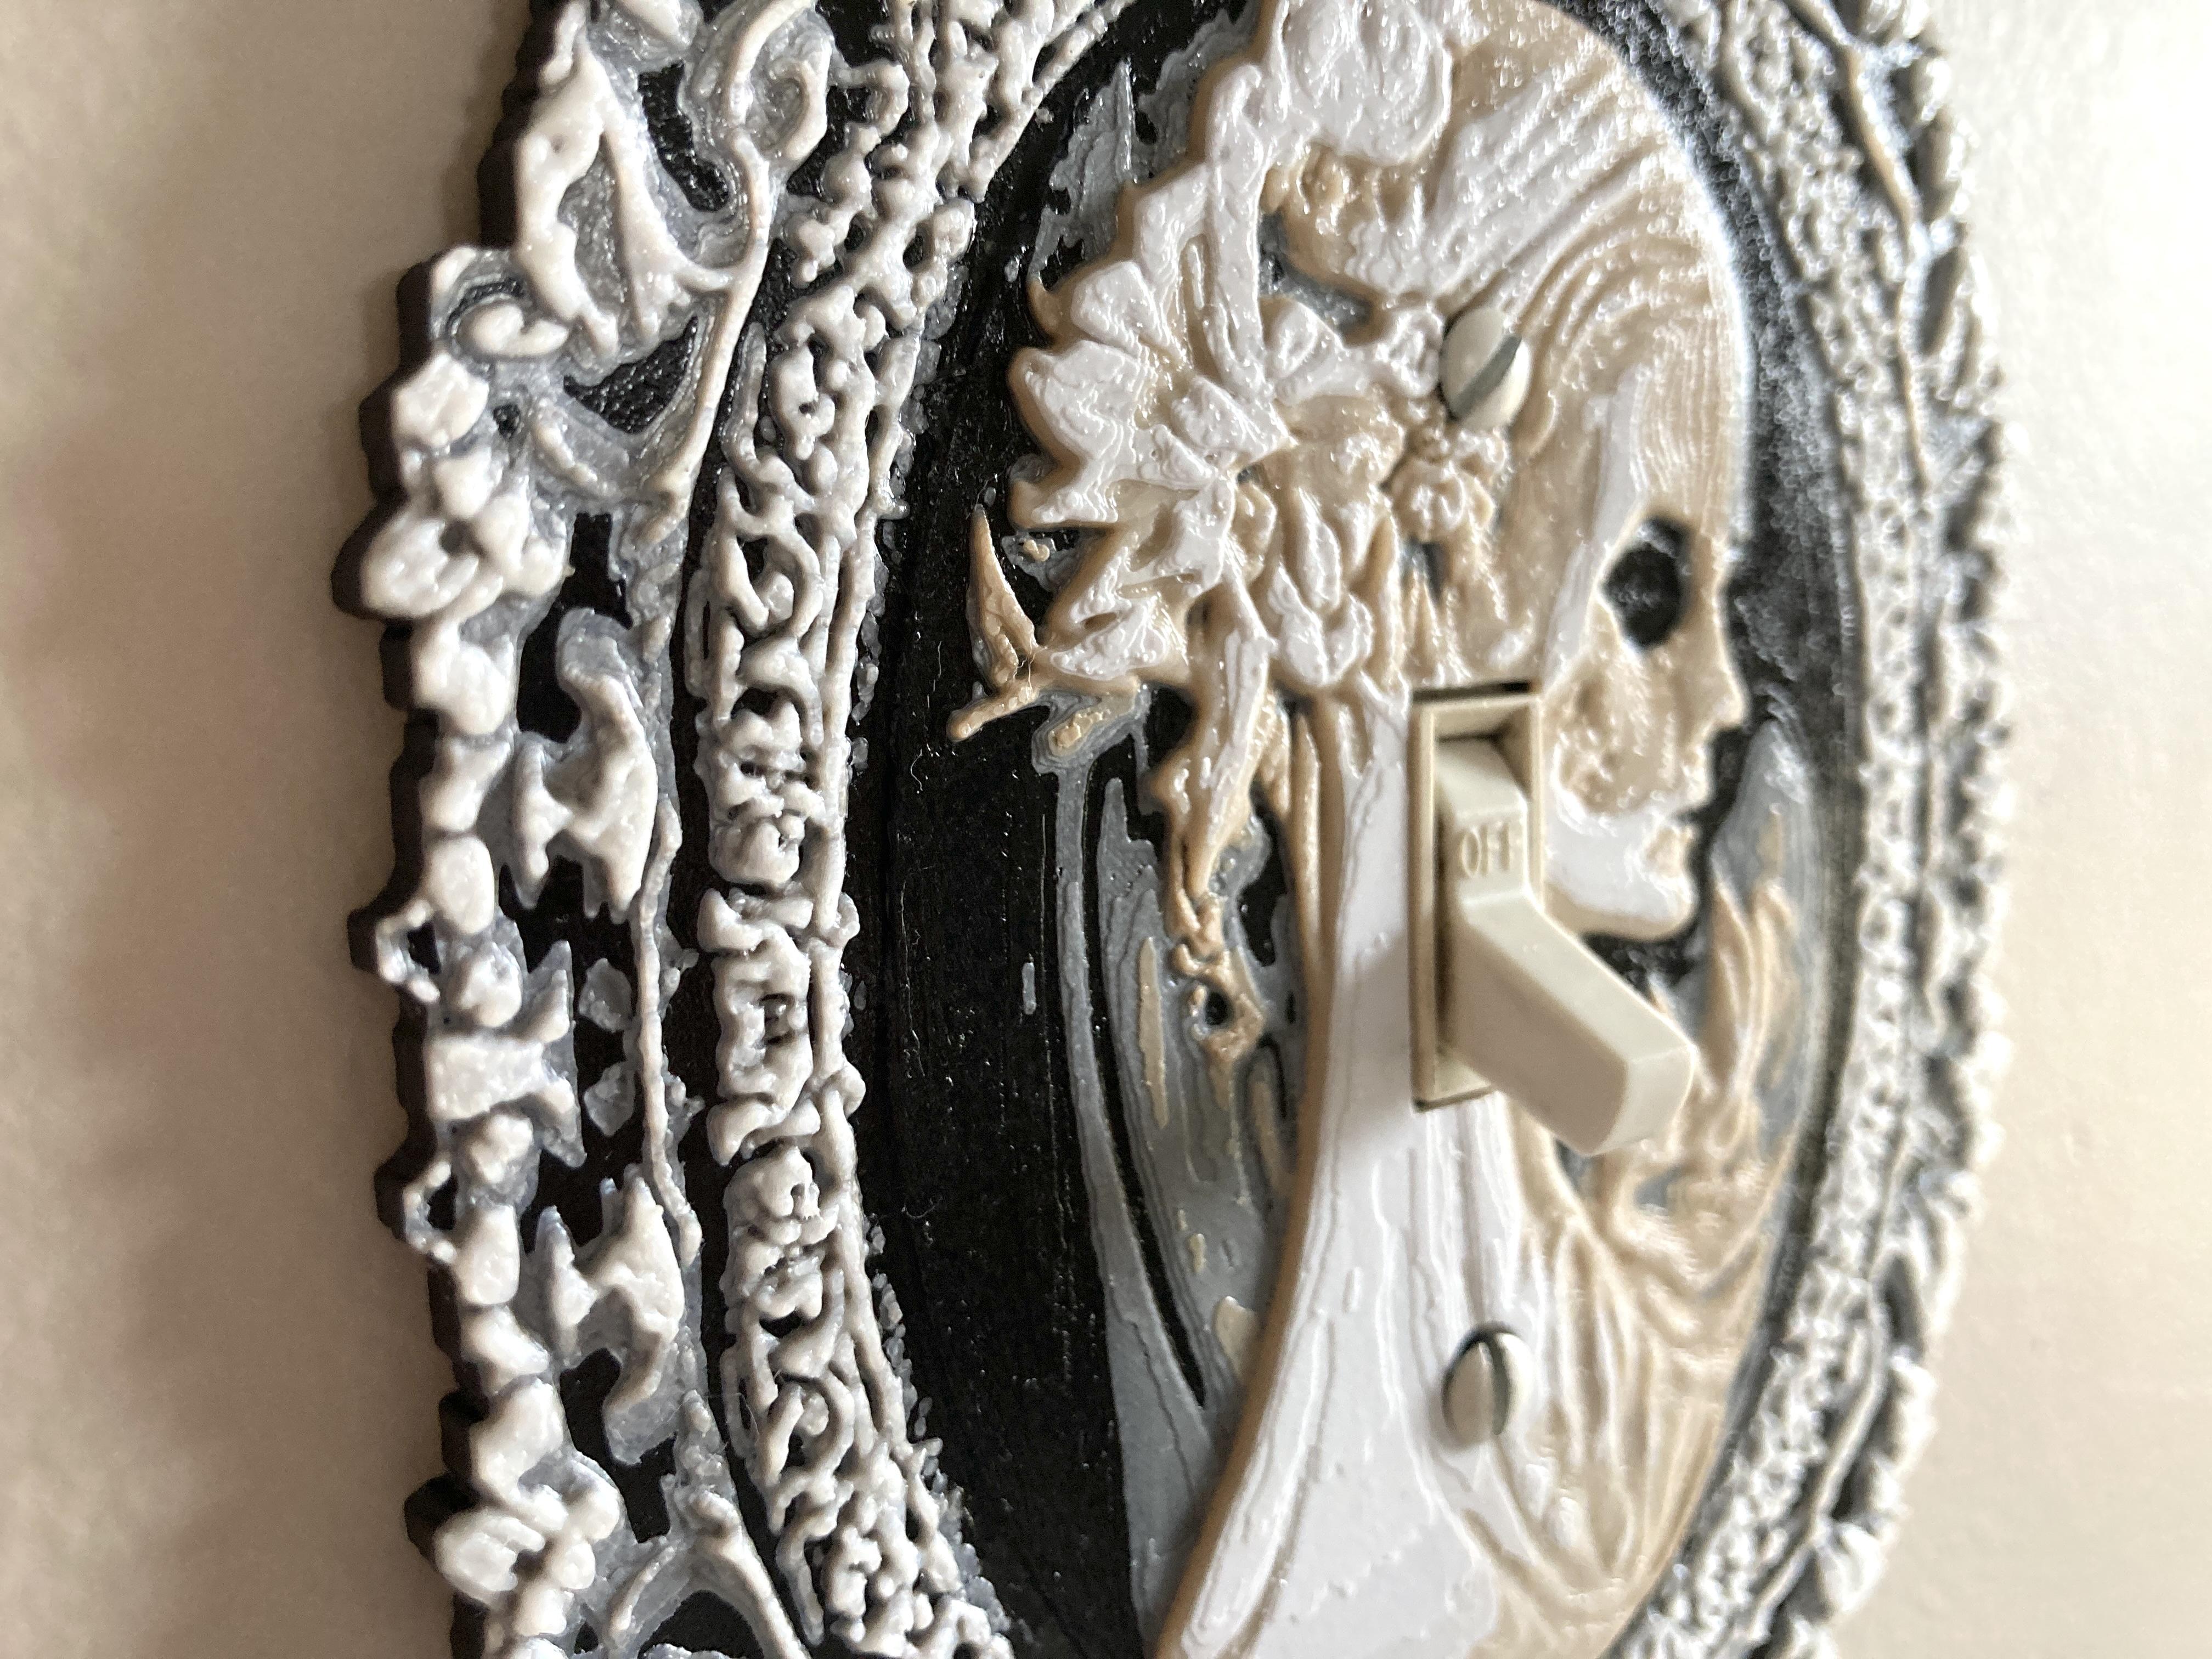
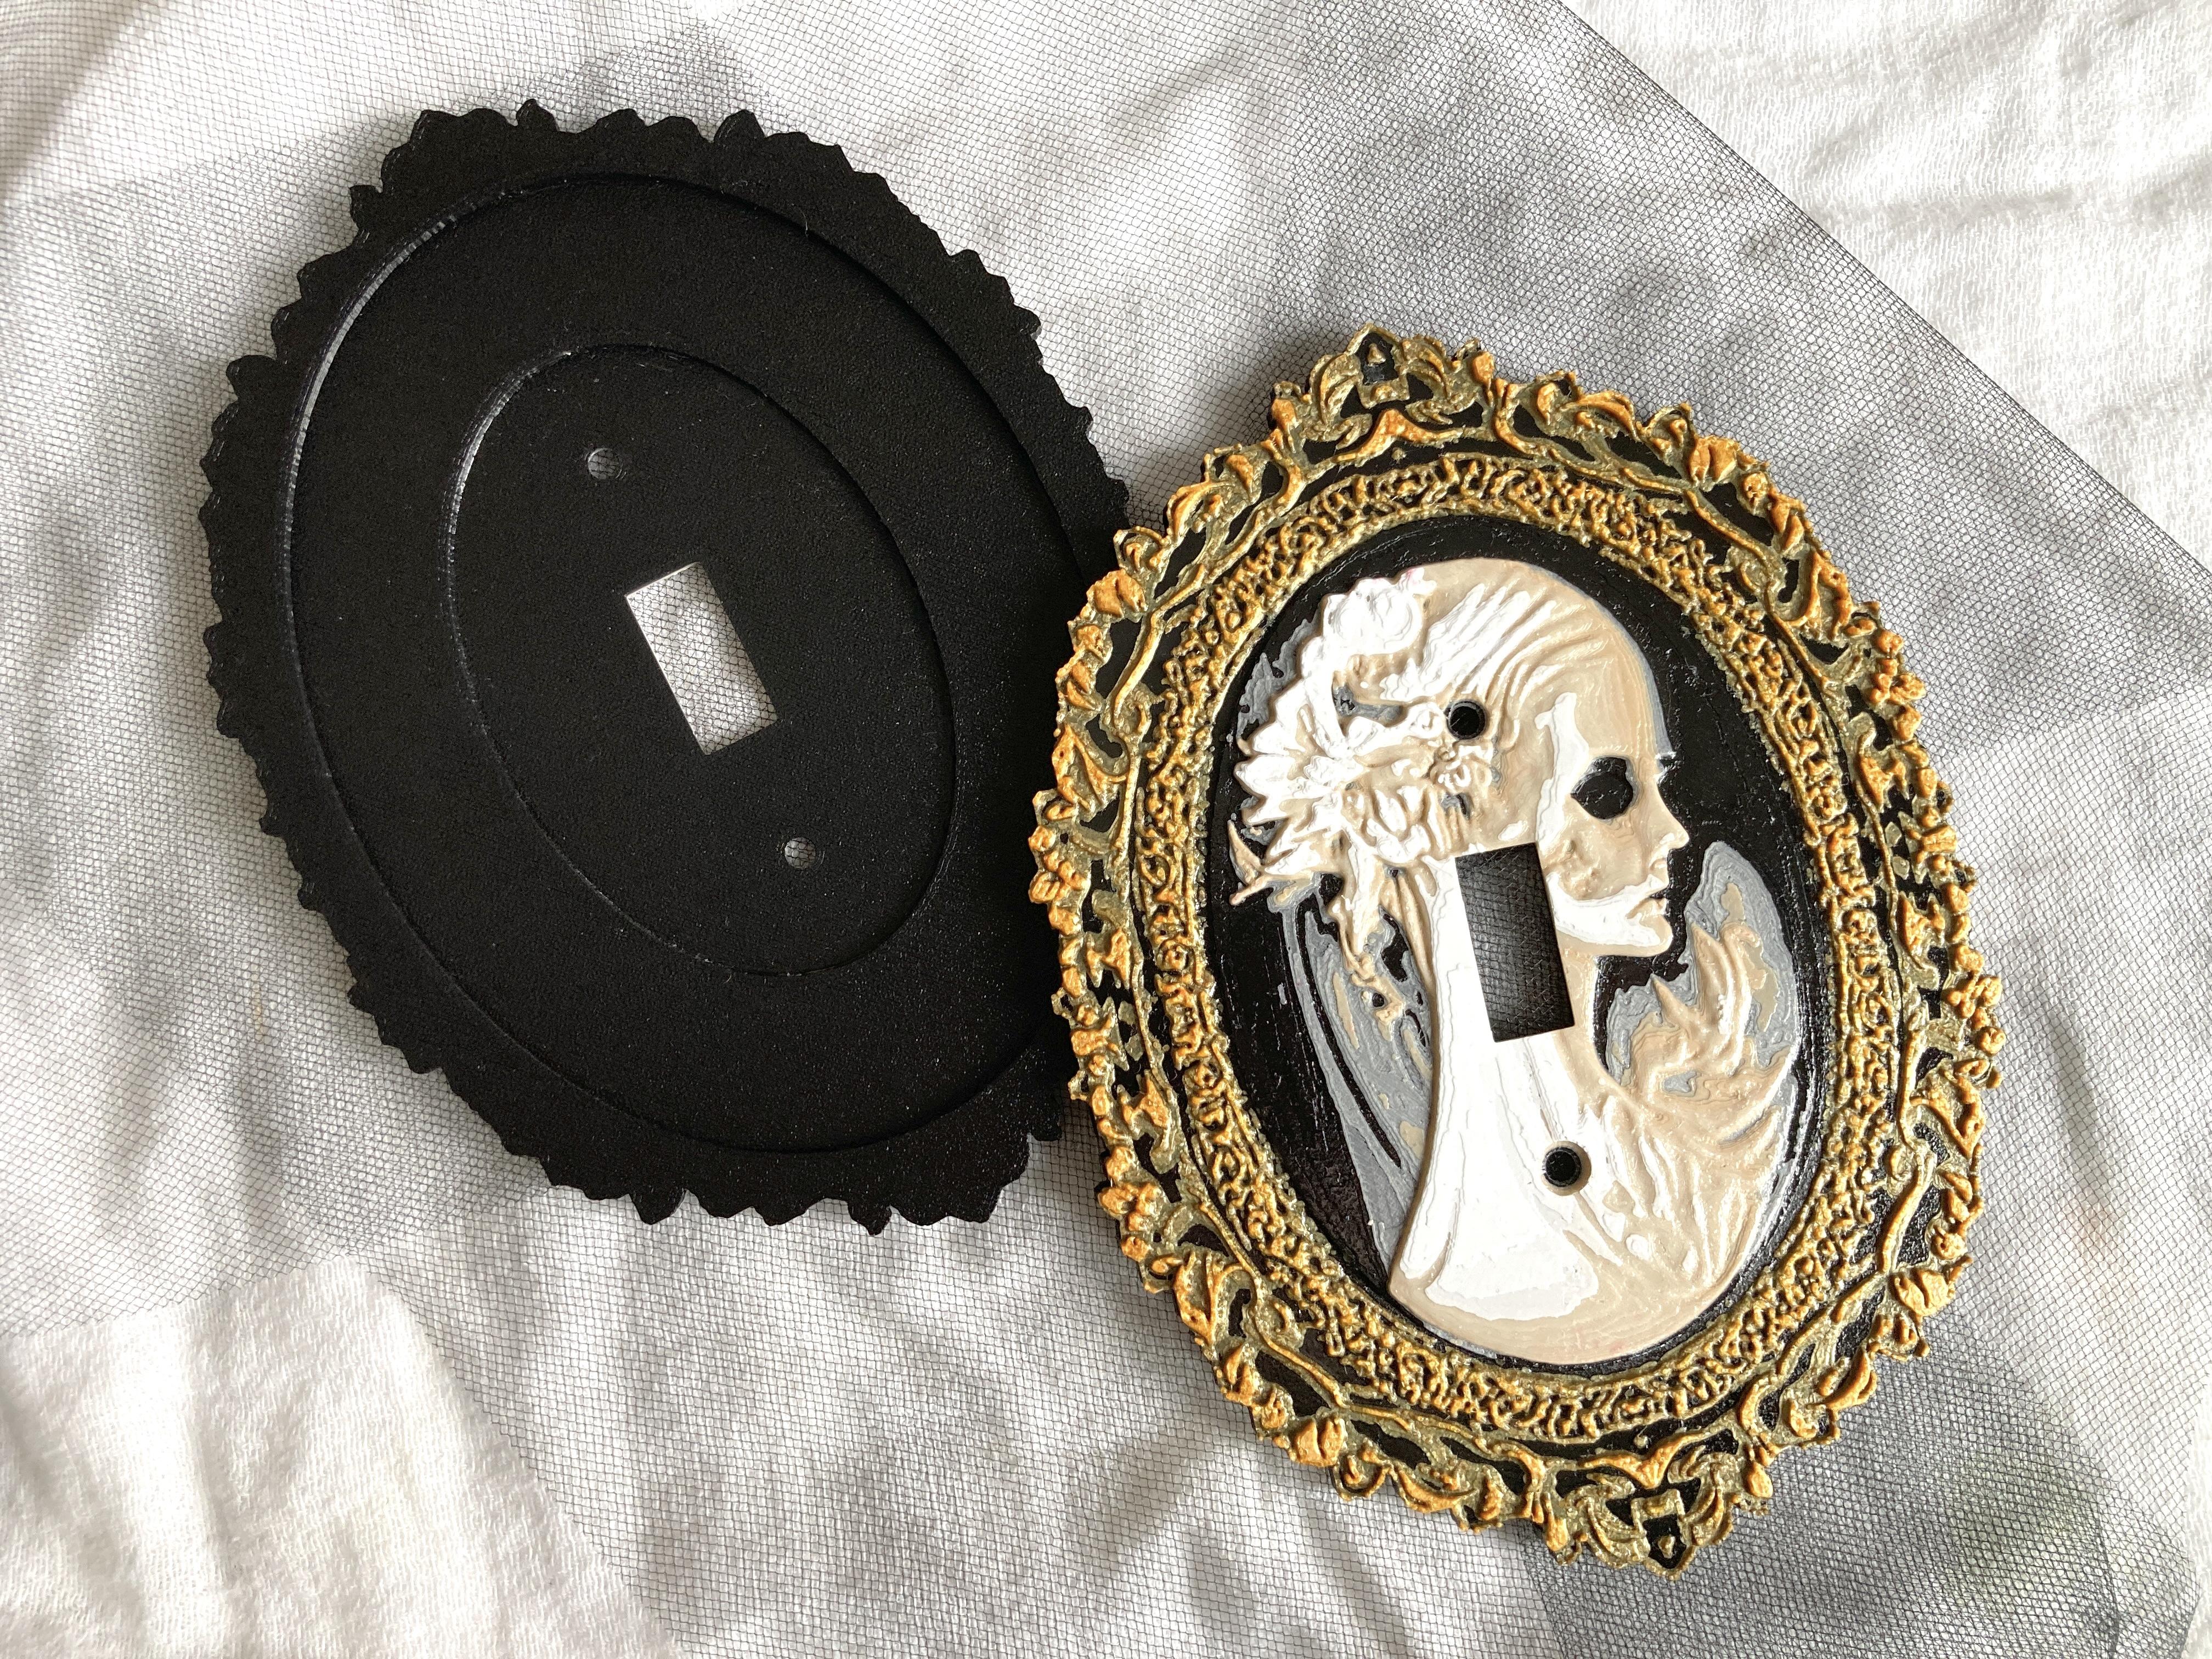
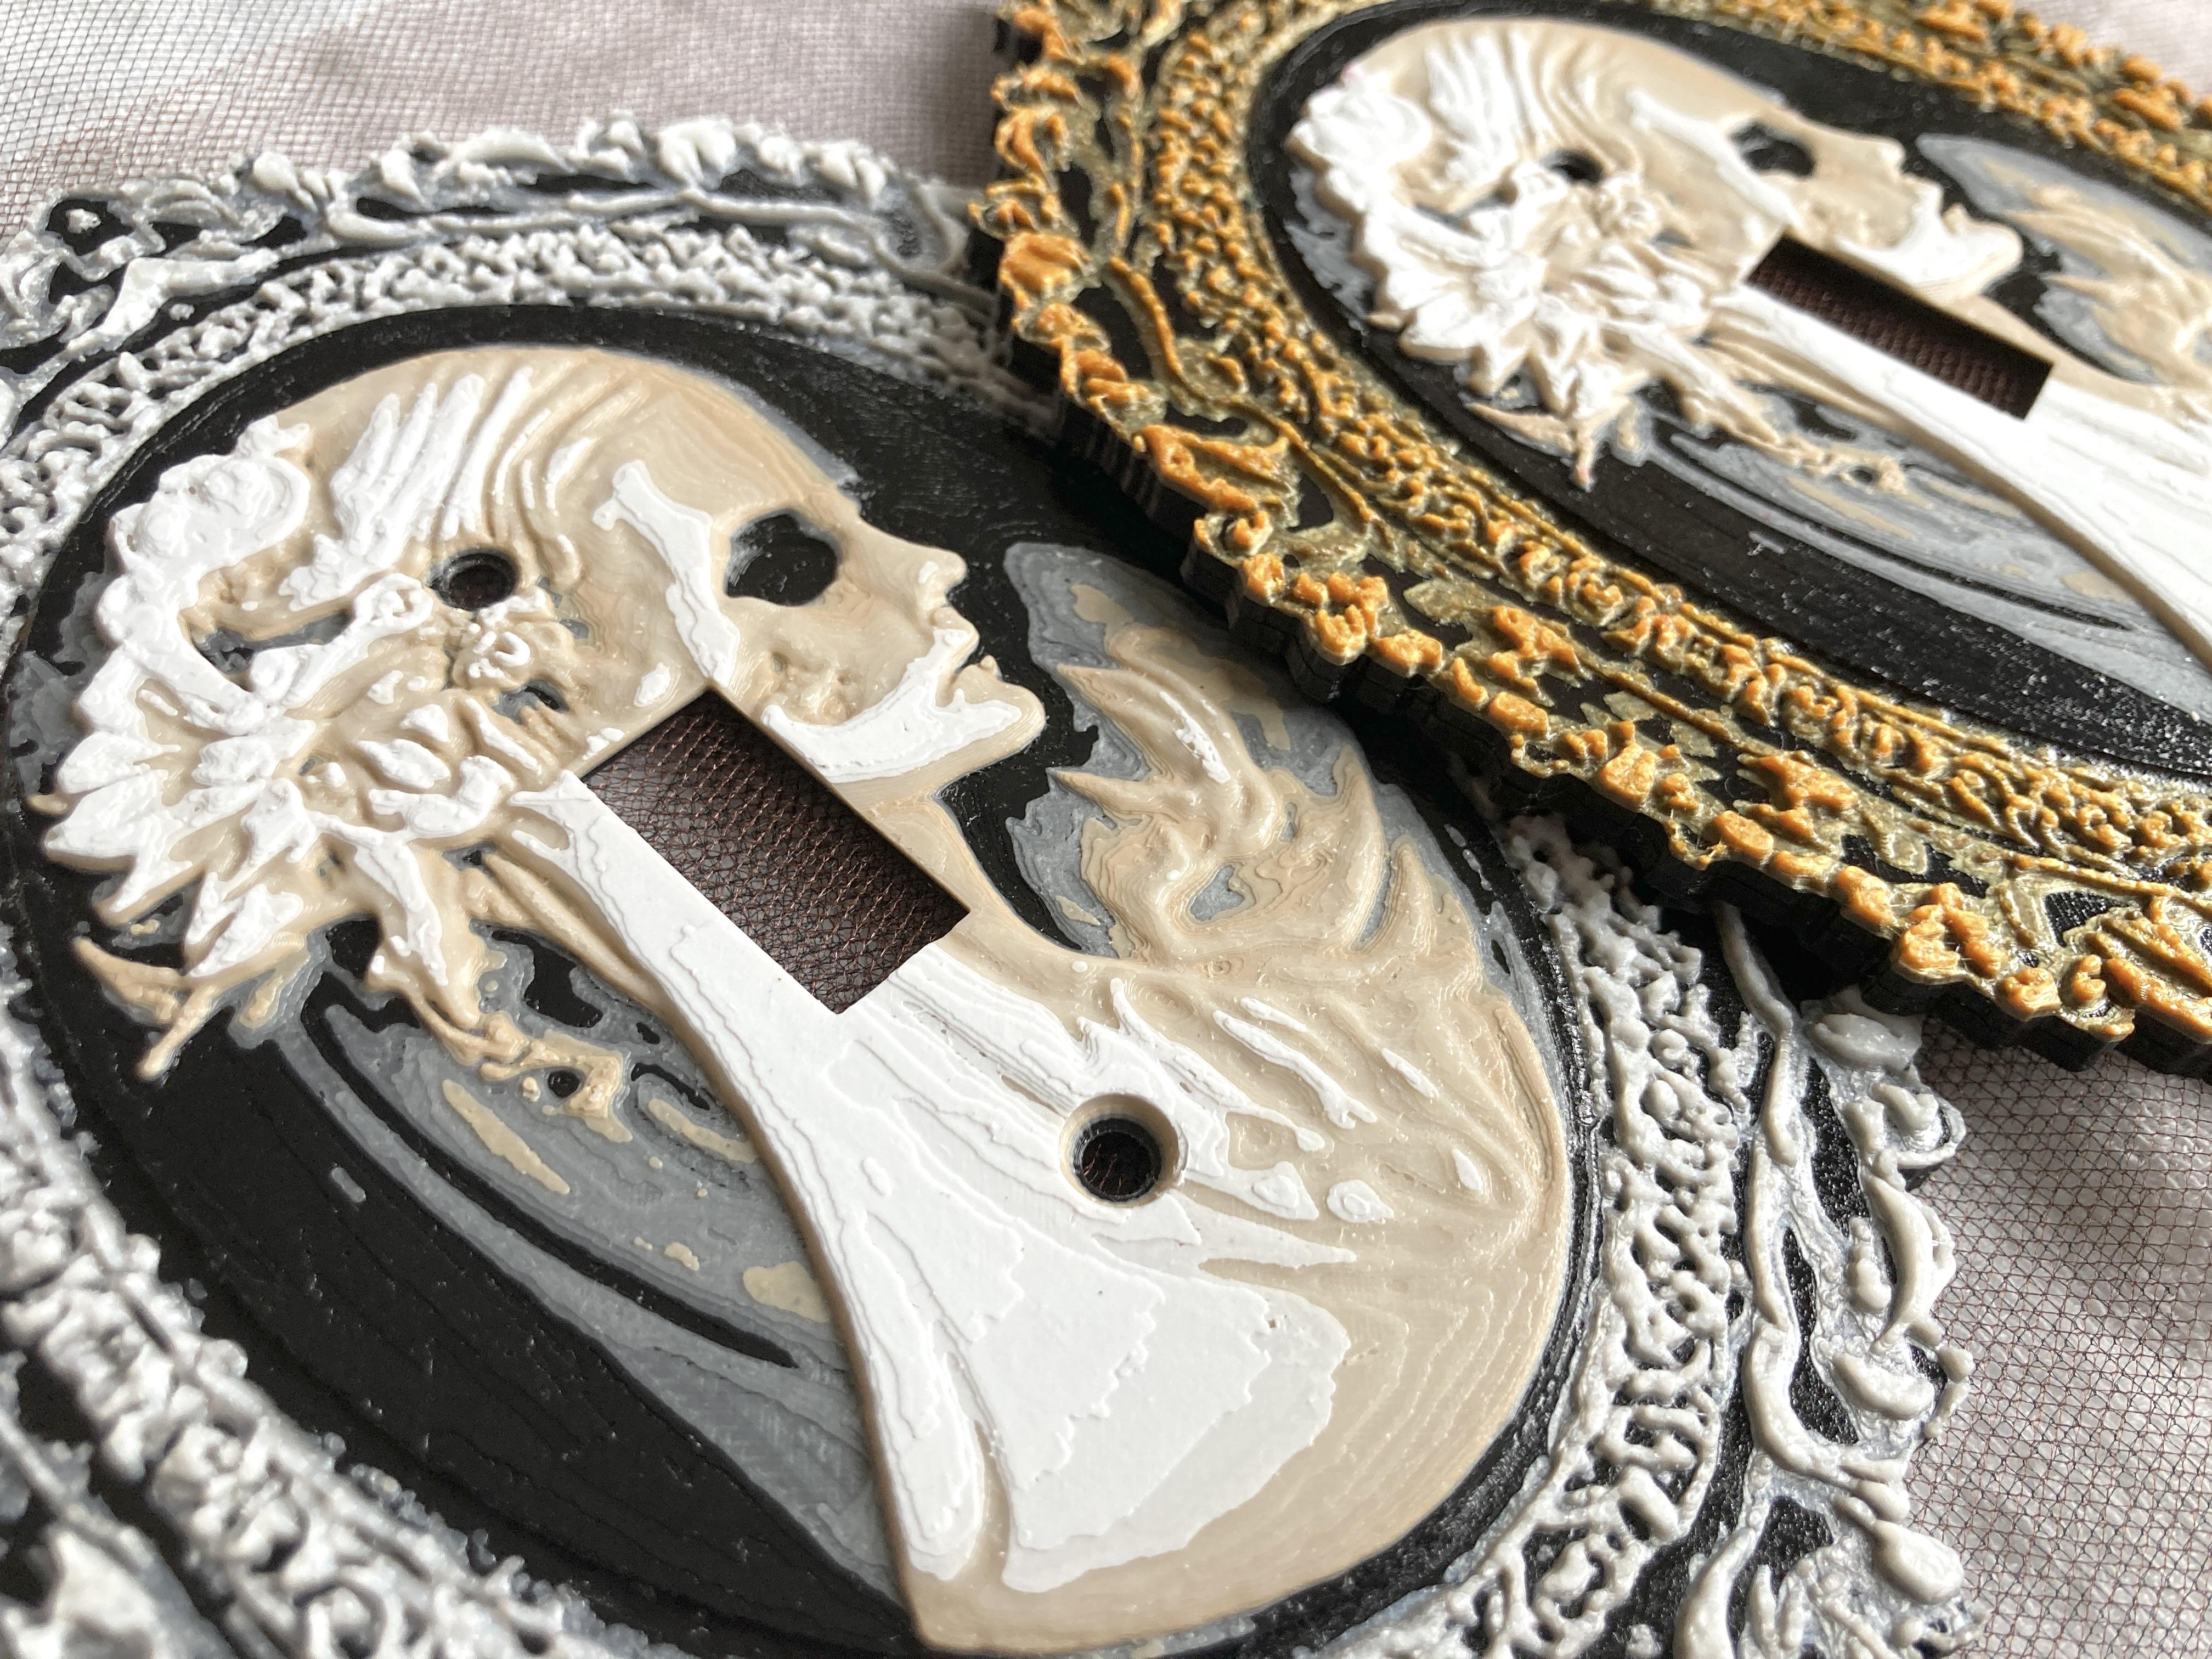
Done! Now you can put up your new switch cover.
WARNING:
Risk of electric shock. Changing out a switch plate/cover can be dangerous, turn off power to the switch before removing and replacing the cover.
Also, I recommend not over tightening these. Just make sure the screws are in snug. I also try to line the line in the screw up with the pattern on the face.