Very Slow Movie Player
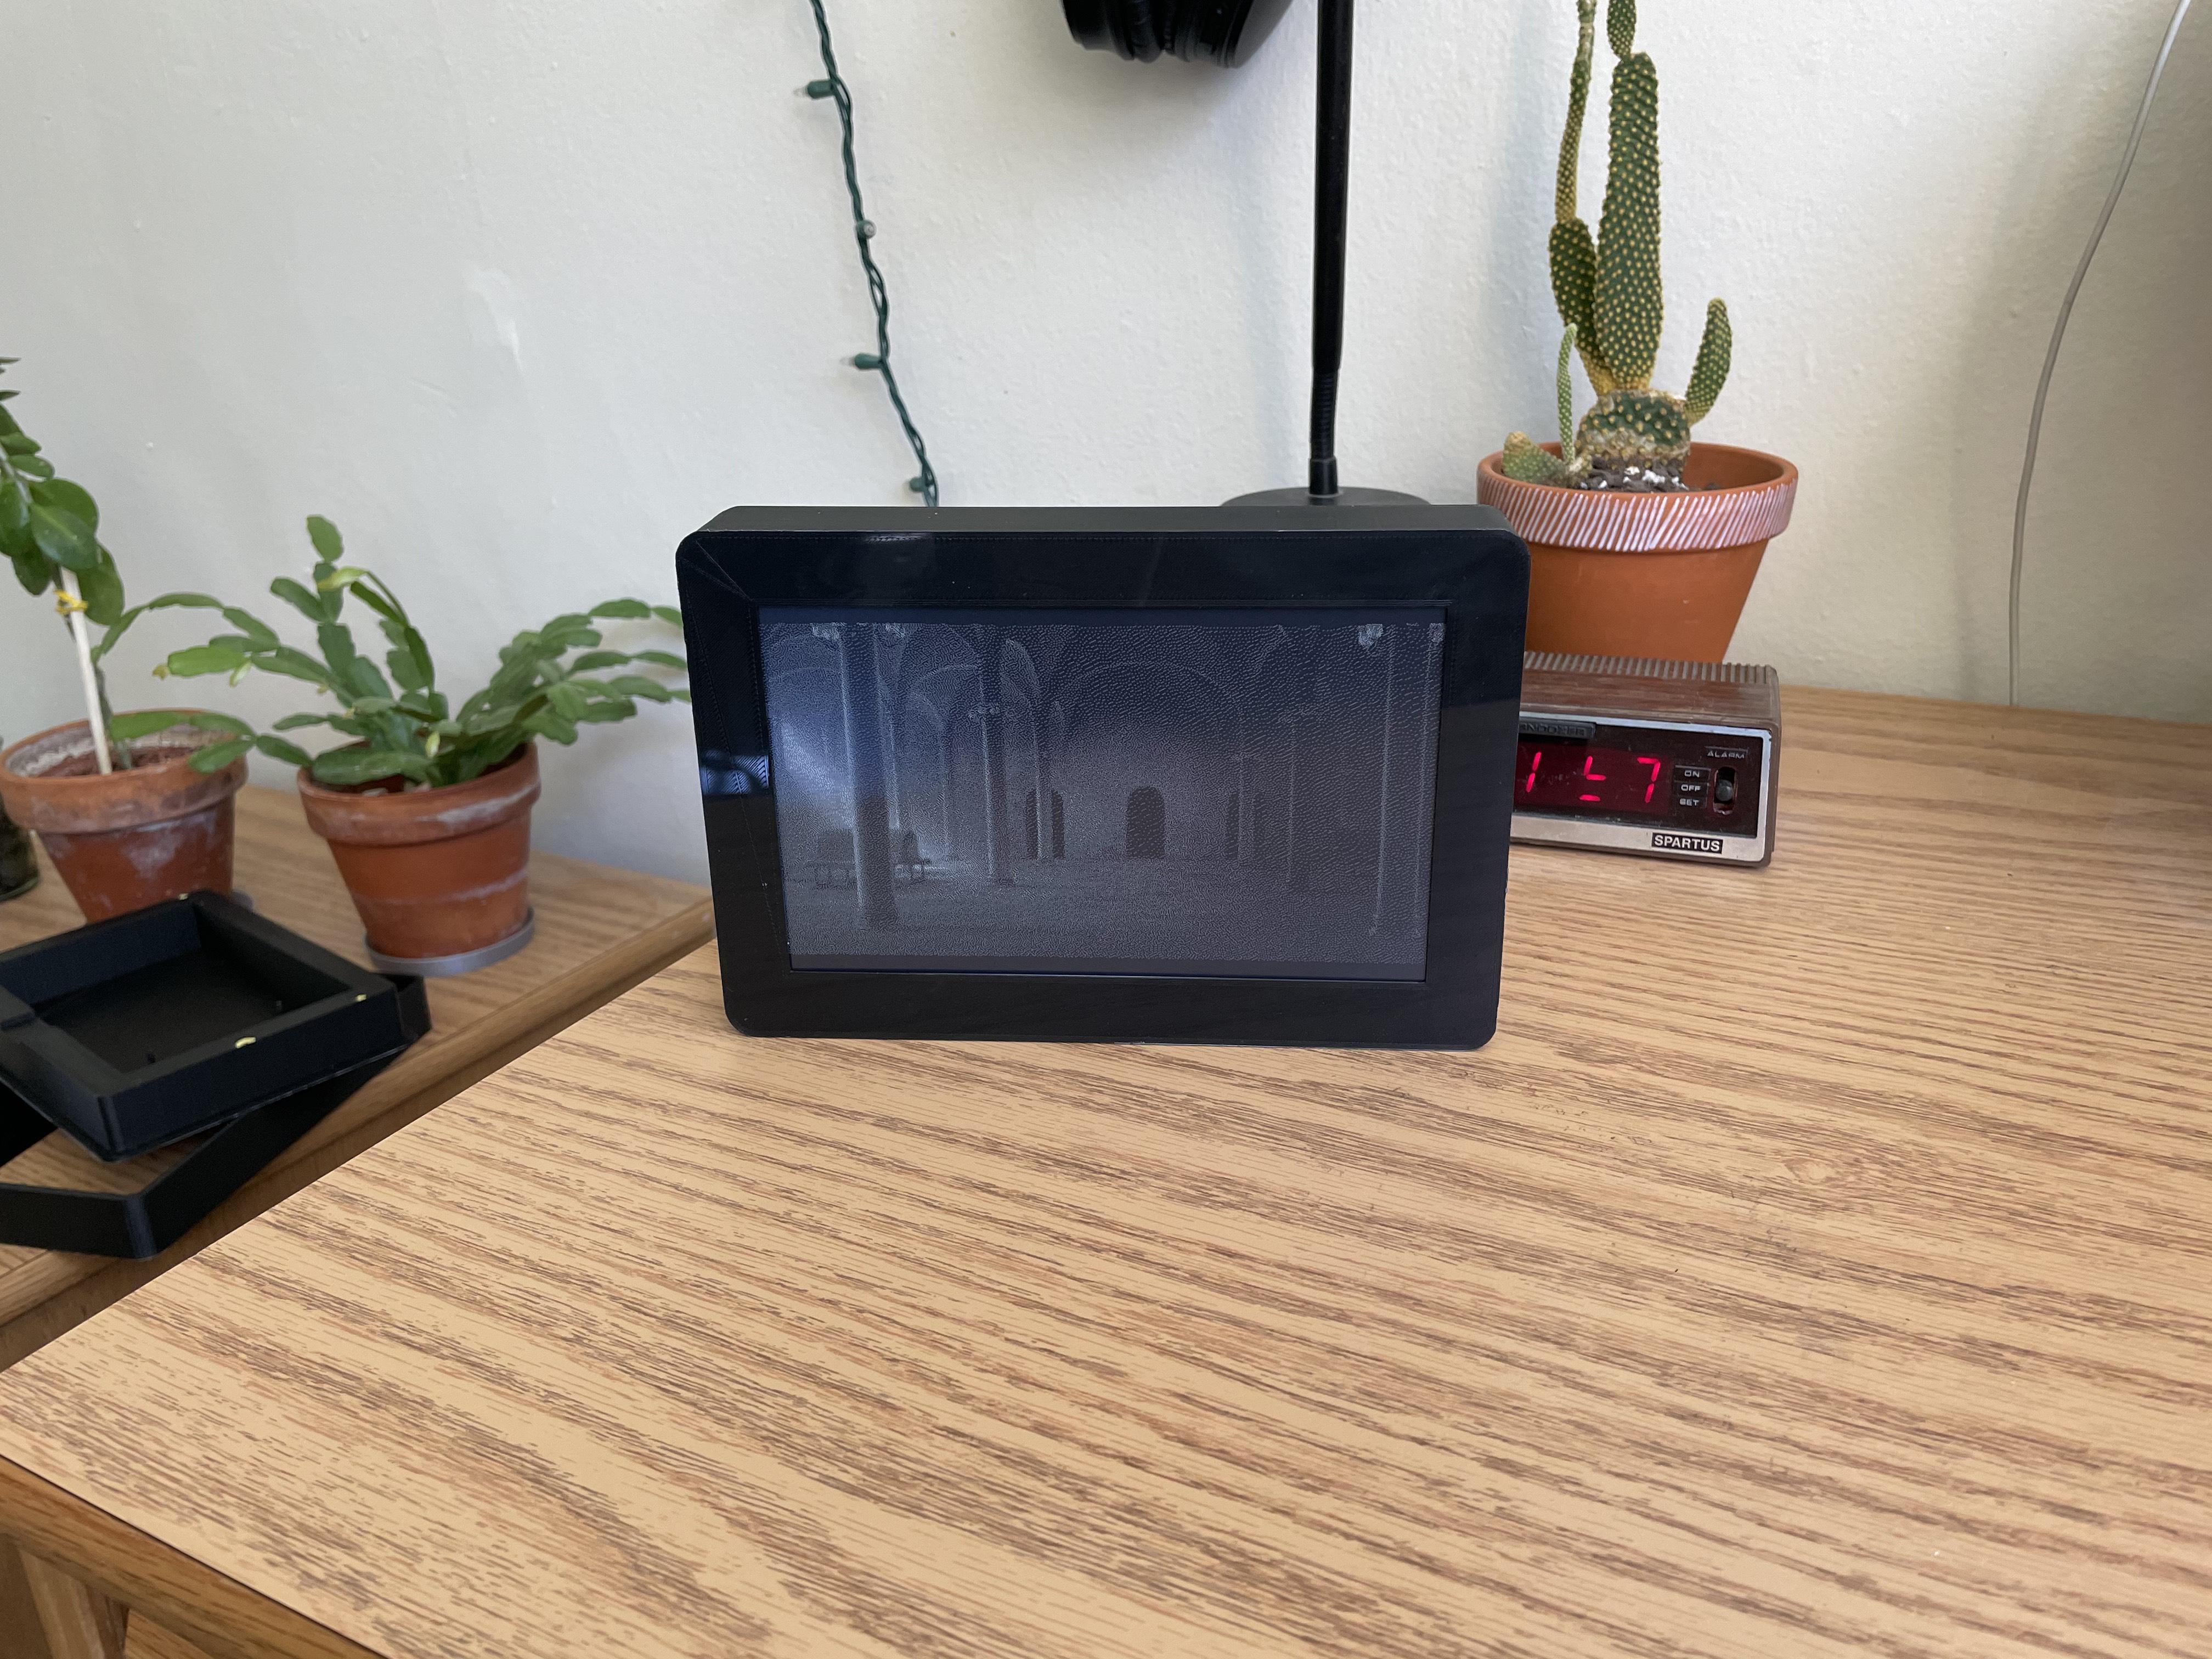
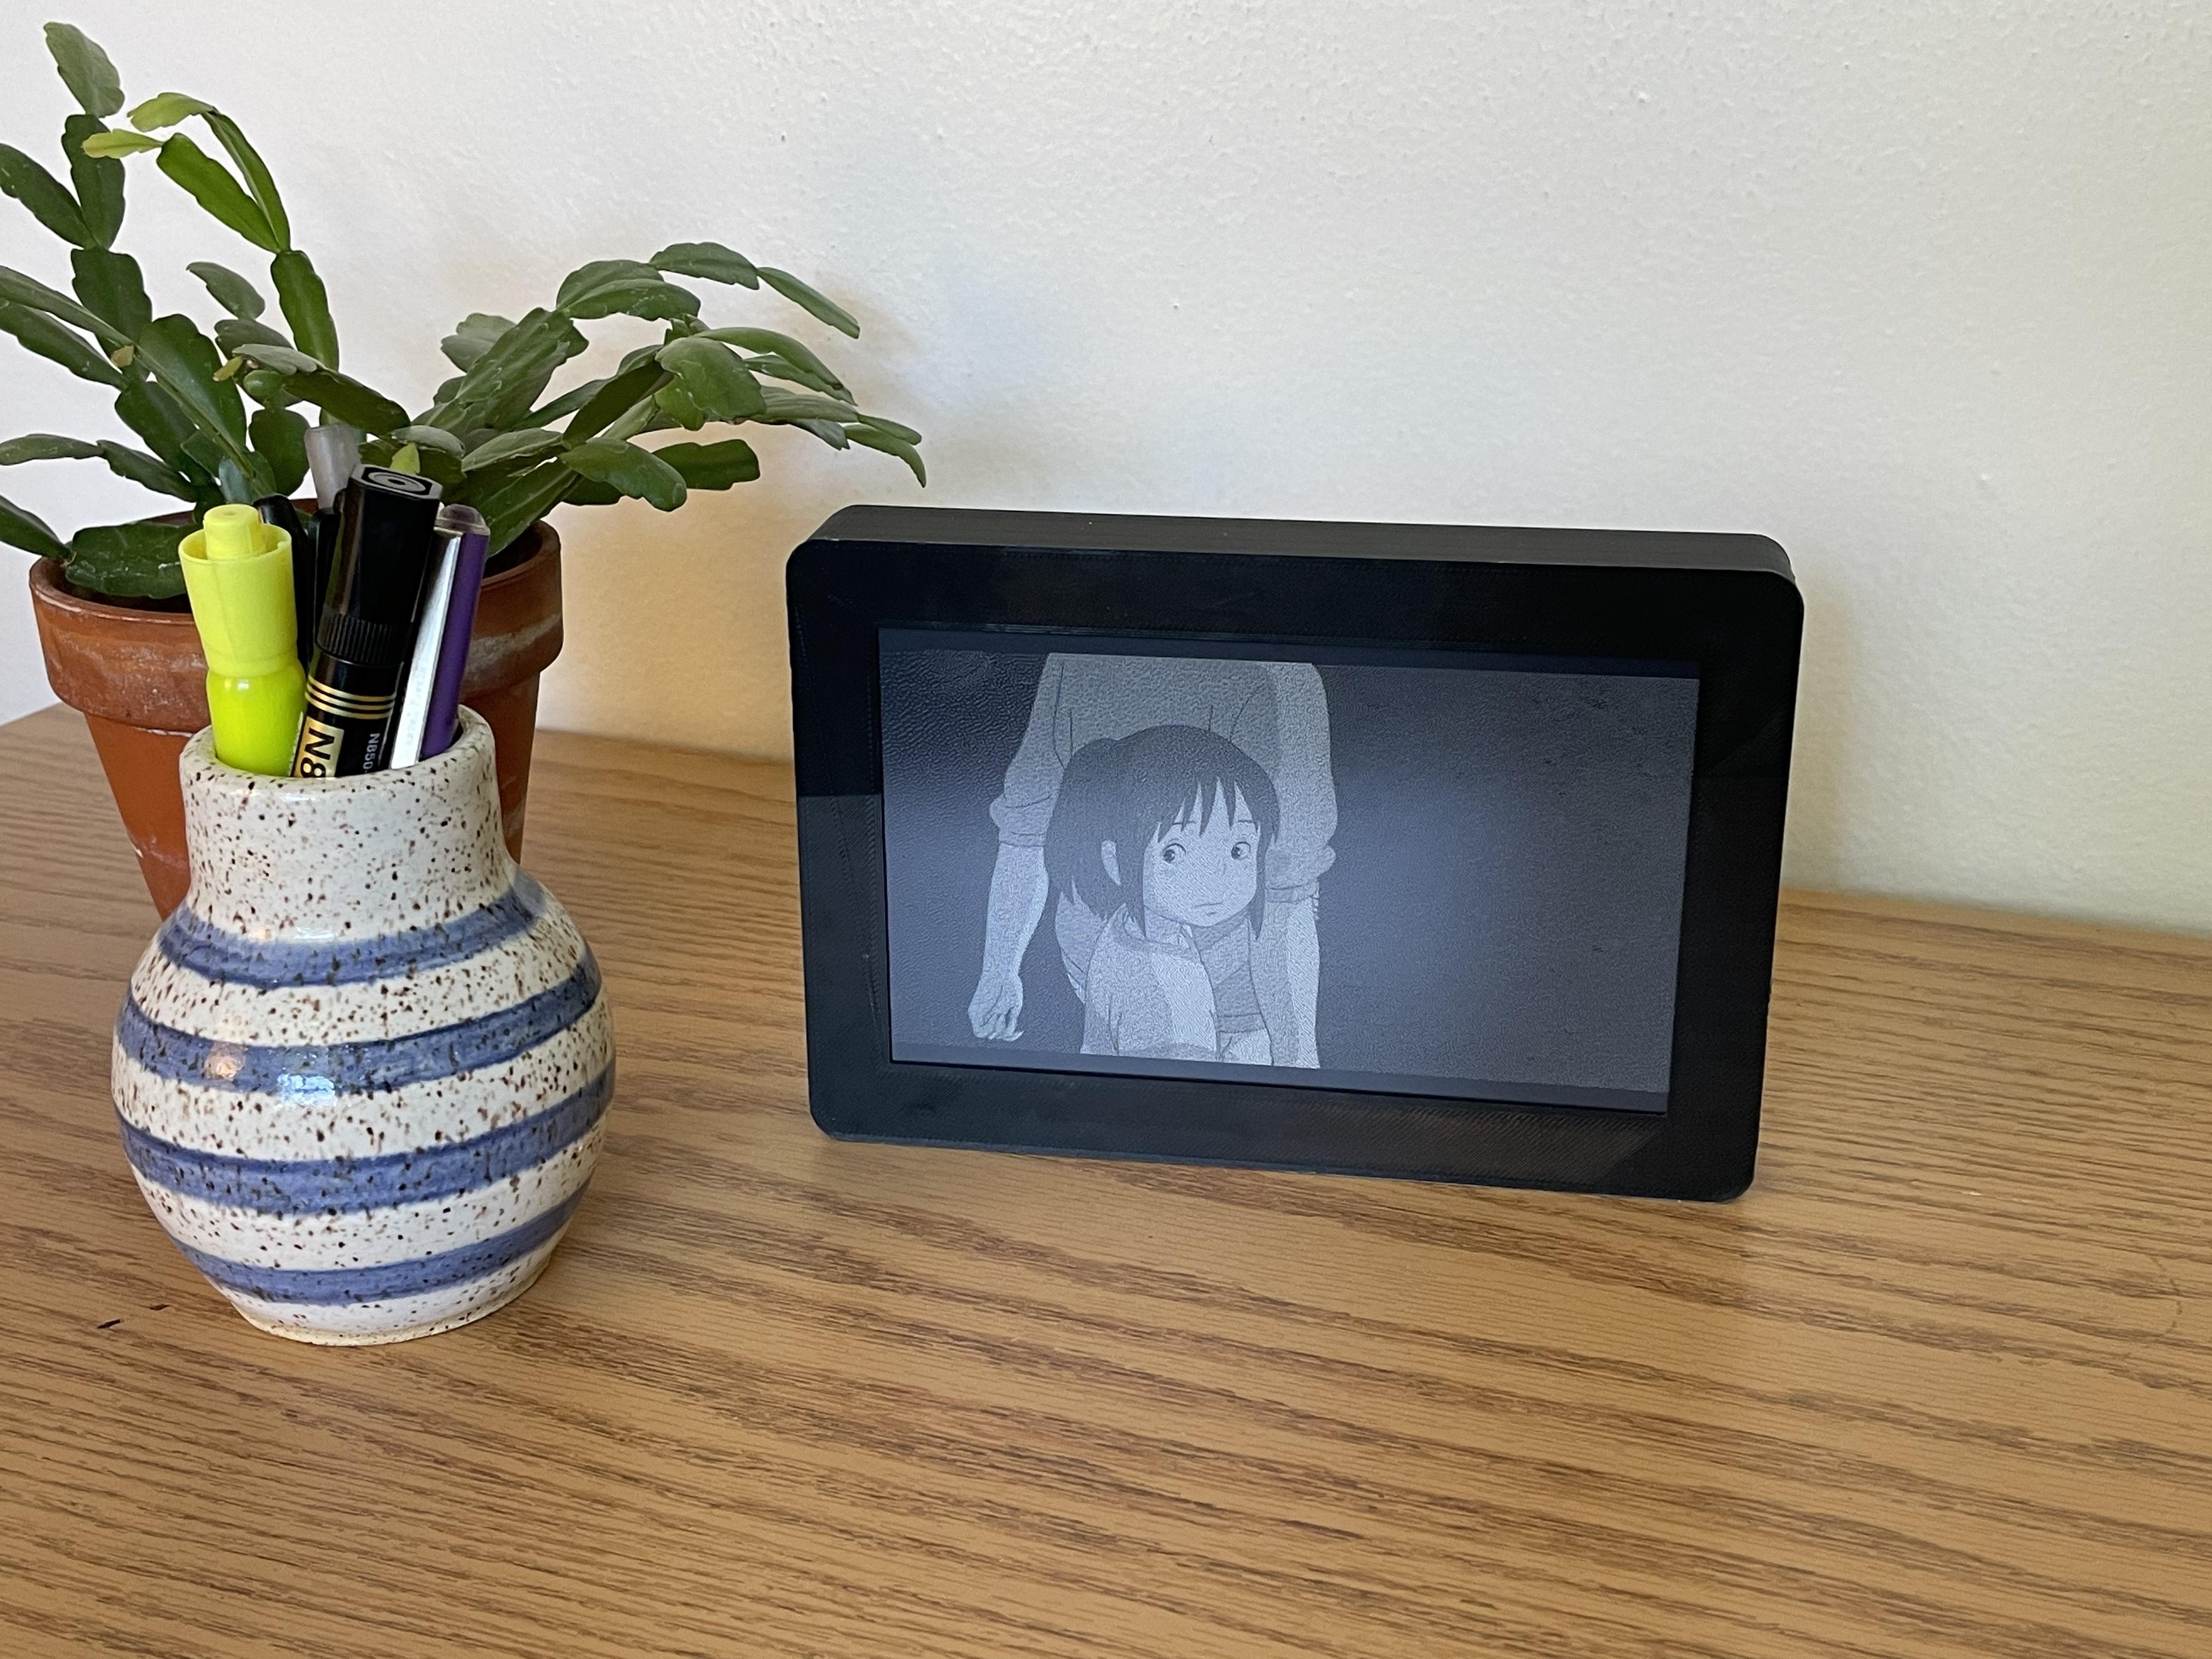
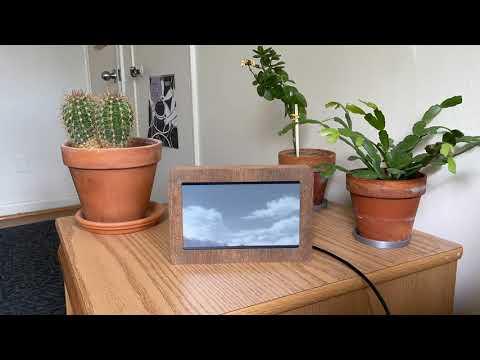
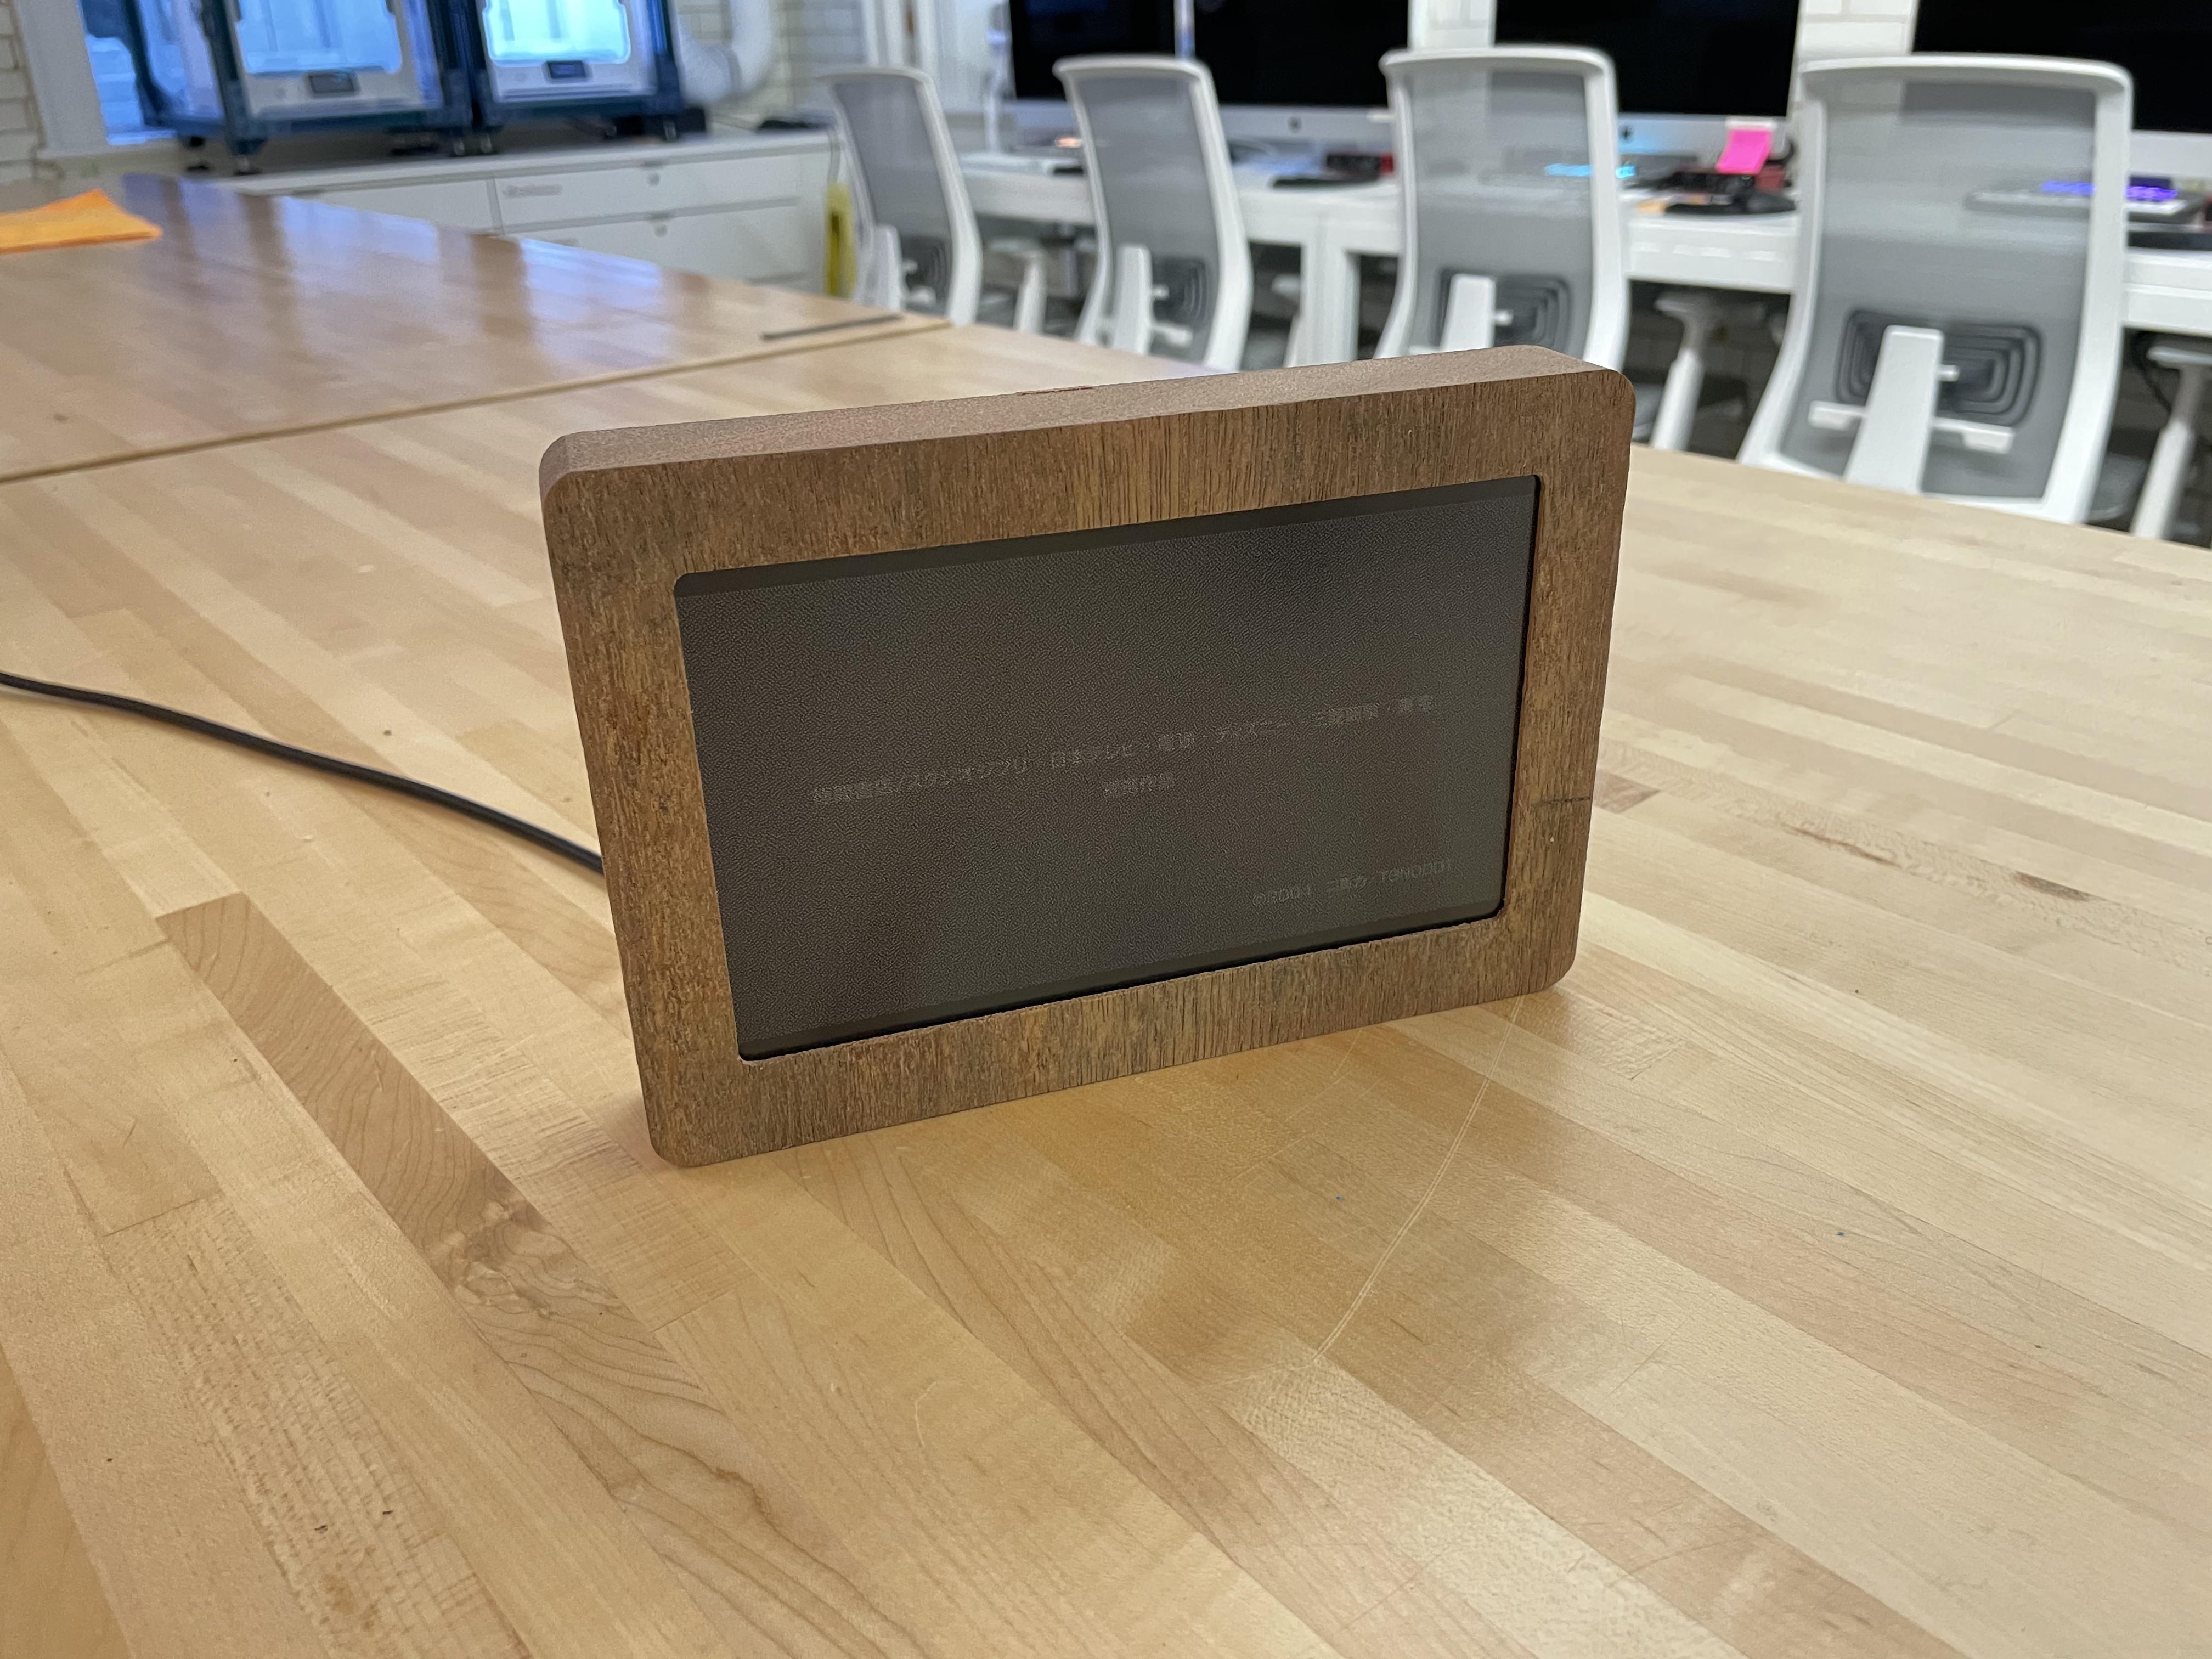
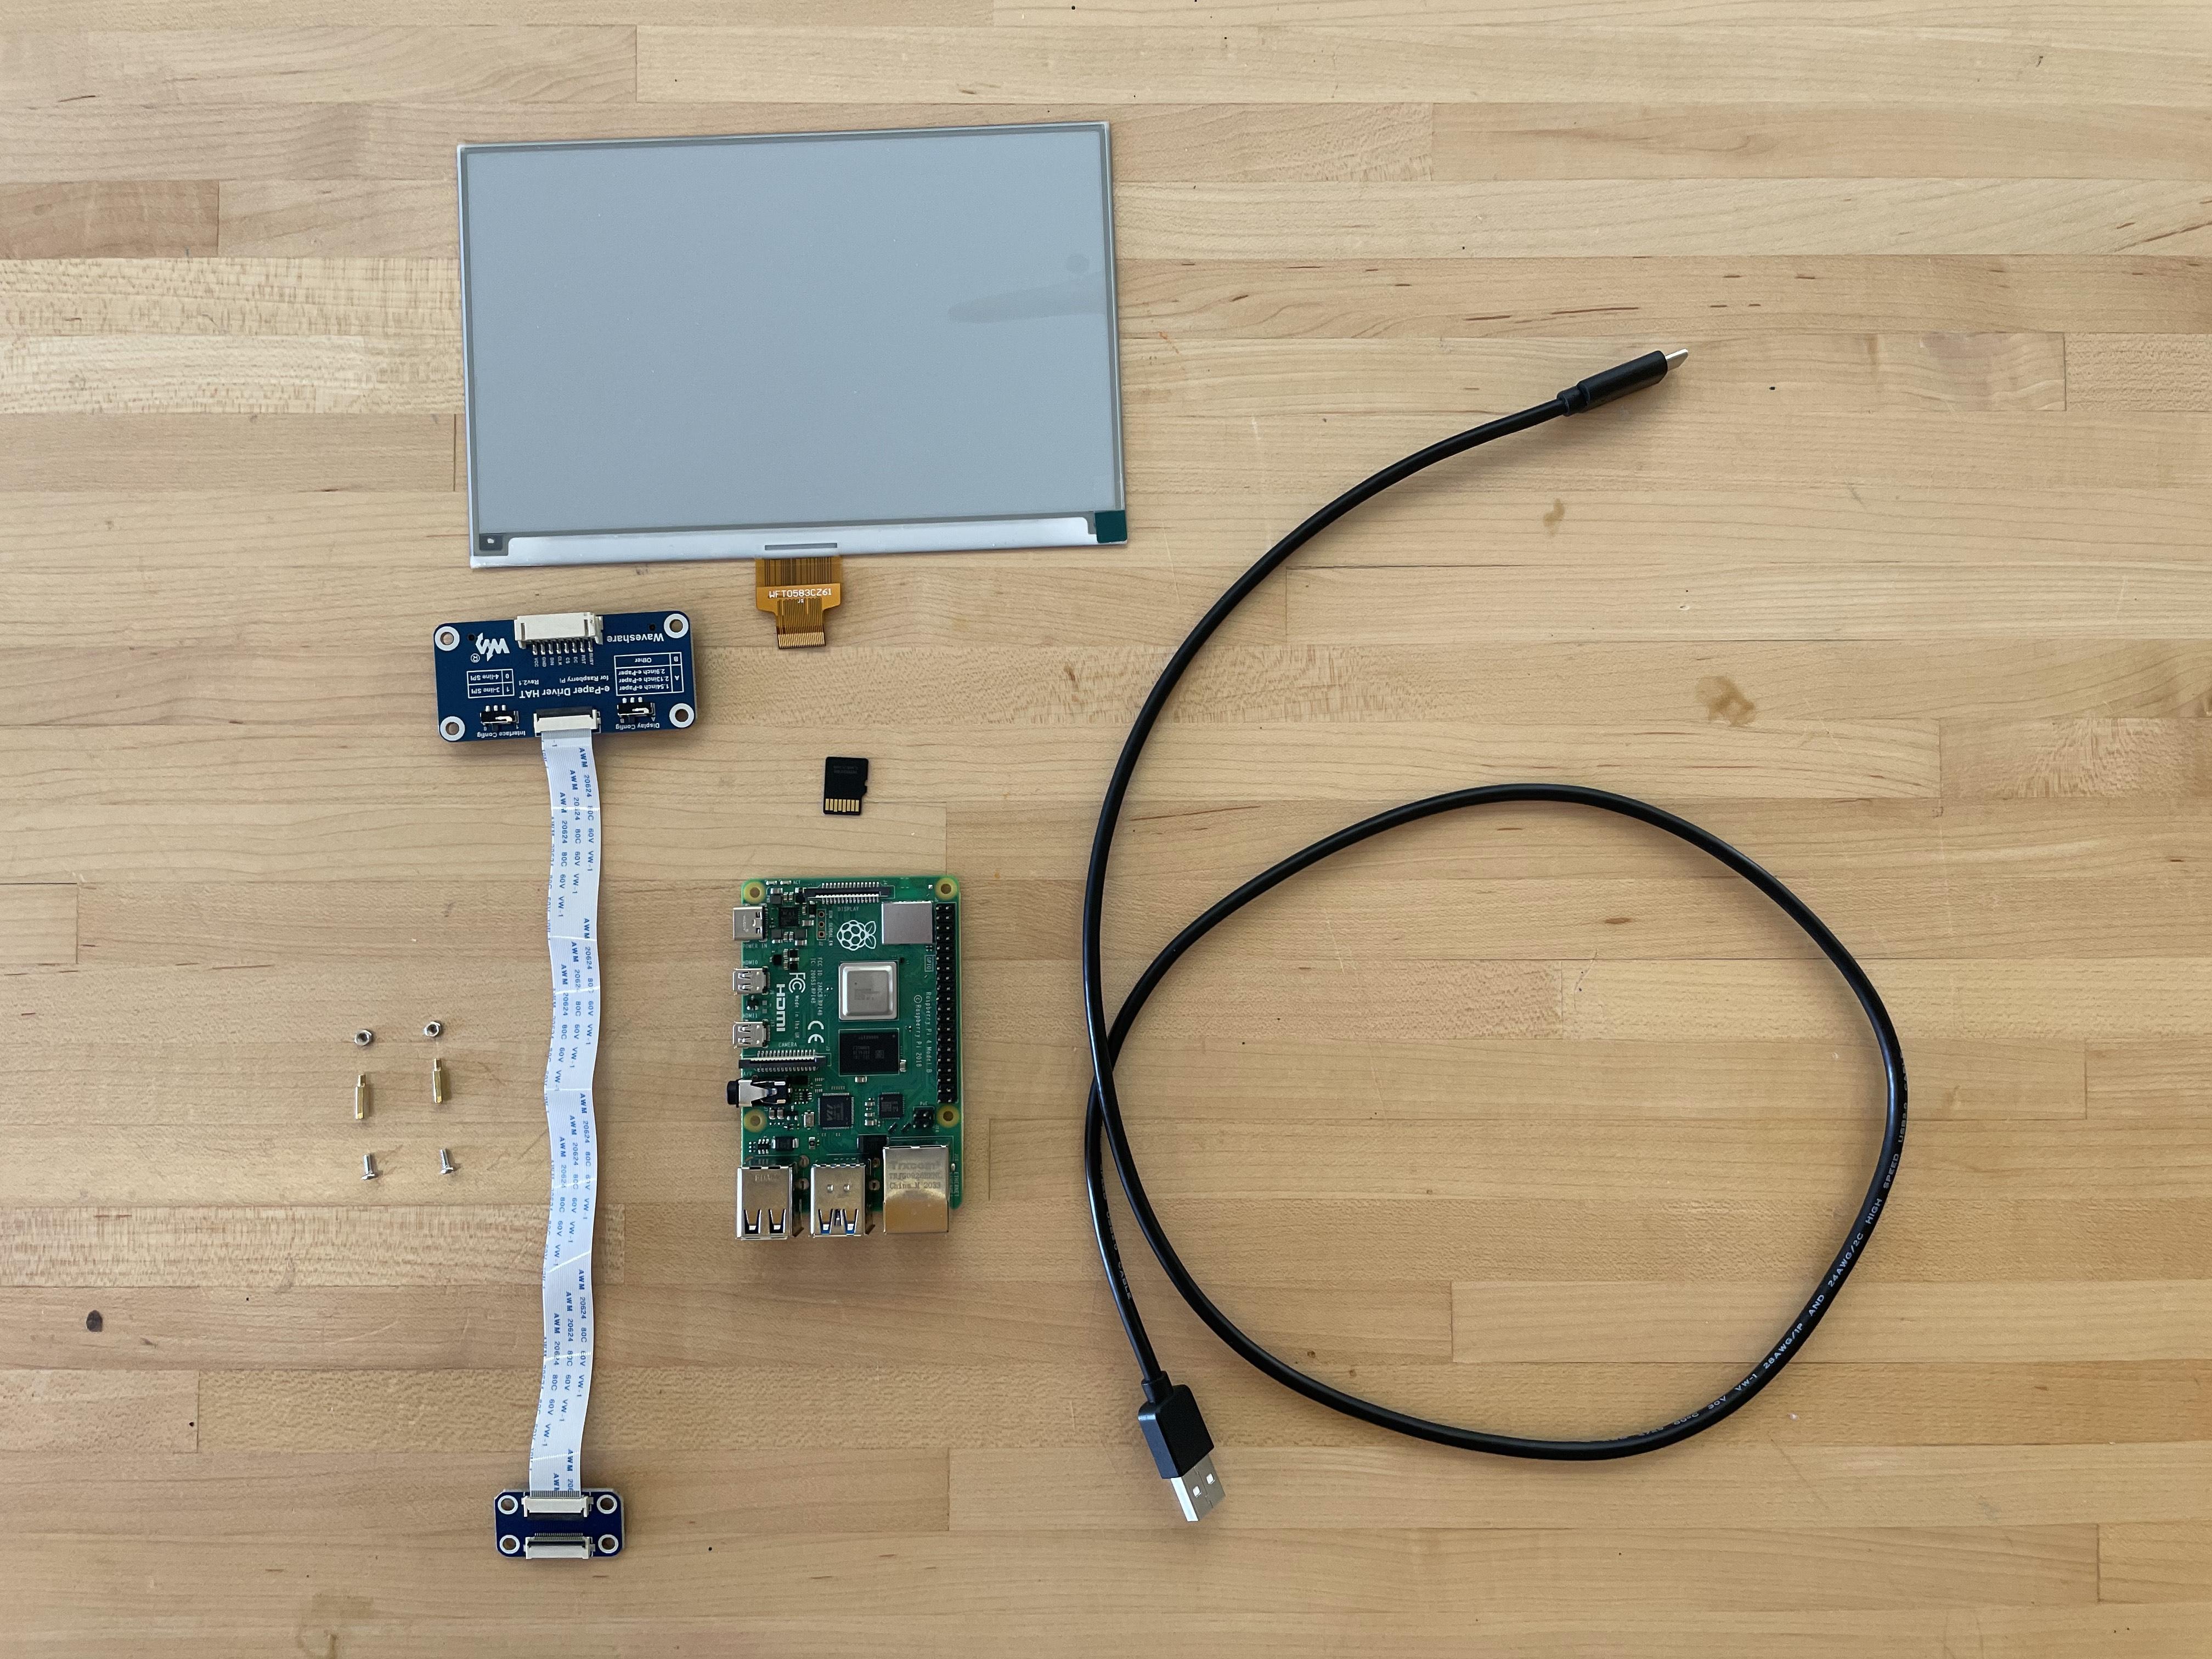
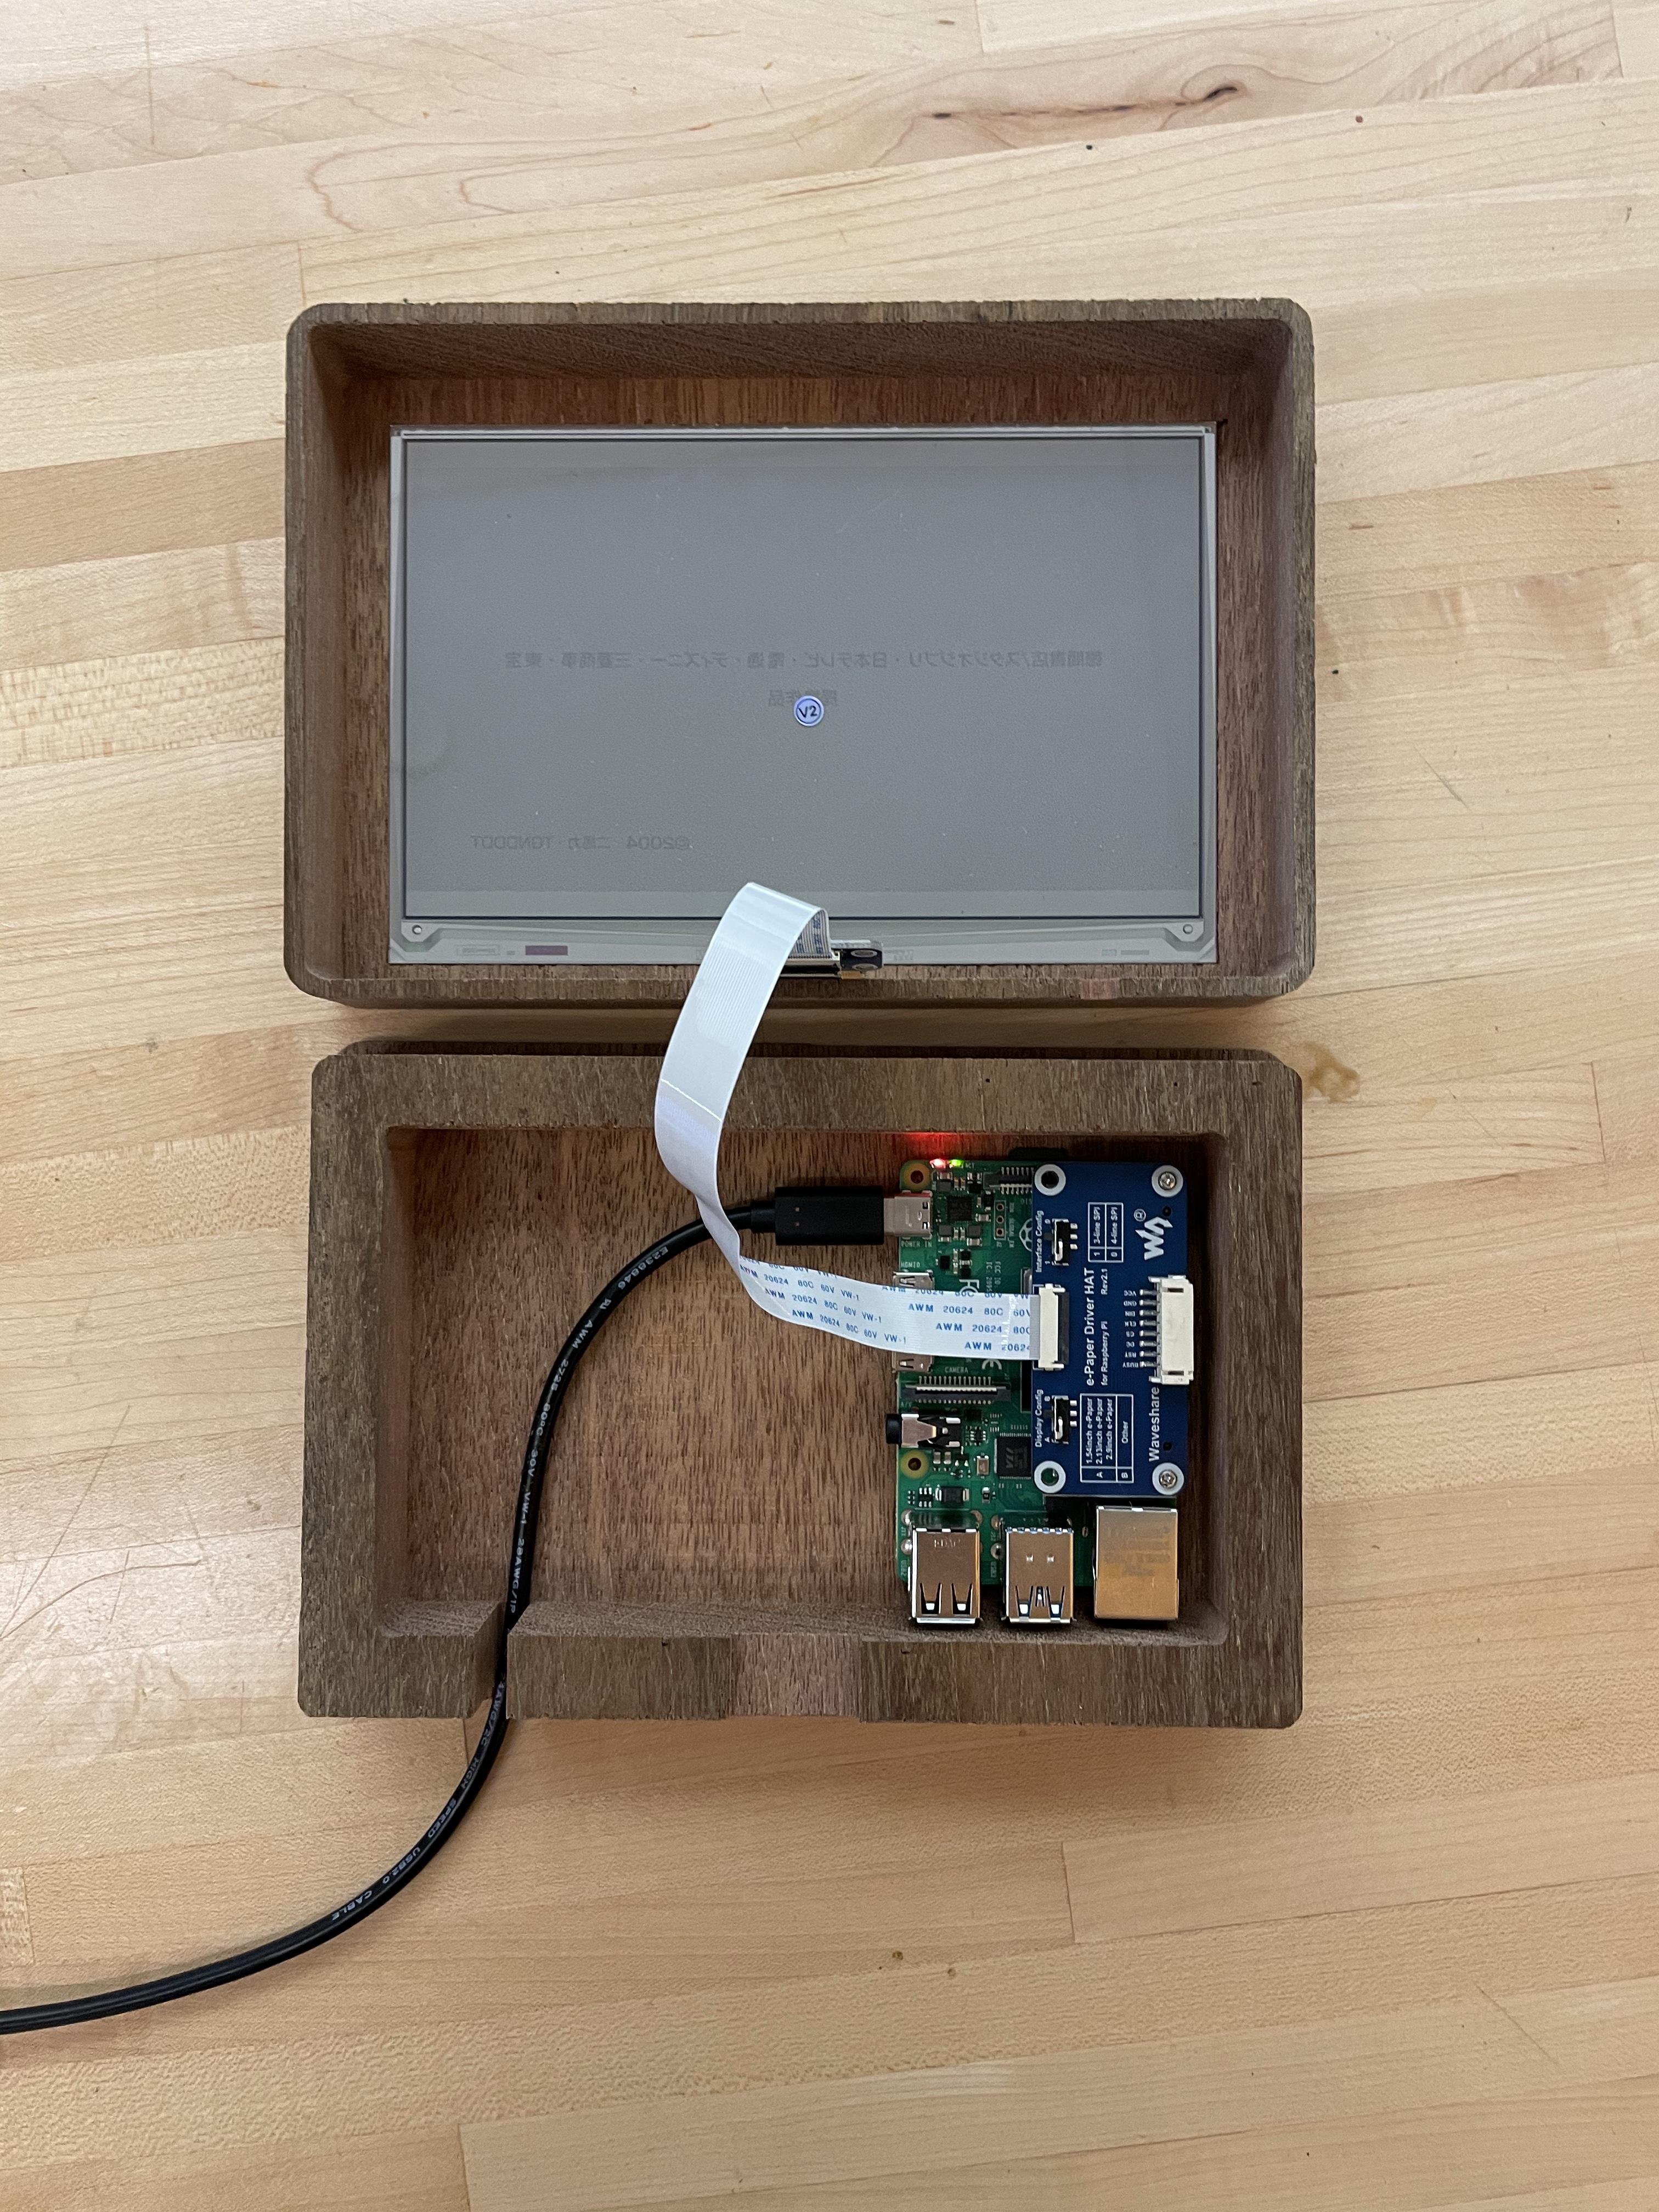
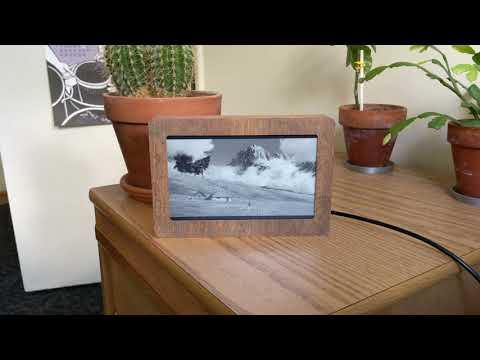
The Very Slow Movie Player plays a movie over several months or years on an e-paper screen. This project uses a Raspberry Pi, an e-paper screen, and Python code to play a movie several hundred times slower than normal. Choose a favorite movie or an especially beautiful film and watch it in a different way than normal. It's kinda like a picture-frame on your wall that slowly changes over time.
Bryan Boyer came up with the VSMP and shared it in the article Creating a Very Slow Movie Player. I built it using Tom Whitwell's instructions and code.
Building a VSMP doesn't require soldering or coding. As usual with this kind of thing, some troubleshooting might be necessary when installing the dependencies on the Raspberry Pi. You need a 3D printer or CNC machine to make the cases I made, but the case/frame for this project is a good area to improvise and experiment. You could stick it in an Ikea frame, get it professionally framed, build a case out of wood, Lasercut one out of wood or plastic, or anything else. If you make a VSMP, please share!
Supplies
Components:
- 7.5-in E-Ink display + HAT for Raspberry Pi ($58.99)
- Raspberry Pi 4 B ($35.00)
- 16GB NOOBS SD card ($14.95)
- 1-meter USB Type A to Type C Cable ($4.95)
- USB A power brick/wall plug (you probably have one lying around)
Tools:
- Computer with command-line
- Small screwdriver and wrench
Optional:
- 3D Printer or CNC machine to print or cut case or a picture frame to frame the screen
Connect E-paper Screen to Raspberry Pi
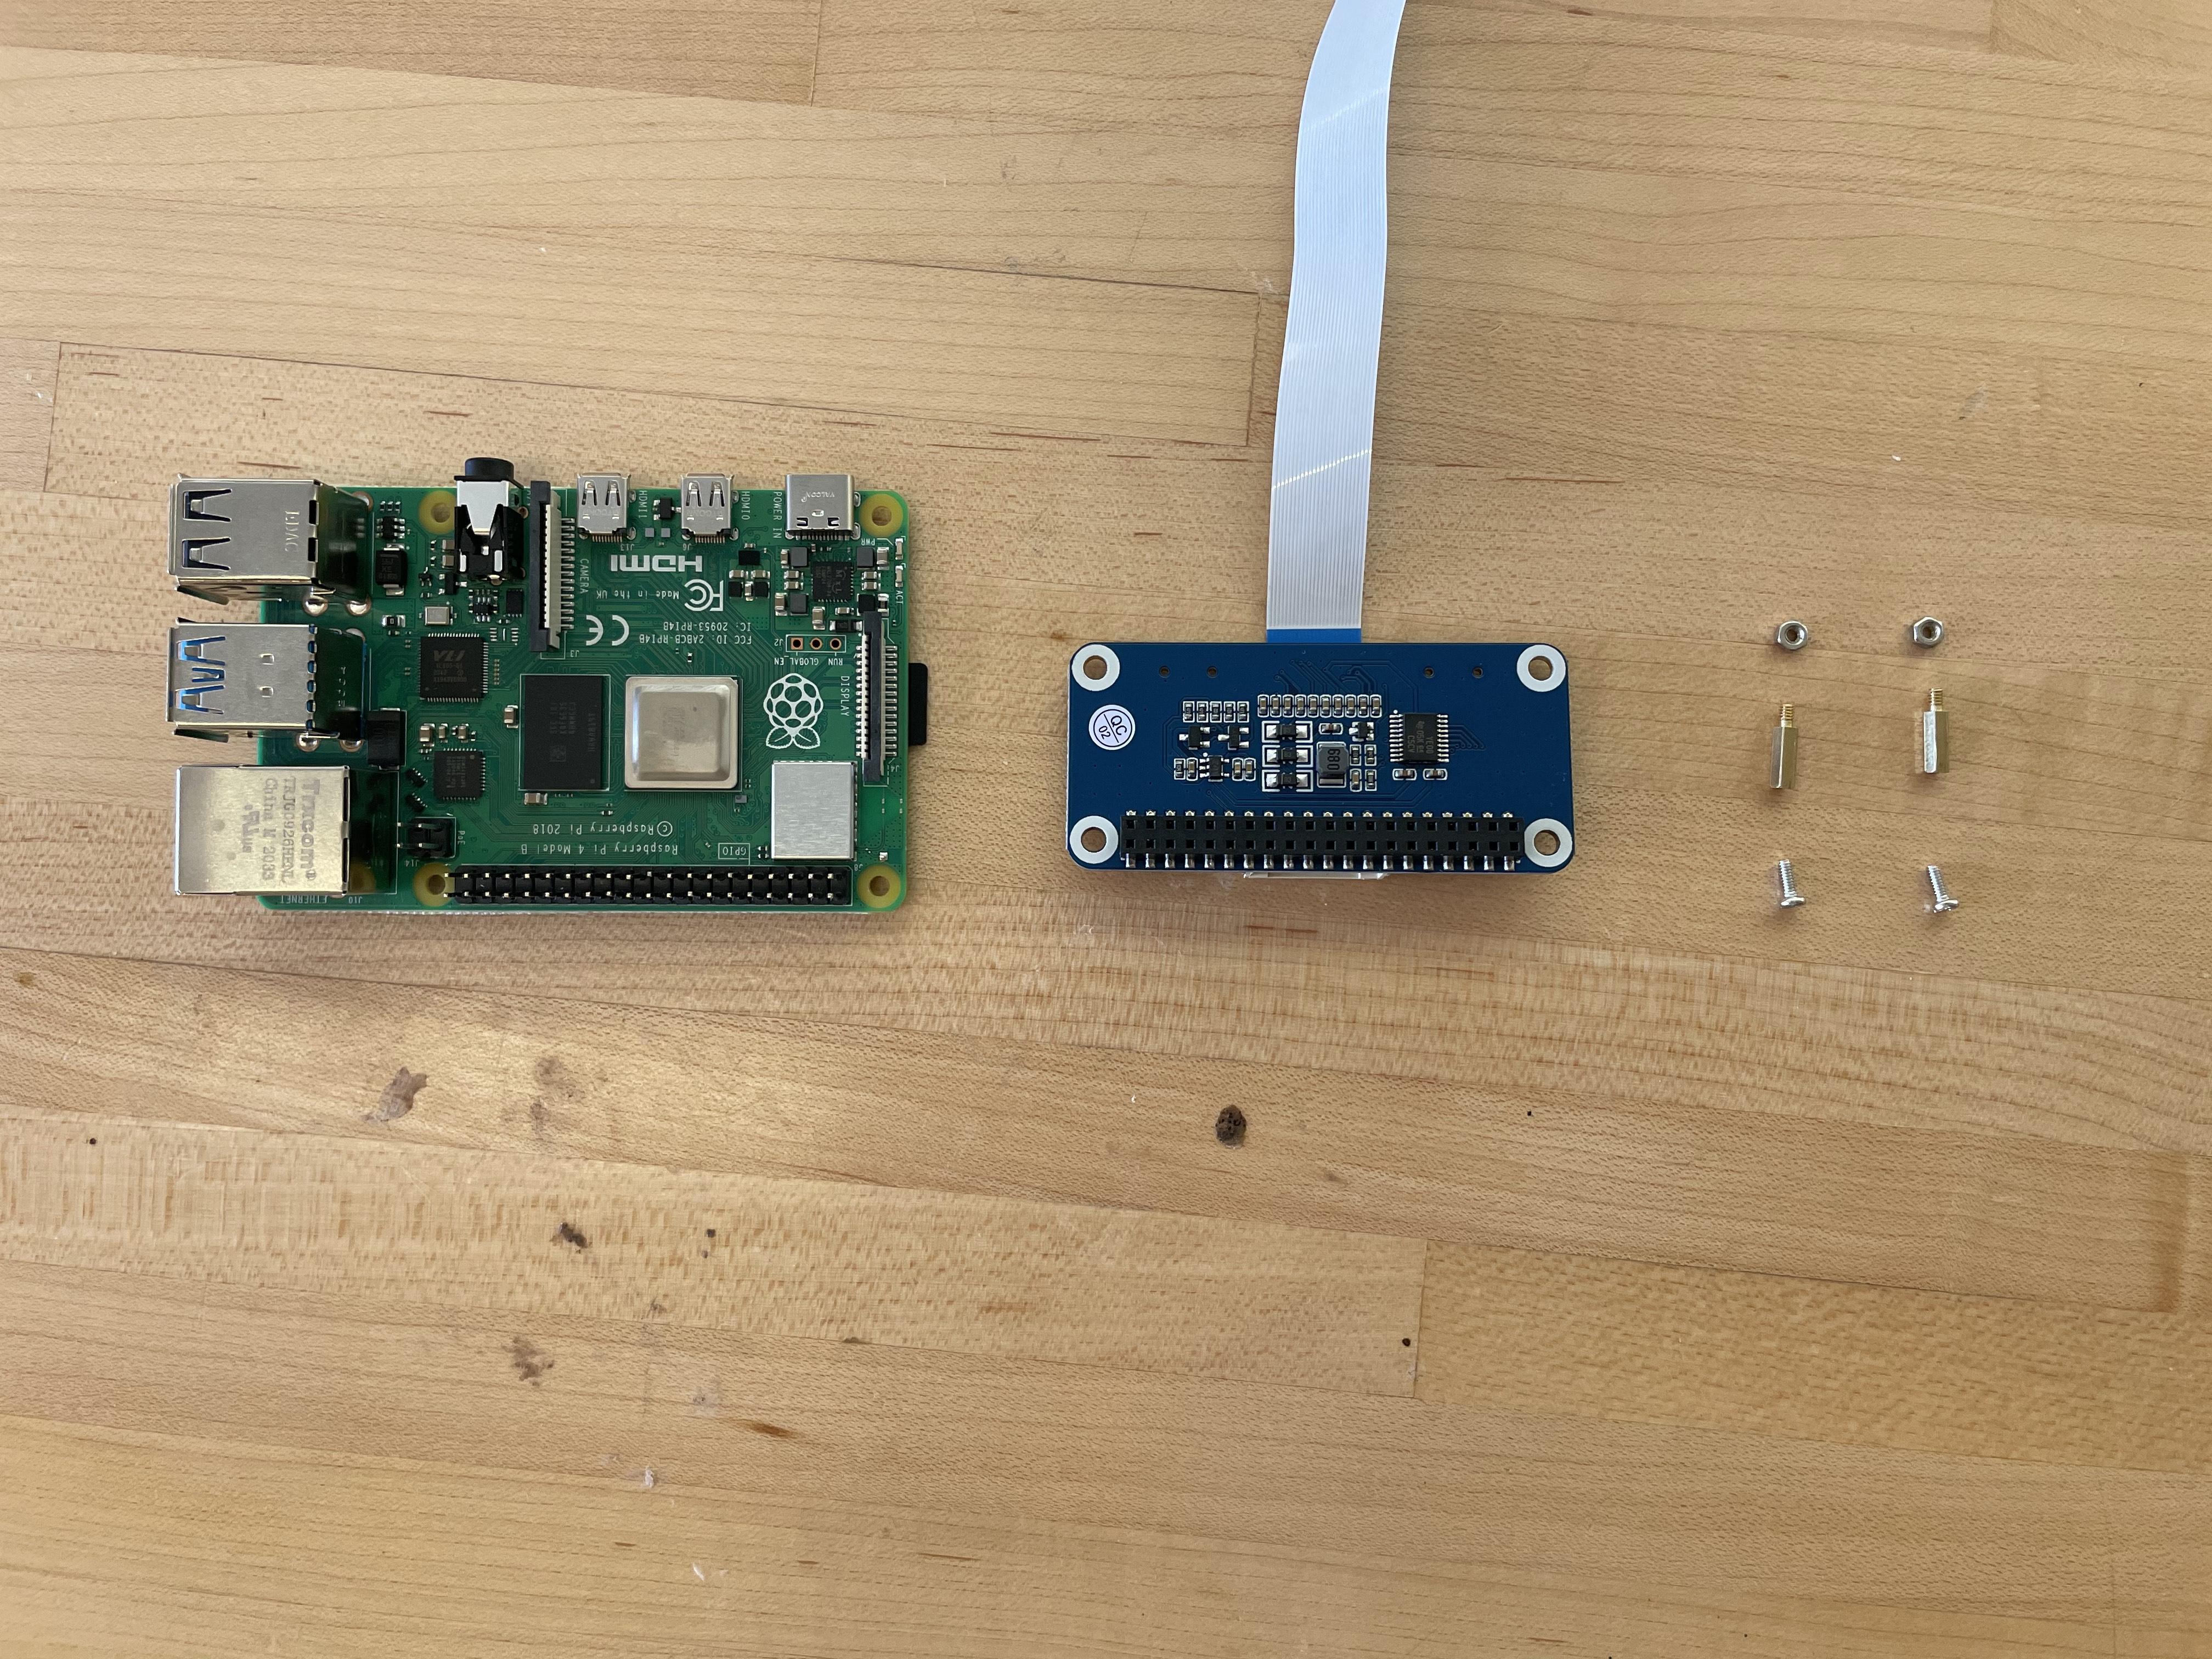
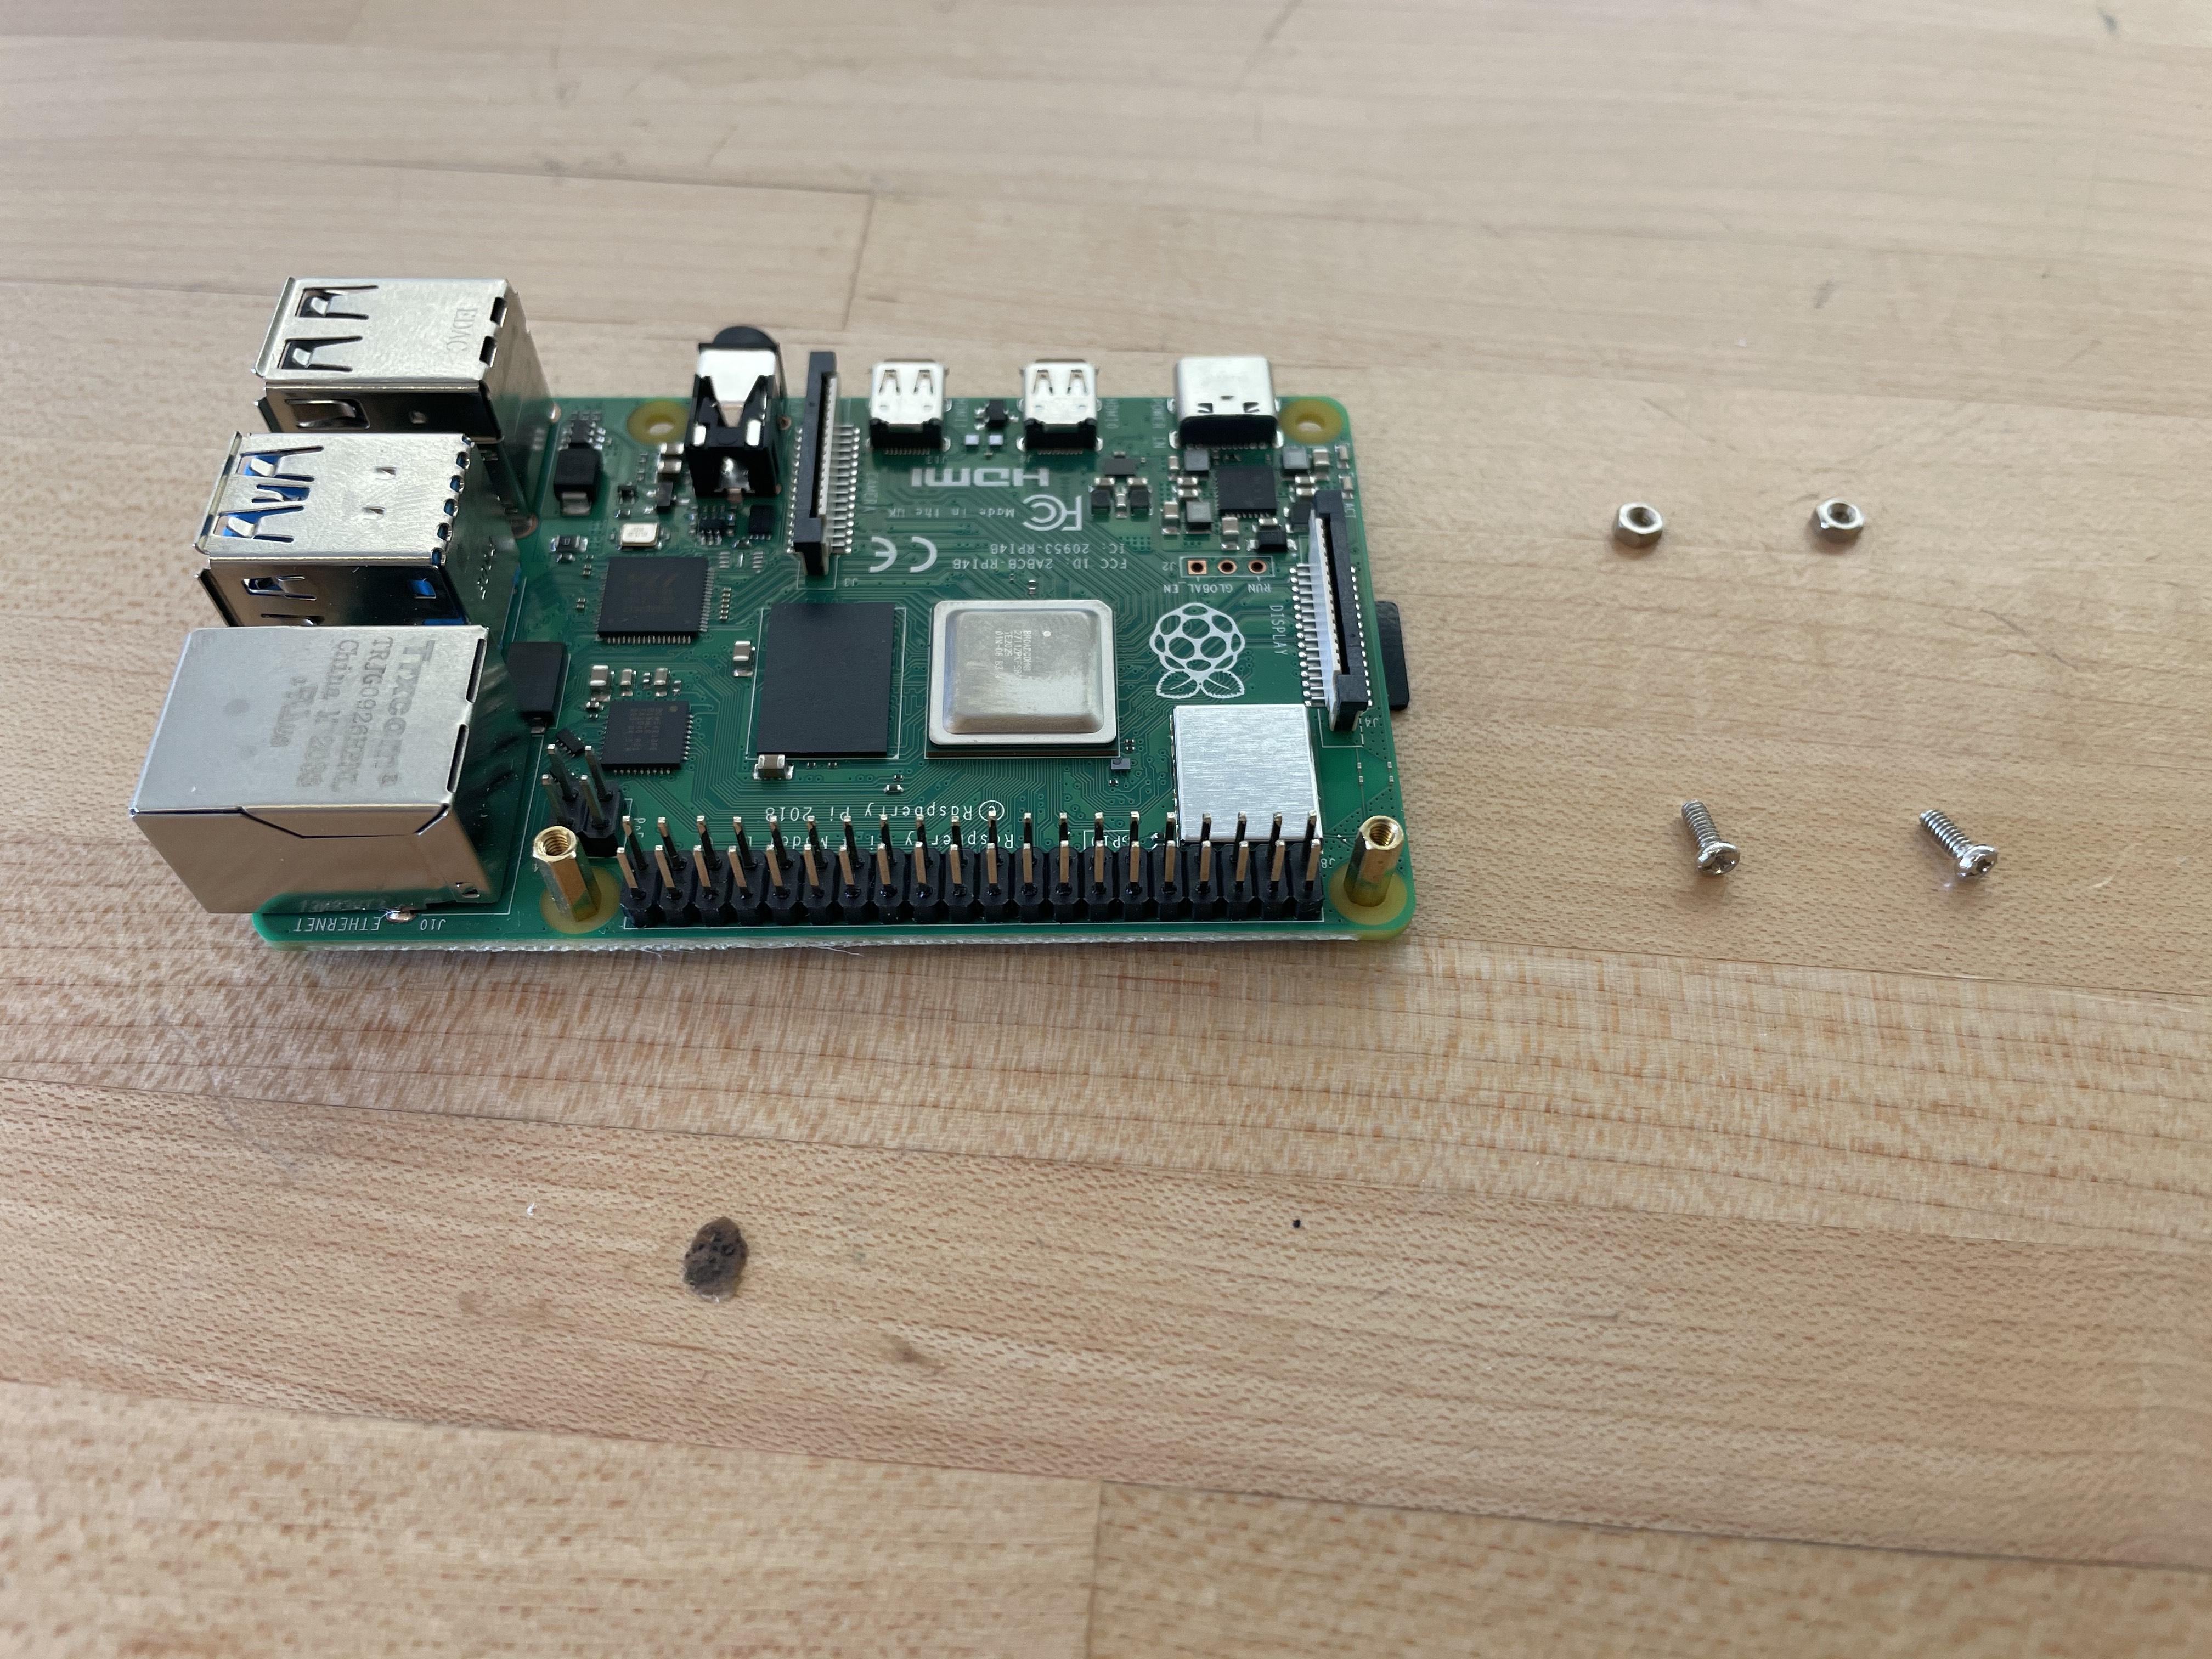
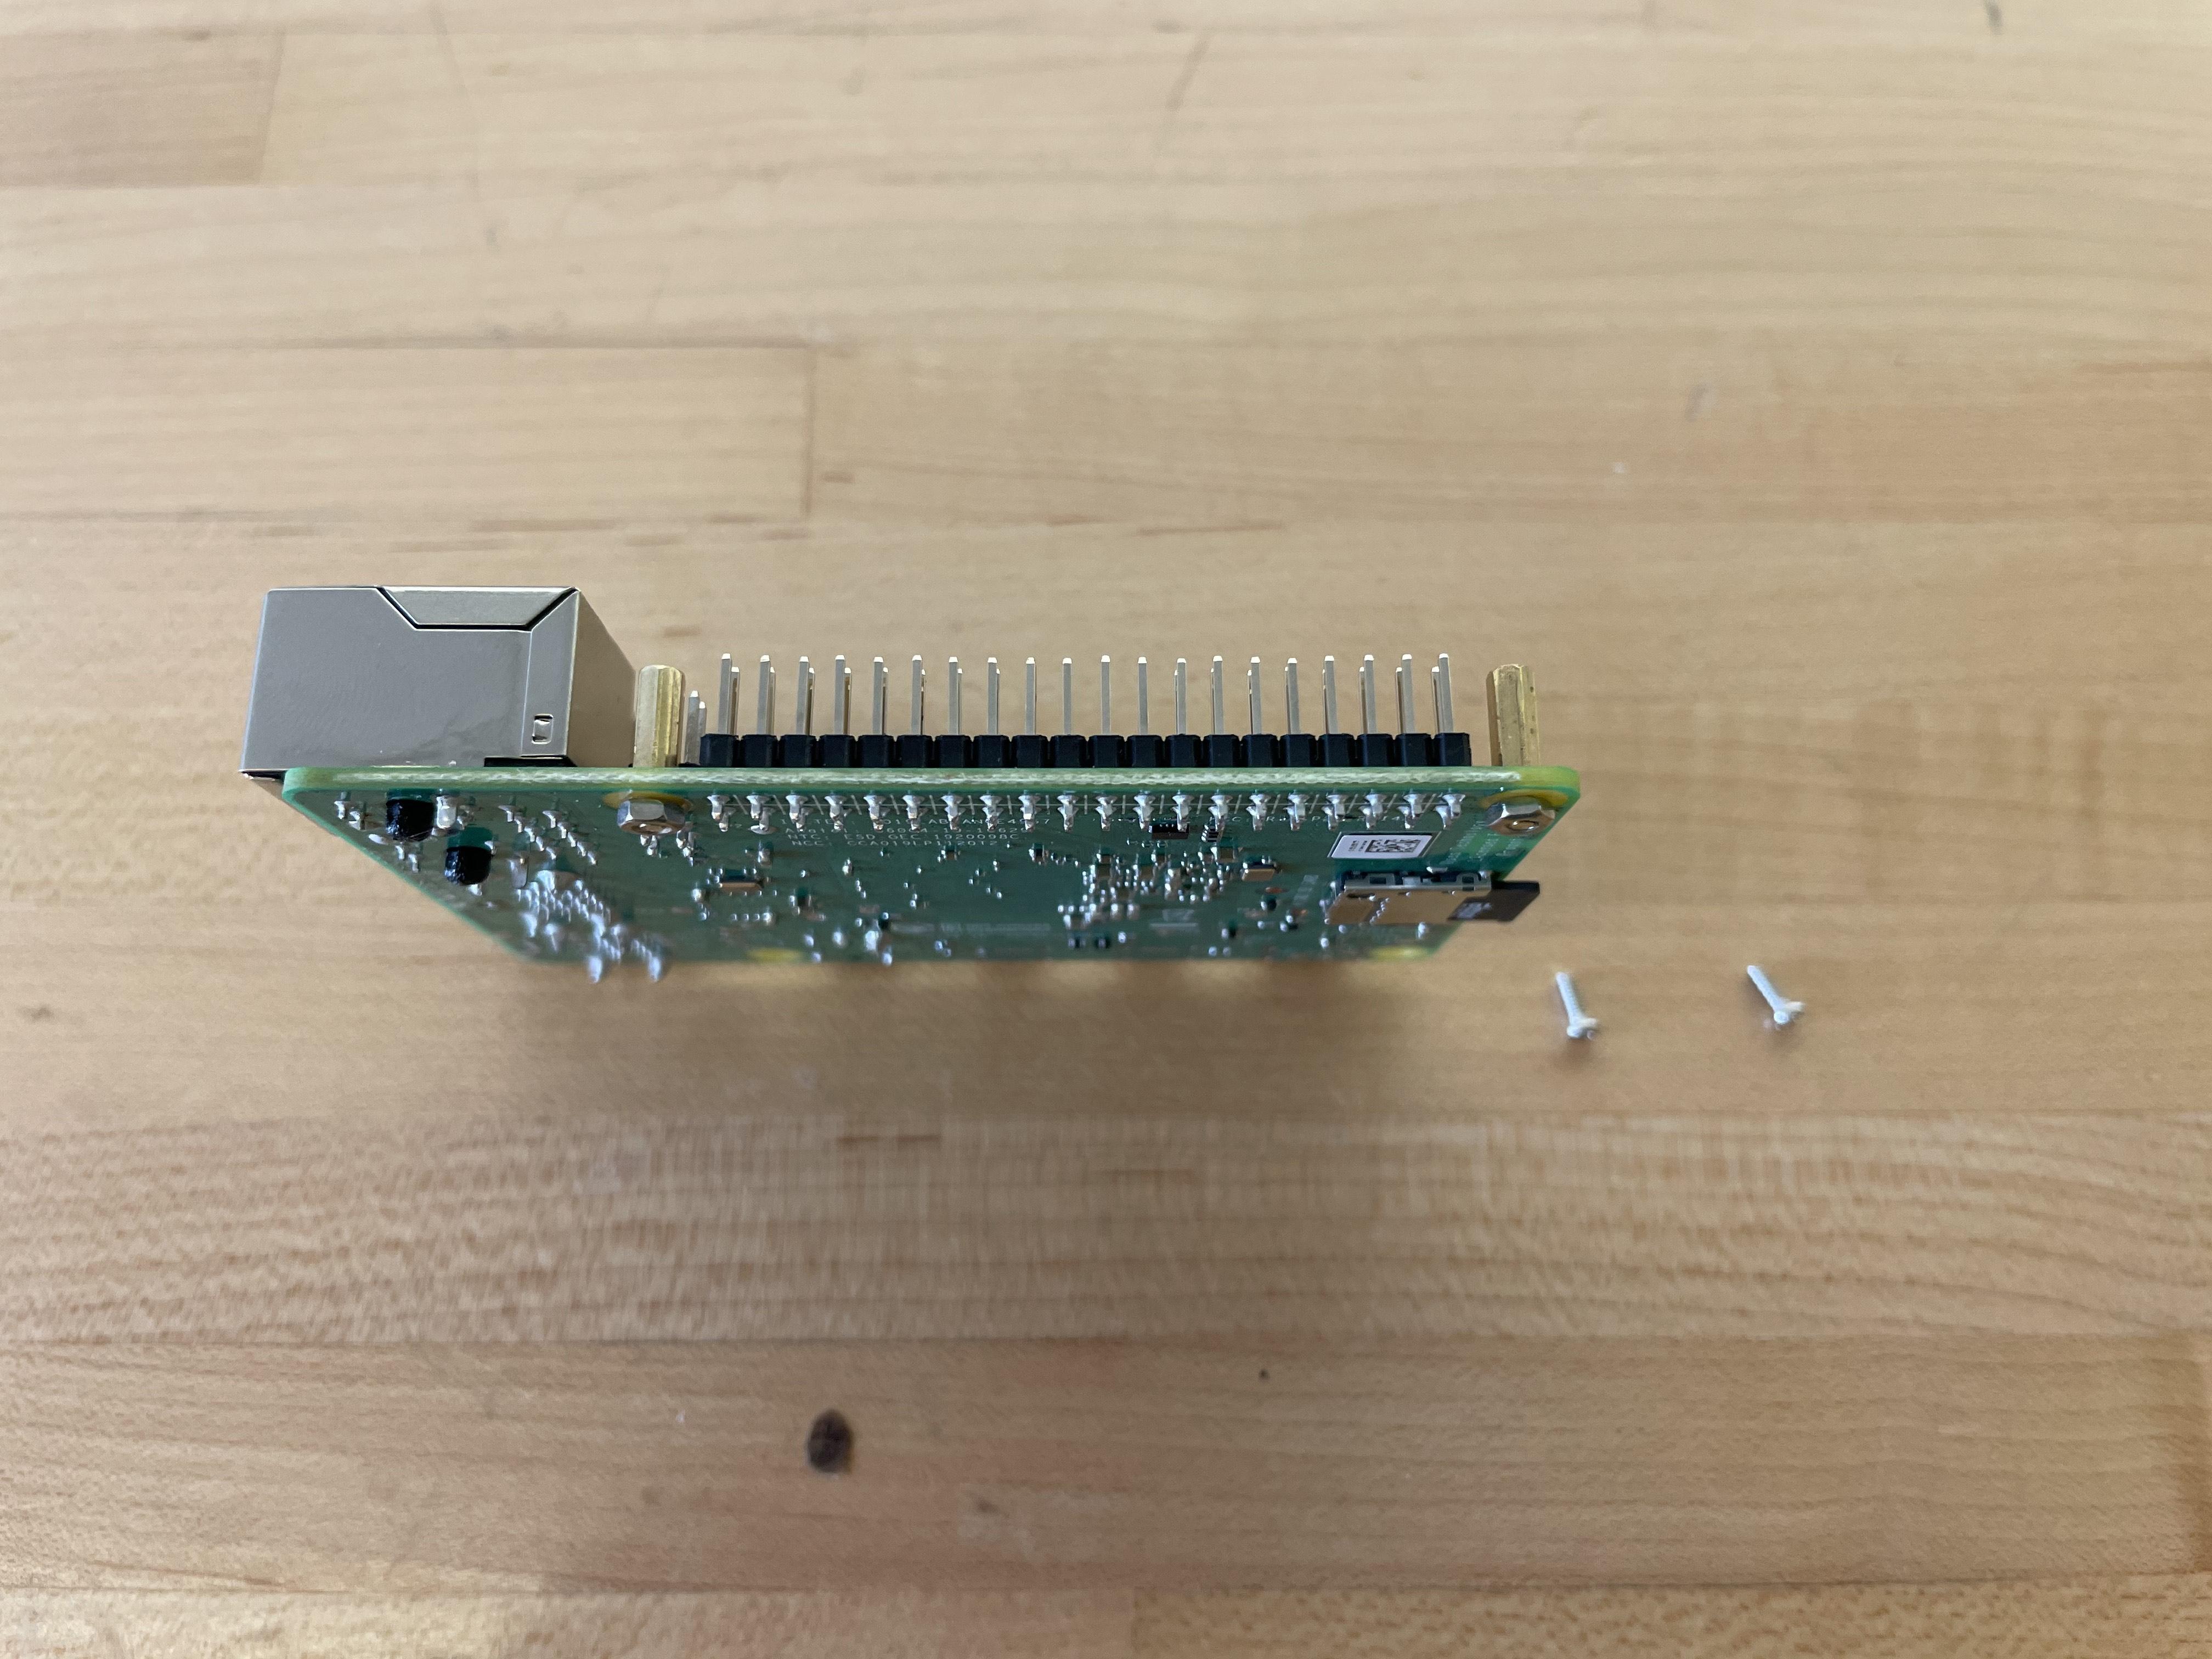
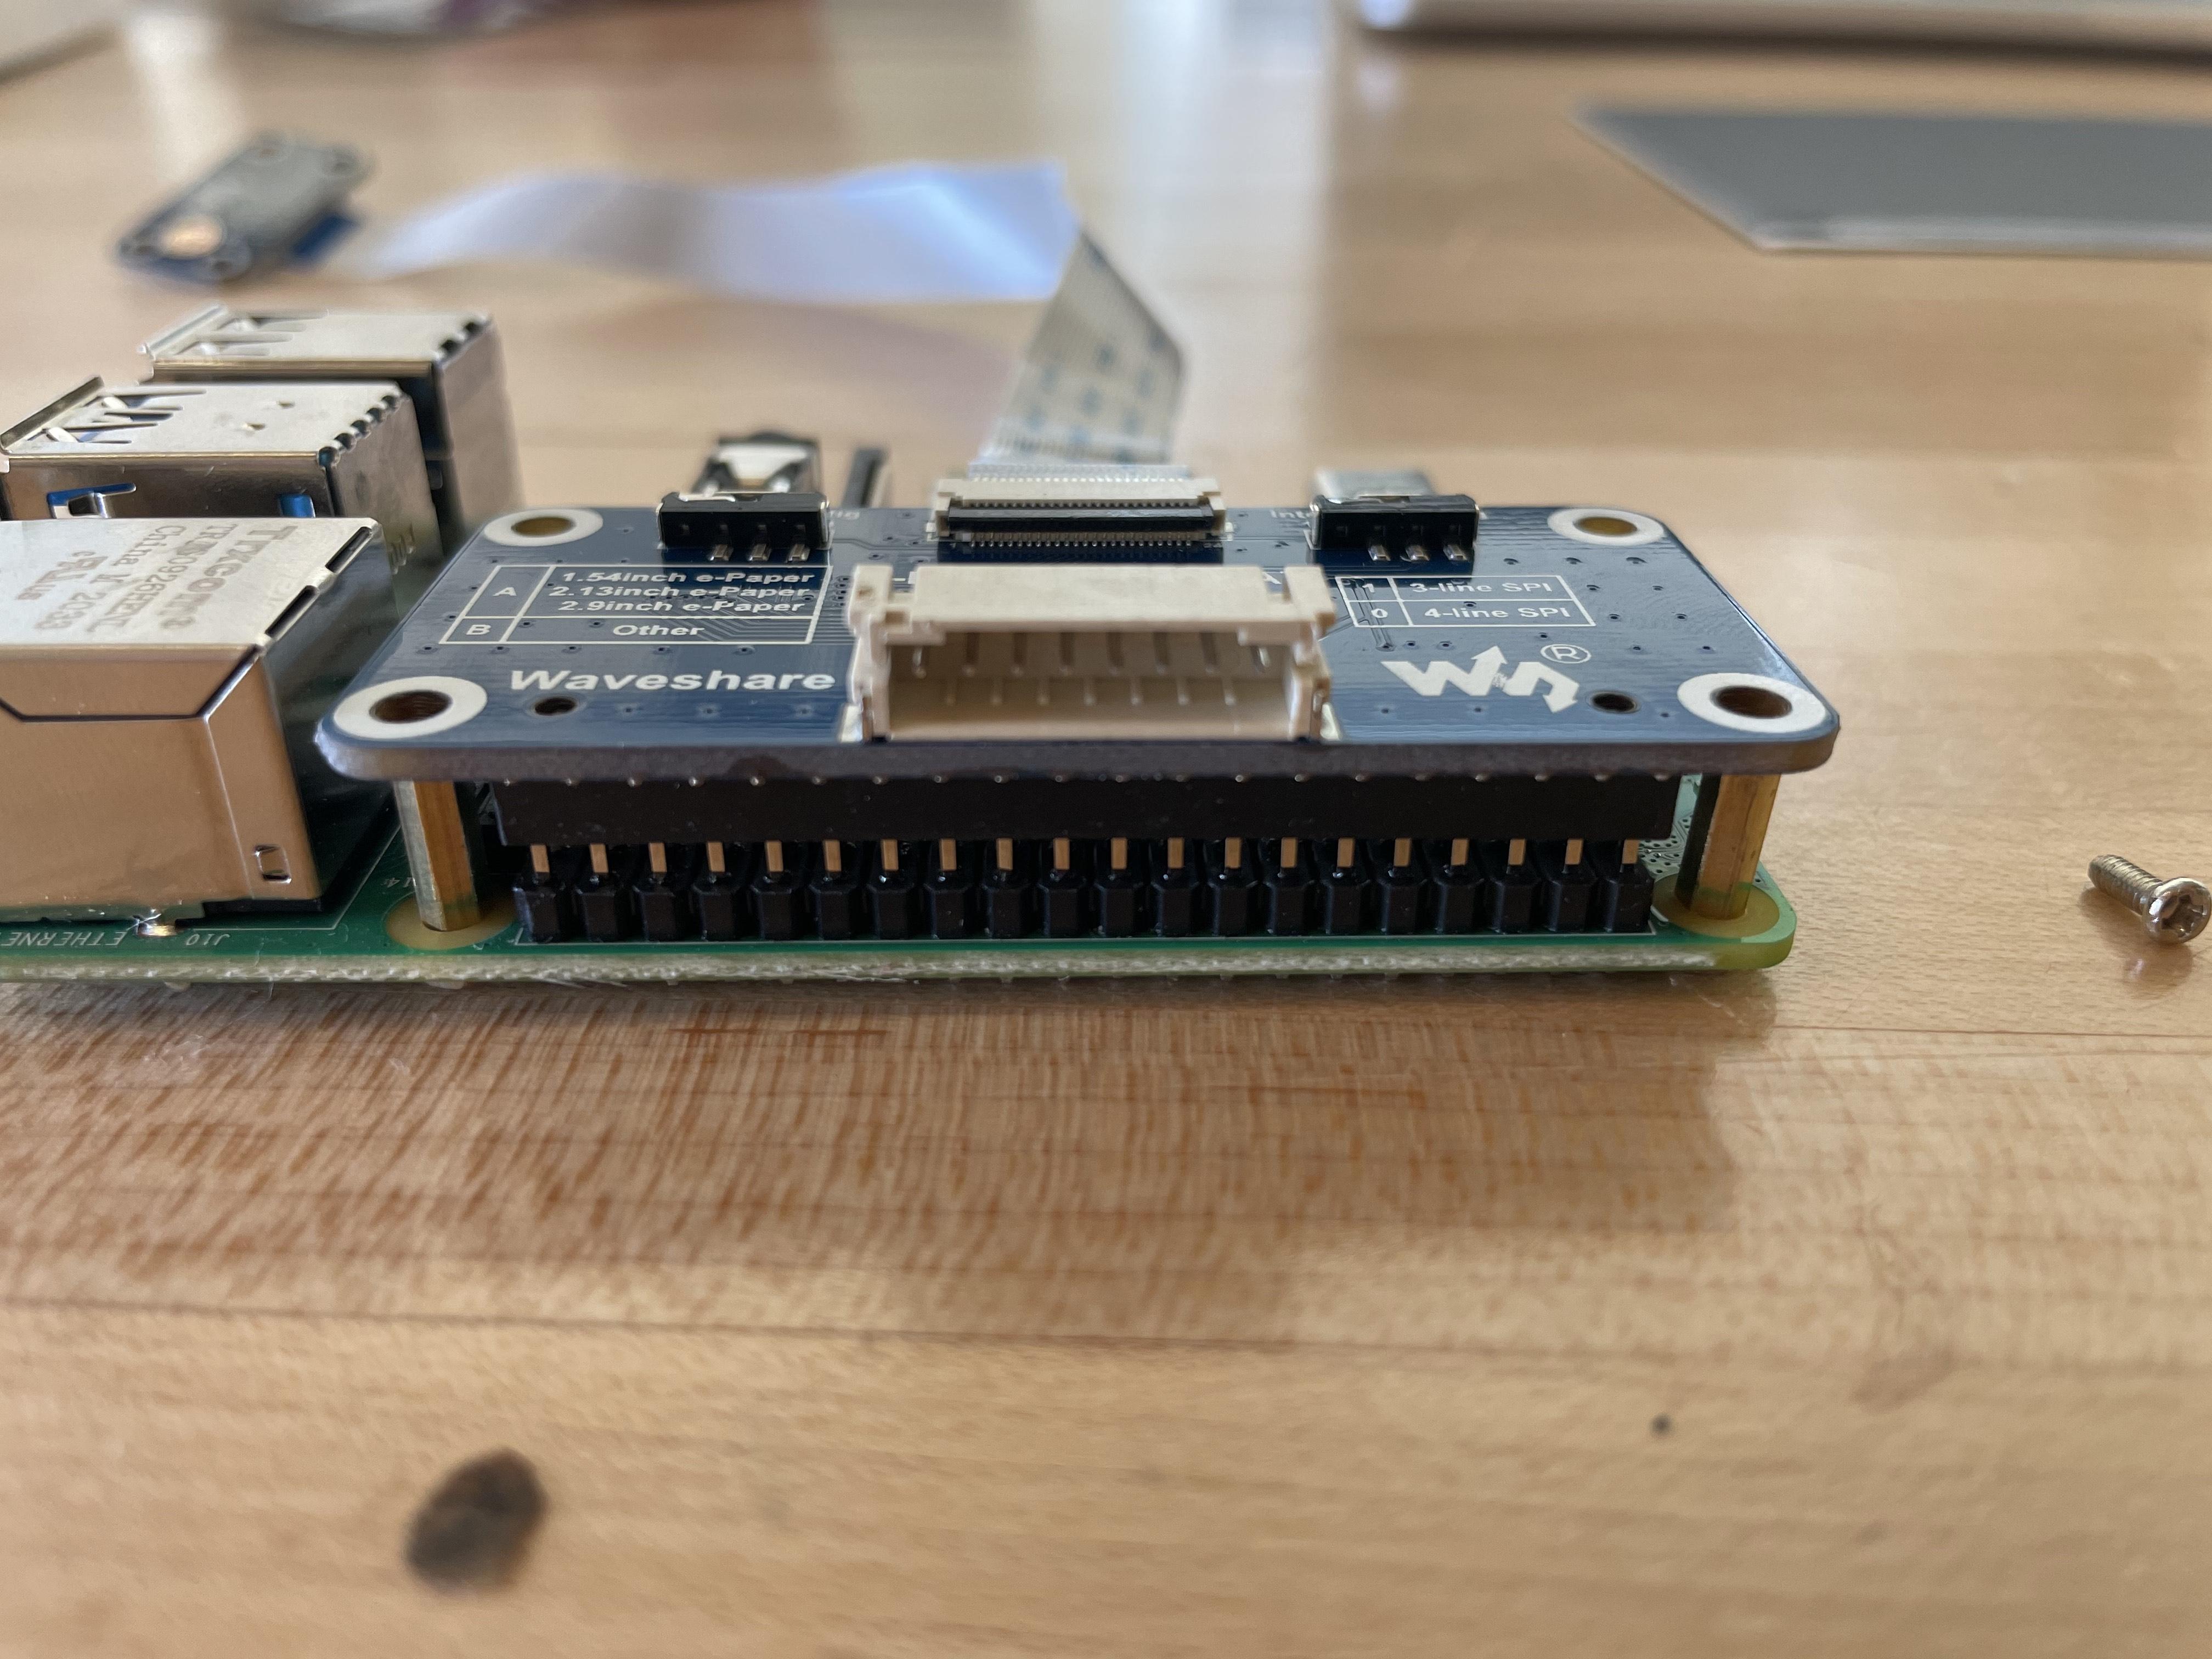
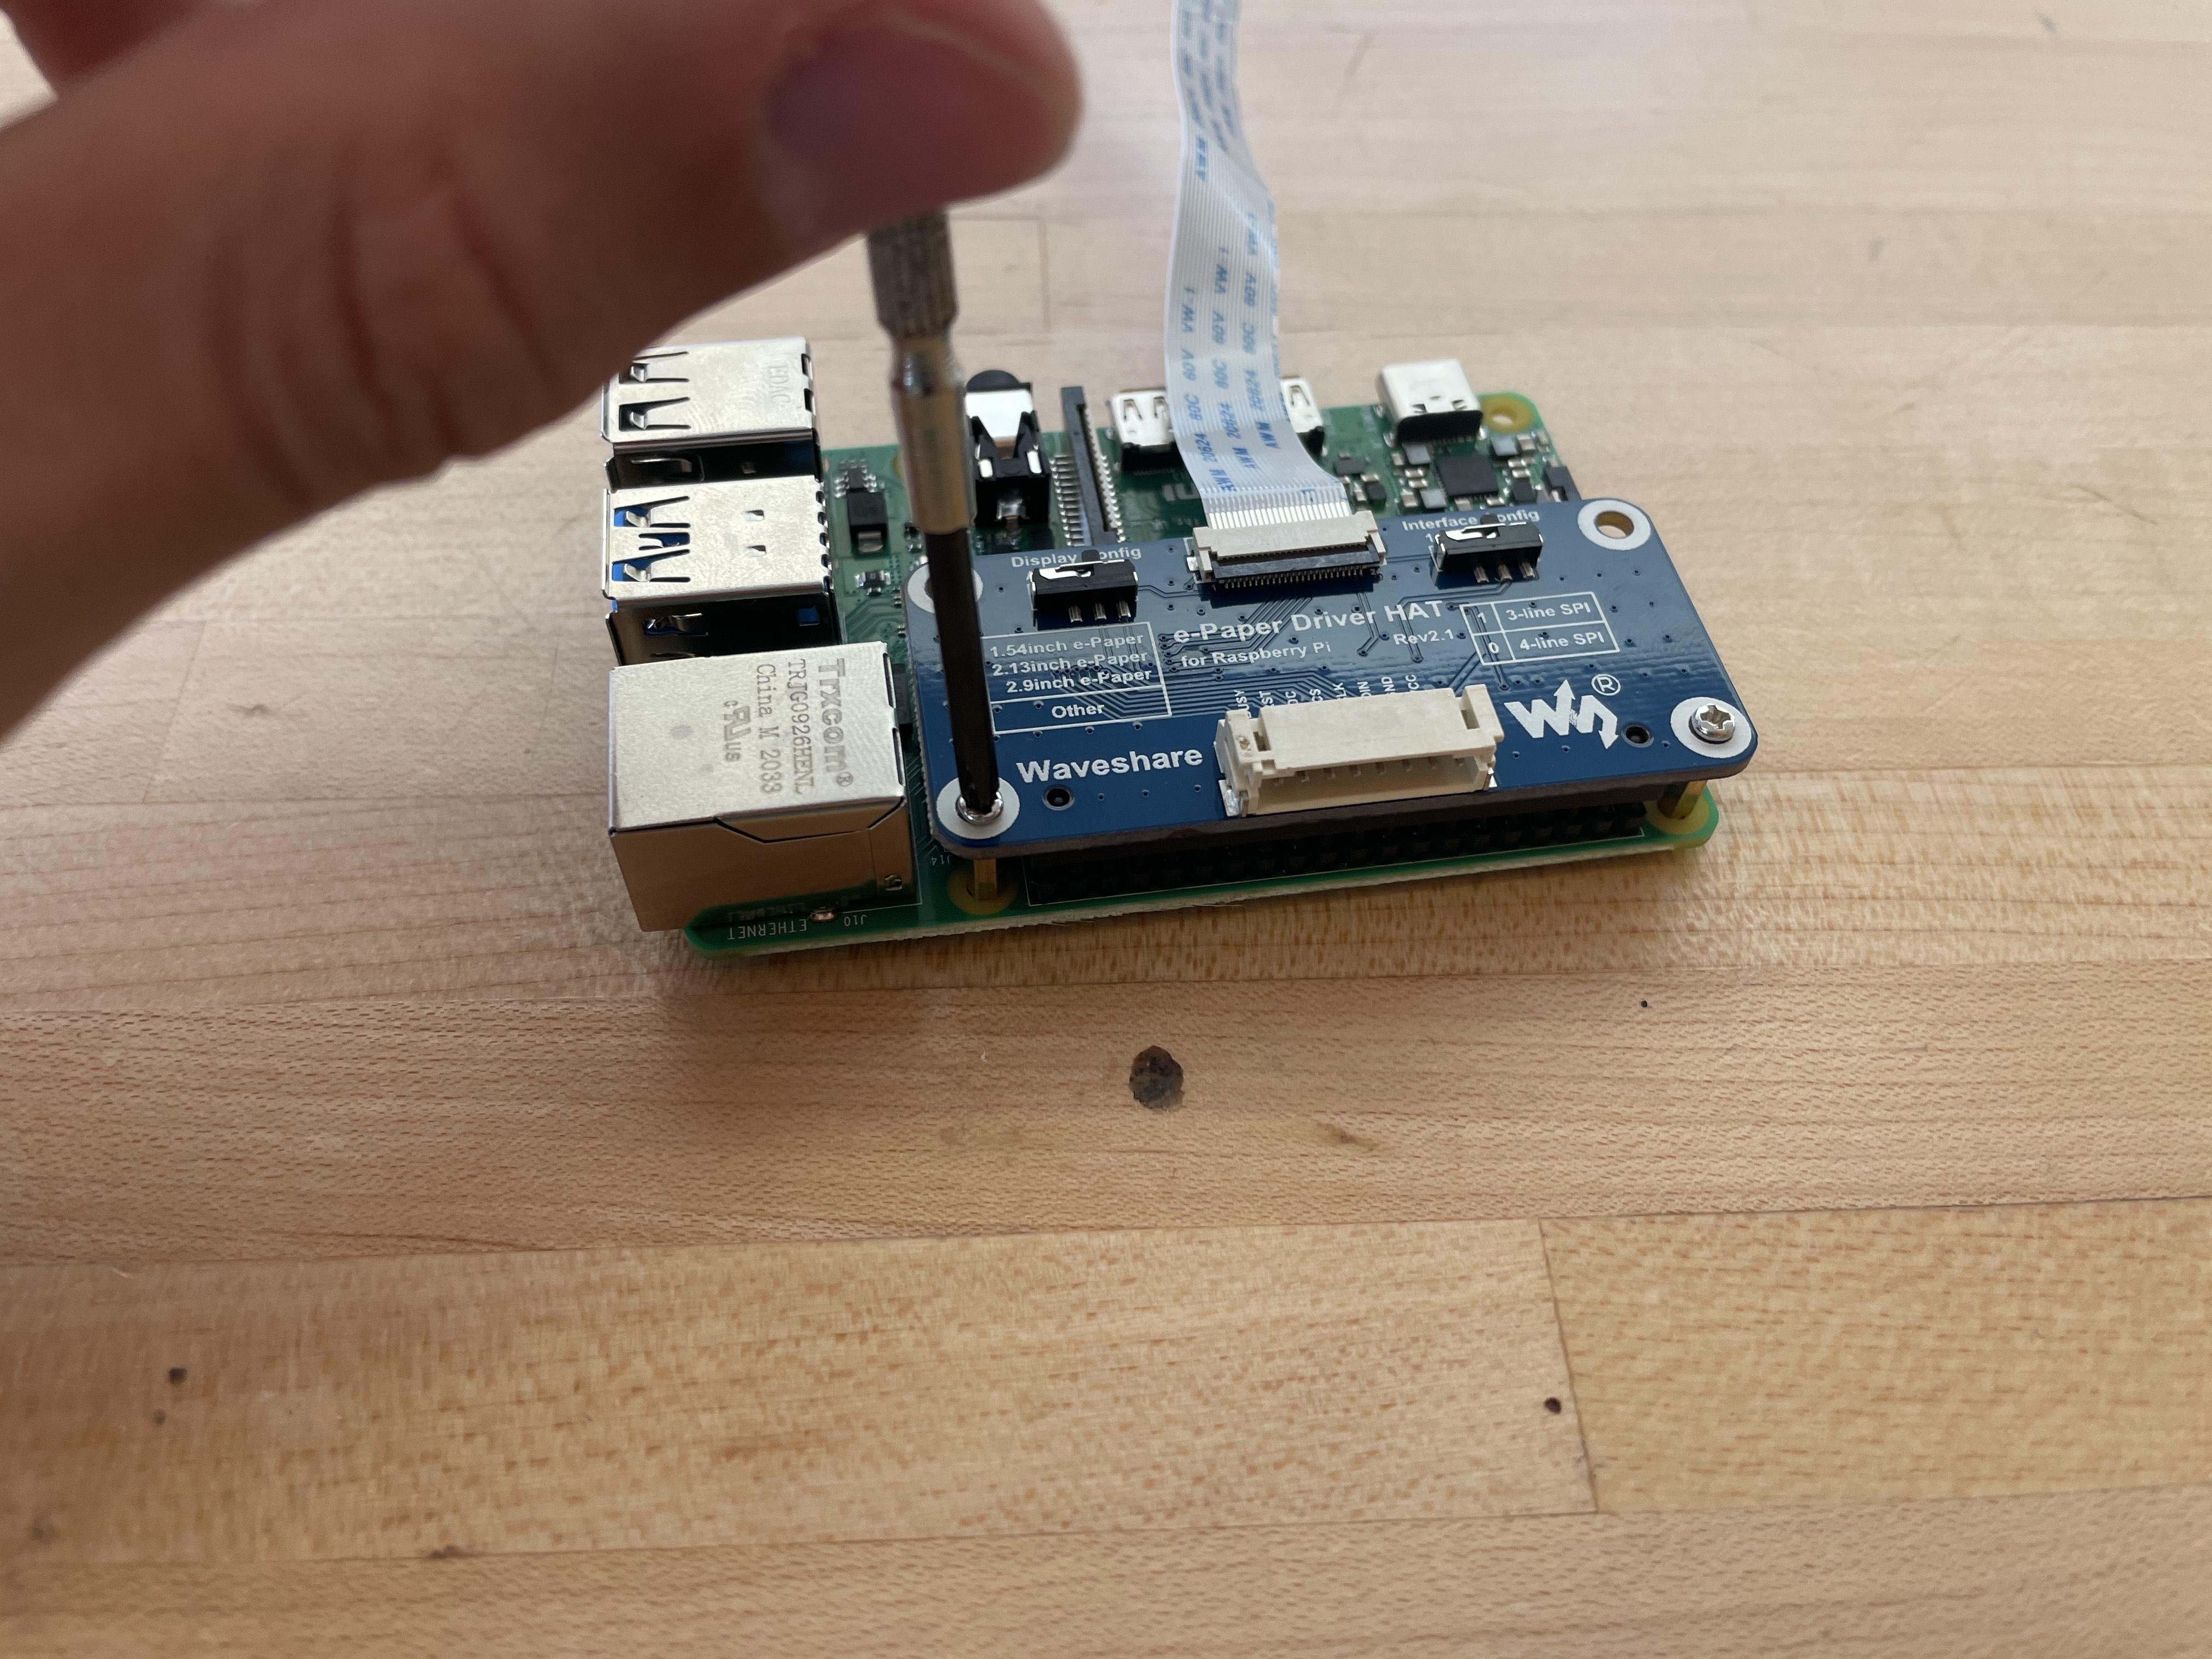
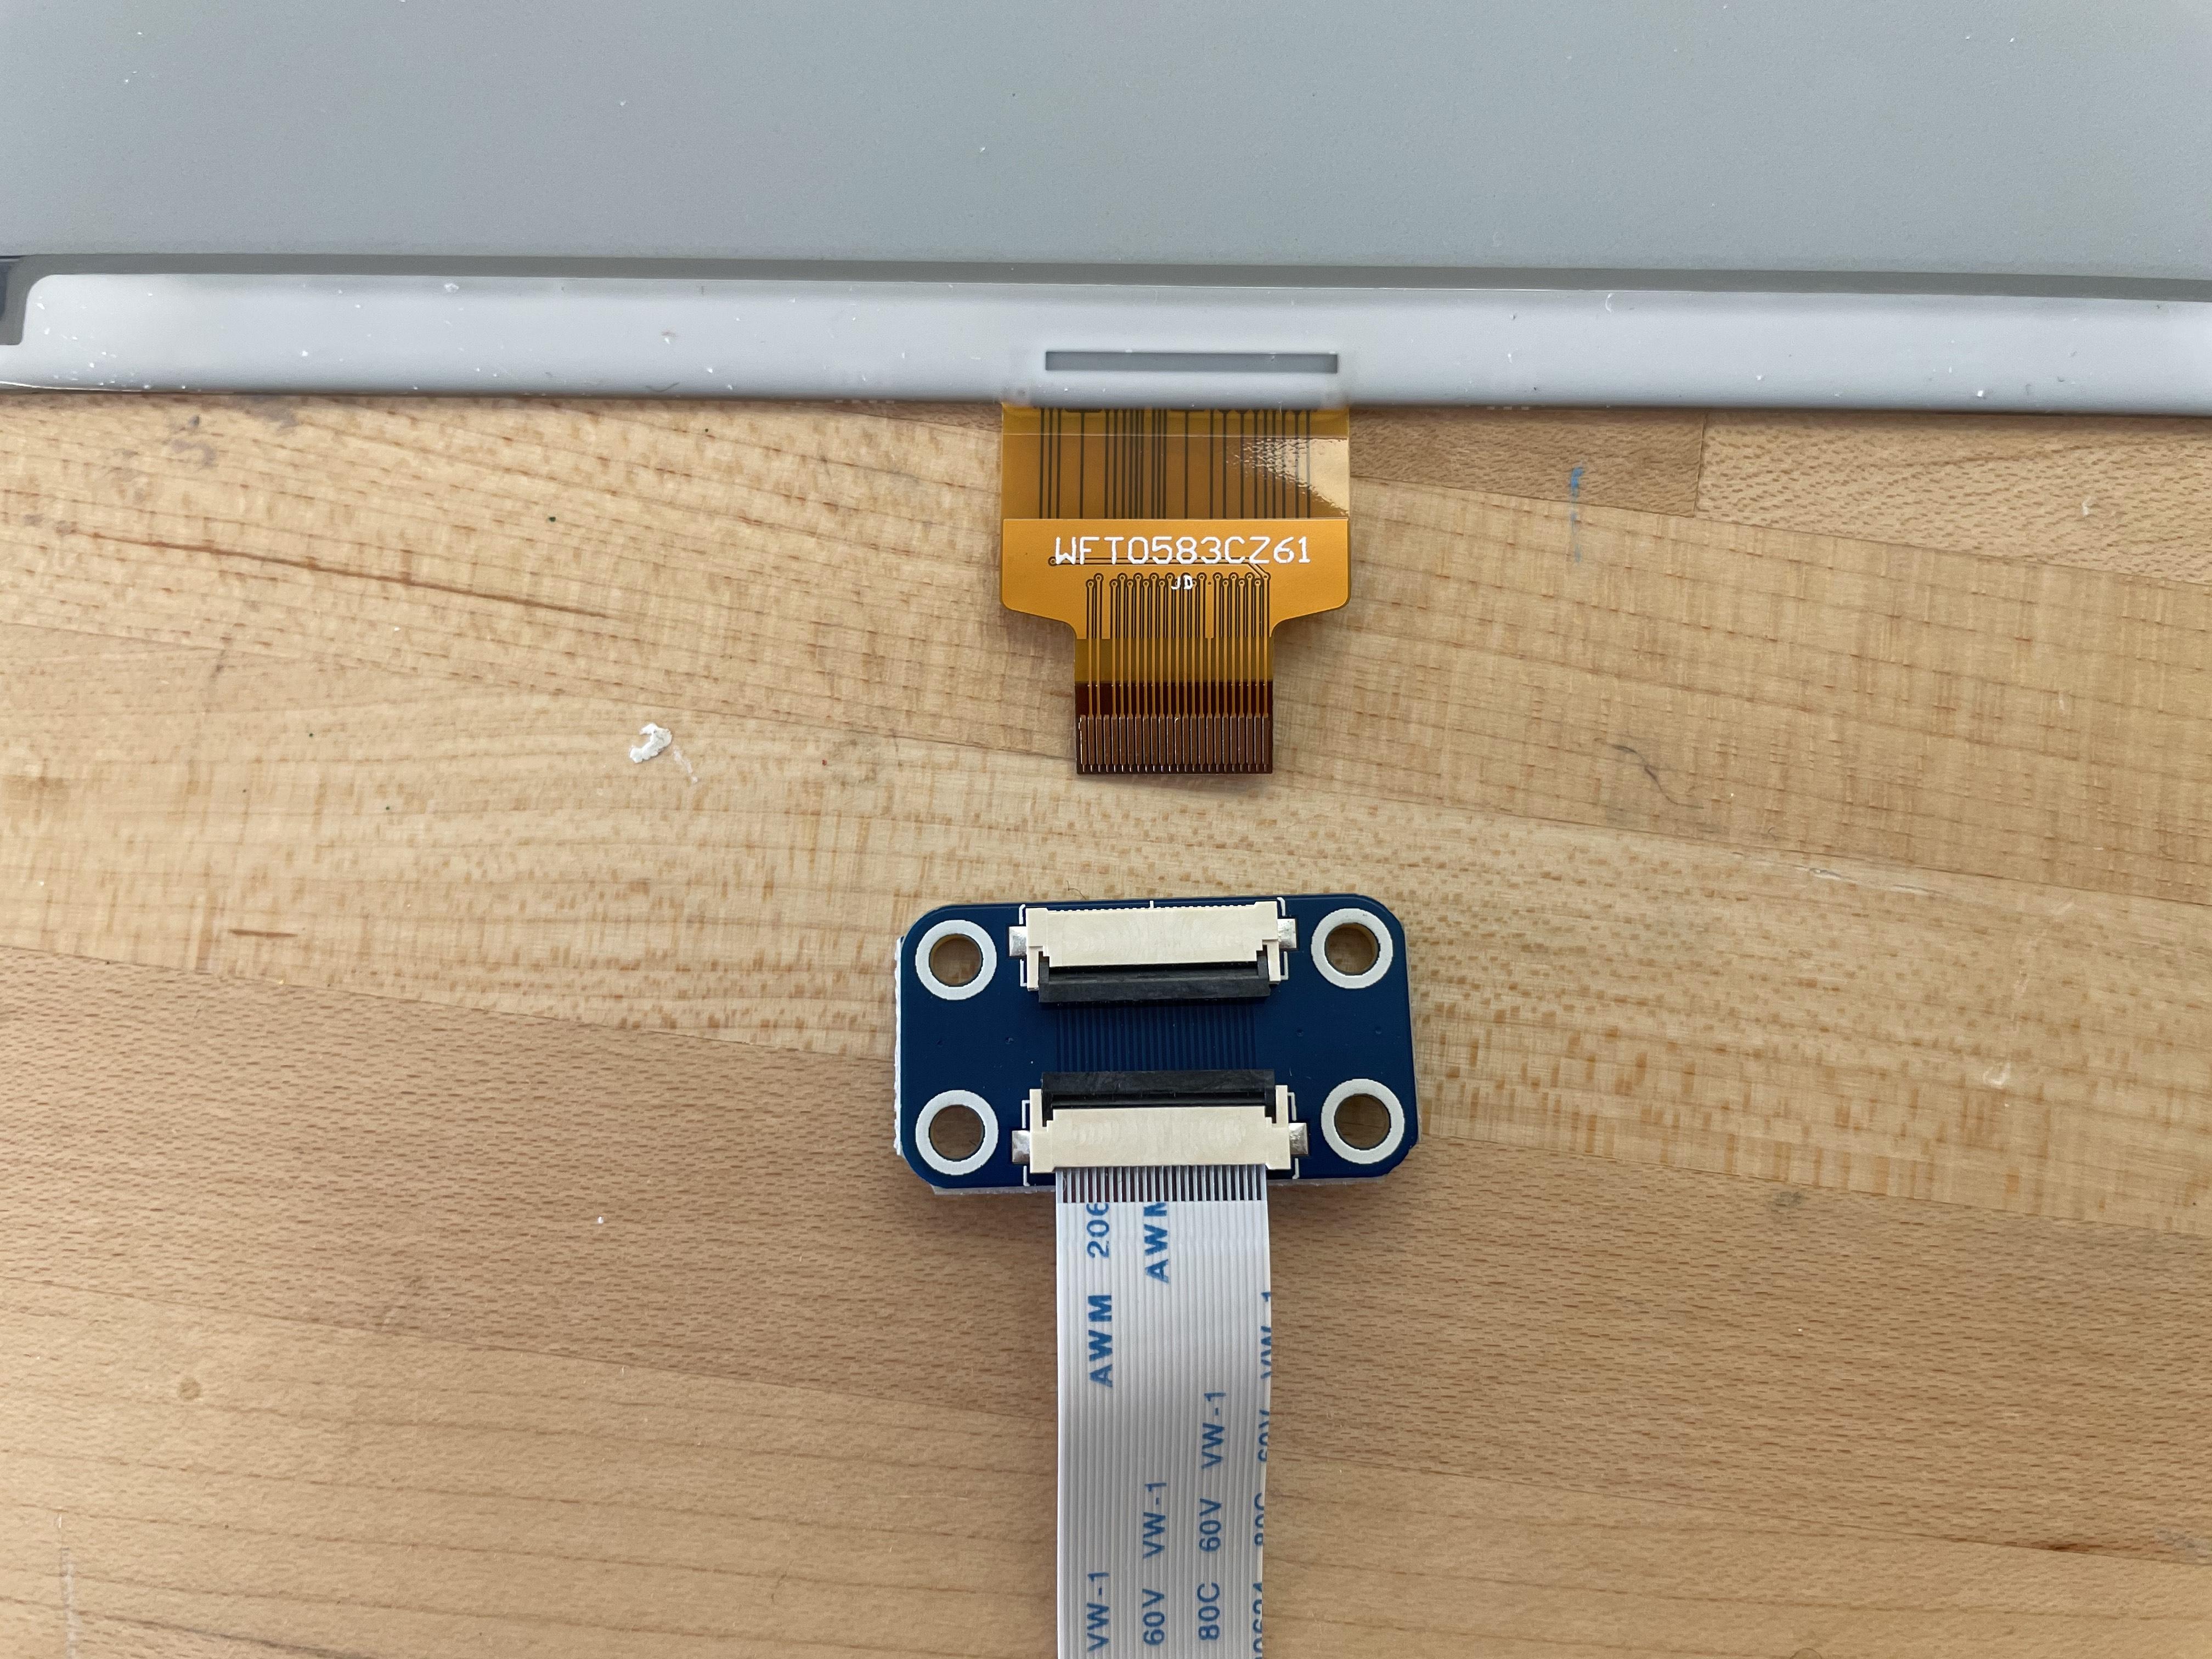
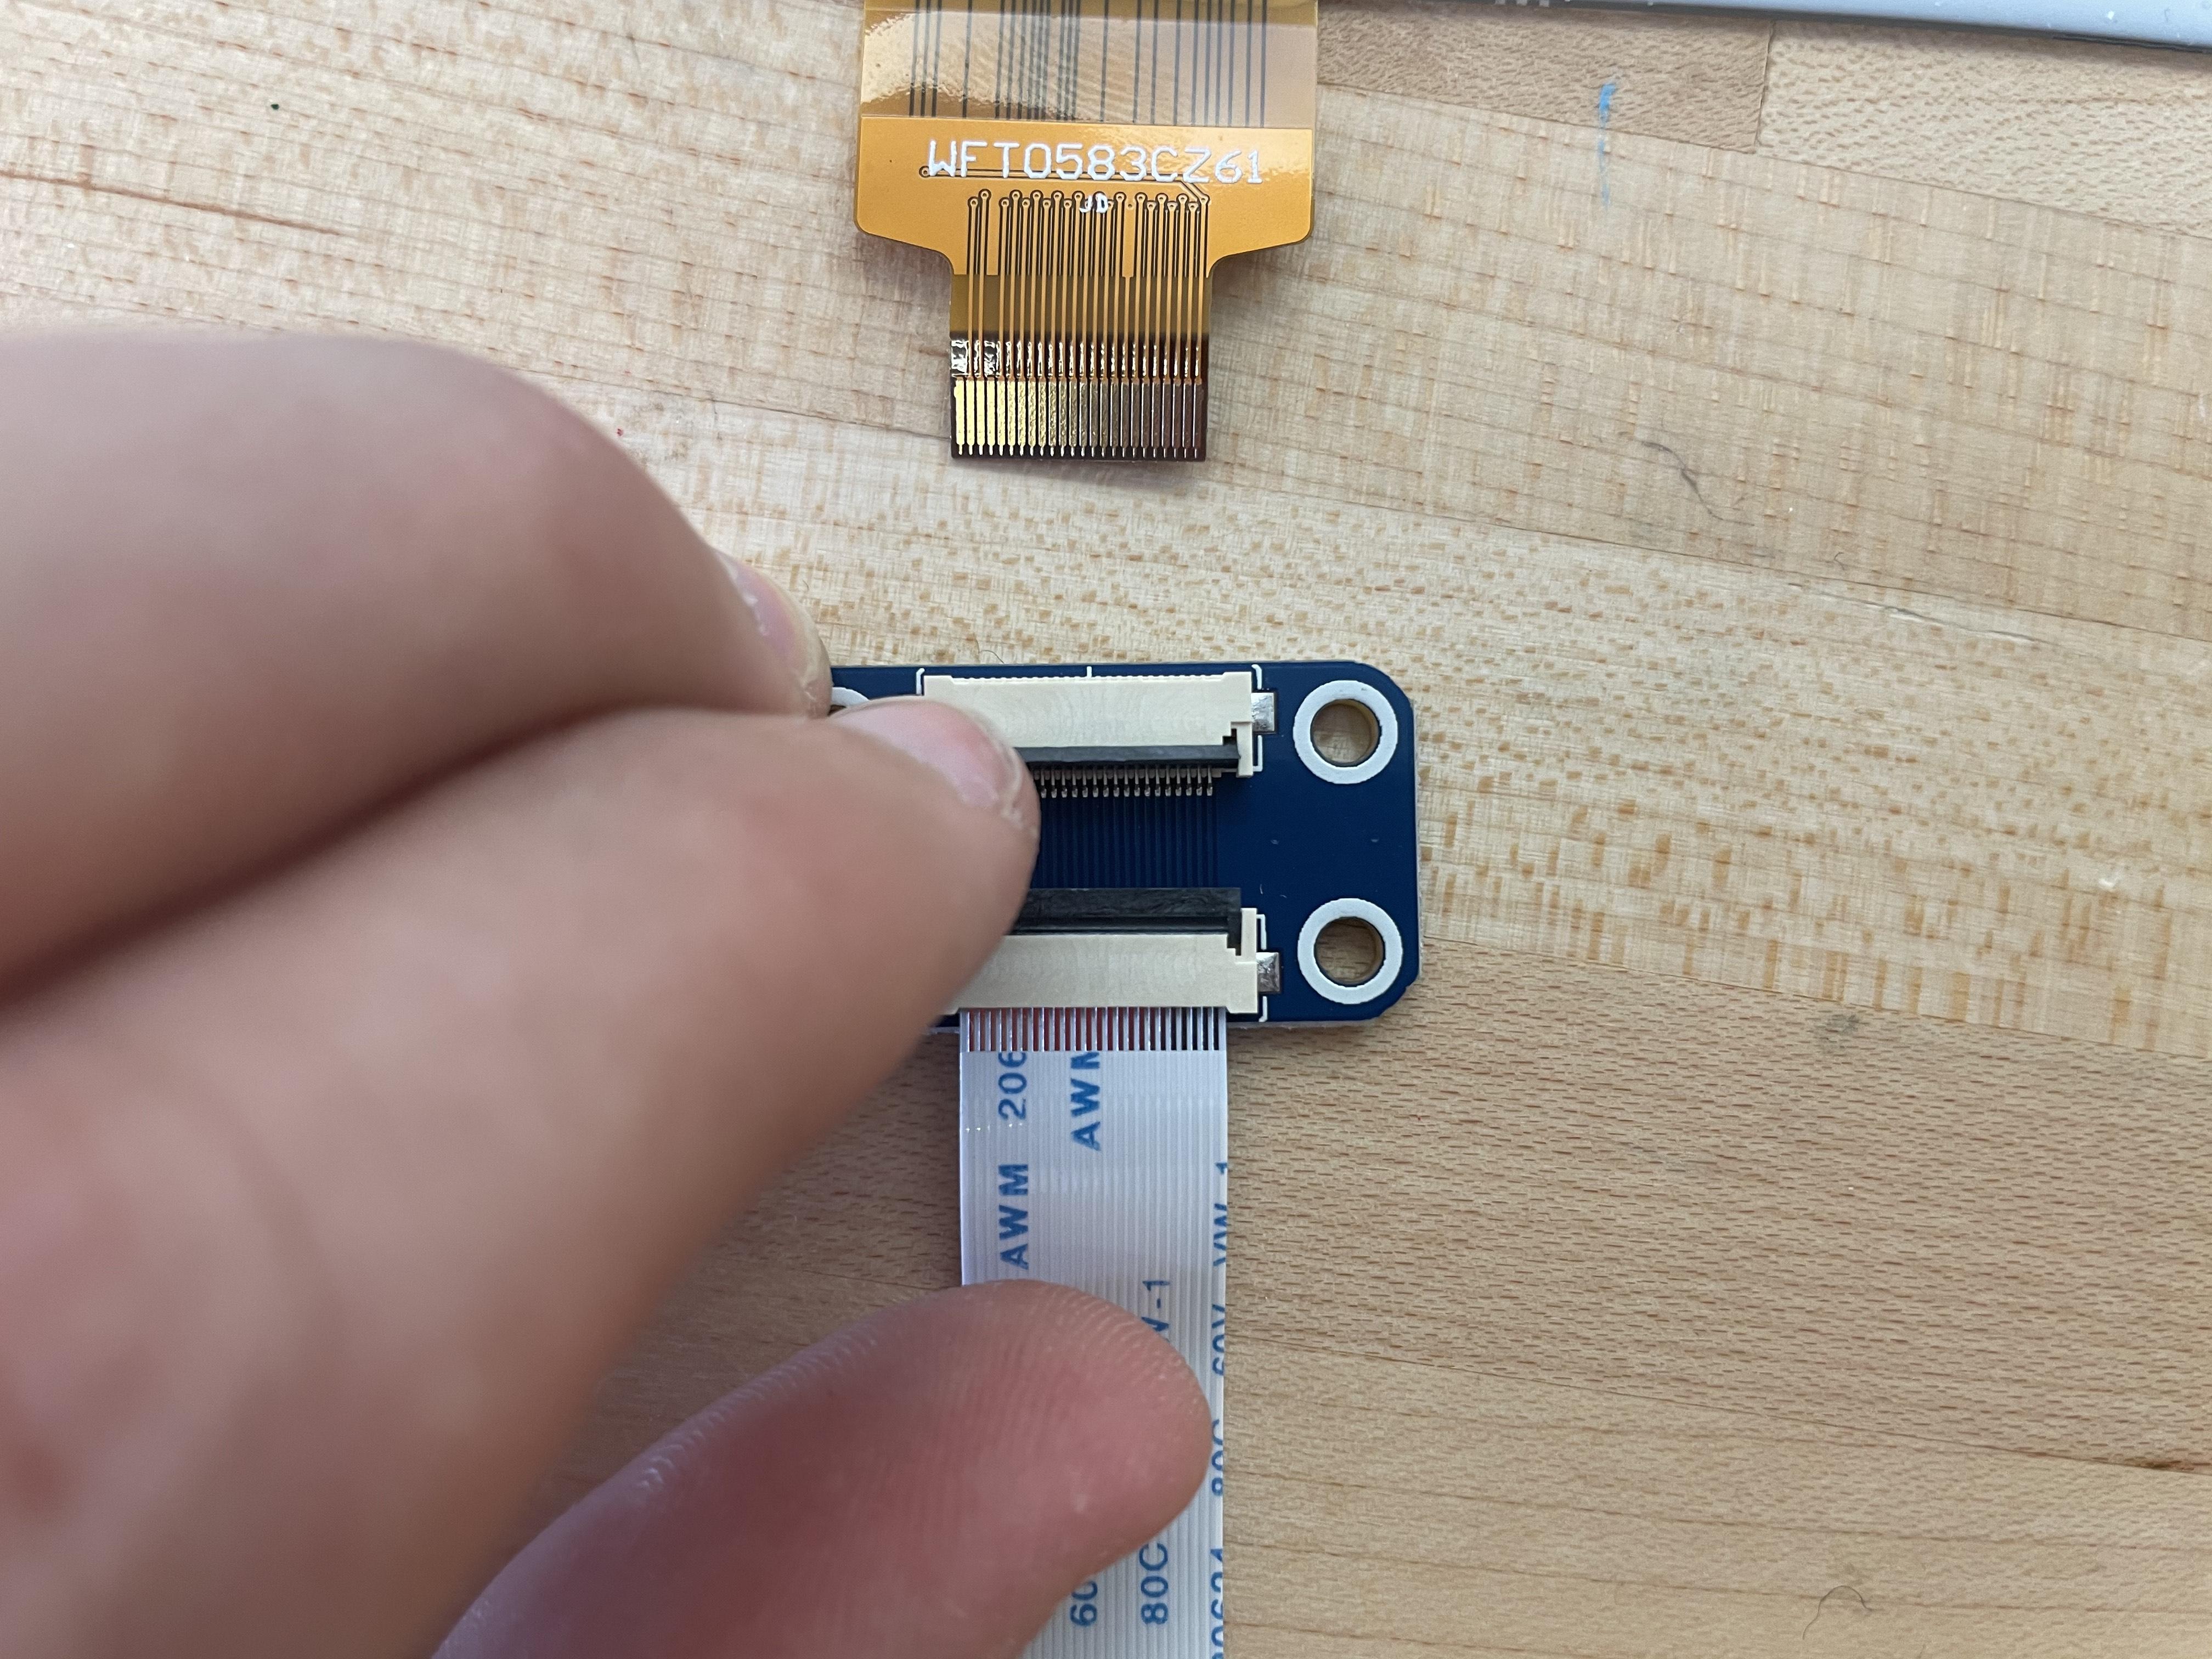
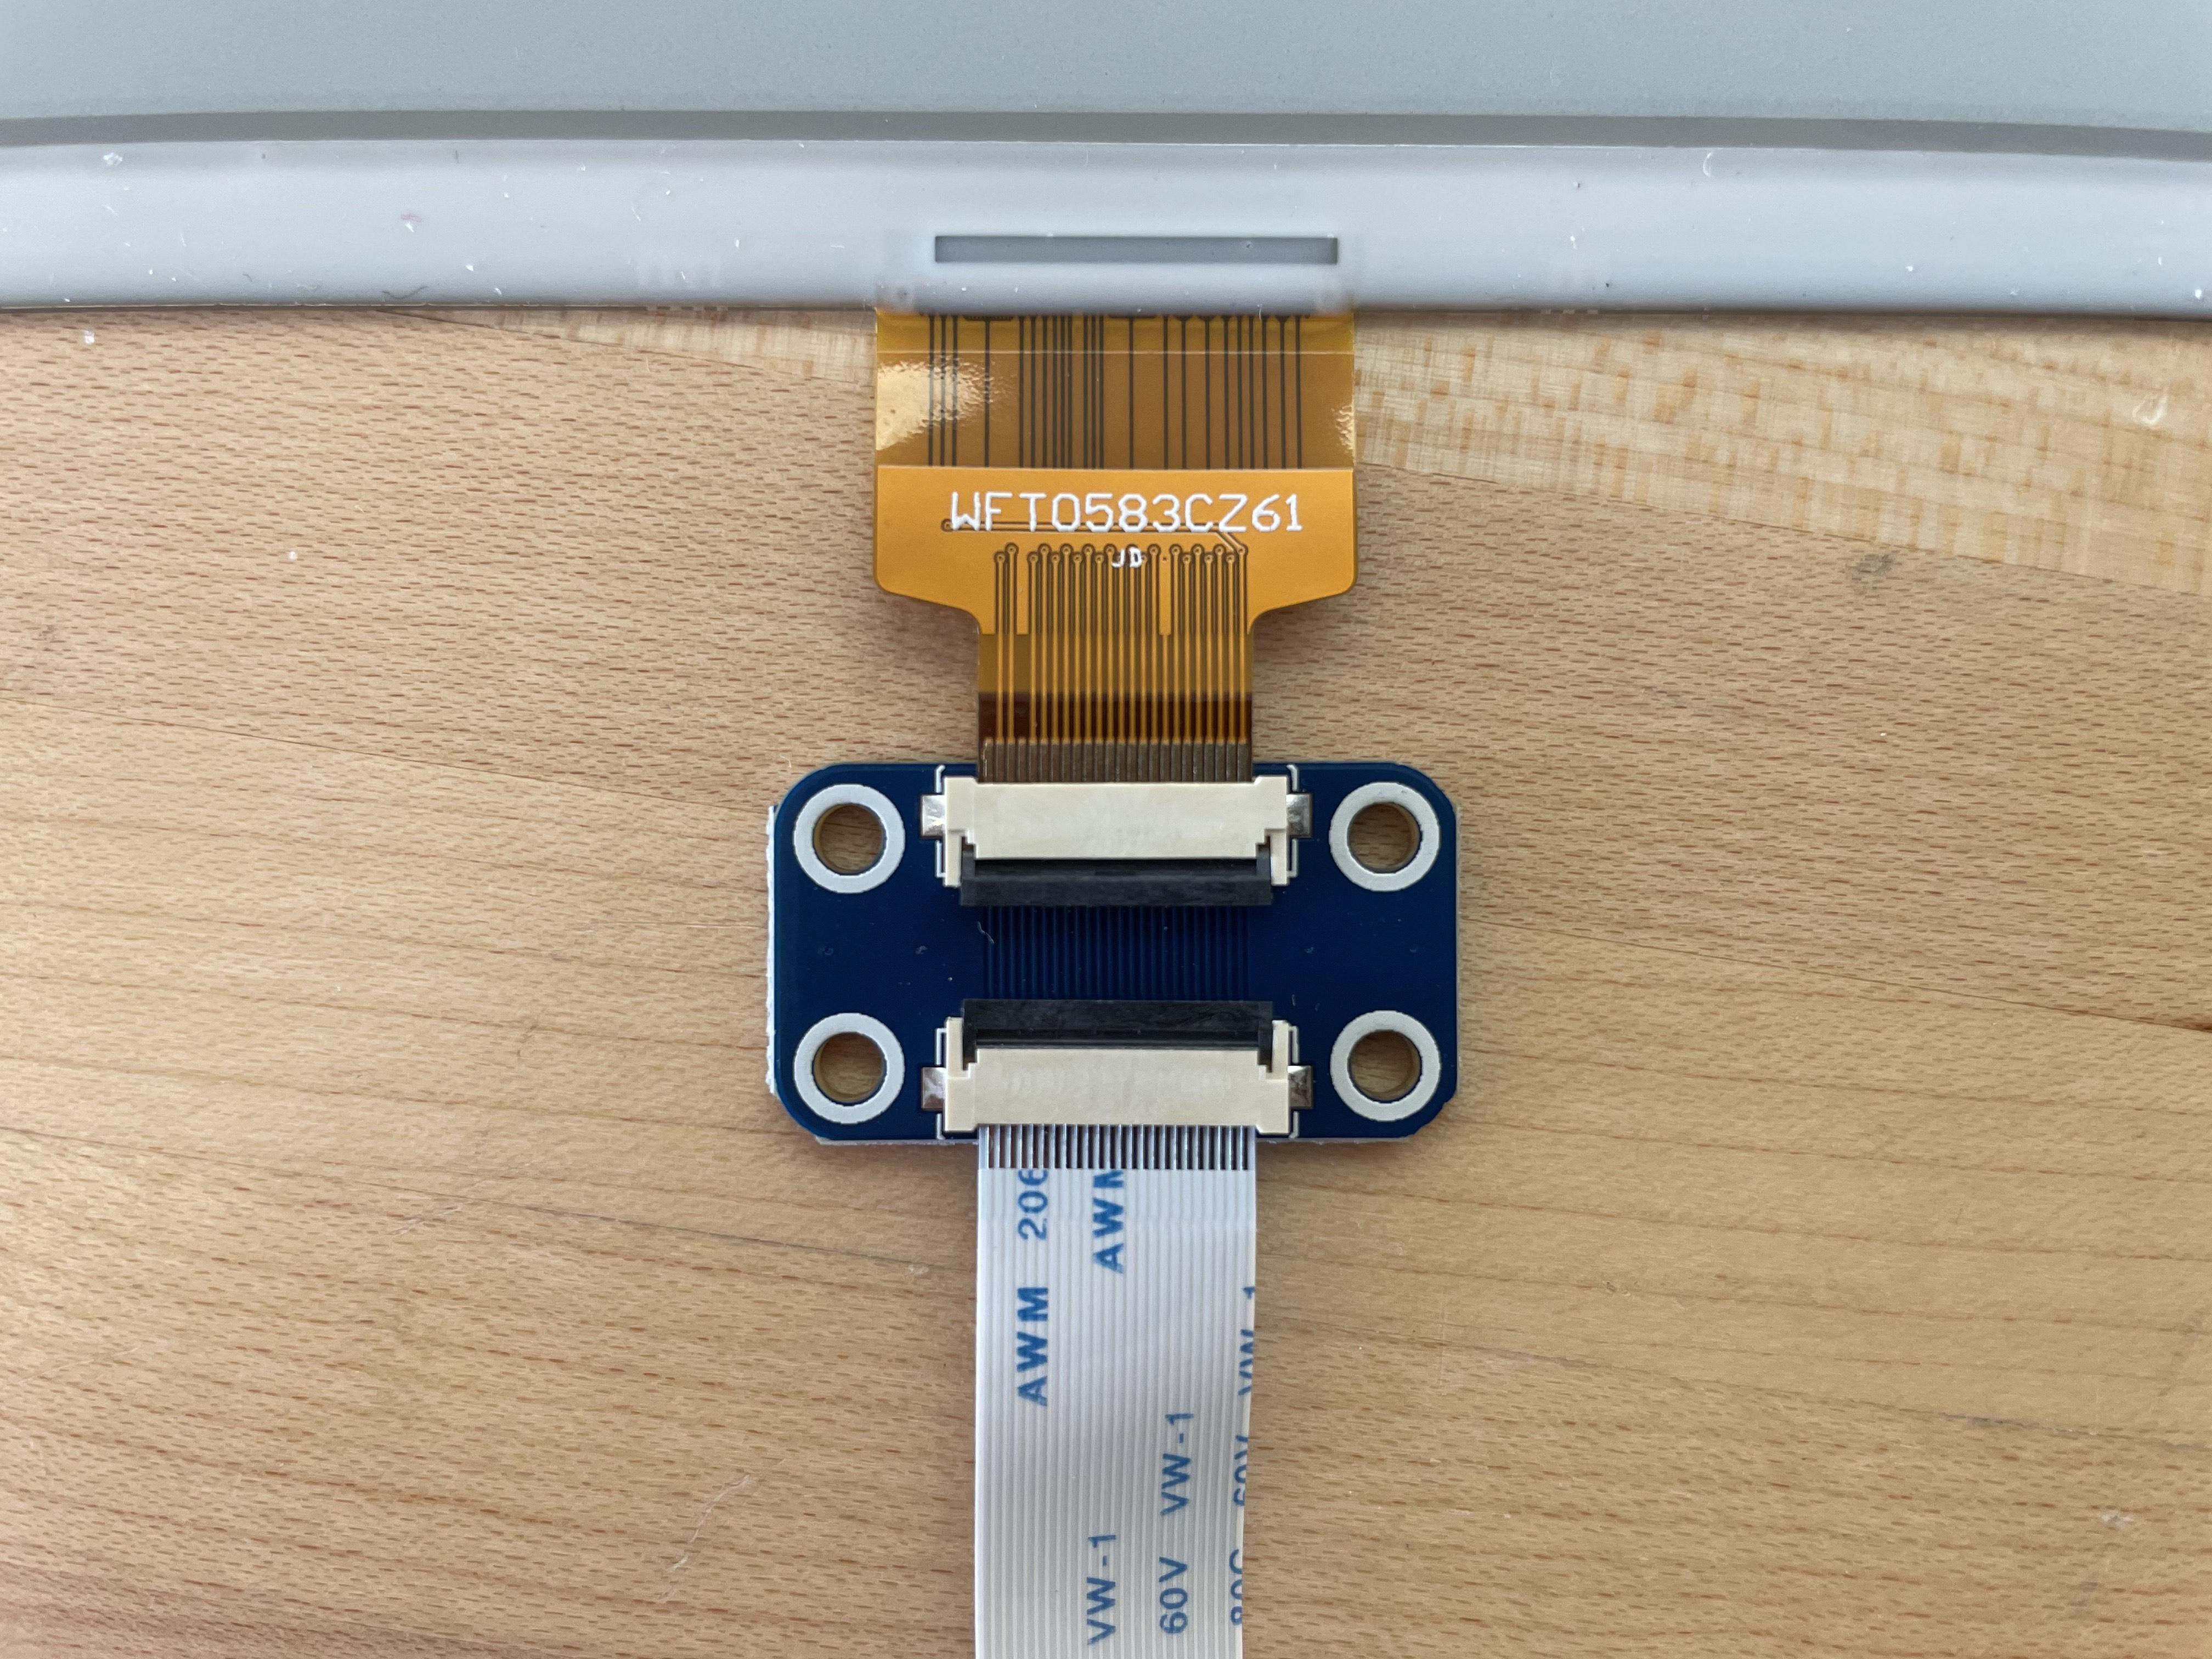
Use the parts that come with the e-ink display HAT to connect the display to the Raspberry Pi.
- Add the standoffs with nuts on the bottom of the Pi's board
- Plug the HAT onto the GPIO pins on the Pi
- Use the screws to attach the HAT more permanently
- Don't screw them in too tight, you might bend the board. Just tighten enough to keep it secure.
- Plug the screen in
- Gently pry up the black lever on the ribbon cable connector
- Plug the ribbon cable into the connector
- Carefully push the lever back into place to secure the ribbon cable
Get Remote Access to Raspberry Pi Shell
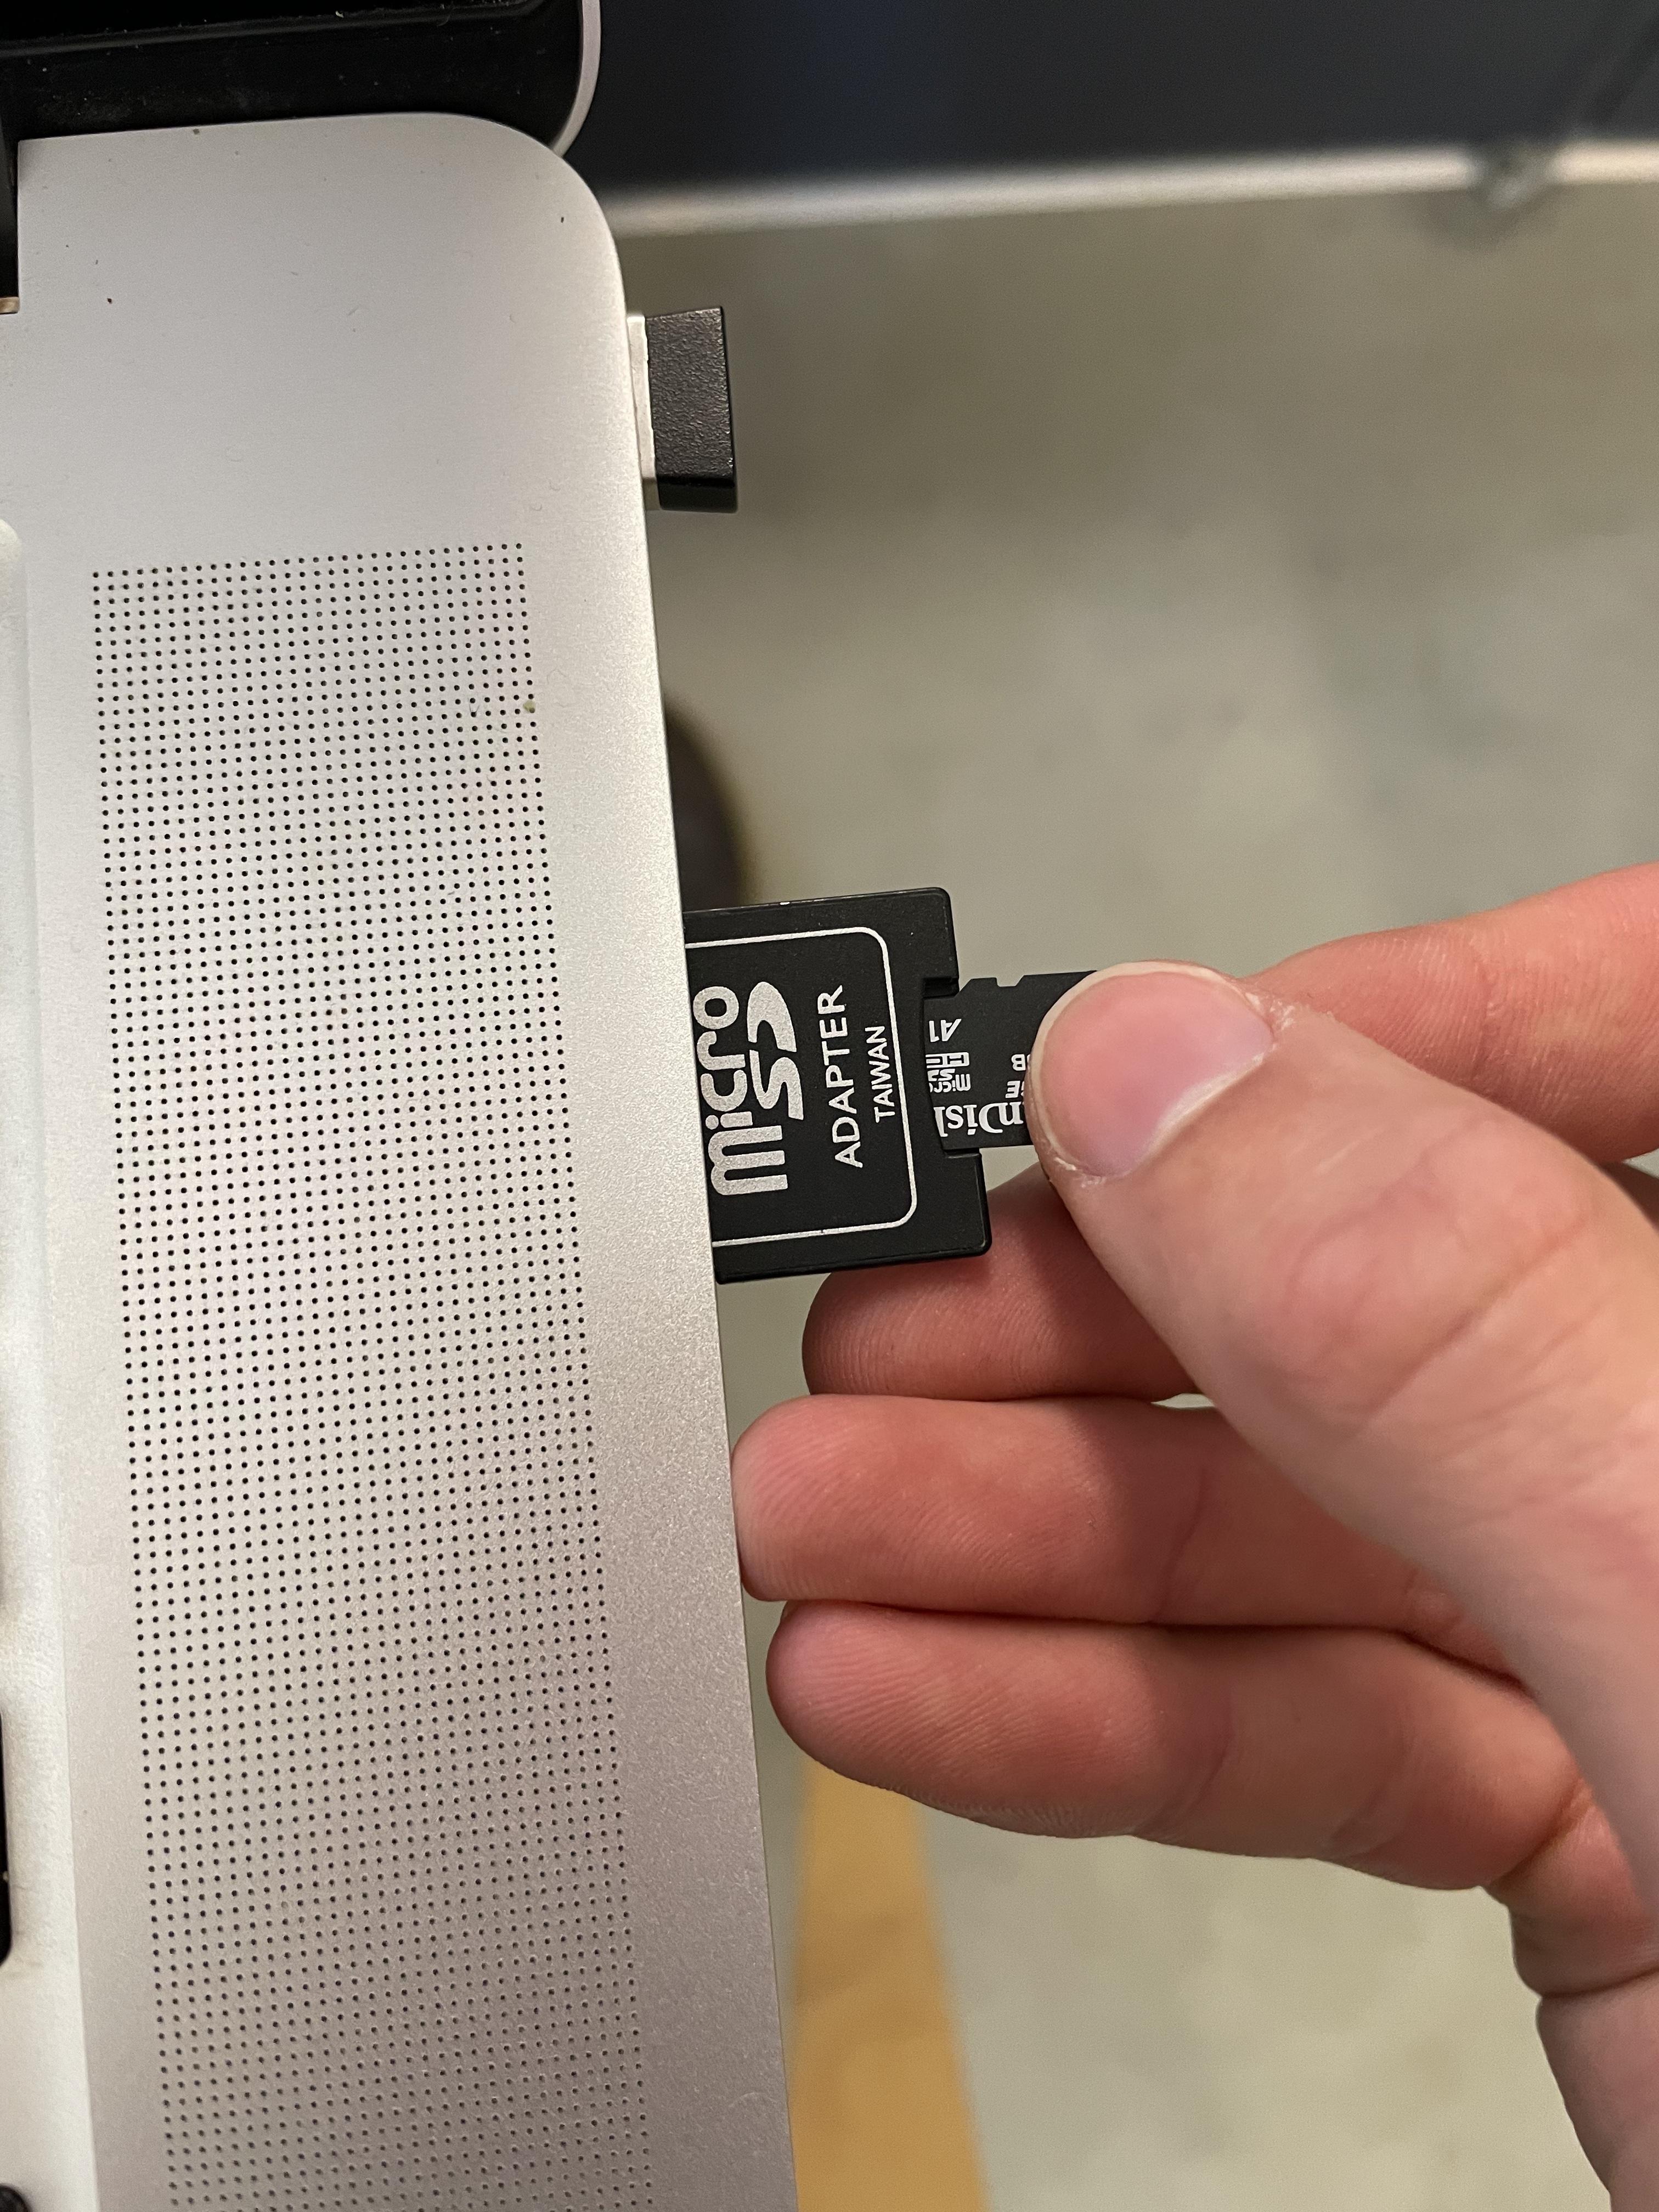
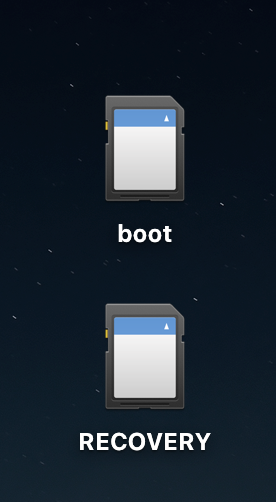
To install the SlowMovie software on our Raspberry Pi, we need access to the Raspberry Pi. It doesn't come with a screen or keyboard, so we'll use a tool called "ssh" (secure shell) to control it using another computer.
(These instructions are based of this article)
First we need to enable ssh on the Raspberry Pi and give it credentials to connect to our WiFi network.
Terminal capture: https://asciinema.org/a/ior5HfJ0cDiXC3yKkvLYBbpVK
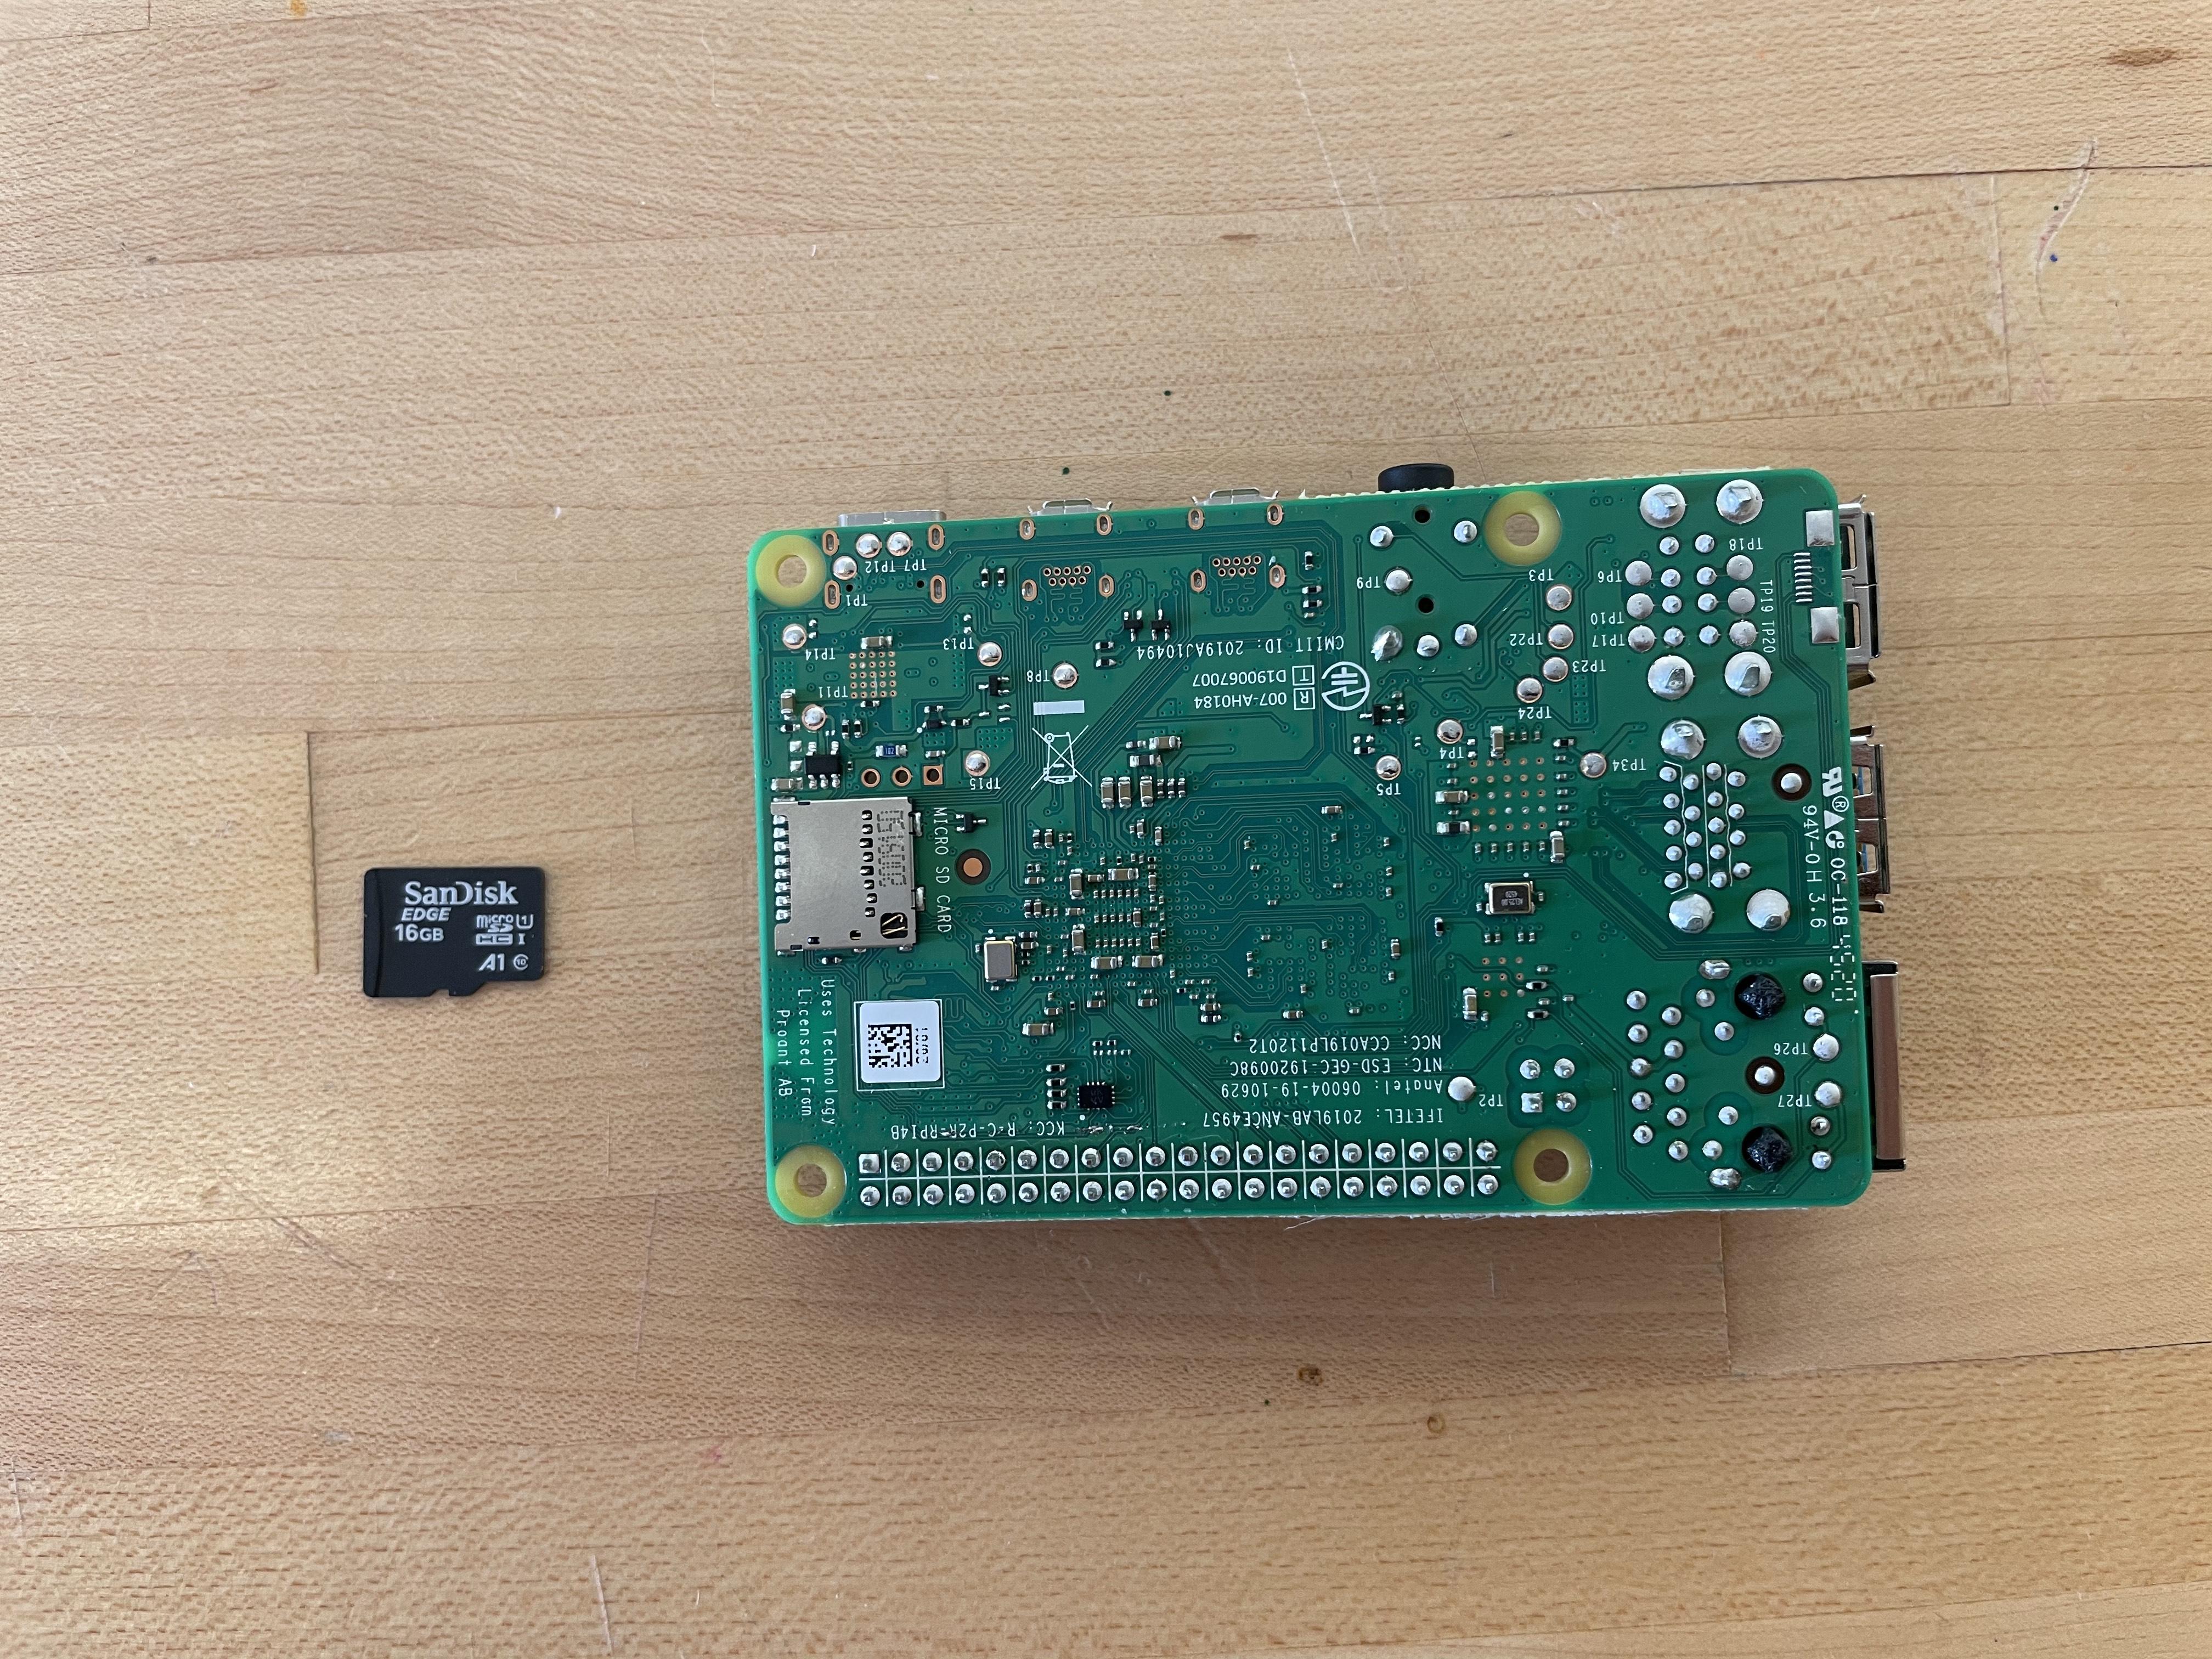
- Plug the NOOBS SD card into your computer
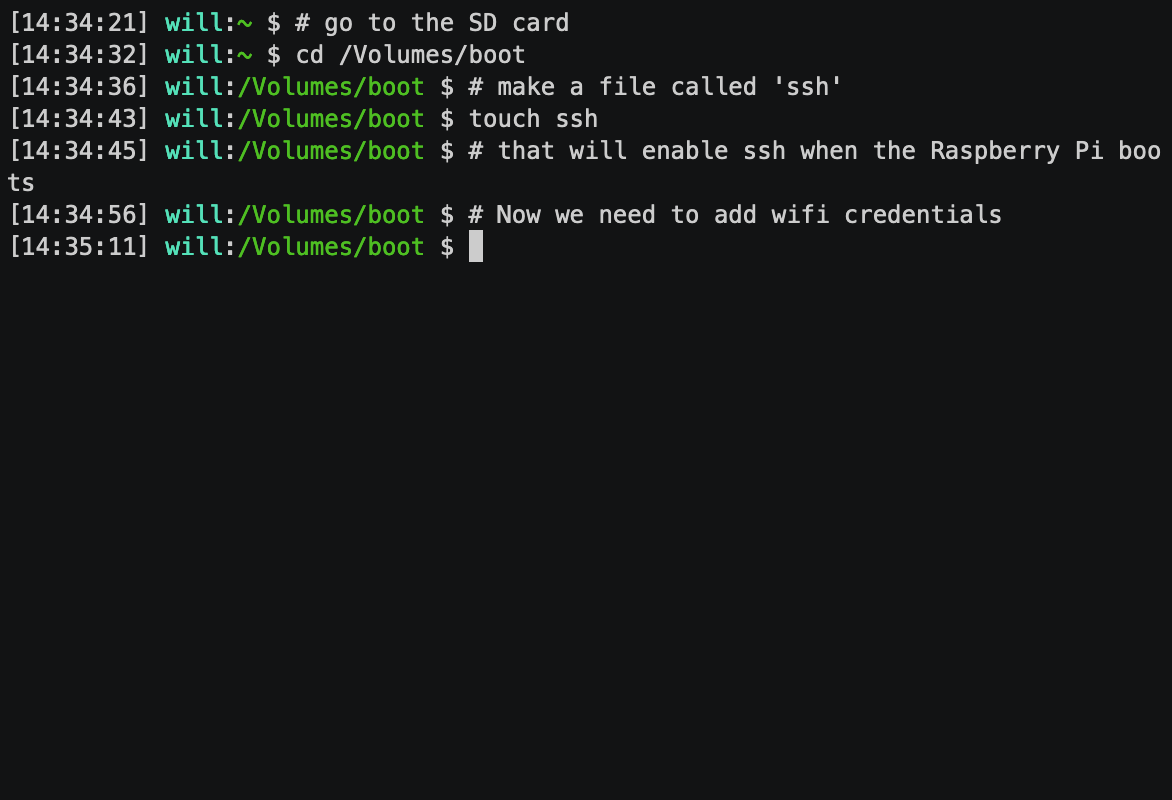
- Open terminal change directory into the SD card:
cd /Volumes/boot
- Use the following command to create a file called "ssh". This will enable ssh once the Raspberry Pi boots up.
touch ssh
- Use the following command to create and begin editing a file called "wpa_supplicant.conf"
nano wpa_supplicant.conf
- Edit the file to add the following lines:
country=US
ctrl_interface=DIR=/var/run/wpa_supplicant GROUP=netdev
network={
       ssid="WifiSSID"
       psk="Password"
}- Replace US with your country-code
- Replace WifiSSID with your WiFi network's SSID (its name)
- Replace Password with its password. This will allow the Raspberry Pi to connect to your WiFi network automatically when it starts up.
- Save the file and eject the SD card.
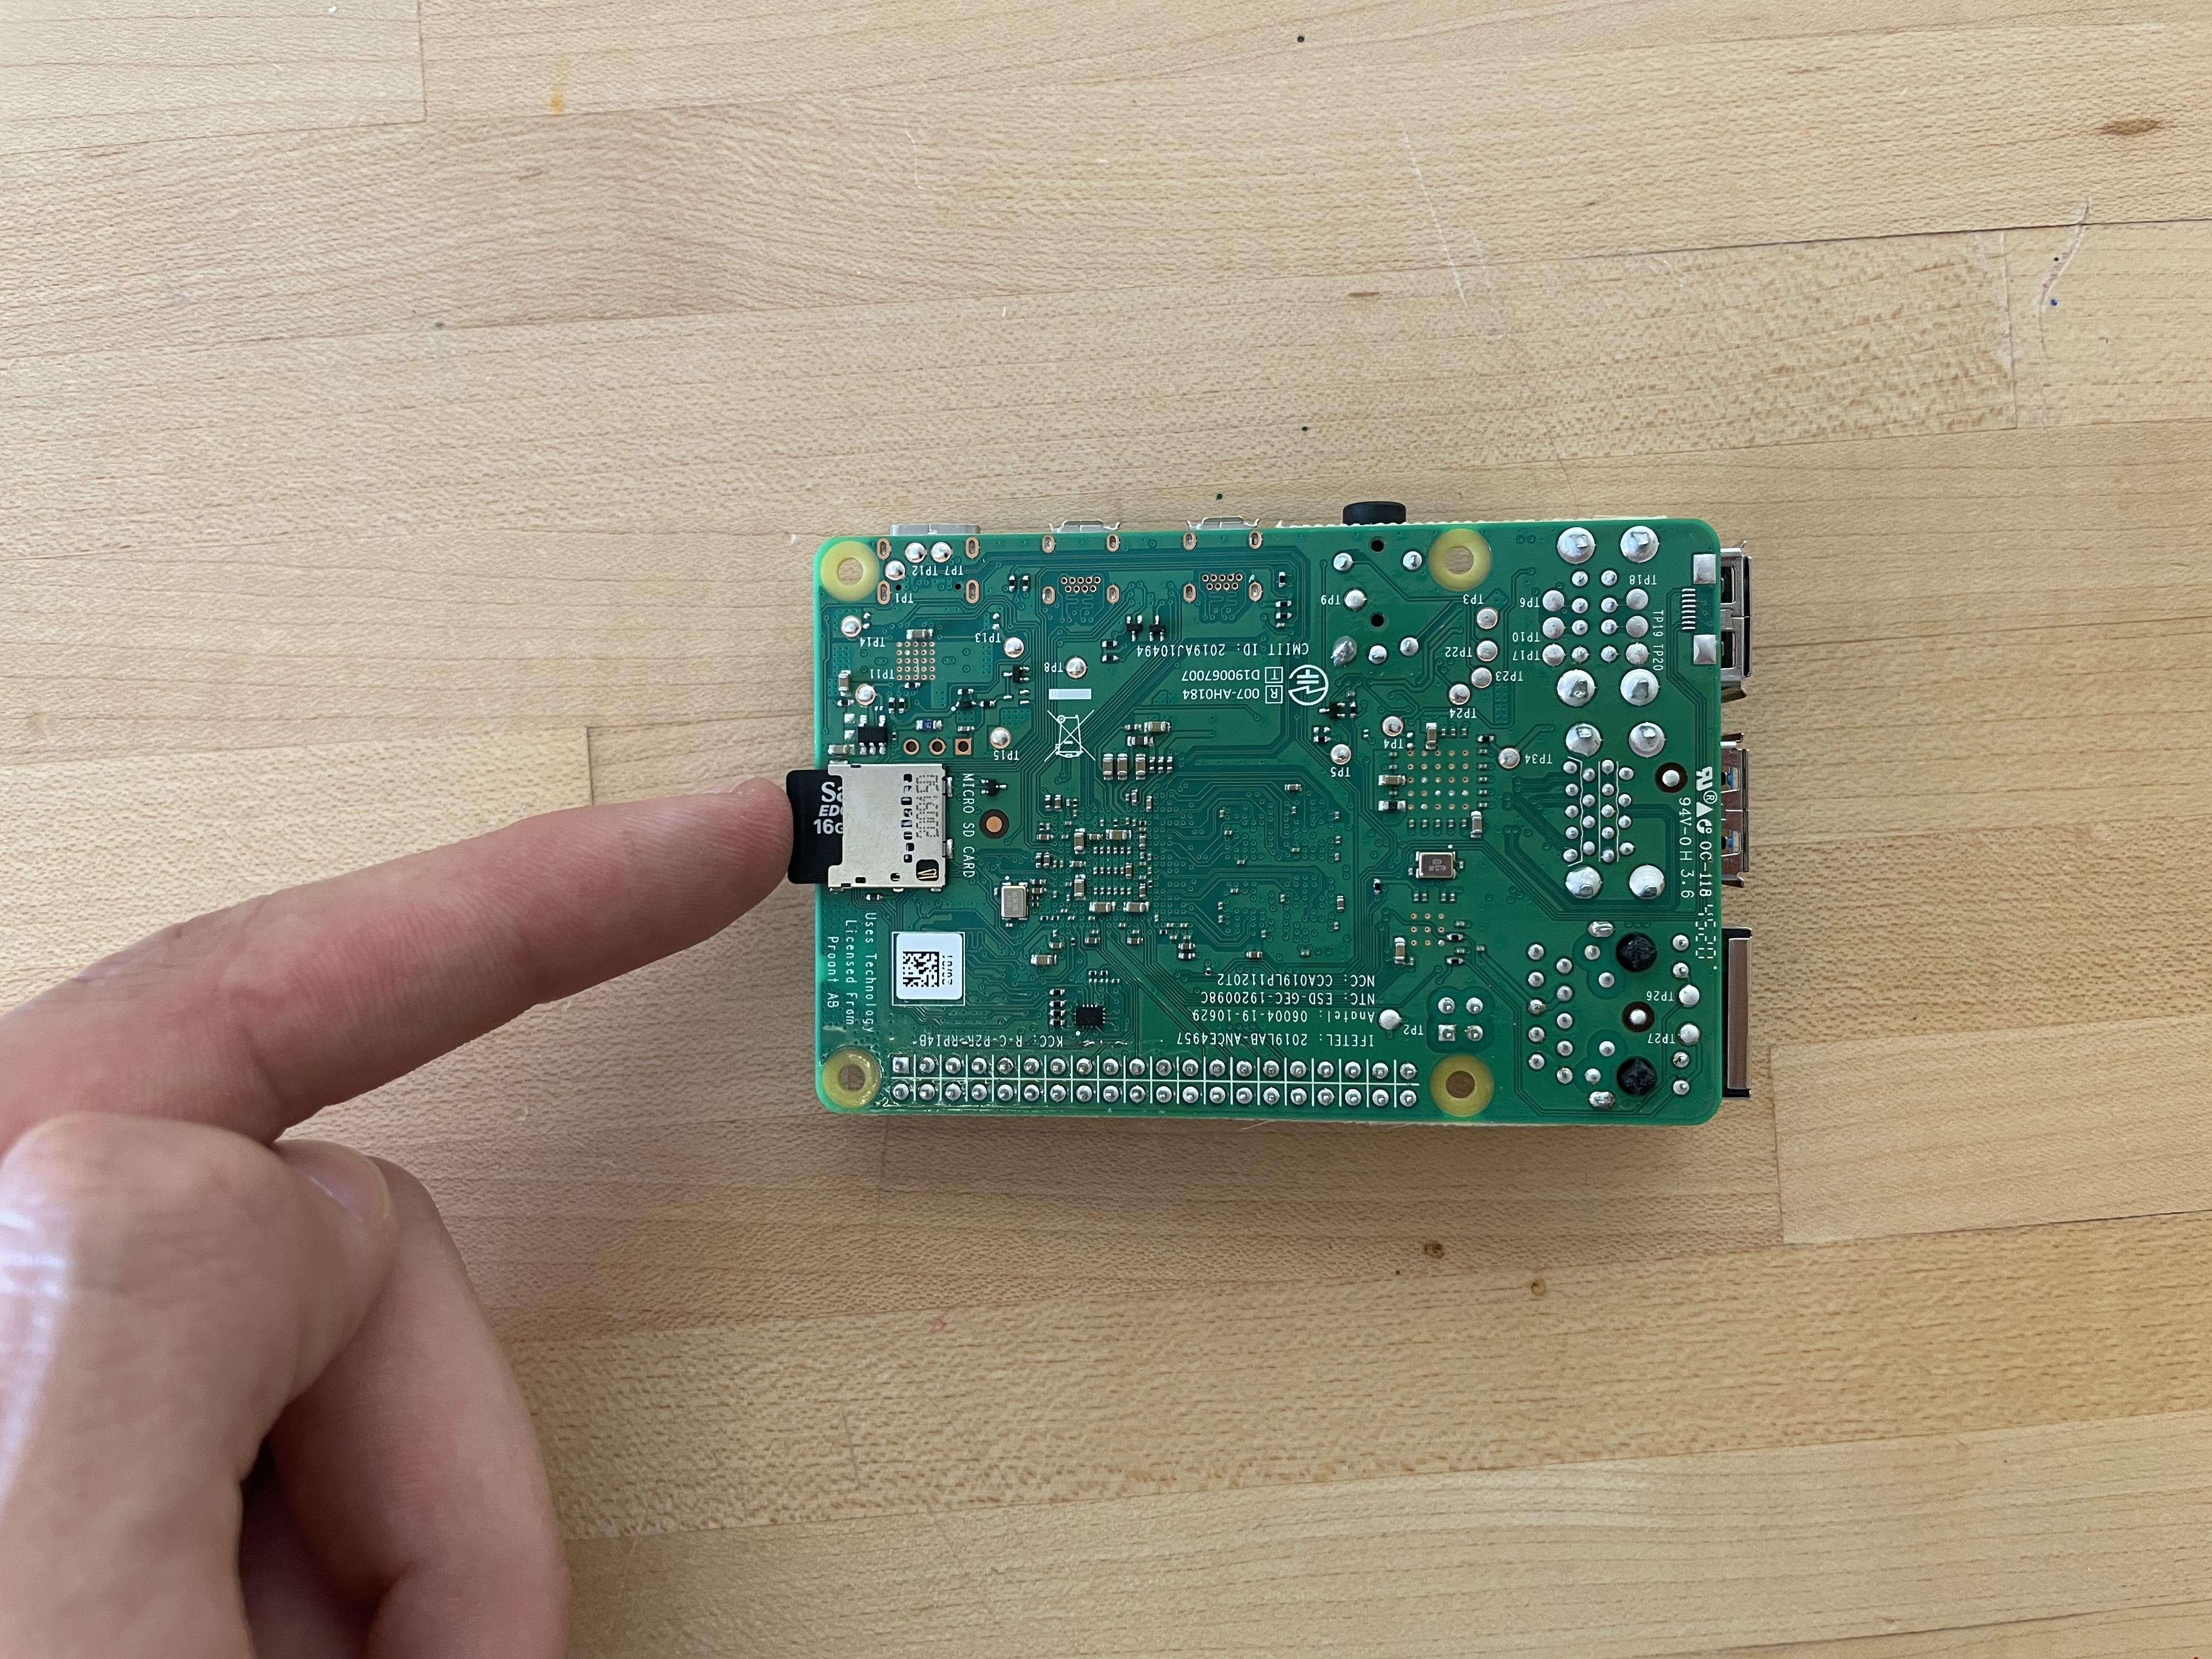
- Finally, plug the SD card into the Raspberry Pi's SD card slot.
Now we need to find out the IP address of our Raspberry Pi in order to ssh into it and start controlling it.
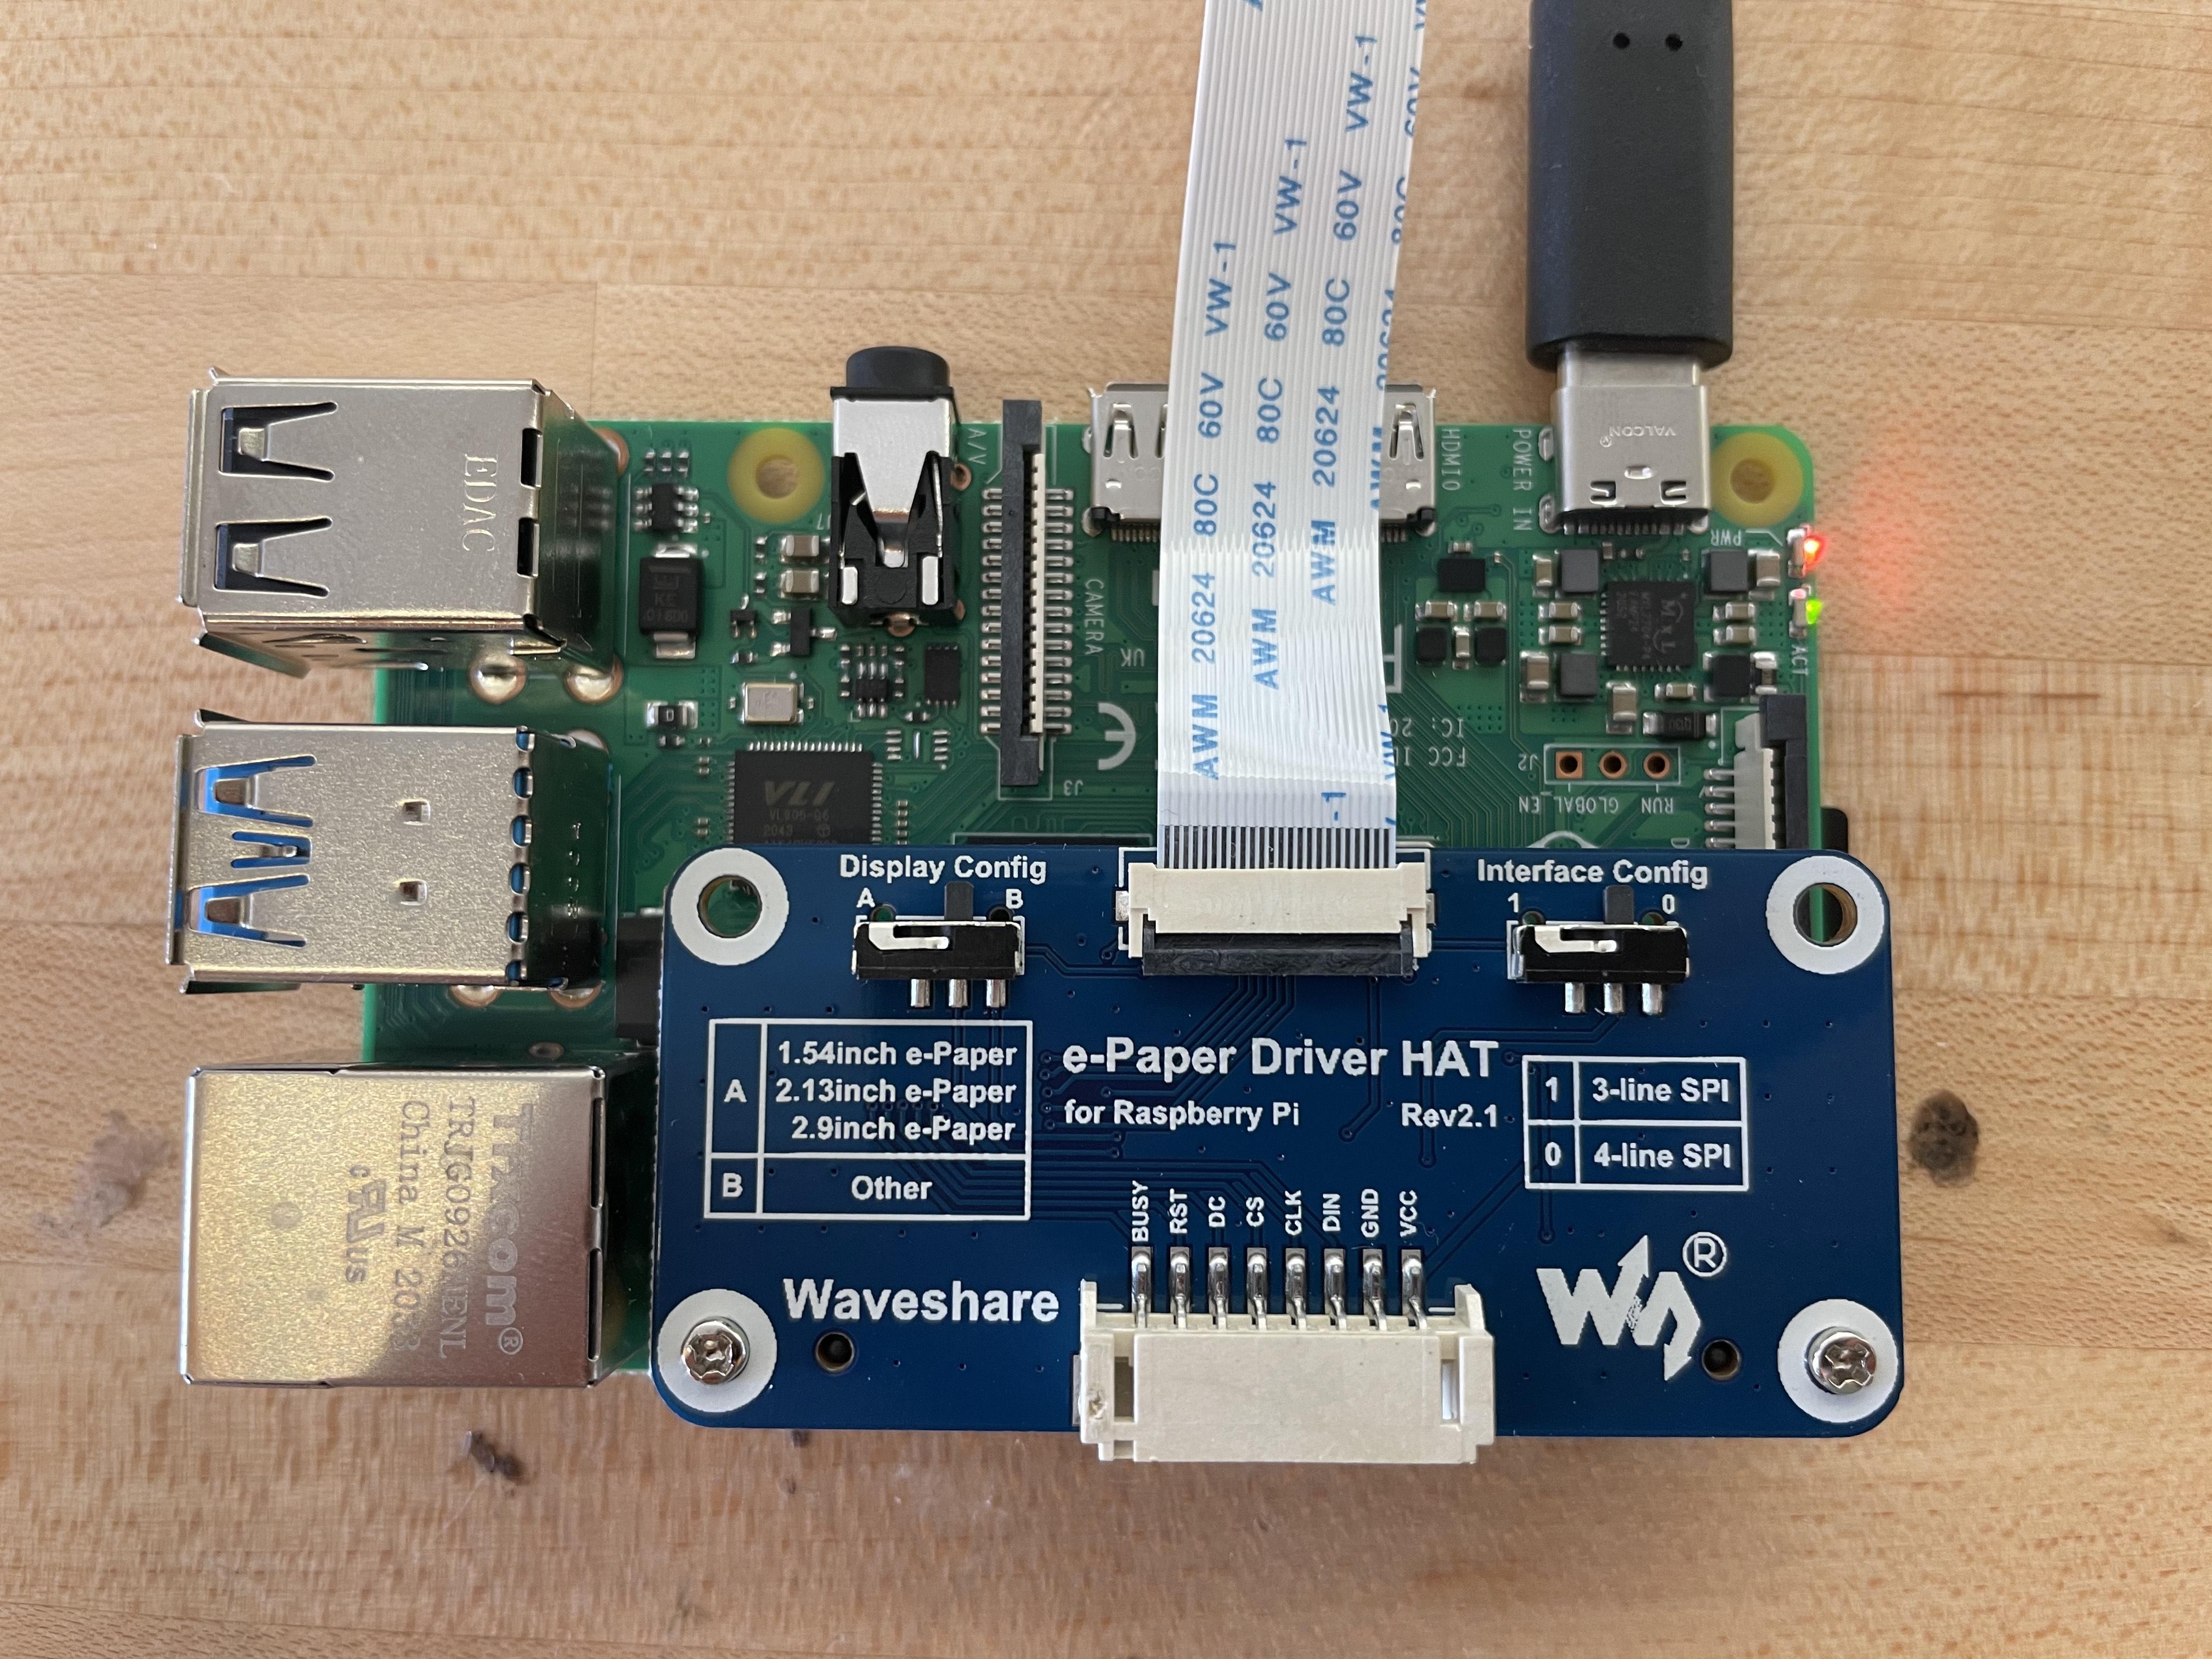
- Plug the Pi into power using the USB C port on the side.
- The red and green lights should light up.
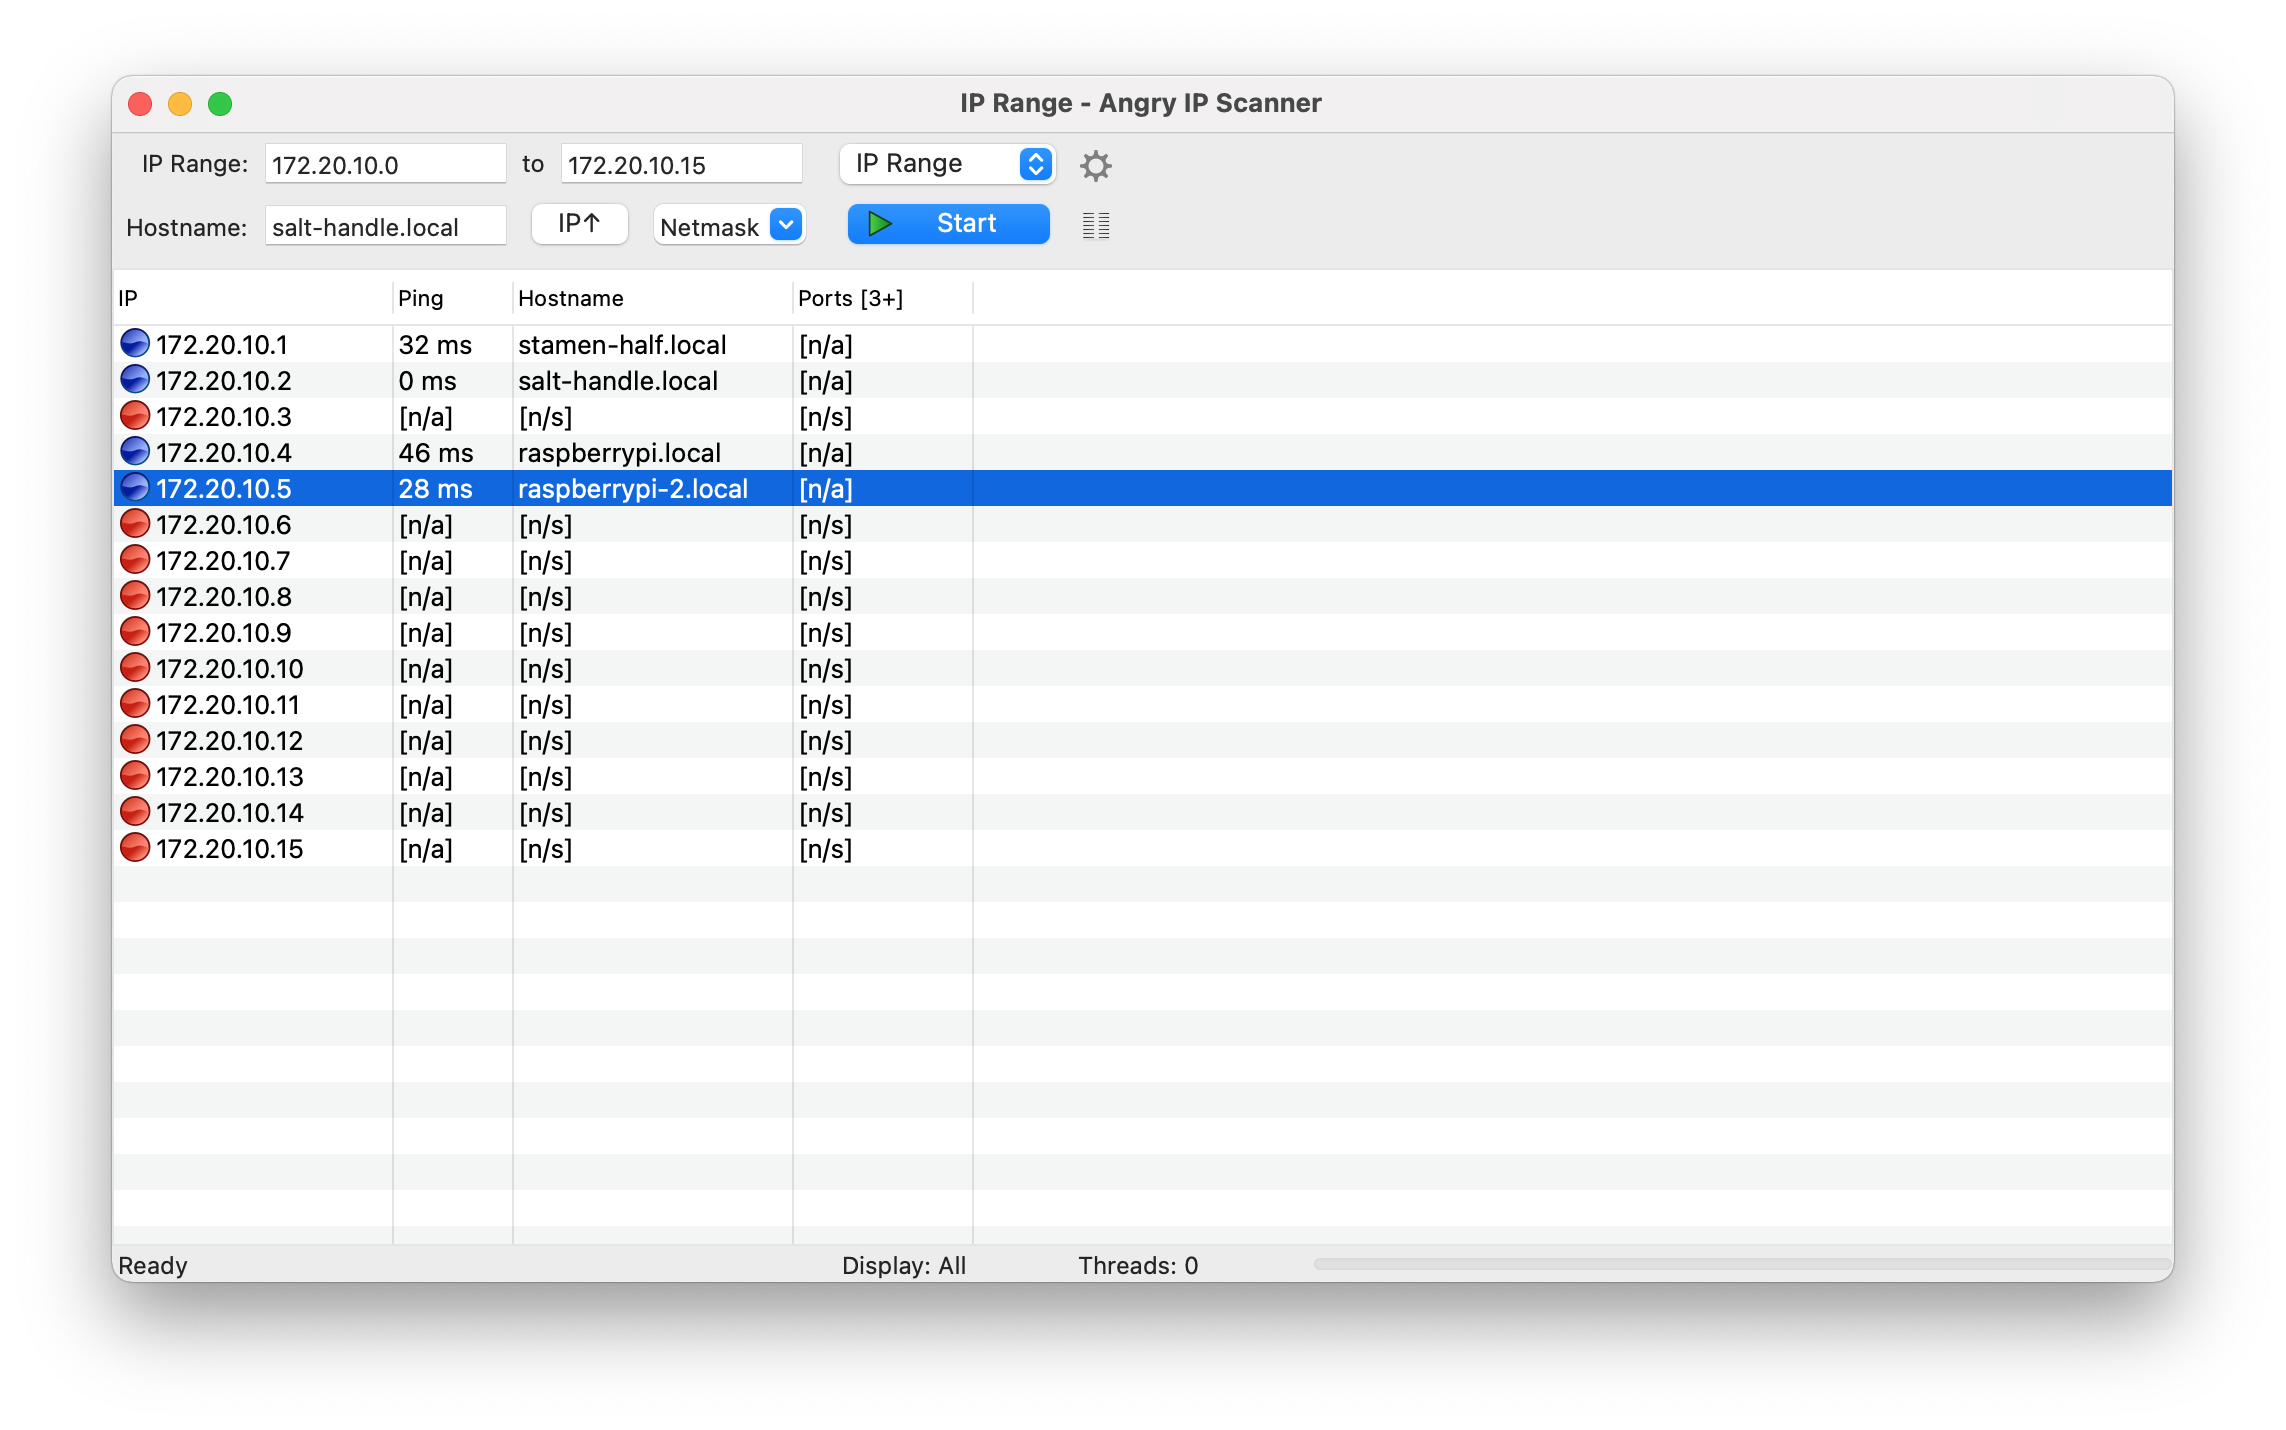
- SNIFF IT! Give it a few moments to connect to your WiFi network and then use Angry IP Scanner to sniff for the IP of the Pi.
- It should appear with an IP address on the left and "raspberrypi.local" on the right as the Hostname. Copy the IP address. ssh
- In the terminal again, run following command to ssh into the Pi, replacing IPADDRESS with the IP address you copied. Log in with the default password: "raspberry" (Terminal capture:
ssh pi@IPADDRESS
You're now connected remotely to your Raspberry Pi's shell (terminal)! It's a good idea to change the password.
Install SlowMovie Software
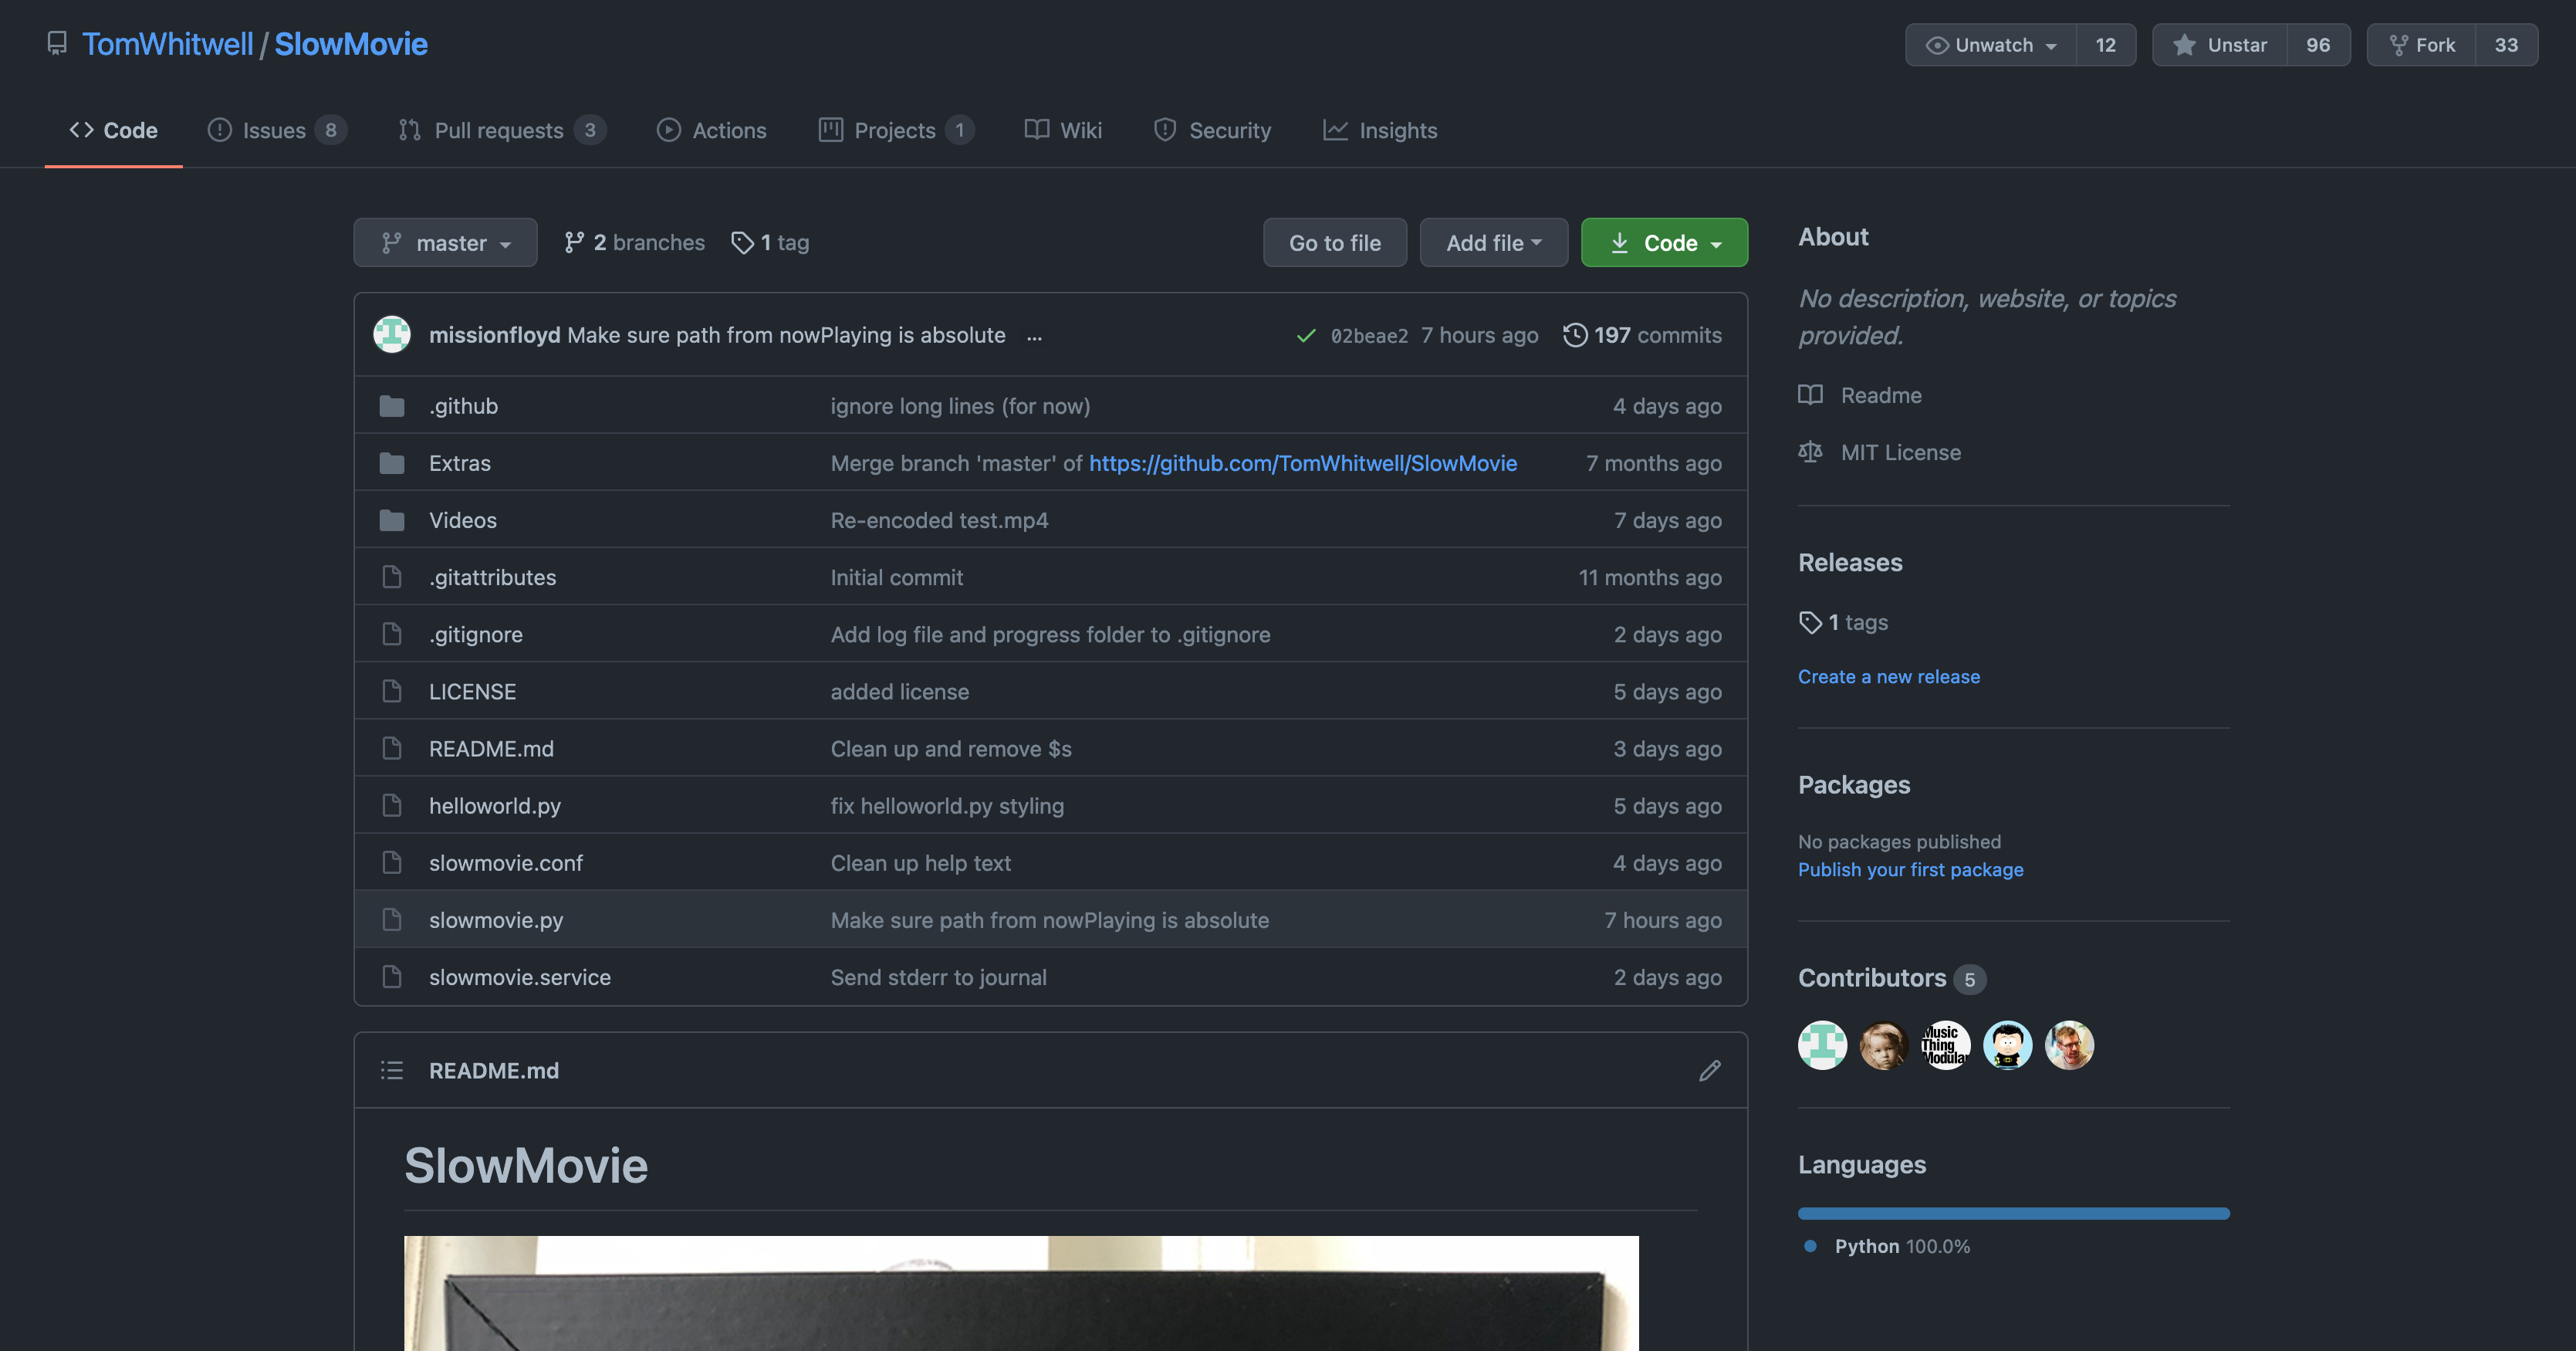
The SlowMovie GitHub repo has great installation instructions. Head over there and follow those.
There's an automatic script to install all dependencies, and also instructions on how to set things up manually. Go see the GitHub for the details!
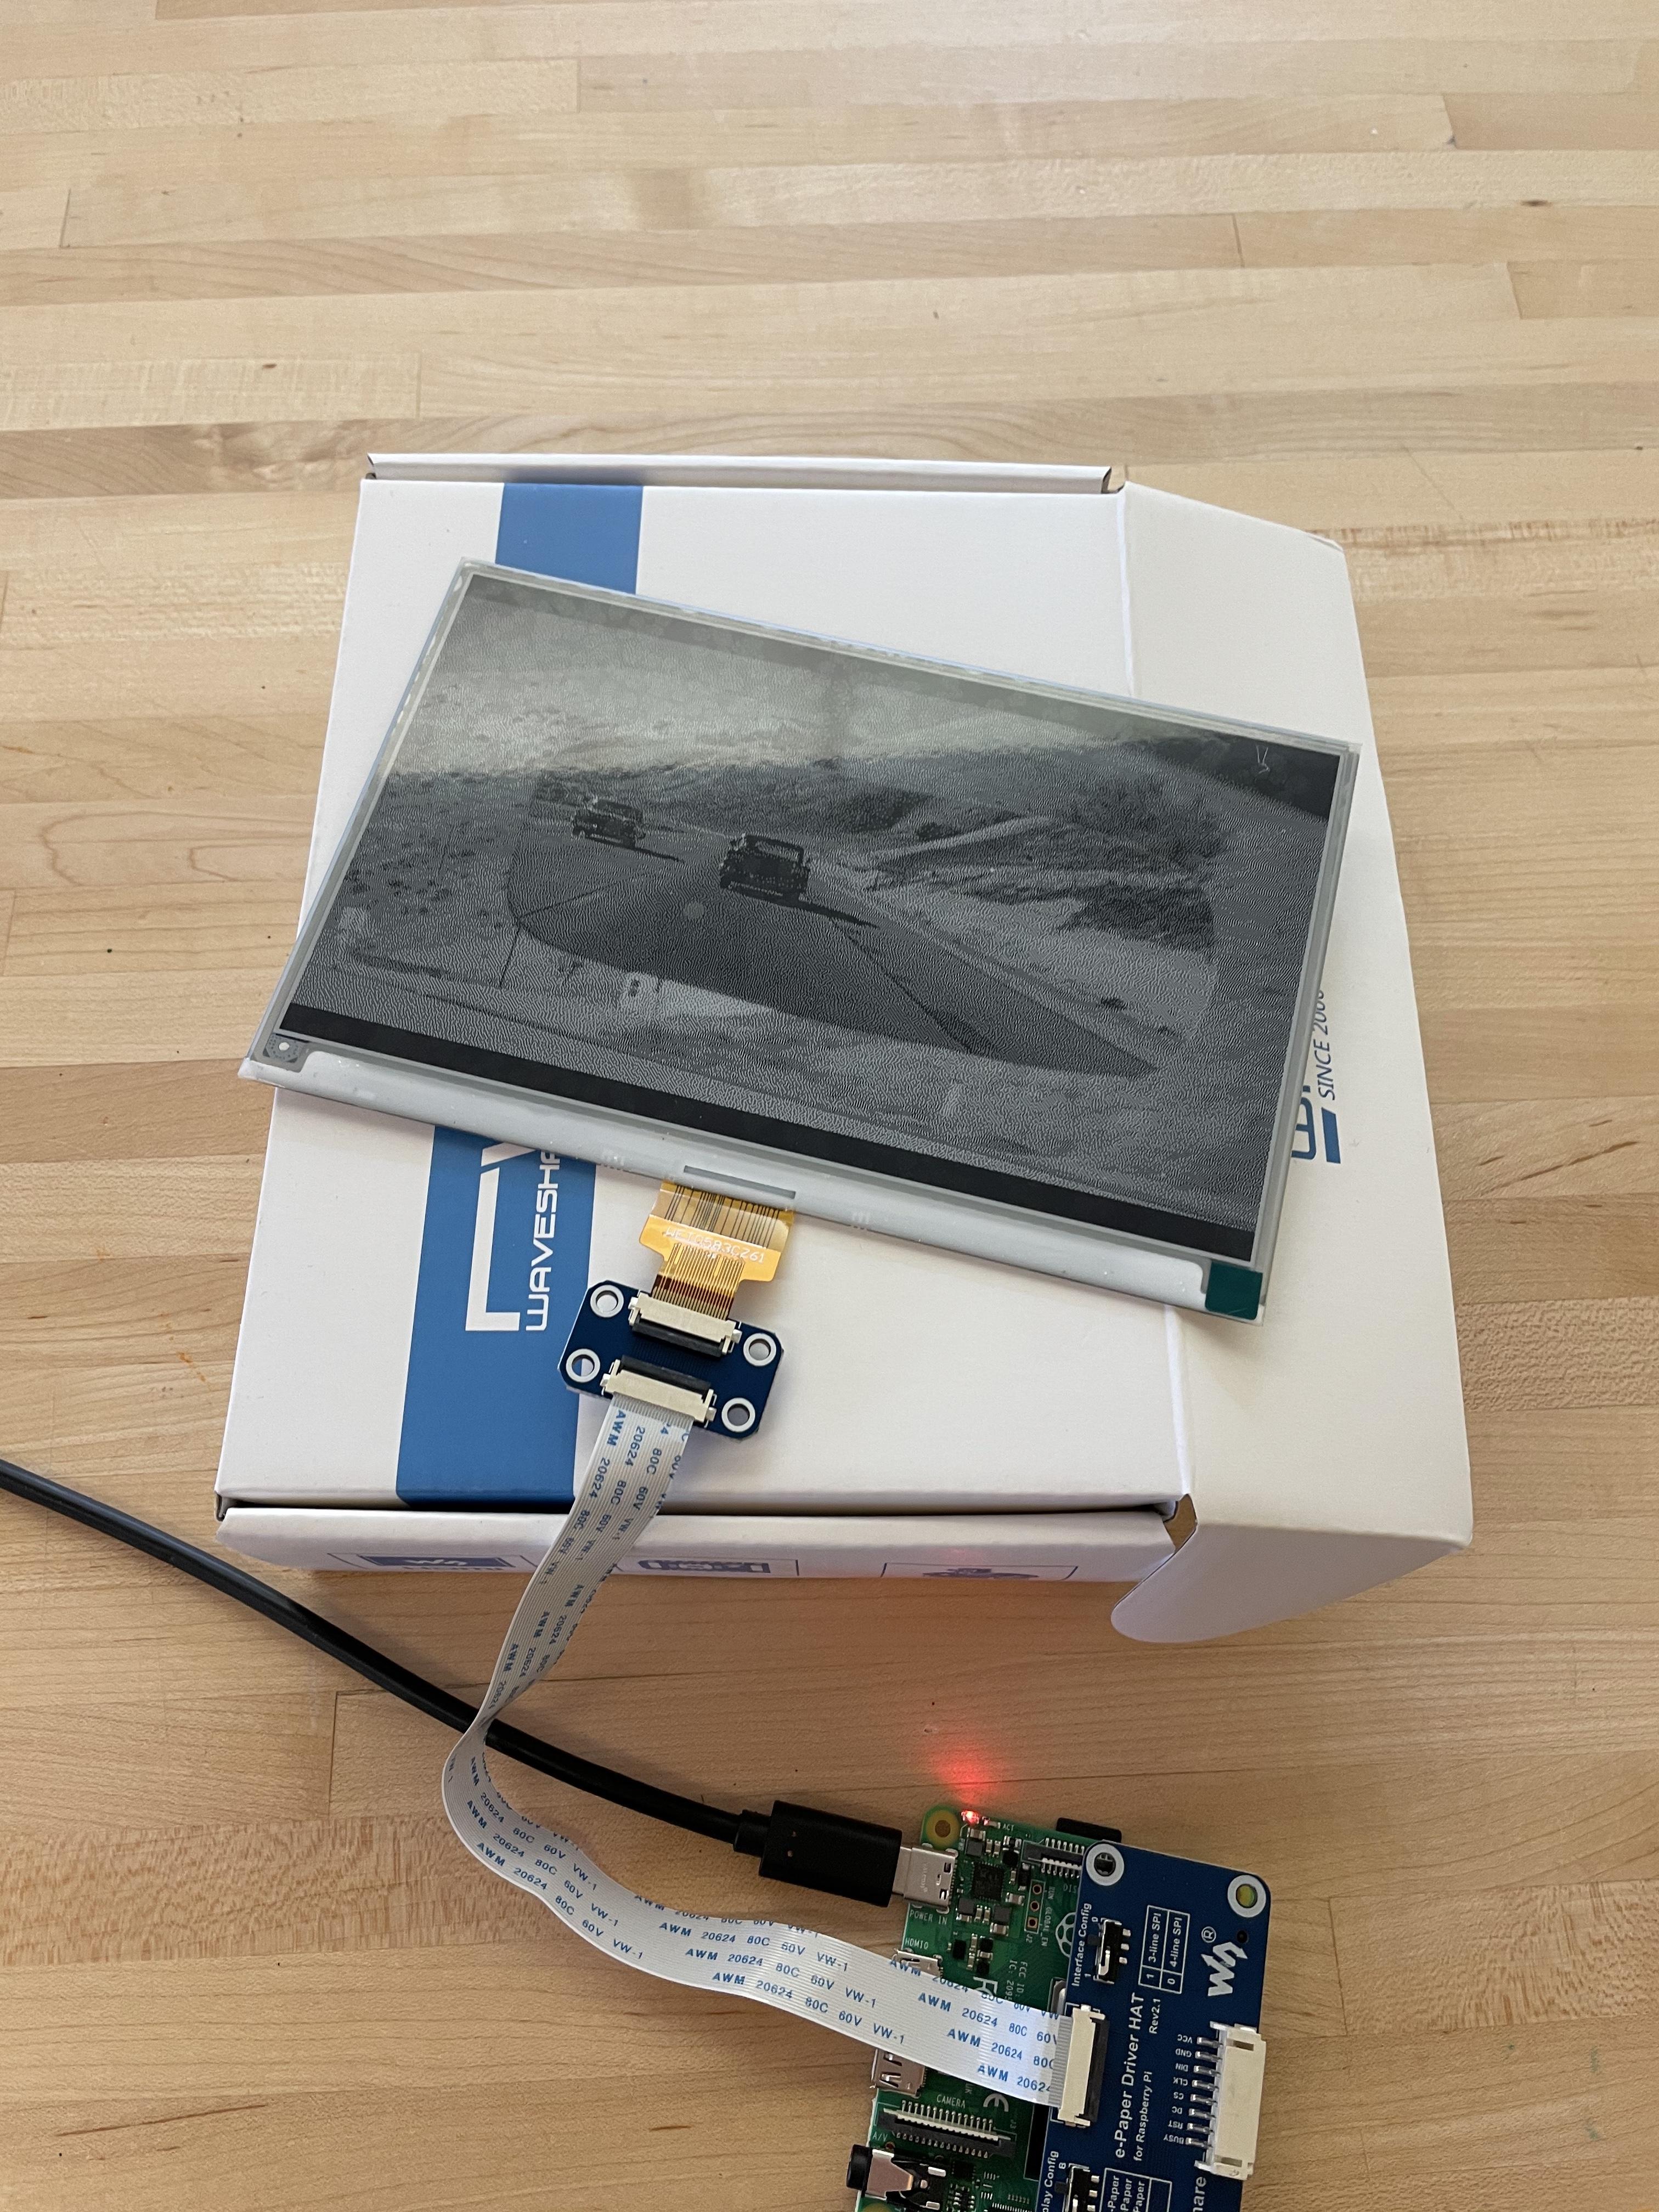
If you've gotten the software installed successfully, you should be able to run "python3 slowmovie.py" from the SlowMovie directory on the Raspberry Pi and see frames from the test video appear on the e-paper screen!
Add Your Own Movie

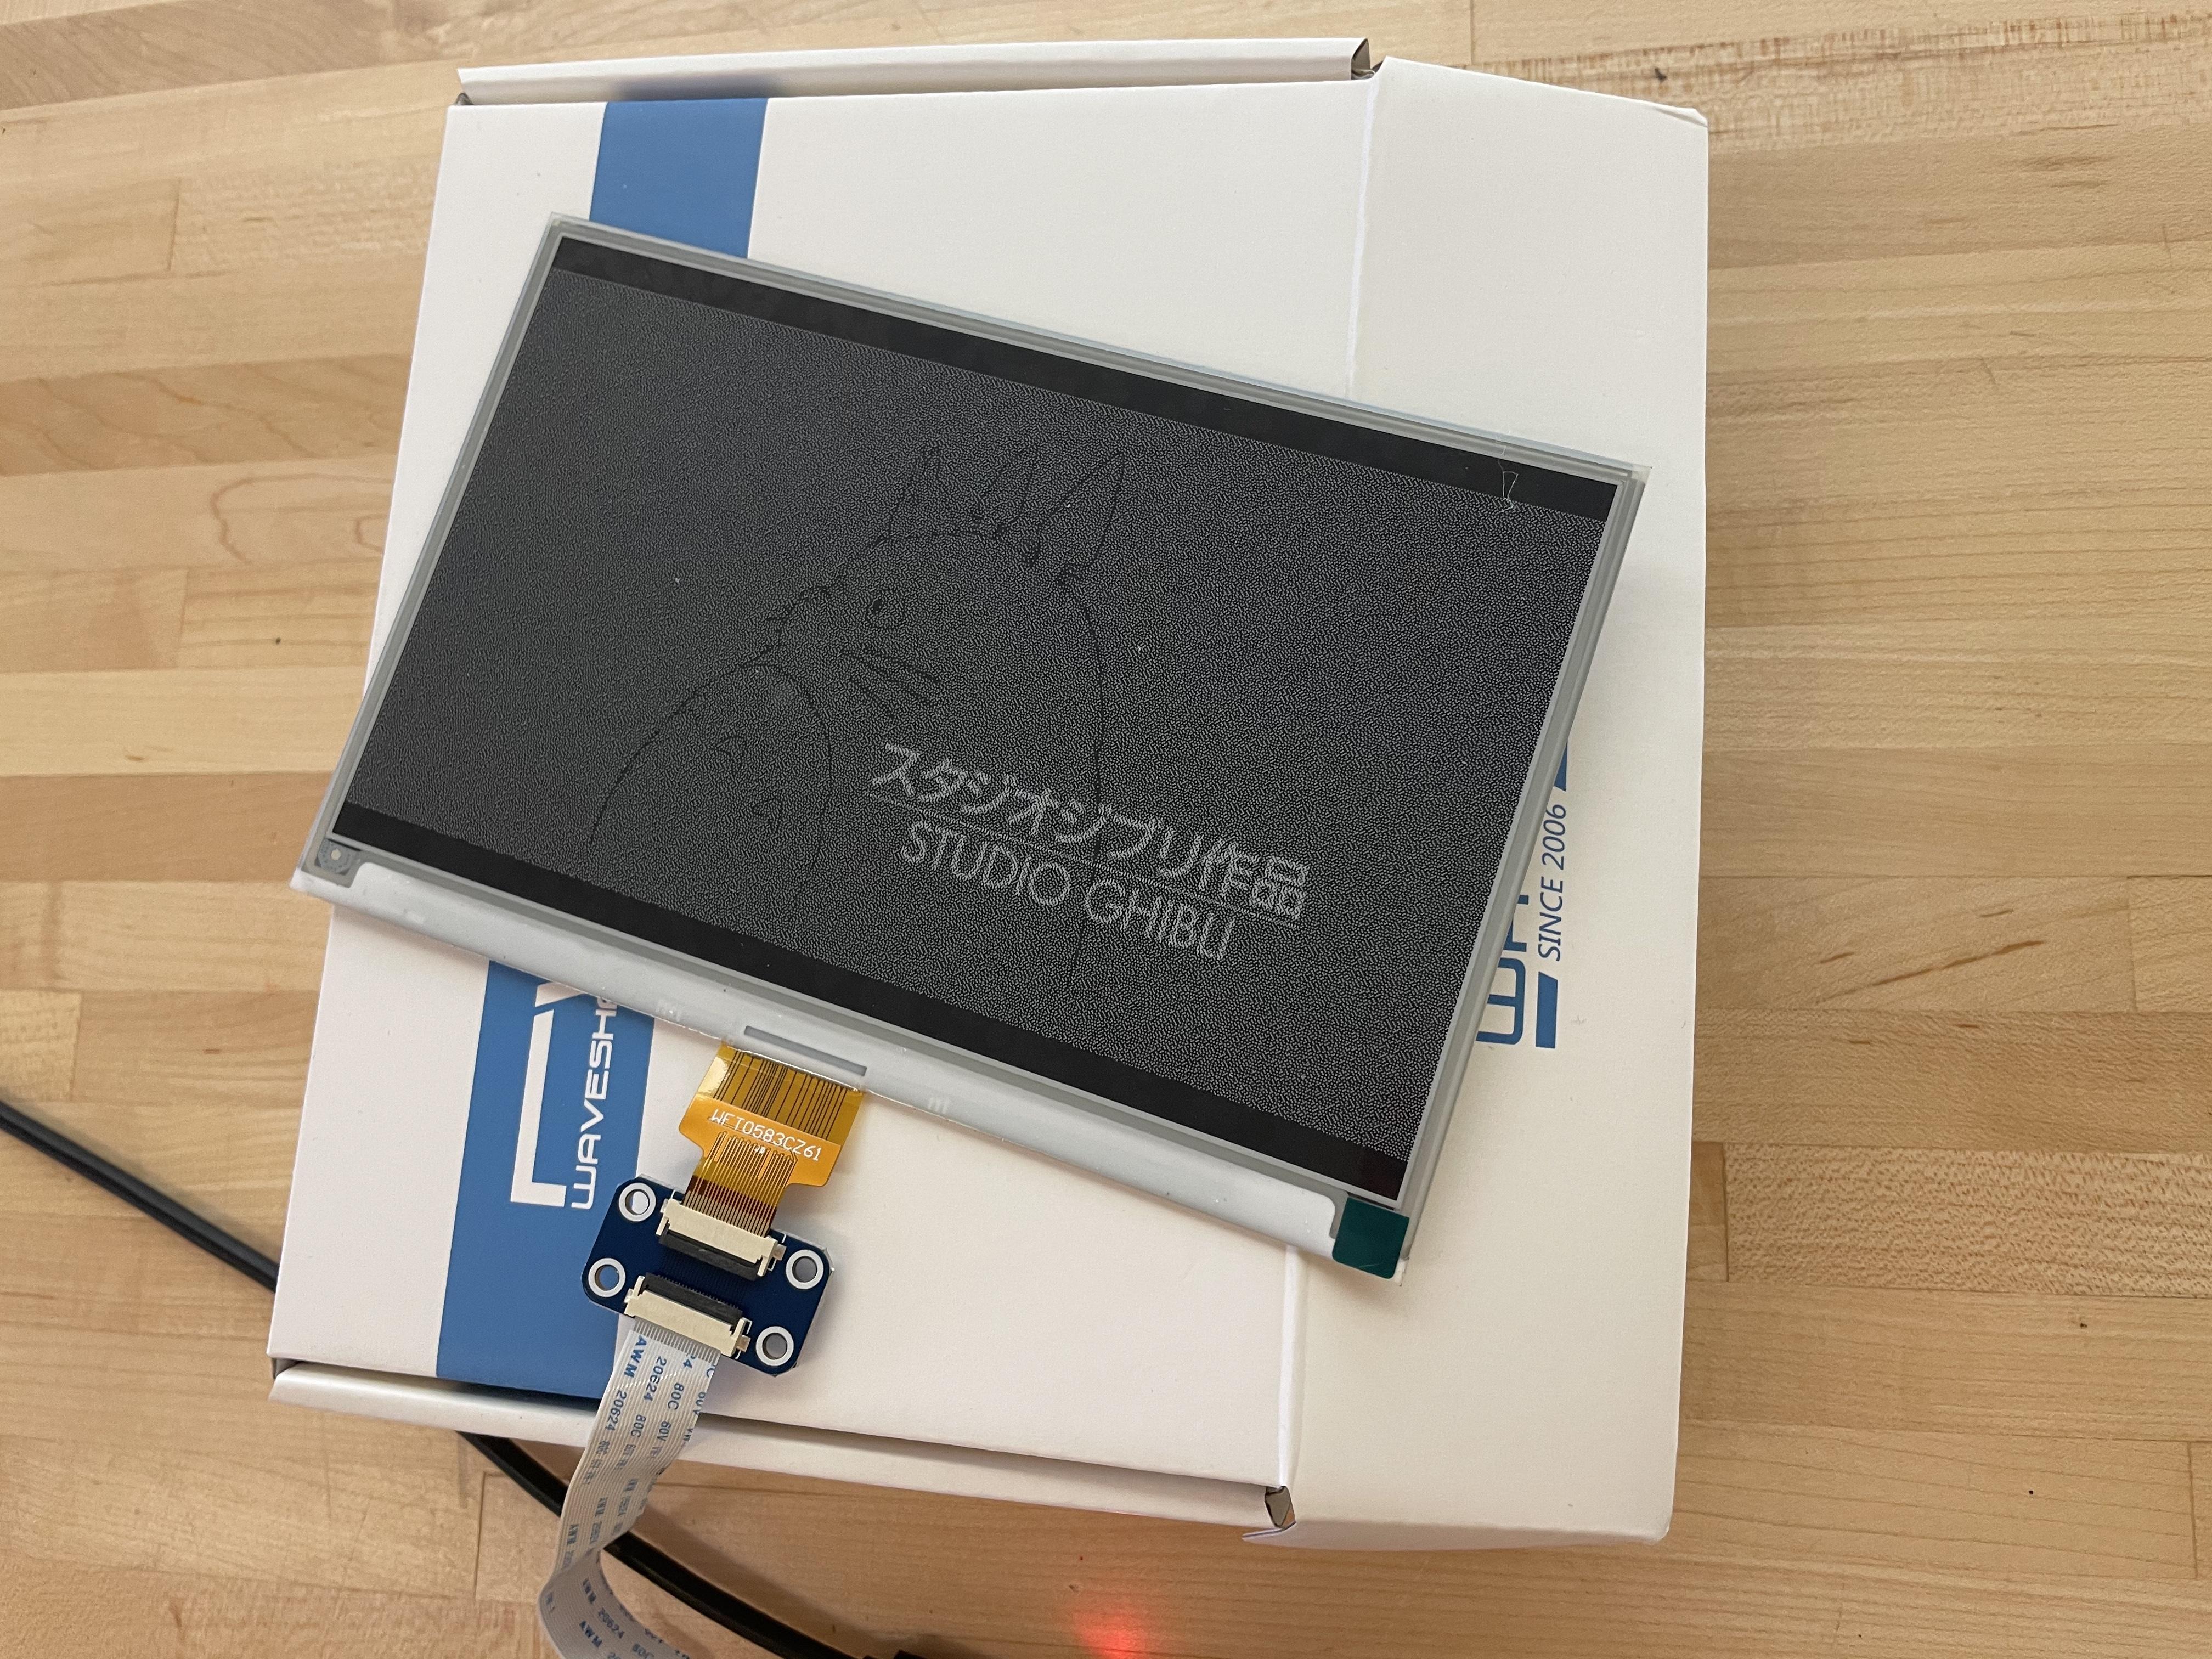
Add movies to the Videos/ directory to play your own movie on the VSMP.
Run the following command from your own computer. It copies your movie into the Raspberry Pi's Videos folder:
scp yourmovie.mp4 pi@IPADDRESS:~/SlowMovie/Videos
Replace yourmovie.mp4 with your movie's path on your own computer, and replace IPADDRESS the same way you did before.
(Terminal capture: https://asciinema.org/a/yWQ7P5u3IL92jYh5almiZZbEj)
Now you can start your movie playing!
- ssh into the Raspberry Pi again.
- Go to the SlowMovie directory: "cd SlowMovie"
- Edit the nowPlaying file to contain the name of the video file you want to play: "nano nowPlaying"
- Now run "sudo systemctl start slowmovie" to start the SlowMovie service, which will restart when the Raspberry Pi reboots.
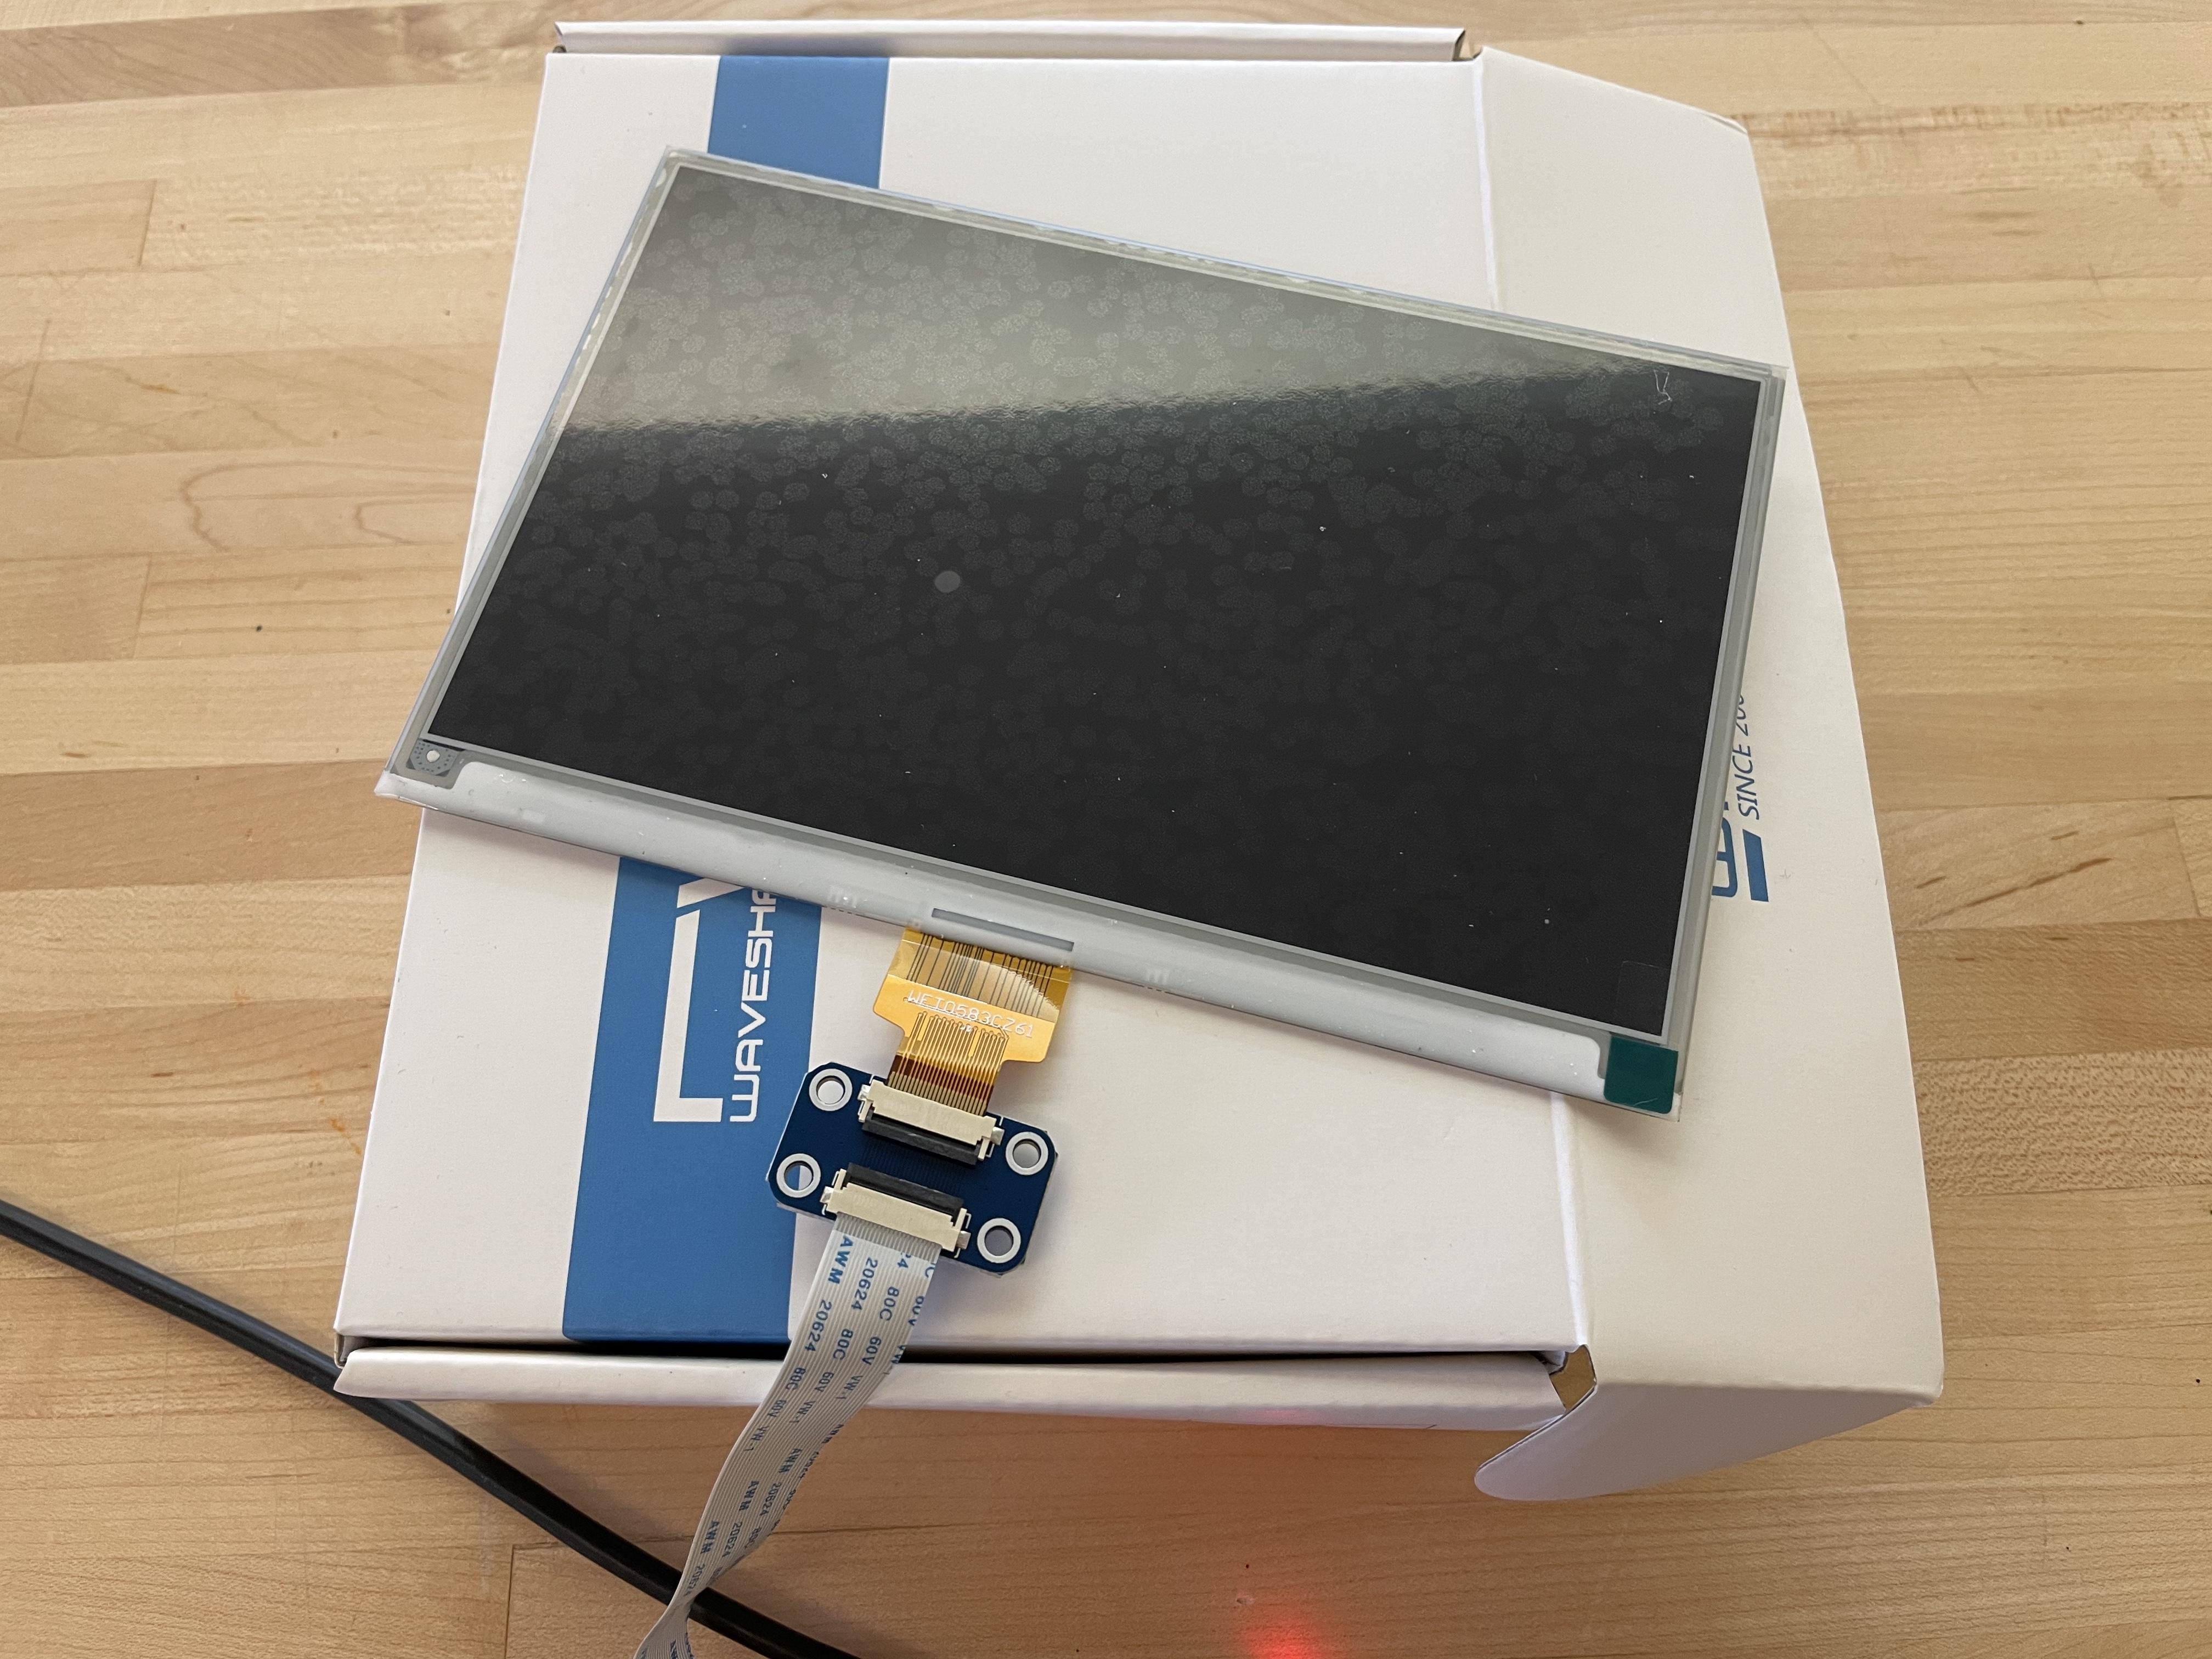
Done! Your movie will now play through. Beware, it usually starts with a bunch of all-black frames. The playback is using the default settings:
random-frames = False
delay = 120
increment = 4
contrast = 1.0
"delay" is how many seconds to wait between displaying the next update.
"increment" is how many frames to move forward each update.
You can edit the file "slowmovie.conf" to change these settings.
When the movie ends, the next movie in the Videos directory will start. You can use scp to copy more movies to that directory.
Turn Off Raspberry Pi LEDs
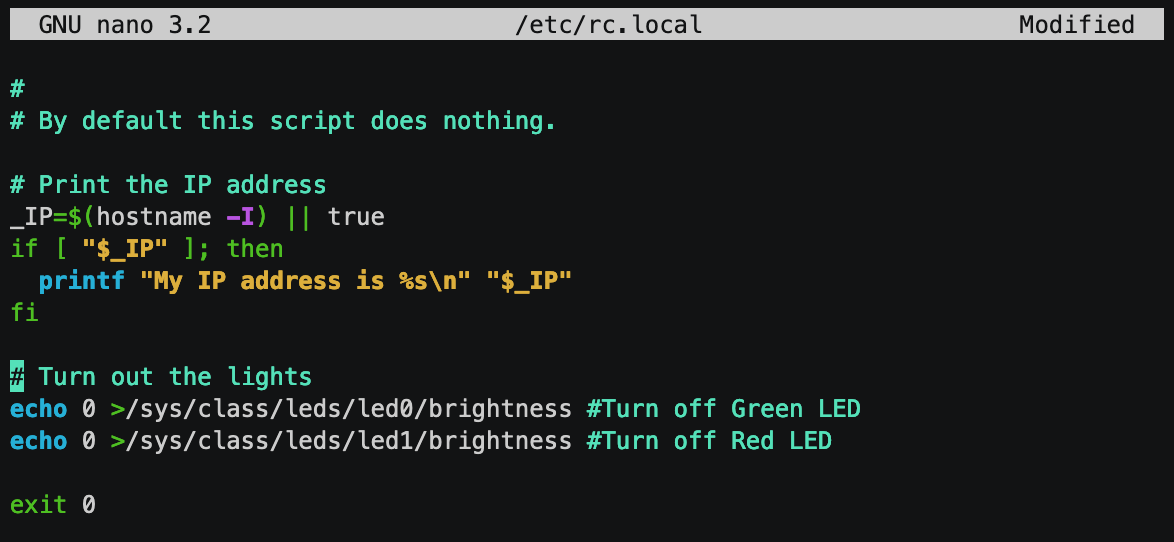
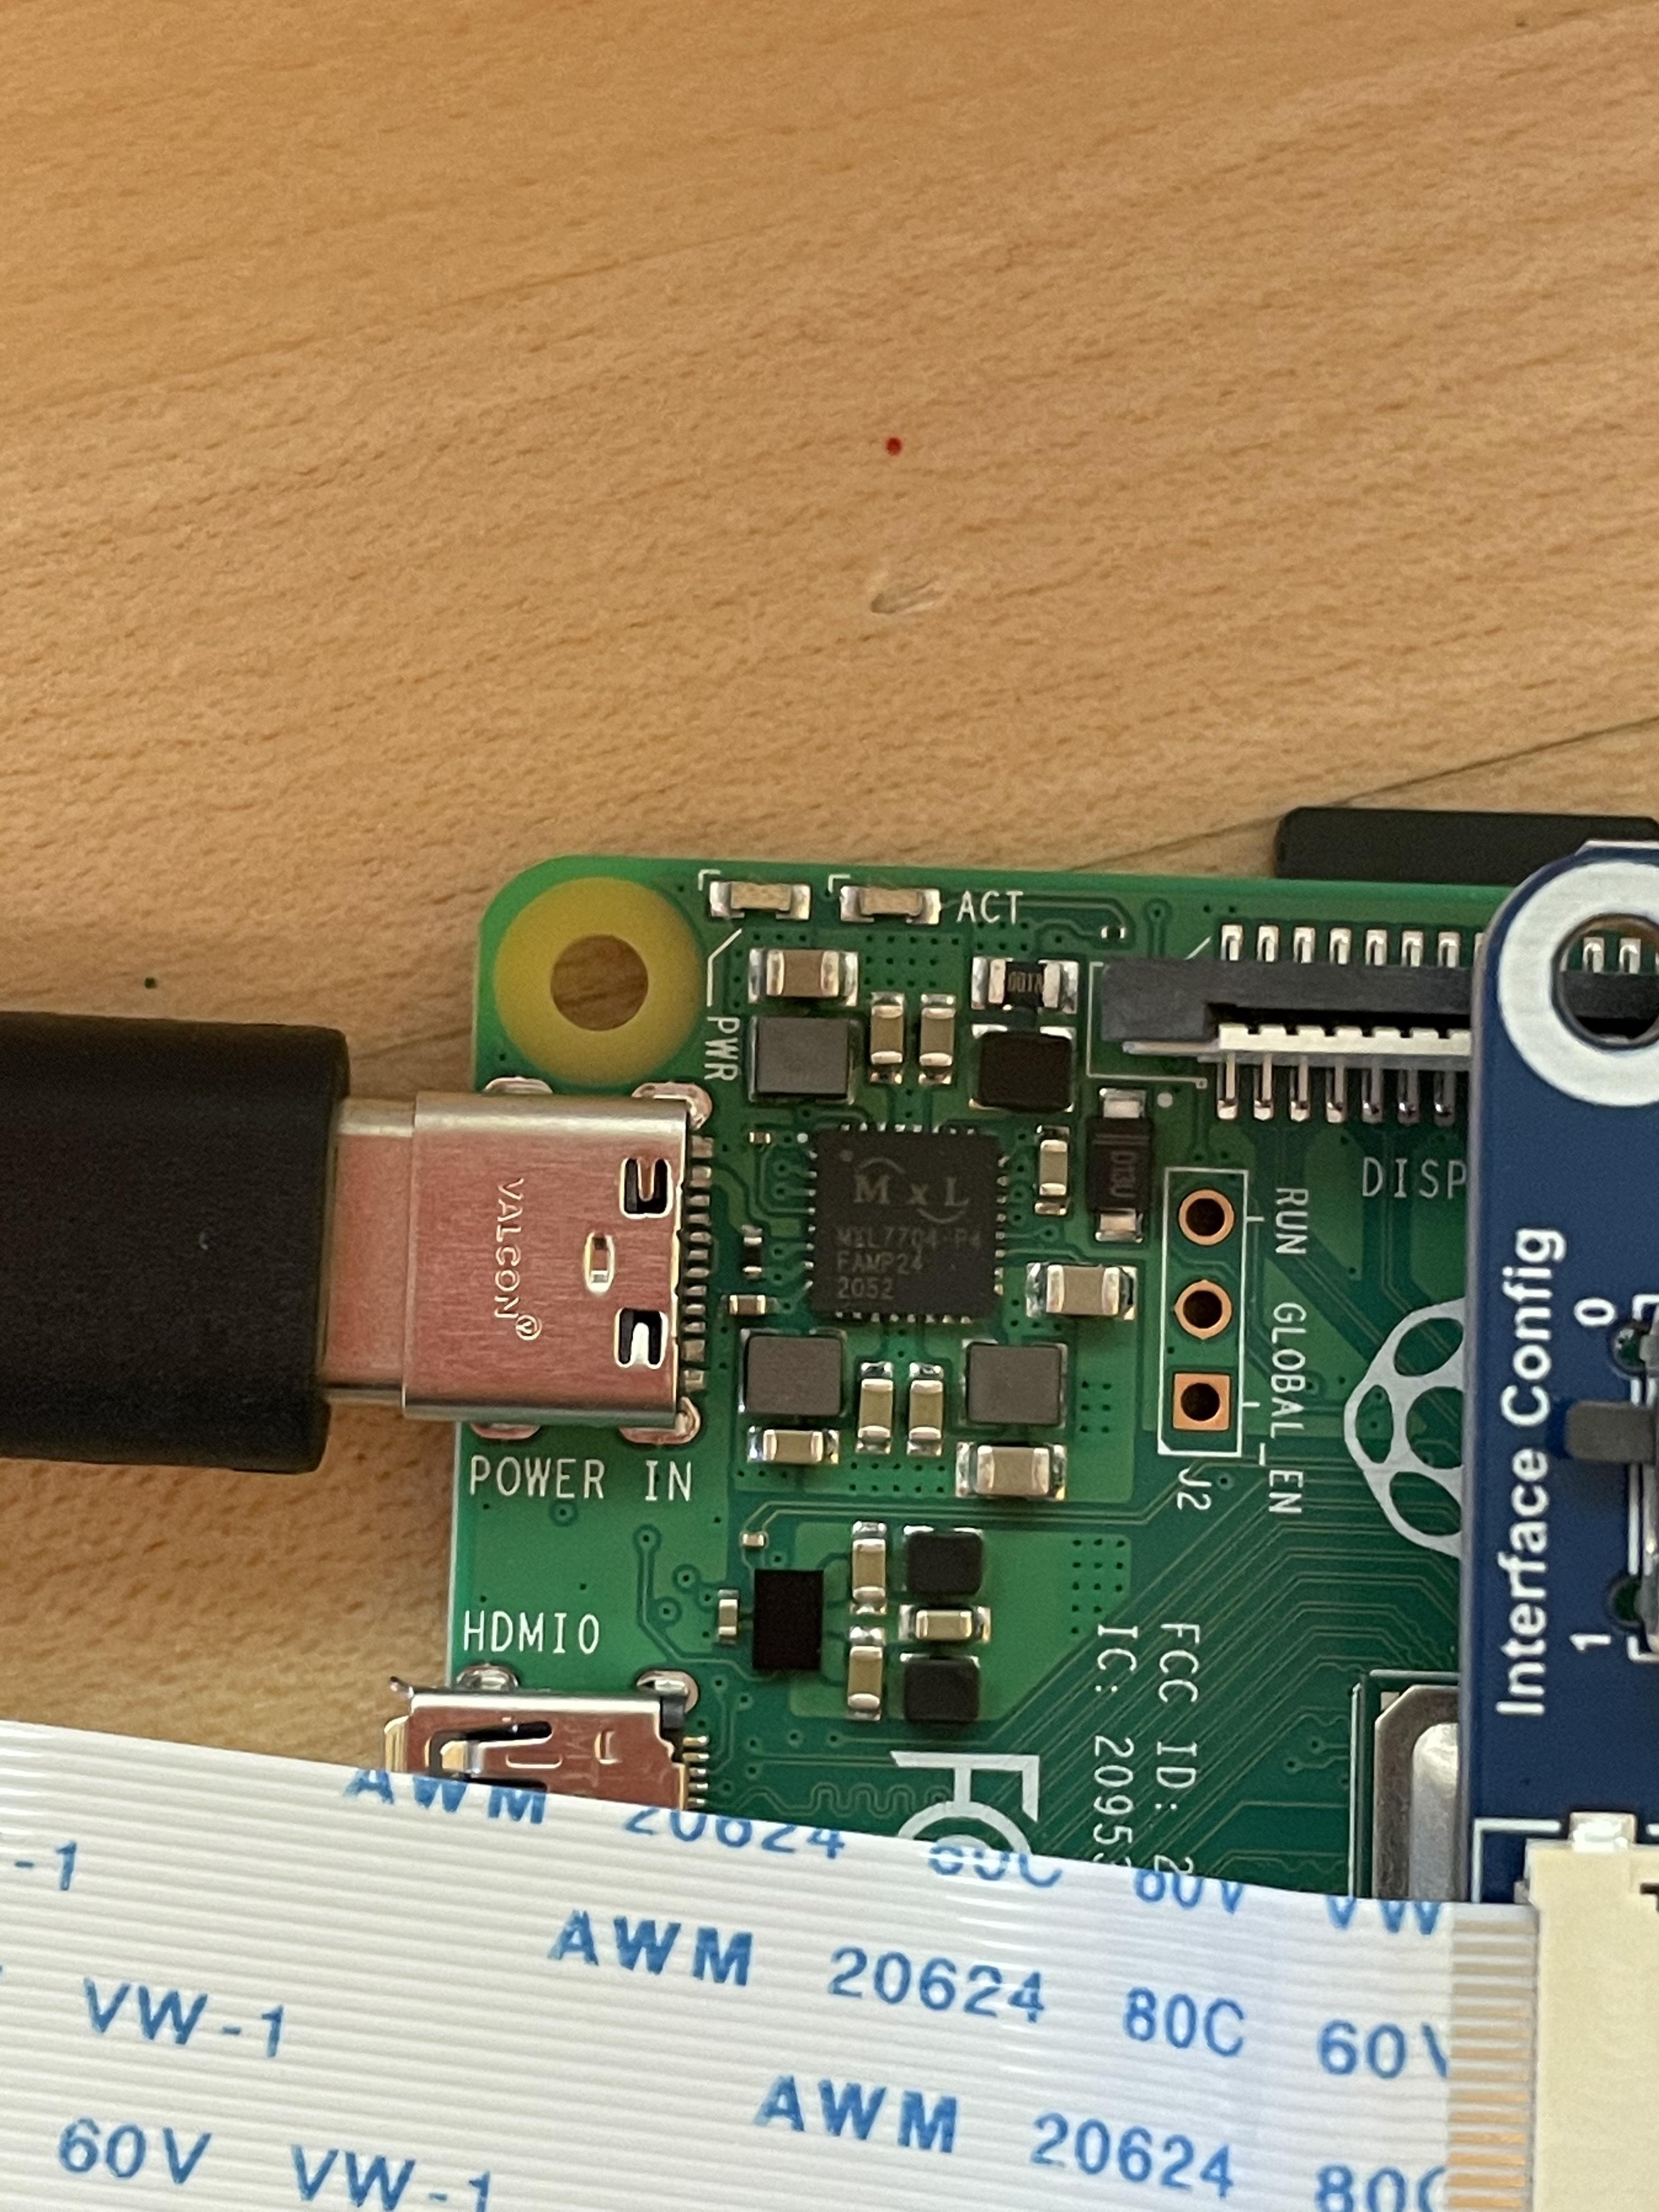
The power and activity LEDs on the Raspberry Pi can shine through the e-paper screen at night and just be a general nuisance. Fortunately, we can turn them off with software without having to tape over them or de-solder them from the board. There are several ways to do this. Here's the one I found that worked for my Raspberry Pi 4 B.
(Terminal capture: https://asciinema.org/a/PxPEoGRAy02K2Z6xwPtd9tJHe)
Start editing "/etc/rc.local" (a file with commands that are called every time the Pi boots up)
sudo nano /etc/rc.local
At the bottom of the file, but before the line "exit", add the following lines:
# Turn out the lights
echo 0 >/sys/class/leds/led0/brightness #Turn off Green LED
echo 0 >/sys/class/leds/led1/brightness #Turn off Red LED
This will set the brightness of both LEDs to 0 every time the Raspberry Pi boots. To reset this later, simply remove these lines.
Make Case and Assemble
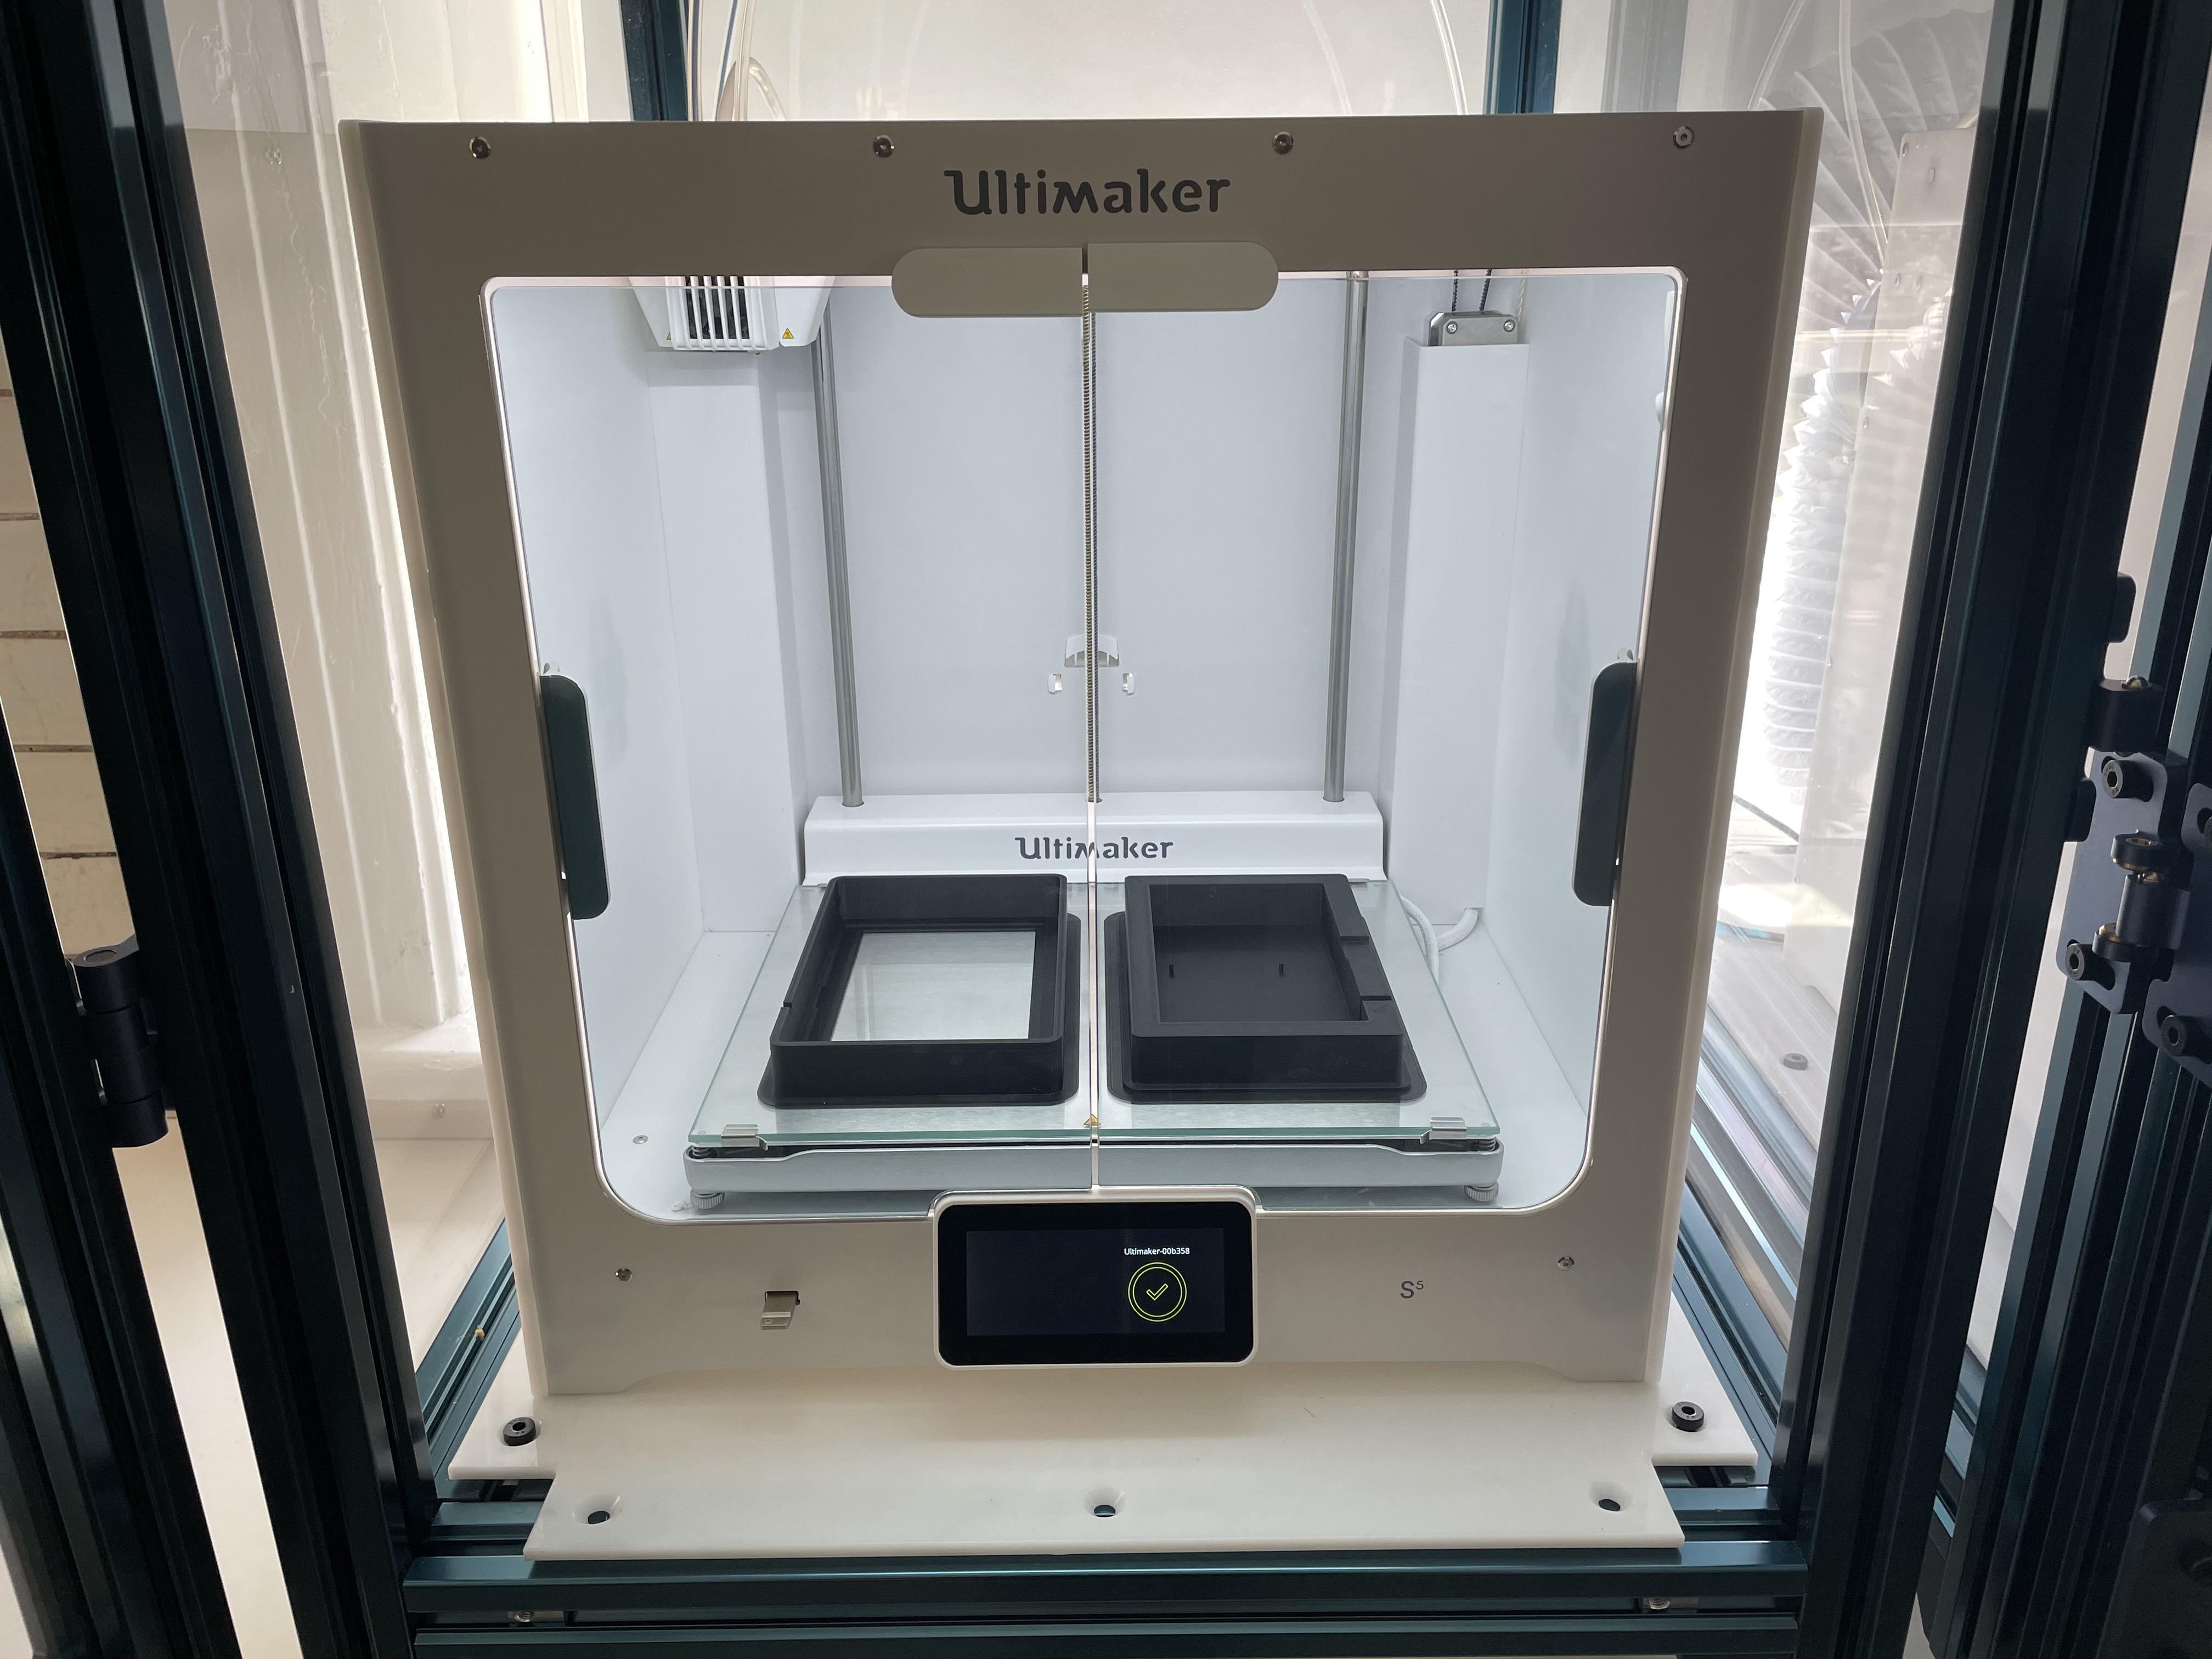
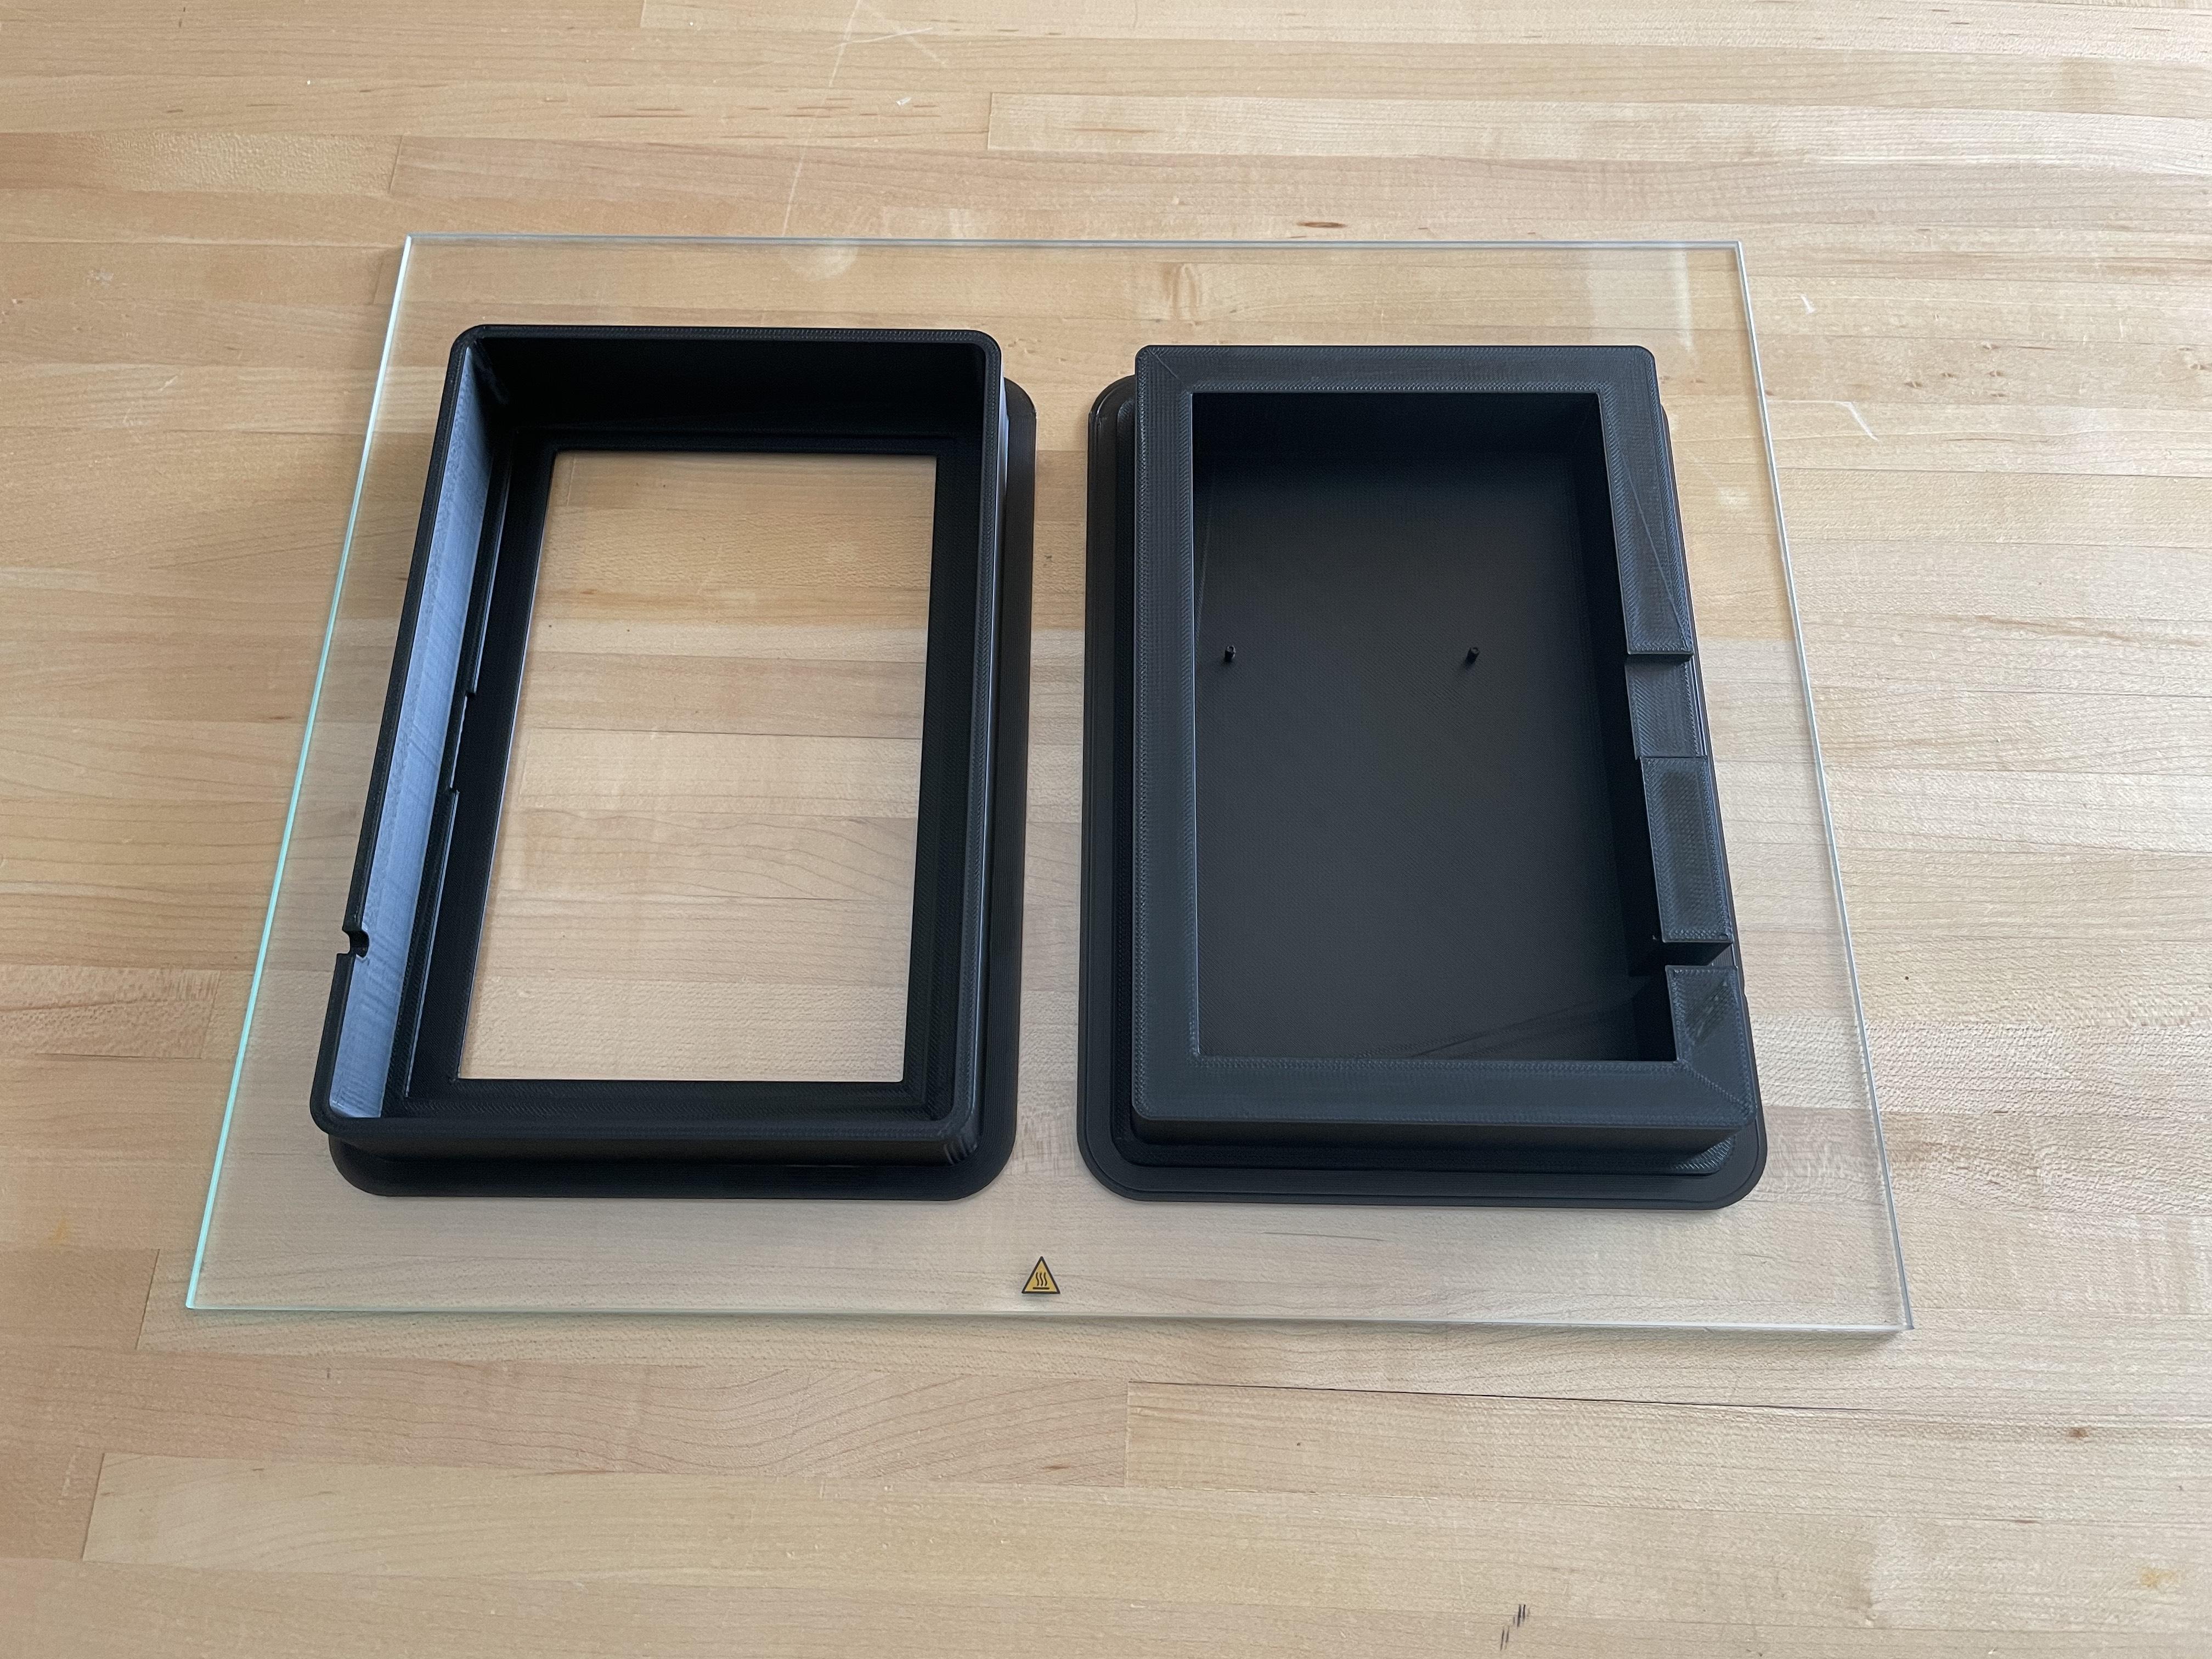
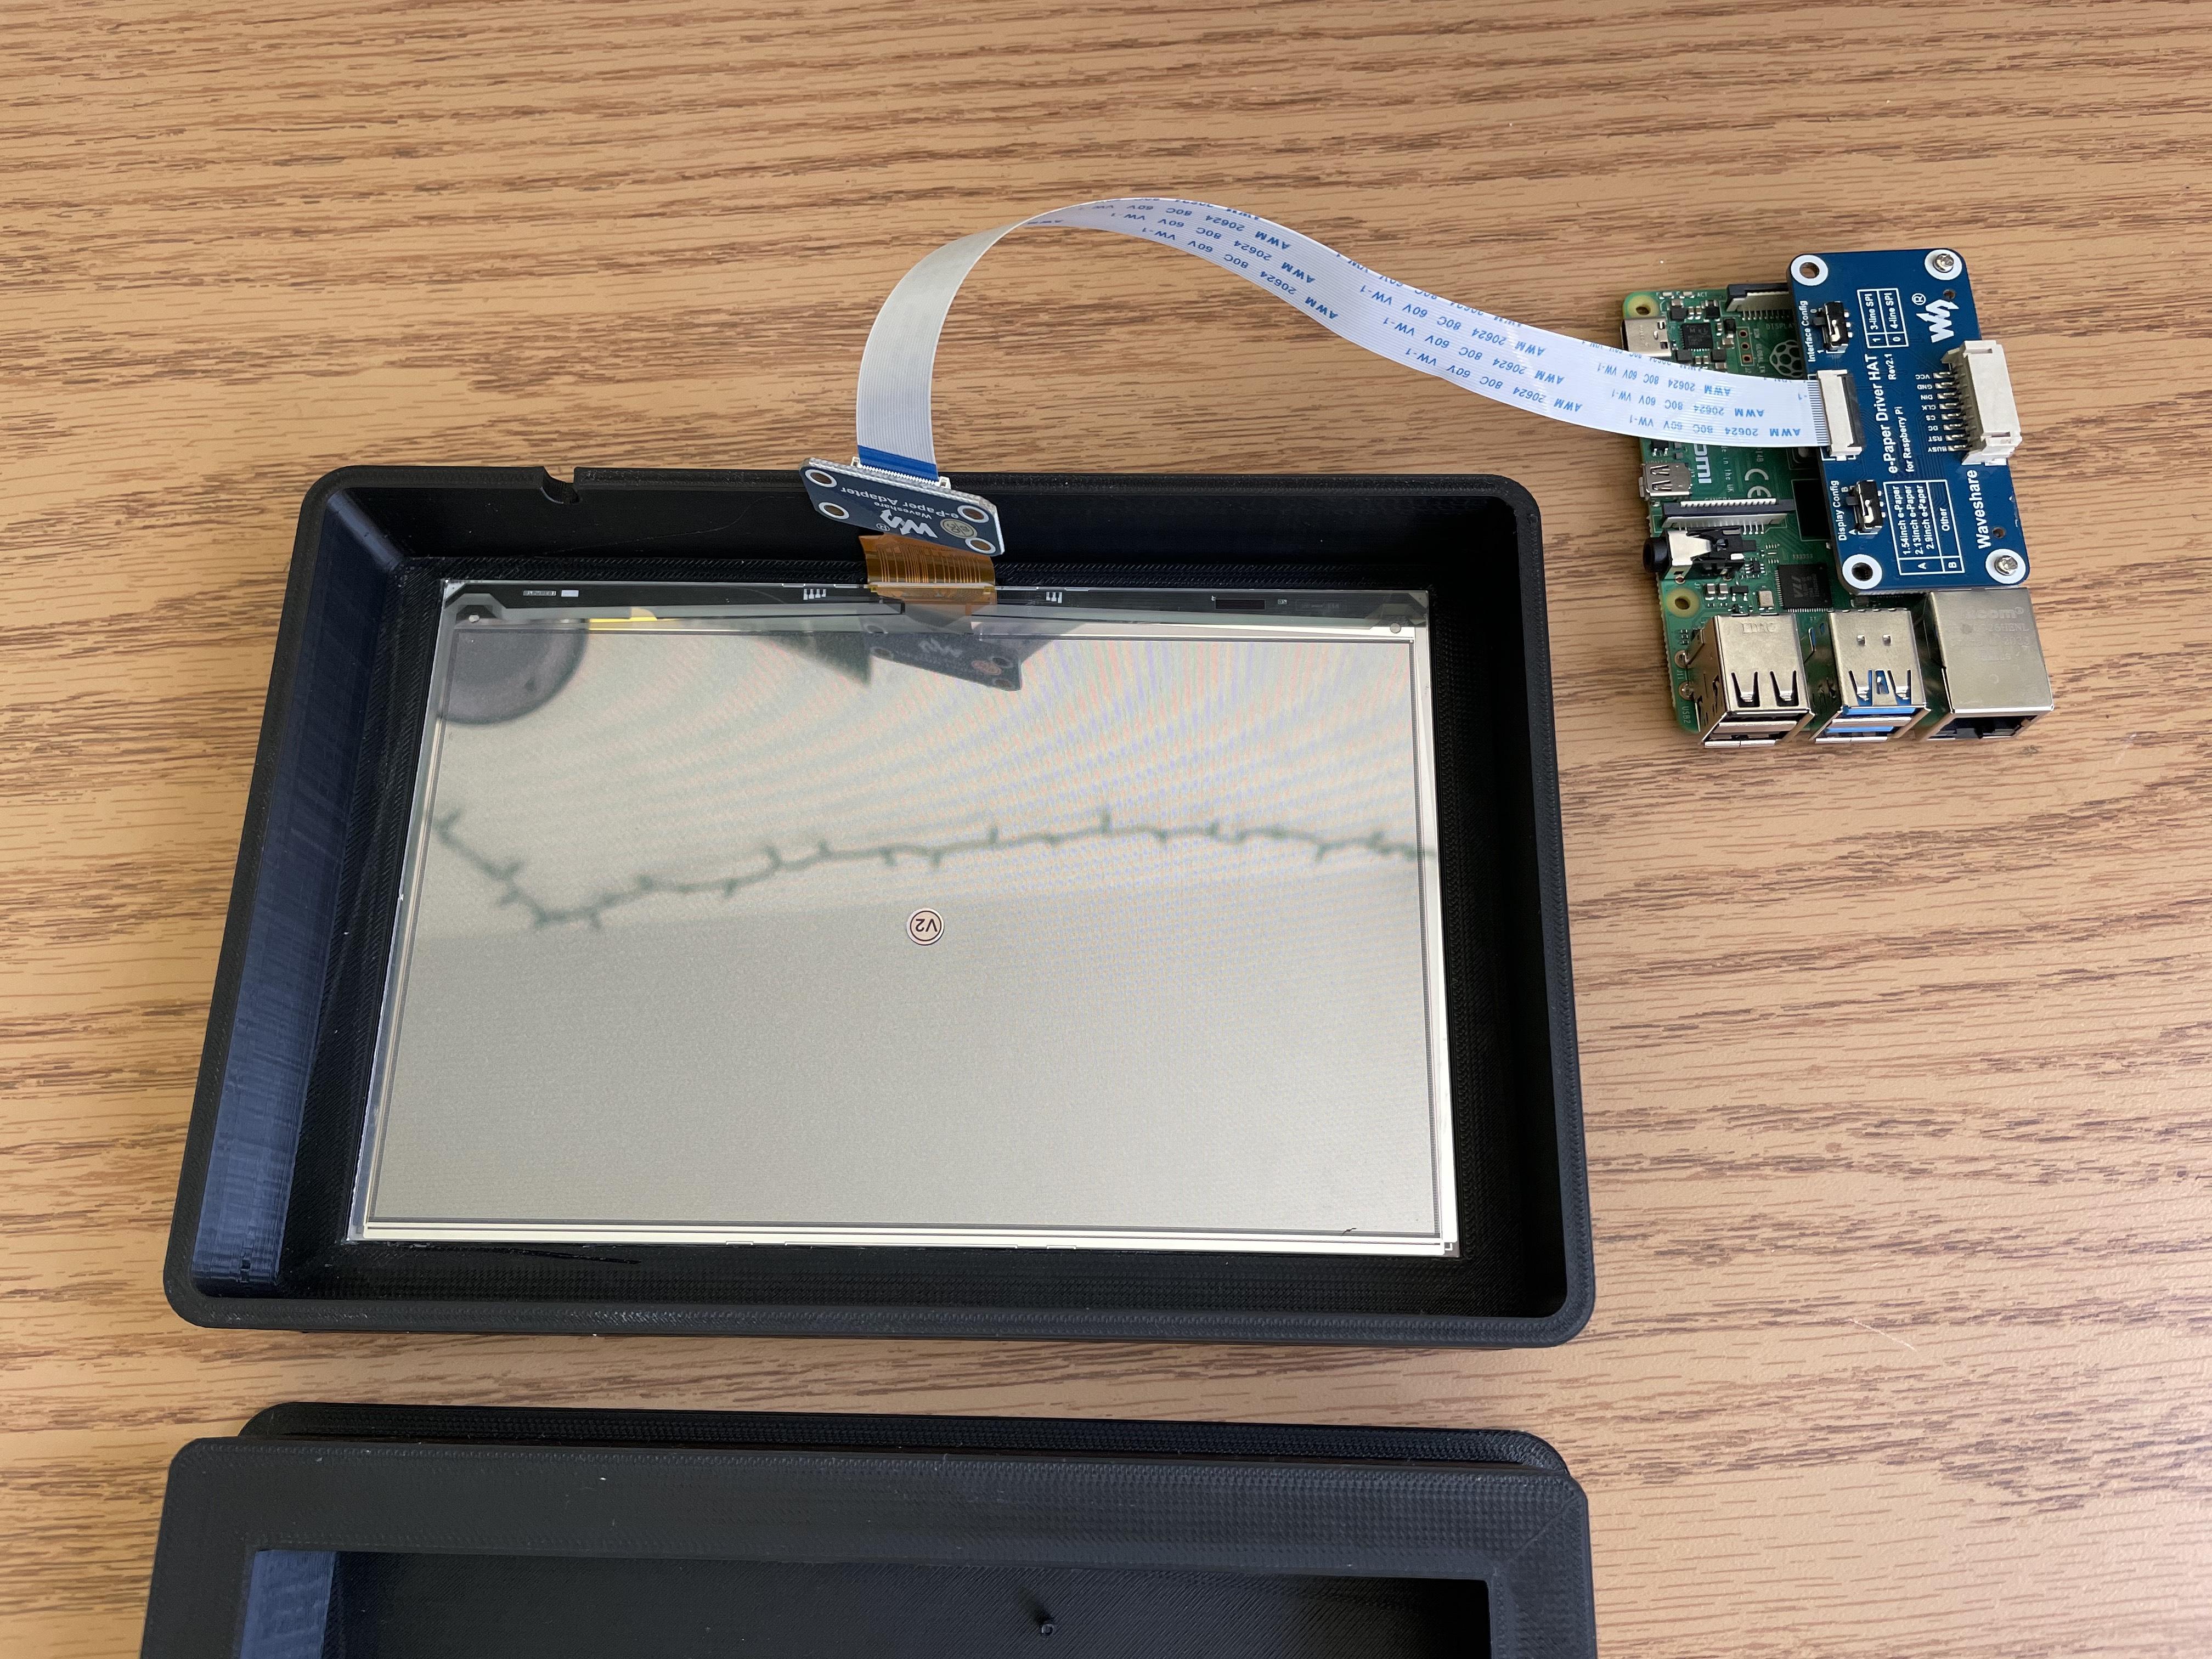
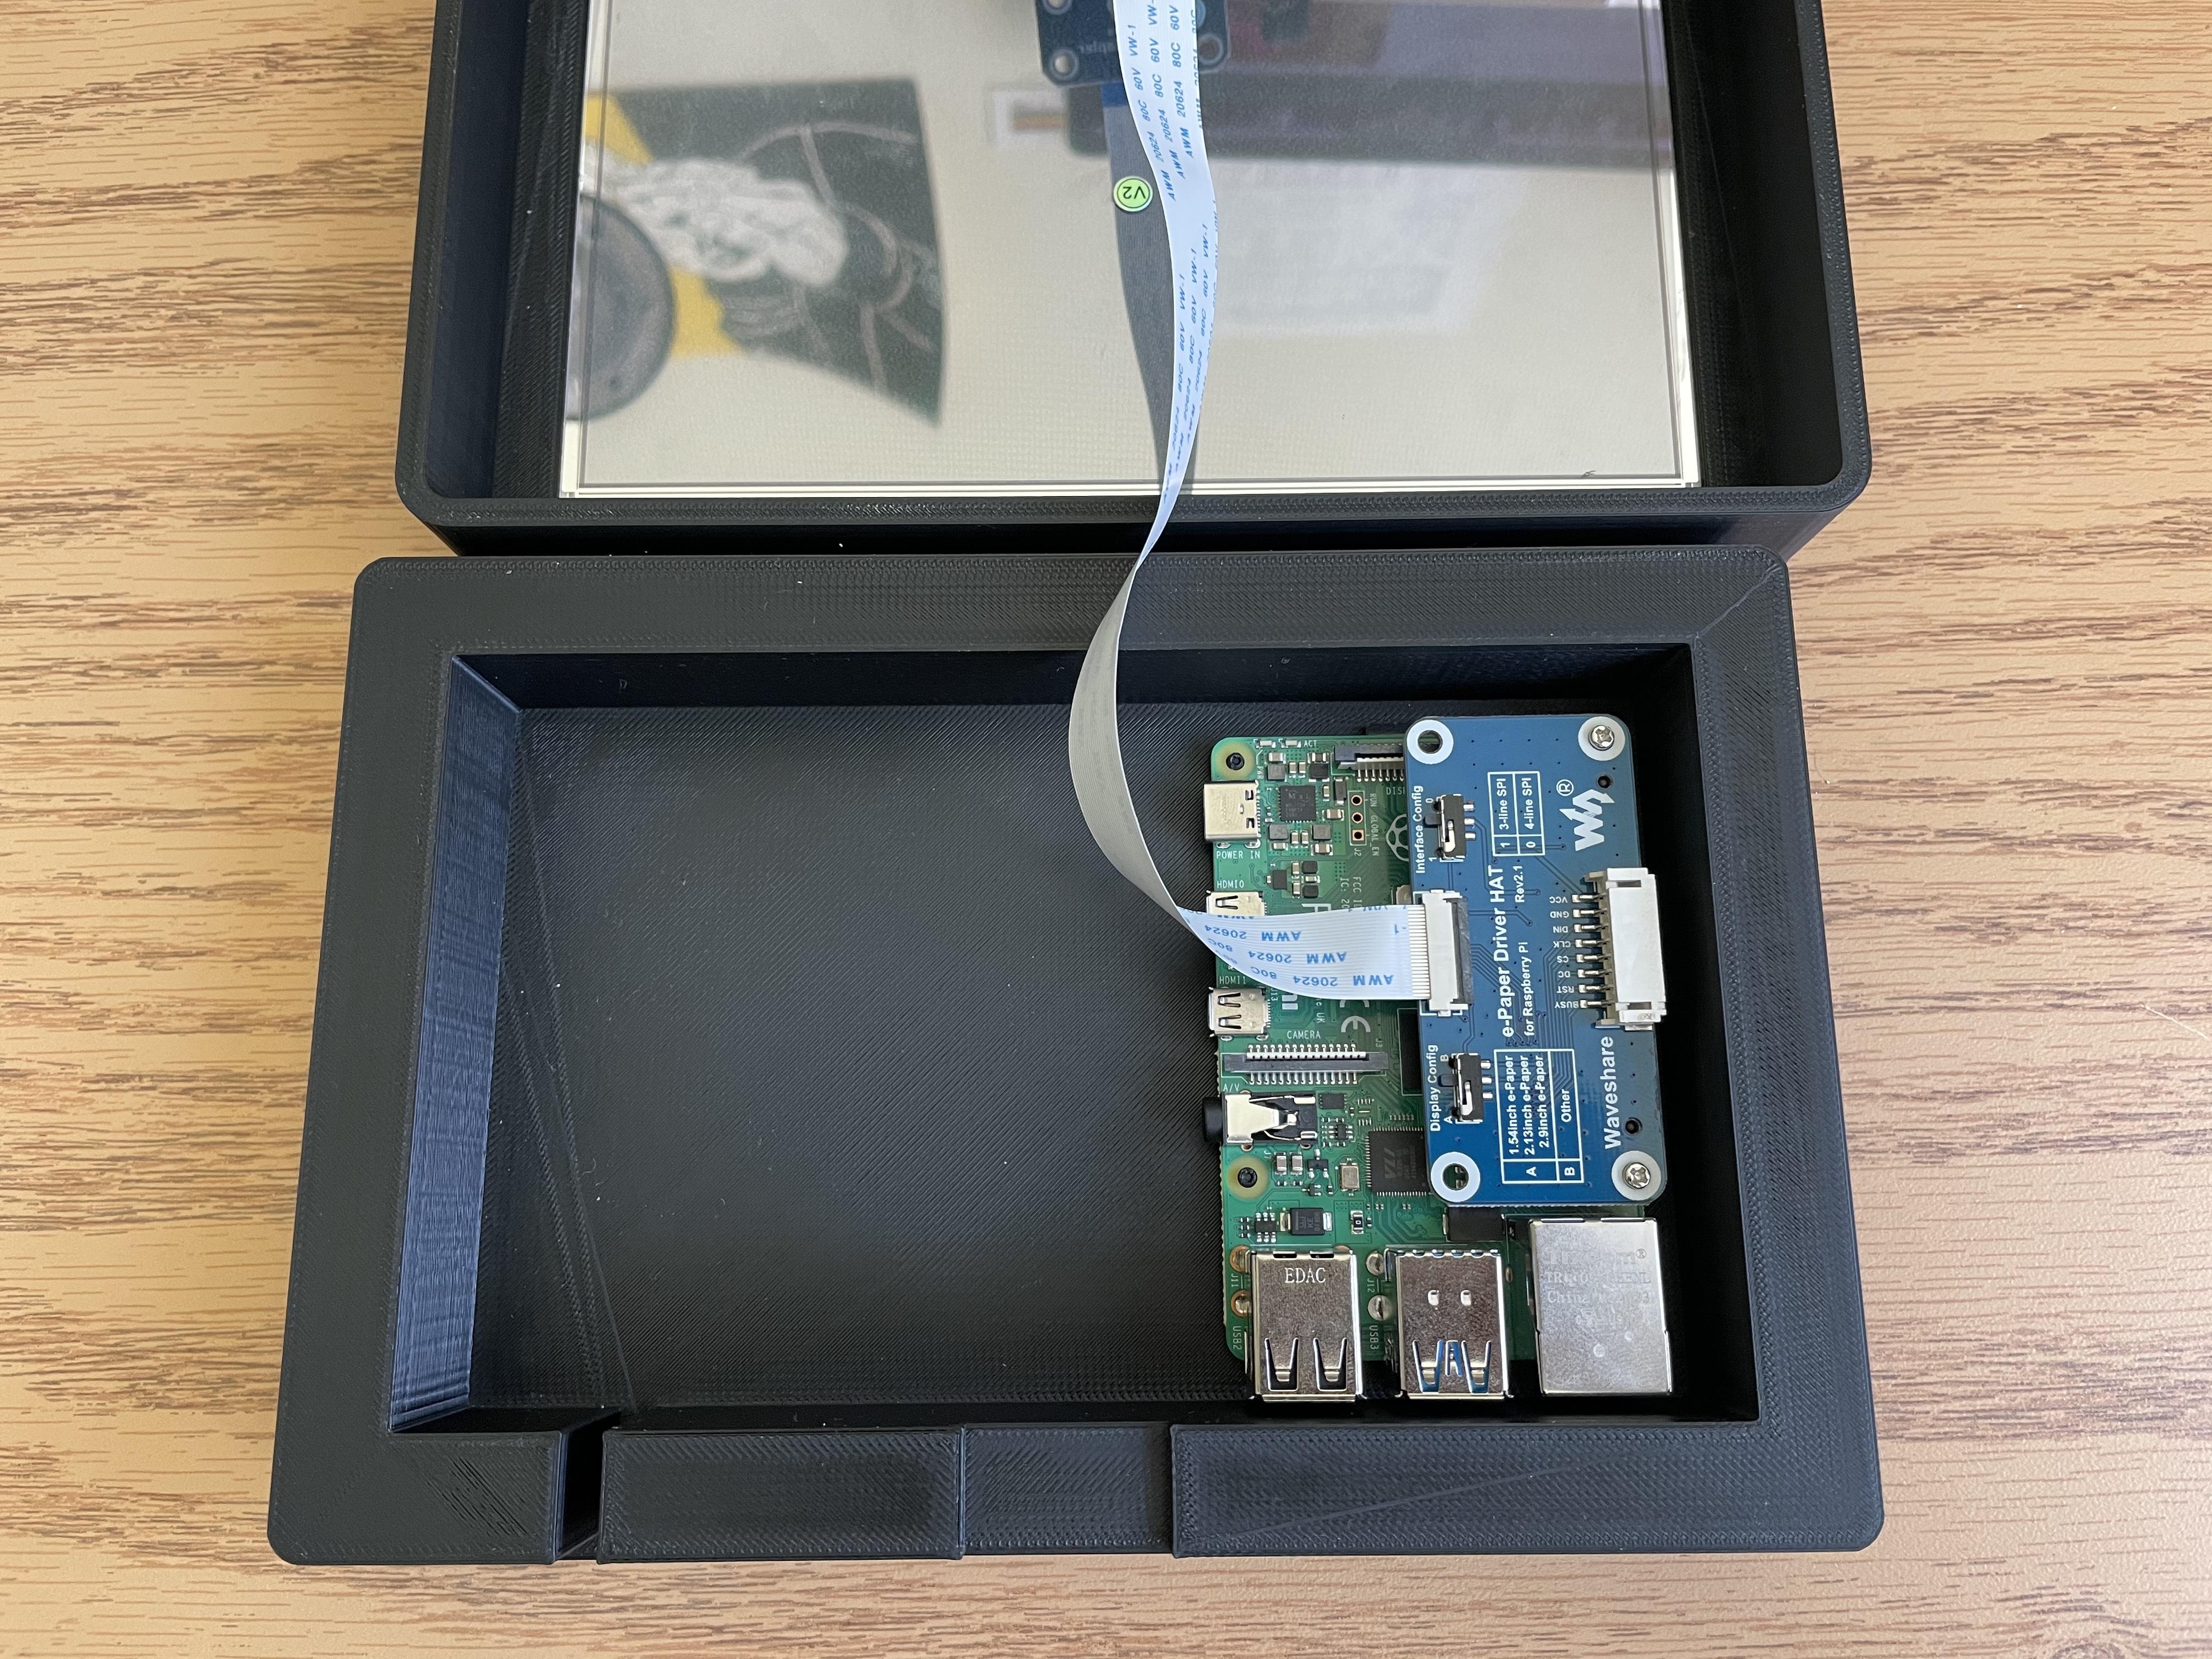
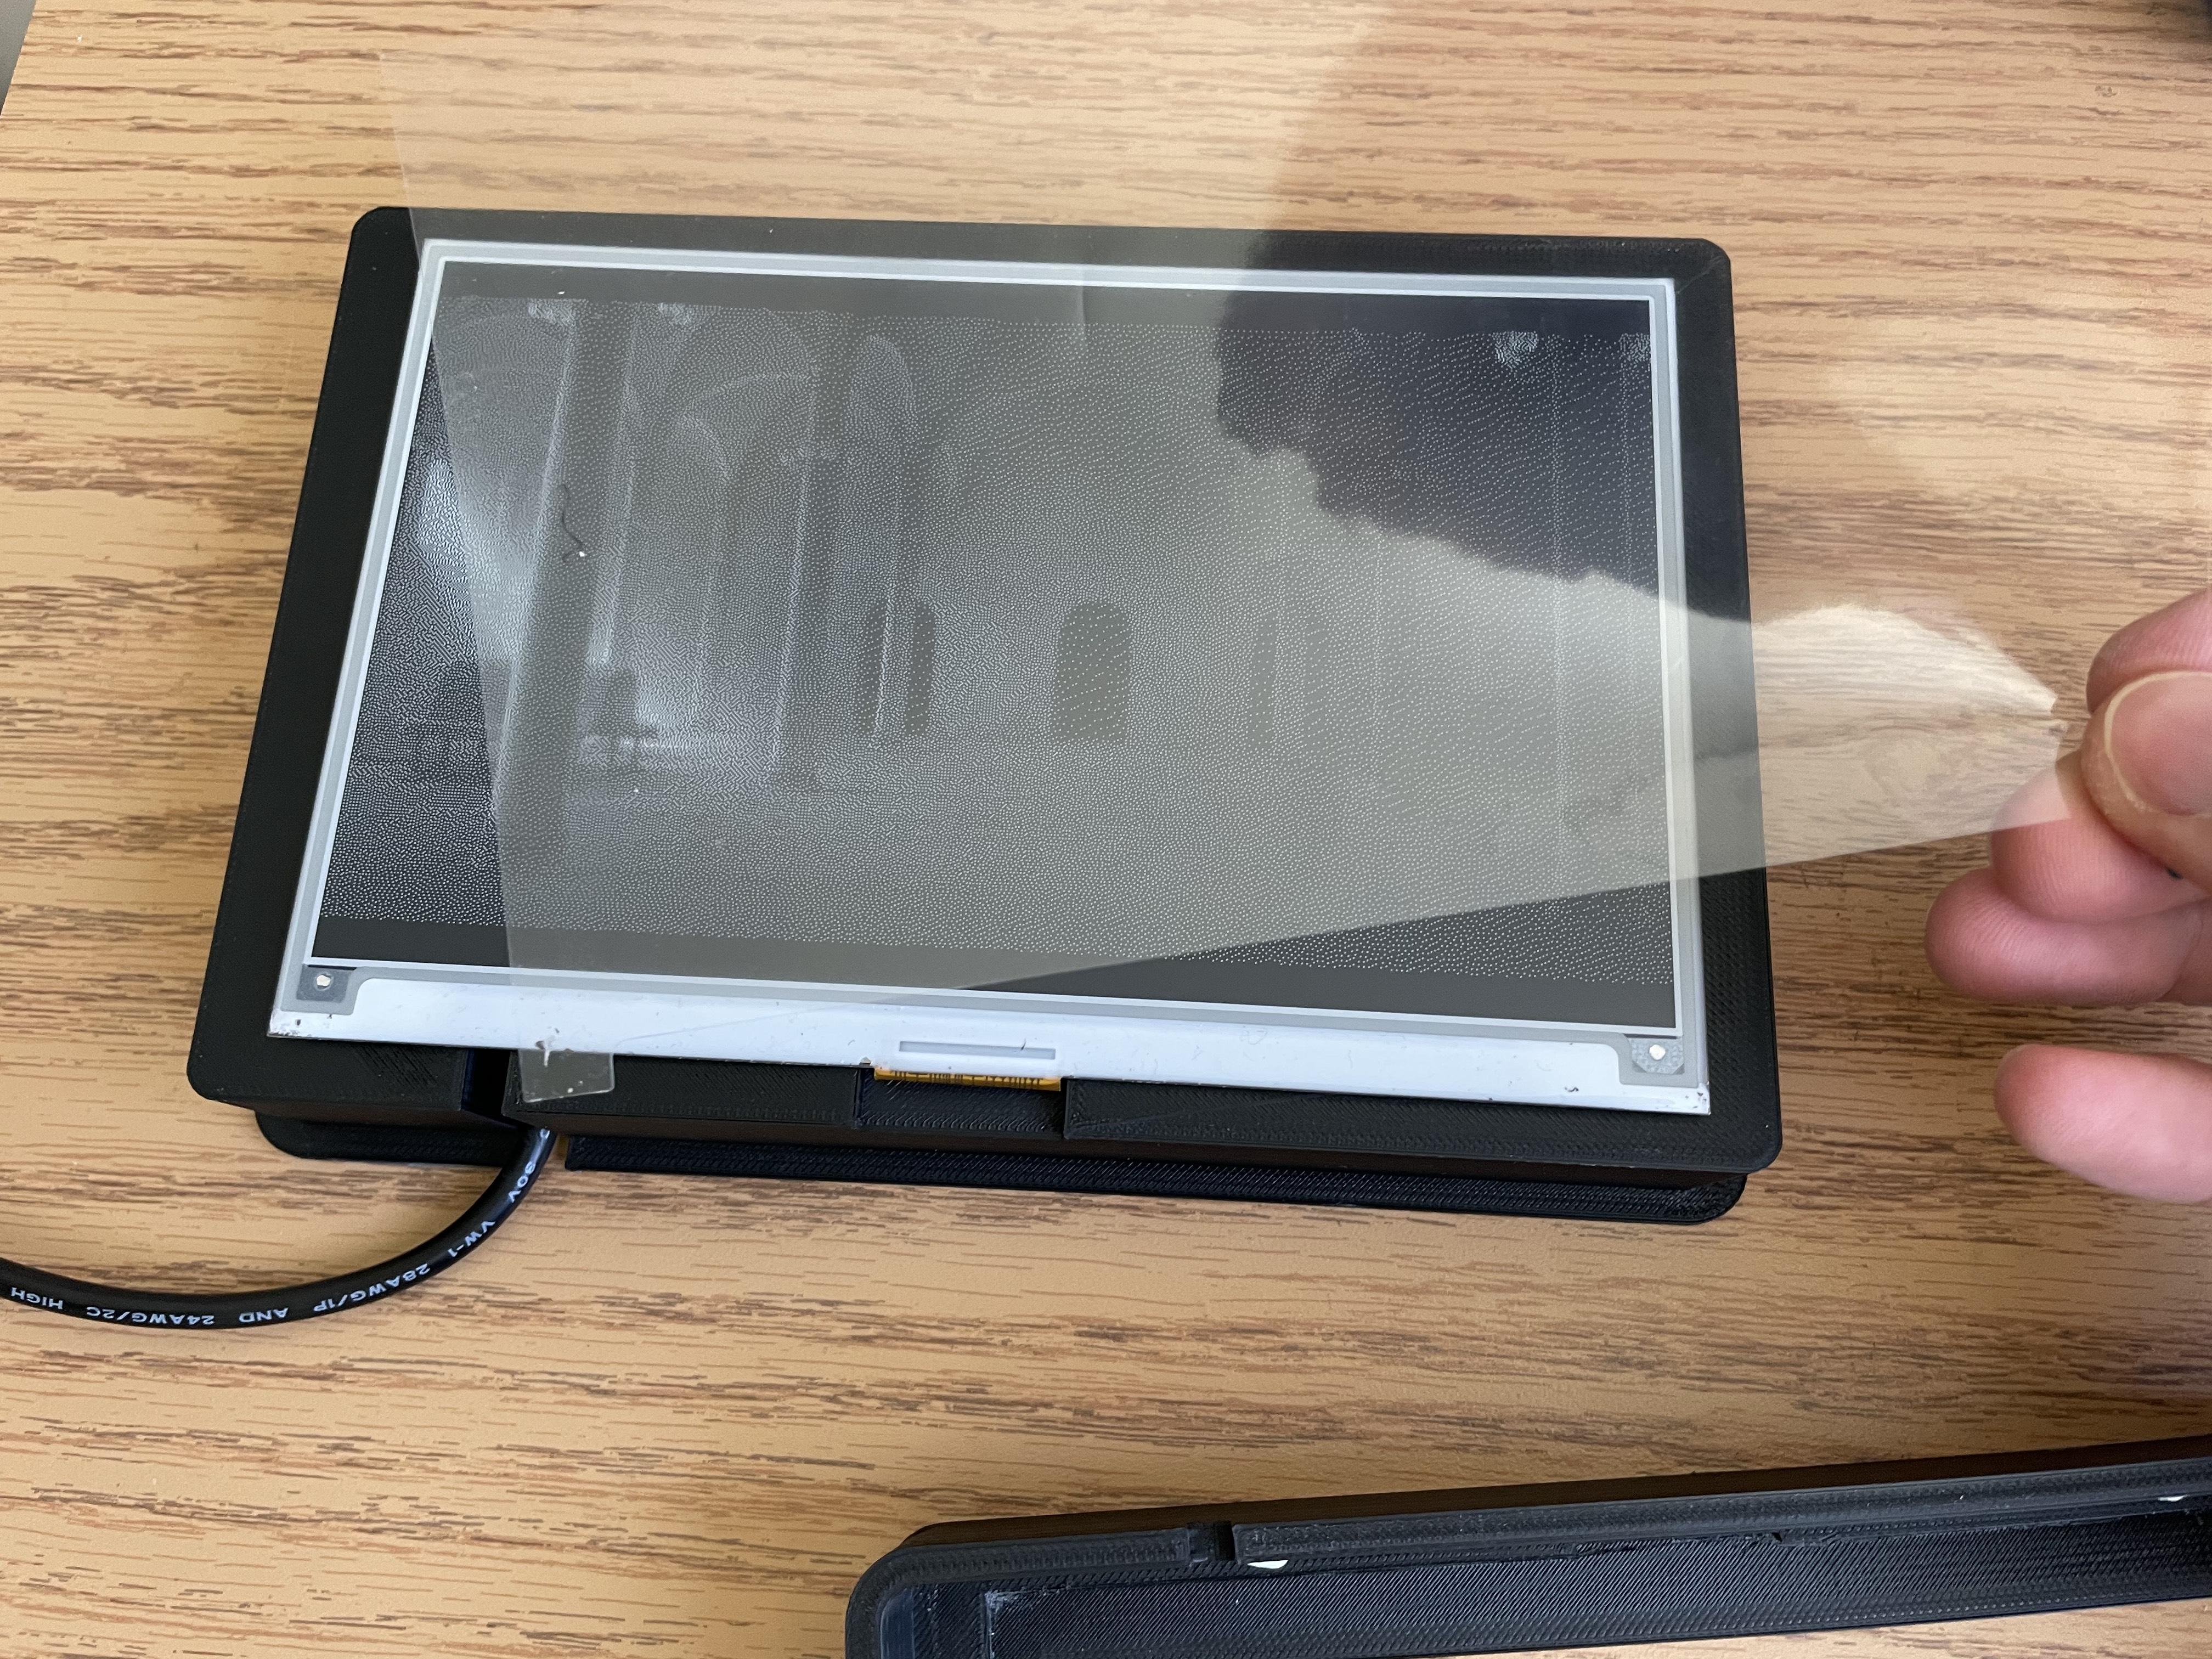
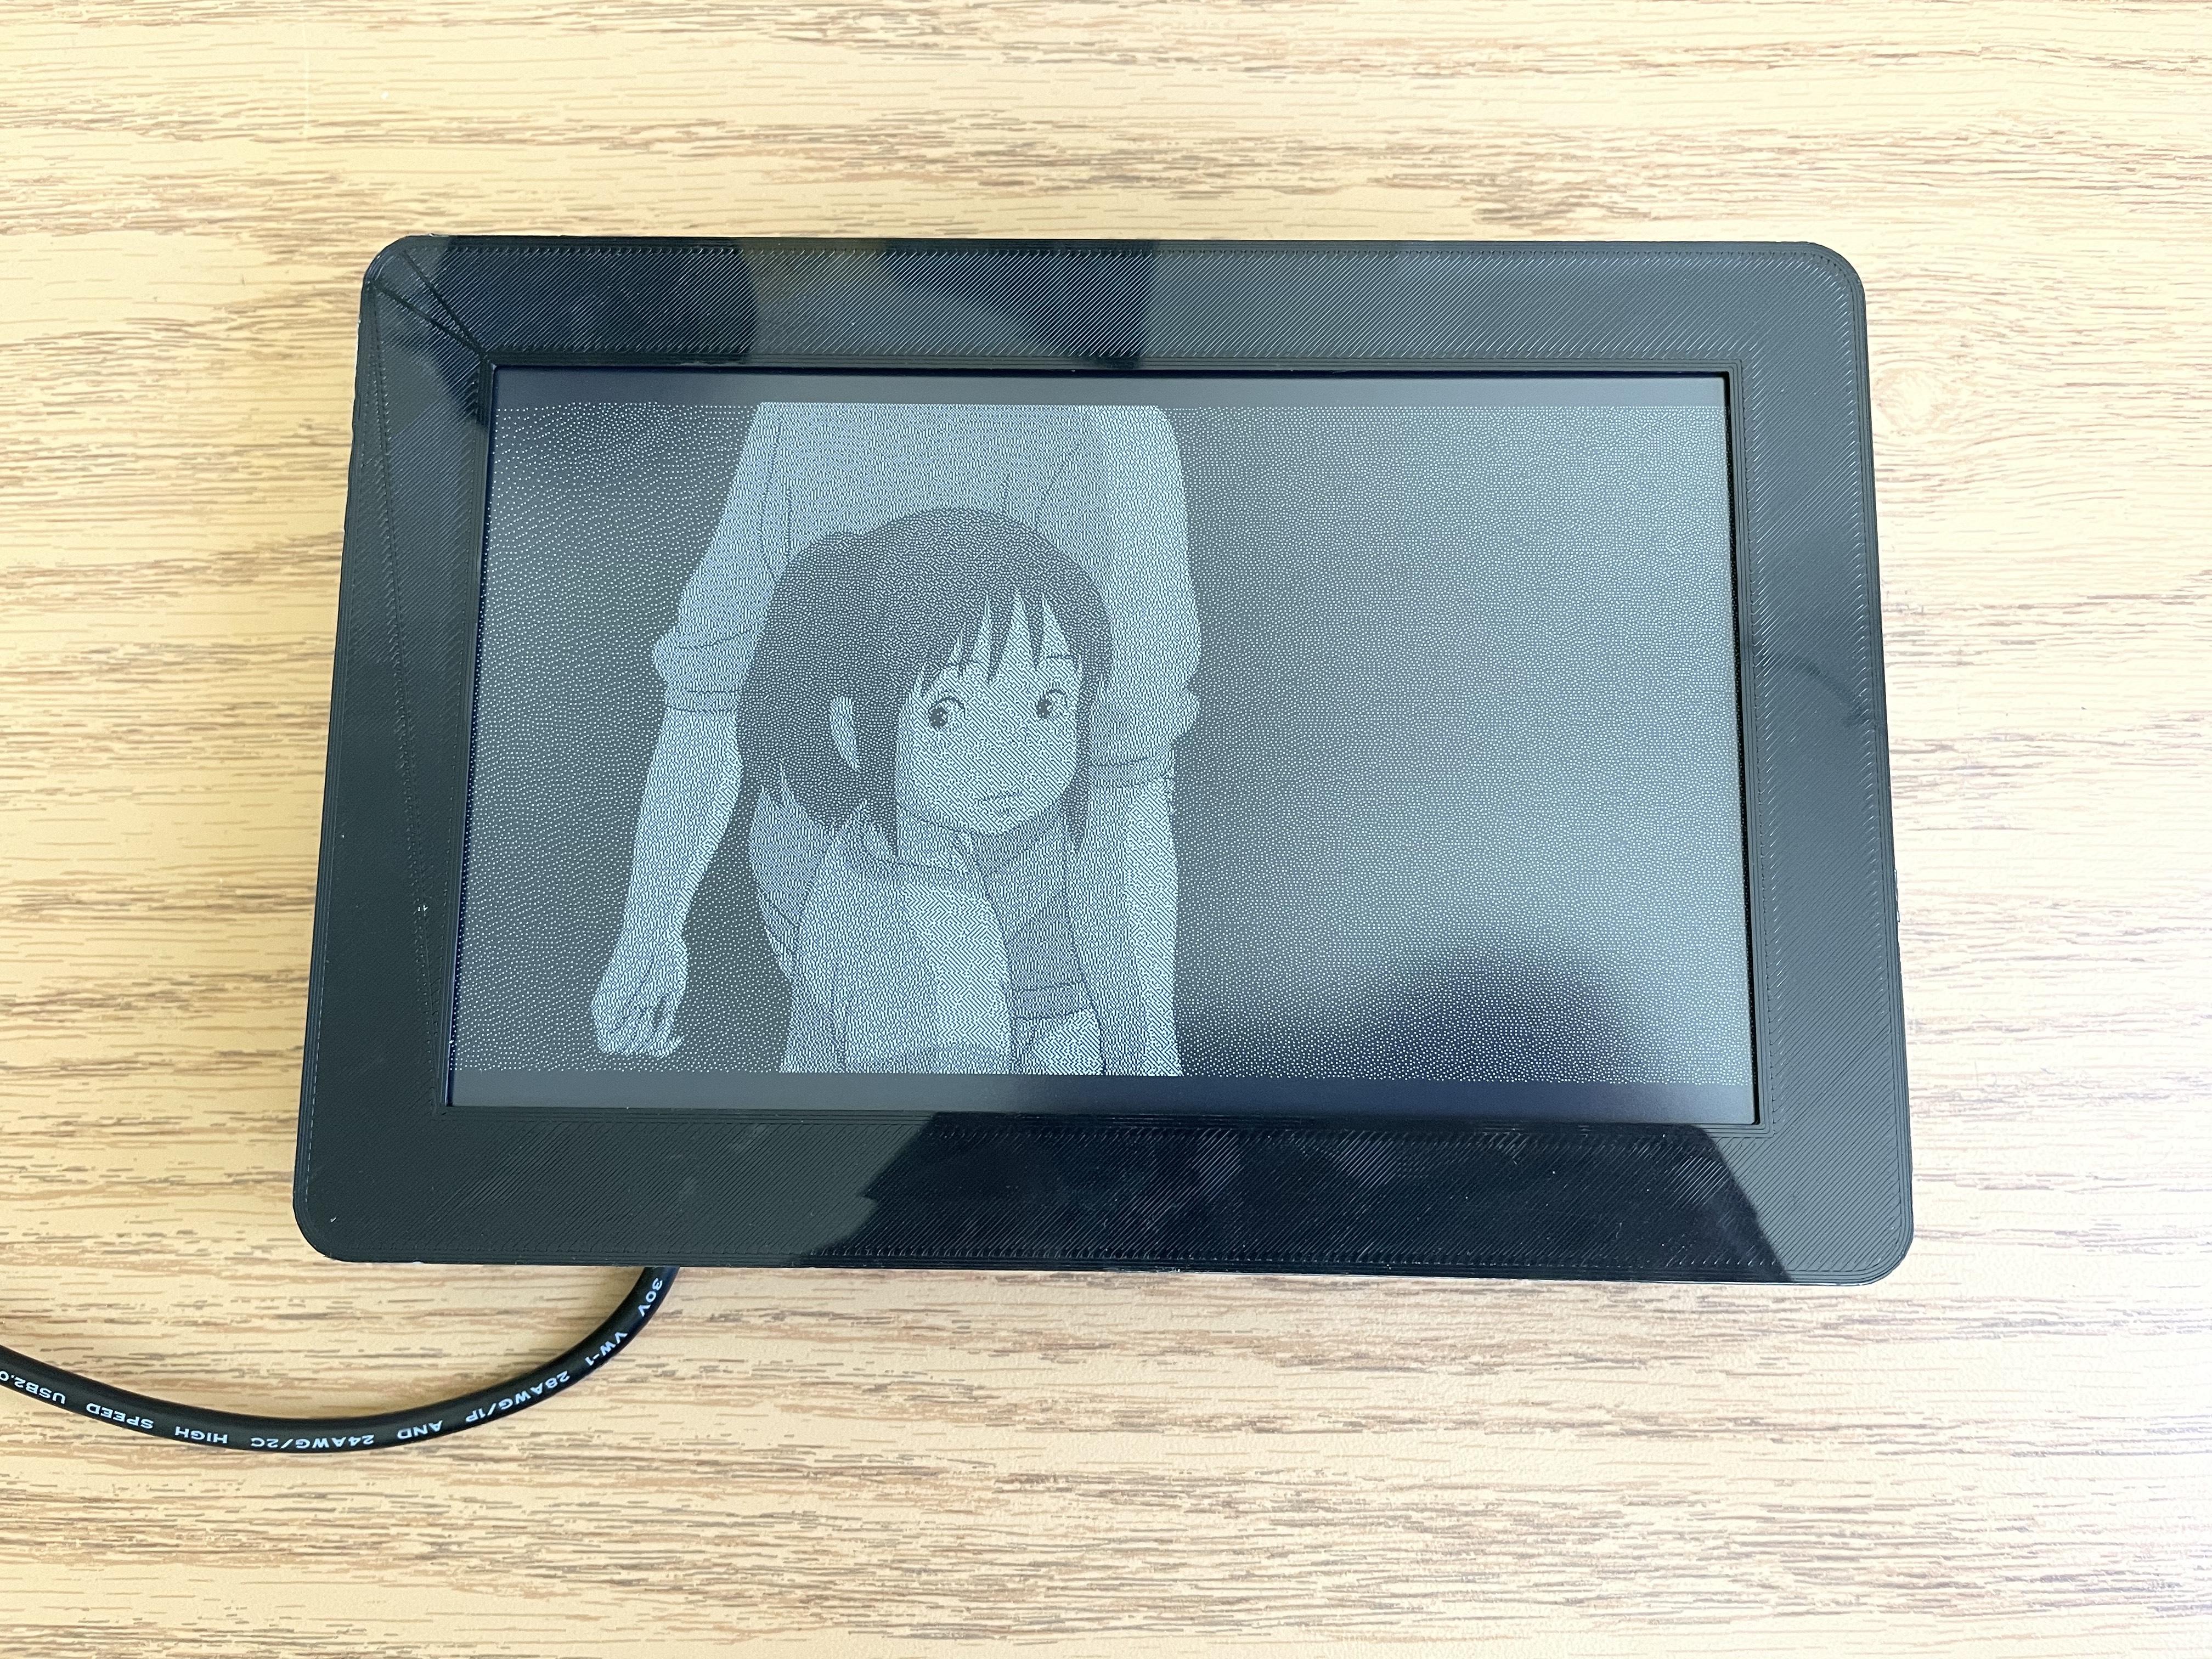
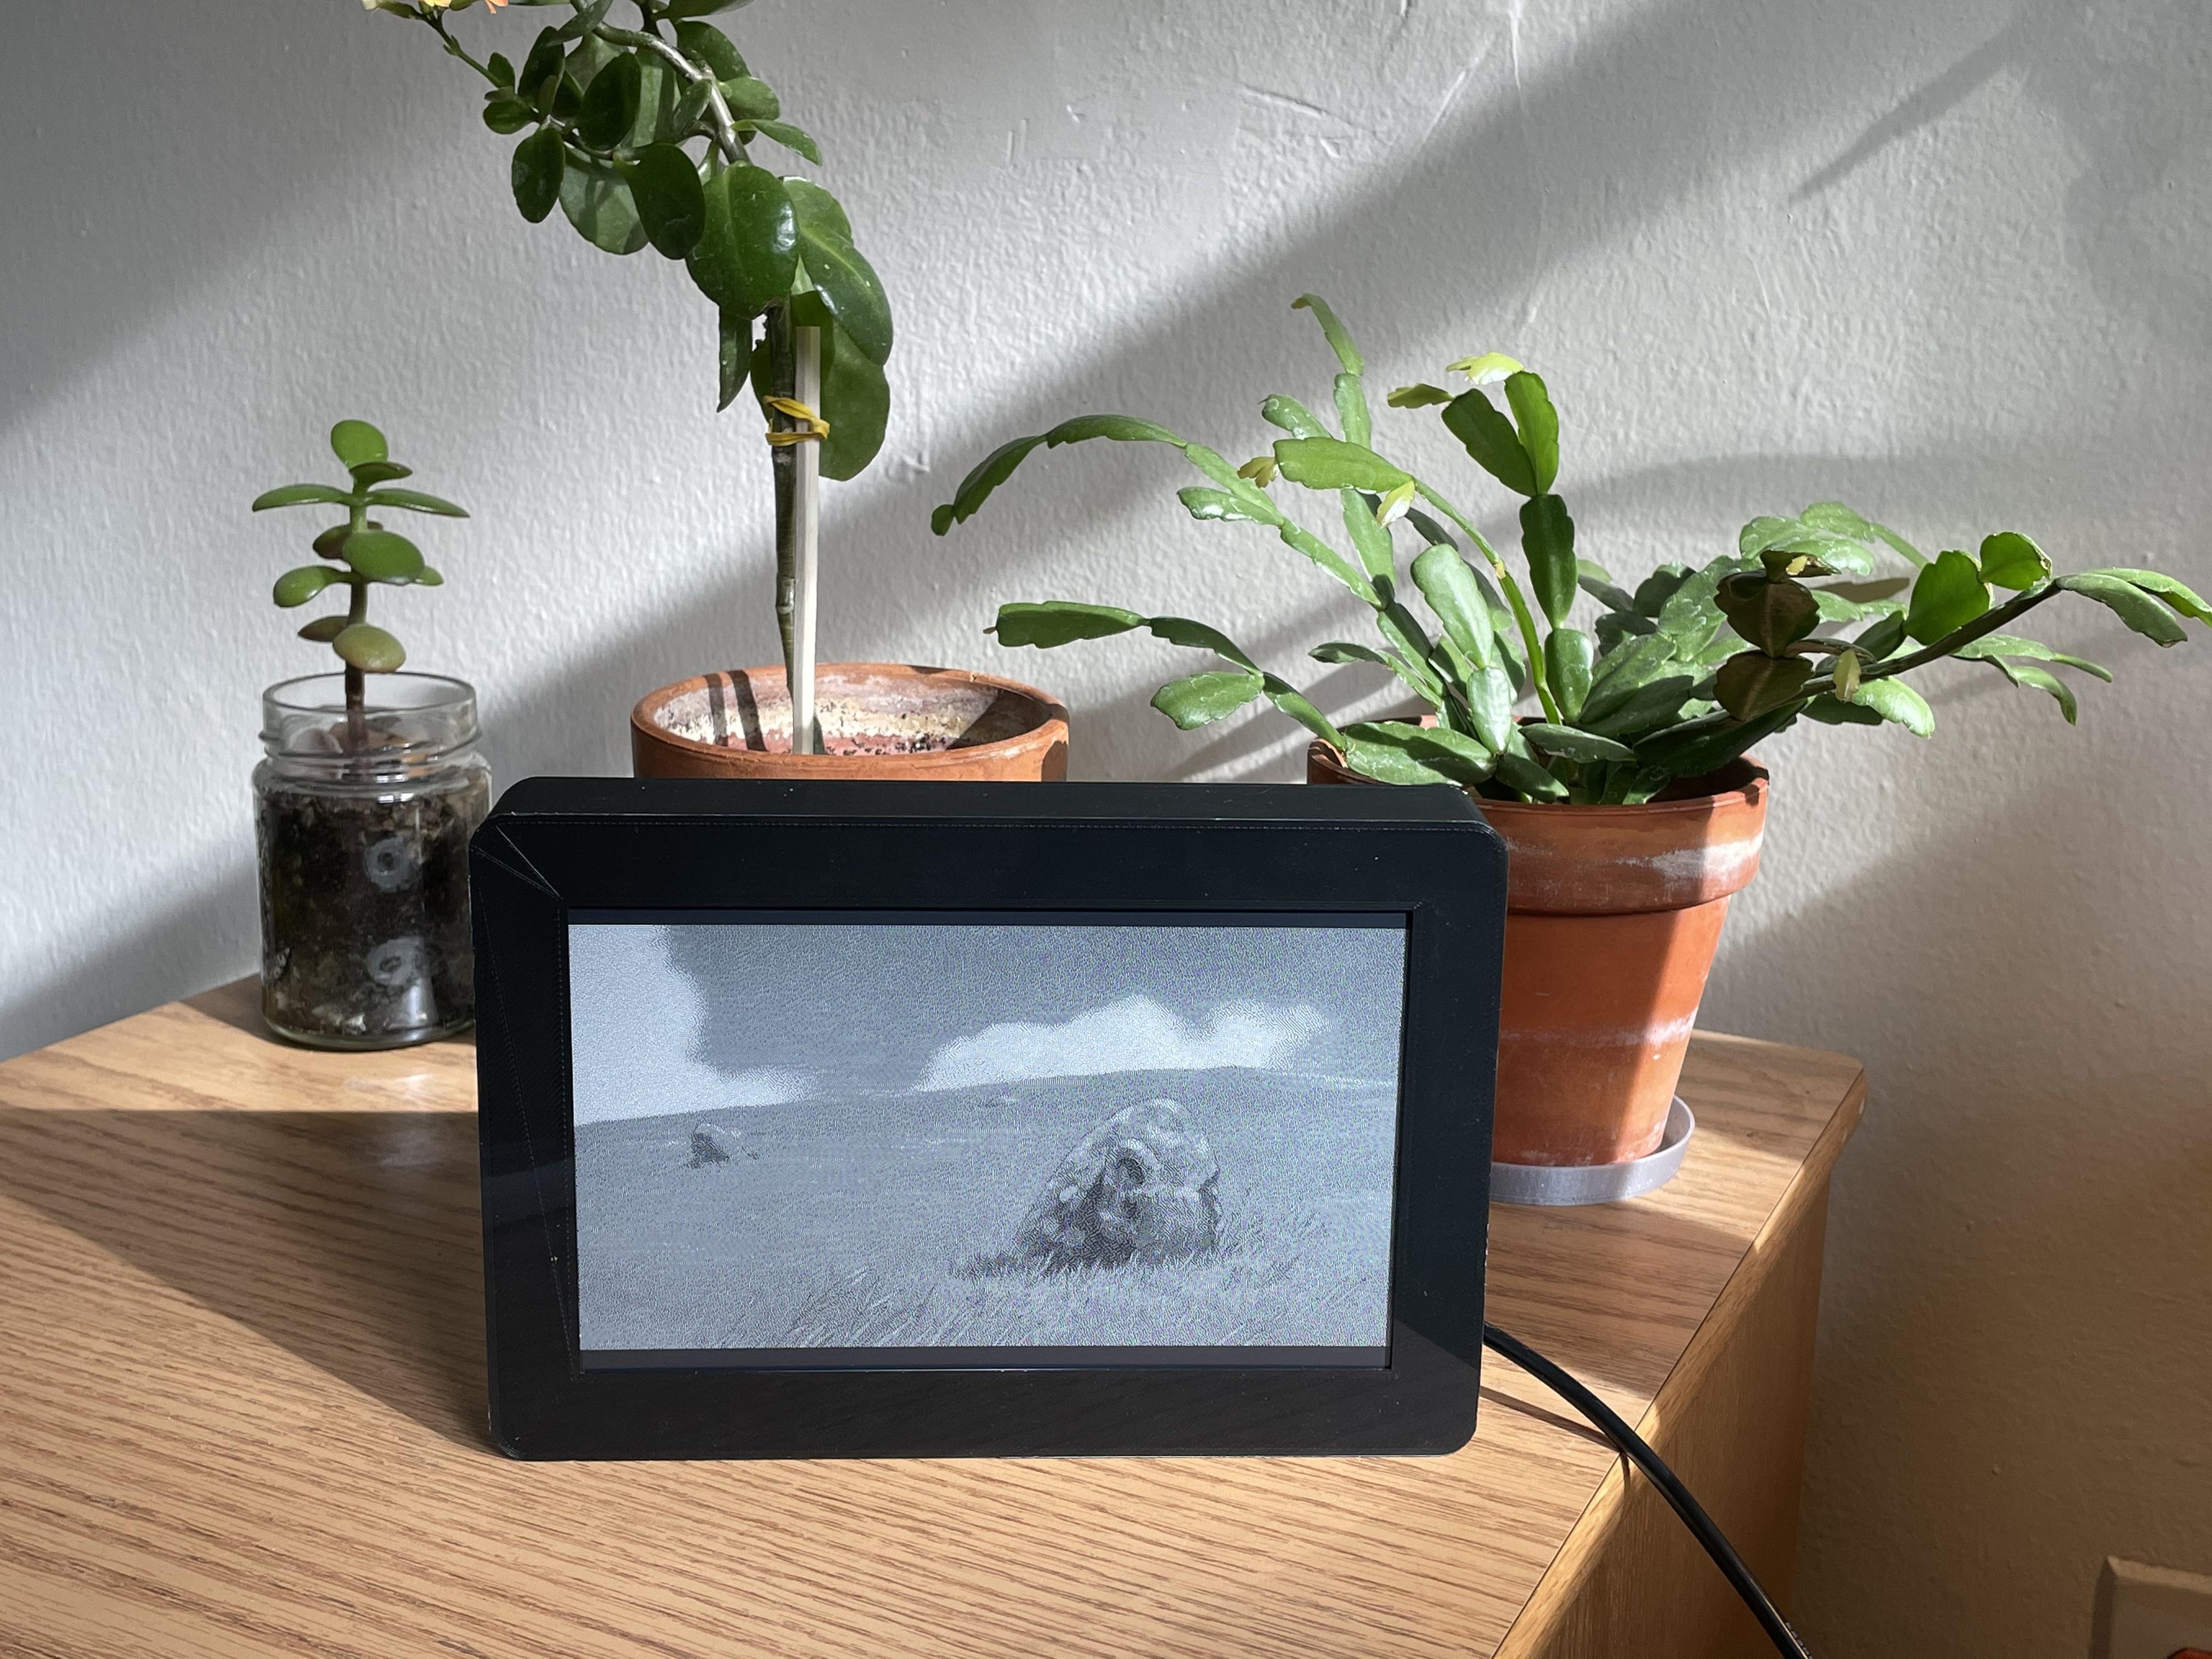
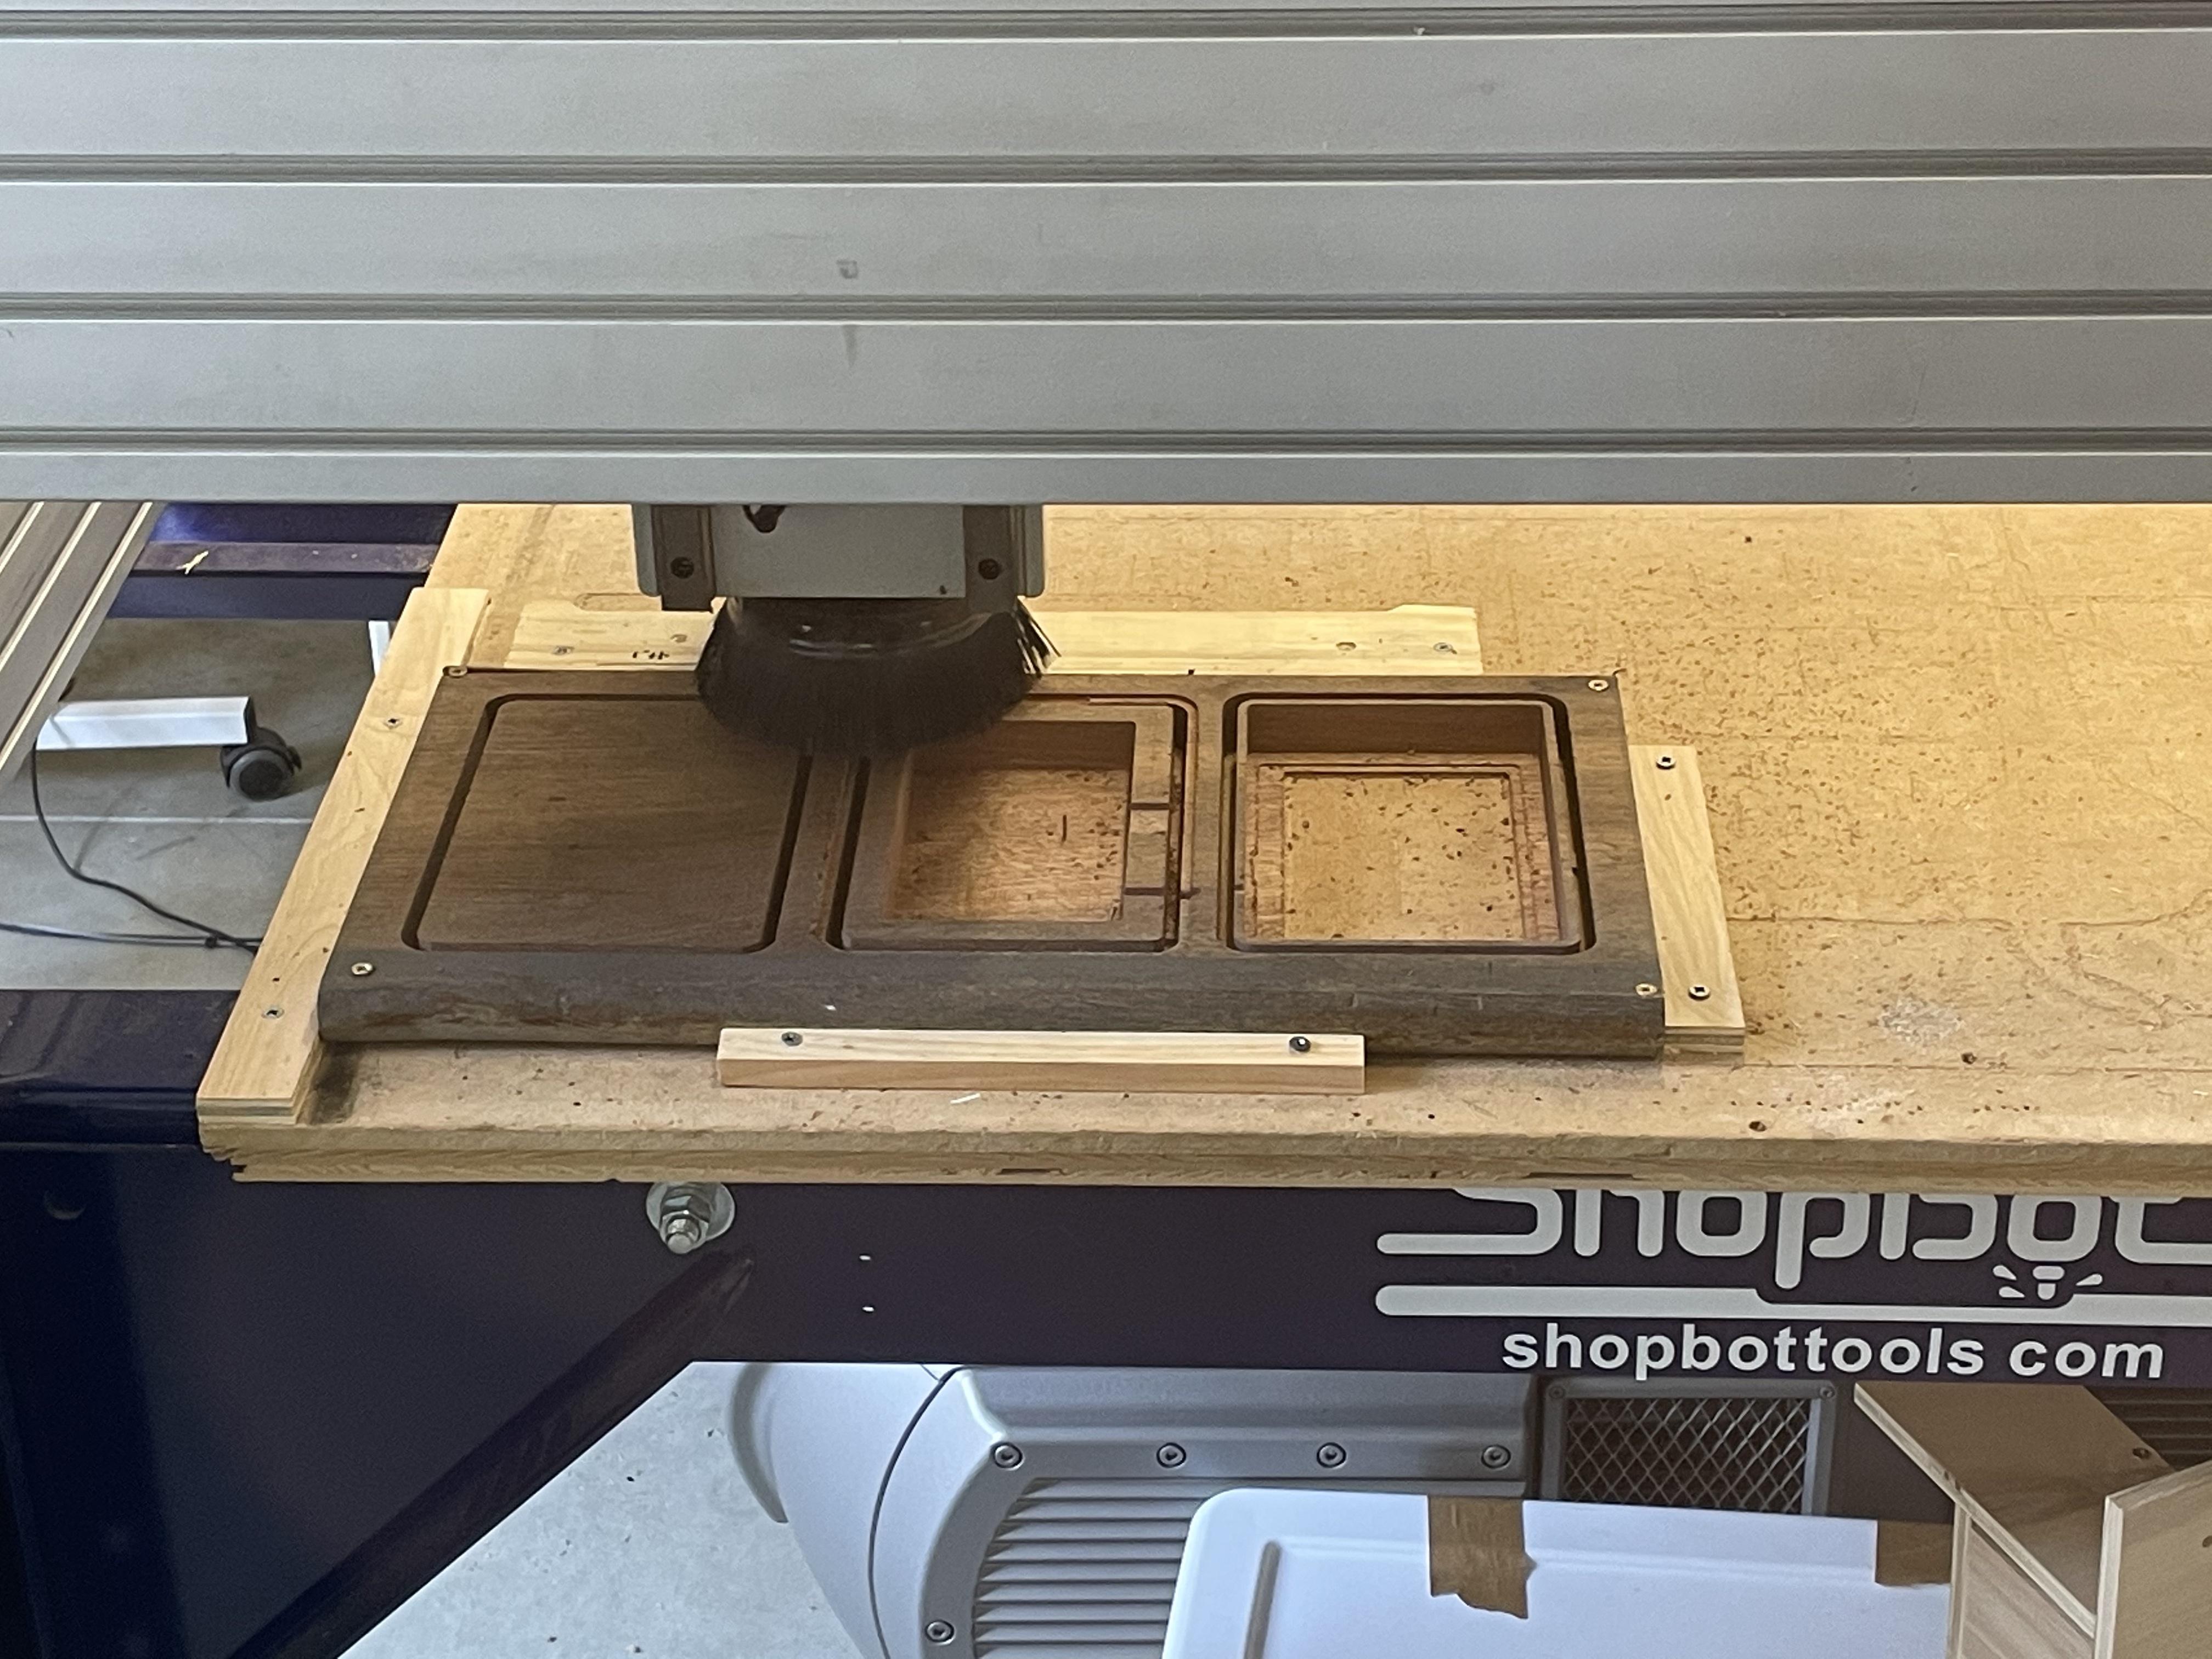
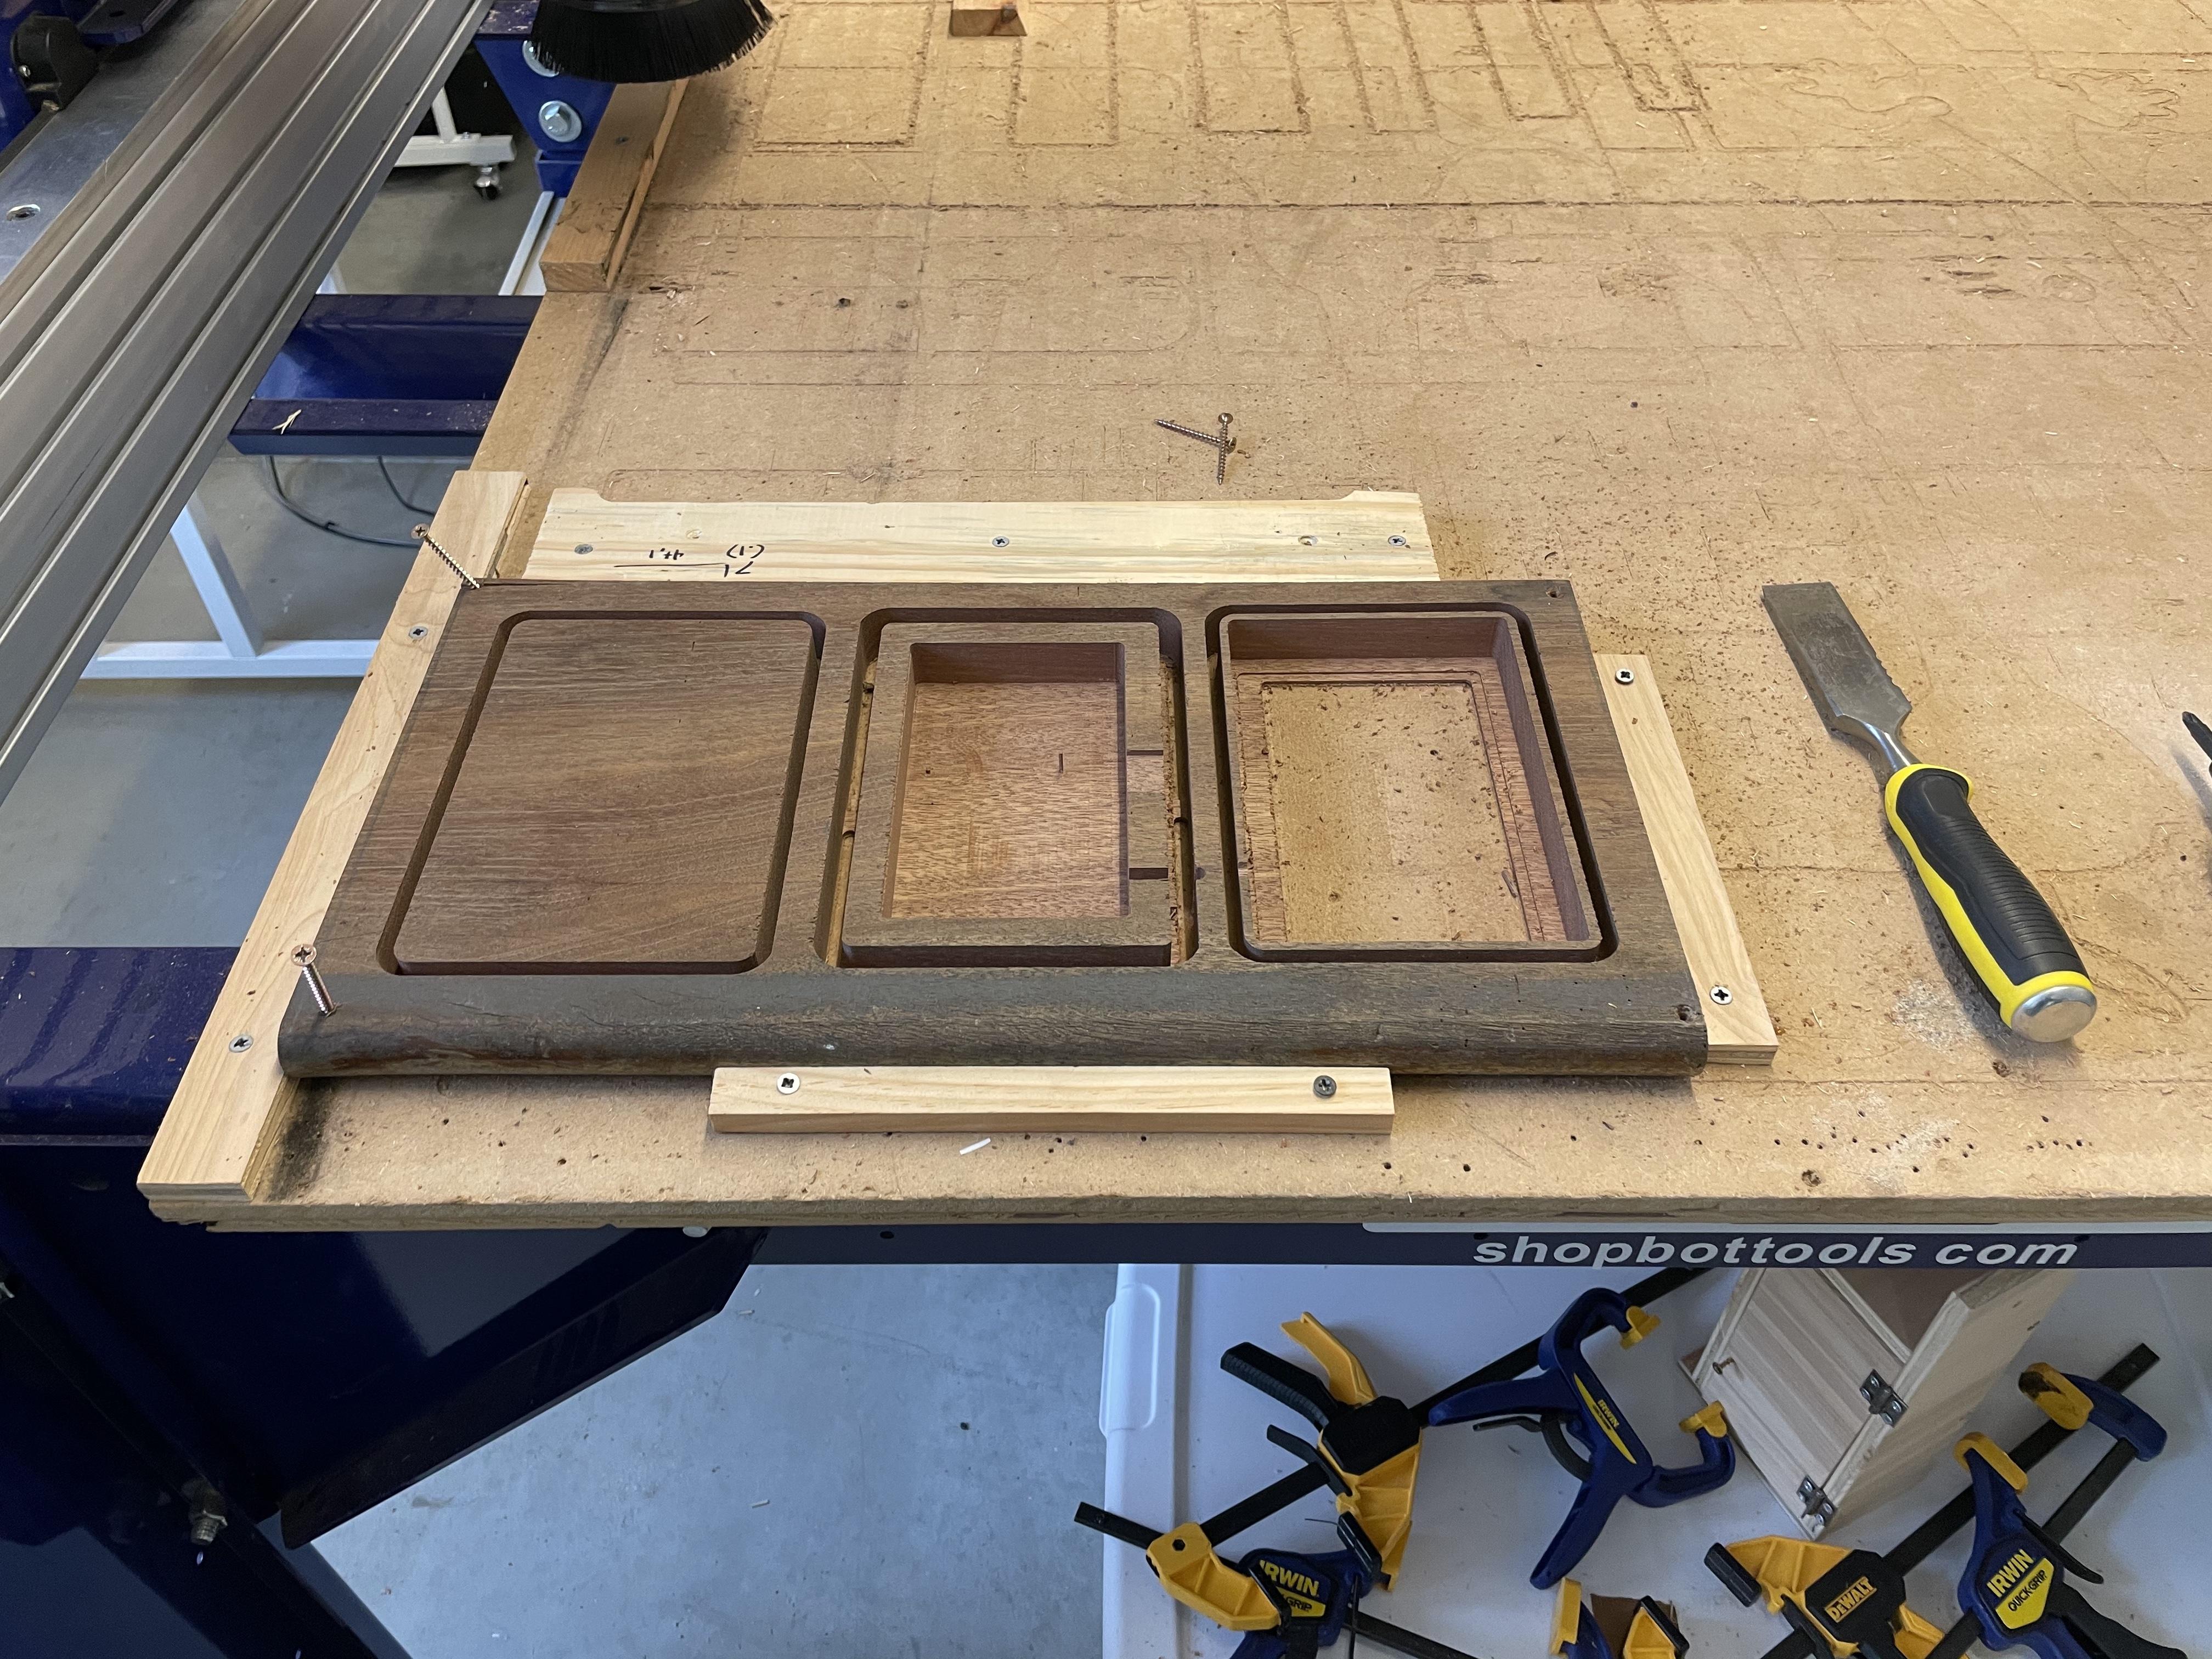
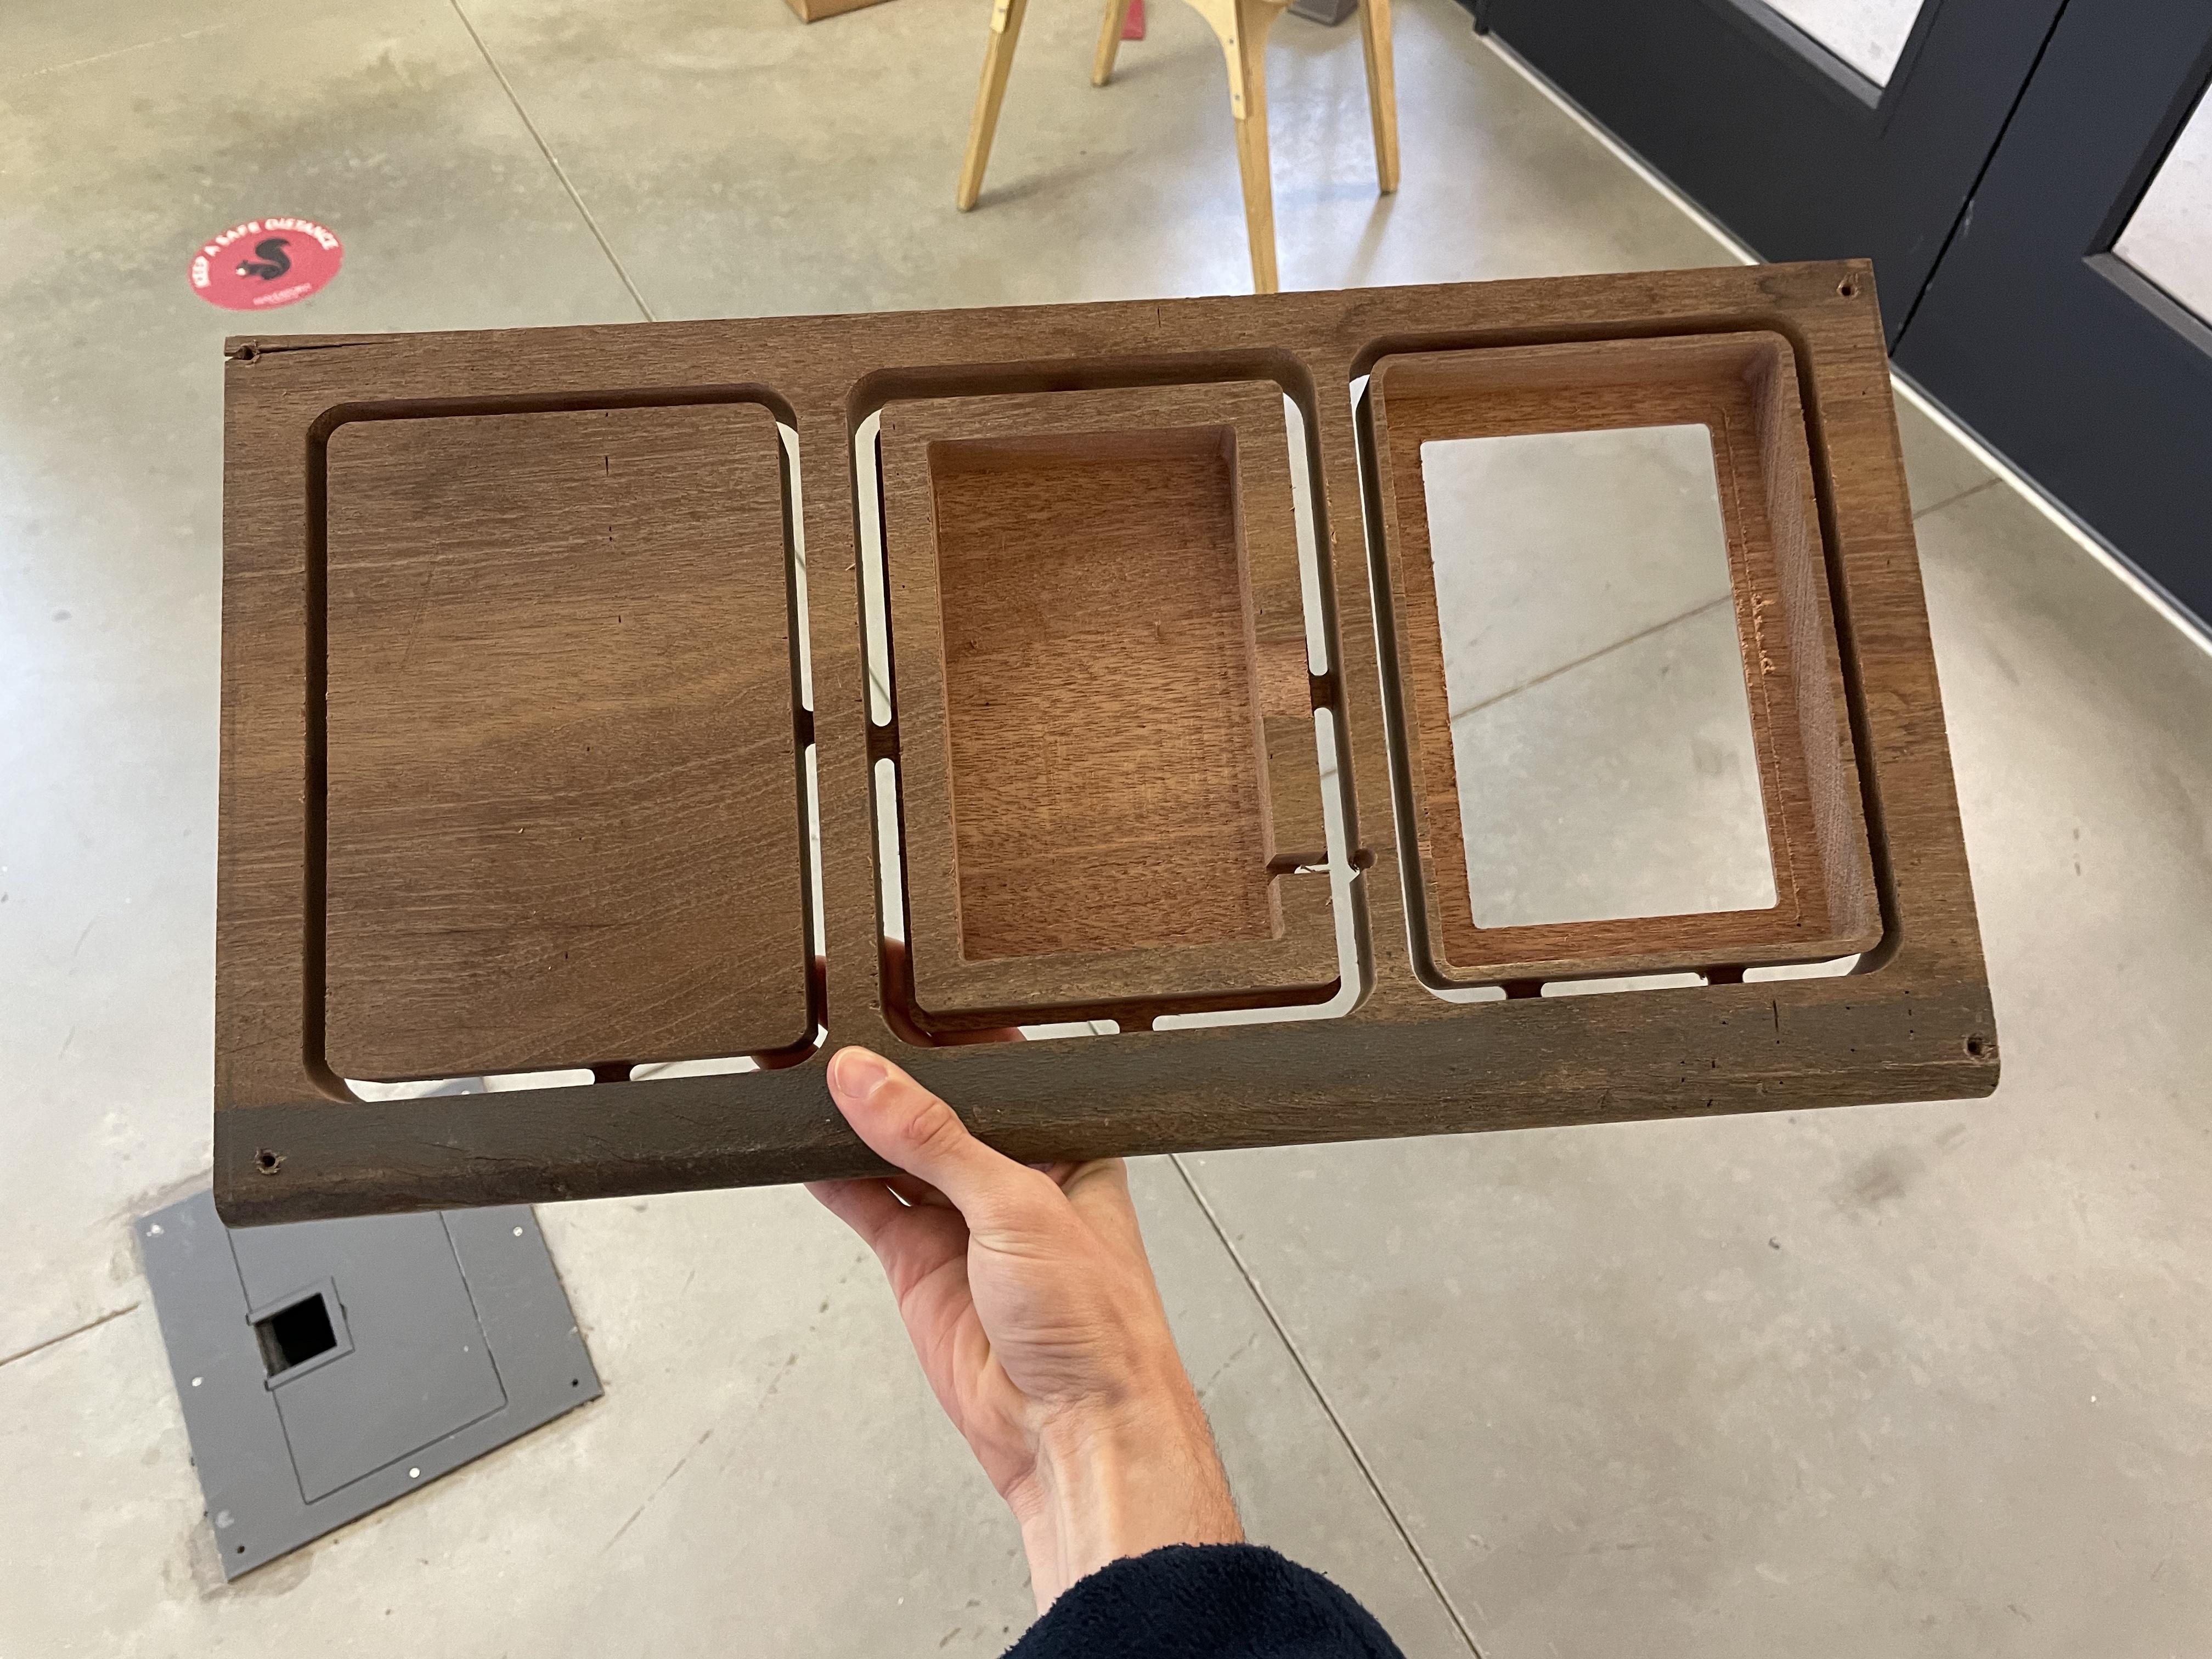
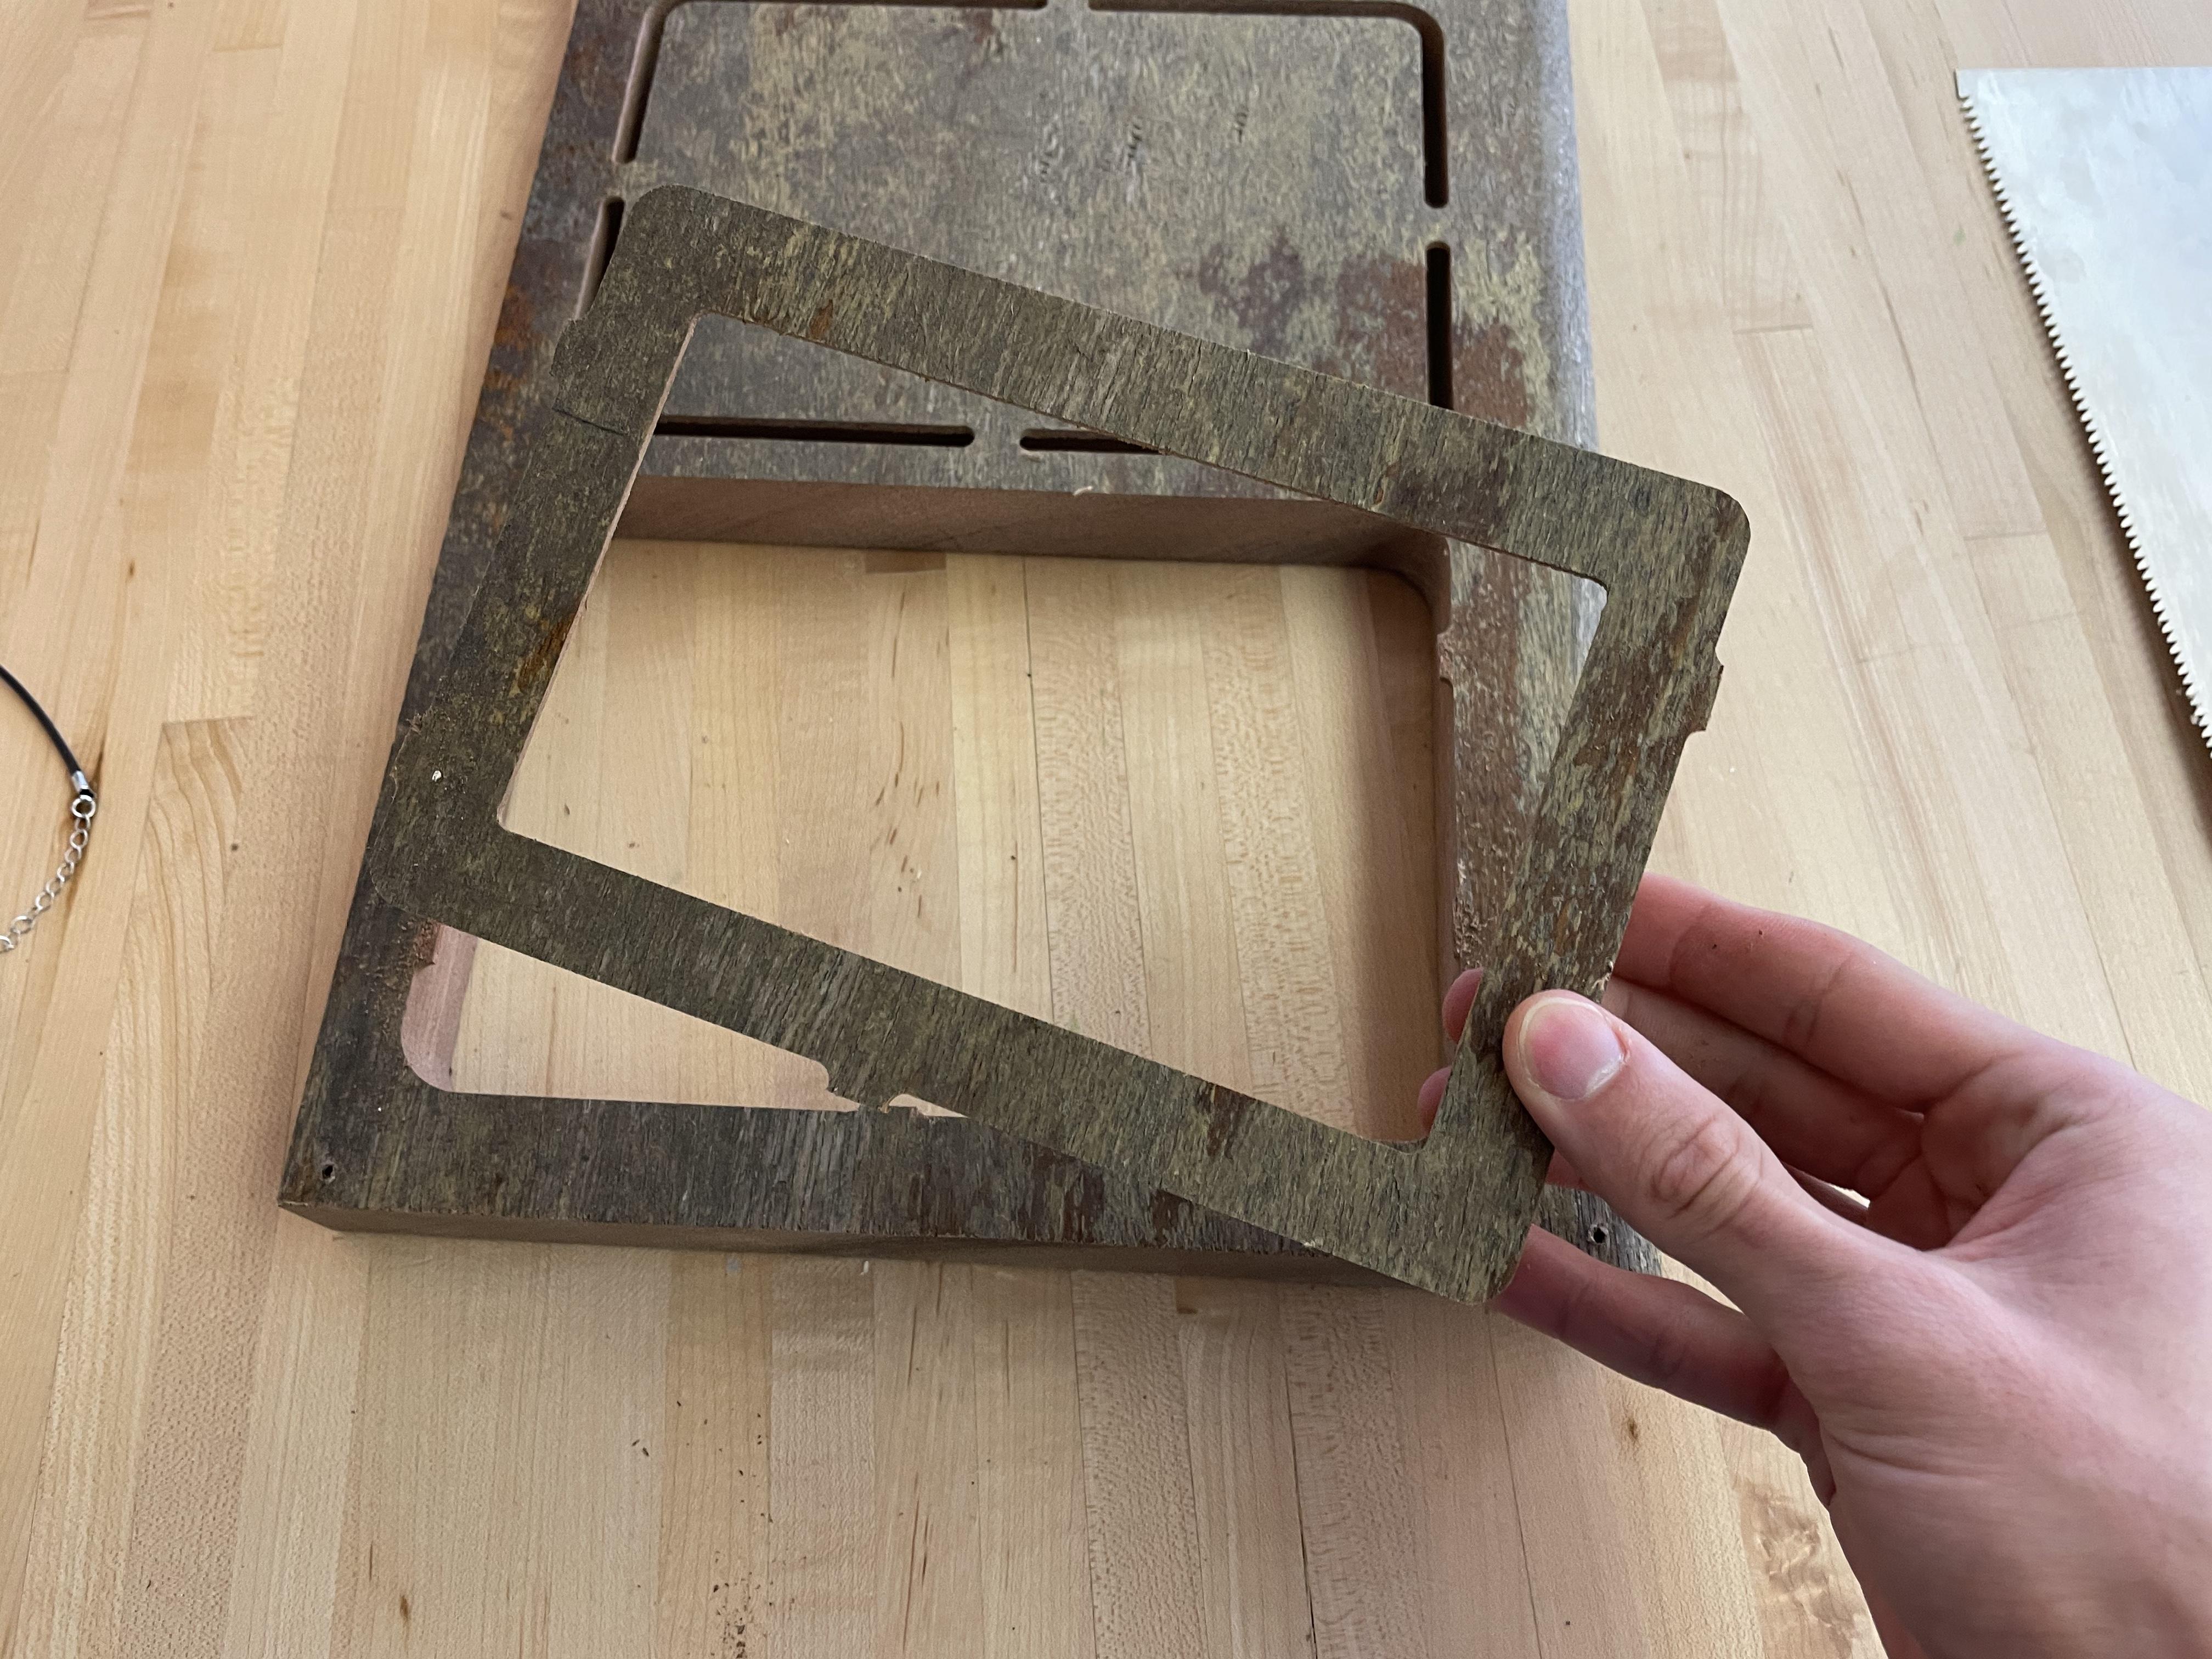
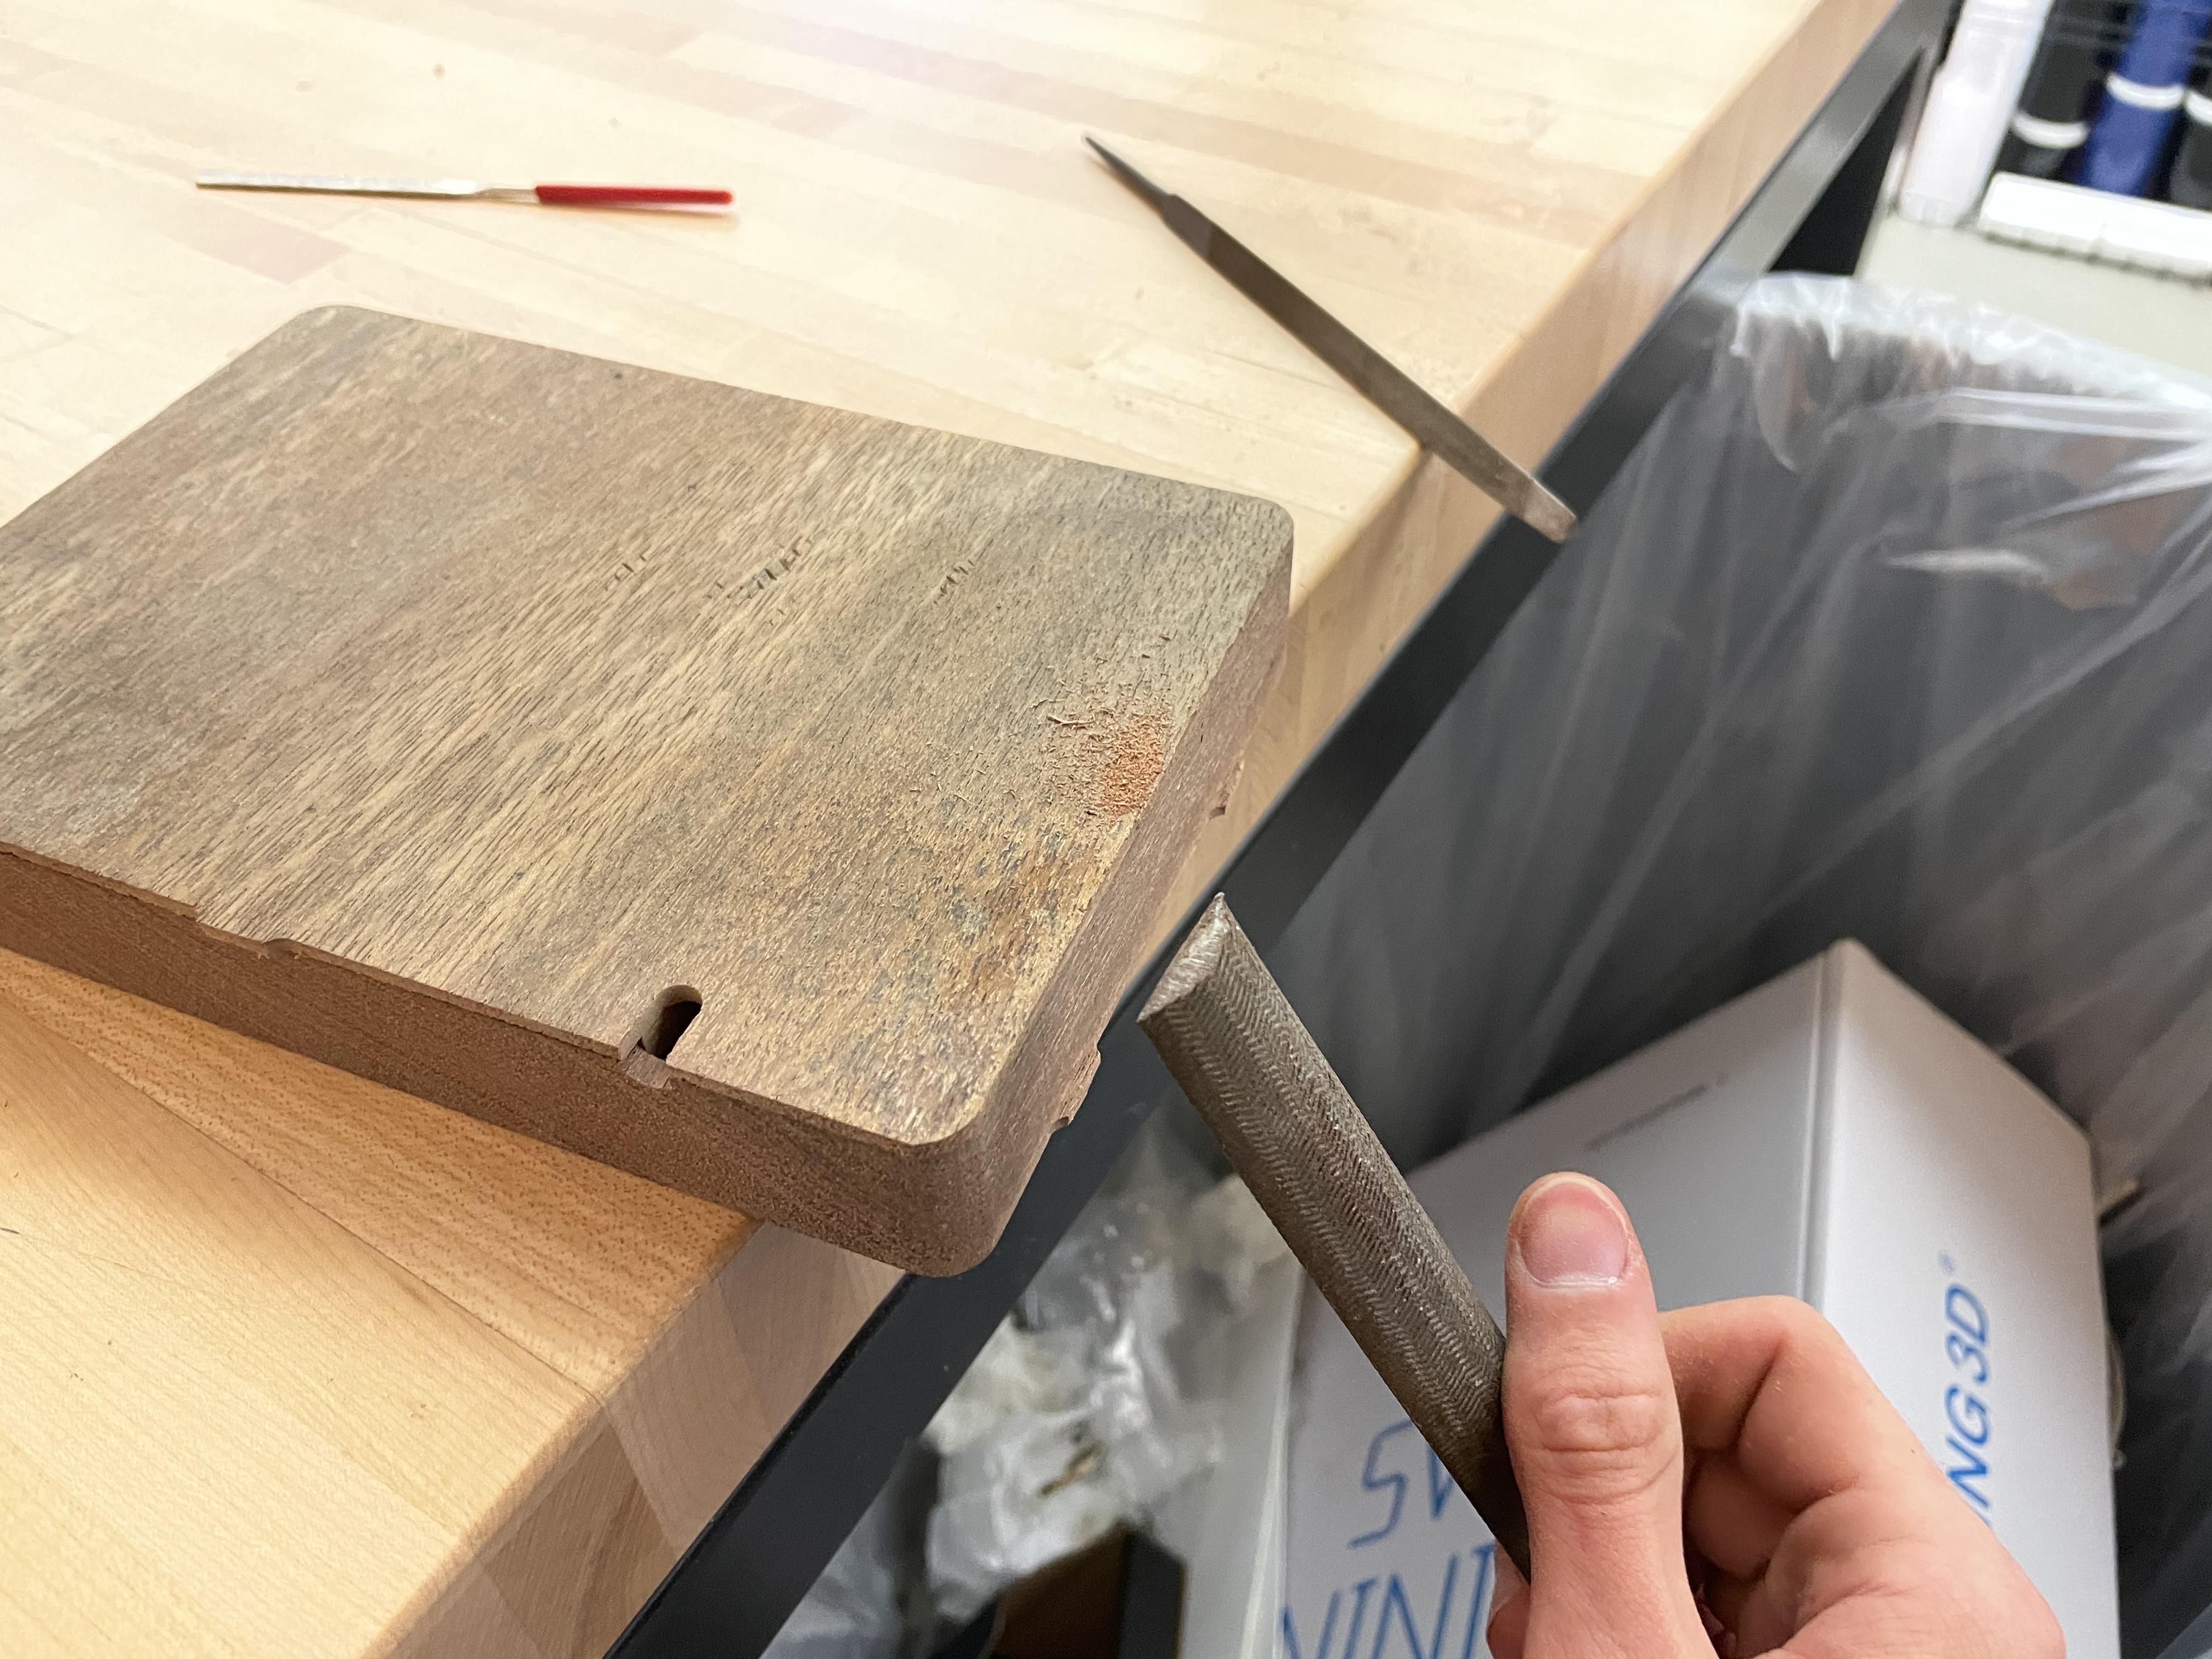
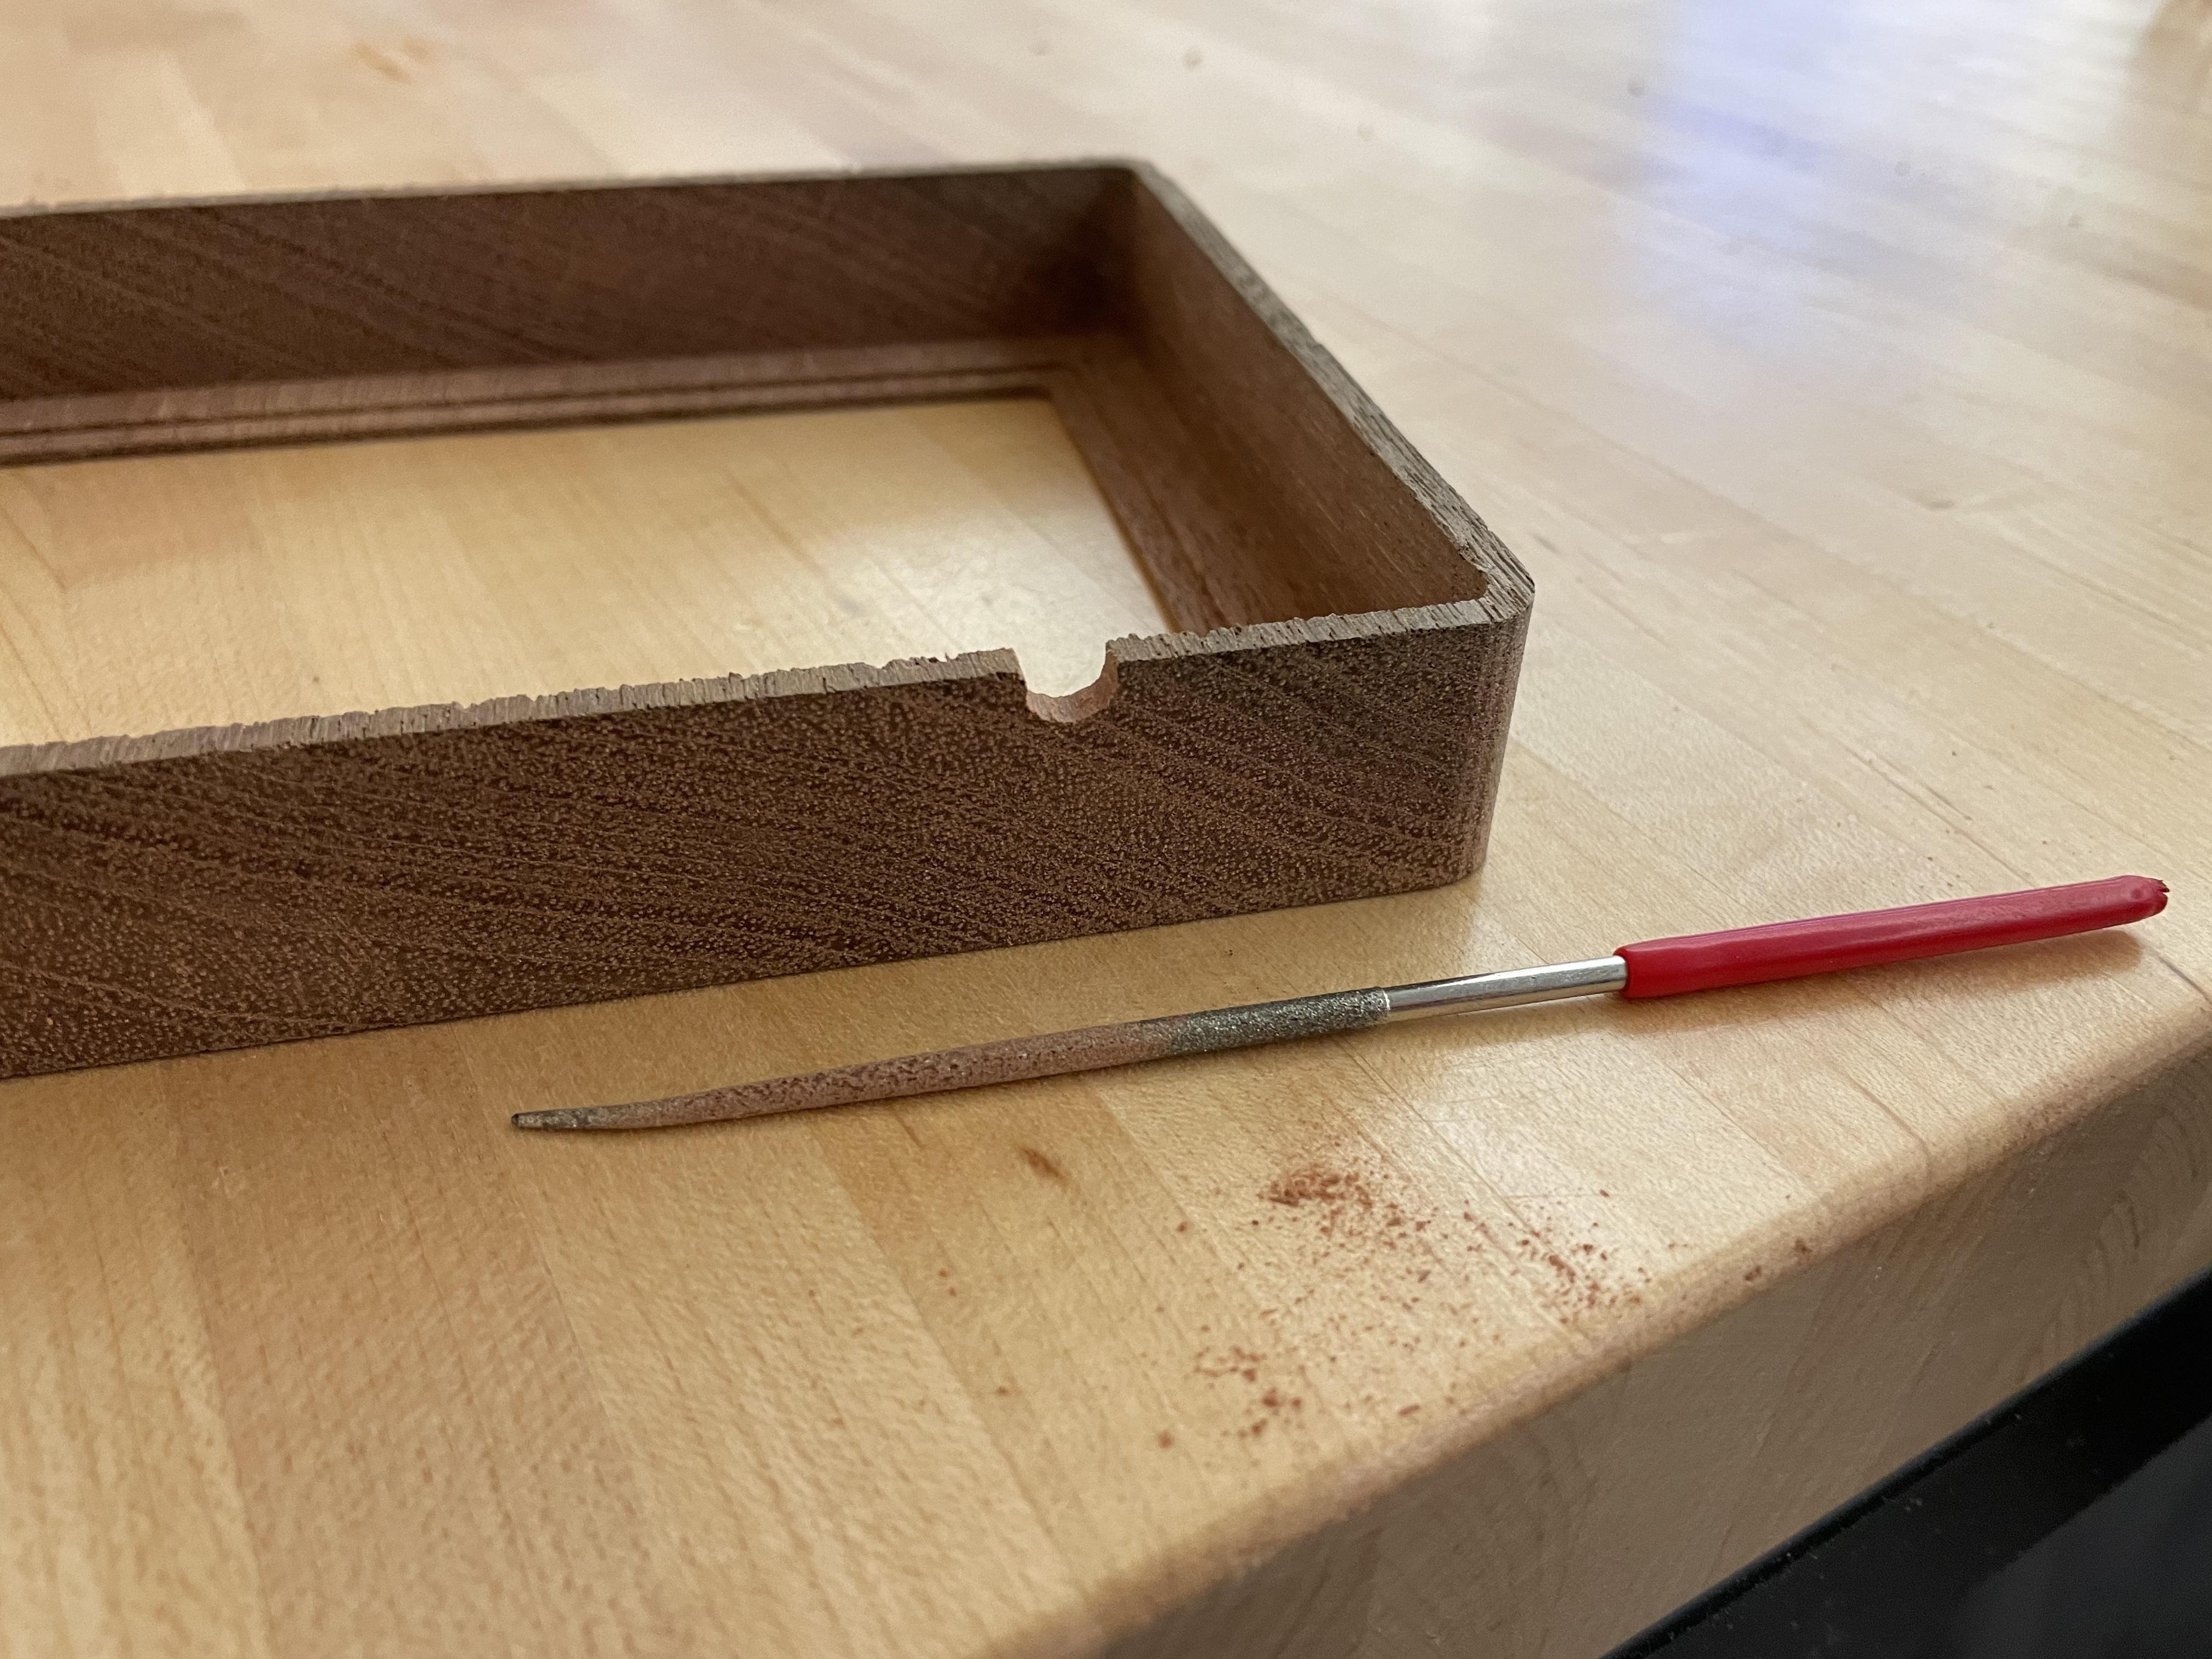
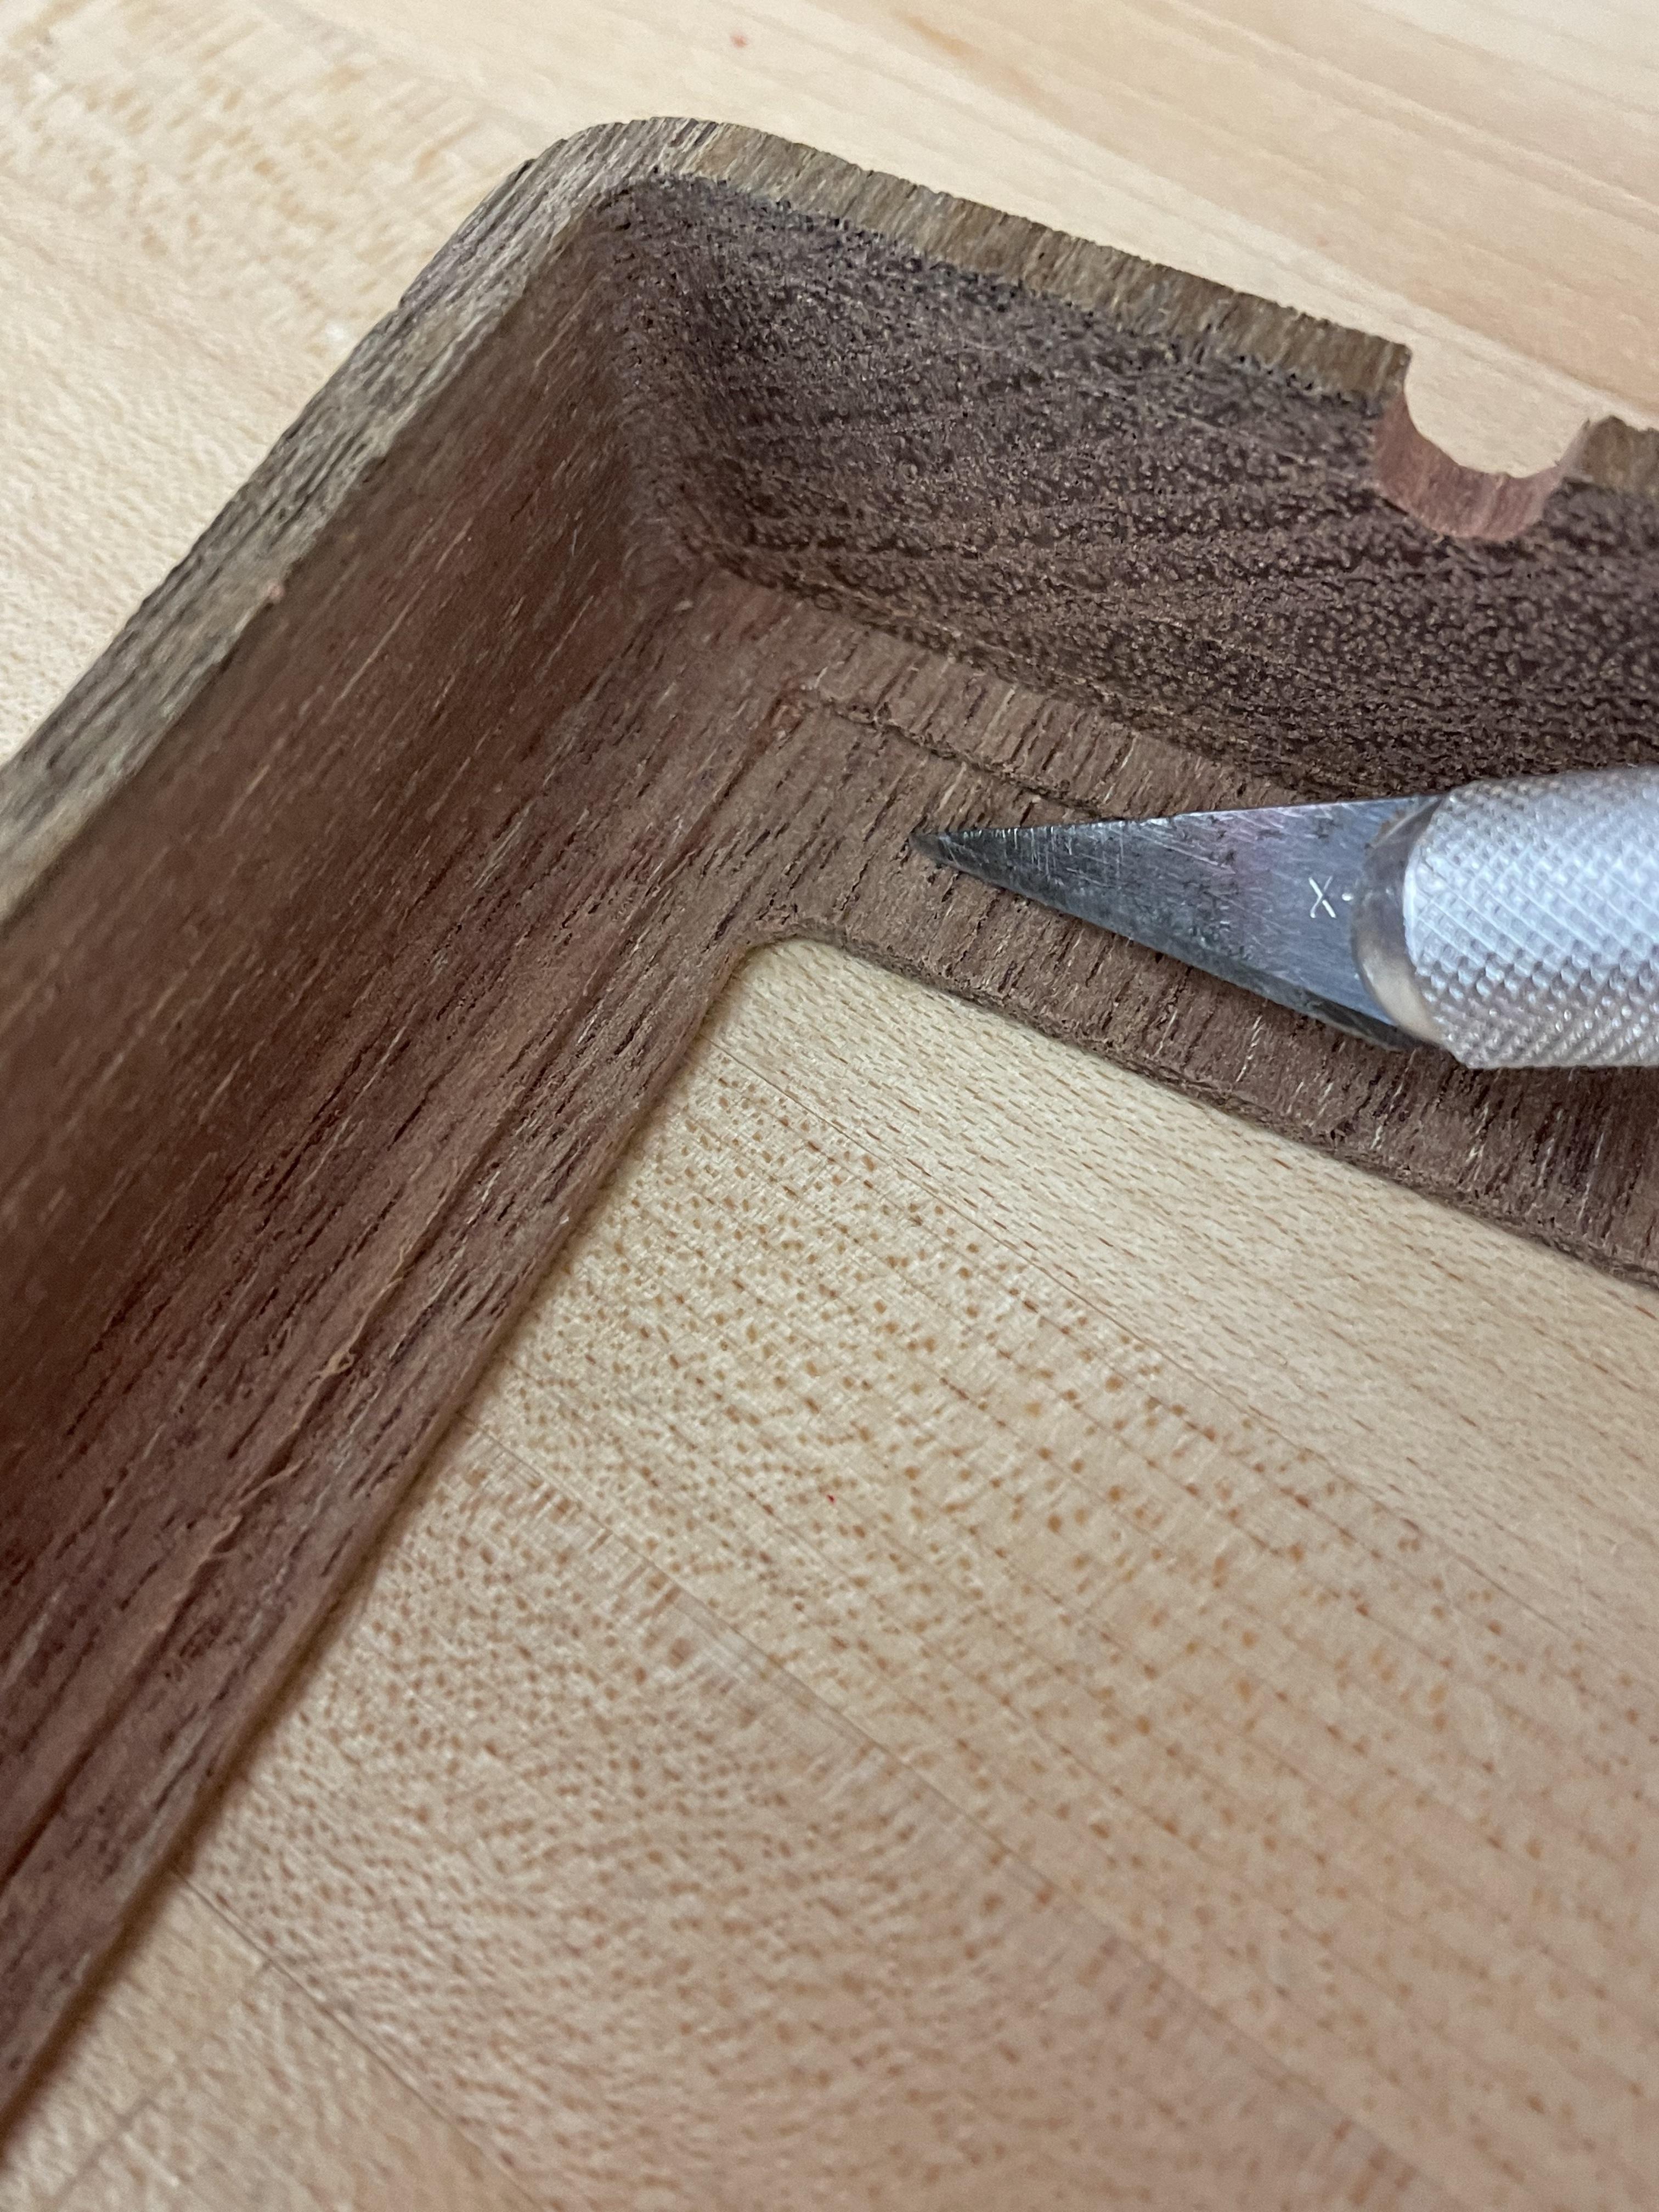
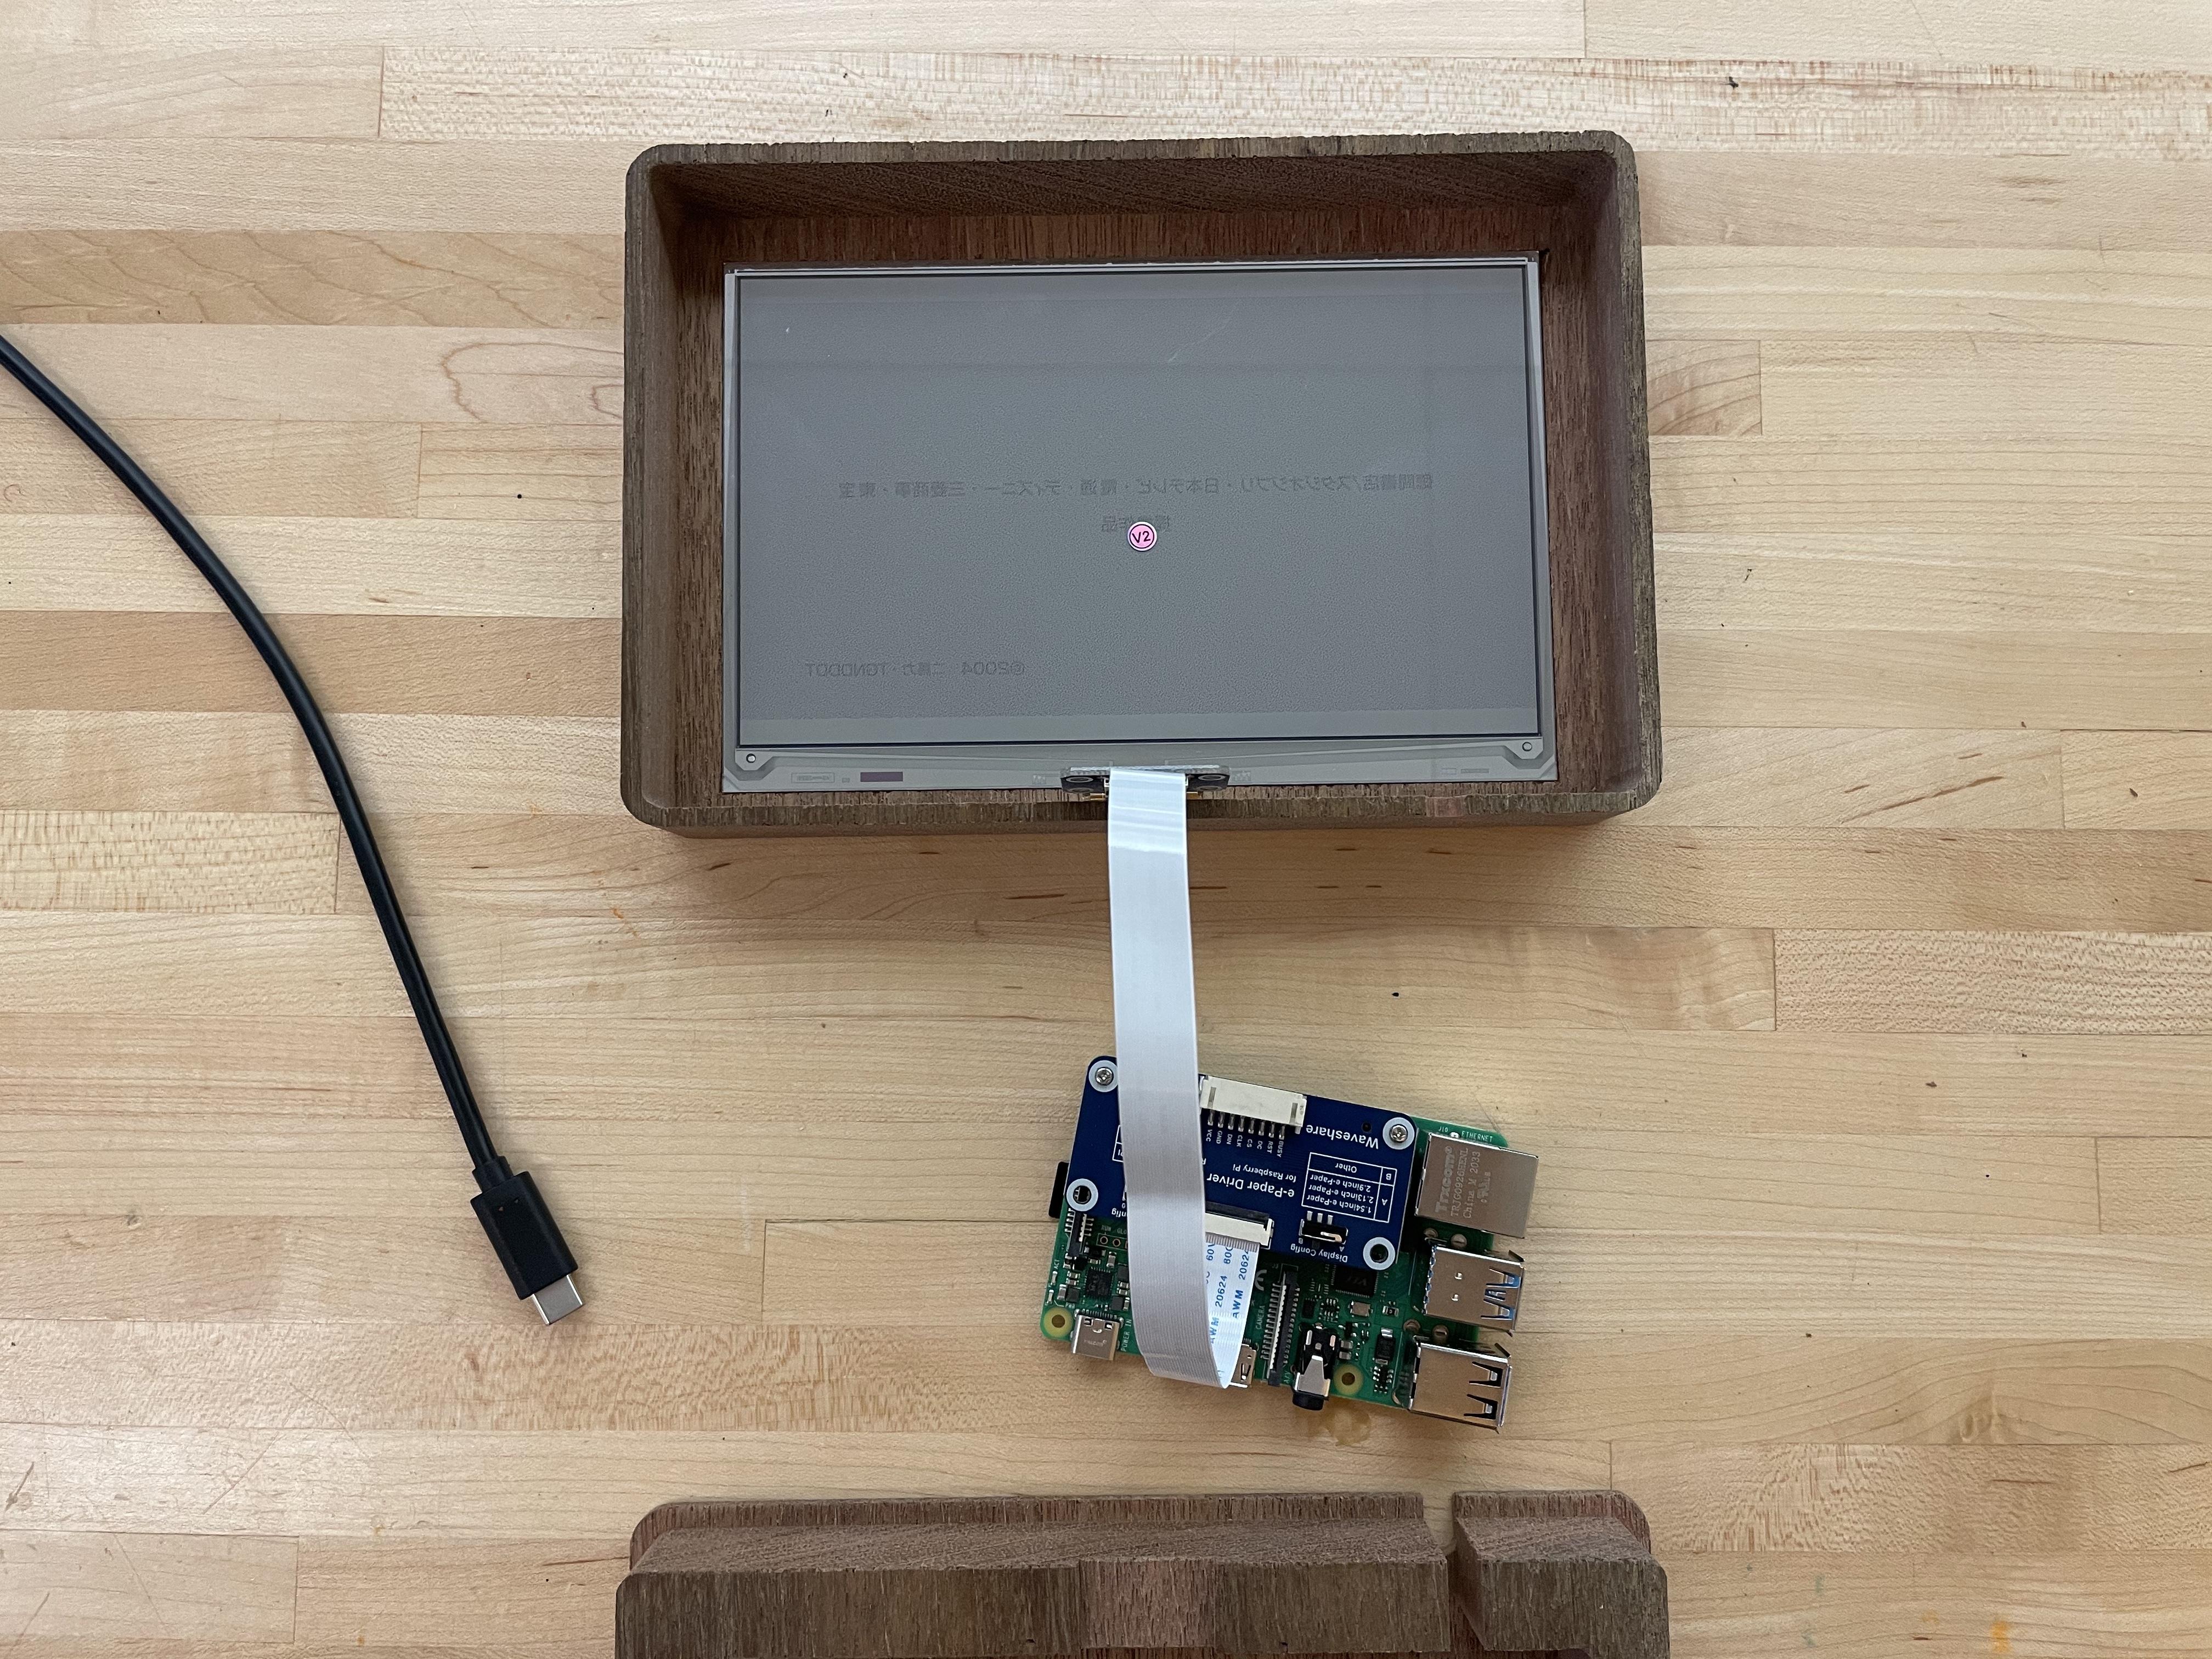
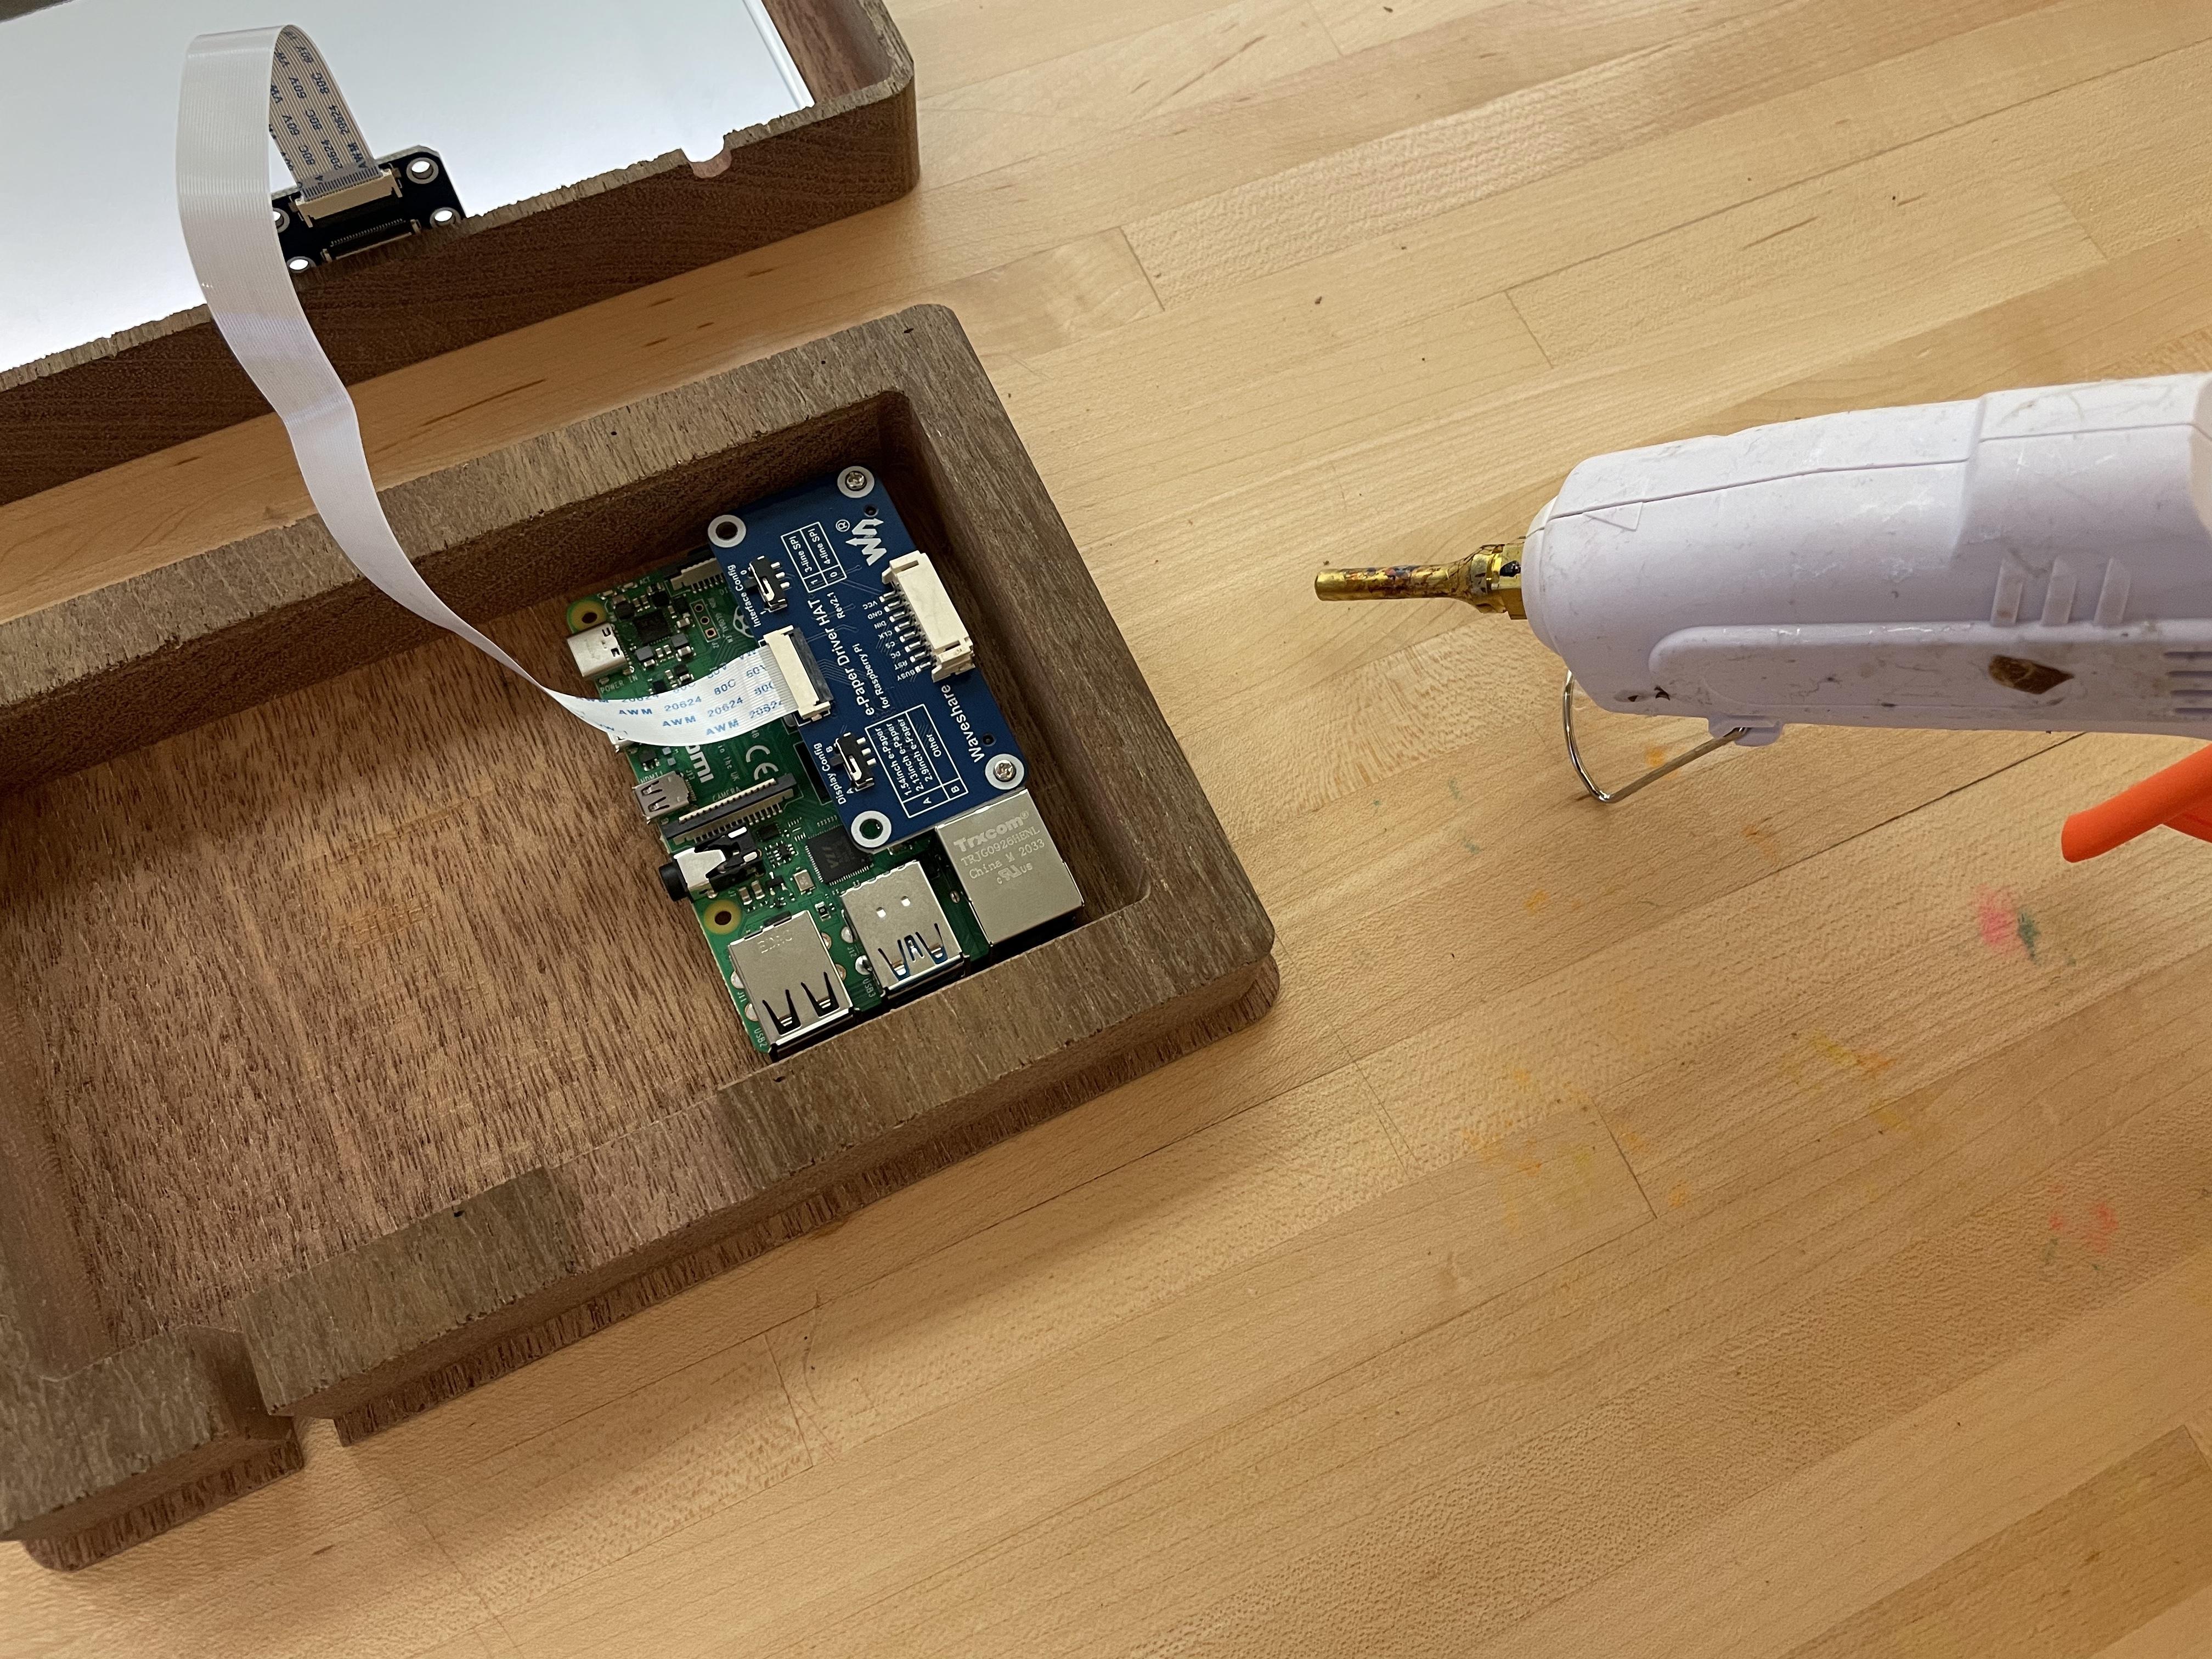


You need a 3D printer or CNC machine to make the cases I made here. The files for my case design are included here in case you want to print or CNC cut them. I also included Fusion 360 files and .step files in case you want to make modifications.
Files attached:
- STLs of front and back piece
- Fusion360 .f3d file of entire design
- STEP file with both pieces
- DXFs of the lines needed for front and back CNC cuts
- .crv file (VCarve) with toolpaths for CNC cuts. (not attached: get it here)
But the case/frame for this project is a good area to improvise and experiment! You could stick it in an Ikea frame, get it professionally framed, build a case out of wood, Lasercut one out of wood or plastic, or anything else you can think of.
If you make a VSMP, please share! I'd love to see your build.