Venice Mask!

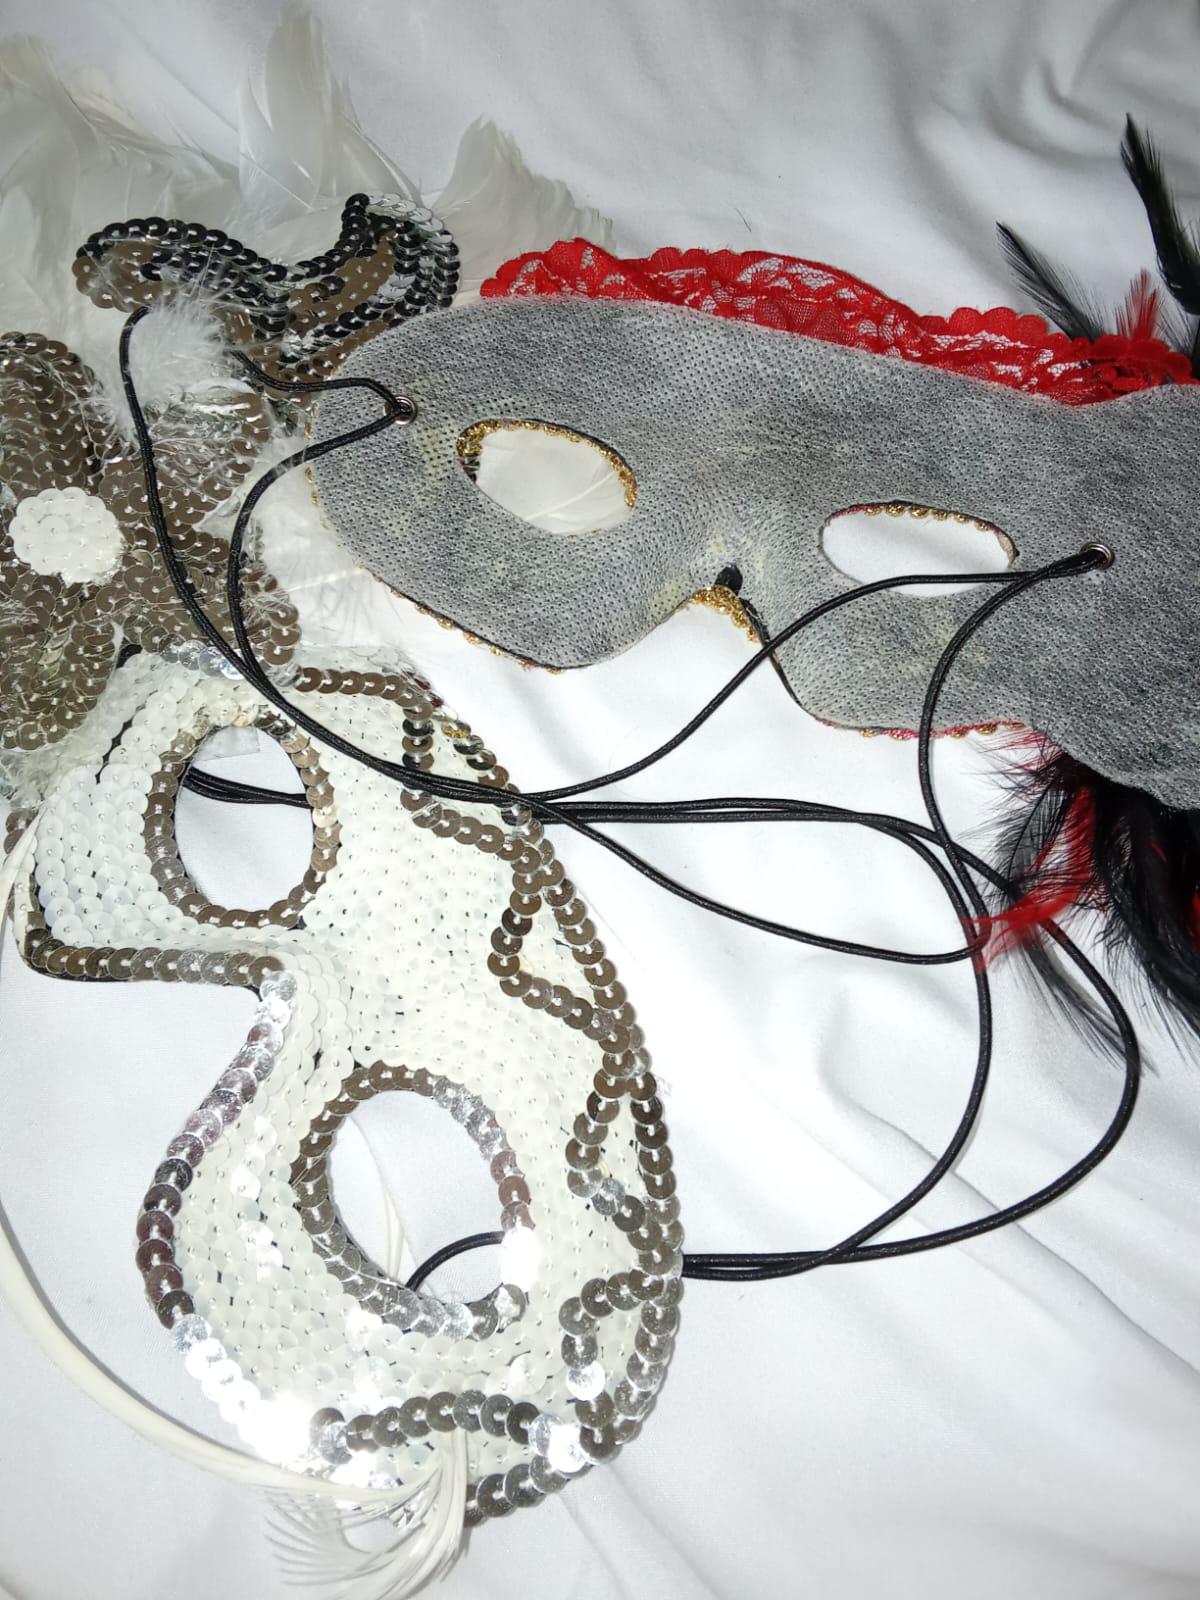
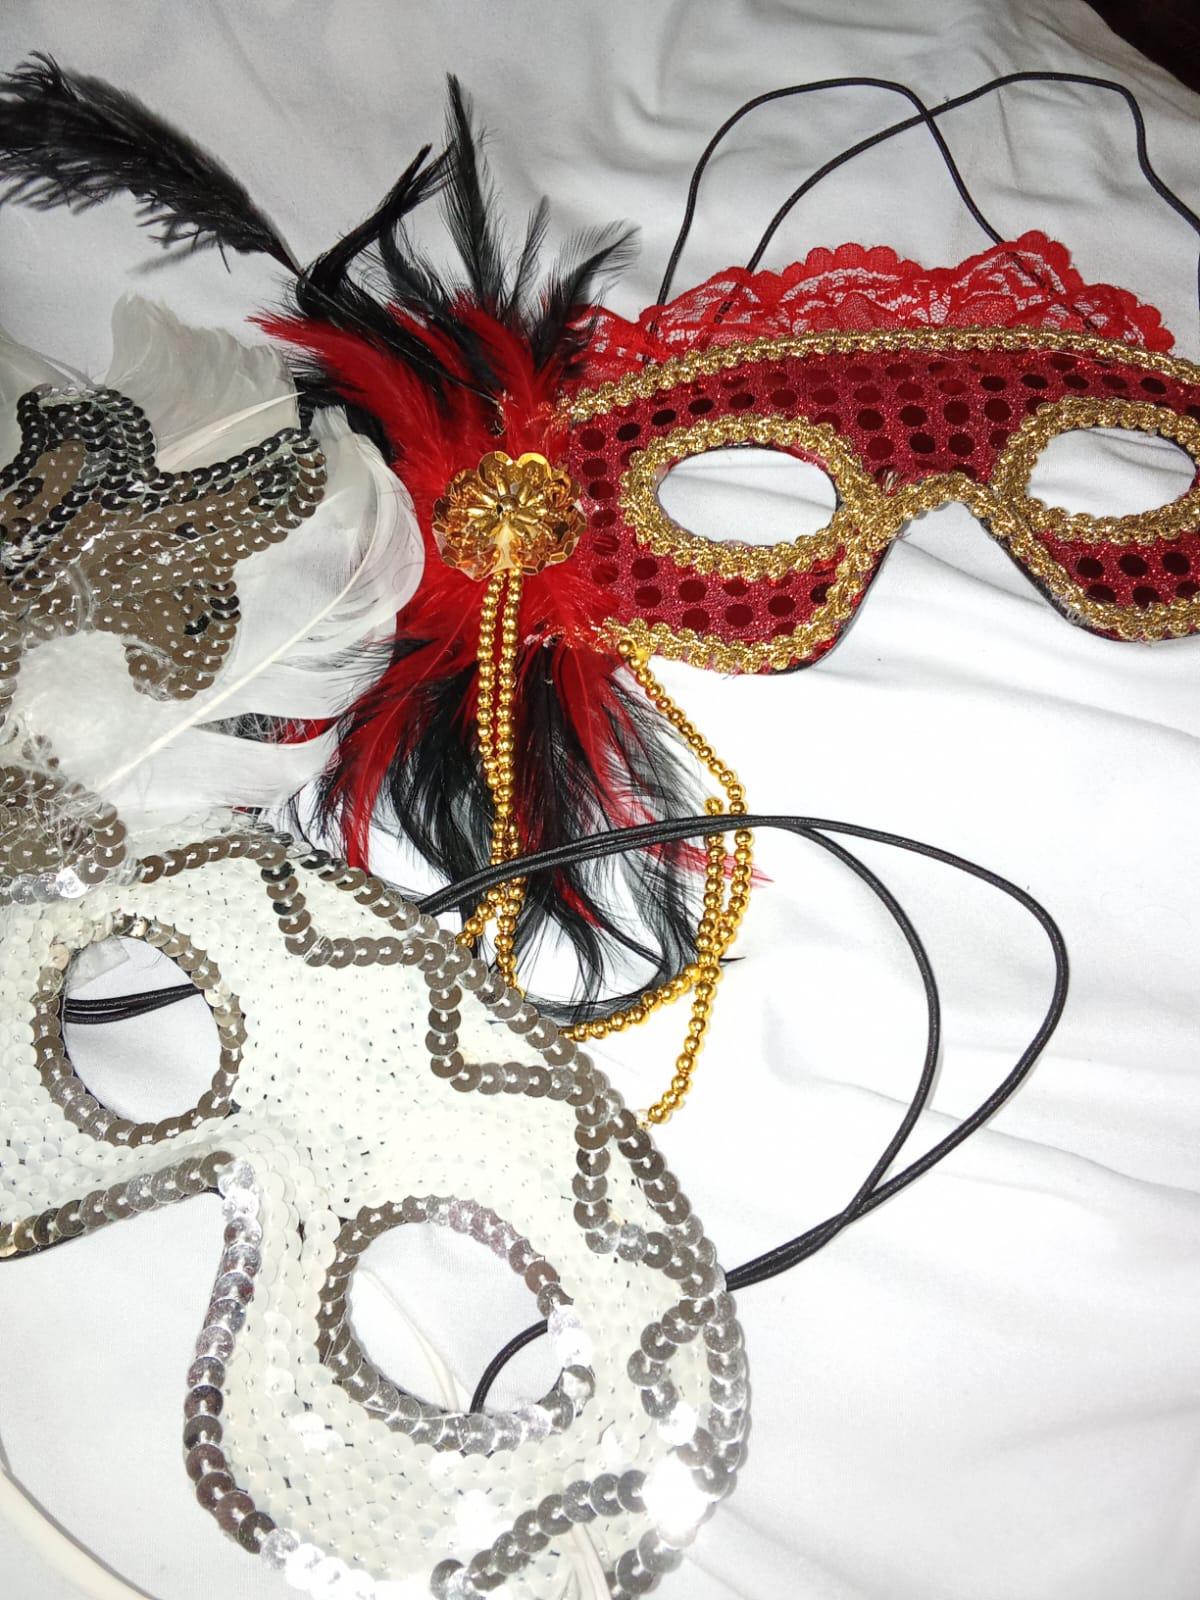
Ooh! I could spend hours looking through this page. One project is crazier than the next. It’s so much goodness in one place. The cardboard sculptures, masks, and costumes are breathtaking. The mask pictured is part of a series of masks created for a school performance of Venice Mask.
'City of Light.'
During the Venice Carnivals in the past the streets of Venice were full of the people wearing masks which allowed them to protect their identity and remove any social differences. Besides, masks allowed a wearer hide his identity during licentious and dissolute activities.
Supplies

White Masks
White masks are simple and unassuming. They semi-accurately represent a normal person’s face and have reasonably natural features with little variation across the different designs. These masks were used, as we discussed above, to allow the wearer to move around Venice, unrecognised.
WHAT YOU WILL NEED
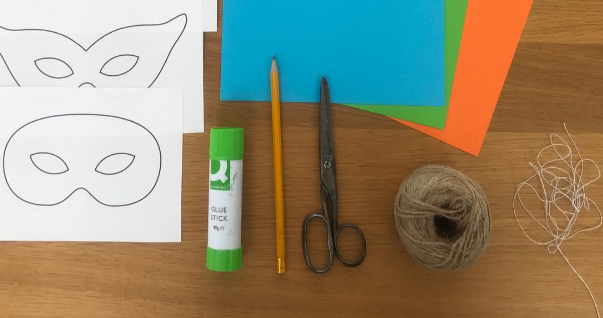
- Craft paper or cardboard
- Mask templates: you can print ours at the end of this pack or draw your own
- Pen and paper
- Rubber band or string
- Scissors
- Glue
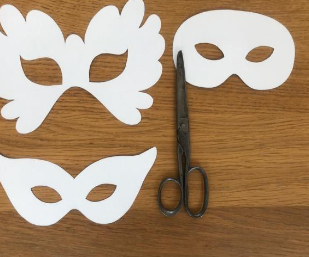
Choose a mask
template, print out
and then cut out.
Please note templates
1 and 2 are for smaller
children.
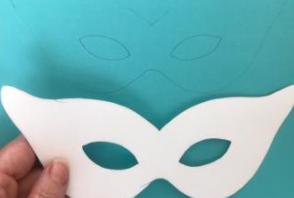
Choose a colour from
your craft paper. Draw
the template on the
paper and cut out, so
you have a colourful
mask.
If you don’t have
coloured craft paper
you can draw the
template on cardboard
then paint the mask in
your favourite colour.
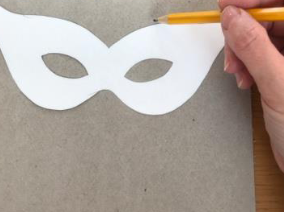
Do Not Forget Holes
.jpeg)
Next, you need to
make two holes in
each mask, one on
the left and one on
the right so that the
rubber band / string
can be attached.
Draw a small circle on the left and right of
your mask – not too close to the outside.
ATTACHING RUBBER BAND
If you are using a rubber band, cut the
band in half so it’s a rubber string
Feed one end of the string through the
first hole, and tie a knot around the mask:
Now put the mask on your face, and pull
the string around your head to test how
tight it should be.
DECORATING
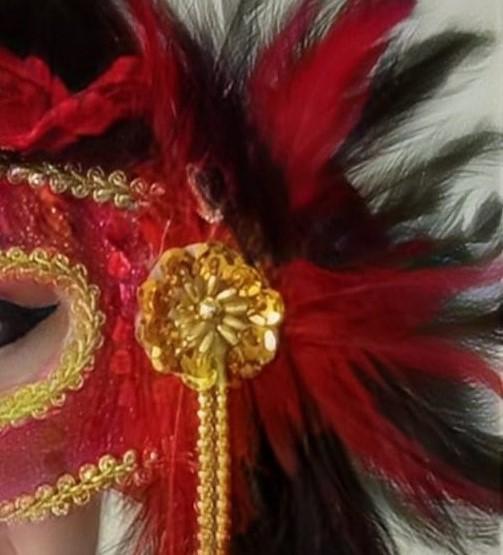
You can decorate your mask in any way you
like! But if you want to make one like ours
you can follow me.