Vector Laser Engraving With Dobot Mooz 2 (and Maybe Other Marlin-based Machines?)
by pouncerproductions in Workshop > Laser Cutting
6778 Views, 16 Favorites, 0 Comments
Vector Laser Engraving With Dobot Mooz 2 (and Maybe Other Marlin-based Machines?)
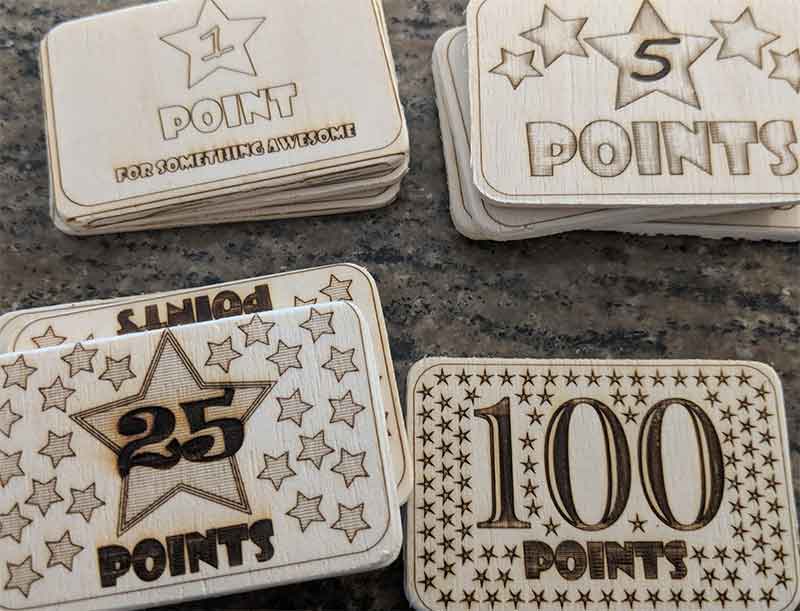
This Instructable is an overview of laser engraving with your Dobot Mooz 2 machine. The Mooz is a multi-function maker device, with replaceable heads for 3D Printing, Laser Engraving, and CNC Milling. I'm not here to promote one machine over another, so I'll let you search for the machine that works for you!
NOTE: These instructions will probably work for many multi-function maker devices, so if they're useful for you, that's great! The Mooz uses gcode based on "Marlin", but I think it has some quirks to it, so you may have to tweak these instructions for your machine. There are some tips in the Troubleshooting section, below.
Before we begin, let's talk about laser engraving.
When we engrave something, a laser attached to the machine moves back and forth over the material we wish to engrave - wood, cardboard, leather, vinyl, etc.
Depending on what the material is made of and how thick it is, you'll either create a 'burn' mark on it, or cut right through it. You can use these instructions for either - I've burned patterns into wood and leather, and also made custom-cut vinyl stickers.
Learn About: Raster Vs. Vector
There are two methods to do laser engraving: Raster and Vector.
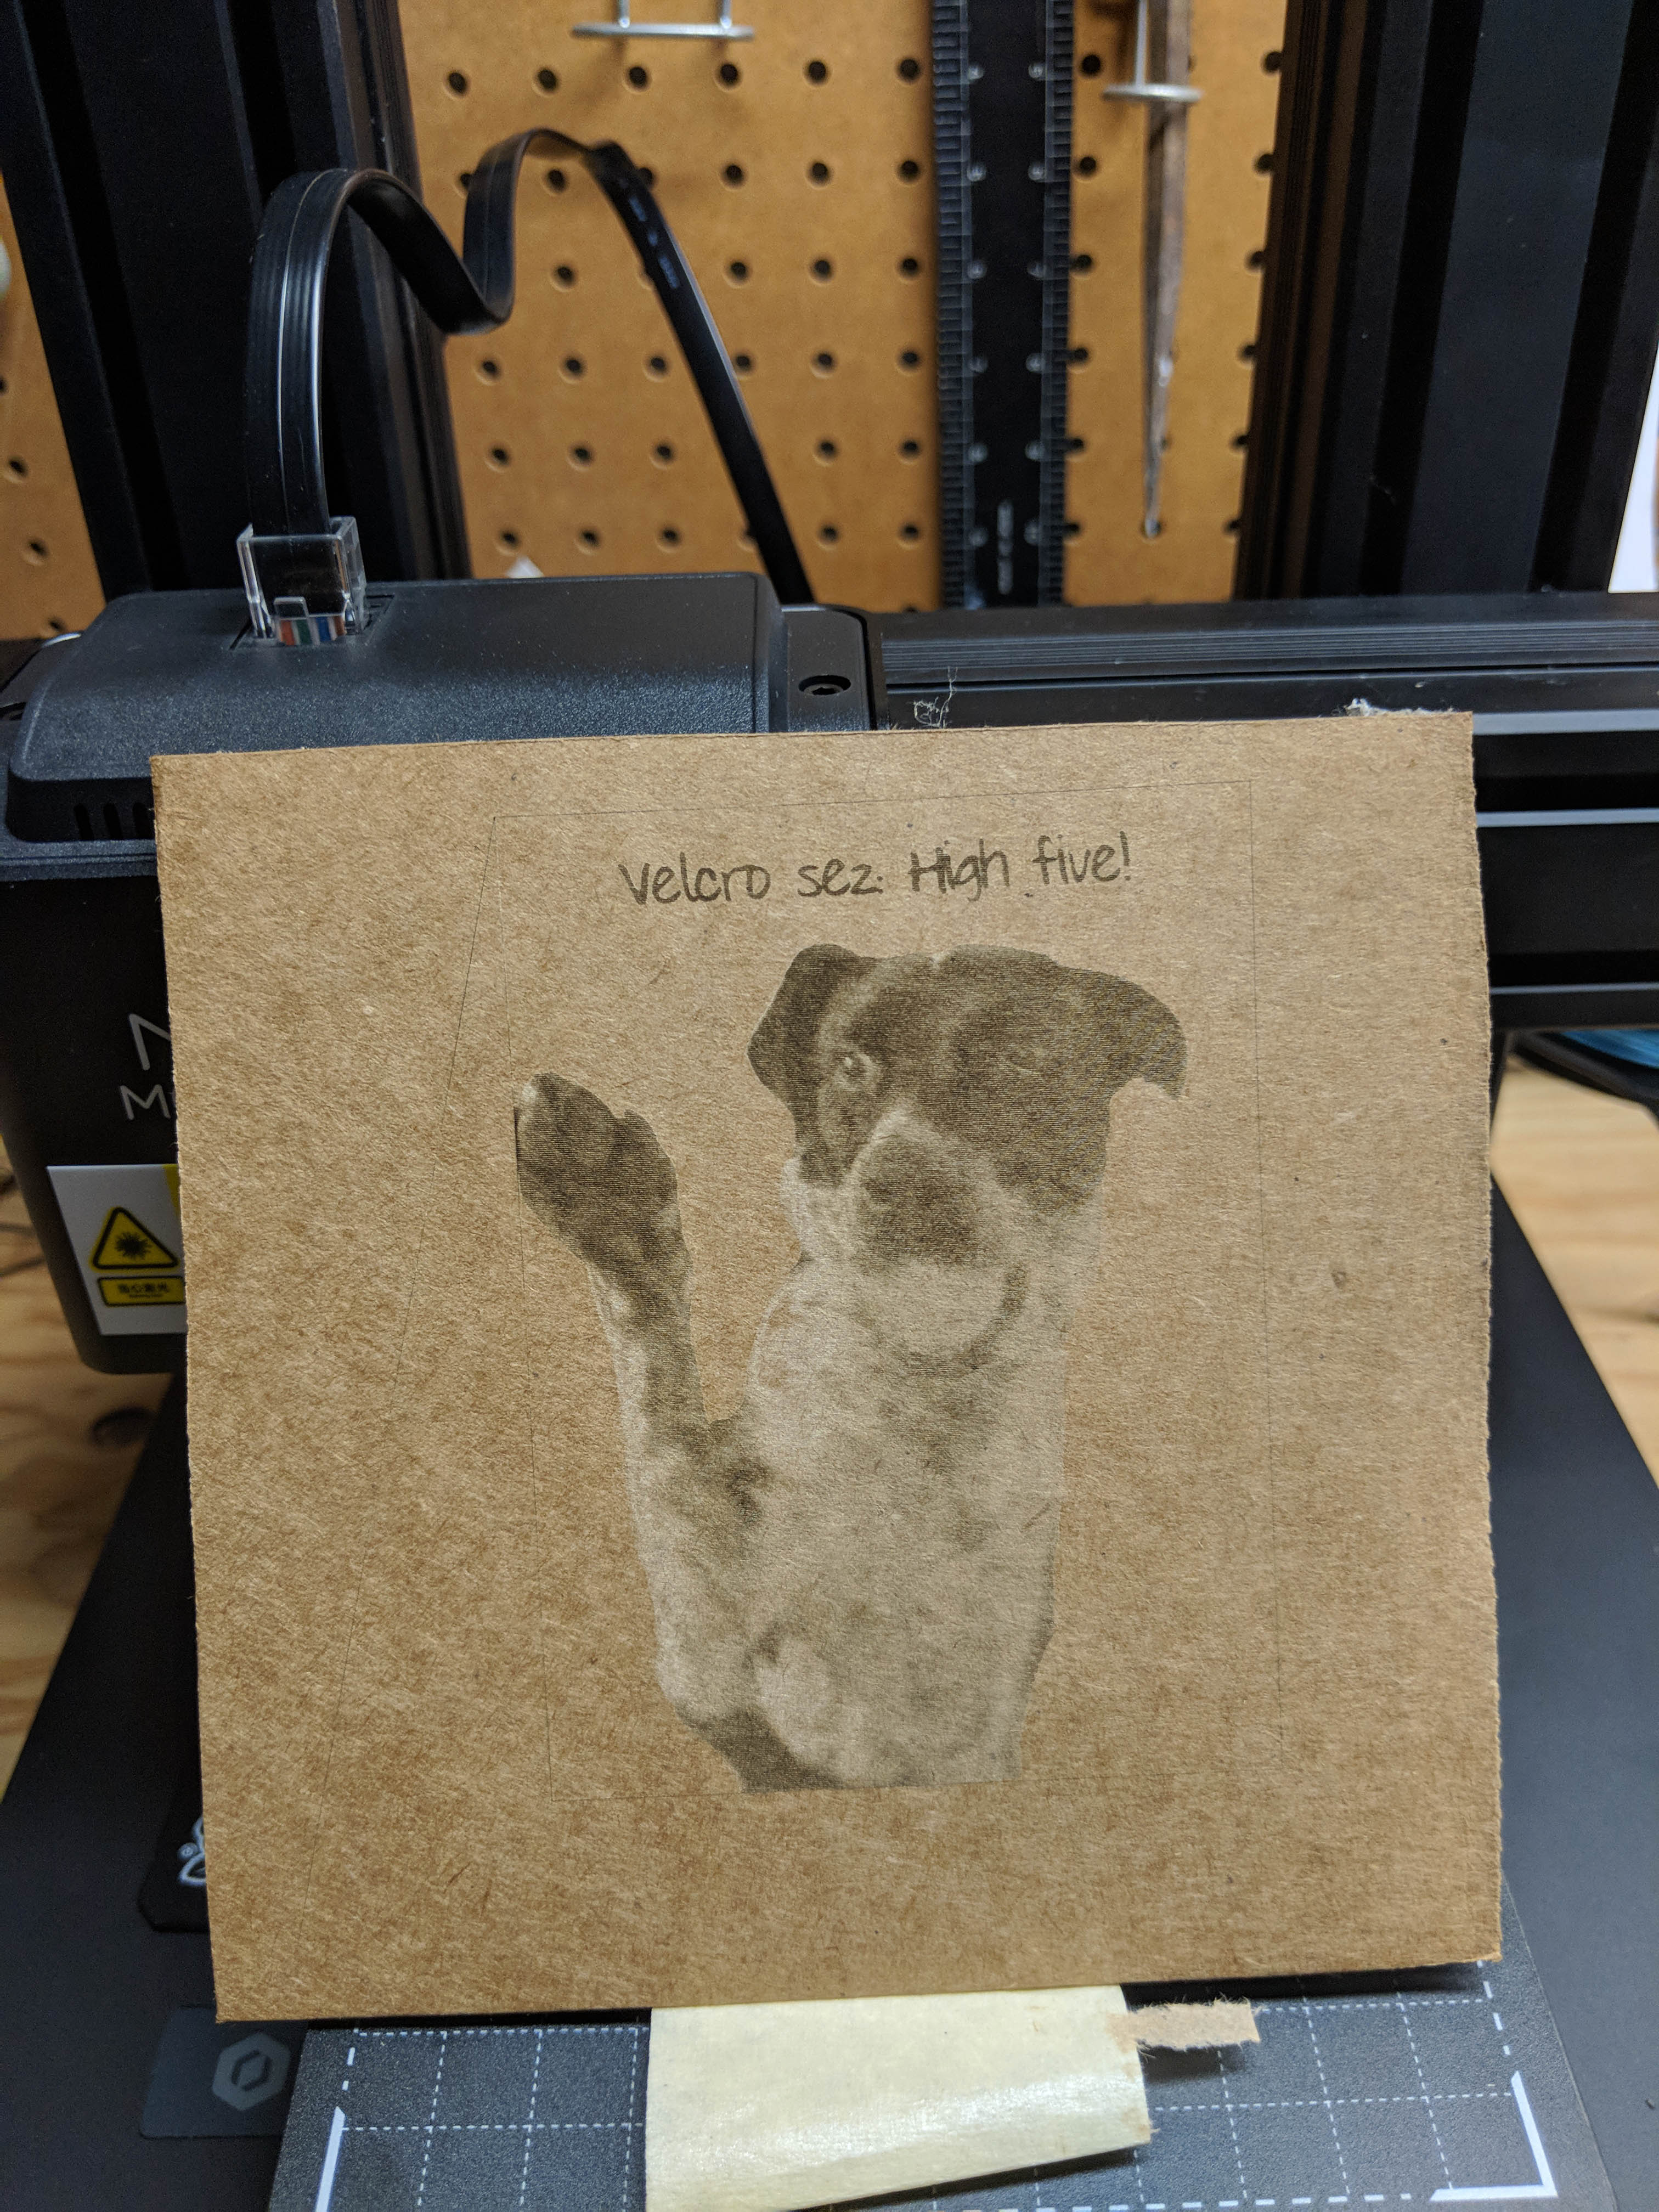
"Raster" refers to any process that treats an image as a collection of pixels or dots. For example, a JPG or PNG image is a Raster file. In a Raster engraving process, the laser moves back and forth over the WHOLE area of the image, and changes its intensity to create lighter or darker dots in each spot. This is great for images that have a lot of color variation, like the one of my dog, Velcro, shown here.
The down side is, it's not great for cutting shapes, and it's very wasteful - most of the time, the laser is moving back and forth over "negative space", and is off, so it's not doing anything useful. The image of my dog burned onto cardboard shown here took several hours to print.
"Vector" processes treat images as a collection of lines. Rather than thinking of the individual dots of a picture, we think of it in terms of the lines that are used to make up the image. Now, these machines can only draw straight lines - but they can draw very, very short straight lines. By drawing a lot of short lines, they can create curves and shapes of any complexity. If you're familiar with 3D printing, that's a Vector process as well - the head moves around from point to point, depositing material in layers, until the entire print is done. The print head does not move back and forth, back and forth, dropping only little dribbles of material when it passes over the point where it needs to build up the model. Vector is good for images where you want more precision, or when you want to cut along a line (for example to make a vinyl sticker).
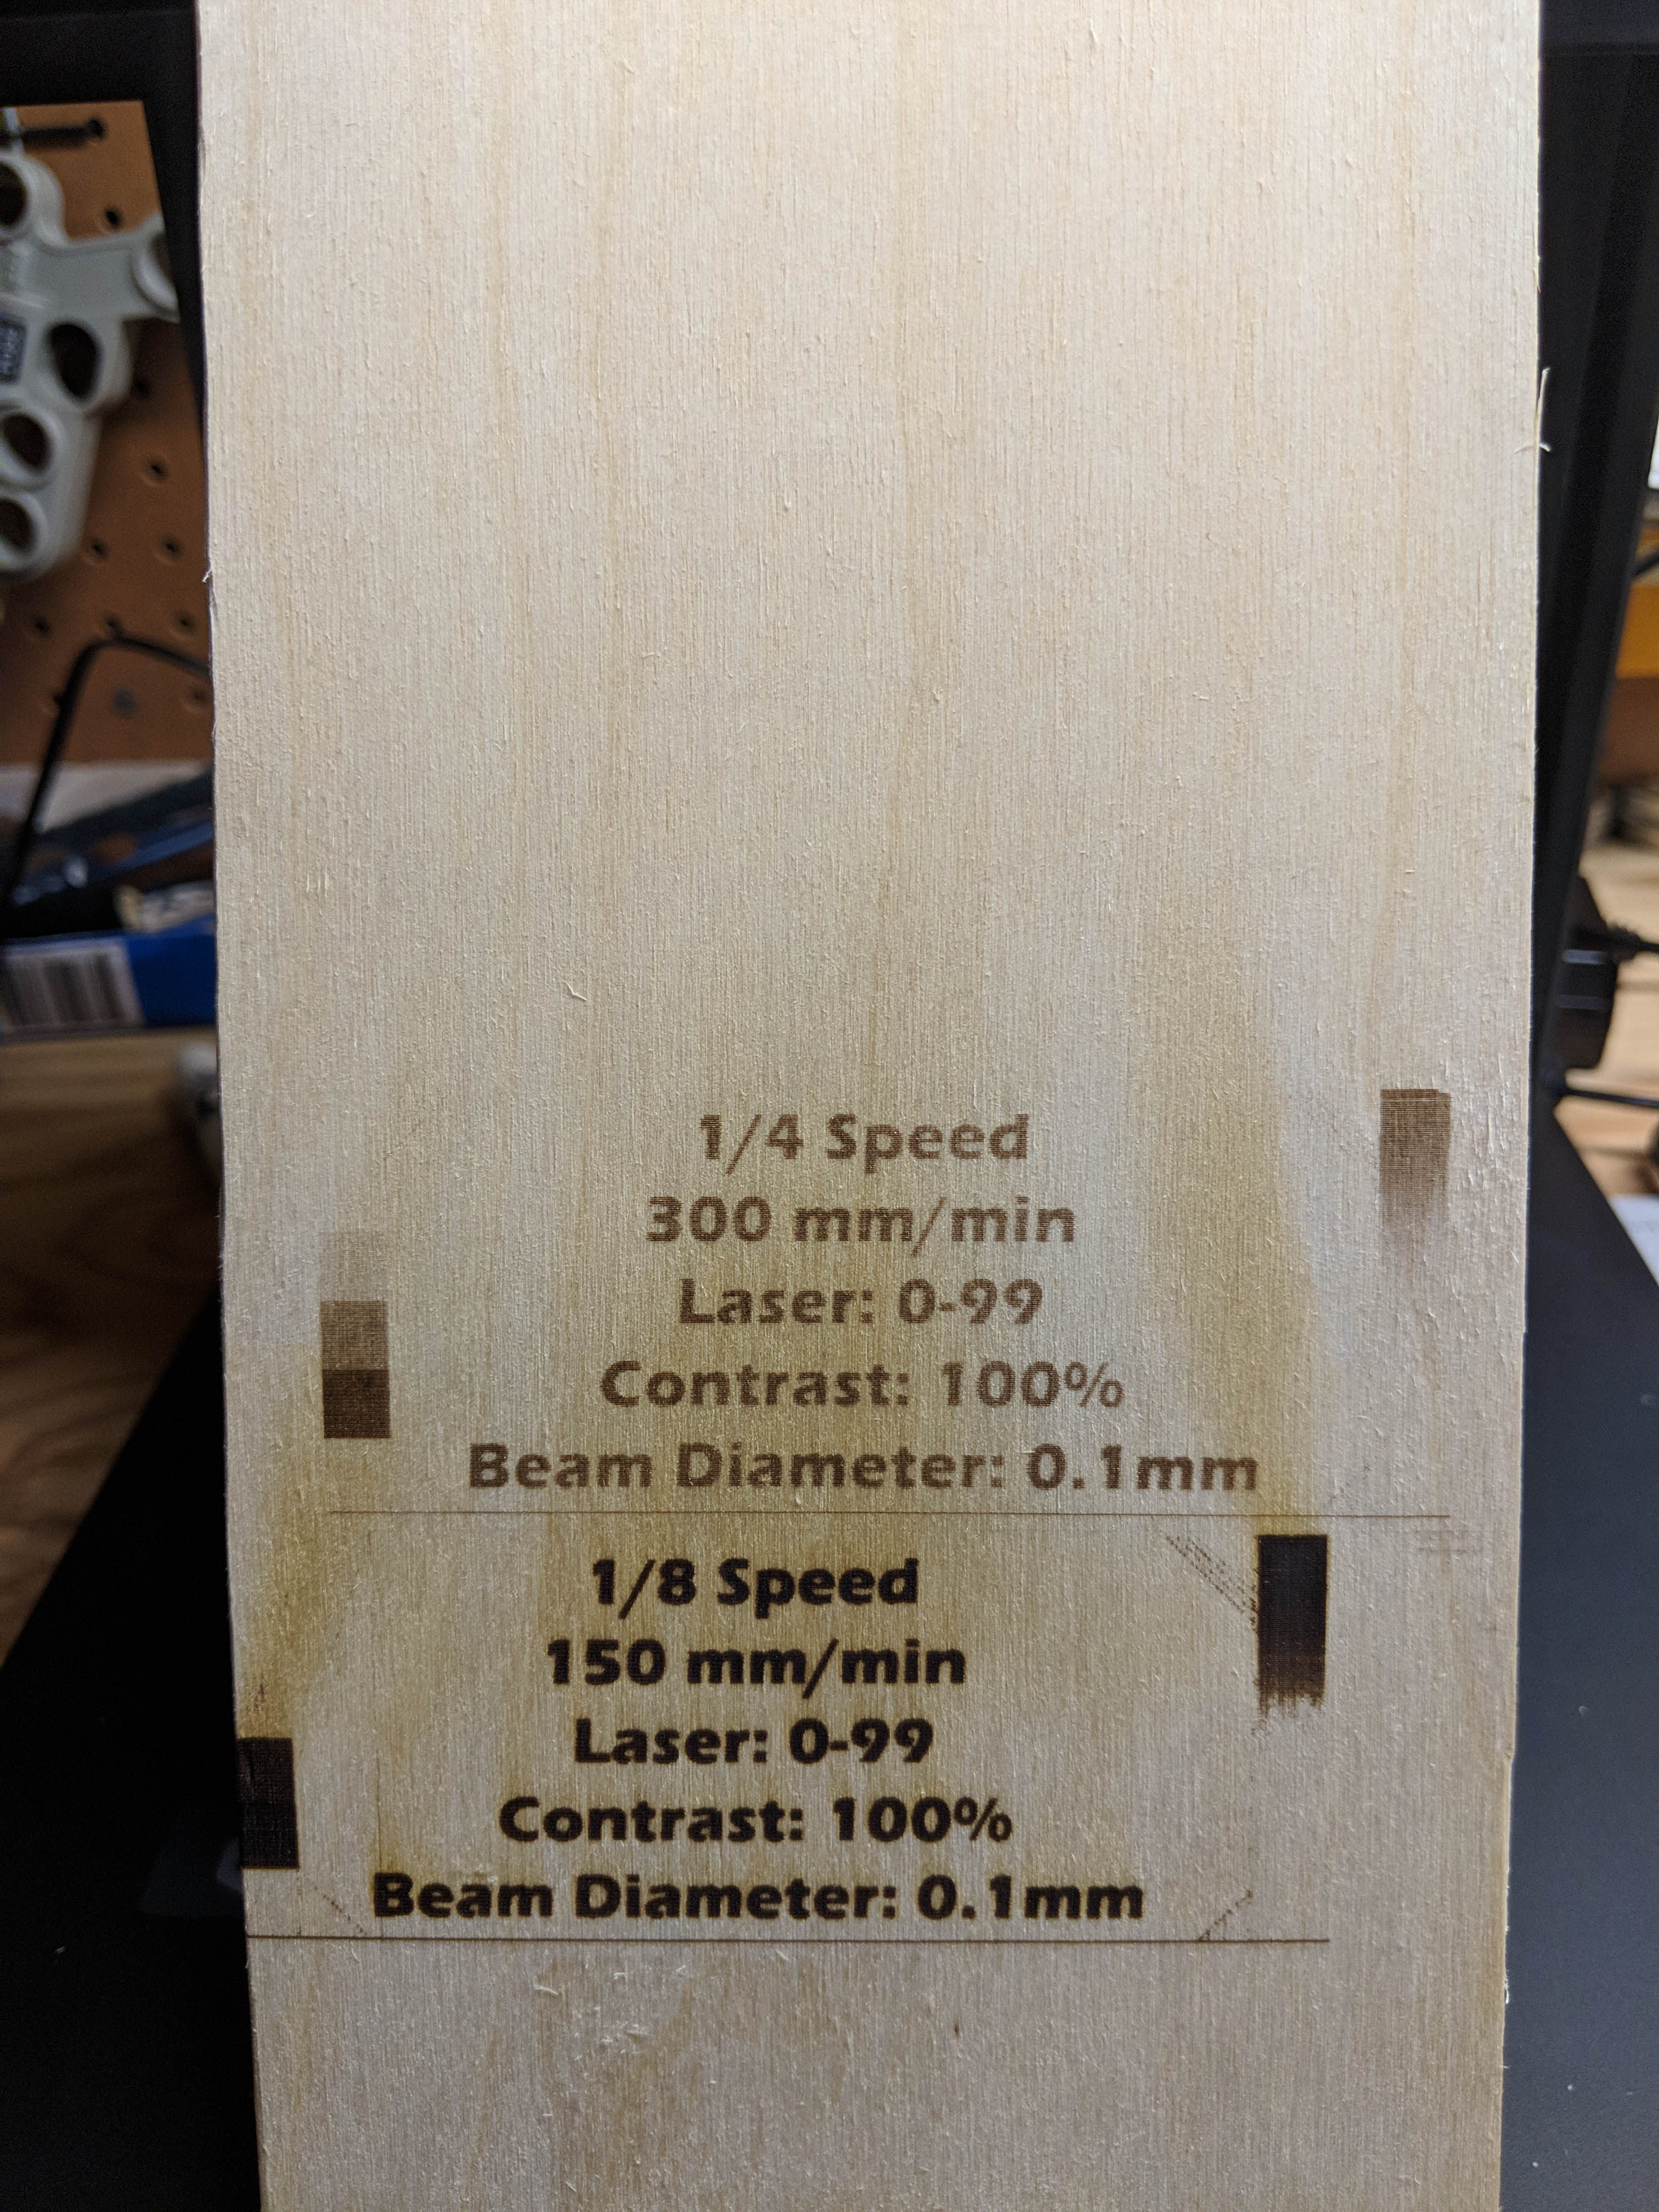
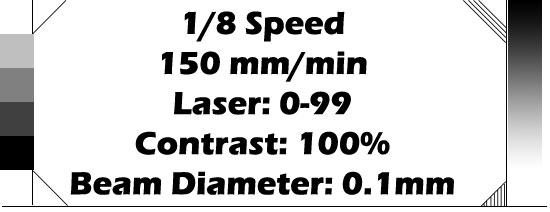
The two images associated with this step were printed "raster" style. The laser went back and forth printing a picture of my dog on cardboard, burning a tiny little dot in the cardboard as it passed over each spot in the picture..
For the long piece of wood, I printed the same test pattern, but at different speeds. Notice that the slower the laser moves, the darker it burns. (Pay attention to the "mm/min" setting)
There's actually a THIRD print above these two, that you probably can't even see in this picture, which was printed at 1200 mm/min, and the result is too light to see. The software that comes with the Mooz uses 1200 mm/min as the default speed, but that's much too fast for the laser that comes with it - you'll need to slow it down to give the laser a chance to do its work.
If you want to try raster printing, you can use the Mooz Studio software that comes with the printer, but I'm not going to cover it in this tutorial.
Download Your Software

You'll need three pieces of software for this tutorial:
- Inkscape, for creating vector files
- Laserweb, for turning them into gCode (Scroll to bottom of this page for links)
- CAMotics, for checking them before you print
They are all free, fantastic, and YOU SHOULD DONATE SOME MONEY TO THEIR DEVELOPERS LIKE I DID!
Once you see the value and enjoyment you get out of these, you'll have no problem throwing them some support. Please consider sending the same amount you'd pay if it were commercial software, so developers like these can continue making great tools for the community to use!
Apologies if those links are stale - please provide an update in the comments.
Create Your Vector Files
Use Inkscape to create a vector file of whatever you want to print. The details of this are beyond the scope of this tutorial, but I've attached my SpeedTest files here if you want to just load them up. If you're familiar with Adobe Illustrator, you can use that as well - Inkscape just happens to be free, and does everything you'd want it to do for this purpose.
Note that if you use the shape, text, or line tools in Inkscape, you'll need to Convert them all to Paths (Ctrl-Shift-C or by the Path -> Object to Path menu).
One thing I recommend: Once you convert a shape to a path, you lose a lot of the ability to edit them. I start in a file called Raw.svg, which is the file that contains the SHAPES and LINES.
Then I do File -> Save As, and save it as .svg. I turn everything into a Path, save it, and close Inkscape - then open THAT in Laserweb in the next step. Remember - once you turn something into a path, it's much harder to work with, so think of that "Object to Path" step as a destructive, one-way action.
So:
- Start in a new file called Raw.svg.
- Make your cool, awesome design.
- When you're ready, File -> Save As .svg
- Select All
- Path -> Object to Path
- Save
- Close
The reason you do this is so you can import the "non-Raw" version into Laserweb, but if you ever want to go back and make any changes, you can go back to the Raw version, which has the source objects and parameters, and is much easier to edit.
Did you have fun? Great!
Now go donate to Inkscape! :)
Set Up Laserweb

Ok, here's where it gets tricky.
Laserweb is fantastic software, written by volunteers. Since it's made by less than a dozen people as a labor of love, it can be a little bit finicky. It is solid and flexible, it just doesn't have a ton of documentation yet and takes a little messing with to figure it out. (Part of why I'm writing this!)
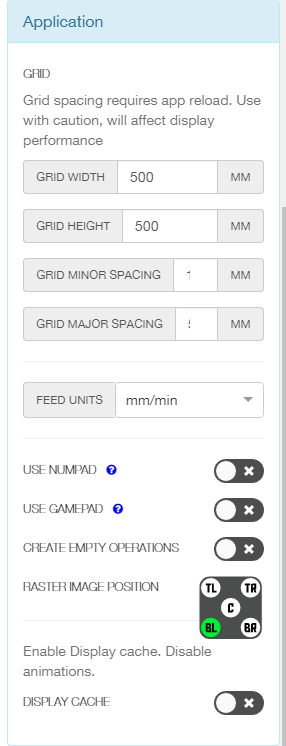
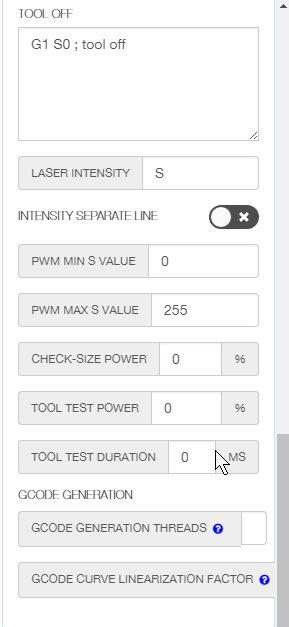
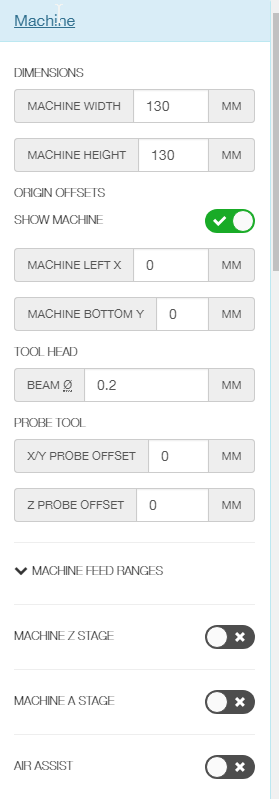
Open the software, then go to Settings. Change these to your machine's settings (again, these are for a Dobot Mooz2).NOTE - any setting not listed can be left at the default or doesn't matter. Feel free to experiment - and comment if you learn anything!
- Machine
- Machine Width: 130mm
- Machine Height: 130mm
- Show Machine: on
- Machine Left X: 0 mm
- Machine Bottom Y: 0 mm
- Tool head: 0.2 mm
- GCode
- GCode Generator: marlin
- GCode Start (copy/paste this into the text box, replacing whatever was there)
- G21 ; Set units to mm
- G90 ; Absolute positioning
- G1 Z0.0 F1500 ; Move to zero height, quickly
- GCode End:
- G28 ; Return home
- M5 ; Switch tool off End
- Tool On:
- G1 S255 ; tool on
- Tool Off:
- G1 S0 ; tool off
- Laser Intensity: S
- PWM Min S Value: 0
- PWM Max S Value: 255
- Application
- Feed Units: mm/min
- Raster Image position: BL (Bottom Left)
Note: I think the "Tool On" one might not be necessary - but the Tool Off one is. Setting the "S" value to 0 in the Tool Off command is what tells it to turn the laser off when moving between the lines when it should NOT be engraving.
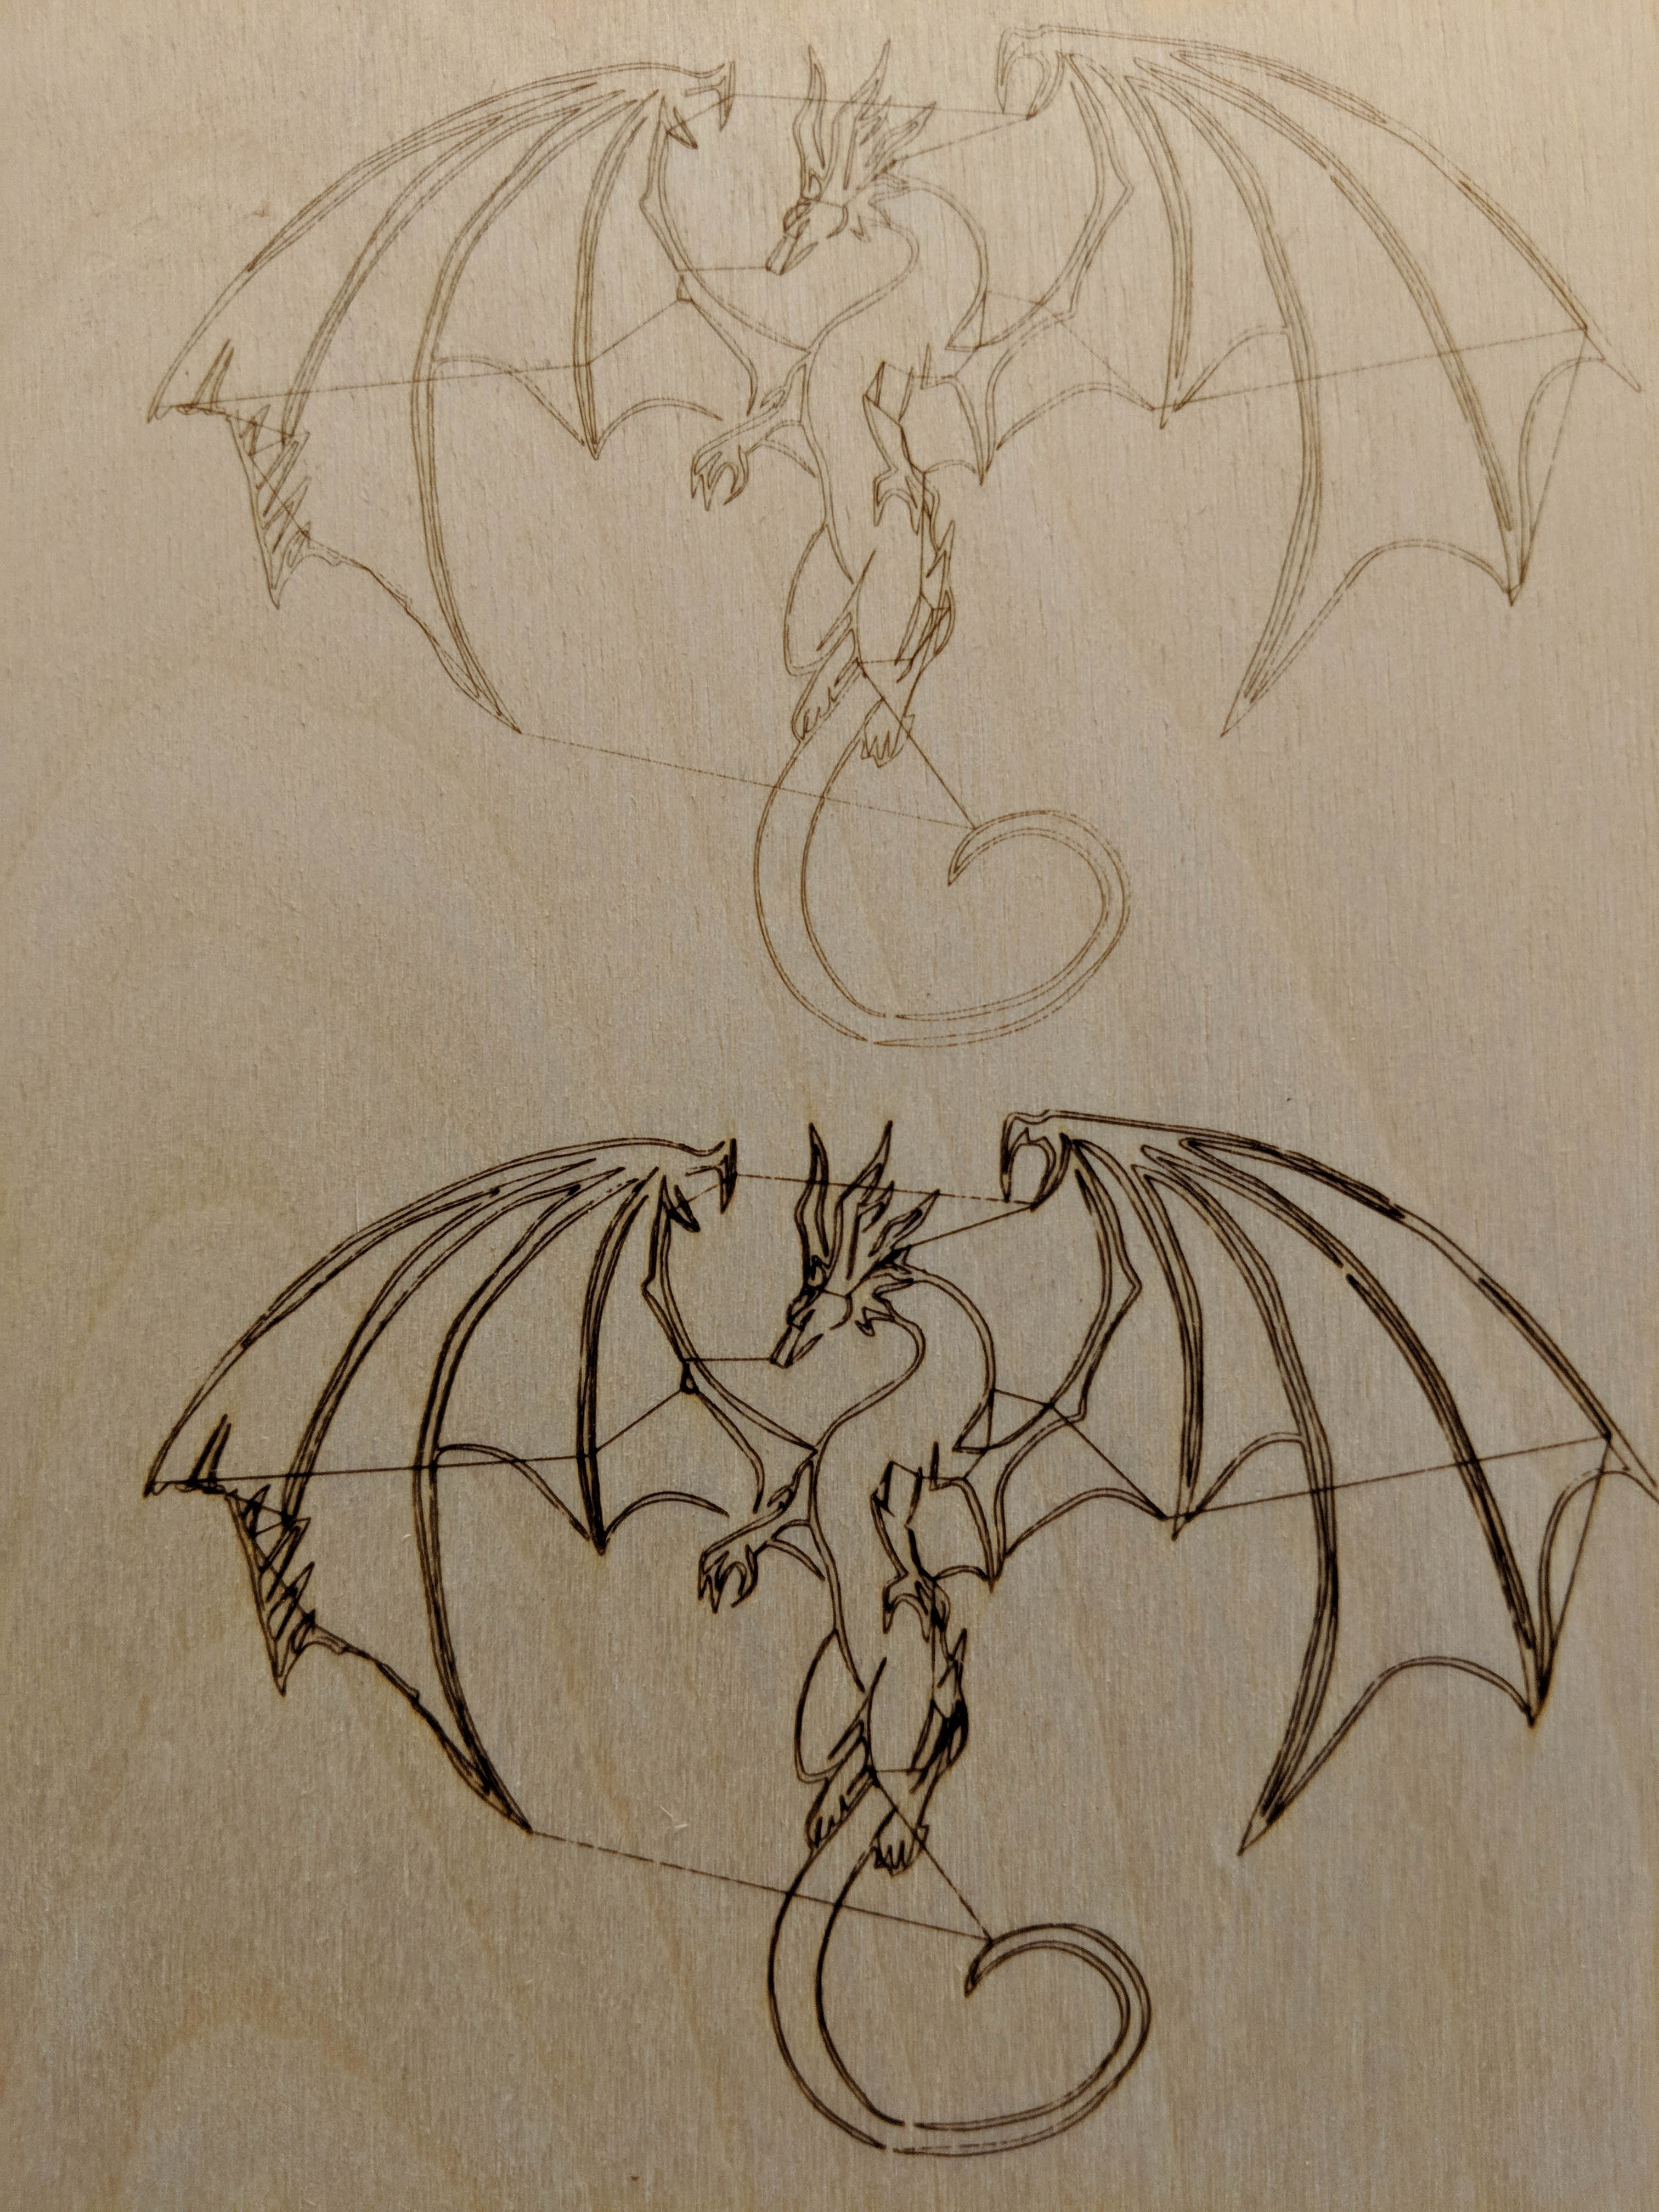
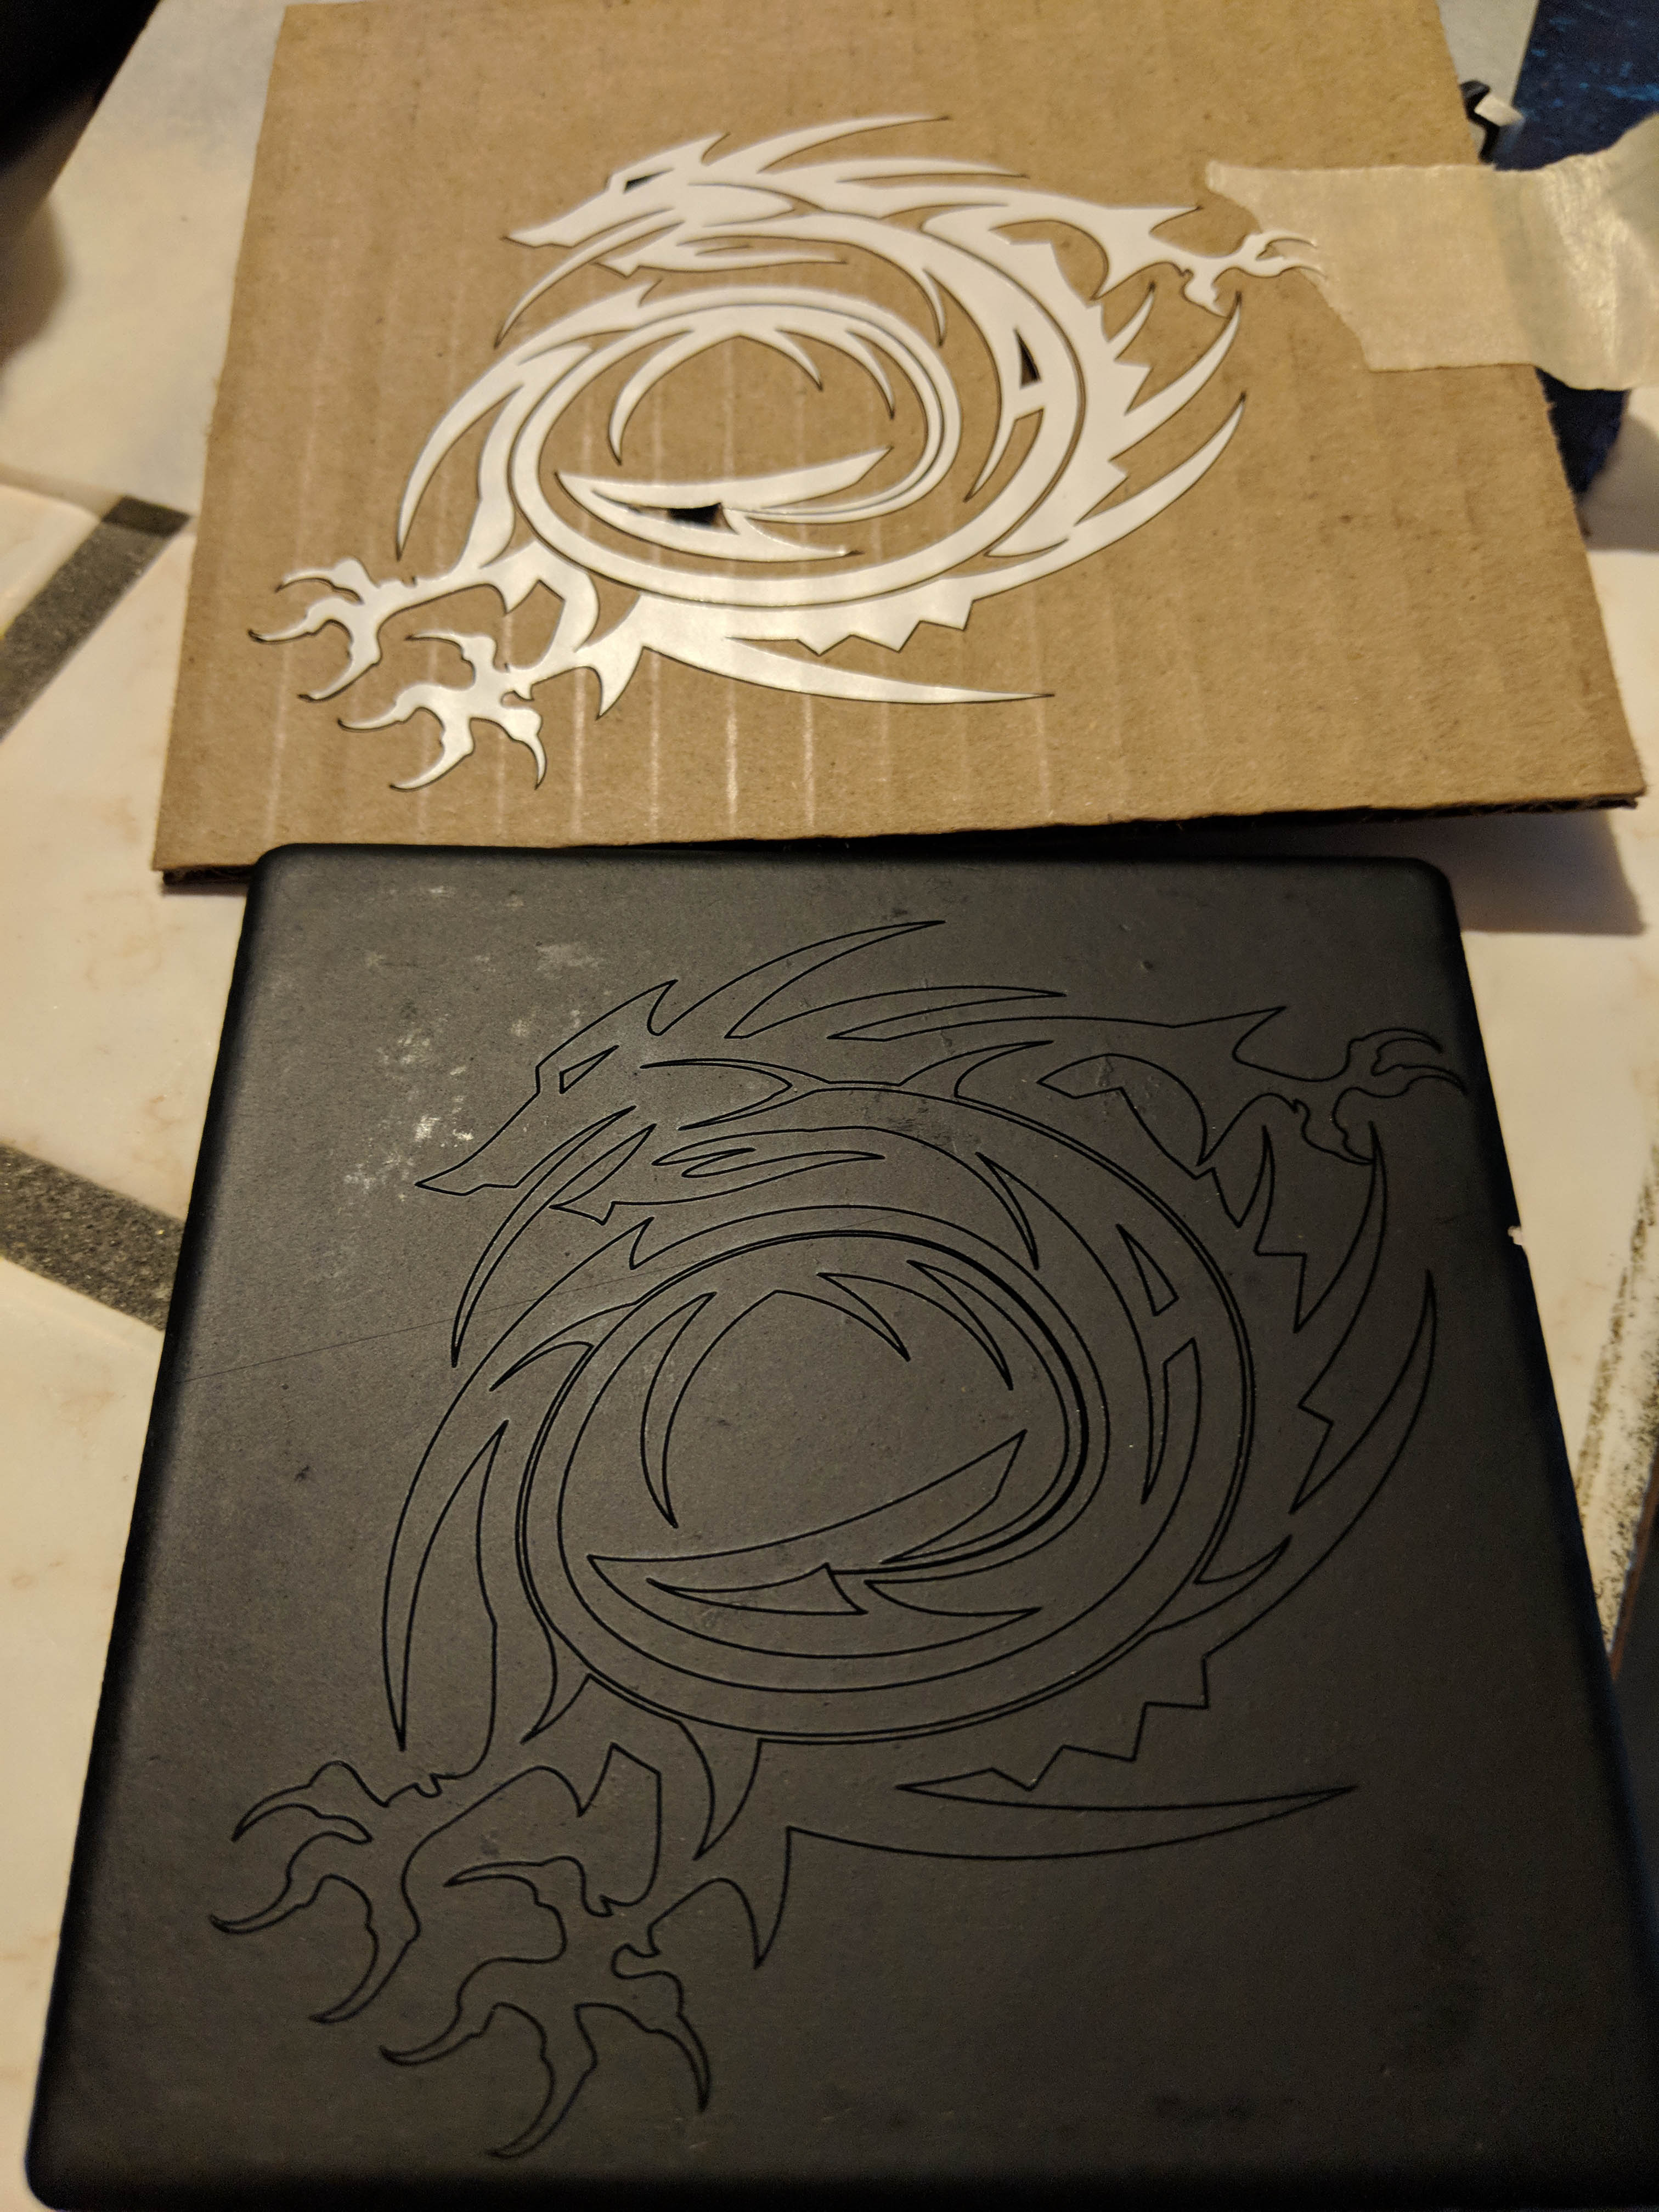
If you look at the dragons I engraved, attached to this step, you'll see a bunch of extra lines that shouldn't be there - that's what happens if you don't tell it to turn the Tool Off with "G1 S0". Which is weird - it seems like that should work by itself, since we told it to use the S value, but it didn't seem to work for me.
Another note about those dragons: Those were both printed at 500 mm/min. The top one was with the 0.5W laser that comes with the machine, and the bottom was with the 1.5W laser you can purchase as an upgrade. Obviously, stronger laser = more power.
A note about fire: With everything I've printed, I've not yet seen any flames. If I'm doing any slow moves, like burning a nice dark line, then I make sure to watch the print. I keep a fan blowing across the material to a) keep it cool, and b) help disperse the smoke. I strongly recommend you do the same, work with good ventilation (mine's in a garage with the door open), and avoid breathing fumes.
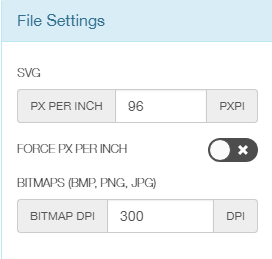
(I've included screencaps of my settings, for completeness)
Create the Gcode
Now that we've got Laserweb set up to work with the Mooz, we need to:
- Open Laserweb
- Bring in our vector file
- Resize it
- Position it
- Set up our gcode operations
- Save the workspace
- Generate the gcode
- Save it
This gets tricky, so I'm going to break it into a bunch of small steps so I can put pictures with each.
Open Laserweb
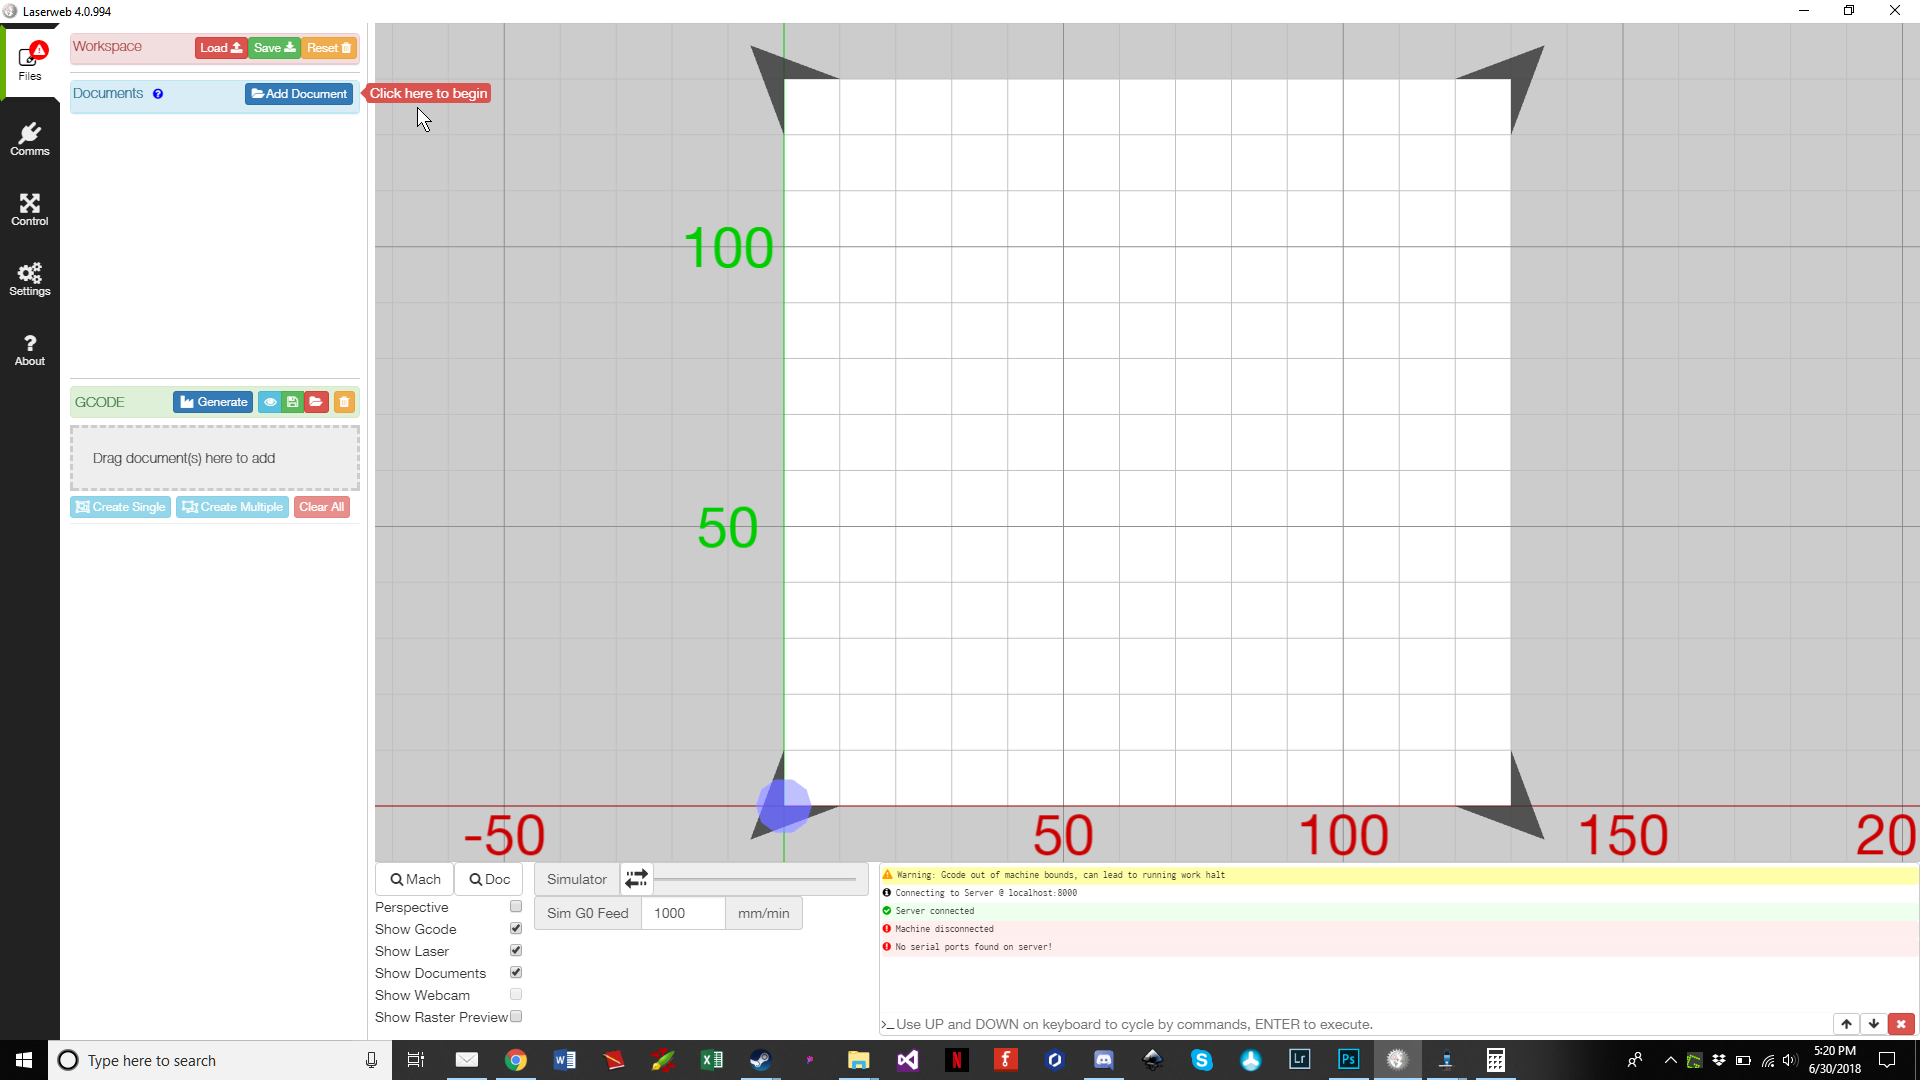
You'll see the main layout window, like this.
Add Your Document
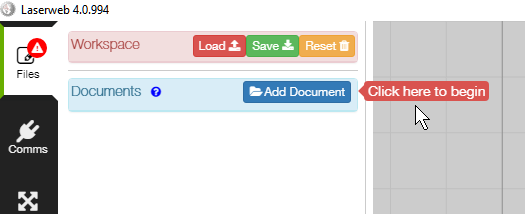
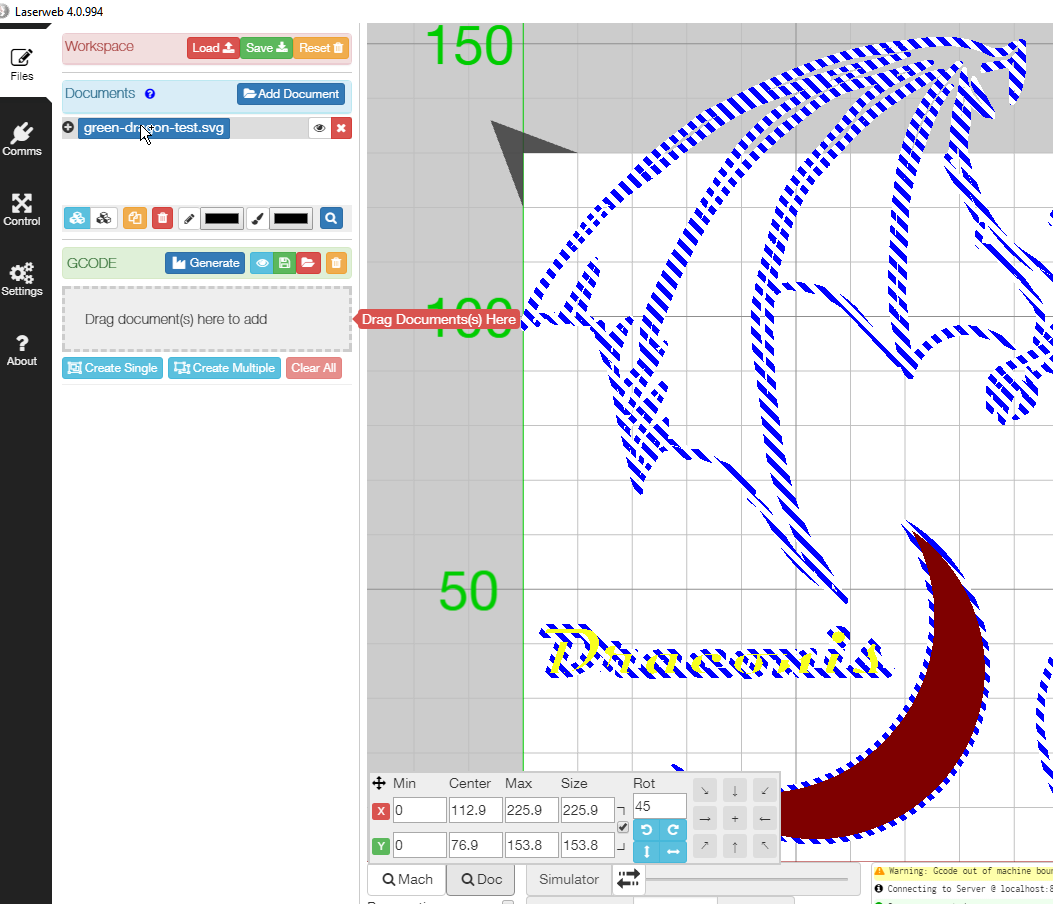
On the top left is a blue button called "Add Document".
Click that, and select the .svg (NOT the "Raw" one) you created in the last step.
It will import, and it might be much too big, like you see here.
Resize Your Artwork
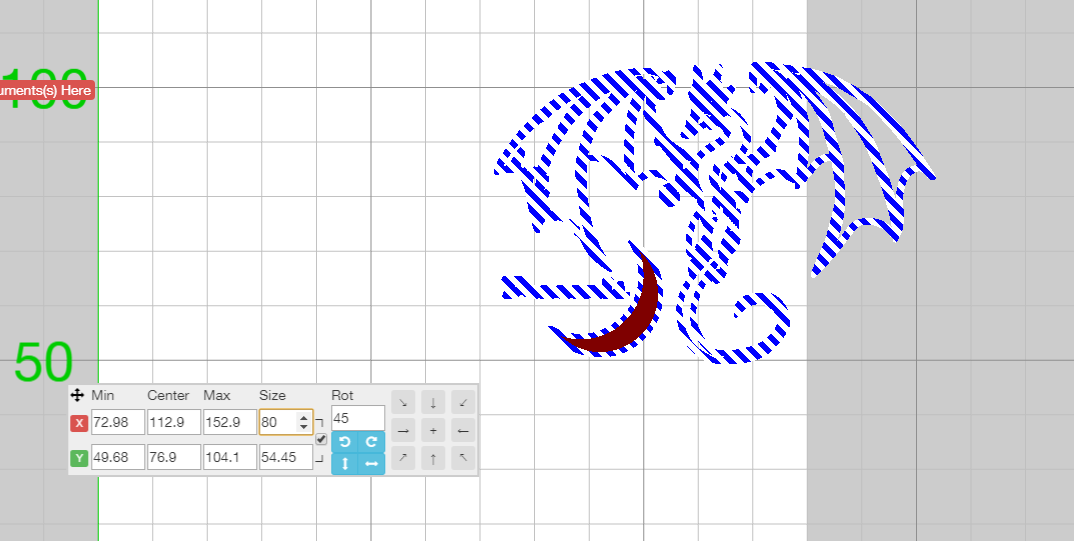
The artwork should be covered in blue lines, like you saw in the previous image.
Click on the grid anywhere OUTSIDE the artwork.
It will deselect your art, and the blue lines will disappear.
Now click on the filename in the file list (under the Add Document button). It will select all the art again.
Notice there's a small window to the left of your artwork. You can use this to resize it.
In my example, I changed the X size to 80 (mm - remember, the Mooz prints up to 130 mm wide. You can set it to whatever you want). Note that Laserweb is smart and maintains the proportions correctly - if you change the Width, it will update the Height so your artwork doesn't get squished. (If you want to change the proportions, you can unclick the "chain link" icon between height and width, I think, but I've never tried it.)
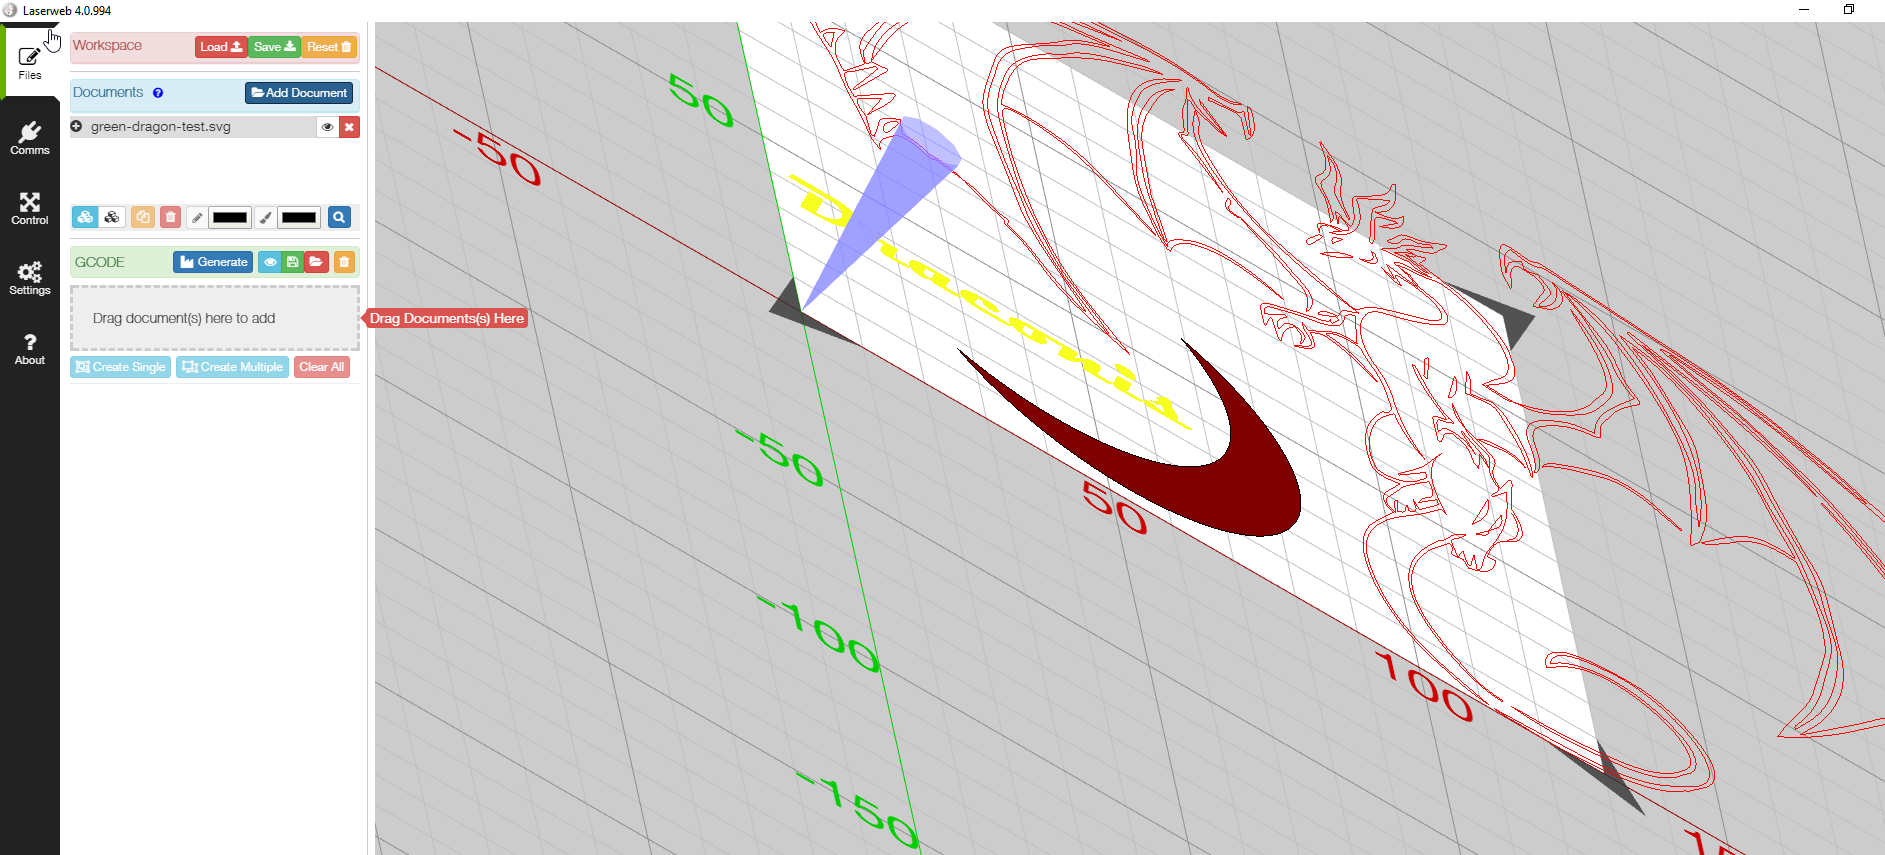
ALSO NOTE - if you ever right-click and drag, you'll rotate the view, and get something like that strange angle view I attached above.
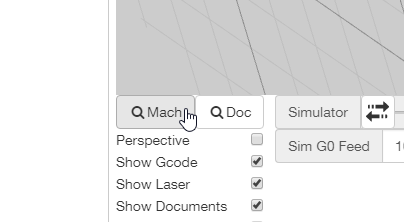
If you ever get stuck like that, use the "Mach" or "Doc" buttons to reset the view to a straight-on shot, and zoomed to fit either the Machine or Document on screen, respectively.
Position Your Artork
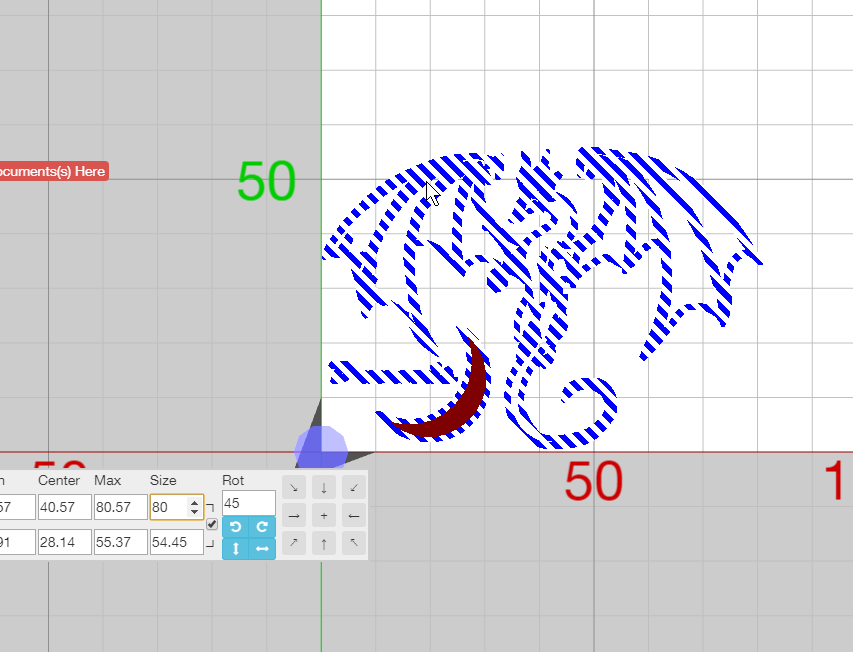
Make sure your artwork is selected. (Remember - click on the filename if not. You can use shift to select multiple files if you get fancy about it later.)
Left-click on the artwork and drag the artwork to the bottom left corner. (If you miss the artwork and click on the white background, it will move the view instead.)
Set Up Your Gcode Instructions - Overview
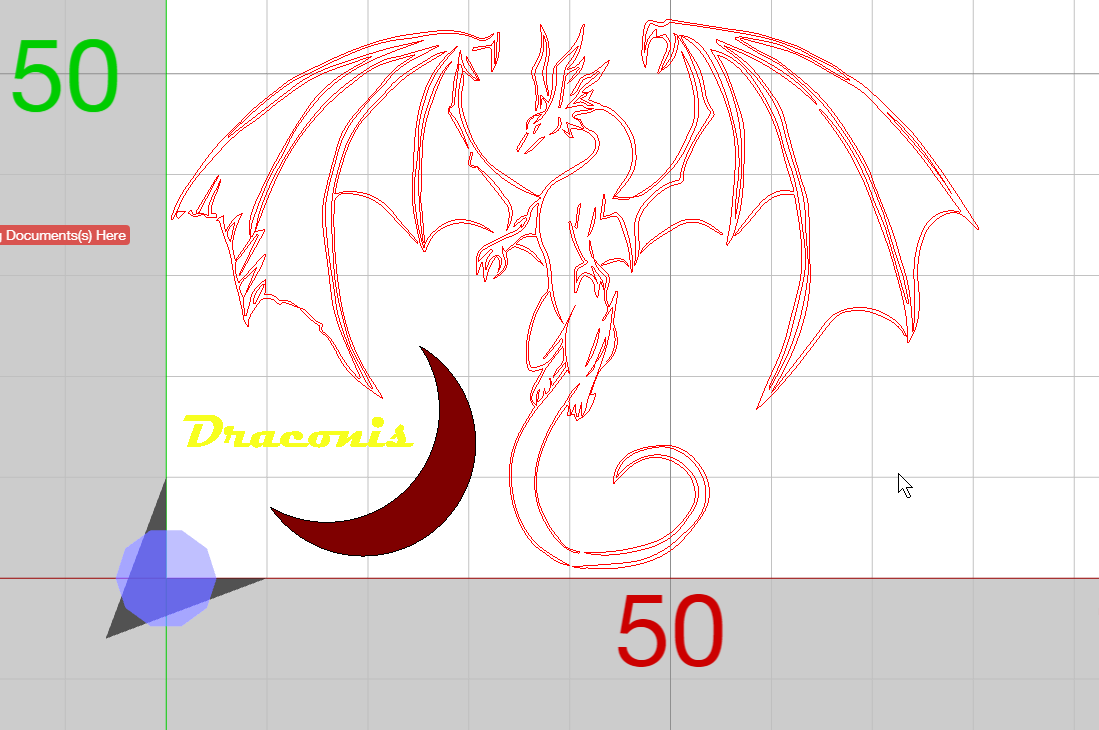
Note that I've added a moon and some text to the image so I can show you how to do different darkness values for different areas.
This is the REALLY COOL thing about what we're doing in Laserweb - we can use different settings for different areas, to get different colors.
What we're going for here is a light-grey filled text, a dark-grey filled moon, and an outlined dragon.
Set Up the Fill Paths
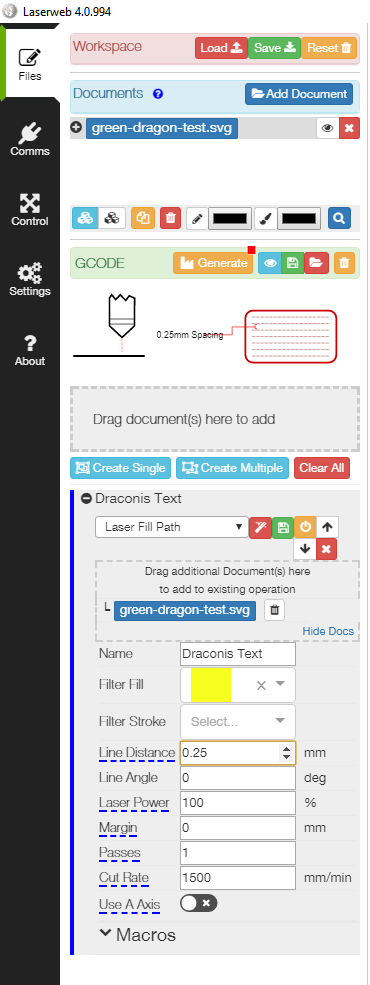

In this section, we're going to set up instructions for it to "fill in" the yellow text and the red moon shape.
Select the filename in the list on the left side (under the Add Document button), and drag it down to the area under GCODE, where it says "Drag document(s) here to add".
You'll get a new block of options, and it will say "Laser Cut" in the first pulldown.
Change that to Laser Fill Path.
Give it the name "Draconis Text". Note - the name is just a reminder for you to remember what each step is doing. This is helpful if you have a bunch of different colors, line settings, speed settings, etc. in a more complex print.
Set the Filter Fill to the color you want to fill - in this case, I'm using yellow. (Note - for those following along, you'll need to use your own colors. I couldn't find the rights to redistribute the green dragon SVG, so I can't include the file here.)
Set the Line Distance to 0.25 and the Cut Rate to 1500.
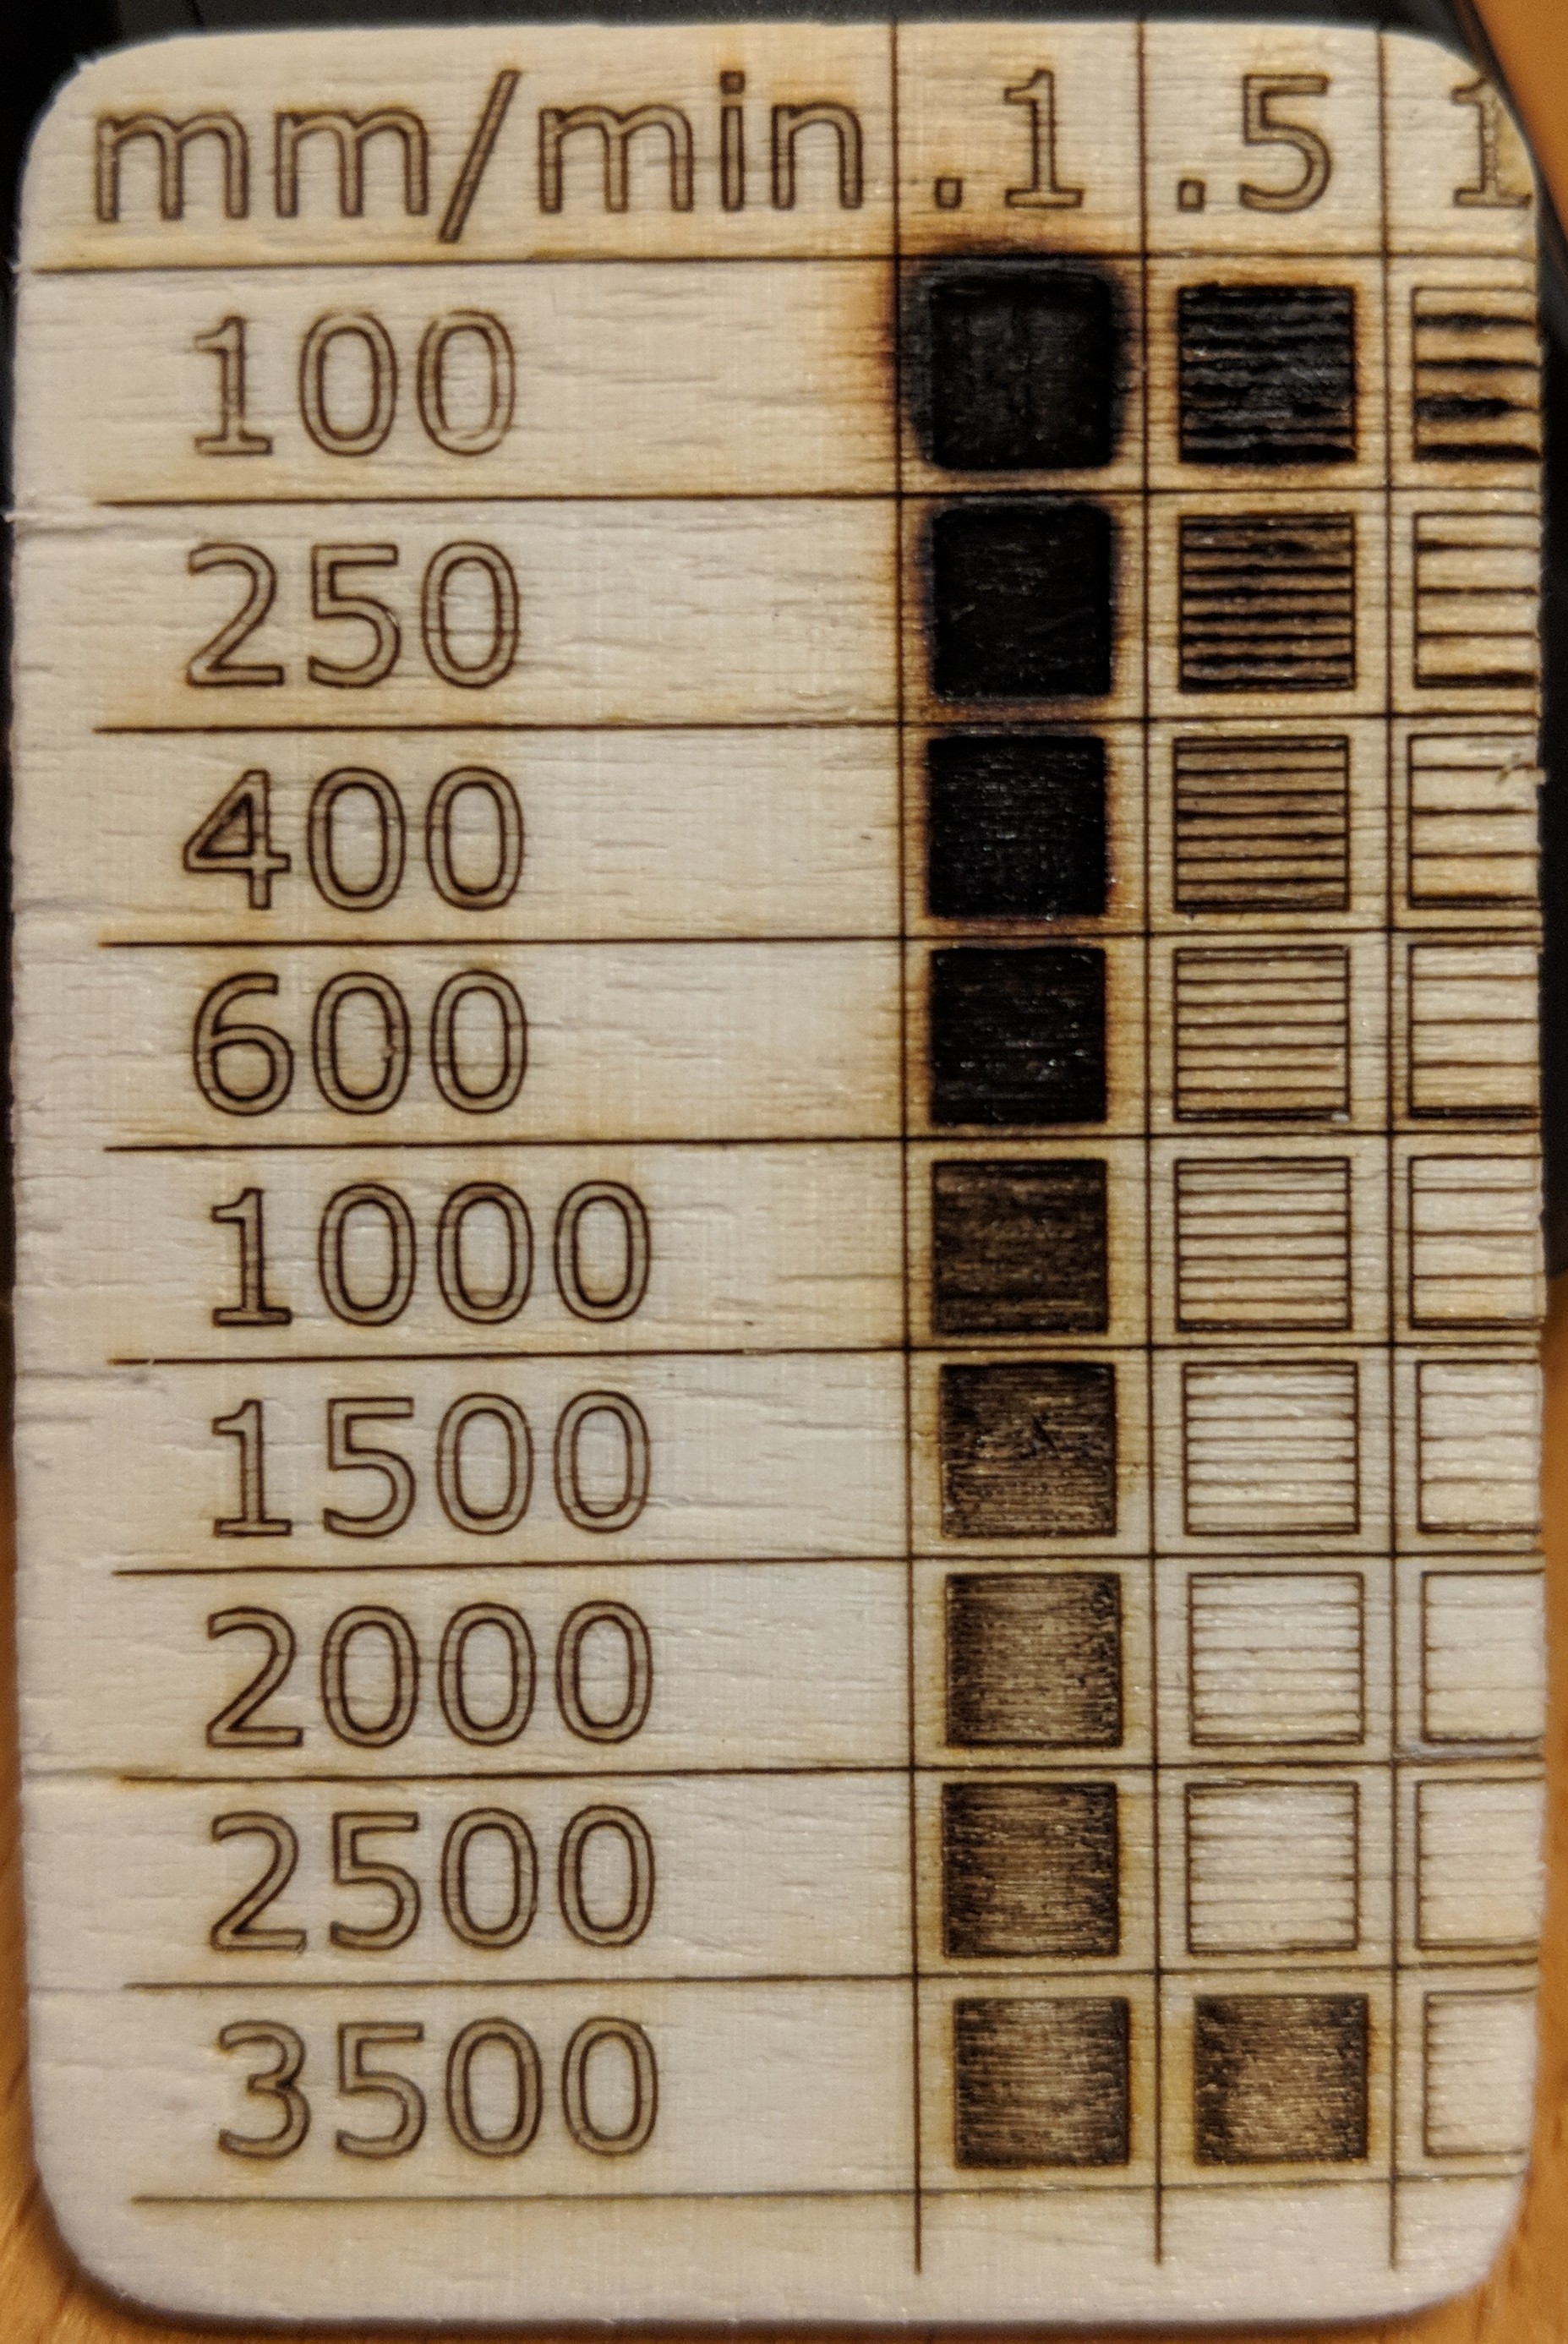
IMPORTANT NOTE: When you're filling in a solid area, the laser goes back and forth, filling the area with parallel lines. You get to specify two things: 1) how close the lines are between to each other, and 2) how fast the laser moves. Again, the faster it moves, the lighter the lines will be, and the further apart they are, the lighter the color will be.
With that in mind, I created a SpeedTest file, which is attached to this step. You can also see an image of some samples of different cut rate (each row) and line distance (0.1 mm, 0.5 mm and 1 mm). There's also a photo of how those print on some wood I have.
Notice that the slower (lower "mm/min") the laser moves the darker, and the closer they are together (0.1 mm vs 0.5 mm vs 1 mm apart), the darker.
One more note: Dobot claims the Mooz can go 80 mm/sec, which is 4800 mm/min. In my experimentation, however, I found that it looks like the top speed is somewhere between 2000 and 2500, because any faster than that and it doesn't get any lighter. I also was listening to the machine, and it sounded like it was moving at the same speed for the 2500 and 3500 prints, and those should have sounded quite different.
Feel free to use these files to print a test on whatever material you're using - JUST REMEMBER: The file prints an area that's 36 mm wide and 54 mm tall, so you need a piece of material at least that big, or you might burn your printer bed!
Repeat for the red moon shape, and give it a Line Distance 0.15 and Cut Rate of 1500. Note that's a closer Line Distance, but the same Cut Rate, so it will be a little darker.
Also note - these values were for the 1.5W upgraded laser. If you're using the 0.5W laser that comes with the Mooz, you might need to divide the Cut Rate values by 3 for a rough equivalent.
Downloads
Set Up the Outline Step

Drag the SVG file down to the main gcode box one more time (the one that says "Drag document(s) here to add").
It will create a new Line Cut operation.
Name it "Outline" and set the Cut Rate to 600.
SAVE!


At this point, you've got the file in great shape - your artwork is where you want it, and you set up all the gcode operations.
This is a great time to save!
Laserweb has a slightly finicky save system - you save your "Workspace" using the buttons at the top left. You'll have to give it a filename you like, with the extension ".json". I try to use "laserweb.json" in the filename so I keep my files clear.
Generate and Save Your Gcode
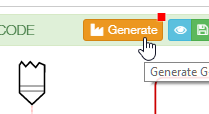
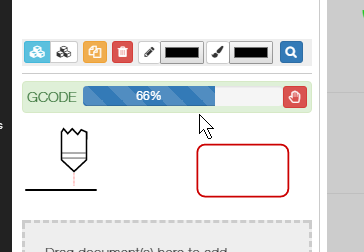
Awesome!
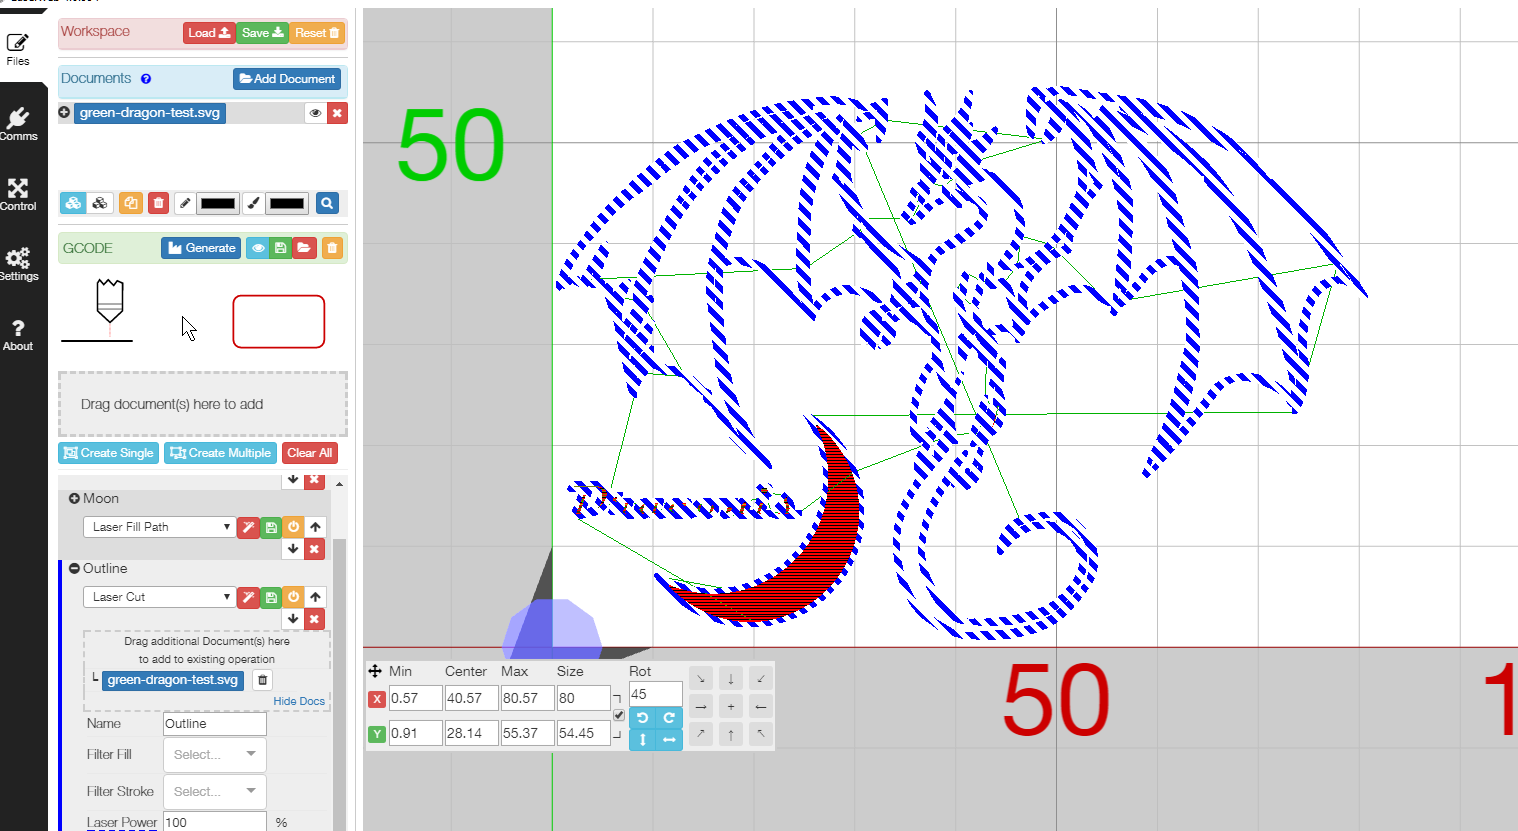
You've told Laserweb what you want to do - now just hit the Generate button, and hopefully, it will turn into a progress bar.
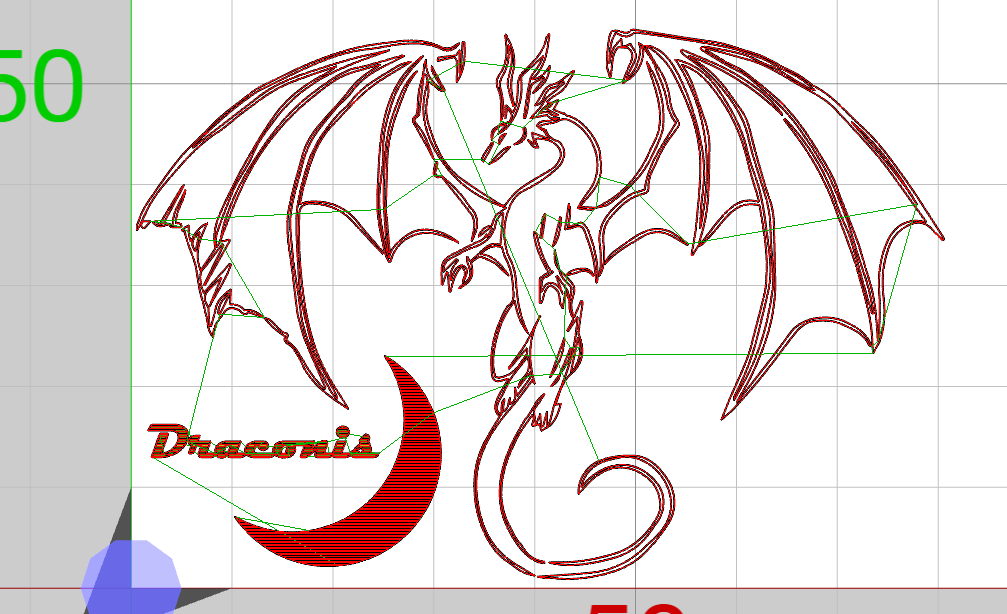
Once you're done, you can review it to make sure everything got generated - deselect the file to make the view clearer.
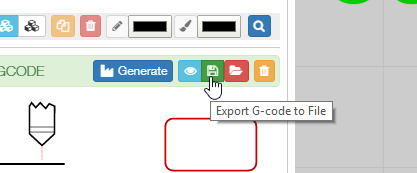
If you're happy, save the gcode to disc, and give it a nice, descriptive filename with the extension ".gcode".
See? Isn't that amazing!
All that software is FREE!
Maybe you're ready to donate now?
Double Check It
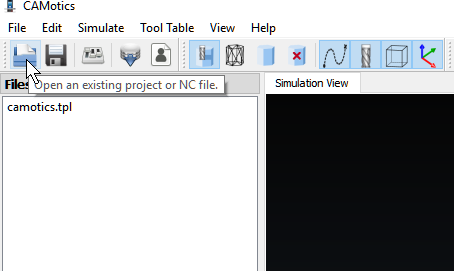
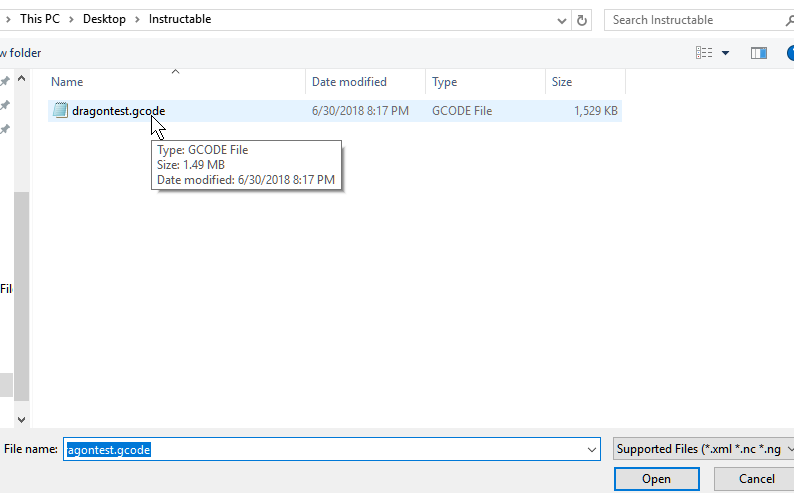
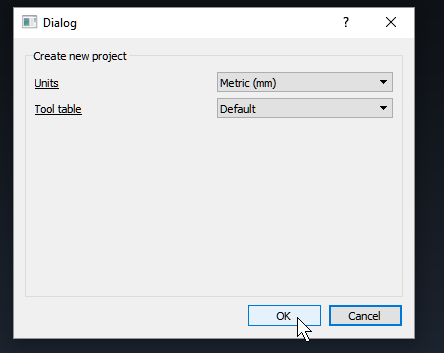
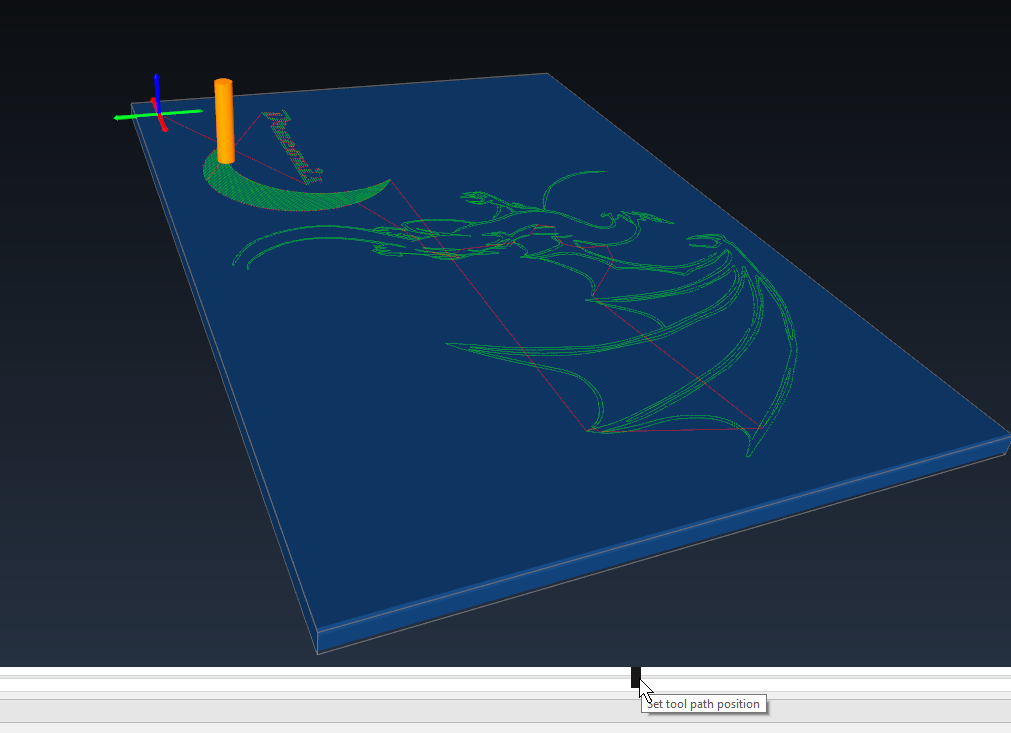
Open CAMotics, and load your gcode file. CAMotics does a great job simulating the print, so you can double-check that all your operations look good.
In particular, CAMotics lets you check the speed - useful for seeing how dark different areas will be.
Maybe throw them a little support too! Have you donated?
Print the Gcode
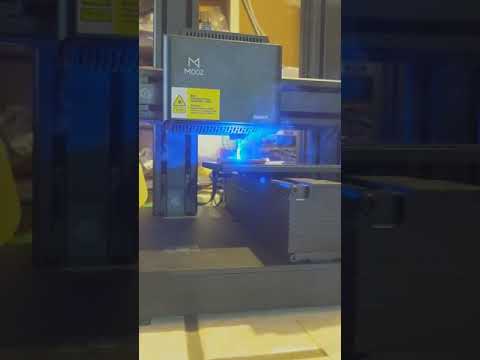
OK! Now the exciting part! Freaking lasers!
If everything looked good, load your gcode onto the SD card, and put it into the printer.
(Make sure the laser head is installed on the machine...)
Zero the printer, using the instructions in the manual - and MAKE SURE that when you zero the z-axis (height) the laser dot is as small as you can make it. As you can see from the video, the laser comes out in a cone, and you want it to be just the right height so the laser is fully focused on the flat surface of your material.
Attach the material you want to engrave - with tape! I use a loop of plain old masking tape to hold things in place. Remember - the plate will move forward and backward, with sudden starts and stops. If you don't hold it securely in place, it will shift around and your print will start to warp. Worse, the material can move out of the path of the laser, possibly burning your print bed.
Put on your goggles!
NEVER LOOK AT THE LASER LIGHT DIRECTLY - including the point where the engraving is happening. The only time I take my glasses off is if the engraving point is not in my view.
Print it!
Downloads
Tips & Troubleshooting
IF YOU'RE STUCK
If you have any trouble, here's my suggestion: Whatever you're trying to do, try it in the software that came with your machine, and save the gcode out to a file. Then try it with Laserweb, as I've shown here. Check the gcode and see what's different. Gcode is not that complicated, and with a little Google searching, hopefully you can puzzle out the difference, then find the setting in Laserweb to get it to do what you want. It's highly configurable and quite powerful
MULTIPLE PRINTS
Sometimes I want to print multiple copes of my artwork. To do that, simply 'Add Document' in Laserweb multiple times to import the file as many times as you want. You can then position them on the layout so they're spread out on the machine's printing surface.
Then, when you go to make your gcode, make sure all the files are attached to each gcode step. There's a small box where it says "Drag additional Document(s) hereto add to existing operation".