Various Display of Led Lights
by makermodule in Circuits > Arduino
1411 Views, 14 Favorites, 0 Comments
Various Display of Led Lights

Objective:
This time we will show you how to control 8 LEDs via Processing.
Equipment Preparation

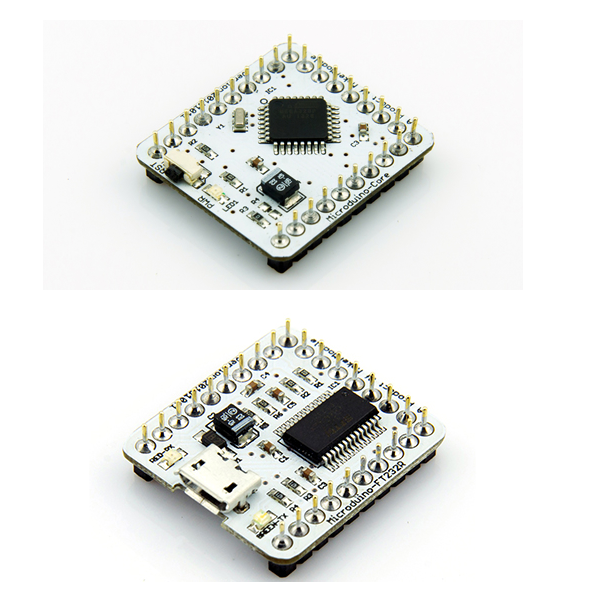
Microduino Equipment
Other equipment
- USB cable *1
- LEDs
- 330Ω resistor *1
- Breadboard *1
- Breadboard Jumper *1
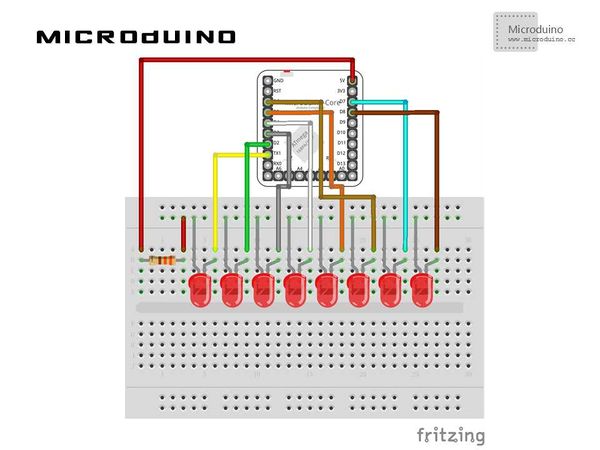
Schematic

Program
https://github.com/Microduino/Microduino_Tutorials/tree/master/Microduino_Processing/sketch_8LEDs Note:Don't drop the picture in program
Debug

Step 1:Set up hardware system, as picture showed
Code
Step 2: There are two code files:
LED object:
//Define the variable in object
- int xpos;
- int ypos;
- int w = 50;
- int h = 50;
- PImage LEDState=loadImage("LEDOFF.png");
- int ledPin;
- boolean button = false;
//Constructor function
- LED(int xpos_, int ypos_, int ledPin_) {
- xpos = xpos_;
- ypos = ypos_;
- ledPin=ledPin_;
- }
//Display function
- void display() {
- if(button) {
- LEDState=loadImage("LEDON.png");
- } else { LEDState=loadImage("LEDOFF.png");
- } image(LEDState,xpos,ypos); }
sketch_8LEDs:Main function
//Mouse click function, identify which LED was clicked, then change the button state and LED state after click.
- void mousePressed() {
- for (int i = 0; i < leds.length; i ++ ) {
- x=leds[i].xpos;
- y=leds[i].ypos;
- w=leds[i].w;
- h=leds[i].h;
- if (mouseX > x && mouseX < x+w && mouseY > y && mouseY < y+h) {
- leds[i].button = !leds[i].button; } } }
GO ON
Step 3: Compile the code and download it.
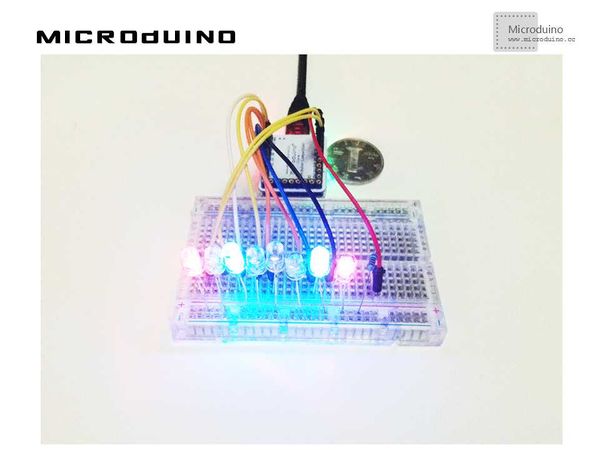
Step 4: Click several LED randomly, observe the result.
Result

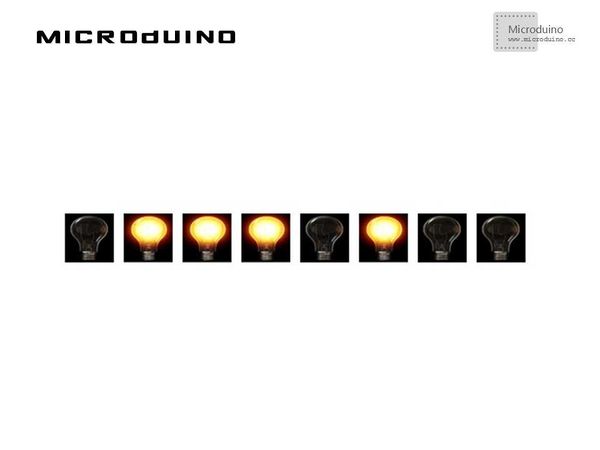
8 LED will be displayed in screen, you can control them.