Vampire Pumpkin
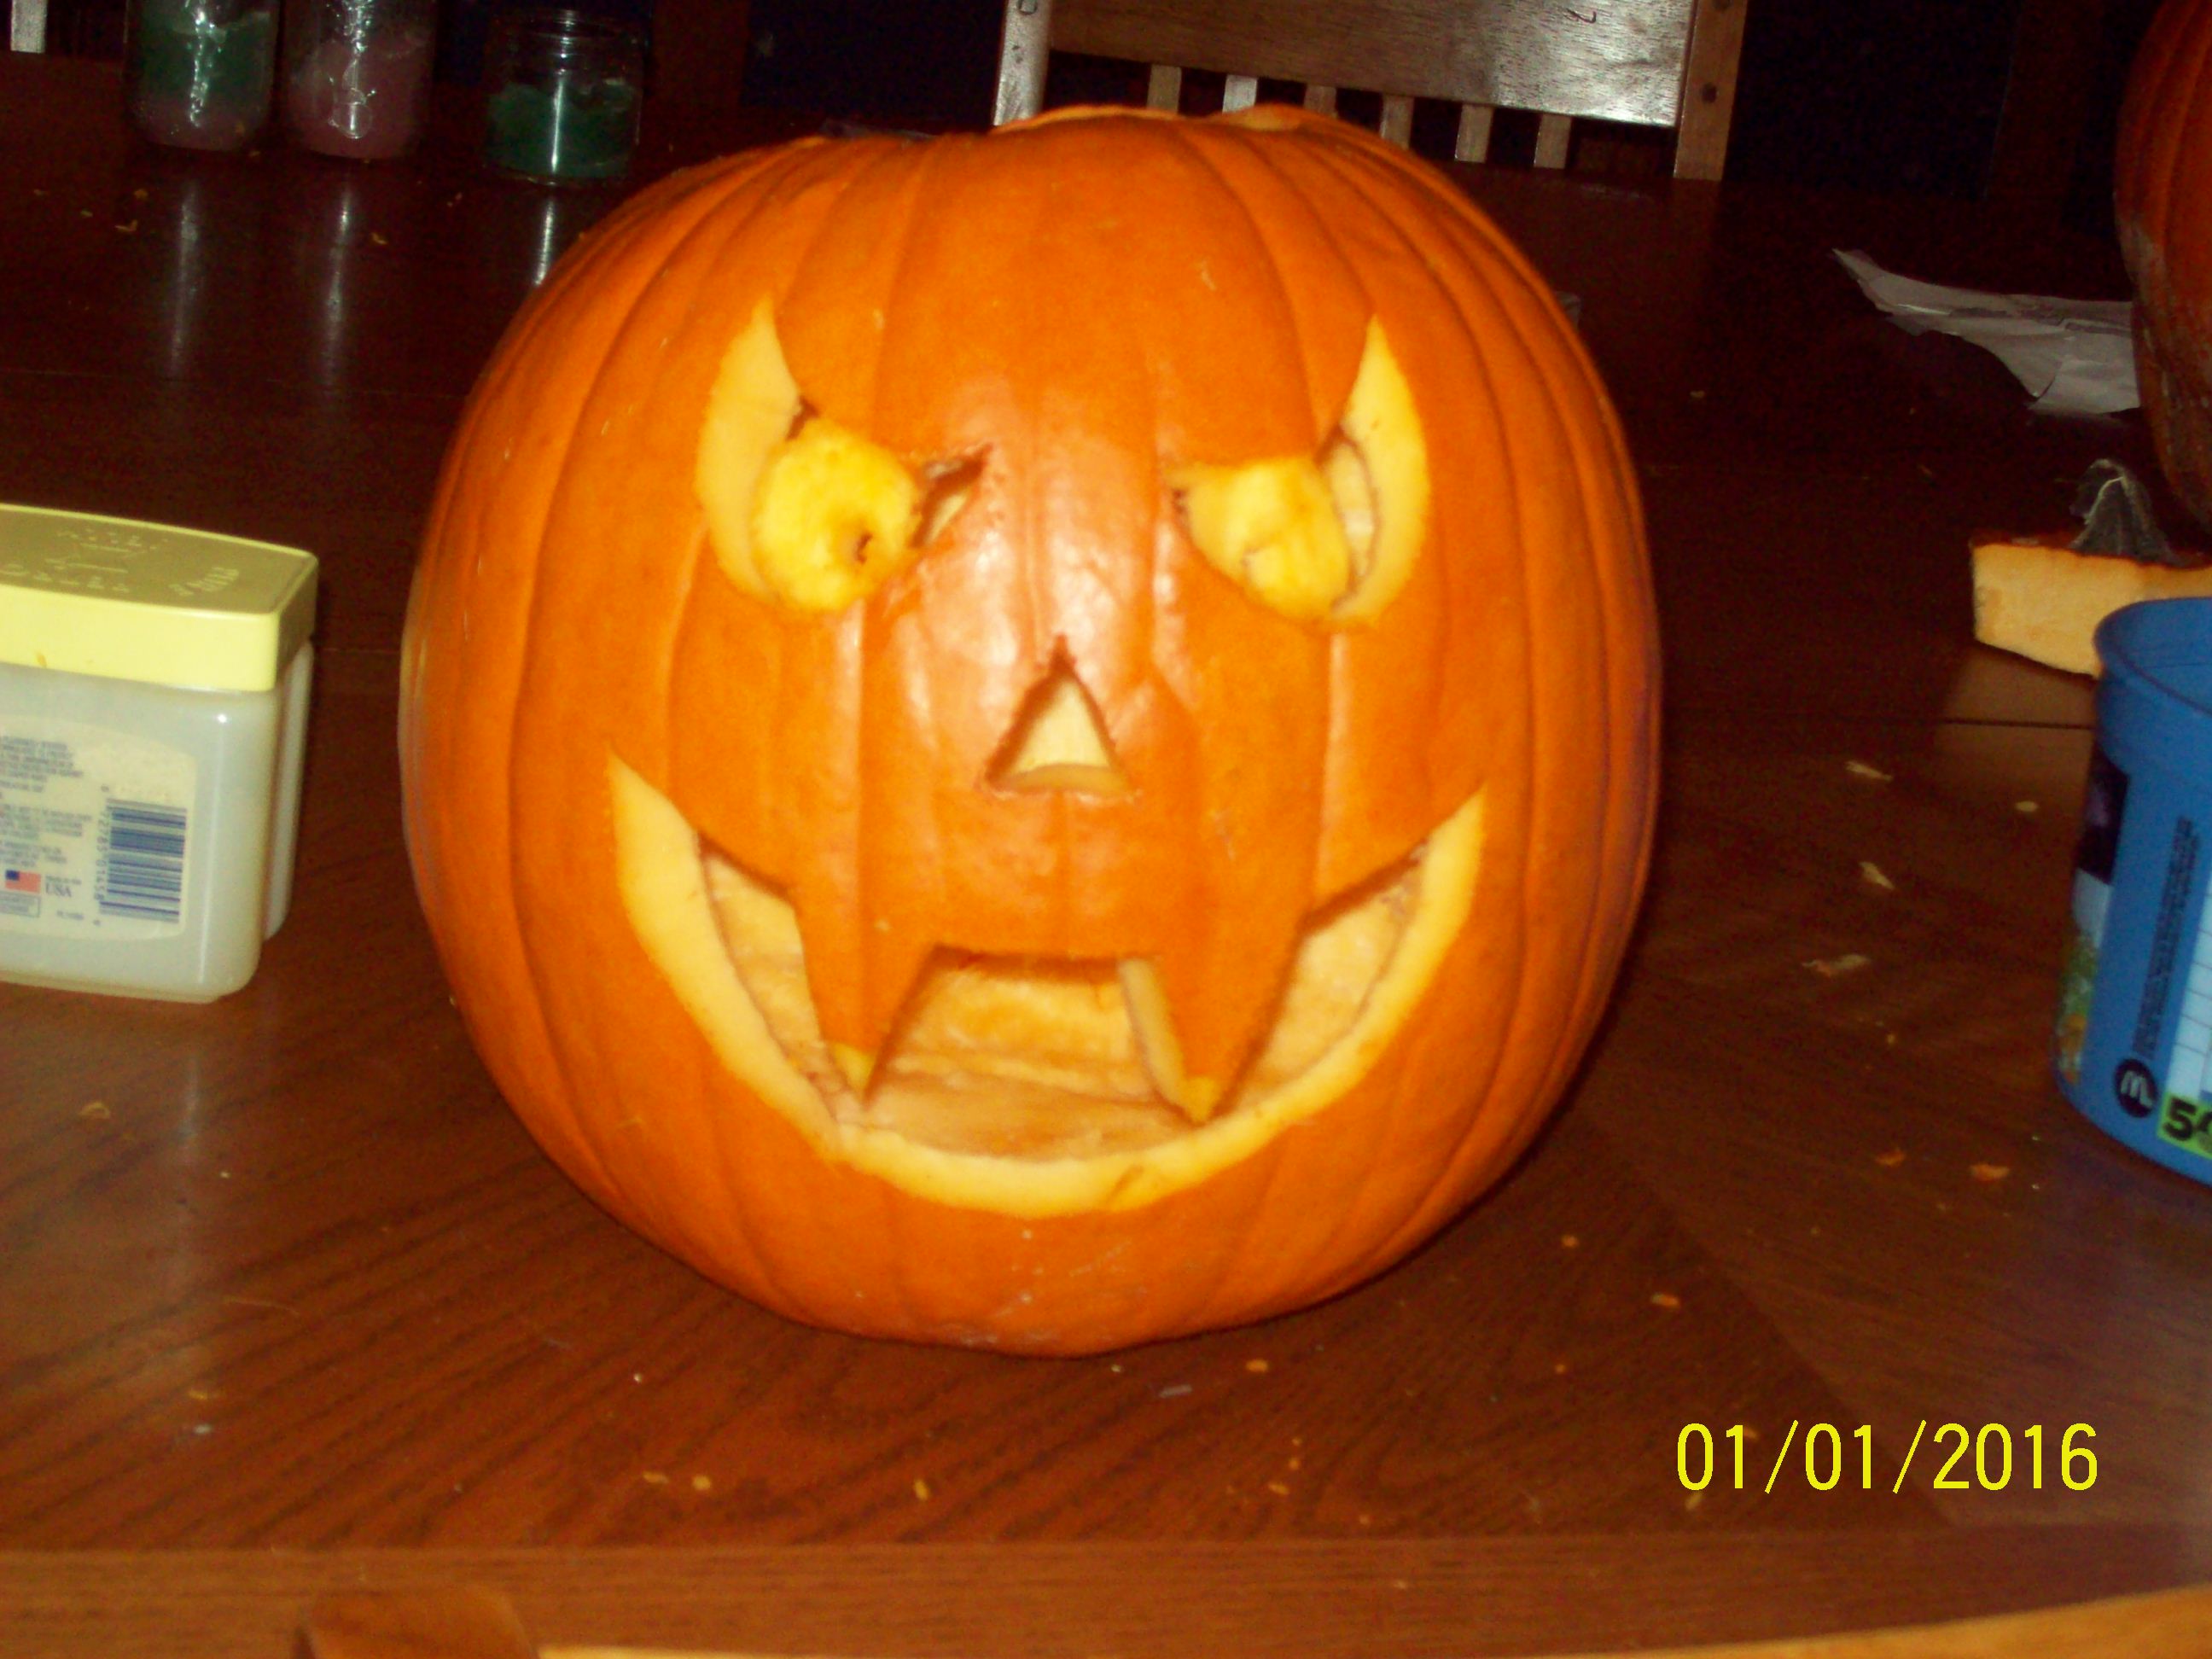
This is a very simple design great for children.
Supplies
Ice cream scoop or a pumpkin scraper.
Pumpkin carving kit ( Pokers, Small serrated knifes { large and small }, Pumpkin skin scraper)
Printer
Tape
Sizzors
Petroleum Jelly
And of course a PUMPKIN!
How to Pick Our Your Pumpkin.
Your choice of pumpkin should depend on your skill level and your design you pick. For this design I suggest a tall pumpkin with light orange skin. The color of the pumpkin determines the stiffness of the skin. Lighter colored pumpkins are easier to cut than darker colored pumpkins. I used a tall pumpkin since the design was vertical instead of horizontal.
Preparing Your Pumpkin.
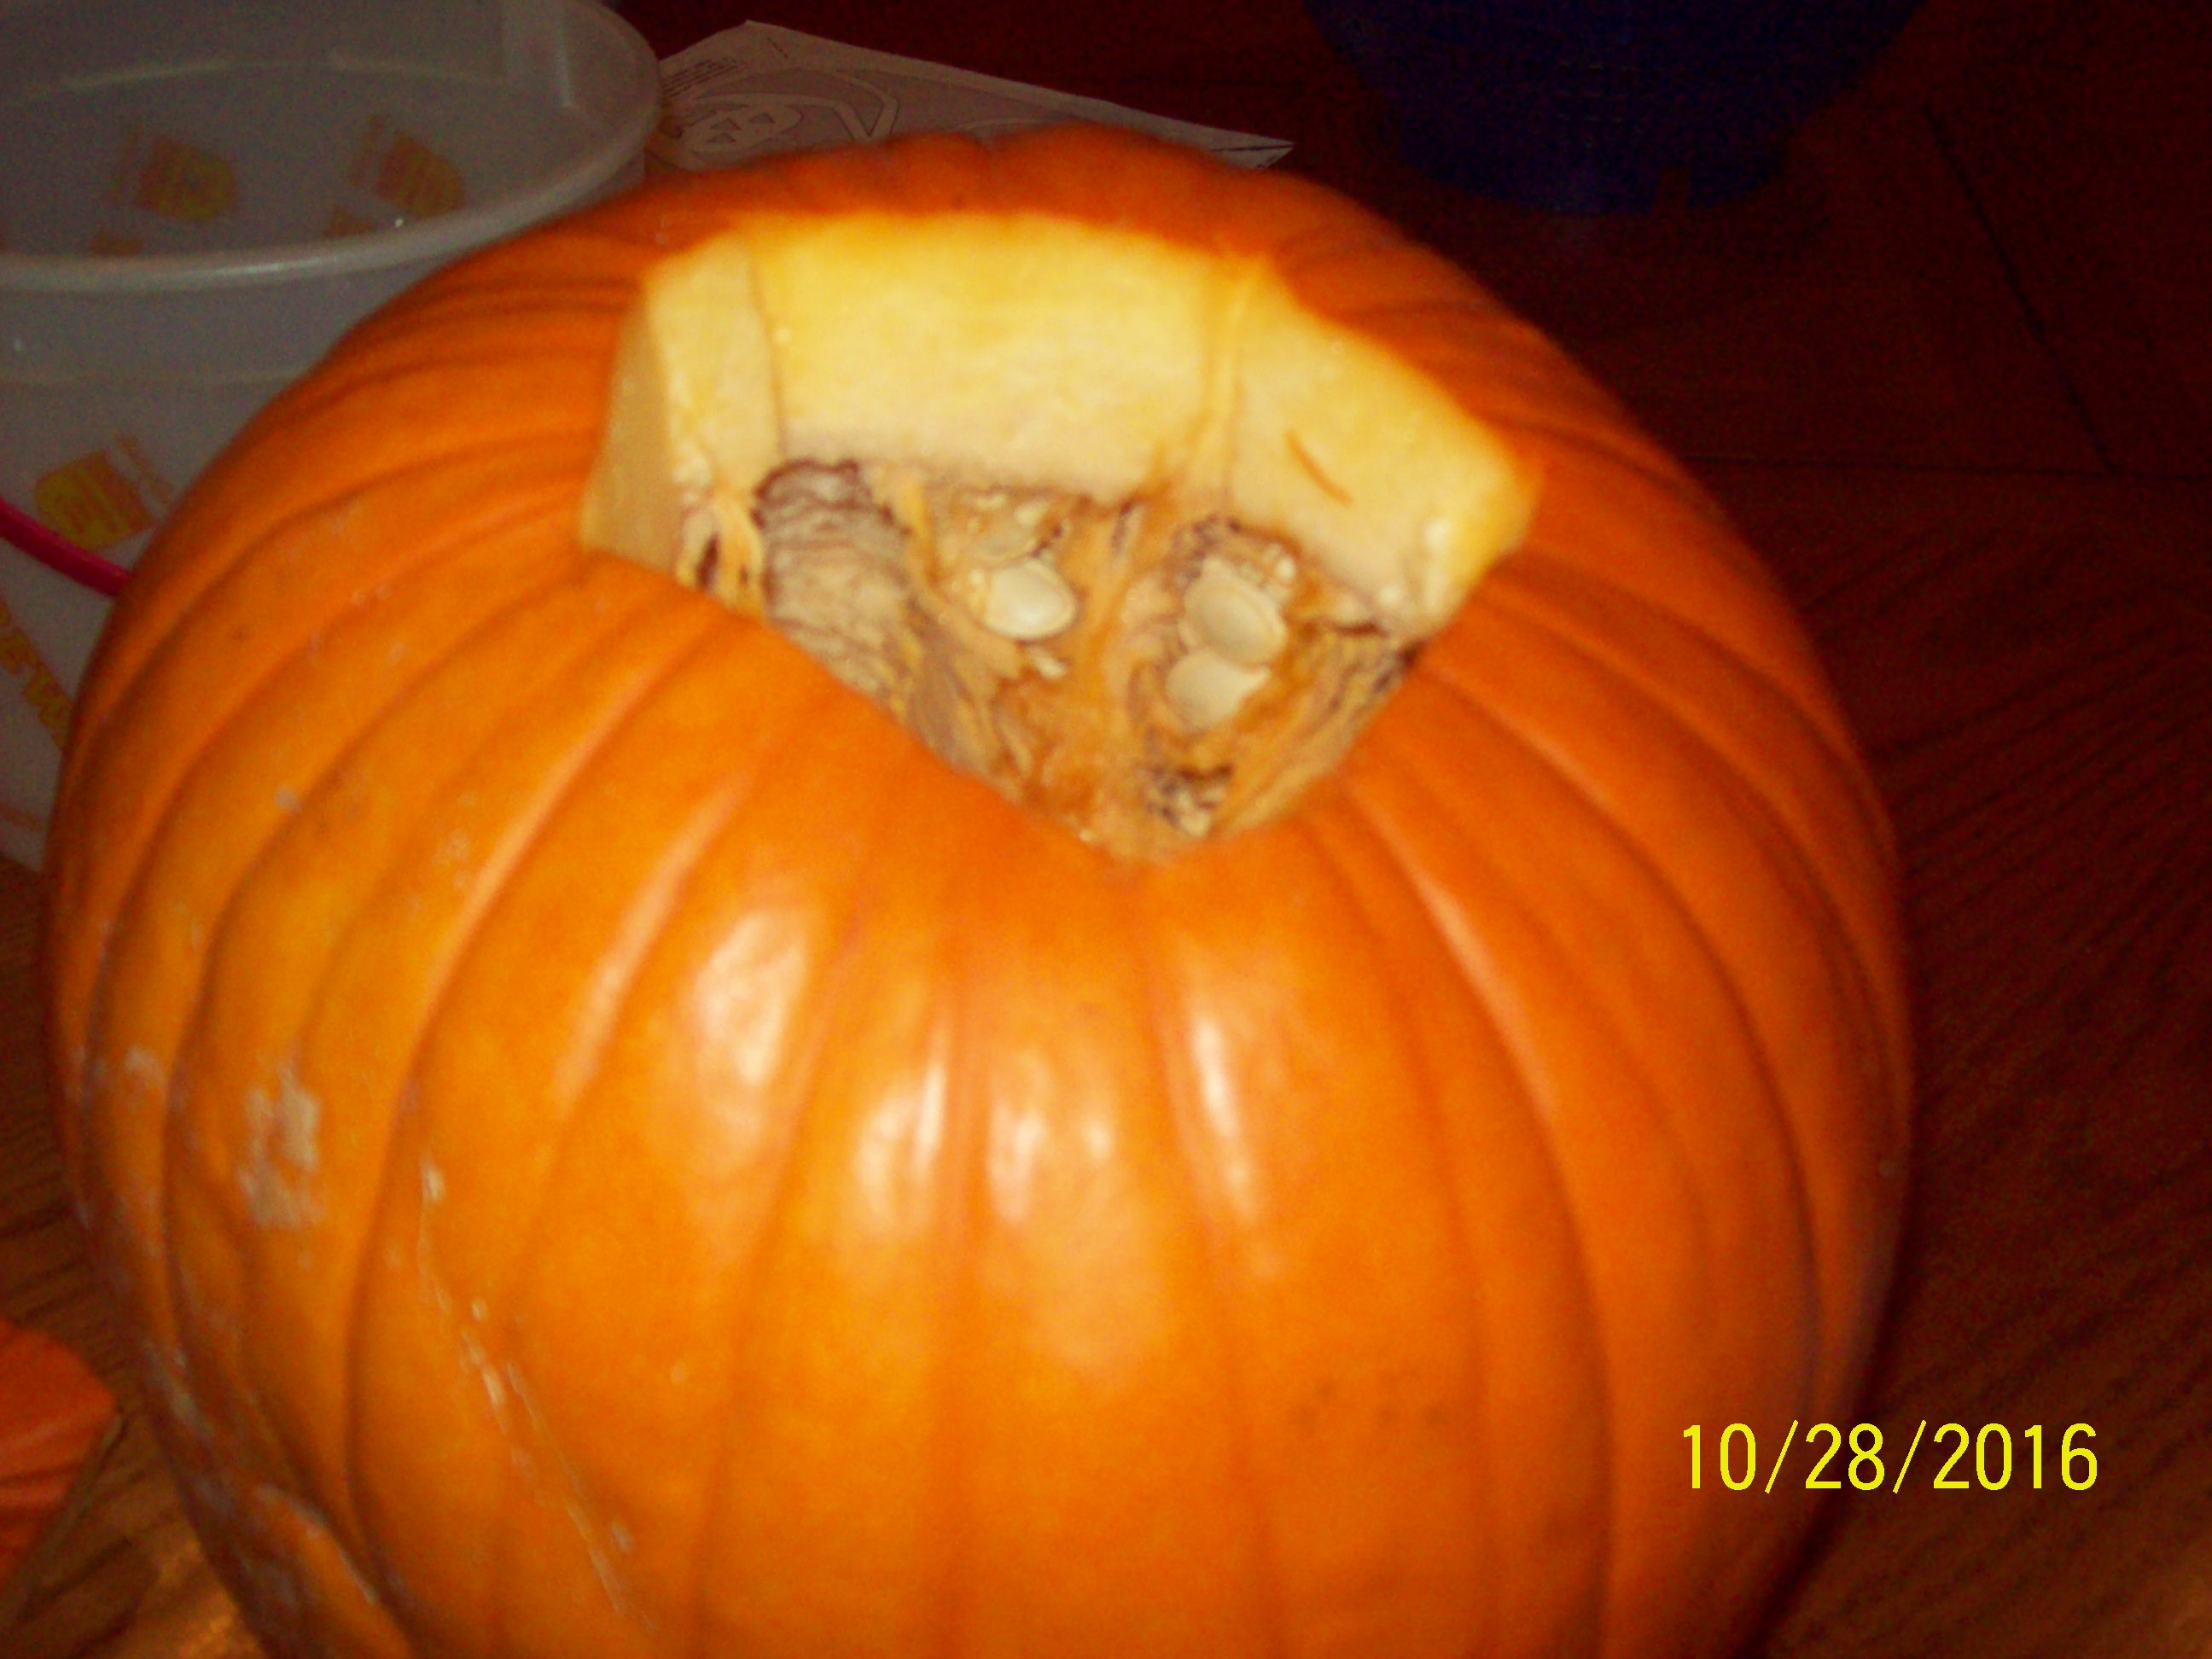
Start by cutting a hole in the top of the pumpkin. It shouldn't be too big or too small; you should be able to fit your arm in and move it around. Only cut once! Then, cut the "guts" and some skin on the top. Now, start scooping the guts out until it all gone and start scraping the side you are going to put the design on. It should be about an inch thick when your done. You can figure this out by tapping the inside with one hand and feel it with the other, if you can feel the tap well then you're good. Next, clean the pumpkin guts and dirt off the pumpkin with a wet paper towel.
Putting on the Stencil
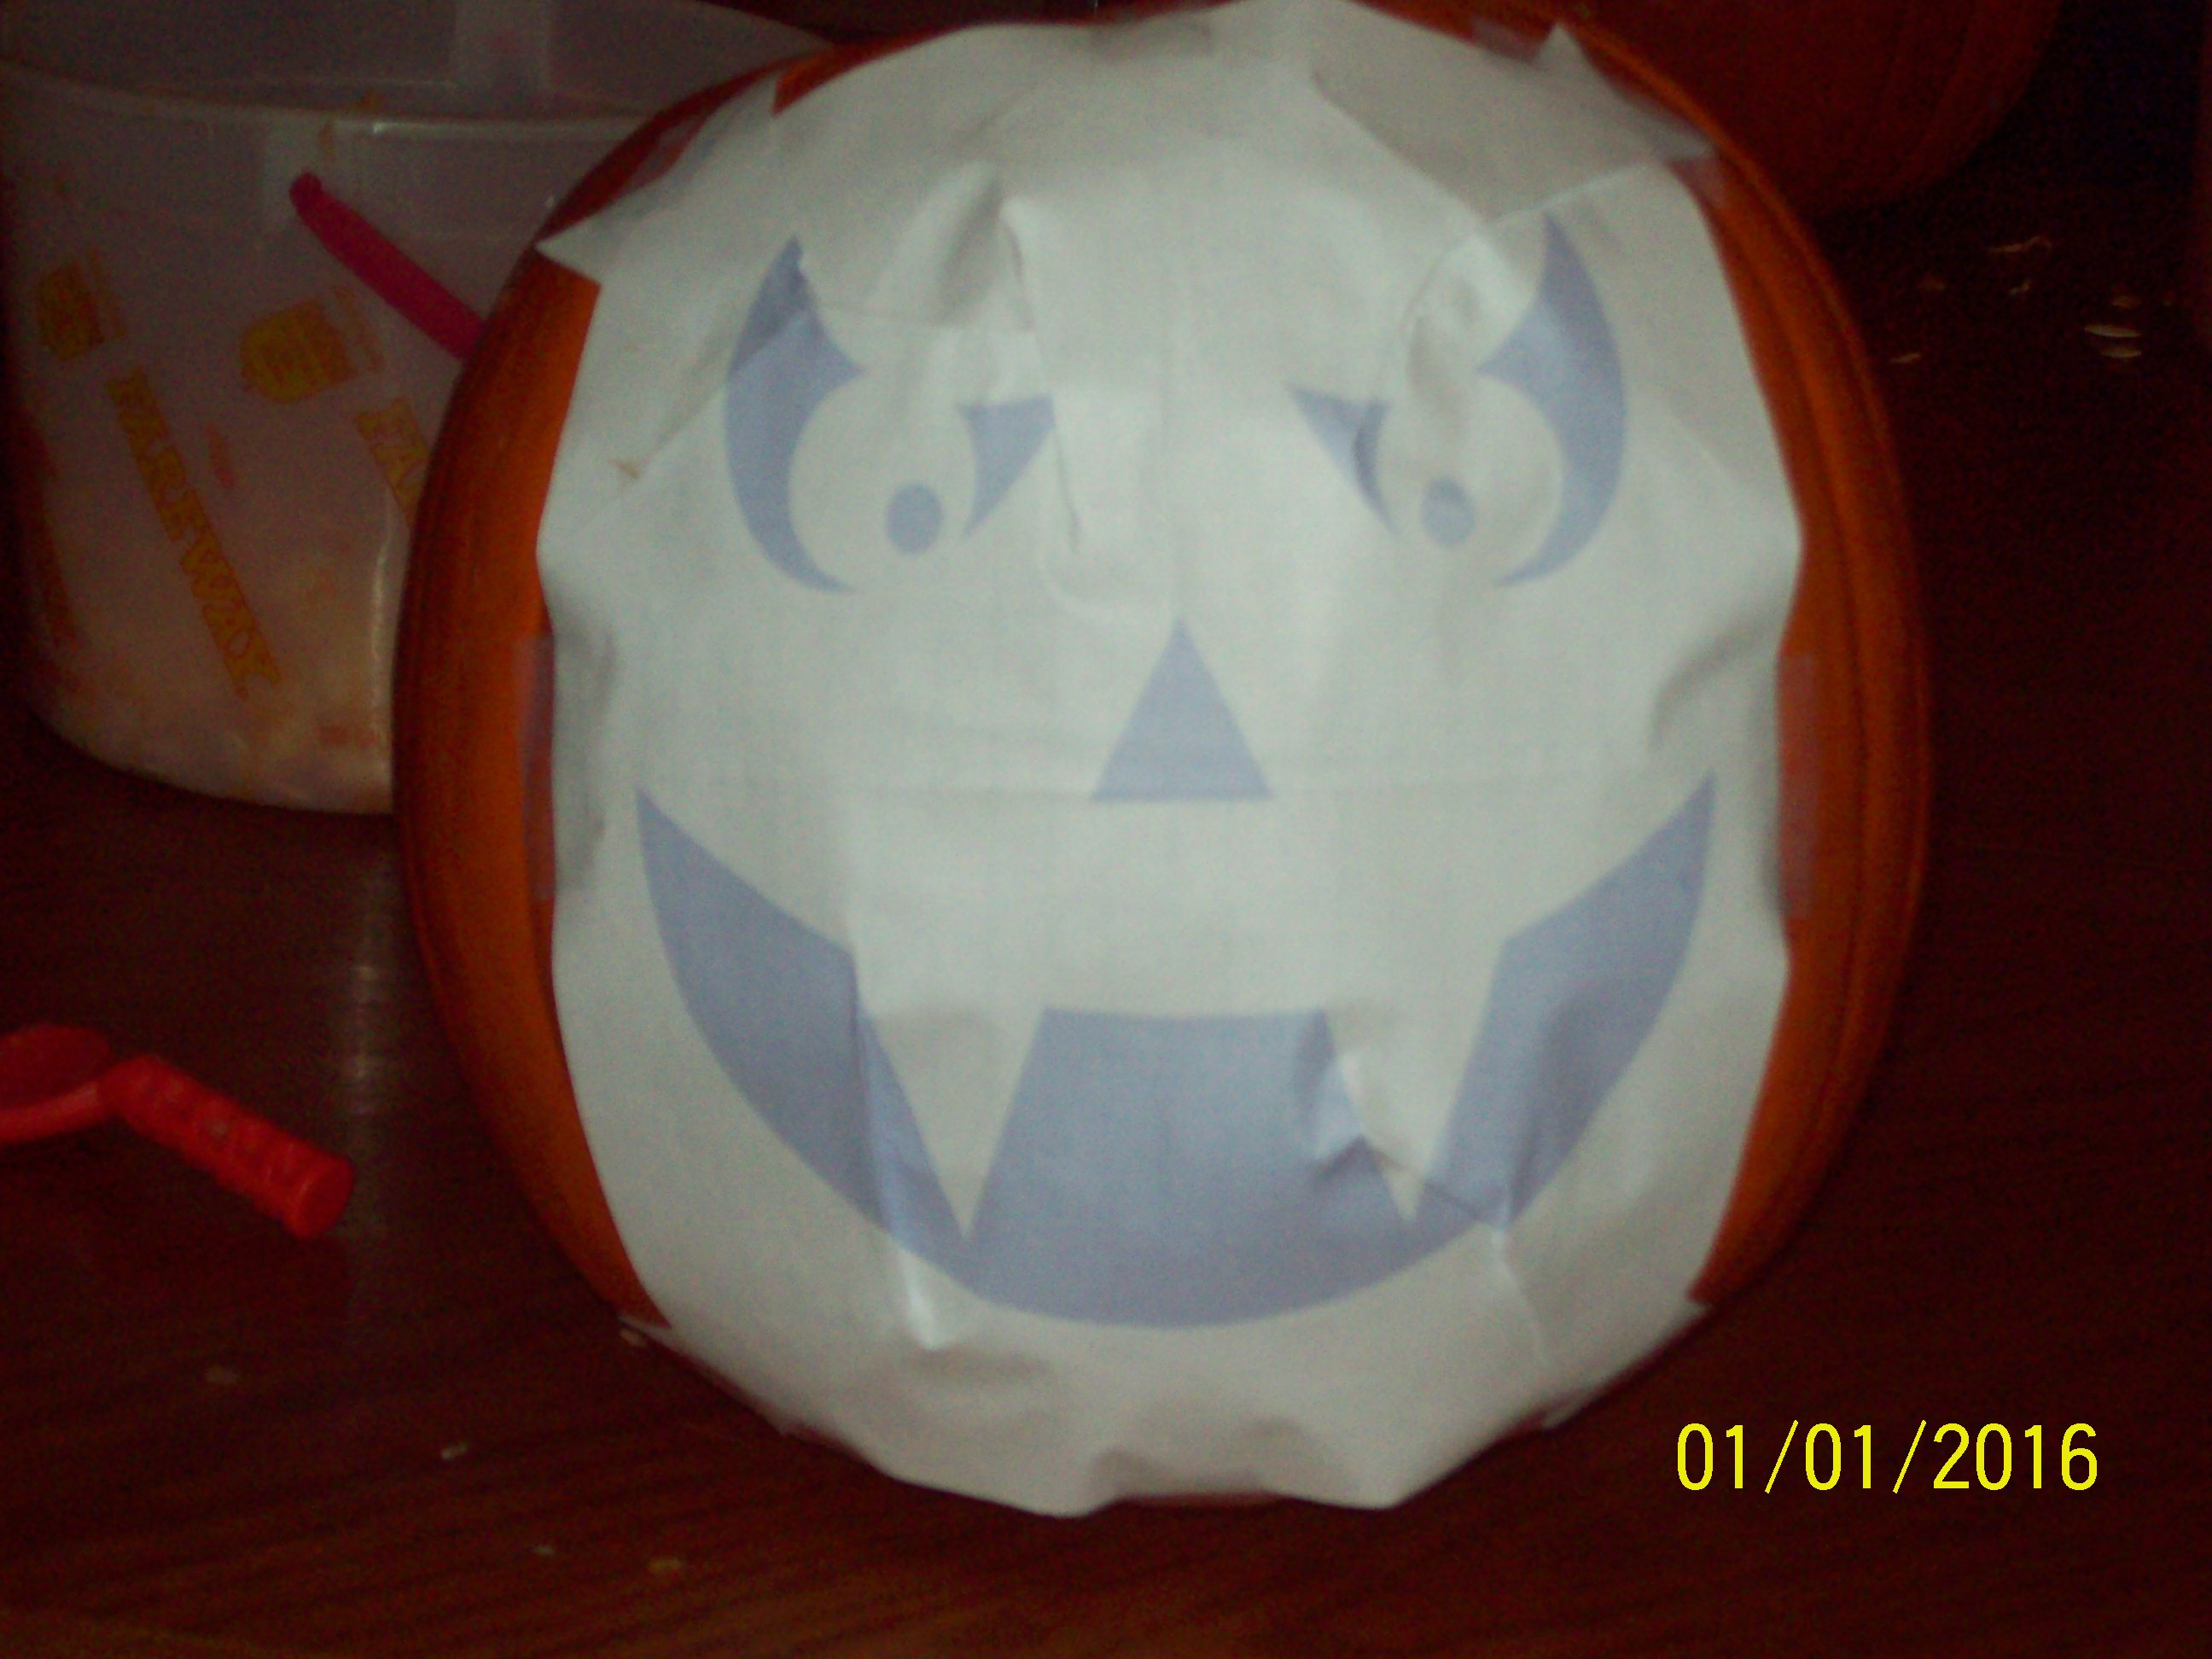
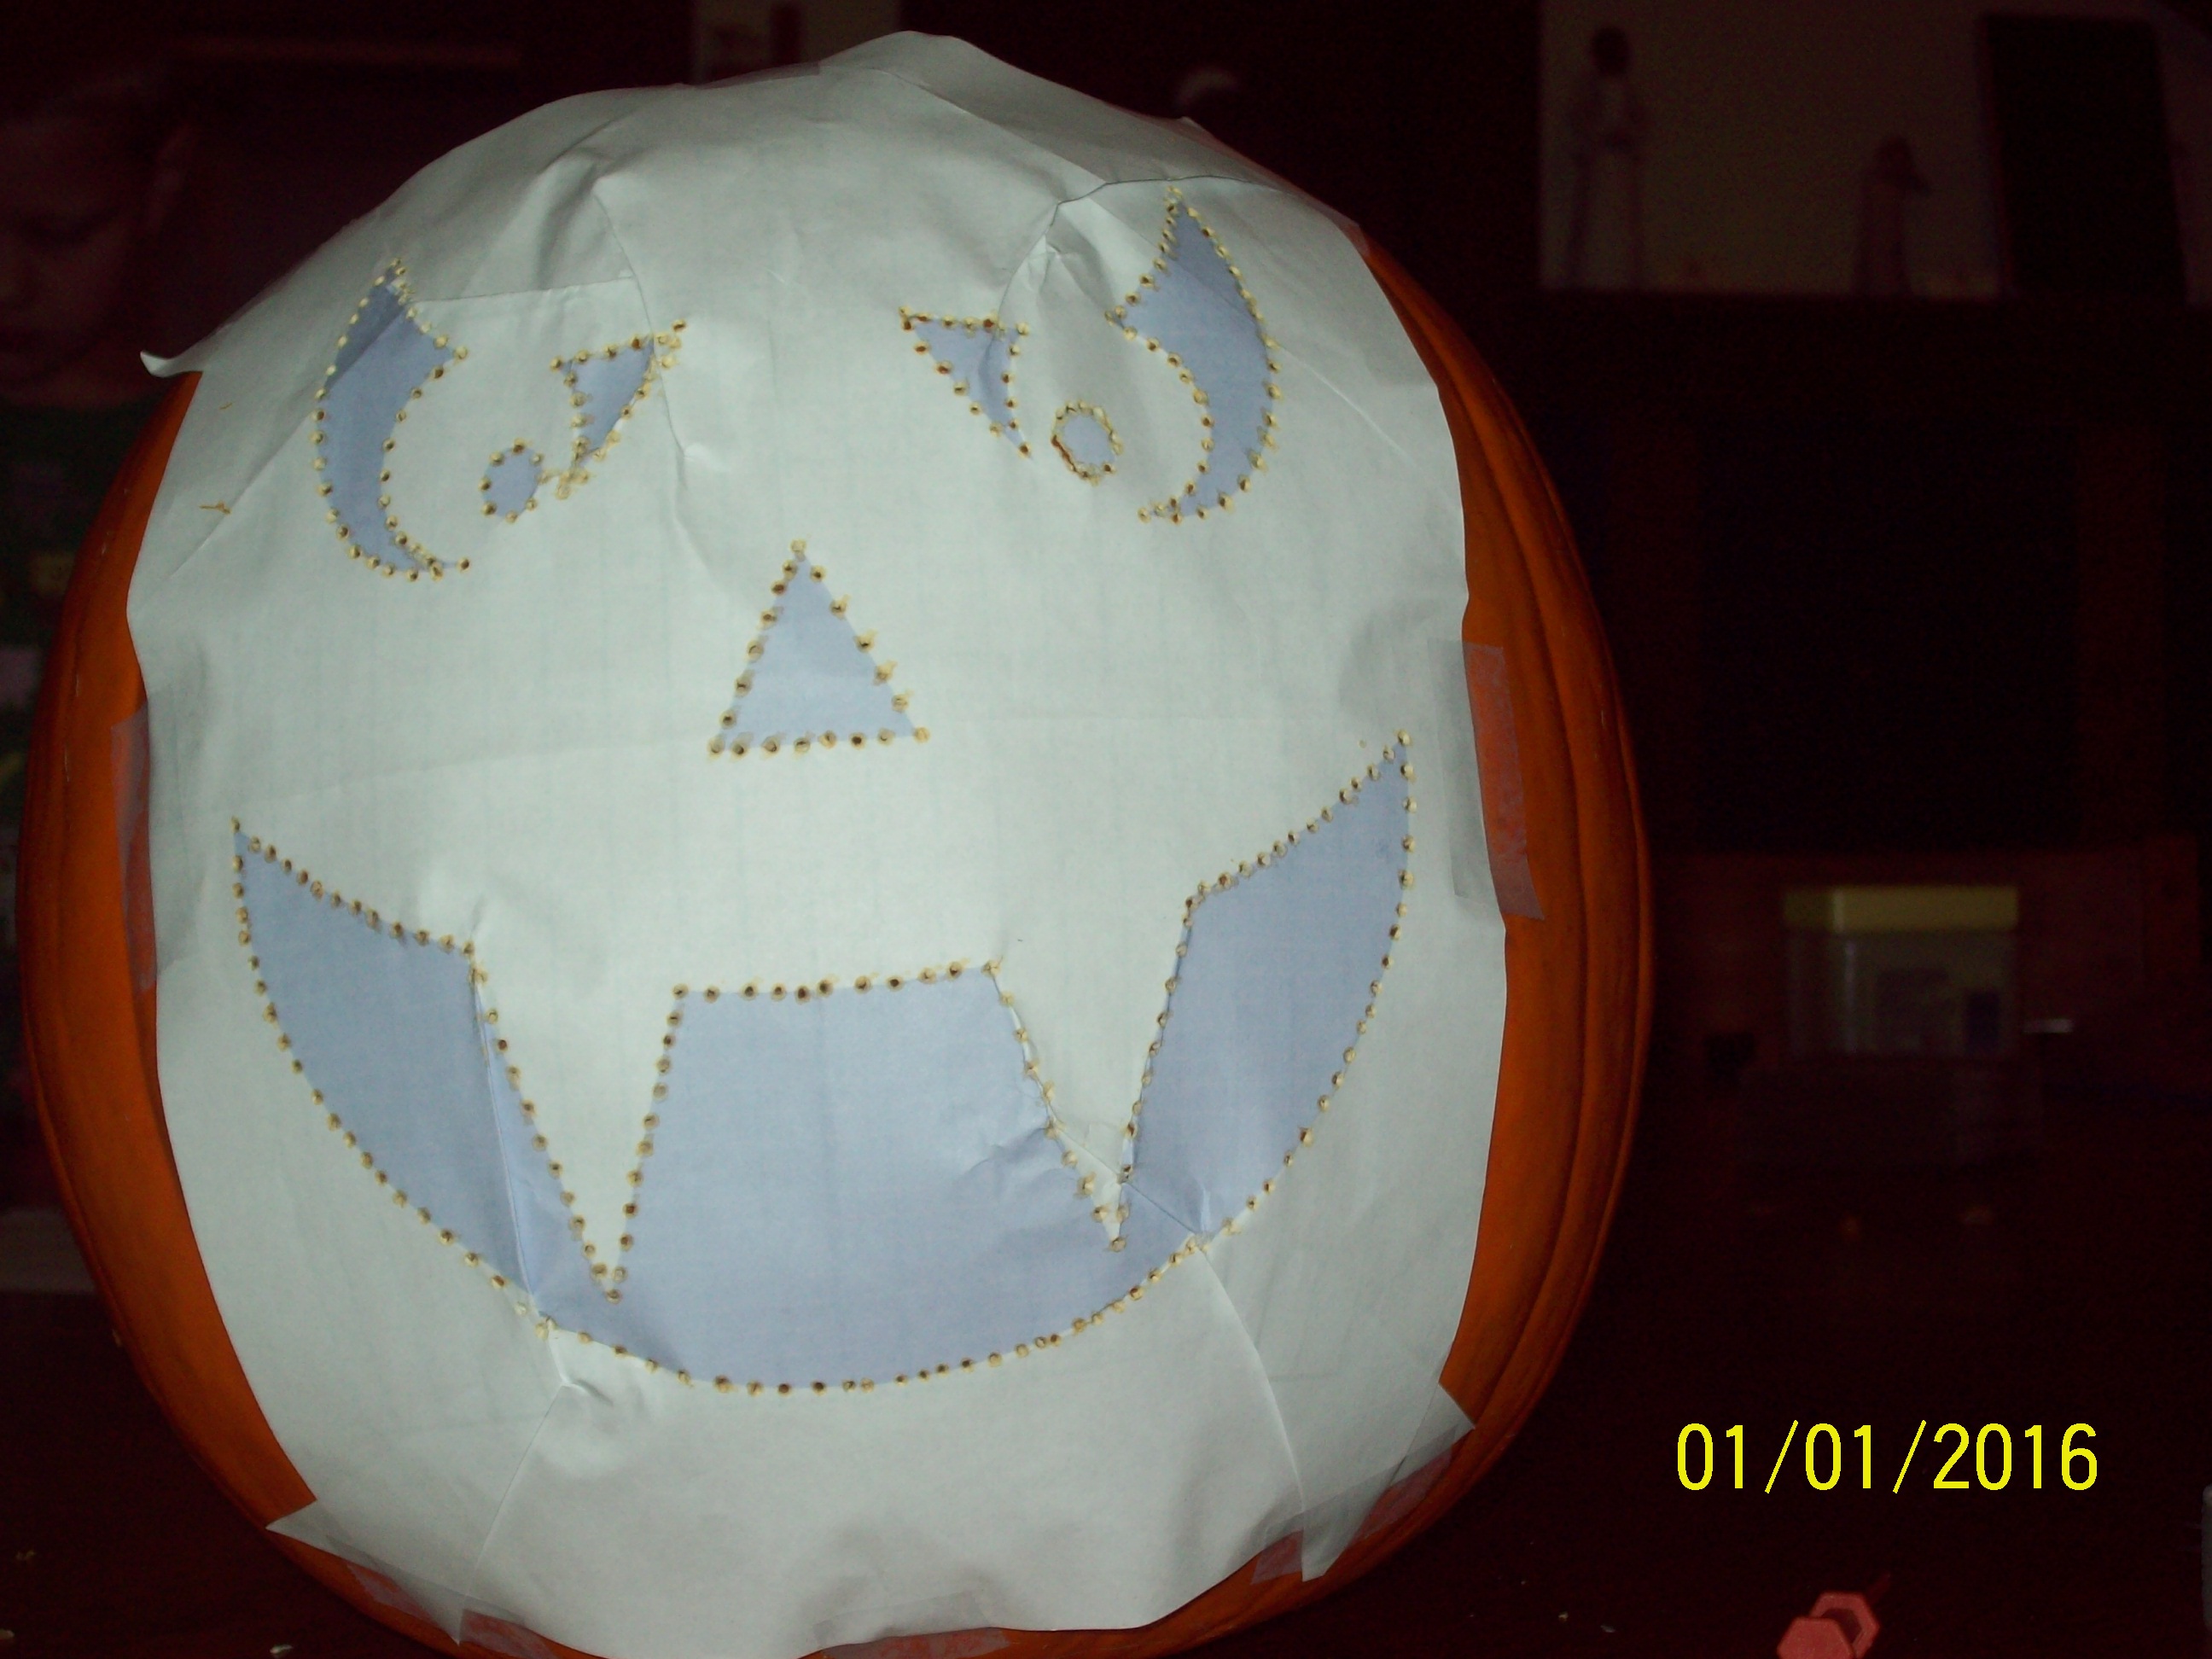
Print off the document. Then, start taping the top, bottom, and sides on to the pumpkin. Next, take the corners and cut them diagonally toward the center about 2-3 inches and tape them together against the pumpkin to make it more circular to fit the pumpkin. Then, using the poker, poke holes along the lines of the shaded areas, make sure they are fairly close together so you can still see the picture when you take the stencil off.
Downloads
Cutting the Pumpkin.
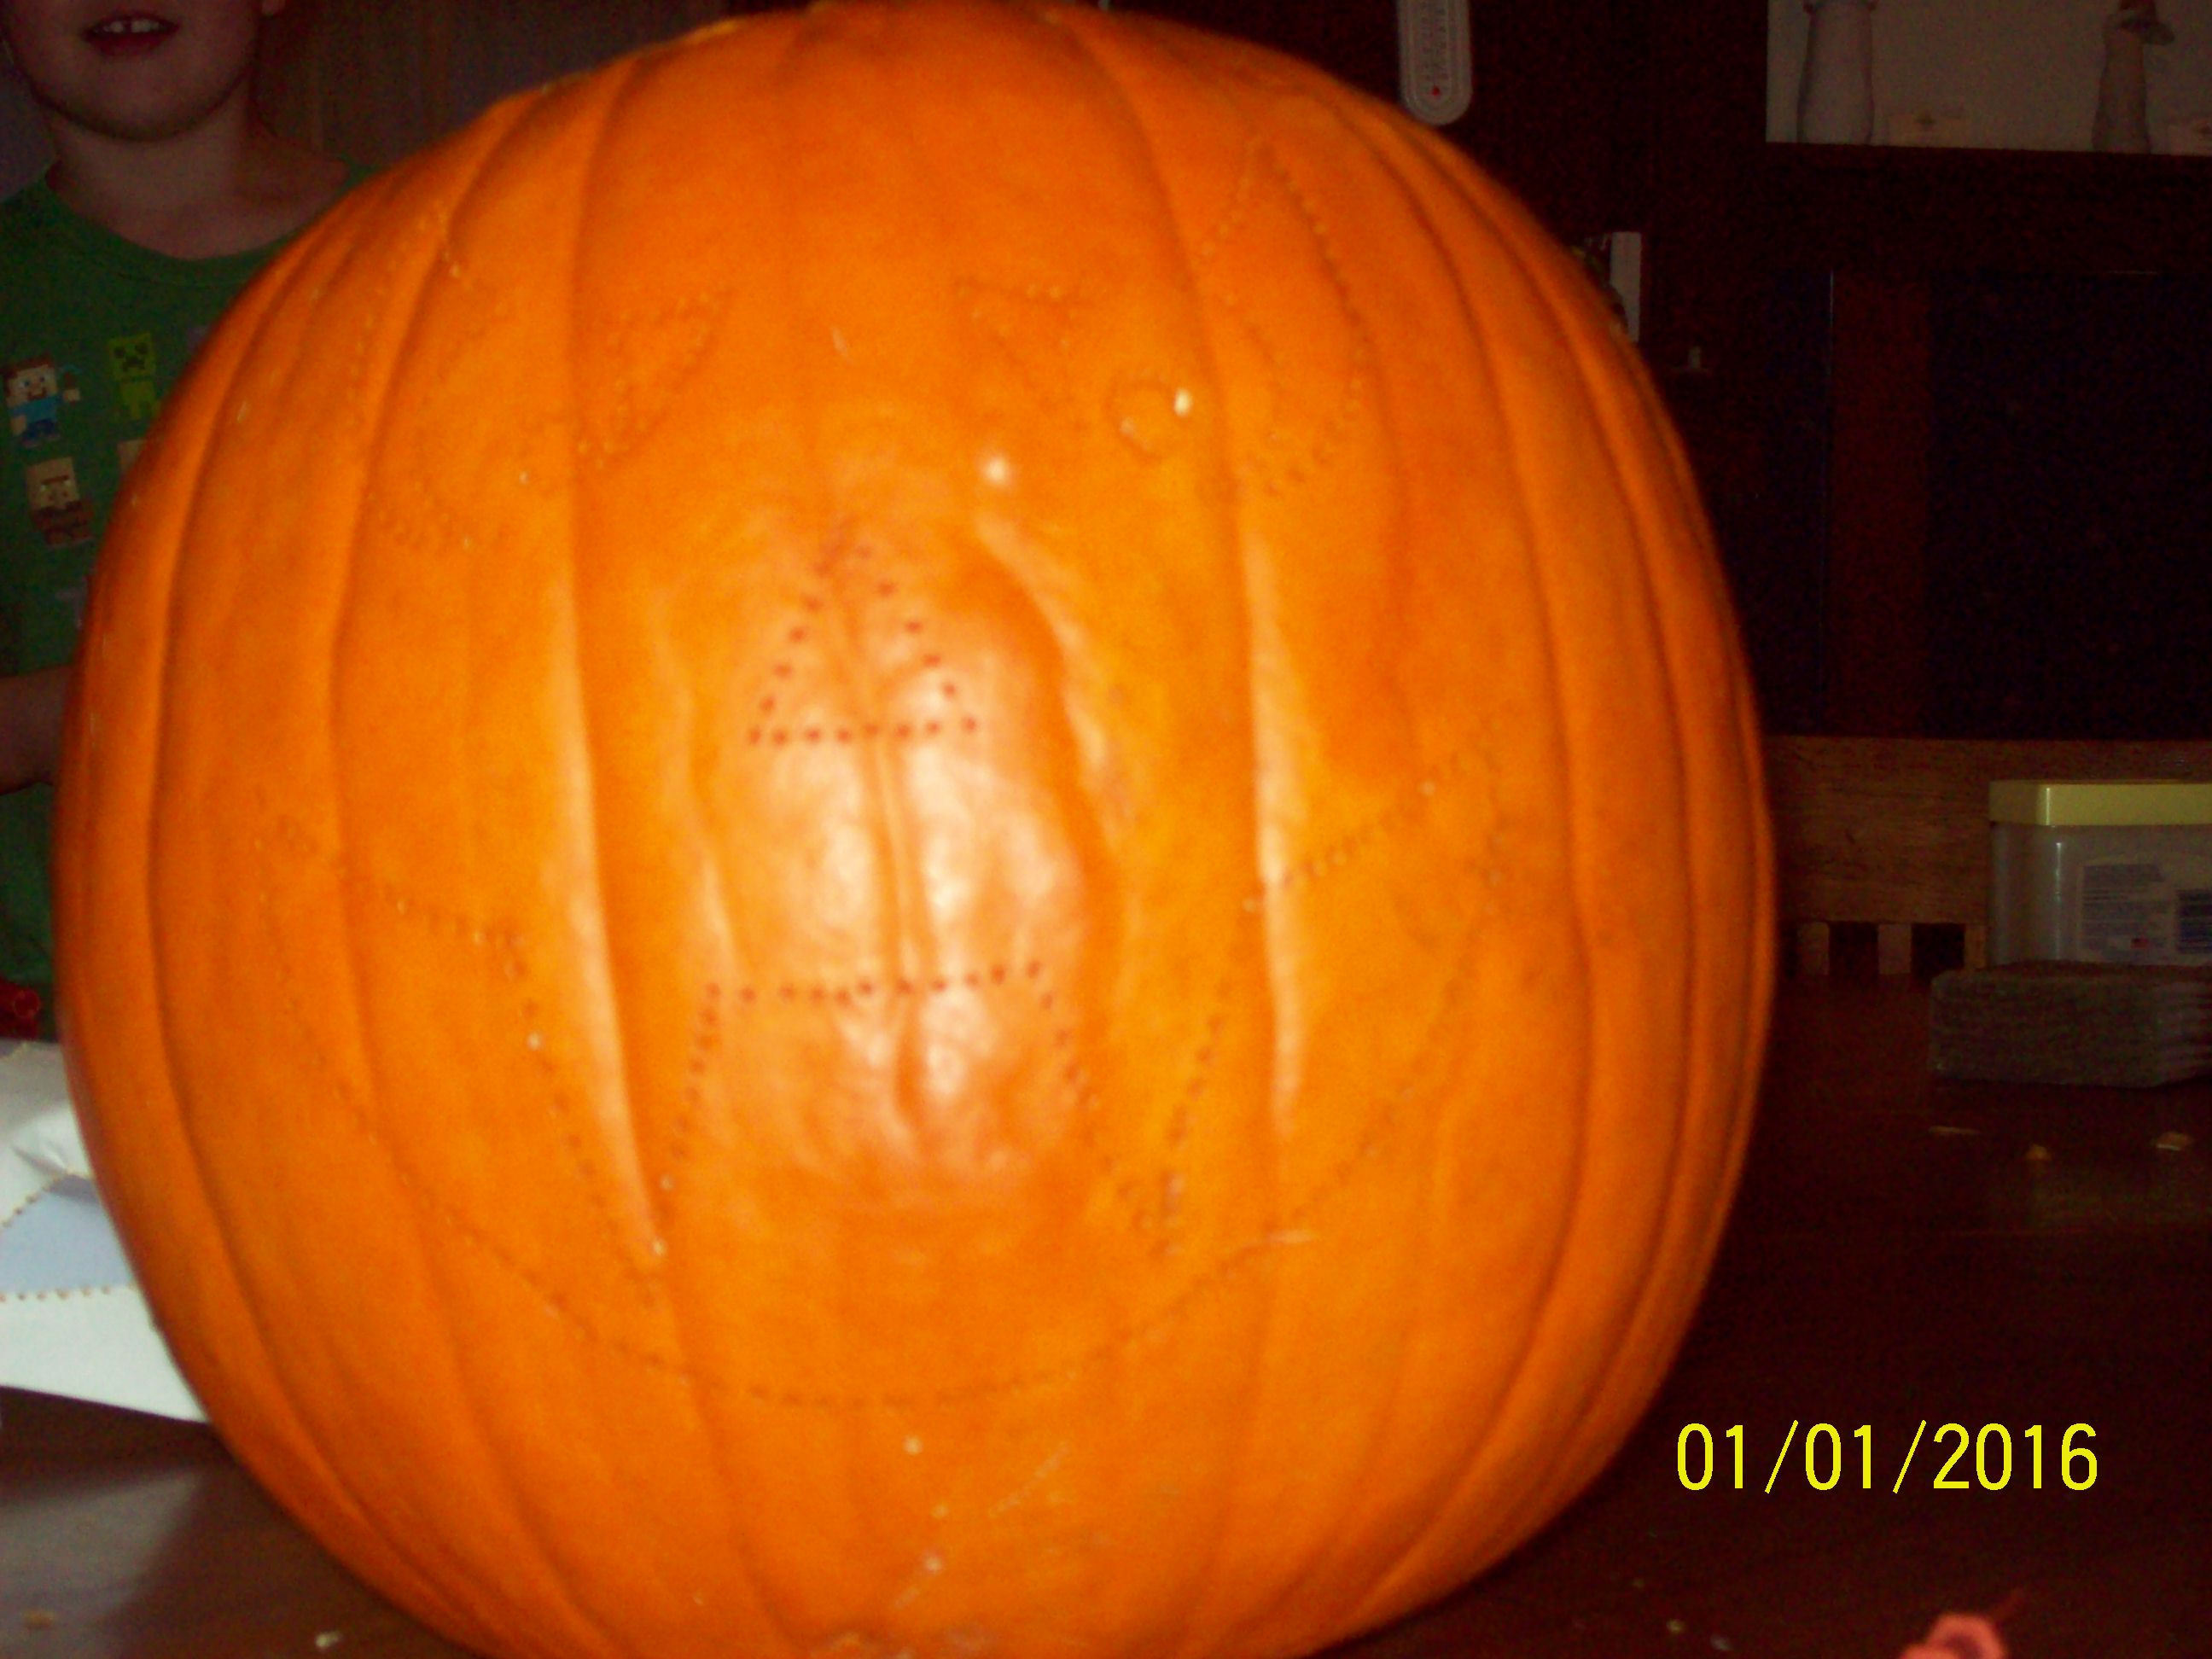
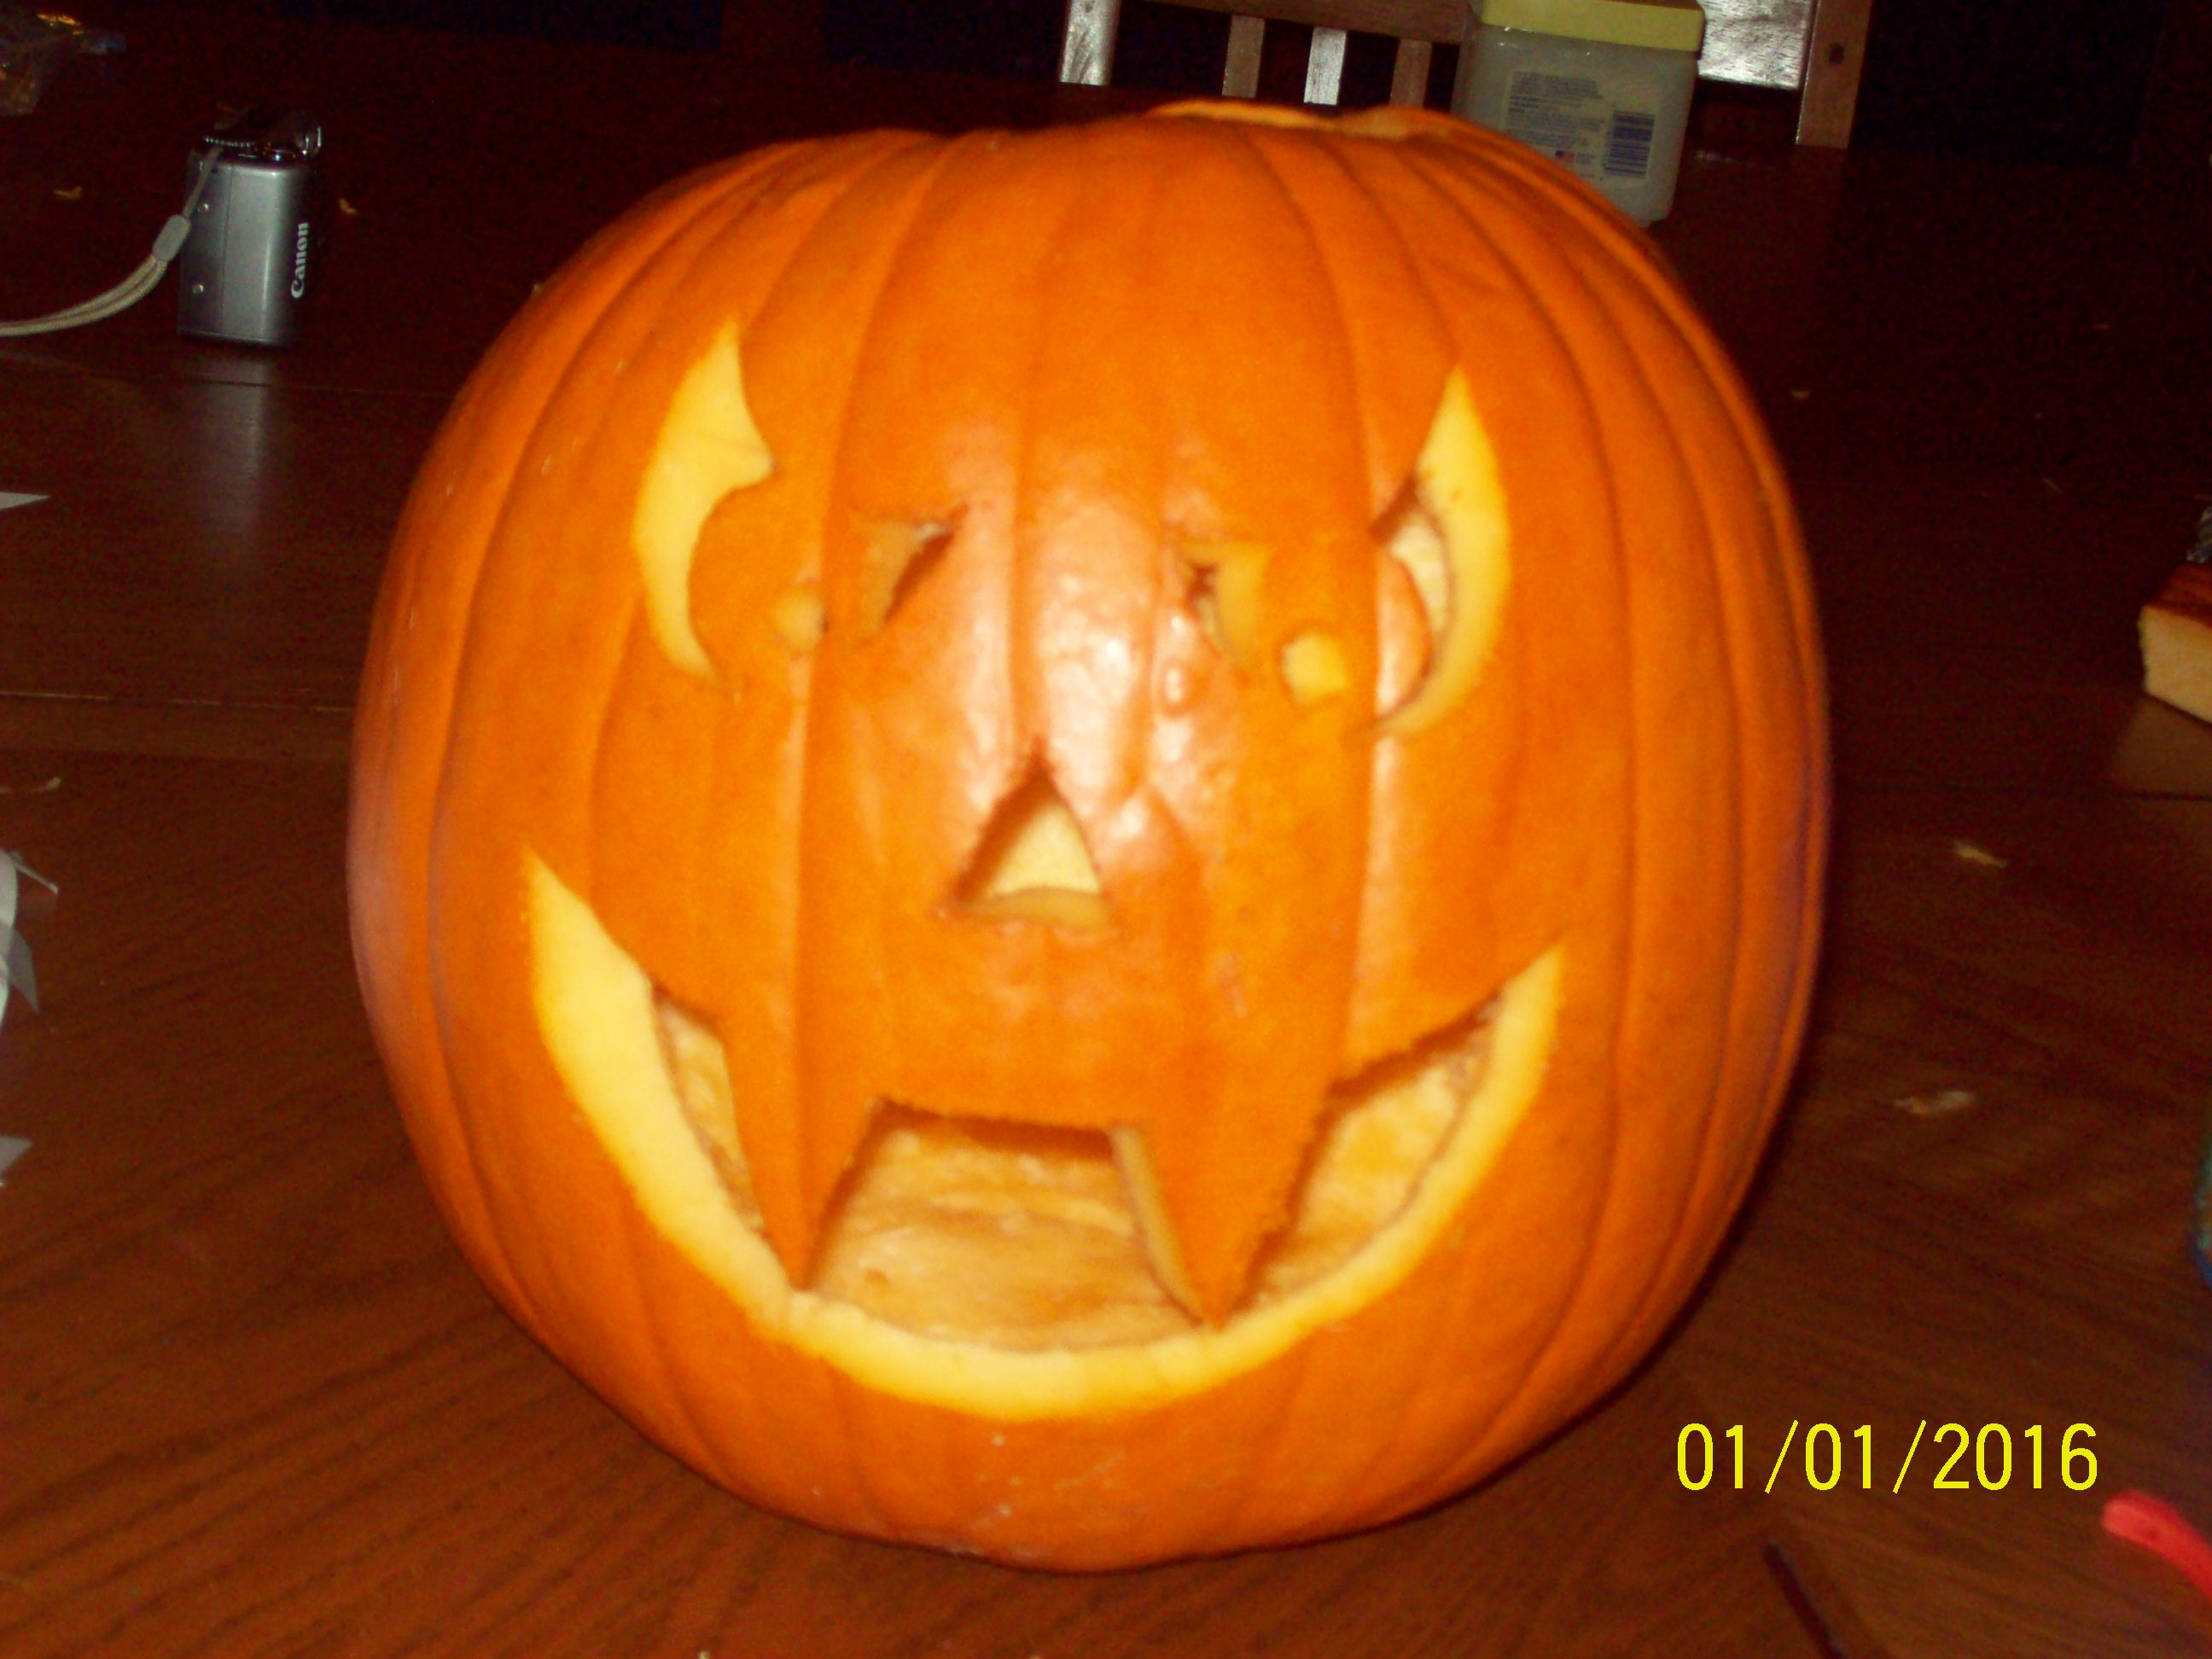
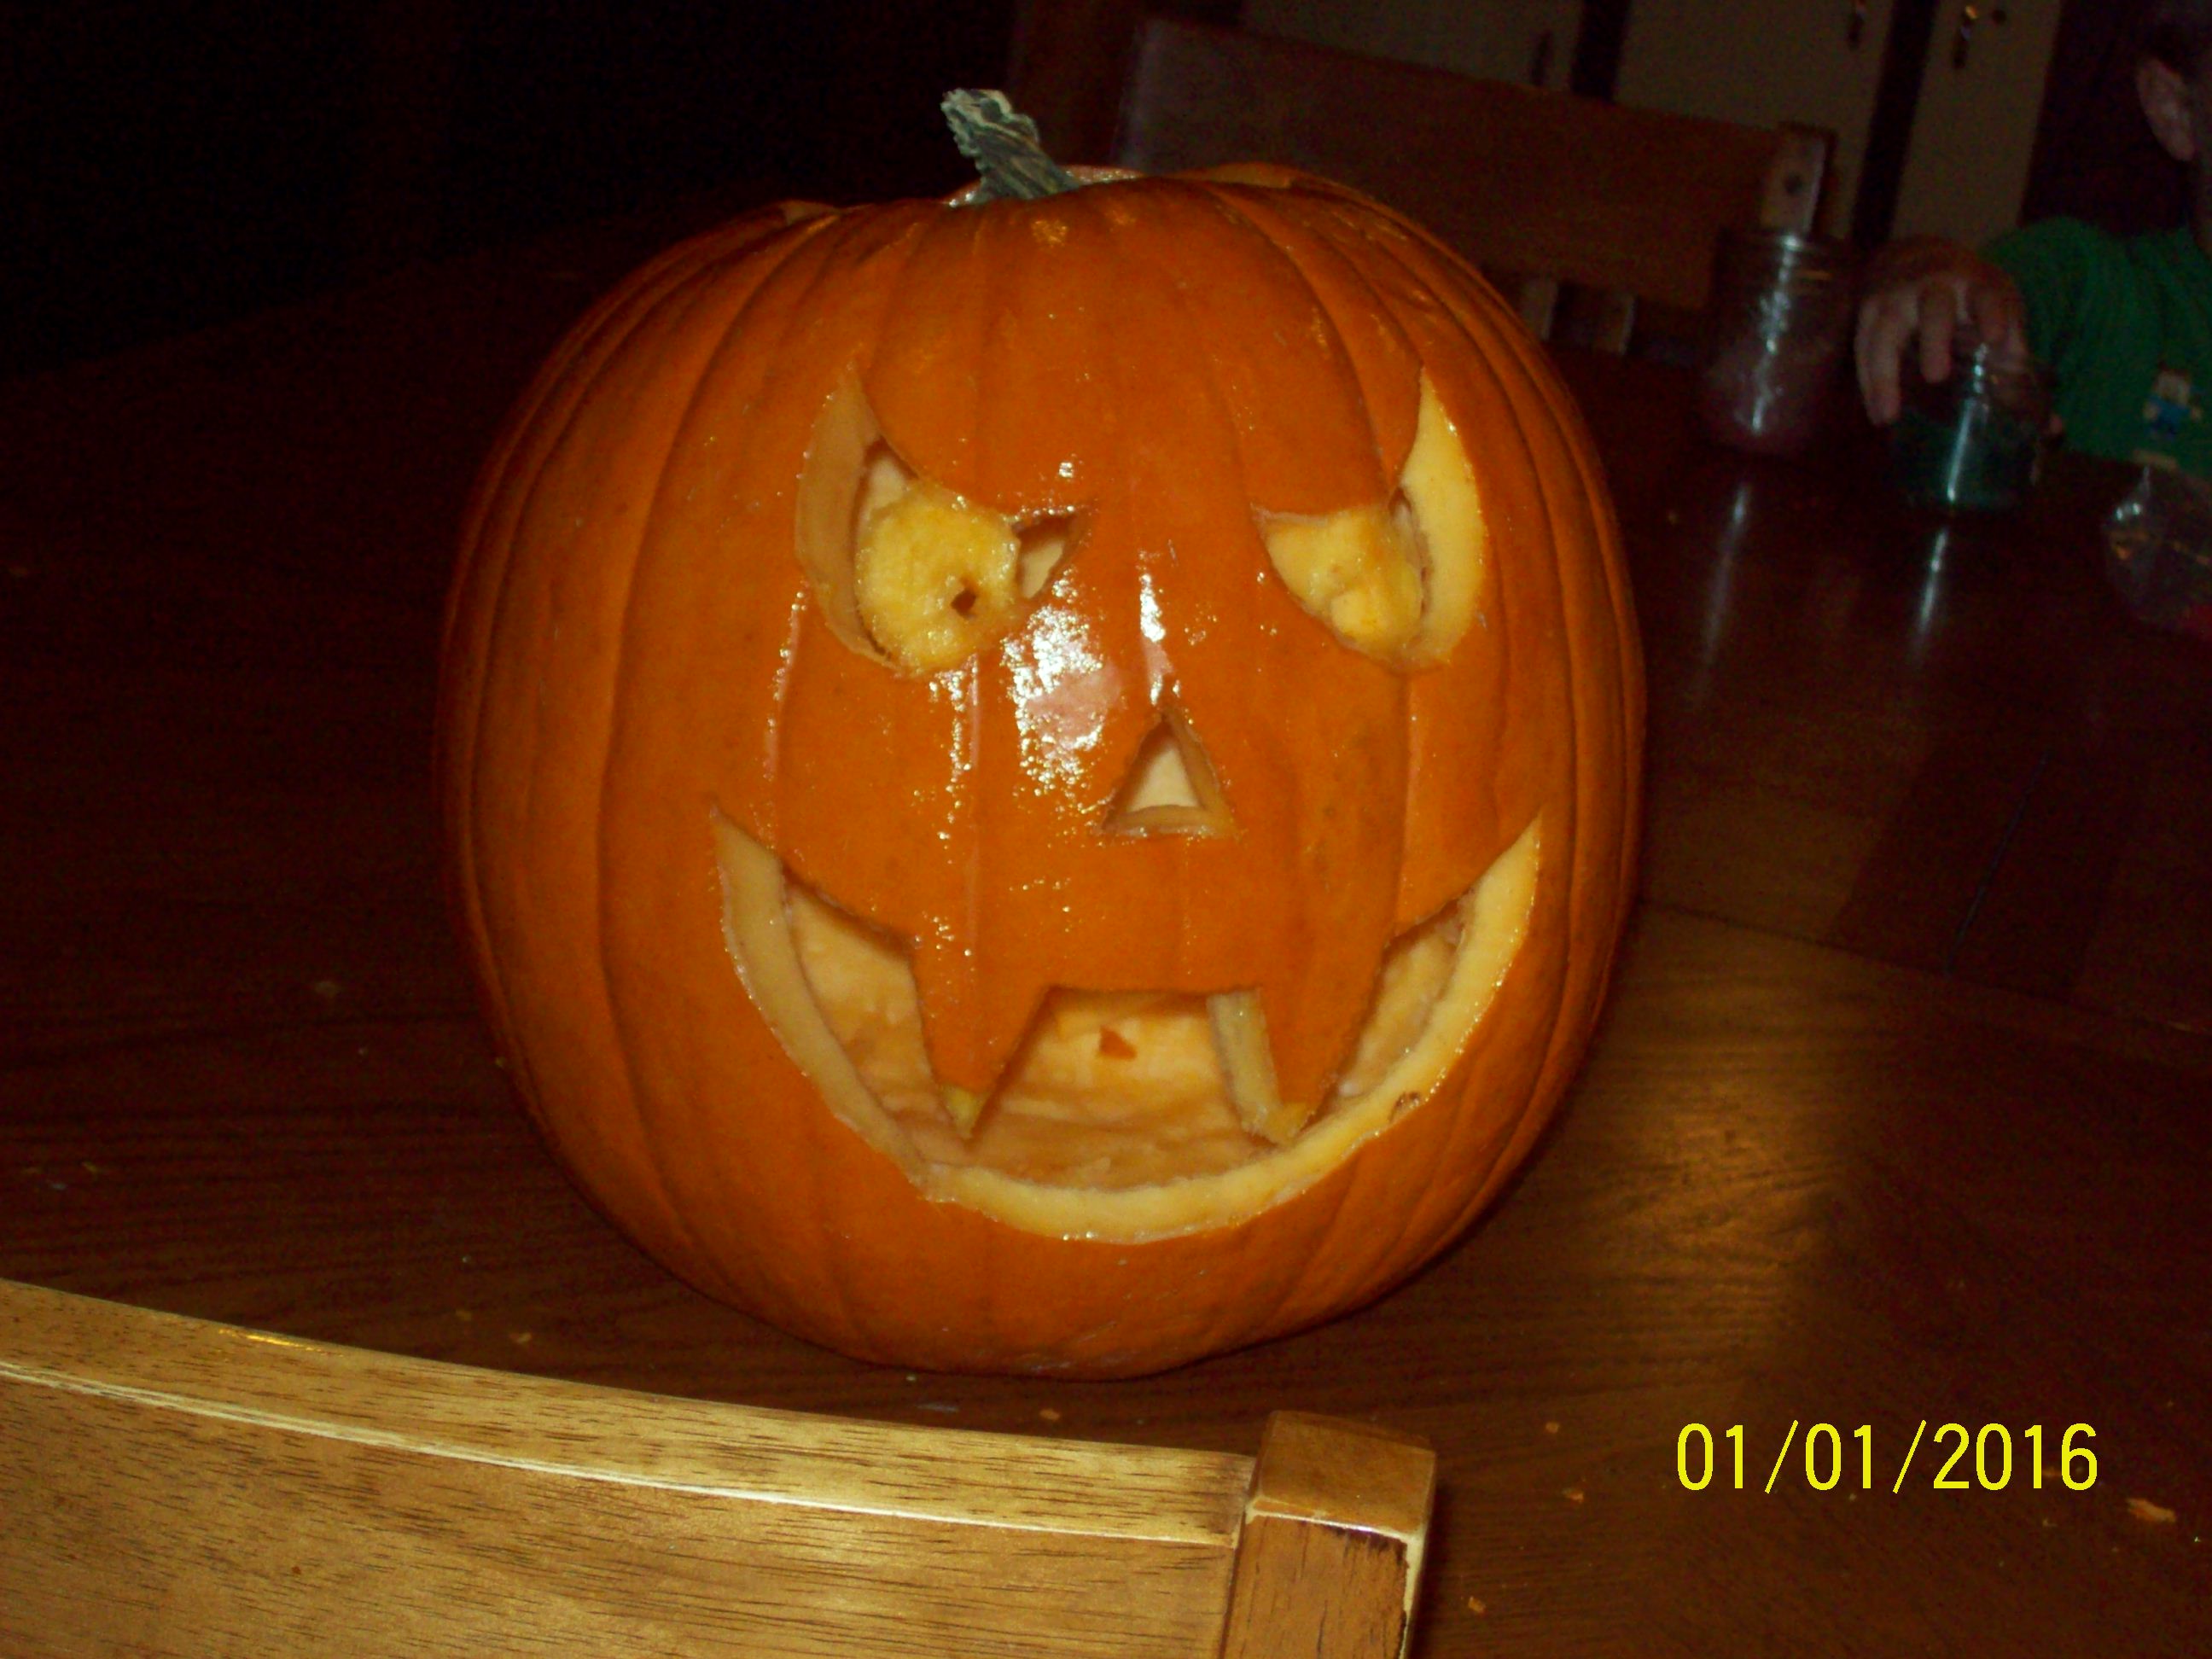
Take the stencil off and start cutting out where you poked lines. The larger areas will need a cut in the middle to take them out. If you want, you can scrape off the skin on the eyes and on the ends of the teeth to give some color difference. After you are done cutting, make sure all exposed areas are covered in petroleum jelly to keep mold and bugs away.
You're Done!
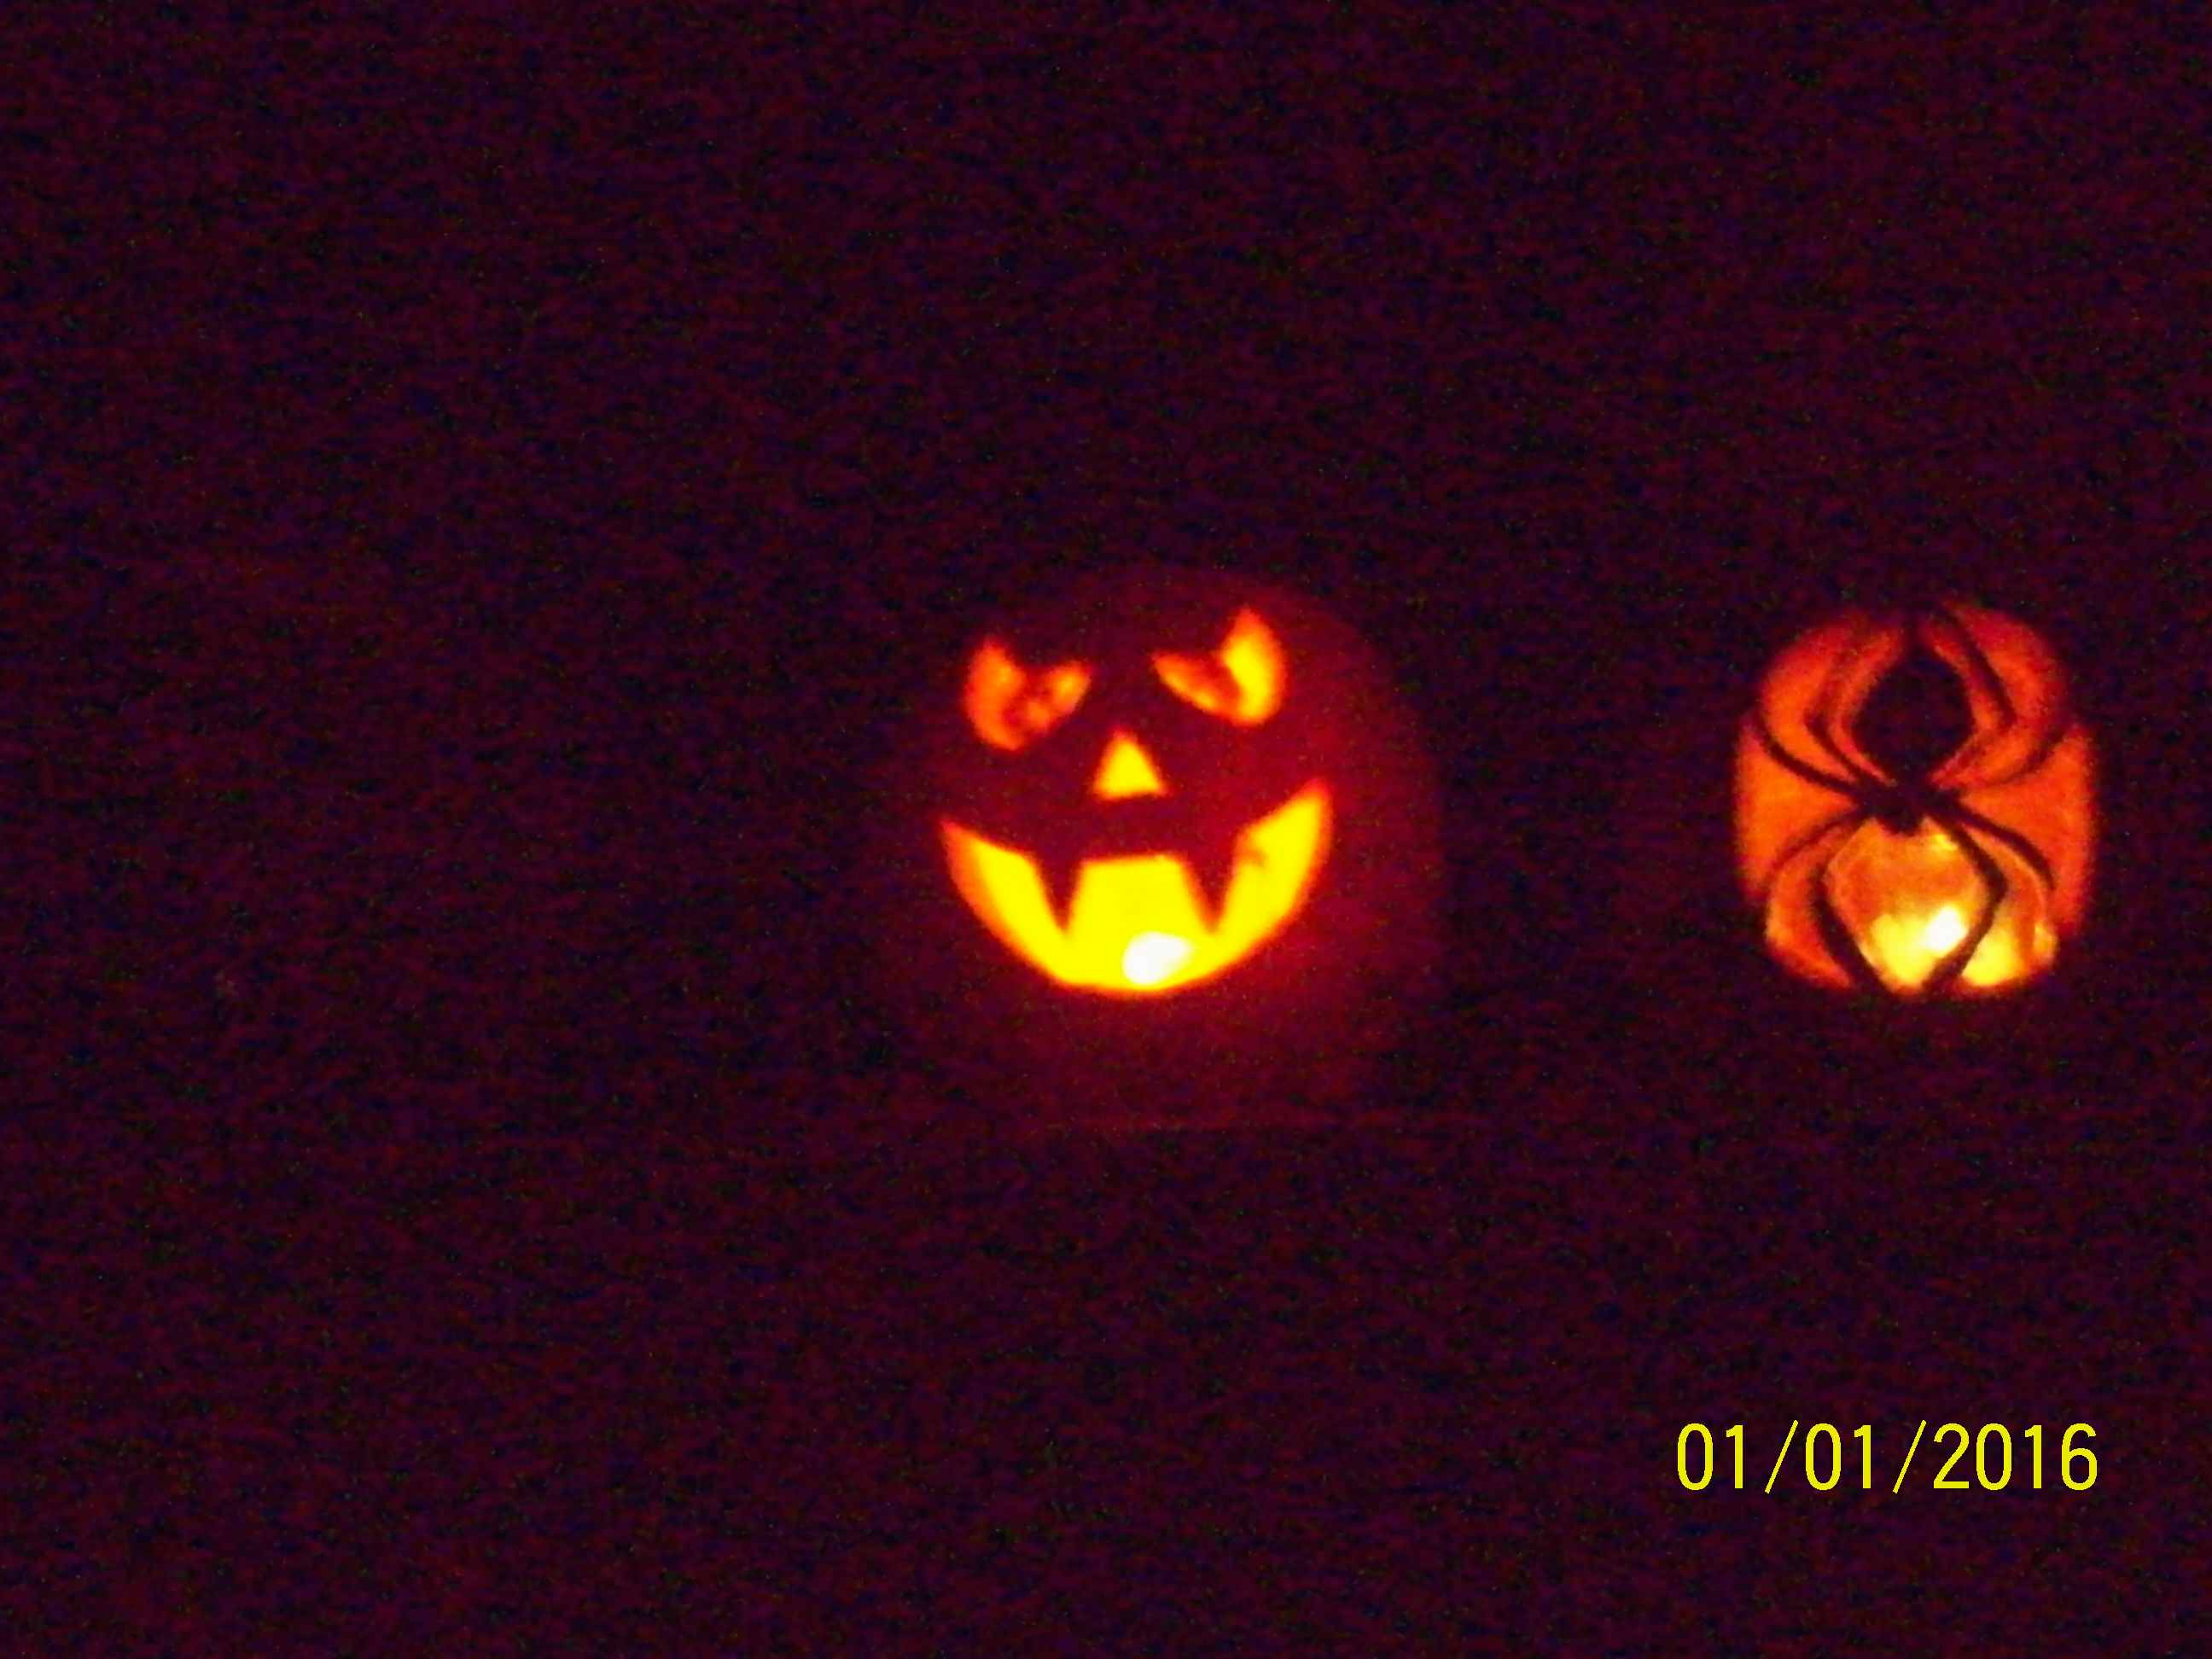
Add a candle and you're good to go! Have fun carving!