Valles Marineris: Mars Base Badge
by daxpatel in Workshop > 3D Printing
884 Views, 6 Favorites, 0 Comments
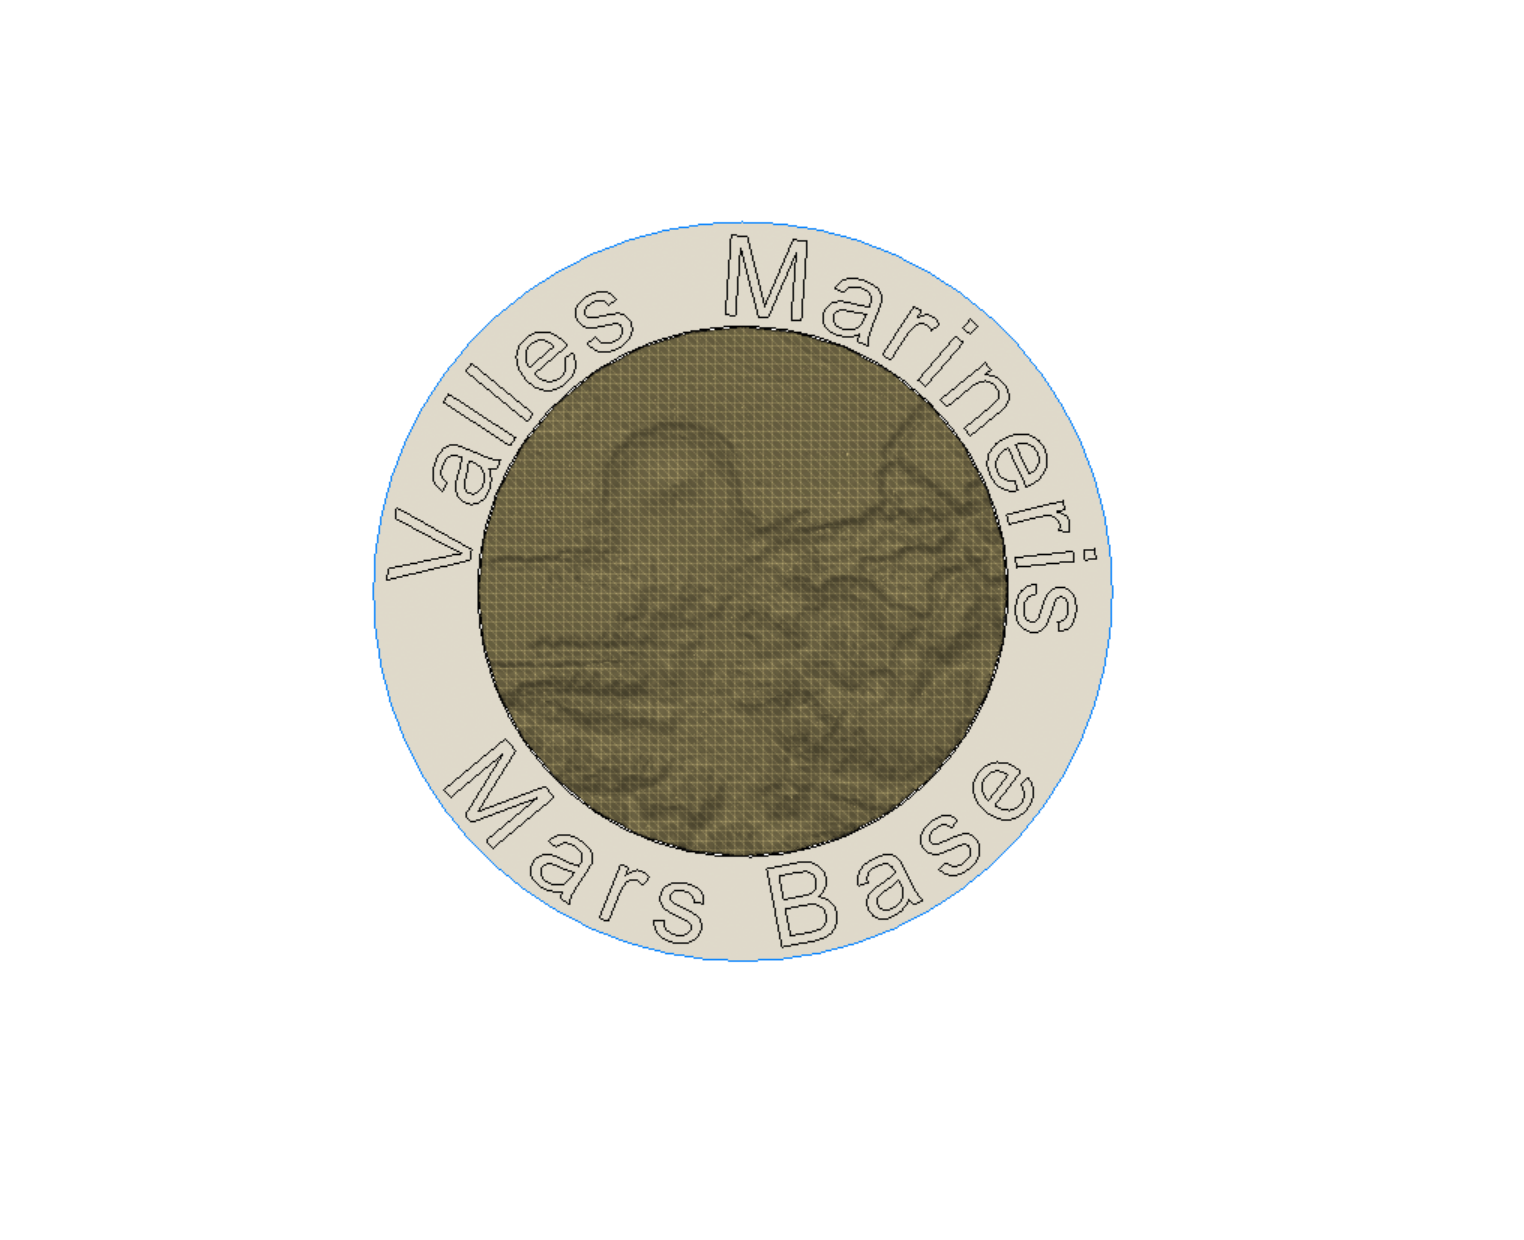
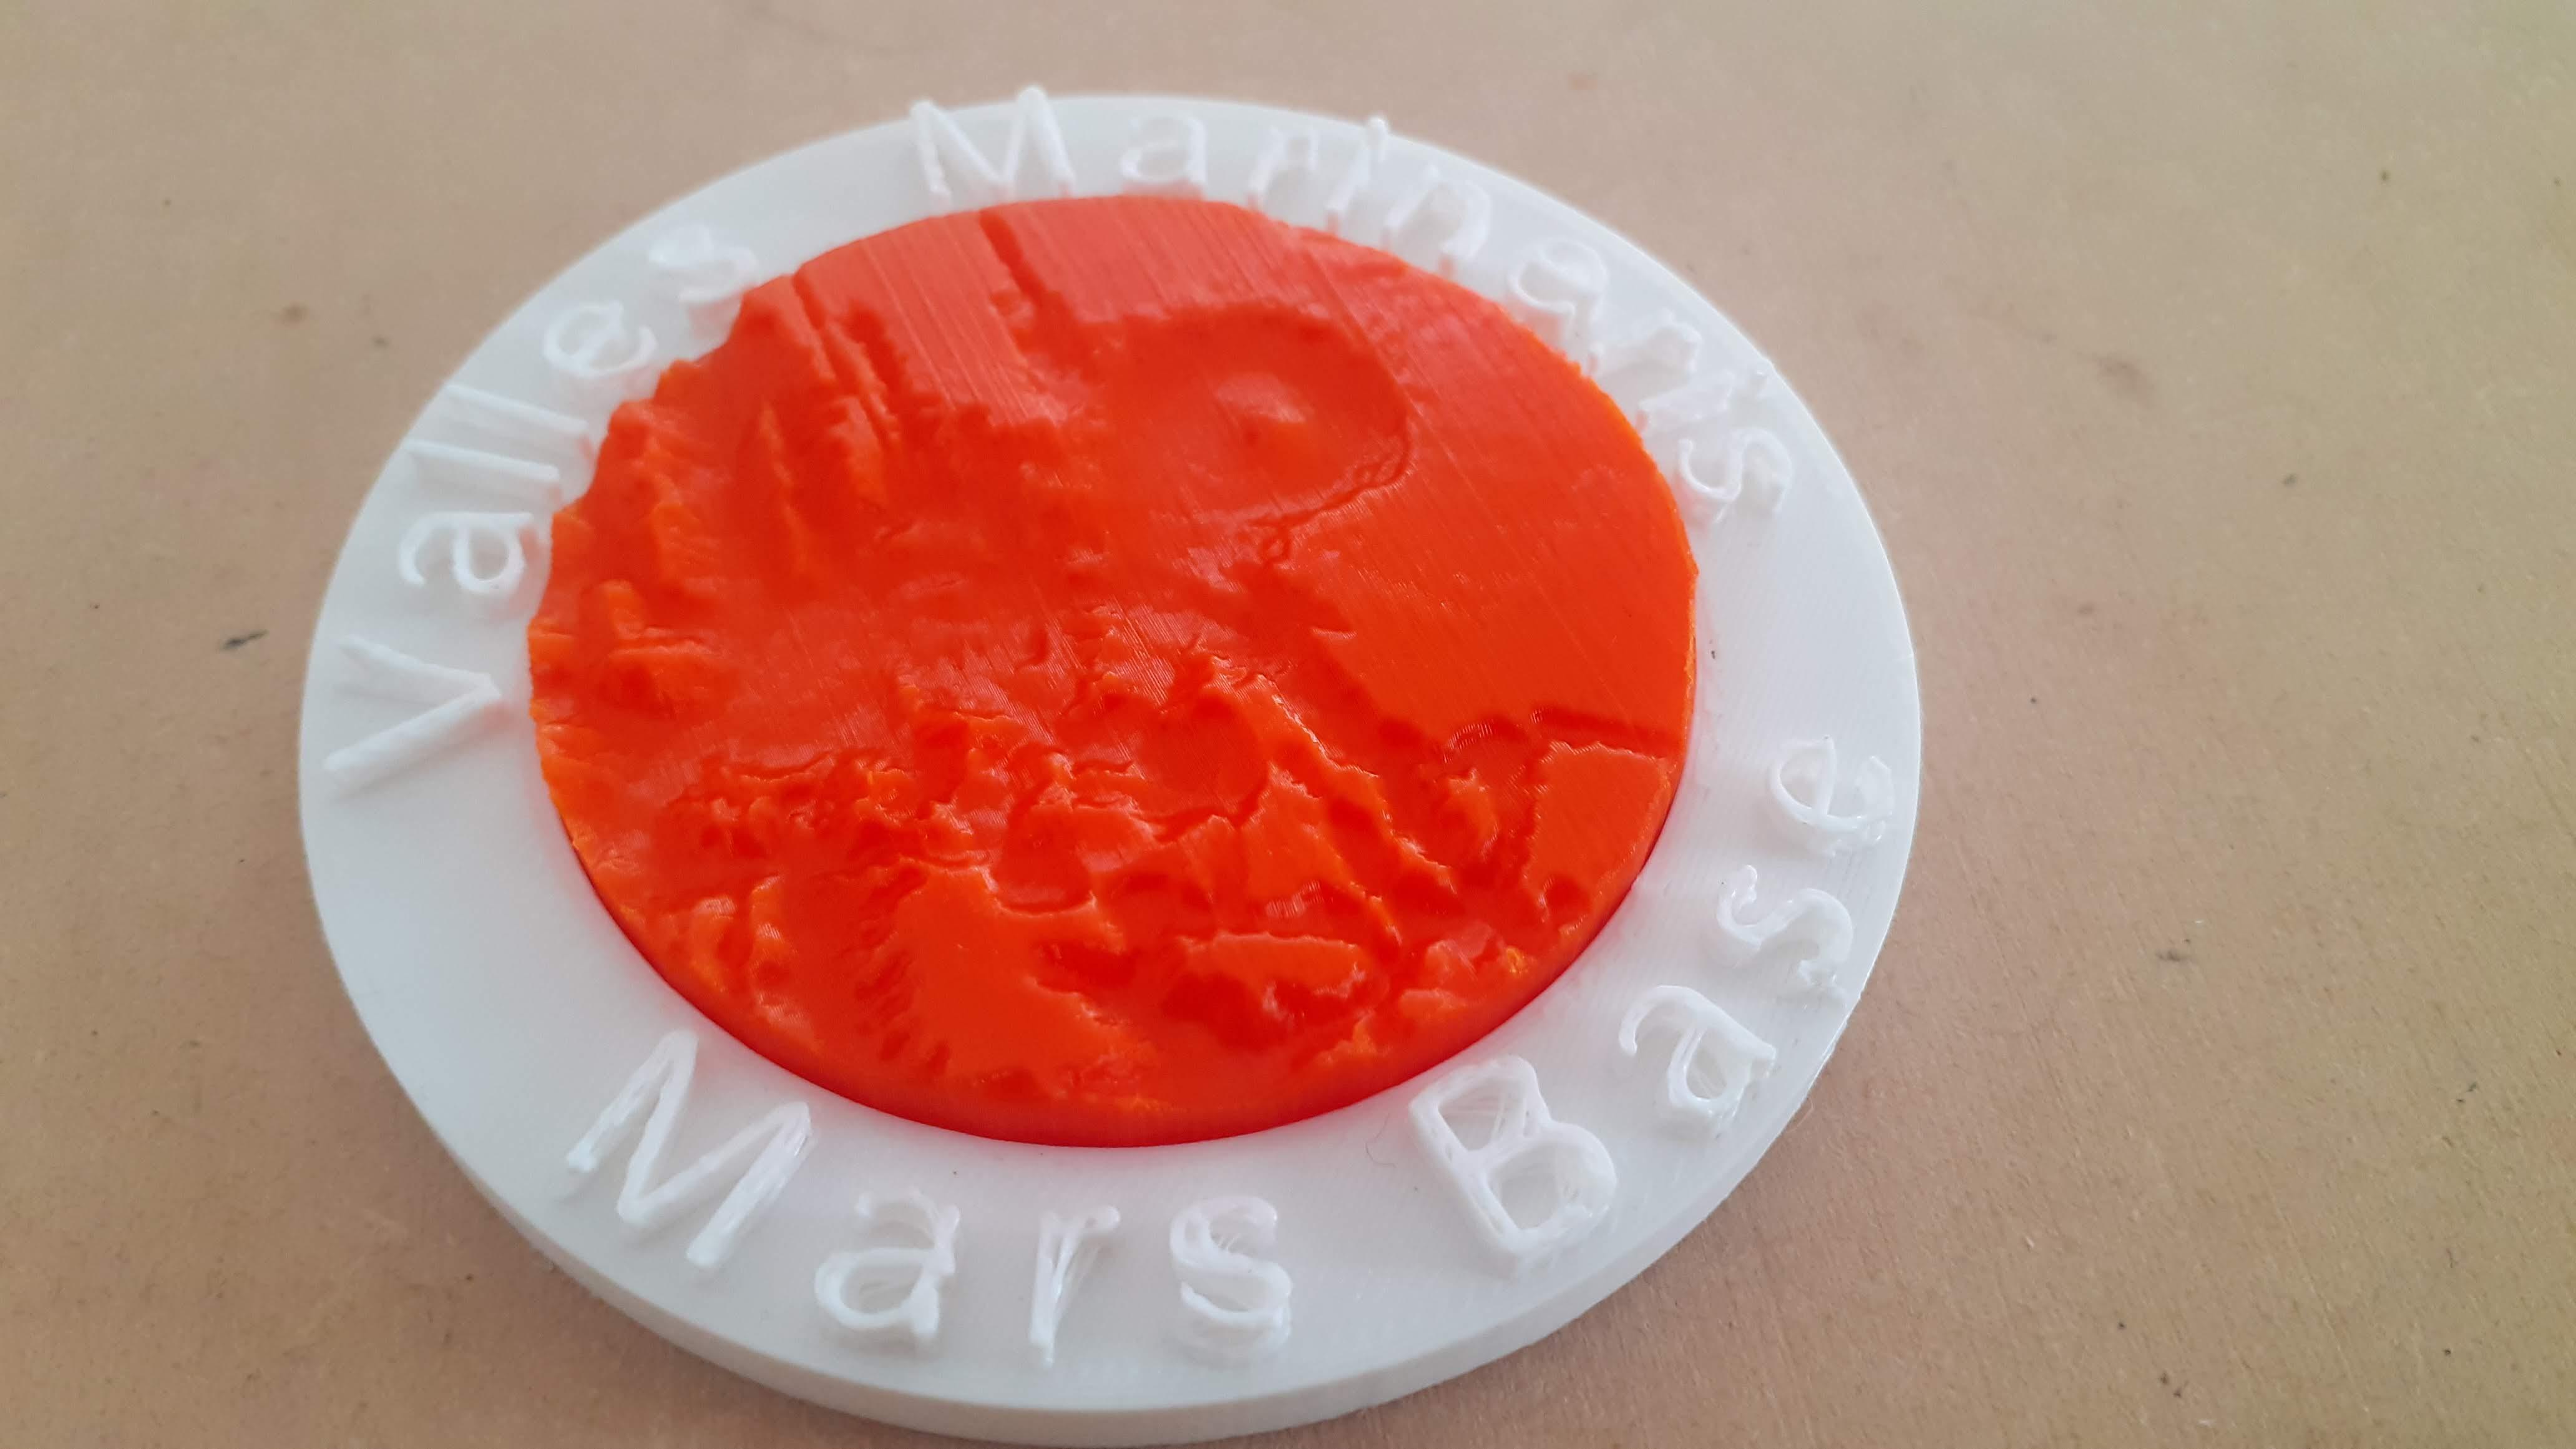
Valles Marineris: Mars Base Badge


.png)
I am fascinated by space and future civilizations on different planets.
To represent my excitement I design a badge that represents the future Mars base in Vallies mariners on mars.
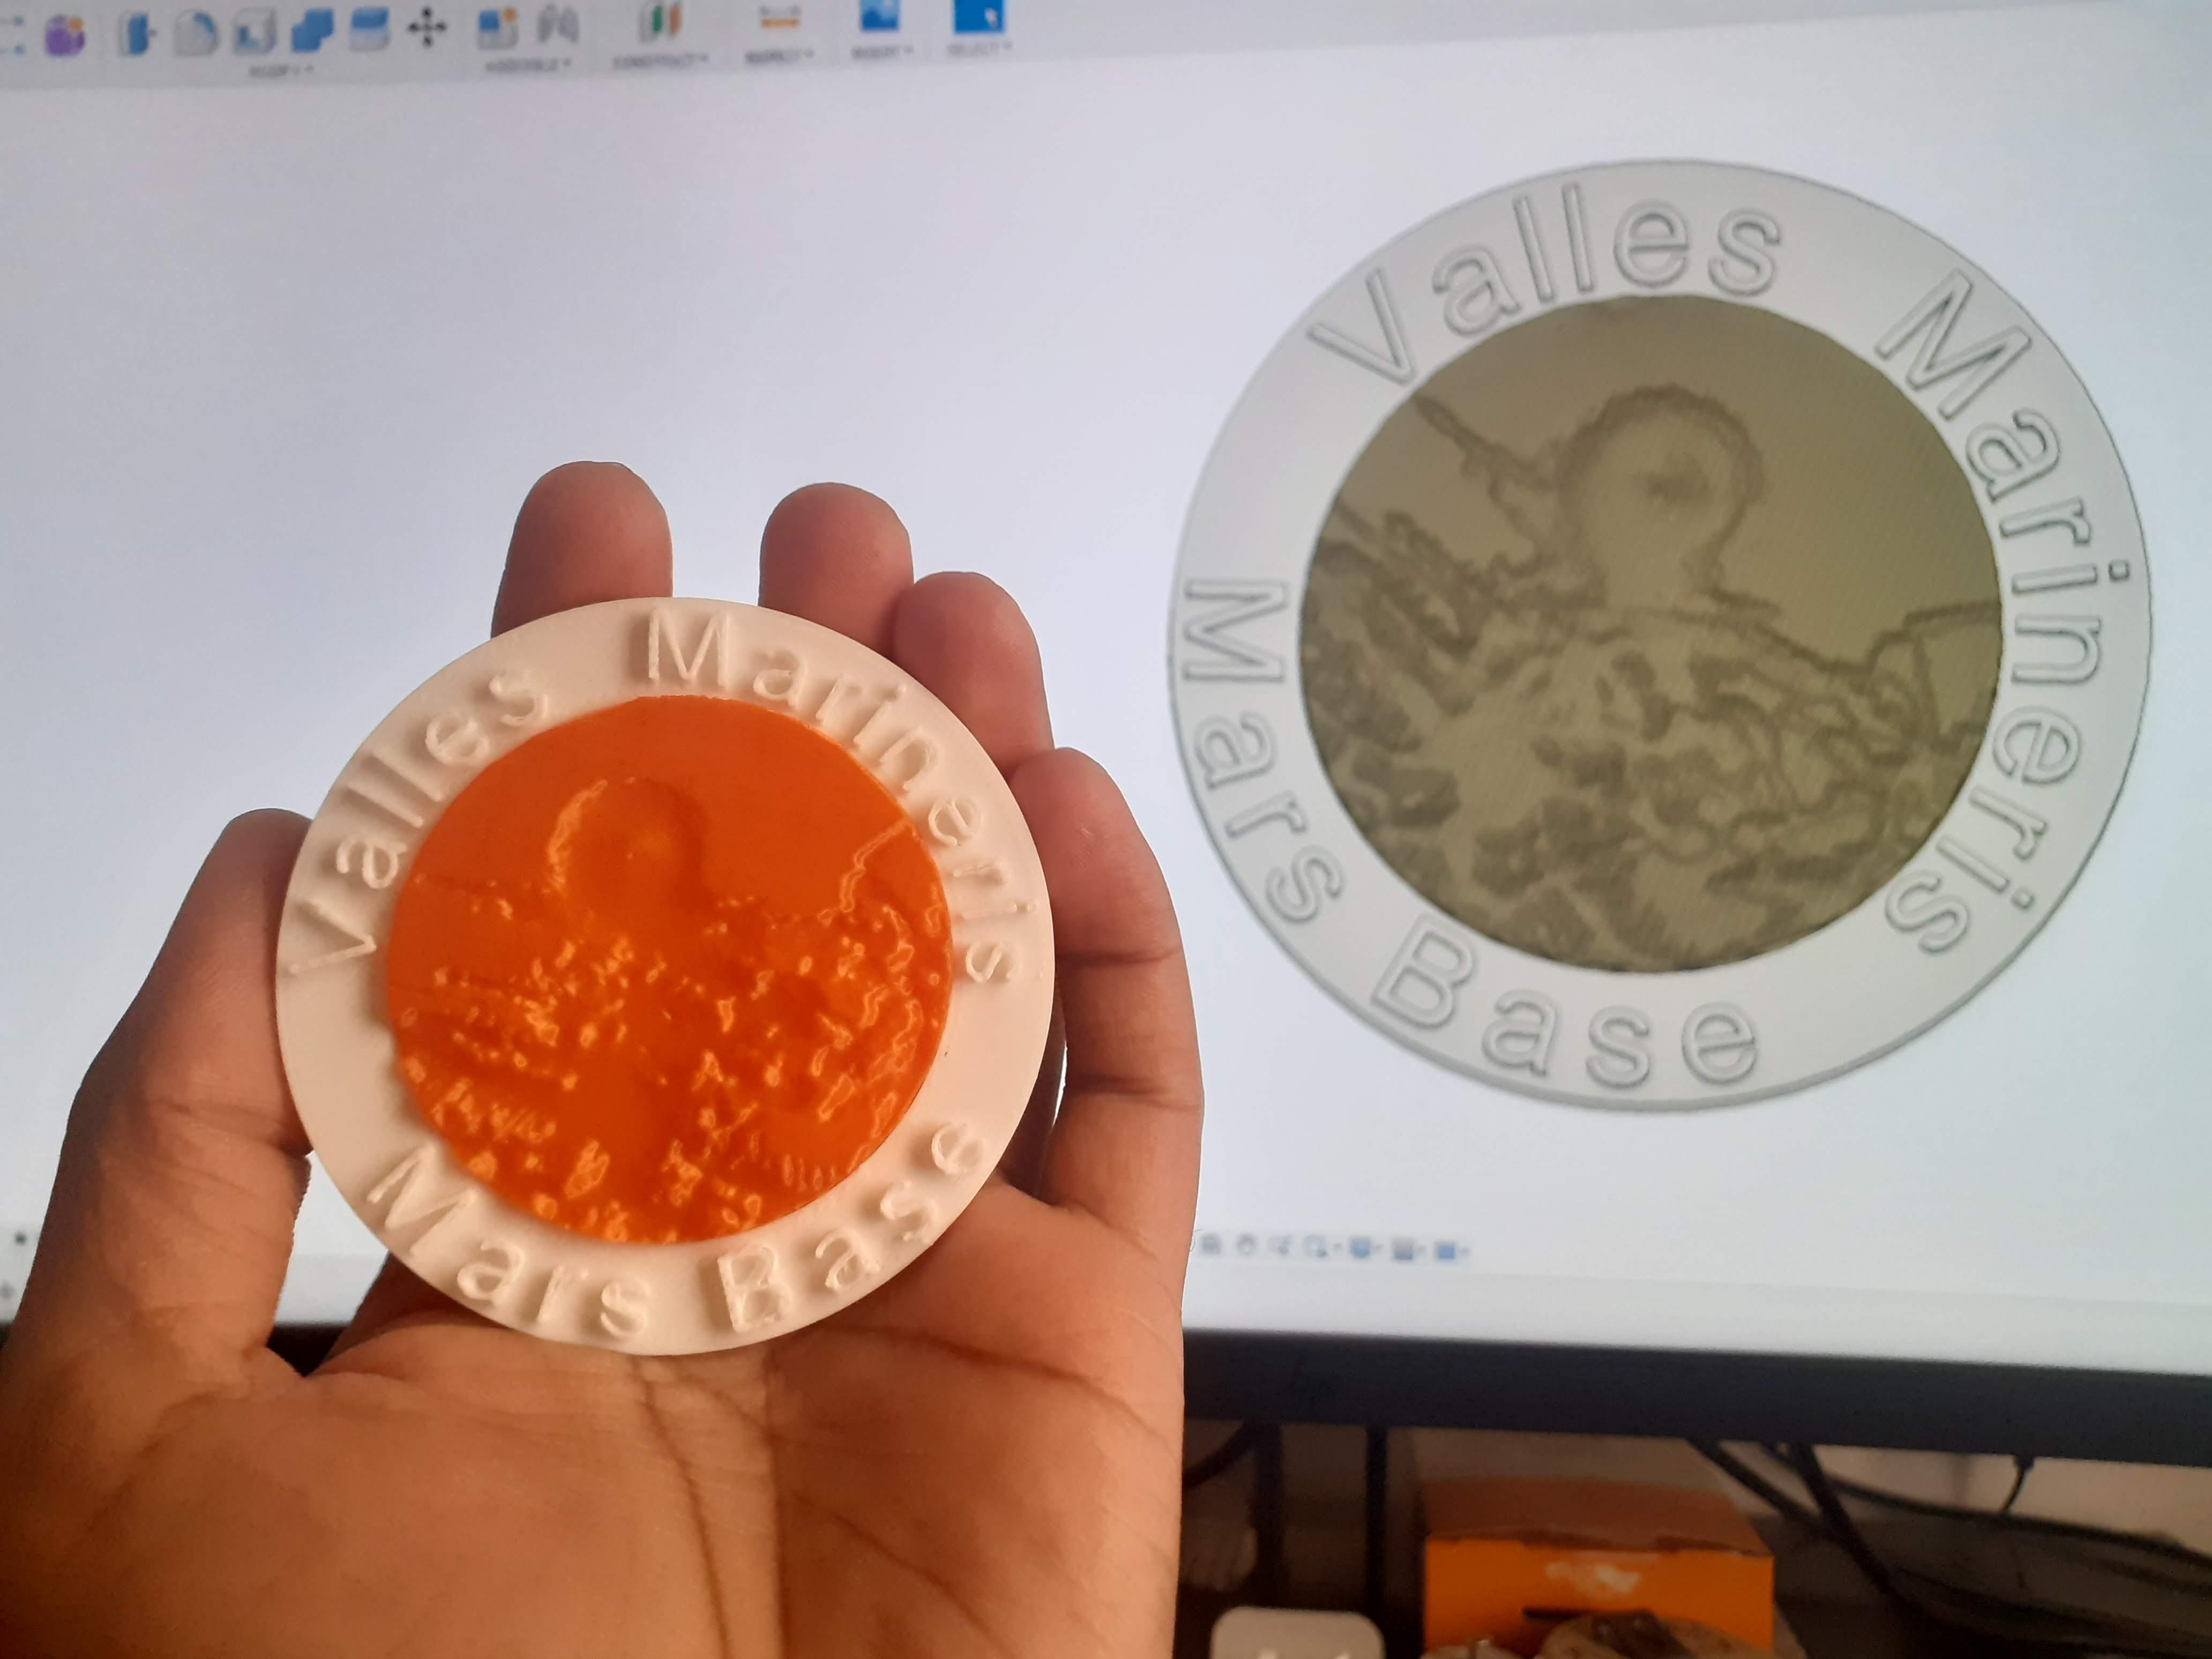
Model of mars generated from NASA resources website.
I use Fusion360 for making and changing models.
If you want to make your own, please follow all steps and make a custom badge. Also, you can select any location on mars to generate a . STL file and 3d print it to fit inside the badge.
I chose Valles Marineris for the inner part.
Let’s start to make this project.
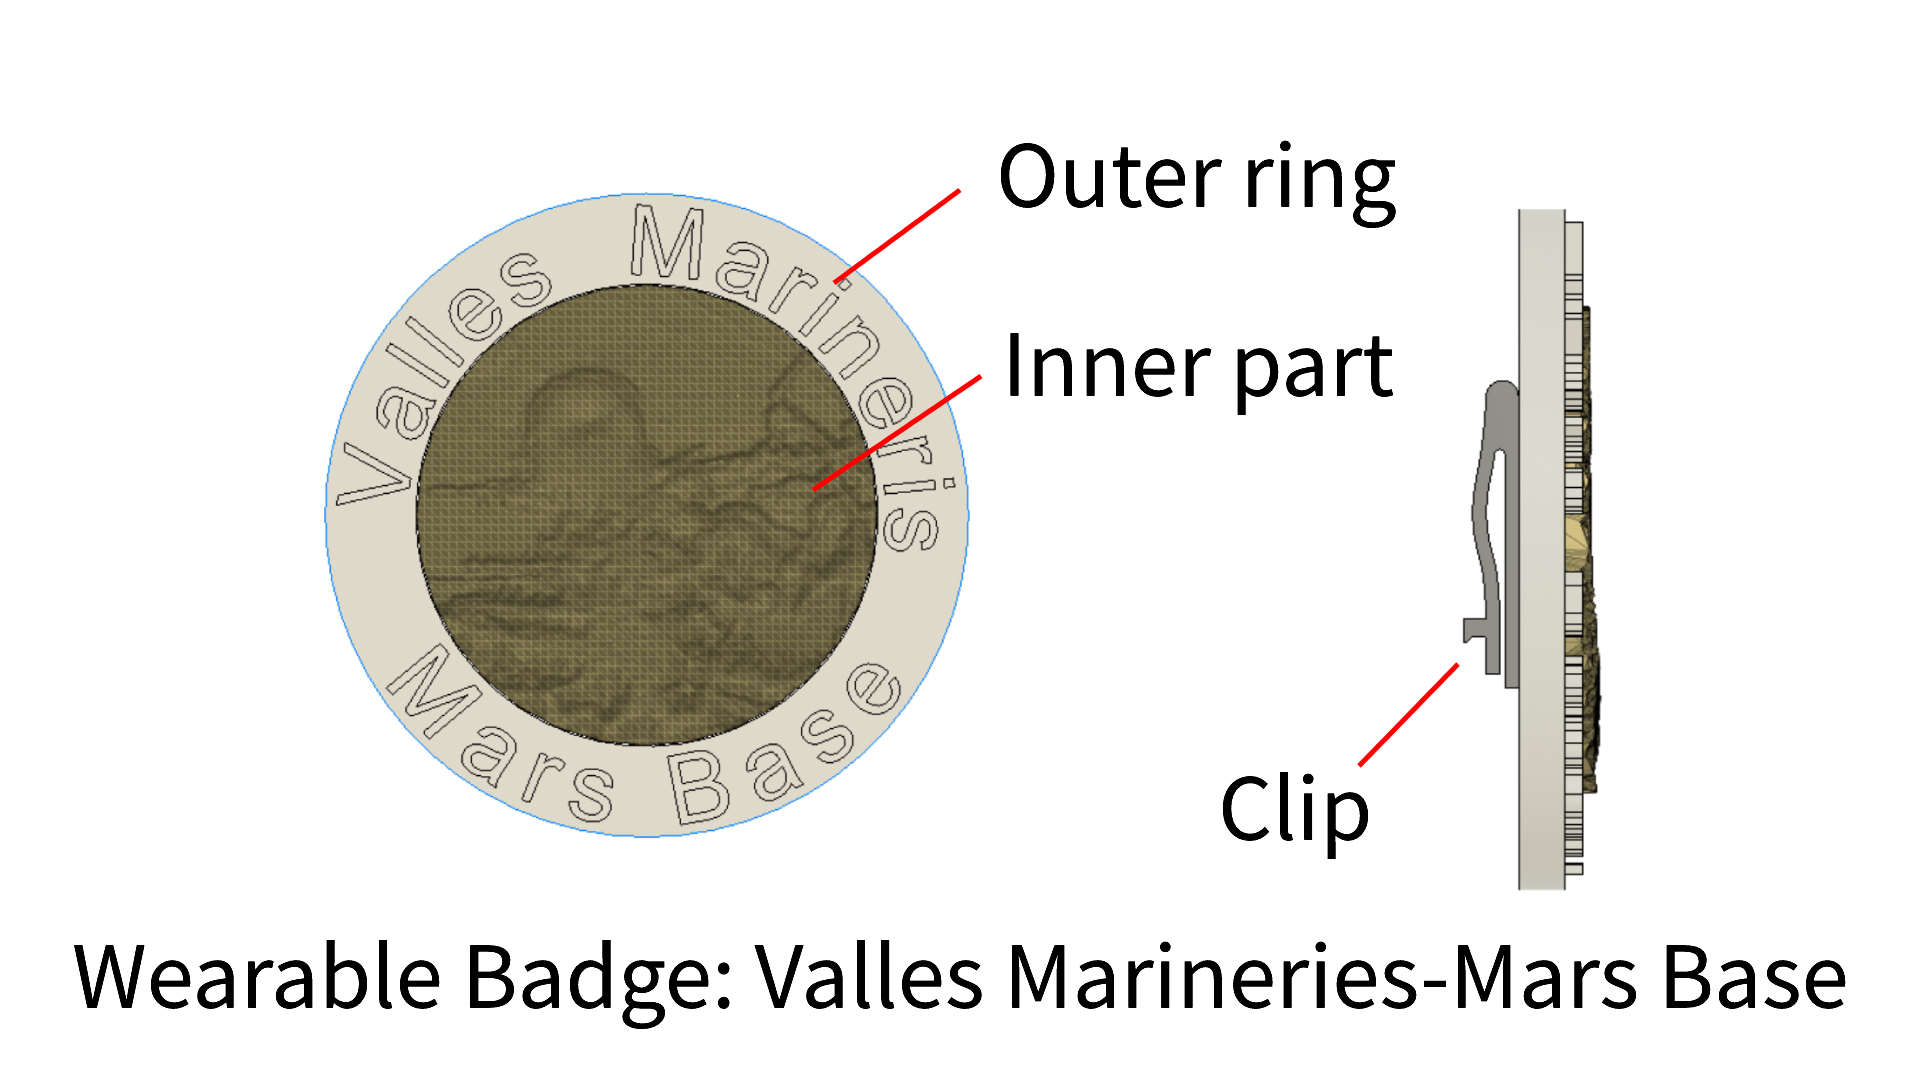
This badge contains 3 parts.
1> Outer ring
2> inner mars terrain part
3> clip
4> Black Sketchpen
Supplies
1> Laptop for designing
2> 3D Printer access
3> Super Glue
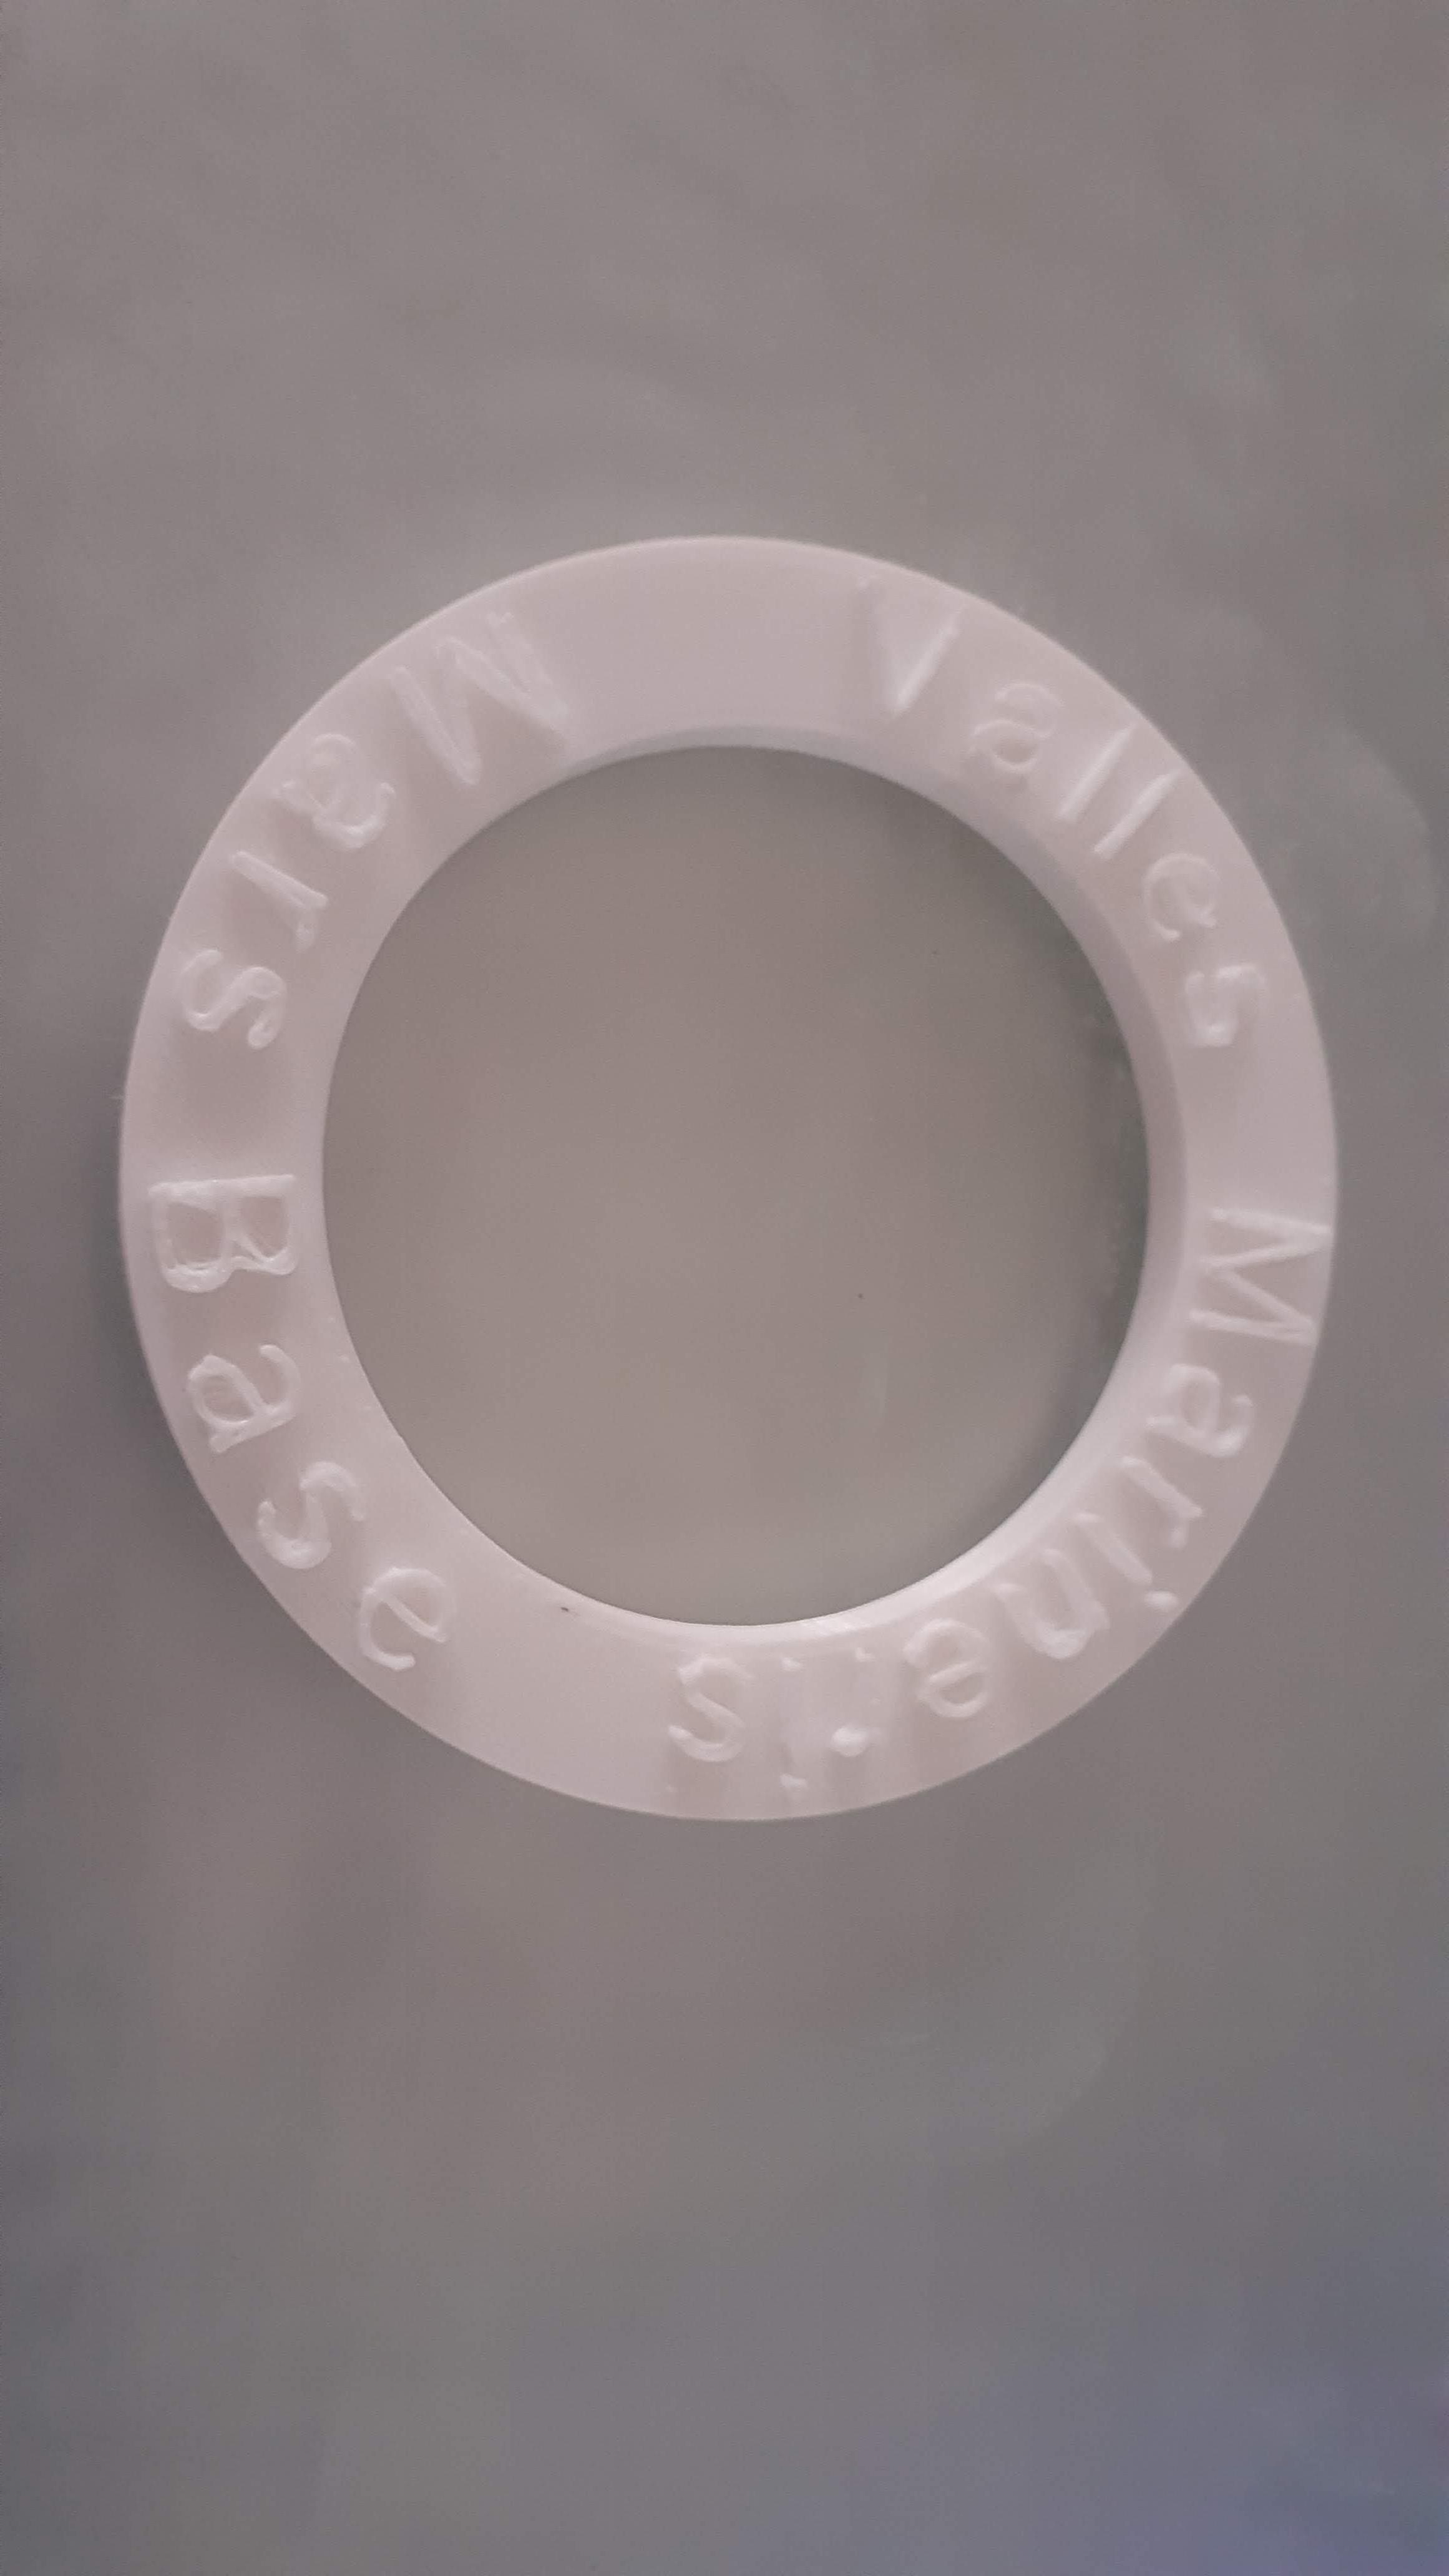
Design Outer Ring.
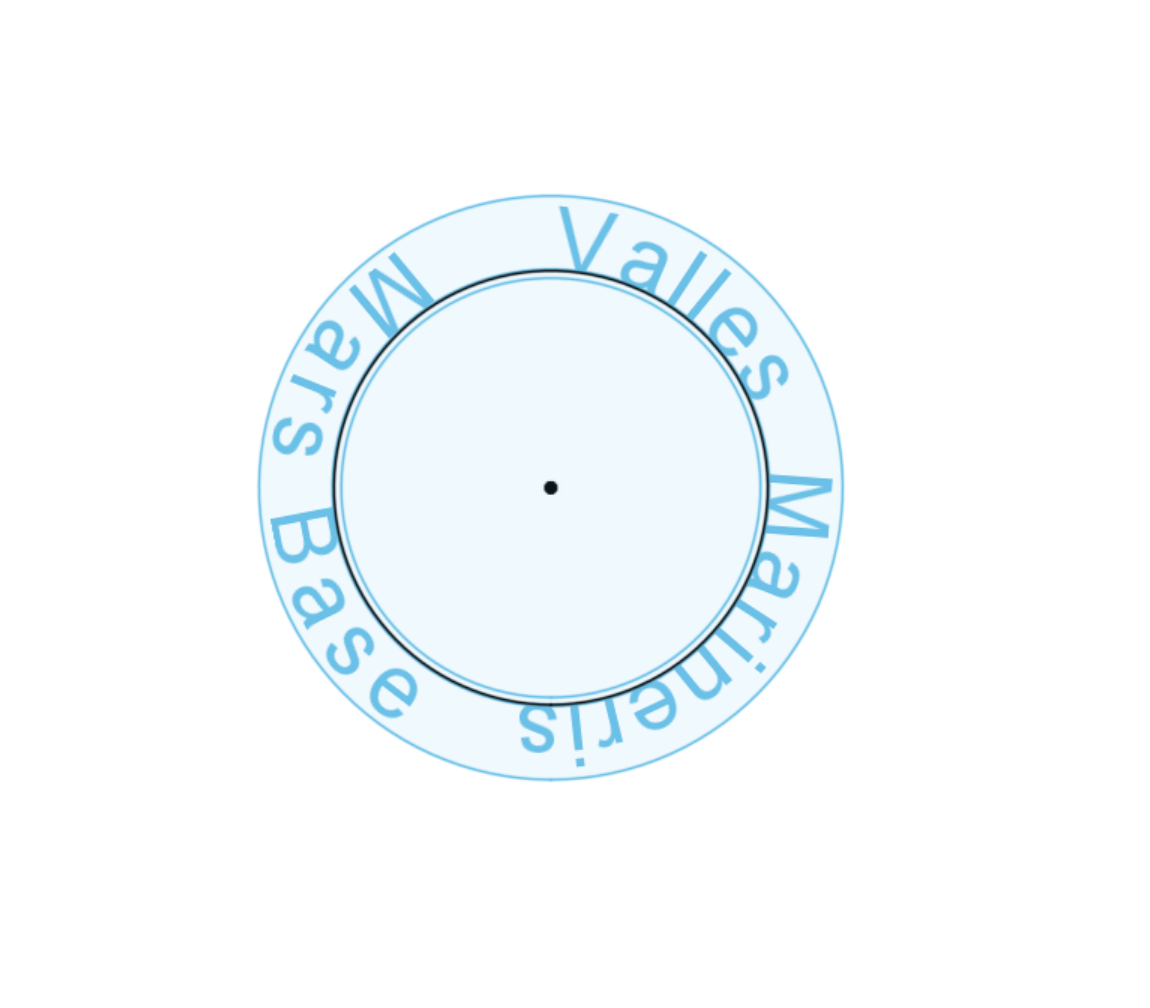
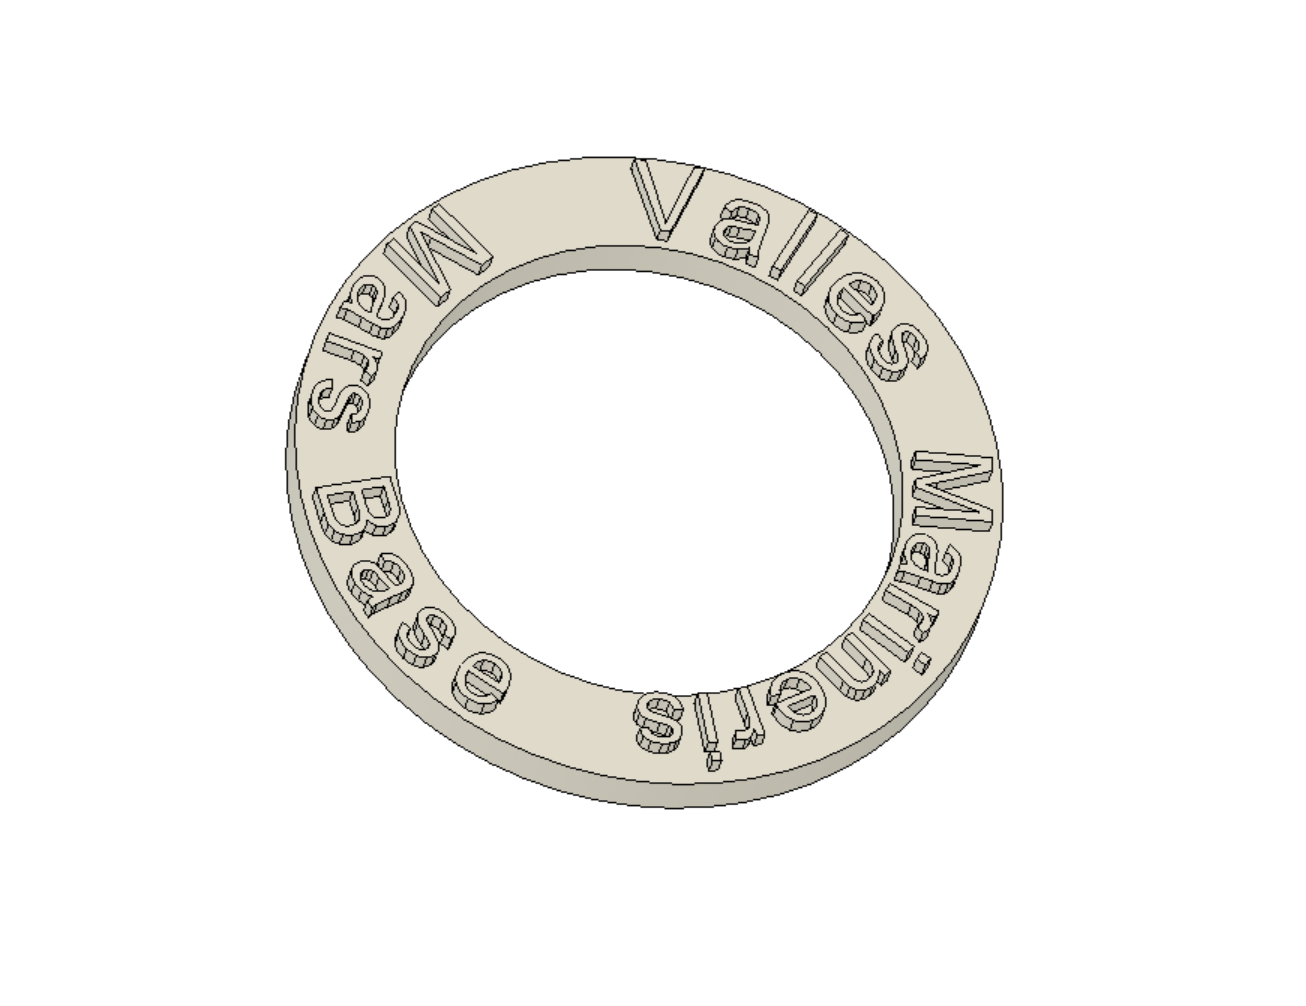
I use Autodesk Fusion360 to make Outer Ring.
First, make a 52 mm inner circle.
make offset 10mm for the outer circle.
Use the text command and select the wrap text icon to make the text on the path.
Write whatever you want to show and select the circle as a path for warp text.
Select and extrude the region between circles 18mm below.
Select text and extrude text 2mm upside.
Your outer ring is ready.
Note: If you don't want to process >STL file and step no -3, you need to design a Square outer ring as per your own dimensions.
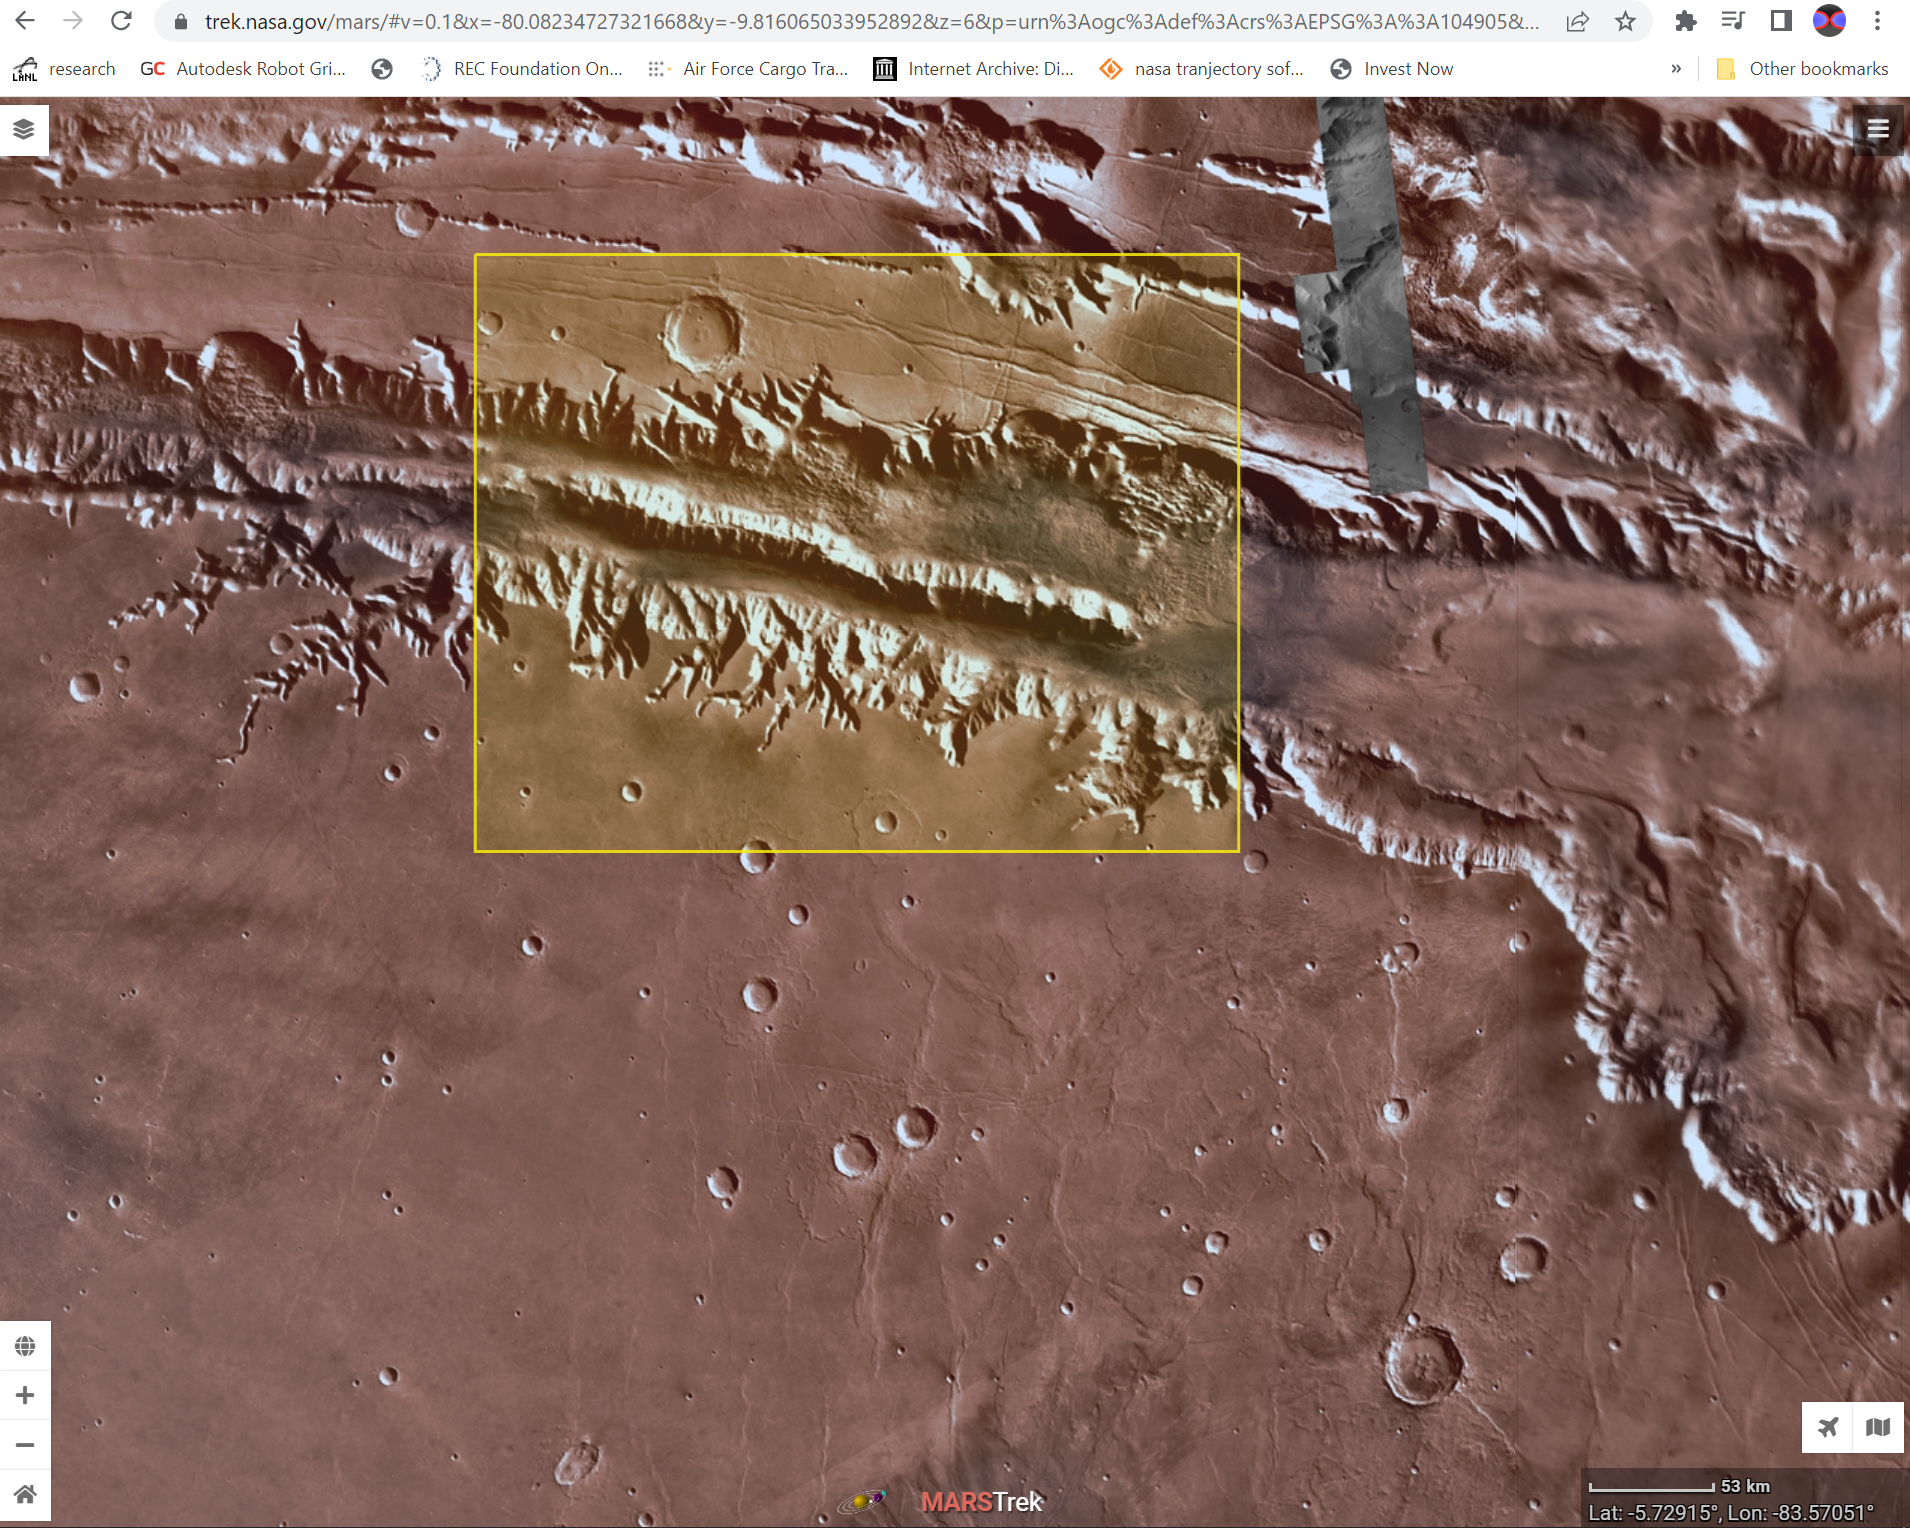
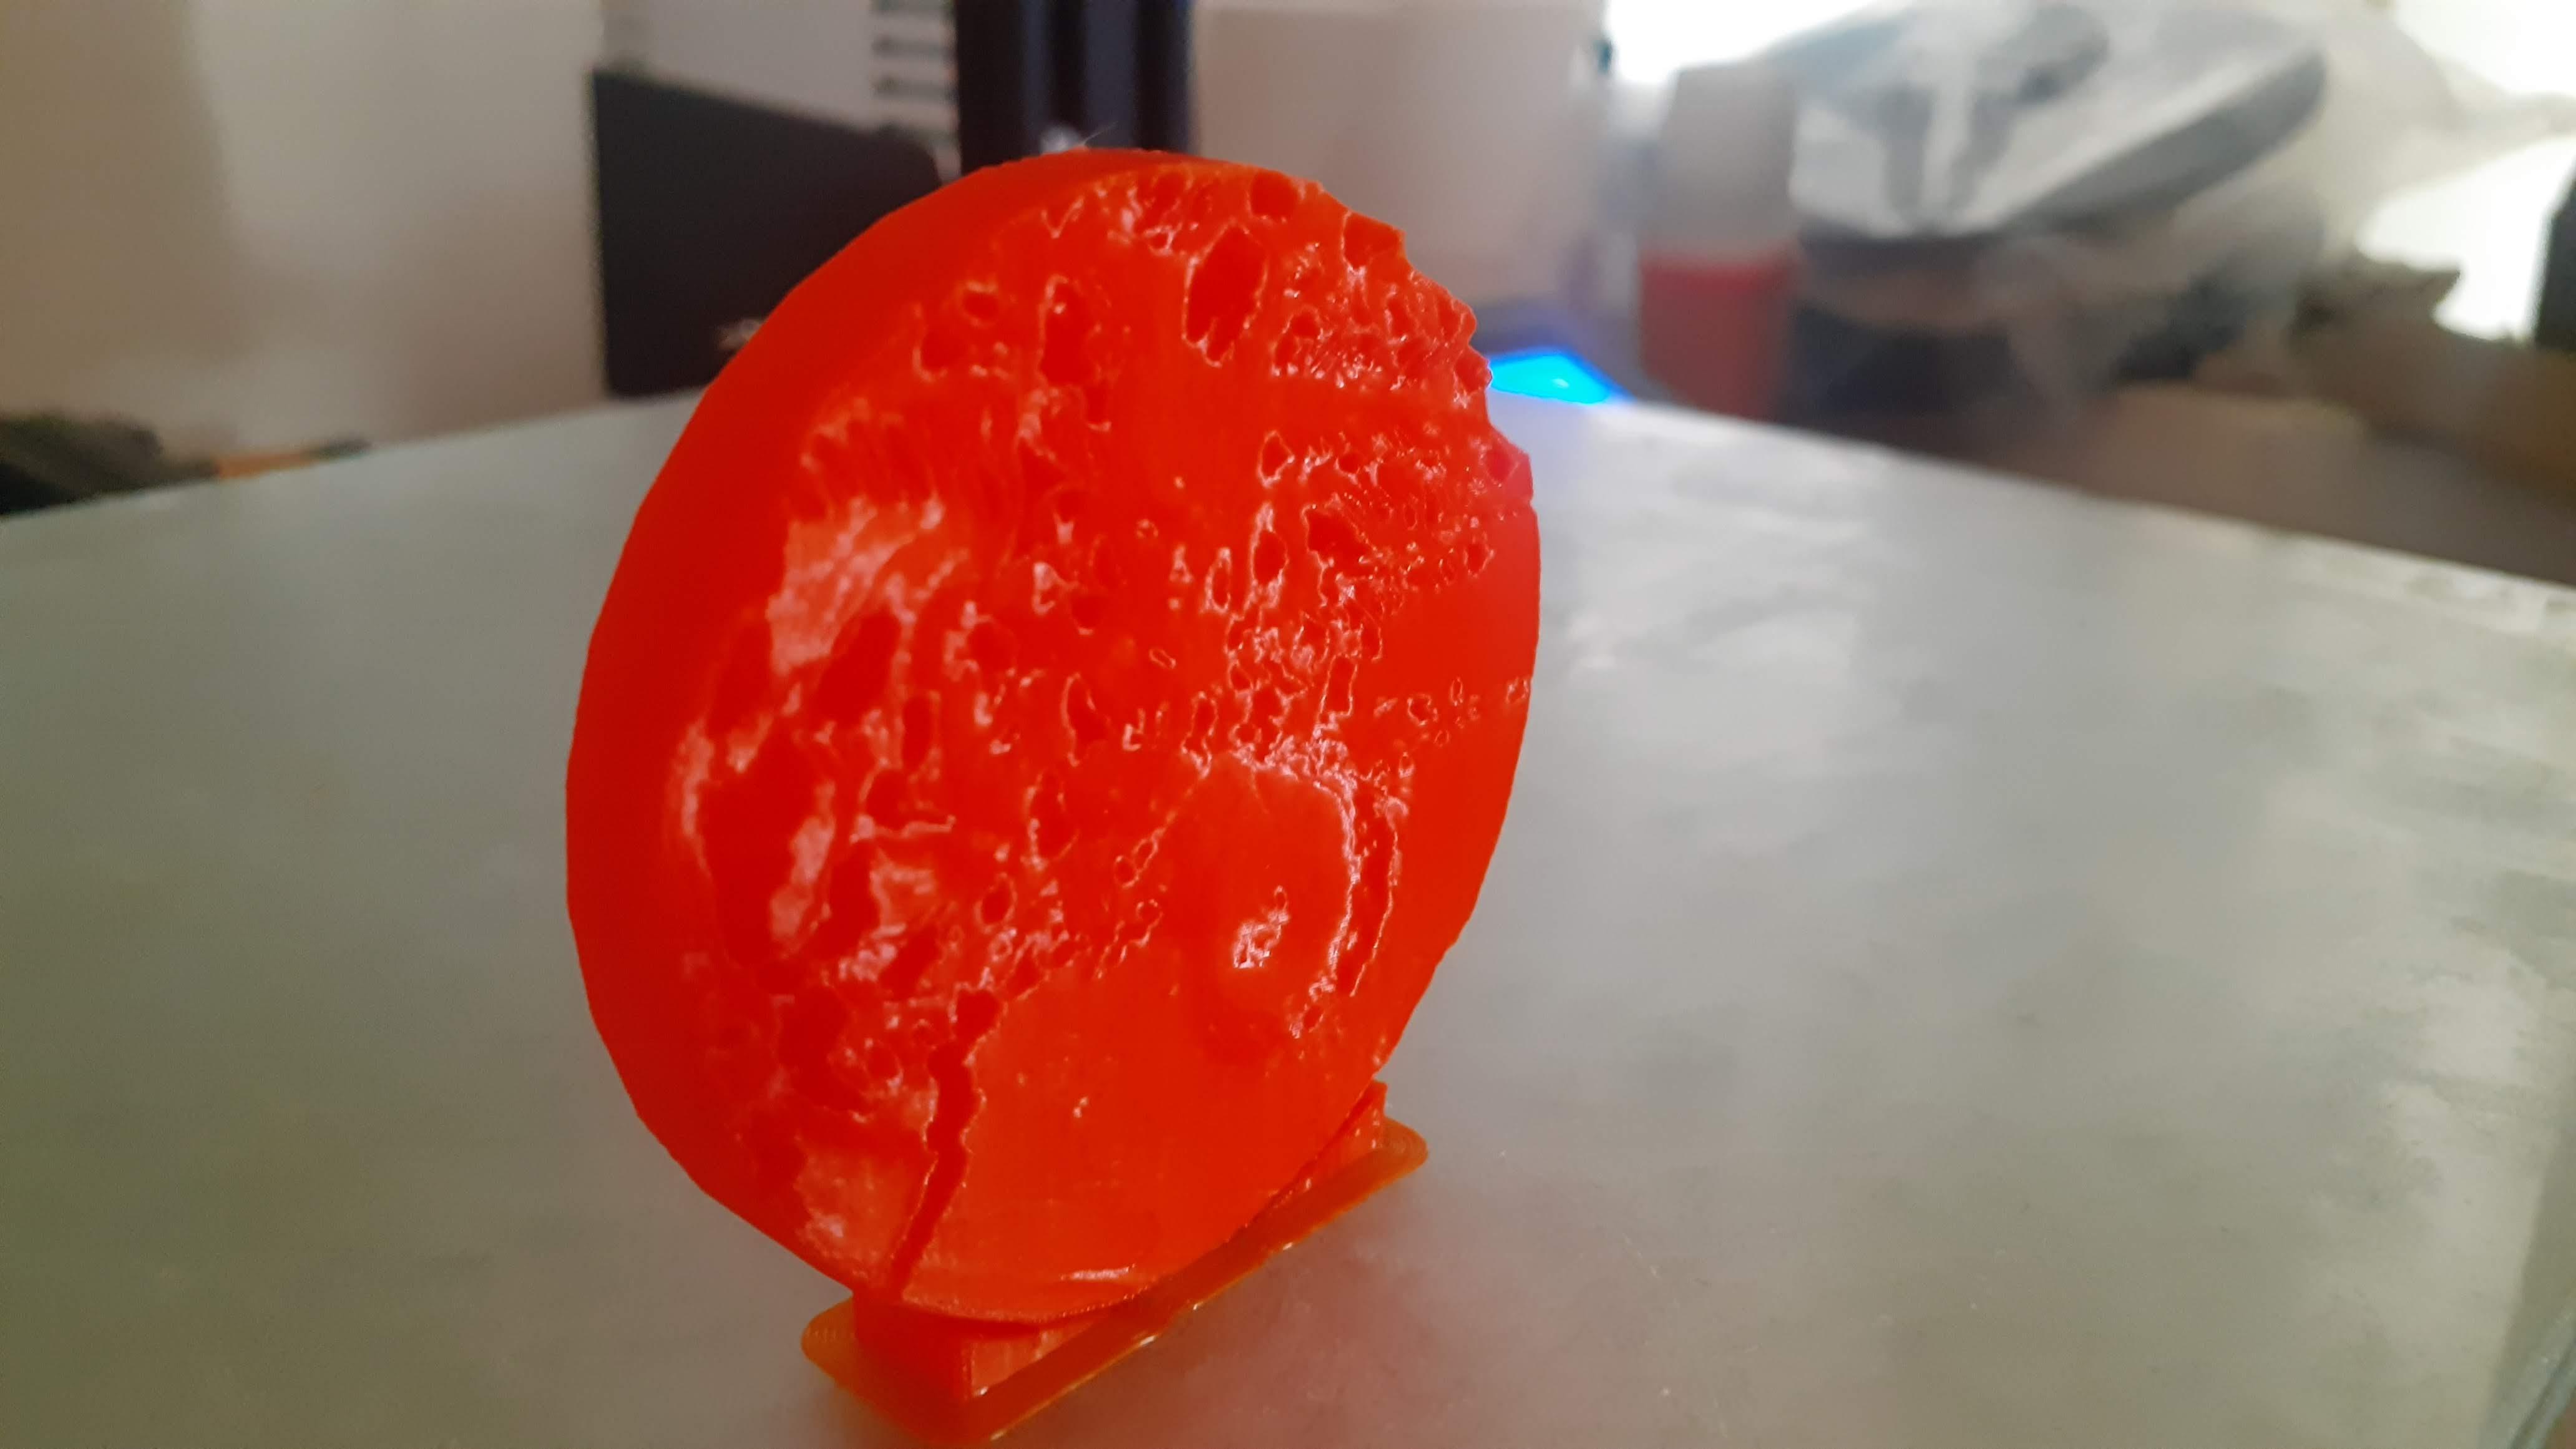
Export Martian Terrain for the Inner Part.
.png)
.png)
.png)
.png)
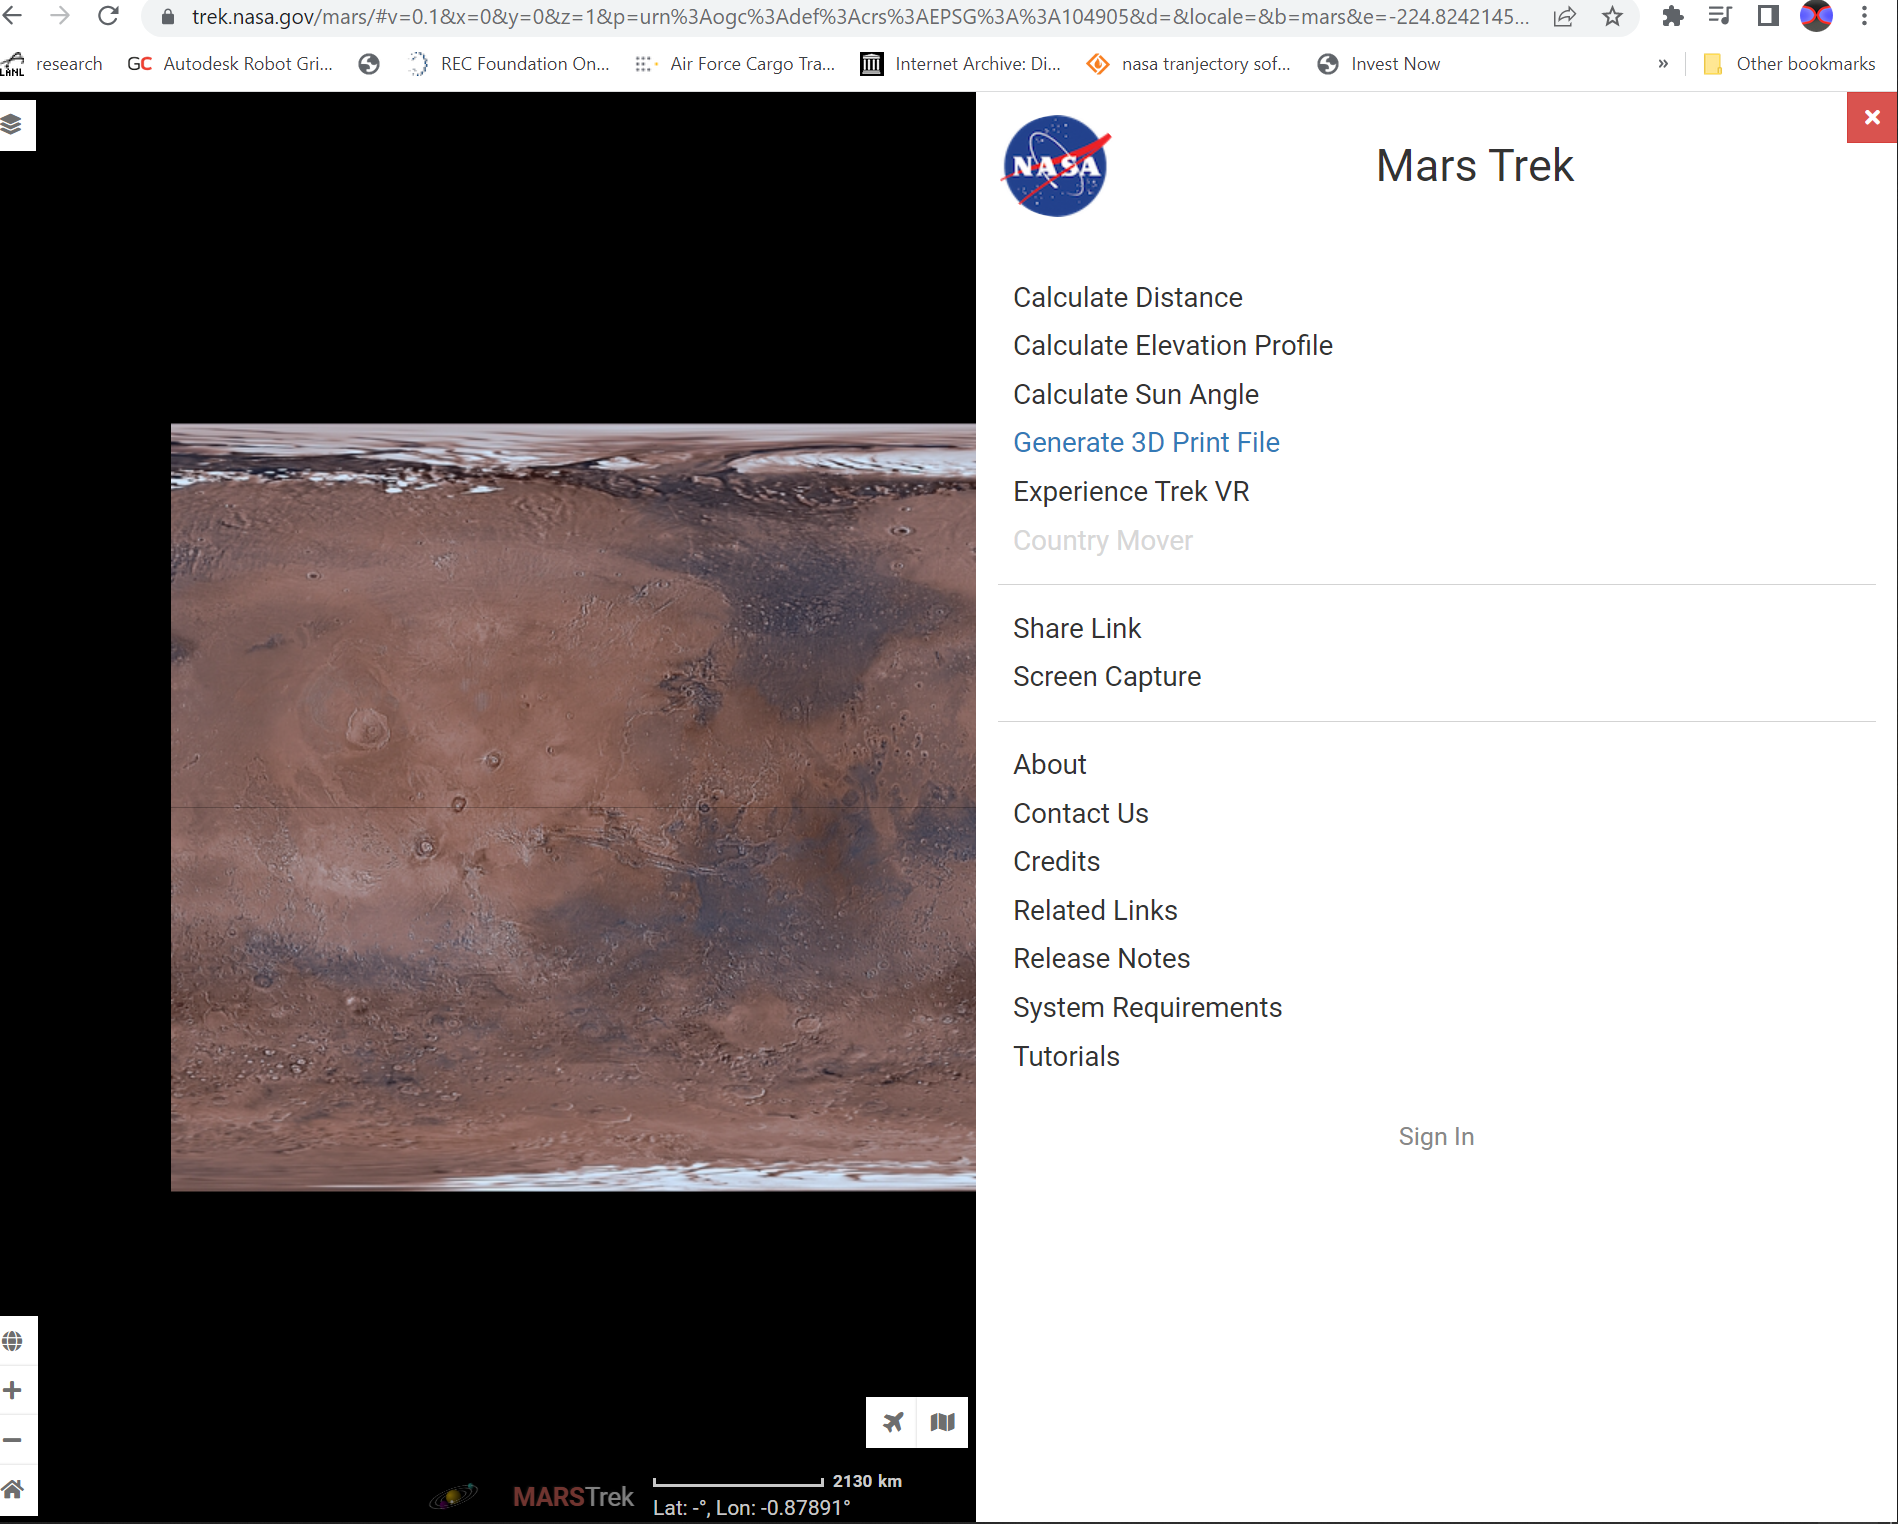
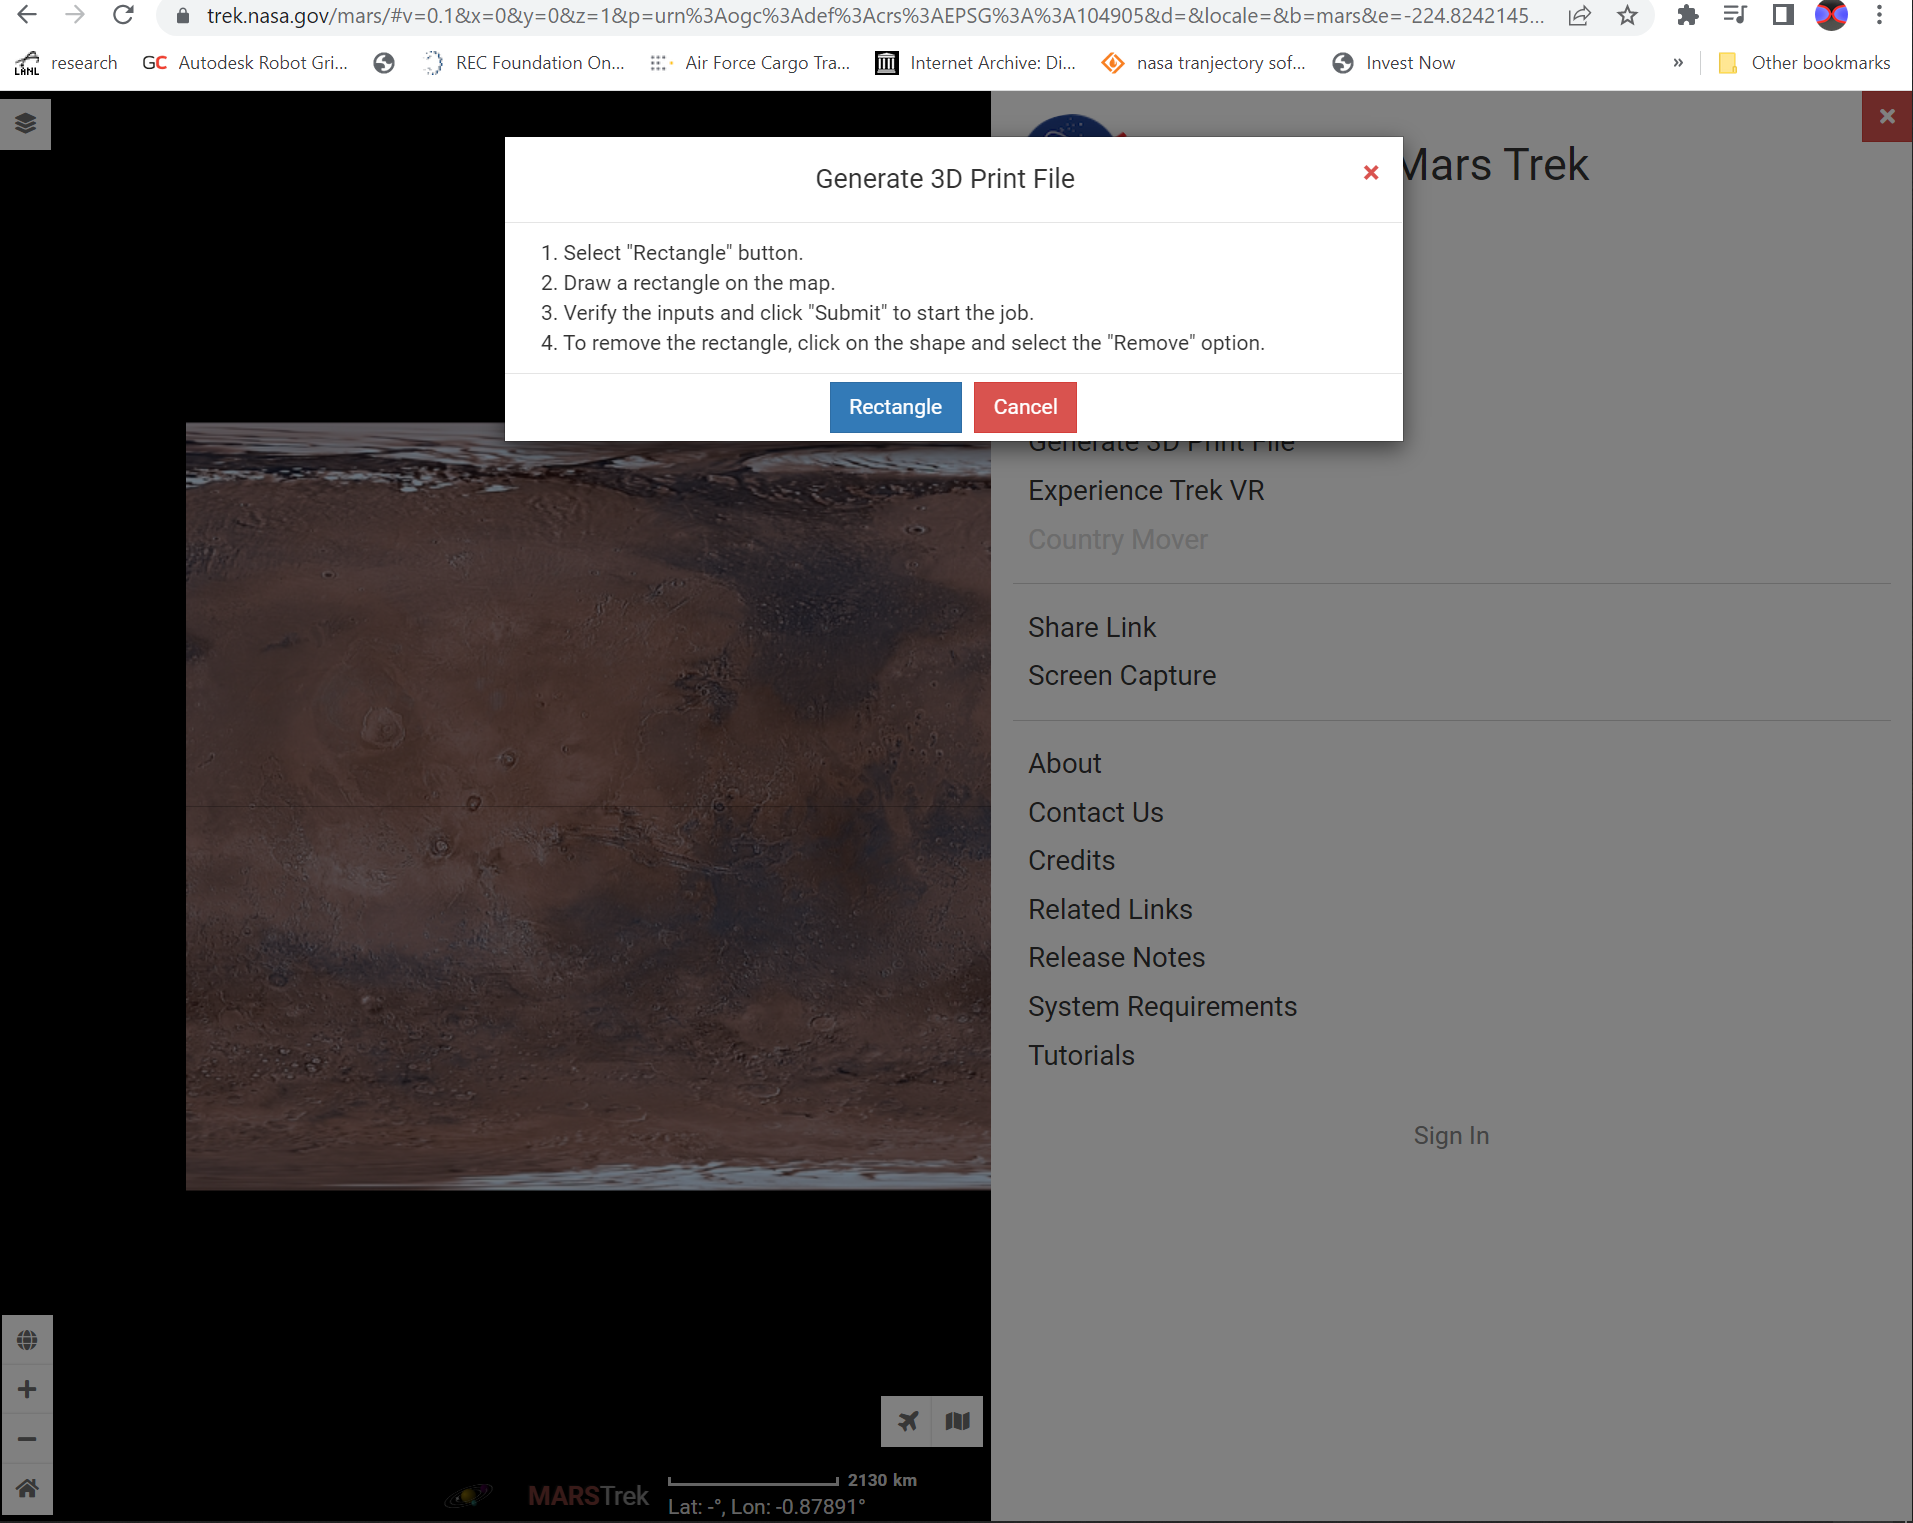
Go to Google search and search Mars trek.
Else goto to this link directly.
Also, refer to this video for file generation.
Goto menu button > Generate 3D Print File > select rectangle.
Zoom in on a map and select any region of mars you want to make a badge.
Draw a rectangle on that region.
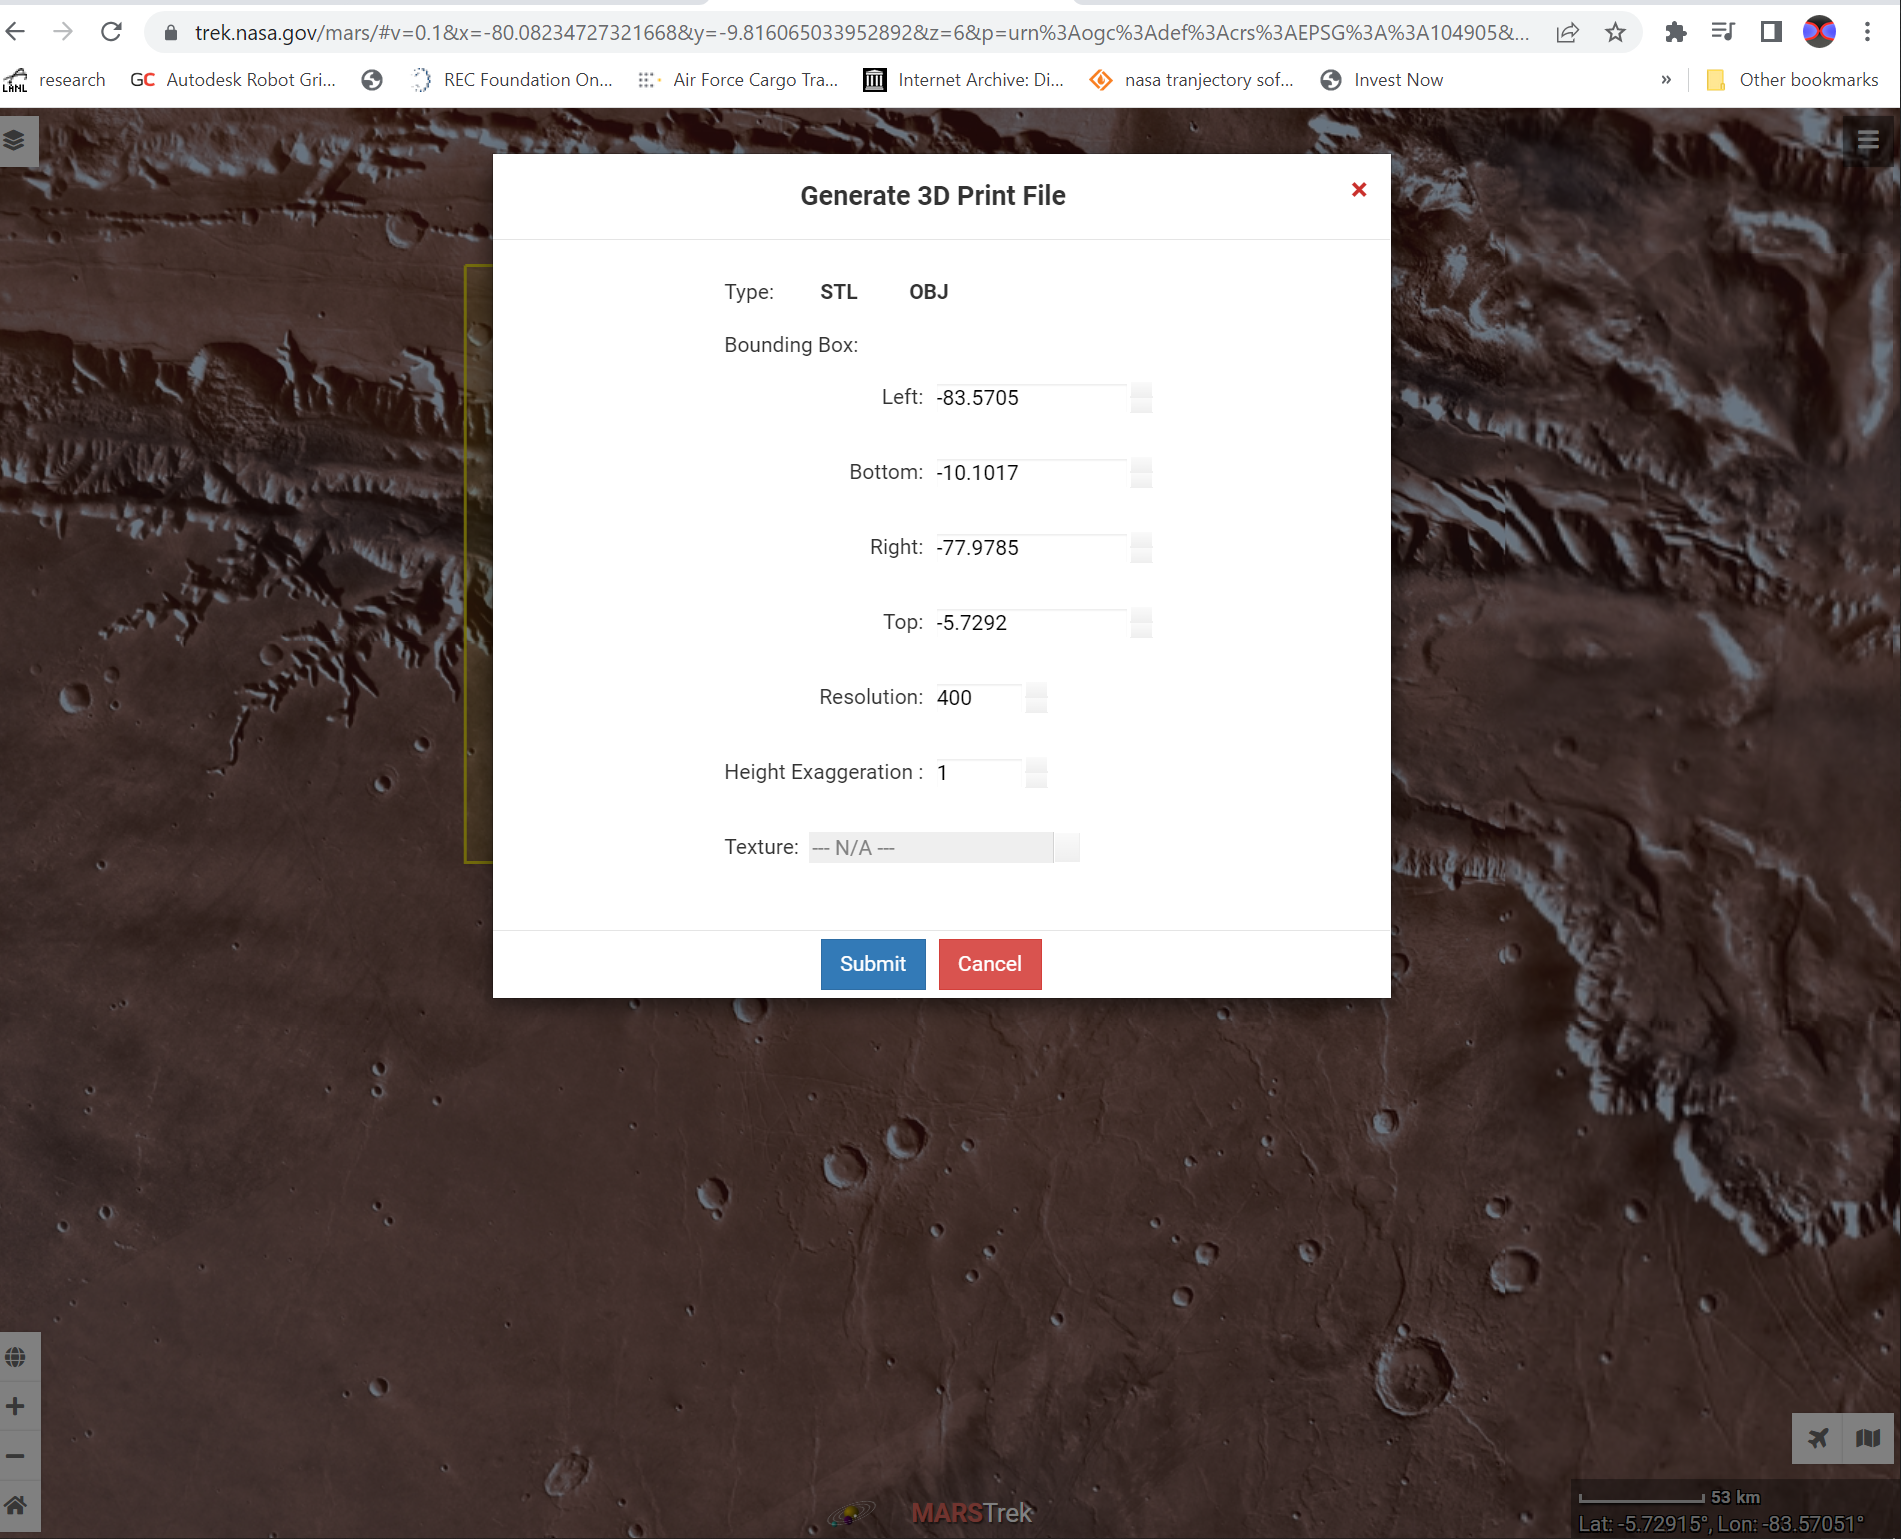
Then the file generation menu appears.
Do not change if you don't know all the parameters.
Select.STL file and select submit button to generate the file automatically.
Please wait for a while to start downloading files.
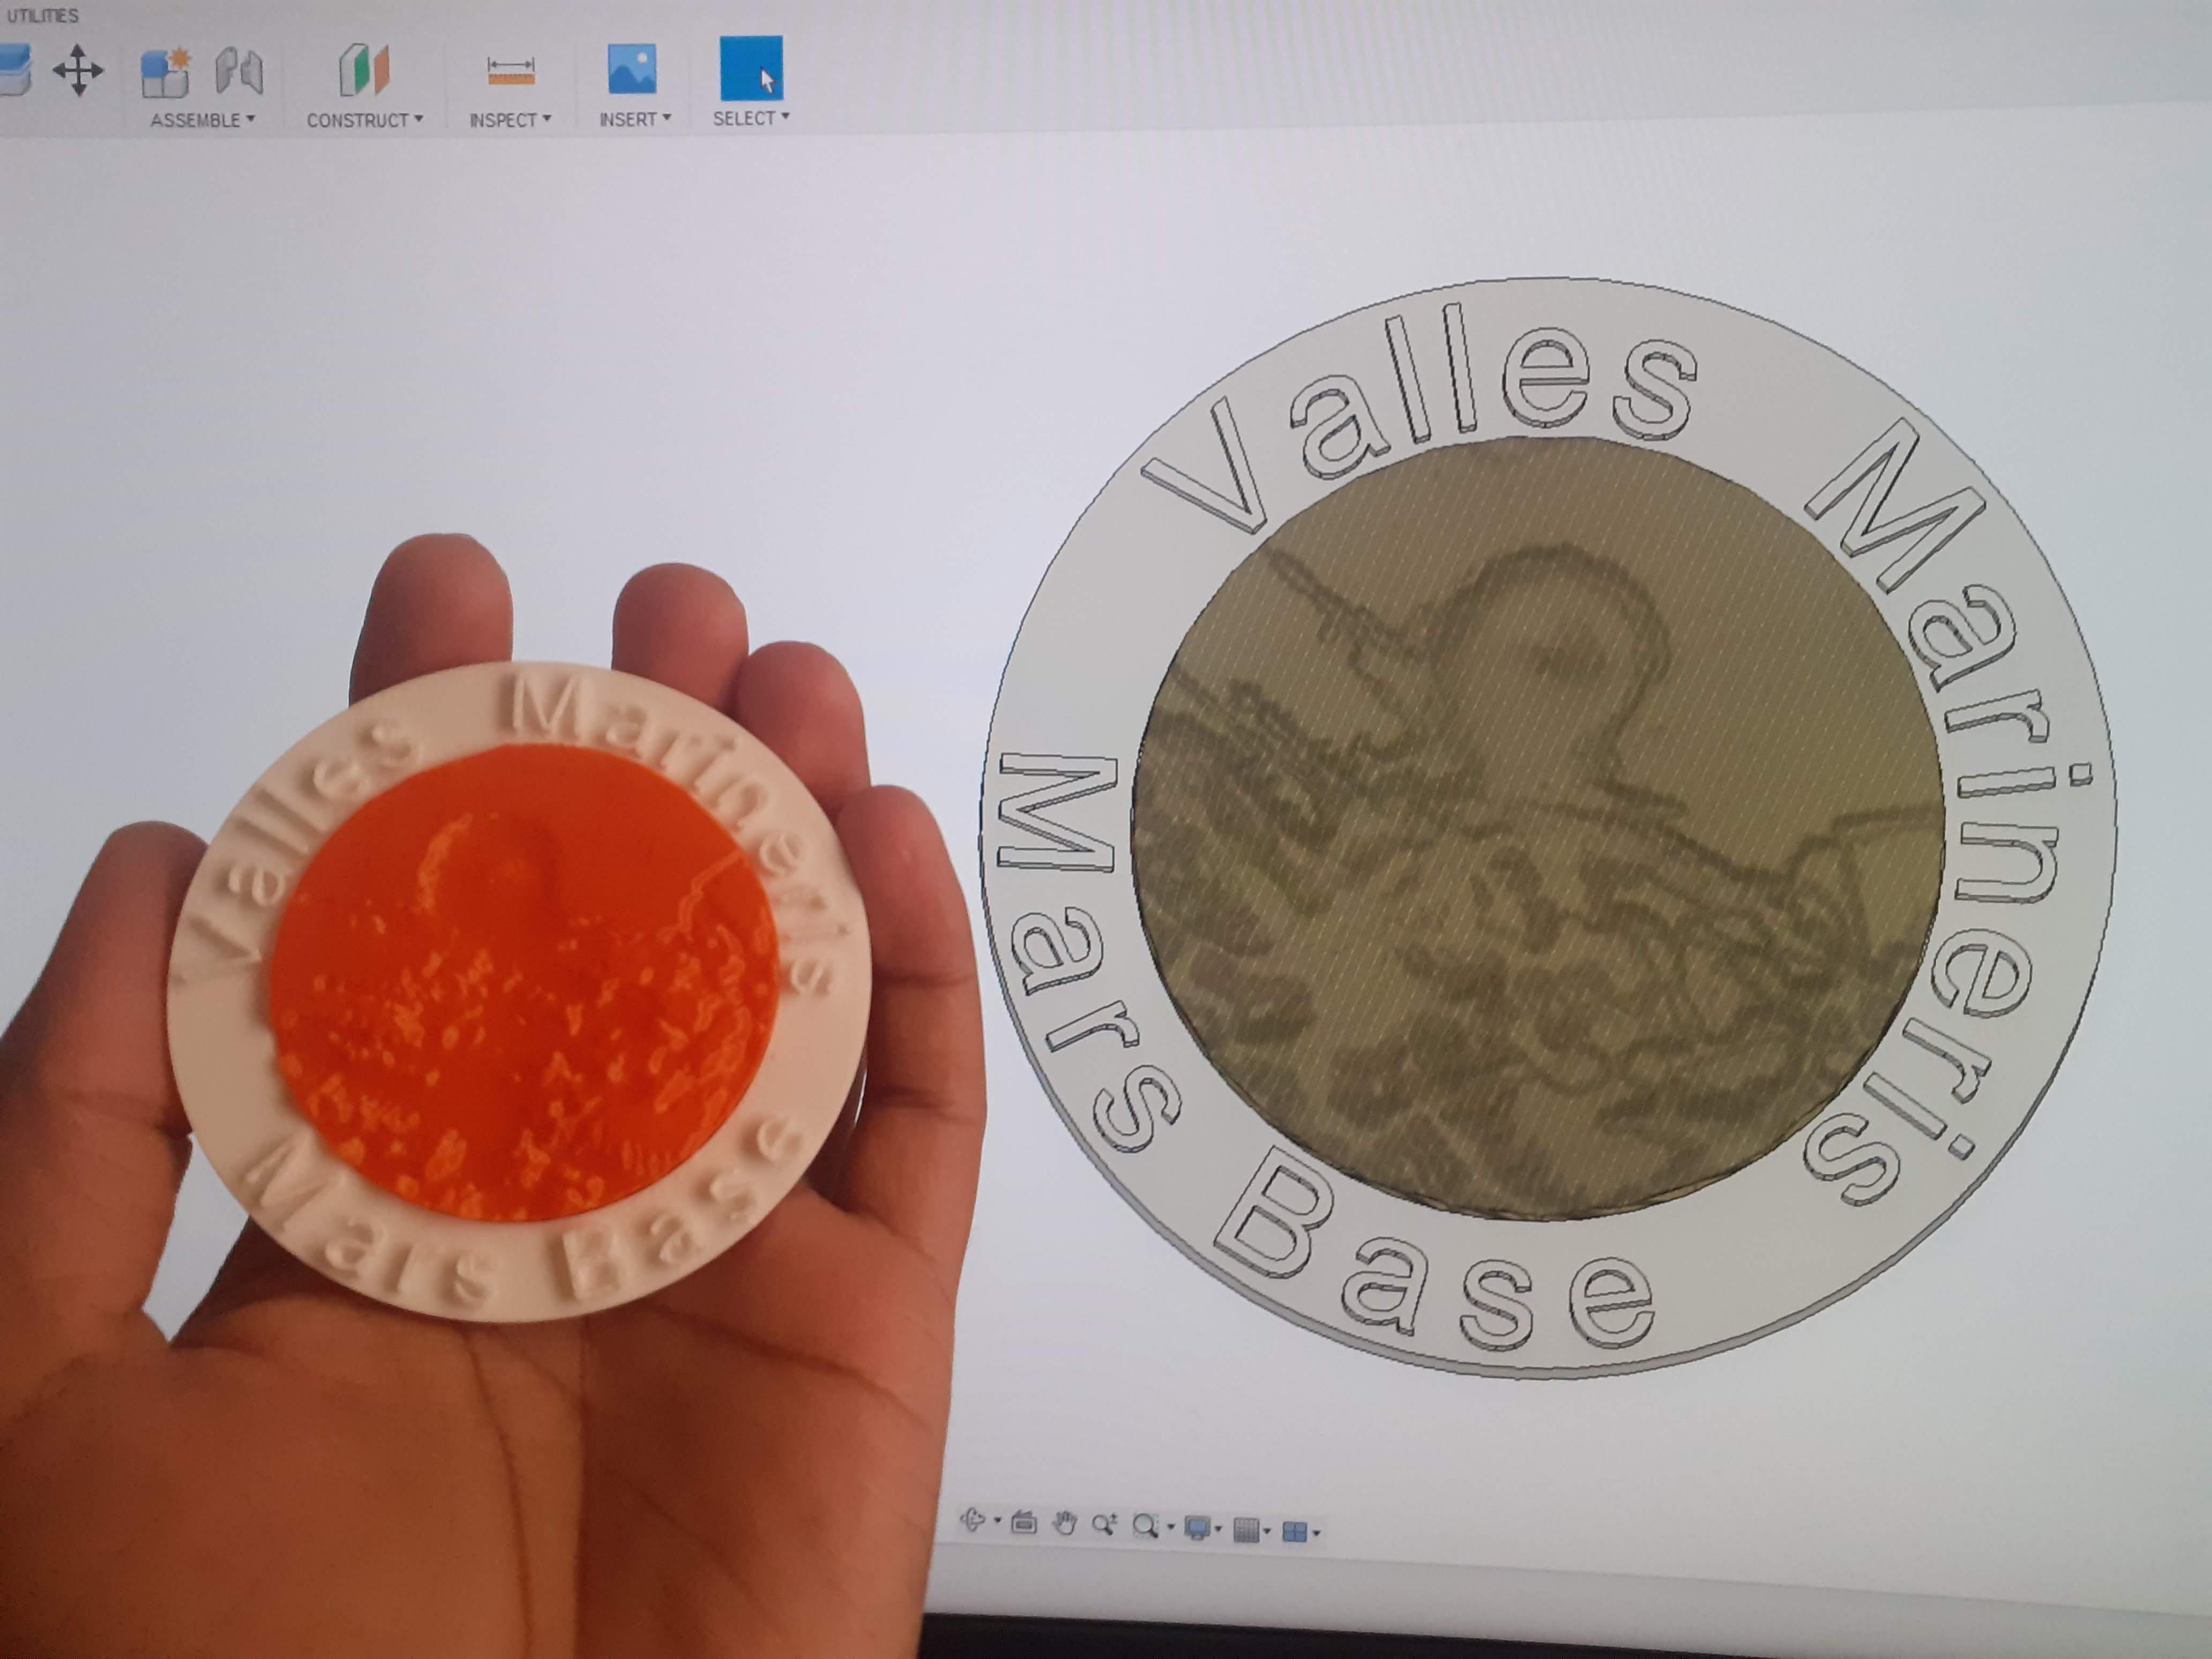
Changes in .STL File (Optional)
.png)
.png)
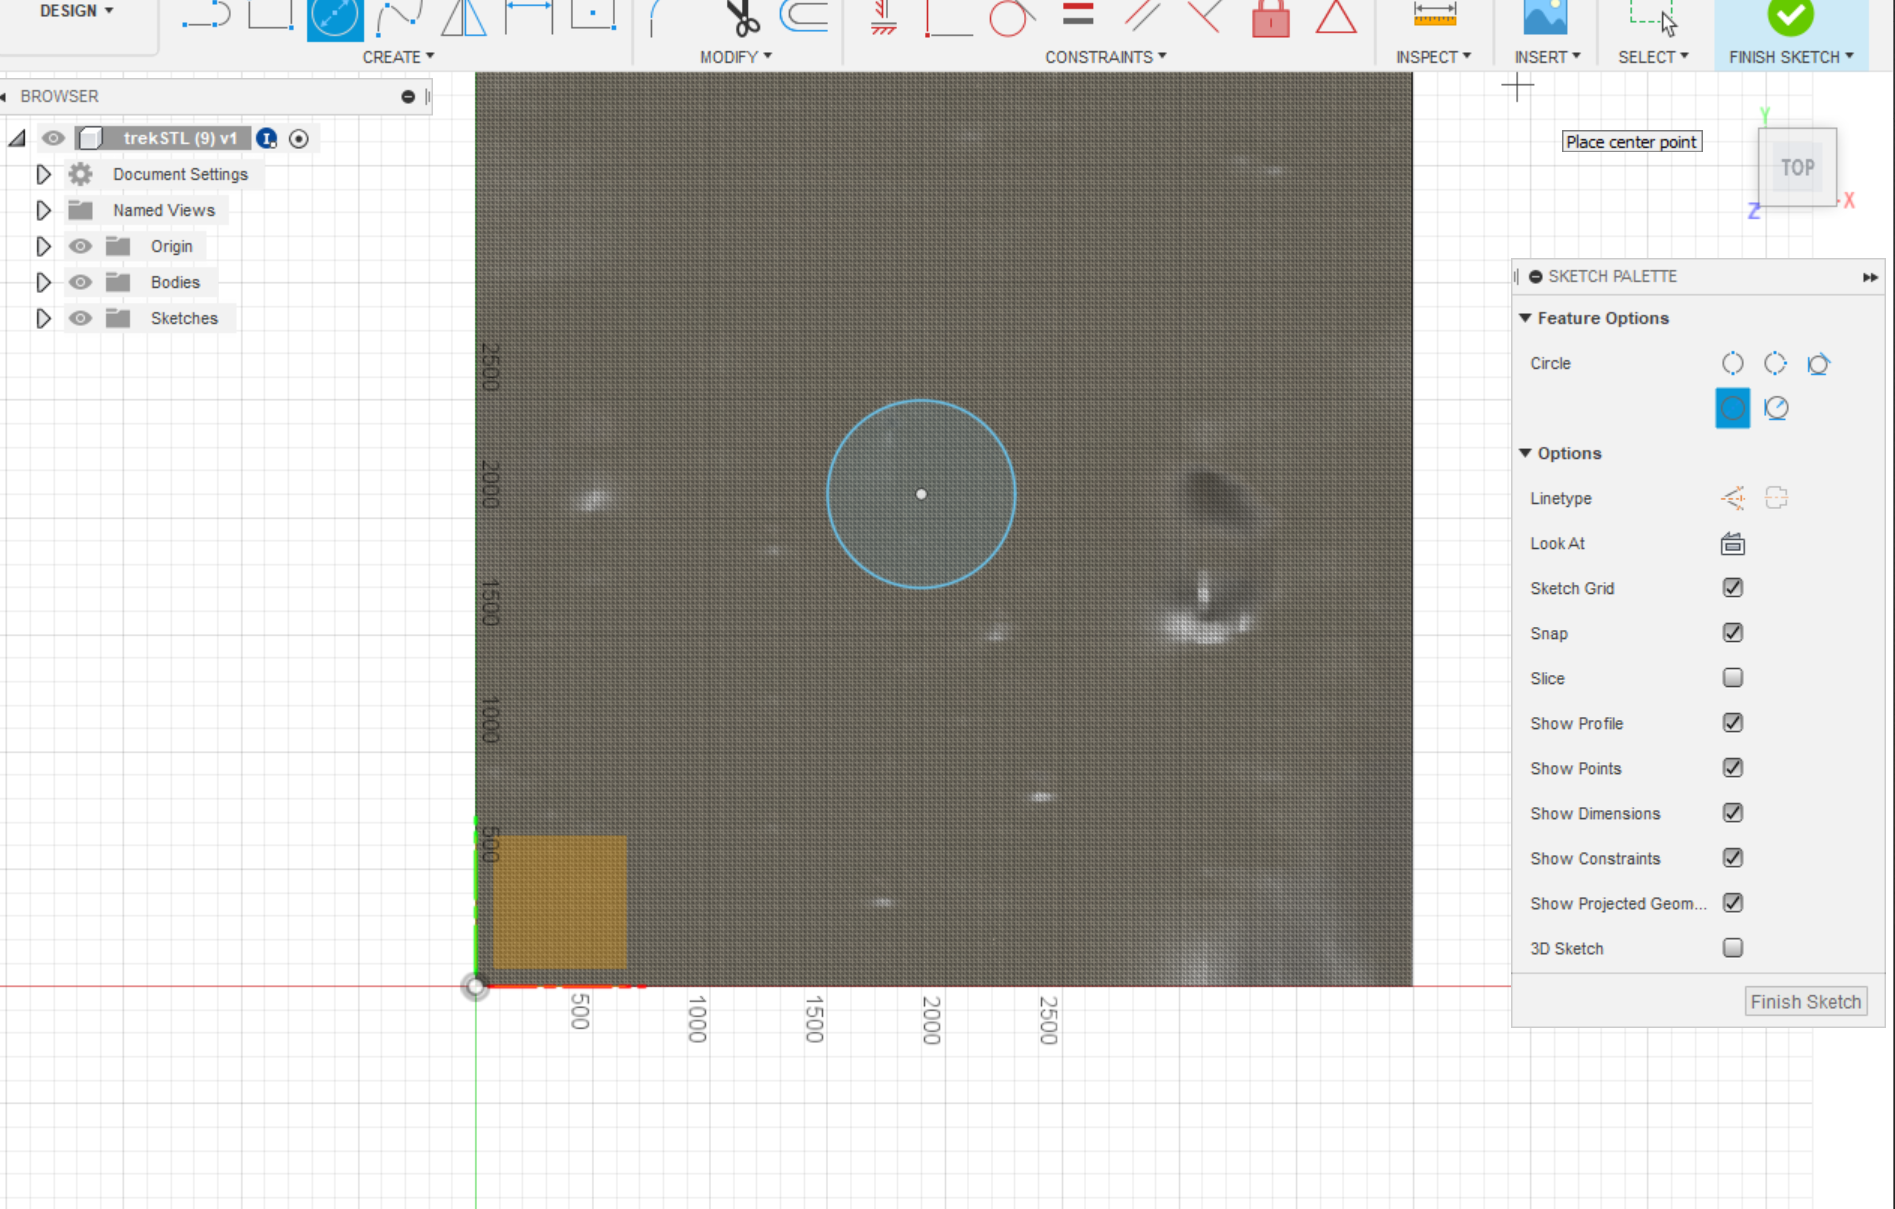
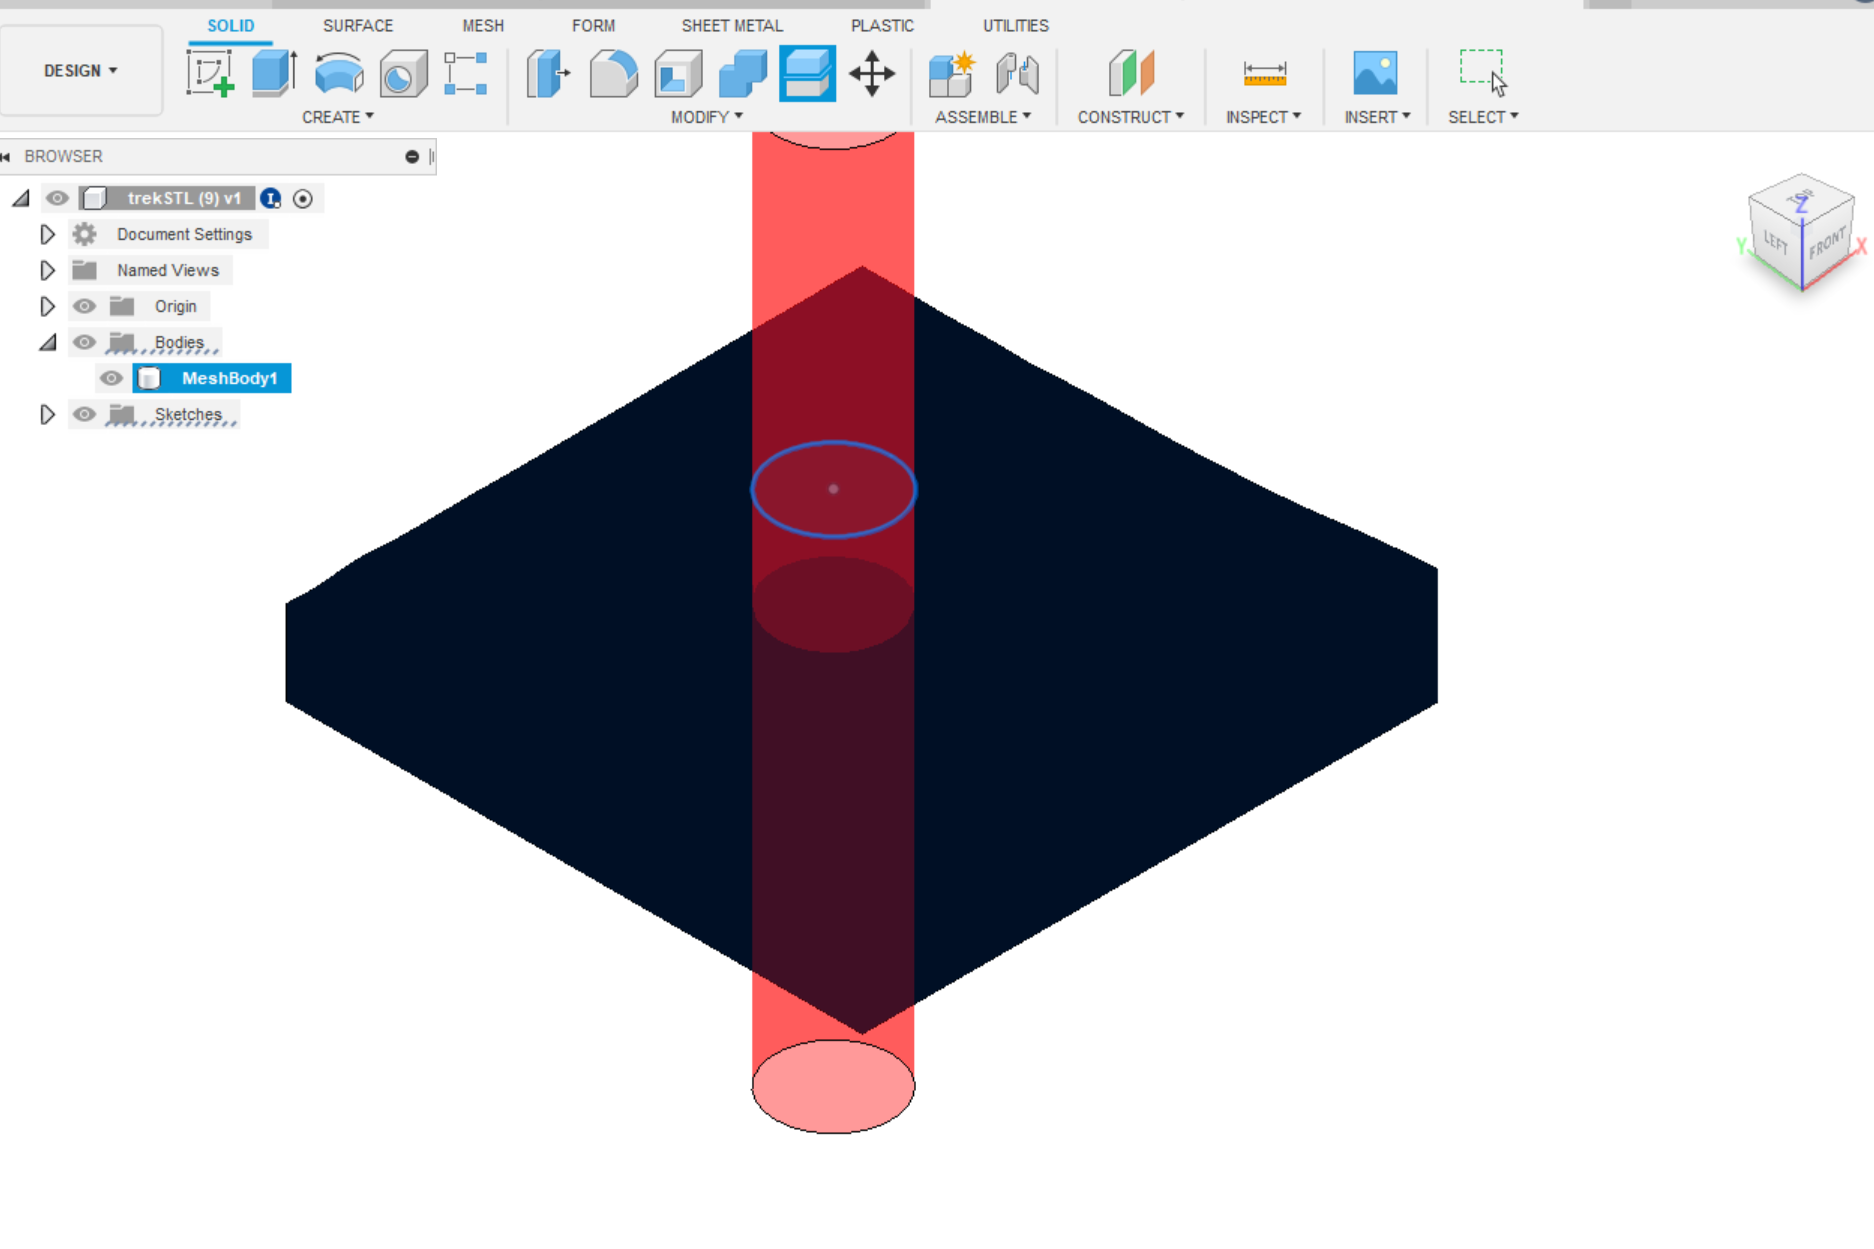
Upload the file in fusion360 and add that file to the Outer ring part file.
The uploaded file is in mesh form.
You need to cut it in a circle and make a watertight model for 3d printing.
Note: If you don't need to make a circle part, you need to design a square badge outer ring to fit this part inside.
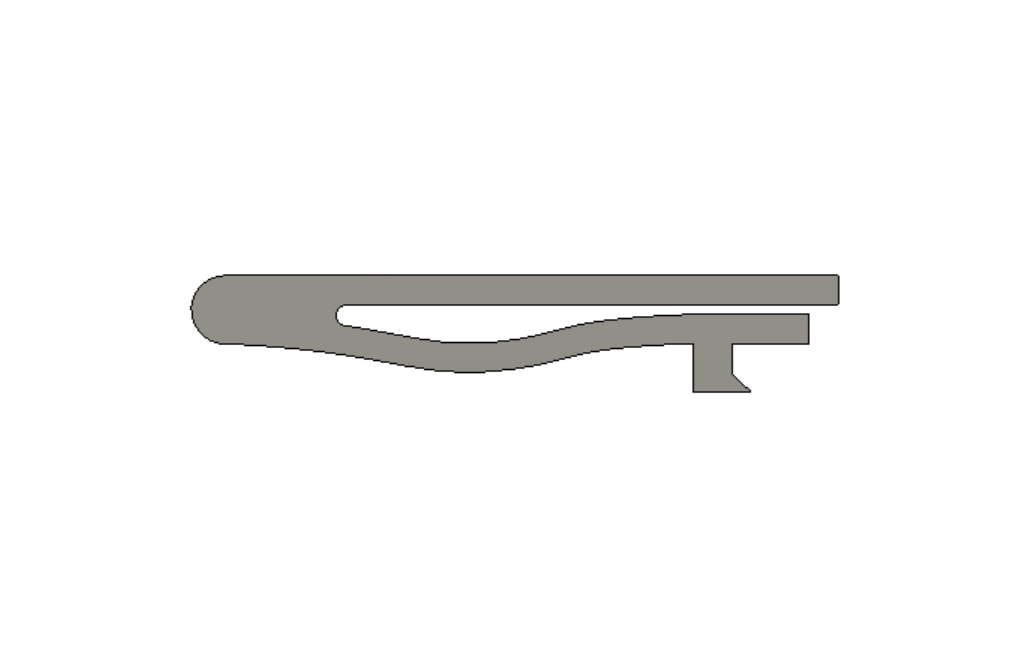
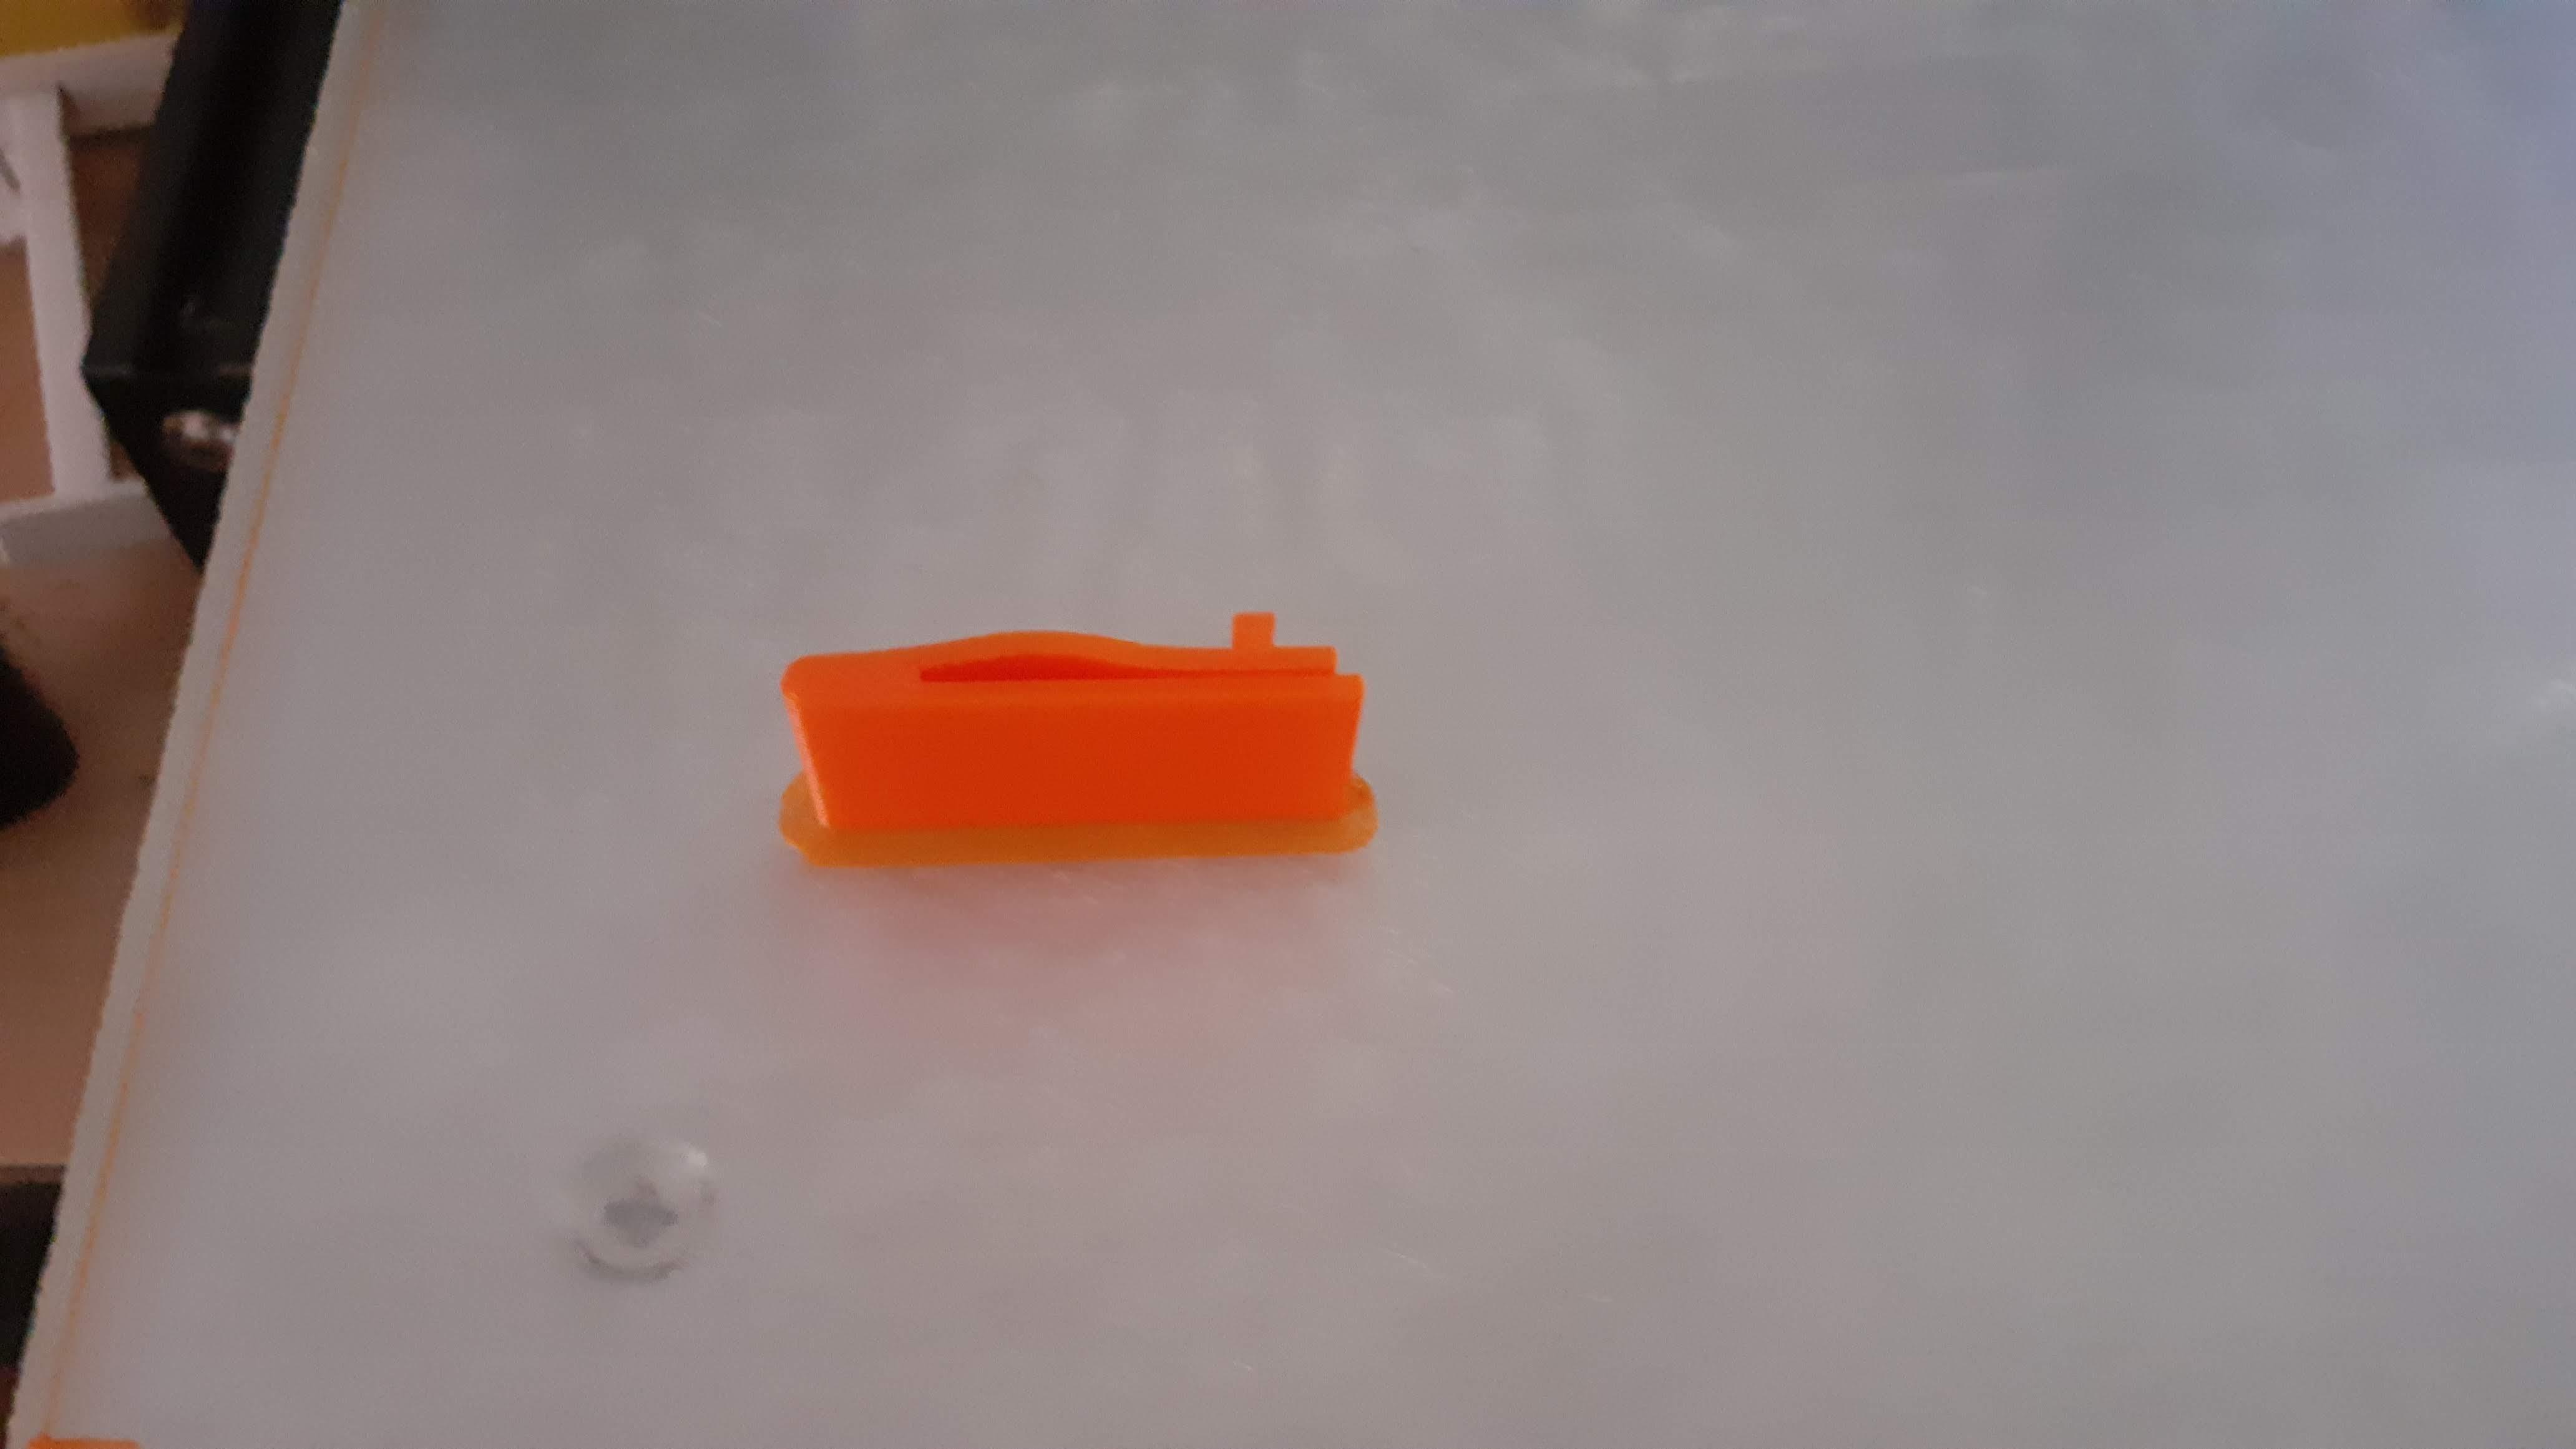
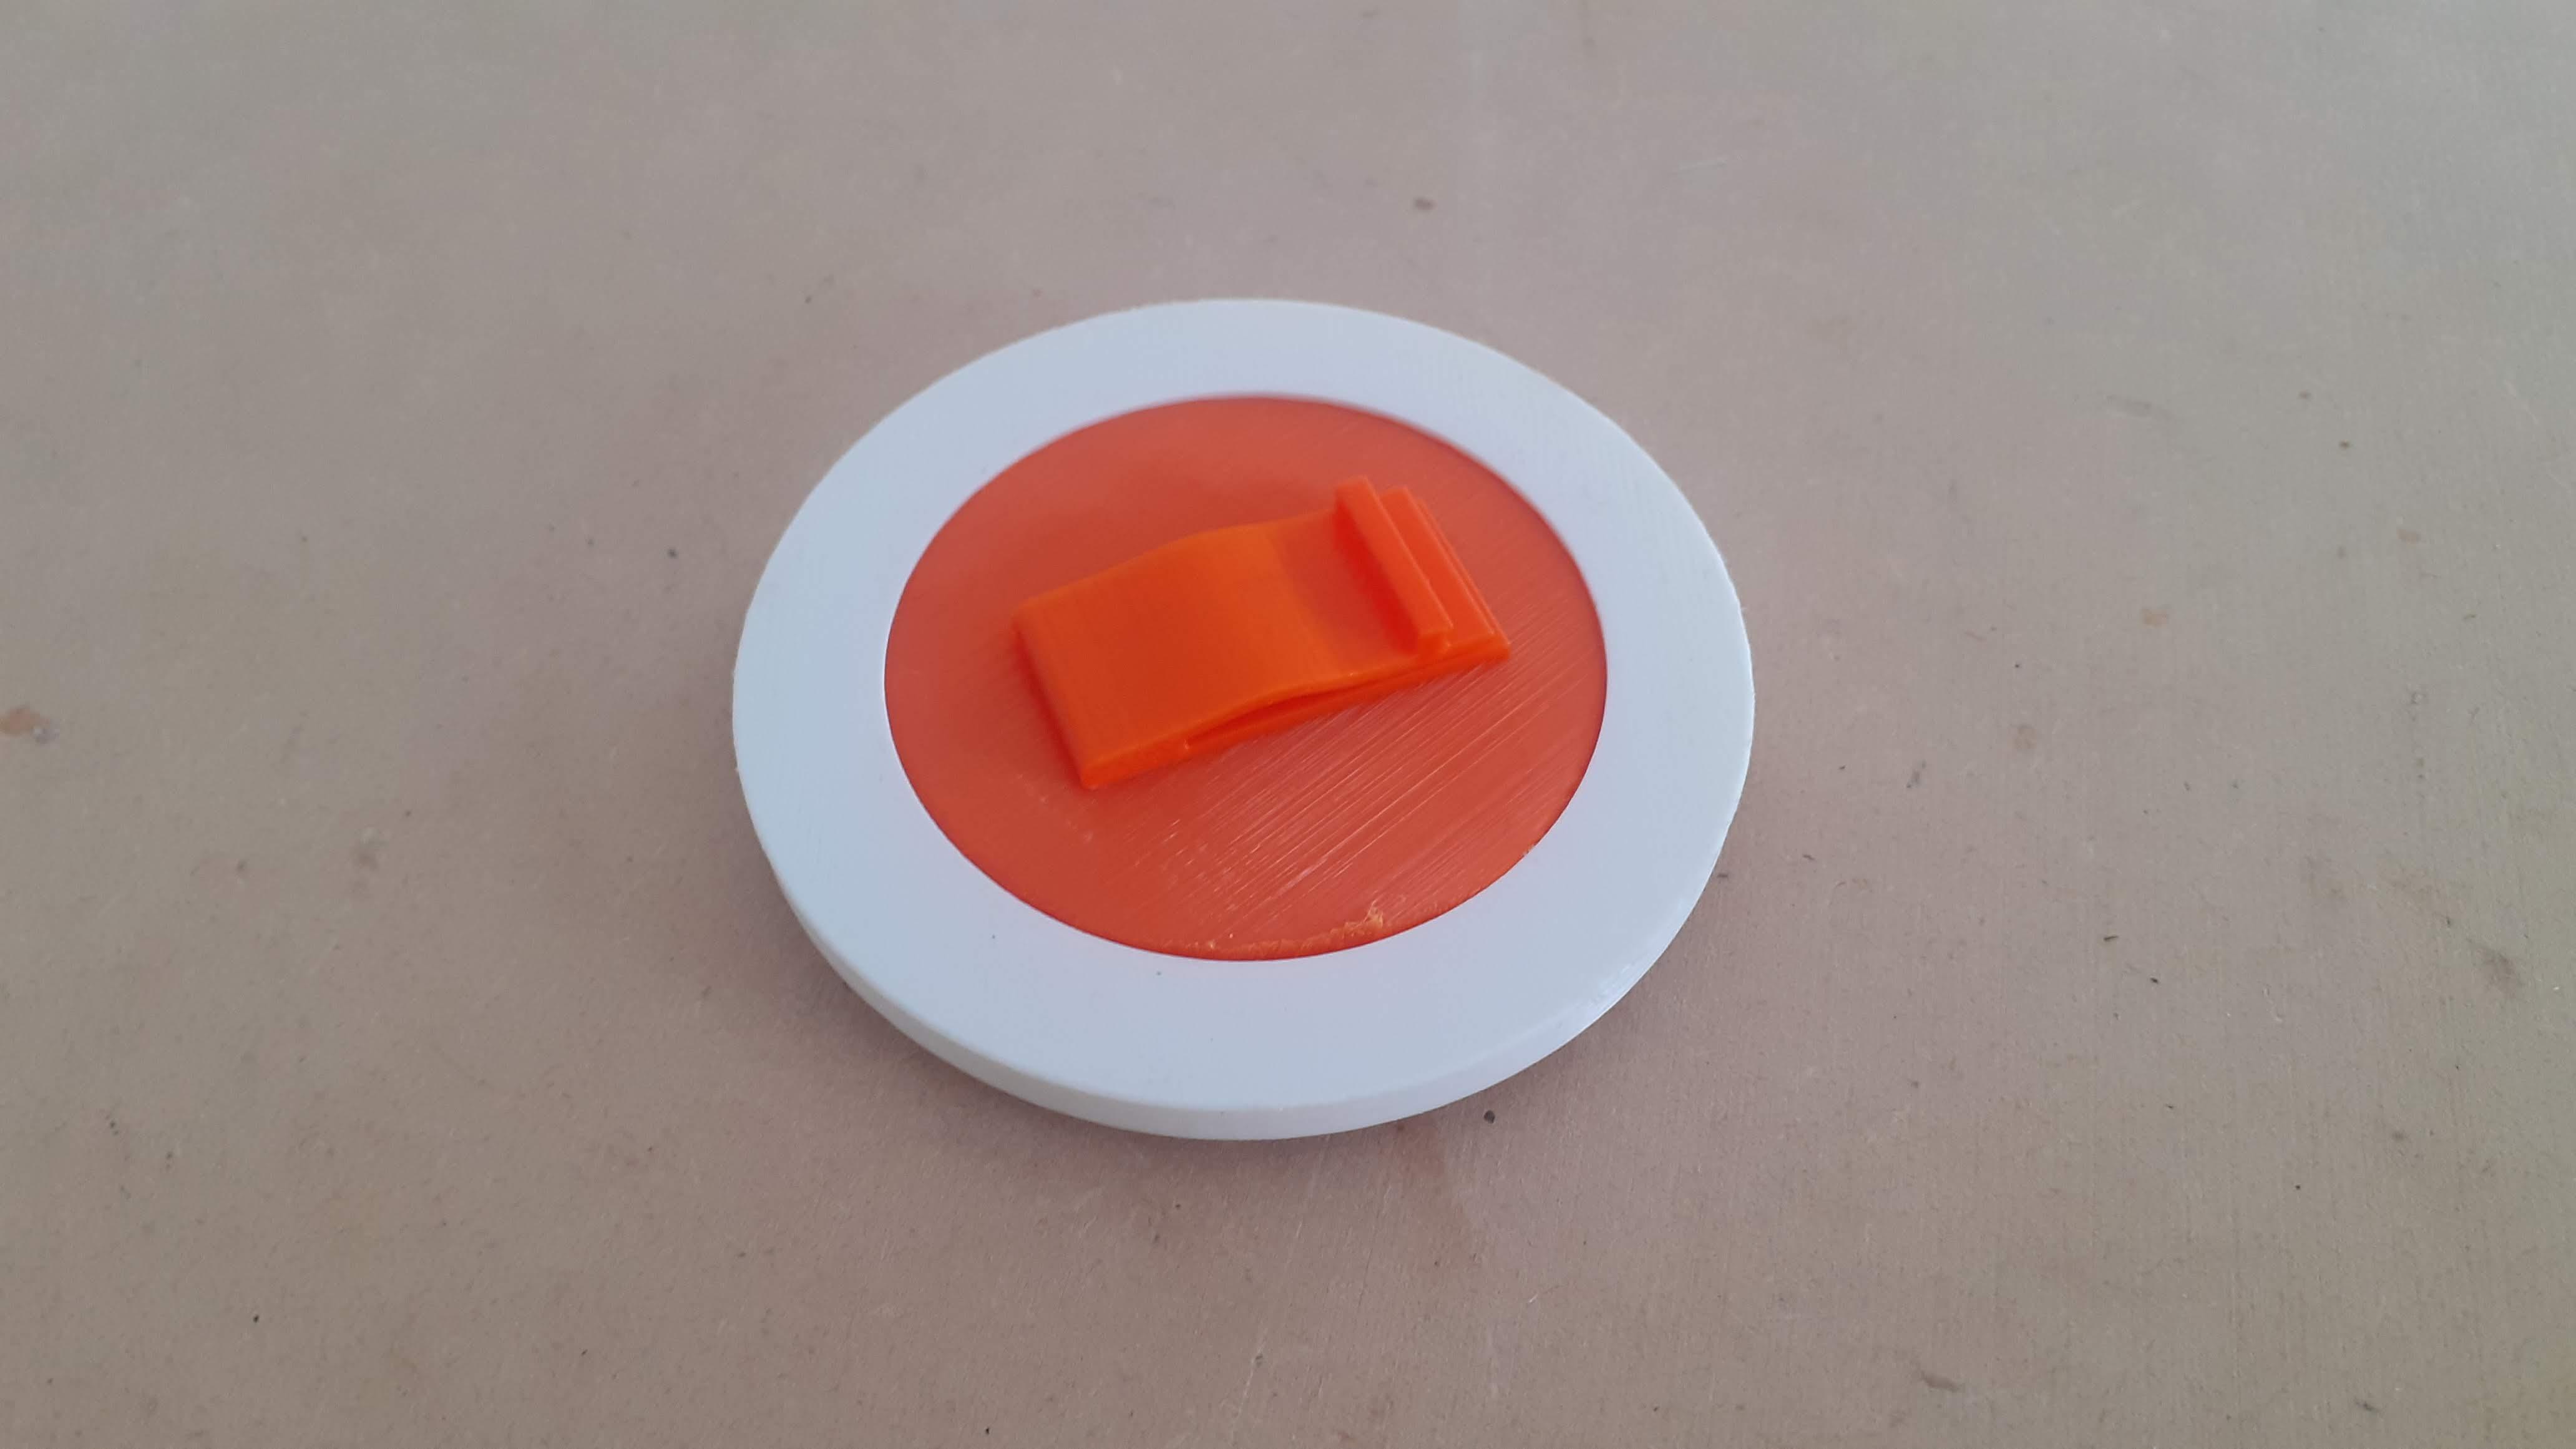
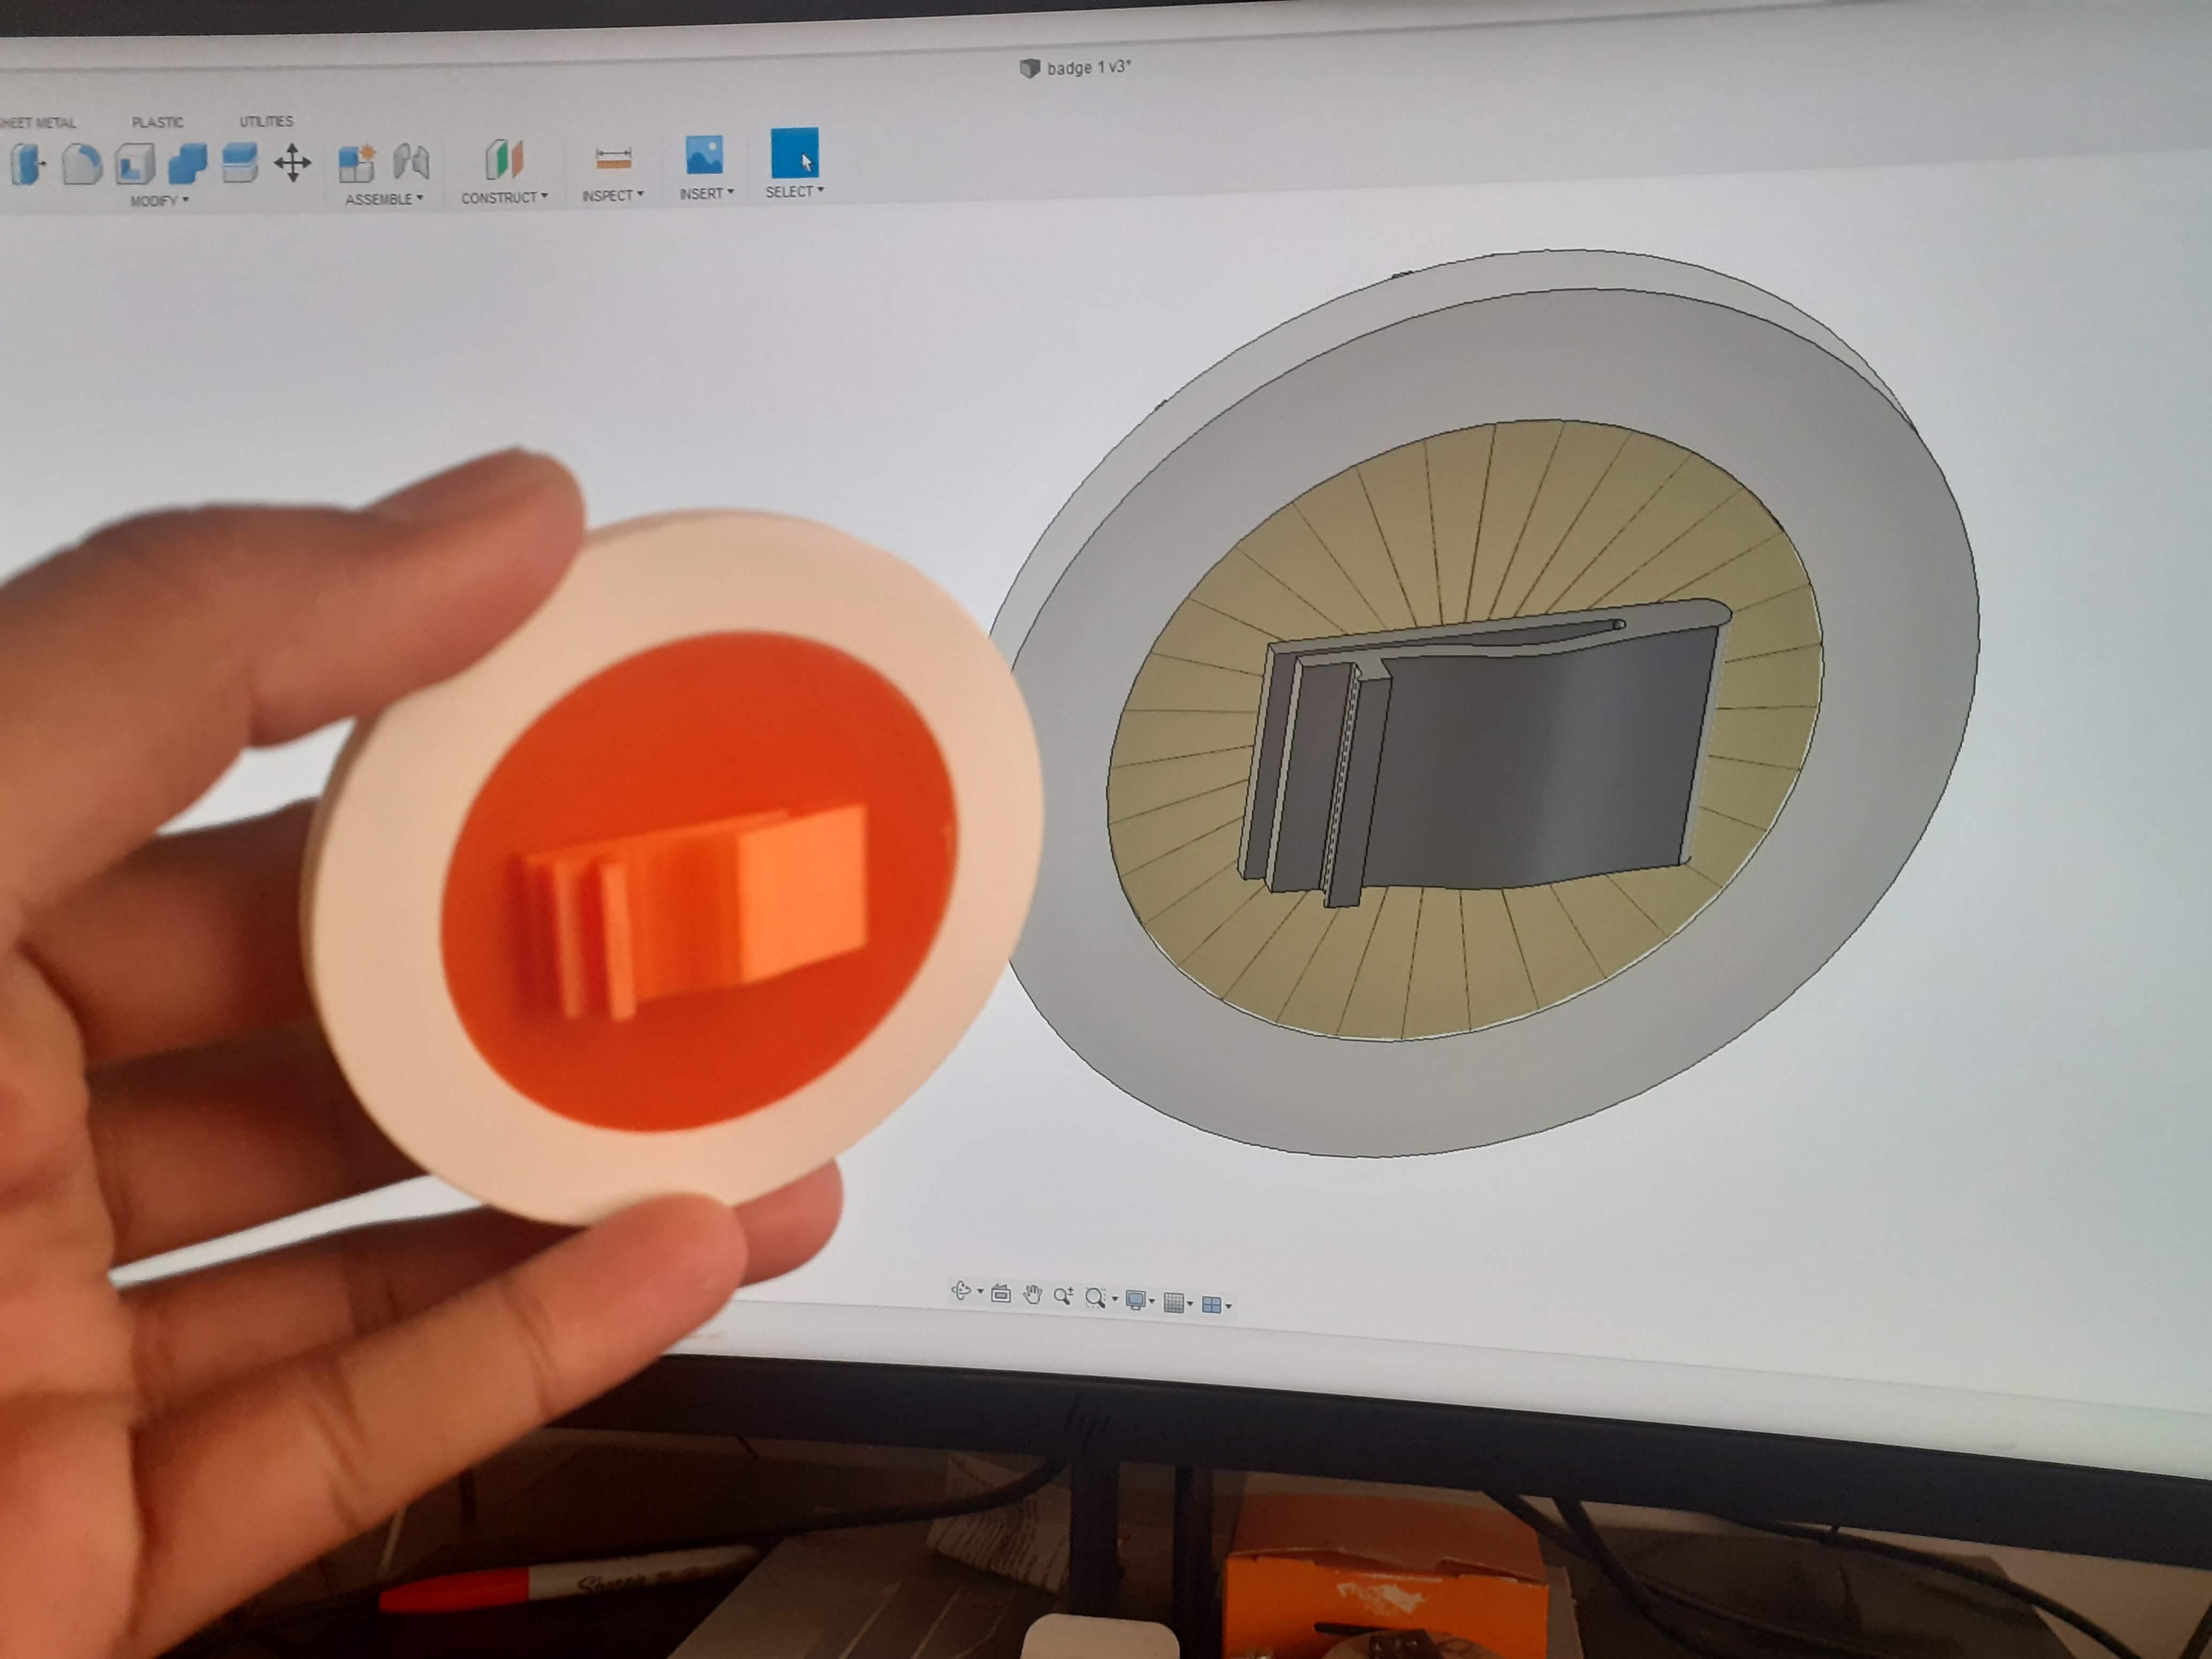
Design Clip for Badge
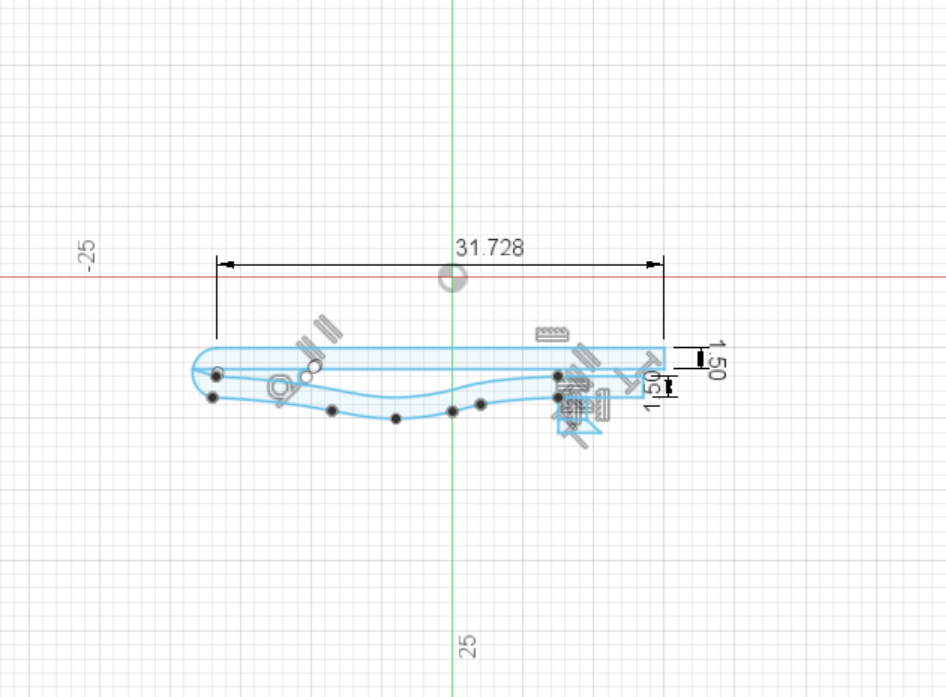
You need to stick your badge on a t-shirt or shirt or Schoolbag.
For that, you need a Clip to attach a badge.
Check out my design in Image for reference.
Make your custom design for your badge as well.
Export .STL File
First export.STL files for 3d printing.
Select body in the design tree and Right-click.
Select save to mesh and Export.STL file.
Do the same for clips.
We already have a . STL file from the NASA website.
3D Print
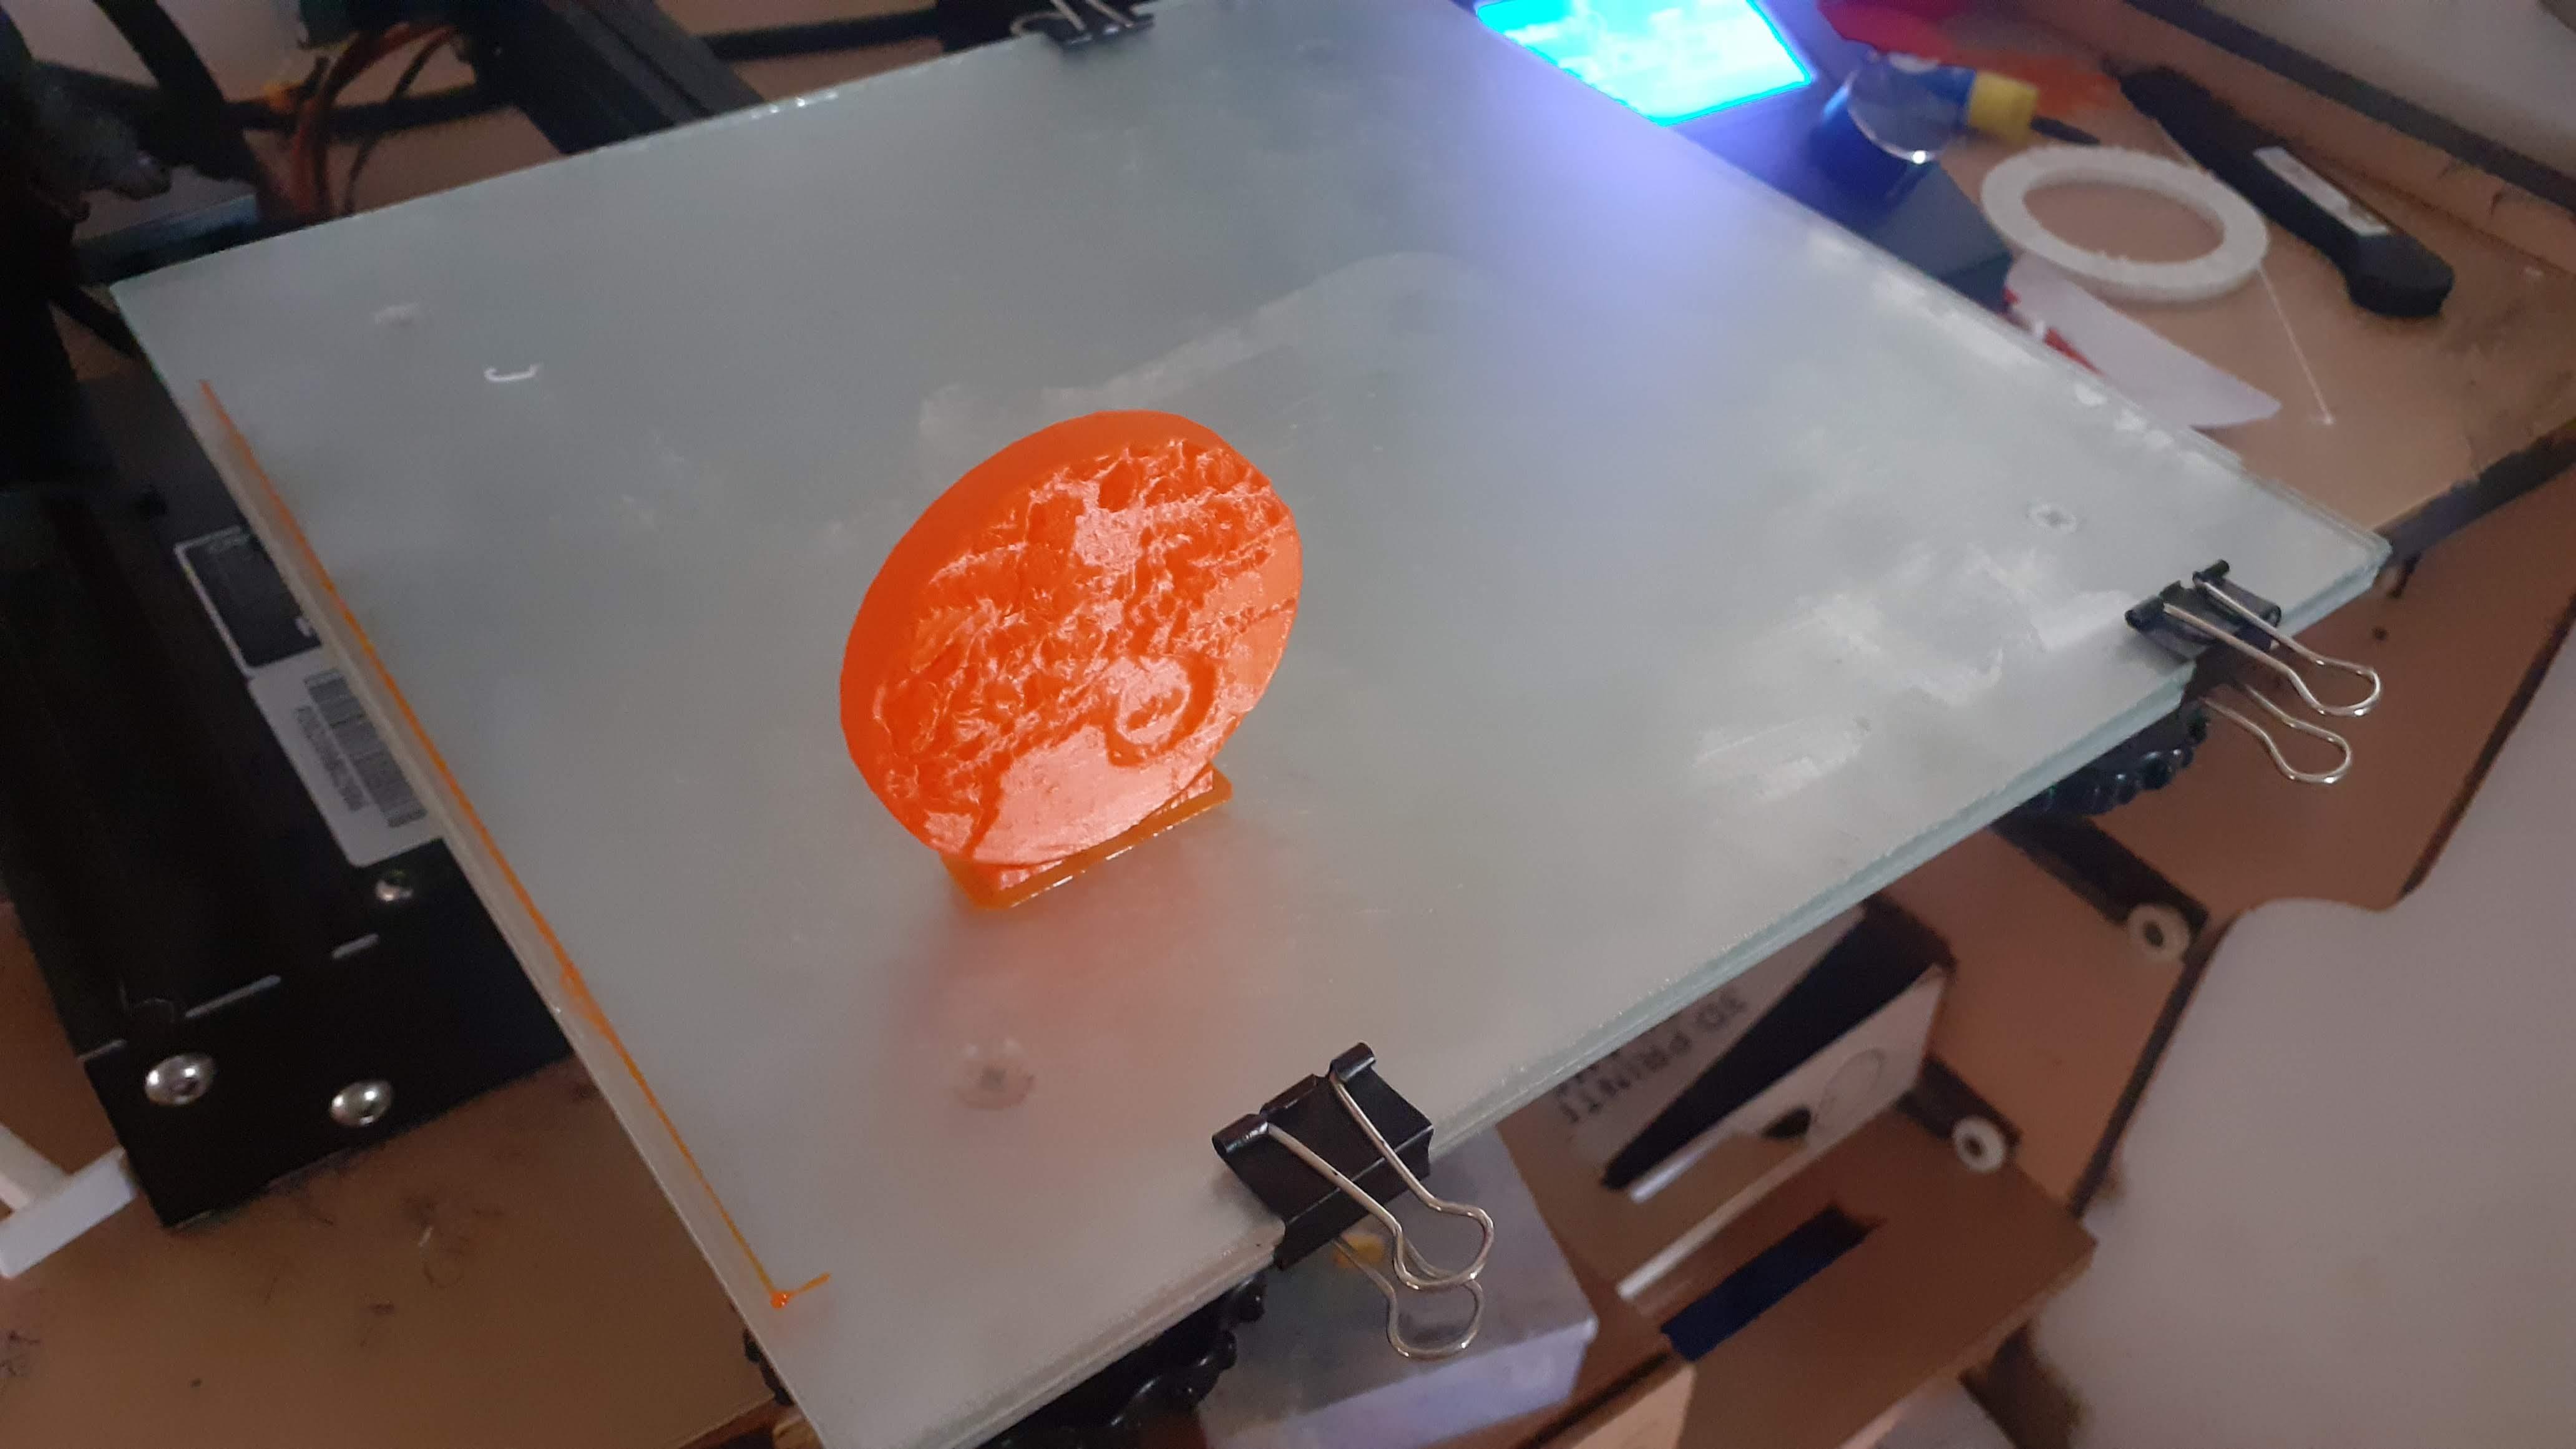
I use Ender-3 for 3d printing.
Use the Below parameters for a better print.
Layer height : 0.15 or 0.2 mm
Infill: 20%
Wall:2
Built plate adhesion: Brim
Support: no
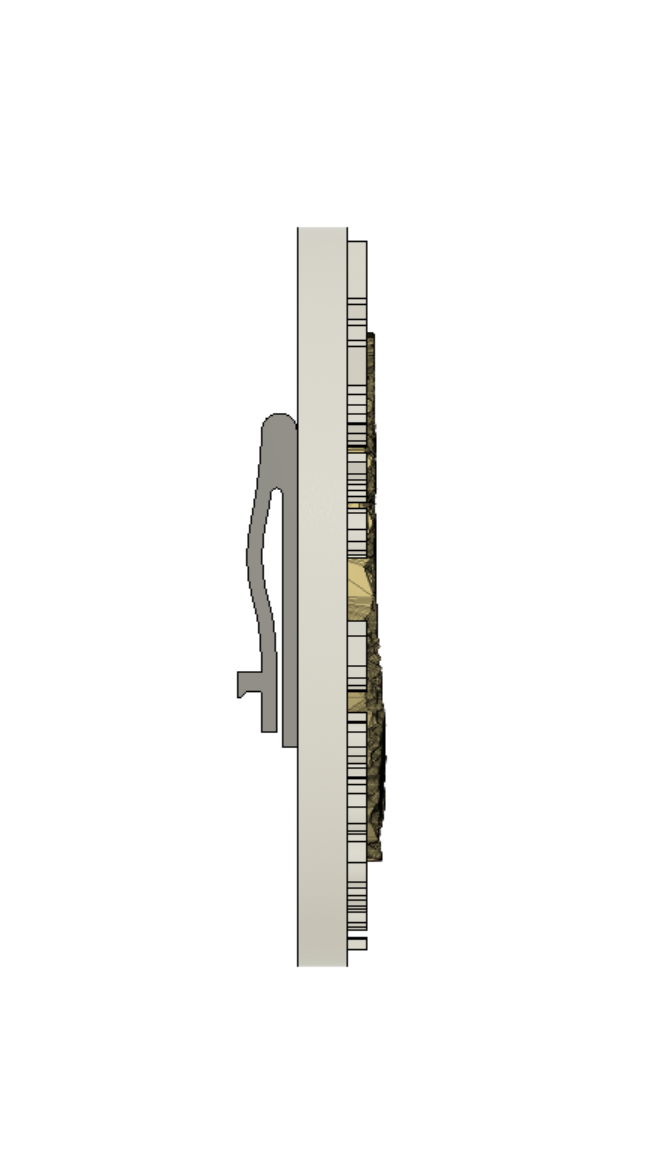
Assemble All Parts of Badge
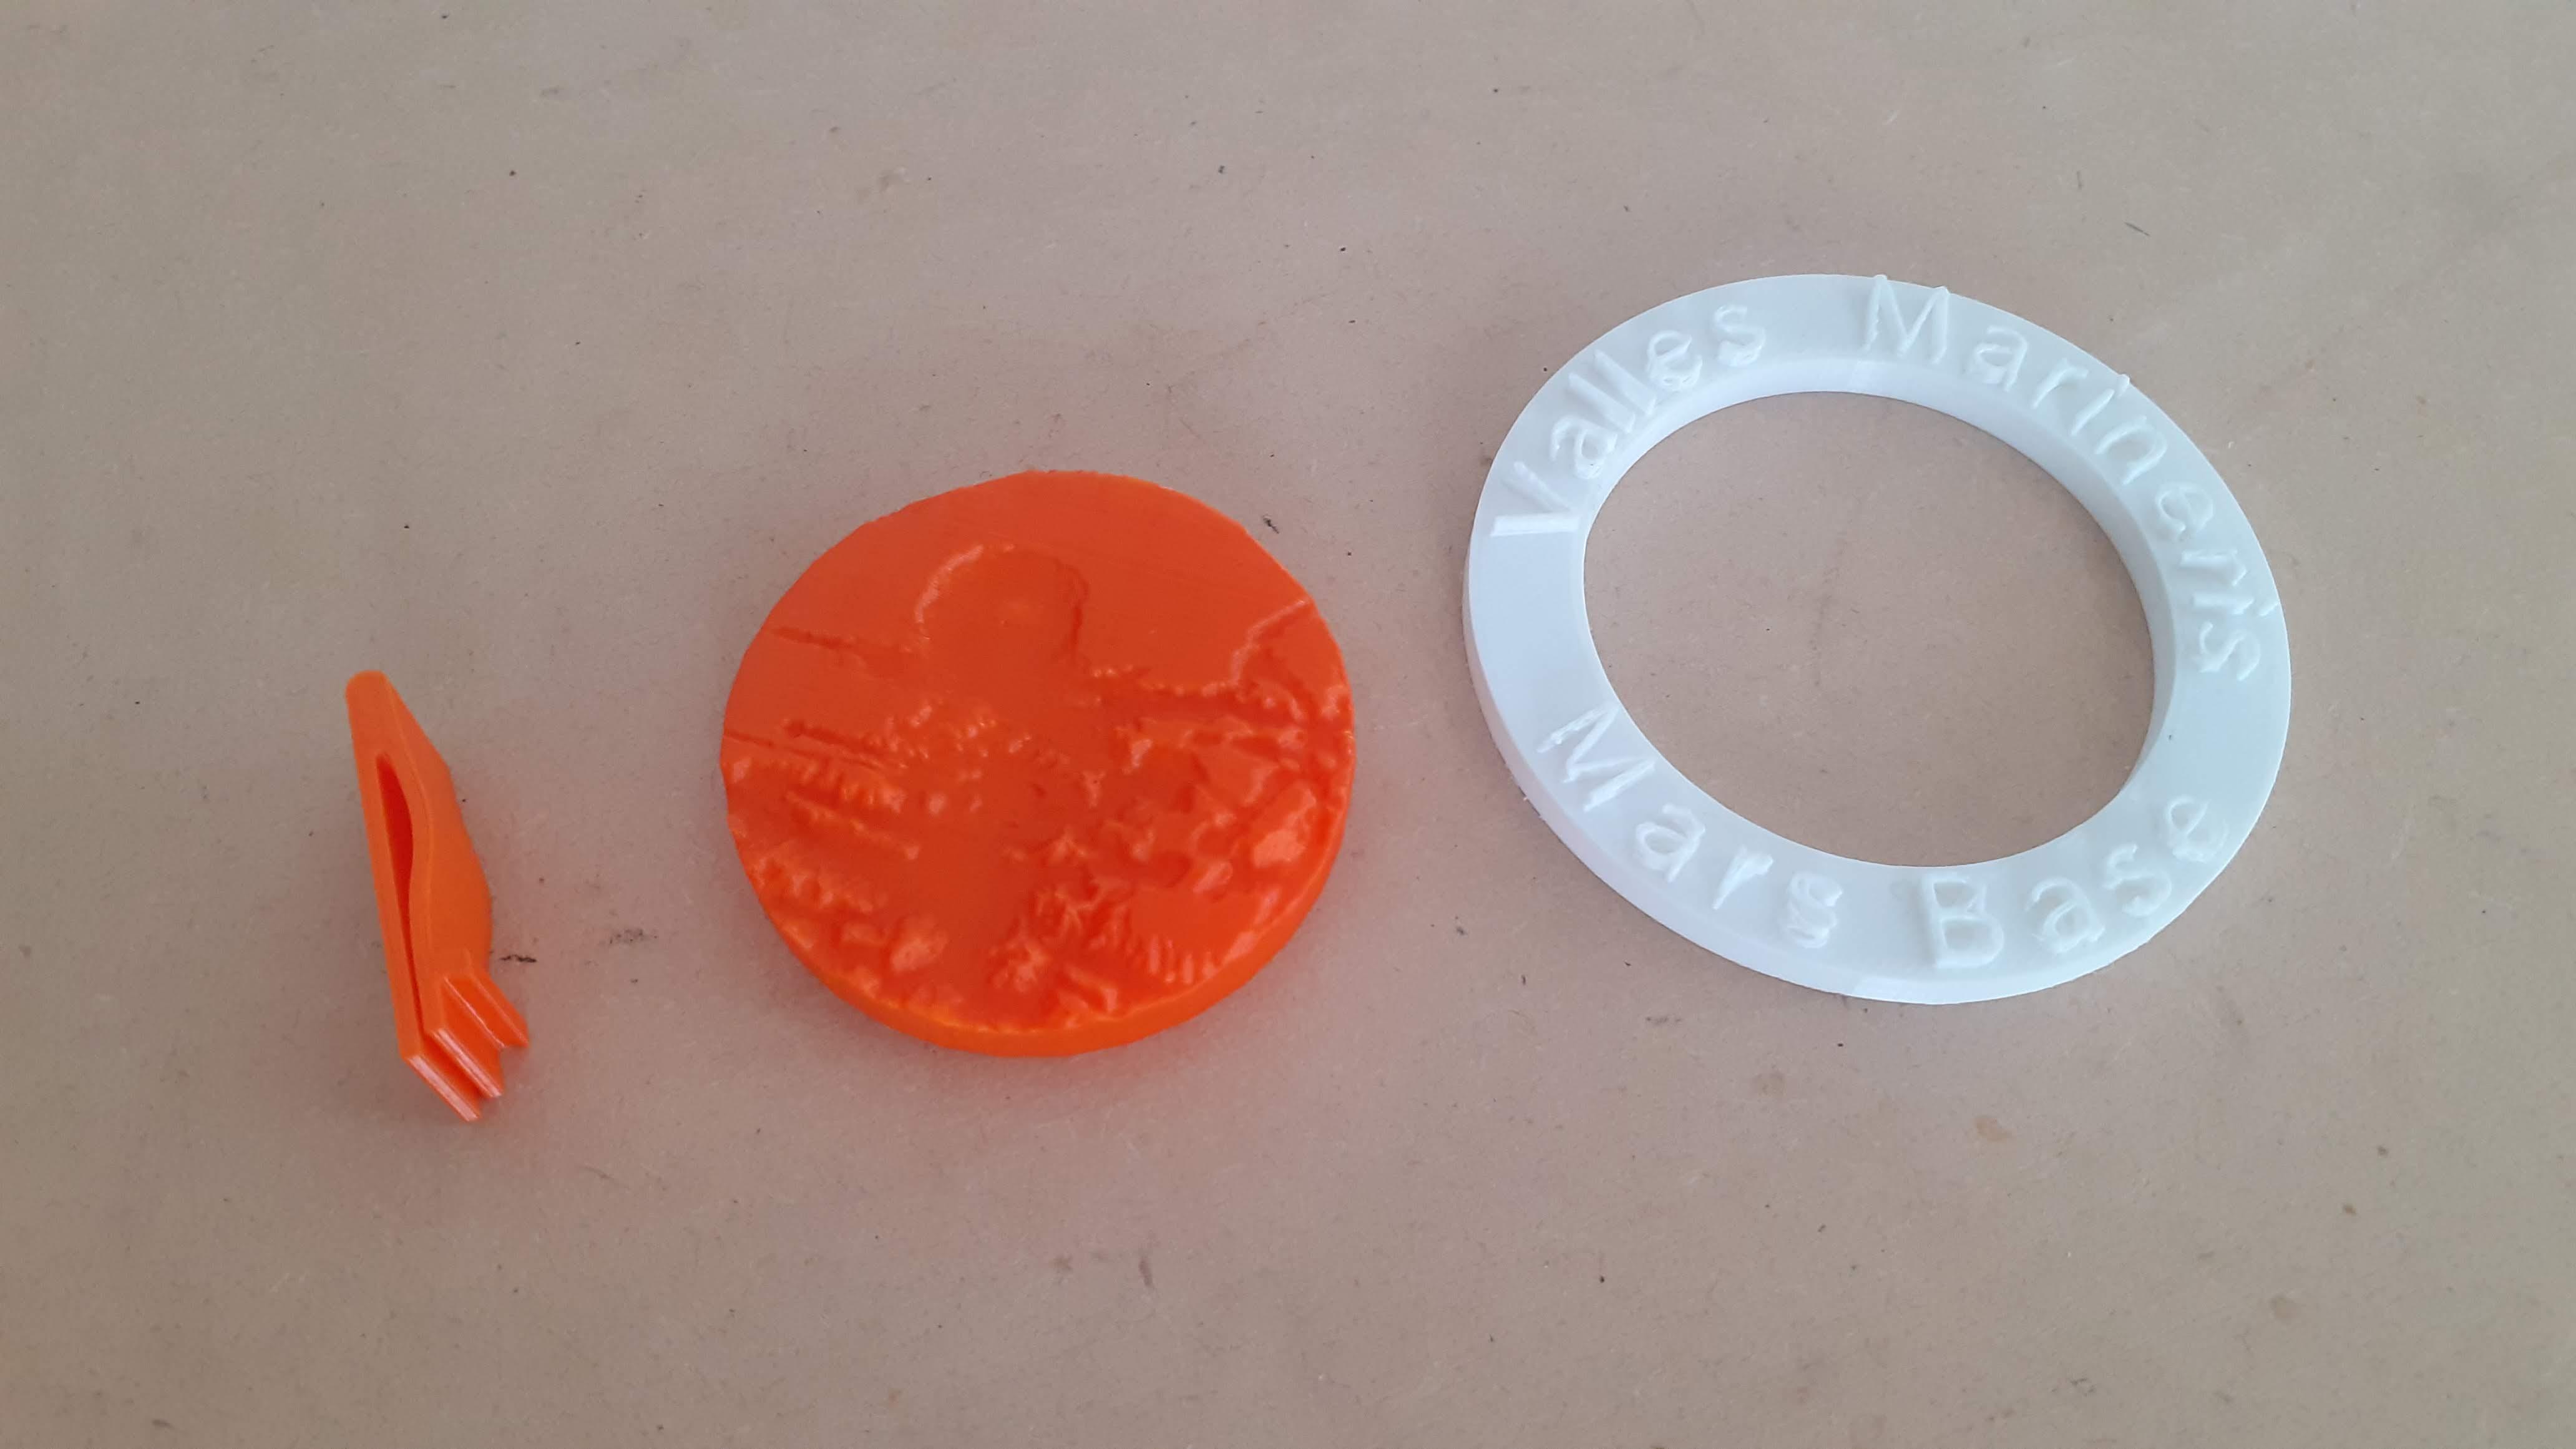
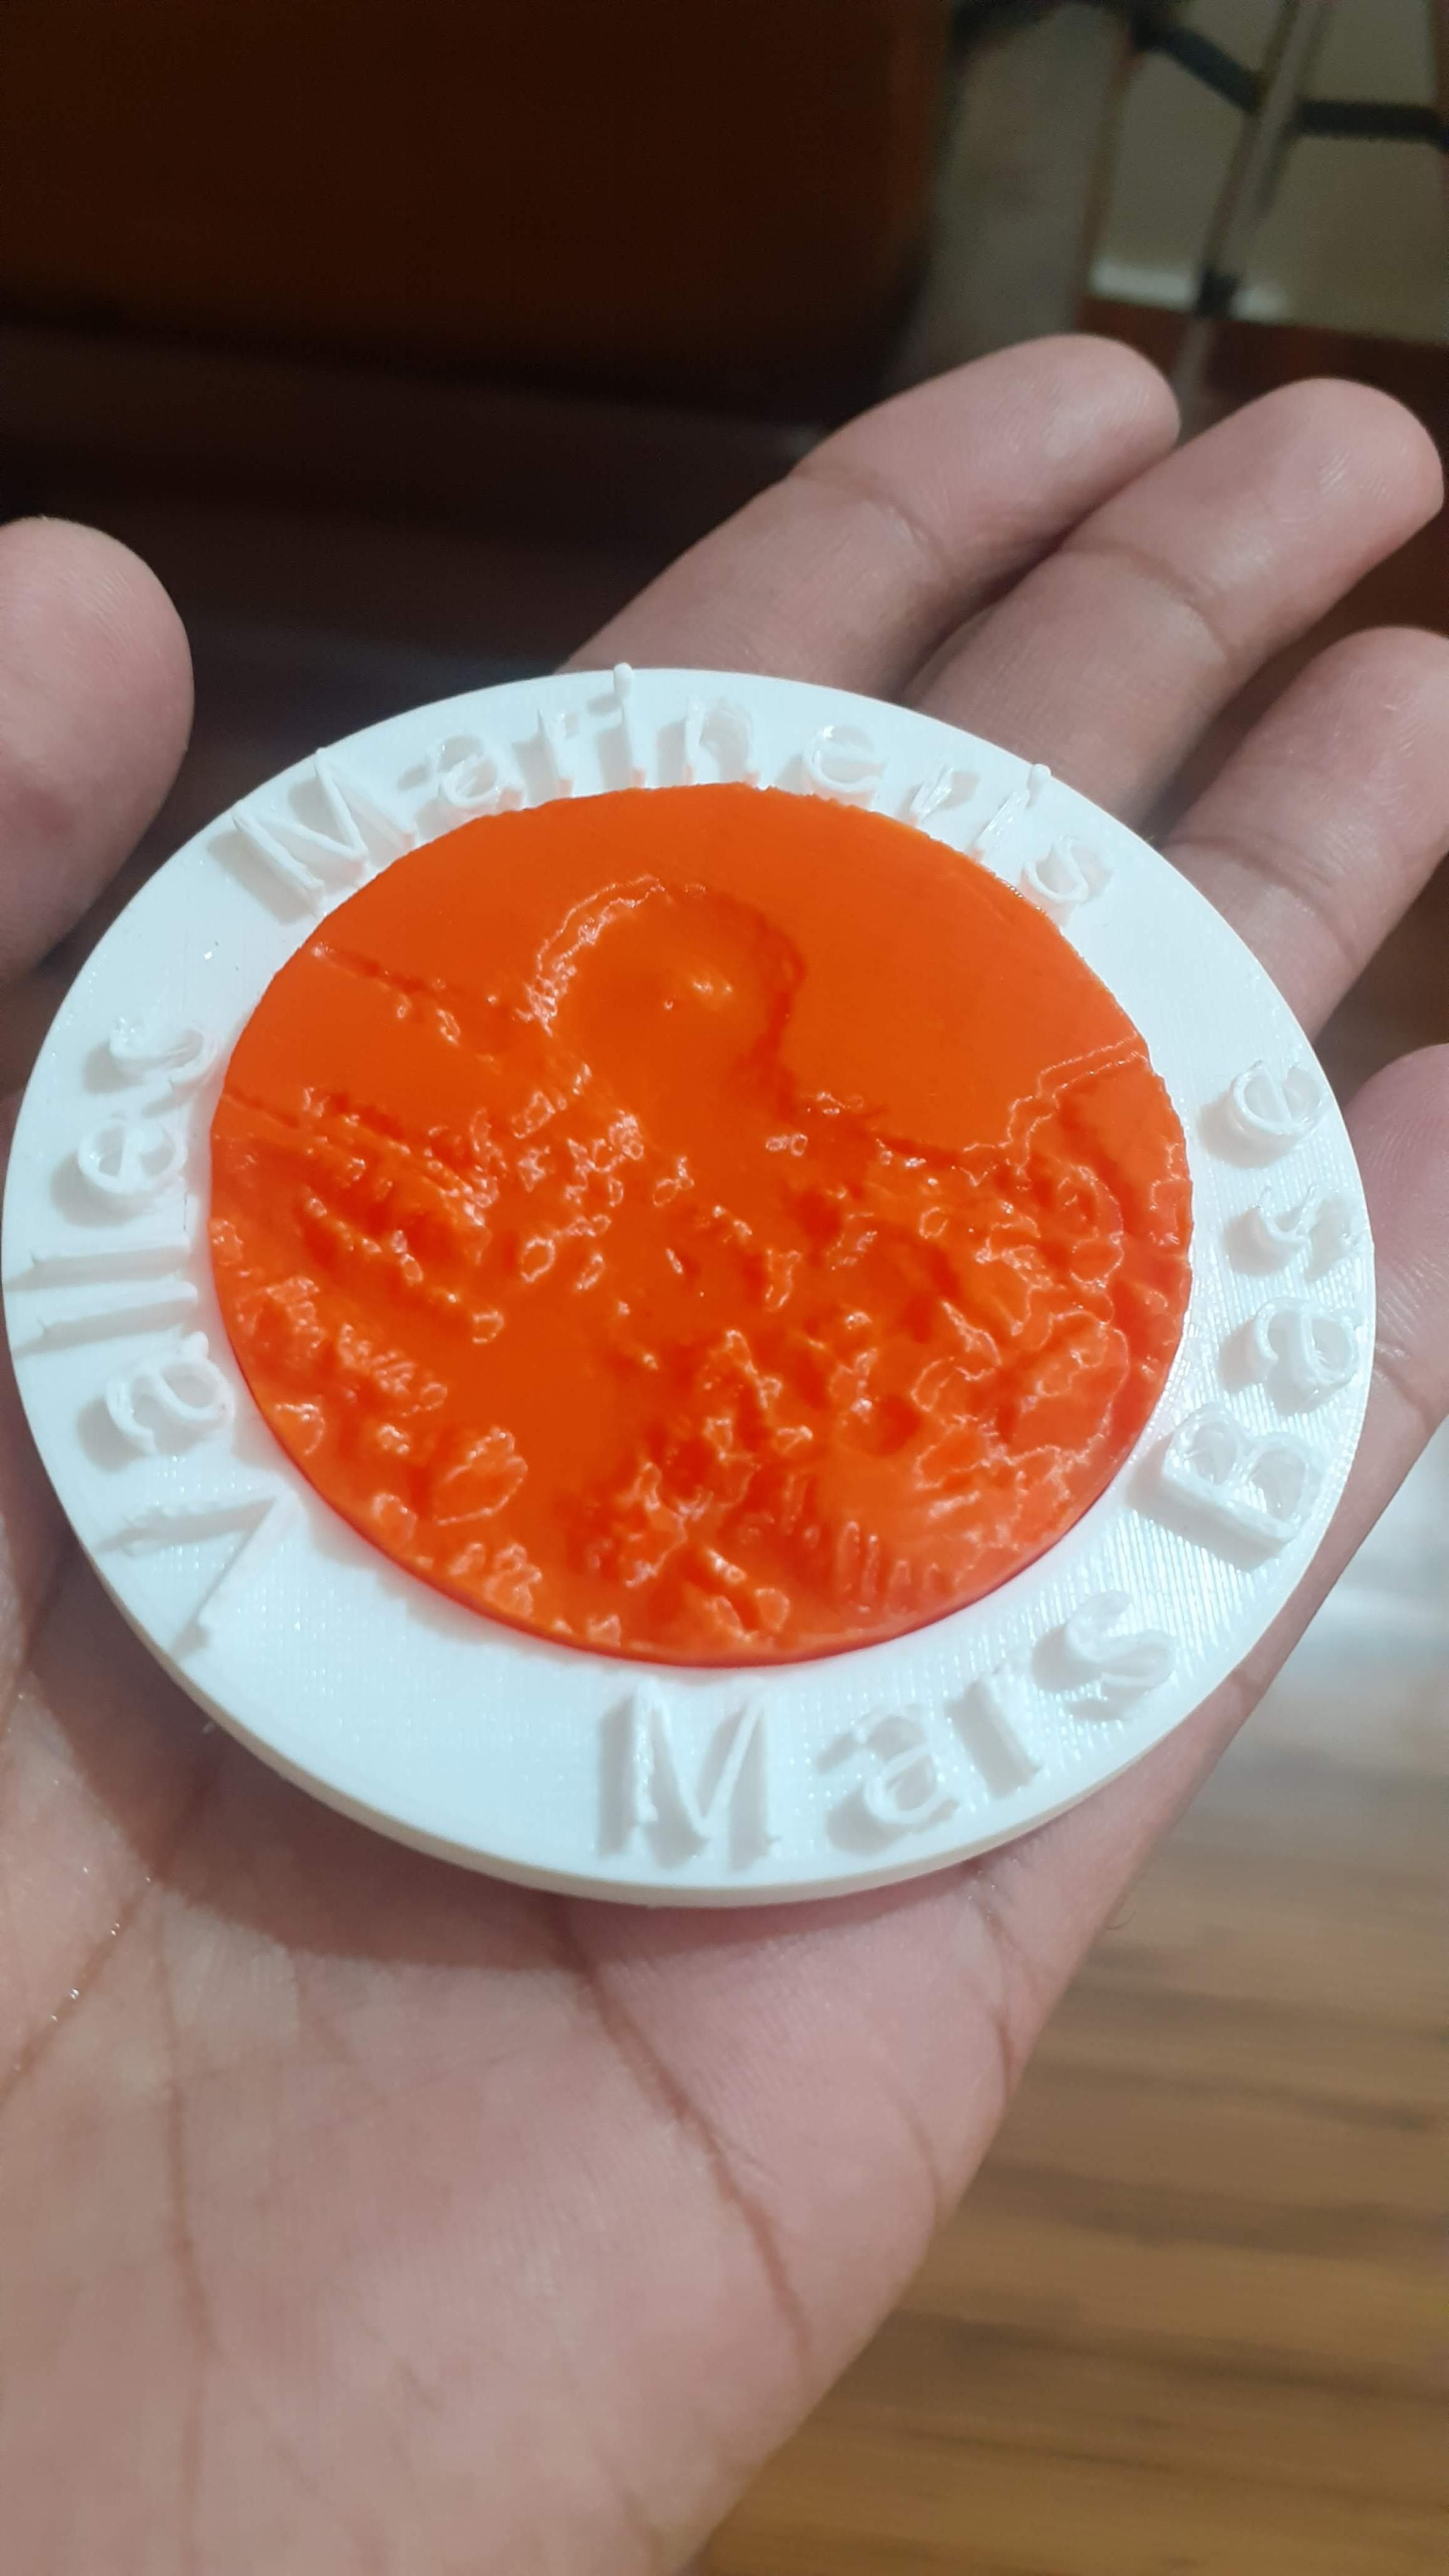
We have 3 Different 3d printed parts.
Use super glue to join the Clip and Inner part.
Place the Inner part in the Outer ring and apply some glue at the periphery.
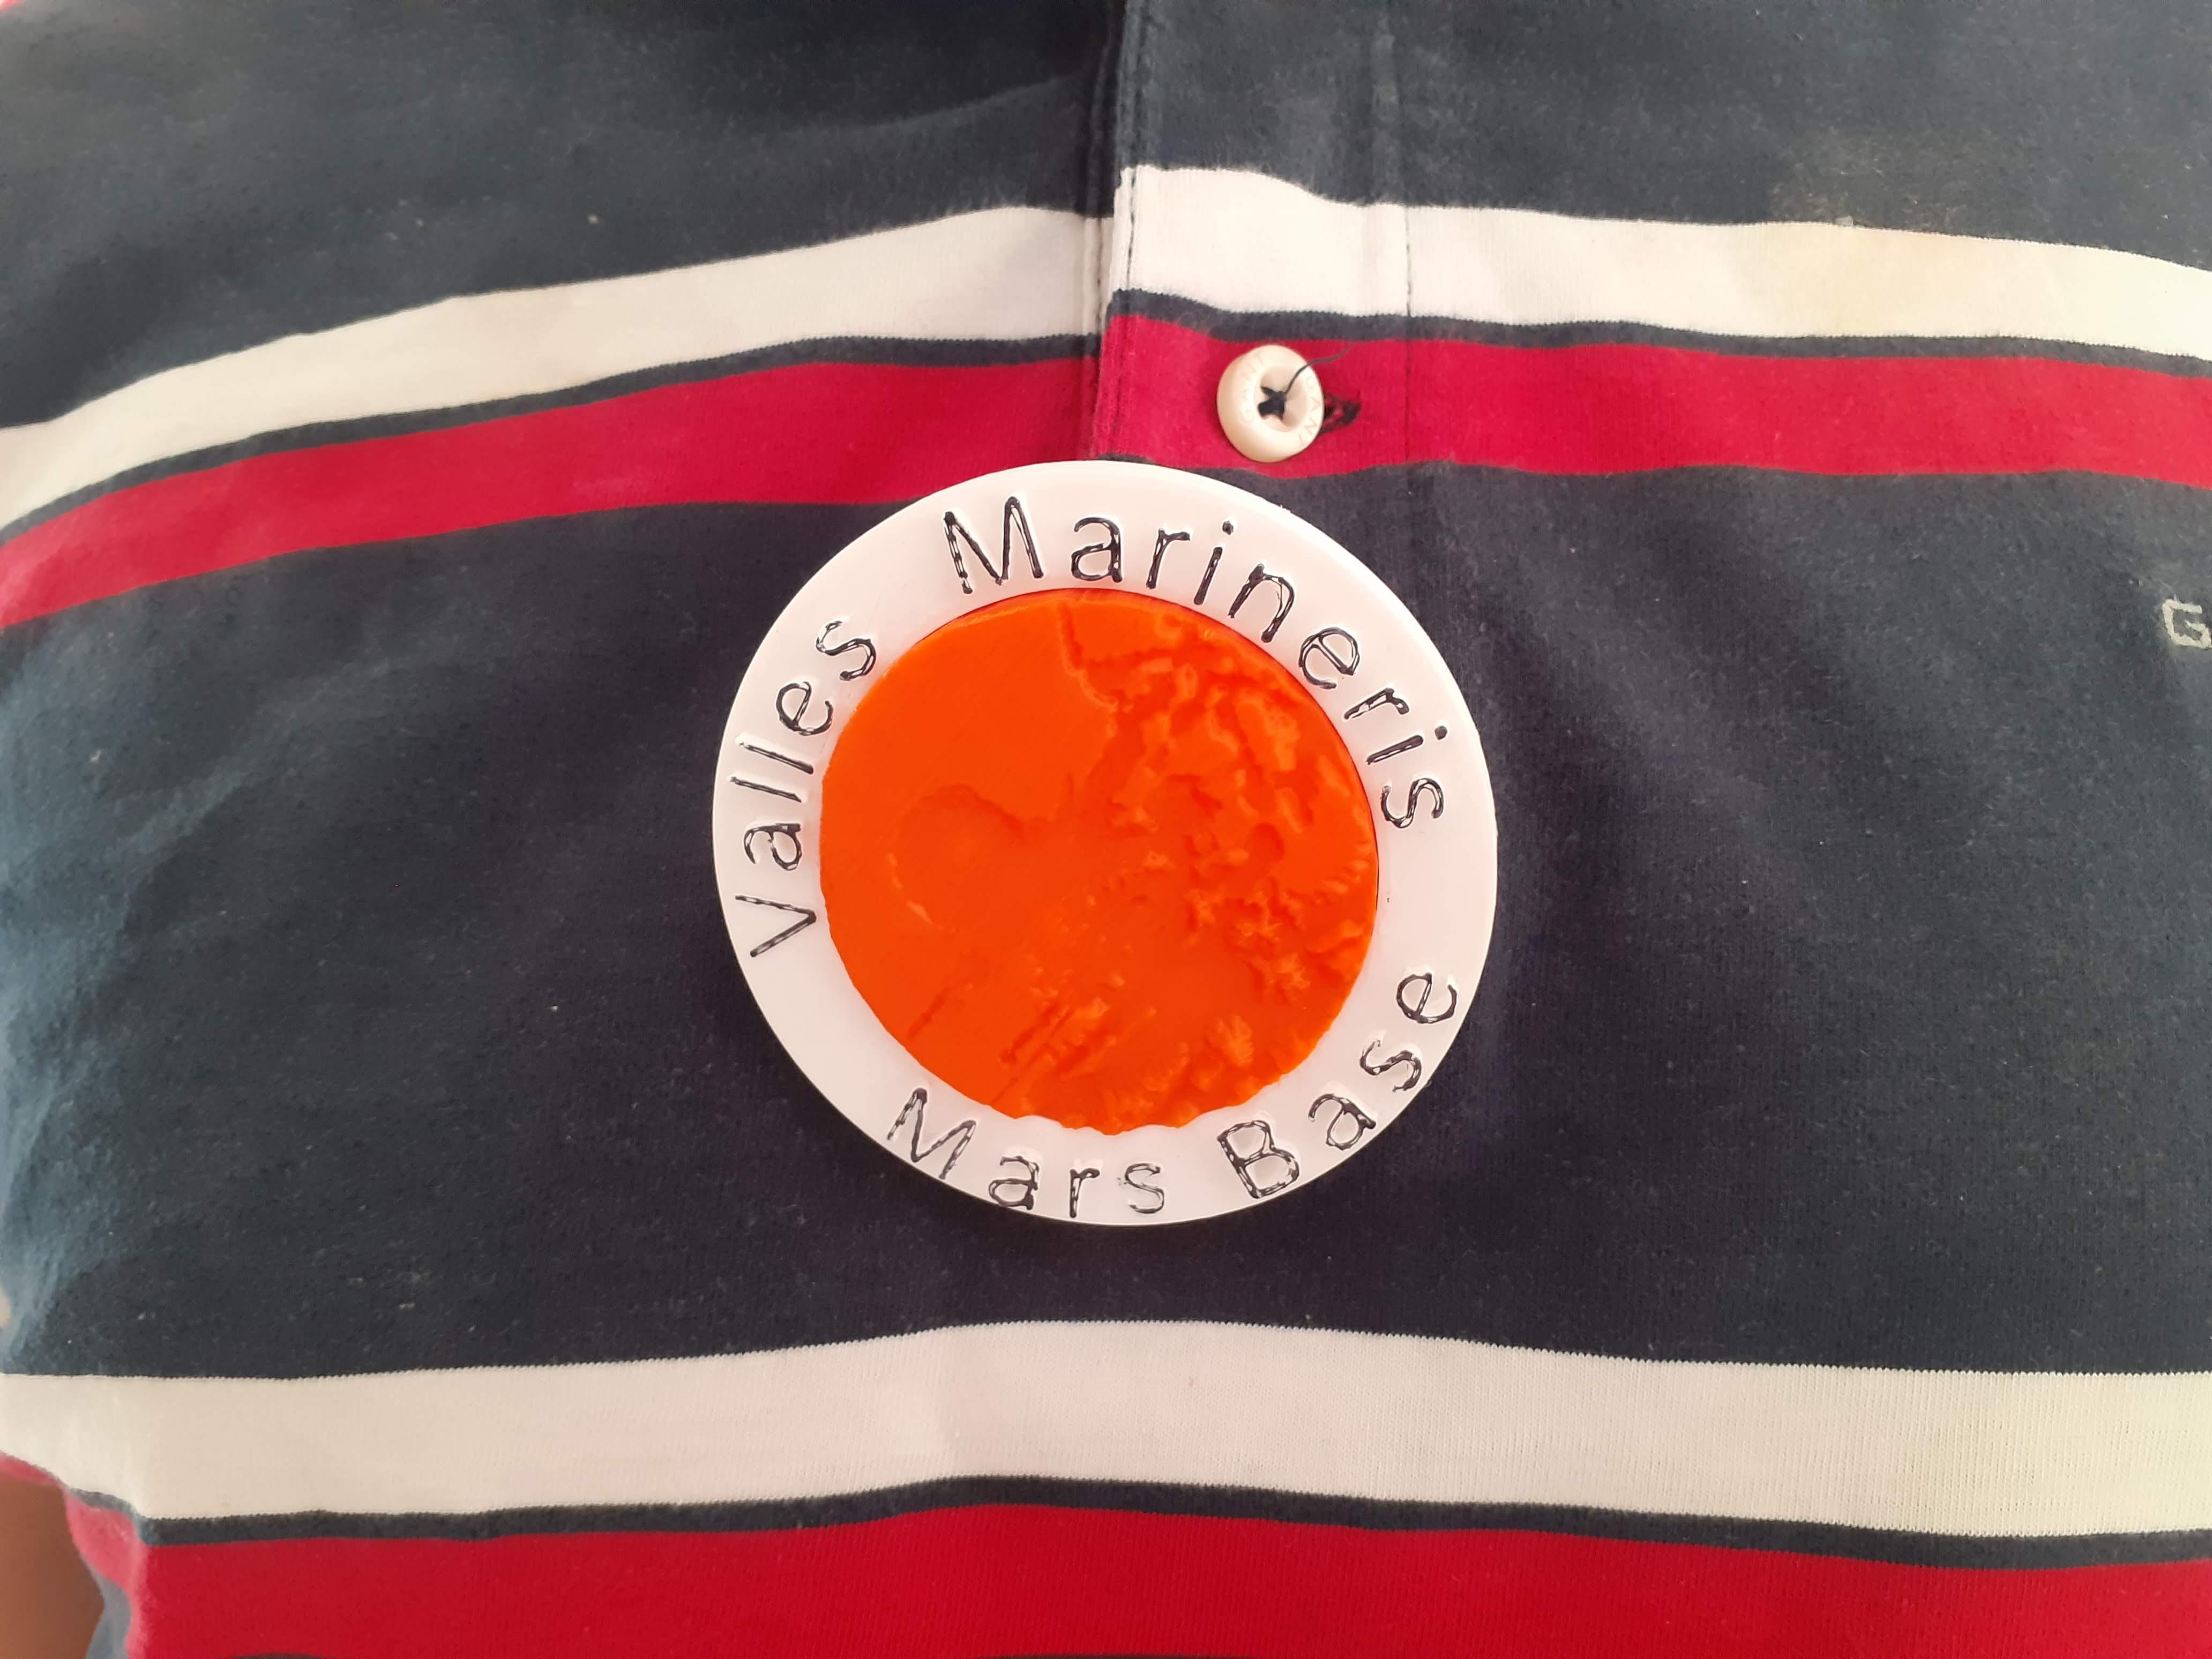
Place this badge on a T-shirt, Schoolbag and show your friends.
Wear It and Show Your Swag.

Place this badge on a T-shirt, Schoolbag and show your friends.
happy-making.