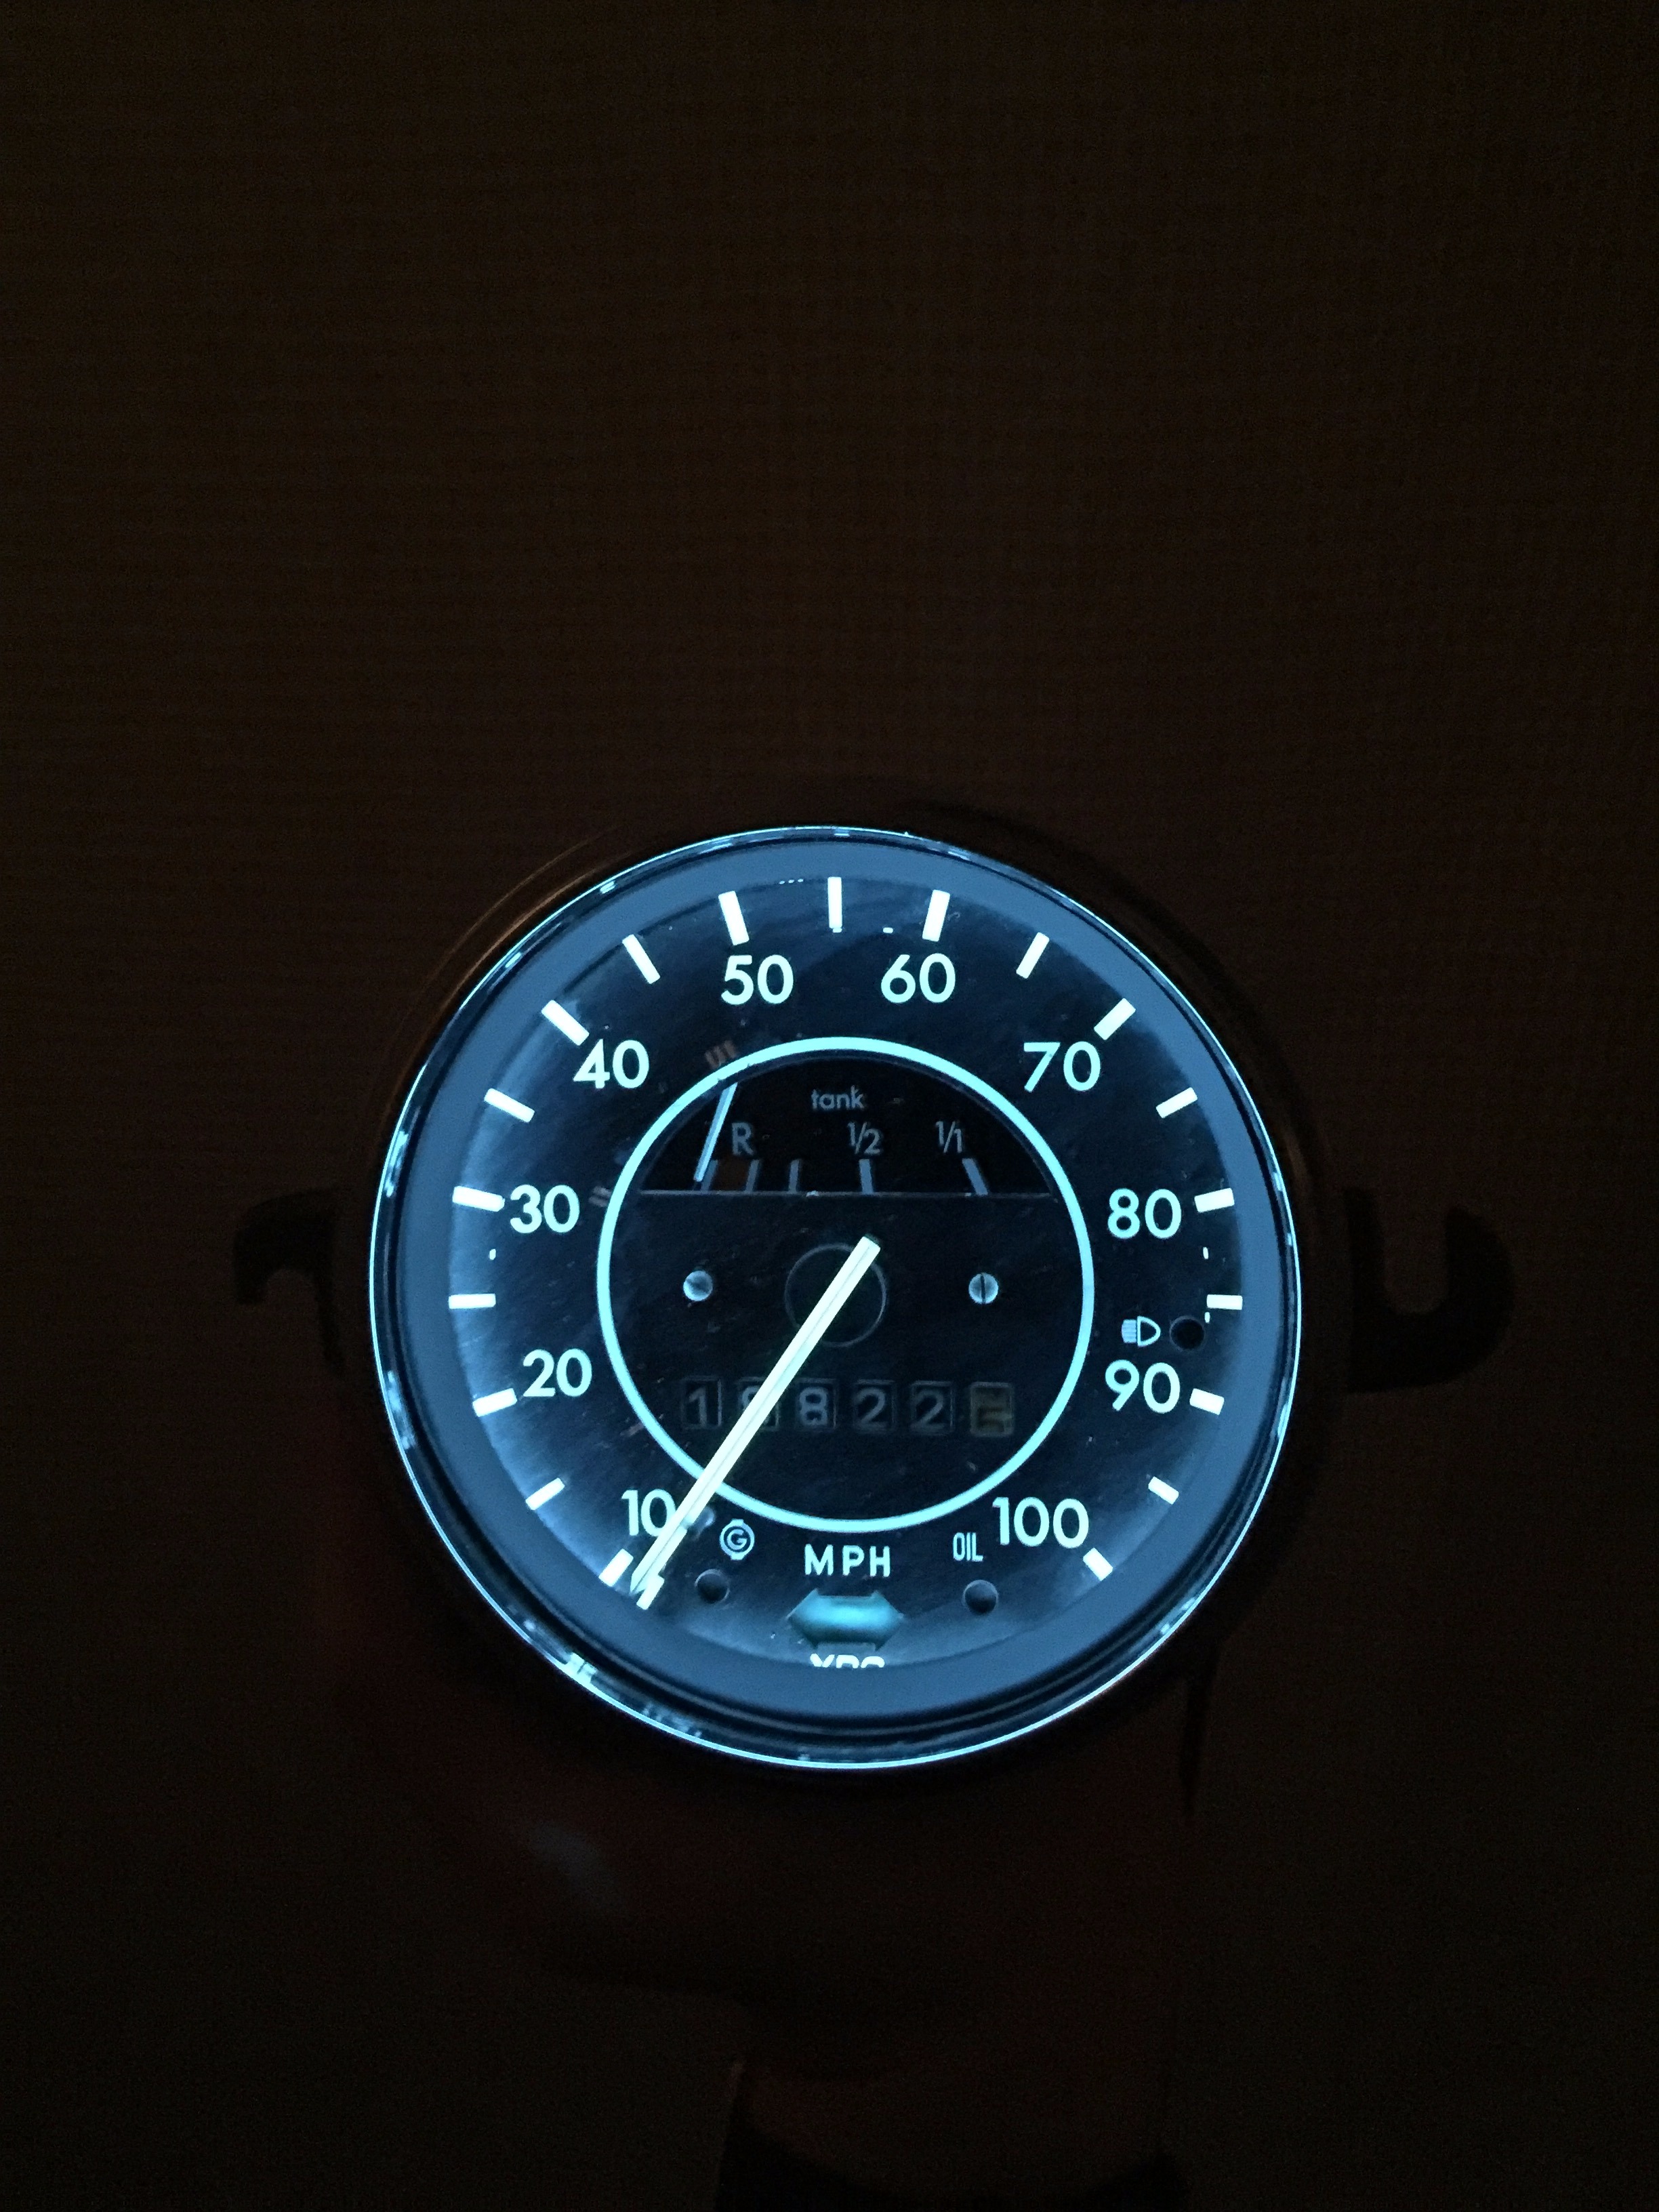
VW Beetle Gauge Upgrade

You may need the following:
- Handheld Rotary w/ wire brush attachment (I use a cordless Dremel, the wire brush attachement is included)
- Small Pry tool (preferably plastic but I have successfully used a flathead screw driver with patience)
- Medium Flathead screw driver
- Electroluminescent Ribbon (~10" of ribbon) (Click Here)
- 12V Electroluminescent Adapter
- Double Sided Tape (Click Here)
- Odometer Gear (Click Here)
Begin
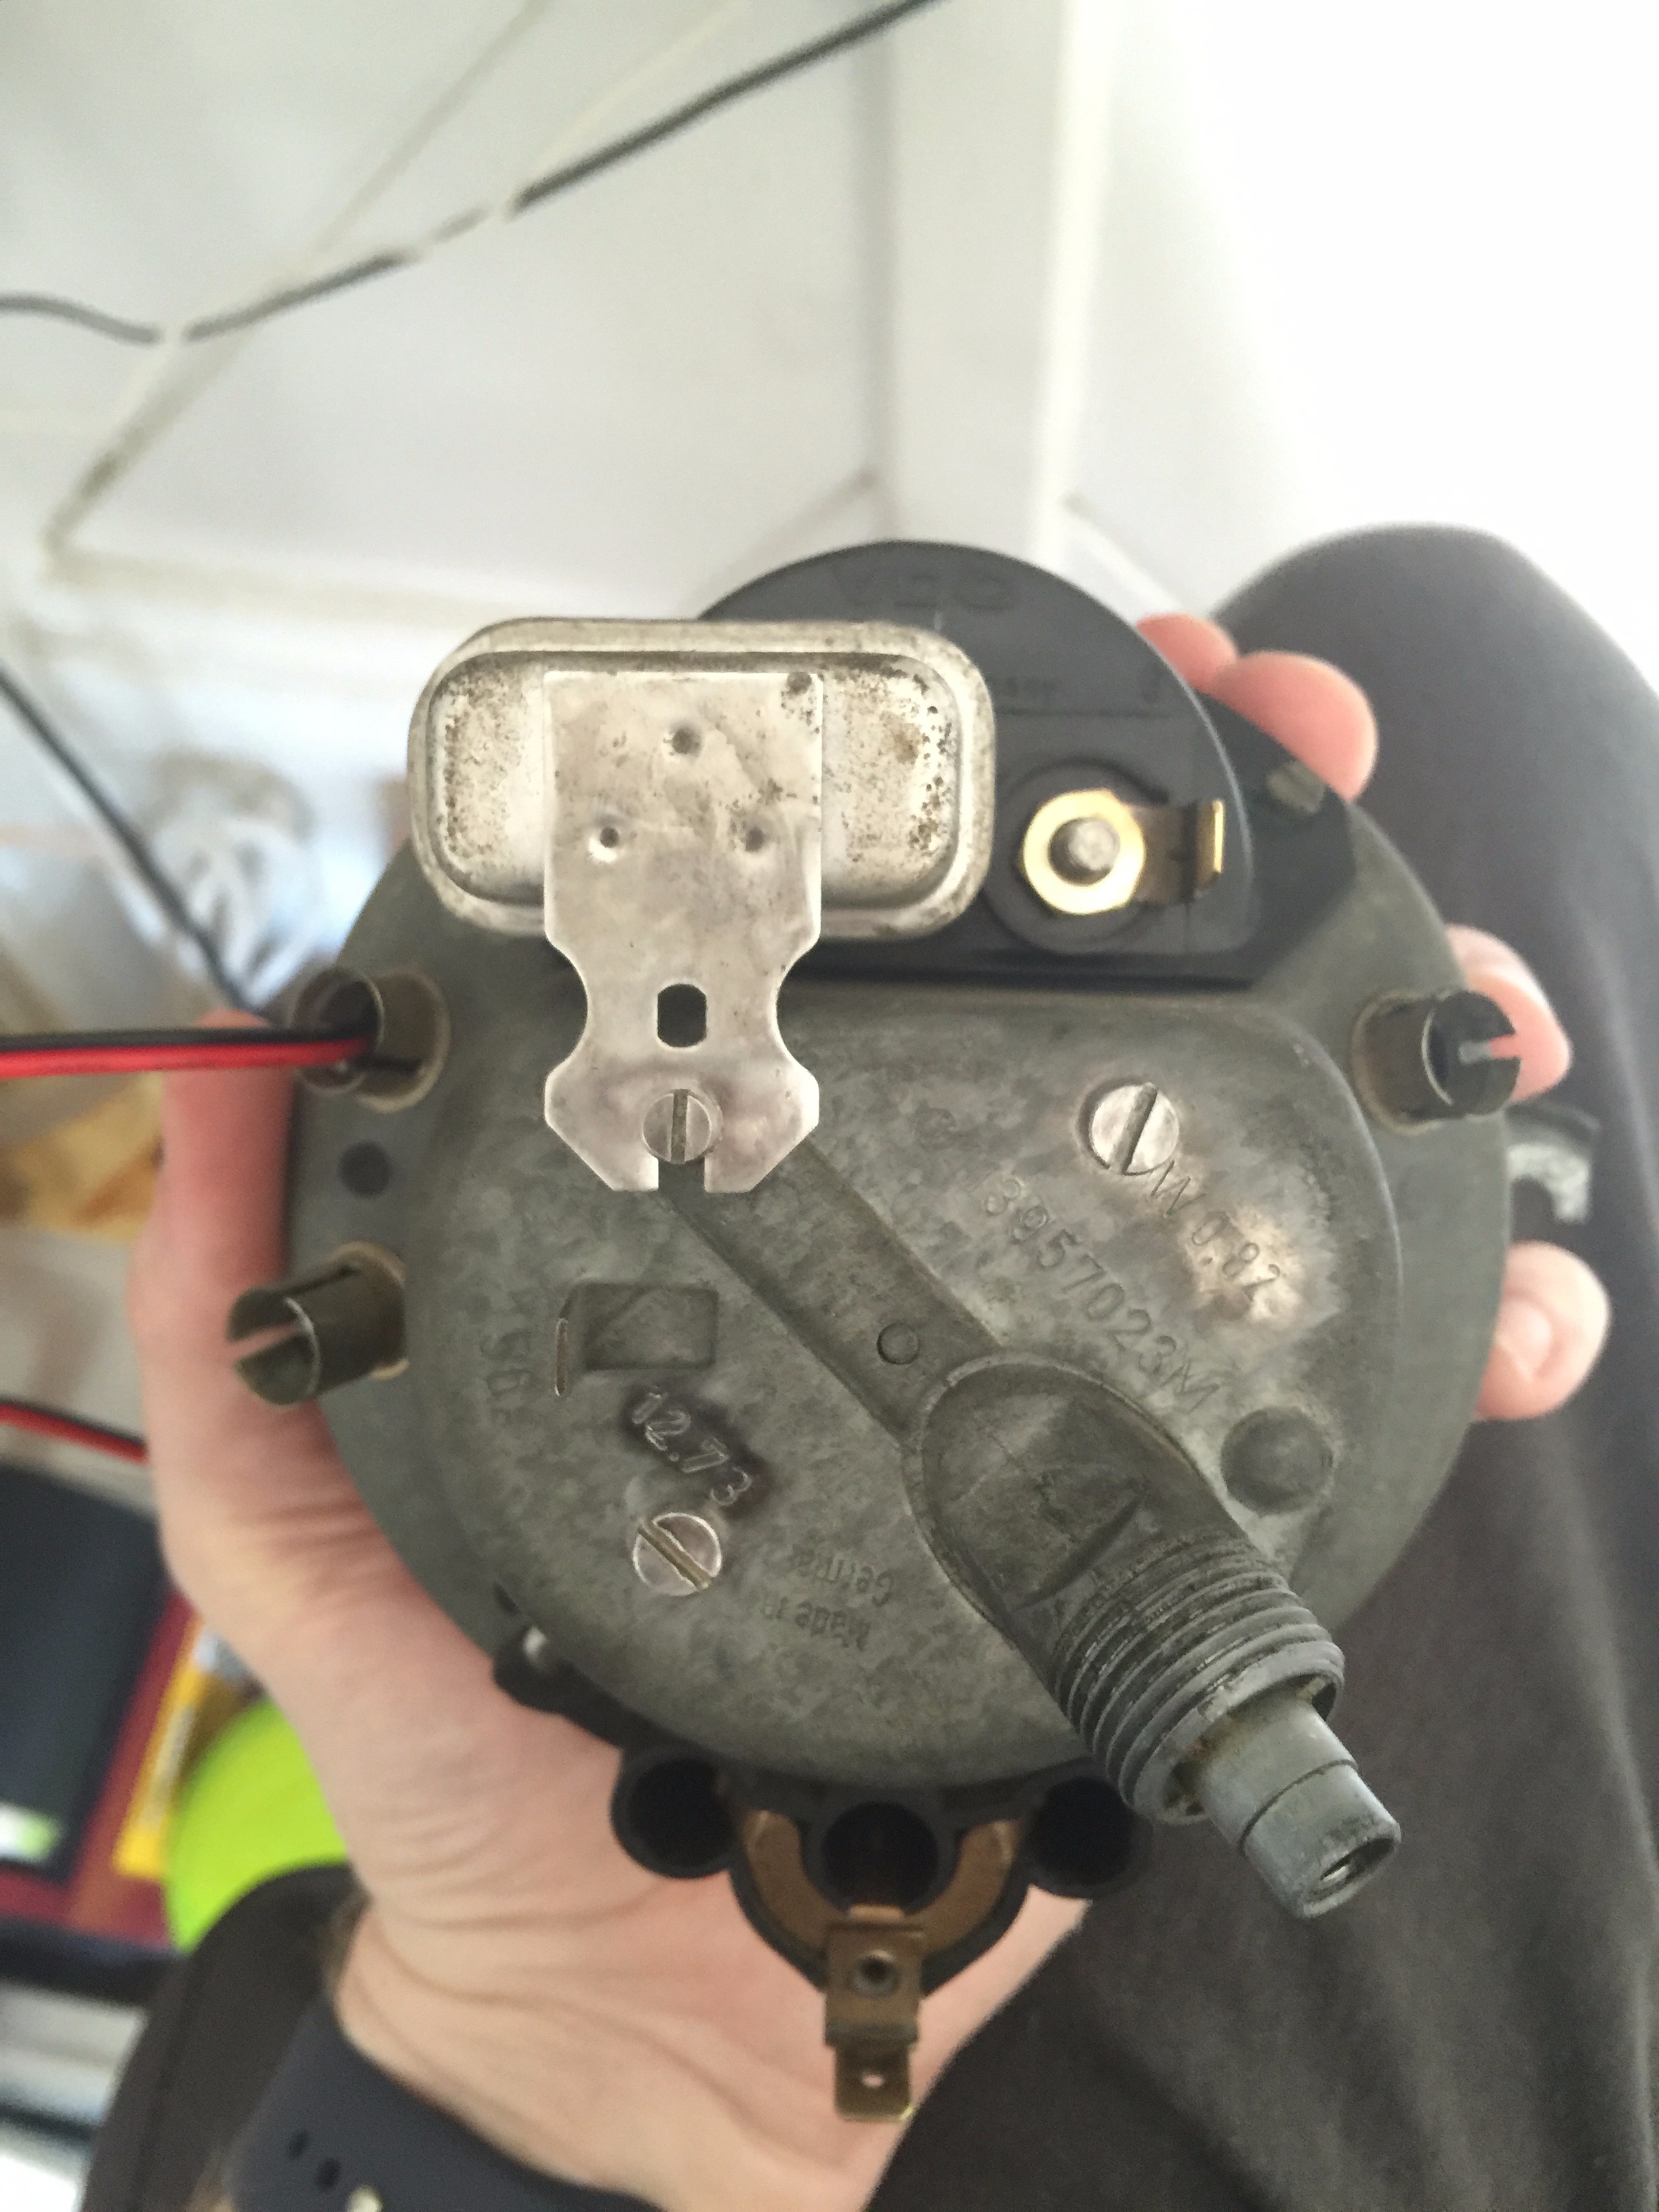
Begin by removing 3 small screws from the fuel gauge:
- There is one attaching the voltage regulator to the gauge chassis at the 10 o'clock position in the image above.
- The other two screws are on either side of the fuel gauge body, one is visible by the tip of my middle finger in the image above.
- The last screw attaching the fuel gauge is hidden on the opposite side of the gauge assembly behind the voltage regulator at a 11 o'clock position.
Next, remove the two large flat head screws at the 2 o'clock and 7 o'clock positions, as seen in the image above. These affix the interior speedometer body to the exterior of the gauge casing.
Remove Gauge Glass Bezel
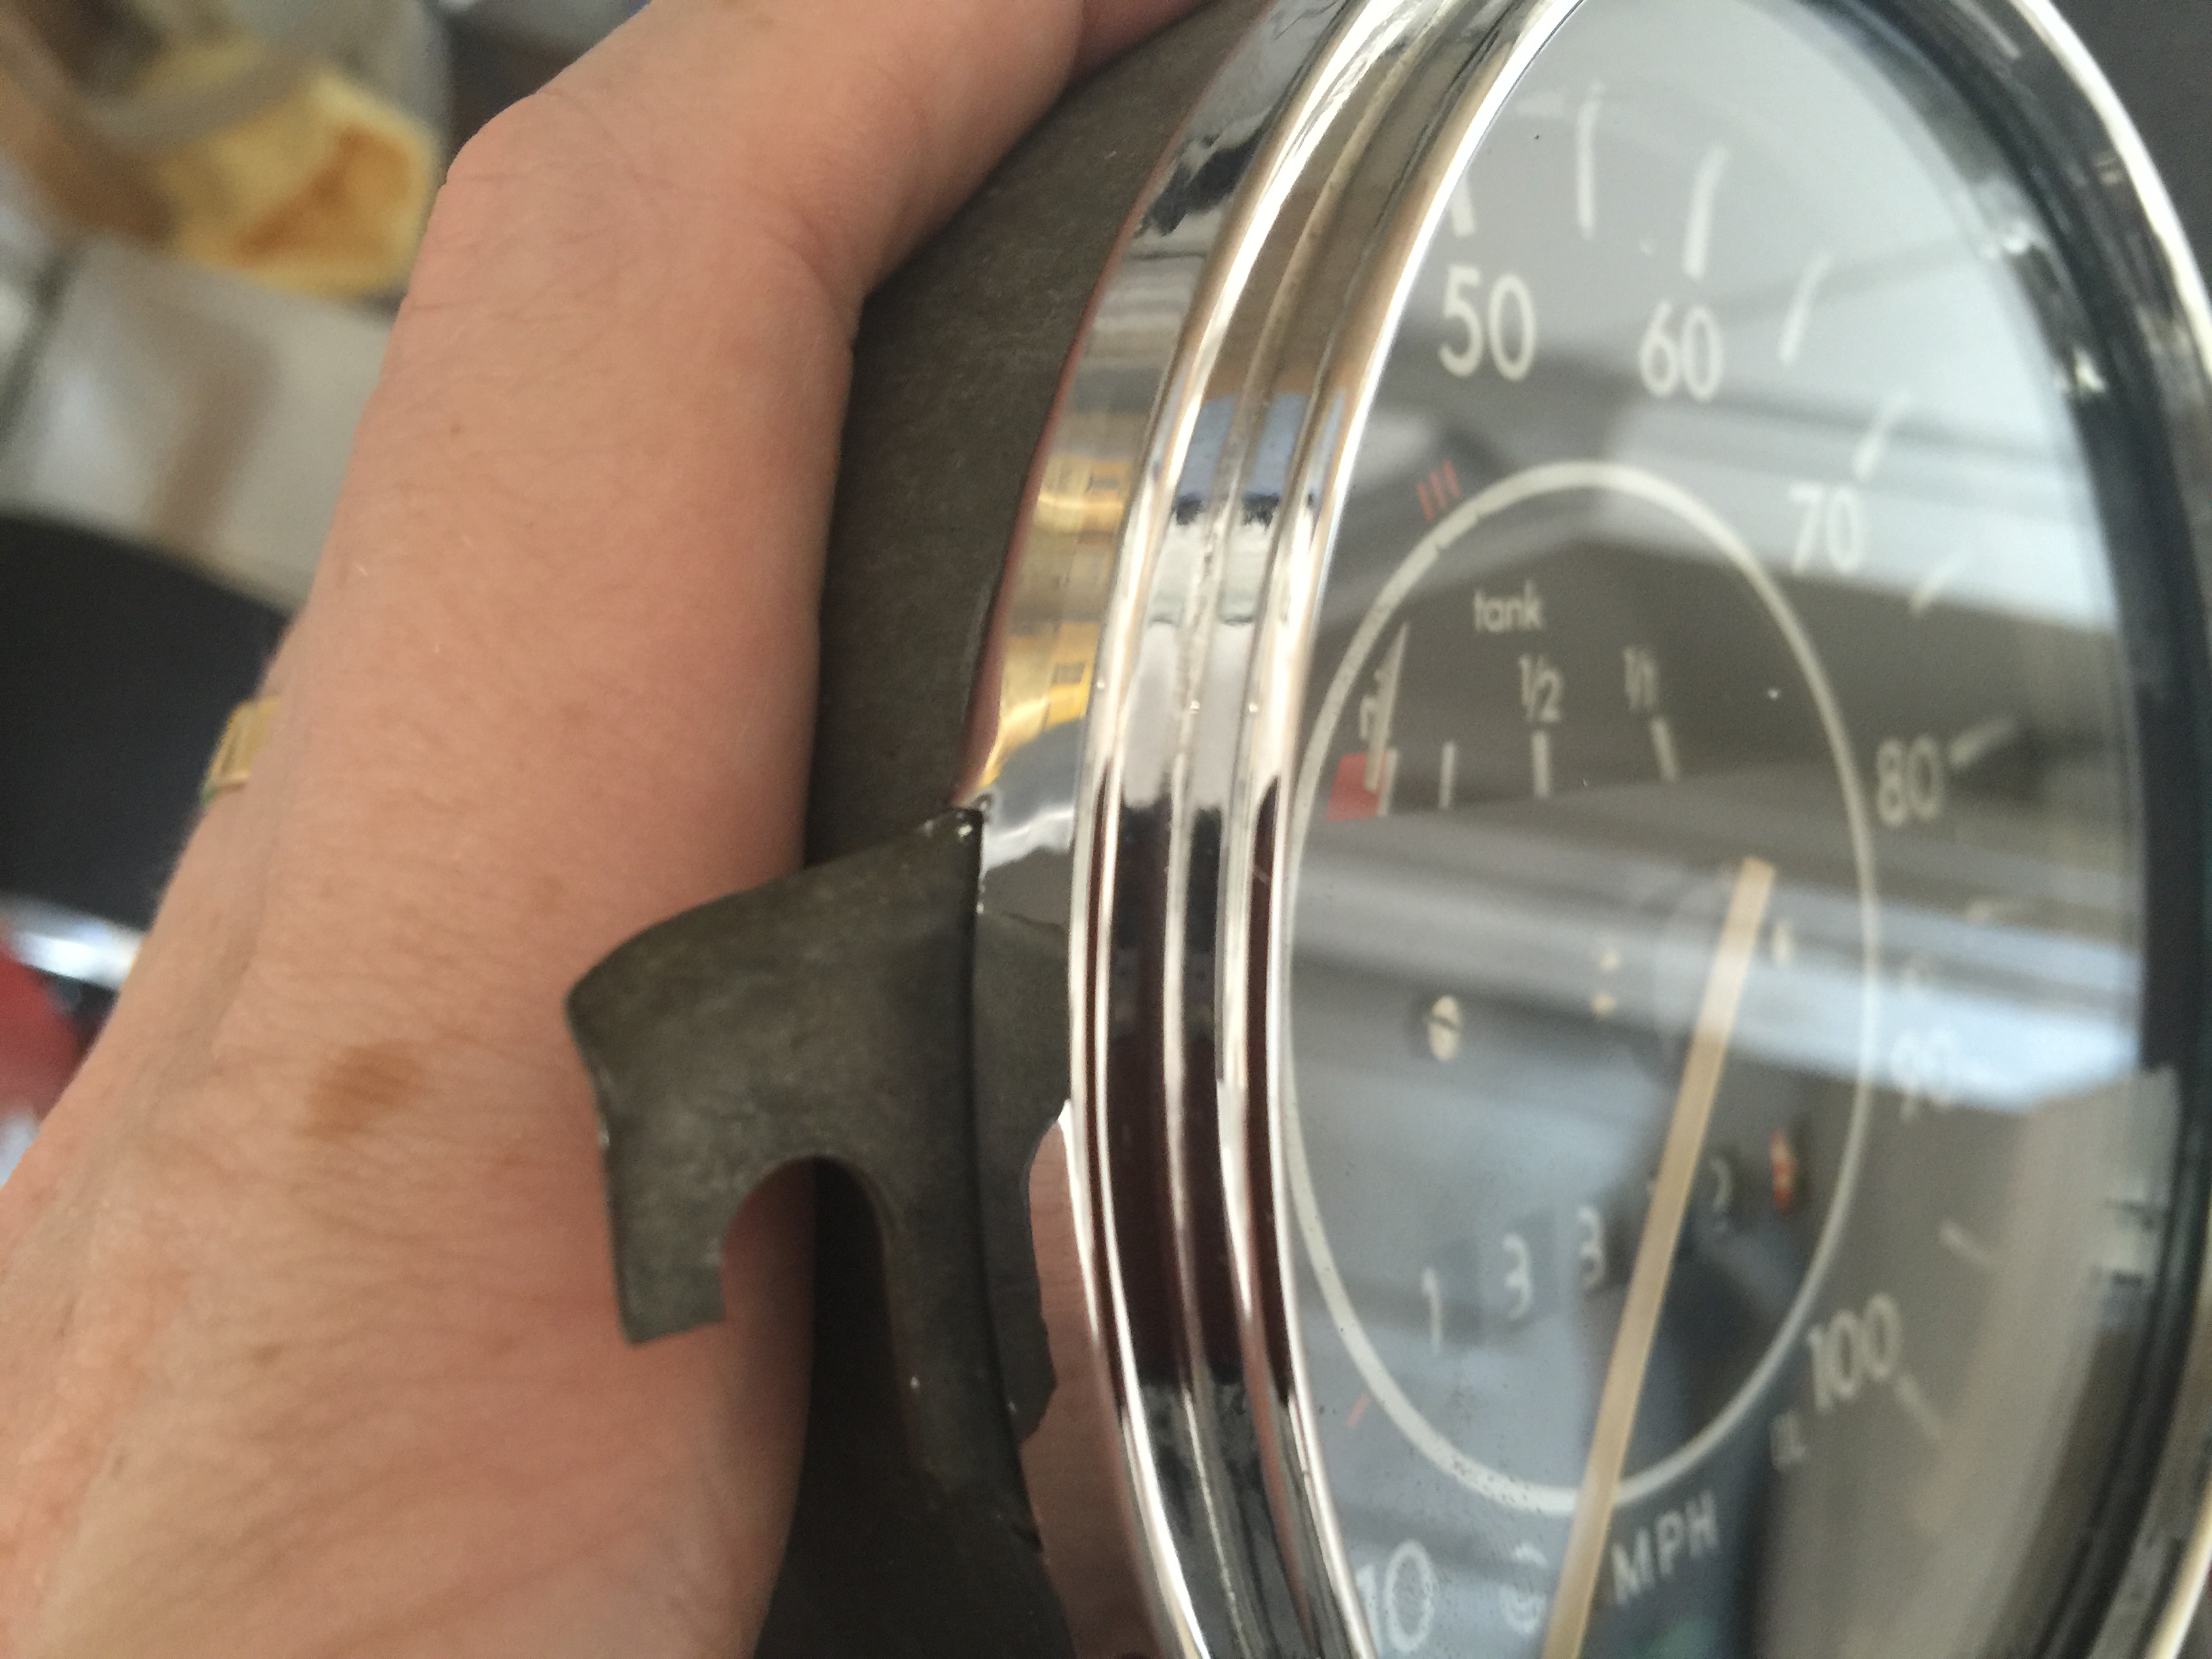
Gently pry the bottom and outer edge of the bezel. The easiest way to begin is to slide the edge of your tool in the gap photographed. Work it around slowly - lifting the material which clutches to the the gauge chassis.
My original bezel was black with a plexiglass lens, the plexiglass was cracked so I opted to transplant the bezel and lens from an older Beetle.
Remove Interior Speedometer Body
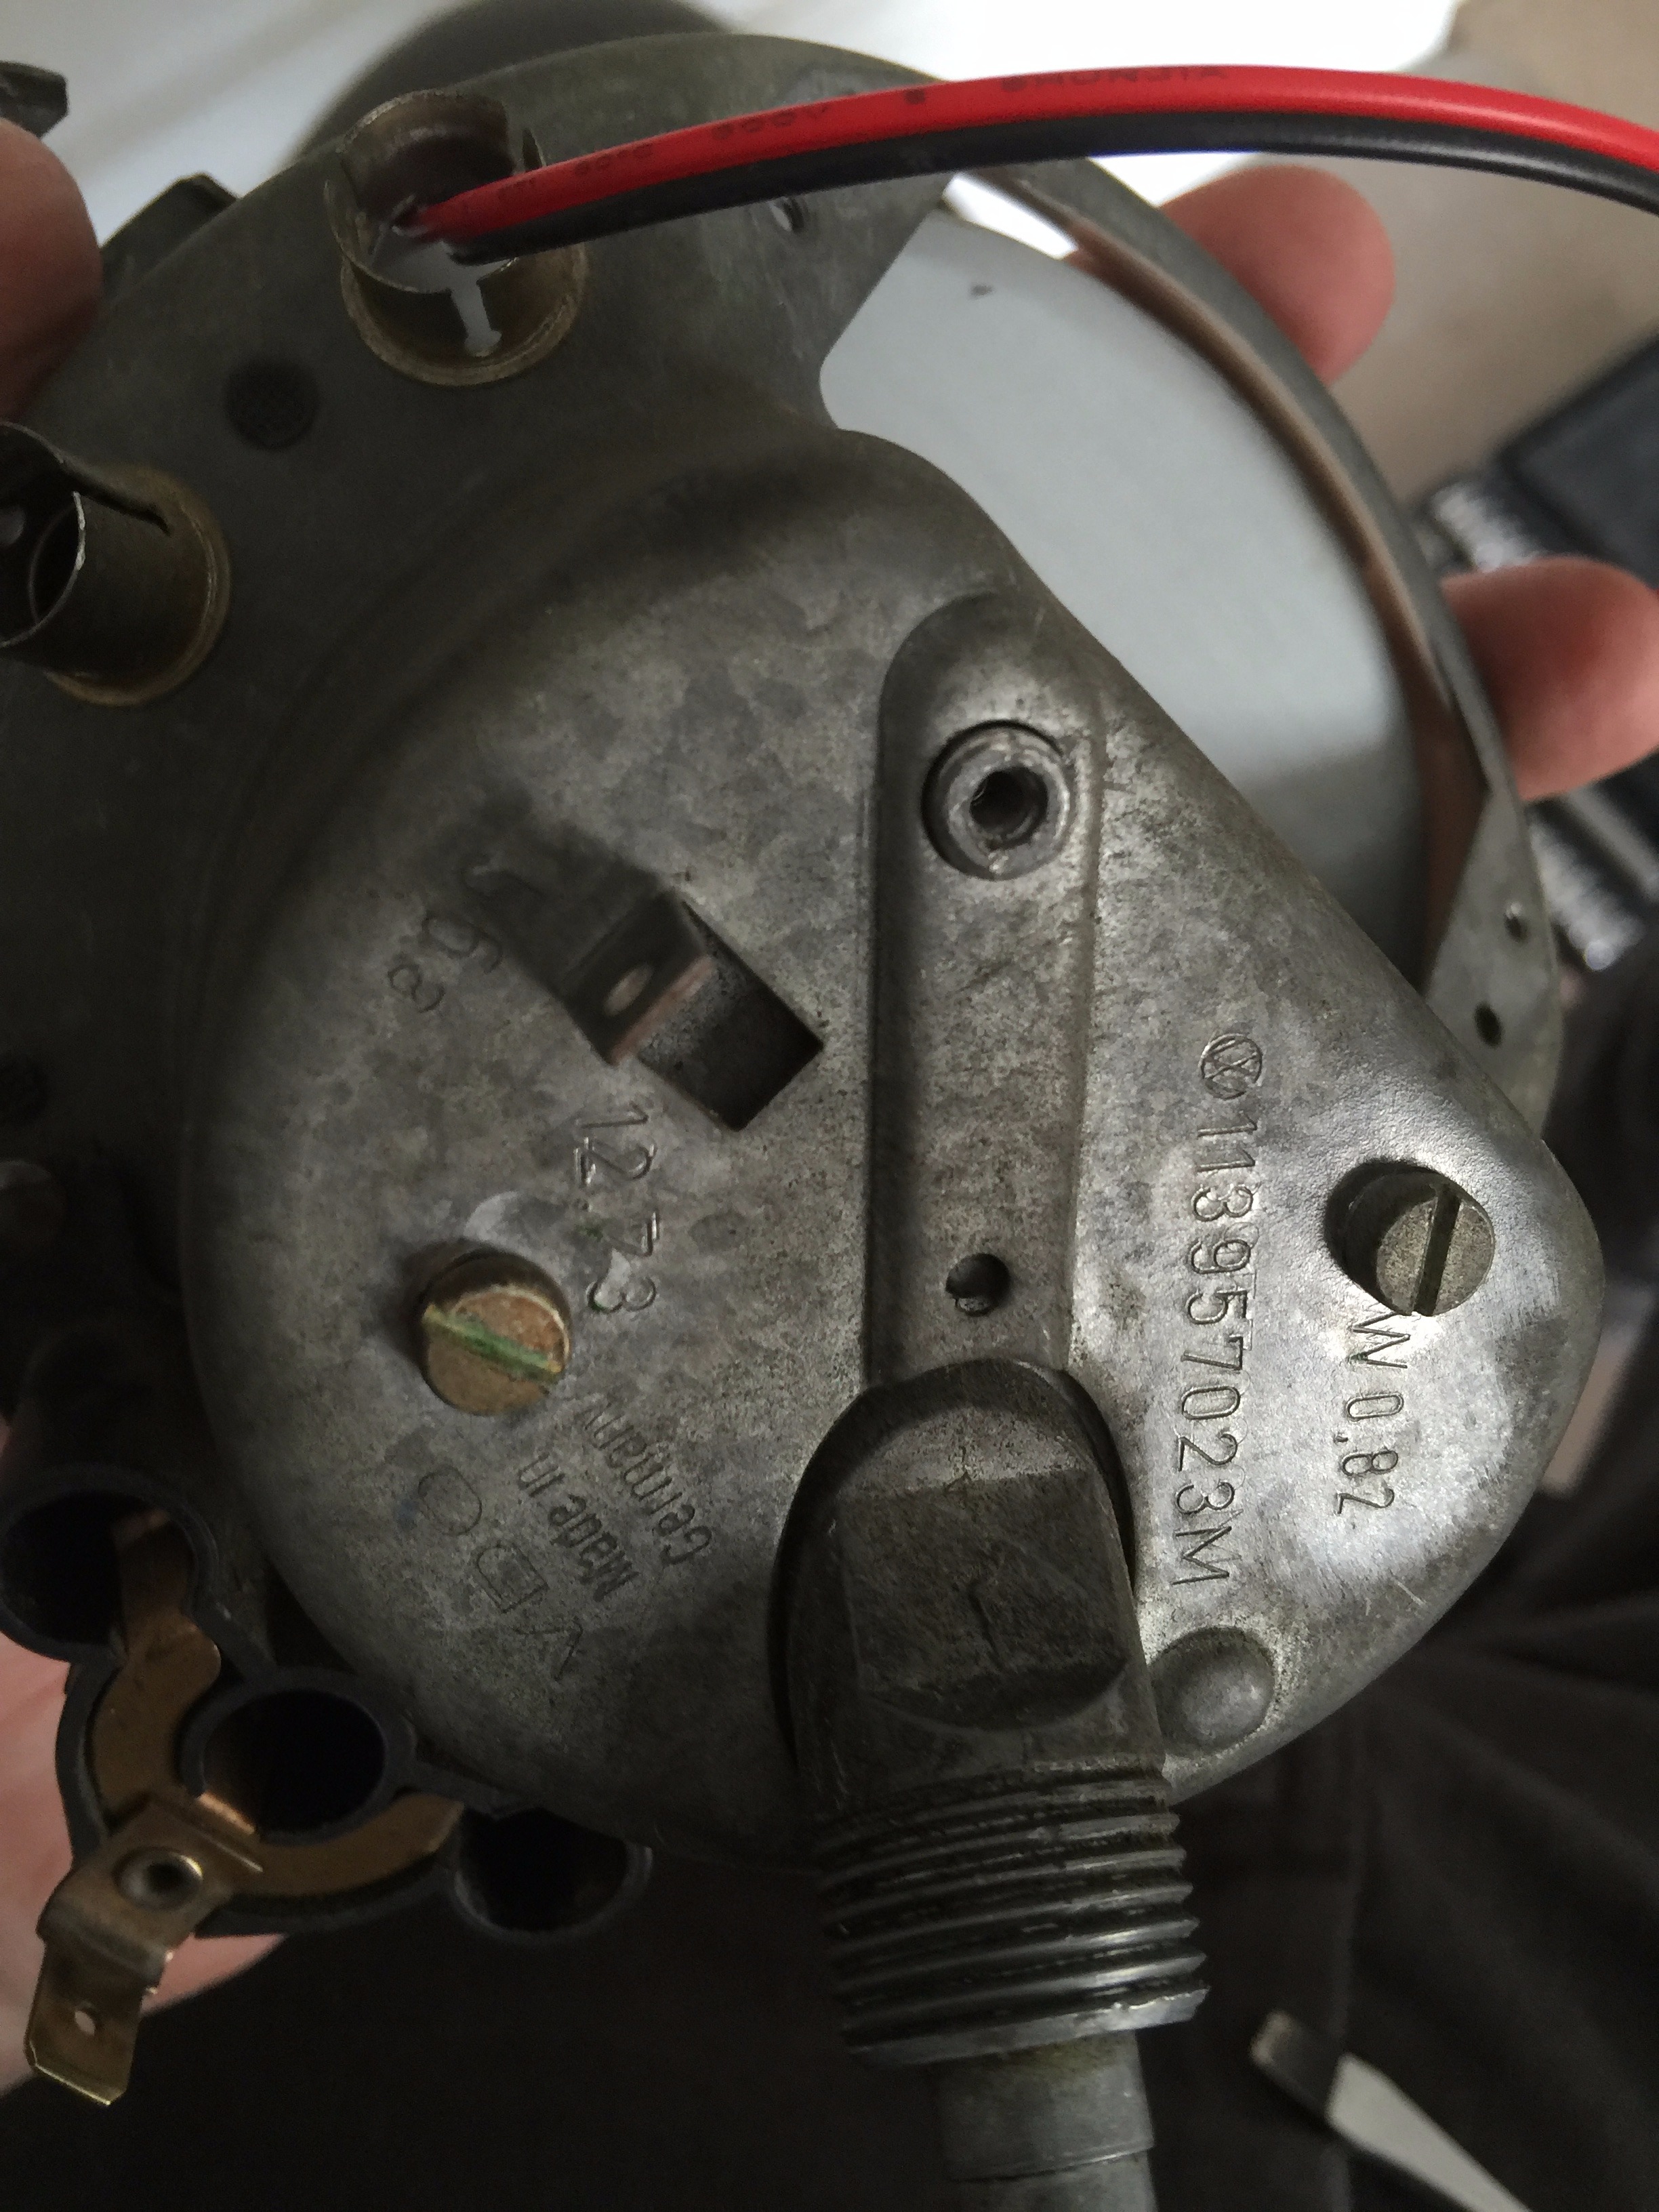
To remove the interior speedometer body gently apply pressure to the speedometer connector with one hand while holding the exterior gauge chassis with your other hand. Keep your other hand clear of the speedometer face, the interior body will slide out of the face. Be very careful not to apply pressure to the needle on the face or you may bend it.
Note - this comes out easier than it goes back in.
I had previously tried EL wire instead of EL ribbon. I got stuck when I couldn't think of a appropriate way to affix the wire to the interior wall of the gauge. Ribbon makes more sense - don't make my mistake!
Inspect Your Odometer Gear
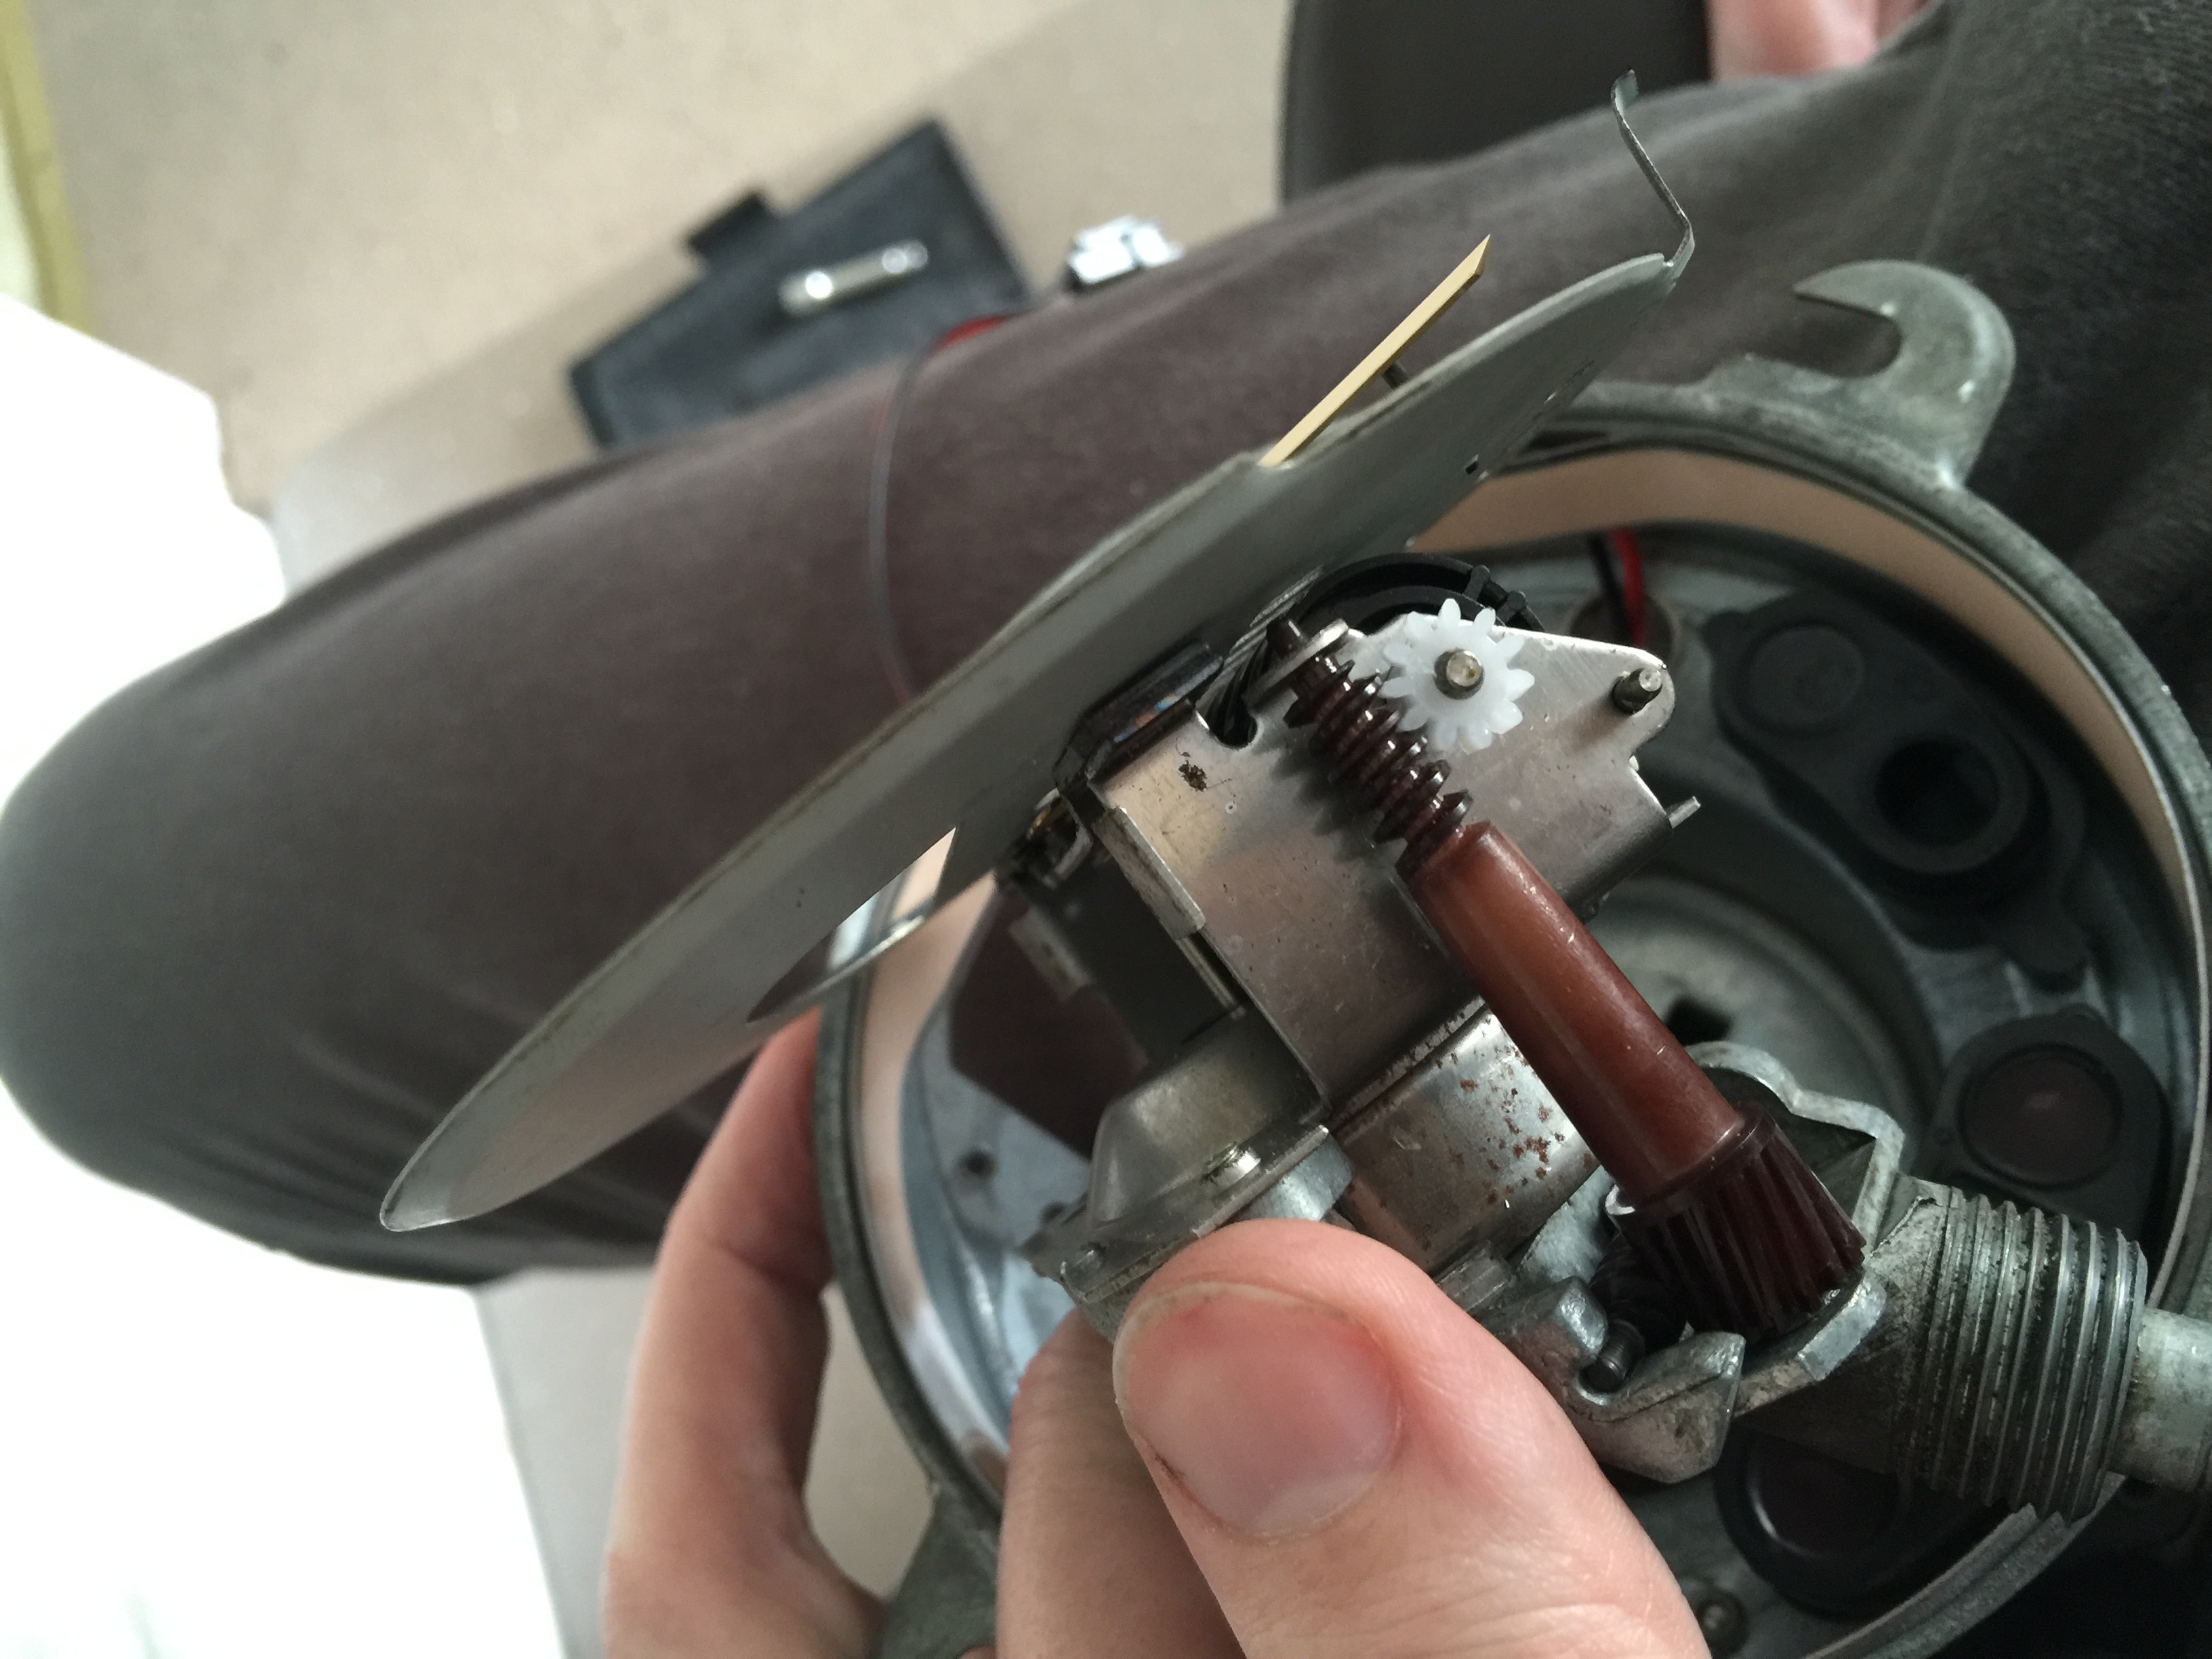
My odometer gear was melted. Why? It seized and wore - the heat melted it. A new gear is available from odometergears.com (you will want the M11 if you have the same odometer as I do).
Clean off excess / dirty grease and apply new white lithium grease.
Clean Contacts
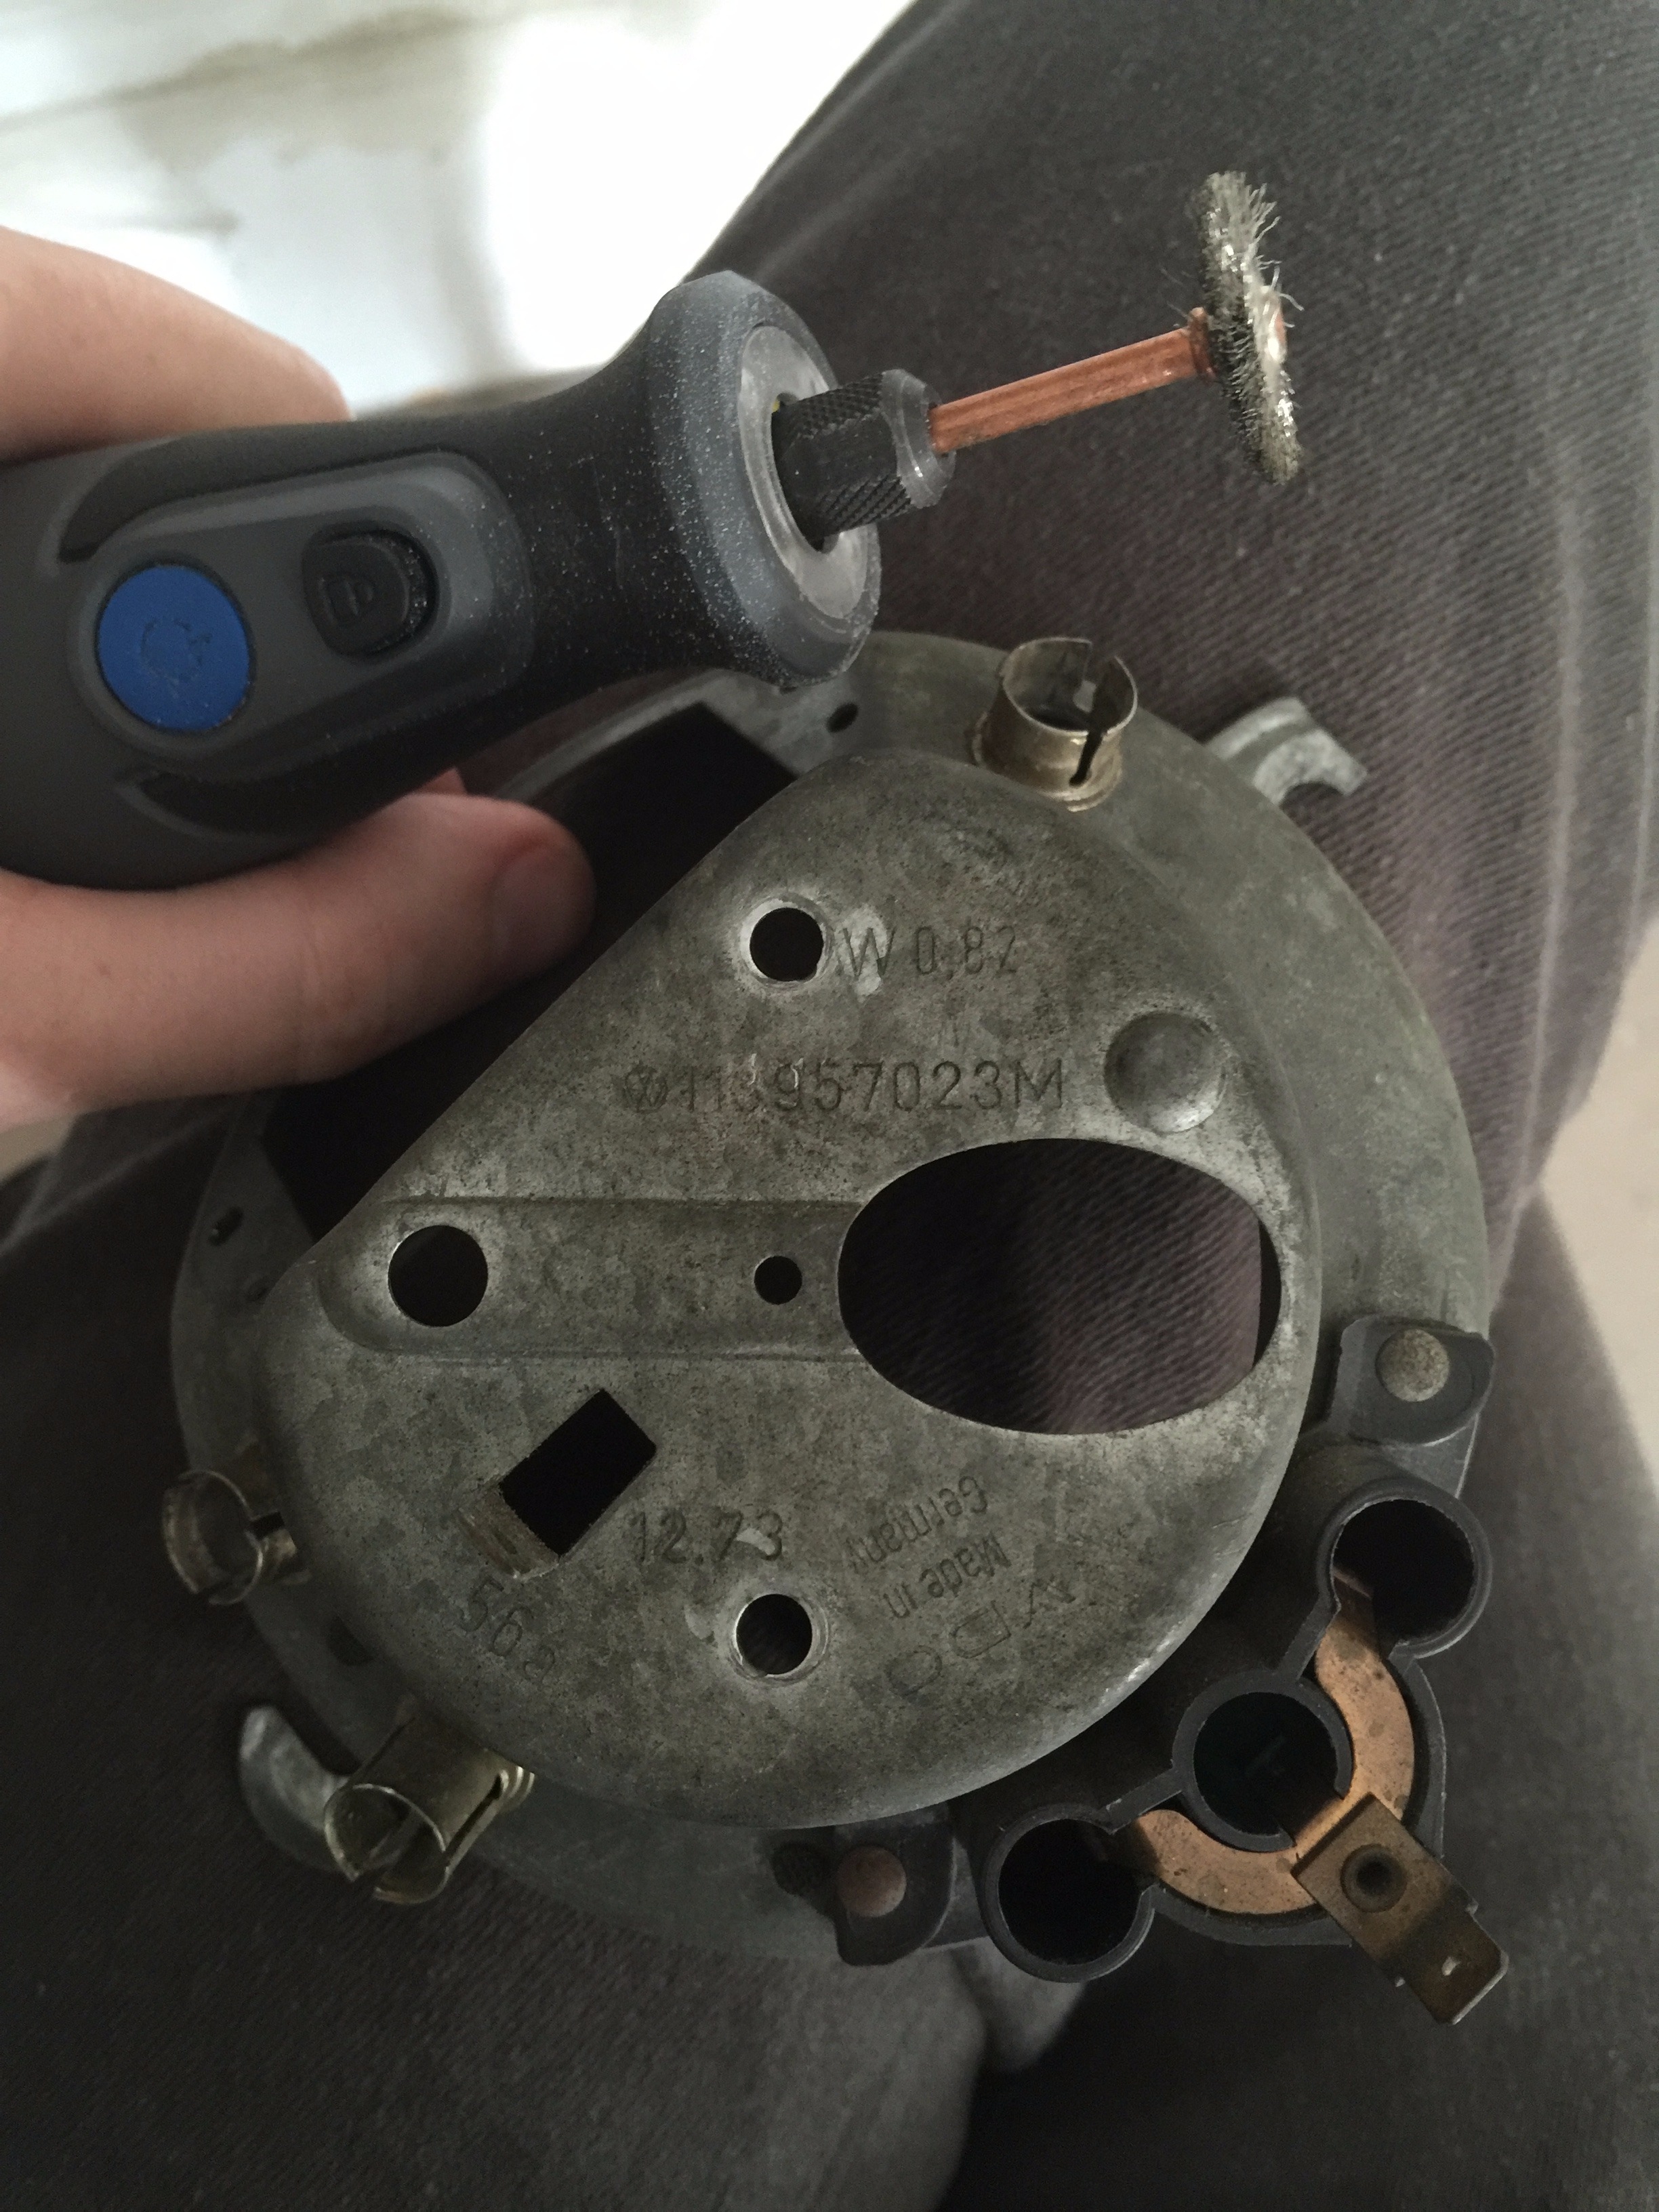
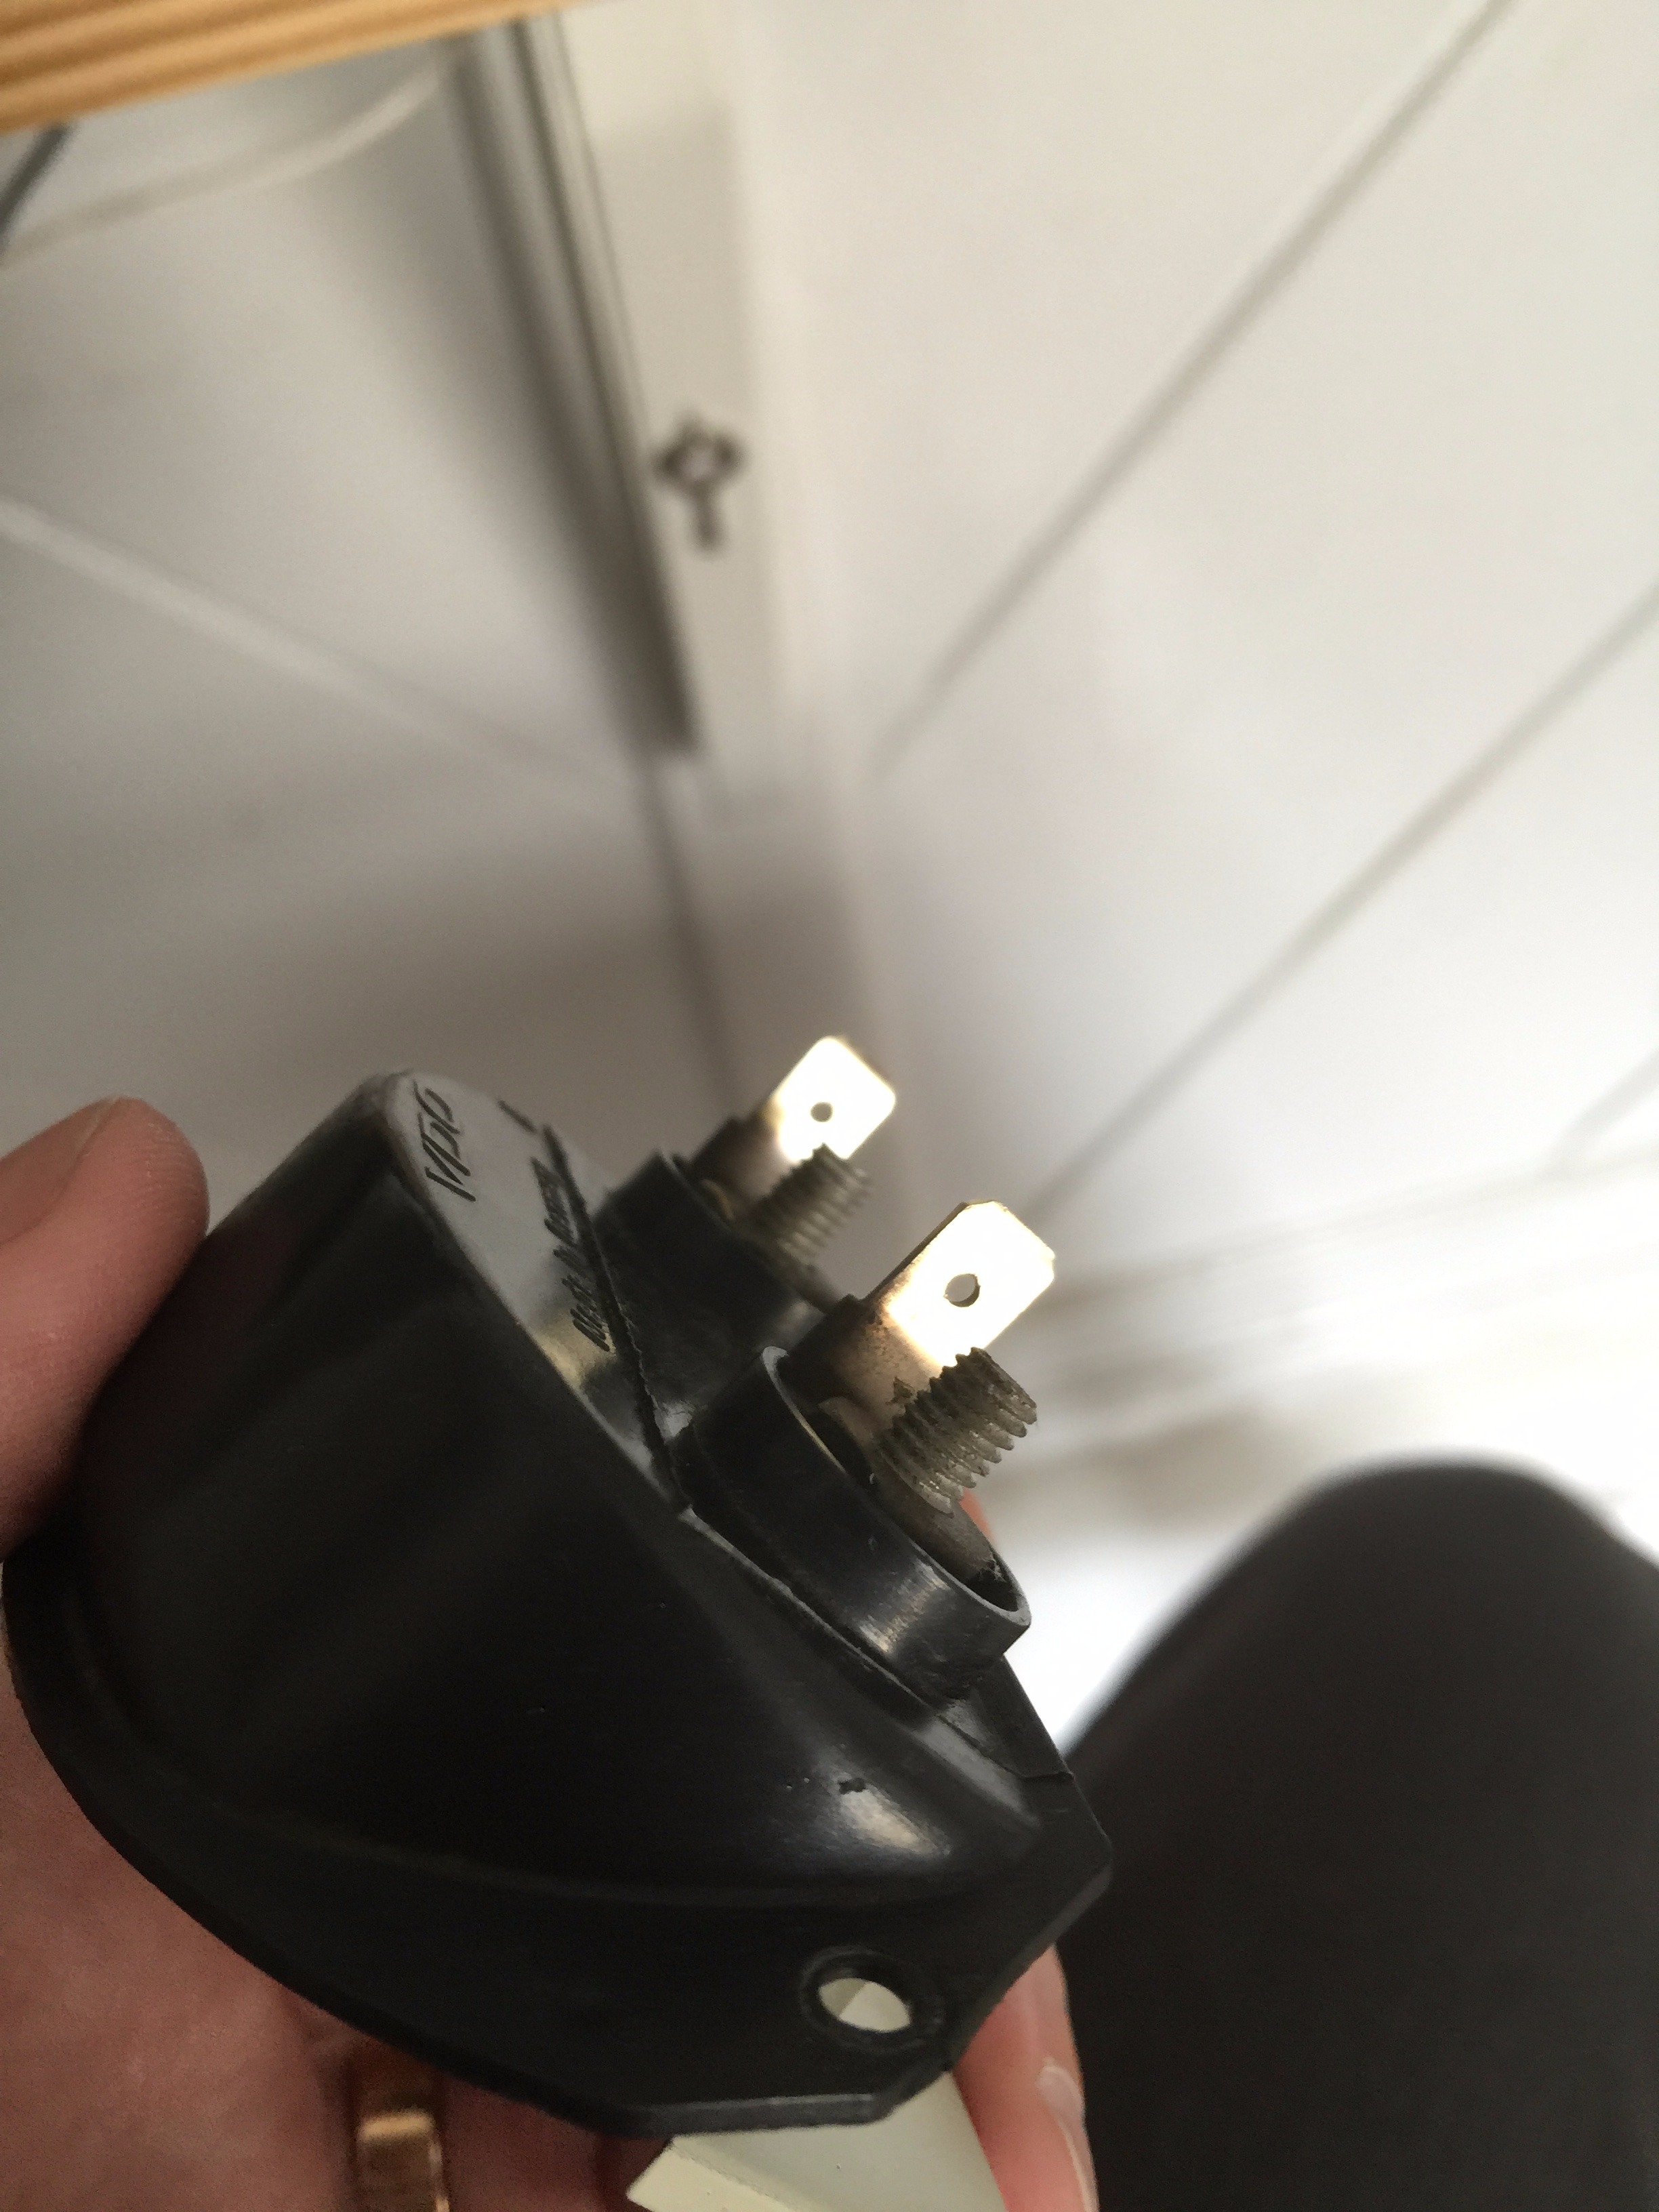
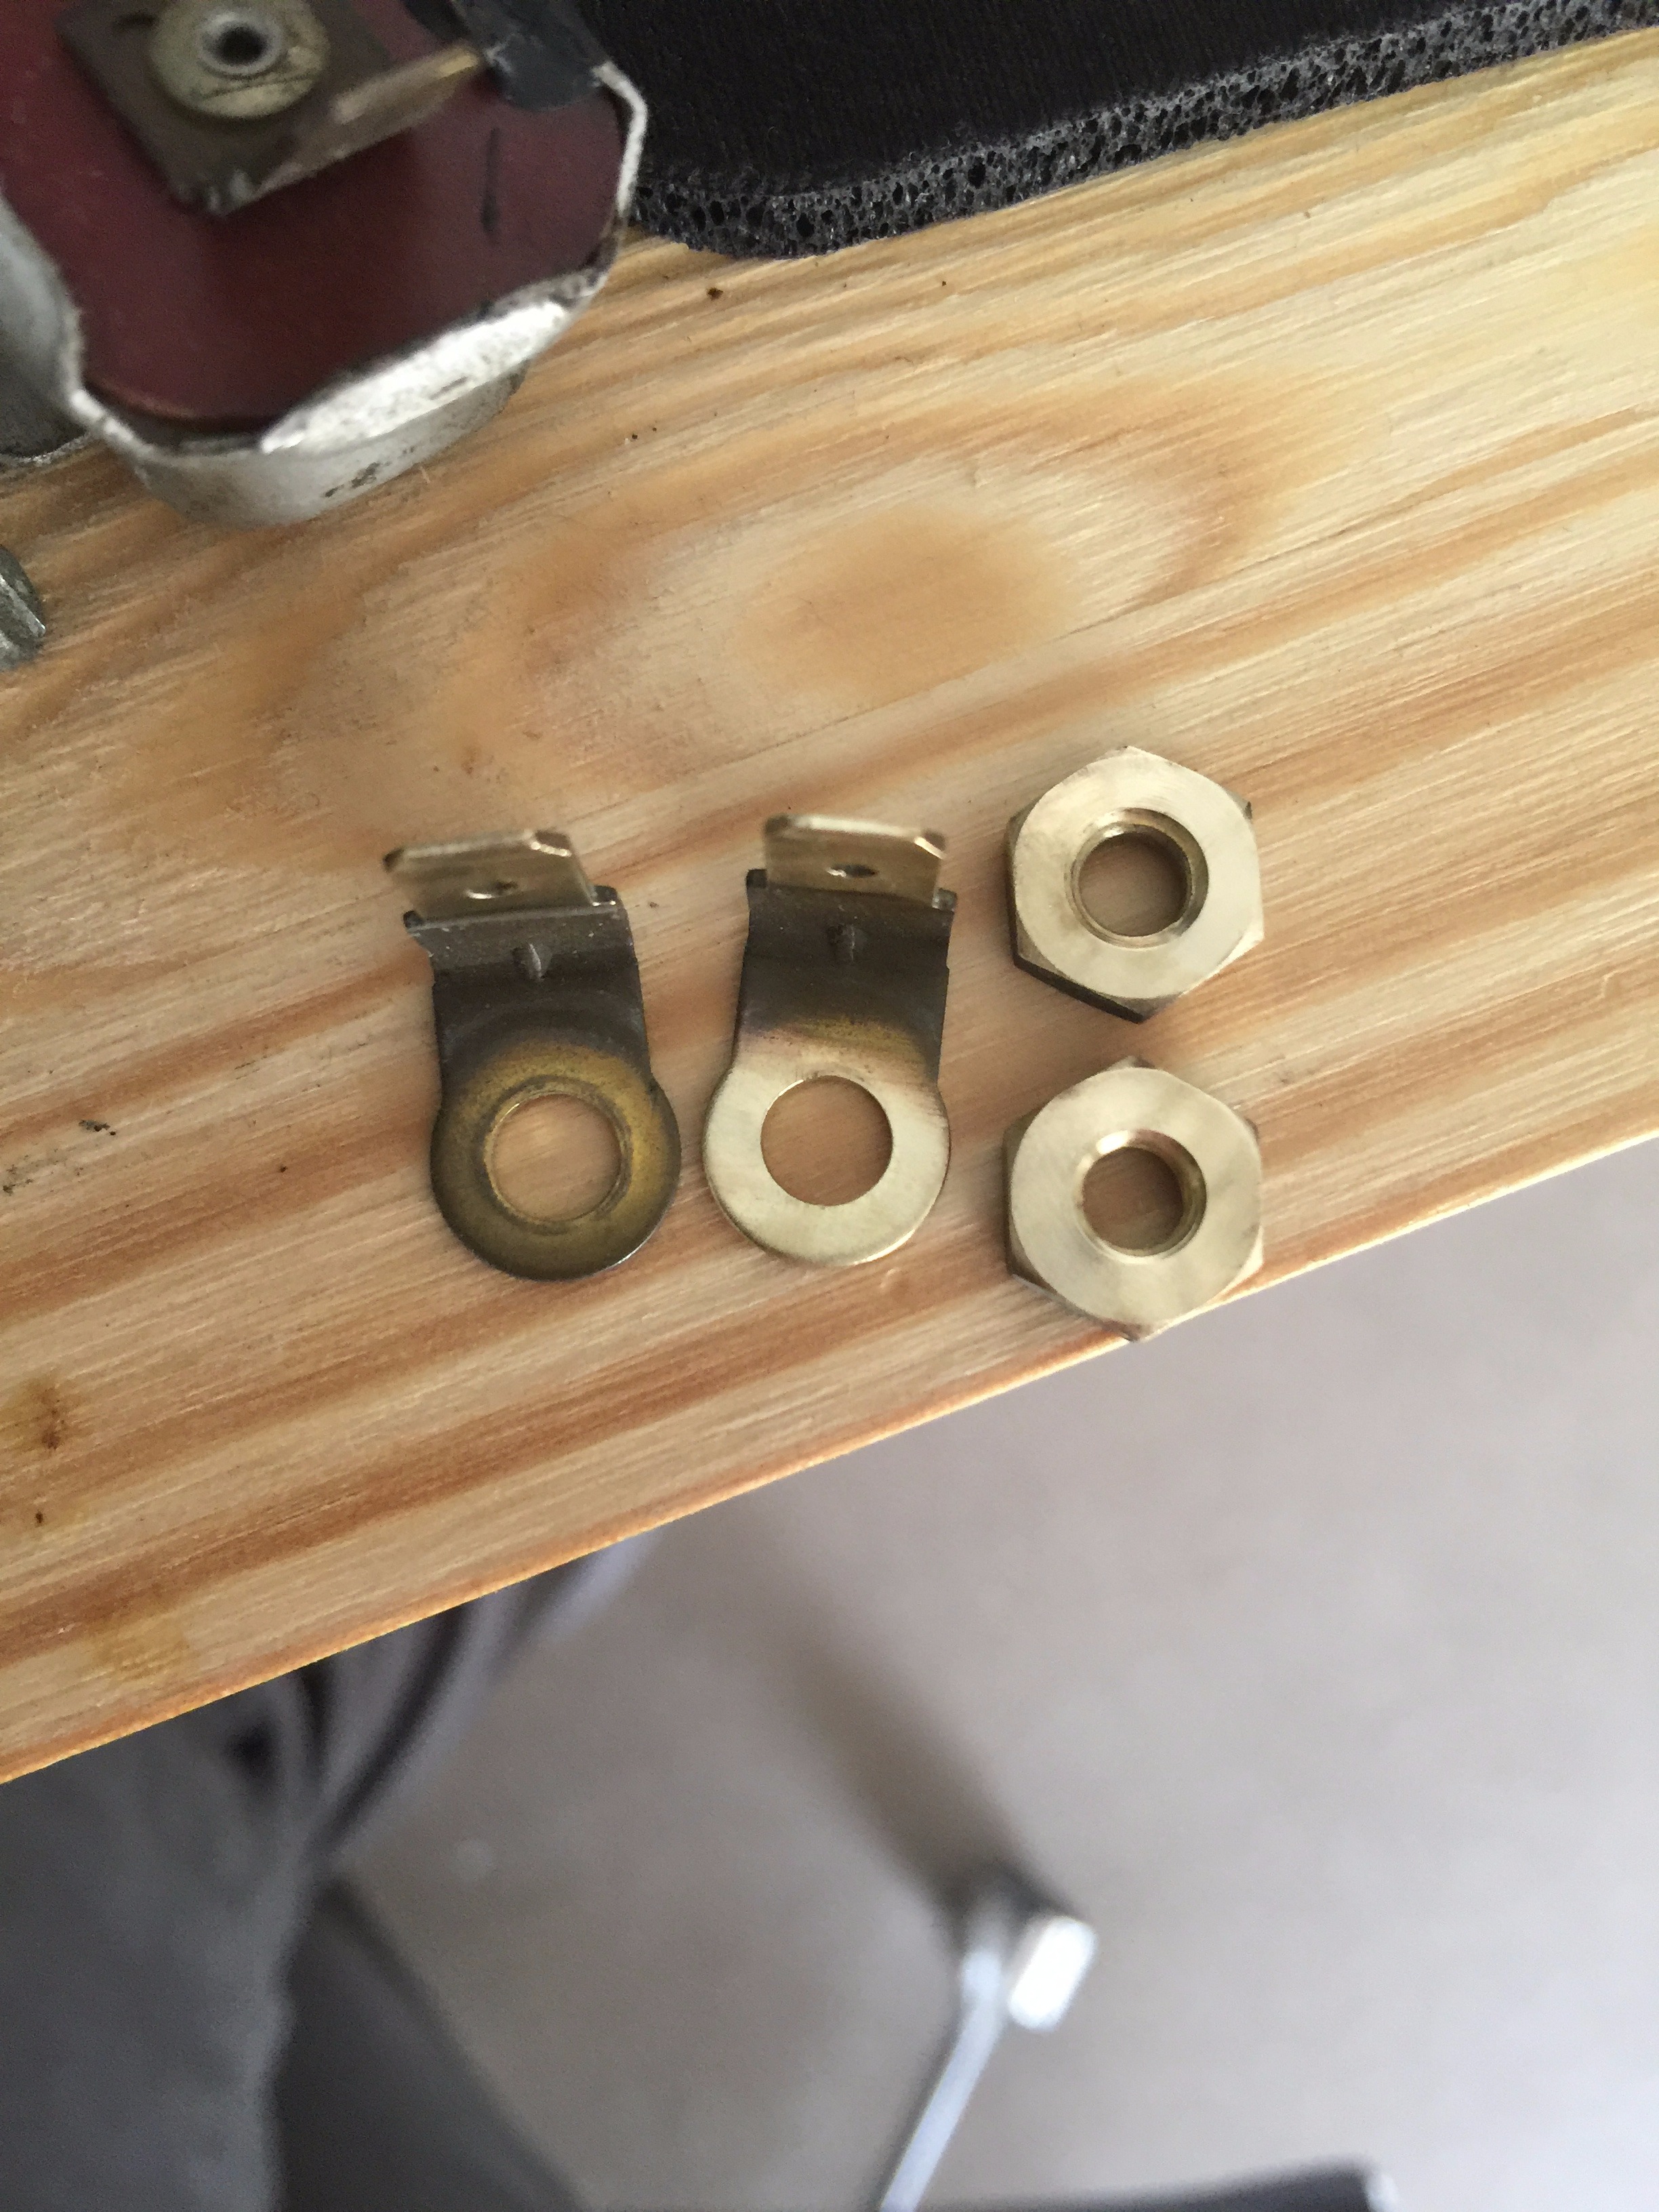
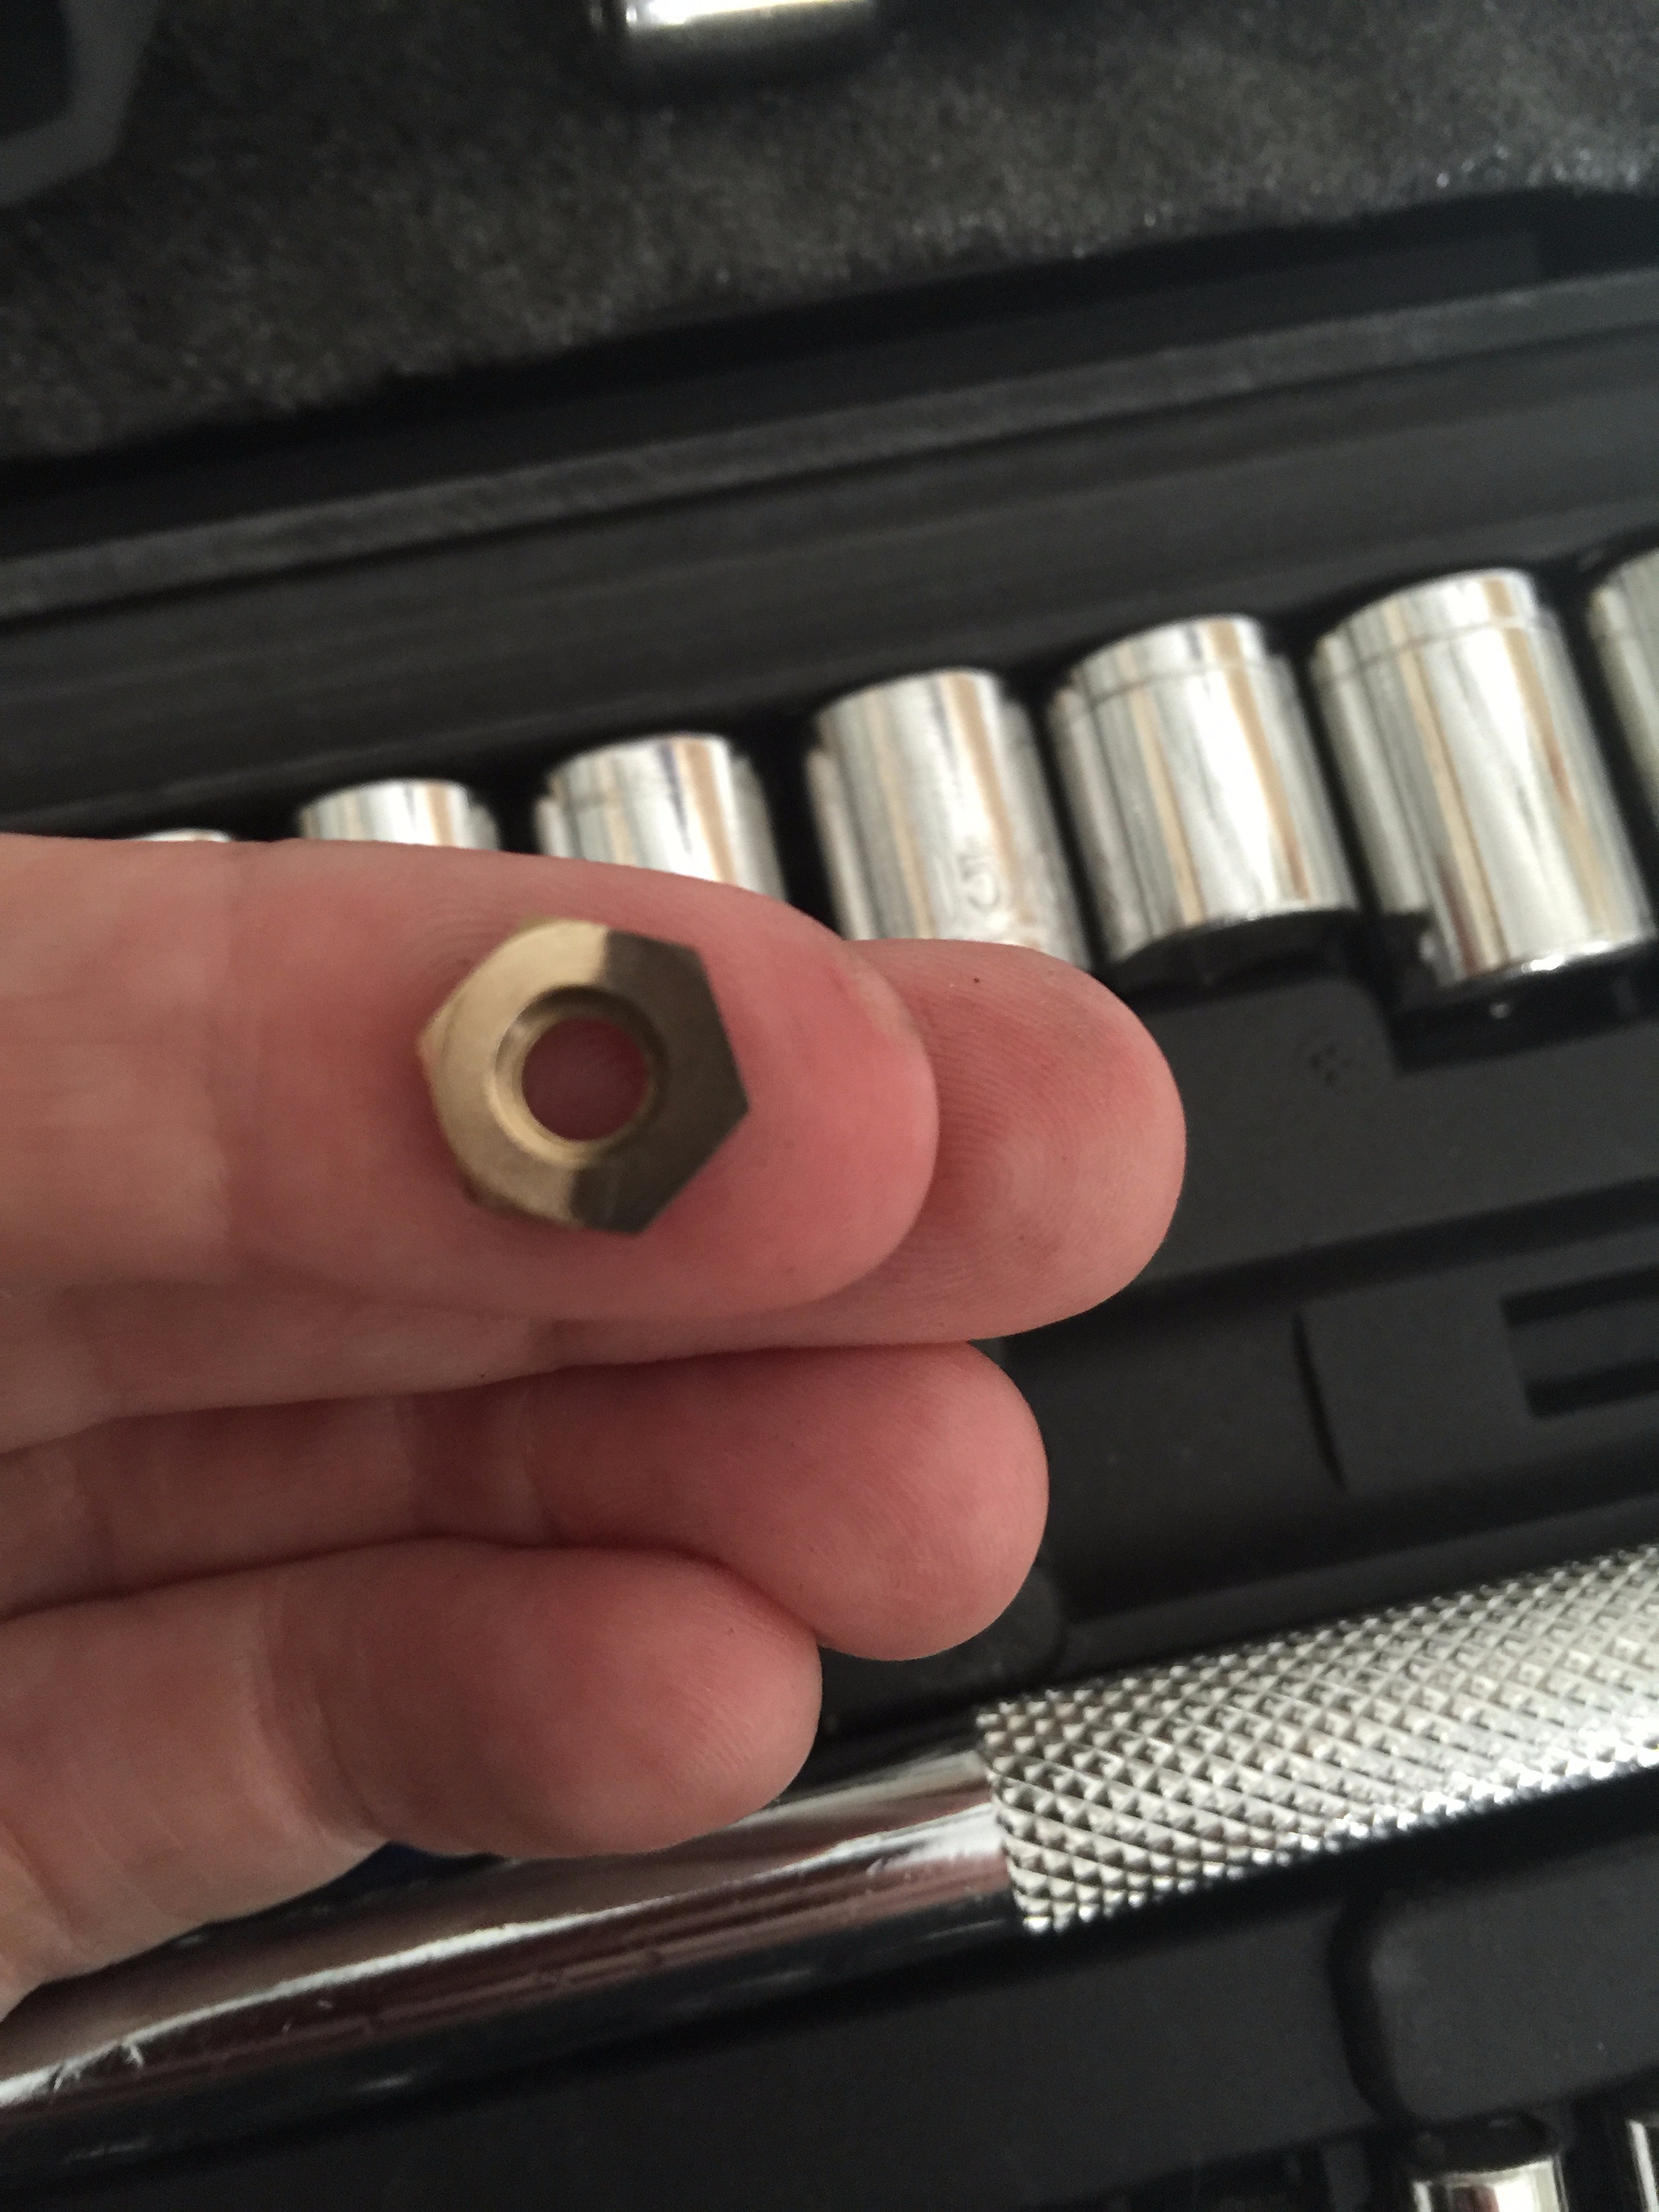
This is where the handheld rotary tool will come in handy. I used my wireless Dremel with the lowest speed setting to gently brush away tarnish and grime from every screw / bolt contact point. I also cleaned the screws and bolts to ensure any grounding screws would make proper contact.
Prepare for Tape
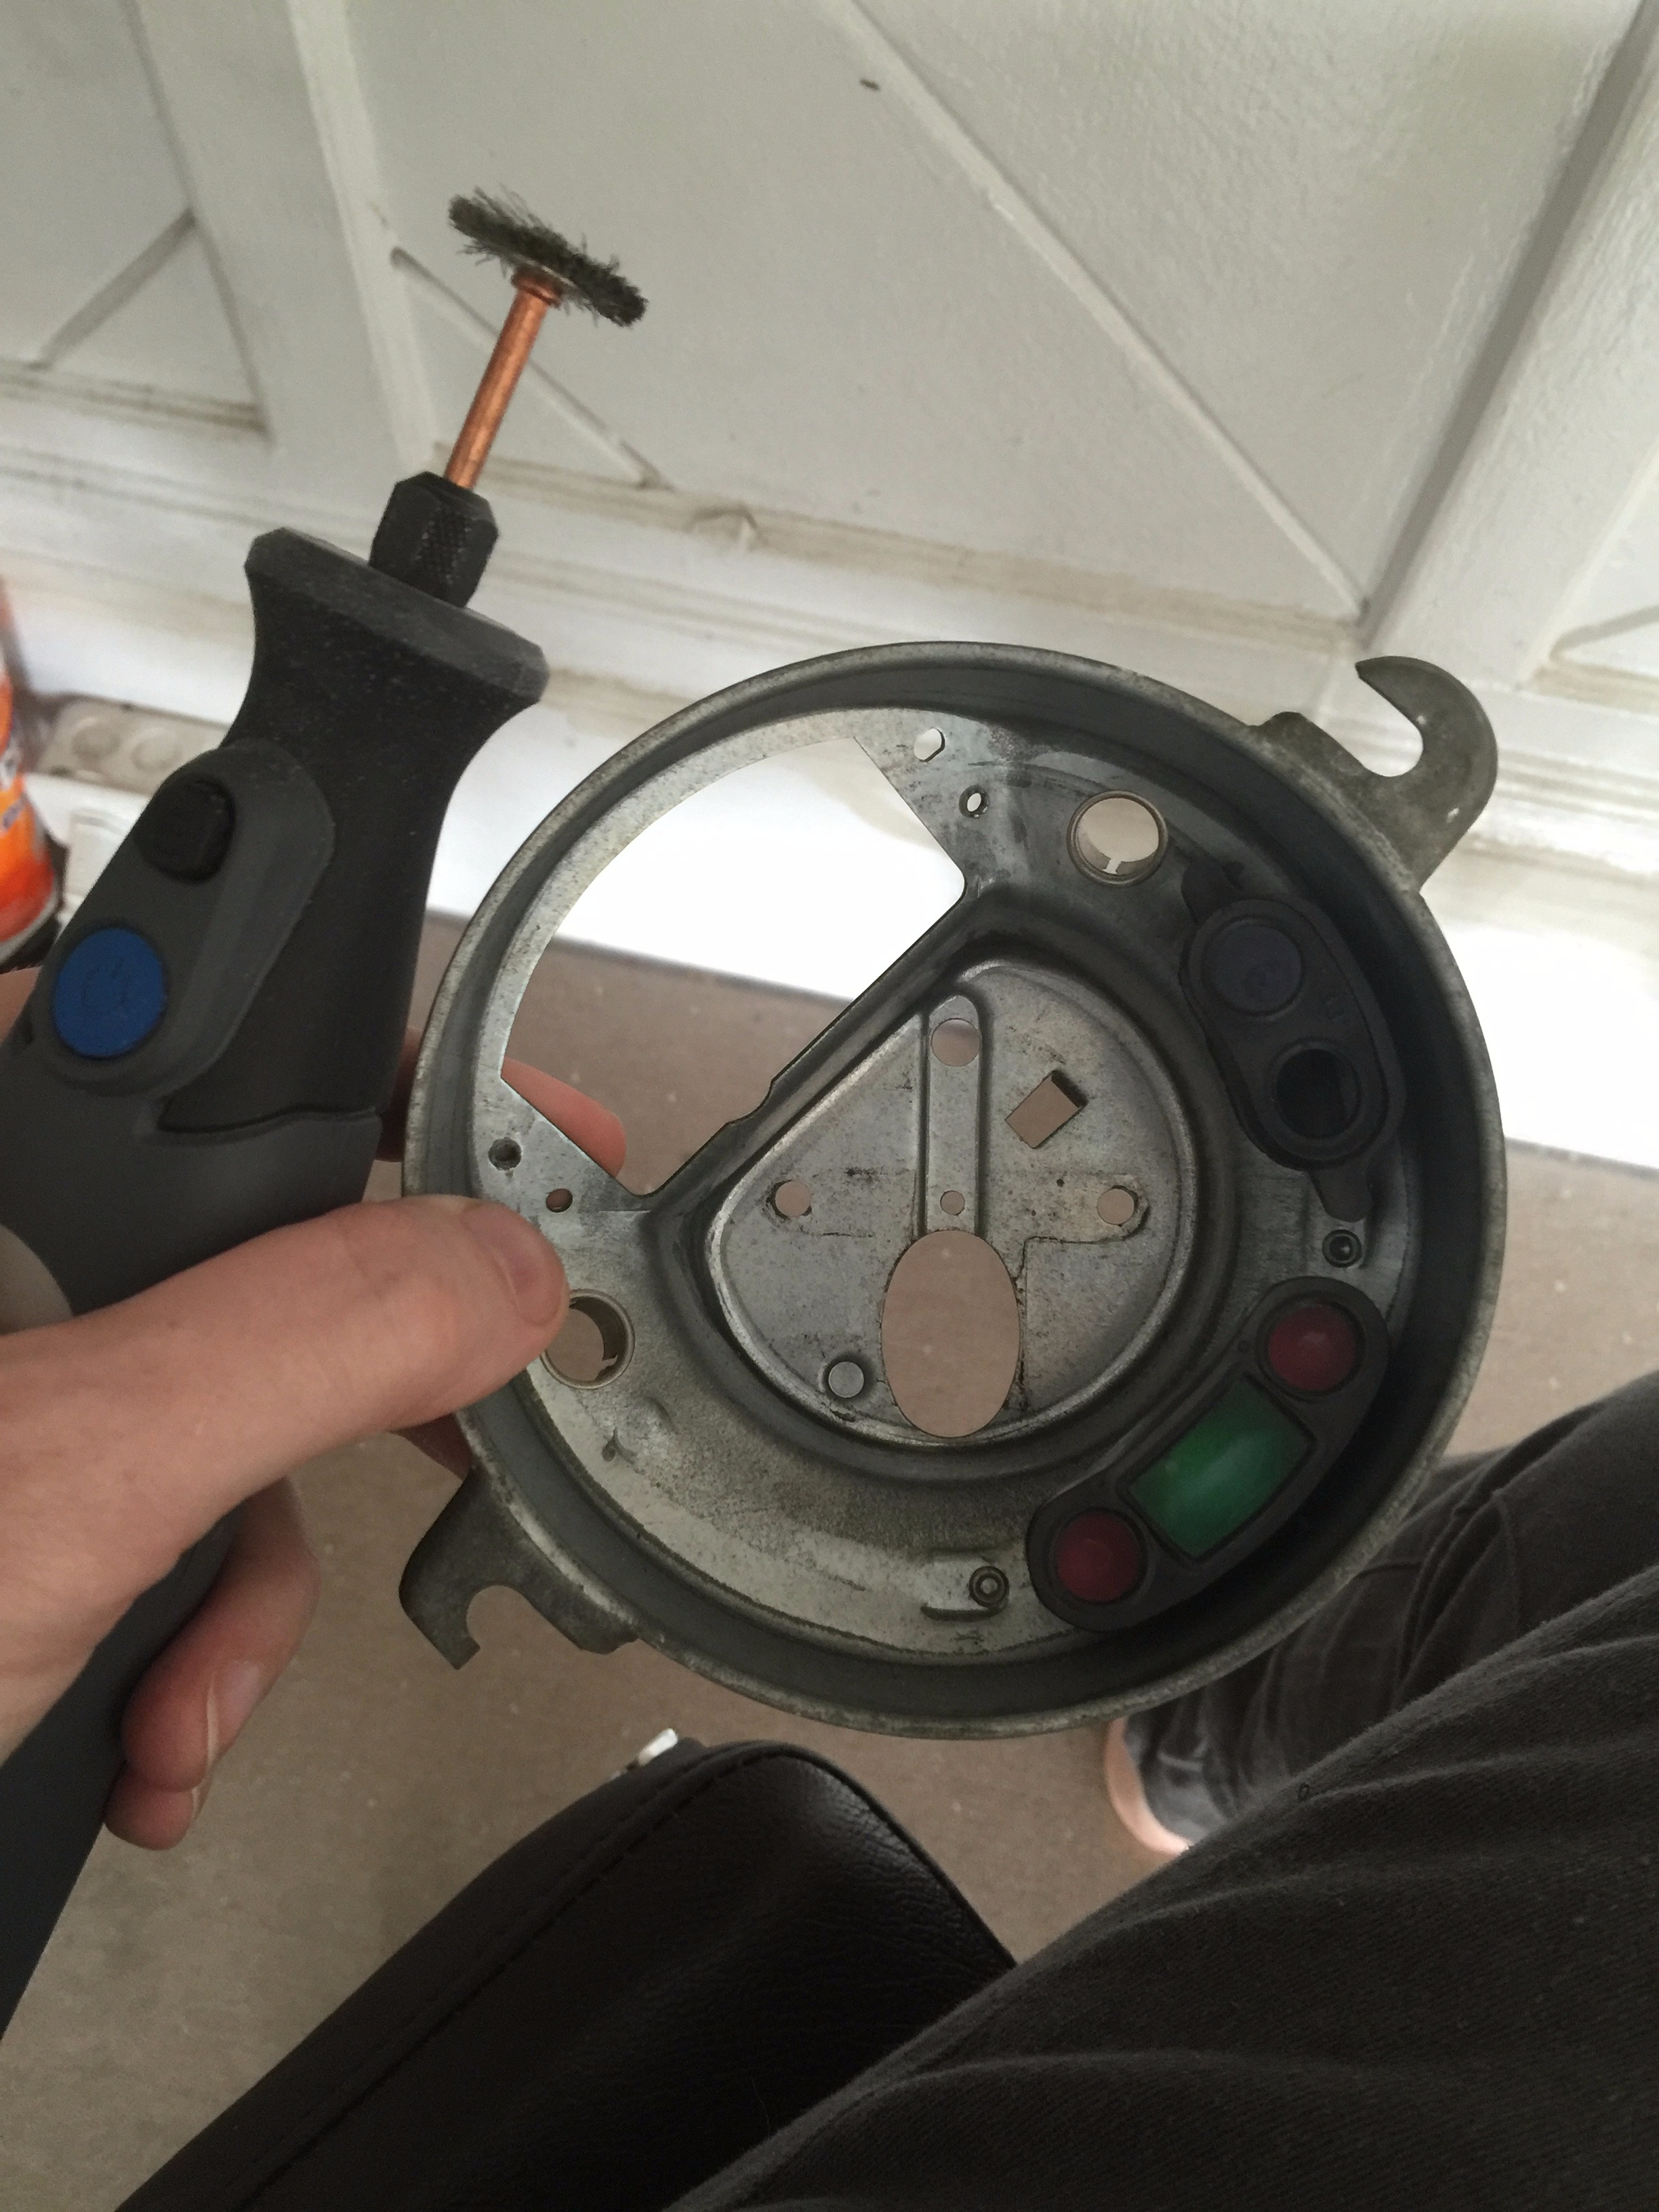
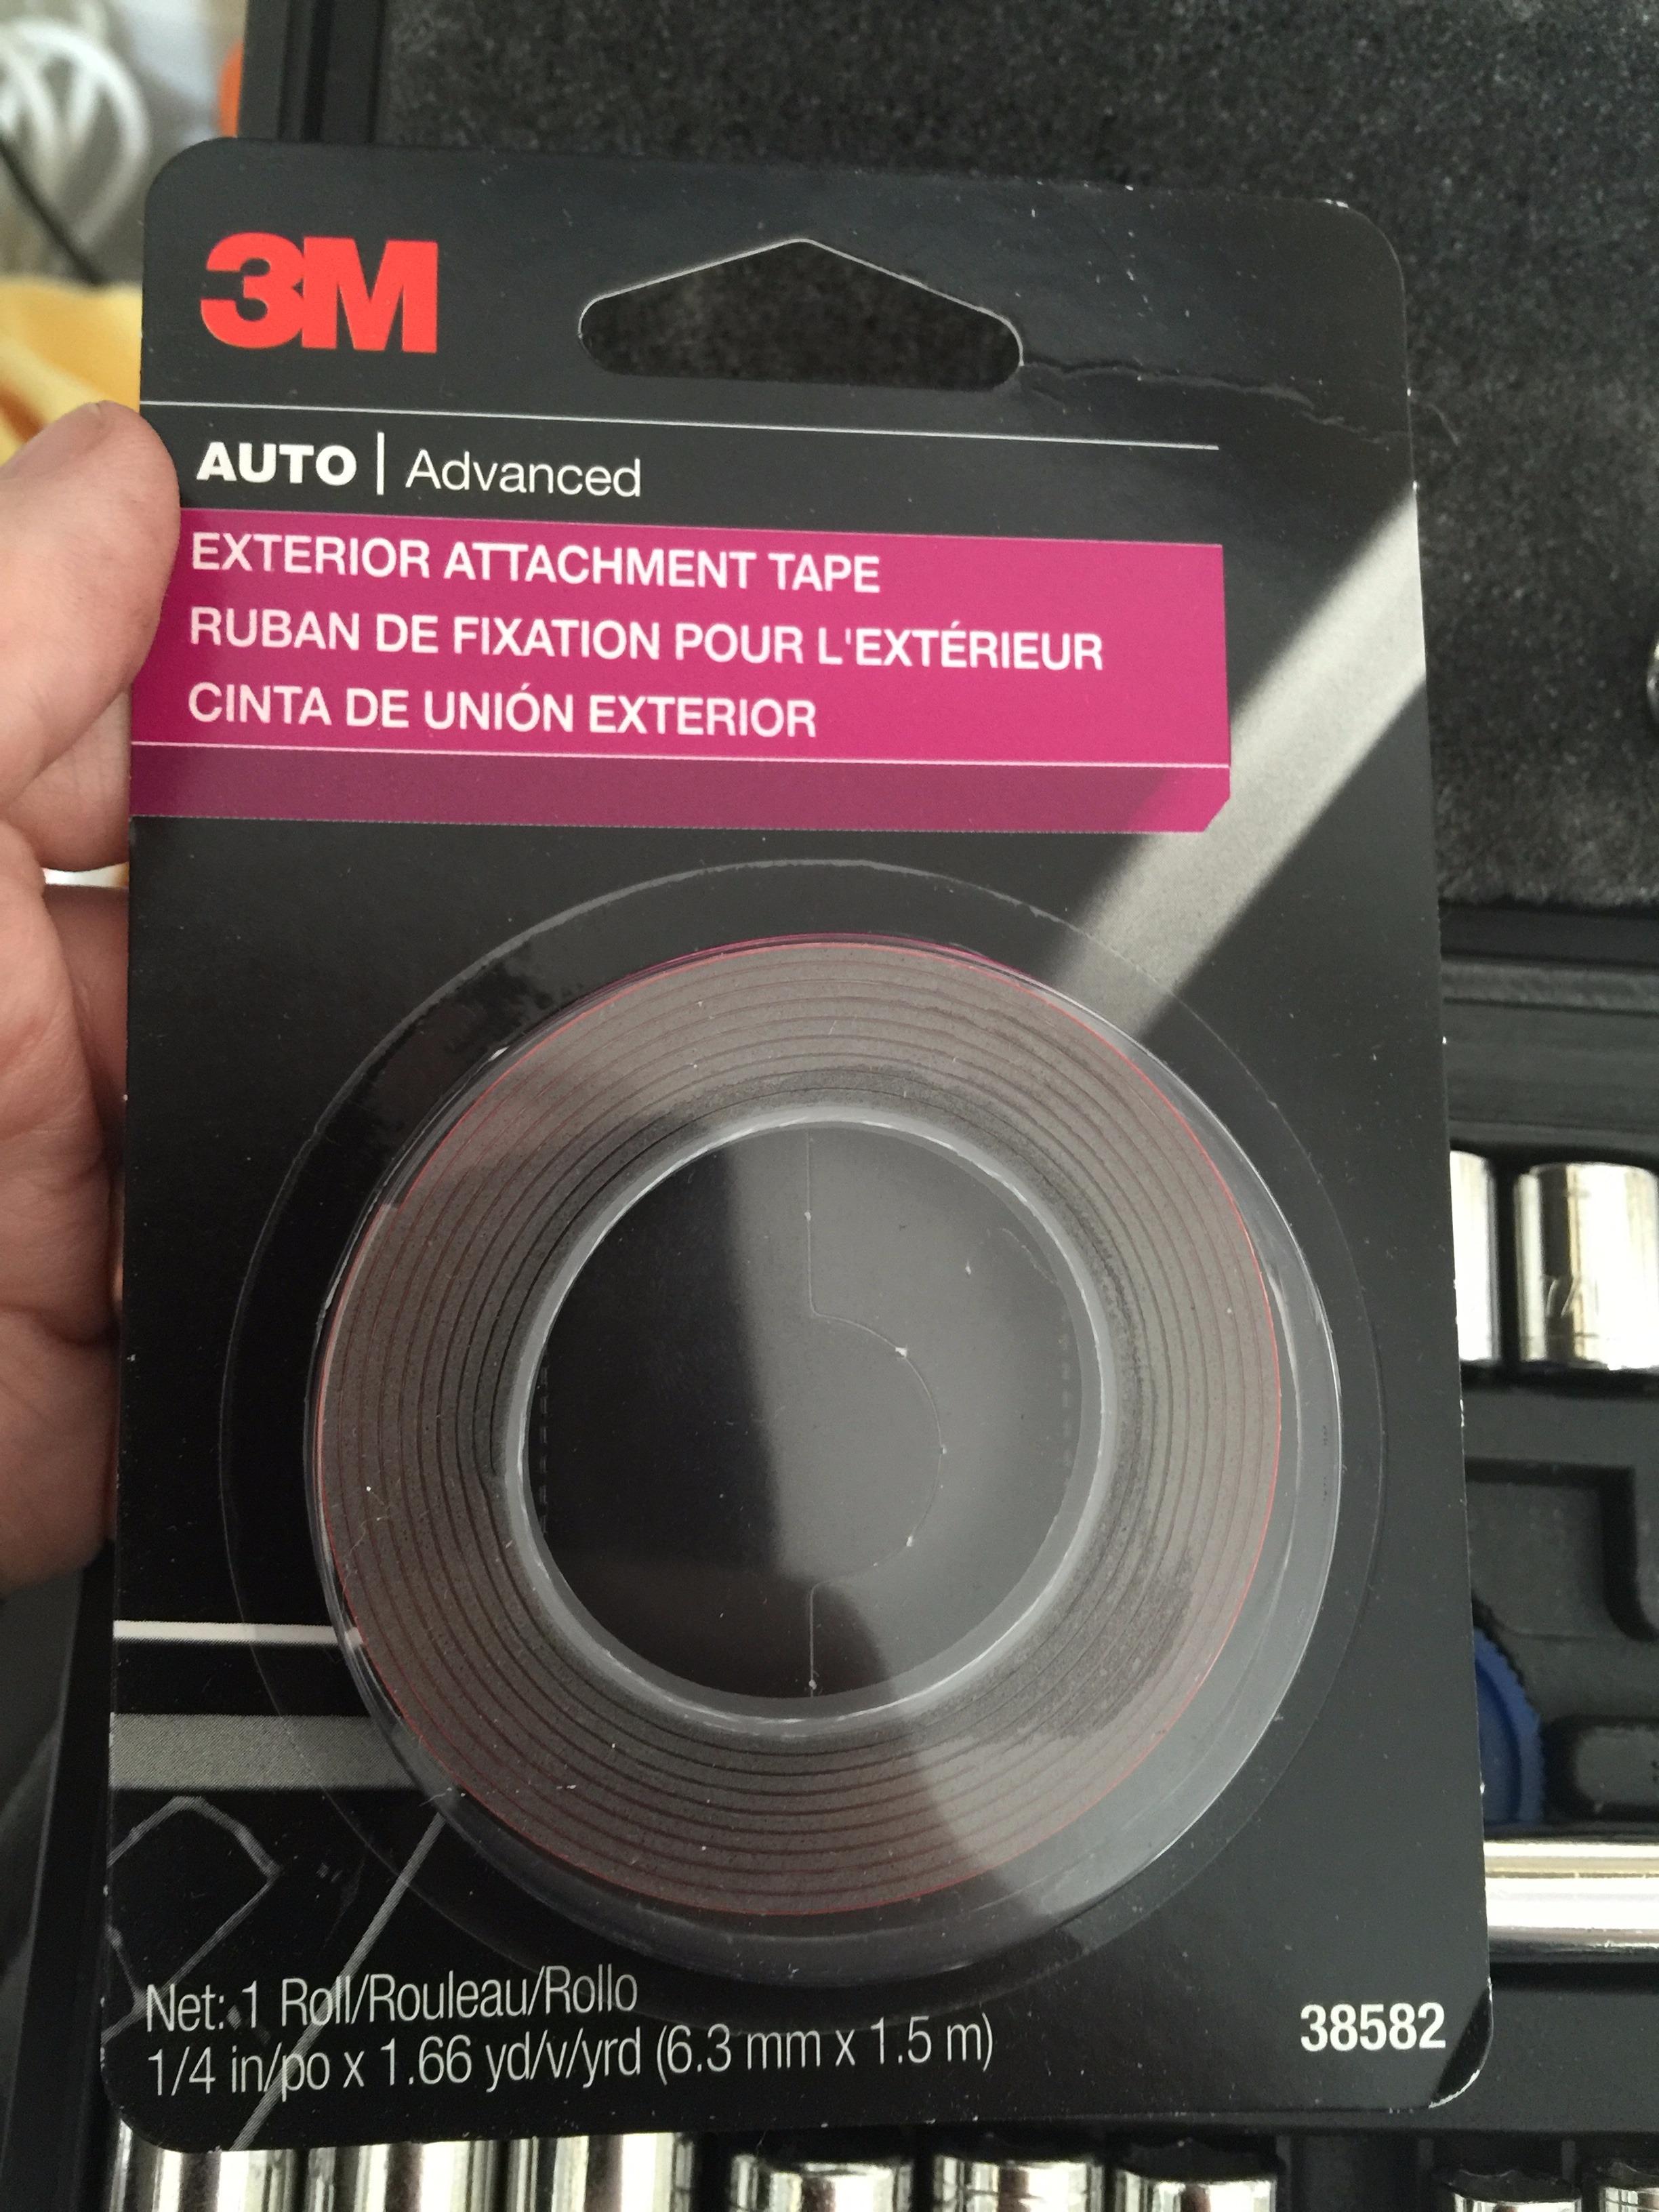
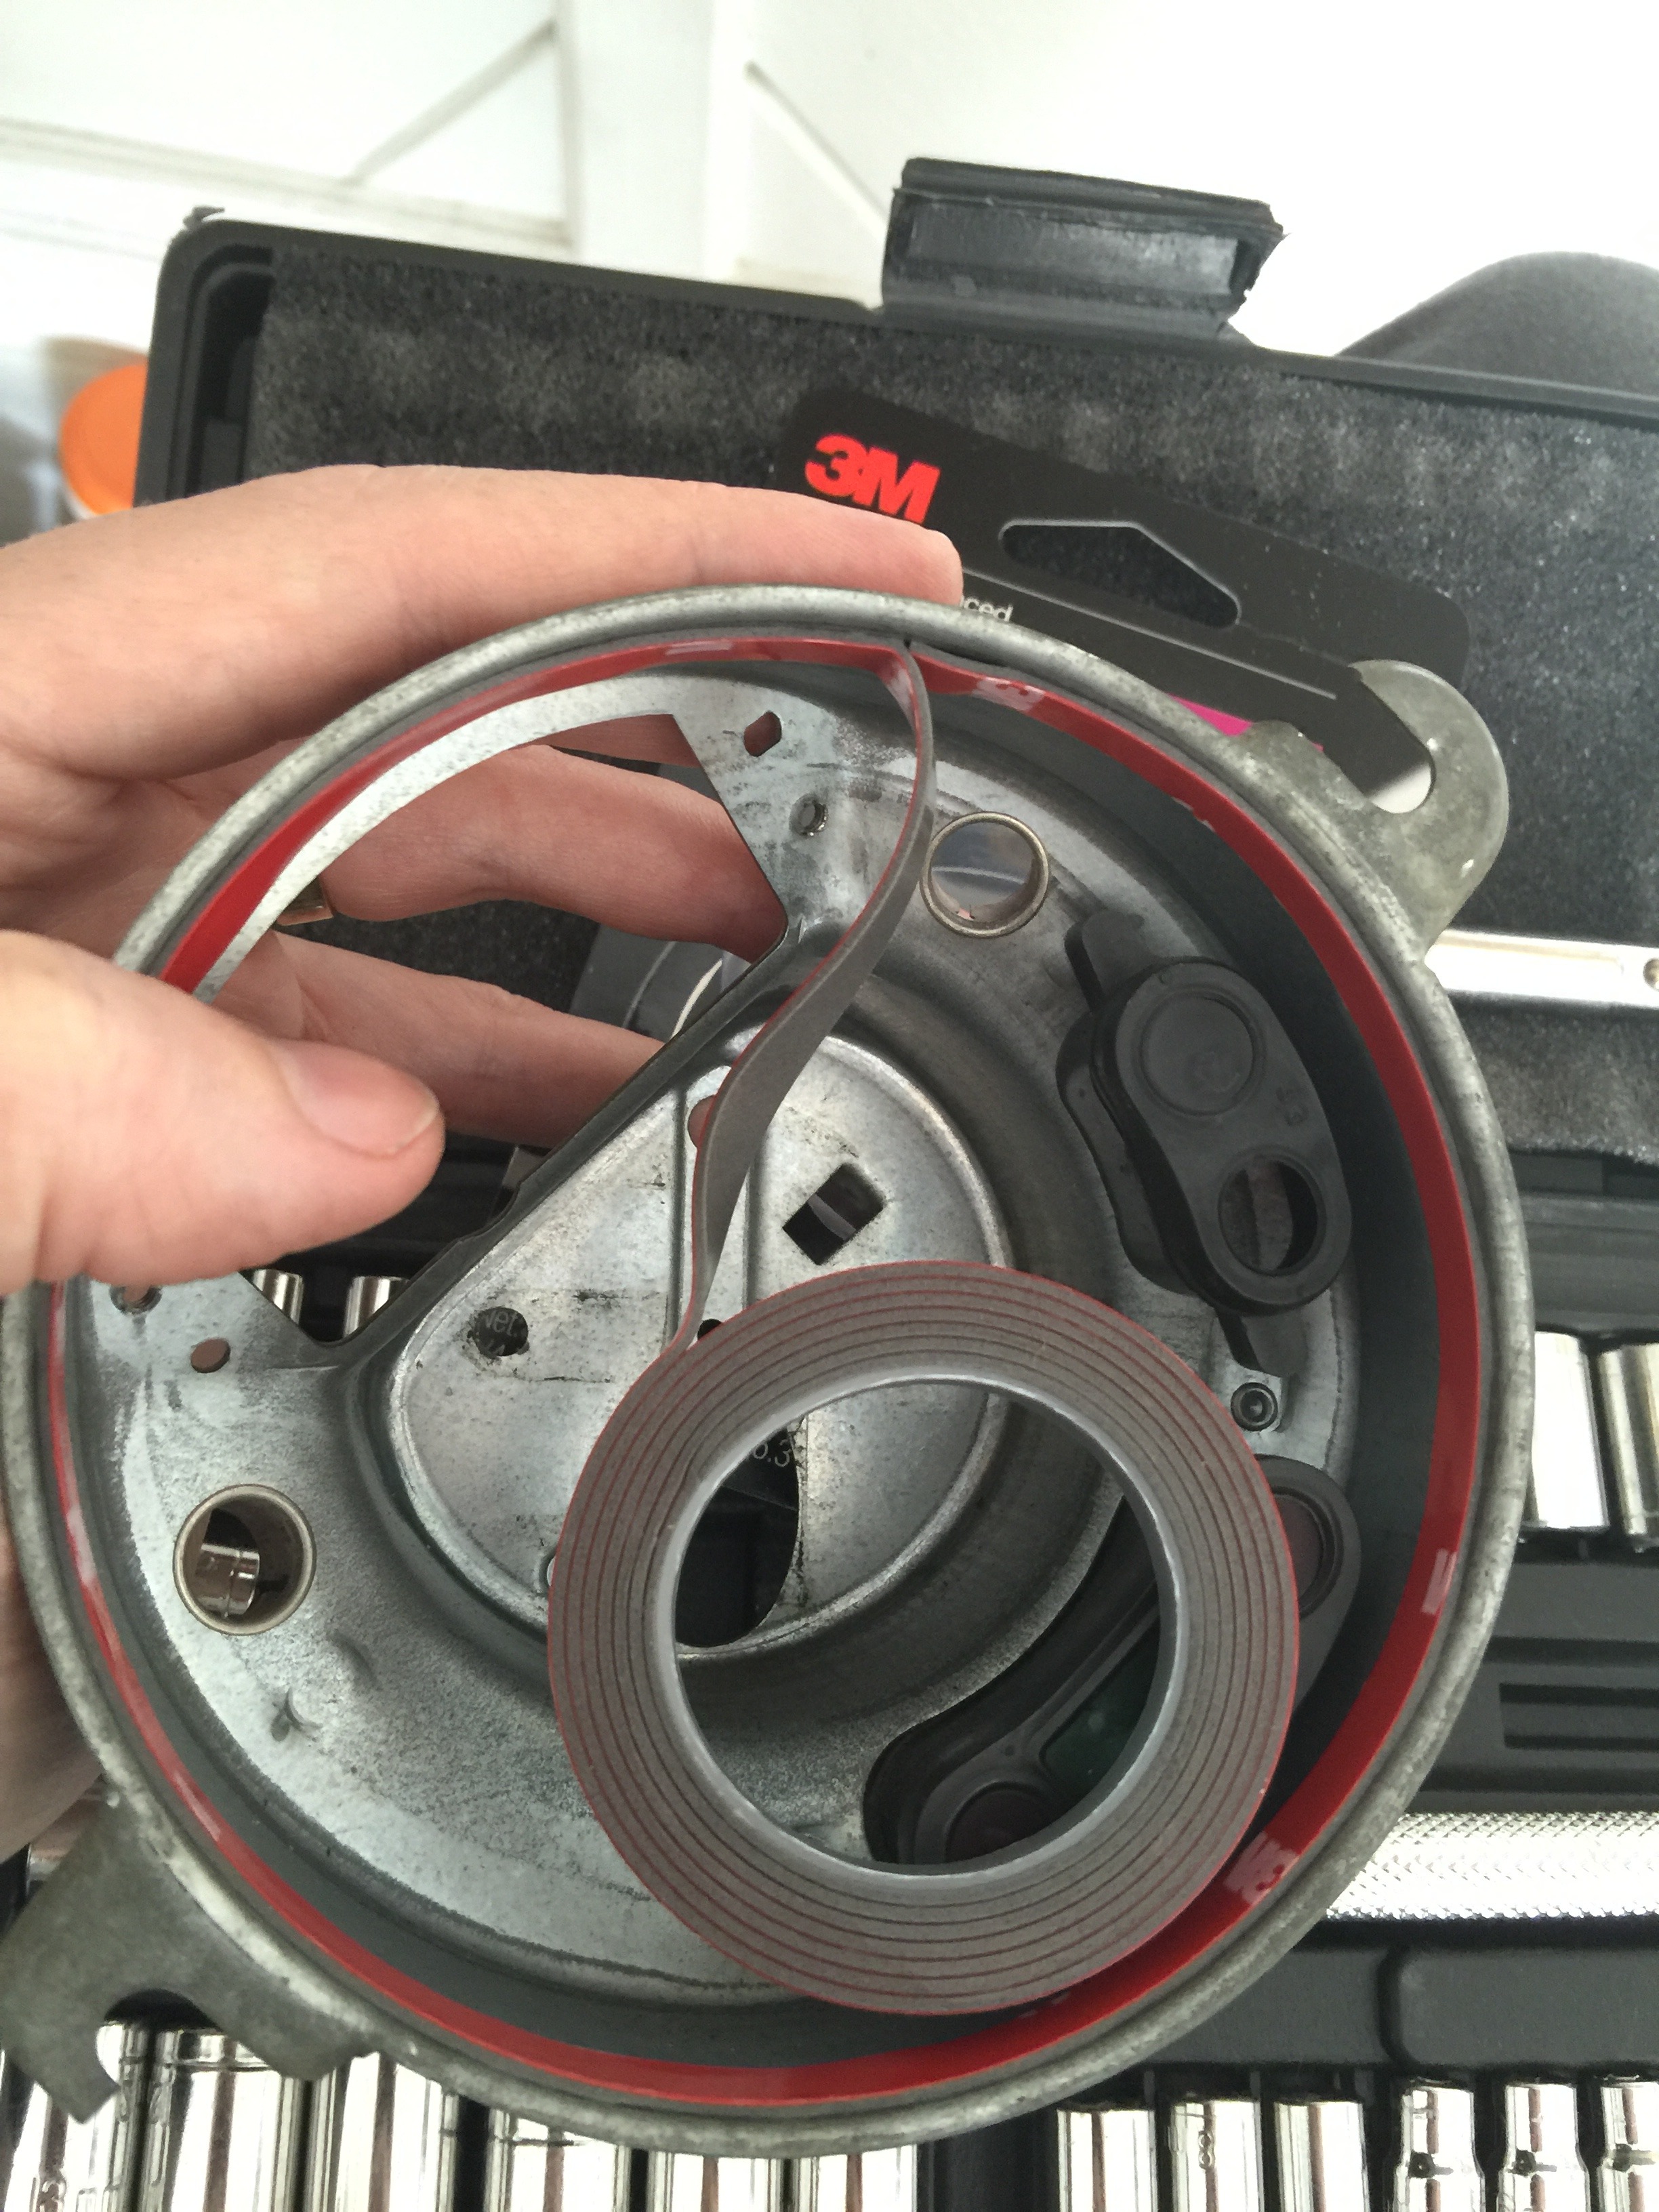
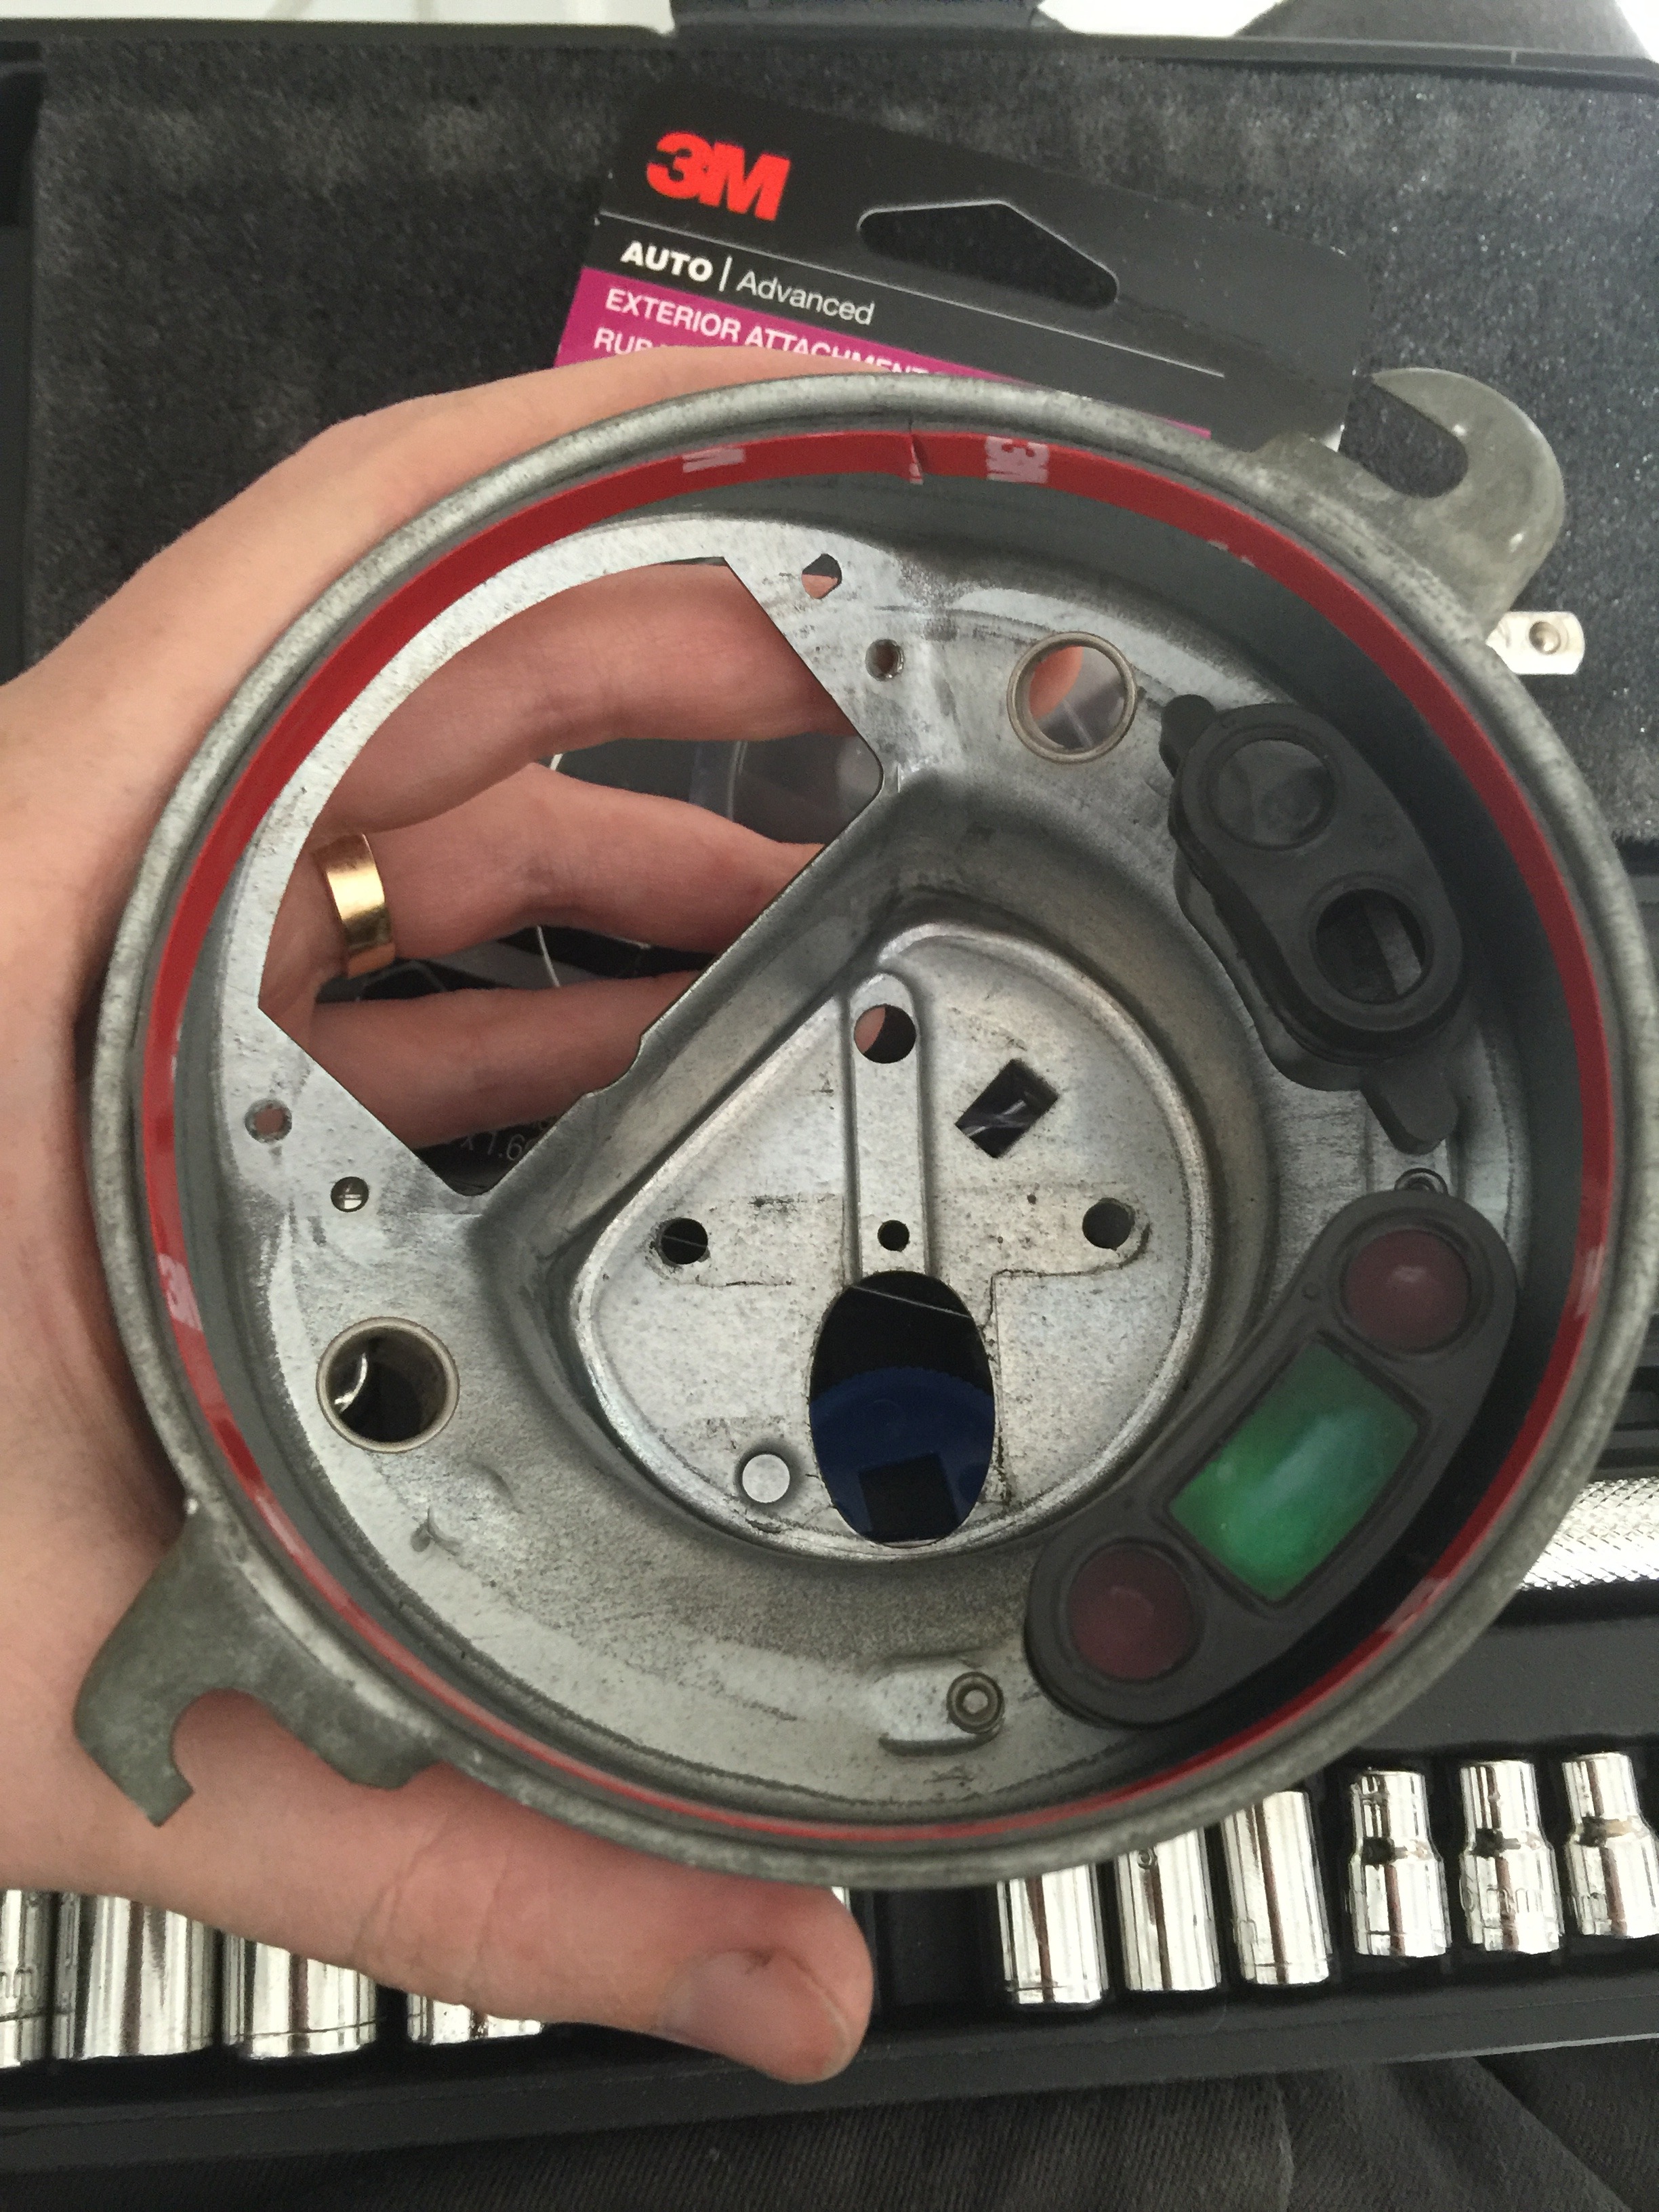
Inspect the interior wall of the gauge chassis - you want to clean off any dirt or residue to ensure the double sided tape sticks permanently.
Attach EL Ribbon
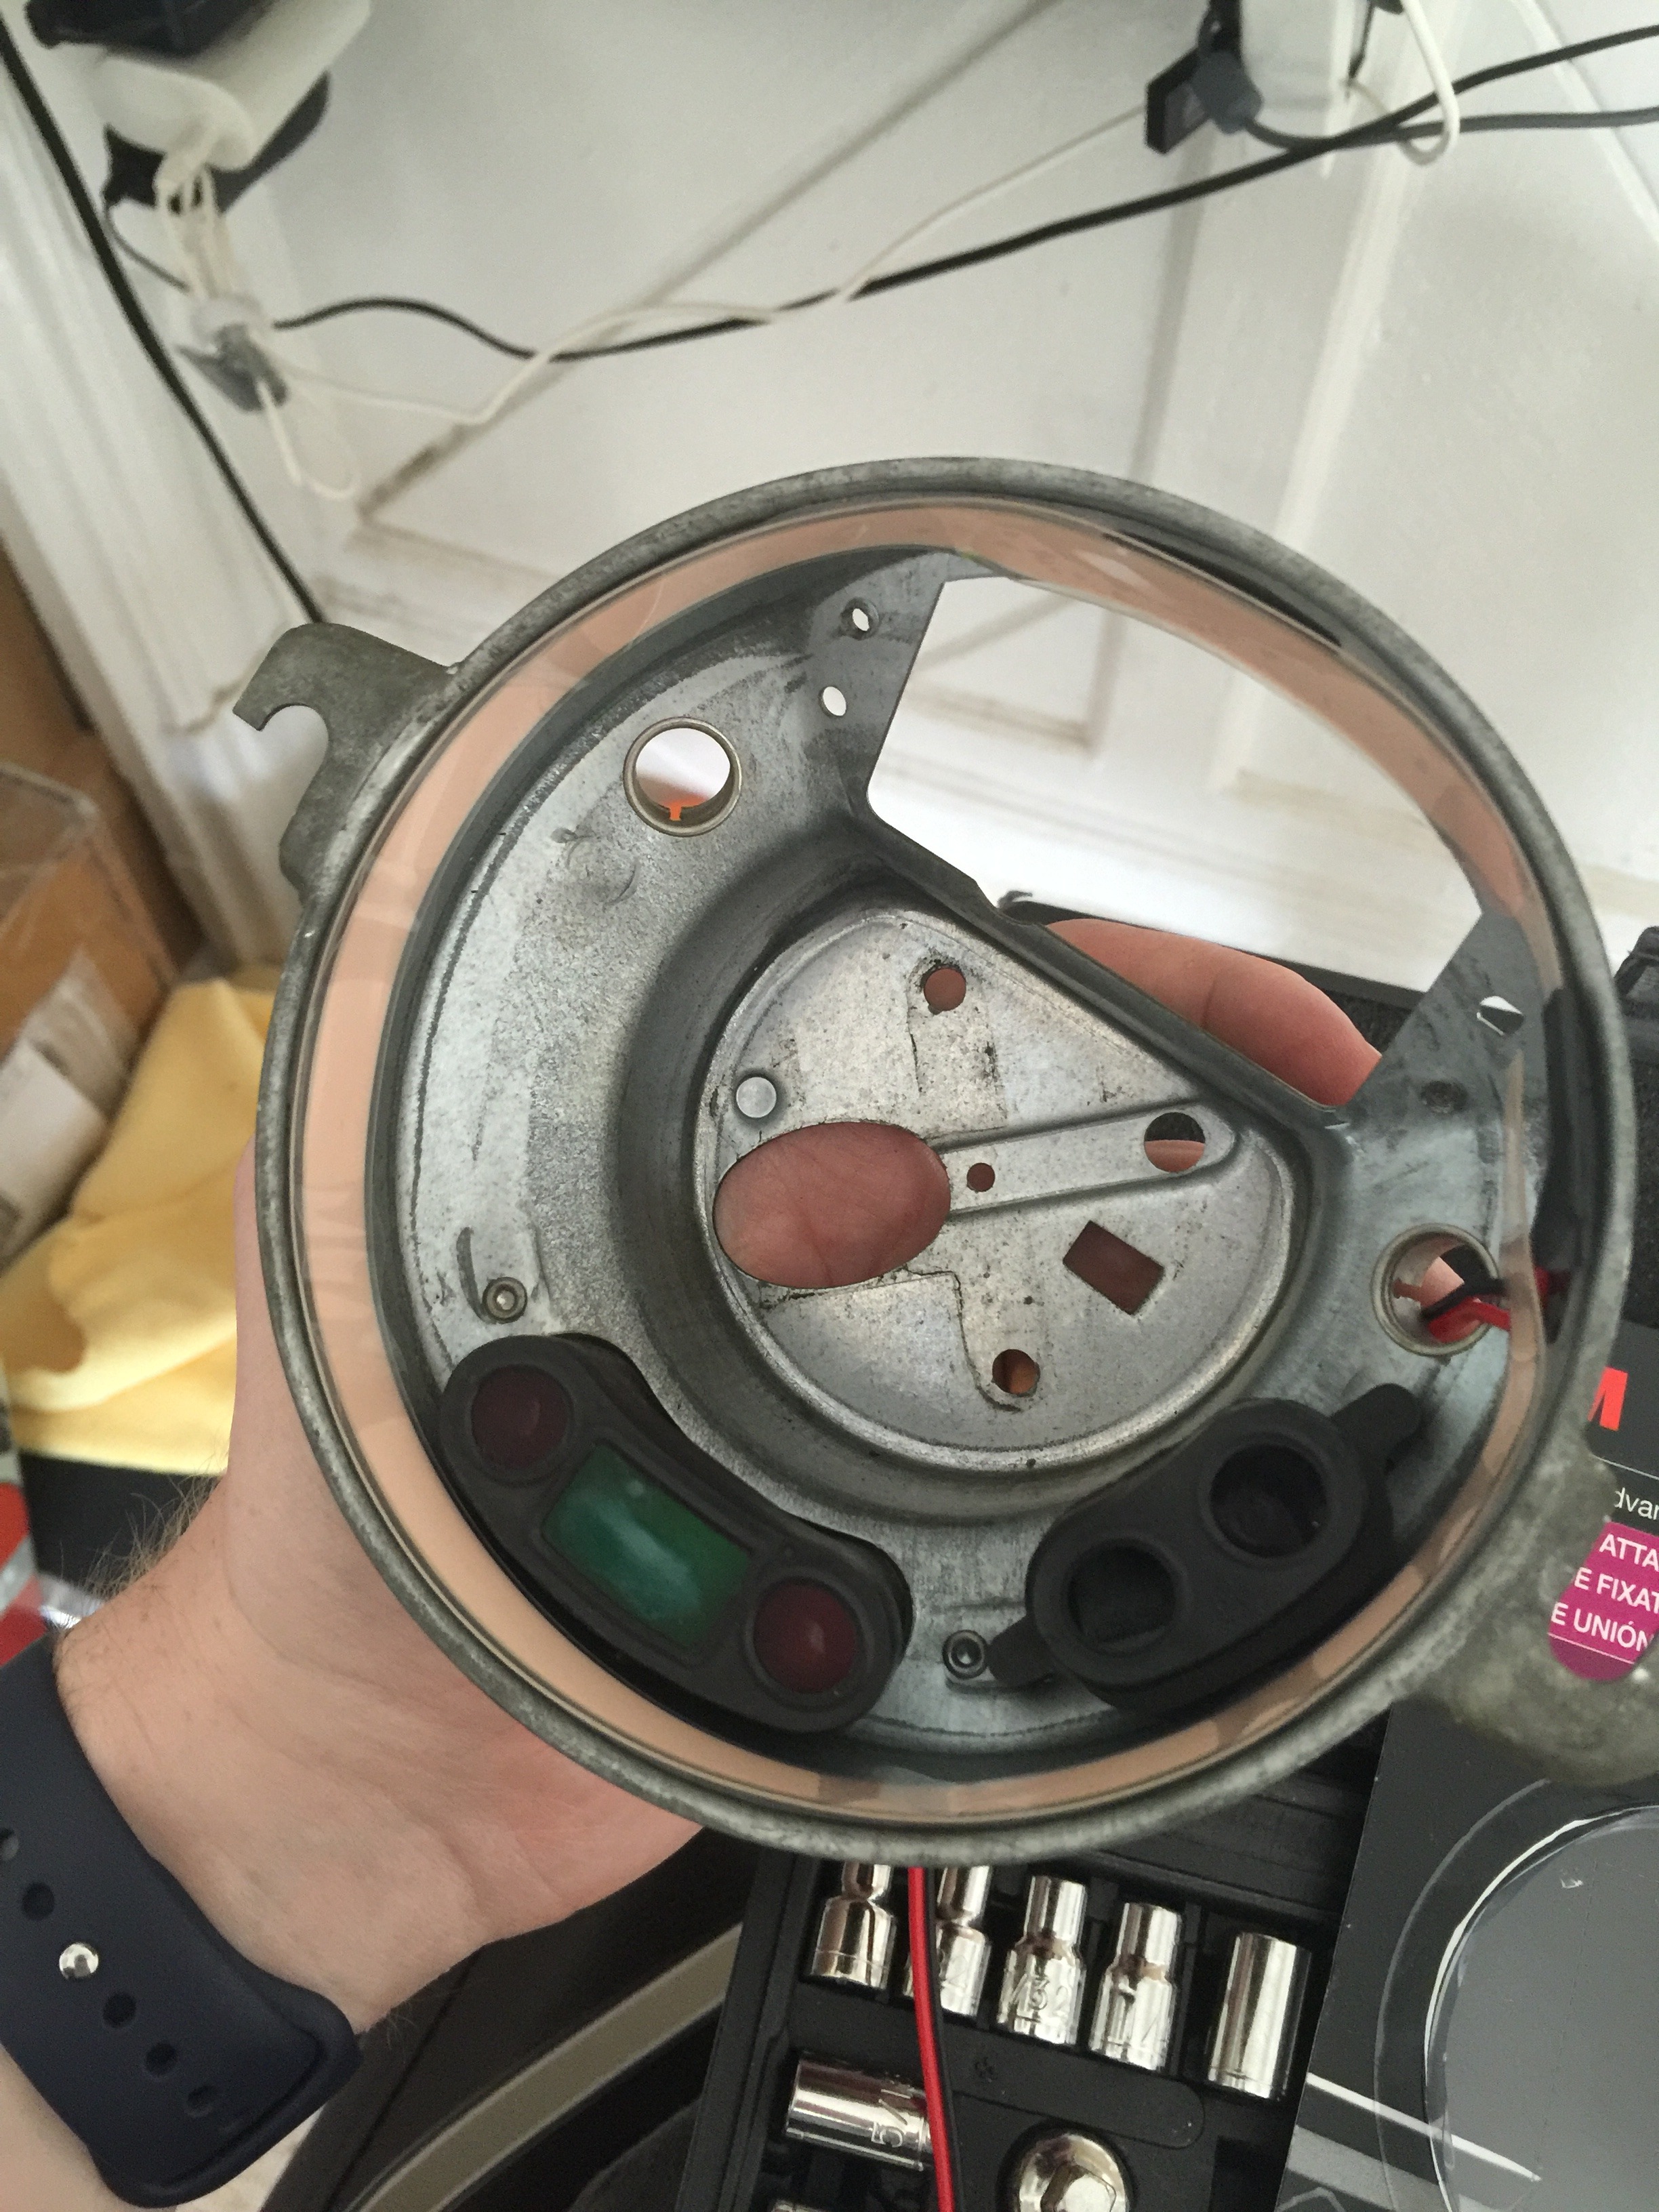
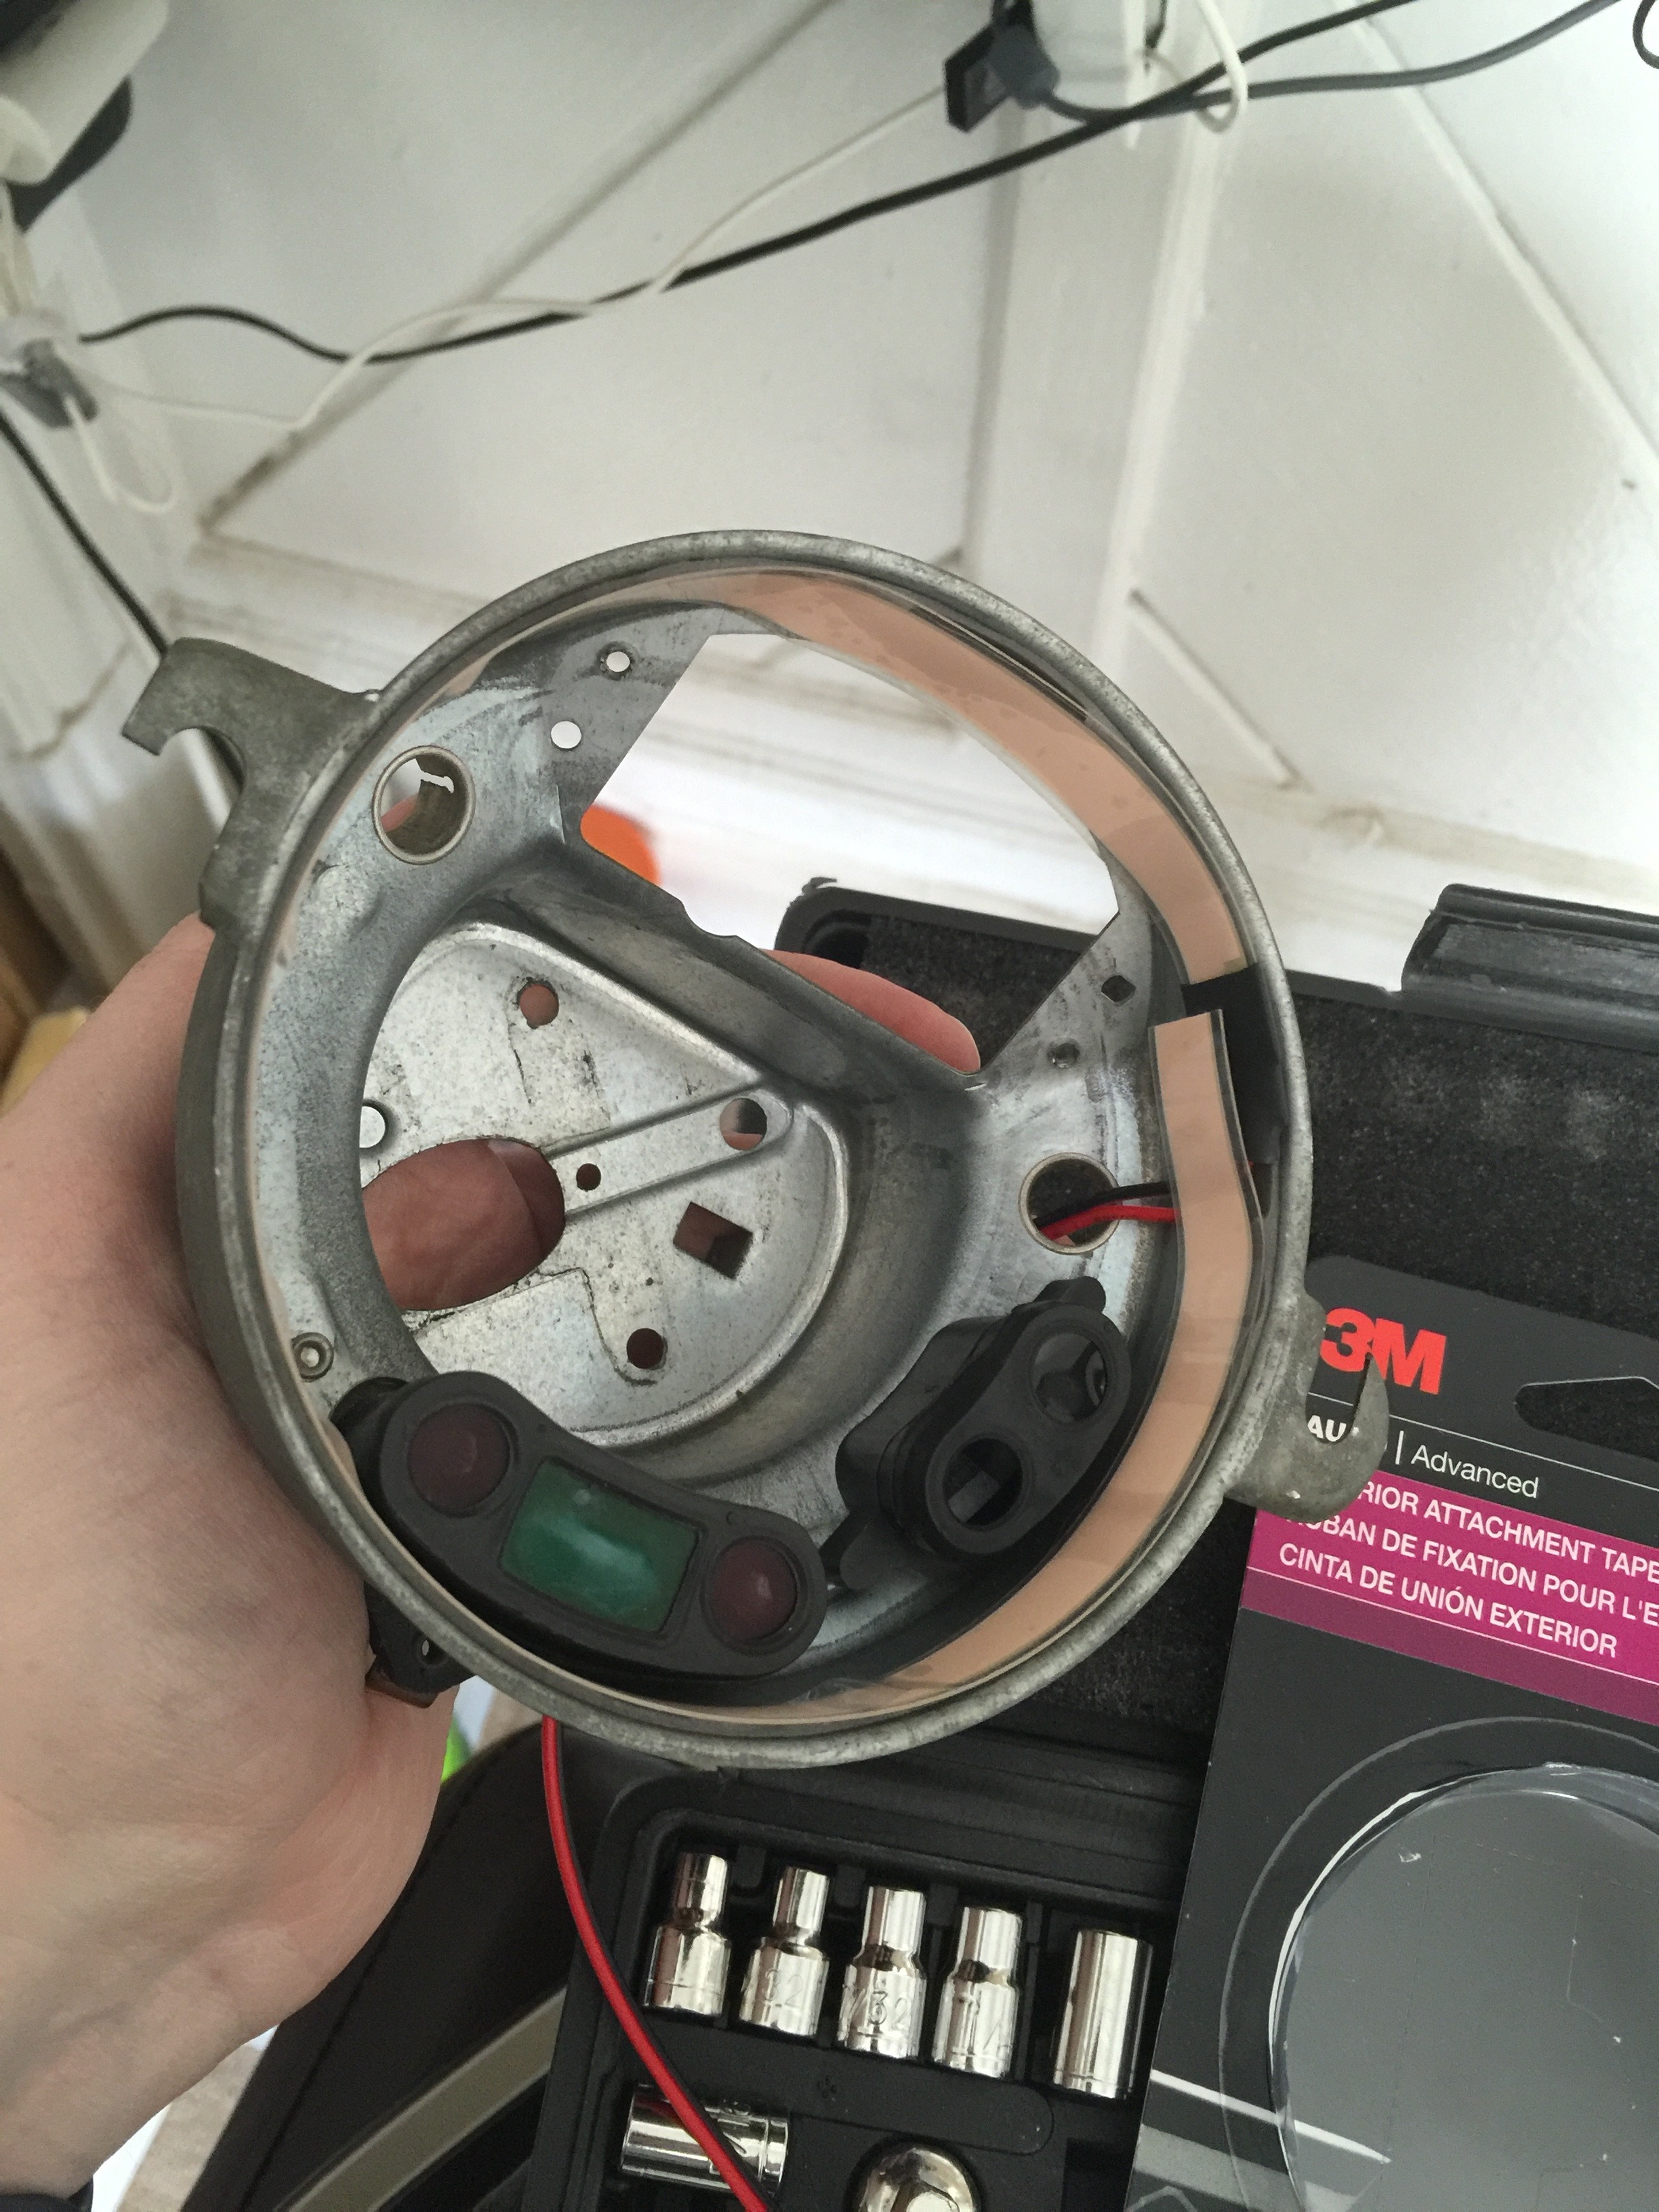
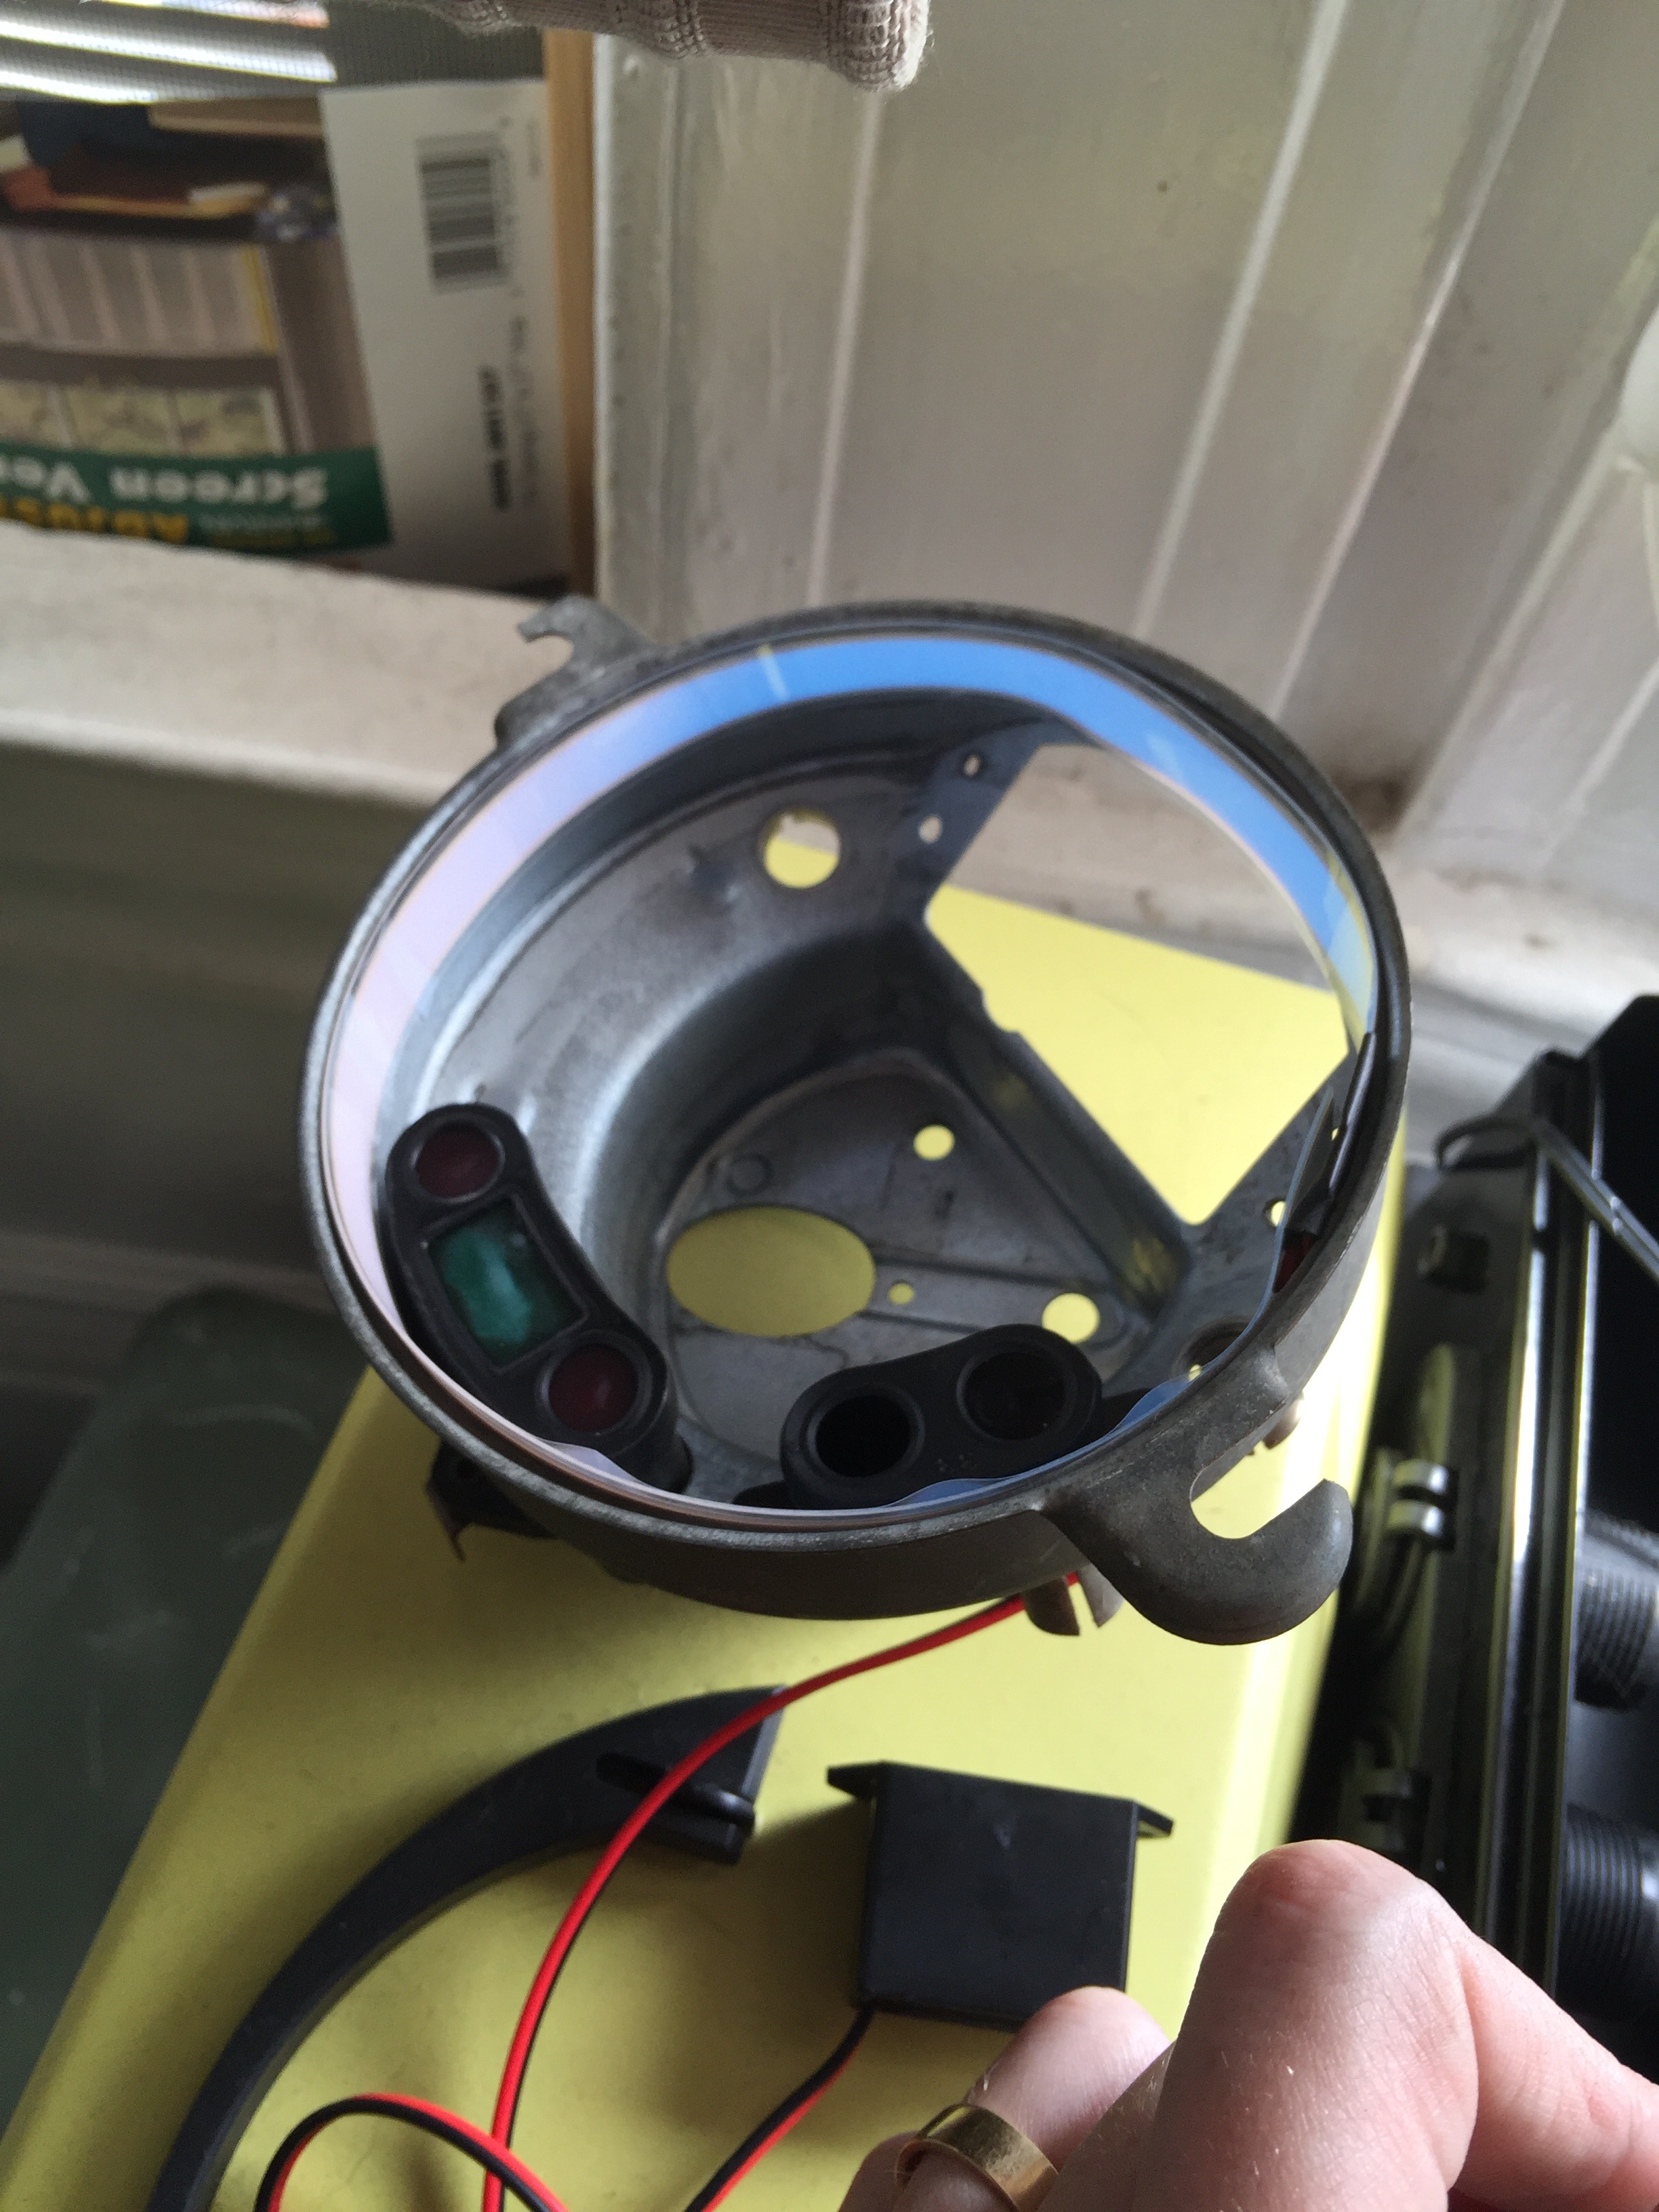
Slide the female end of your EL ribbon through a bulb hole - this bulb would previously light your gauge but you won't need that anymore will you, Mr. 2016?
Make sure the EL ribbon is securely affixed to your double sided tape. Provide additional ribbon to overlap the terminal (as seen at 3 o'clock in the image above).
Don't assemble your unit and congratulate yourself with a job well done yet. This thing could be messed up.
Reassemble Gauge
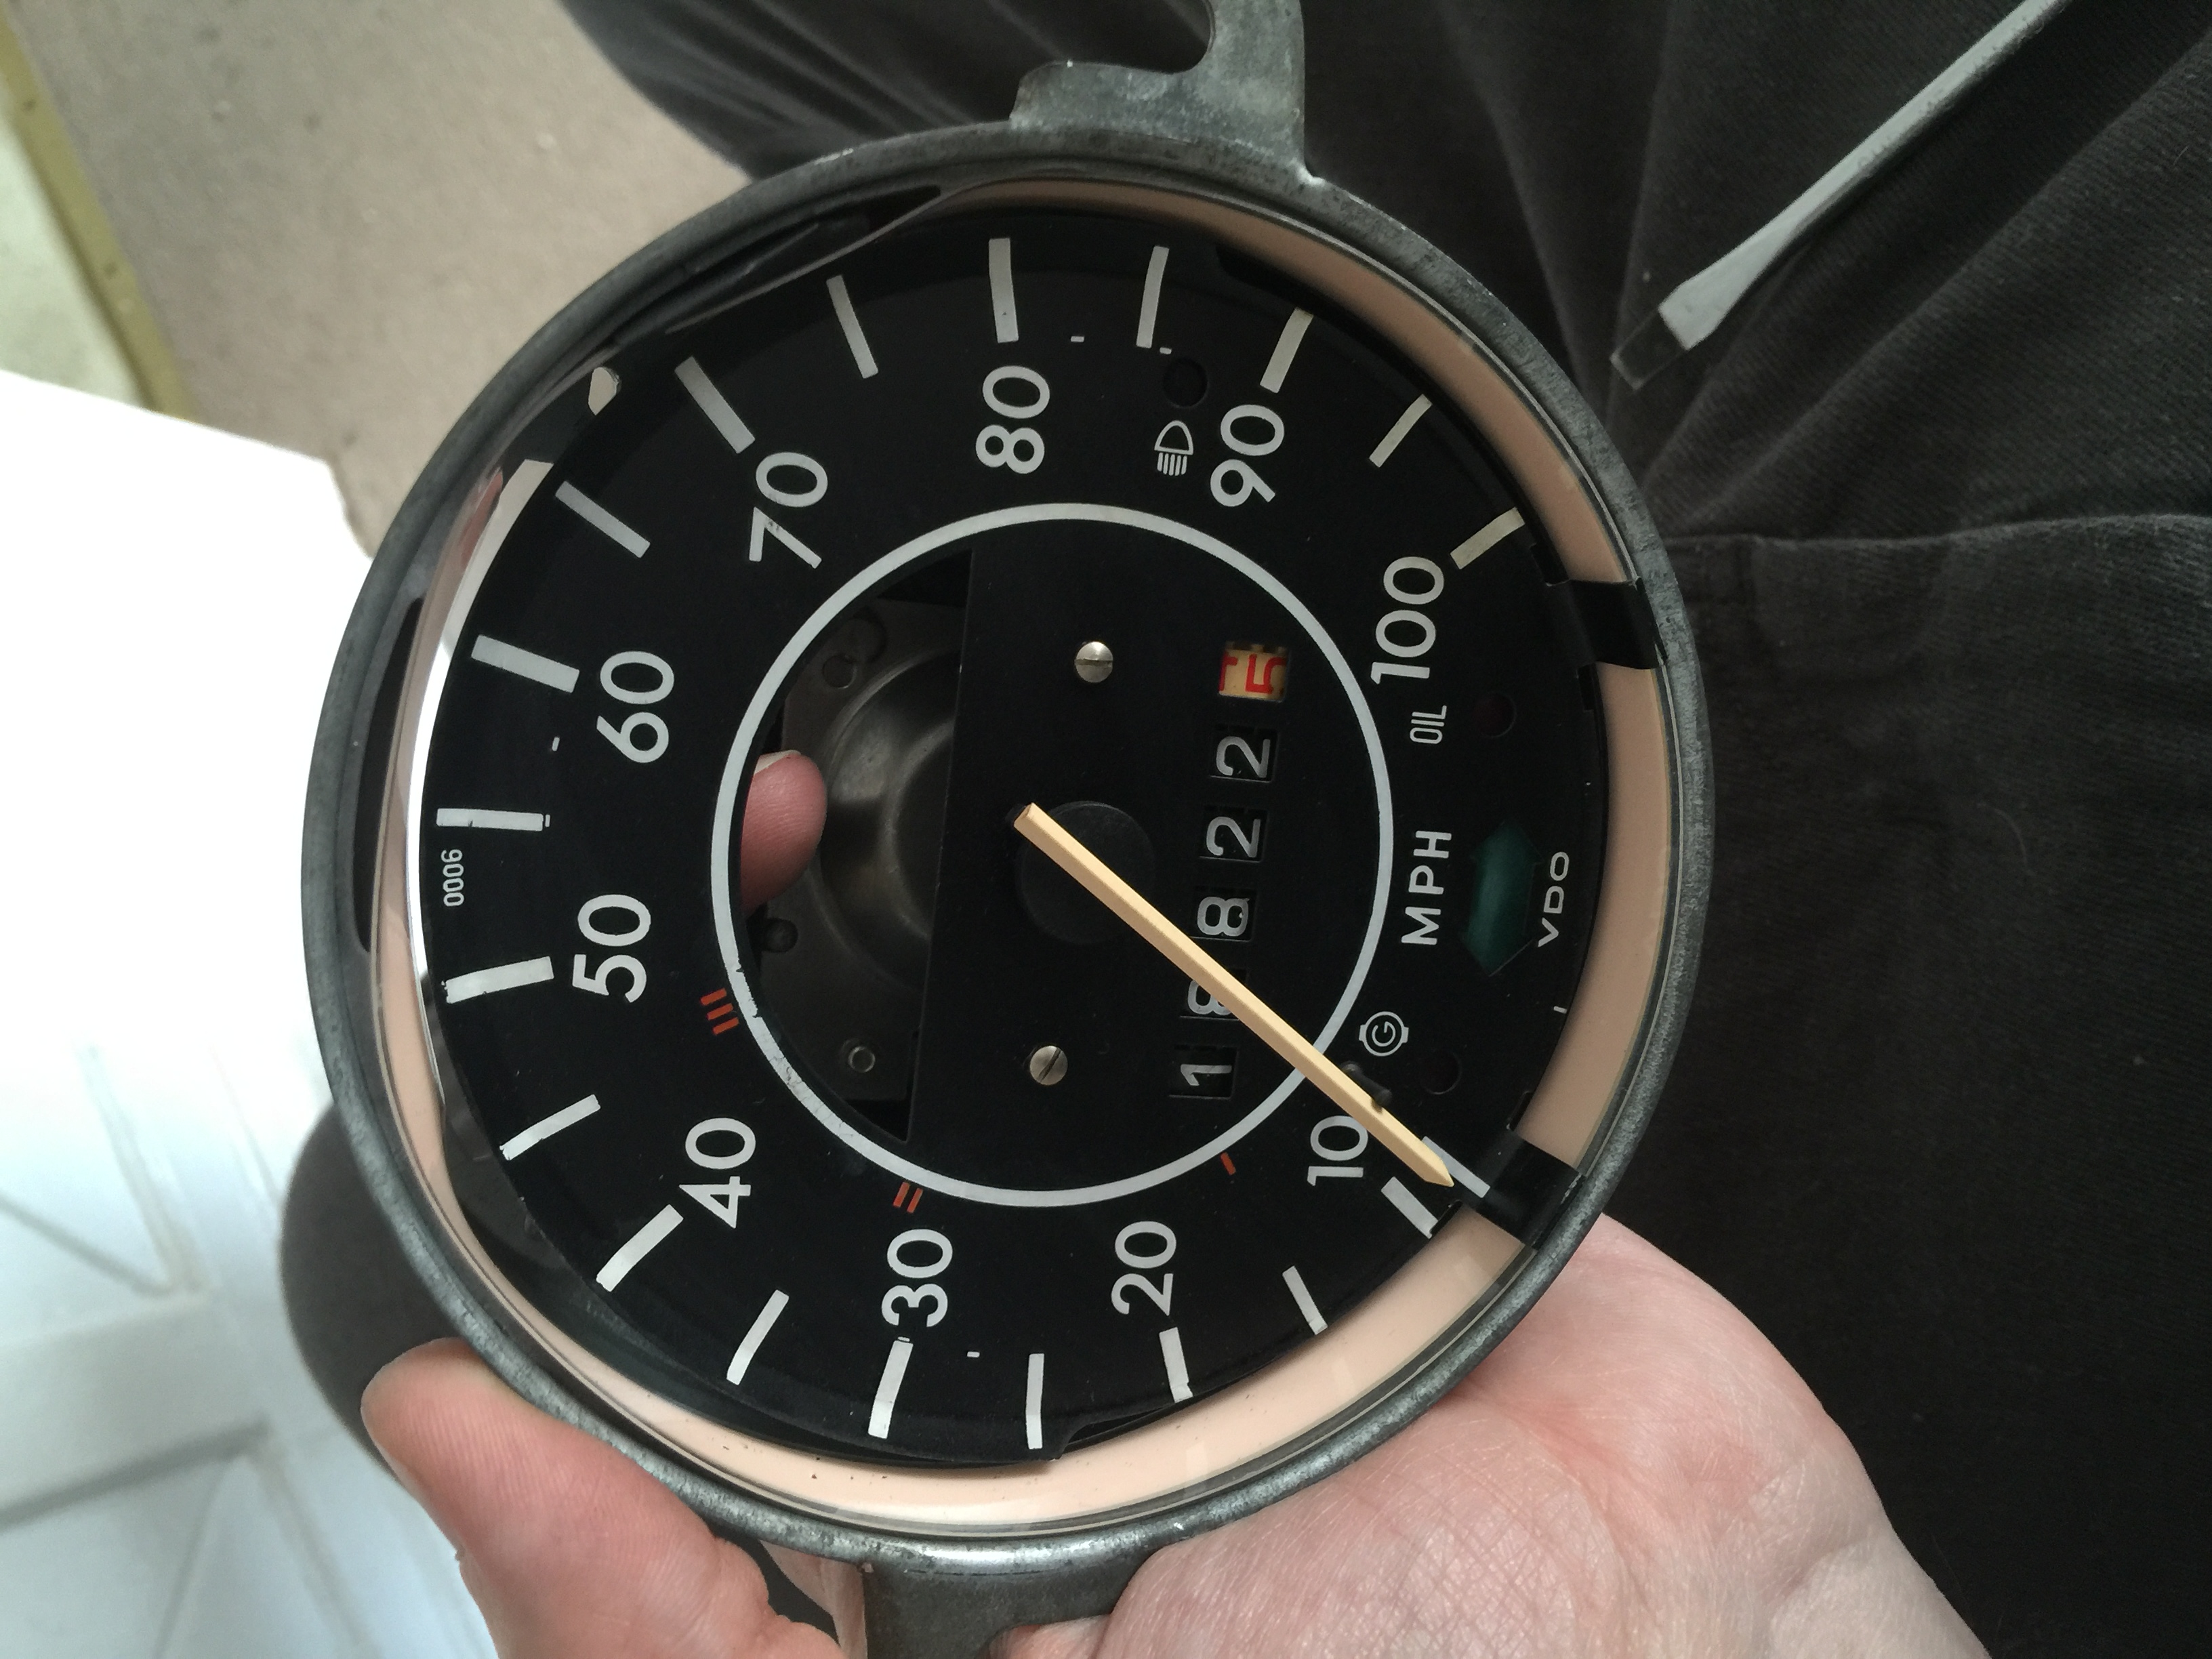
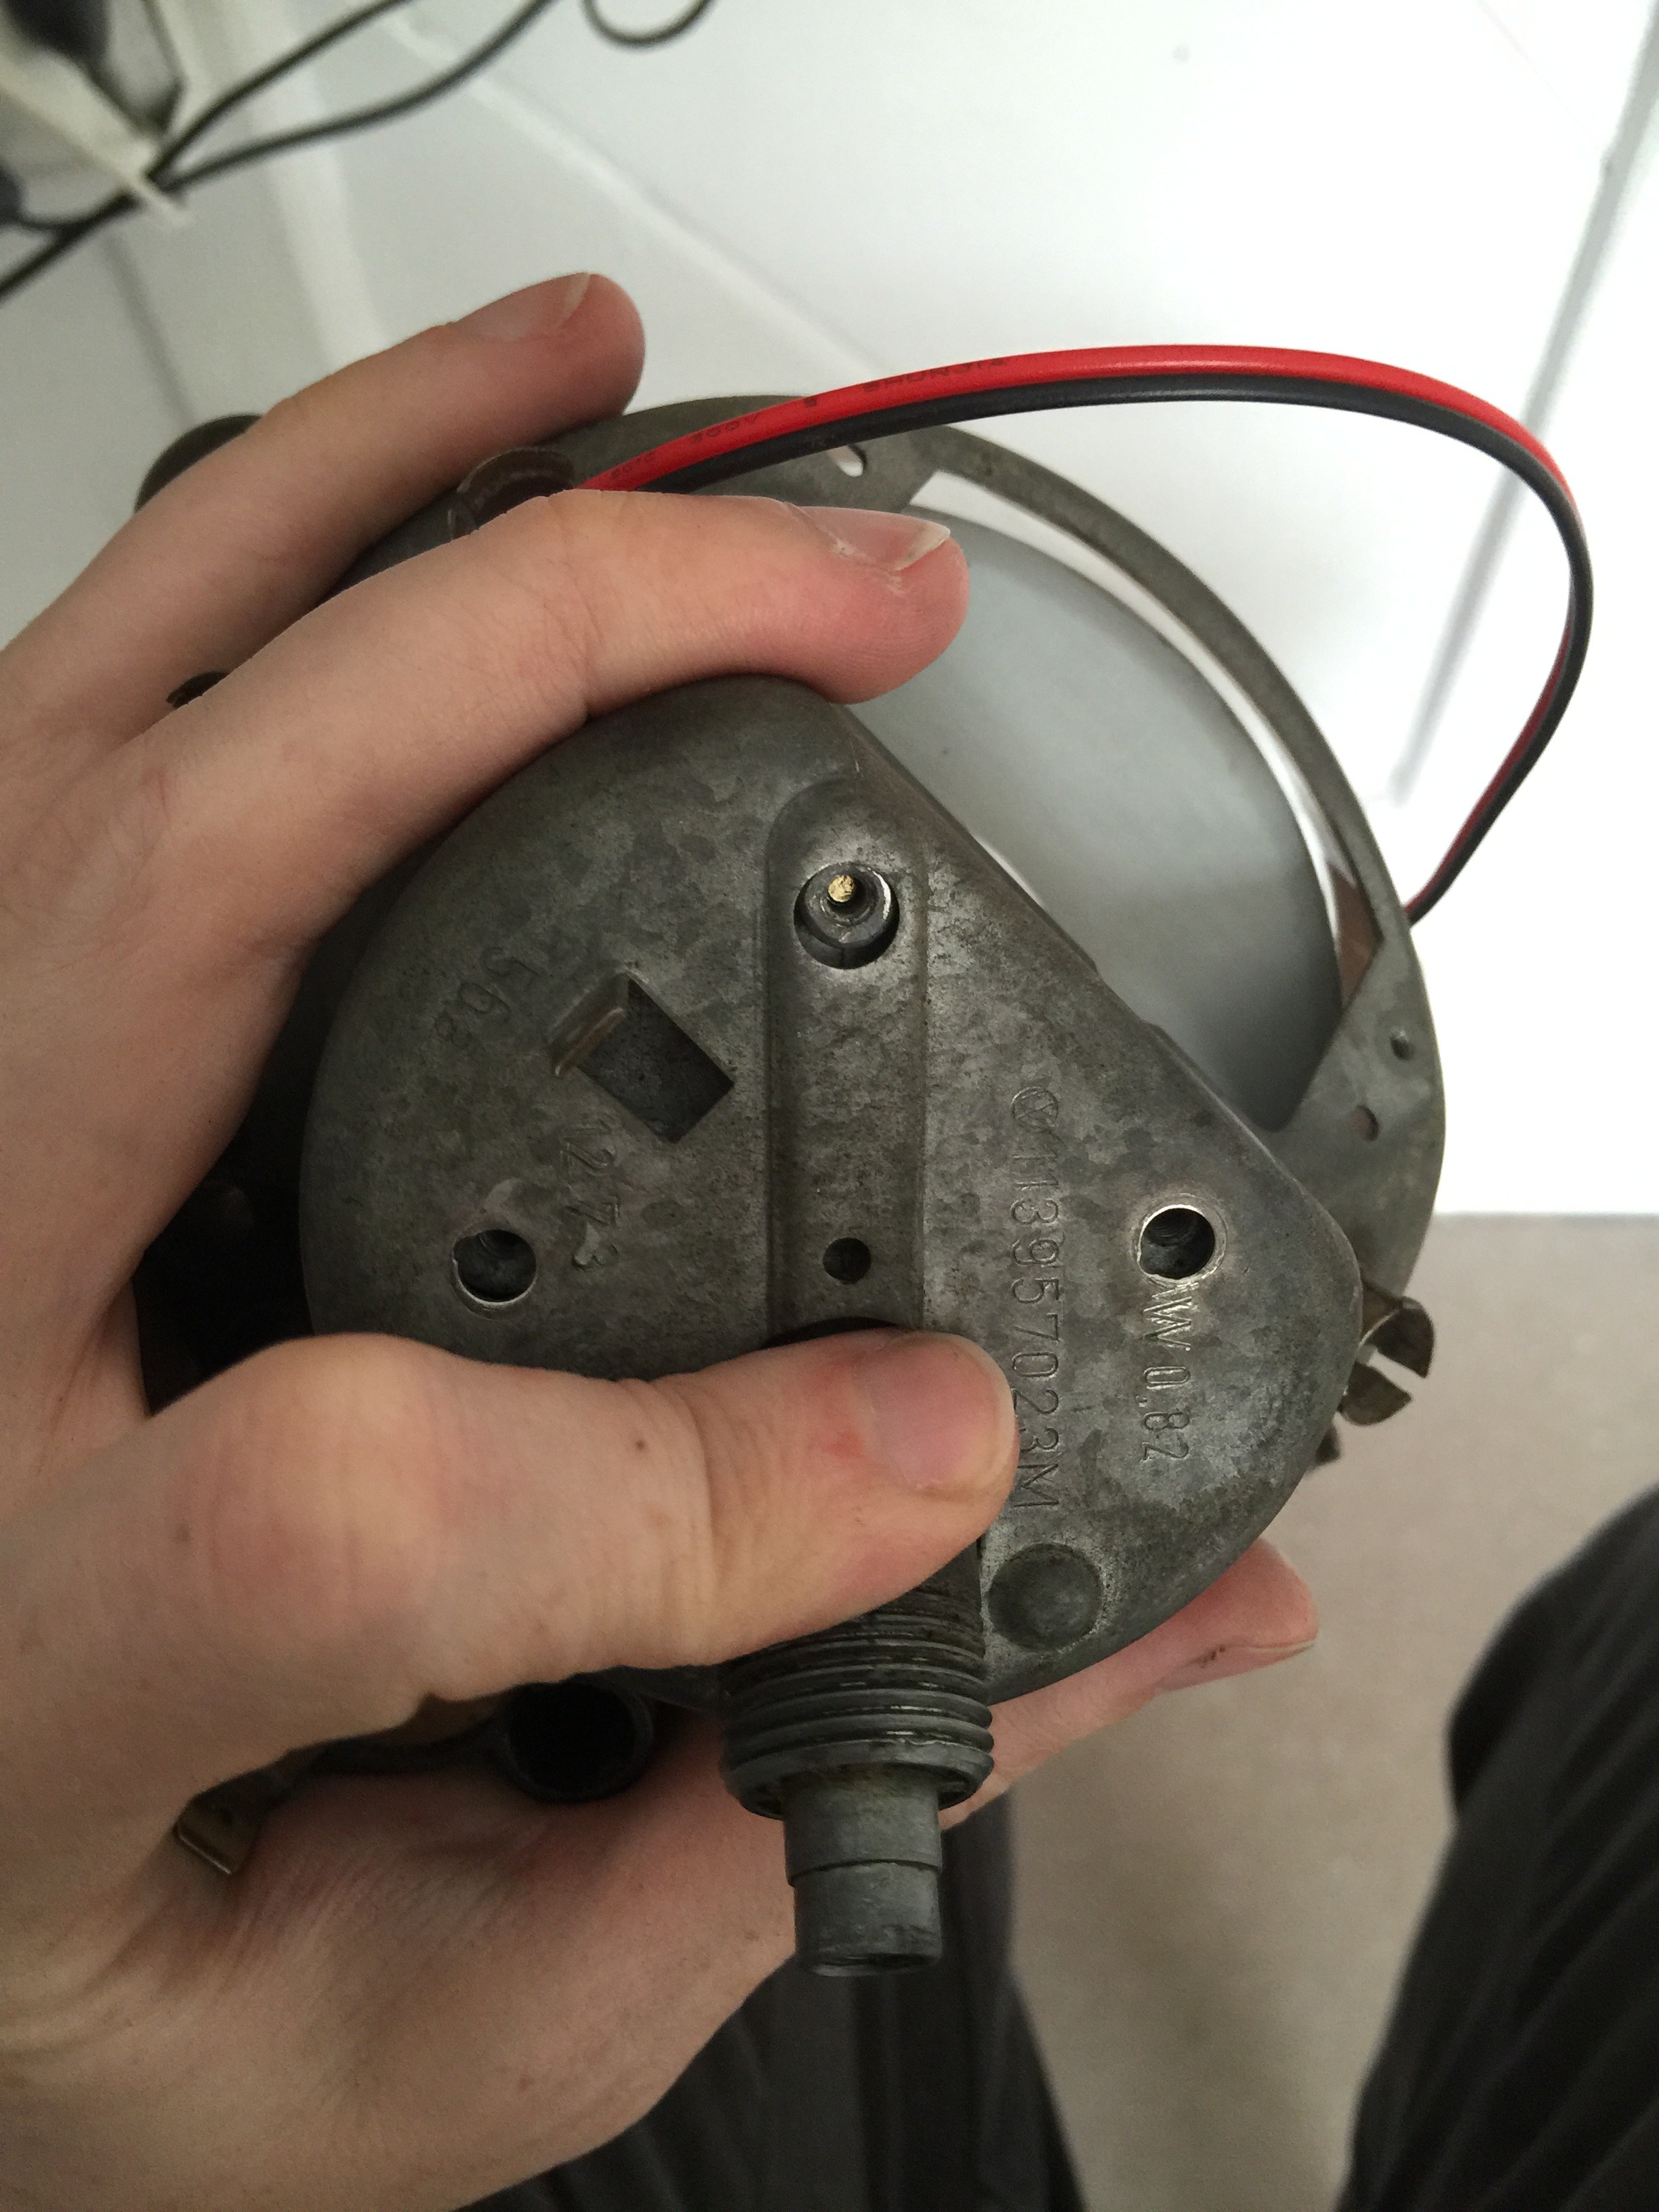
This is not entirely difficult but there are three sticking points (literally):
- First, the speedometer cable connector will have to arc into the slot in the gauge chassis.
- The edge of the odometer body will hit the upper edge of your turn signal light pipes. Gently rotate slightly and you will be able to pass this - if you turn the gauge body such that the (empty) fuel gauge slot is facing you then you will be able to see where it's sticking.
- This is guaranteed to get you. Refer to the image below. You will see a small standoff where the voltage regulator attaches to the gauge chassis.
There's probably some graceful trick to this one, but I don't know it.
Thread your two large screws through the gauge chassis and into their threaded holes in the speedometer assembly. You should be able to begin tightening these - first tighten the 3 o'clock screw such that it doesn't spin freely. Then the 9 o'clock screw with the same pressure.
Return to the 3 o'clock screw and tighten it such that the voltage regular stand off is firmly pressed against the gauge chassis. Return to the 9 o'clock screw and begin tightening - it should slip the voltage regulator stand off into the hole.
Once it has aligned correctly
- Hand tighten the two large screws
- Insert the fuel gauge and hand tighten the 2 small screws (careful, too tight and you will crack the plastic housing)
- Affix your voltage regulator and hand tighten the screw to the stand off from the image above.
- Use your brush wheel to clean up any excess tarnish / rust on the chrome face bezel (don't do this if it's black or you will be sad)
A Job Well Done
