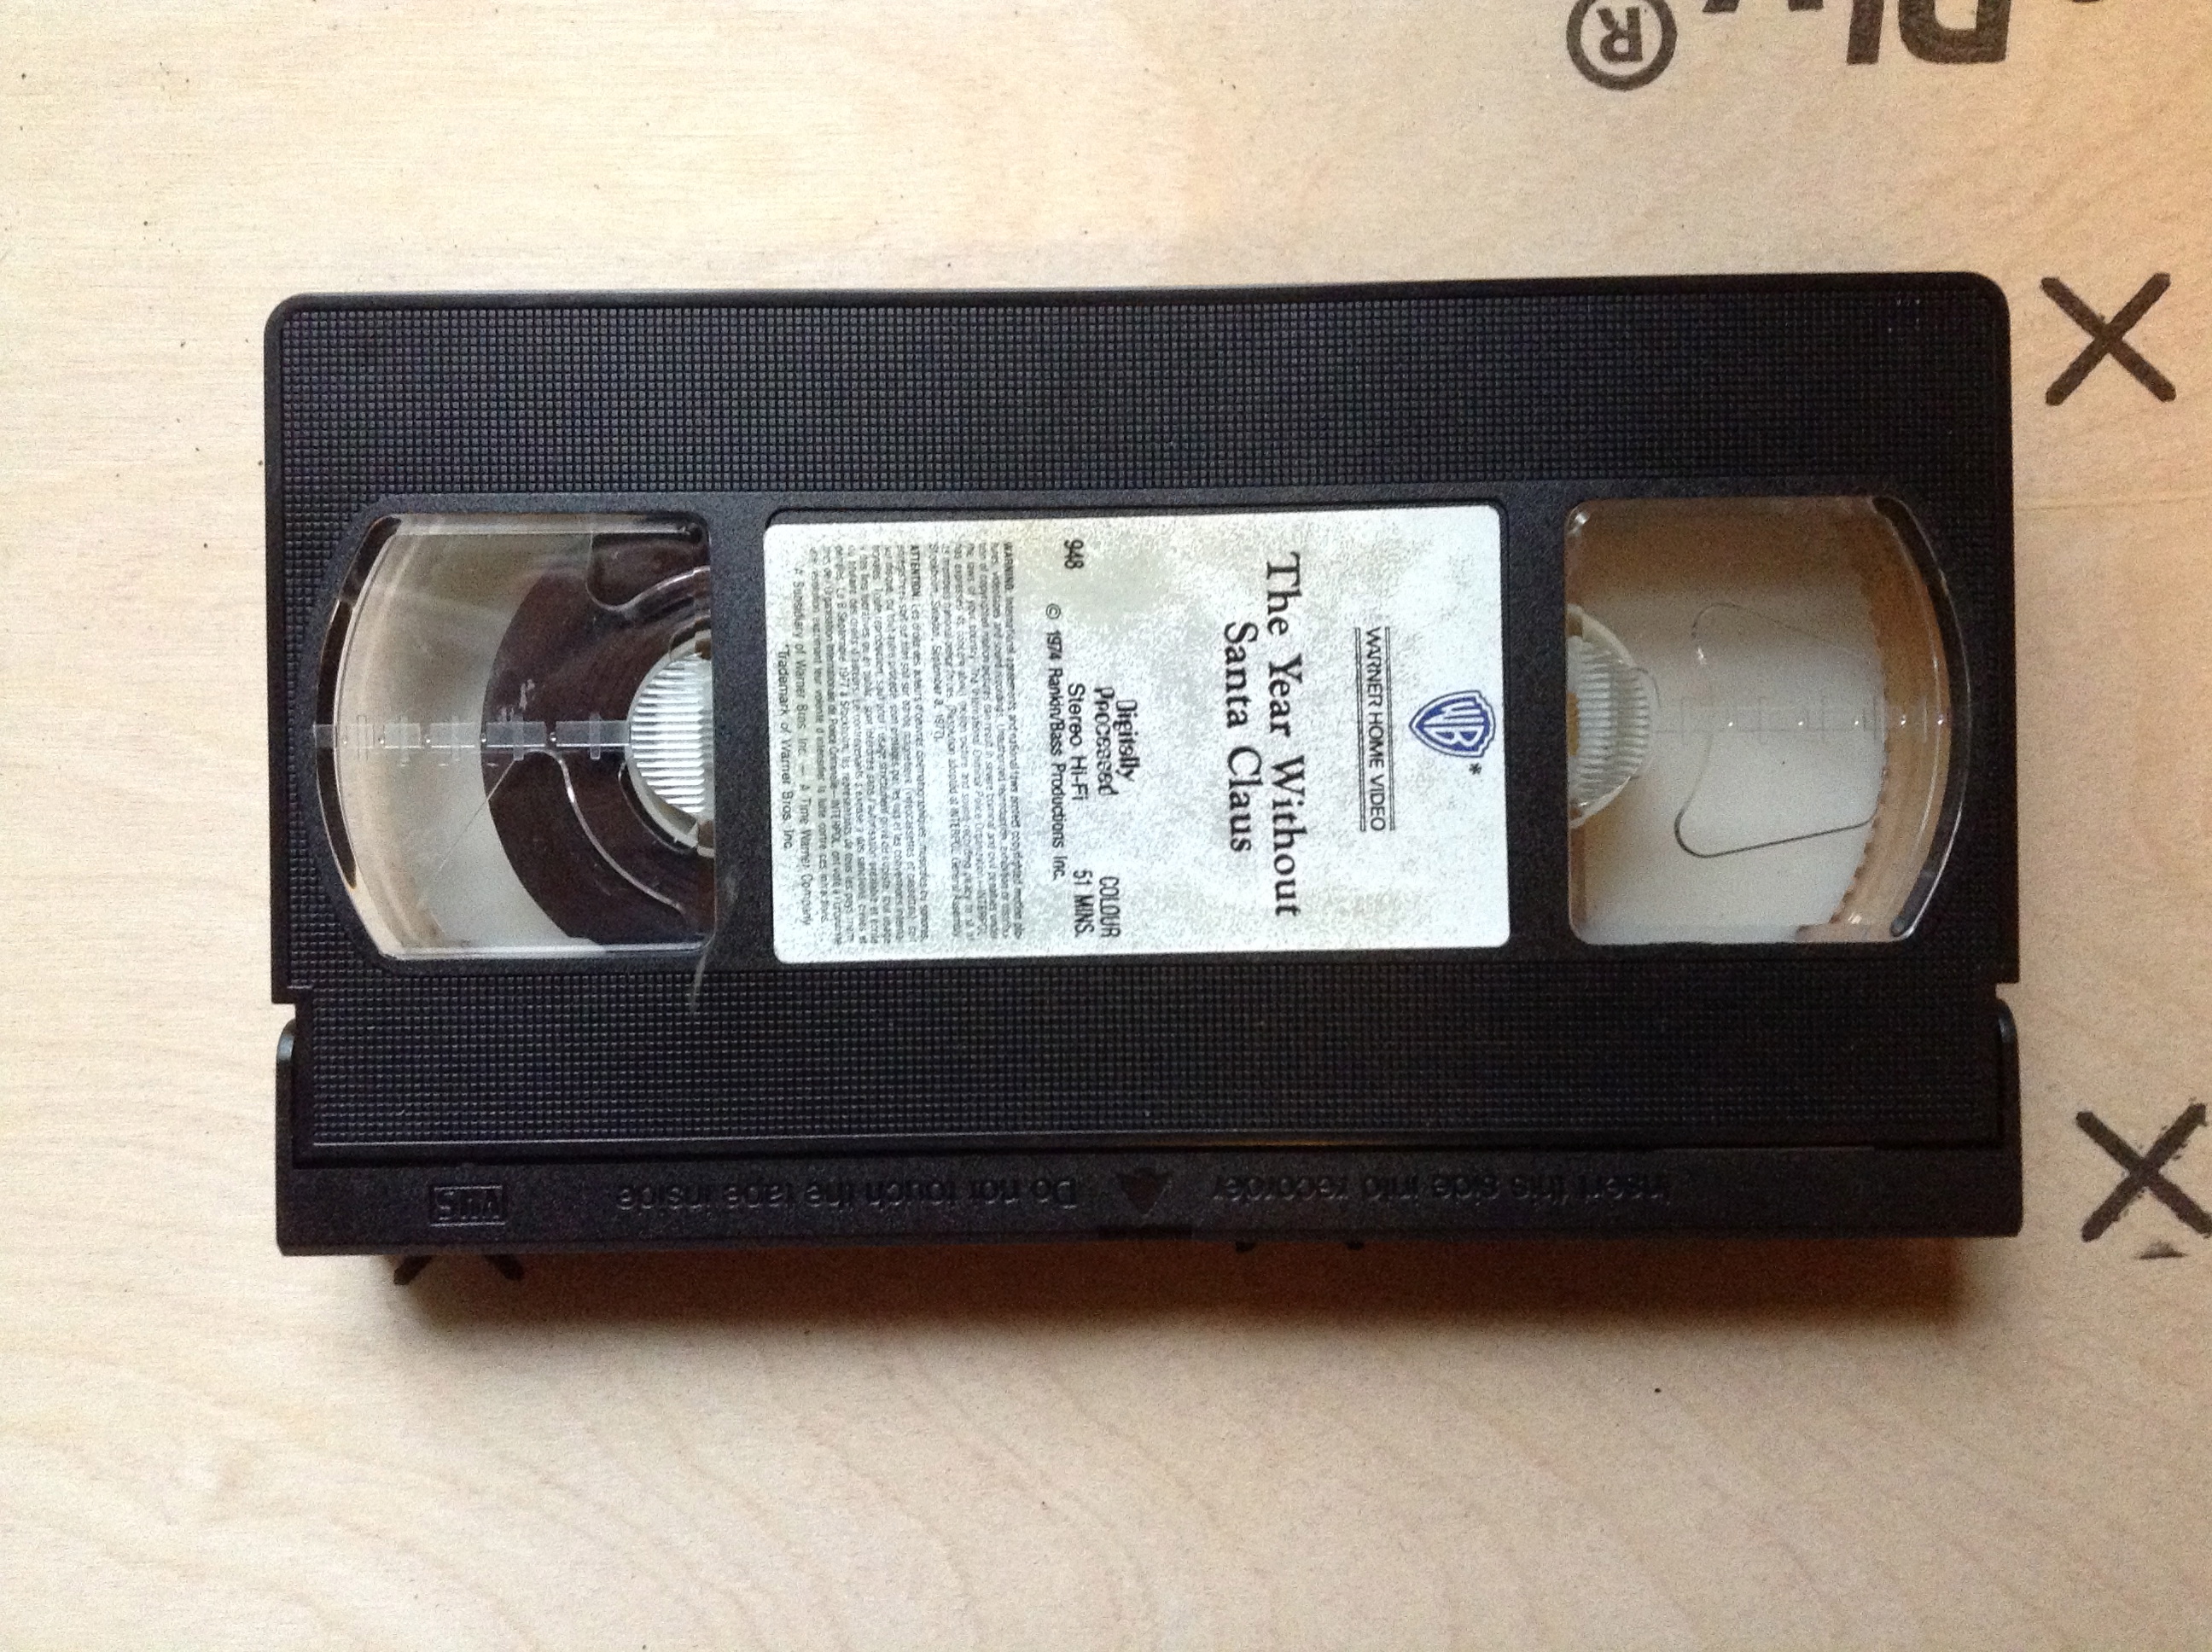
VHS Tape Secret Compartment
What's the best way to hide something you don't want found? In plain sight. If someone breaks into your room to locate the loot from a daring jewel-heist, or to recover a USB full of secret government documents chances are they will pay extra-close attention to your drawers, heating vents and baseboards. However, will they think to open up that dusty old VHS tape lying on your desk? Probably not.
What You Need:
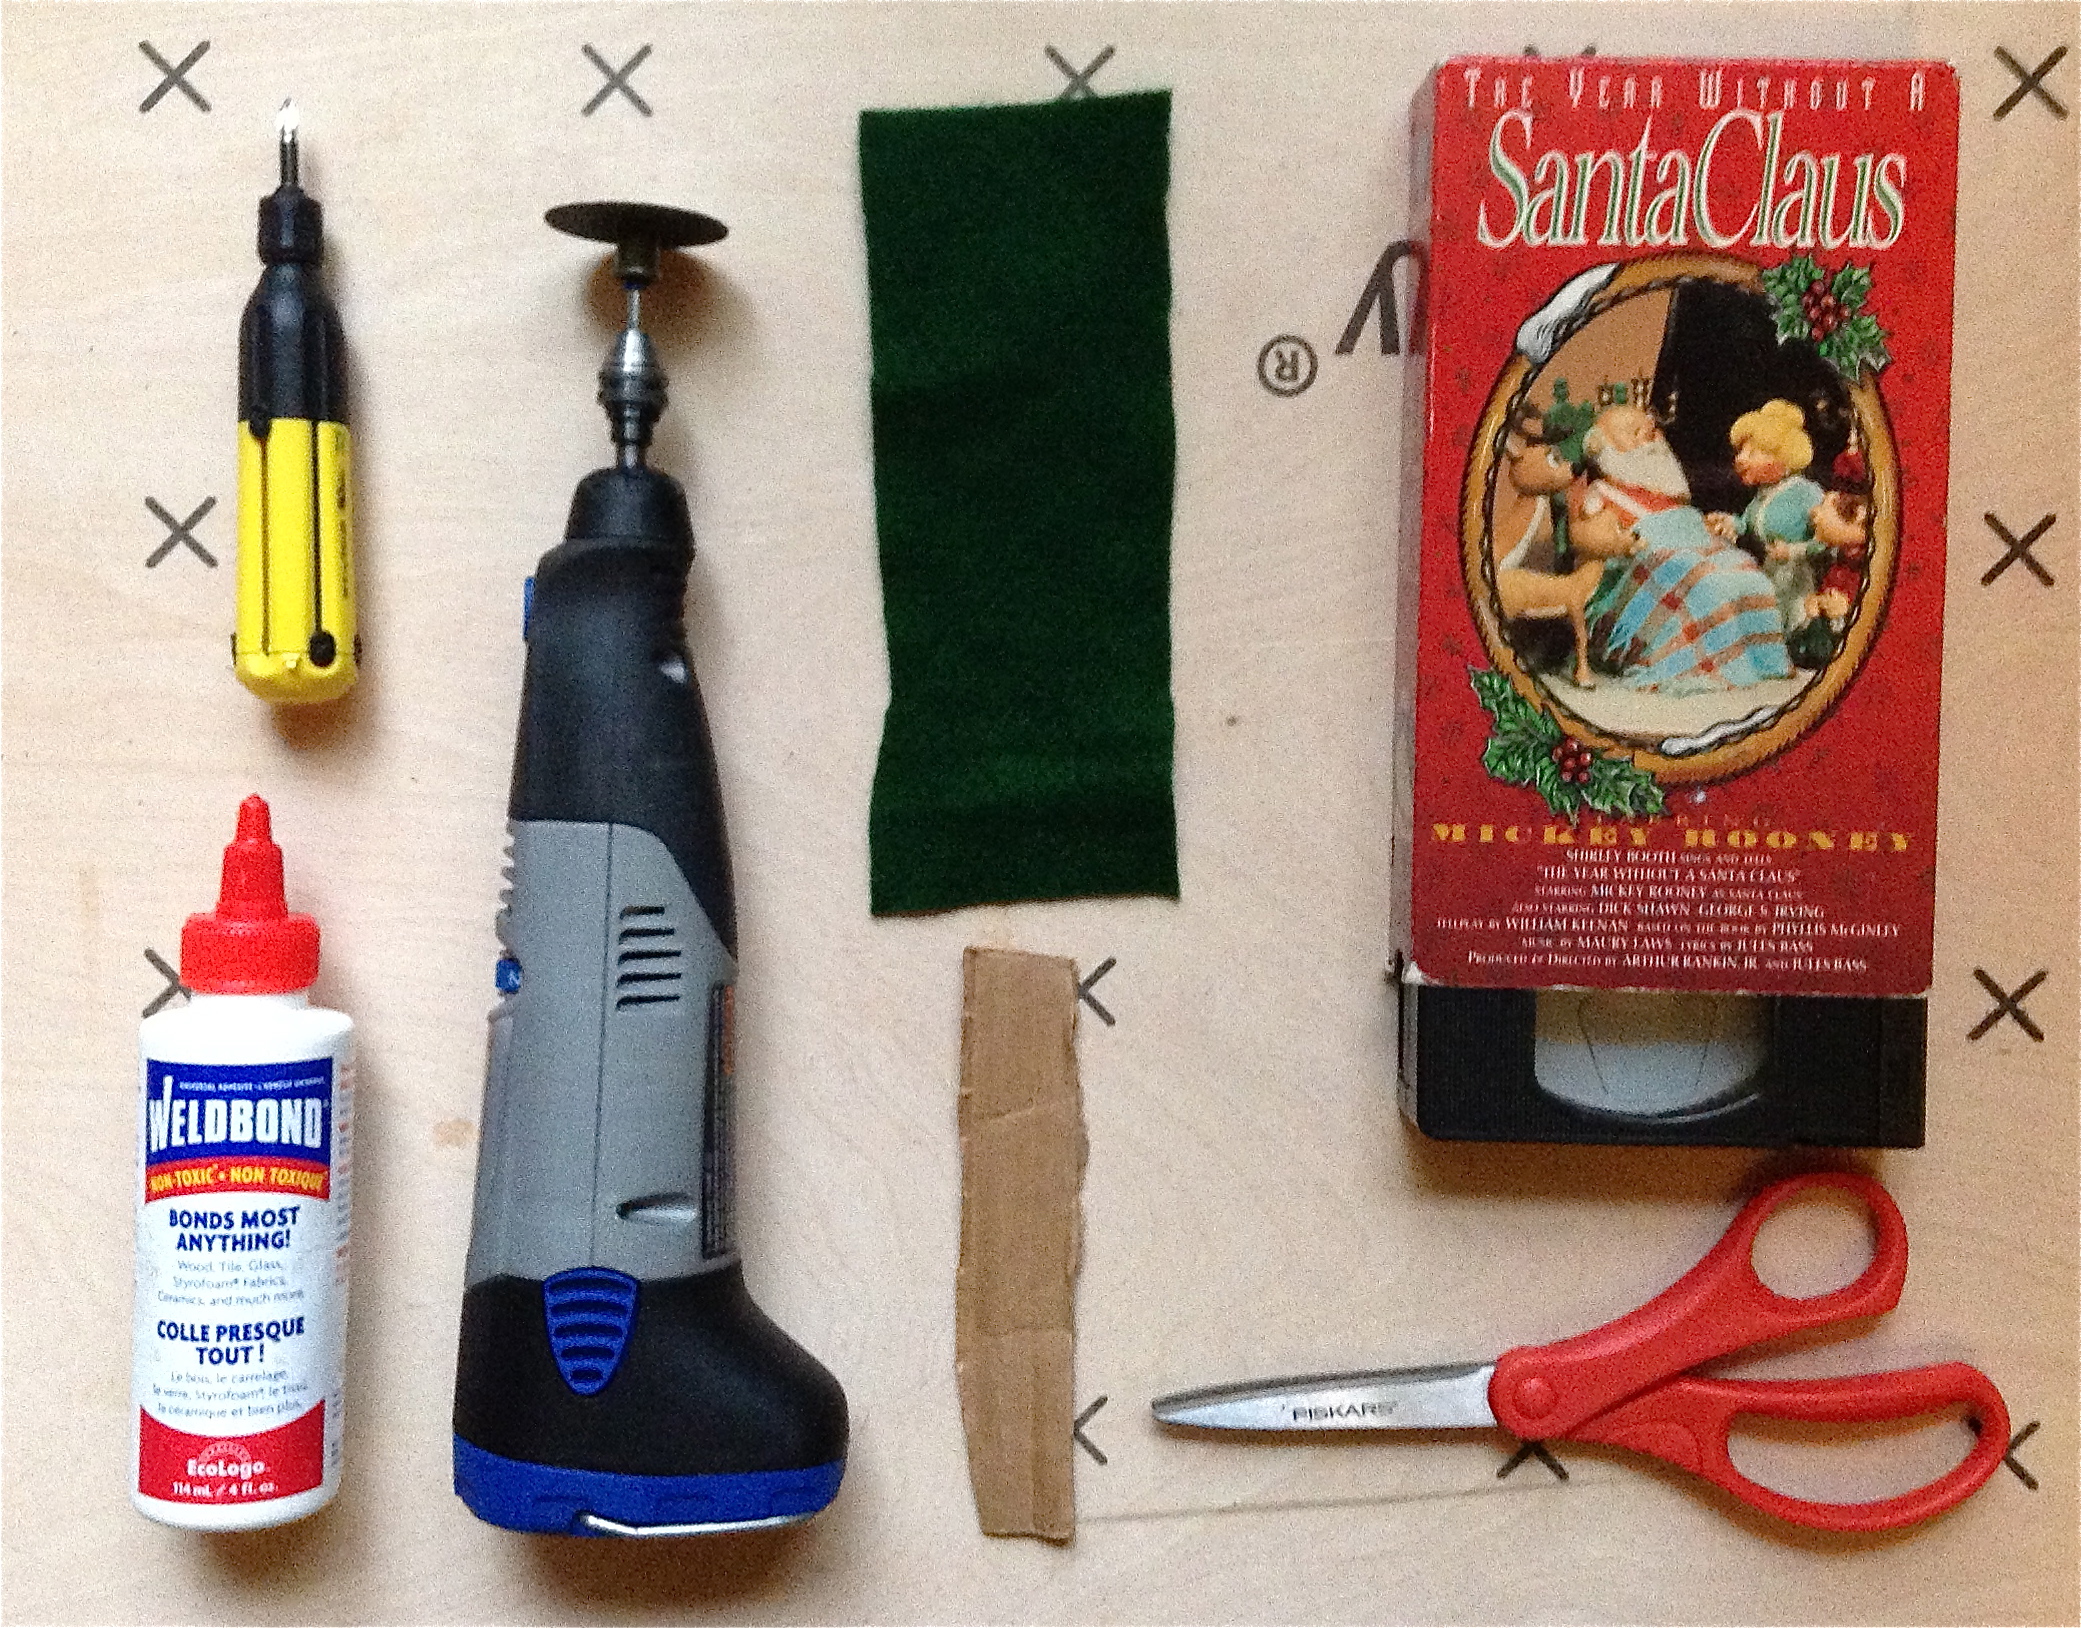
- Screwdriver
- Glue
- Rotary tool & cutting bit
- Fabric (optional)
- Cardboard, thin wood, or plastic
- VHS tape
- Scissors
- Glue
- Rotary tool & cutting bit
- Fabric (optional)
- Cardboard, thin wood, or plastic
- VHS tape
- Scissors
Taking Apart the VHS

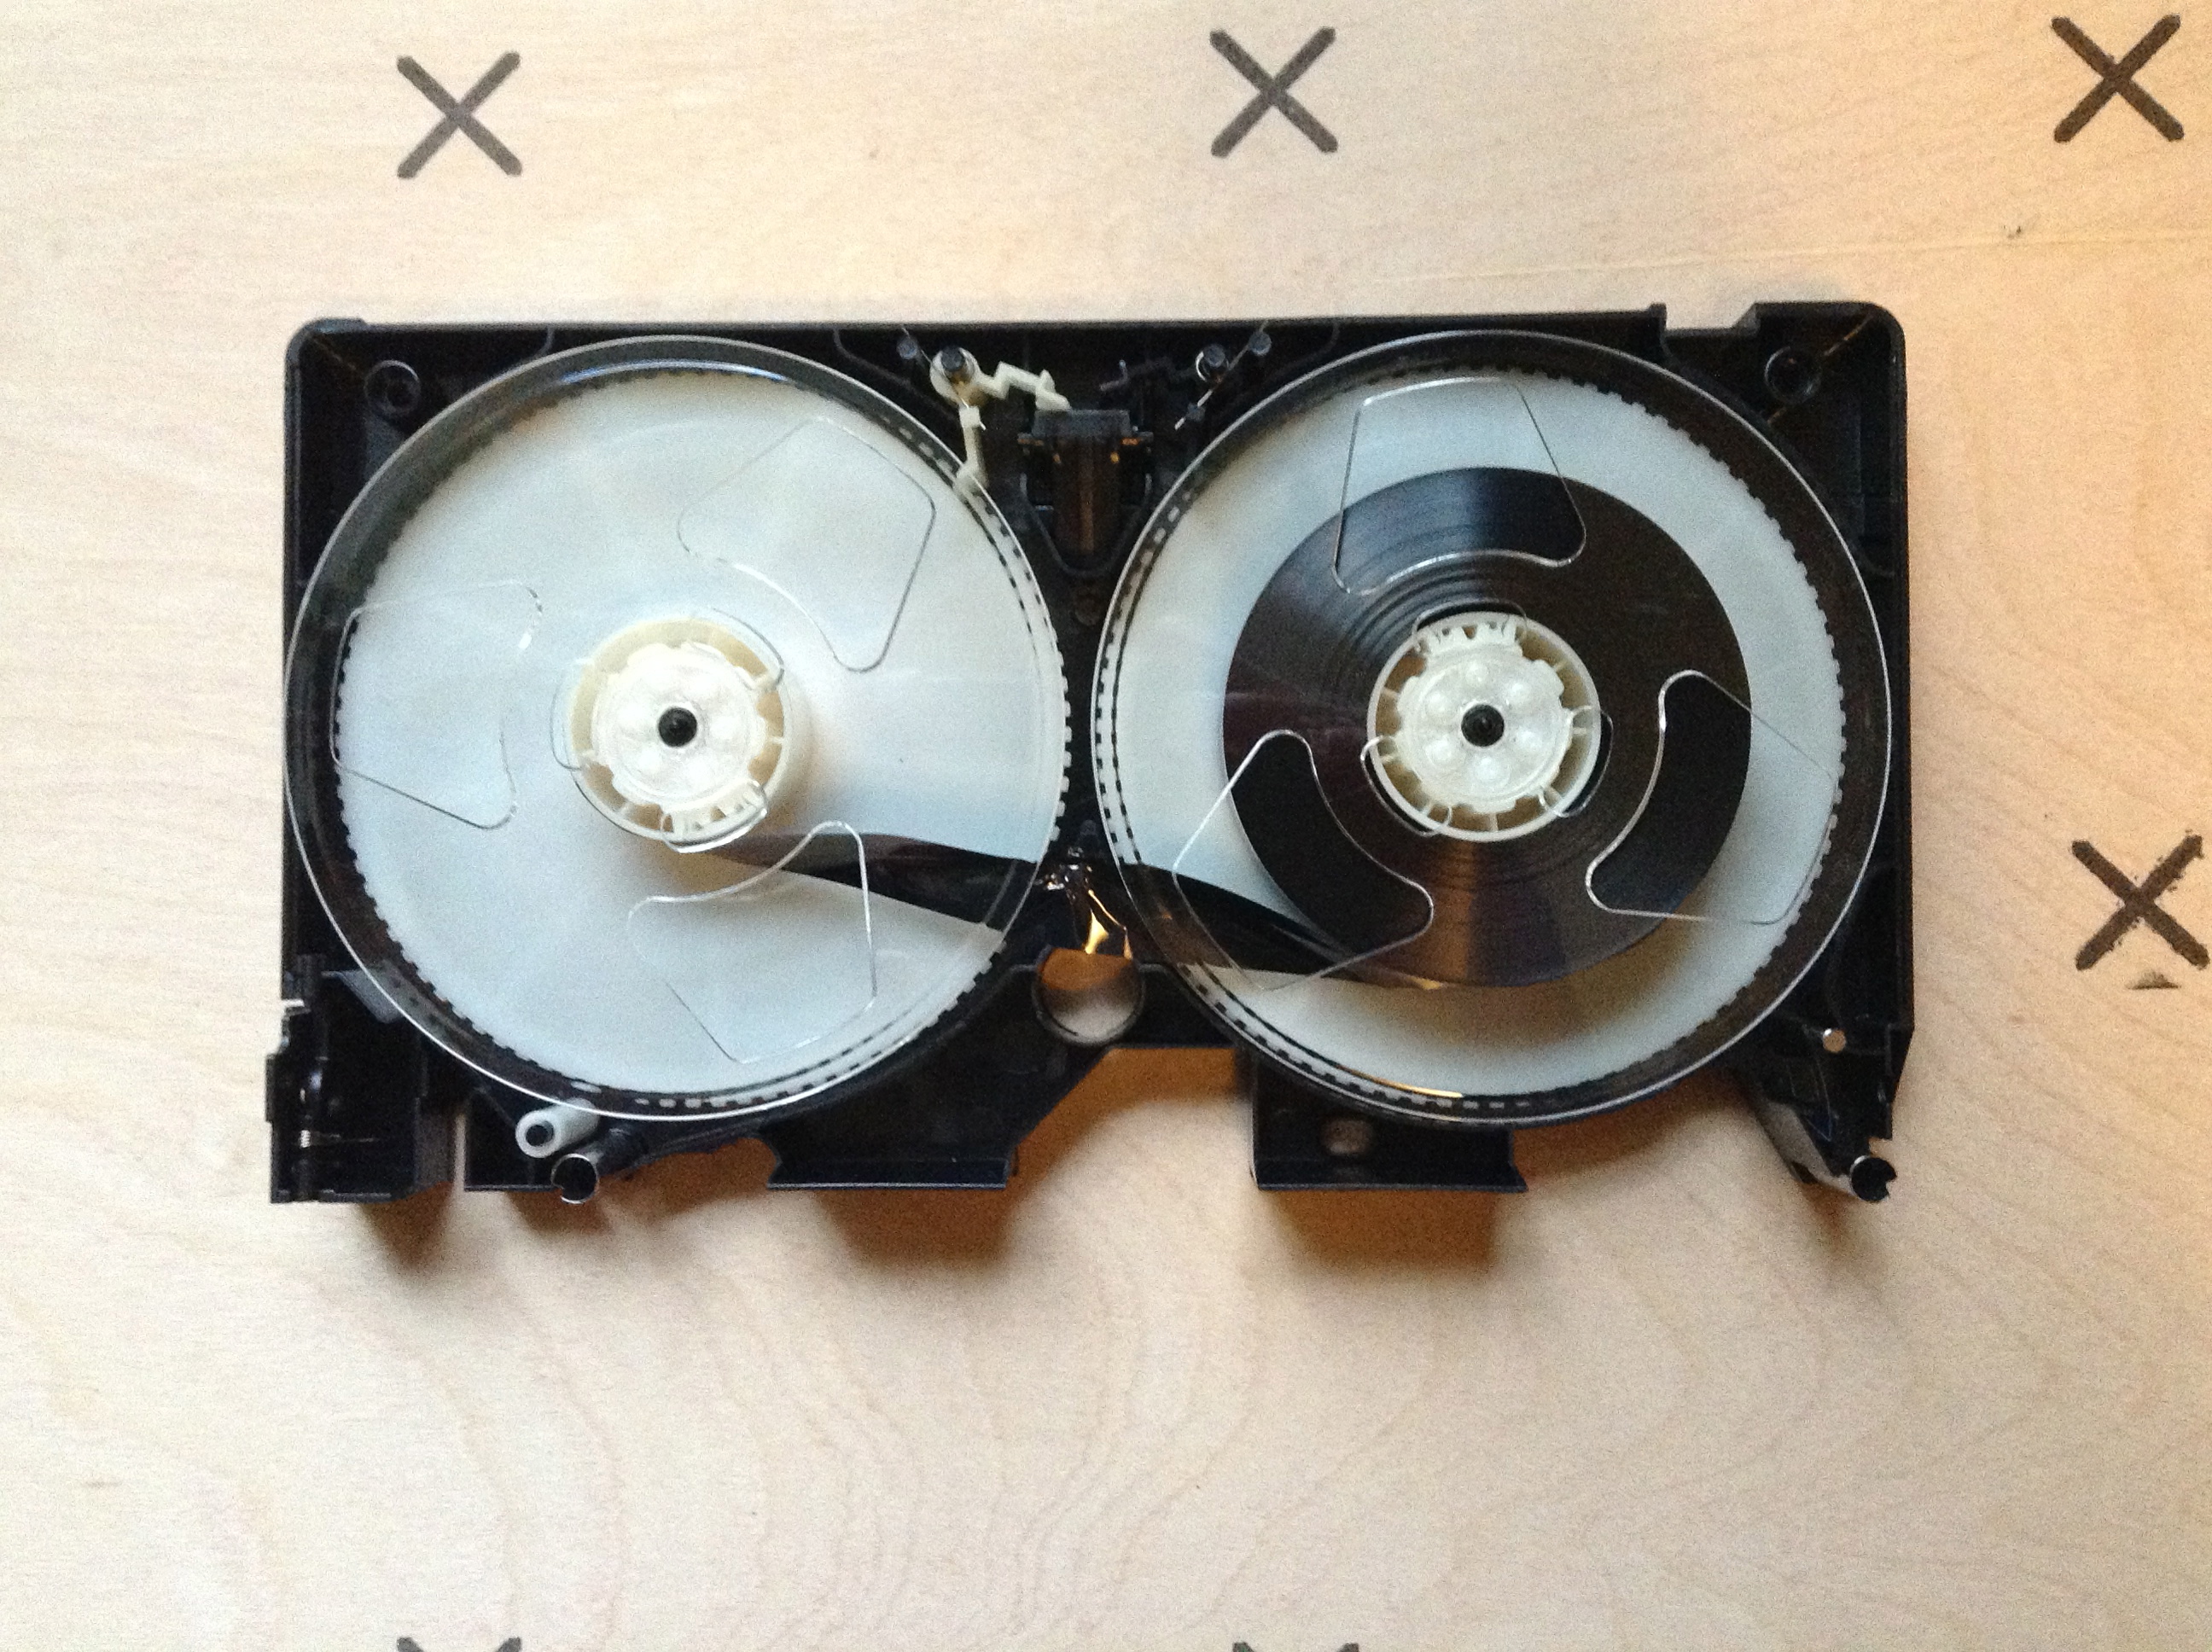

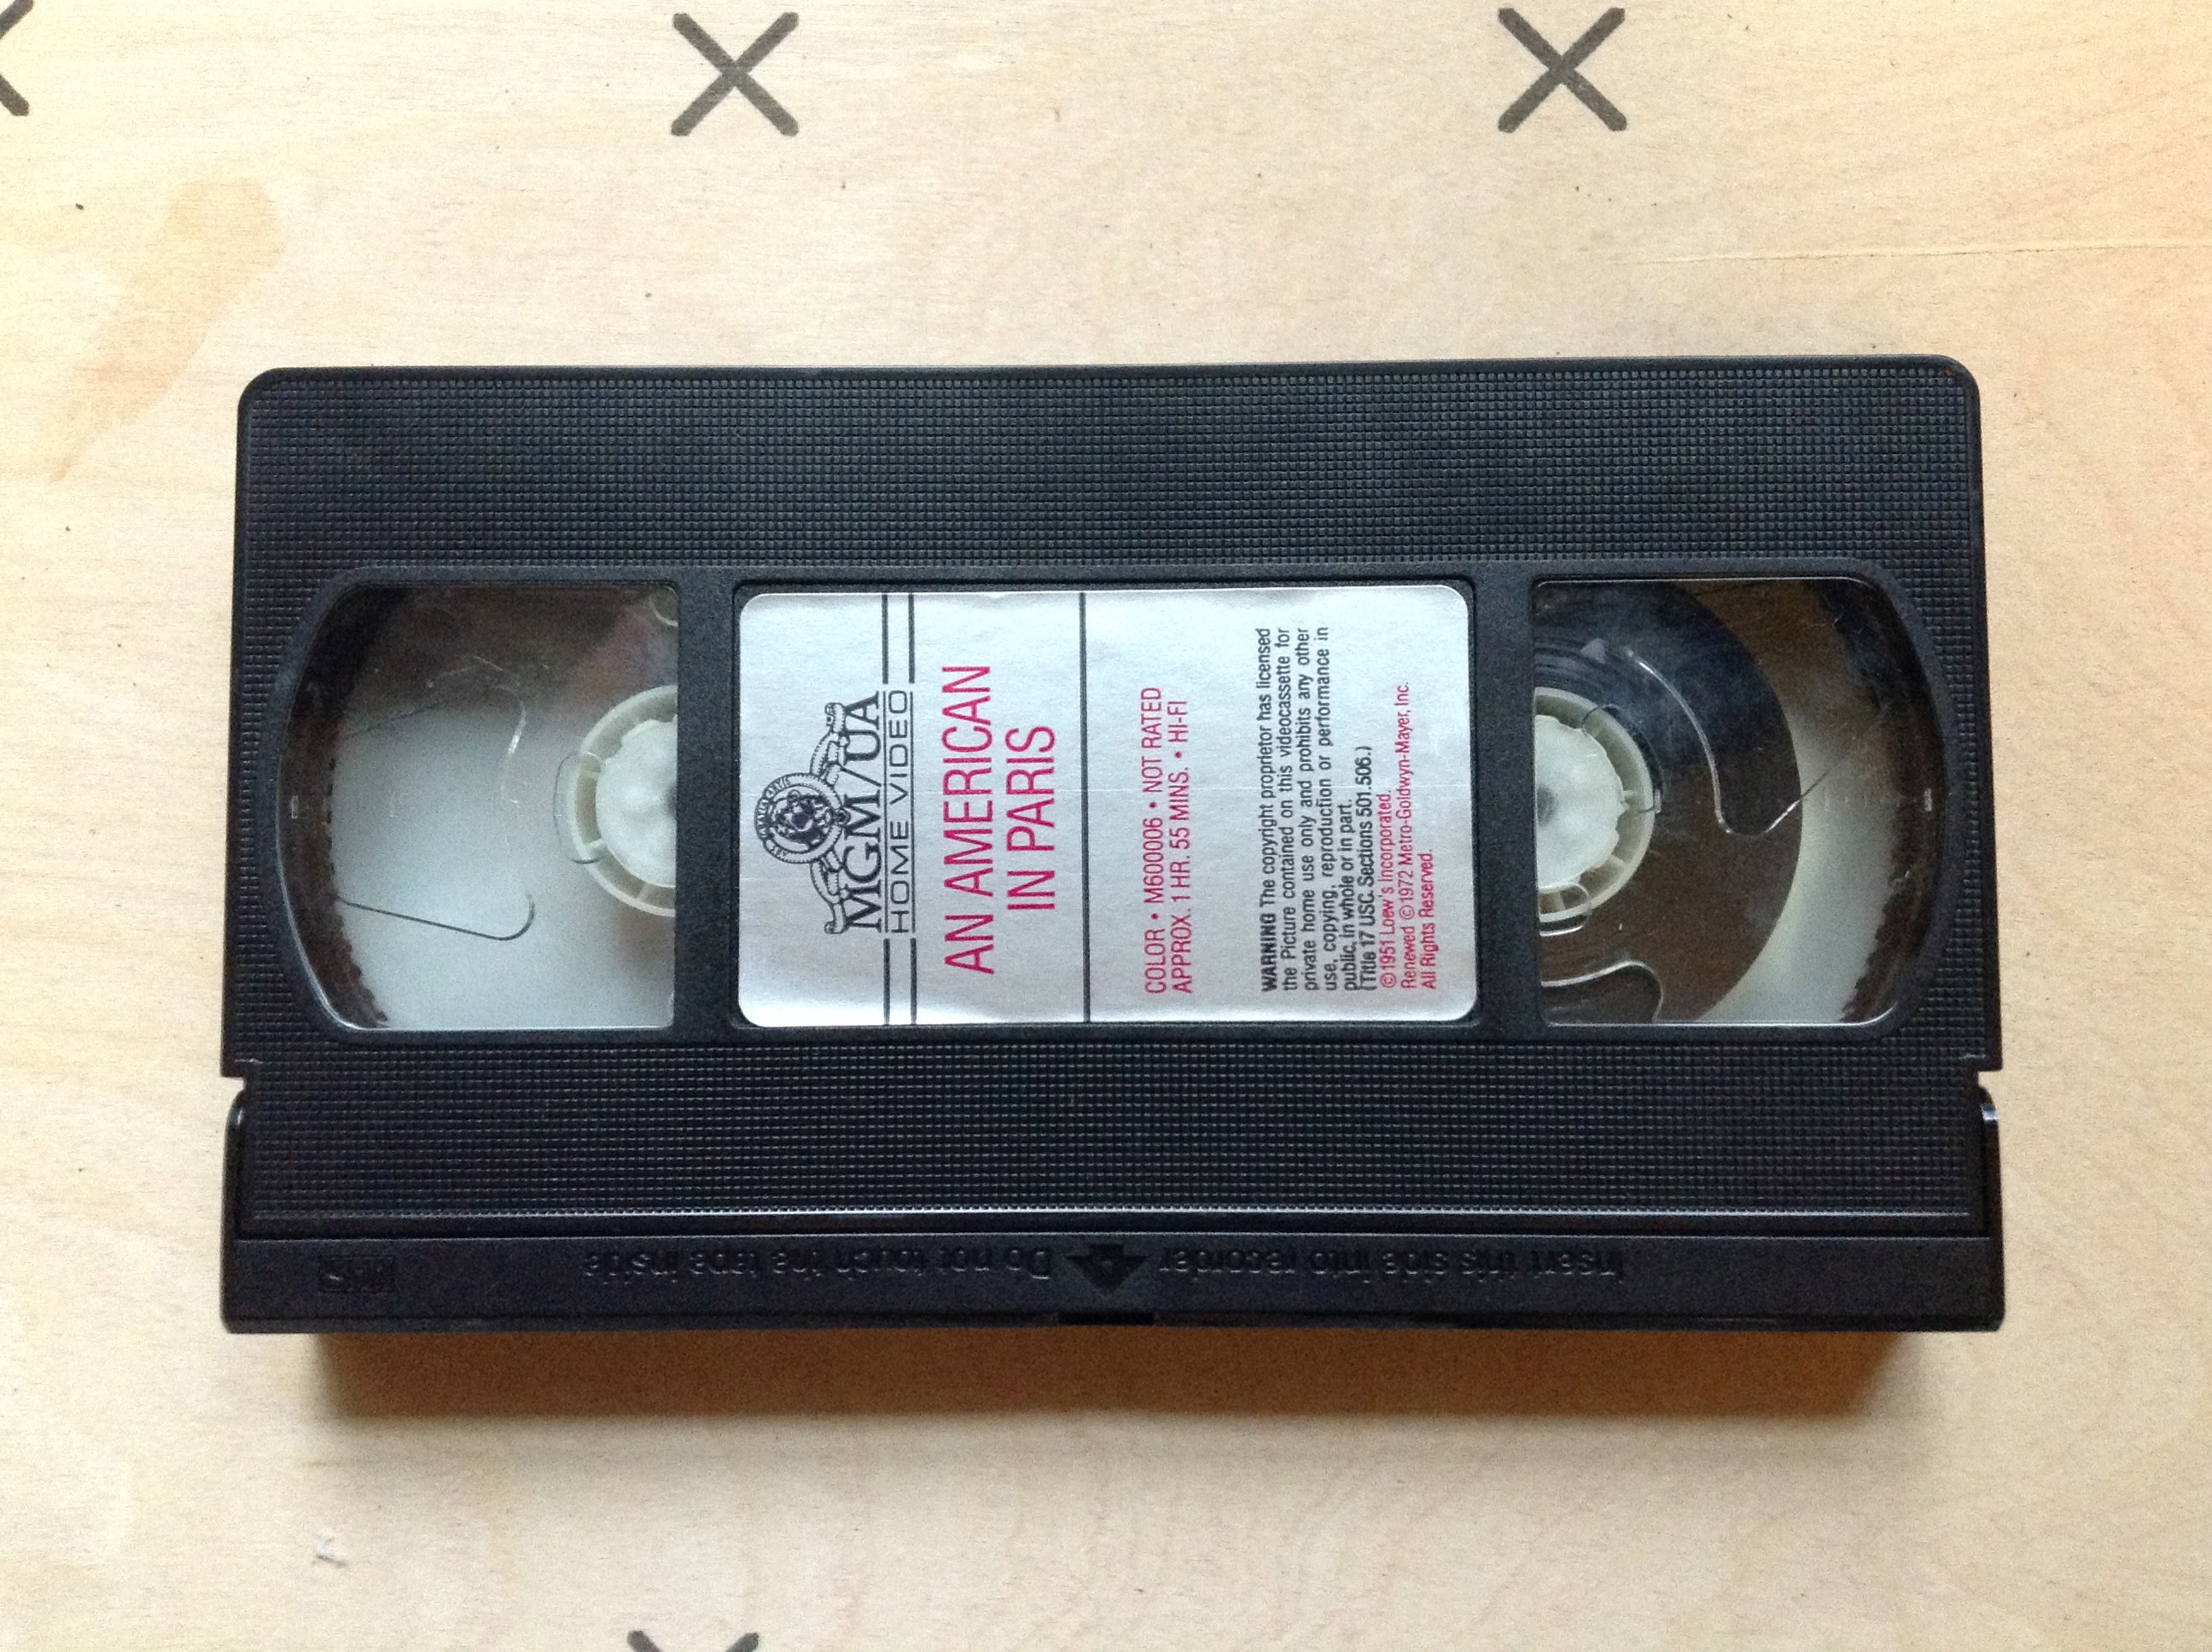
- Before you do anything, rewind or fast-forward the VHS so that all the tape is on one of the spools.
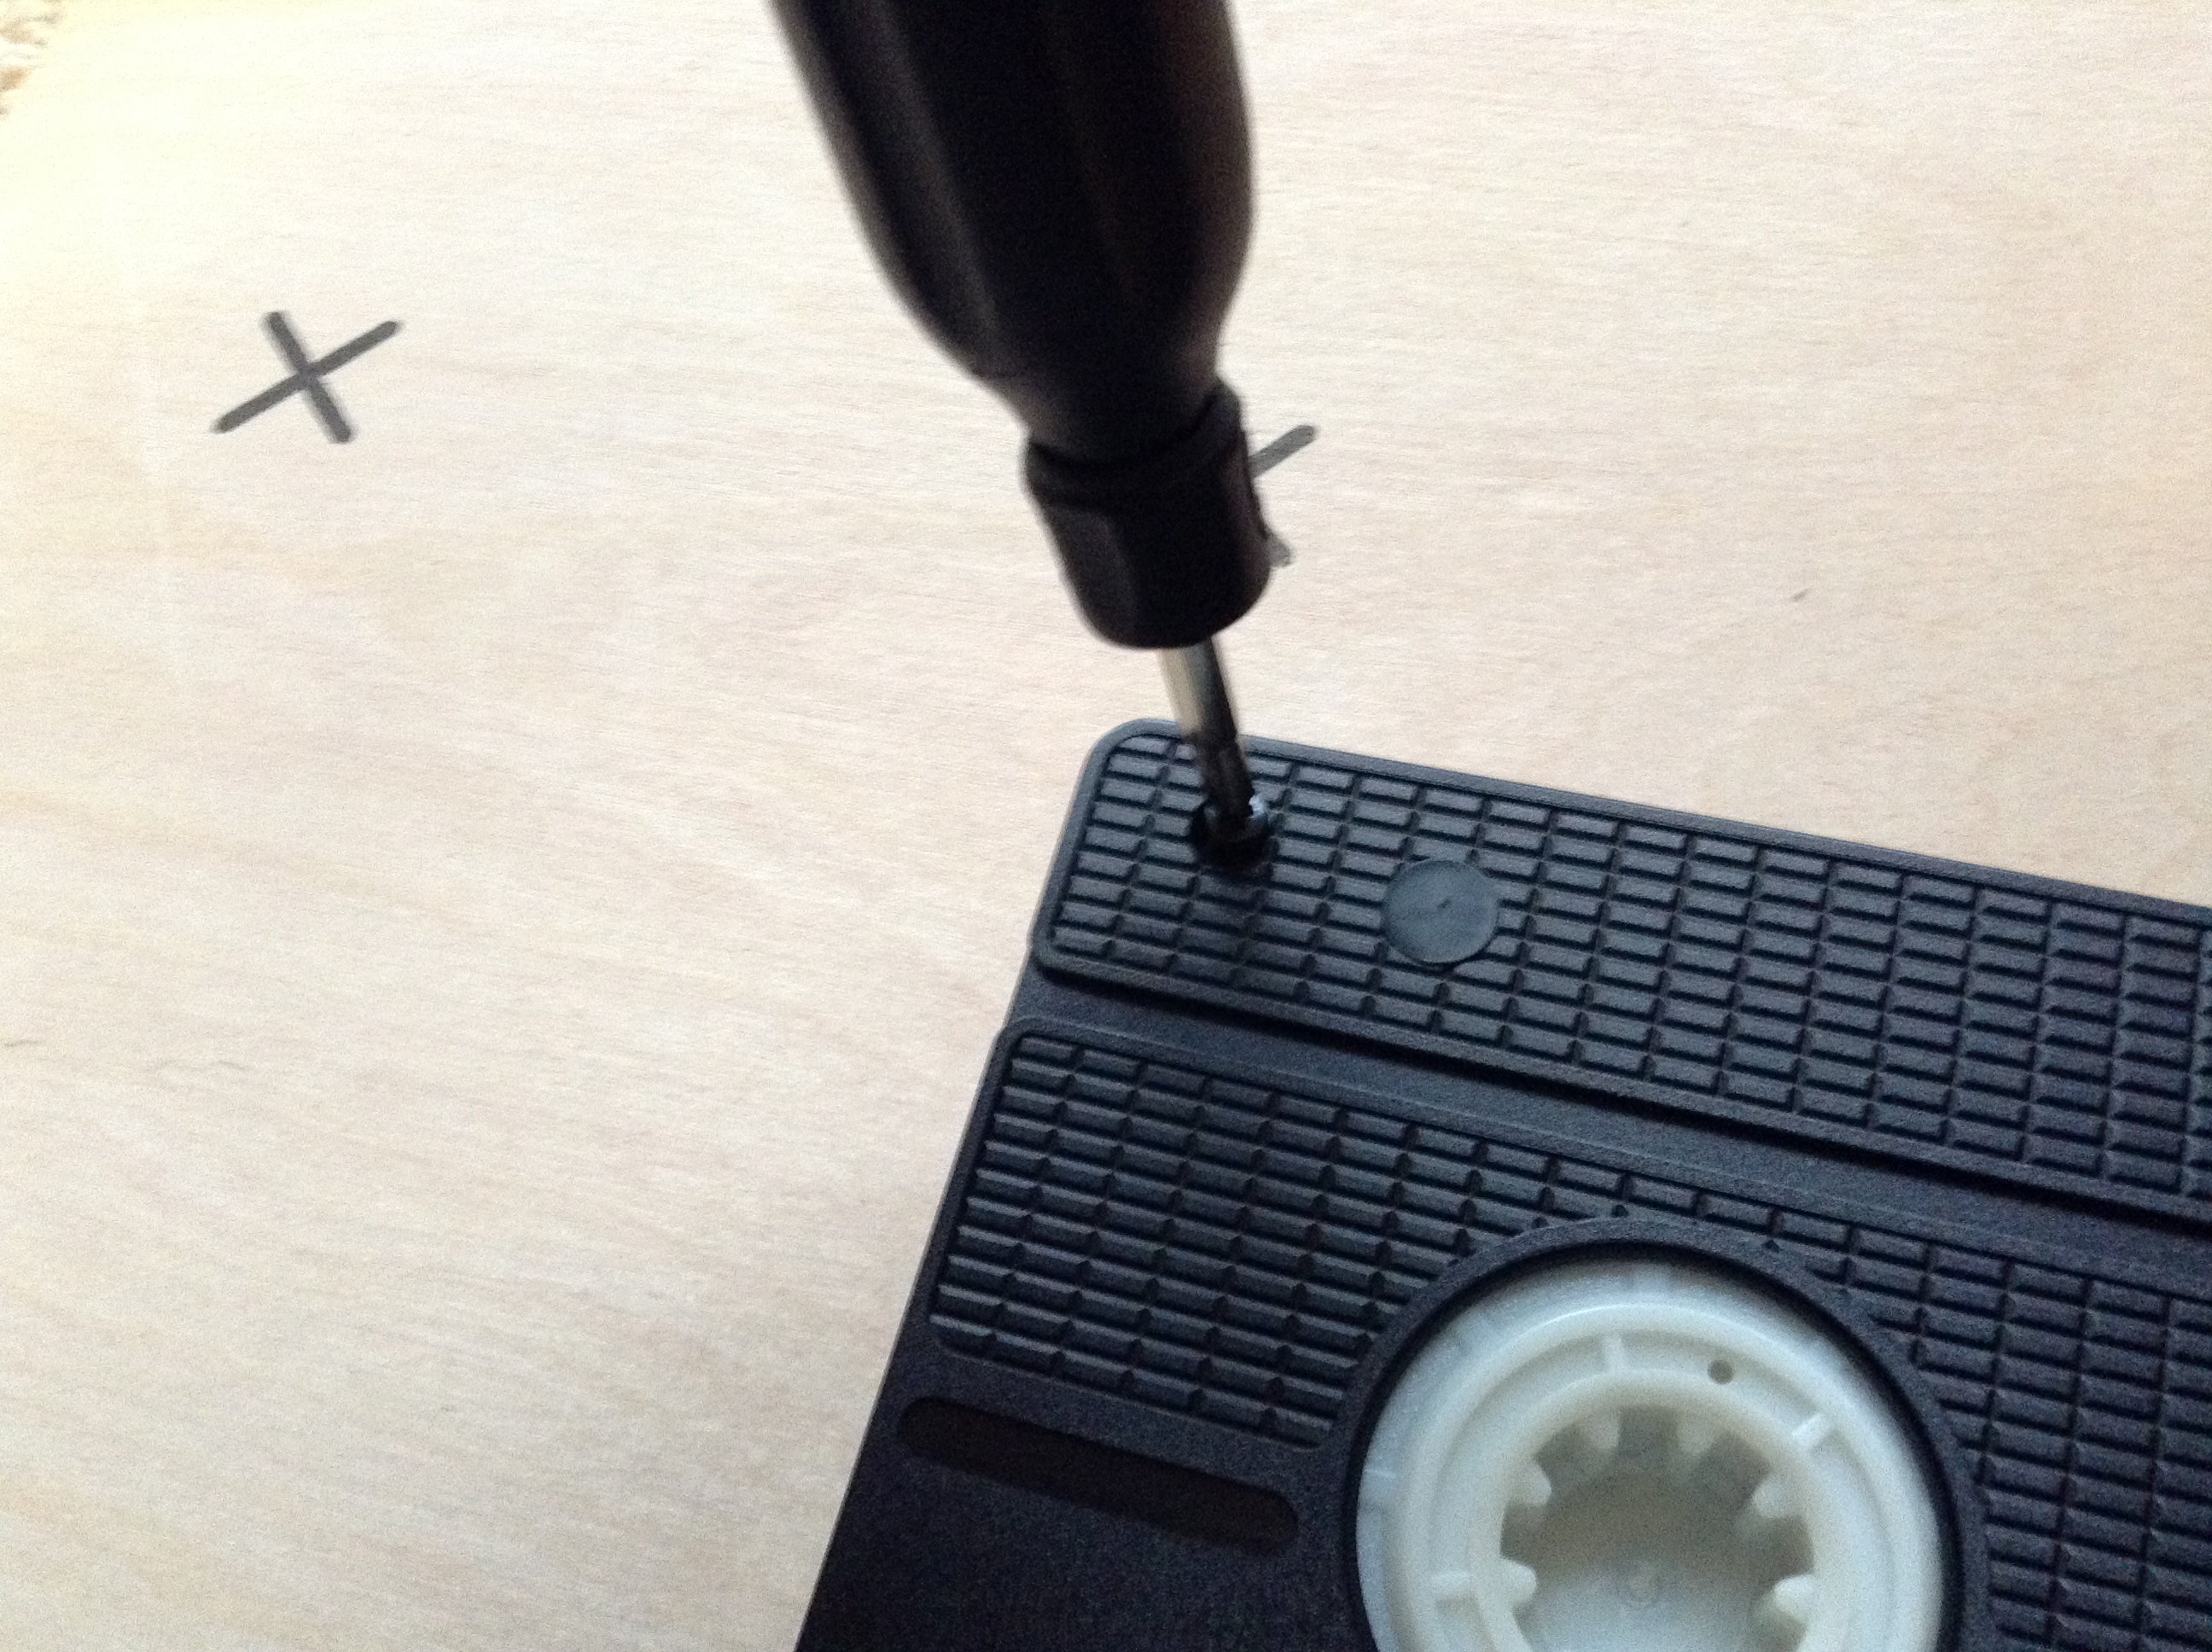
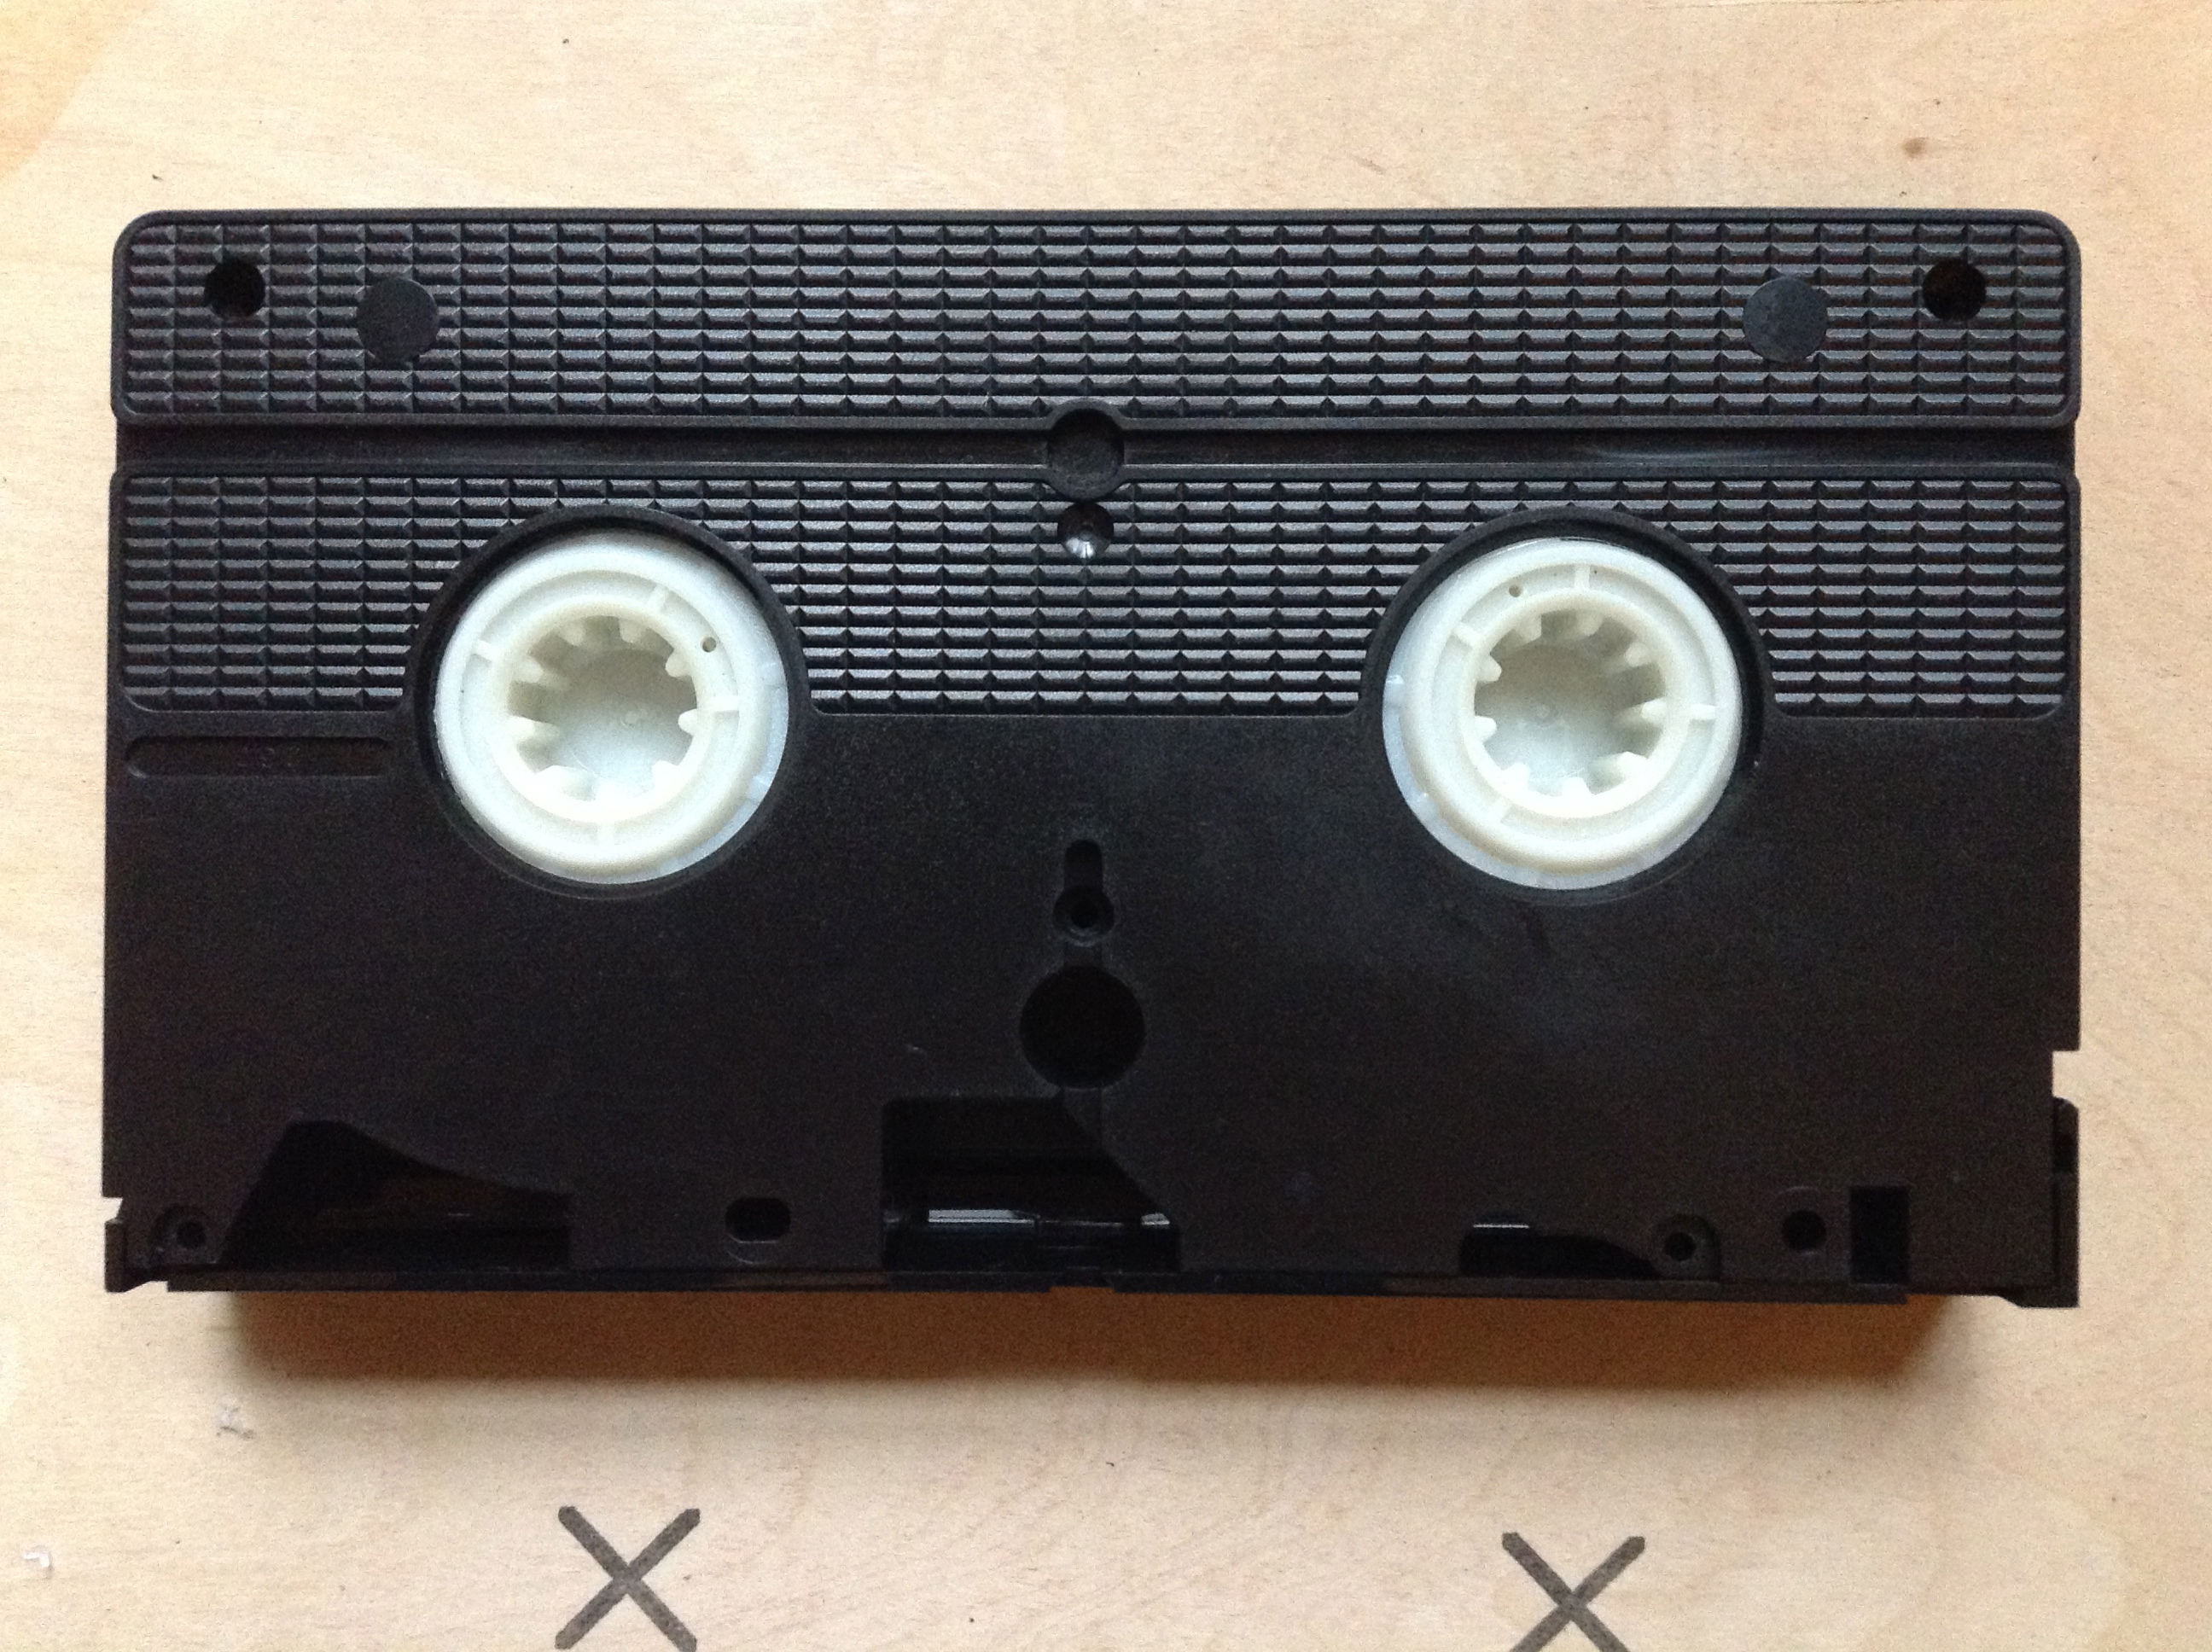
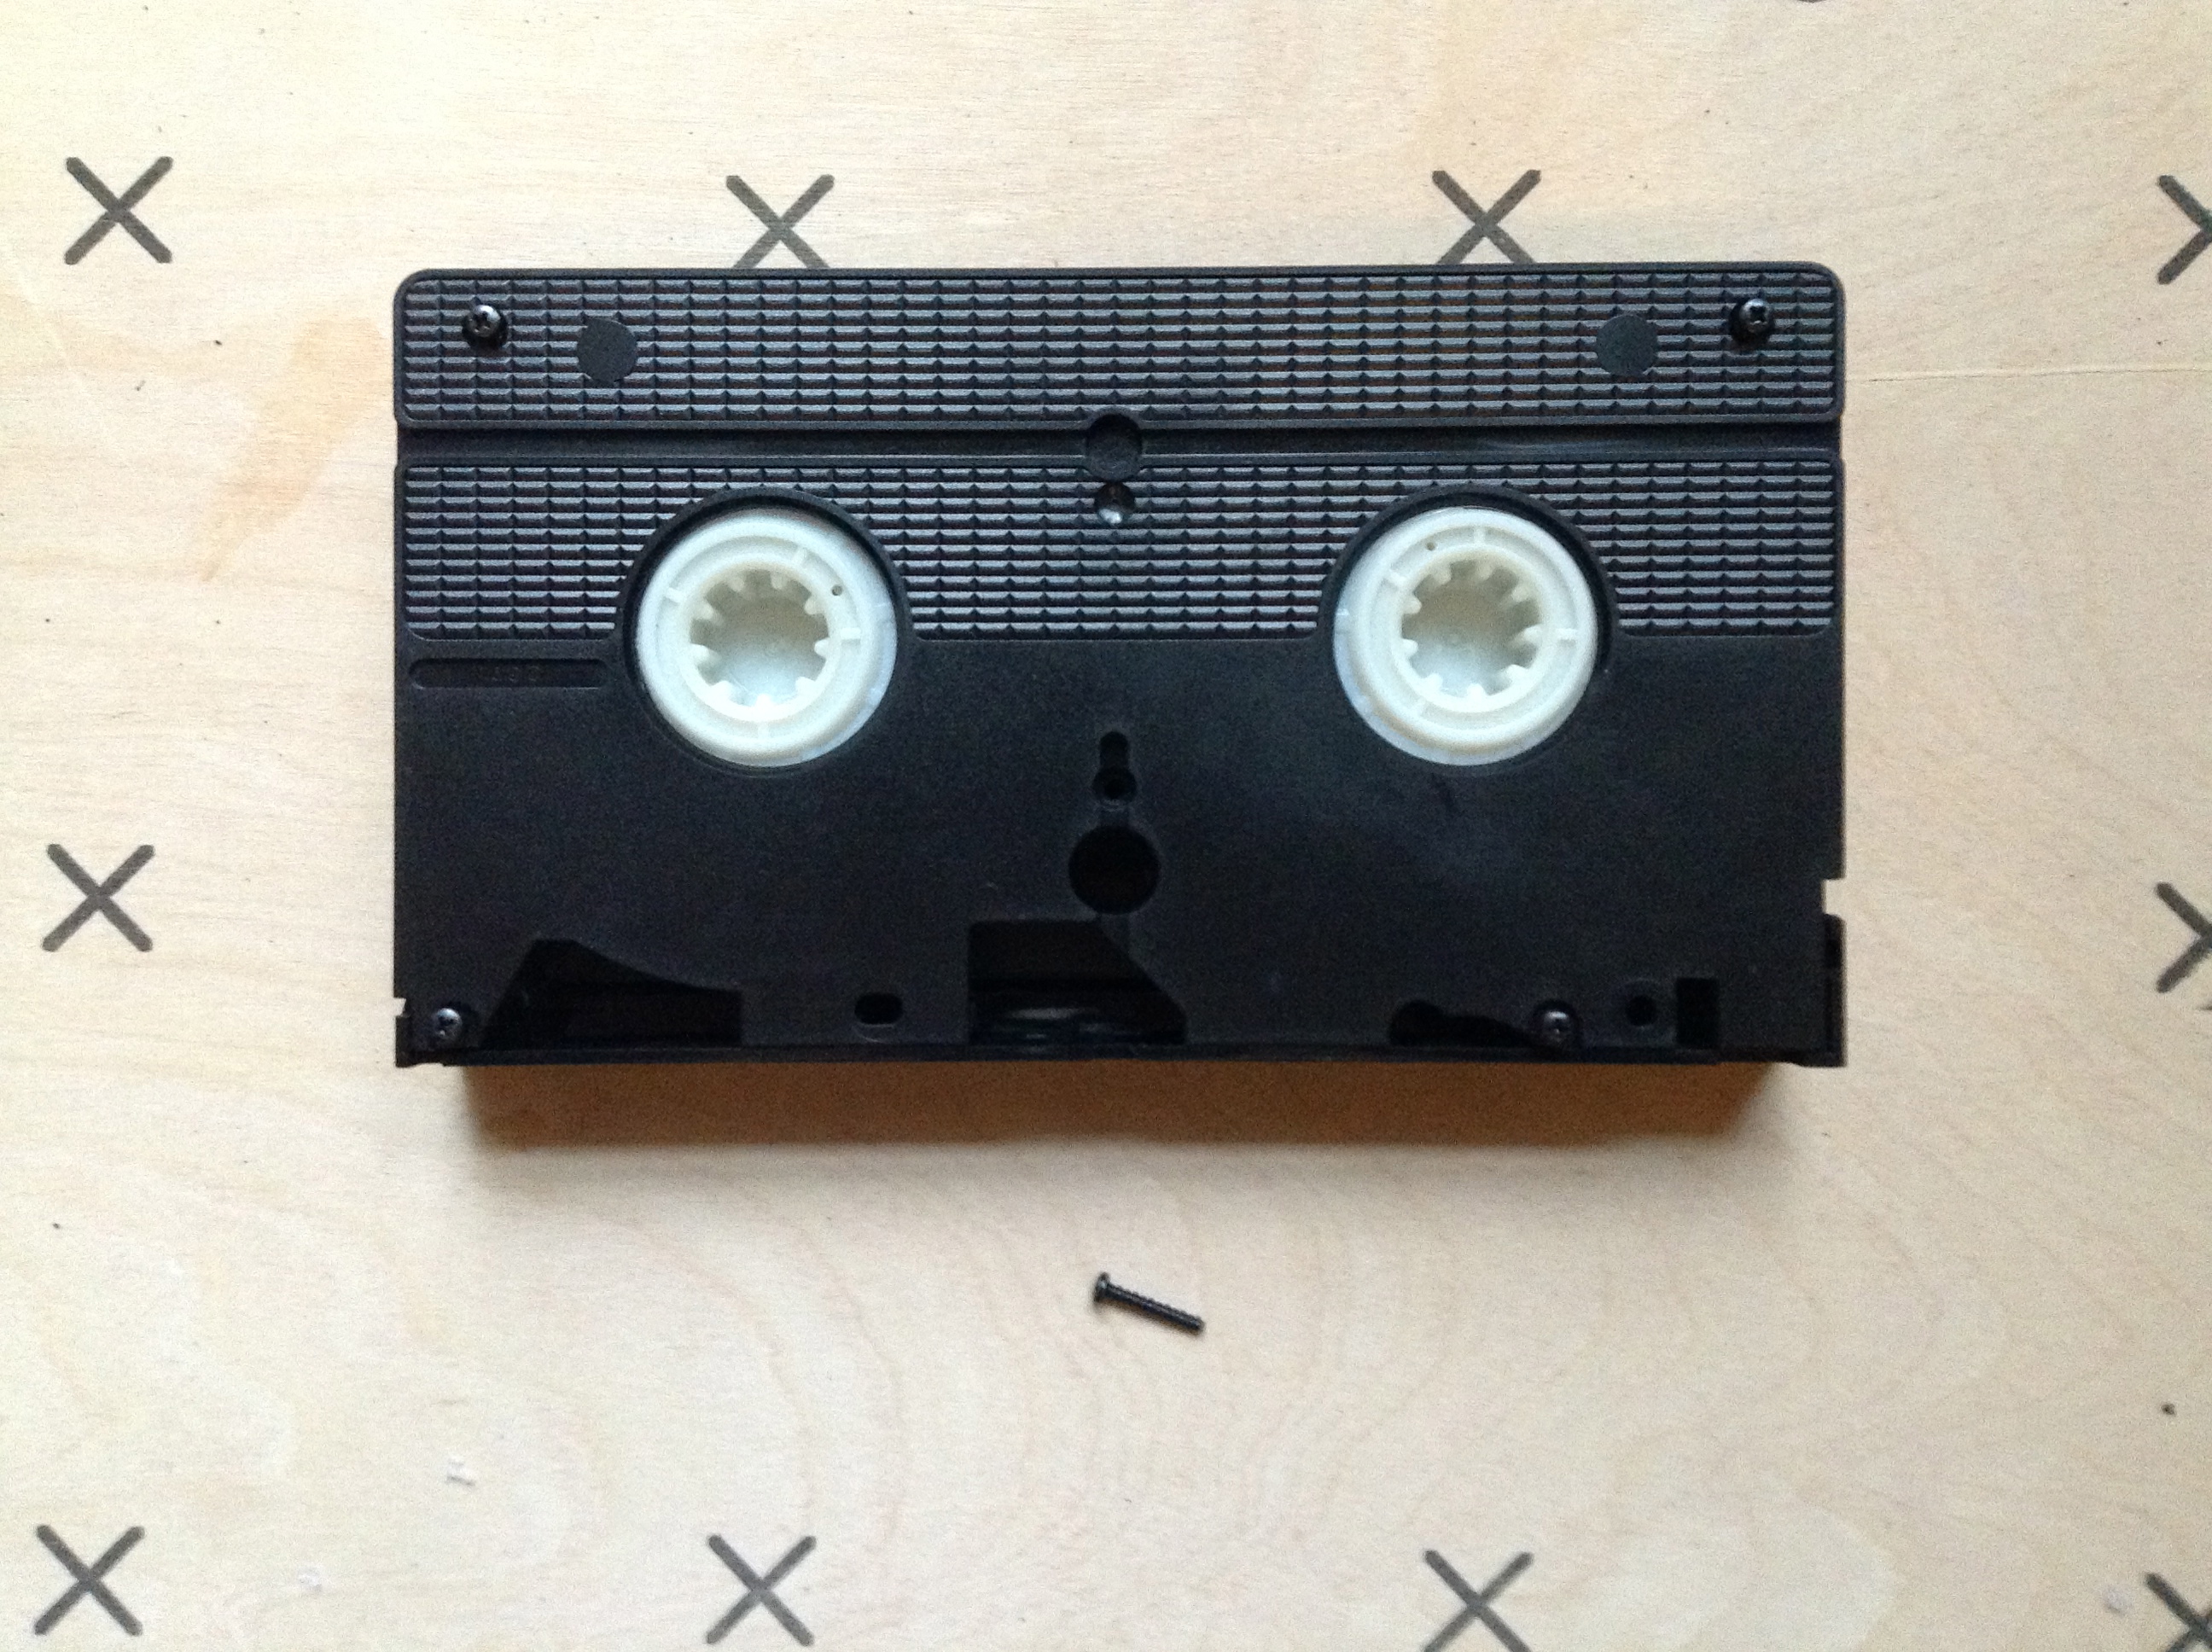
- Flip the tape over. There should be five screws; four in the corners and one in the center of the tape. Remove them all and set them aside.
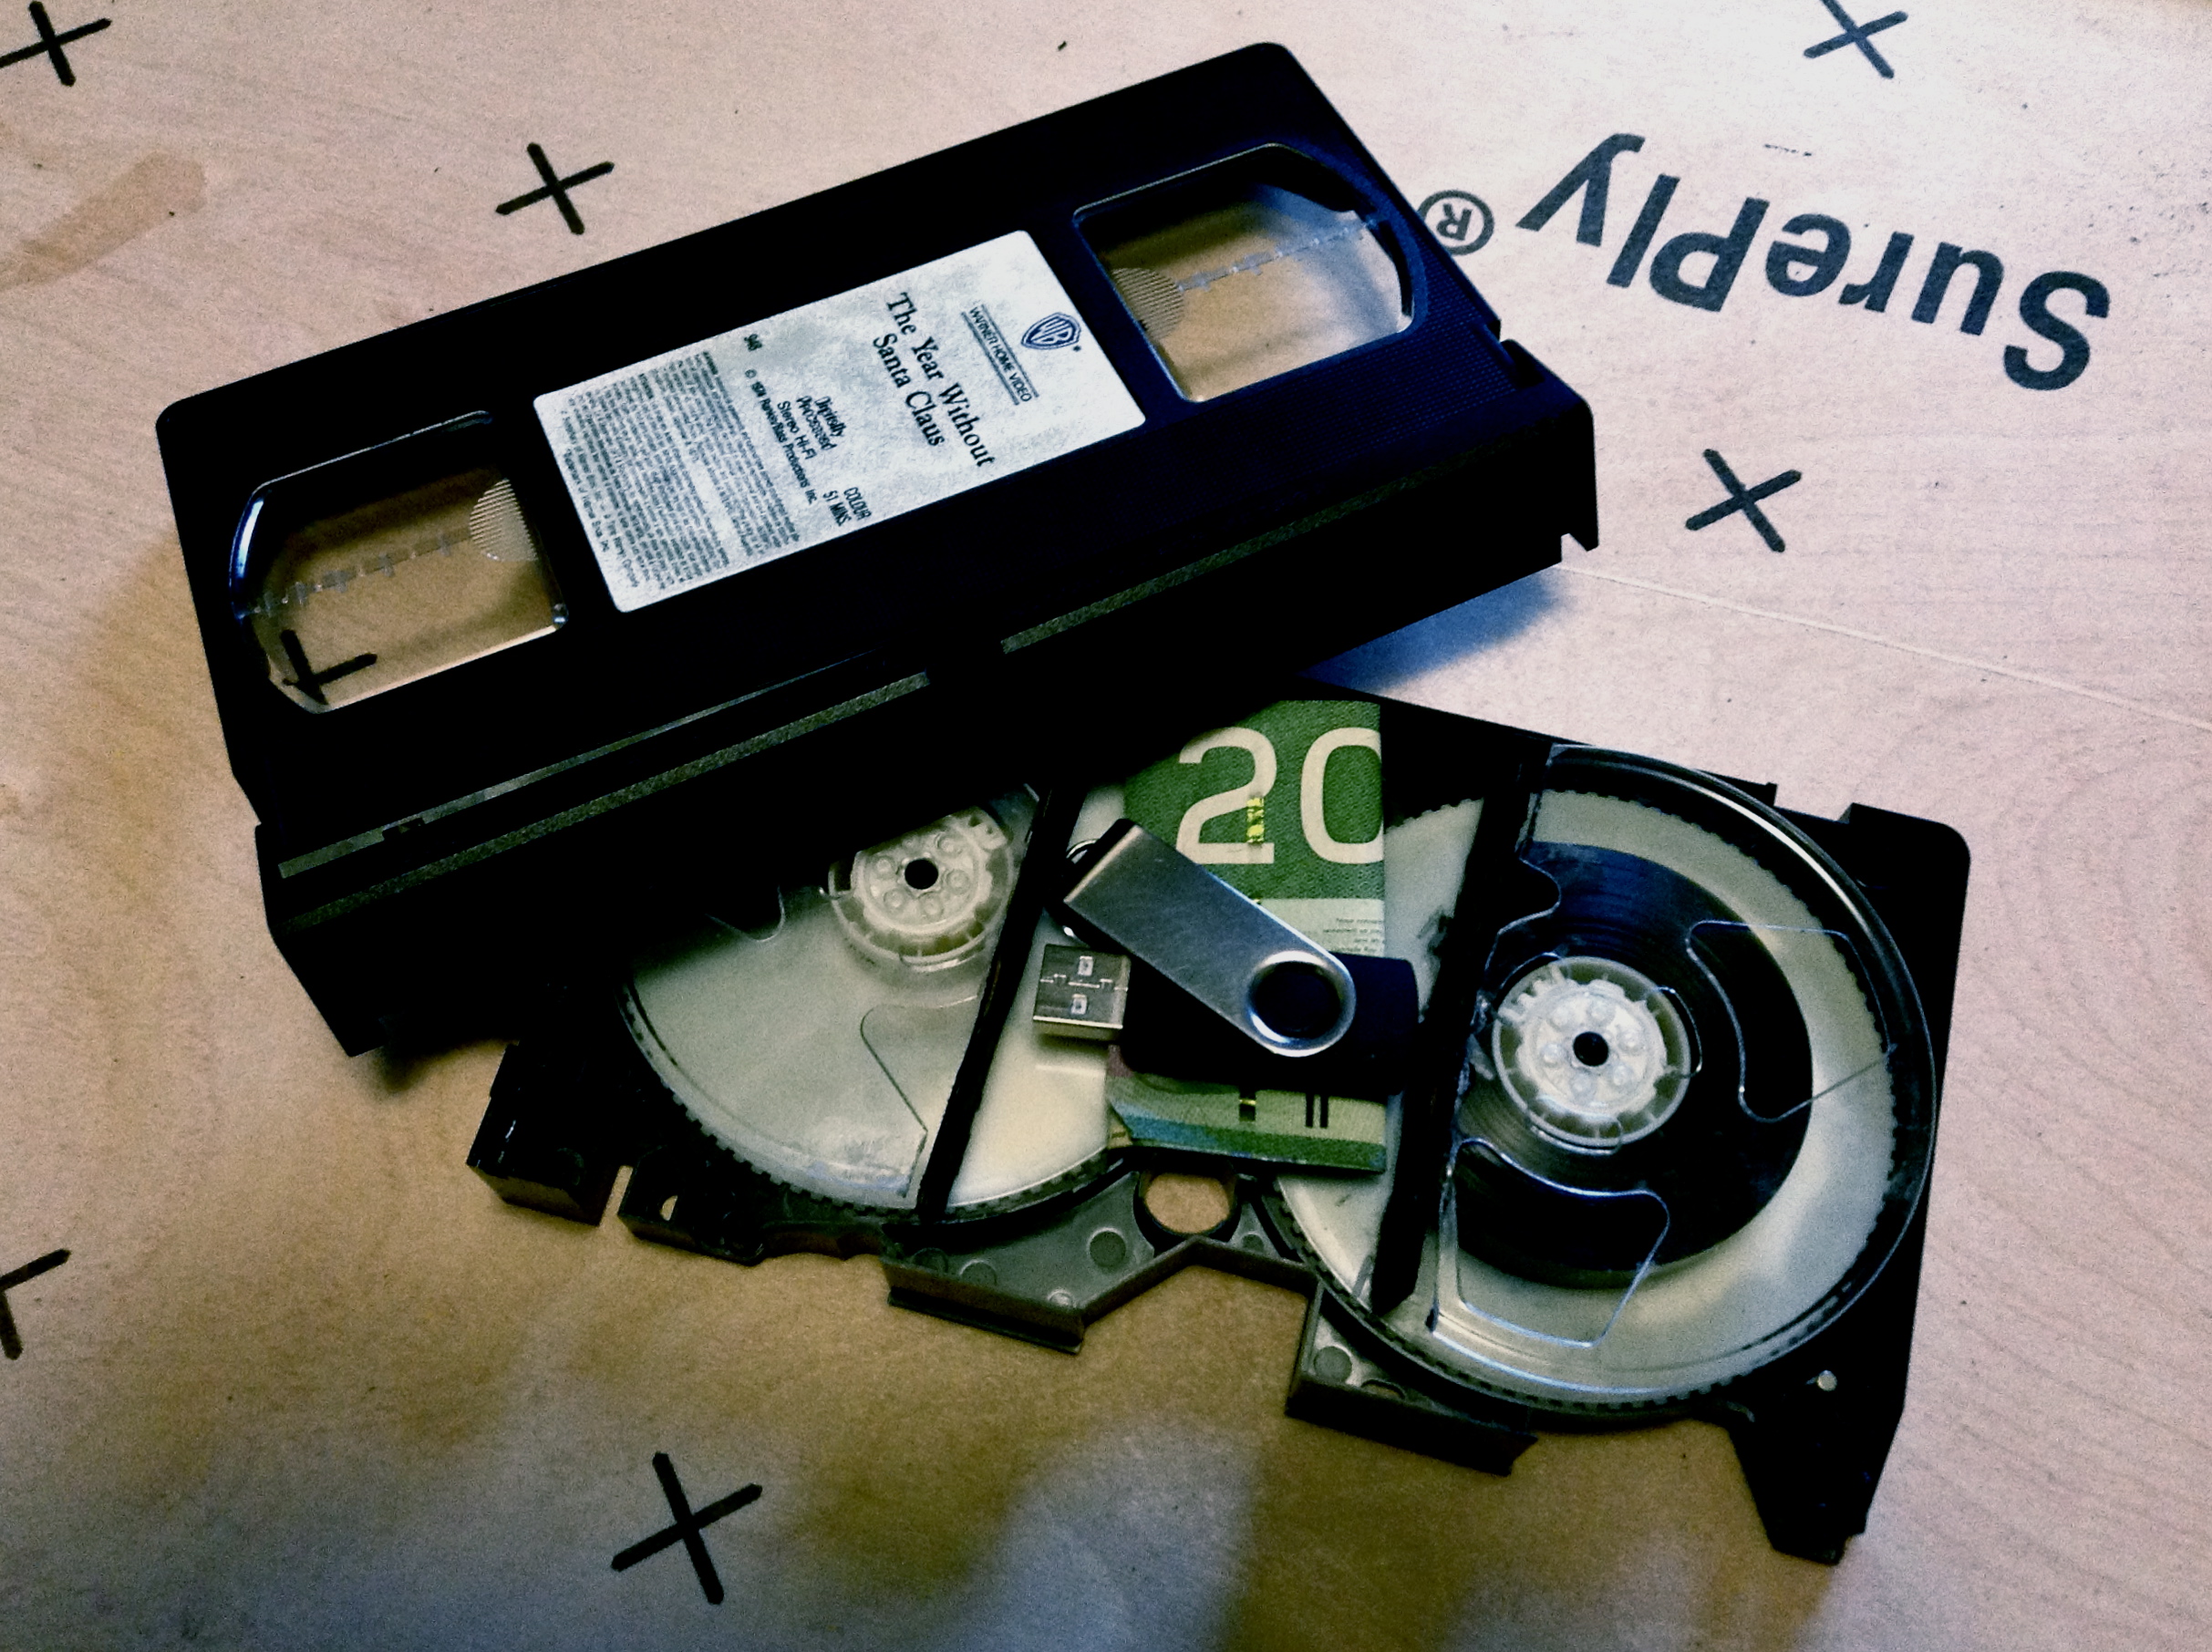
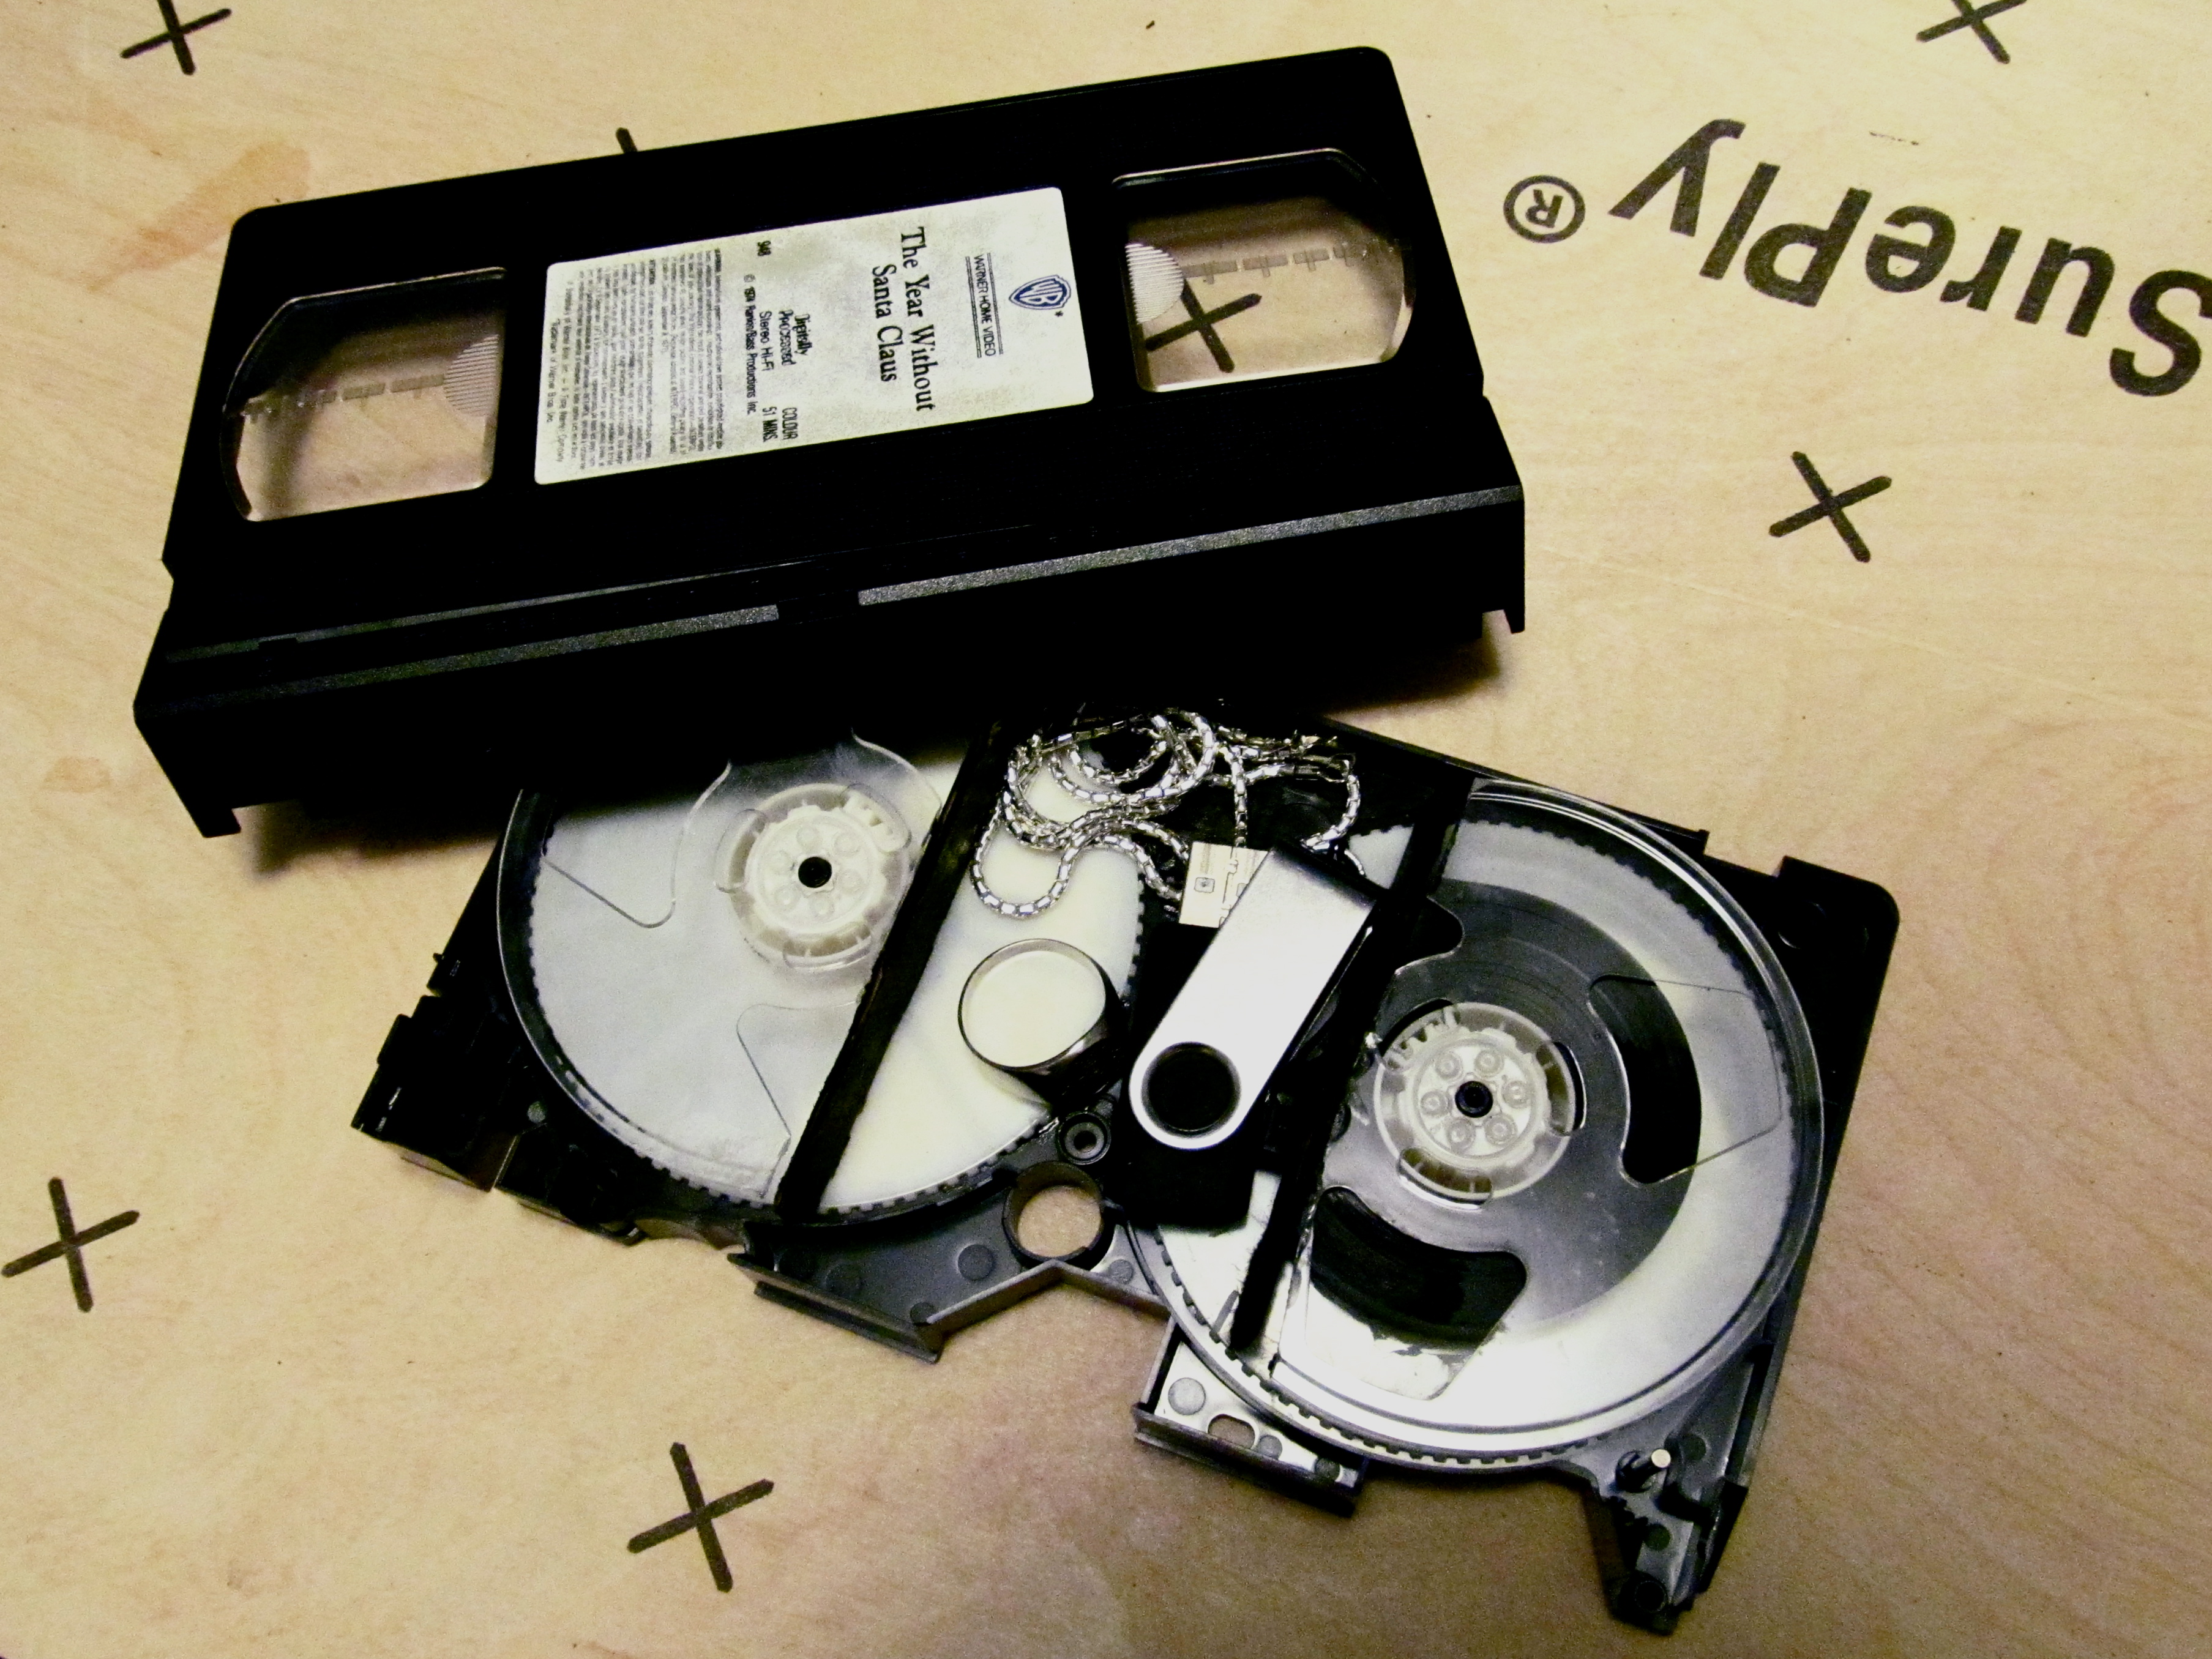
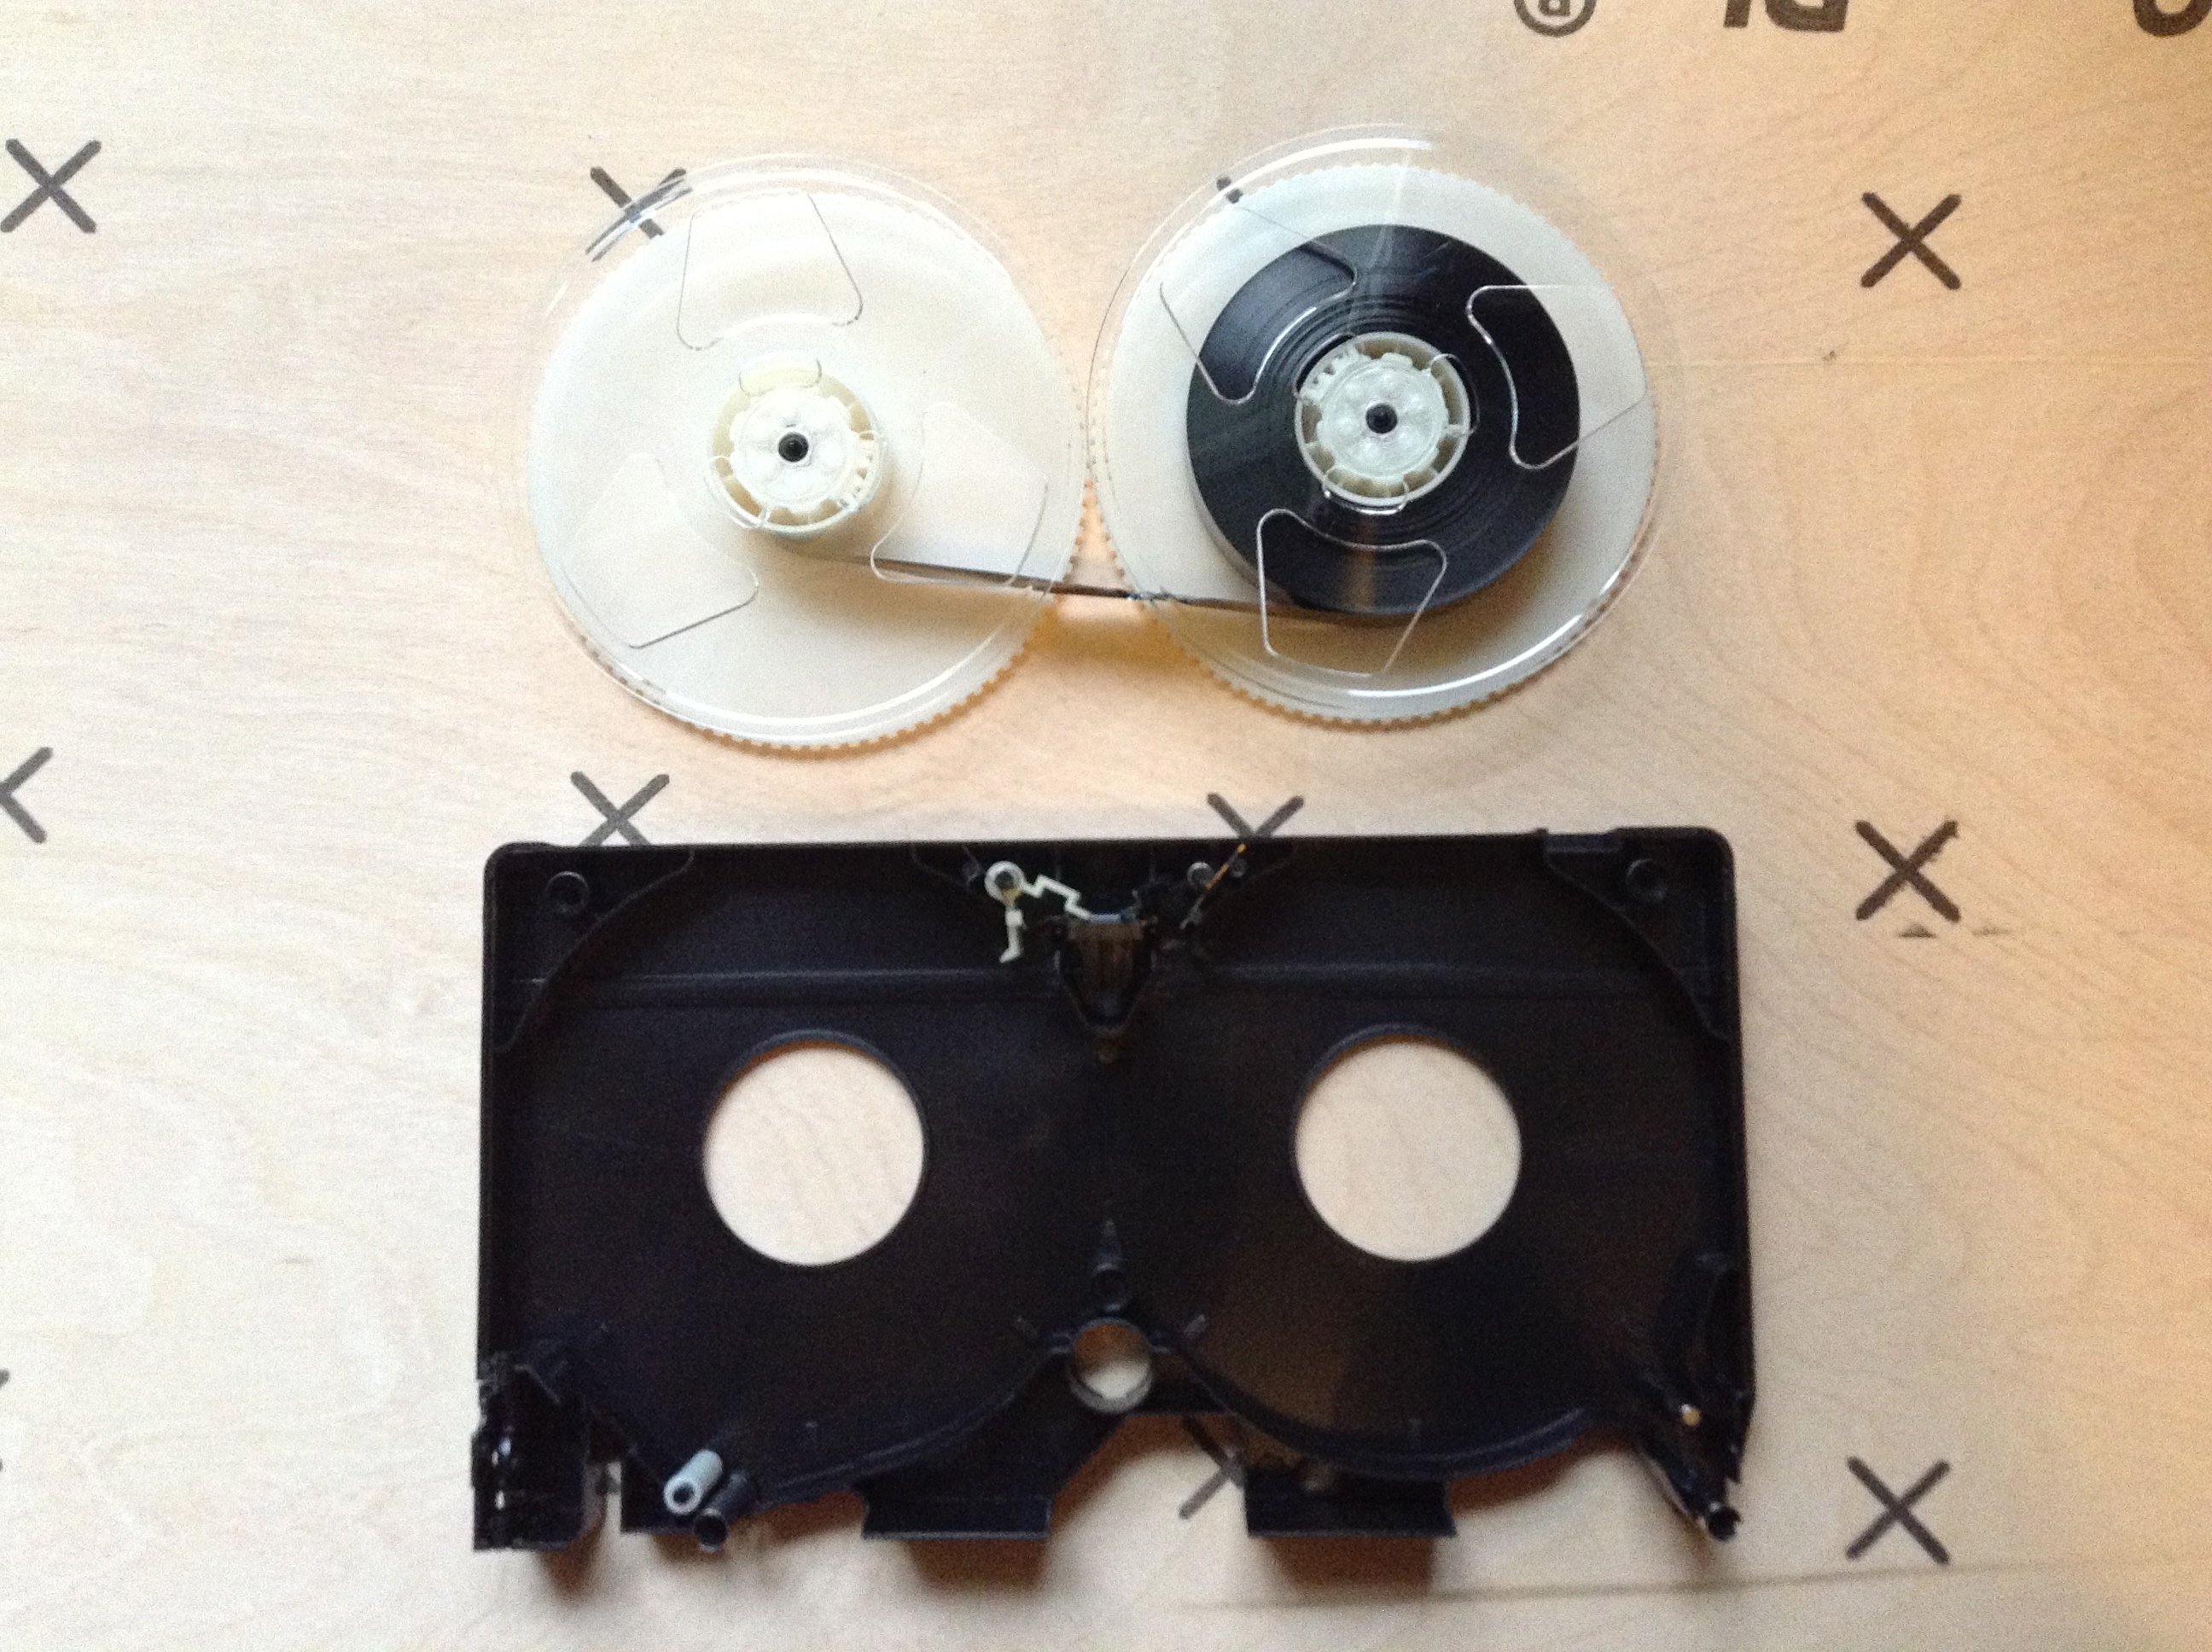
- Remove the two spools from the body of the VHS. Cut the tape so that the spools are no longer joined together.
- Even though all of the black tape will be on one spool there will still be a little bit of clear tape connected to the center of the other spool. Remove that tape; it should just snap off when pulled. If it doesn't, cut it as close to the center of the spool as you can.
- Flip the tape over. There should be five screws; four in the corners and one in the center of the tape. Remove them all and set them aside.
- Remove the two spools from the body of the VHS. Cut the tape so that the spools are no longer joined together.
- Even though all of the black tape will be on one spool there will still be a little bit of clear tape connected to the center of the other spool. Remove that tape; it should just snap off when pulled. If it doesn't, cut it as close to the center of the spool as you can.
Cutting the Spools


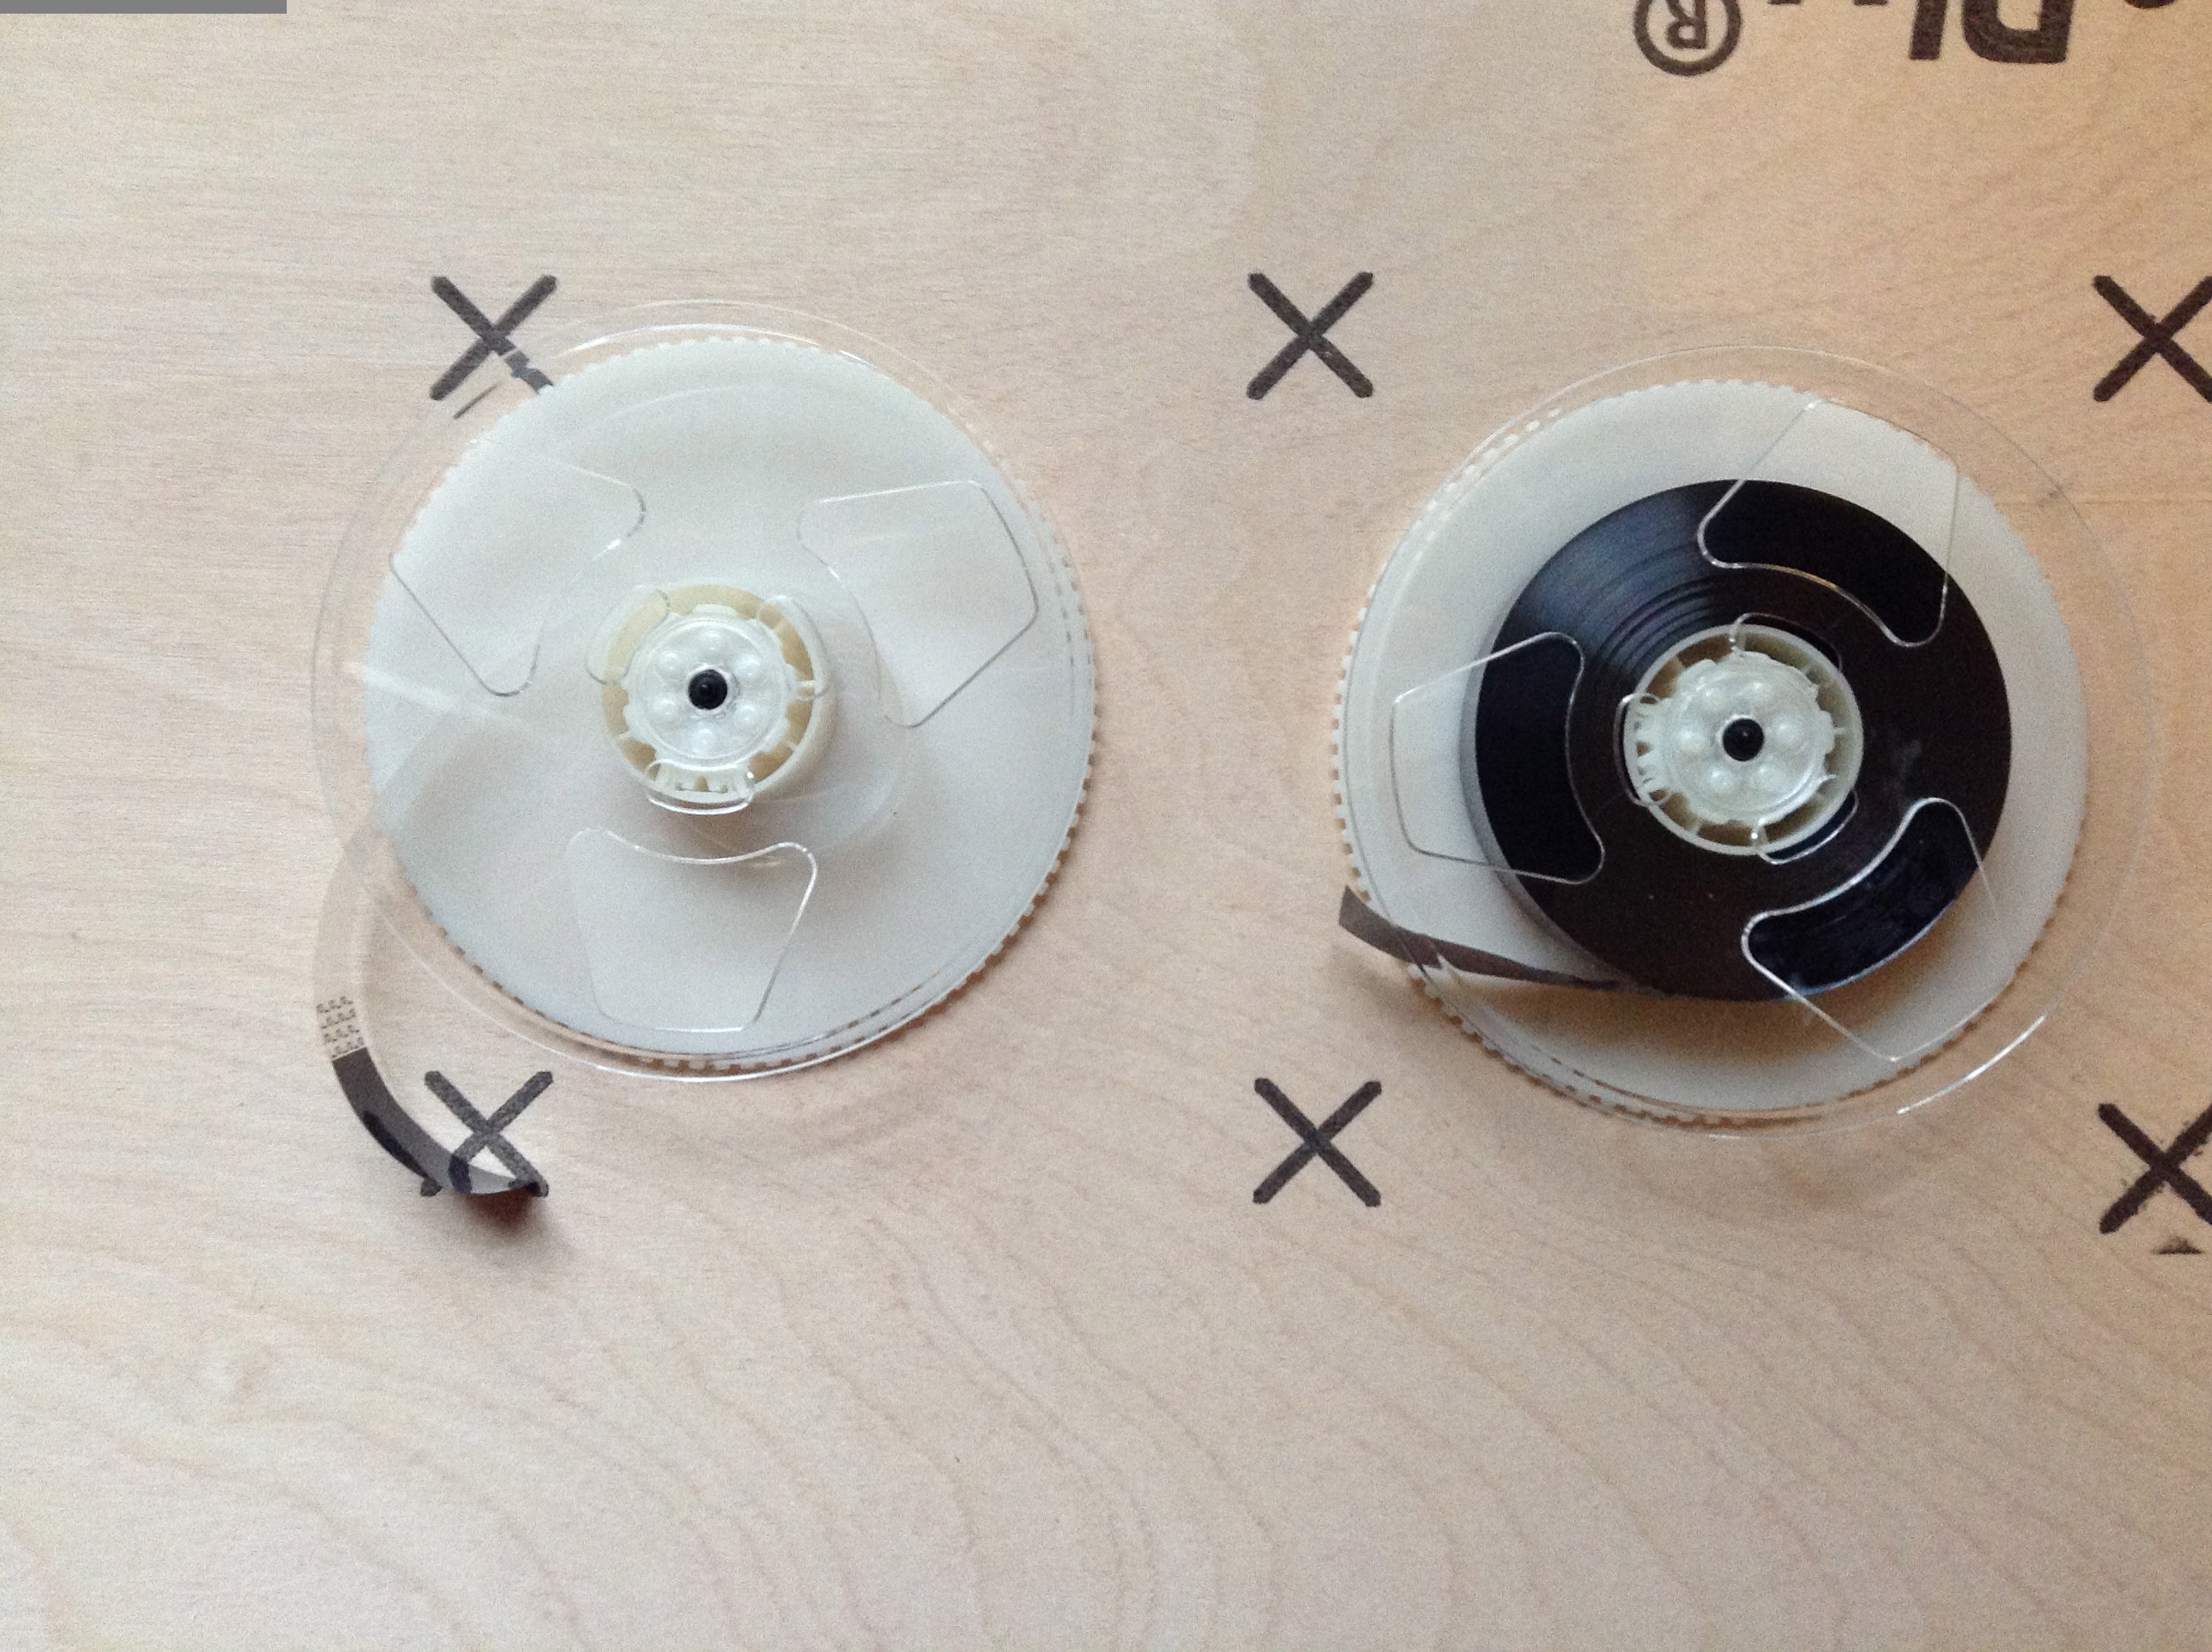
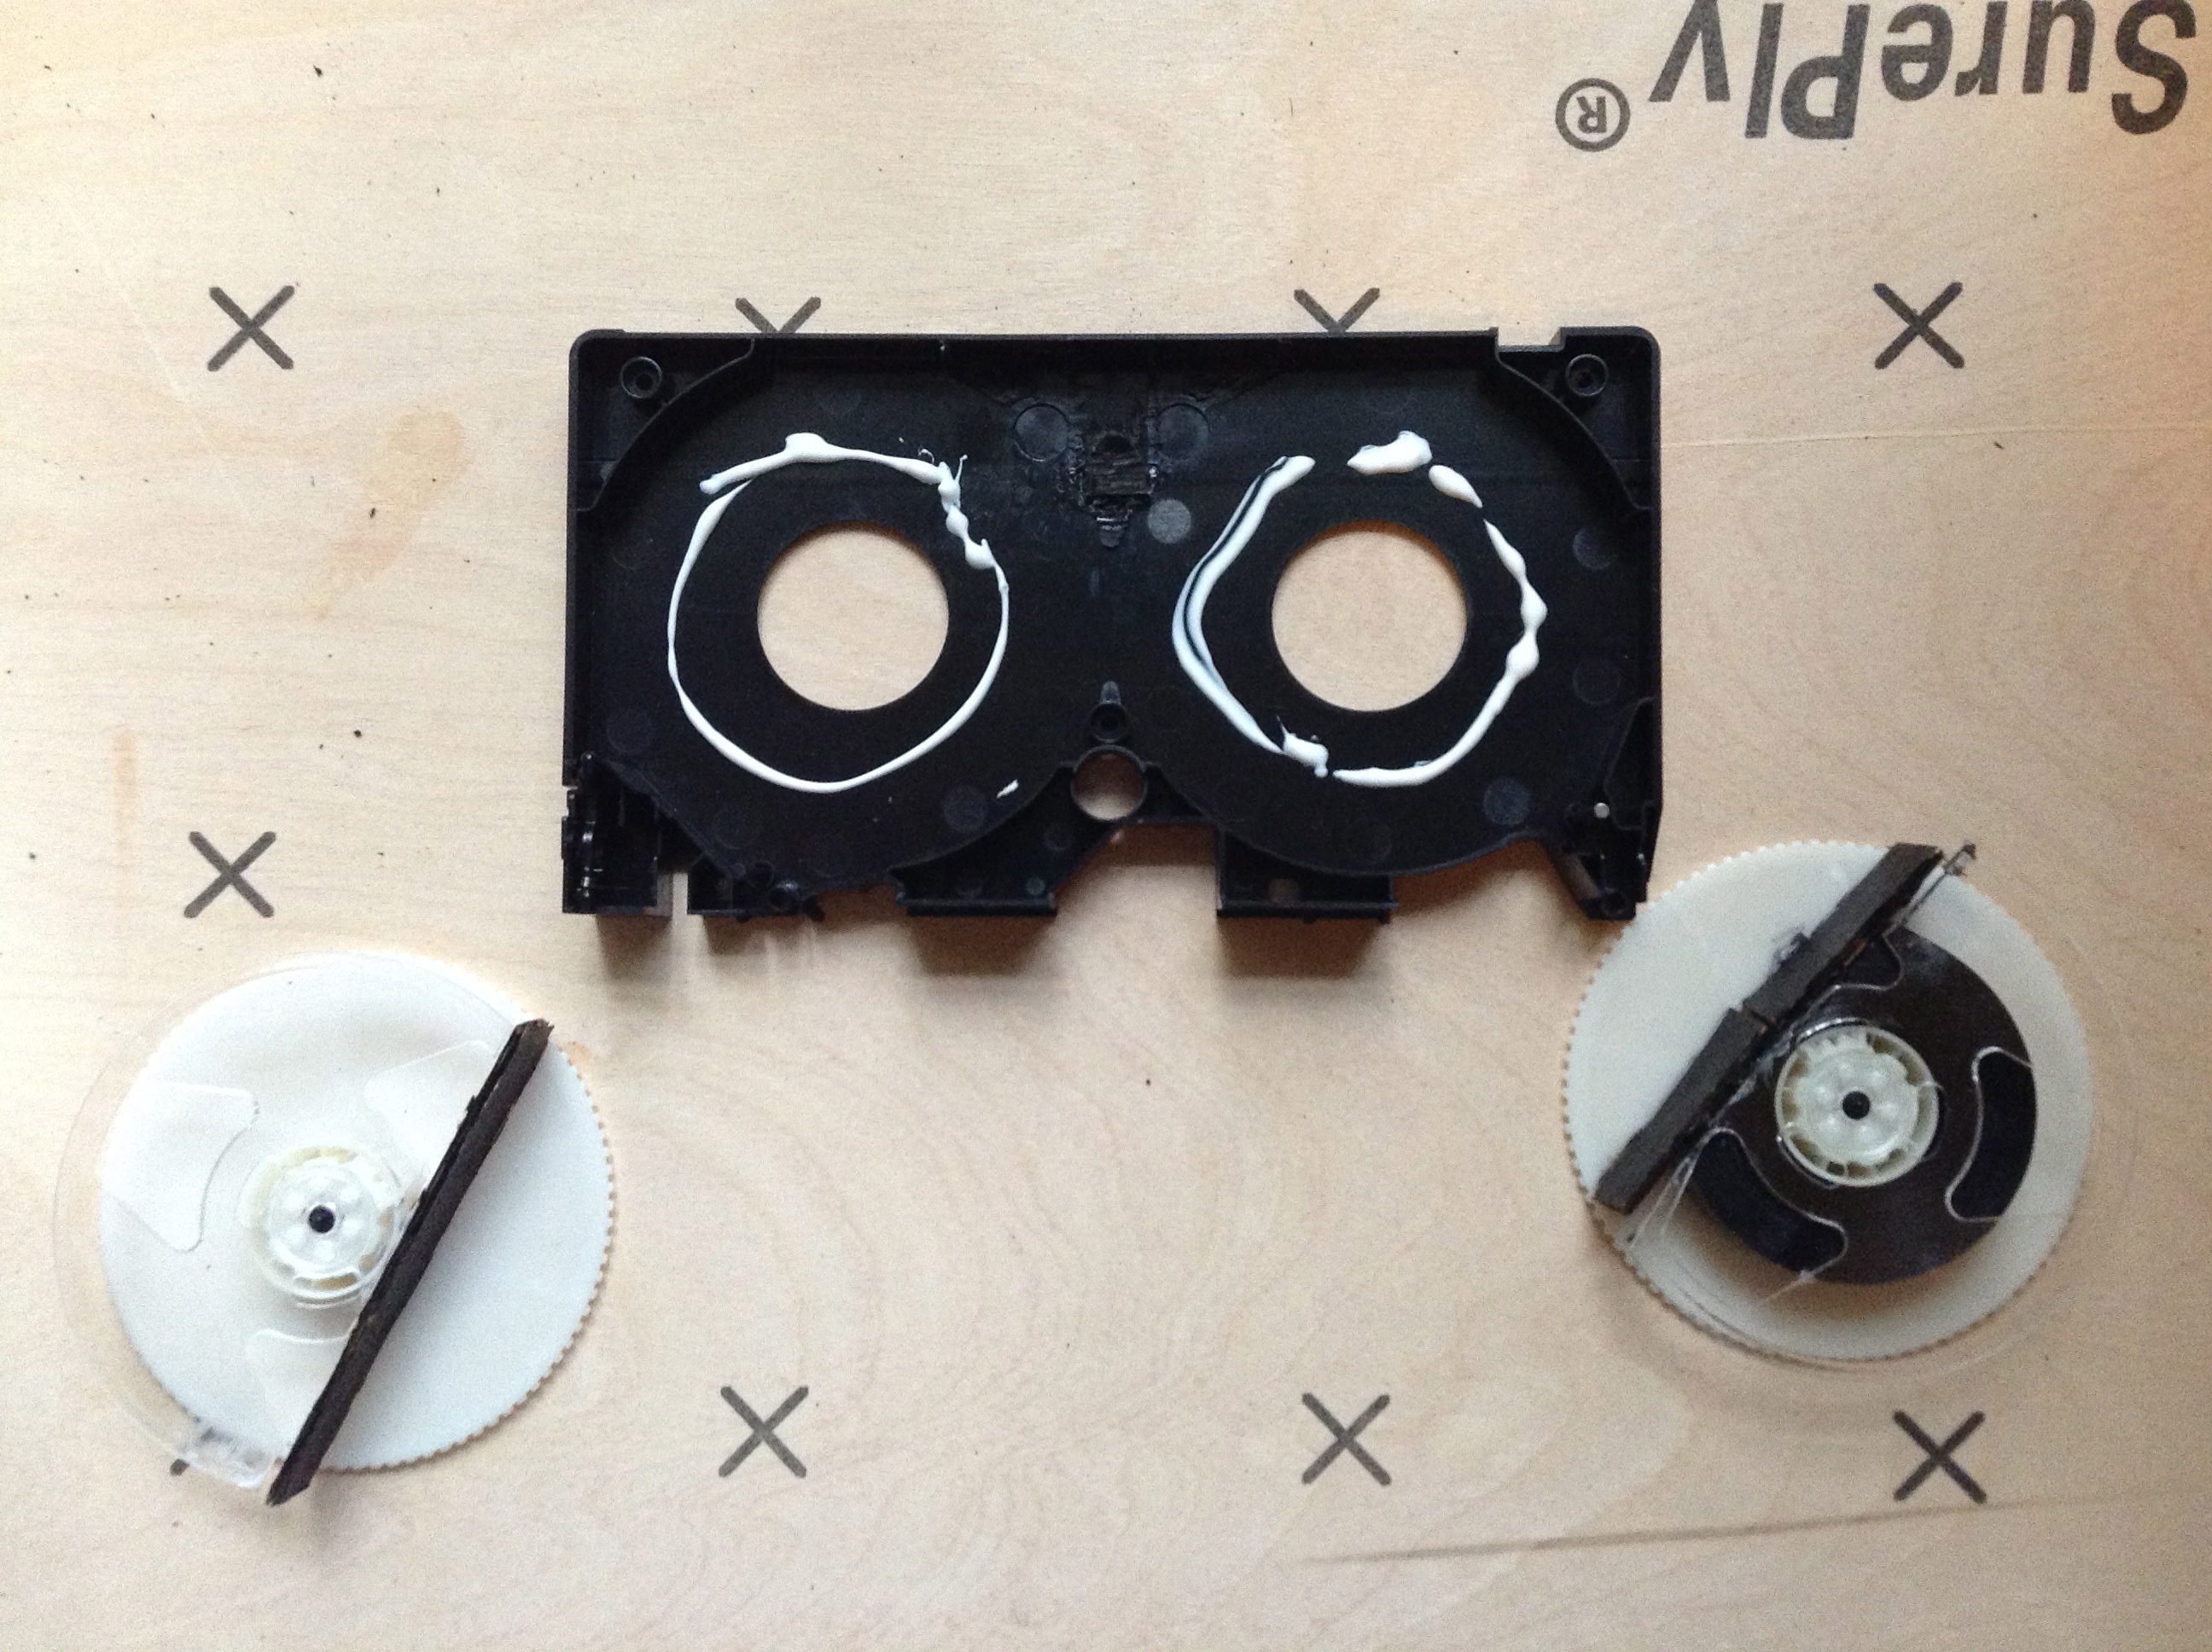
- Draw a line across the top of the spool right next to what the tape wraps around on each spool; these lines are where you will make the cuts.
- On the empty spool only cut off the top layer of the spool (the clear plastic).
- The spool with the tape requires a little more work. The tape needs to be melted as it is being cut so that it doesn't come loose. A rotary tool is recommended for this step, although I suppose a hot knife could be used (I haven't tried it though). Follow the steps below;
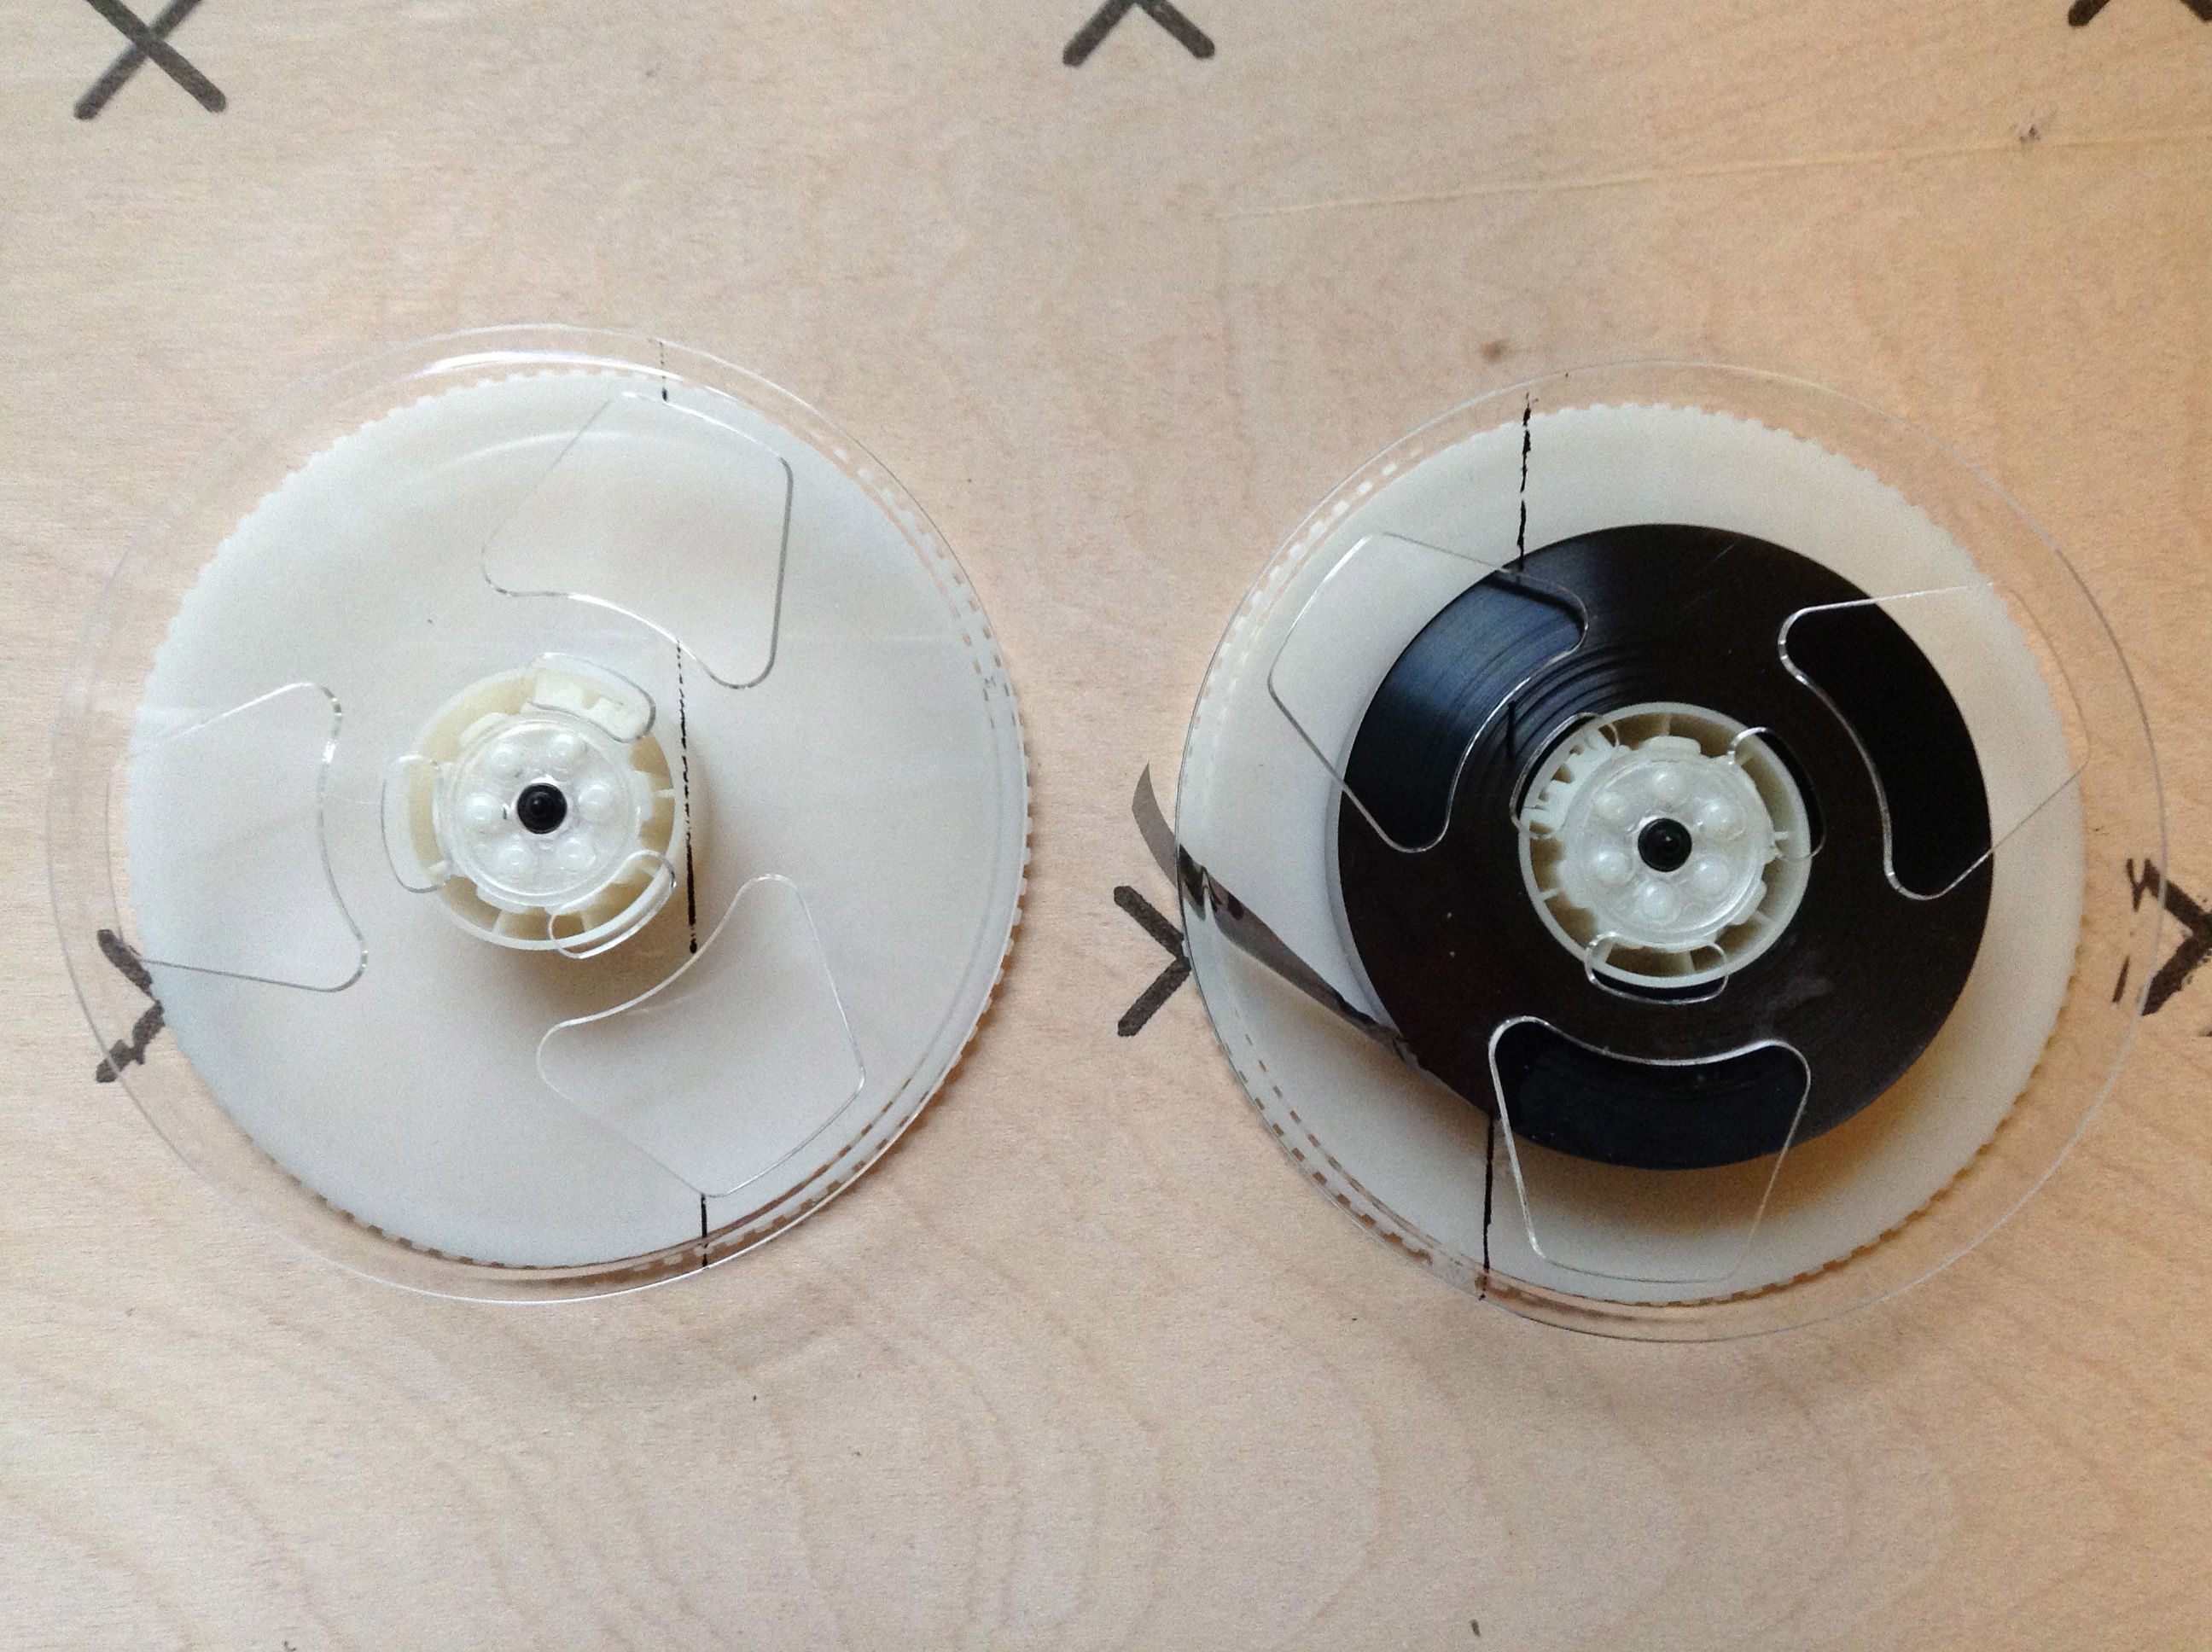
- Set the rotary tool to a high speed. This will melt the tape as it cuts, preventing the tape from falling off the spool.
- Cut through the top layer of the spool and through the tape; try and stop before you cut of the bottom layer.
- After the tape is cut clean up the edges.
Clearing Out the VHS Case
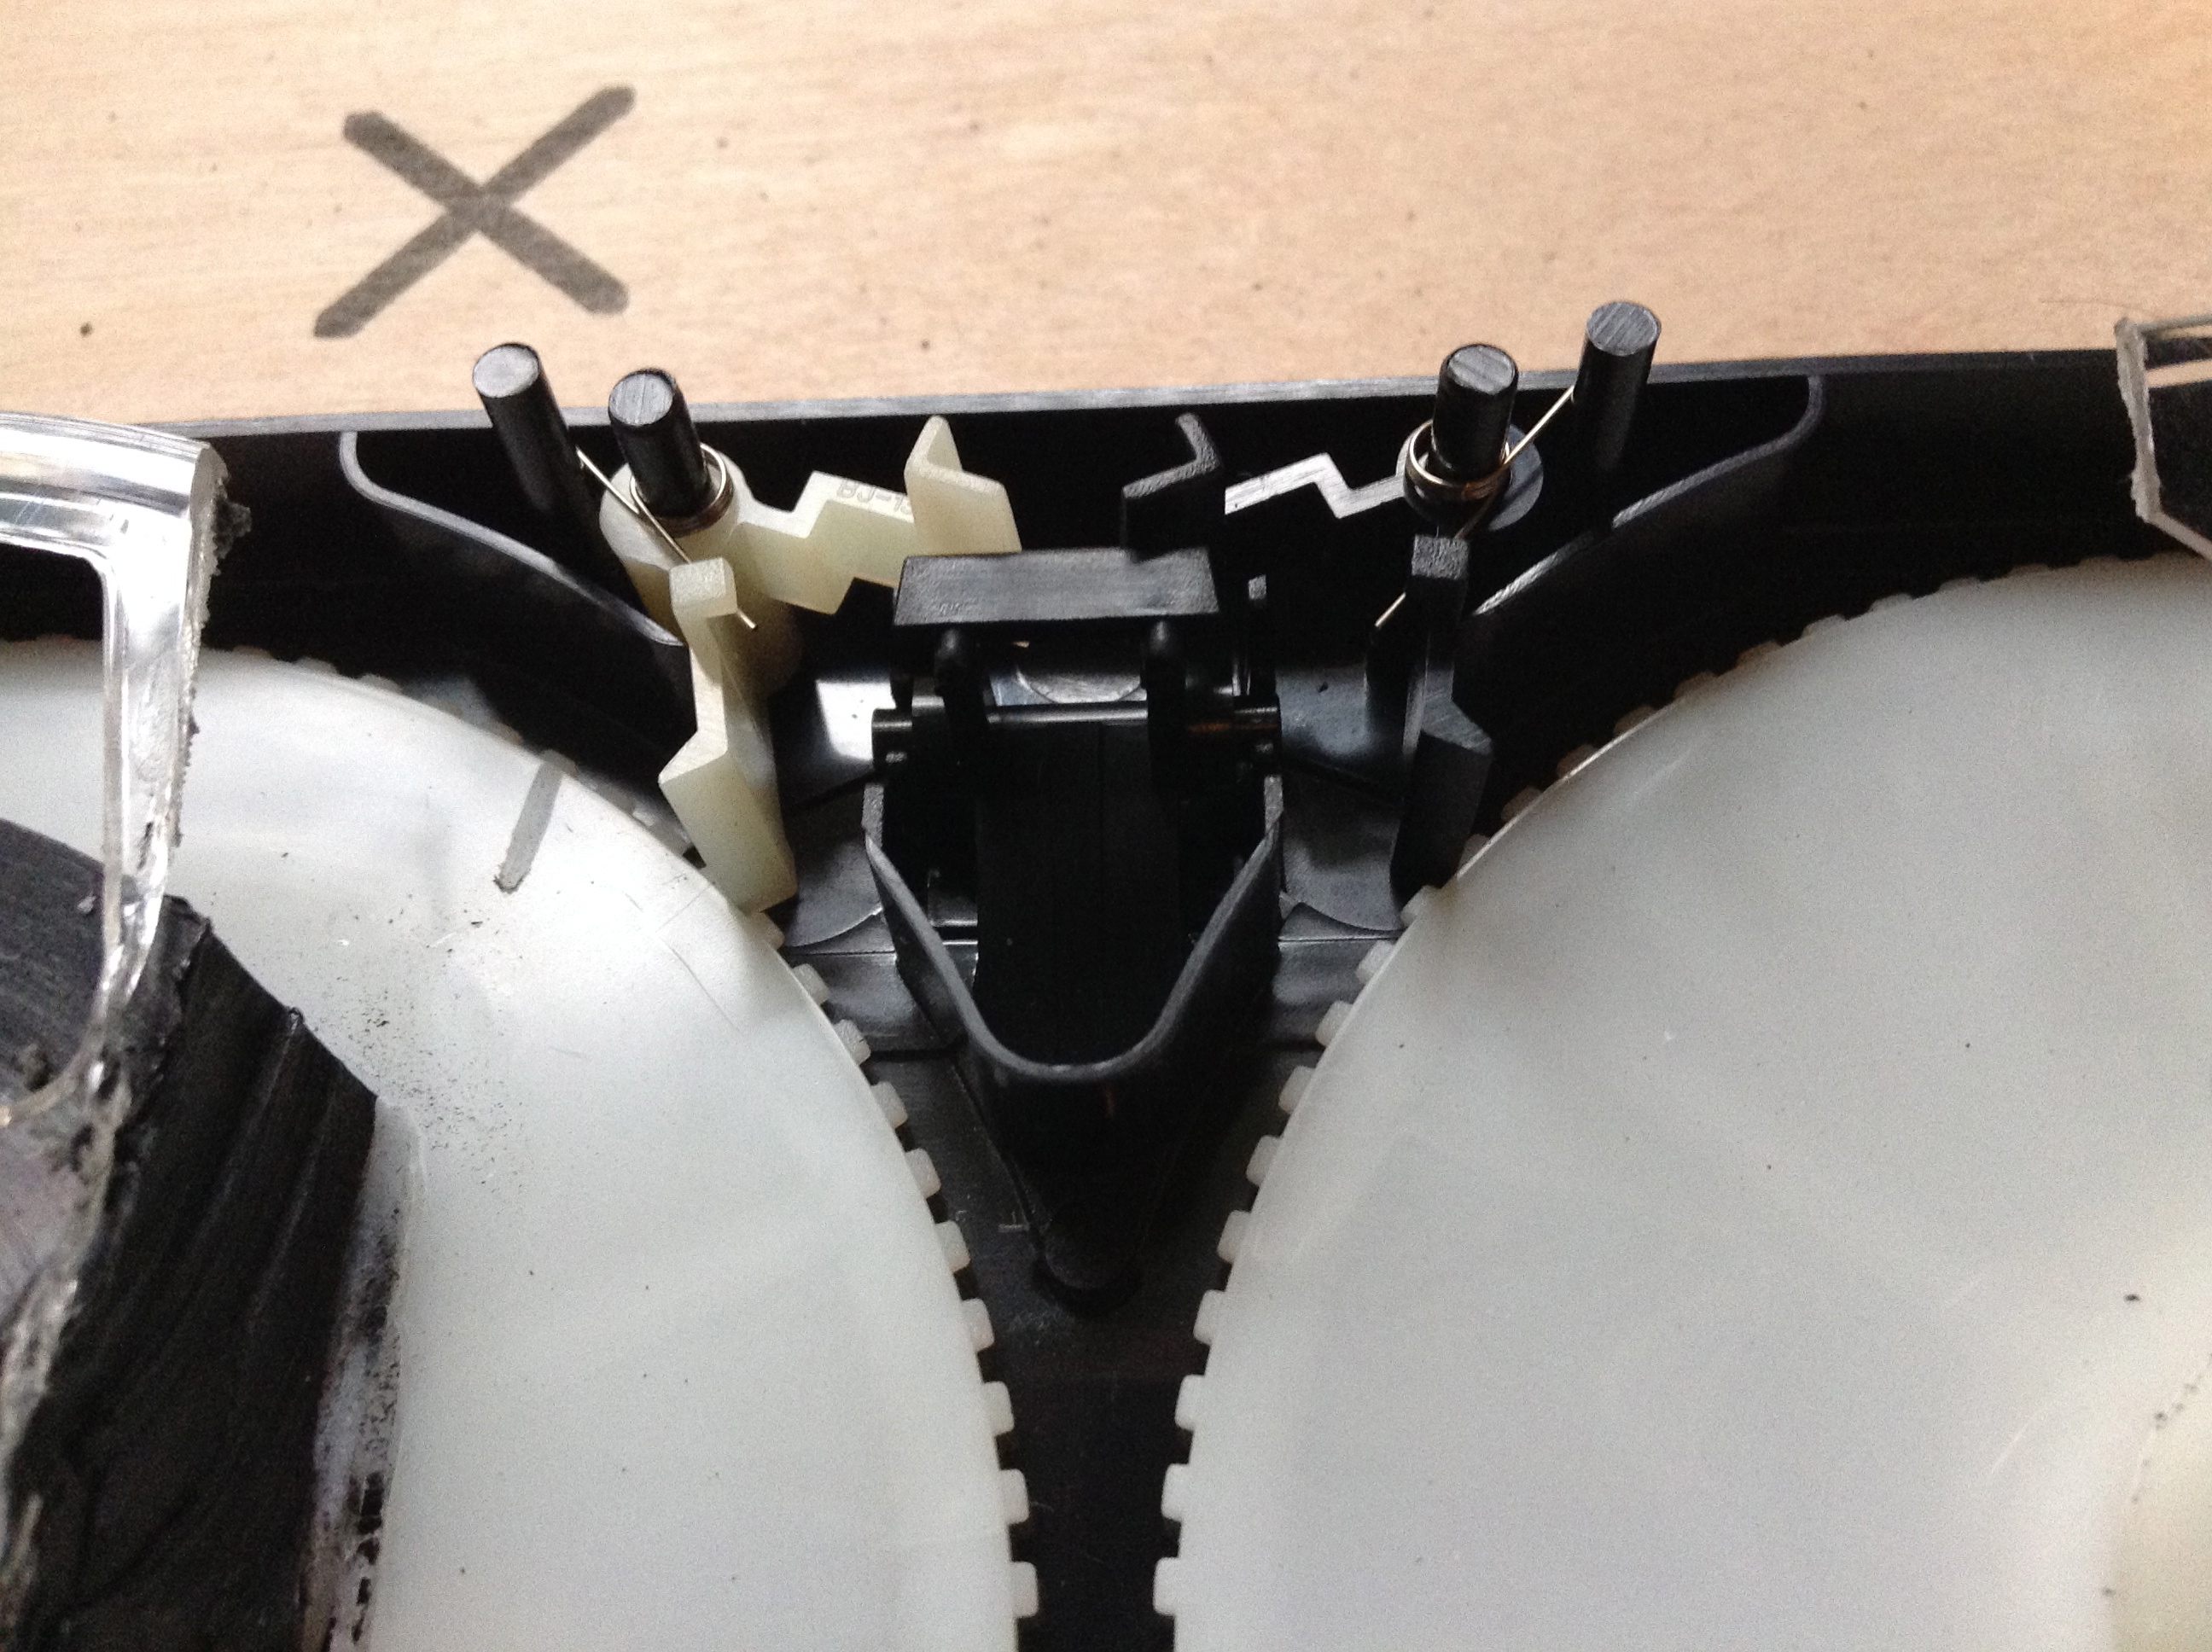
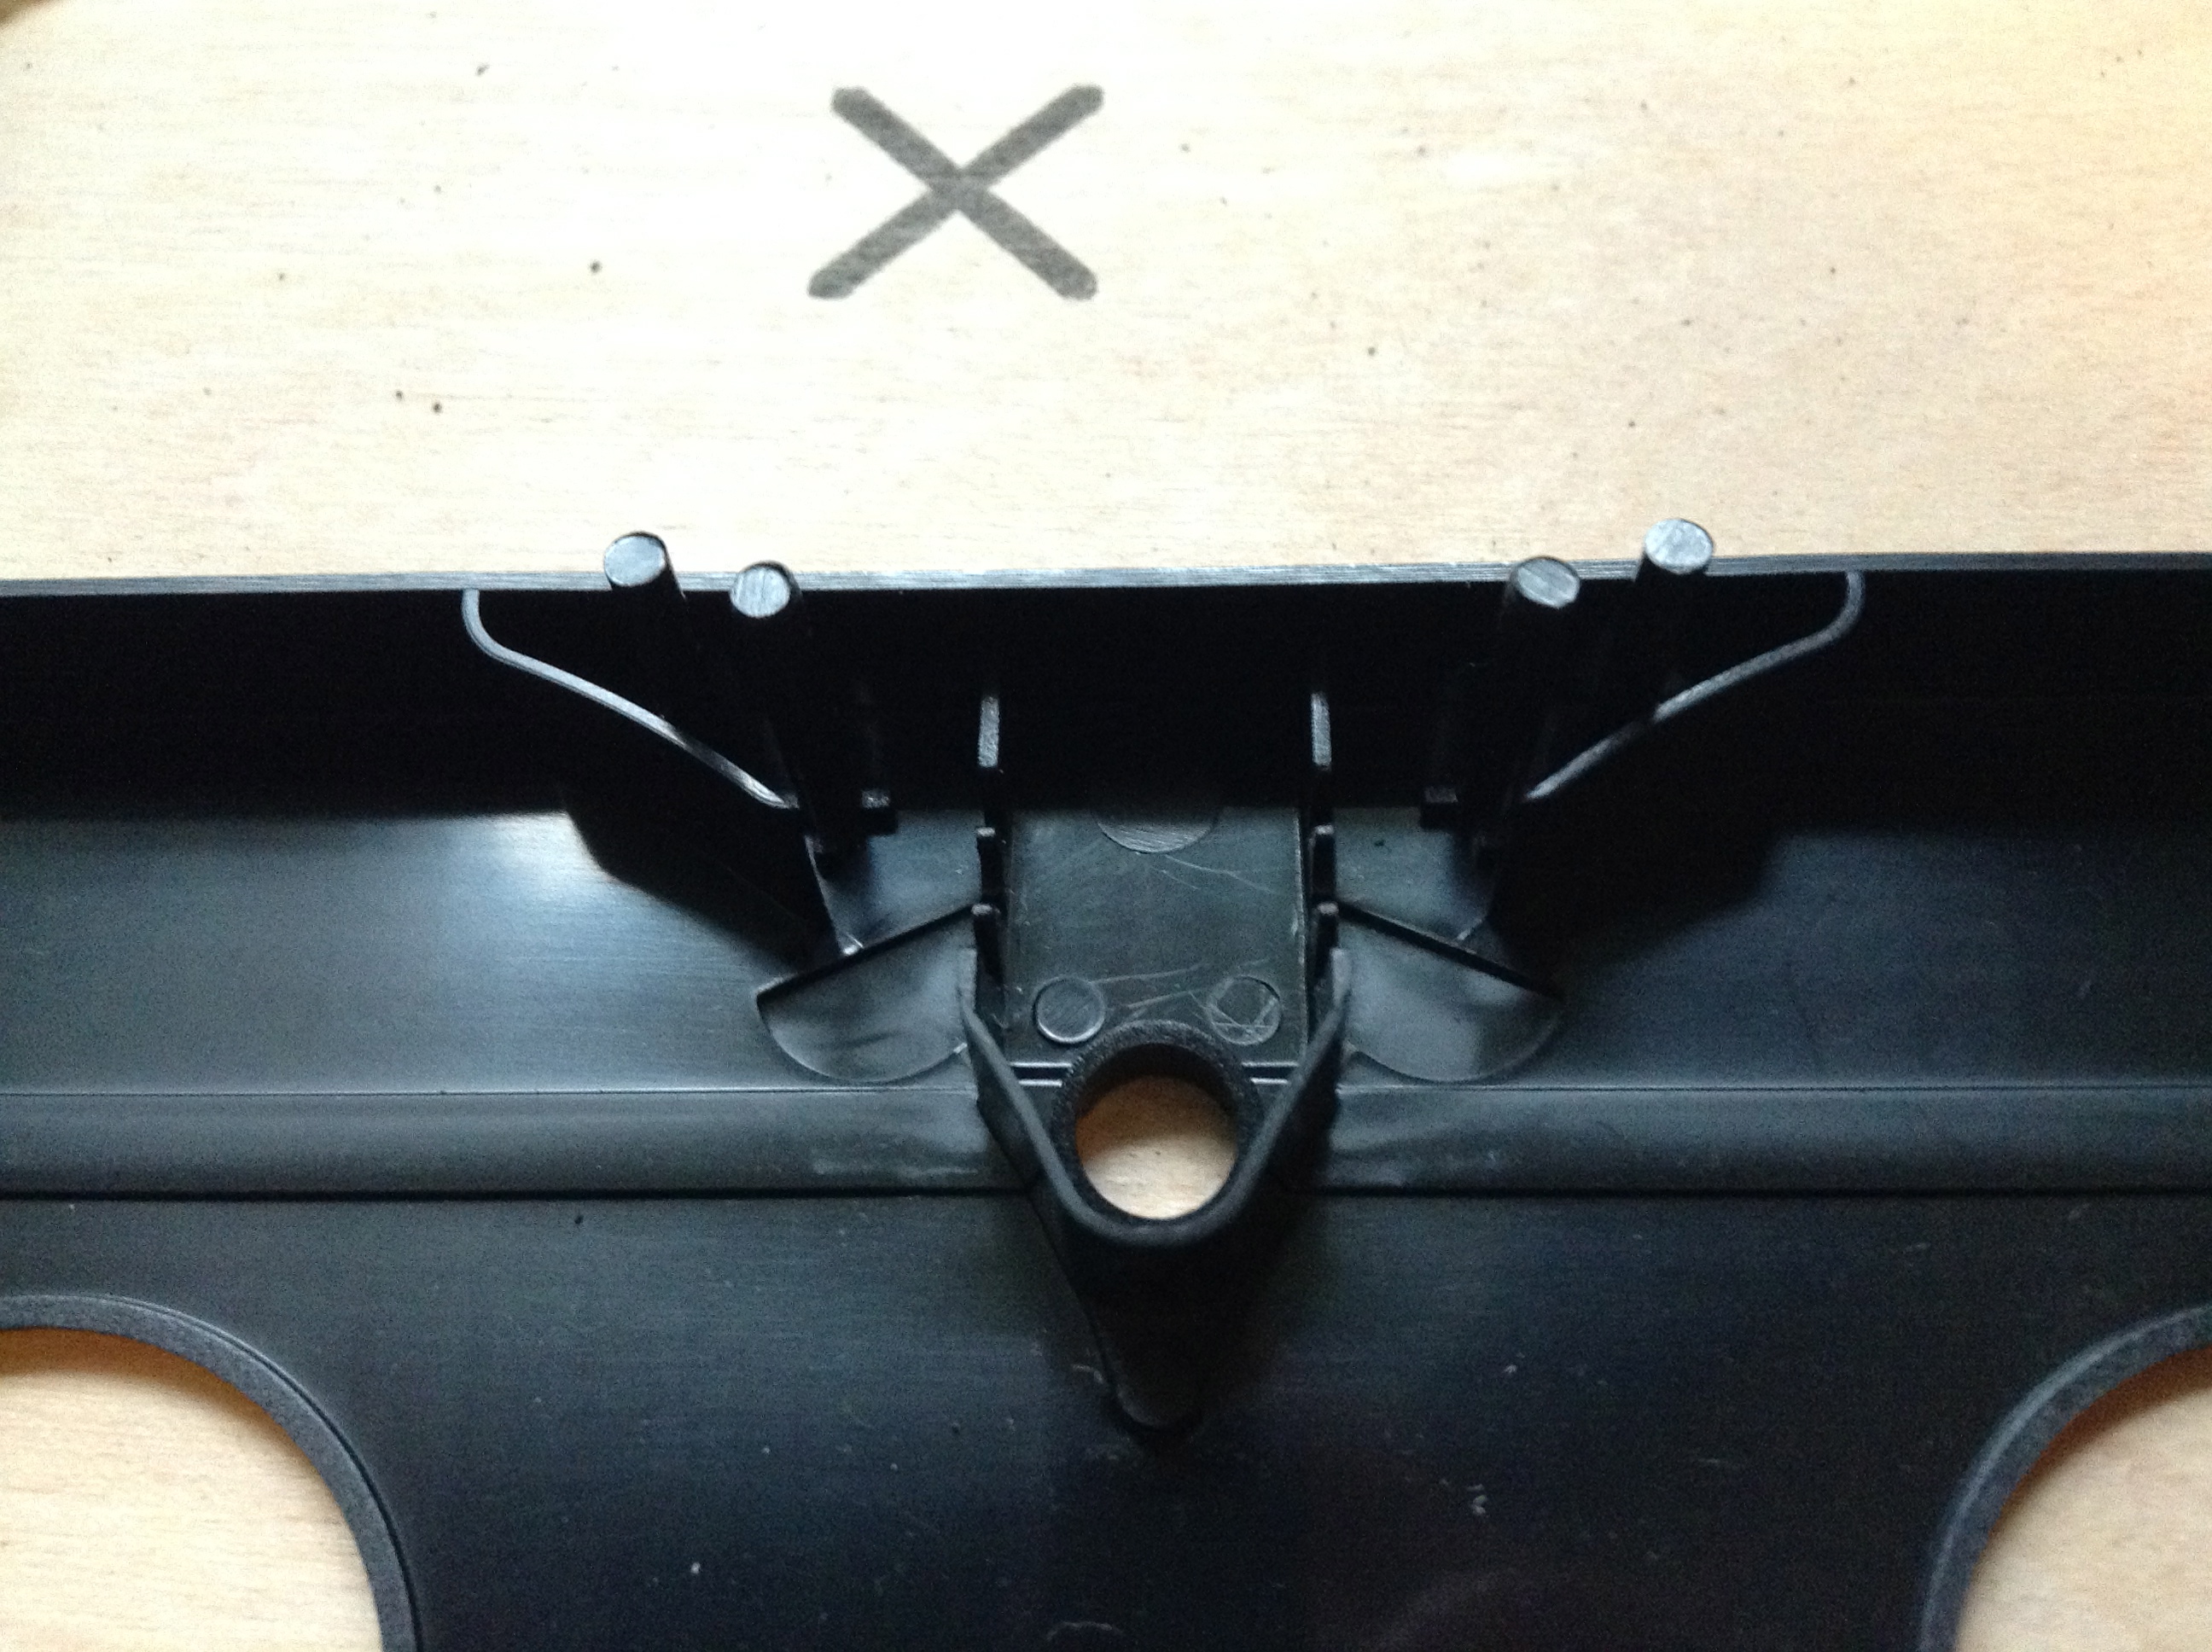
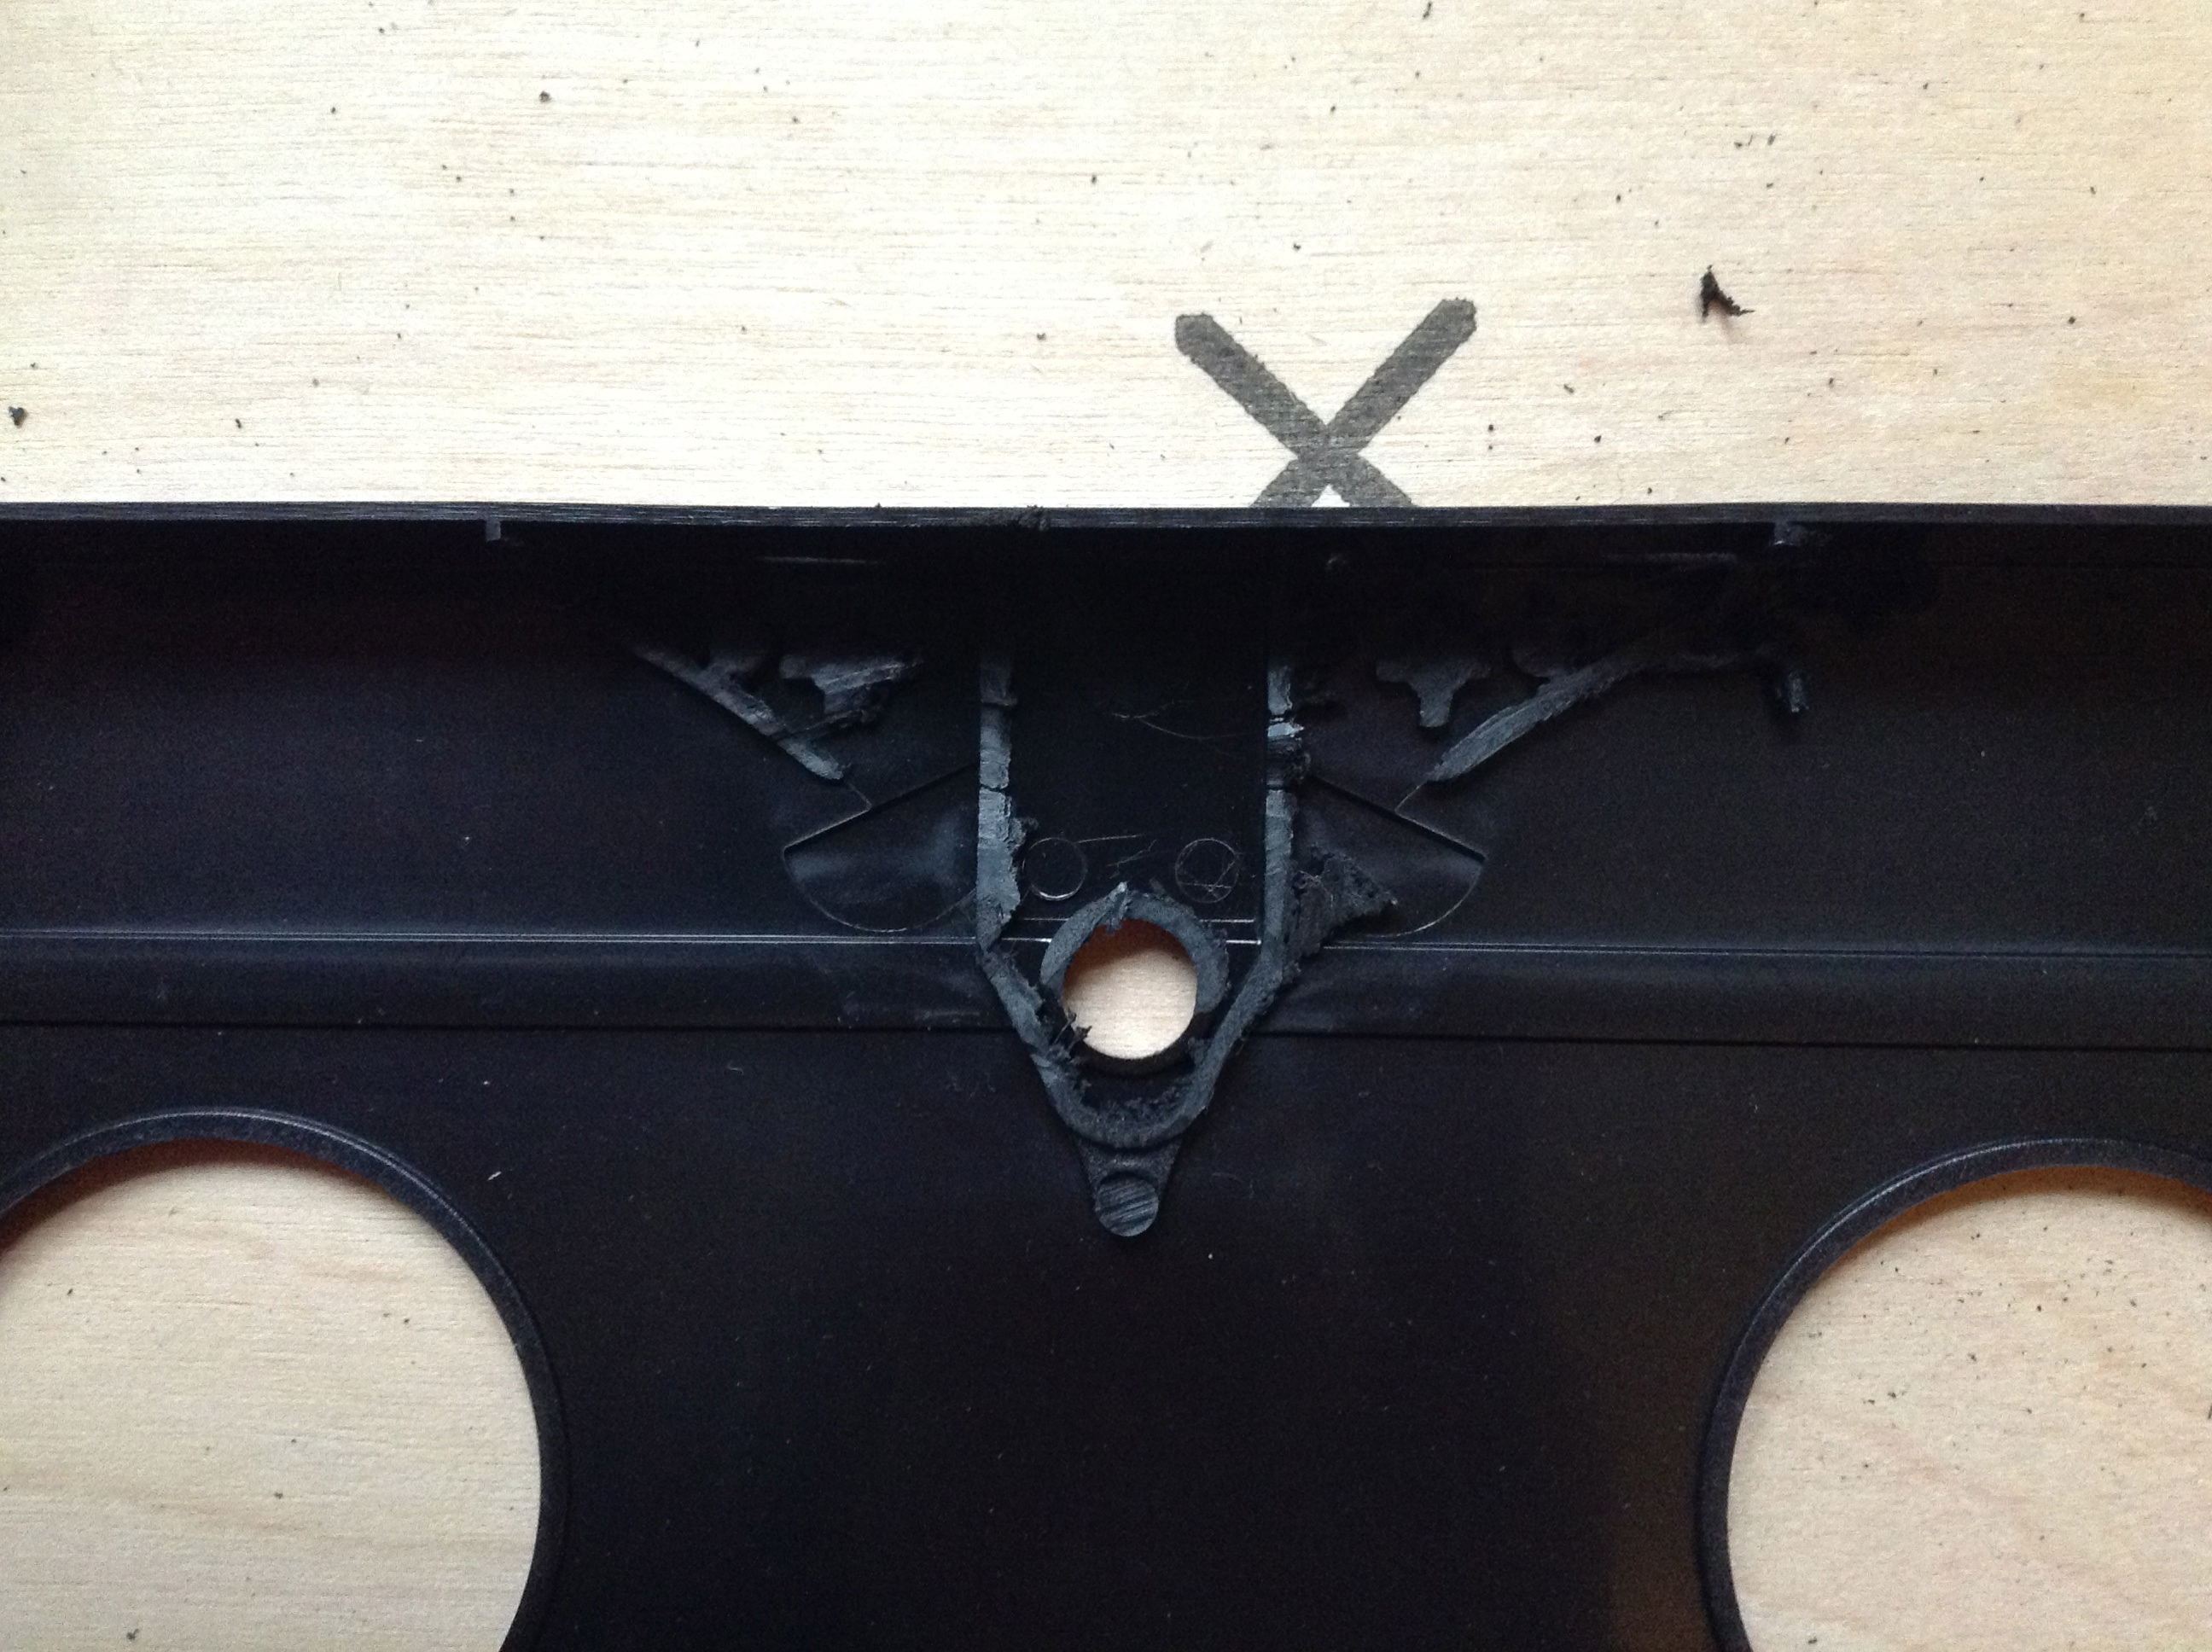
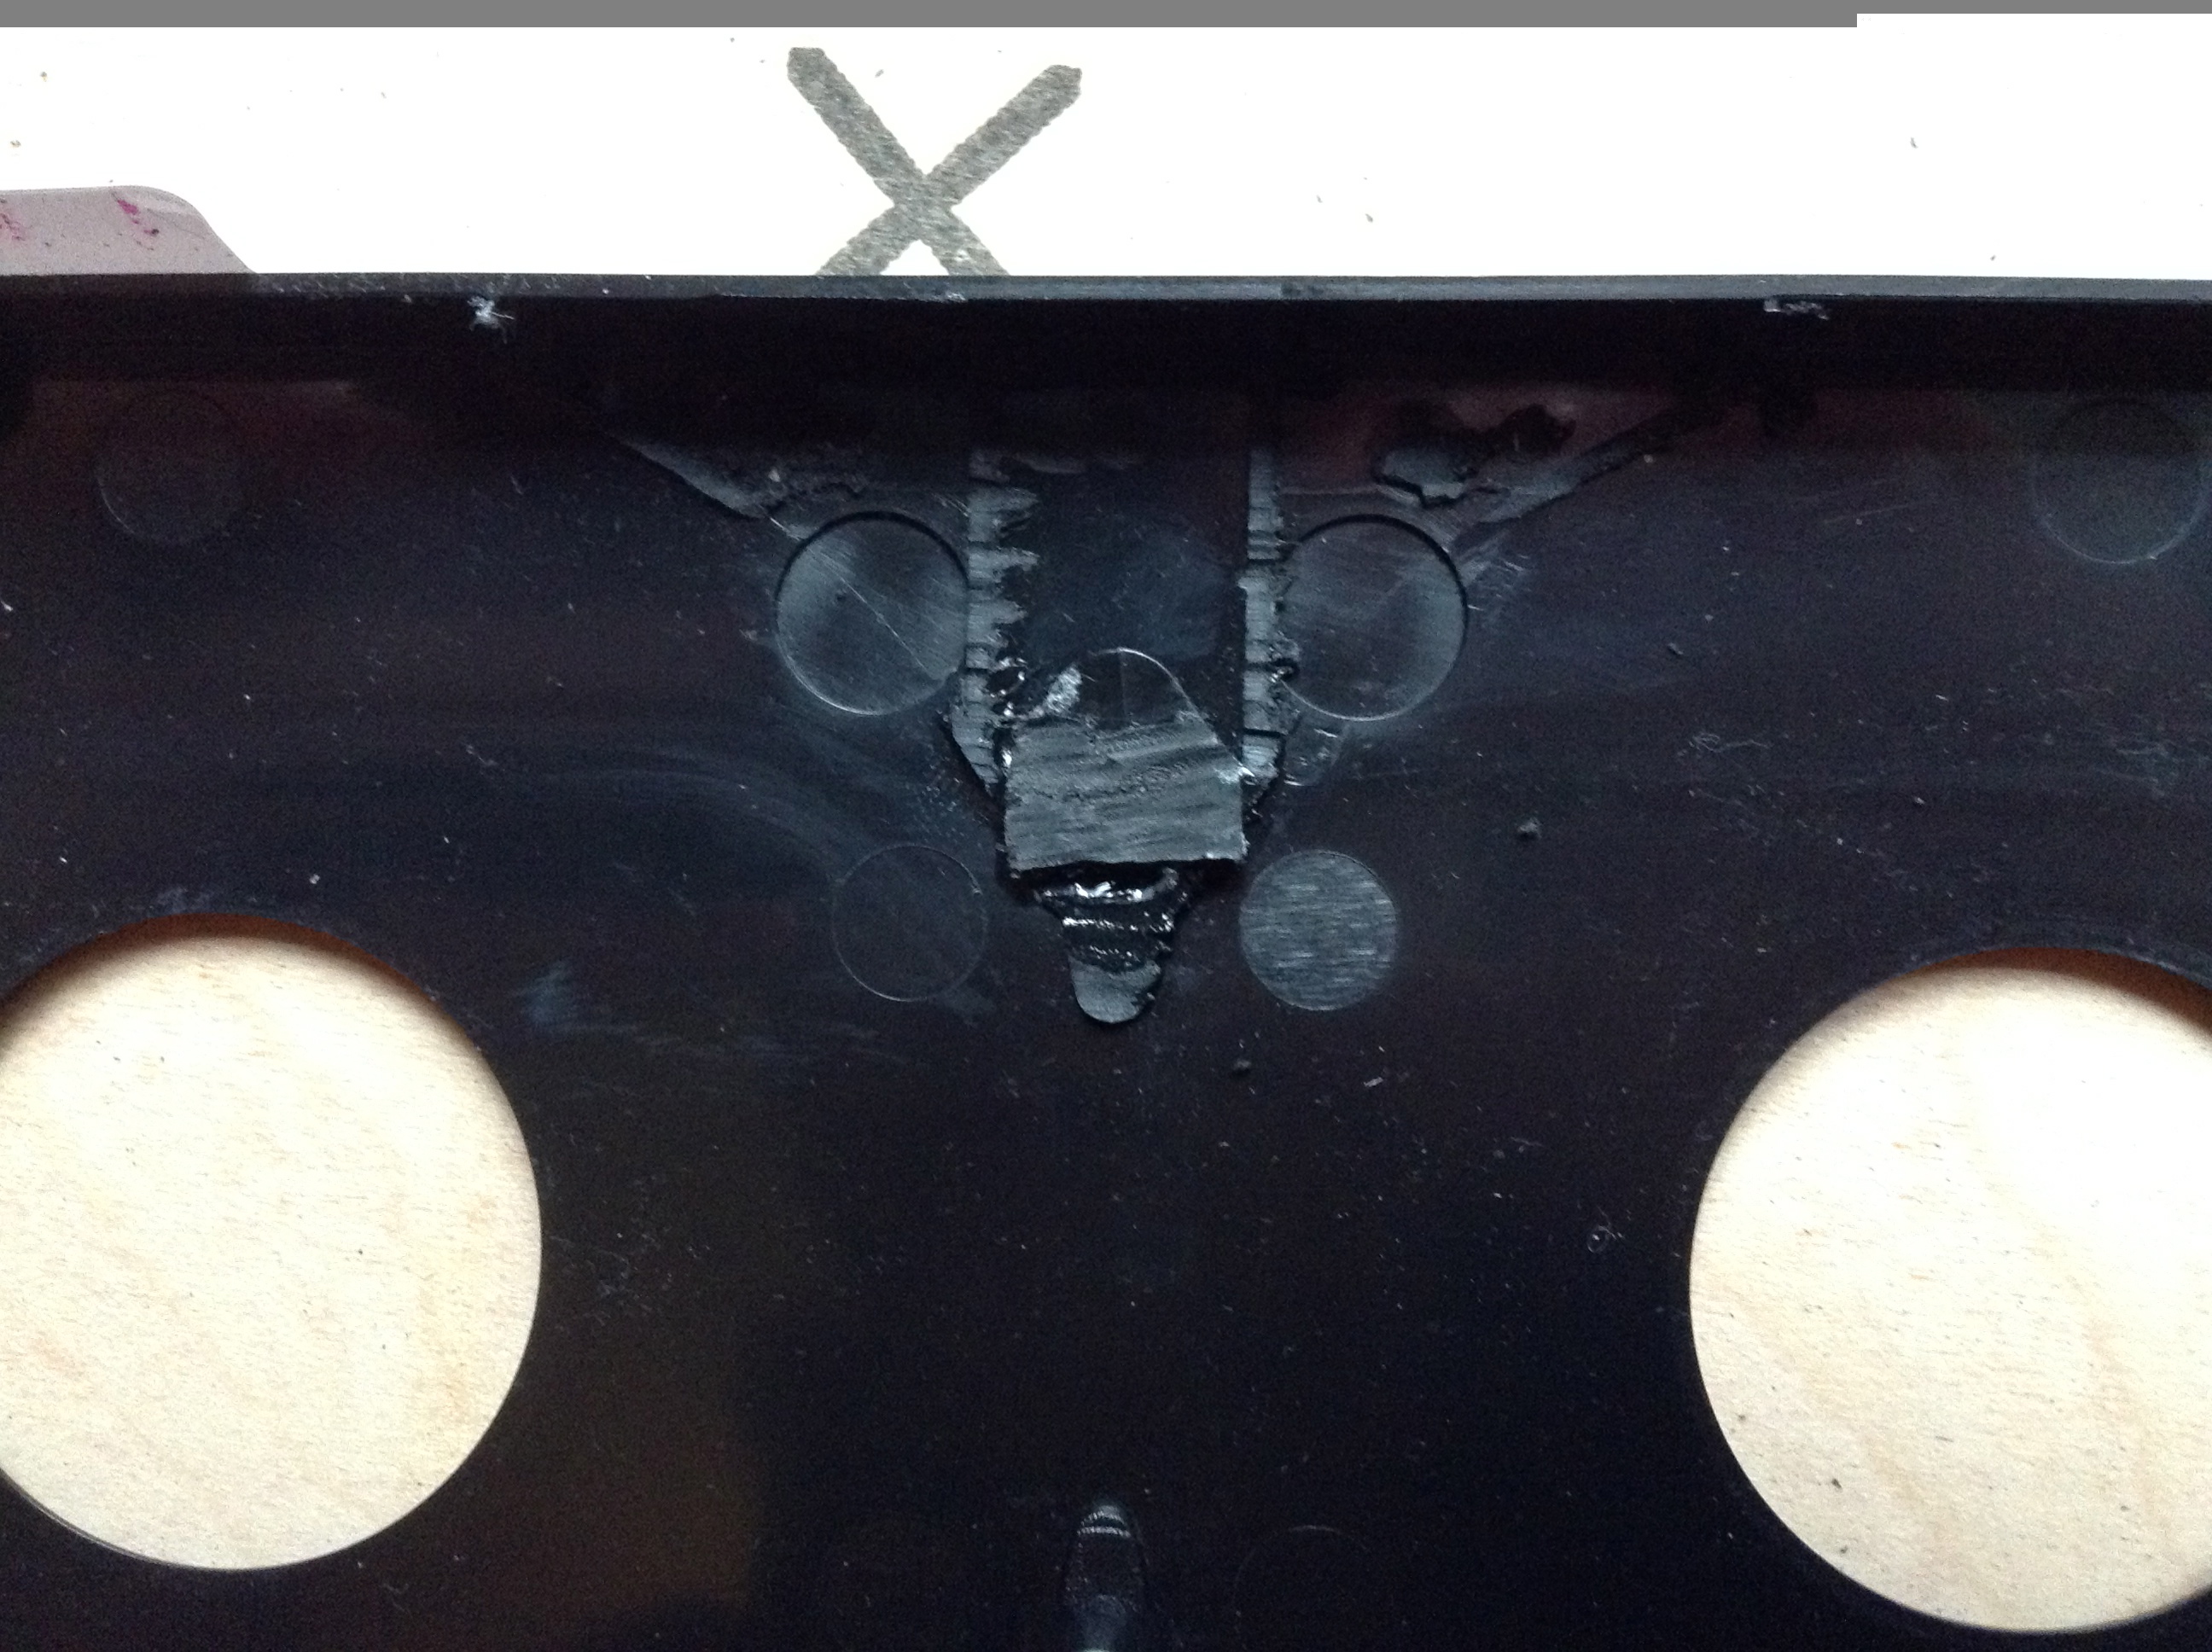
*I recommend looking at all of the images in this step*
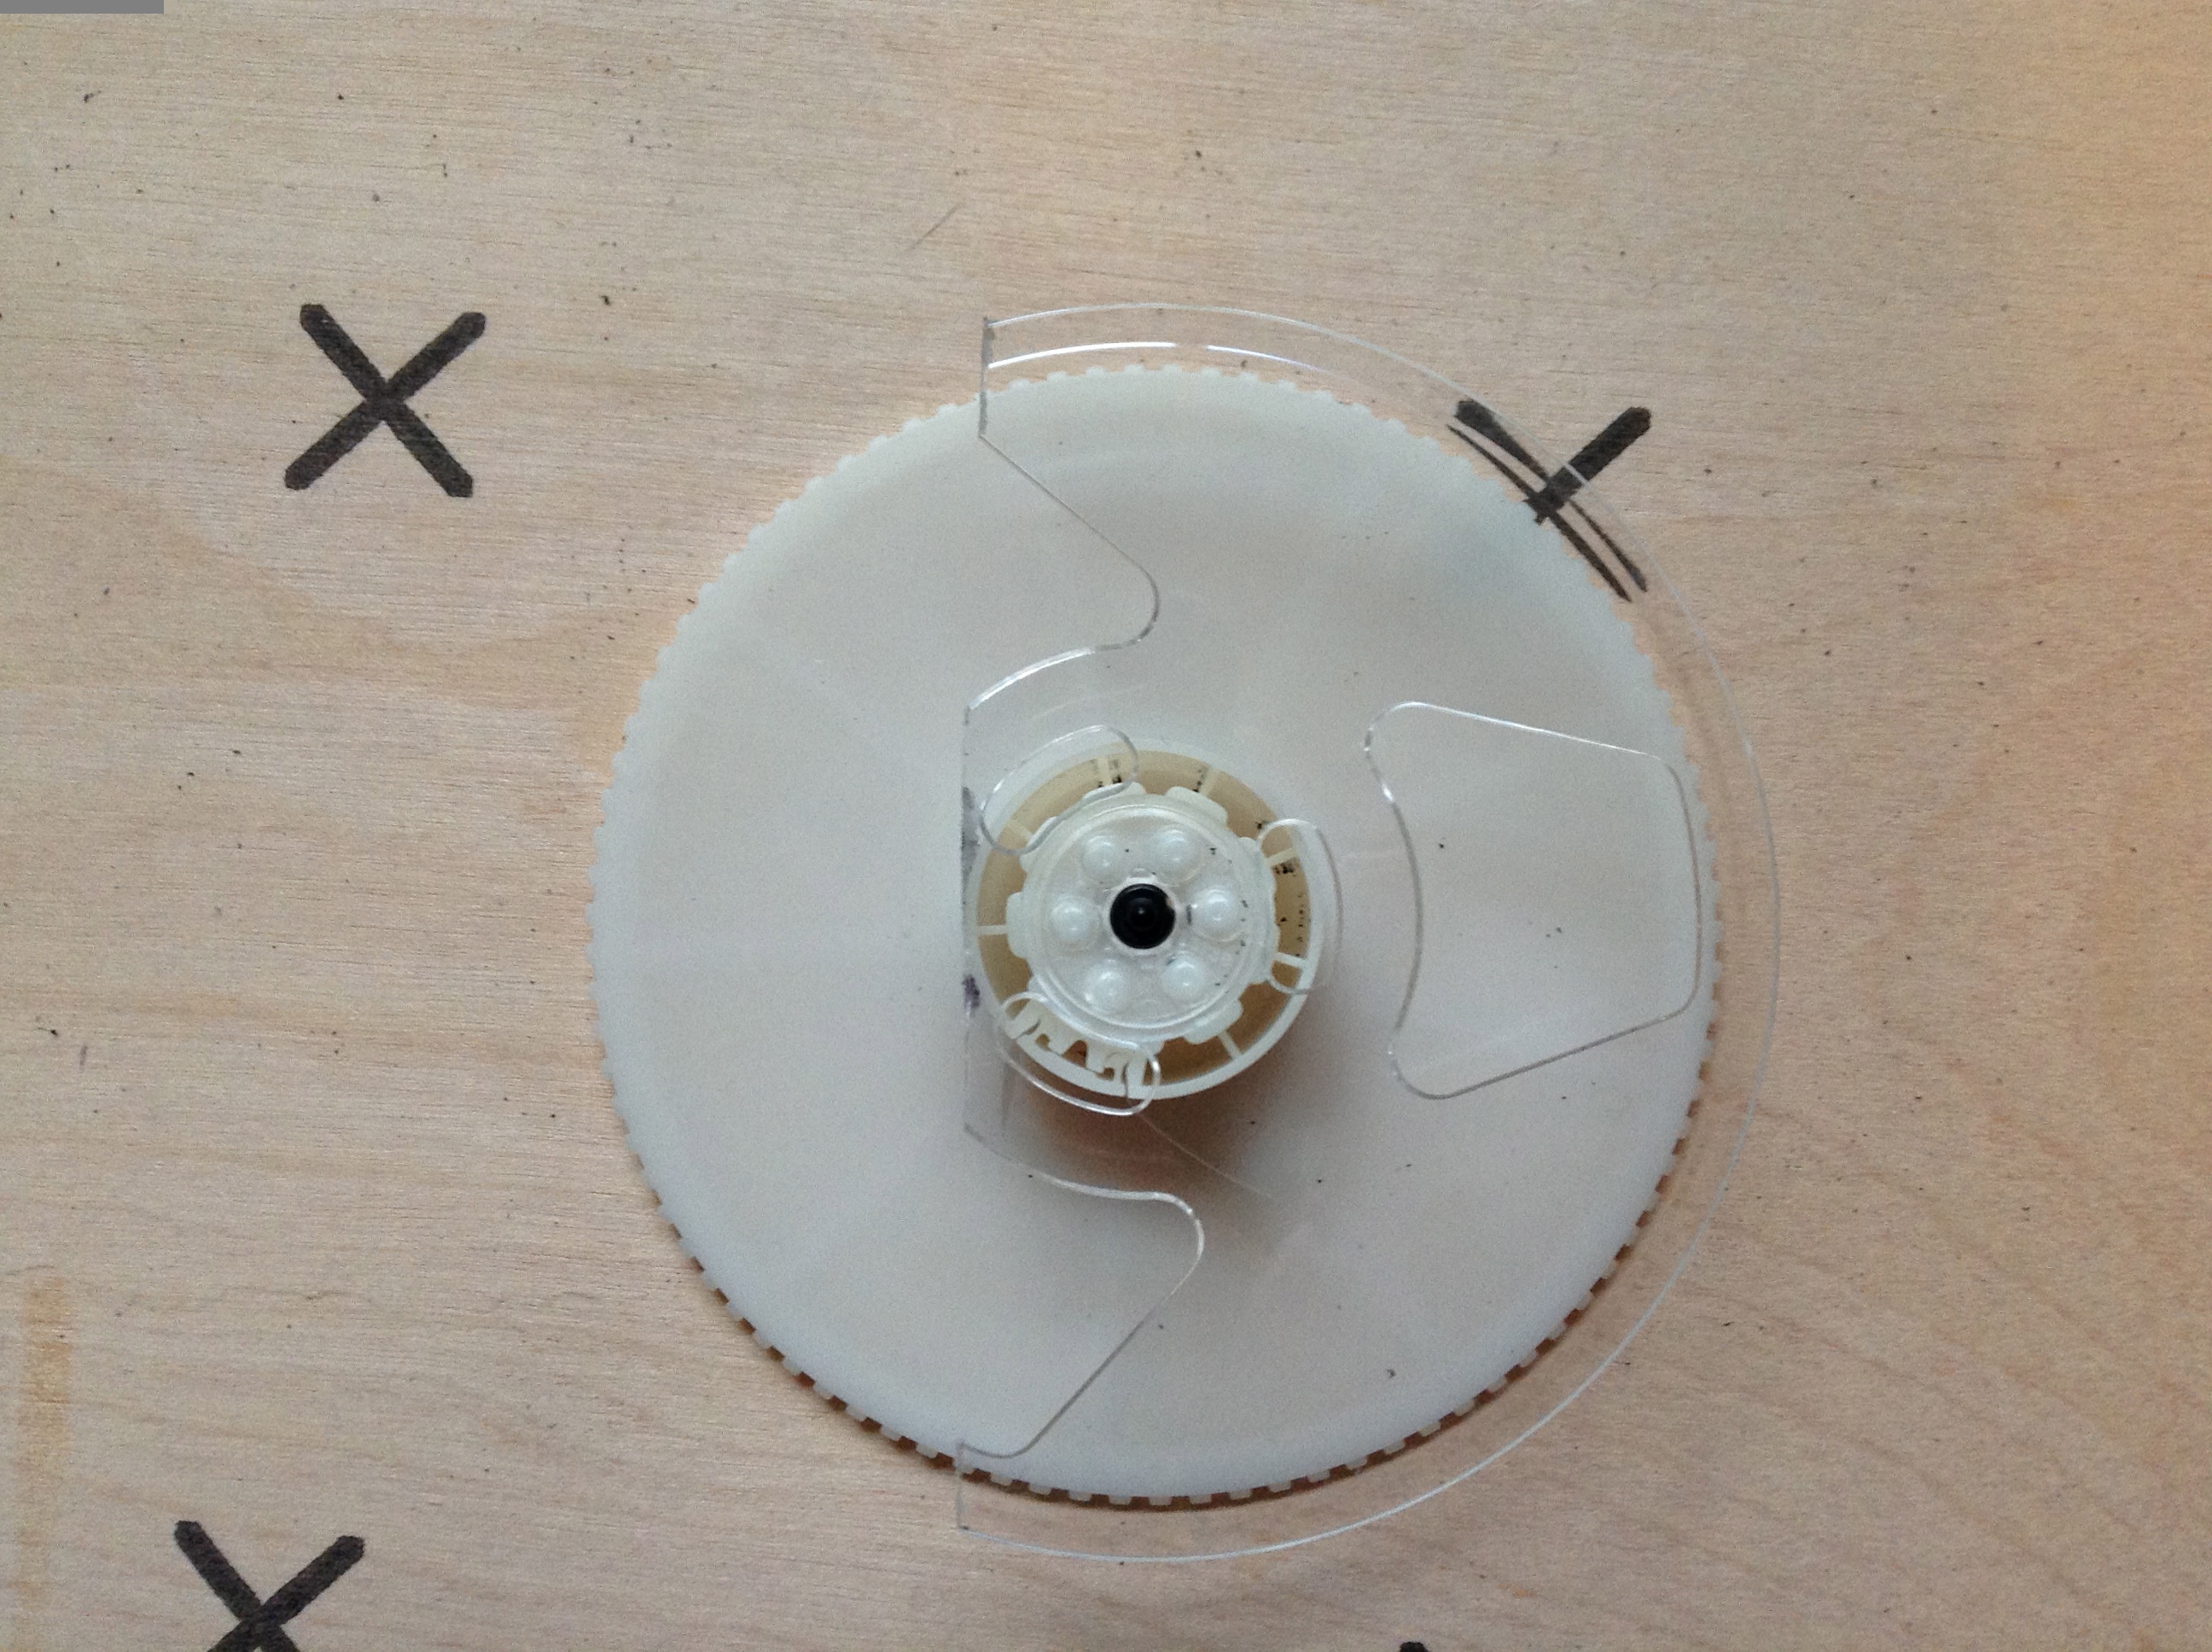
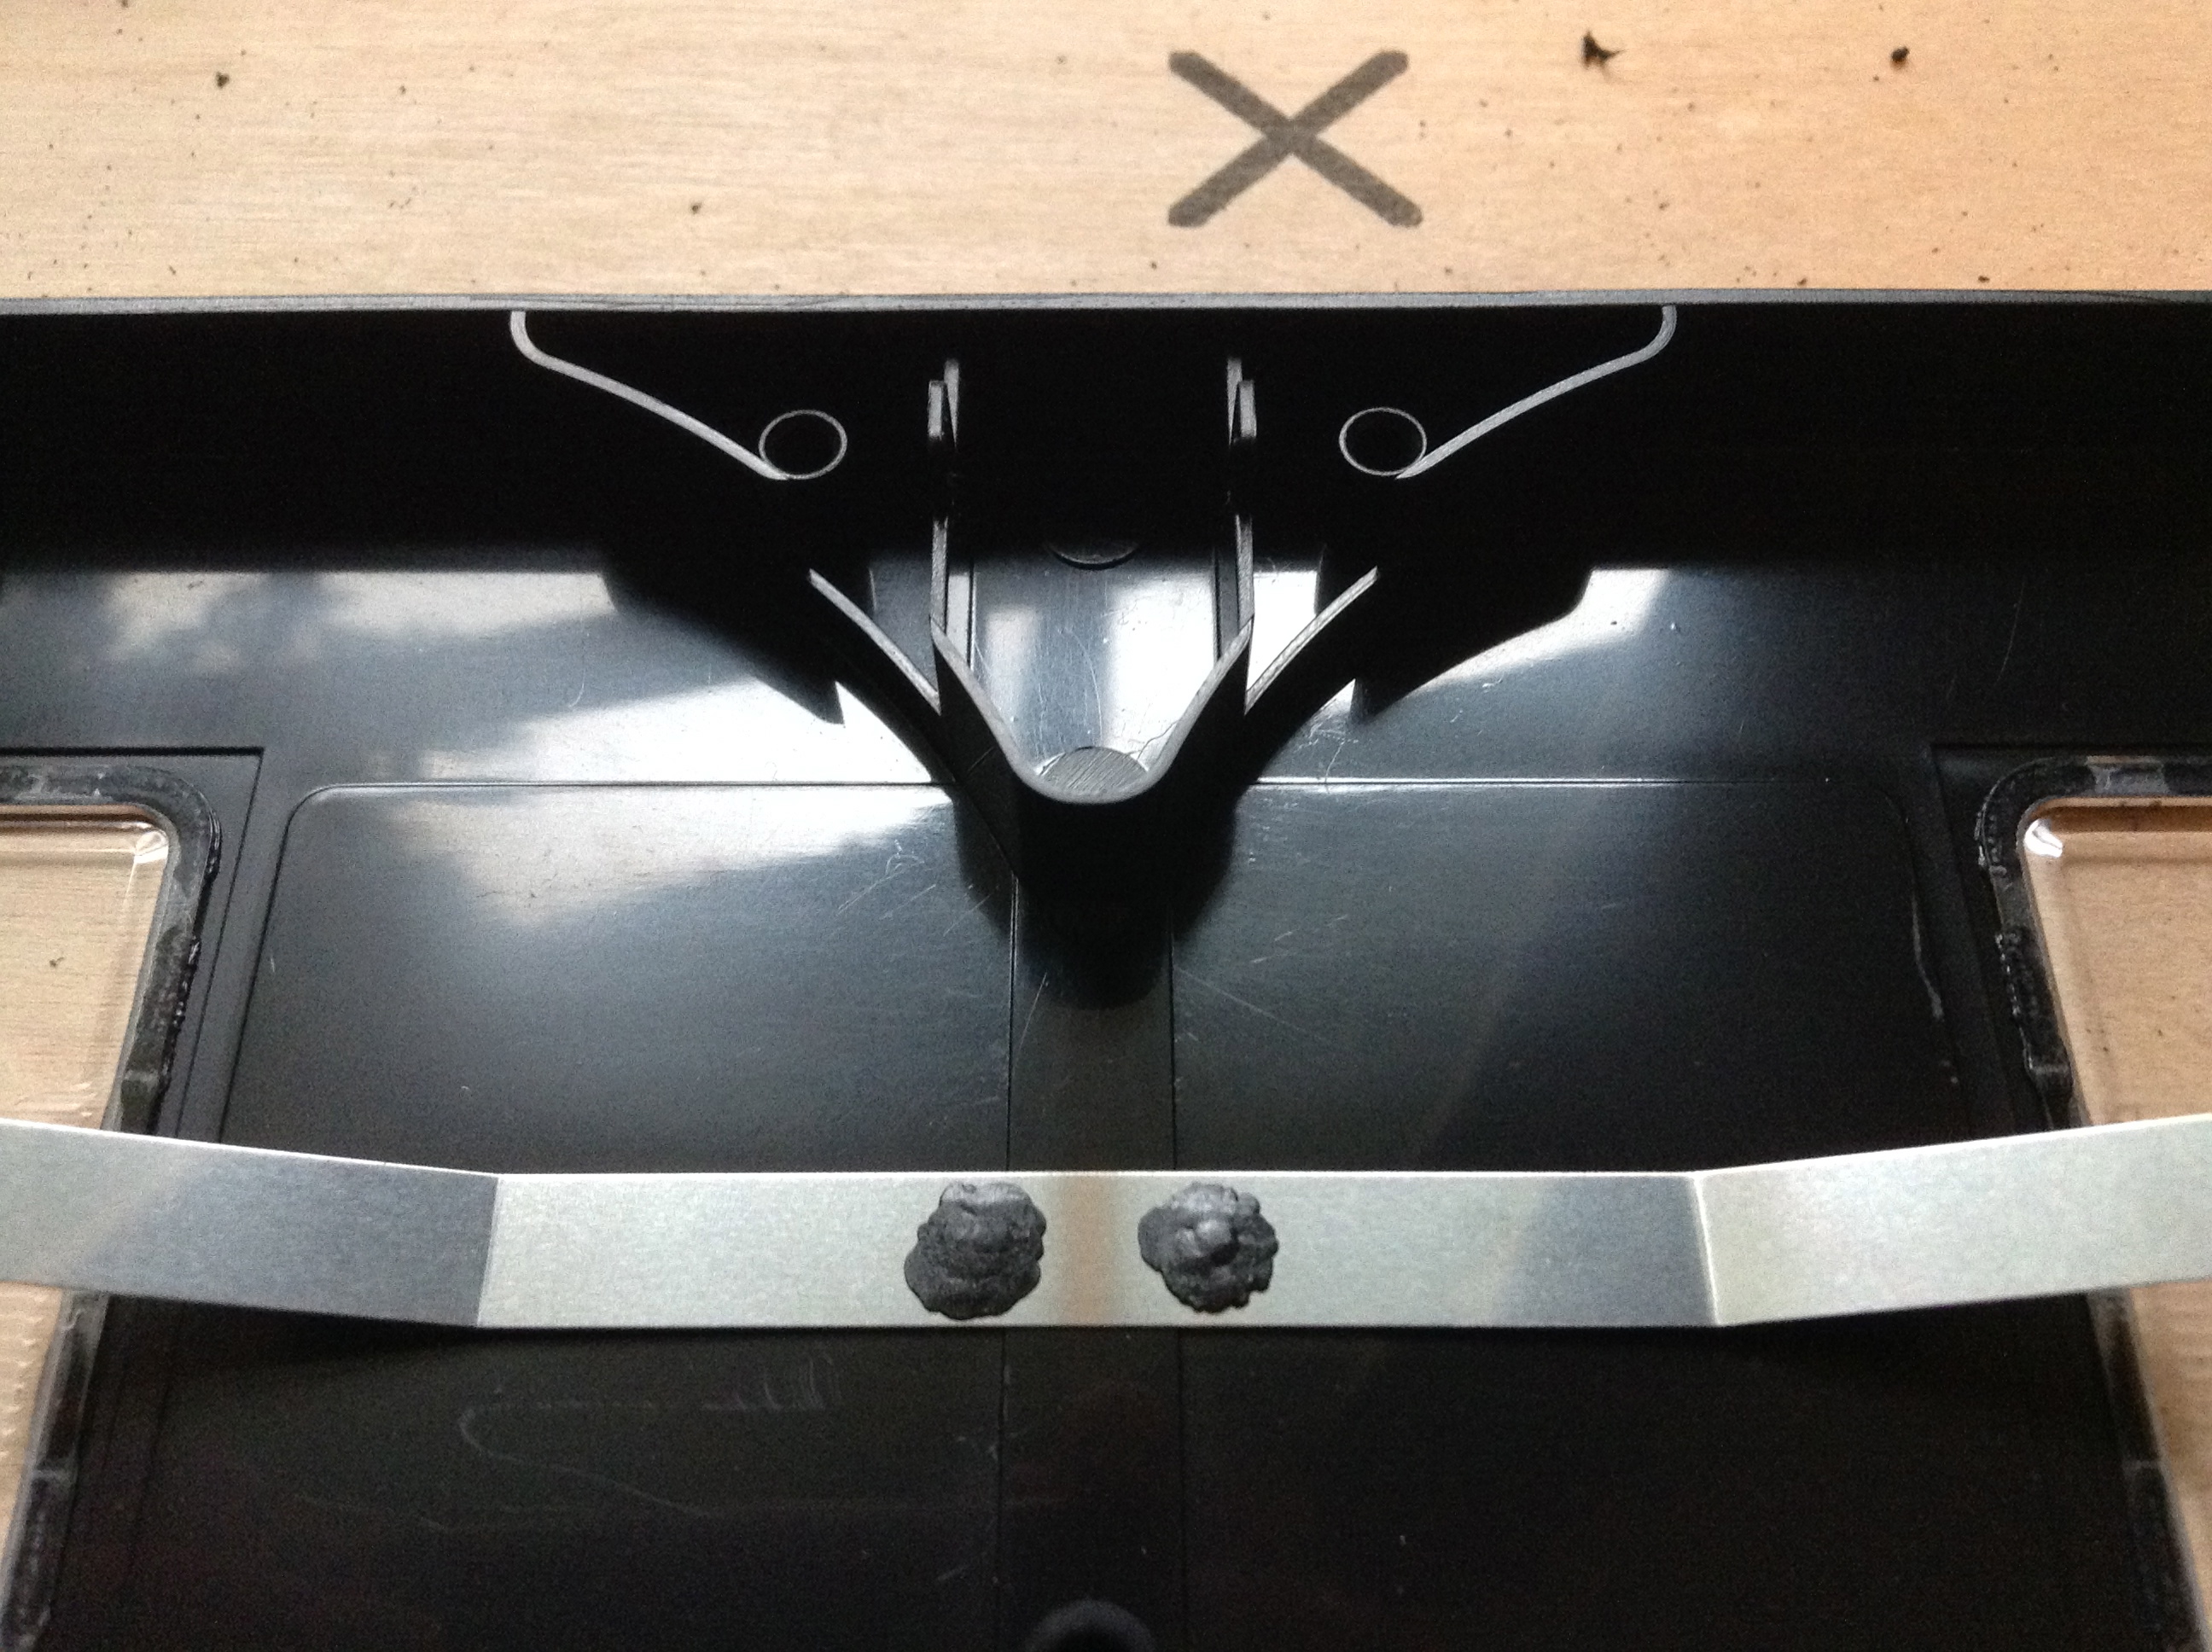
- In the bottom half of the case is a mechanism meant to control the movement of the spools (it will resemble the first image). It needs to be removed to make the compartment bigger. Start by pulling out all the loose pieces.
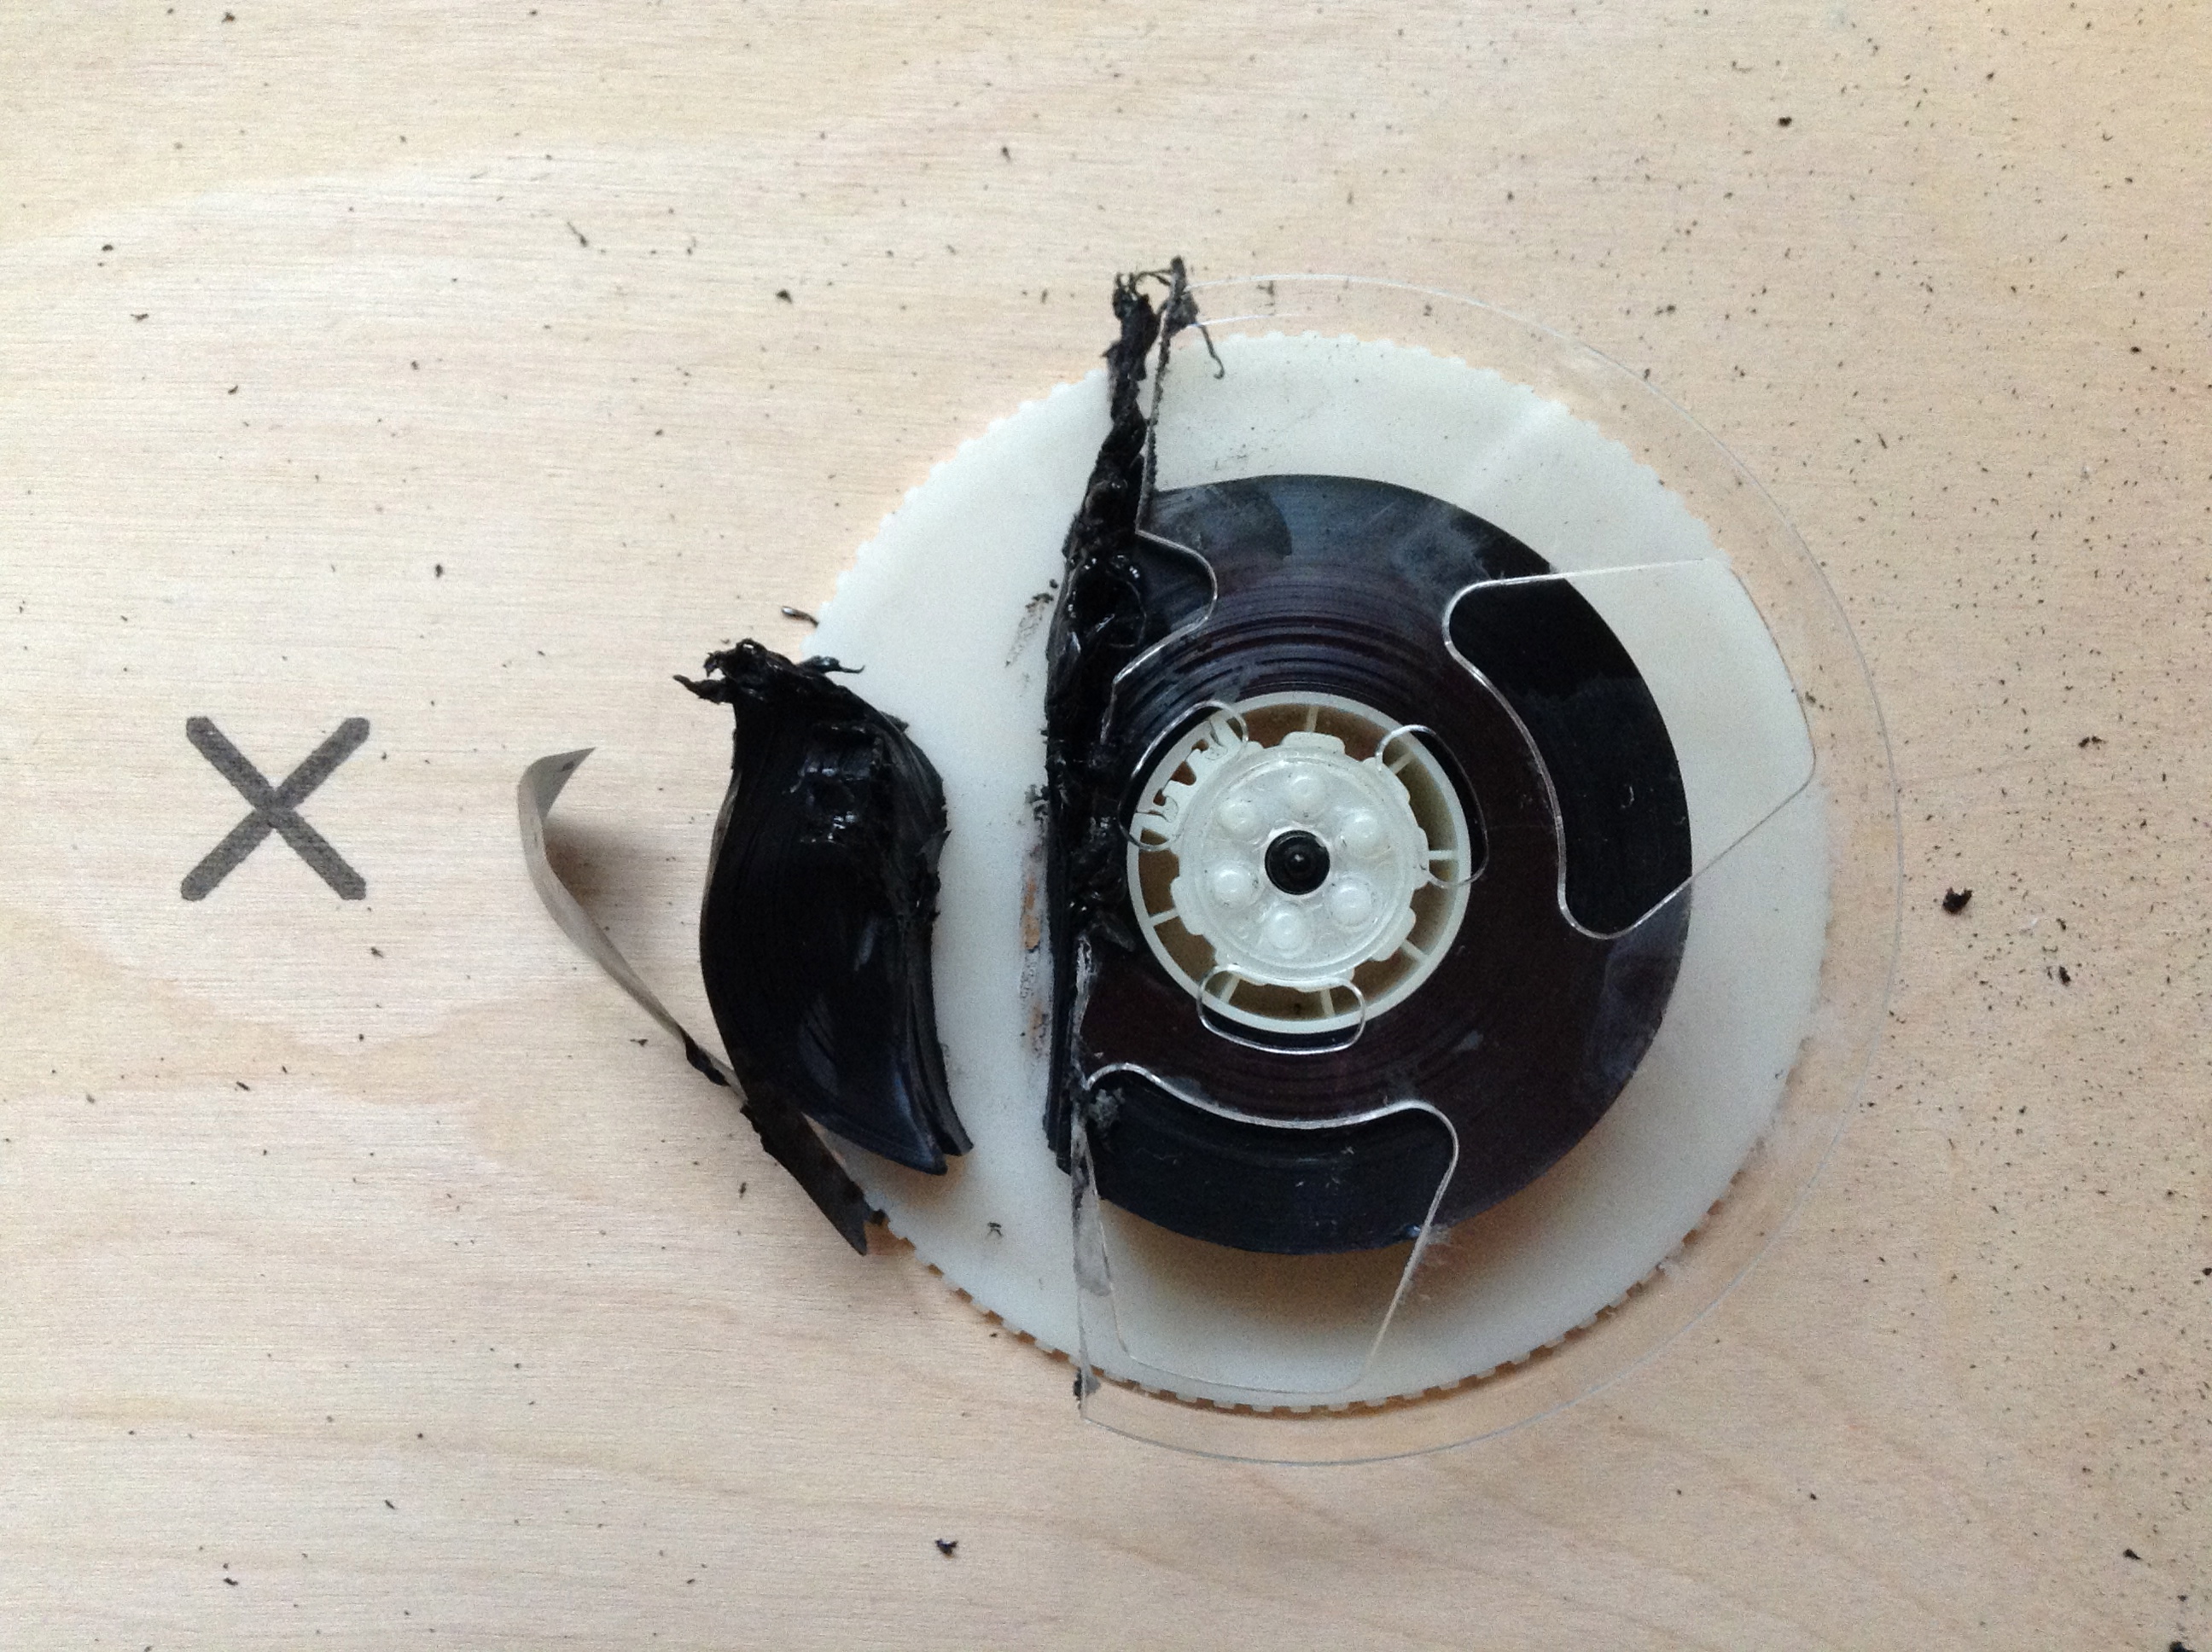
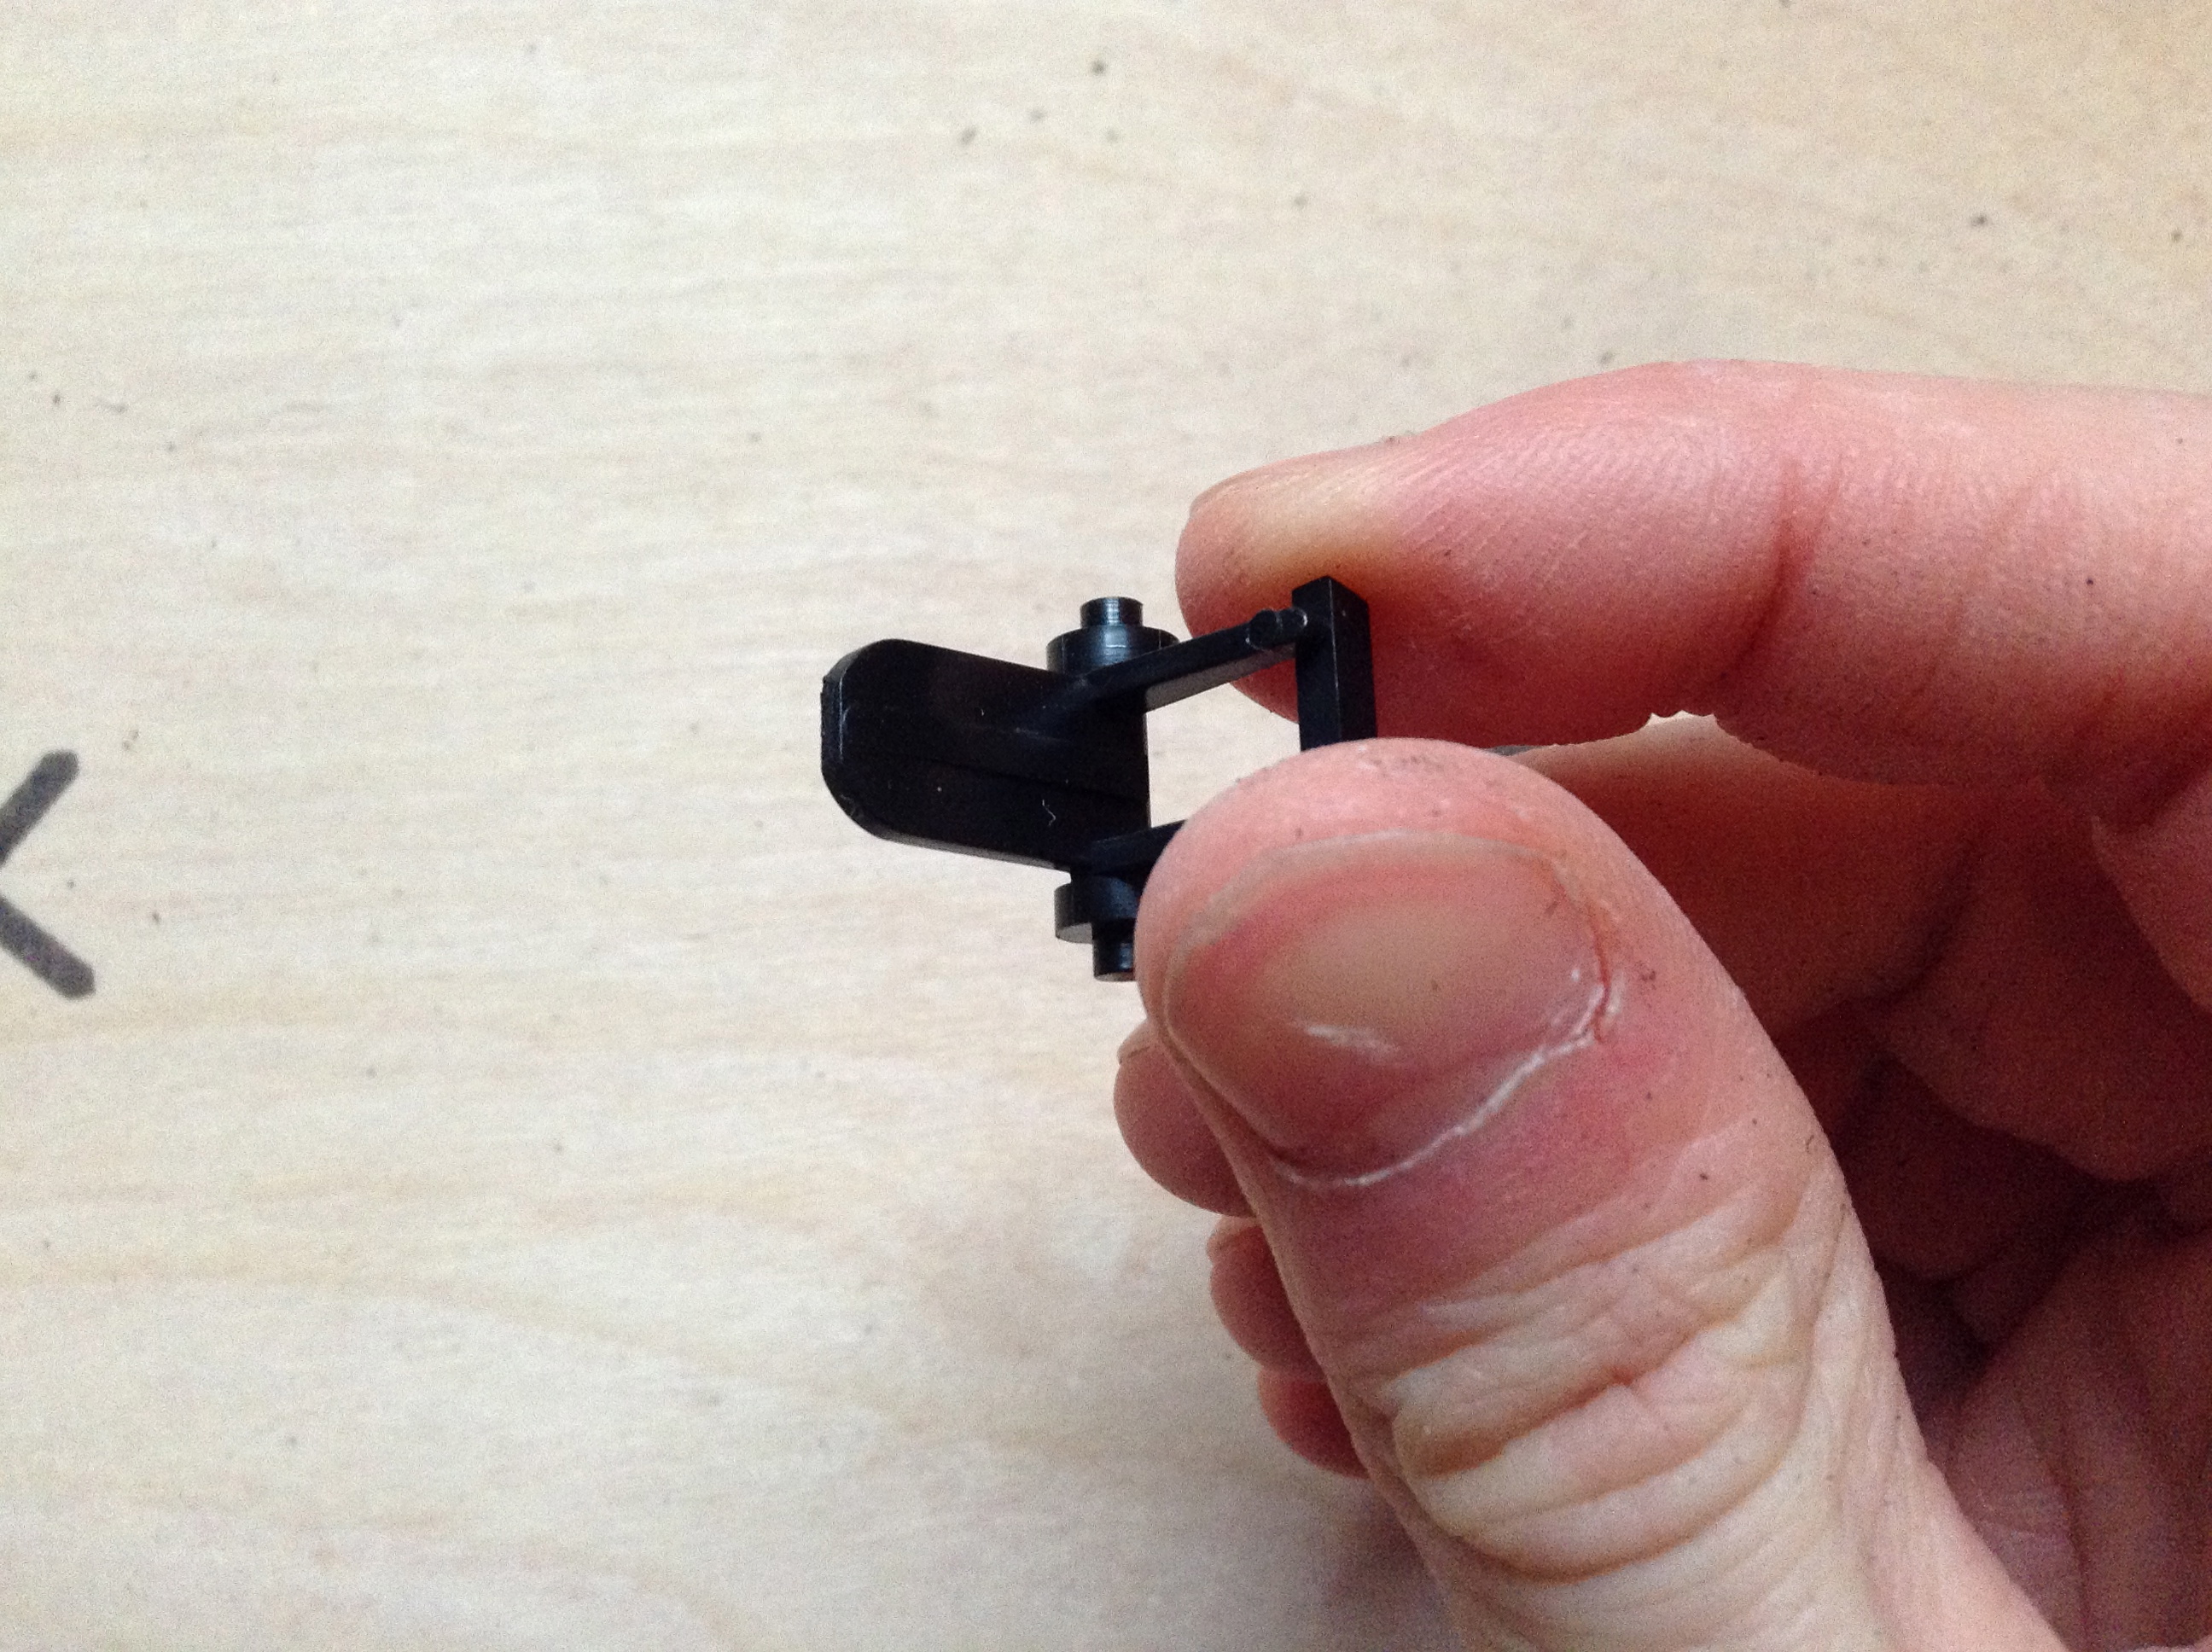
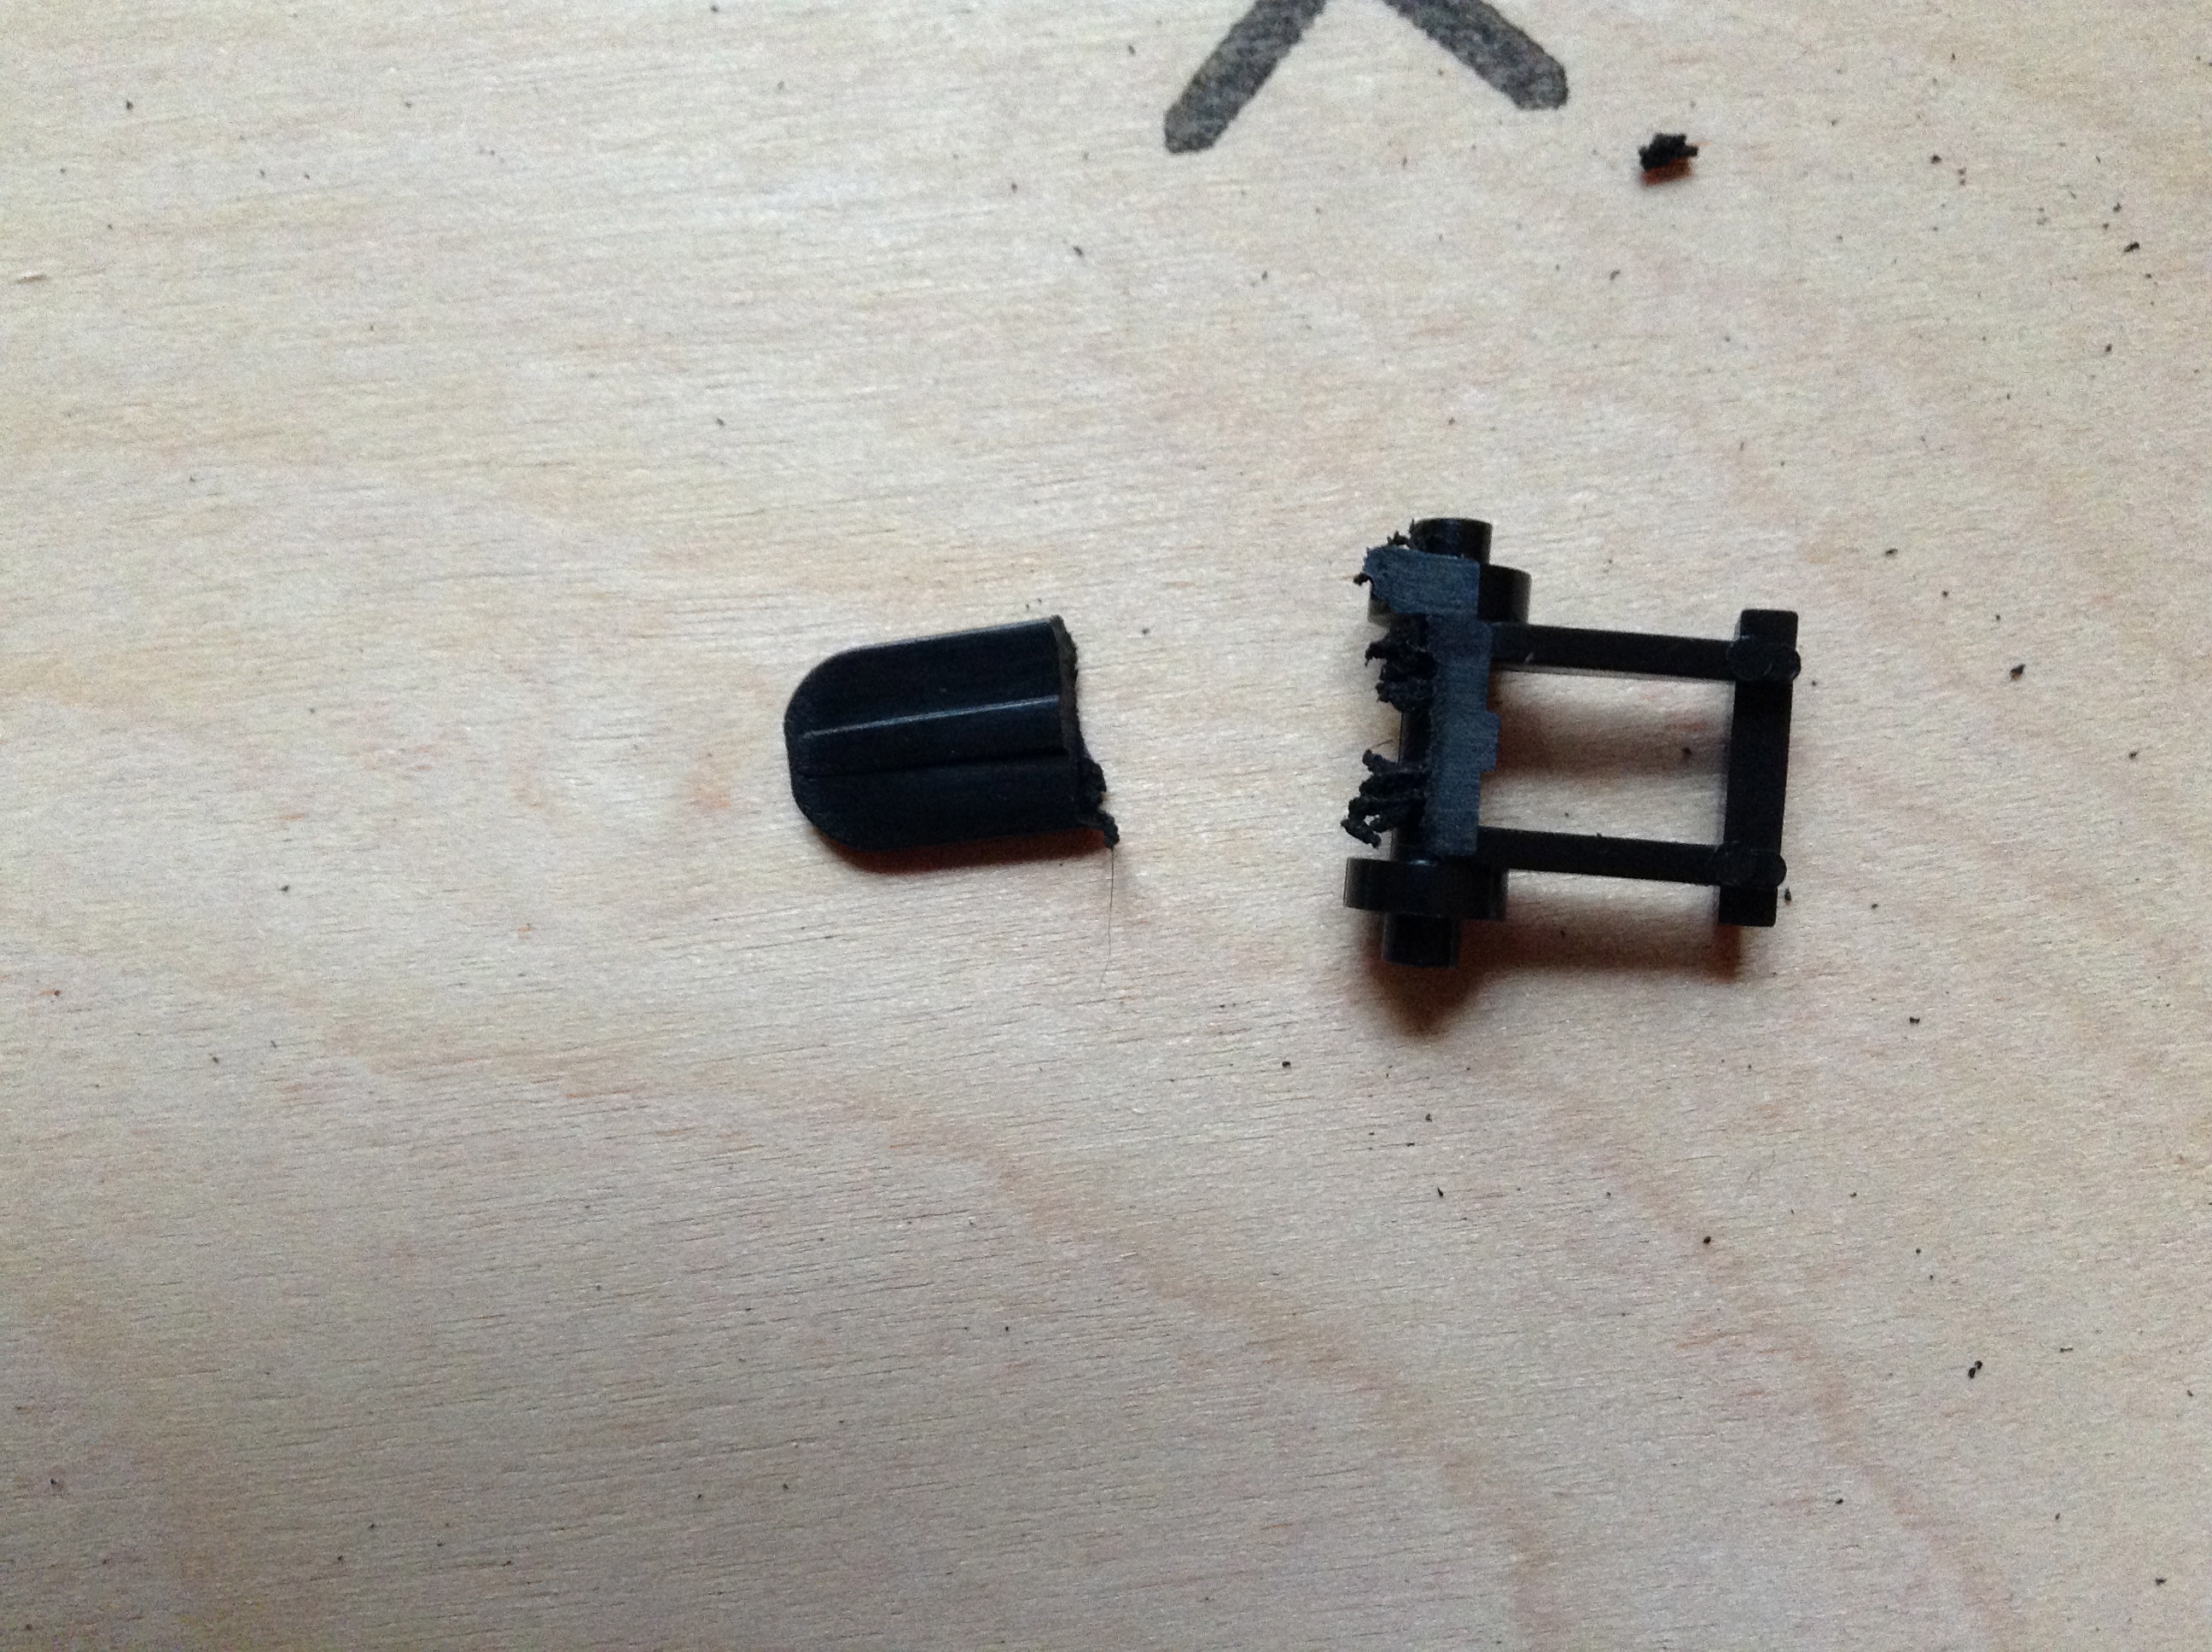
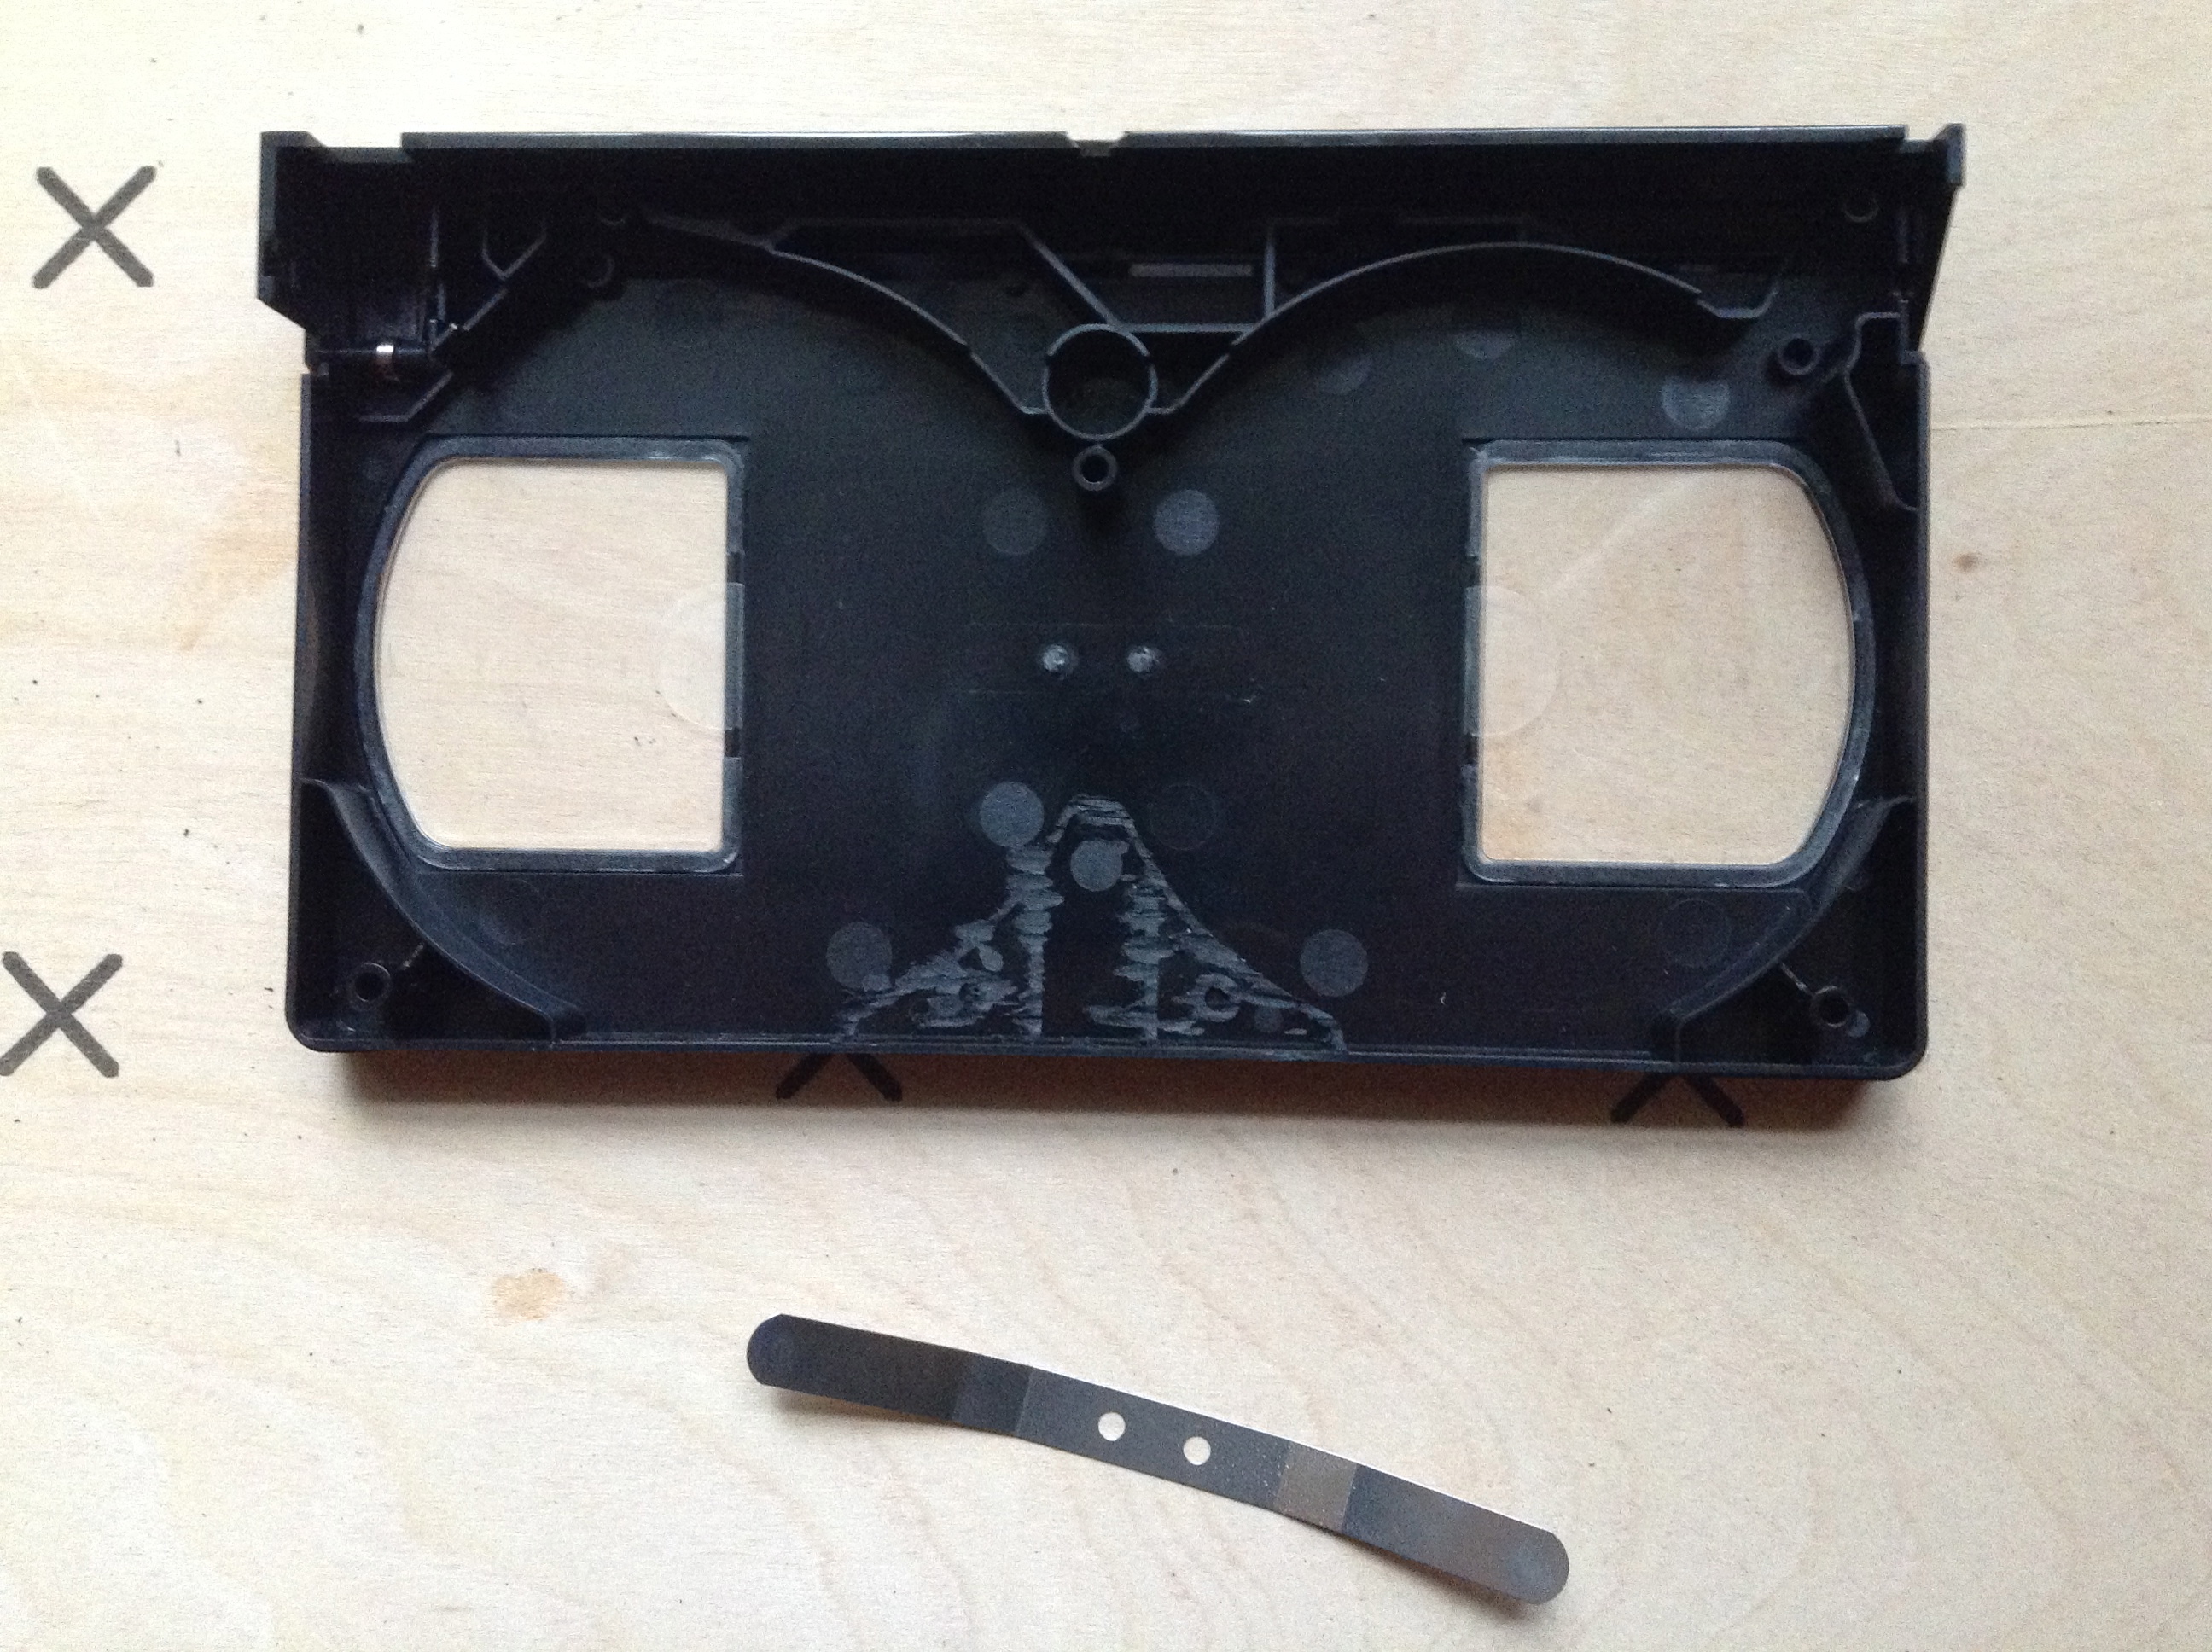
- One of the pieces should resemble the second image. This piece covers a hole in the case that we want to remain covered. Cut off the solid flat part and set it aside.
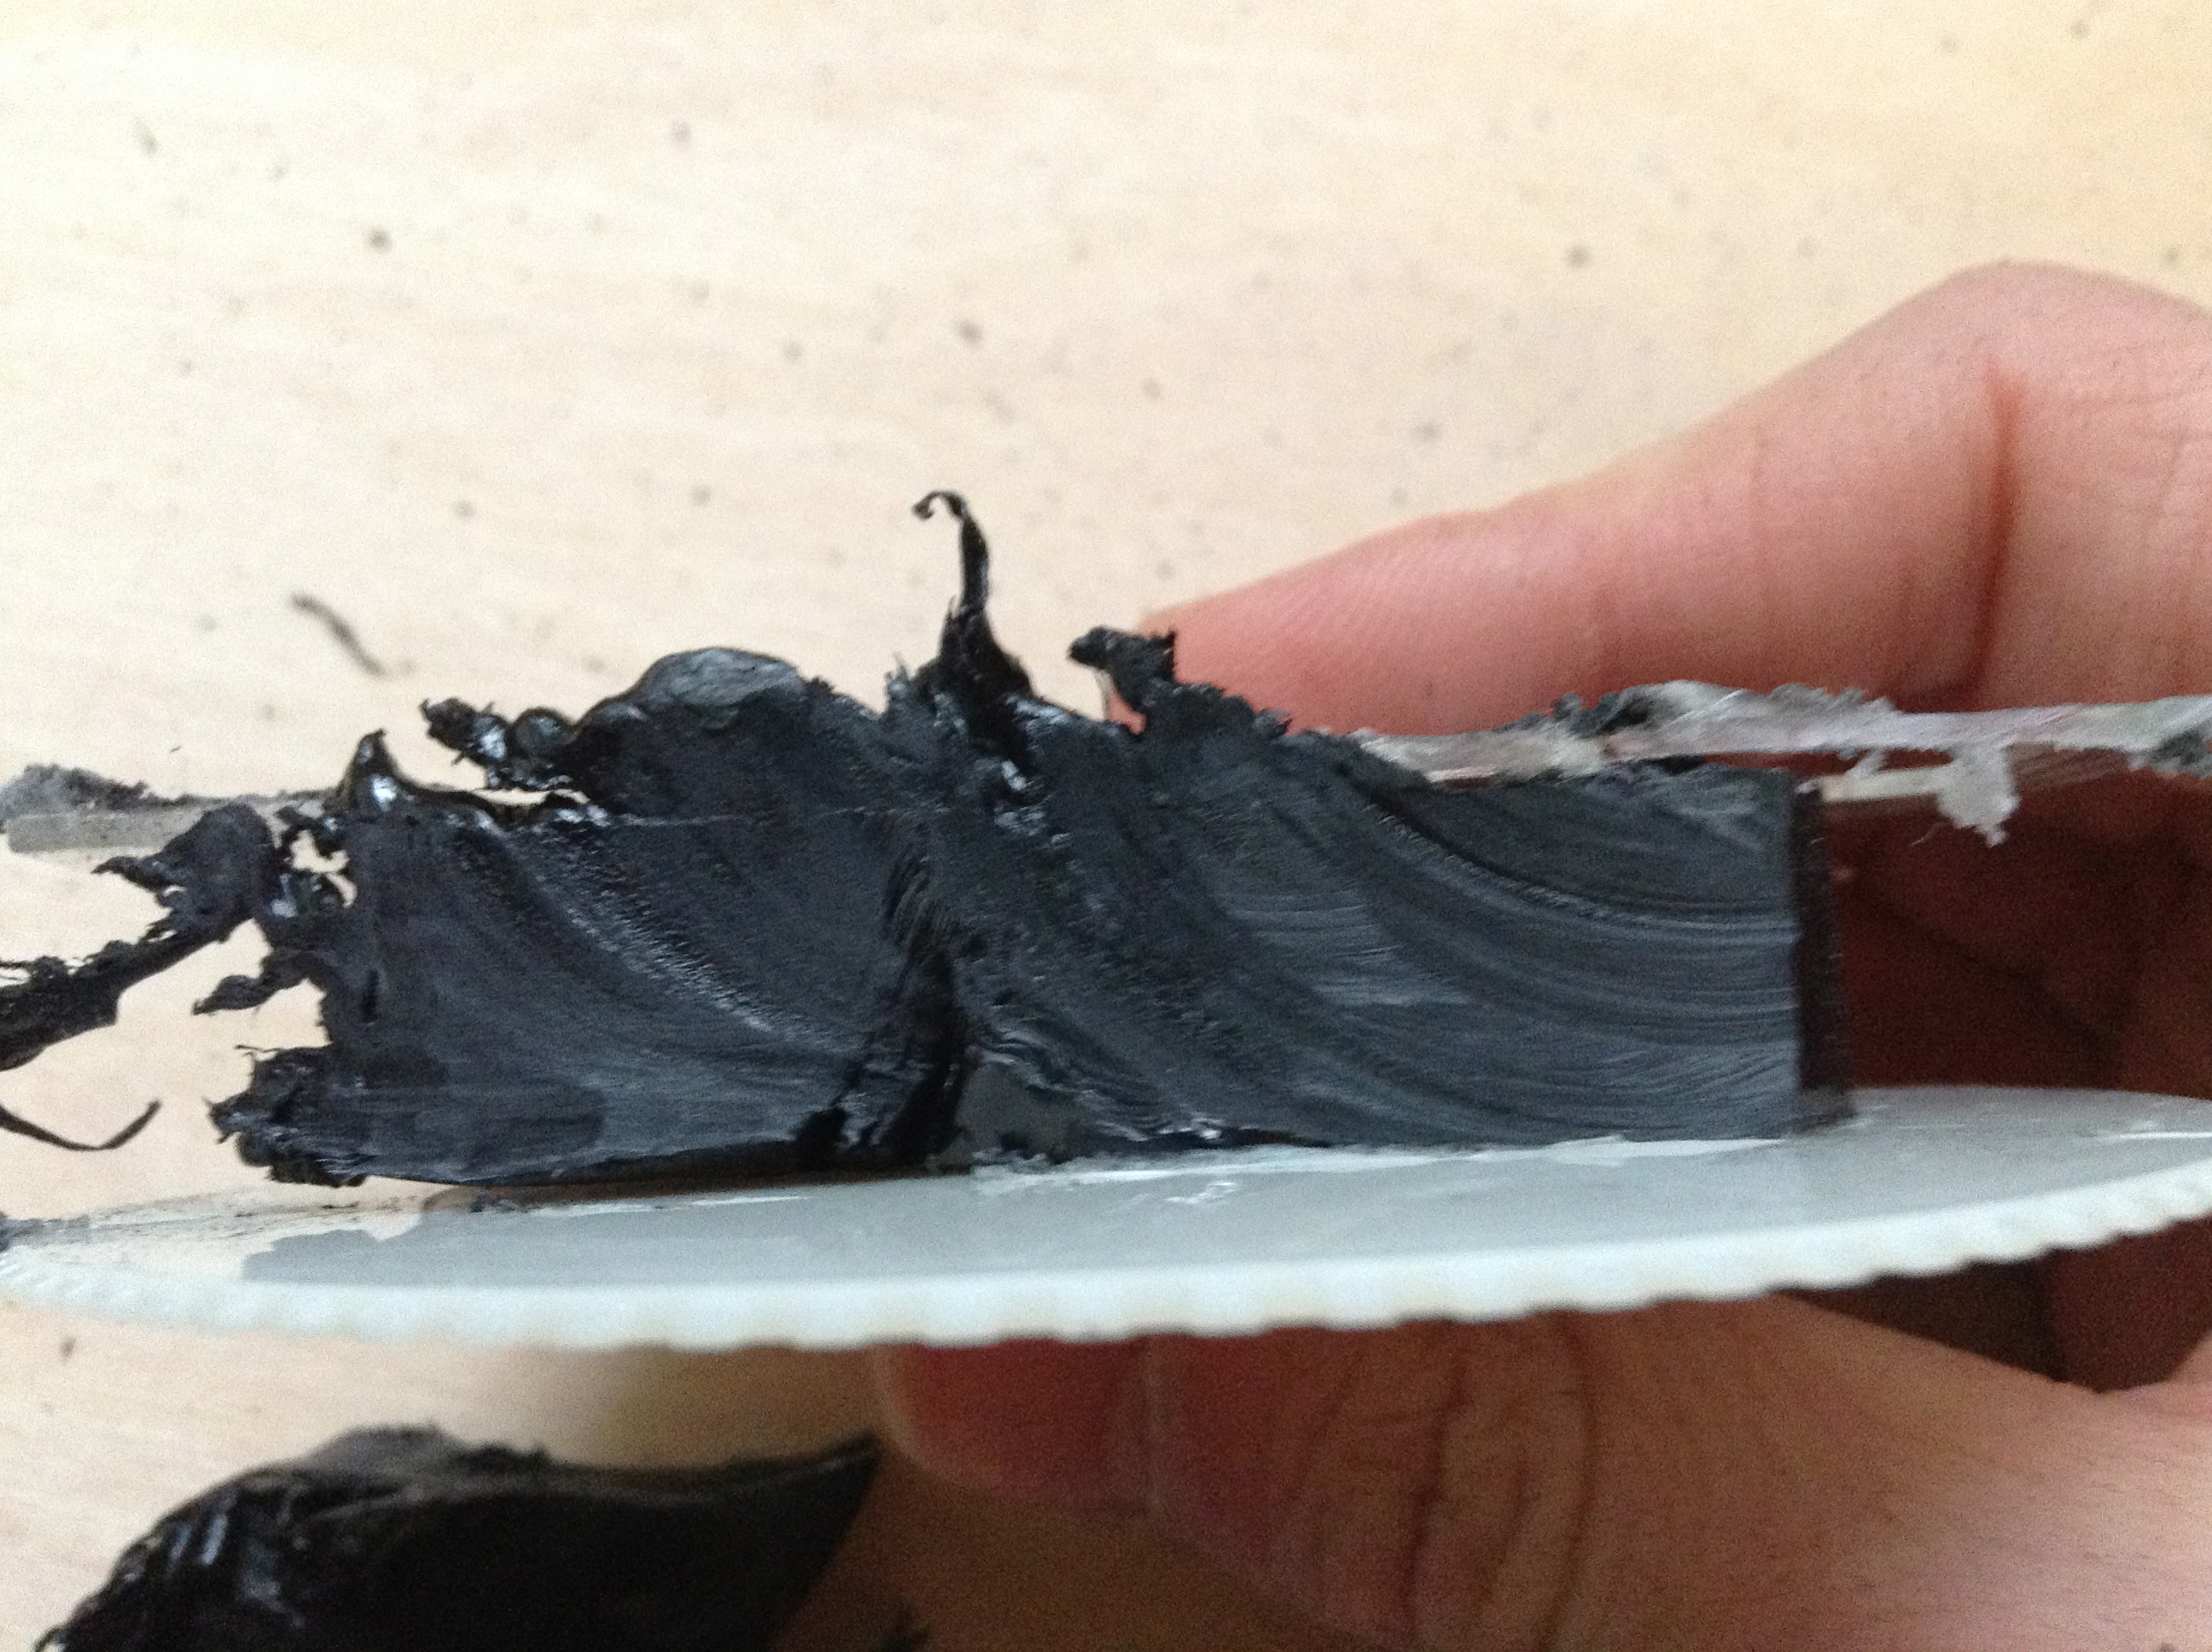
- Now that all of the loose pieces are gone use the rotary tool to remove all of the raised plastic. BE CAREFUL! it is very easy to cut through the case accidentally (like I did in image 7). It is better to remove too little than too much.
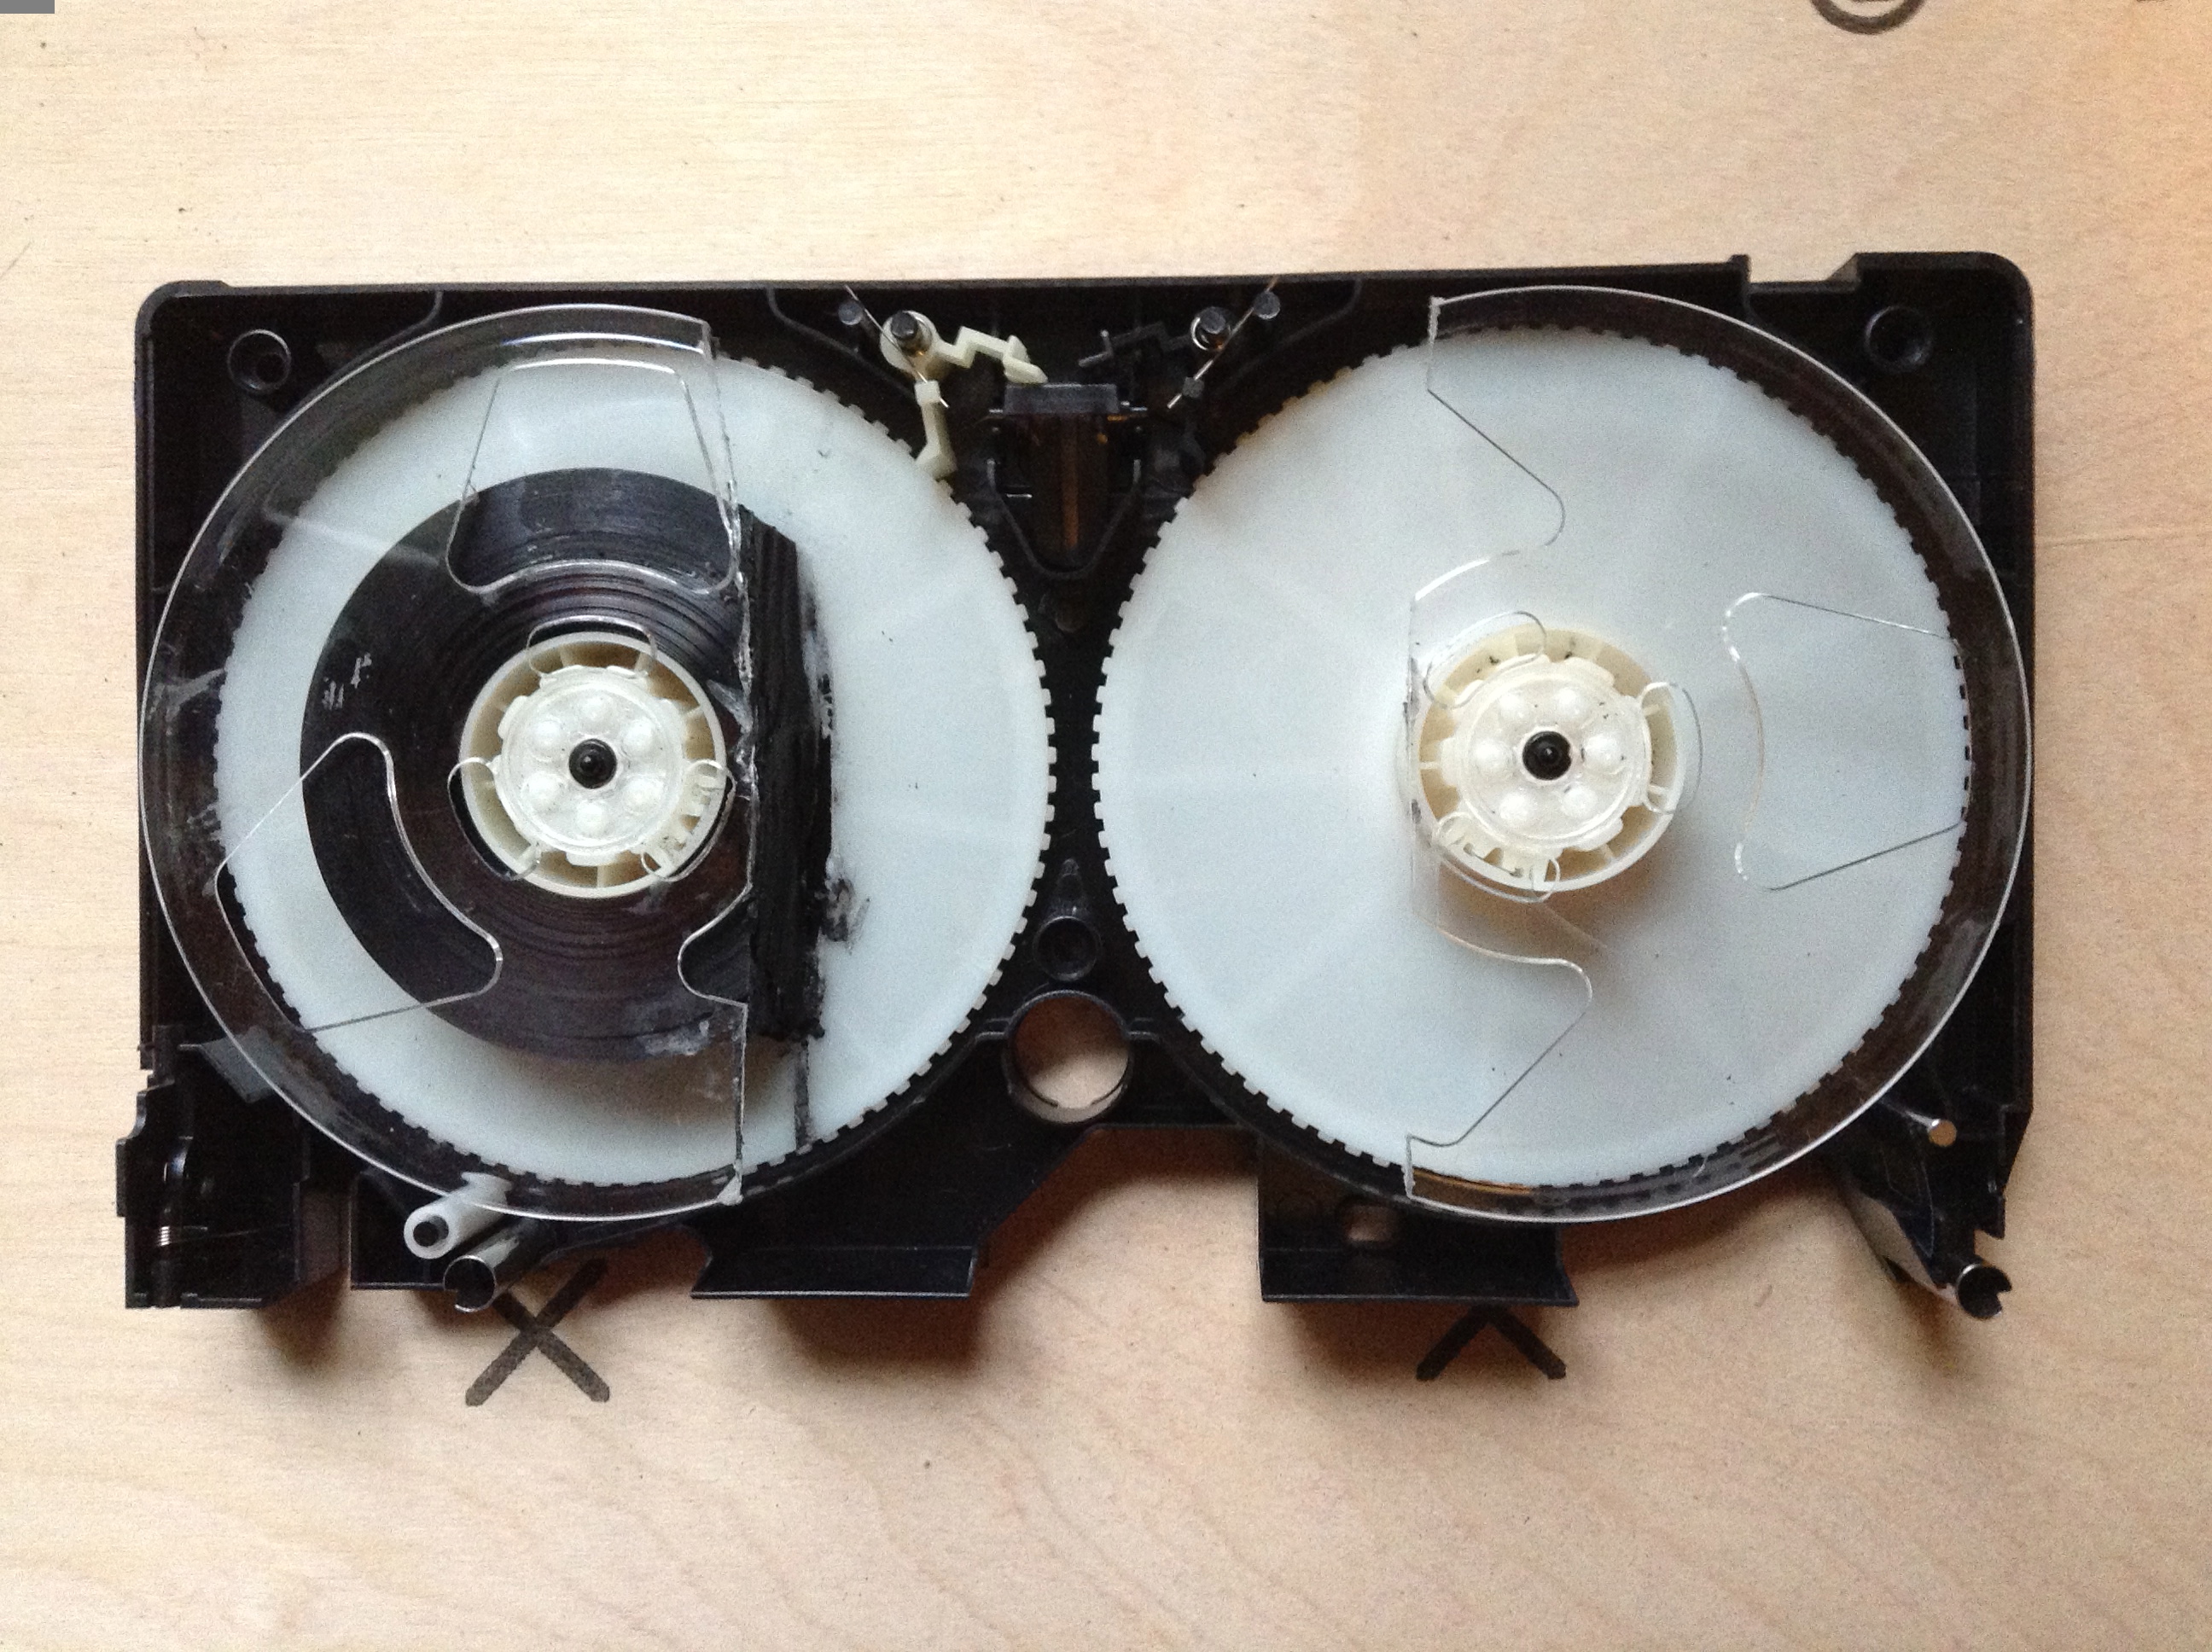
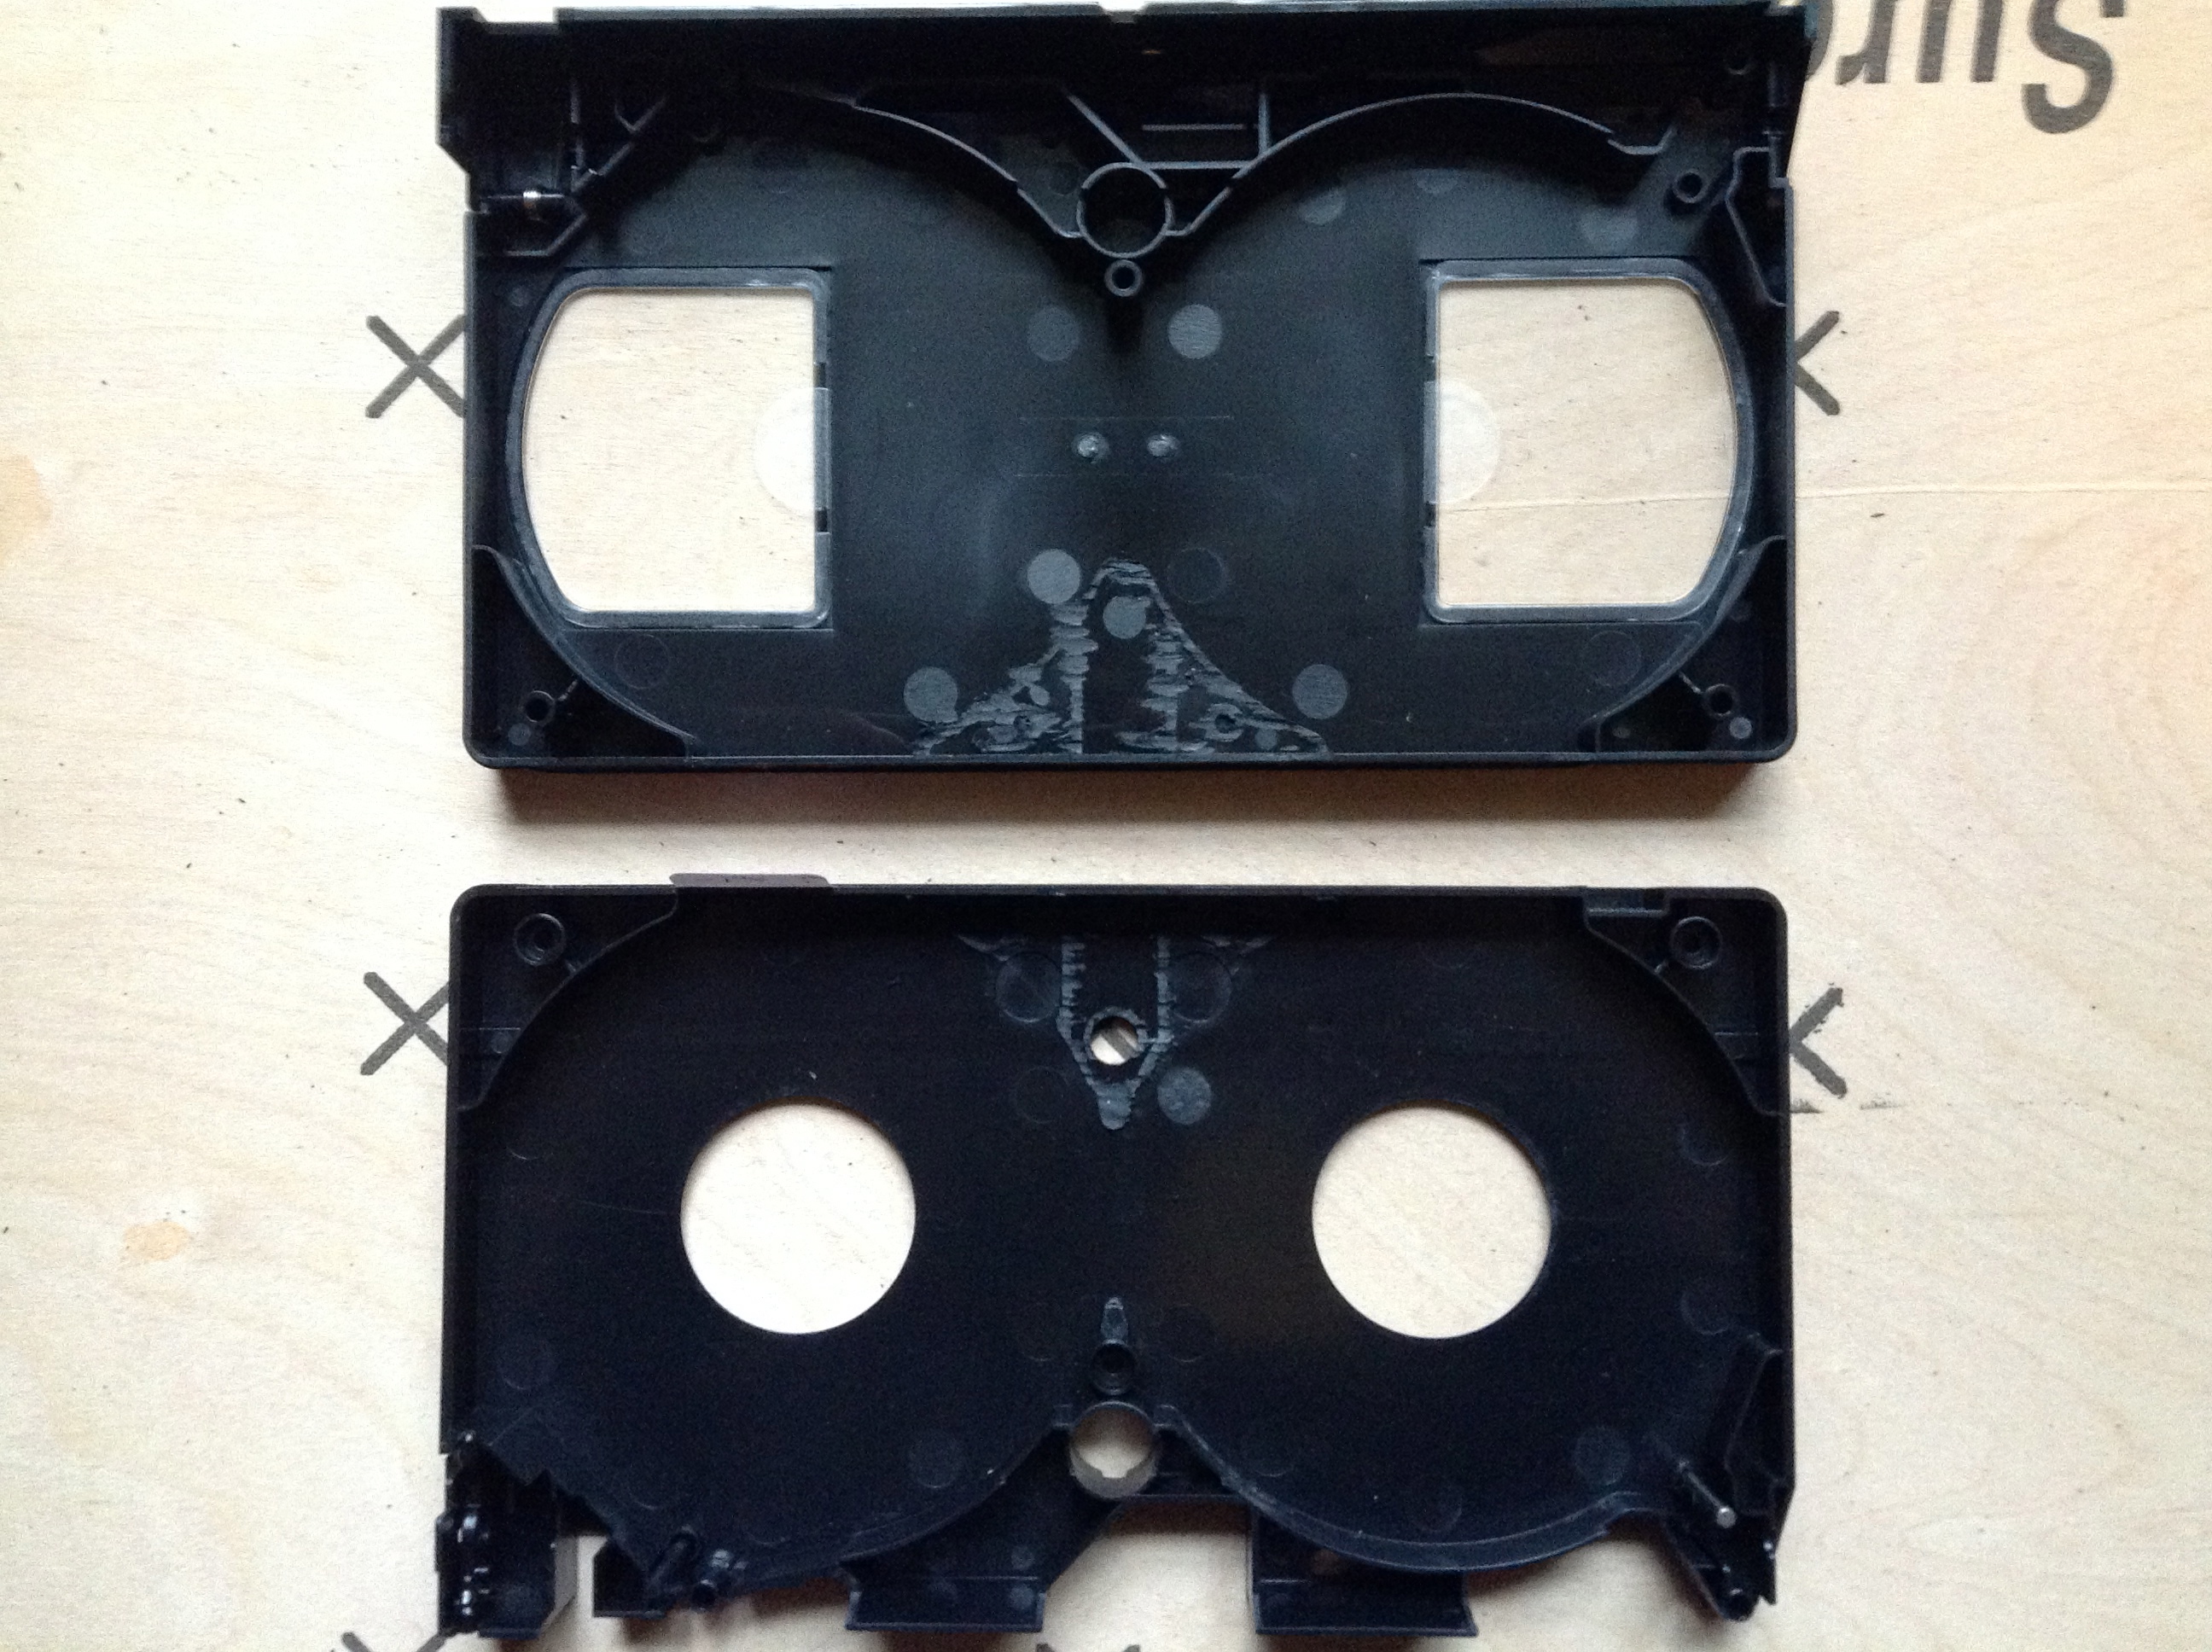
- Remember the flat piece you cut and set aside earlier? Glue it over the hole in the bottom of the case that it used to cover (see image 6).
- In the top half of the case there is also some raised plastic that was meant to protect the mechanism. use the rotary tool to remove that plastic as well.
- There will also be a strip of metal attached to the top of the case. Remove it too (you will be able to just pull it off).
- In the bottom half of the case is a mechanism meant to control the movement of the spools (it will resemble the first image). It needs to be removed to make the compartment bigger. Start by pulling out all the loose pieces.
- One of the pieces should resemble the second image. This piece covers a hole in the case that we want to remain covered. Cut off the solid flat part and set it aside.
- Now that all of the loose pieces are gone use the rotary tool to remove all of the raised plastic. BE CAREFUL! it is very easy to cut through the case accidentally (like I did in image 7). It is better to remove too little than too much.
- Remember the flat piece you cut and set aside earlier? Glue it over the hole in the bottom of the case that it used to cover (see image 6).
- In the top half of the case there is also some raised plastic that was meant to protect the mechanism. use the rotary tool to remove that plastic as well.
- There will also be a strip of metal attached to the top of the case. Remove it too (you will be able to just pull it off).
Gluing It All Together
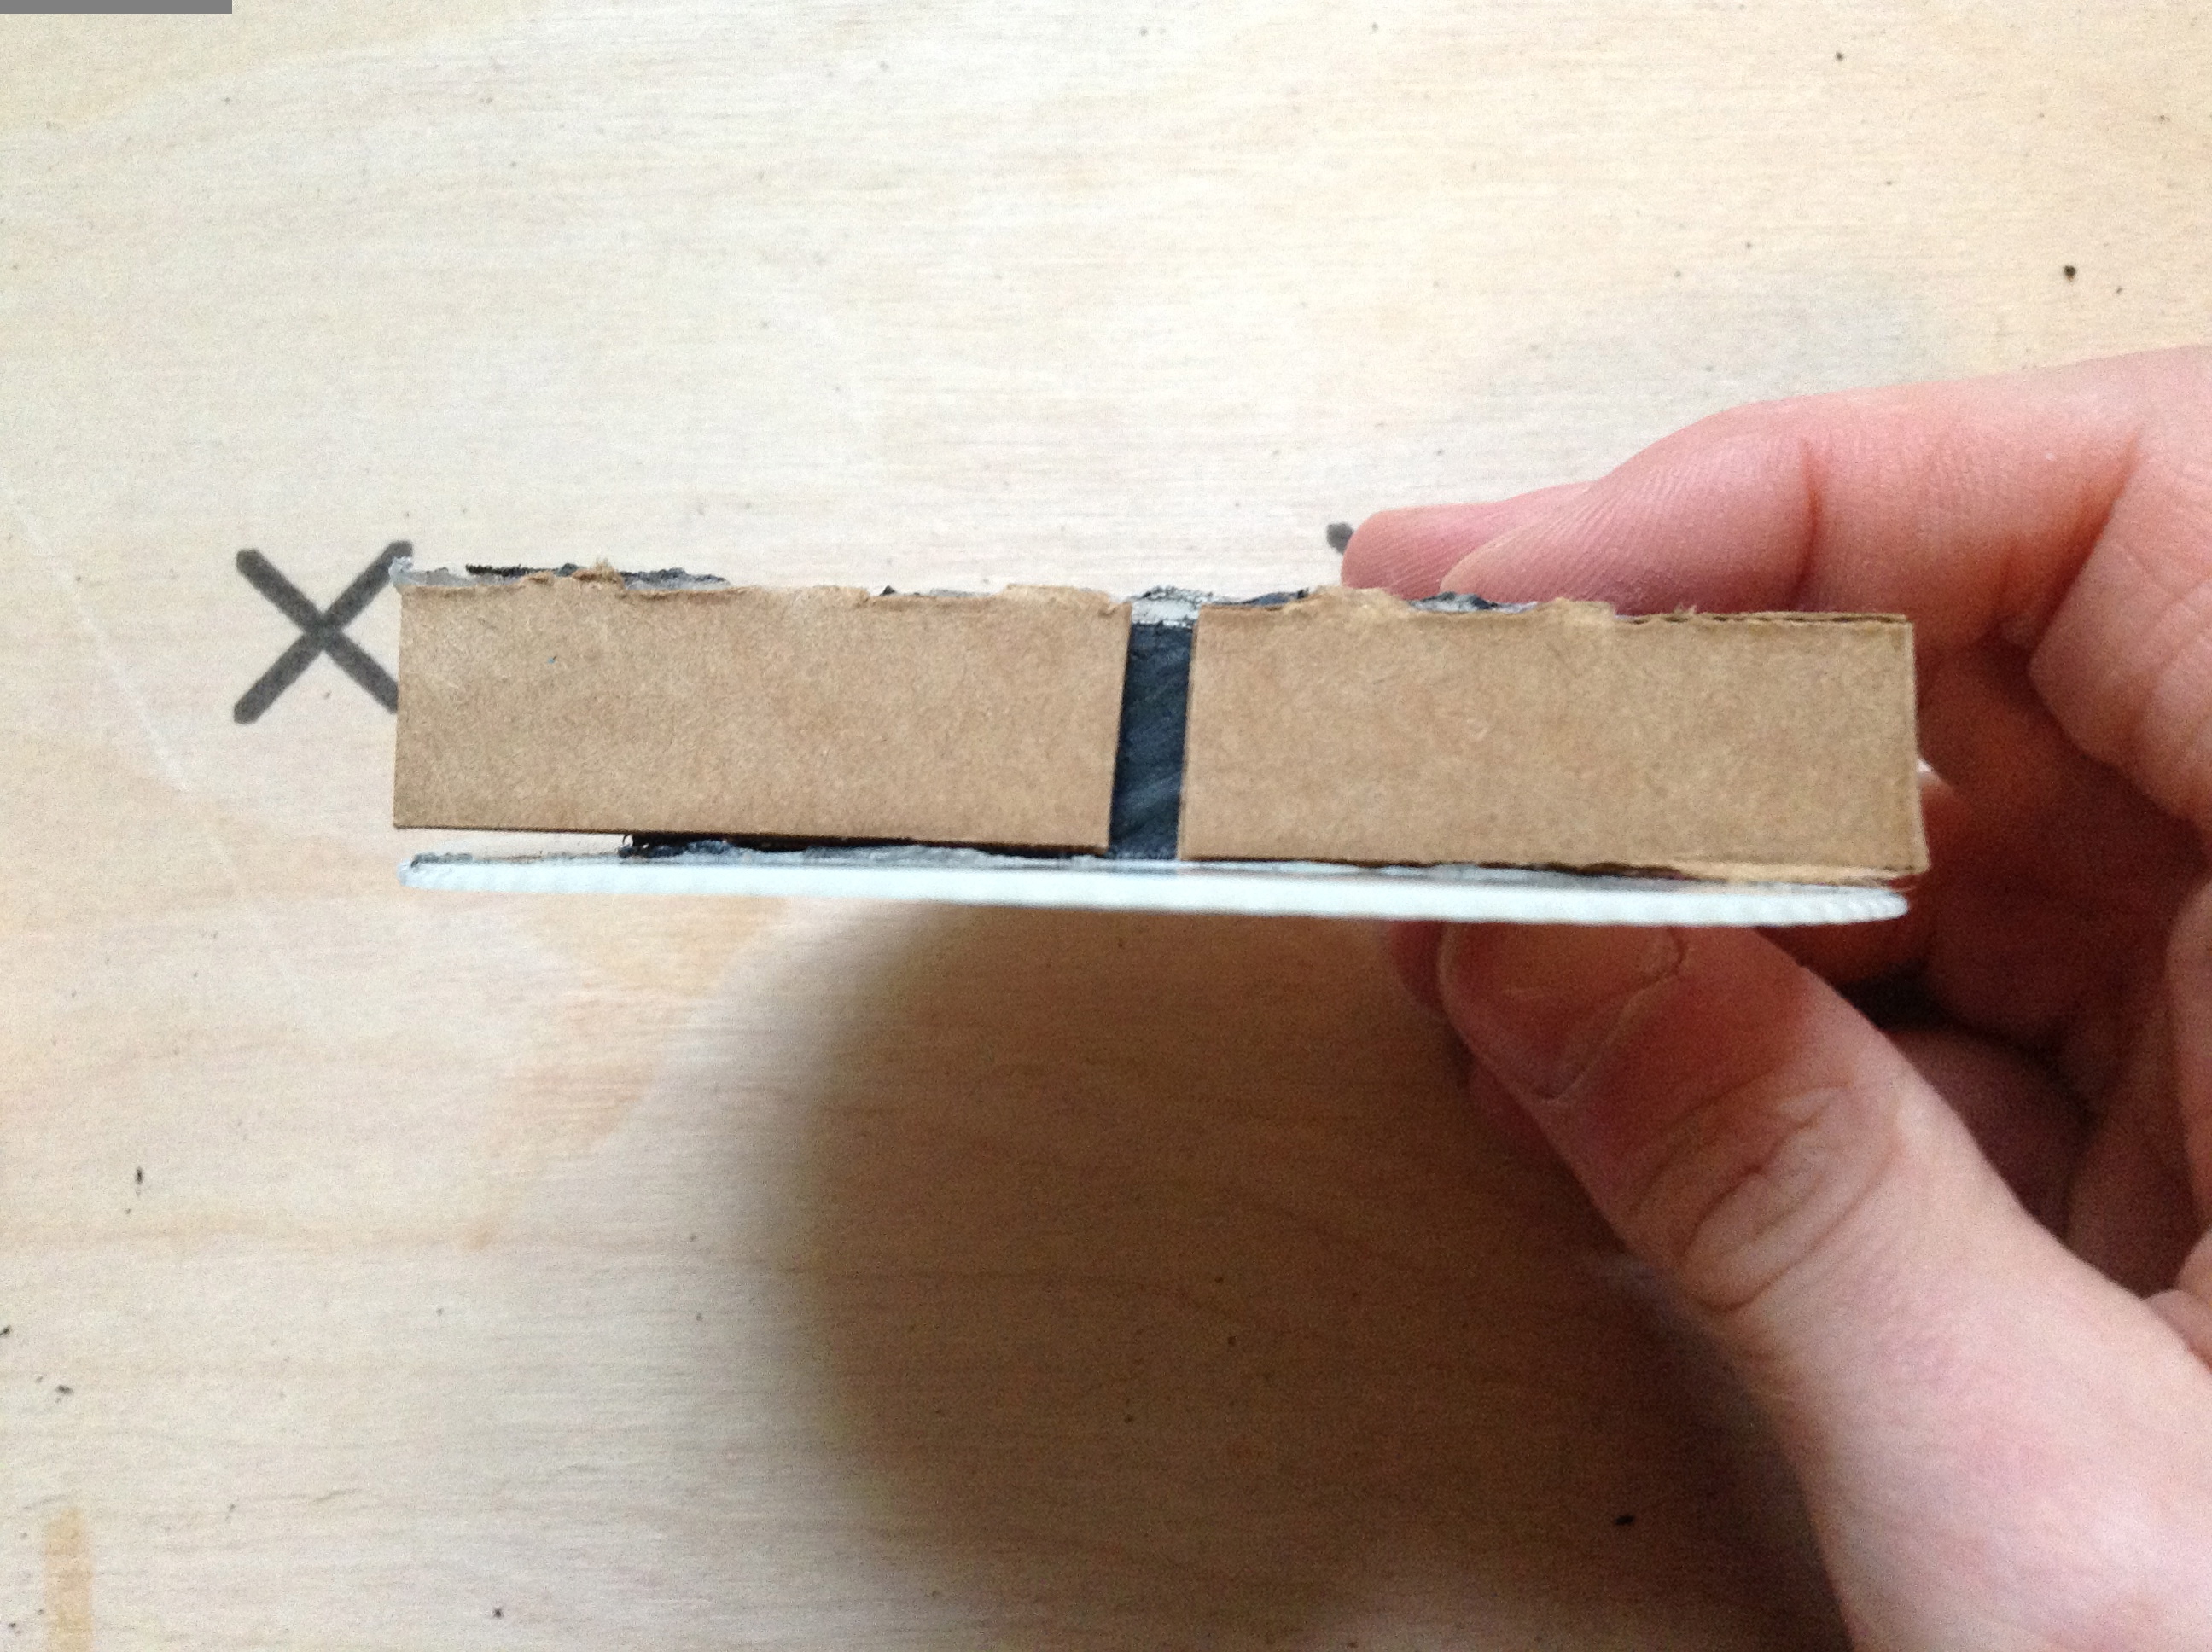

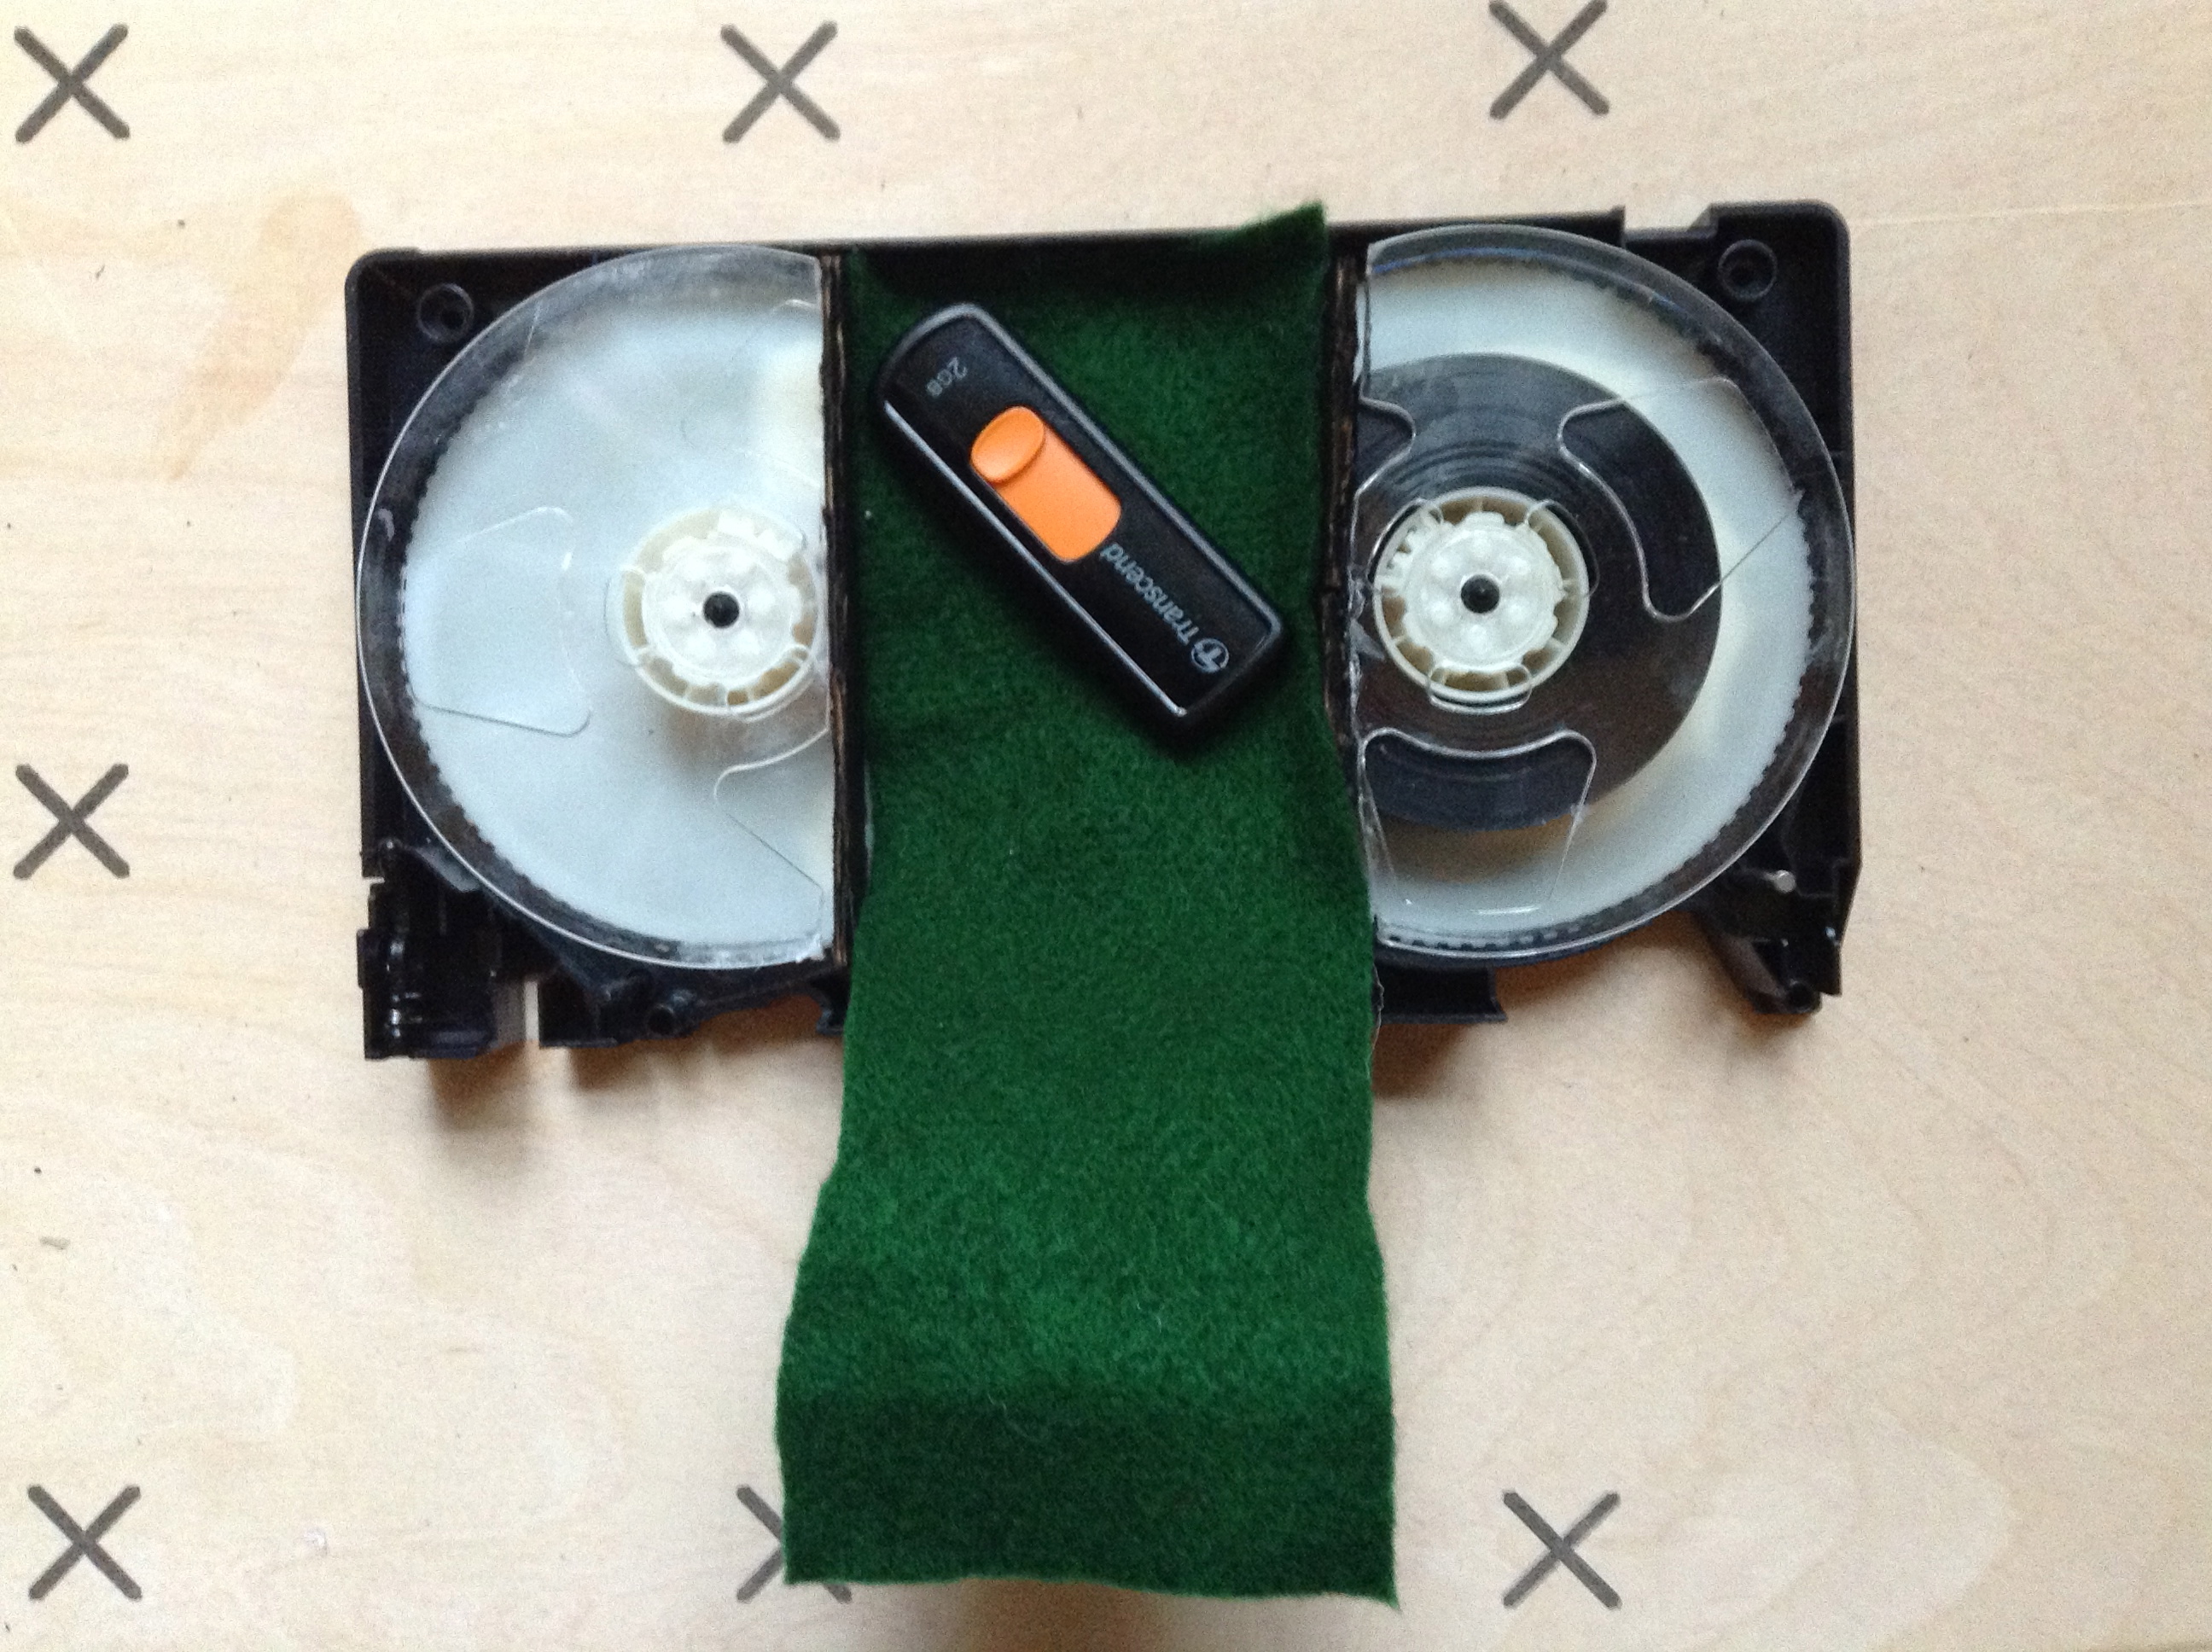
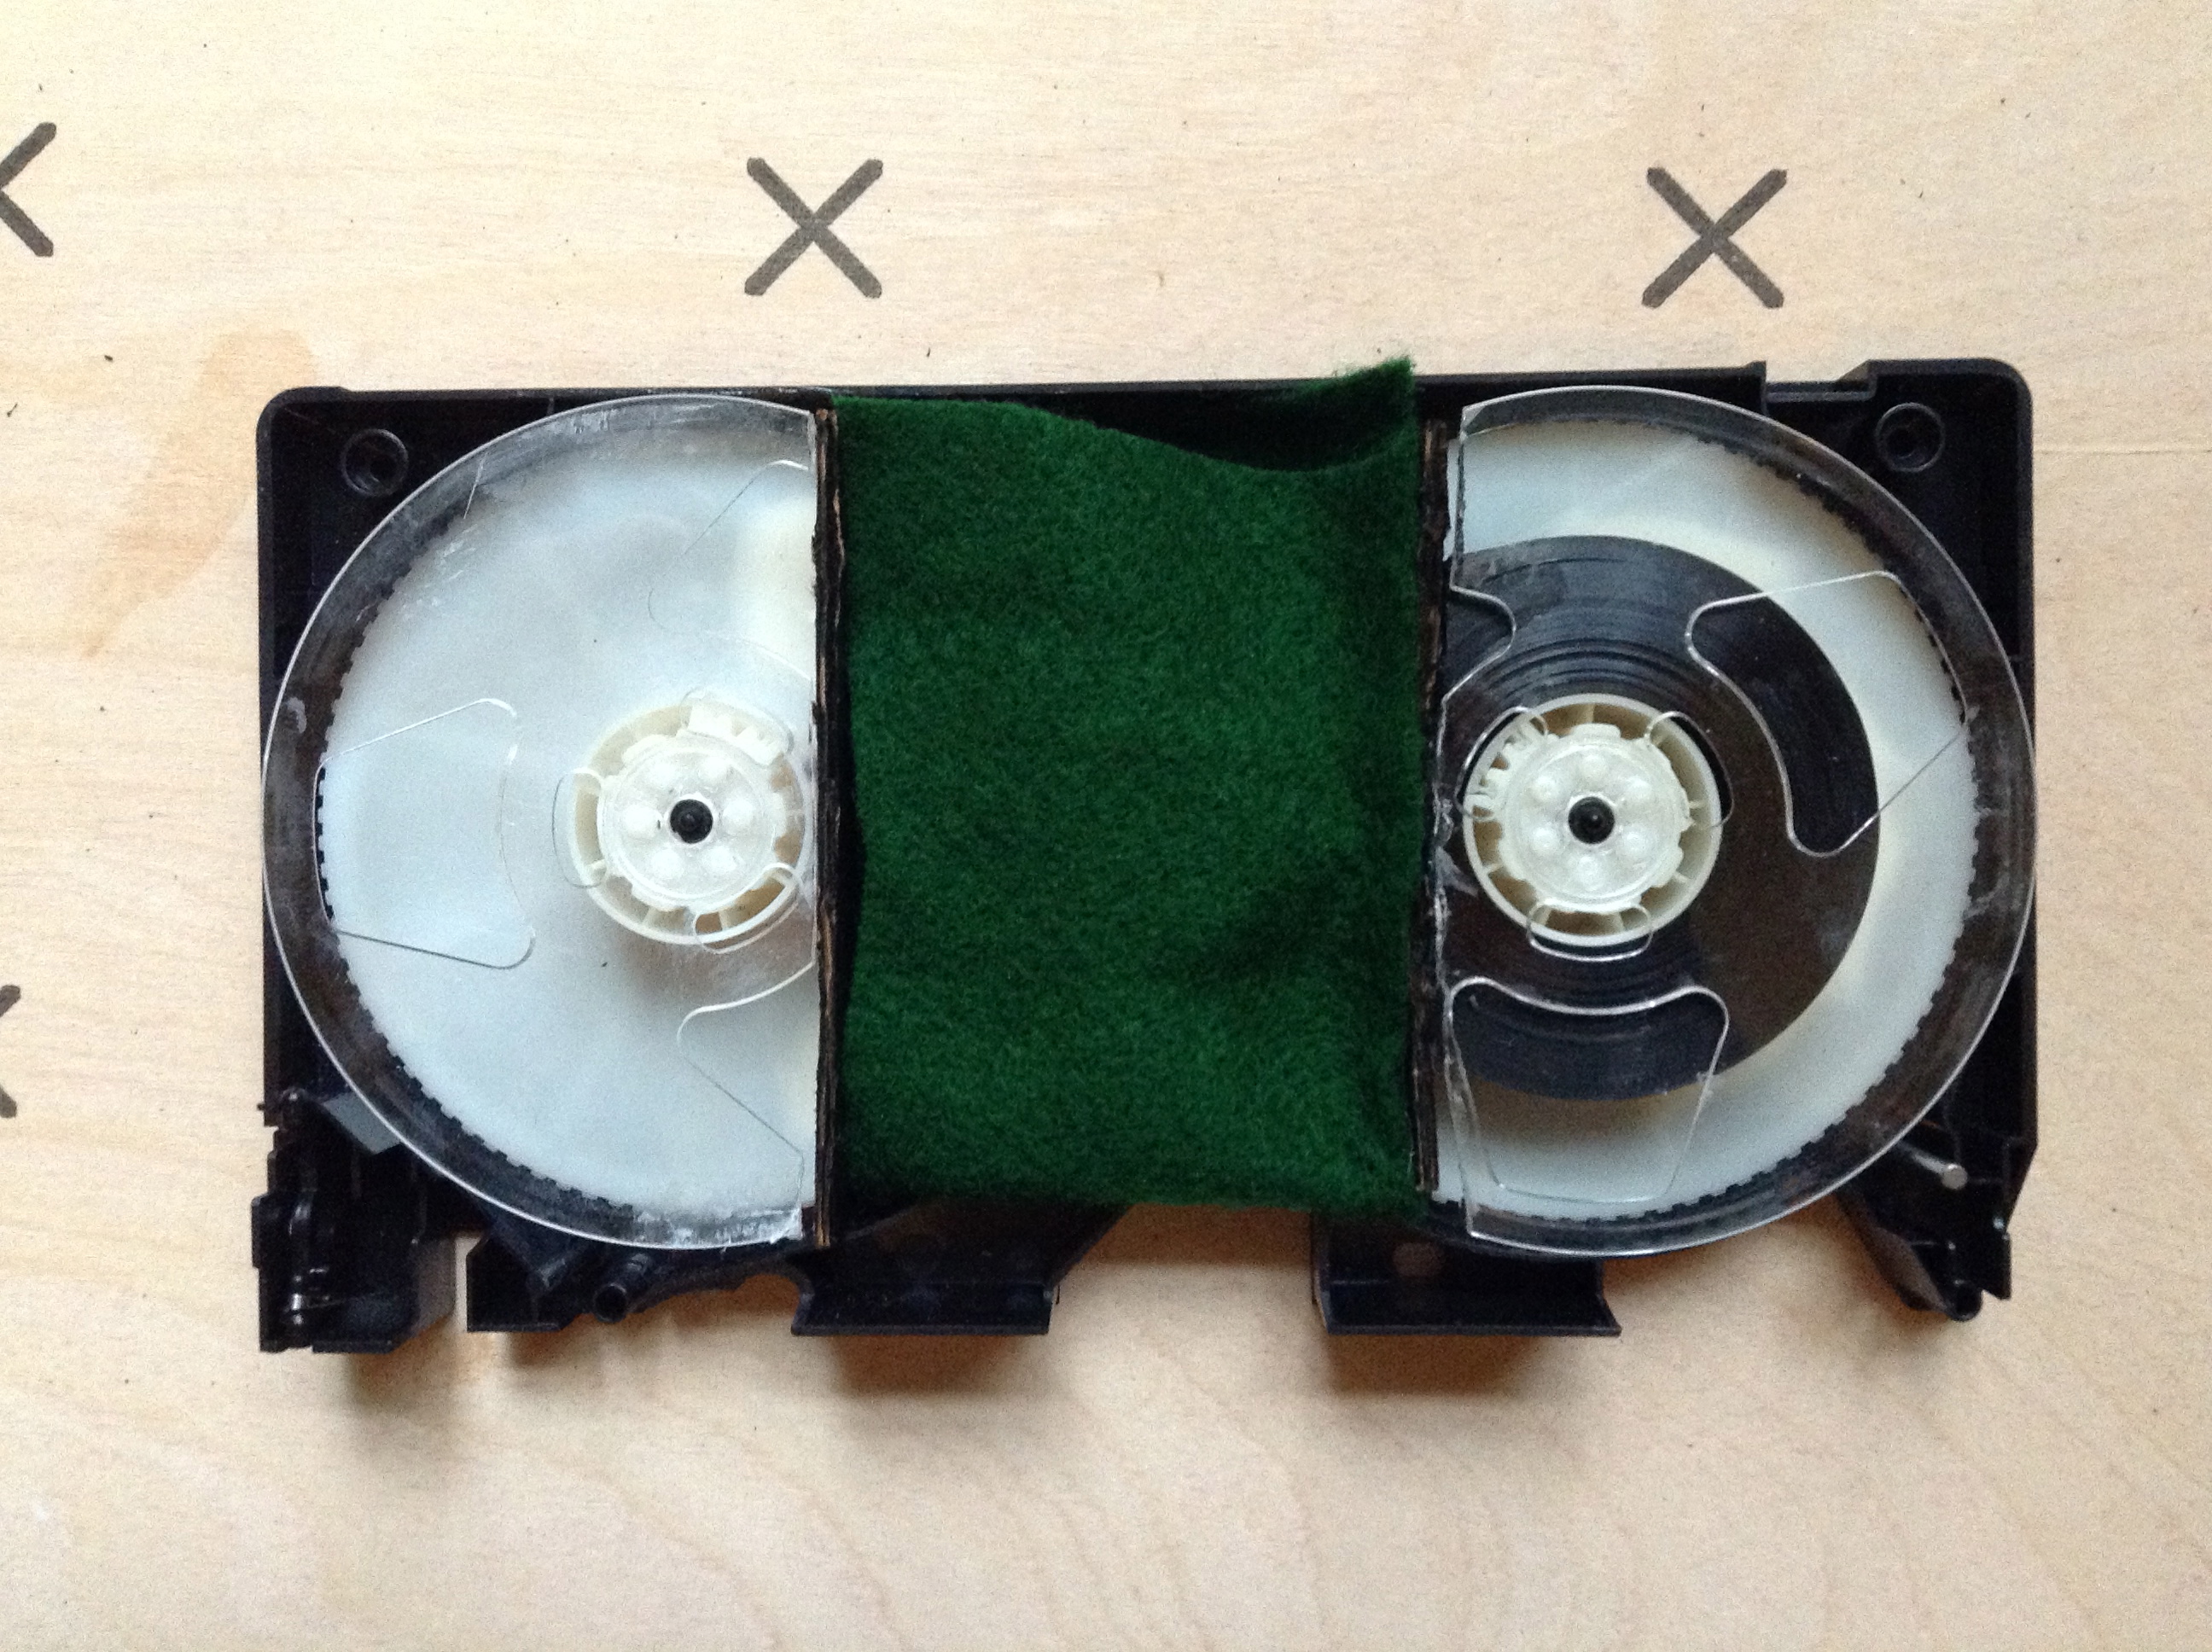
- Cut two pieces of cardboard, wood or plastic that are the length of the cuts you made on each spool and aren't any taller than the top of the spools.
- Glue them against the cuts you made to prevent whatever you are storing inside the VHS from sliding into a position where it can be seen through the windows in the top of the case.
- Glue the two spools to the bottom half VHS case. Position them so that only the uncut parts of the spools are visible through the windows in the top half of the case.
- Once the glue is dried make sure the top half of case fits on properly and the cuts are not visible through the windows.
How to Use It
*This step is optional. If you don't want to line your compartment with fabric skip to the next step.*
- Cut a piece of fabric that is the width of the compartment by double the length.
- Line the compartment with the fabric and place the item you want to hide inside.
- Fold the excess fabric over top of the item. This will prevent any rattling.
- Cut a piece of fabric that is the width of the compartment by double the length.
- Line the compartment with the fabric and place the item you want to hide inside.
- Fold the excess fabric over top of the item. This will prevent any rattling.
Closing the Compartment
- Fit the top and bottom halves of the VHS tape's body together and flip it over.
- Screw the case back together, but only with the four corner screws. Discard the fifth screw that went in the center of the tape.
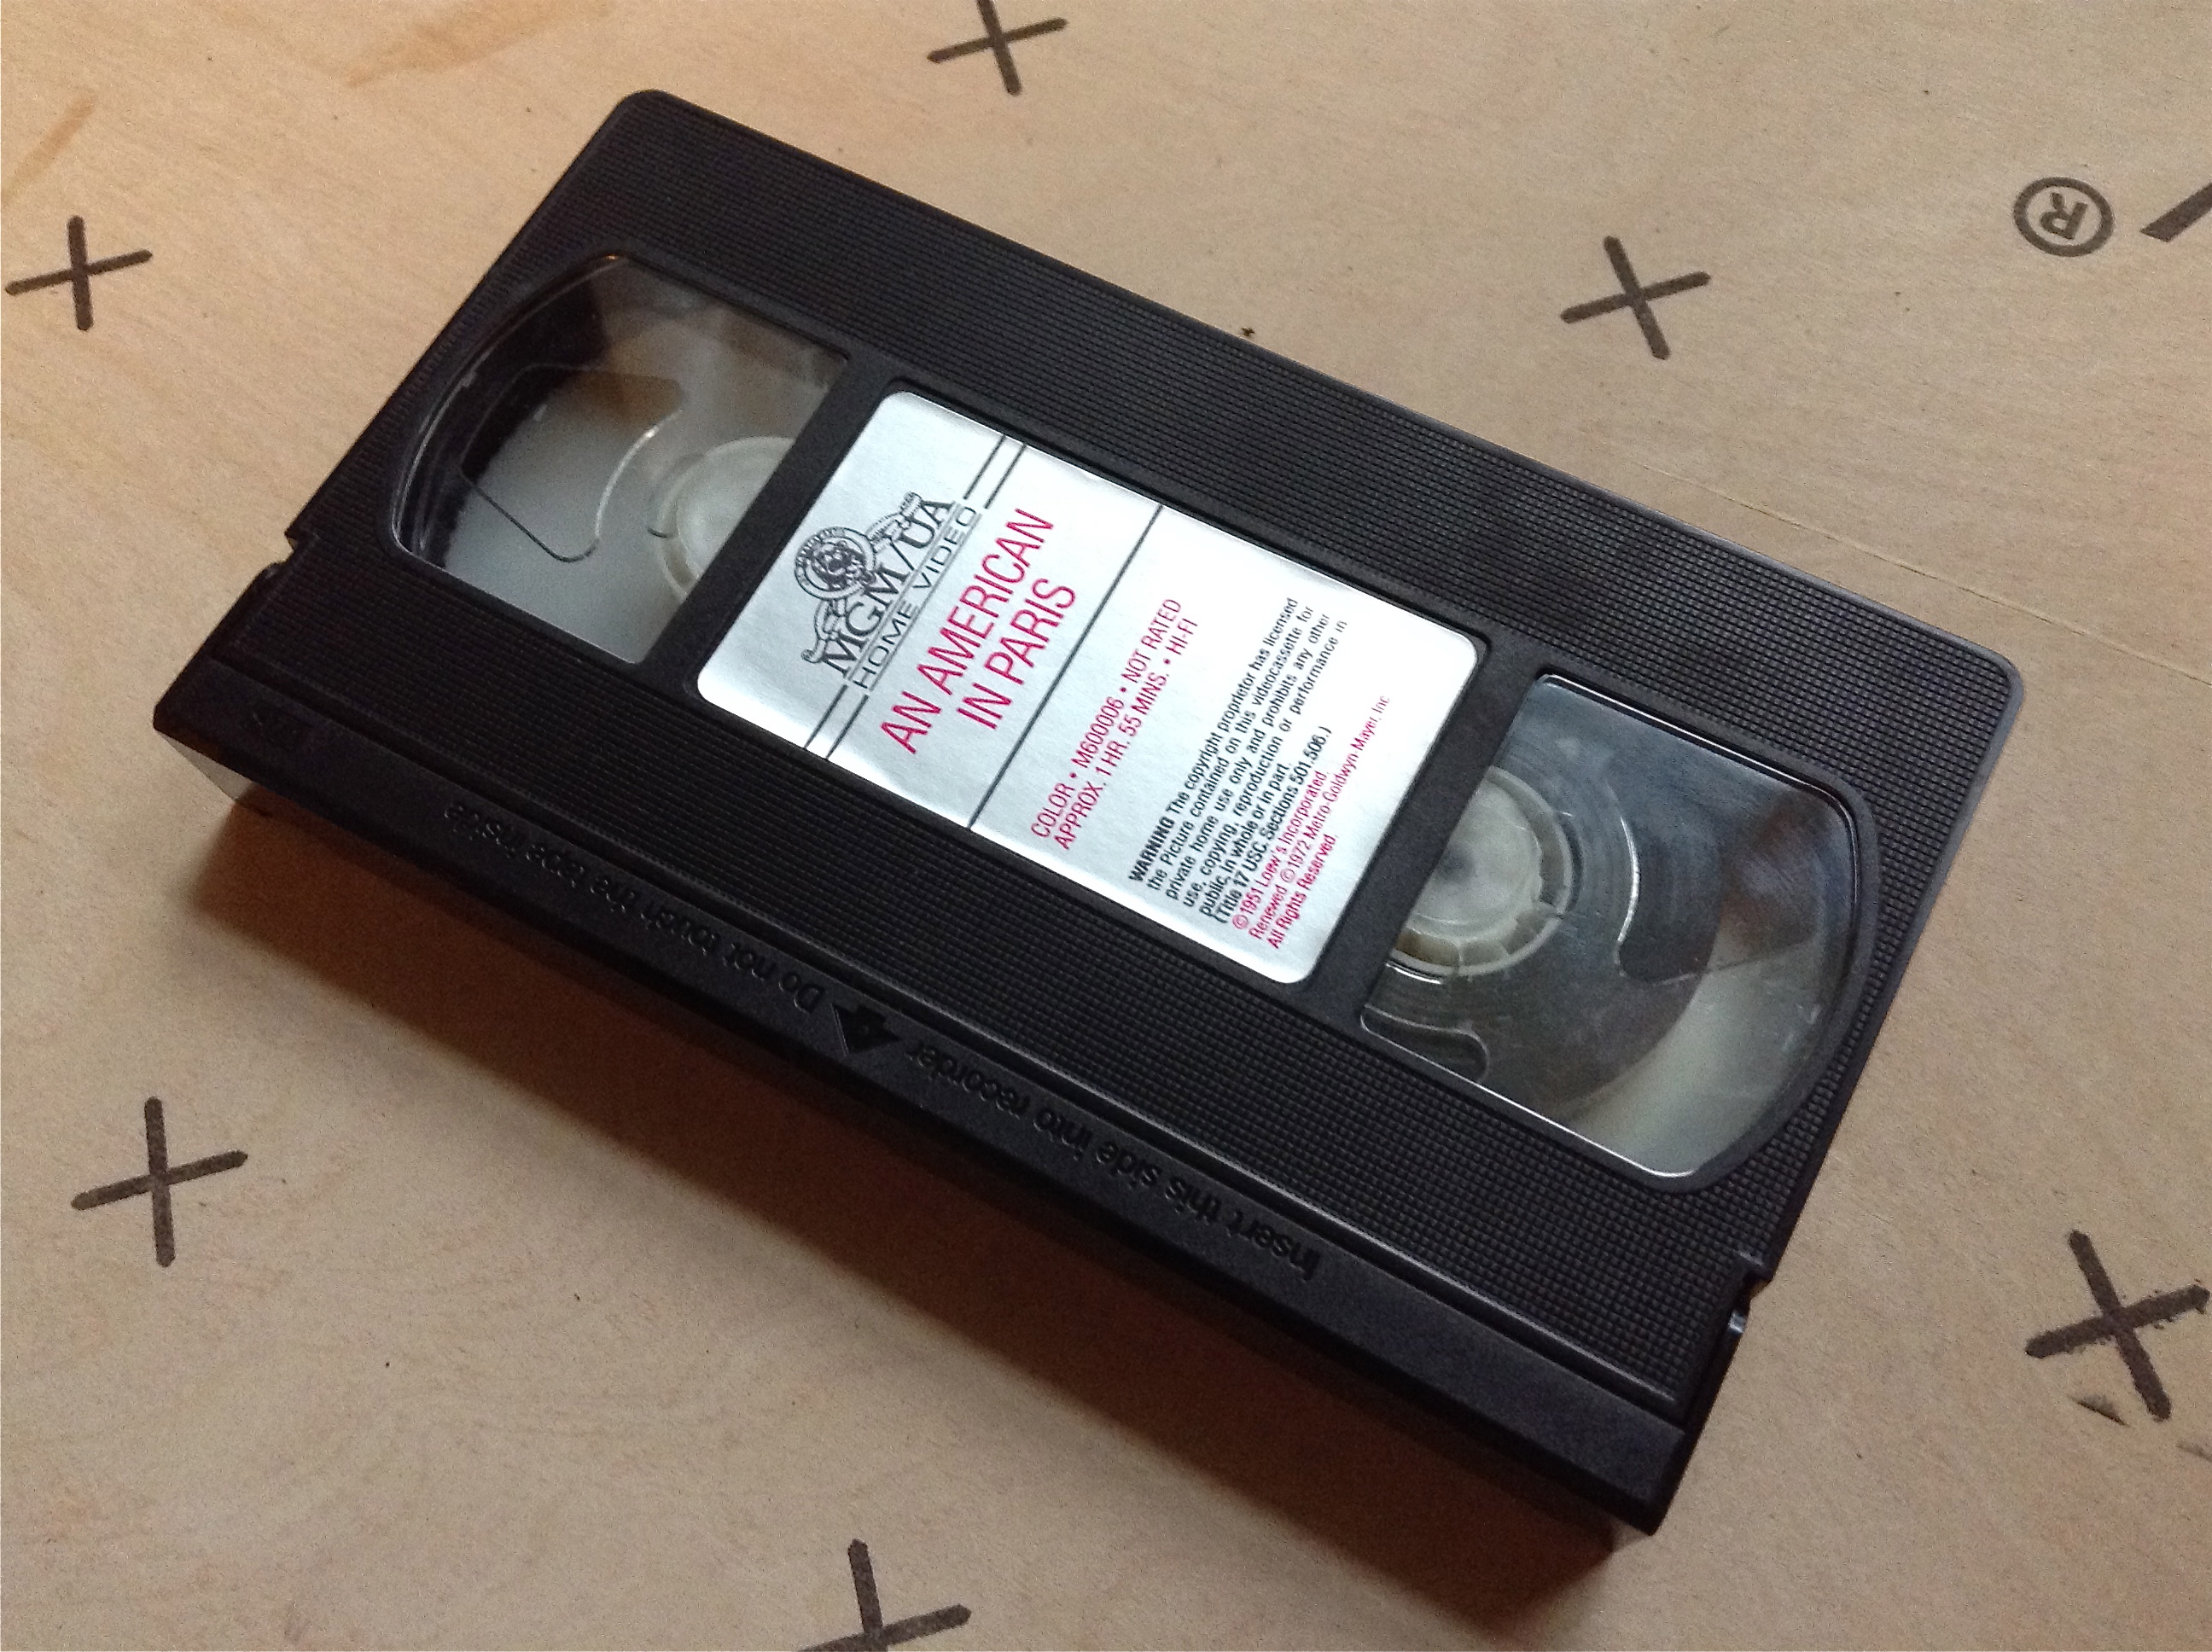
- Put the tape back in it's case.
- You're done!
- Screw the case back together, but only with the four corner screws. Discard the fifth screw that went in the center of the tape.
- Put the tape back in it's case.
- You're done!