V-Carve Gift

V-Carve Gift
Have you ever gotten tired of buying gifts for mothers day. Here is a great idea let's make the gift. There is way more meaning to the gift if you make it. So let's get started. We will be using V-Carve for this project. Make a rectangle, and make it 12.5x10.5
Supplies
Supplies Needed
- CNC Machine
- Piece of wood
- Computer with V-Carve on it
- Also has fusion
- Have the necessary Tool bits need as listed above.
- Sand Paper
- Paint & Paint brush
Step Insert Picture
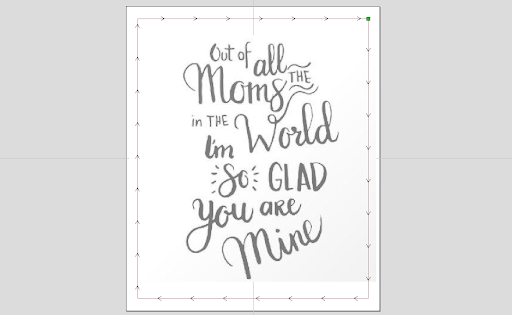
Insert a picture, and set the size 11.5x9.5
Step Make the Letter Come Alive
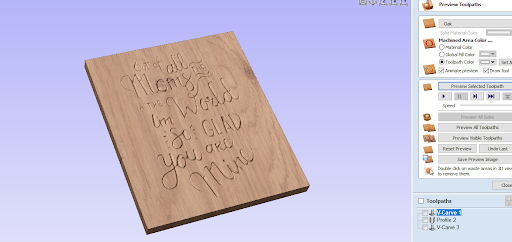
Trace the picture. Then go to material setup Then engrave it. 1.25 V-bit then press calculate. Preview the toolpath. Then save the toolpath, to your CNC machine.
Step Make an Outline
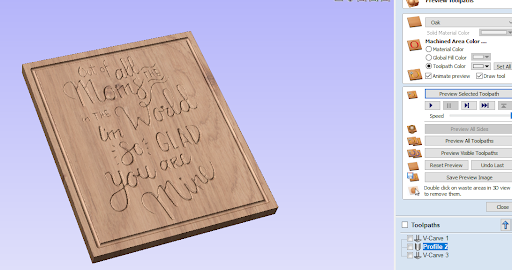
Offset the border in .25. Then go to the profile toolpath, and select that line. Cut depth 0.1, and use a .25 ball nose. Preview it and it should look like. Then save the toolpath.
Step Show Who Made It
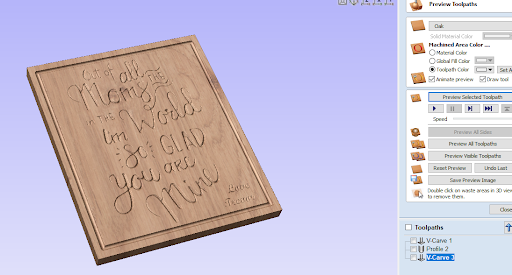
Select Draw Text and type Love your name. Font = Script MT Bold, Alignment right, and Width 2.2, and Height 2.7. Go to Engraving toolpath and 1.25 V-bit. preview it and it should look like. Then save the toolpath.
Step Hands On

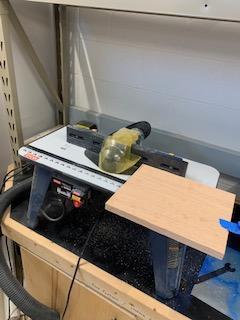
Cut a piece of wood (that is .75in thick) 12.5x10.5.Then round the edges with the edging machine.
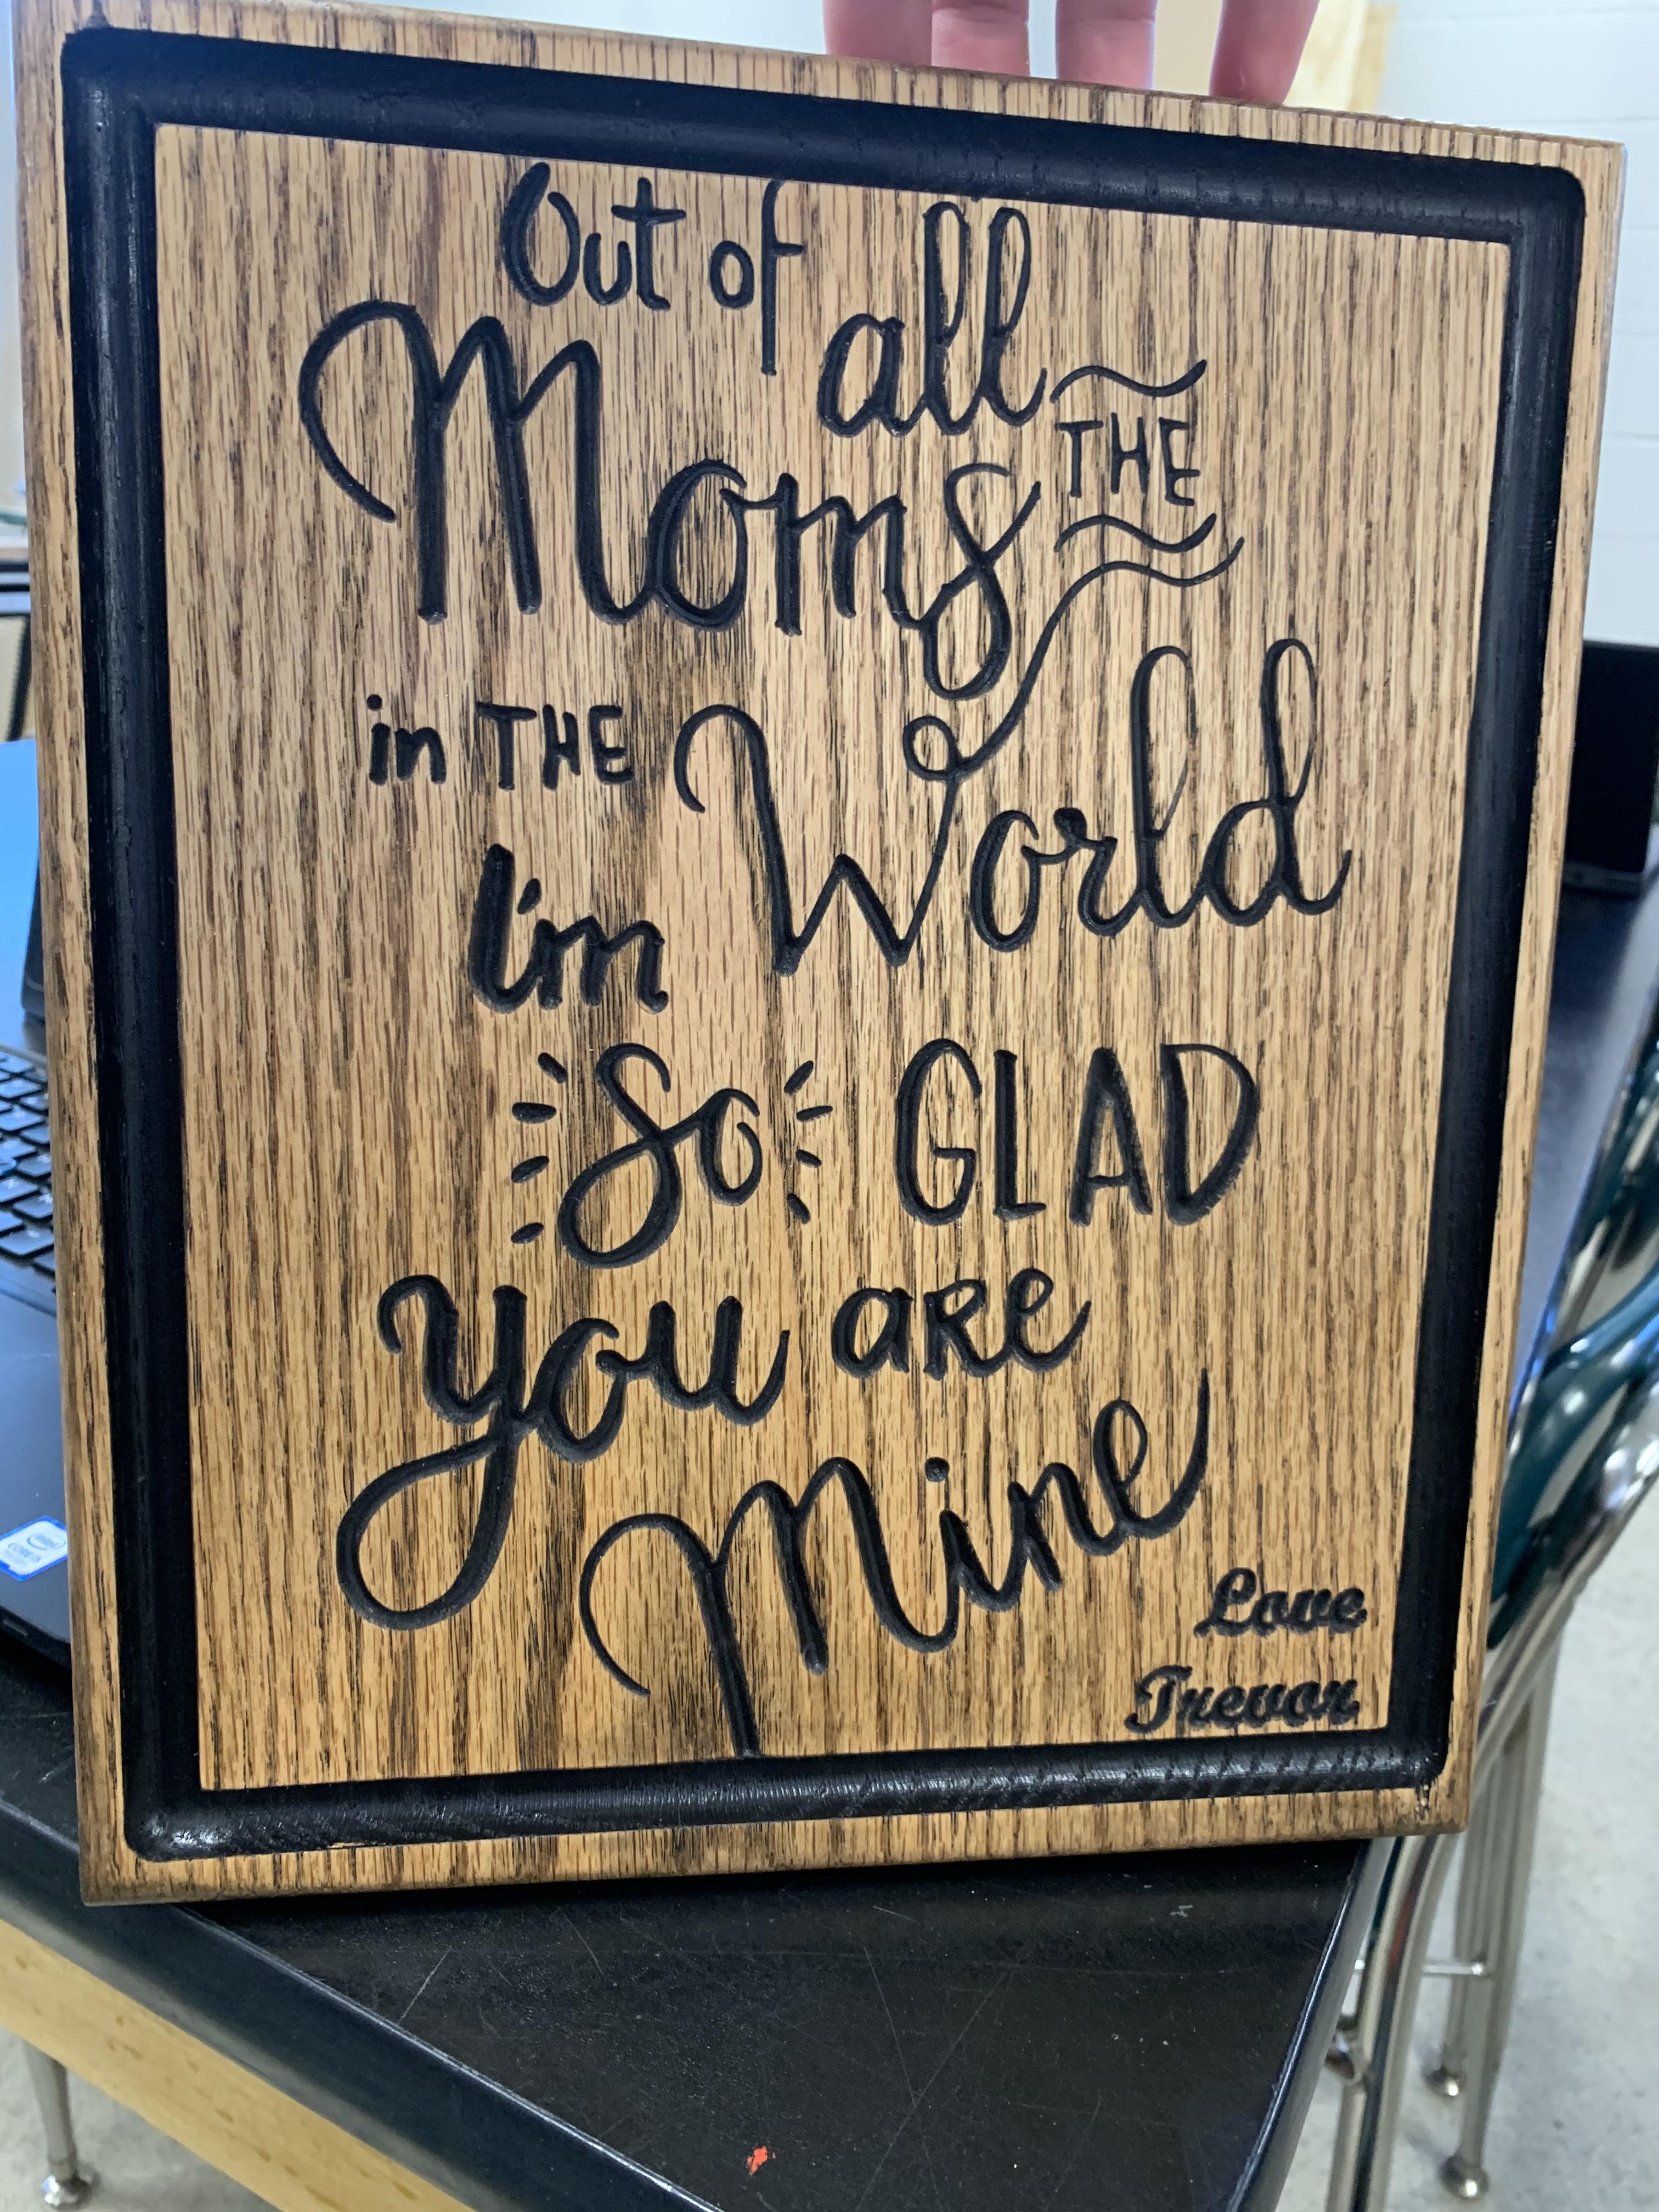
Step Stain It, & Use the CNC
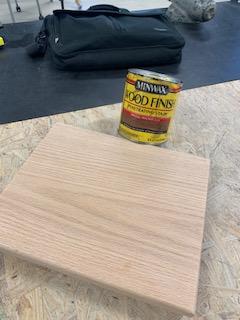
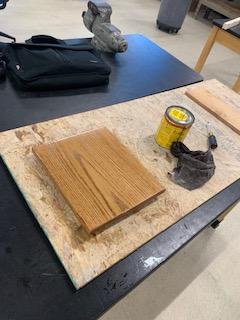
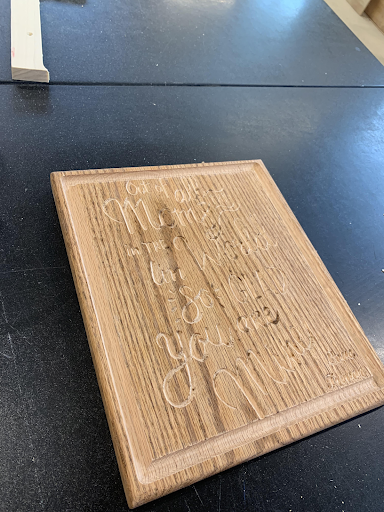
It should look like this when you're done staining it. When finished with using the CNC machine it should look like this.
Final Step Paint
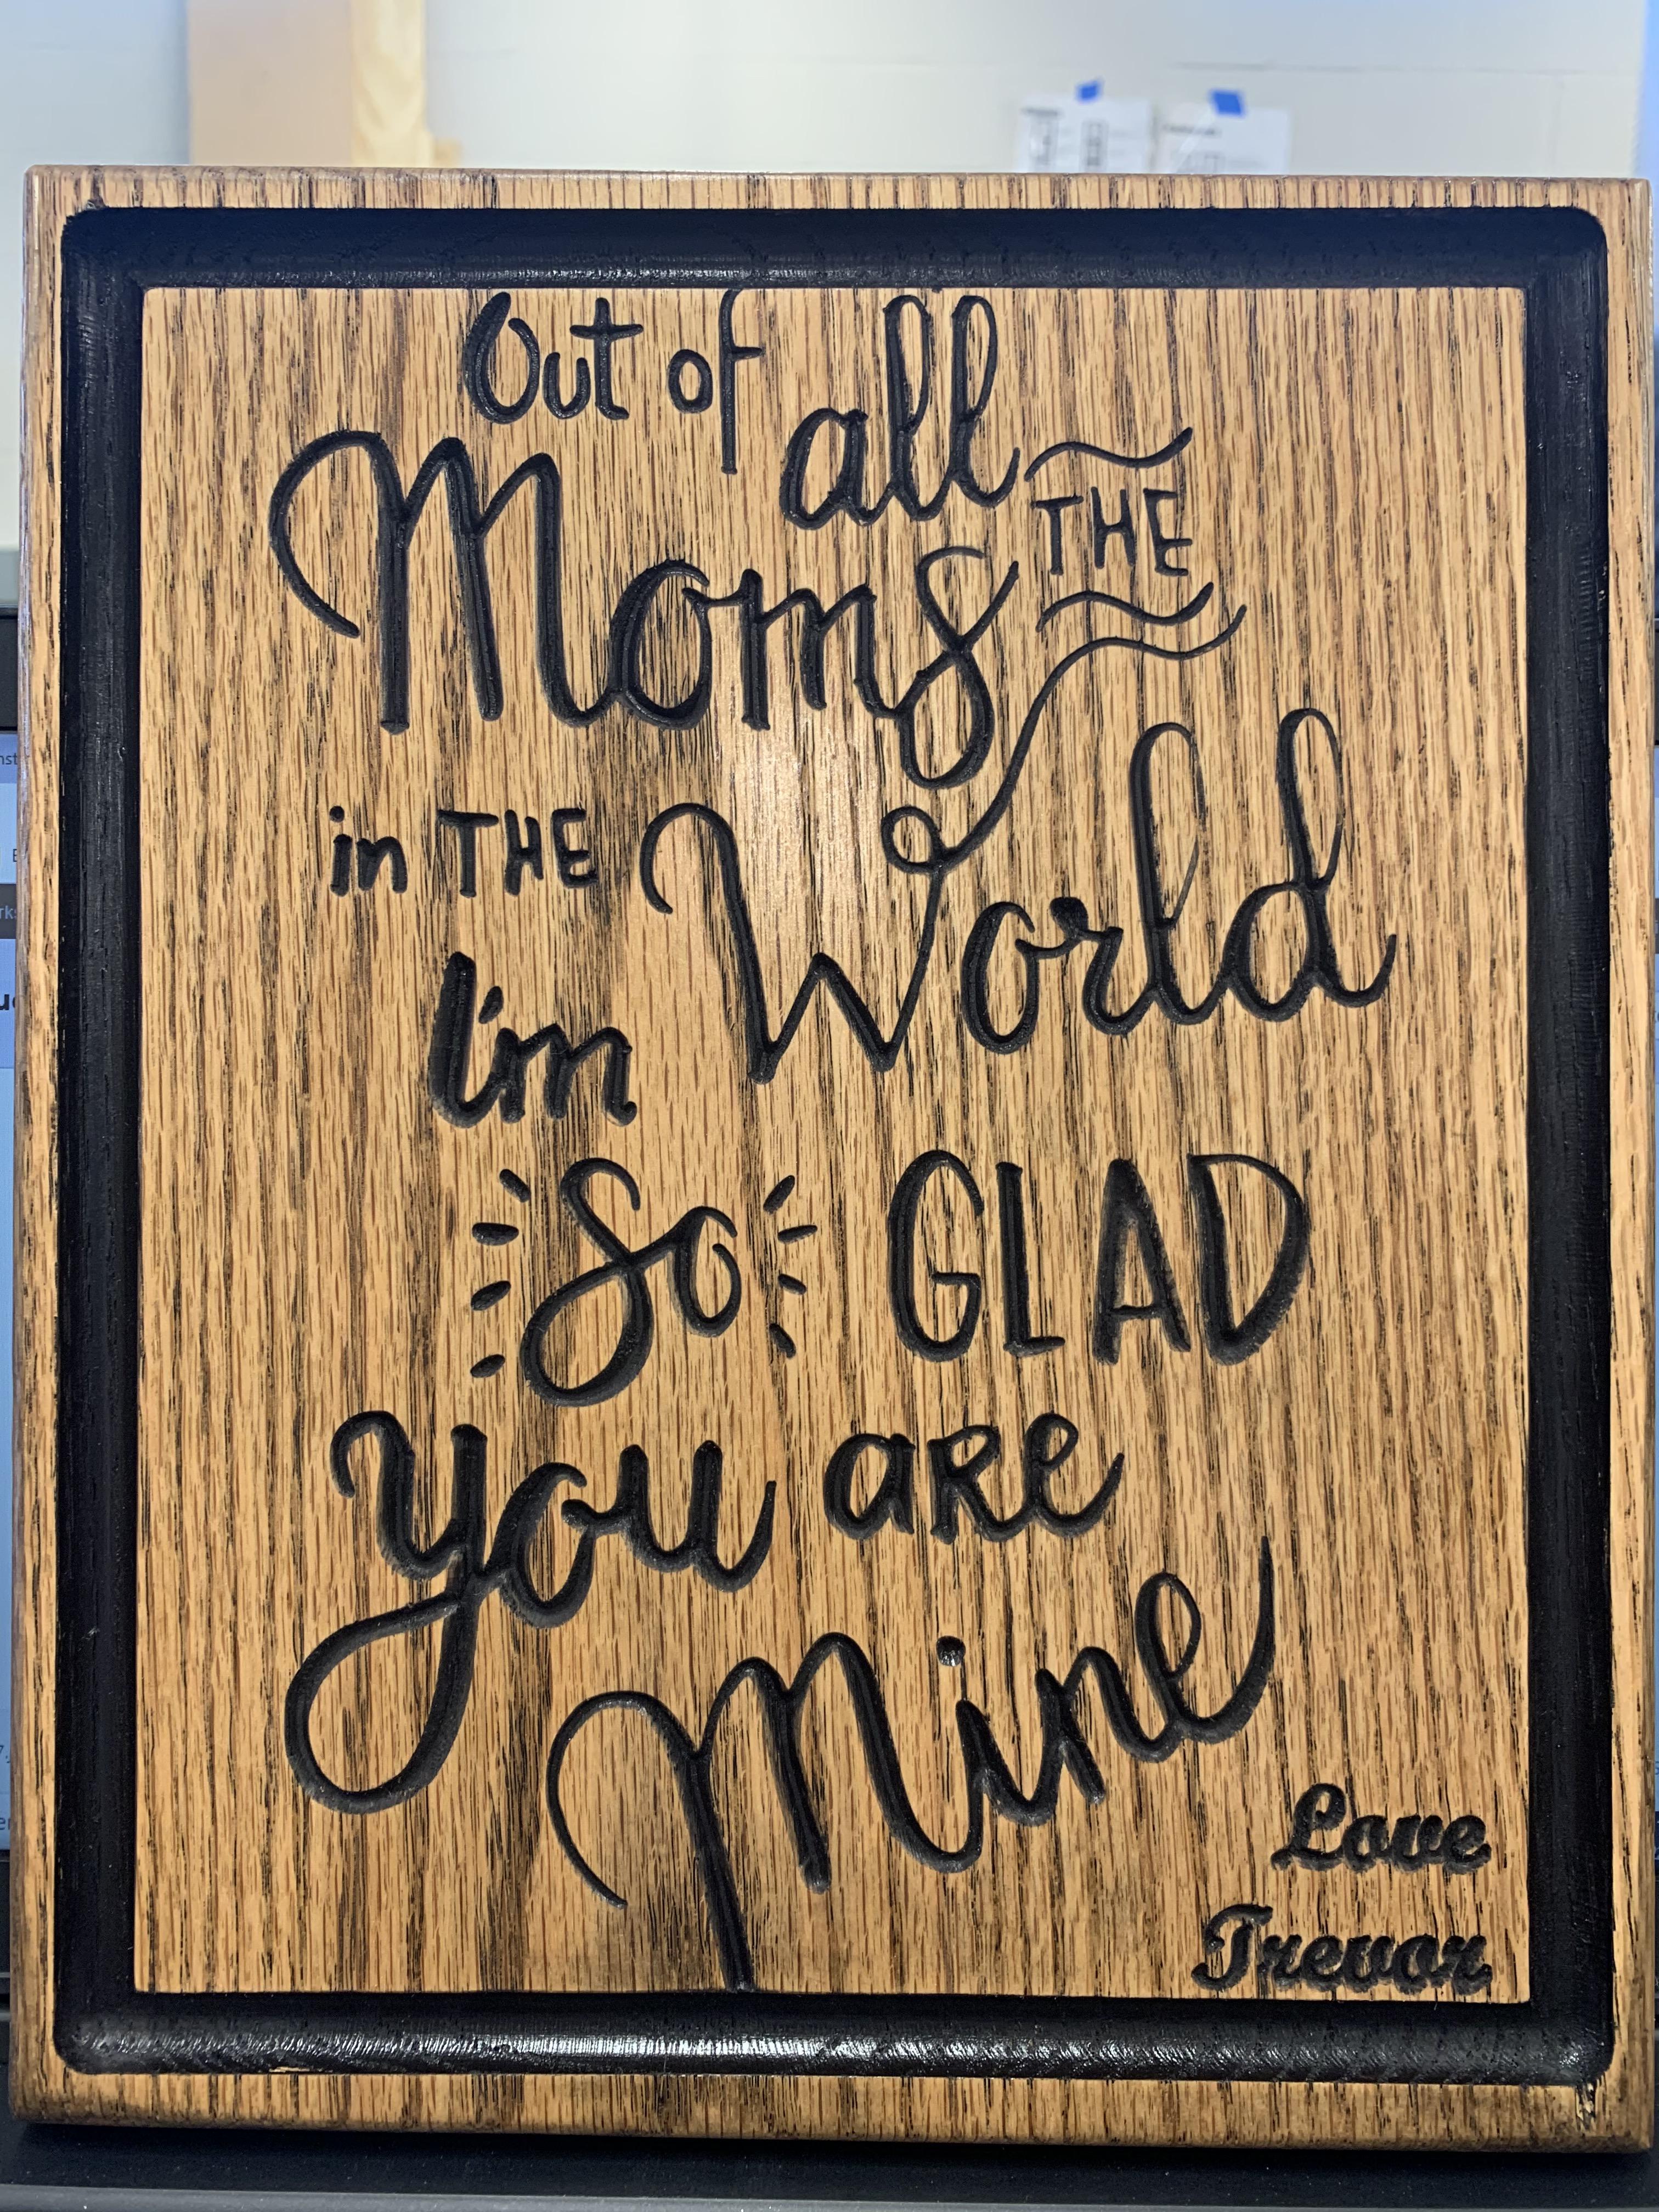.jpg)
Take a paper towel and rub down the wood so there is no dust. then paint it just like as shown.