Utility Receptacle
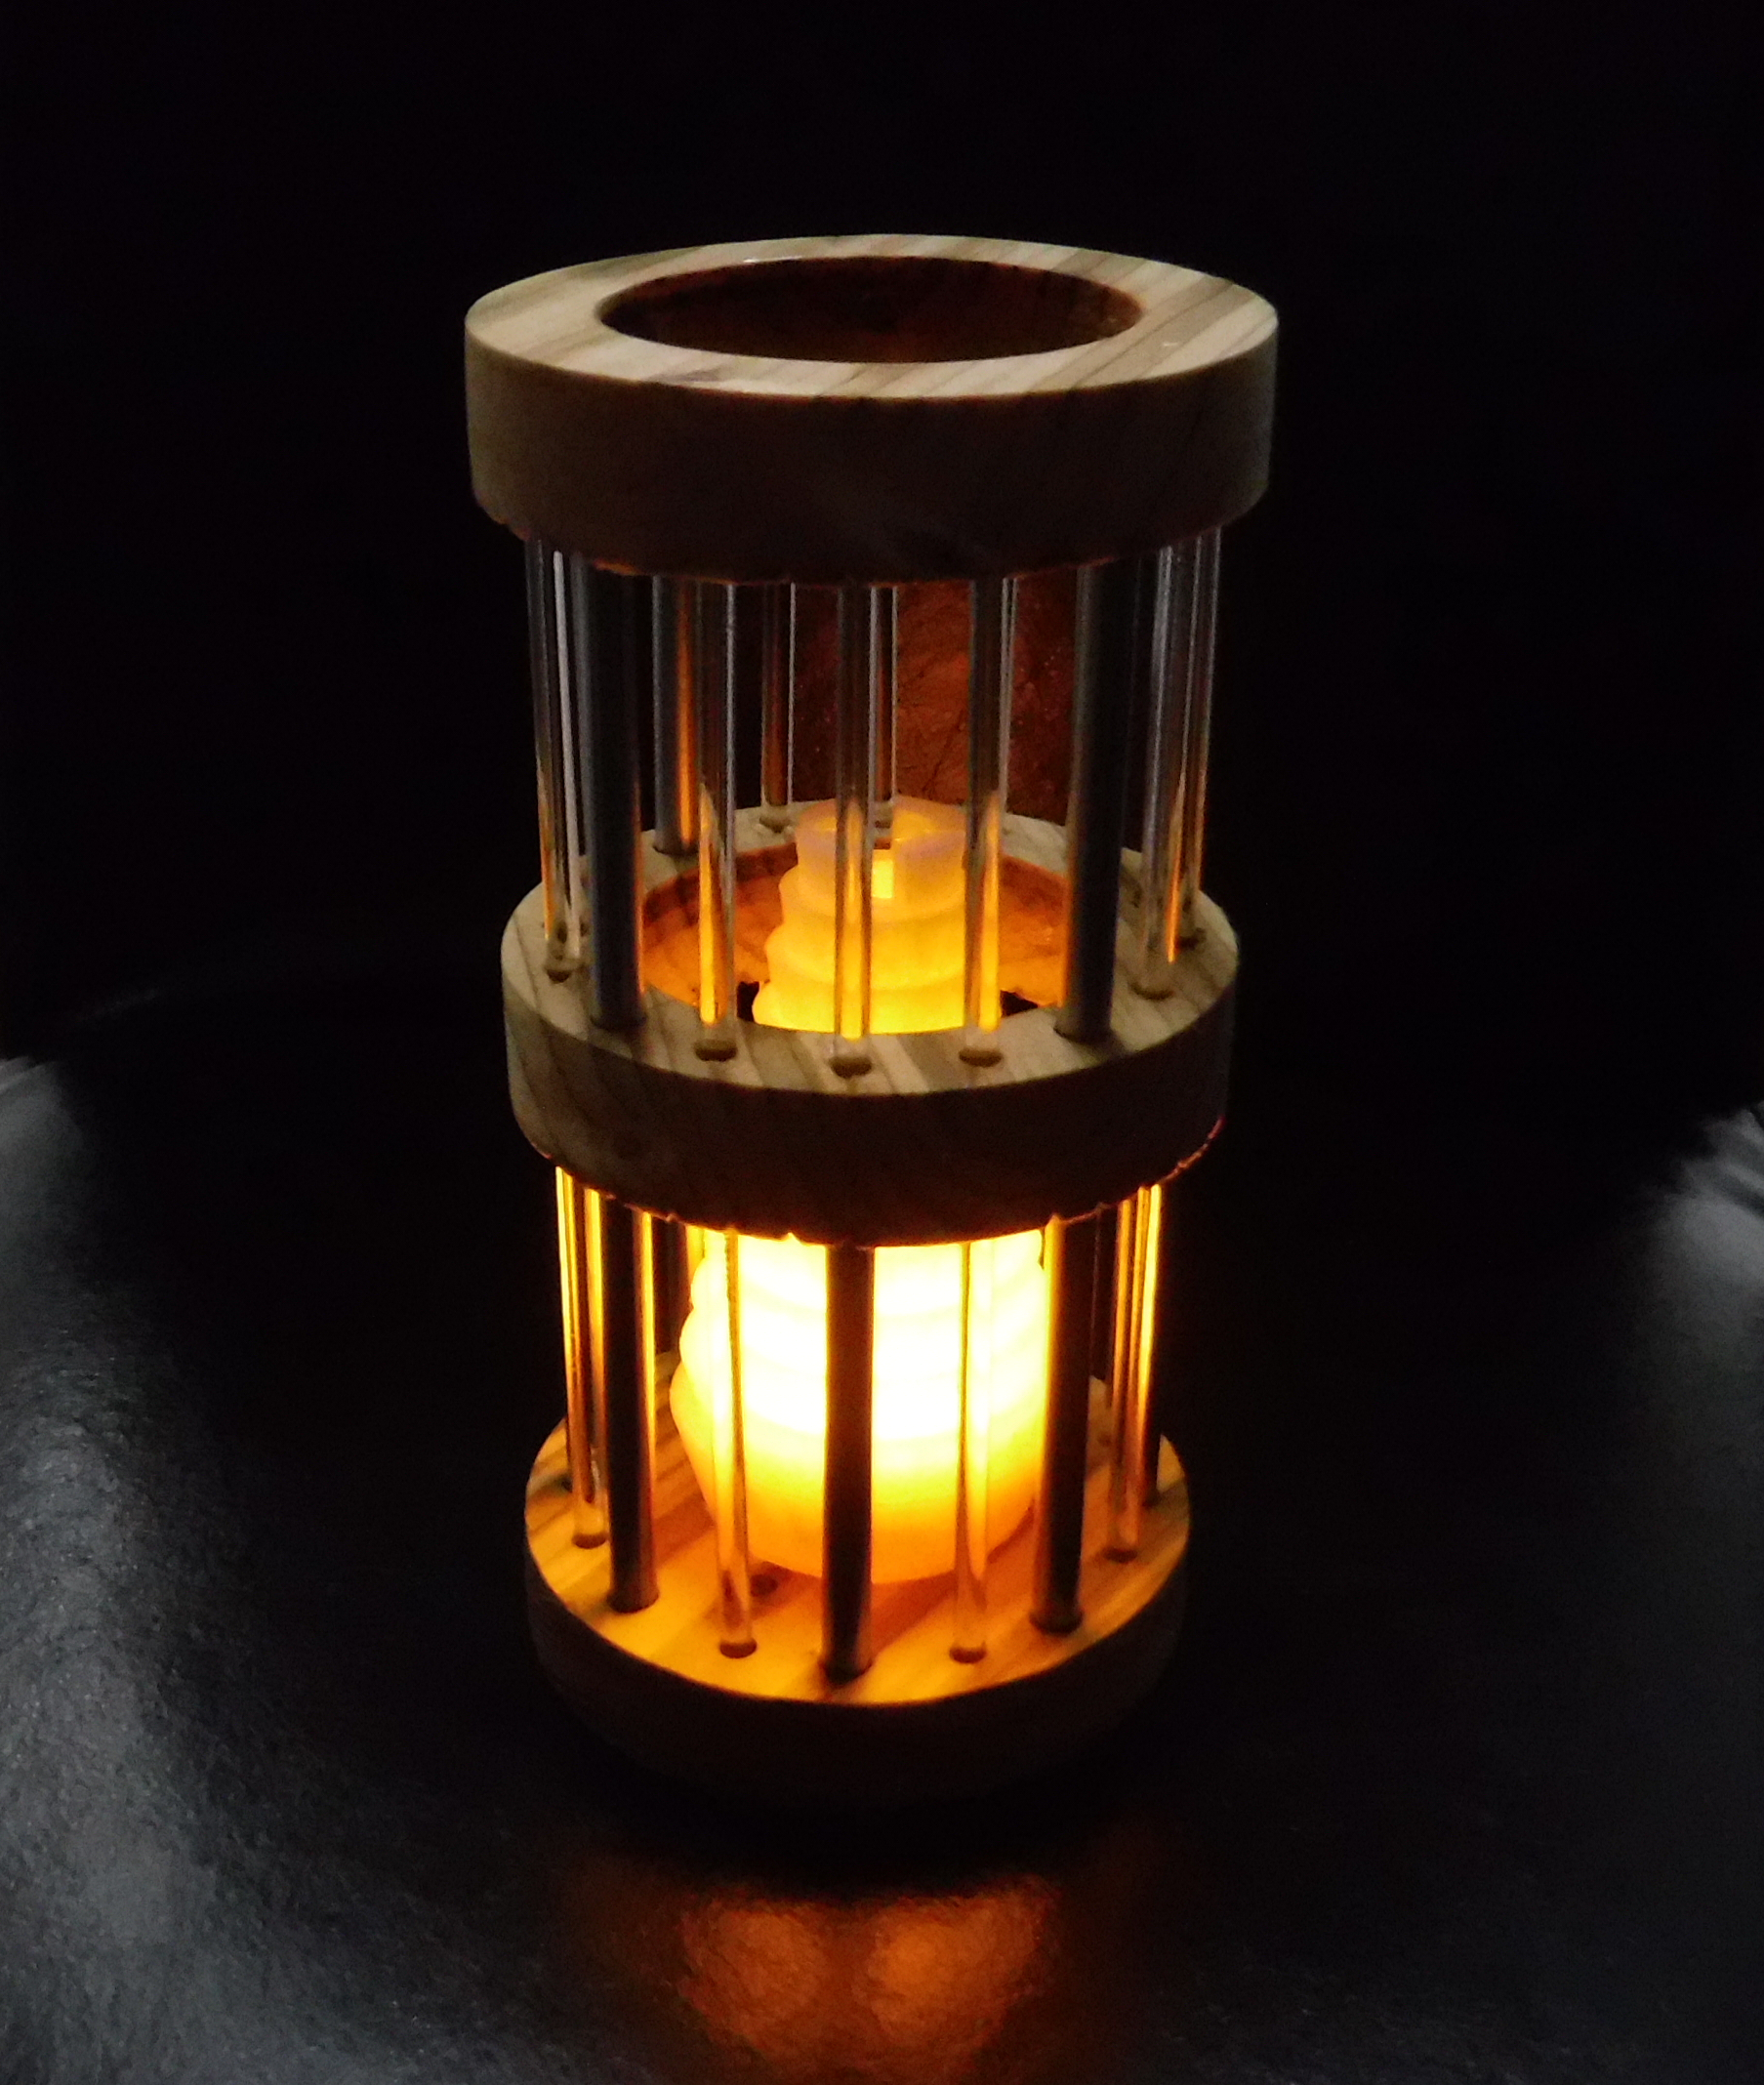
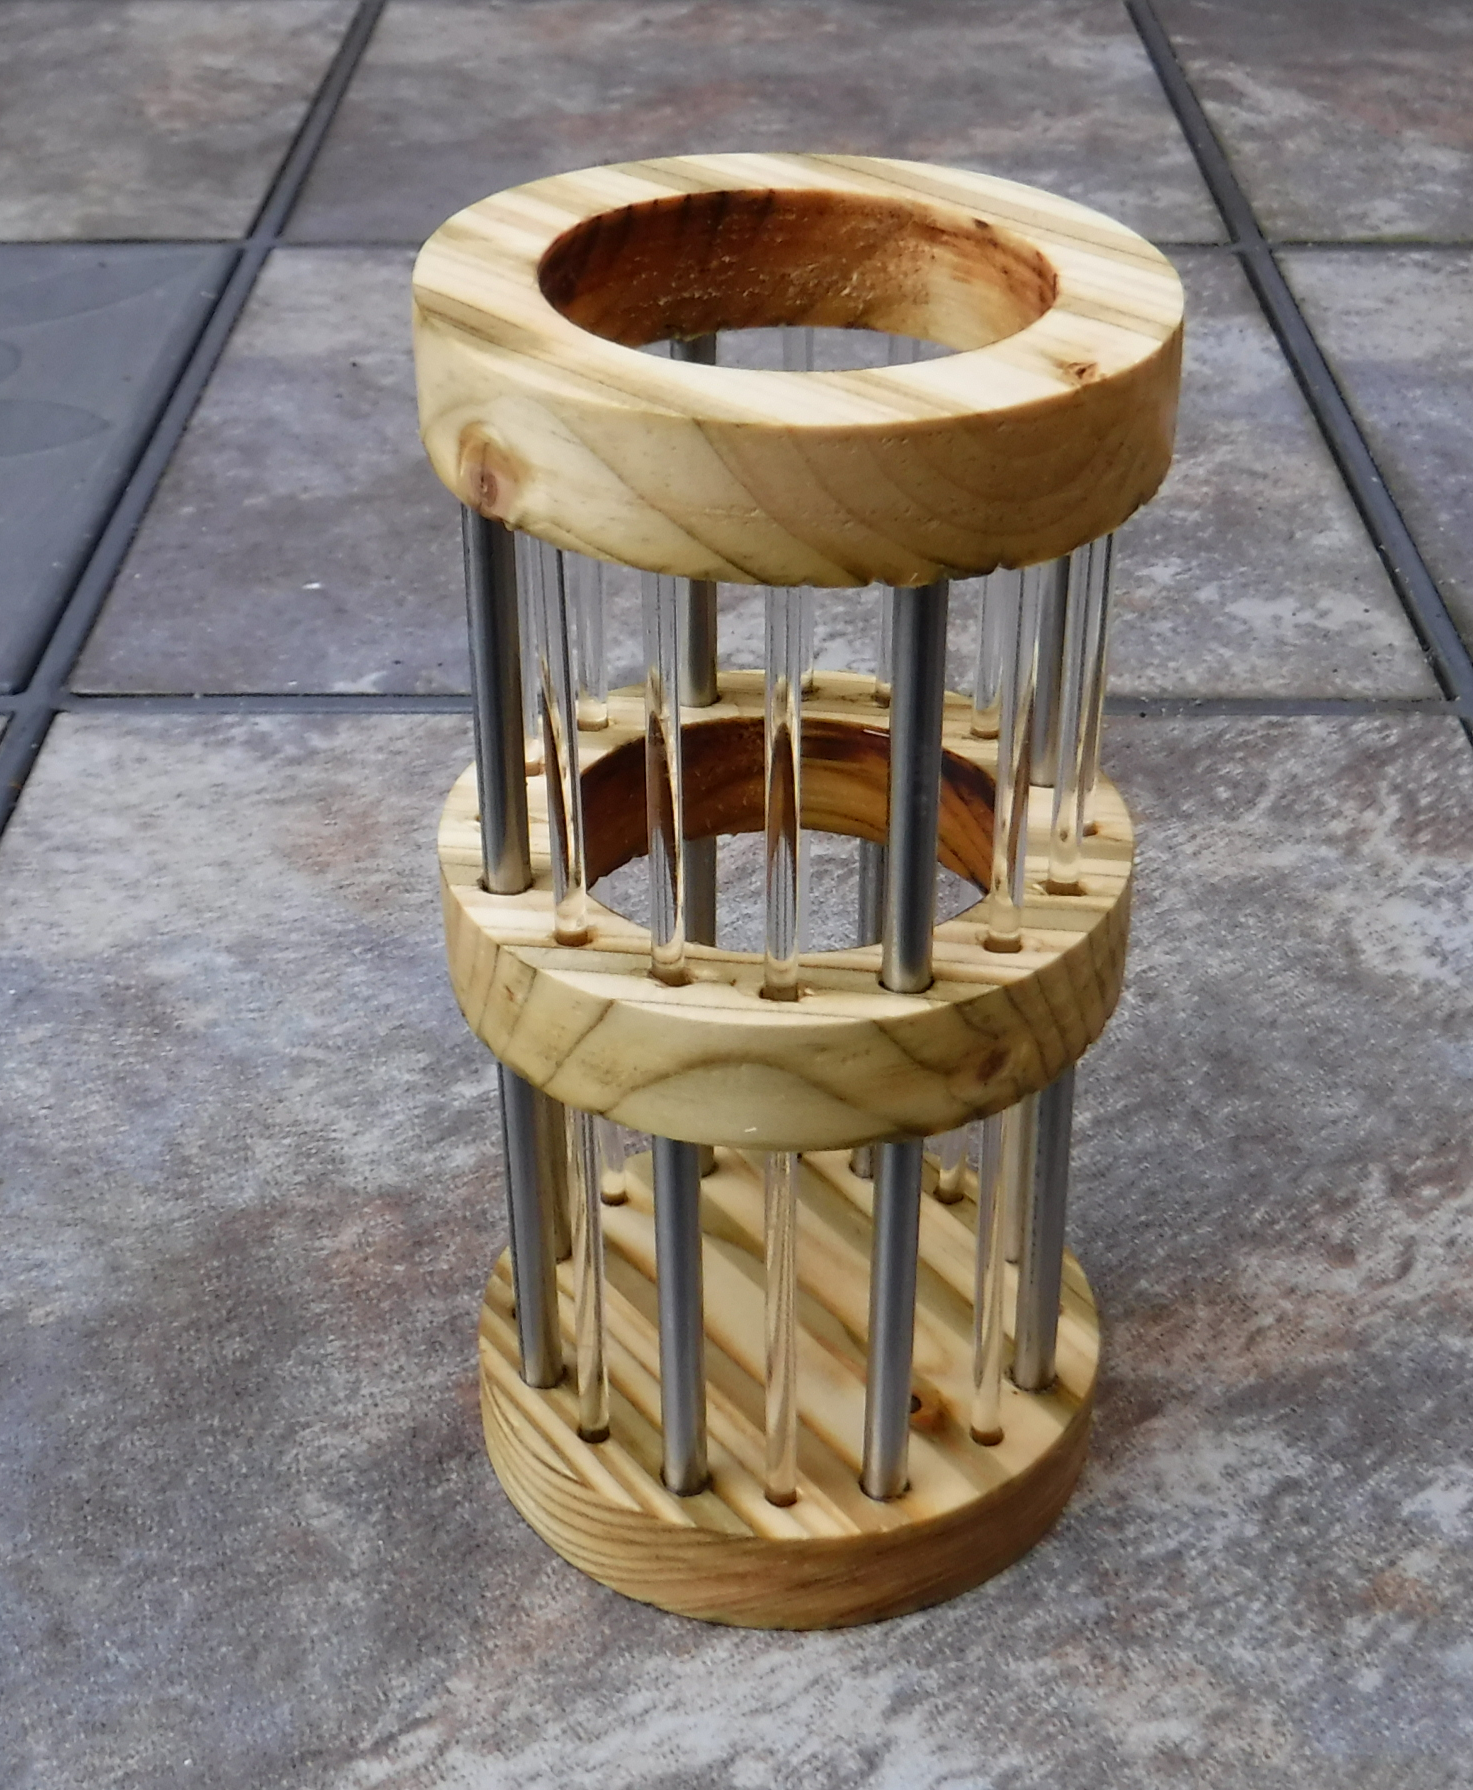
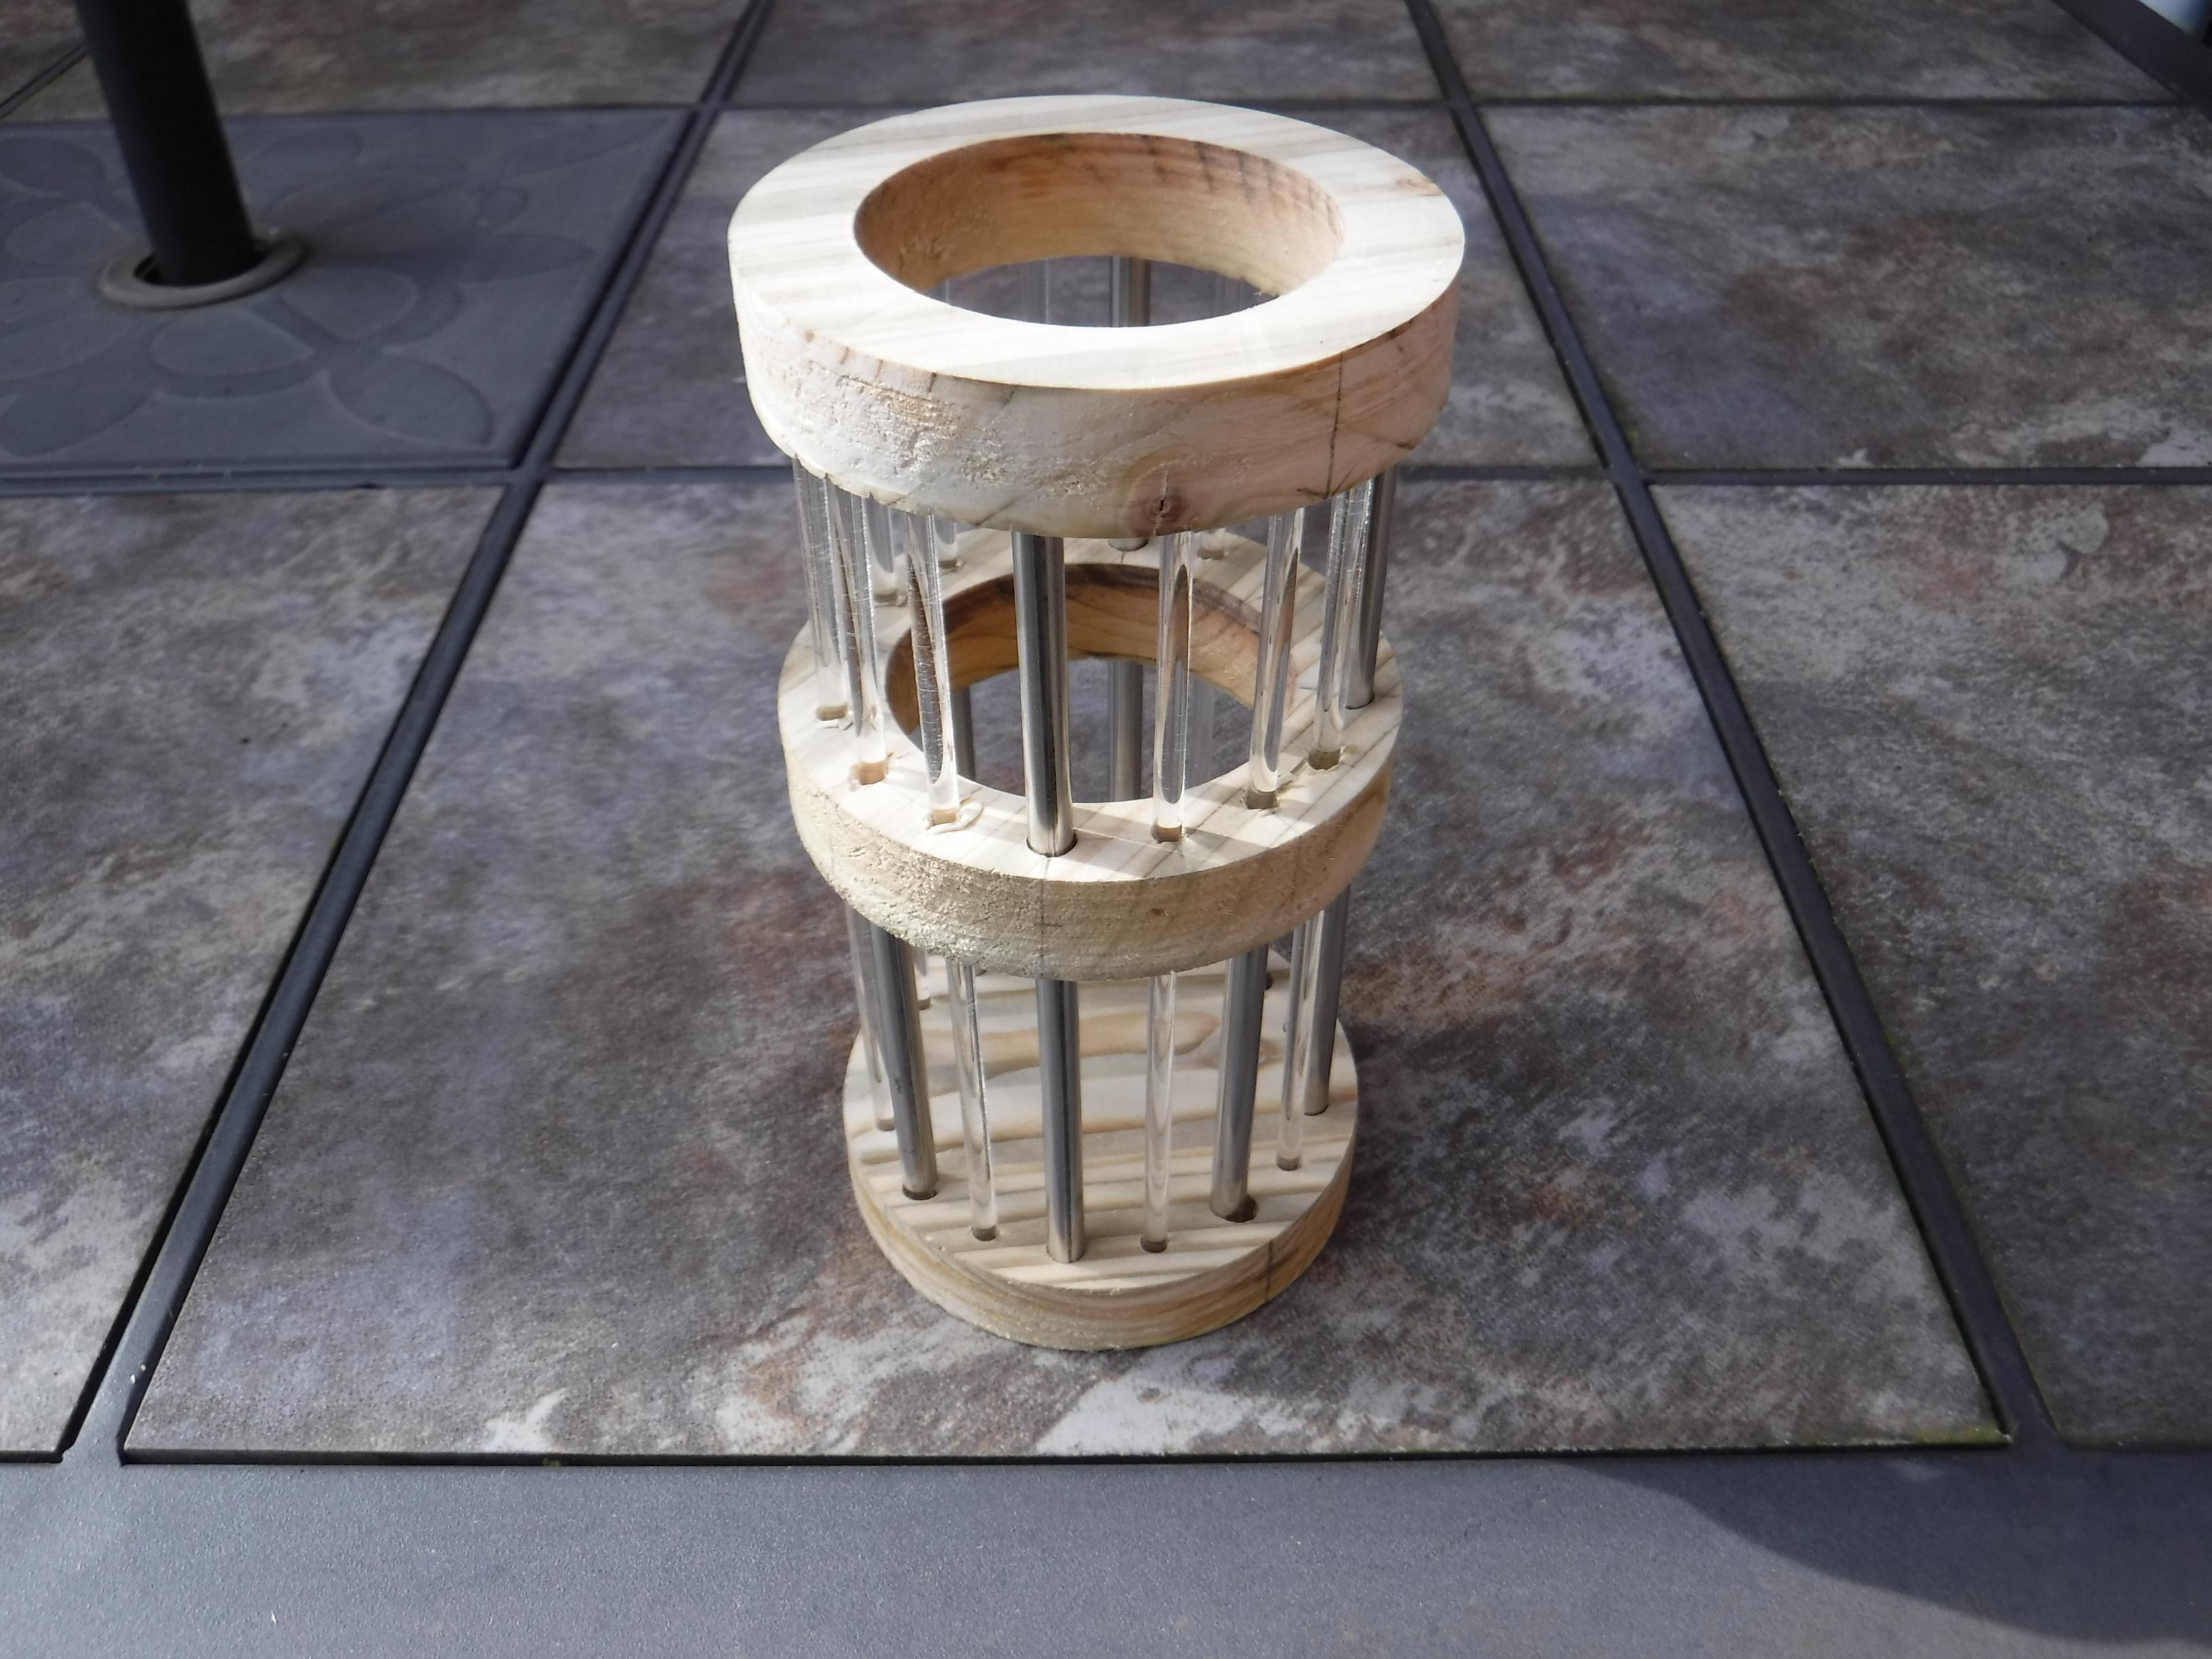
Made from the remnants of a previous project is a Utility Receptacle which has a multitude of uses around the home.
As a receptical for another container such as a flower pot, water holder for cut flowers, table lamp or hanging lantern.
Its made of a combination of wood, acrylic and stainless steel.
The wooden elements being the remnants of the material stock used in the following projects:
Mass Driver : 11 Steps (with Pictures) - Instructables
Wooden Bouquet : 6 Steps (with Pictures) - Instructables
Tensegrity Shelf : 7 Steps (with Pictures) - Instructables
Recycle Flower : 7 Steps (with Pictures) - Instructables
Offcut Stack Birdhouse : 8 Steps (with Pictures) - Instructables
Wooden Box Planter : 9 Steps (with Pictures) - Instructables
Supplies
Materials
Wooden Decking remnants ( ~120mm x 240mm x 25mm) - Qty 2
Acrylic lollipop sticks (4mm diameter x 150mm long) - Qty 12
Stainless steel rod (6mm diameter) - 8 pieces ( Qty 4 - 75mm long & Qty 4 - 150mm long)
Masking tape (50mm wide)
Links only given as a possible source and reference to materials used. You may have your own alternative supplier.
Tools
Drill
6mm wood drill bit
4mm wood drill bit
1mm drill bit
95mm hole saw
60mm hole saw
Hack saw
Flat file
Sanding paper
Ruler
Marker
Vice
Adjustable Clamps
Compass/dividers
Protractor
Steel ruler
List of tools is not exhaustive and given as a guide, not all tools may be required and may be substituted for alternatives.
Ensure you are familiar with the use of any tools and apply suitable safety requirements and PPE.
Design
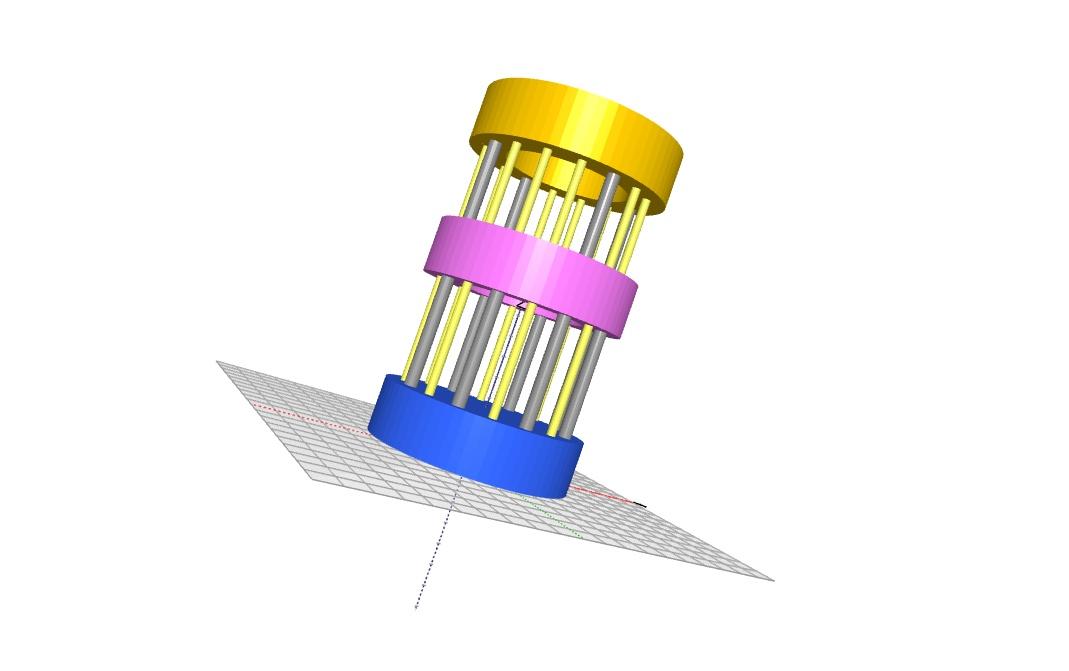
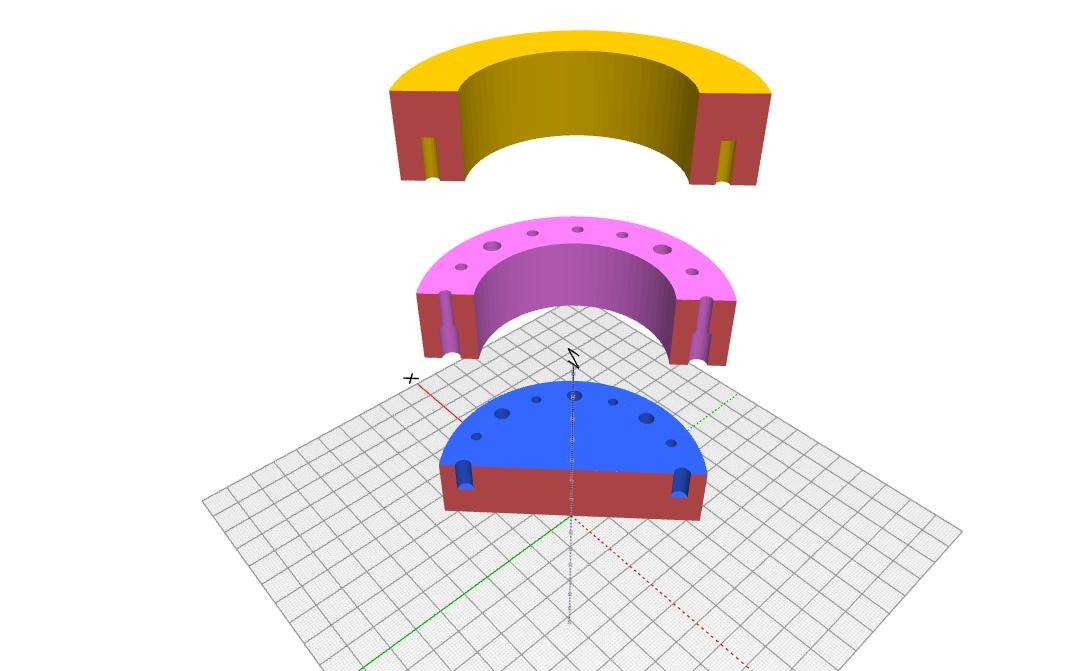
The design has been created in BlocksCAD and shows the final assembly with colour coding to identify the various elements.
All the code blocks are separated and grouped by the appropriate elements allowing these to be viewed individually.
This enables the two rings and base to be 3D printed if required.
Downloads
Rings
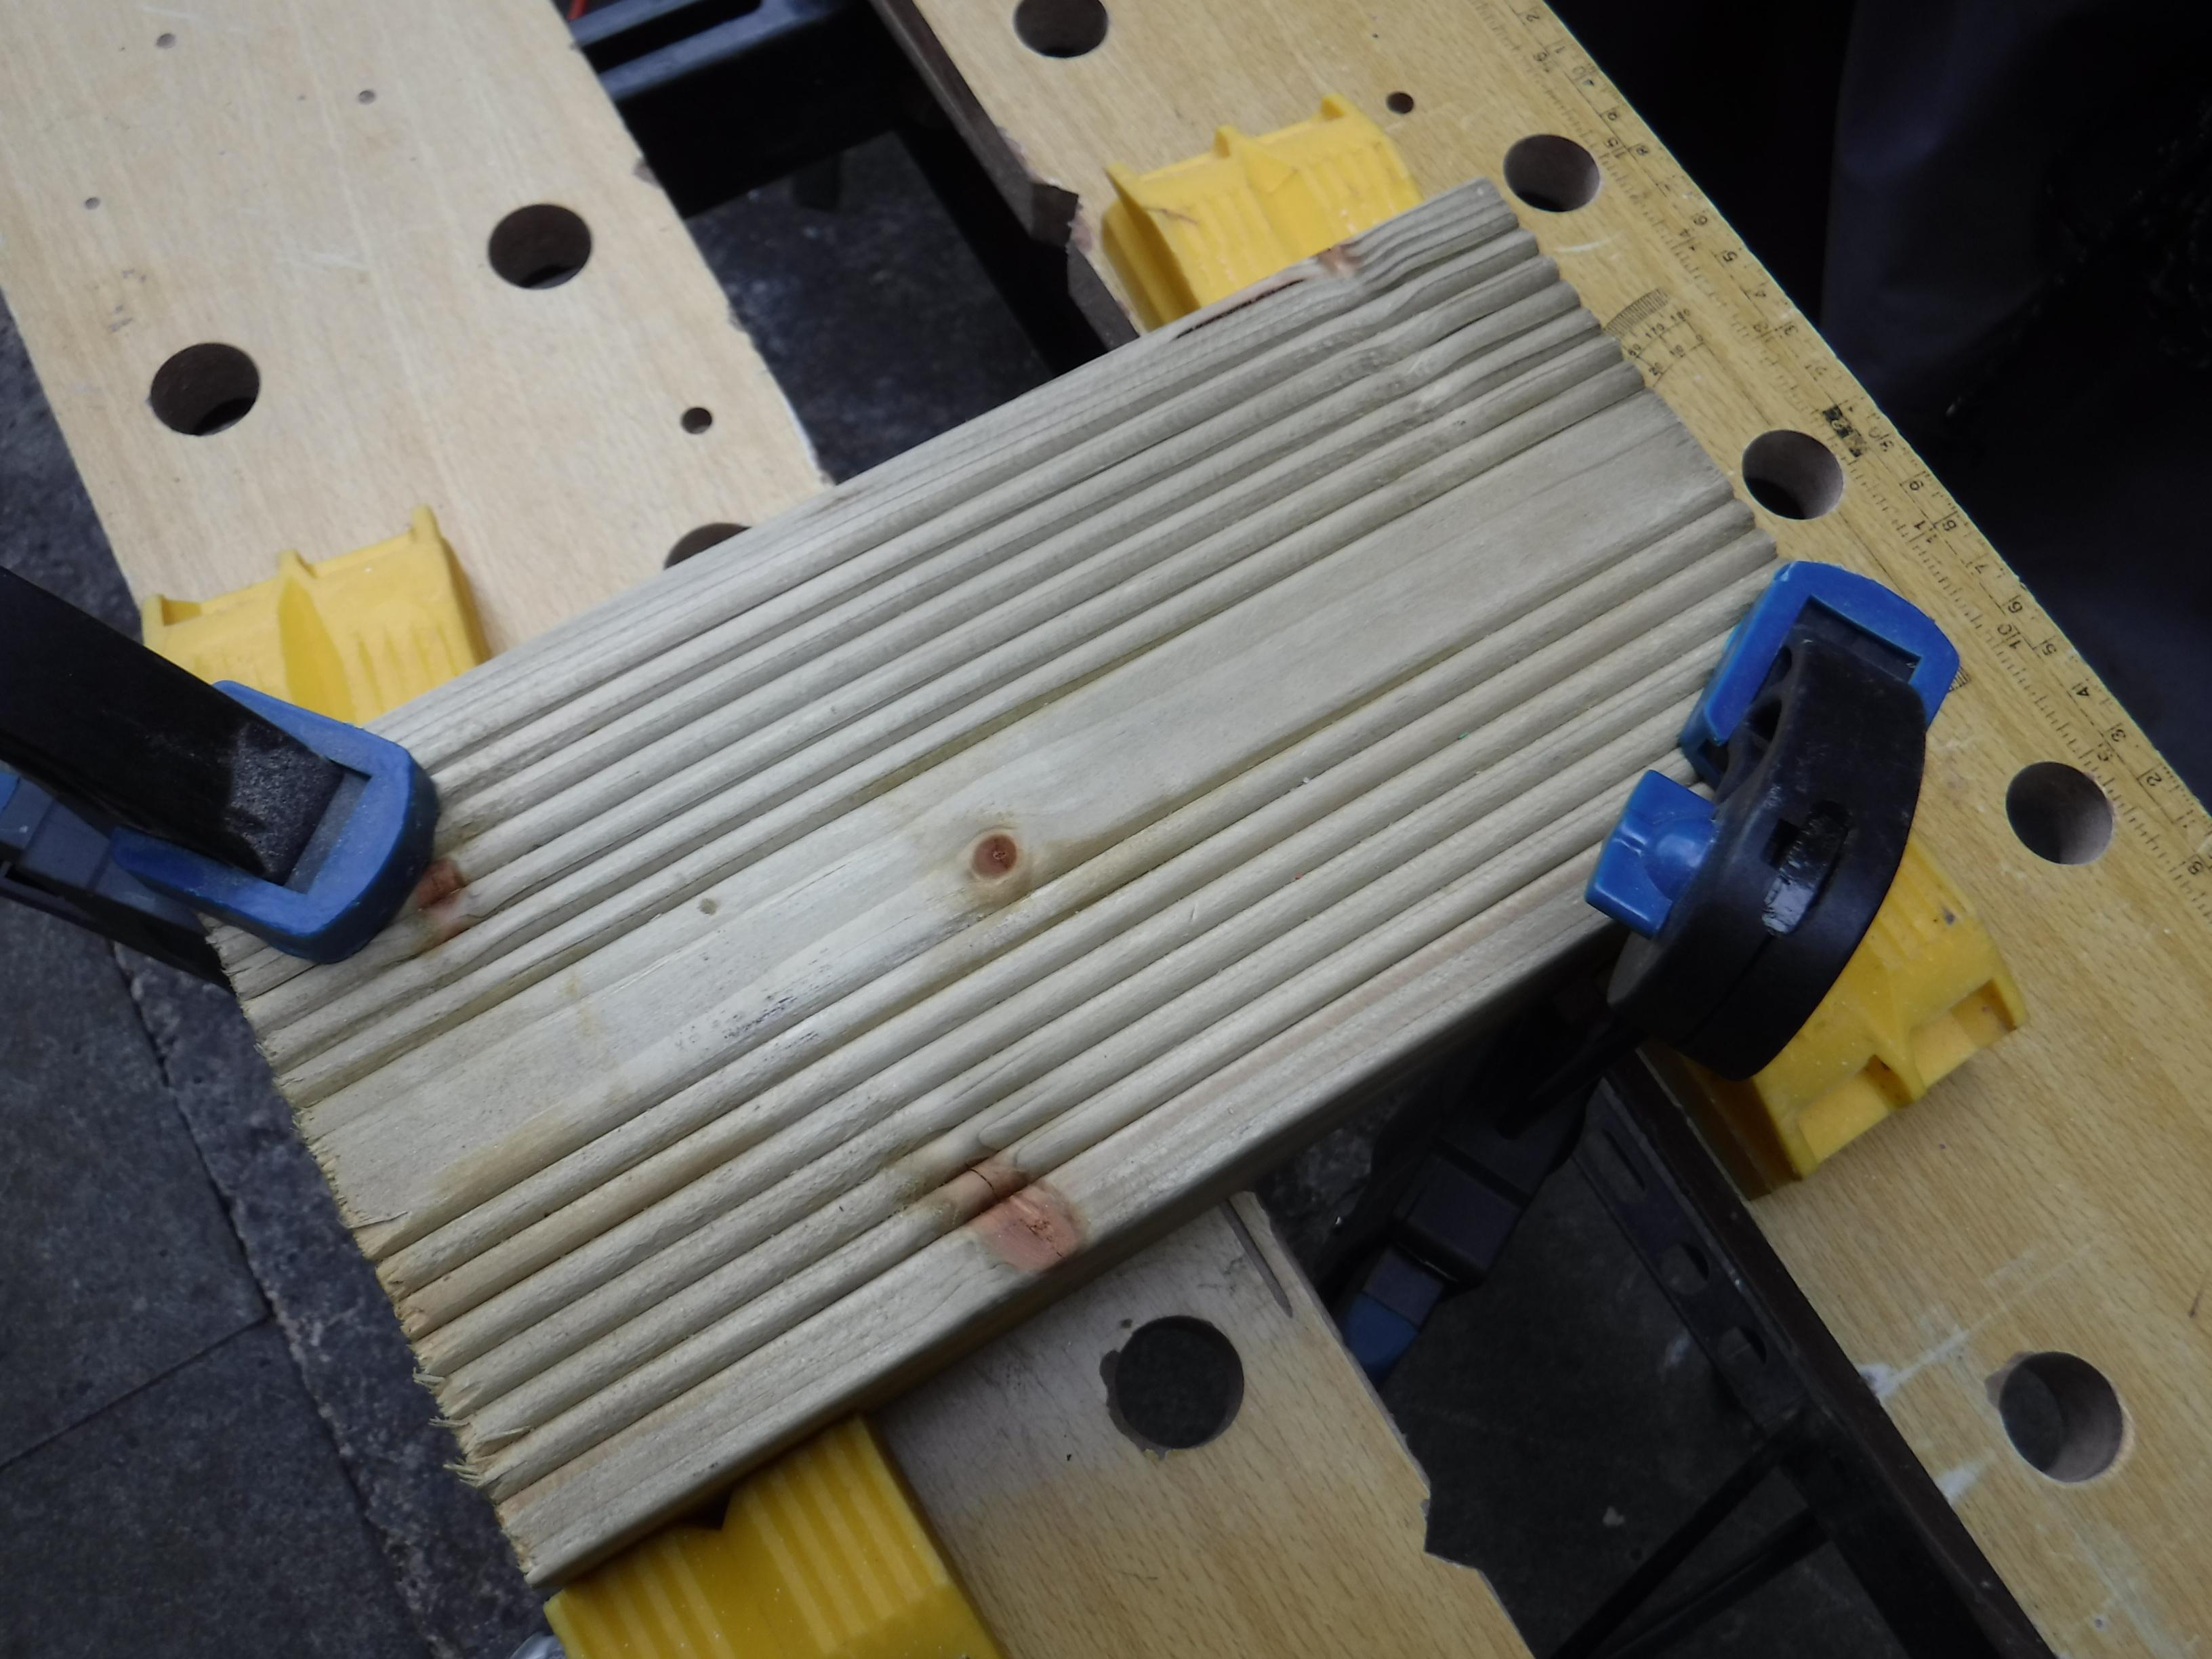
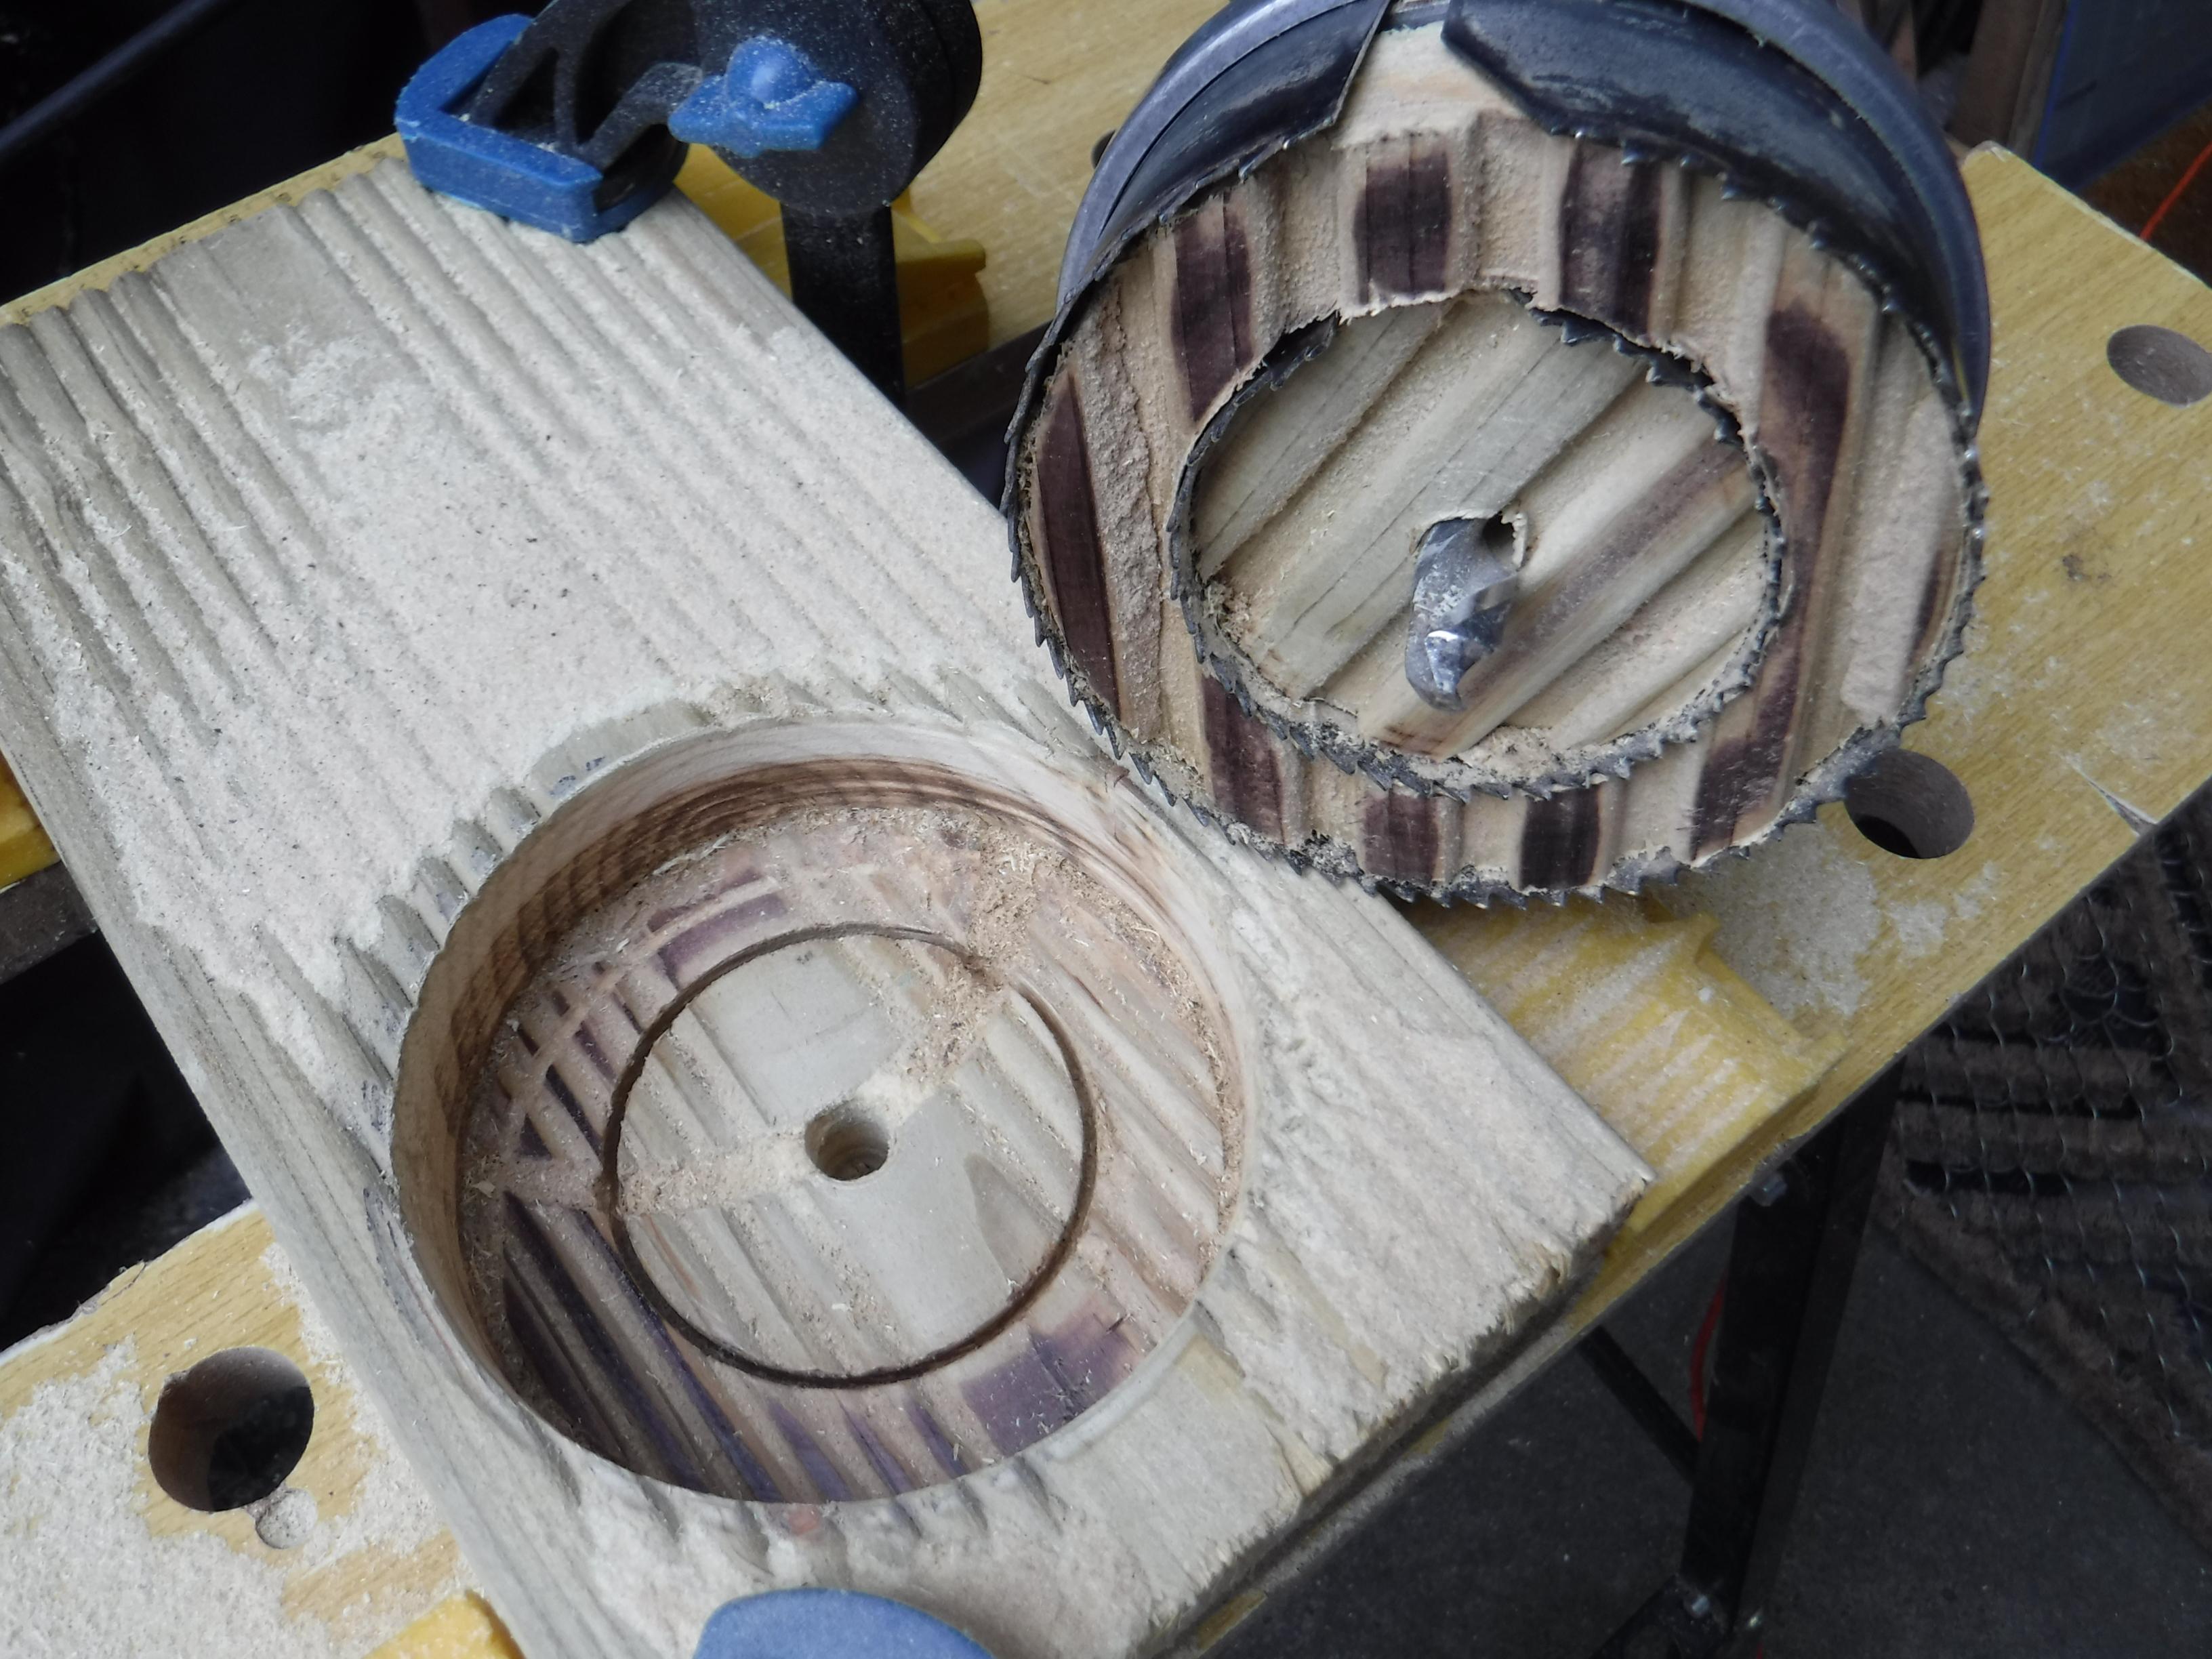
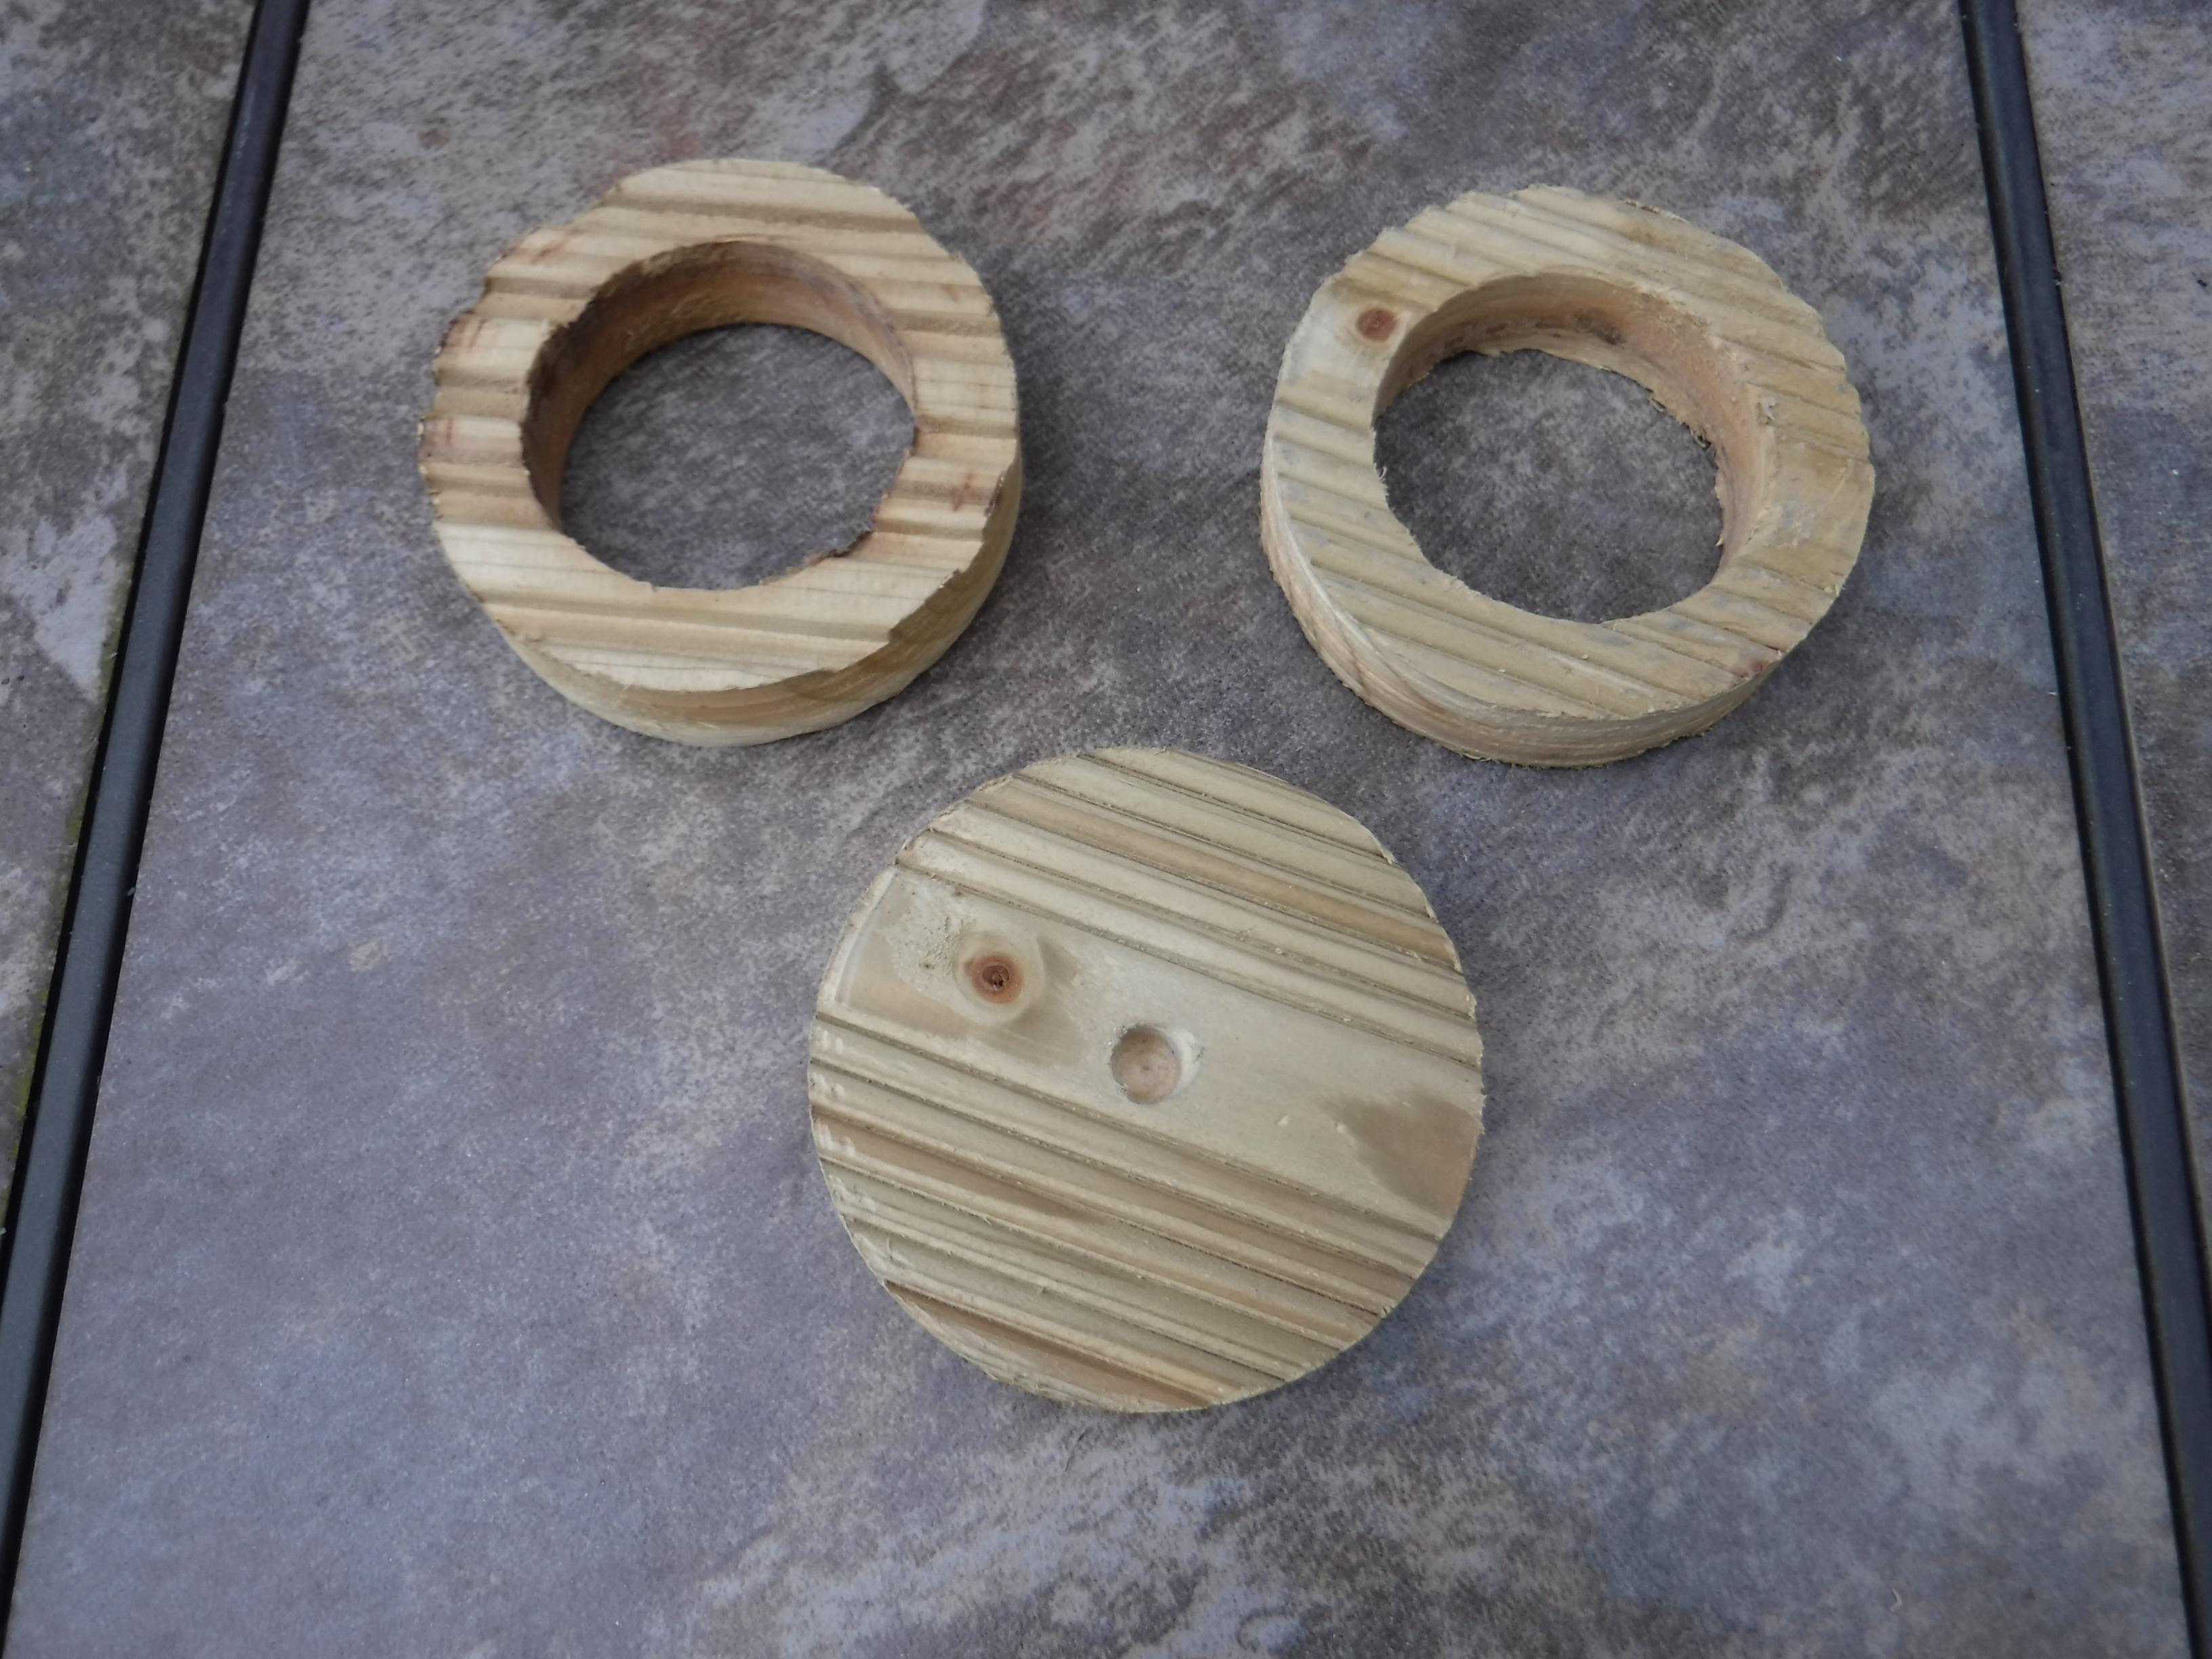
Both rings were cut out of one of the remnants.
A sacrifical renmant is placed on the work surface and pegs are placed either side to prevent slippage.
The piece to be cut is placed on to the sacrificial renmant and clamped to prevent movement.
An adjustable hole saw with two blades (95mm & 60mm), is fitted into the drill.
Proceed to cut out the rings, charring may be evident on the flat surface due to friction when the full depth of the wood has been penertrated when the ring is liberated from the main body.
Charring is not too much of an issue as it will be removed during the sanding process.
Repeat the process for the second ring.
Base
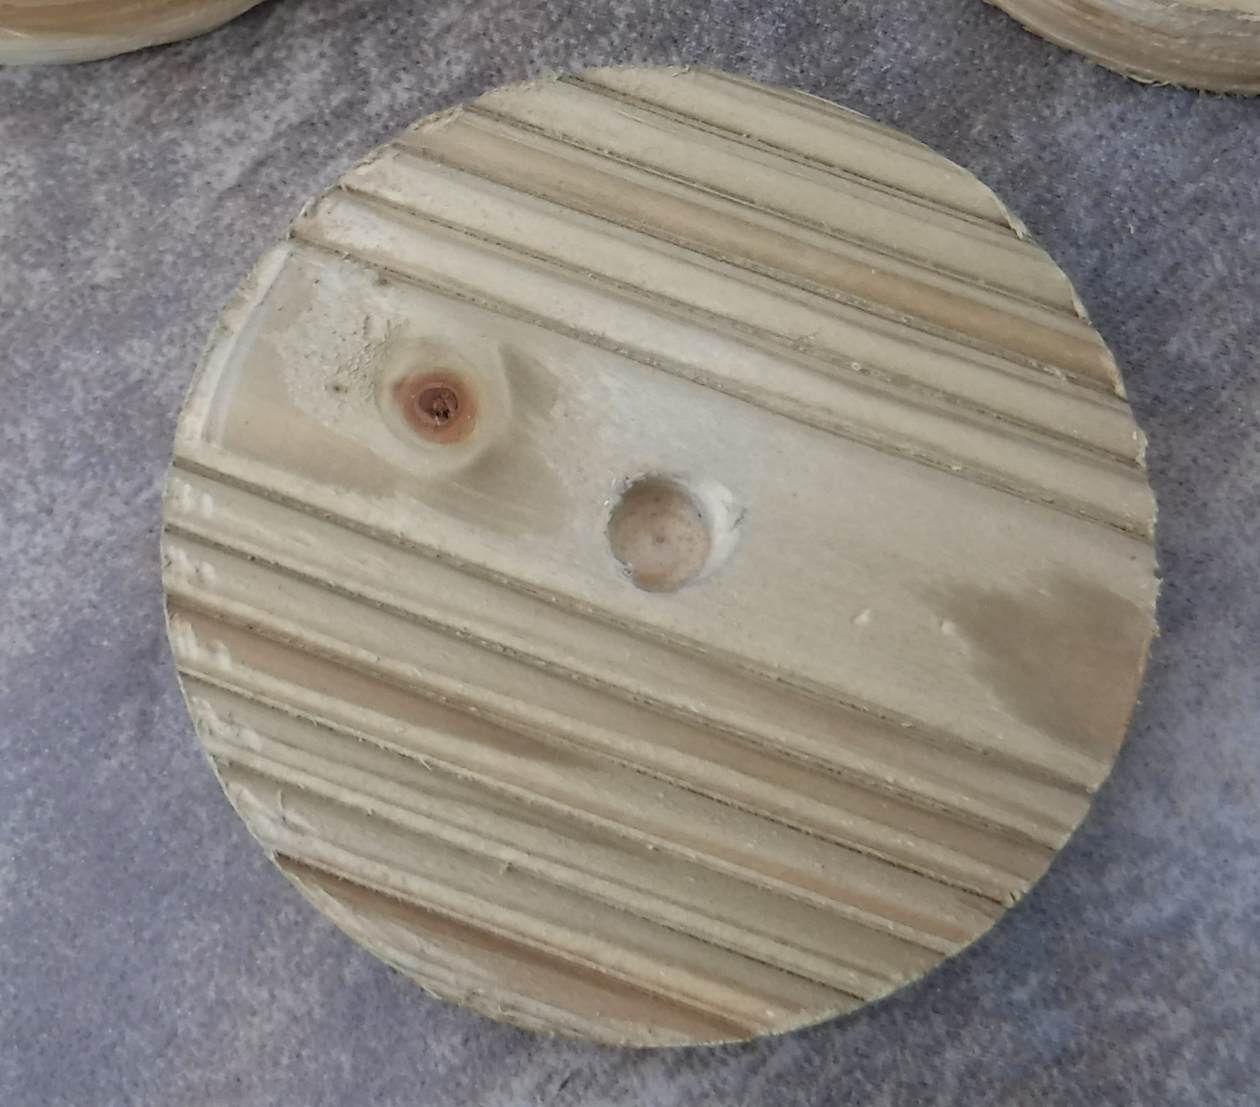
The base is cut from another remnant.
A sacrifical renmant is placed on the work surface and pegs are placed either side to prevent slippage.
The piece to be cut is placed on to the sacrificial renmant and clamped to prevent movement.
In this case only one saw blade (95mm), is used; additionally the centre bit was only allowed to penetrate half way into the piece.
The resulting hole would sit on the underside of the finished vase and be out of sight negating filling.
Proceed to cut out the base, charring may be evident on the flat surface due to friction when the full depth of the wood has been penertrated when the base is liberated from the main body.
Charring is not too much of an issue as it will be removed during the sanding process.
When part way through the piece I removed the hole saw body from the centre drill bit placed a spacer made from a piece of 15mm copper pipe on the centre drill bit then put the hole saw body back in place.
If using a hand drill run the drill a a slower speed to prevent that possibility of the blade skipping out of the cut.
Alternatively, leaving the centre bit in the default position will result in a small hole right through the body of the base which could be left as is or filled in. The decision is yours.
Sanding
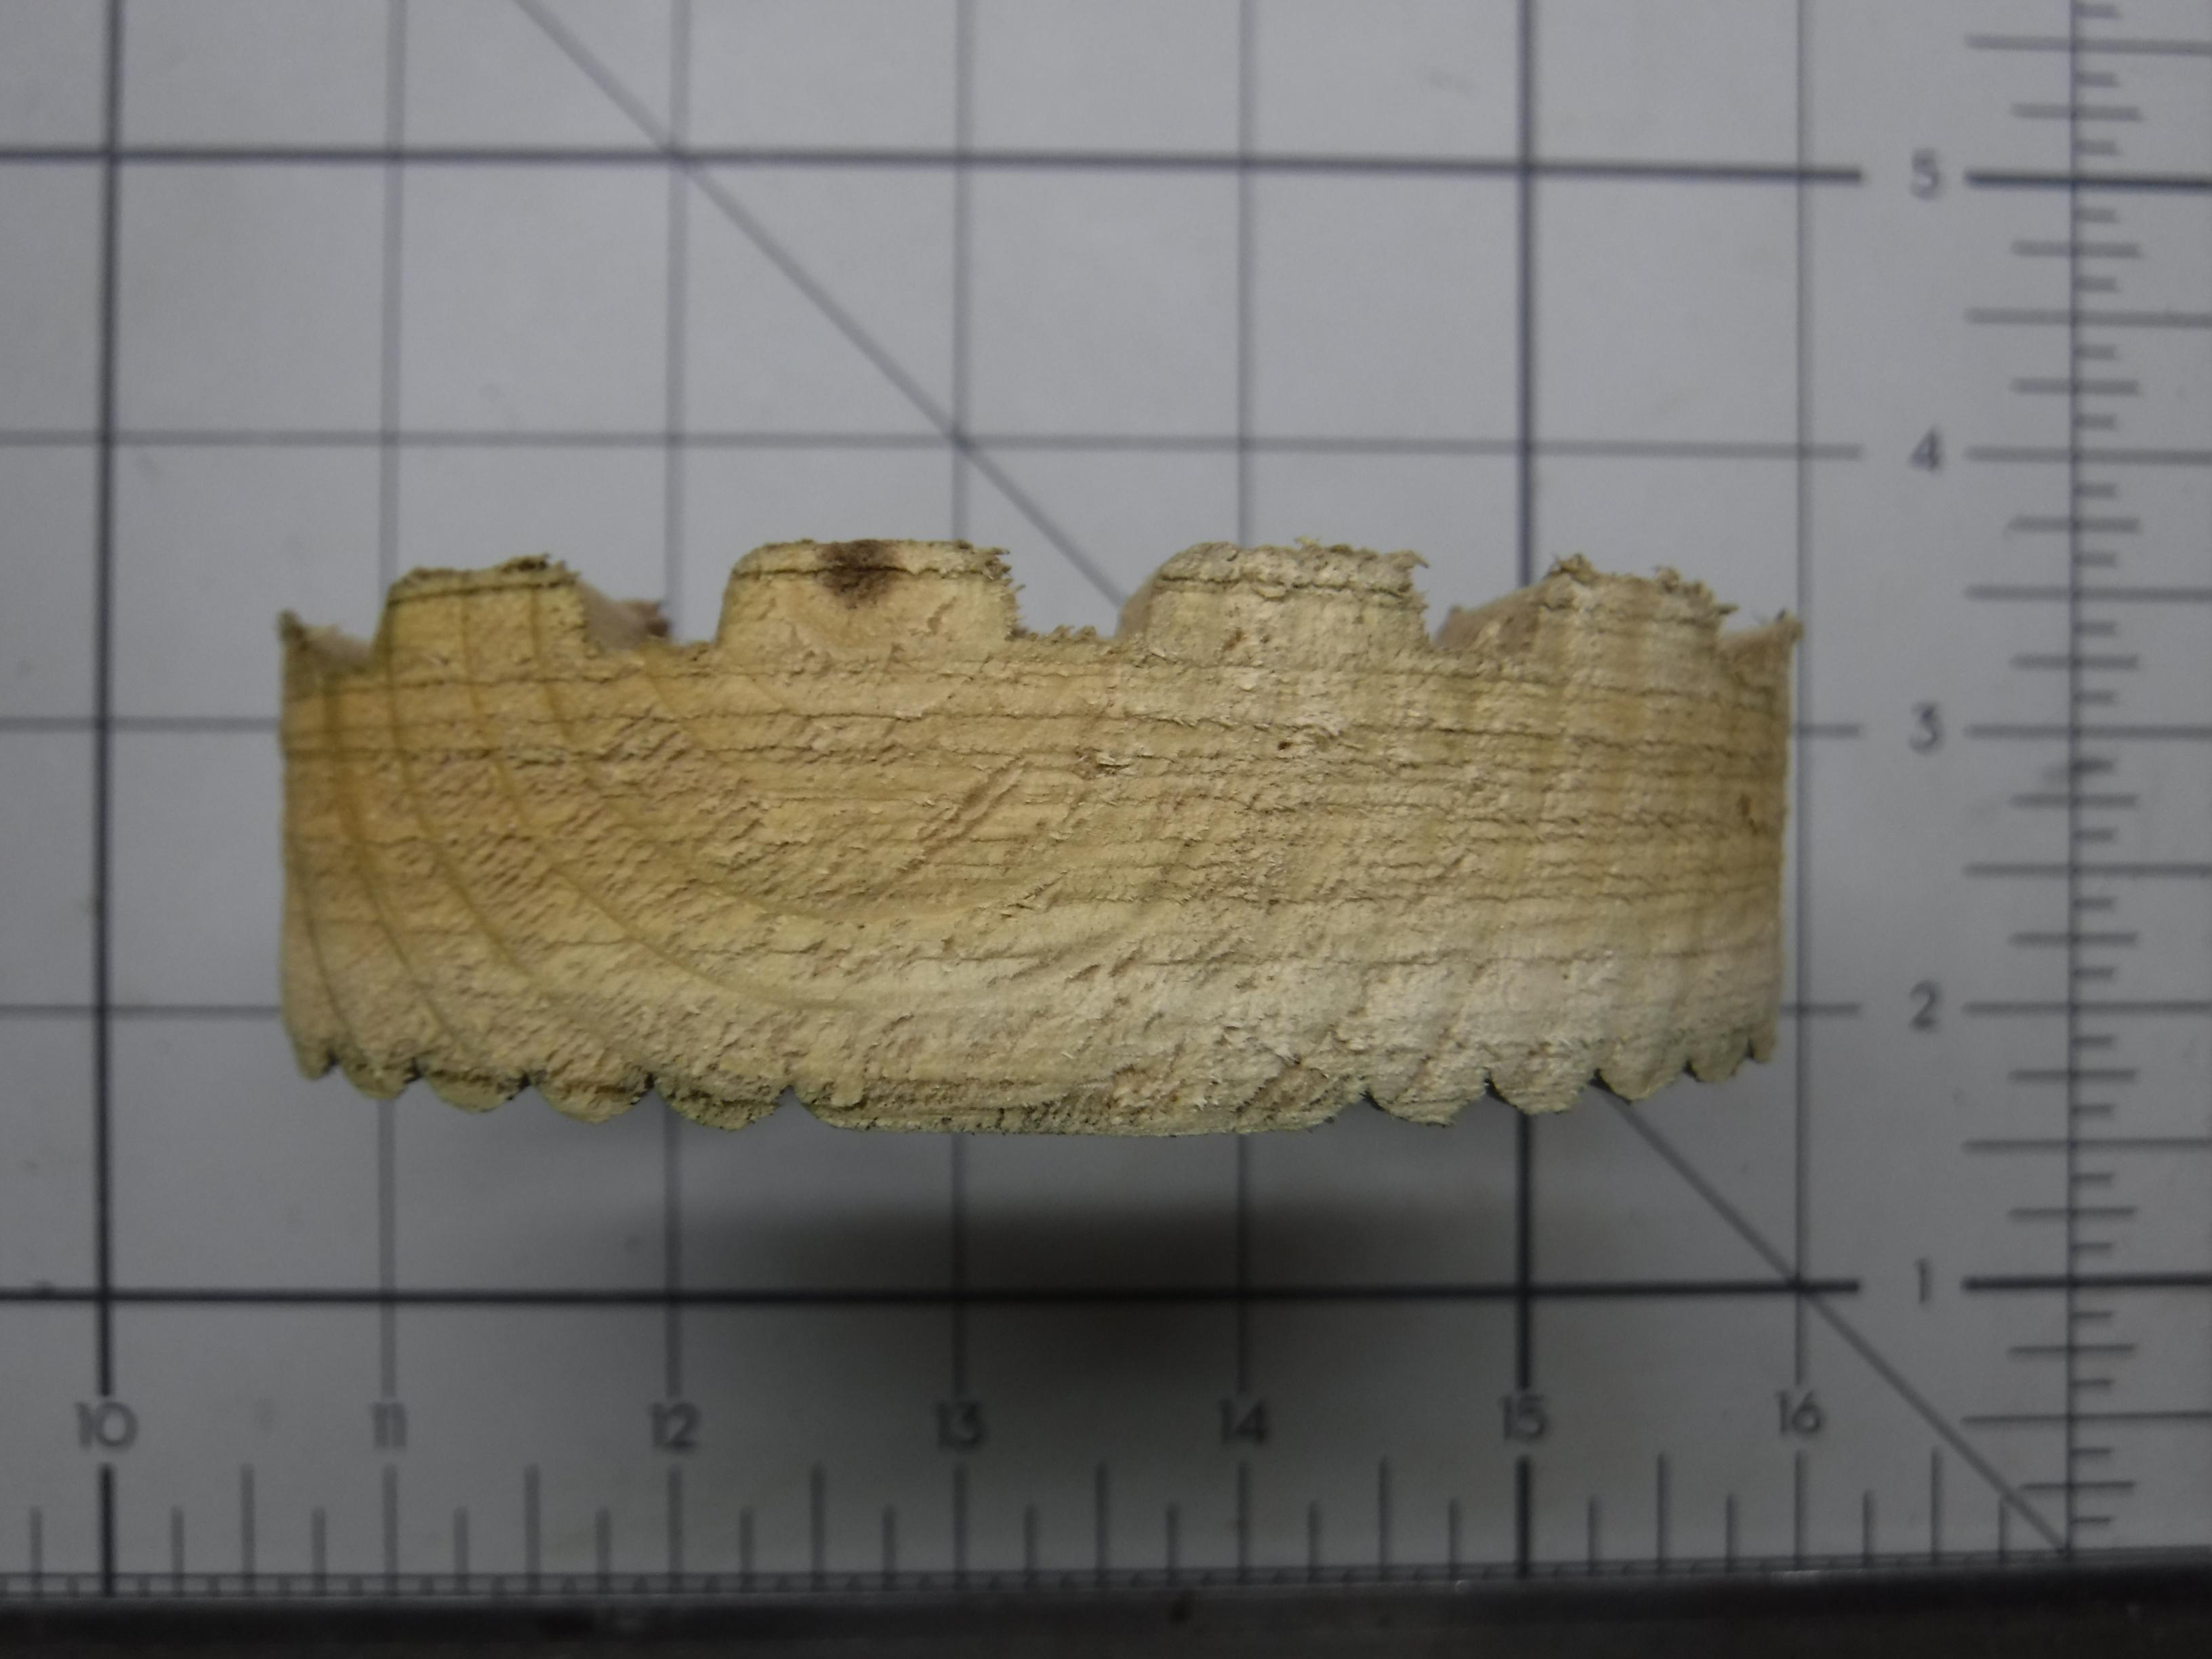
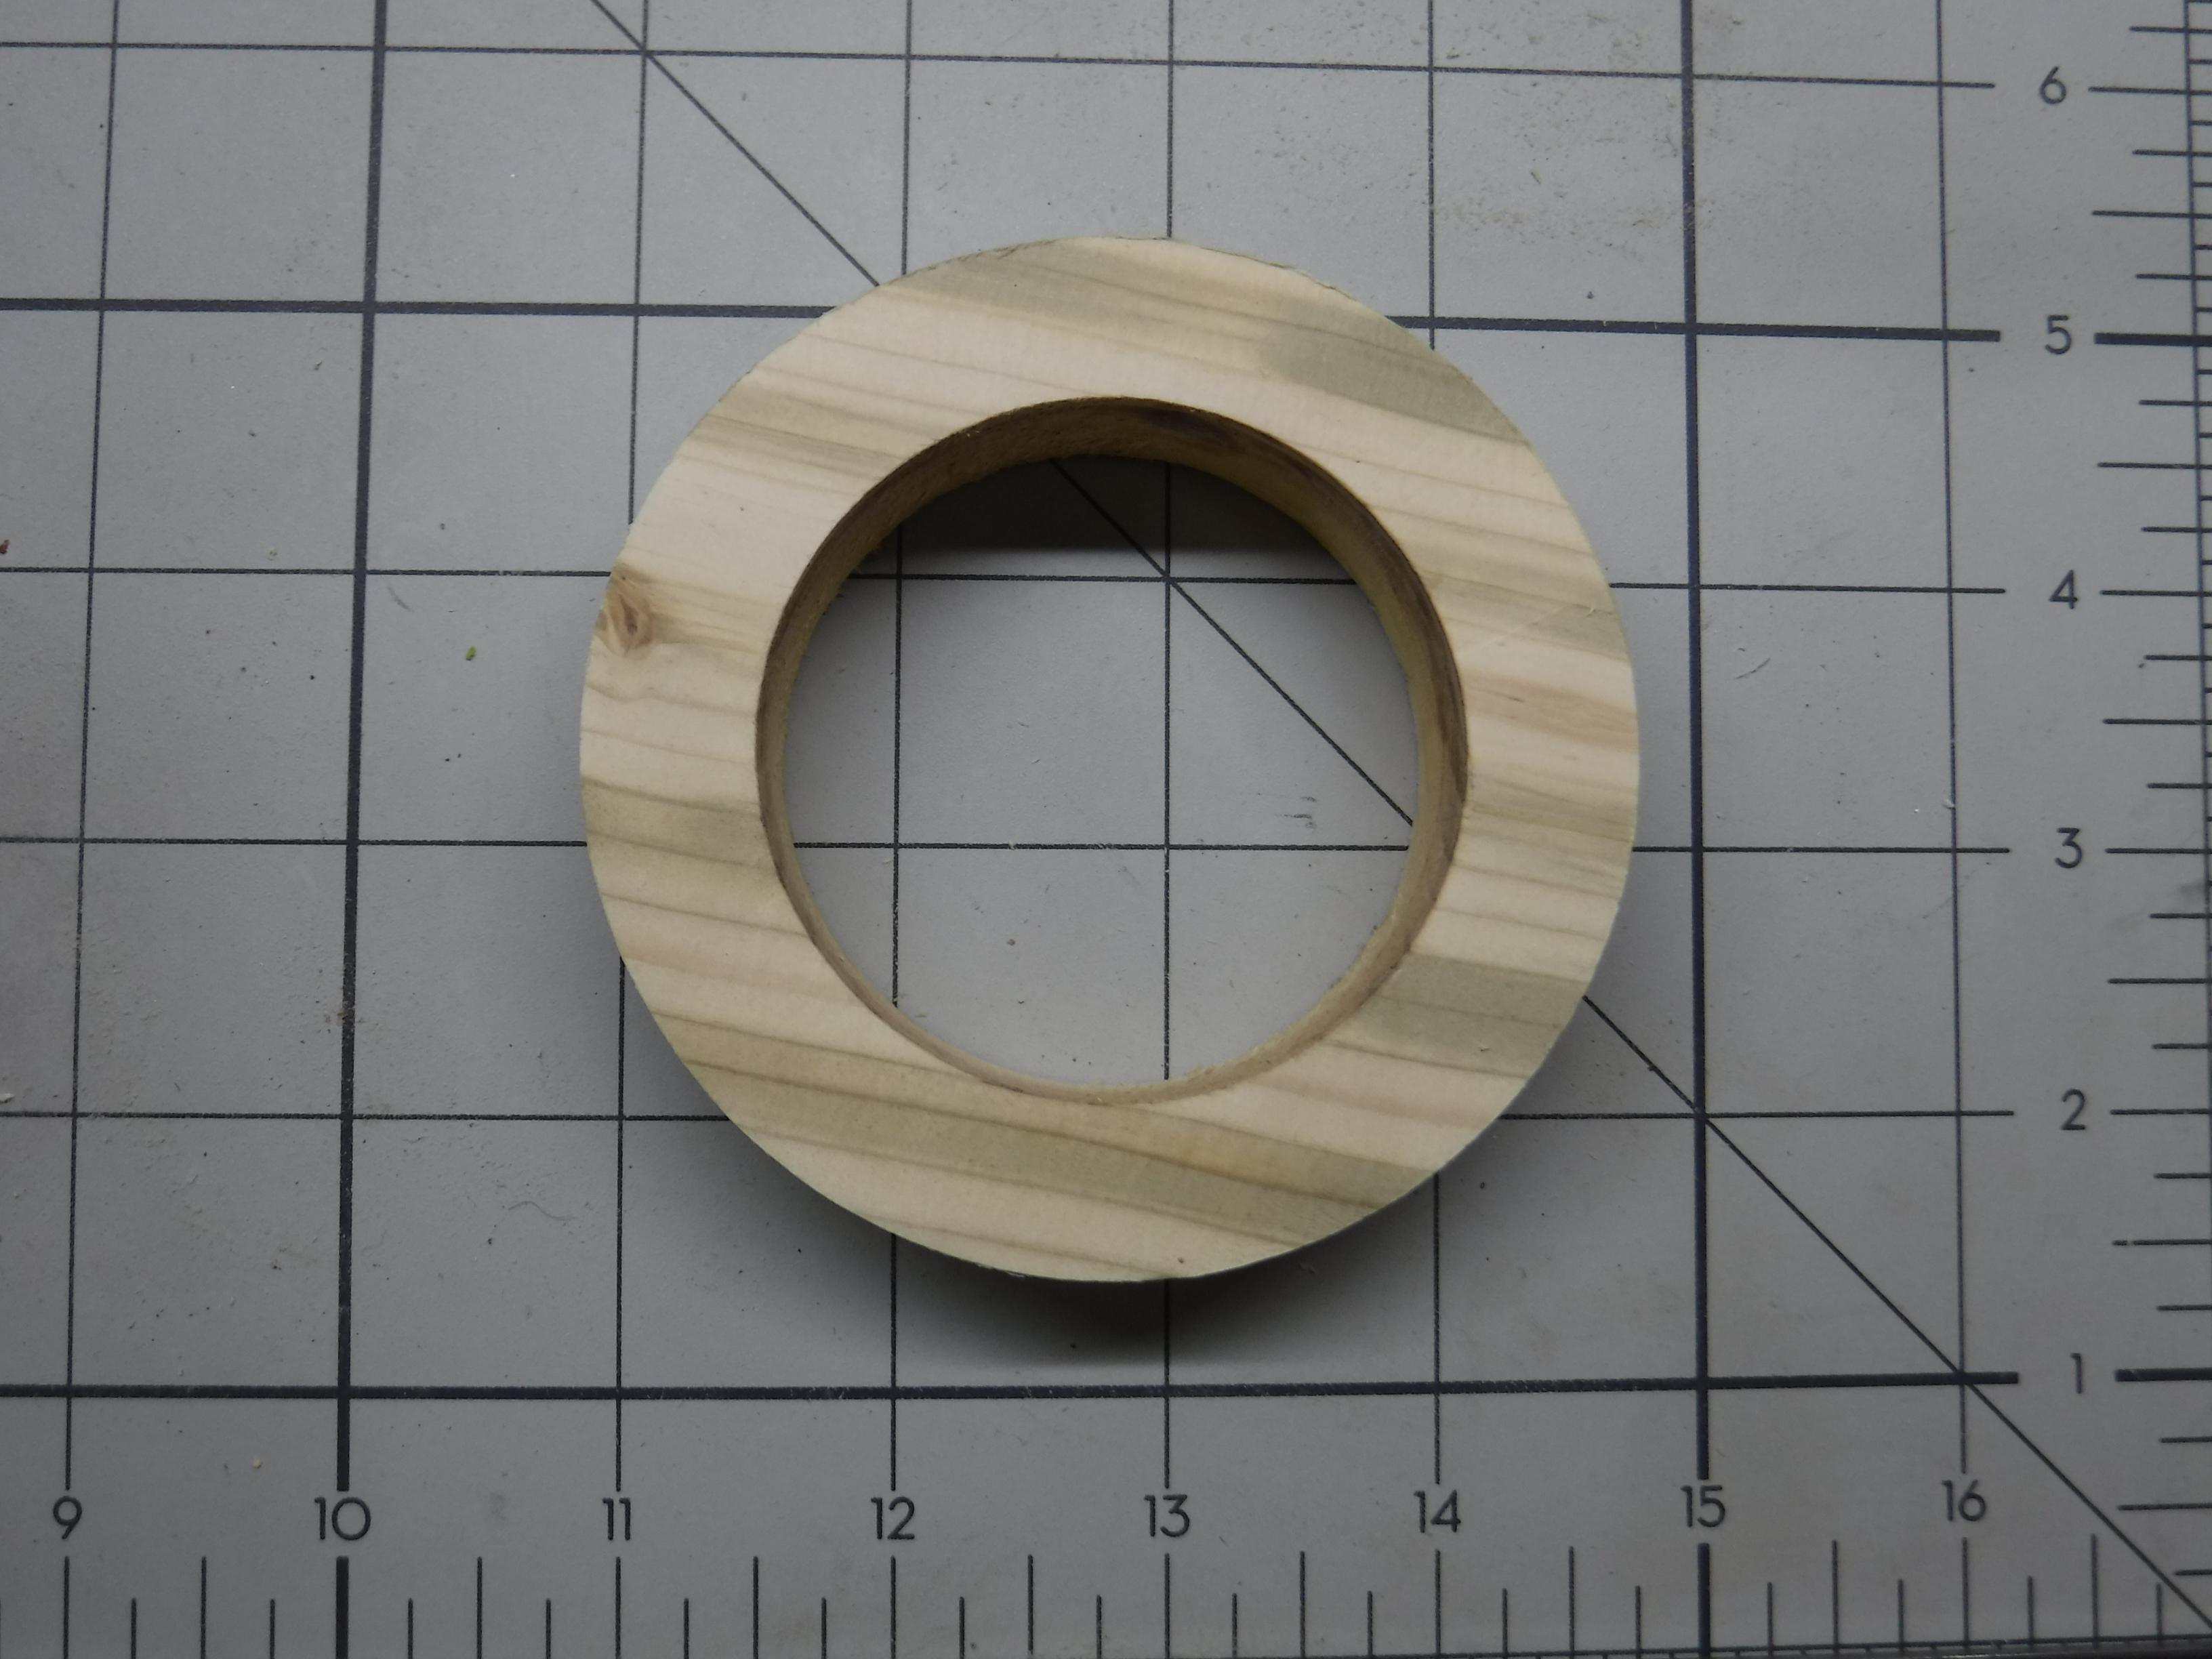
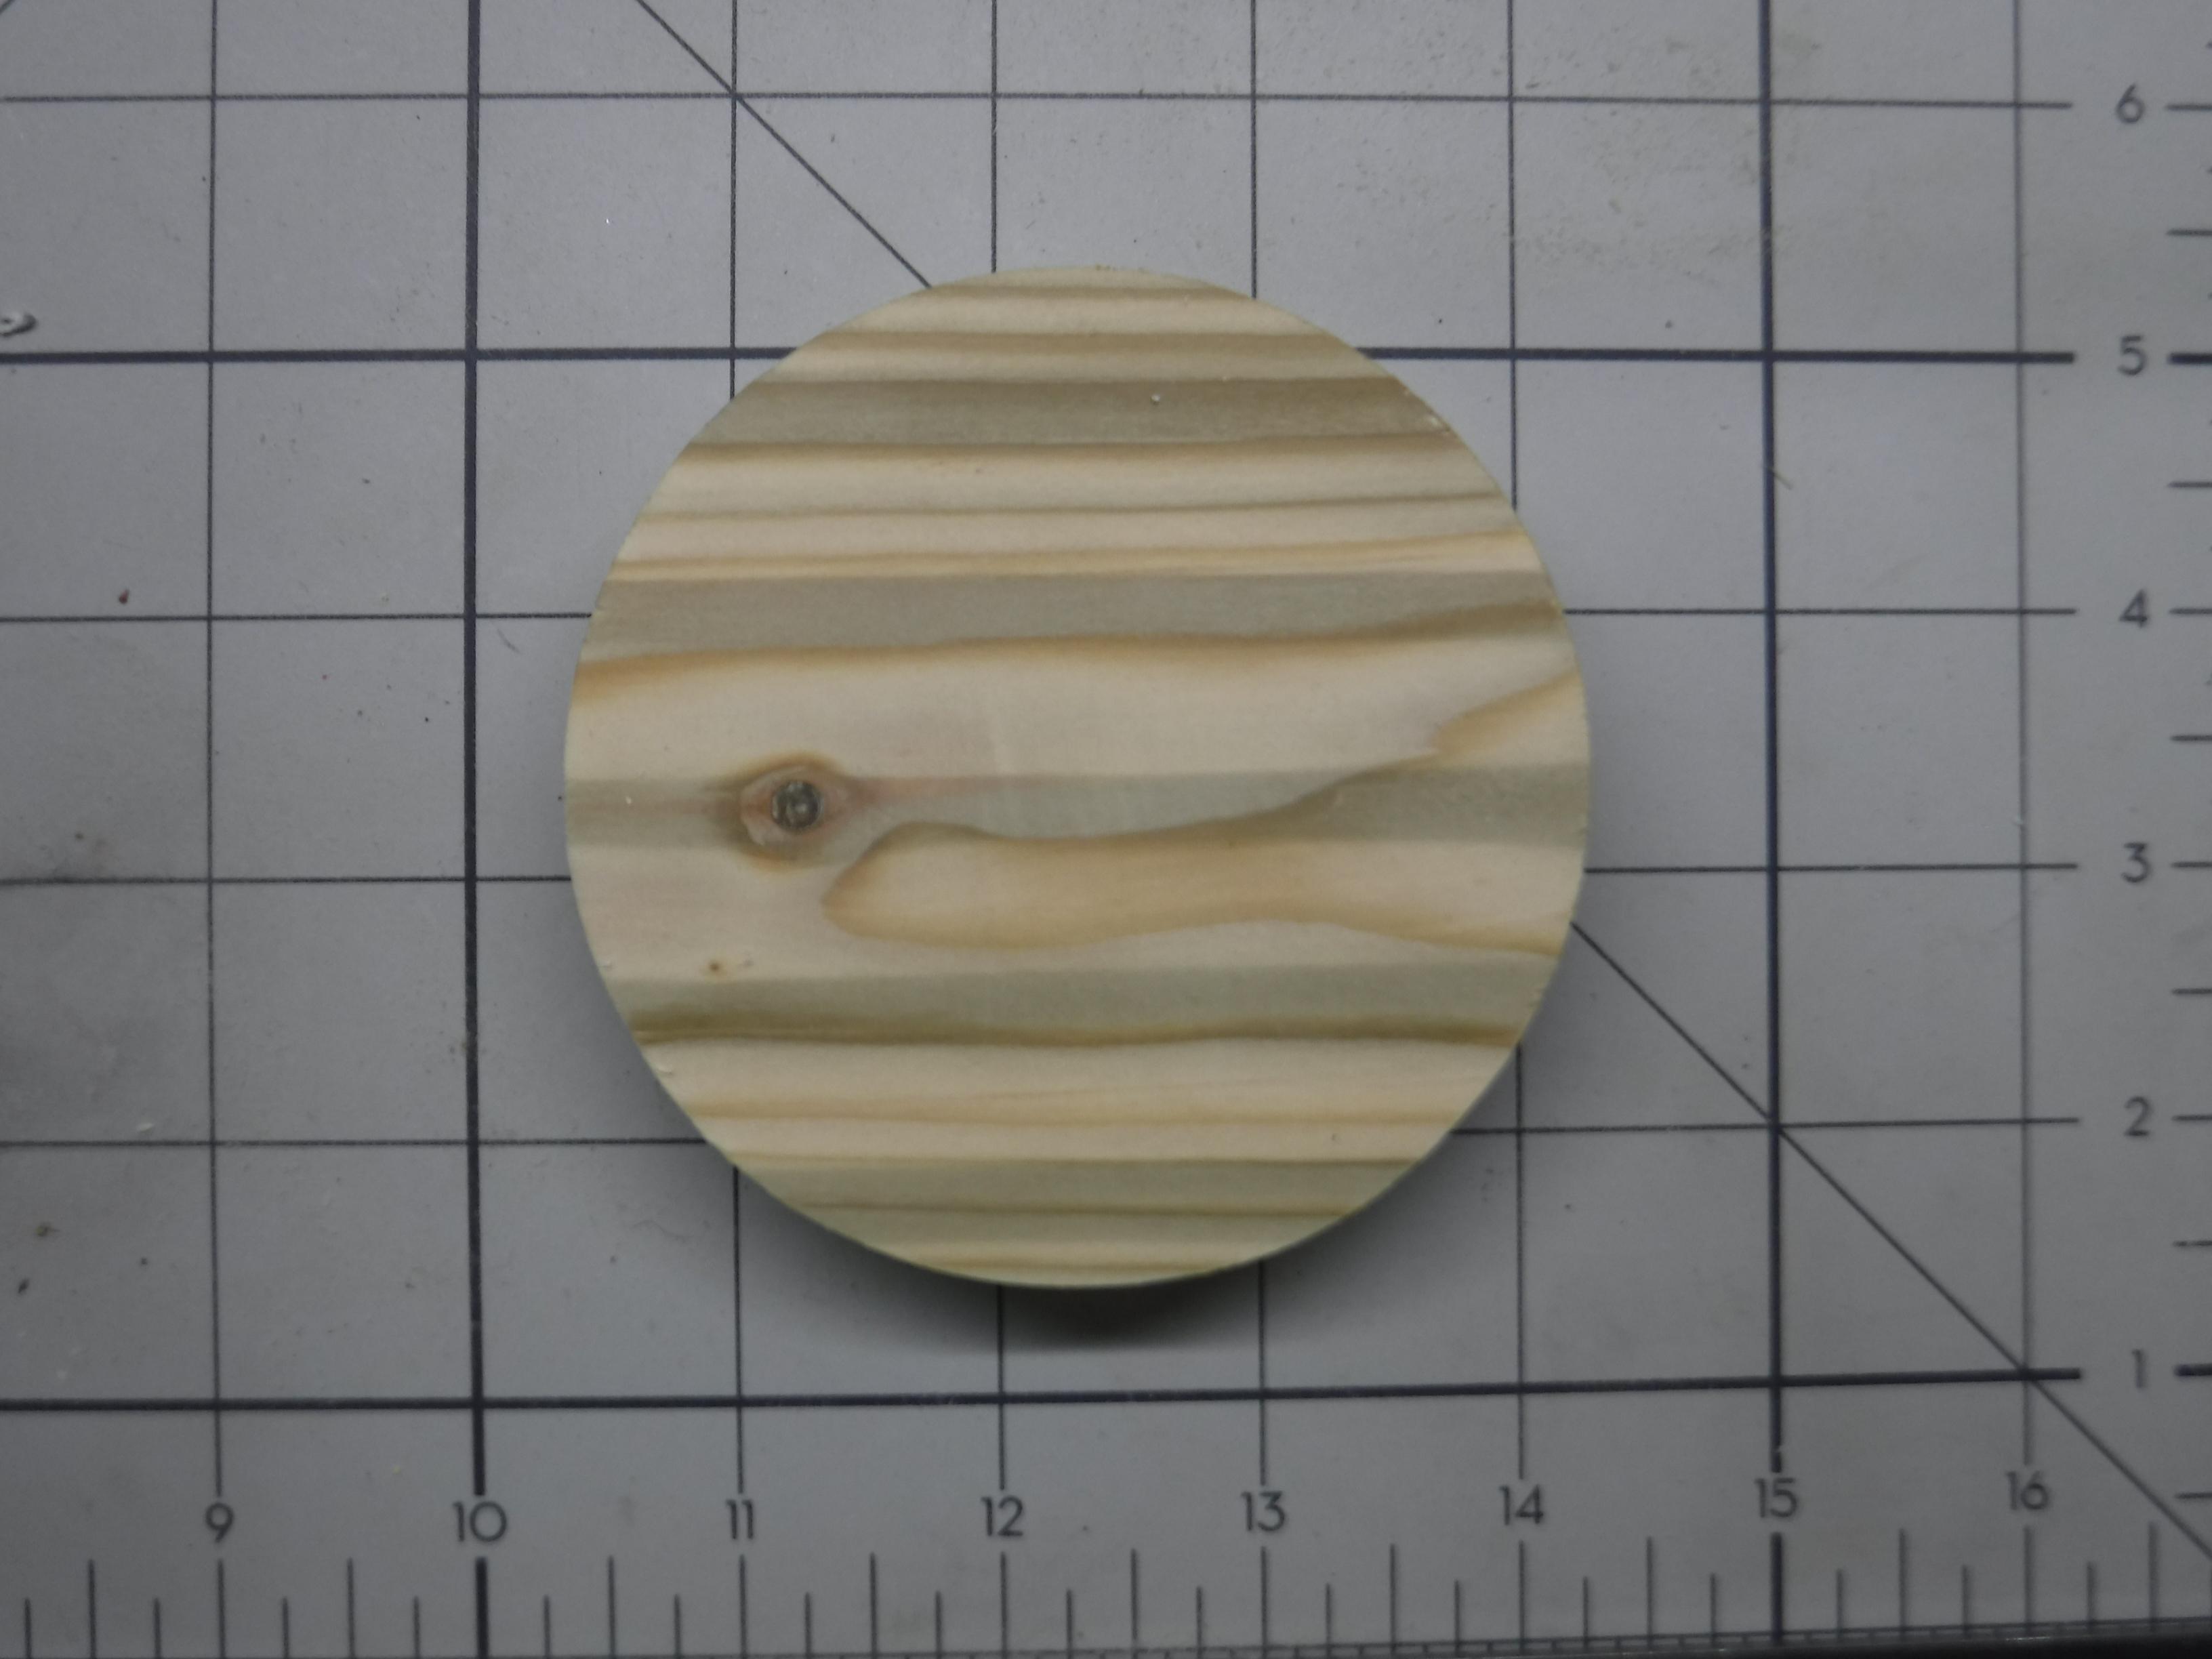
The ridges in the pieces are to be removed by sanding to create a smooth surface.
This can be accomplished mechanically or by hand.
Once complete the next stage is template marking.
Template Marking
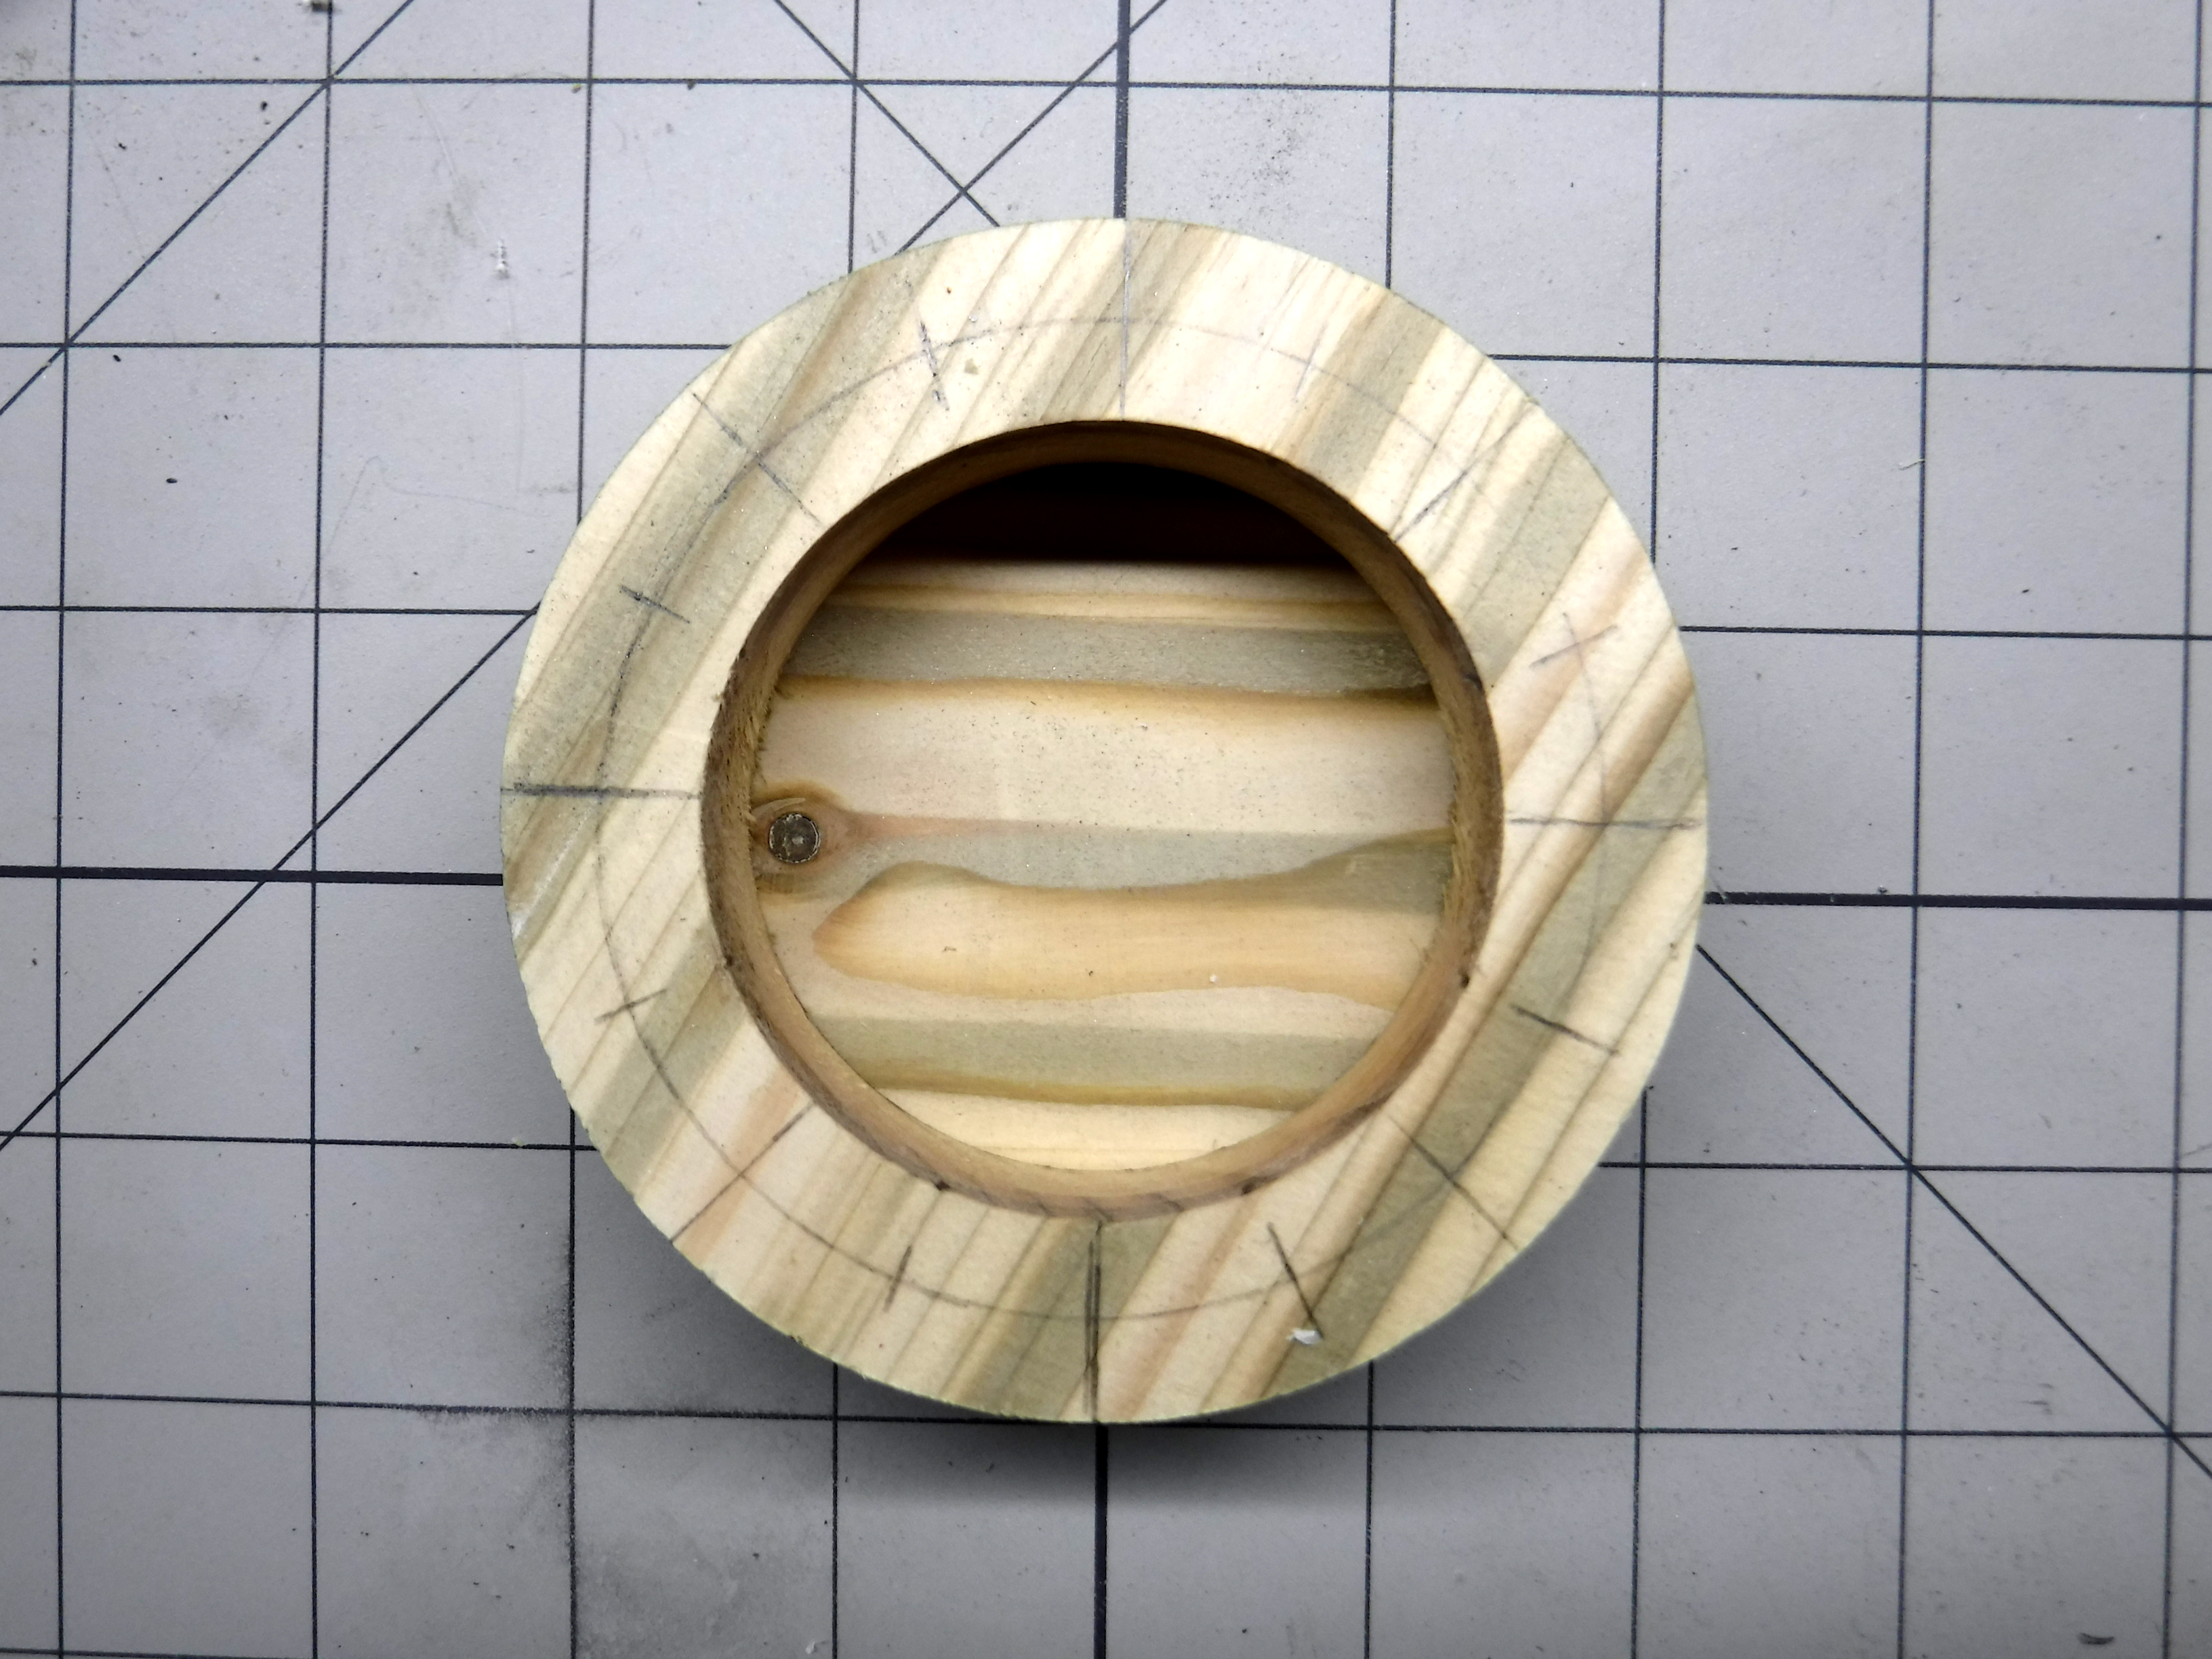
Each of the resulting pieces needs to be marked up to enable holes to be drilled for the supporting pillars.
The centre ring is used as a template which is used to mark up the other ring and the base.
First a circle is drawn on the flat surface (top or bottom), of the ring centred within this area.
Next this resulting circular line is marked at 22.5 degree intervals were a hole will be drilled.
The intervals can be marked off with a compass/dividers with the aid of protractor.
Or simply dividing the ring into quarters, eights and then sixteenths with a marker and ruler.
Drilling
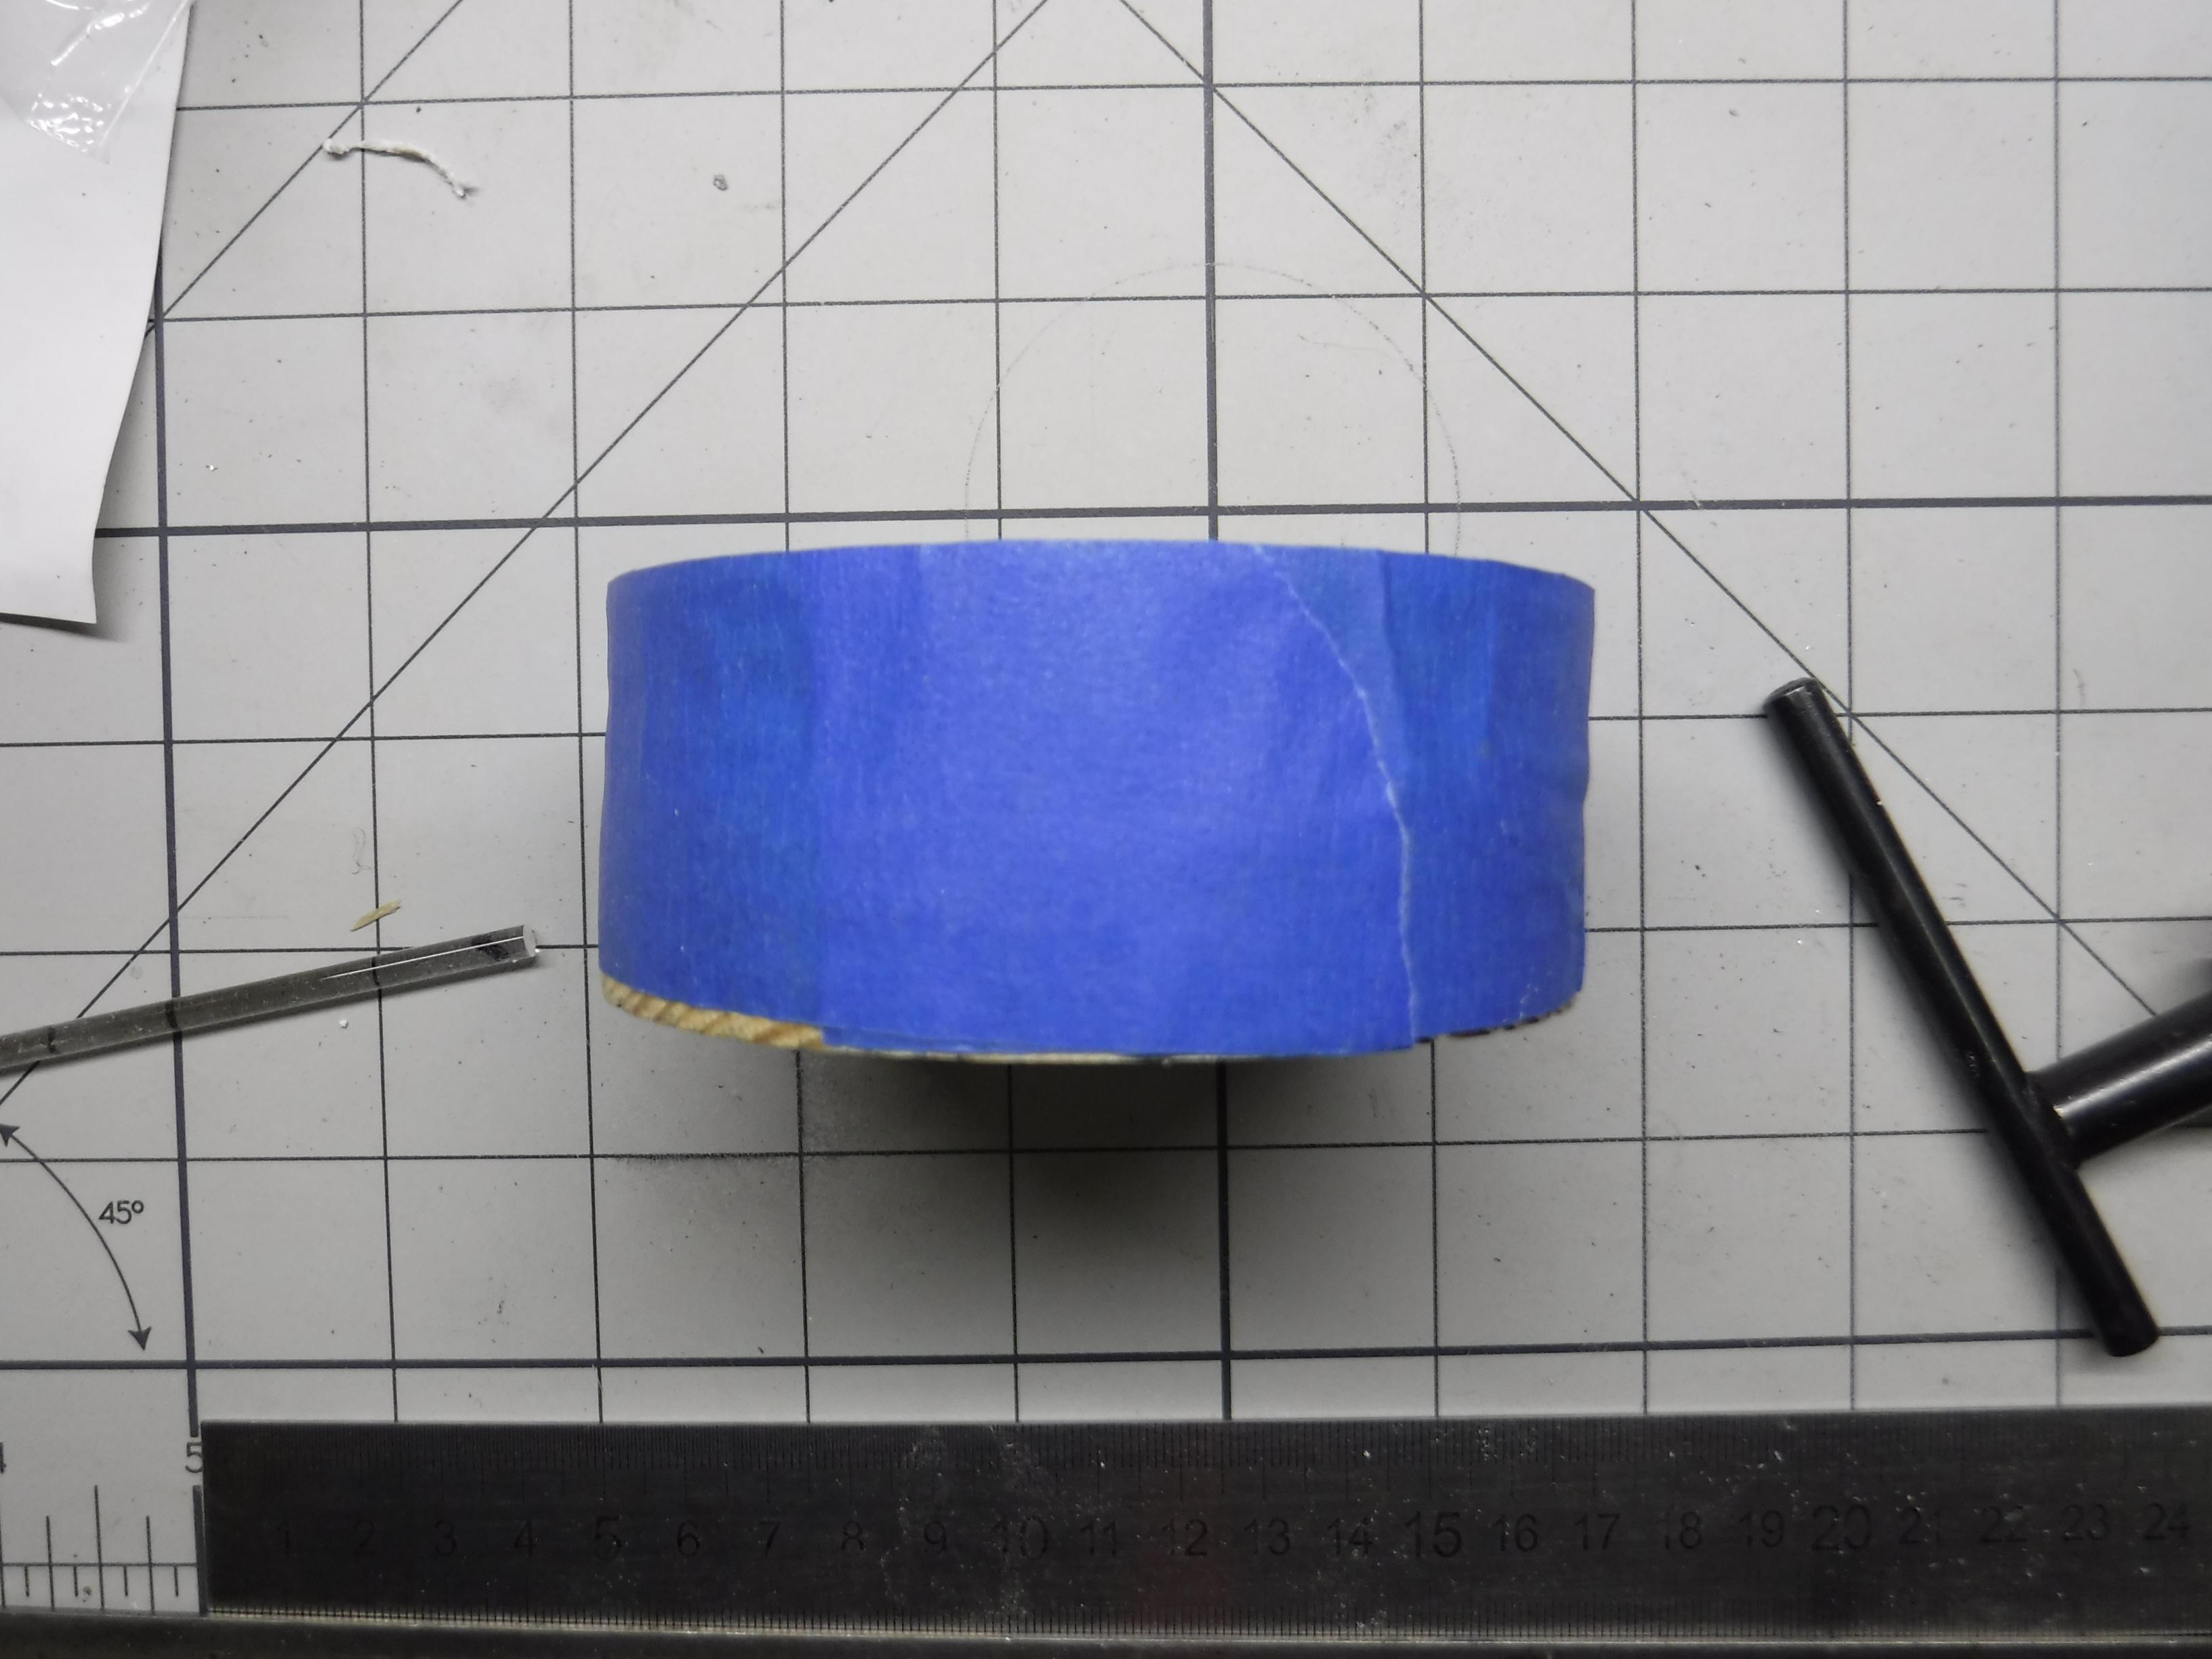
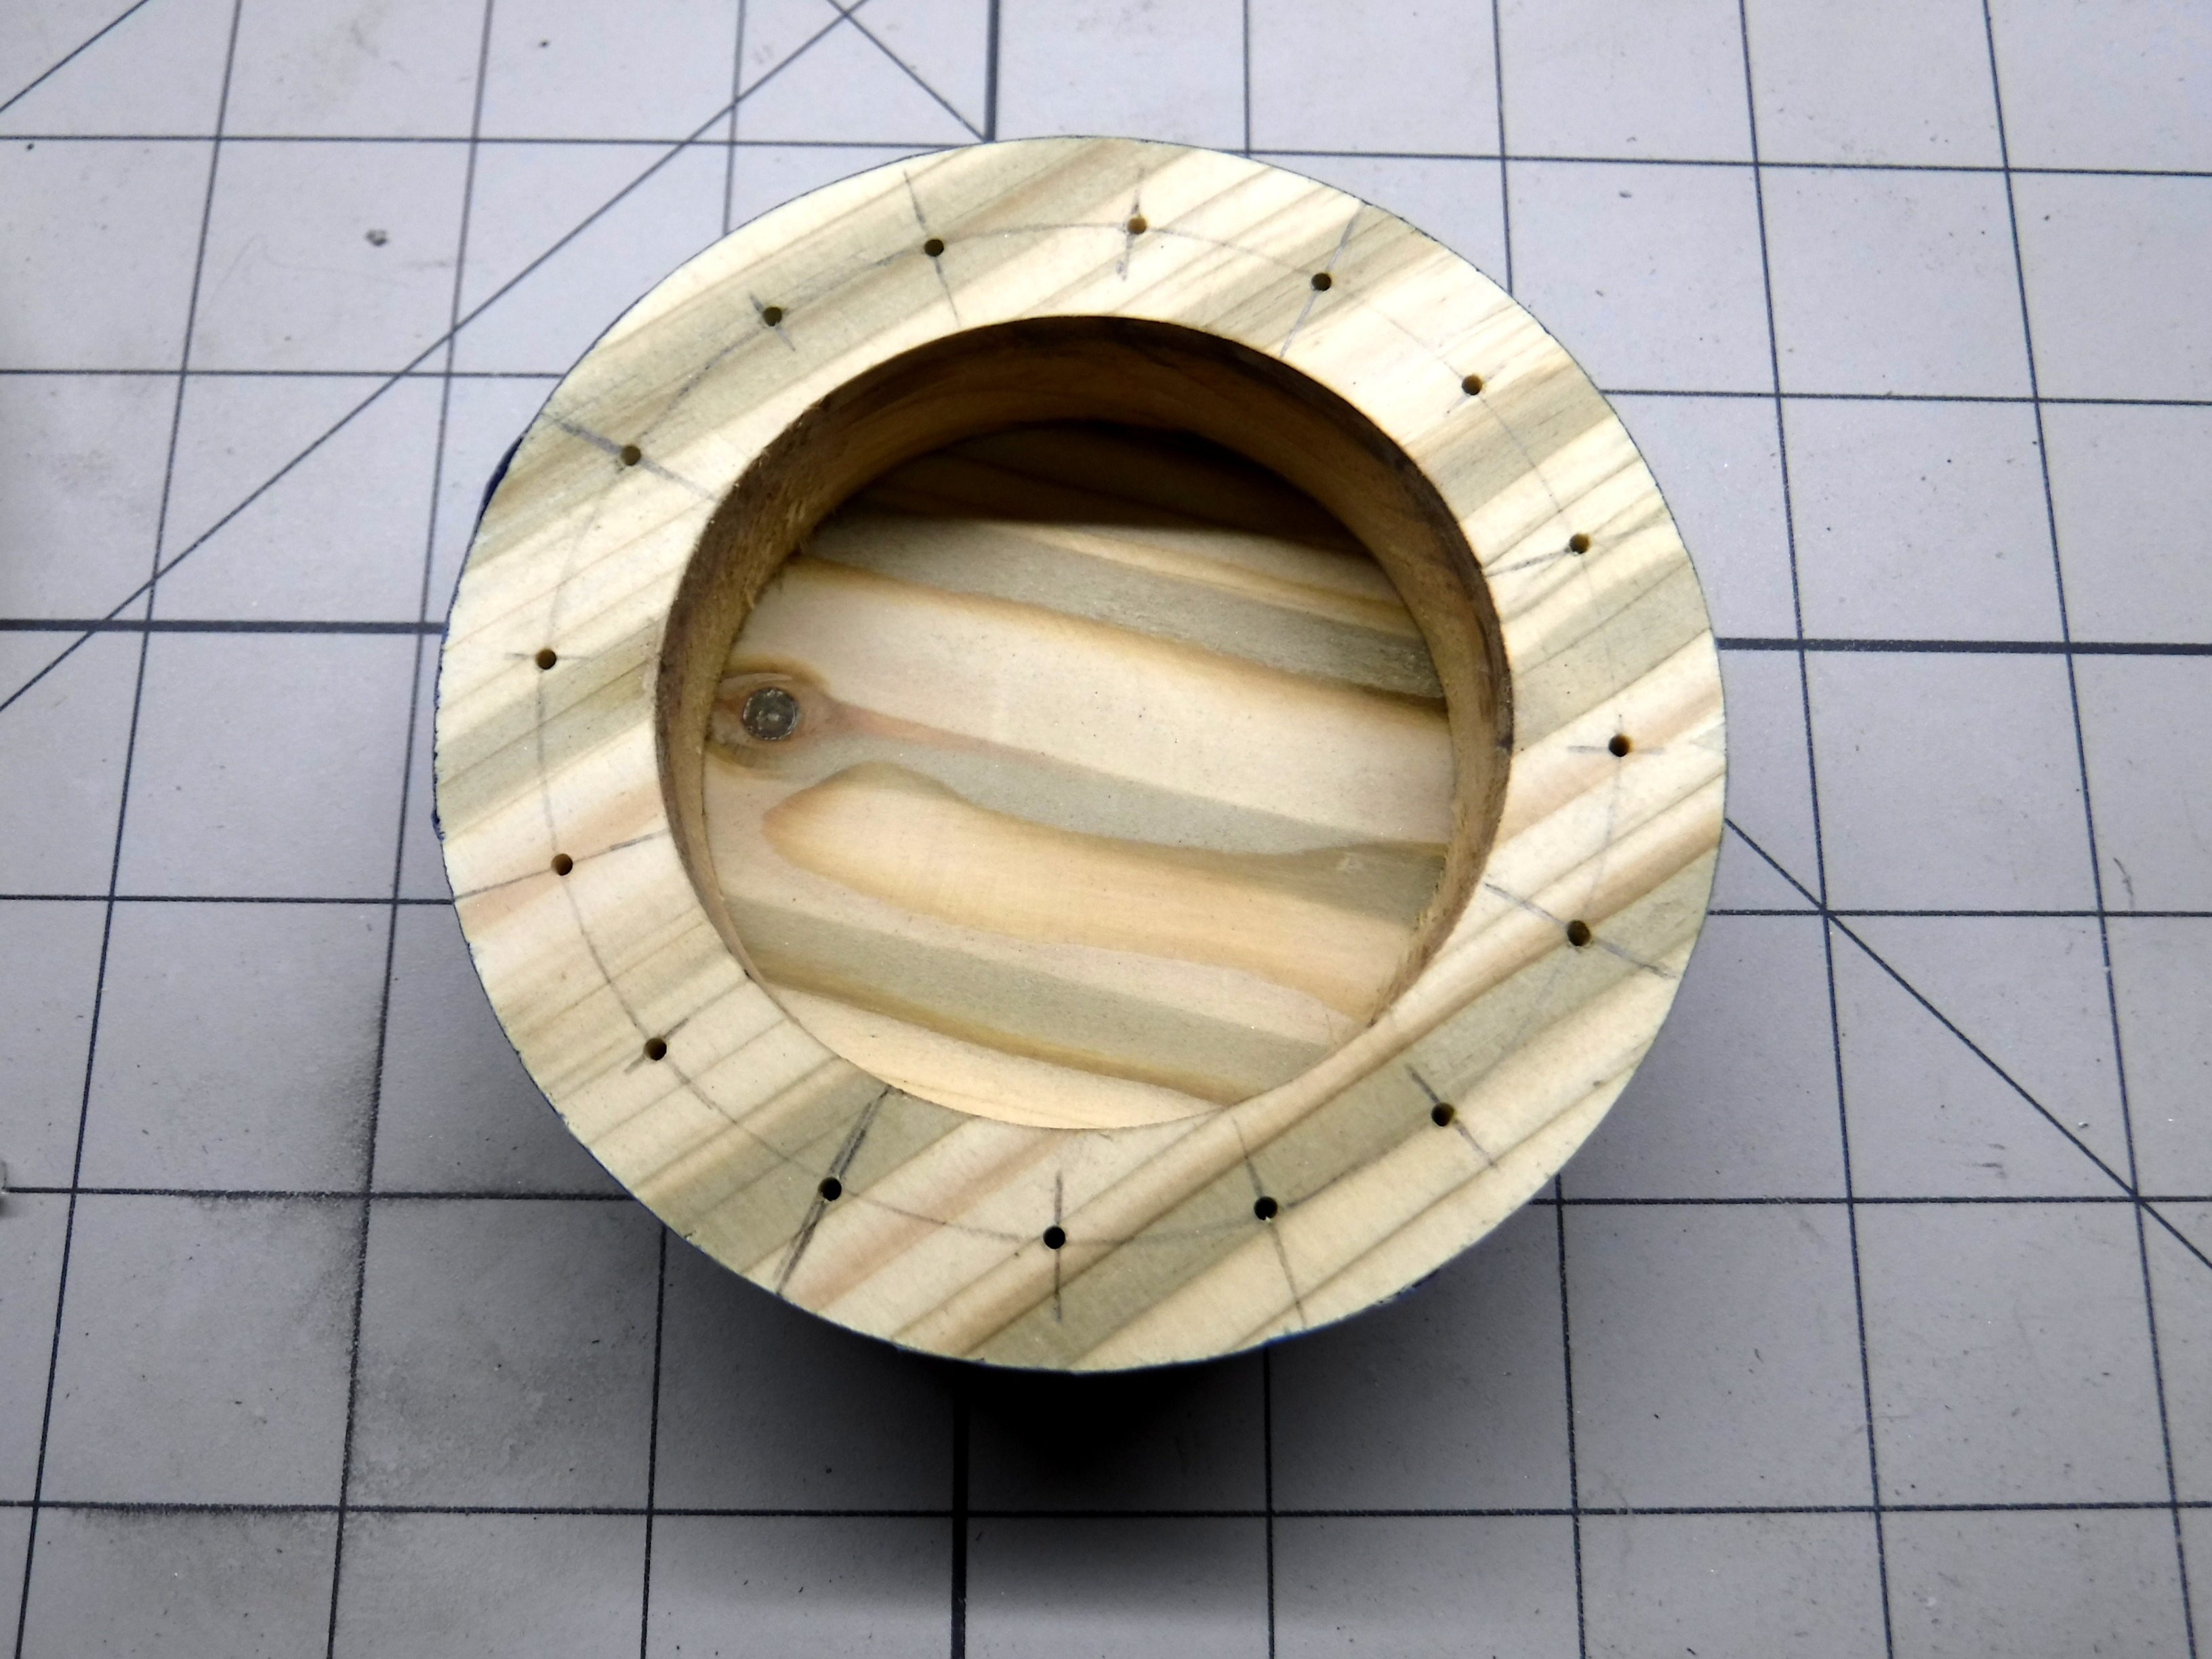
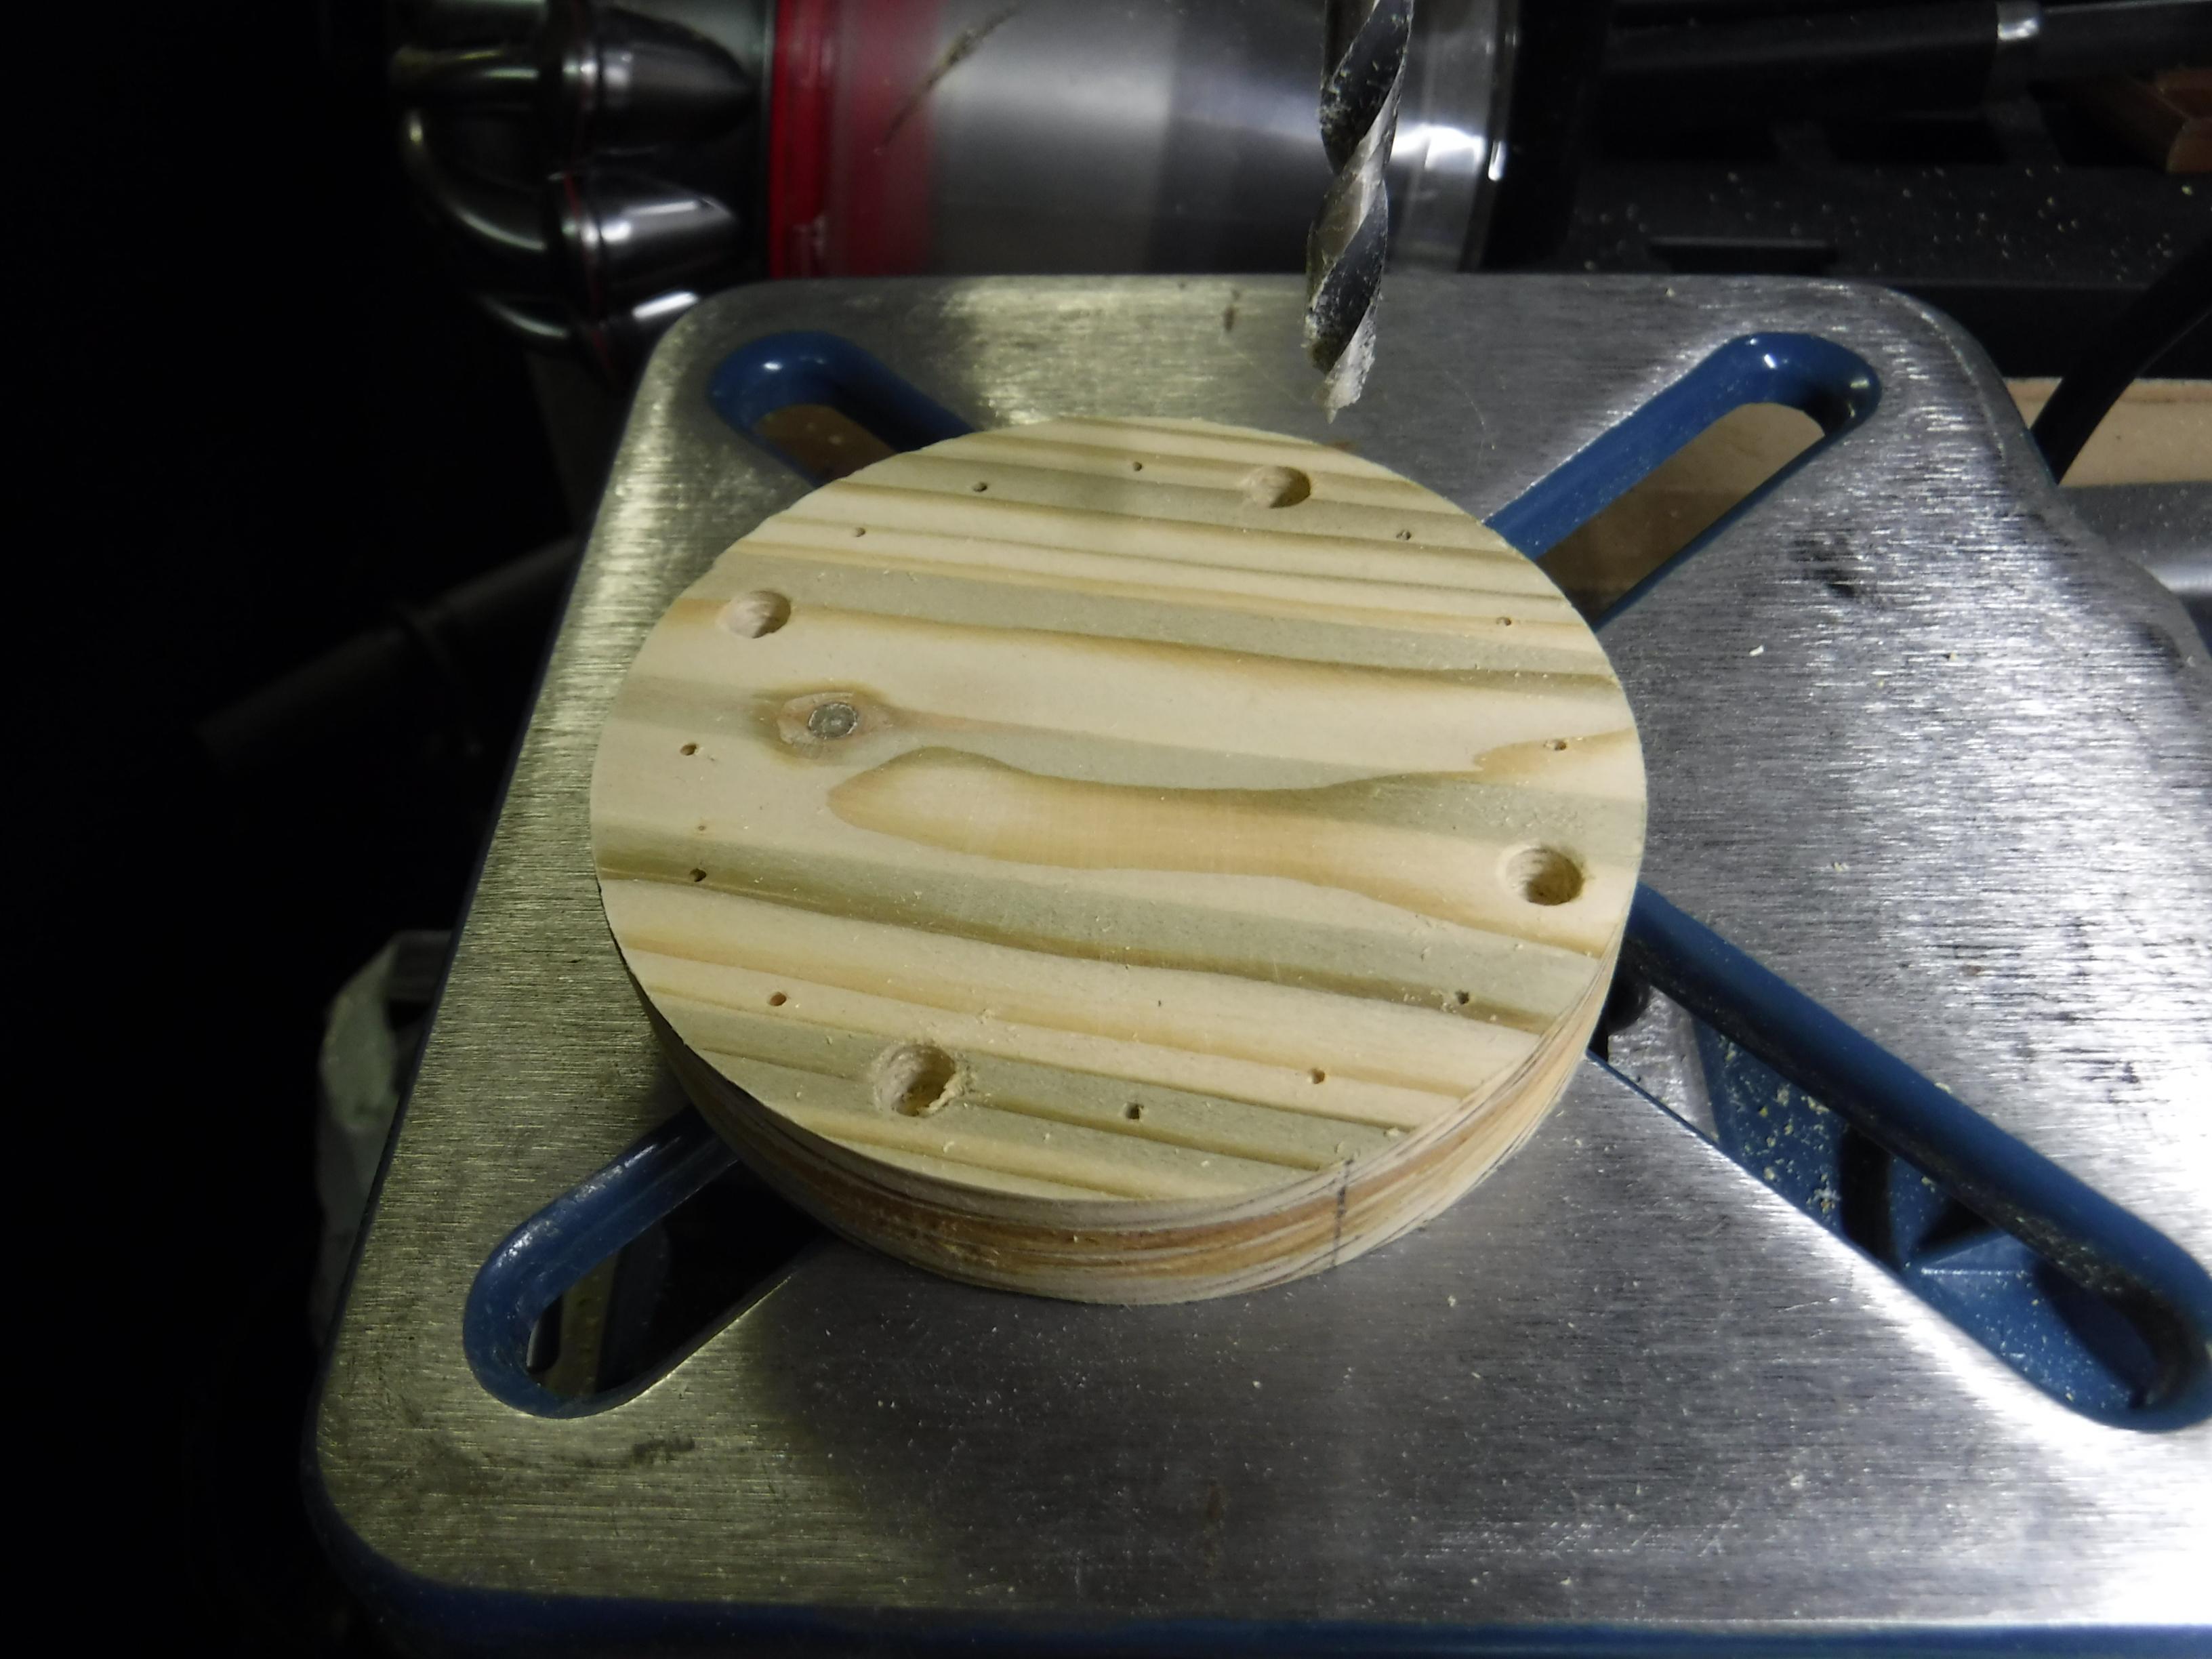
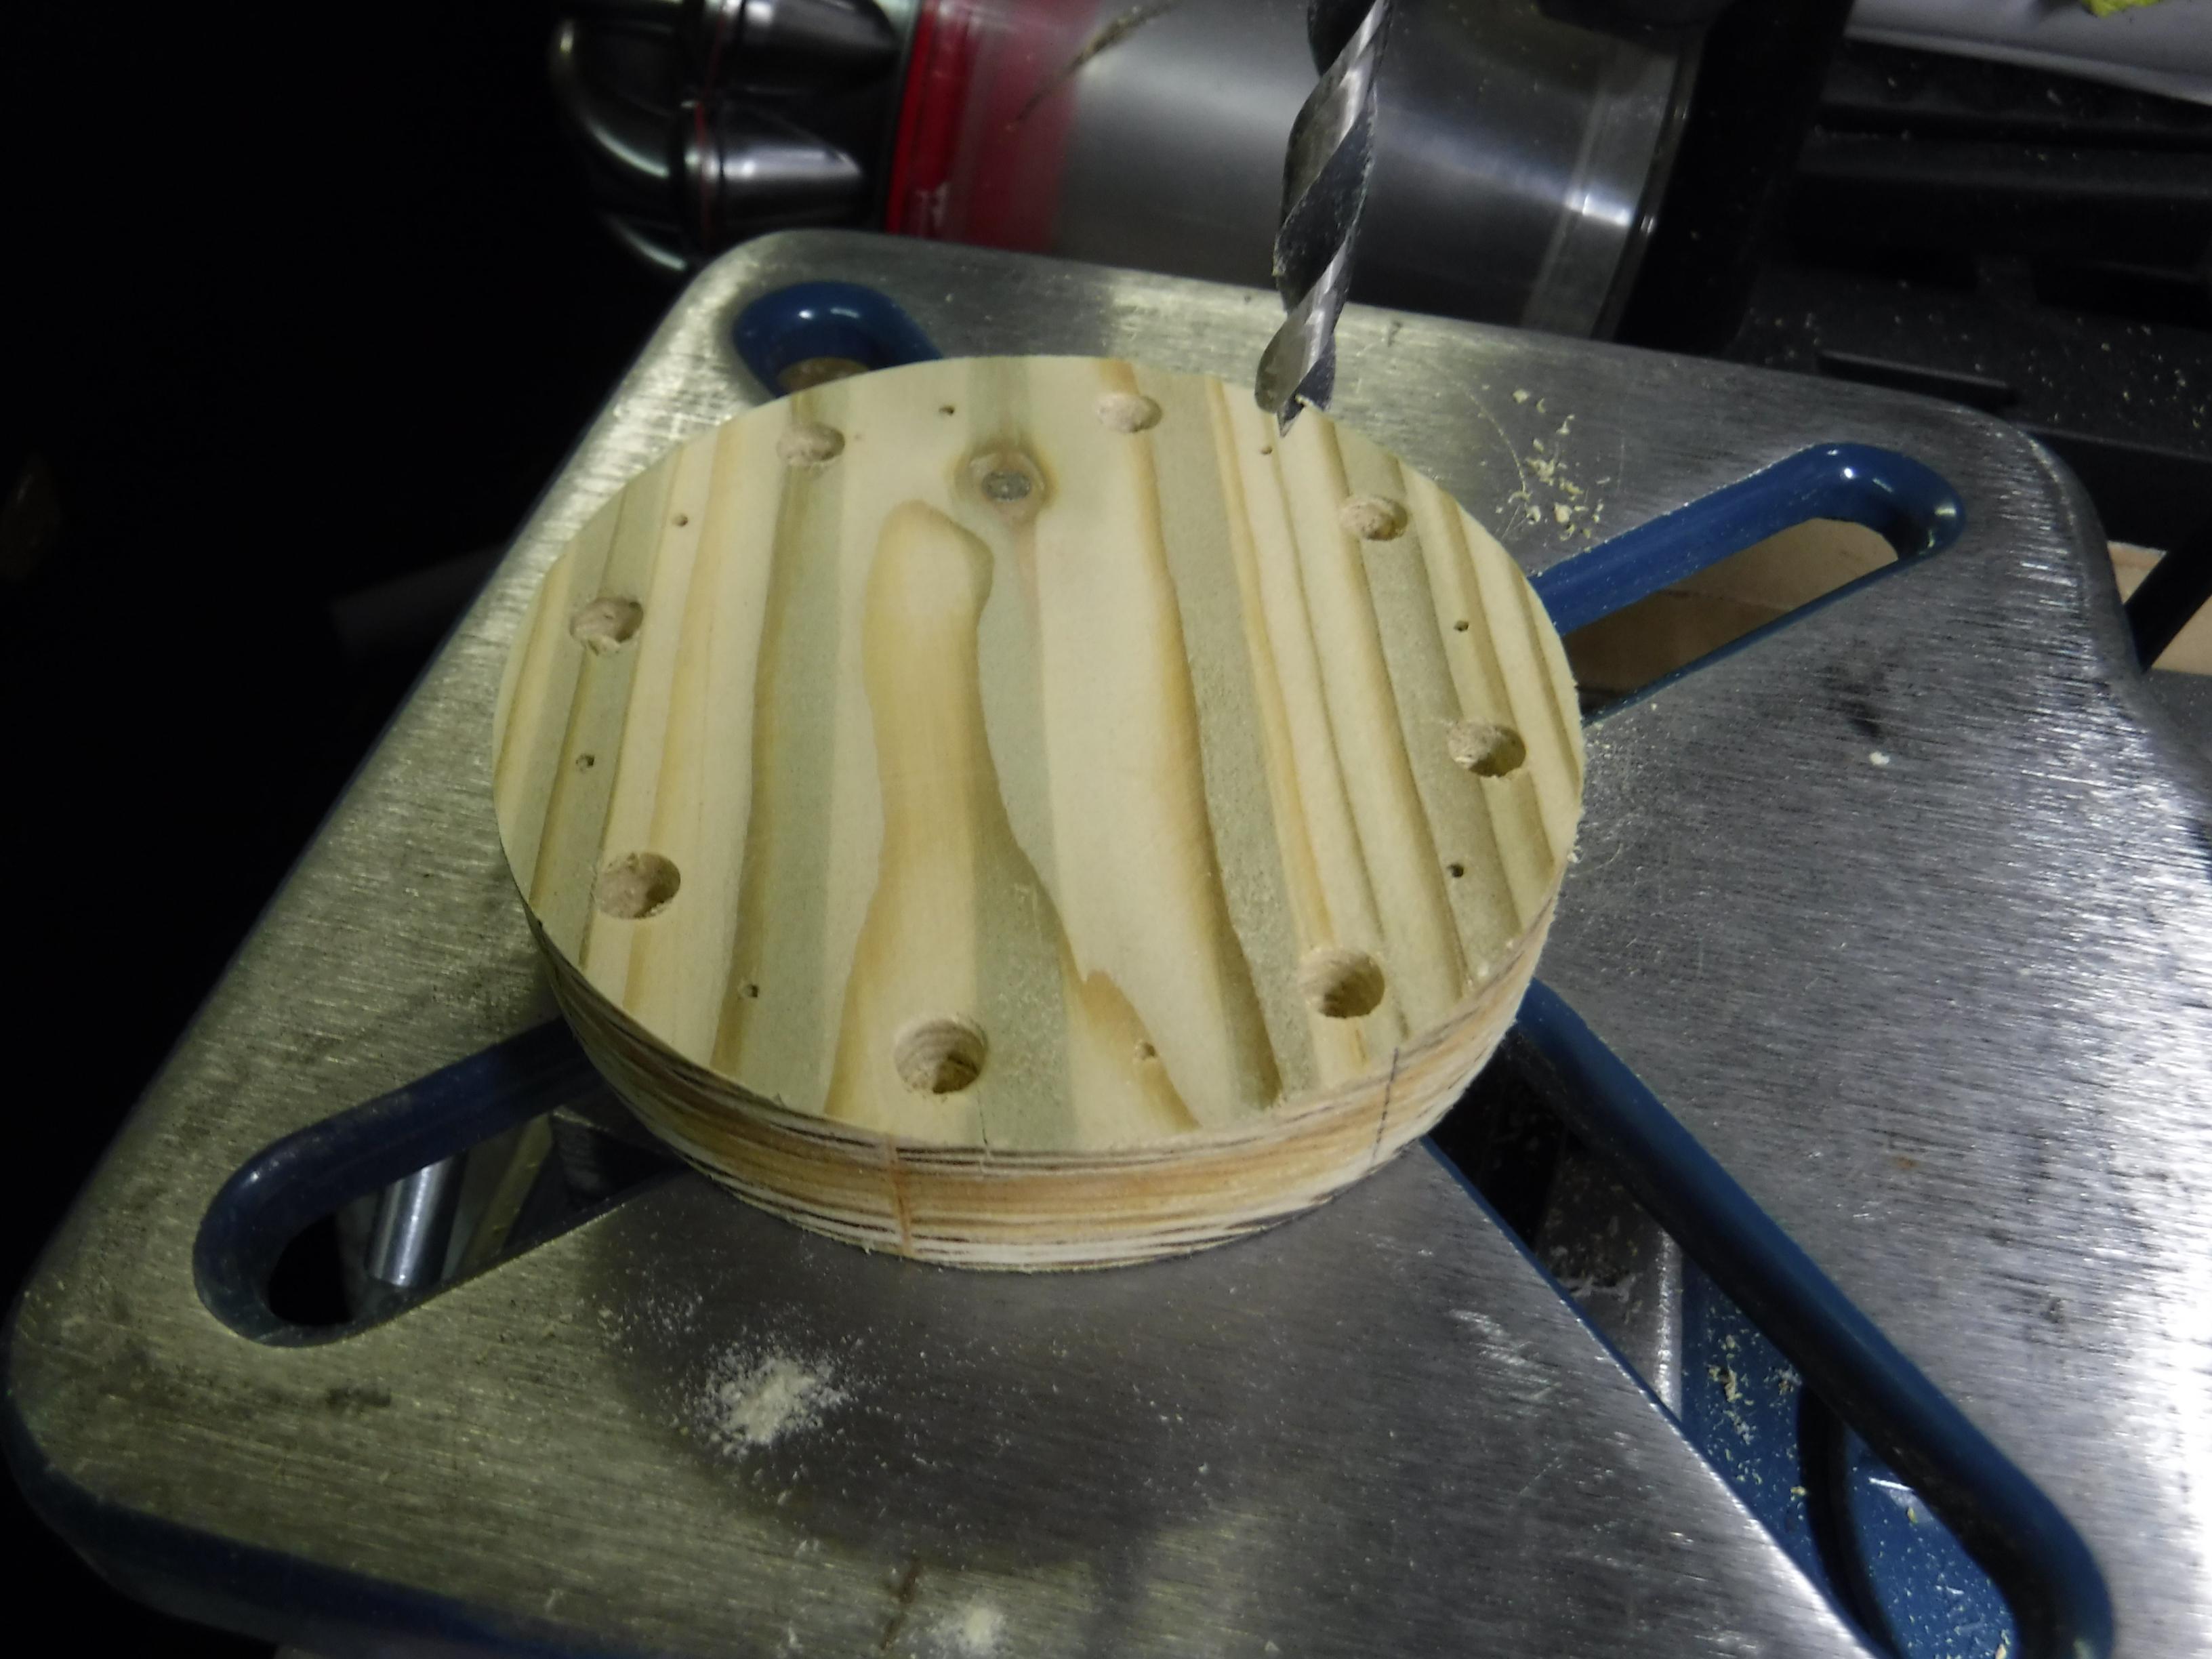
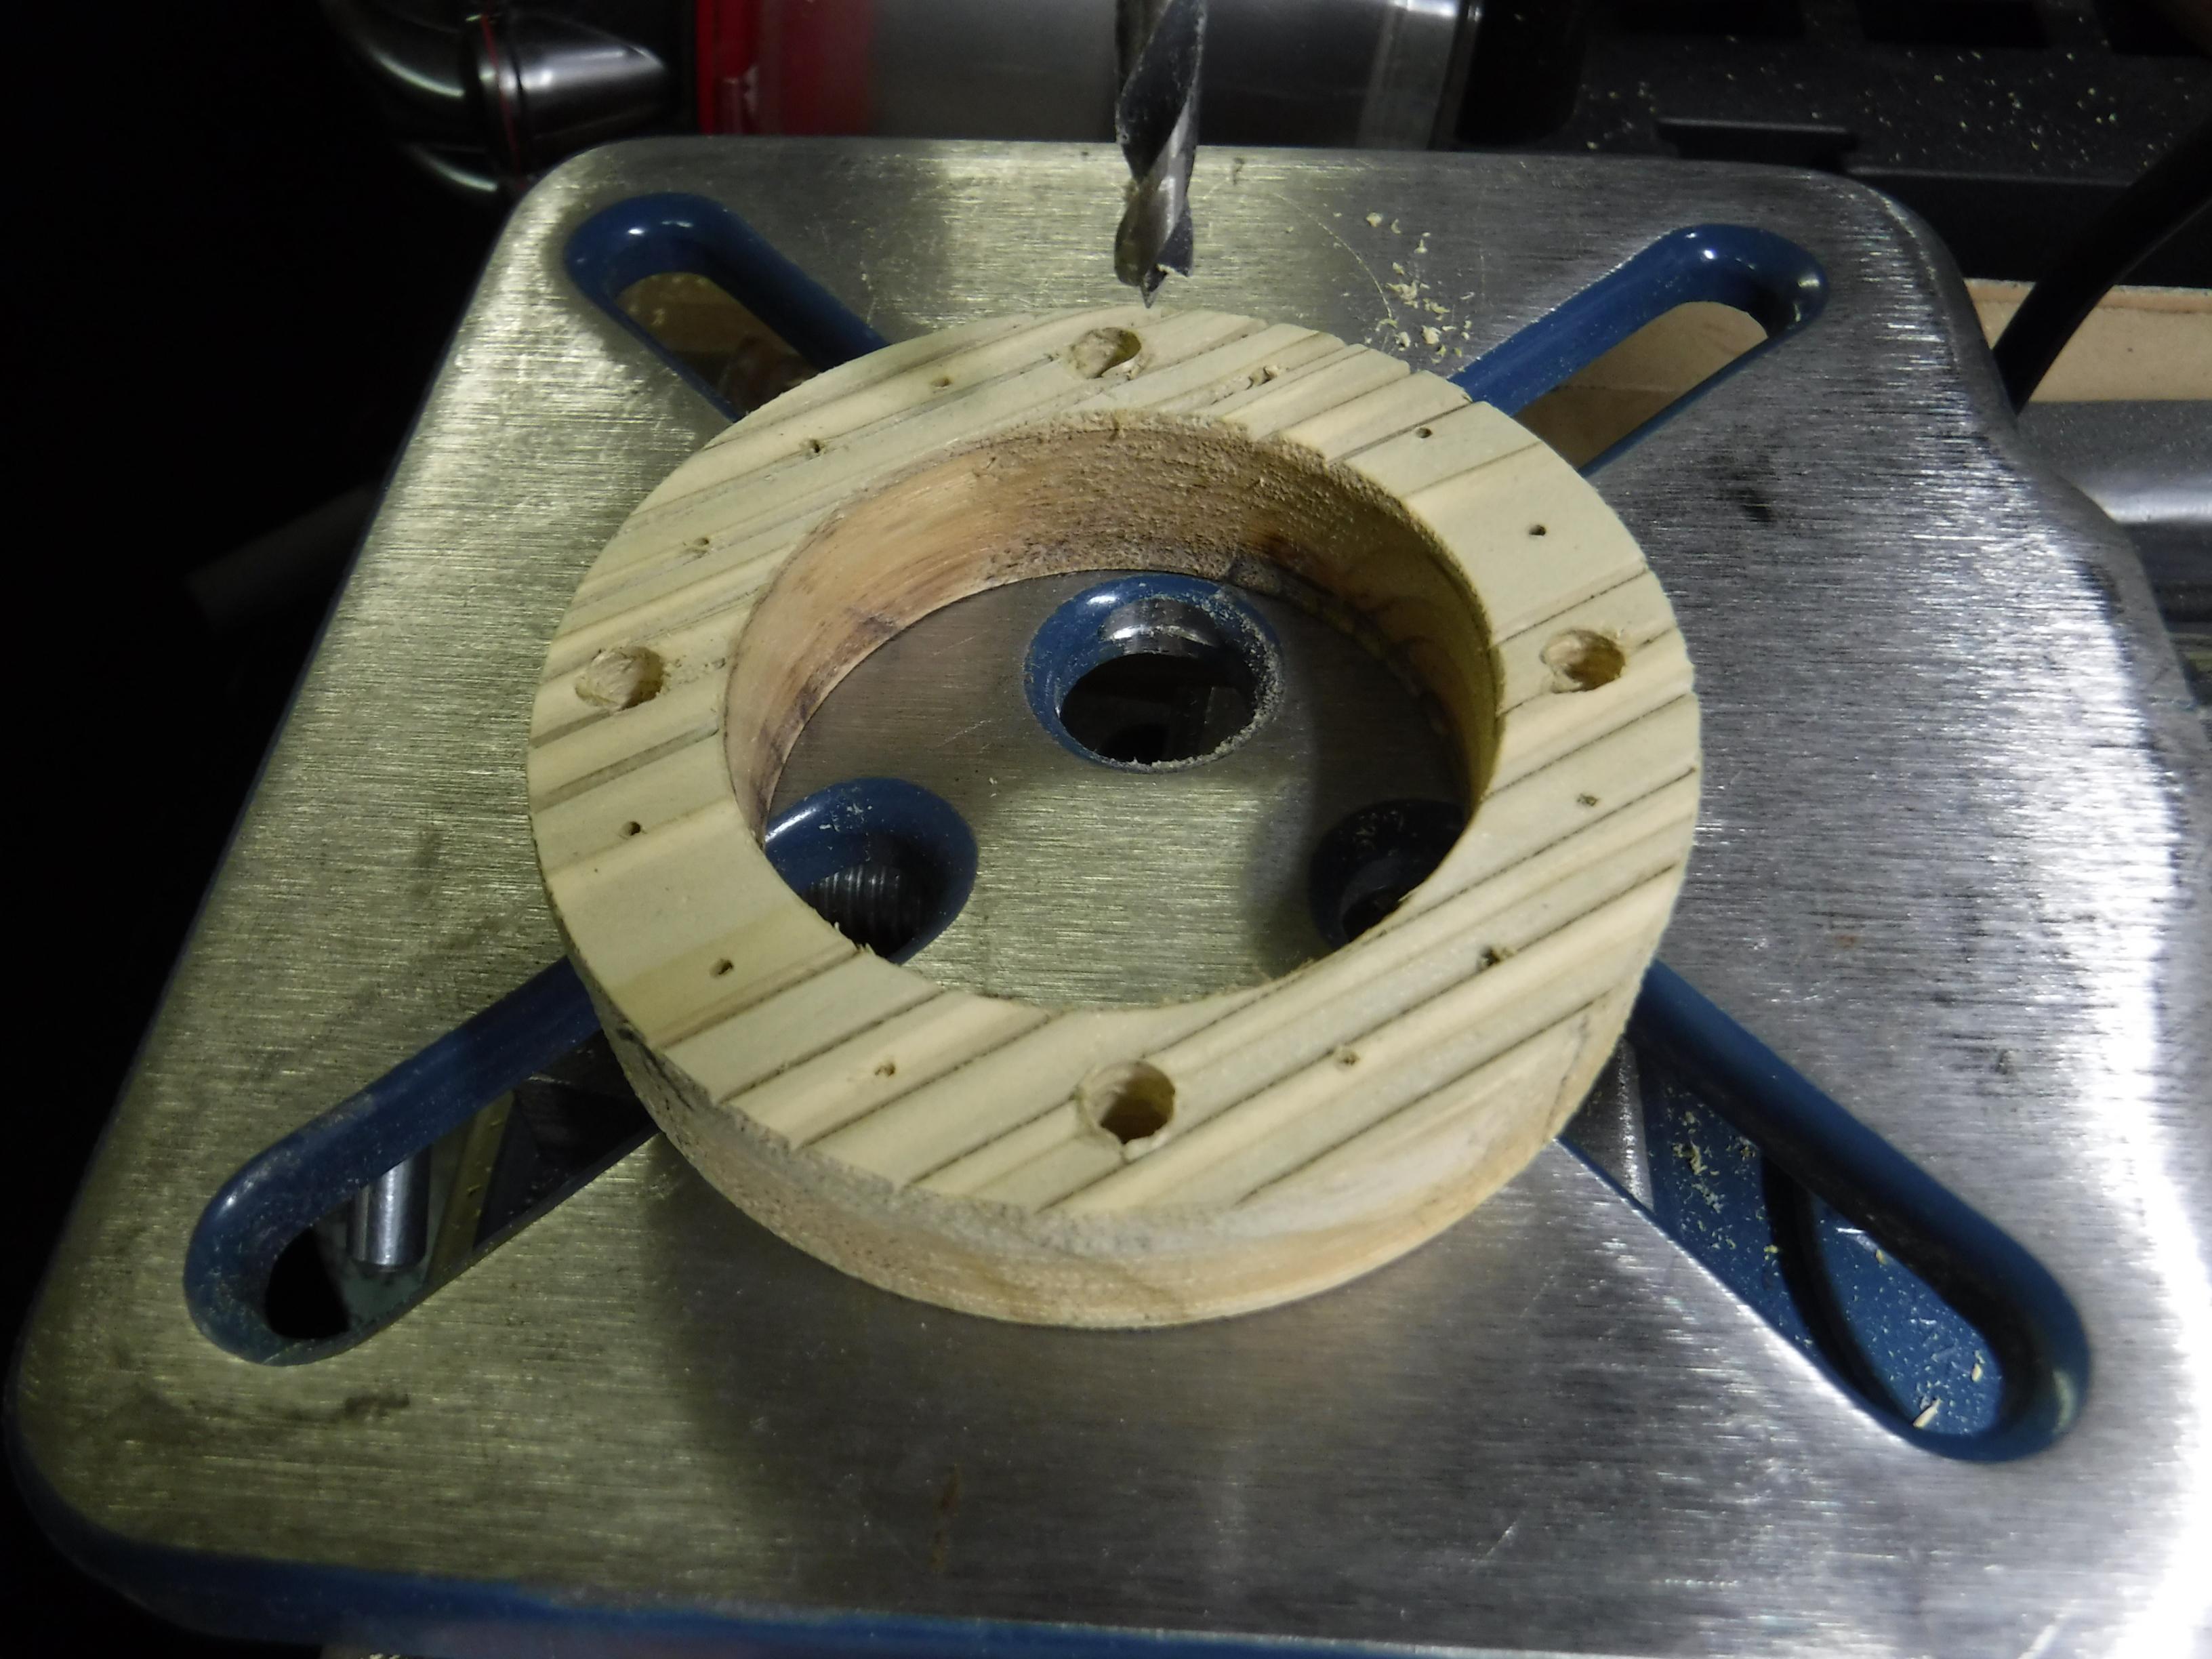
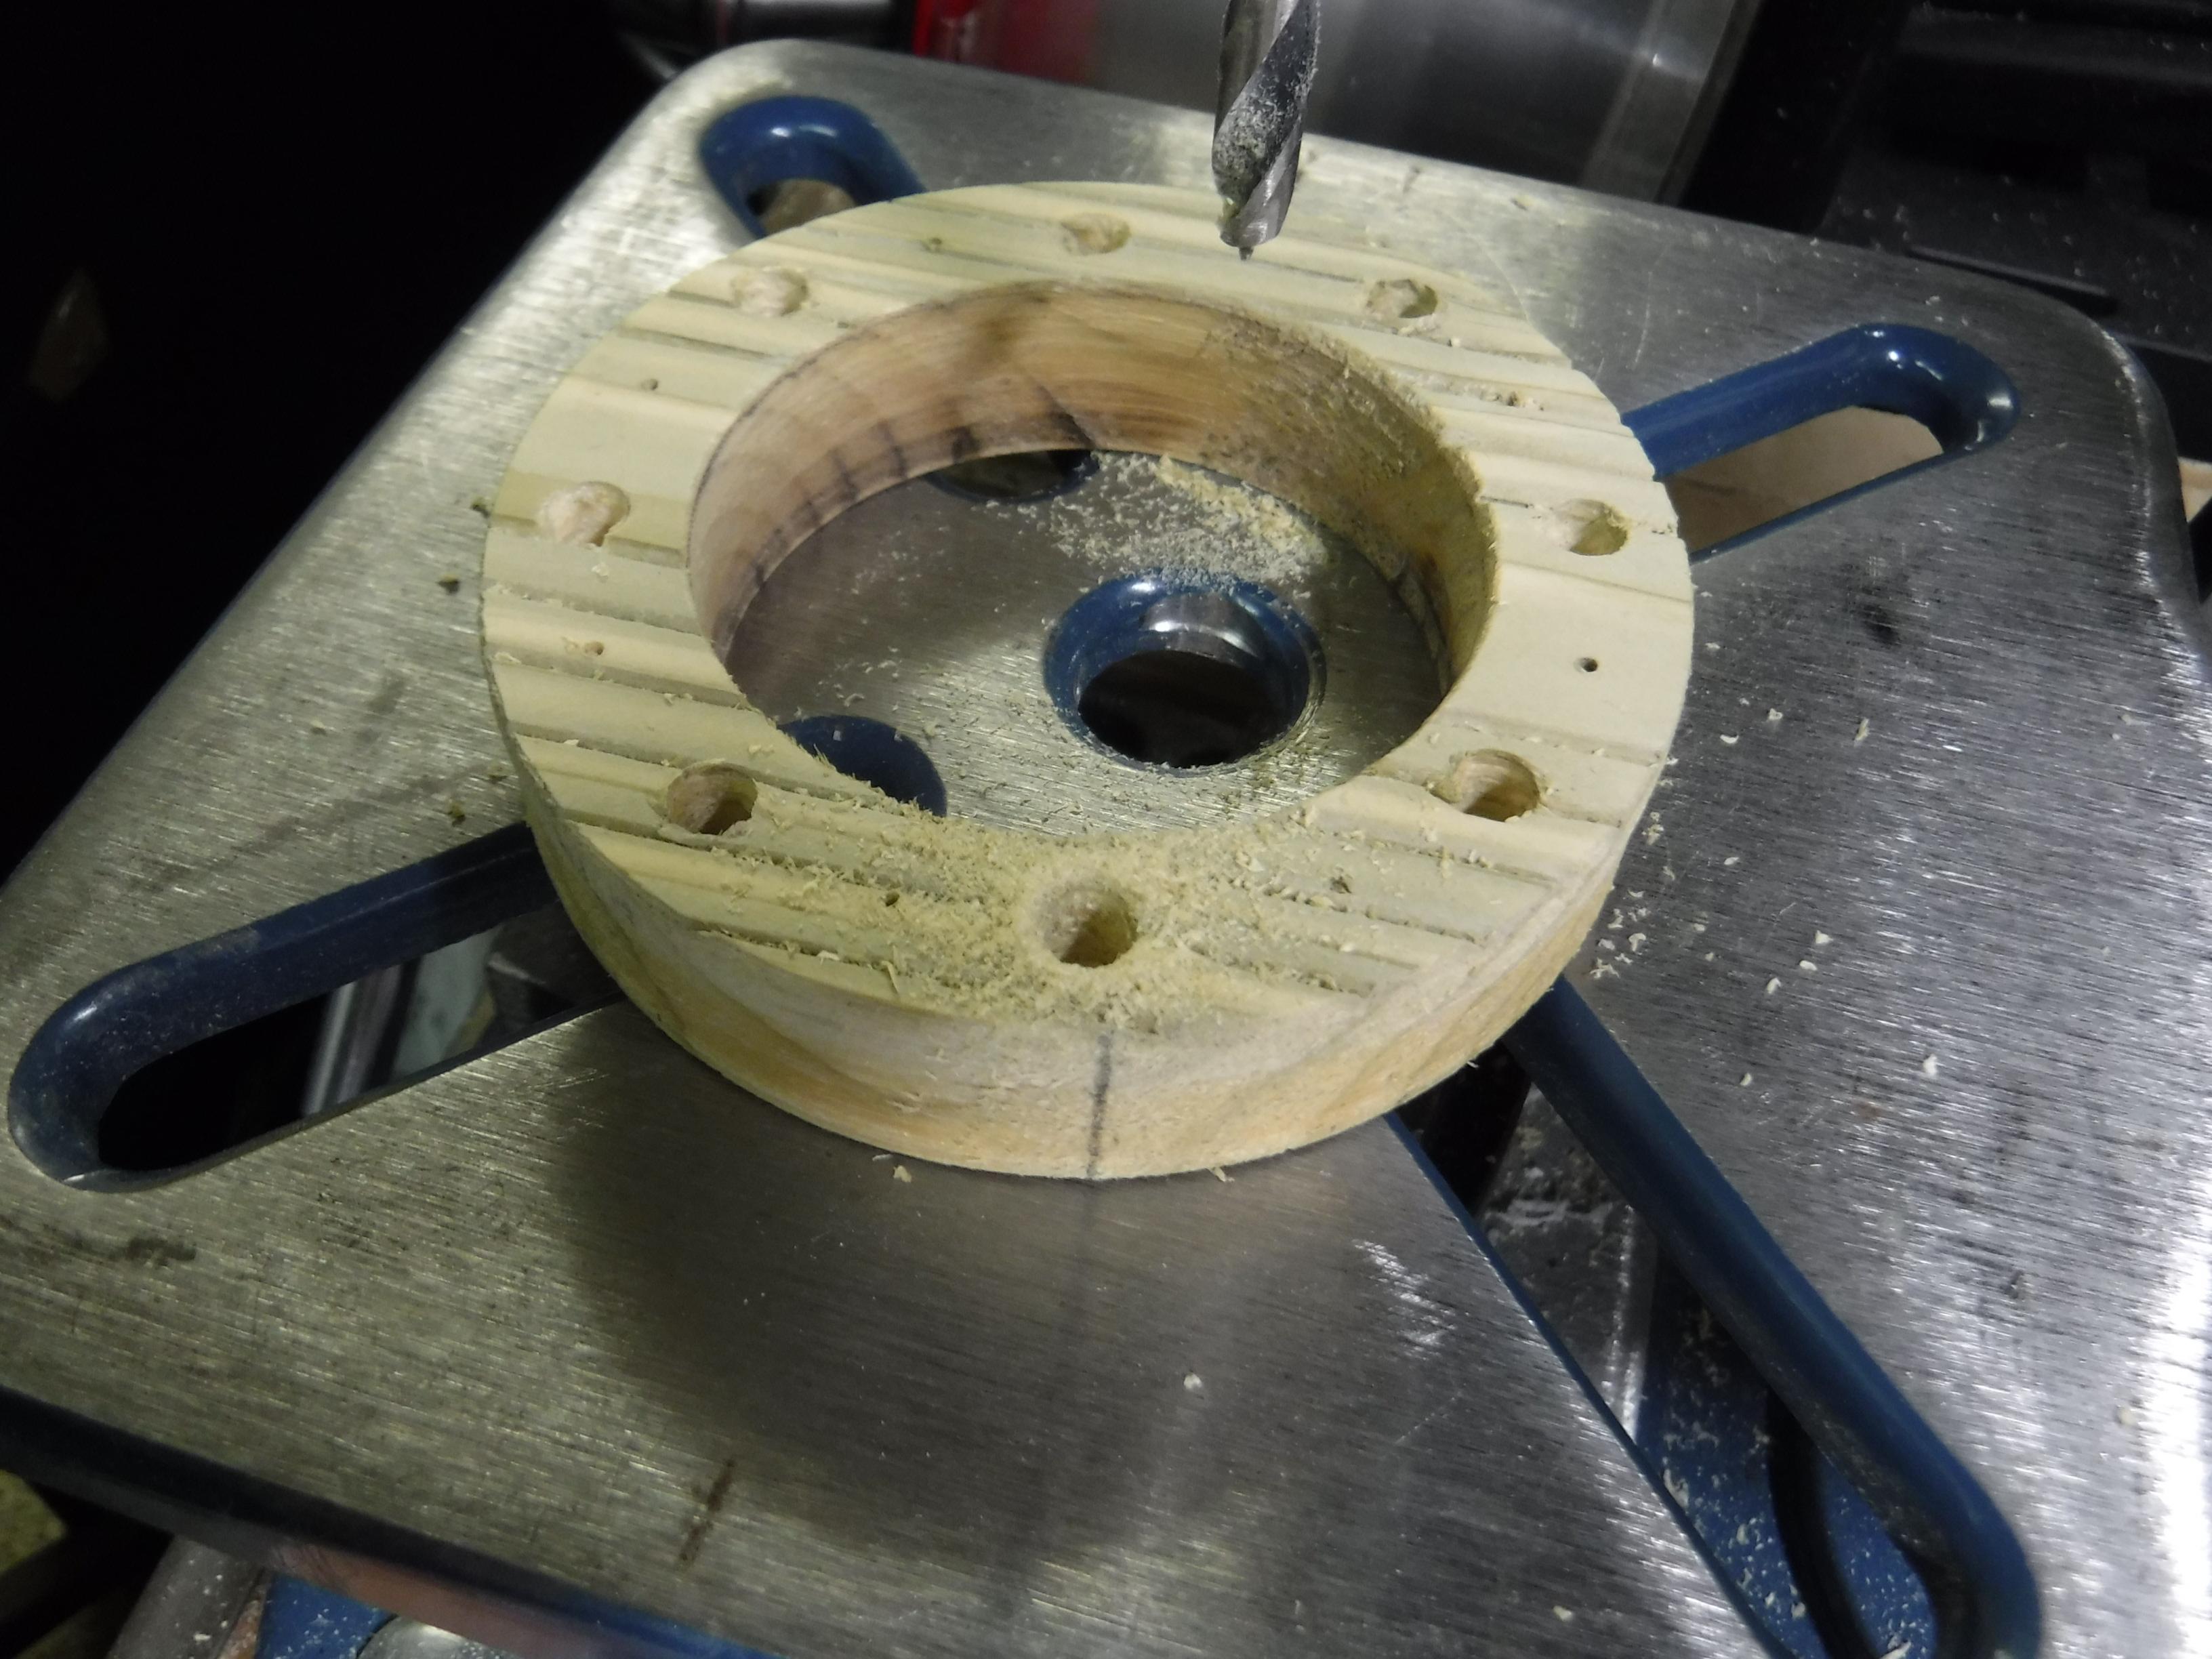
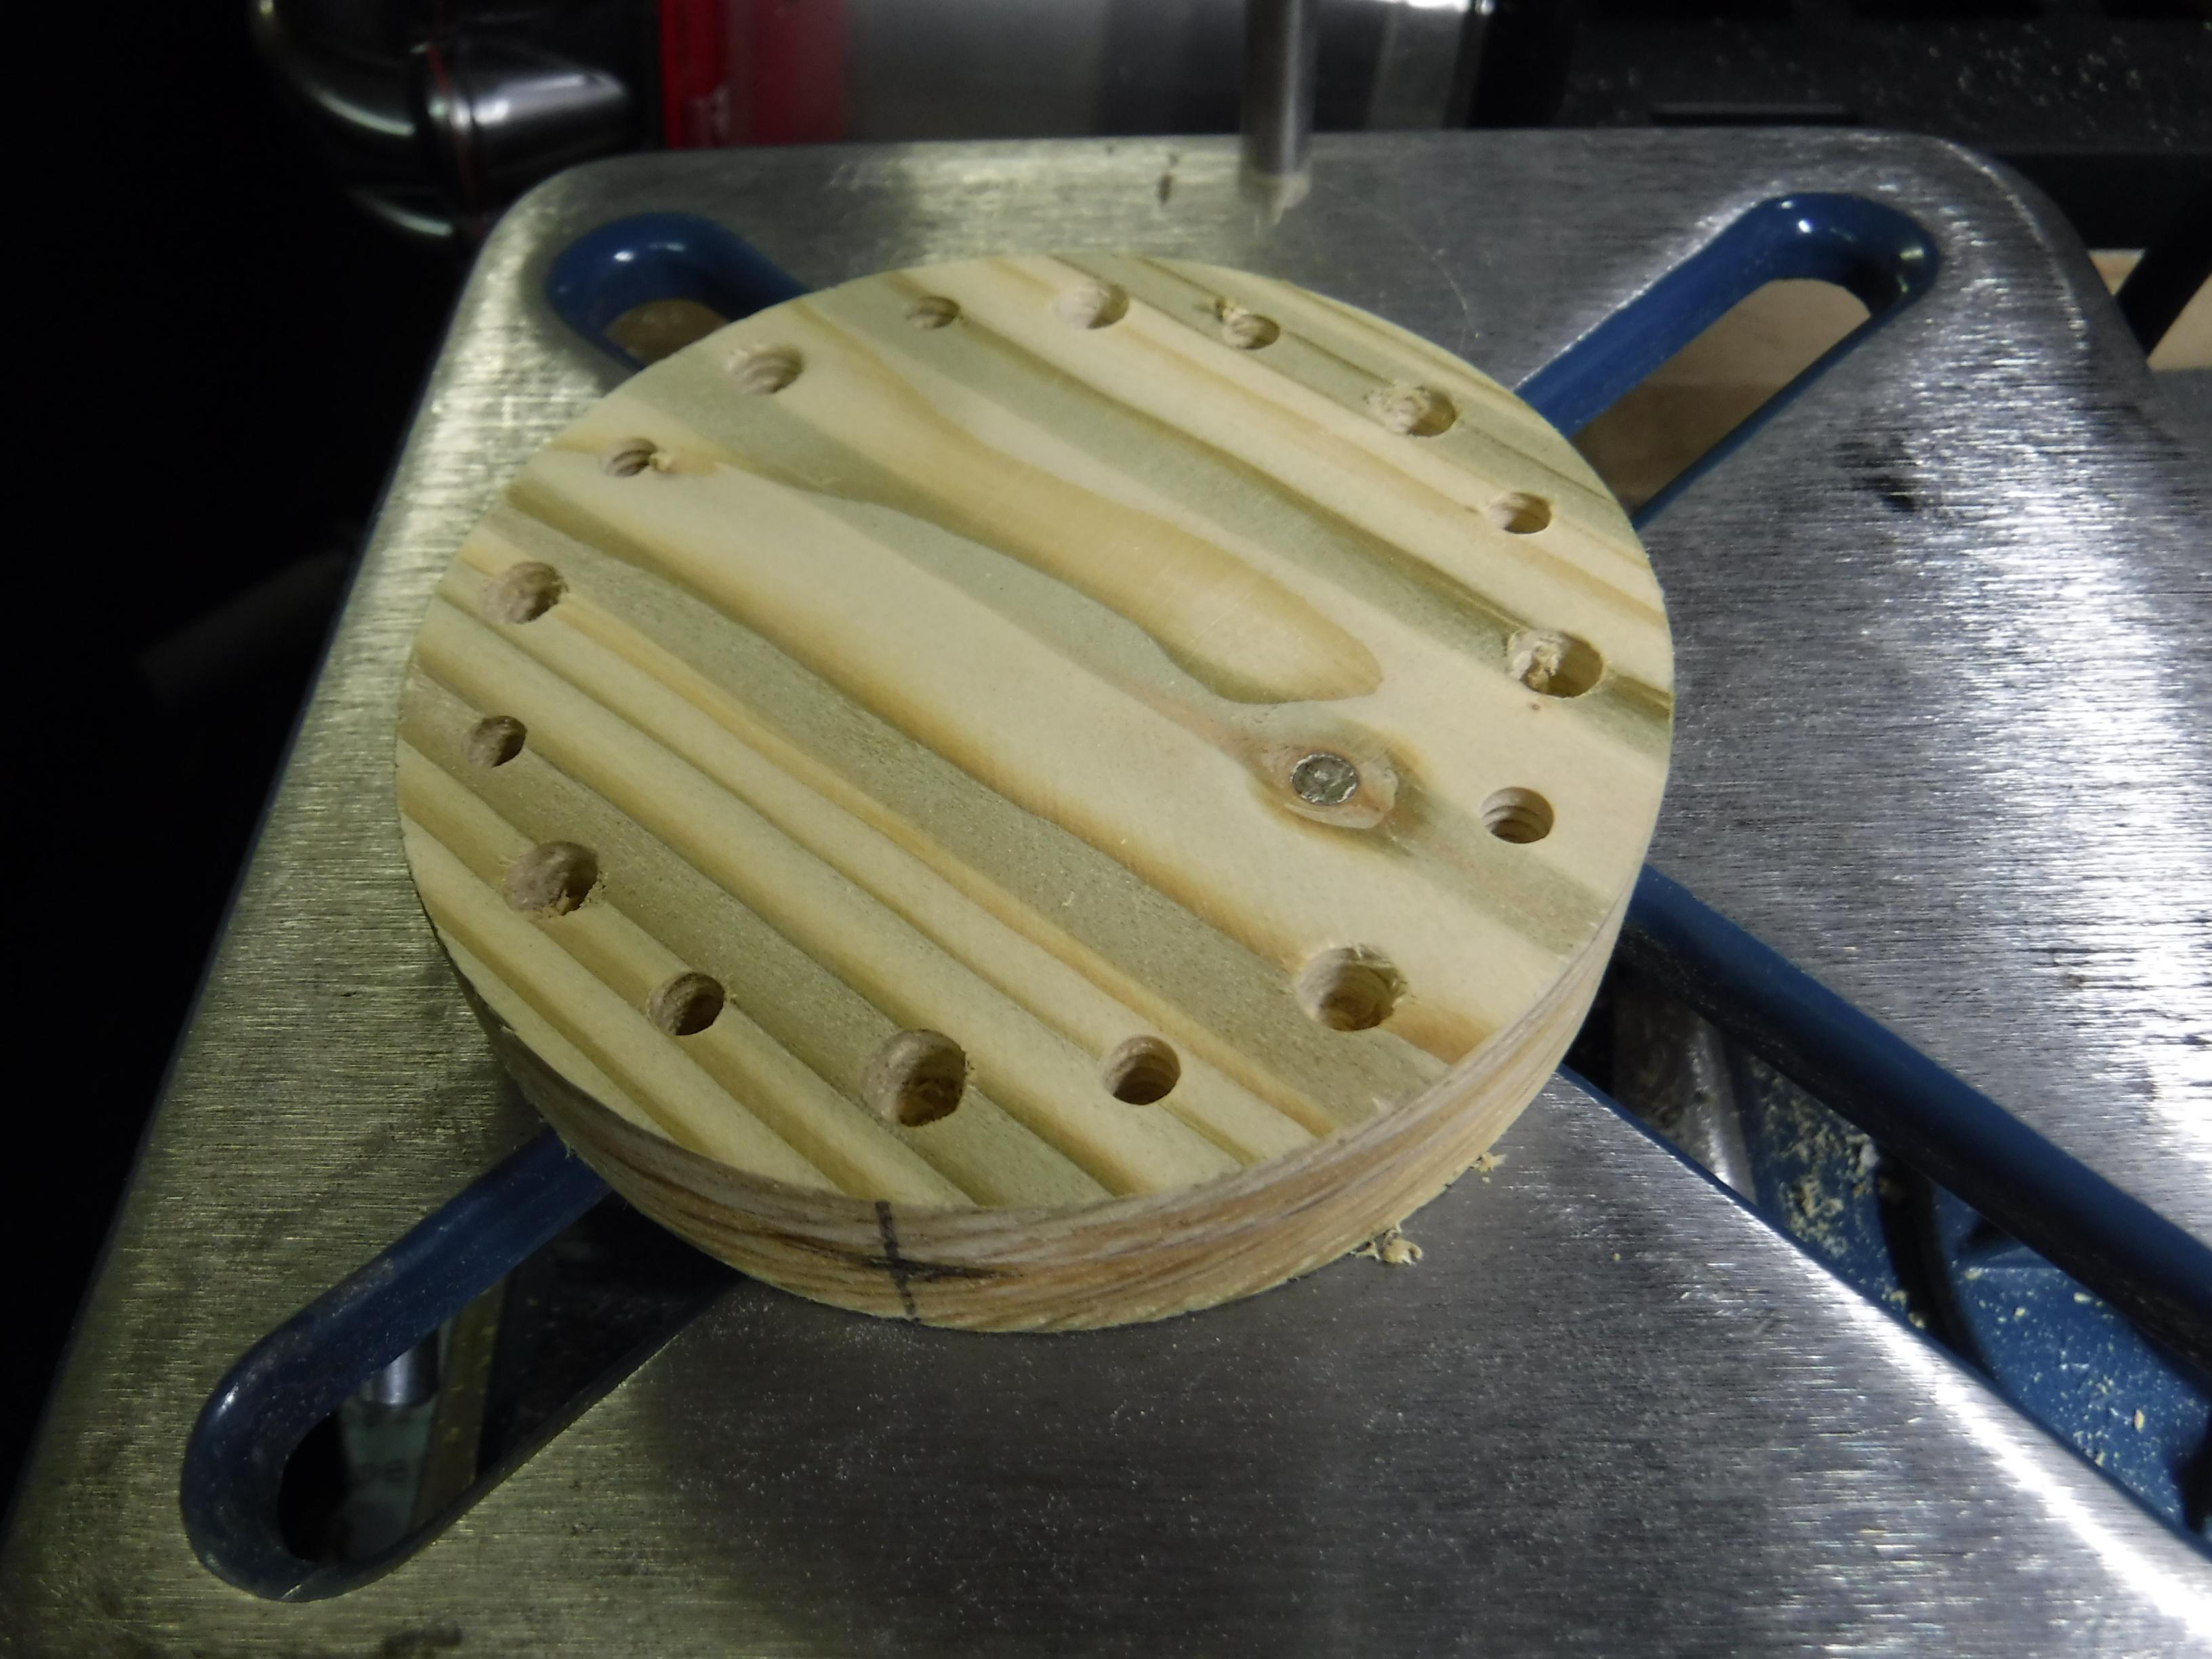
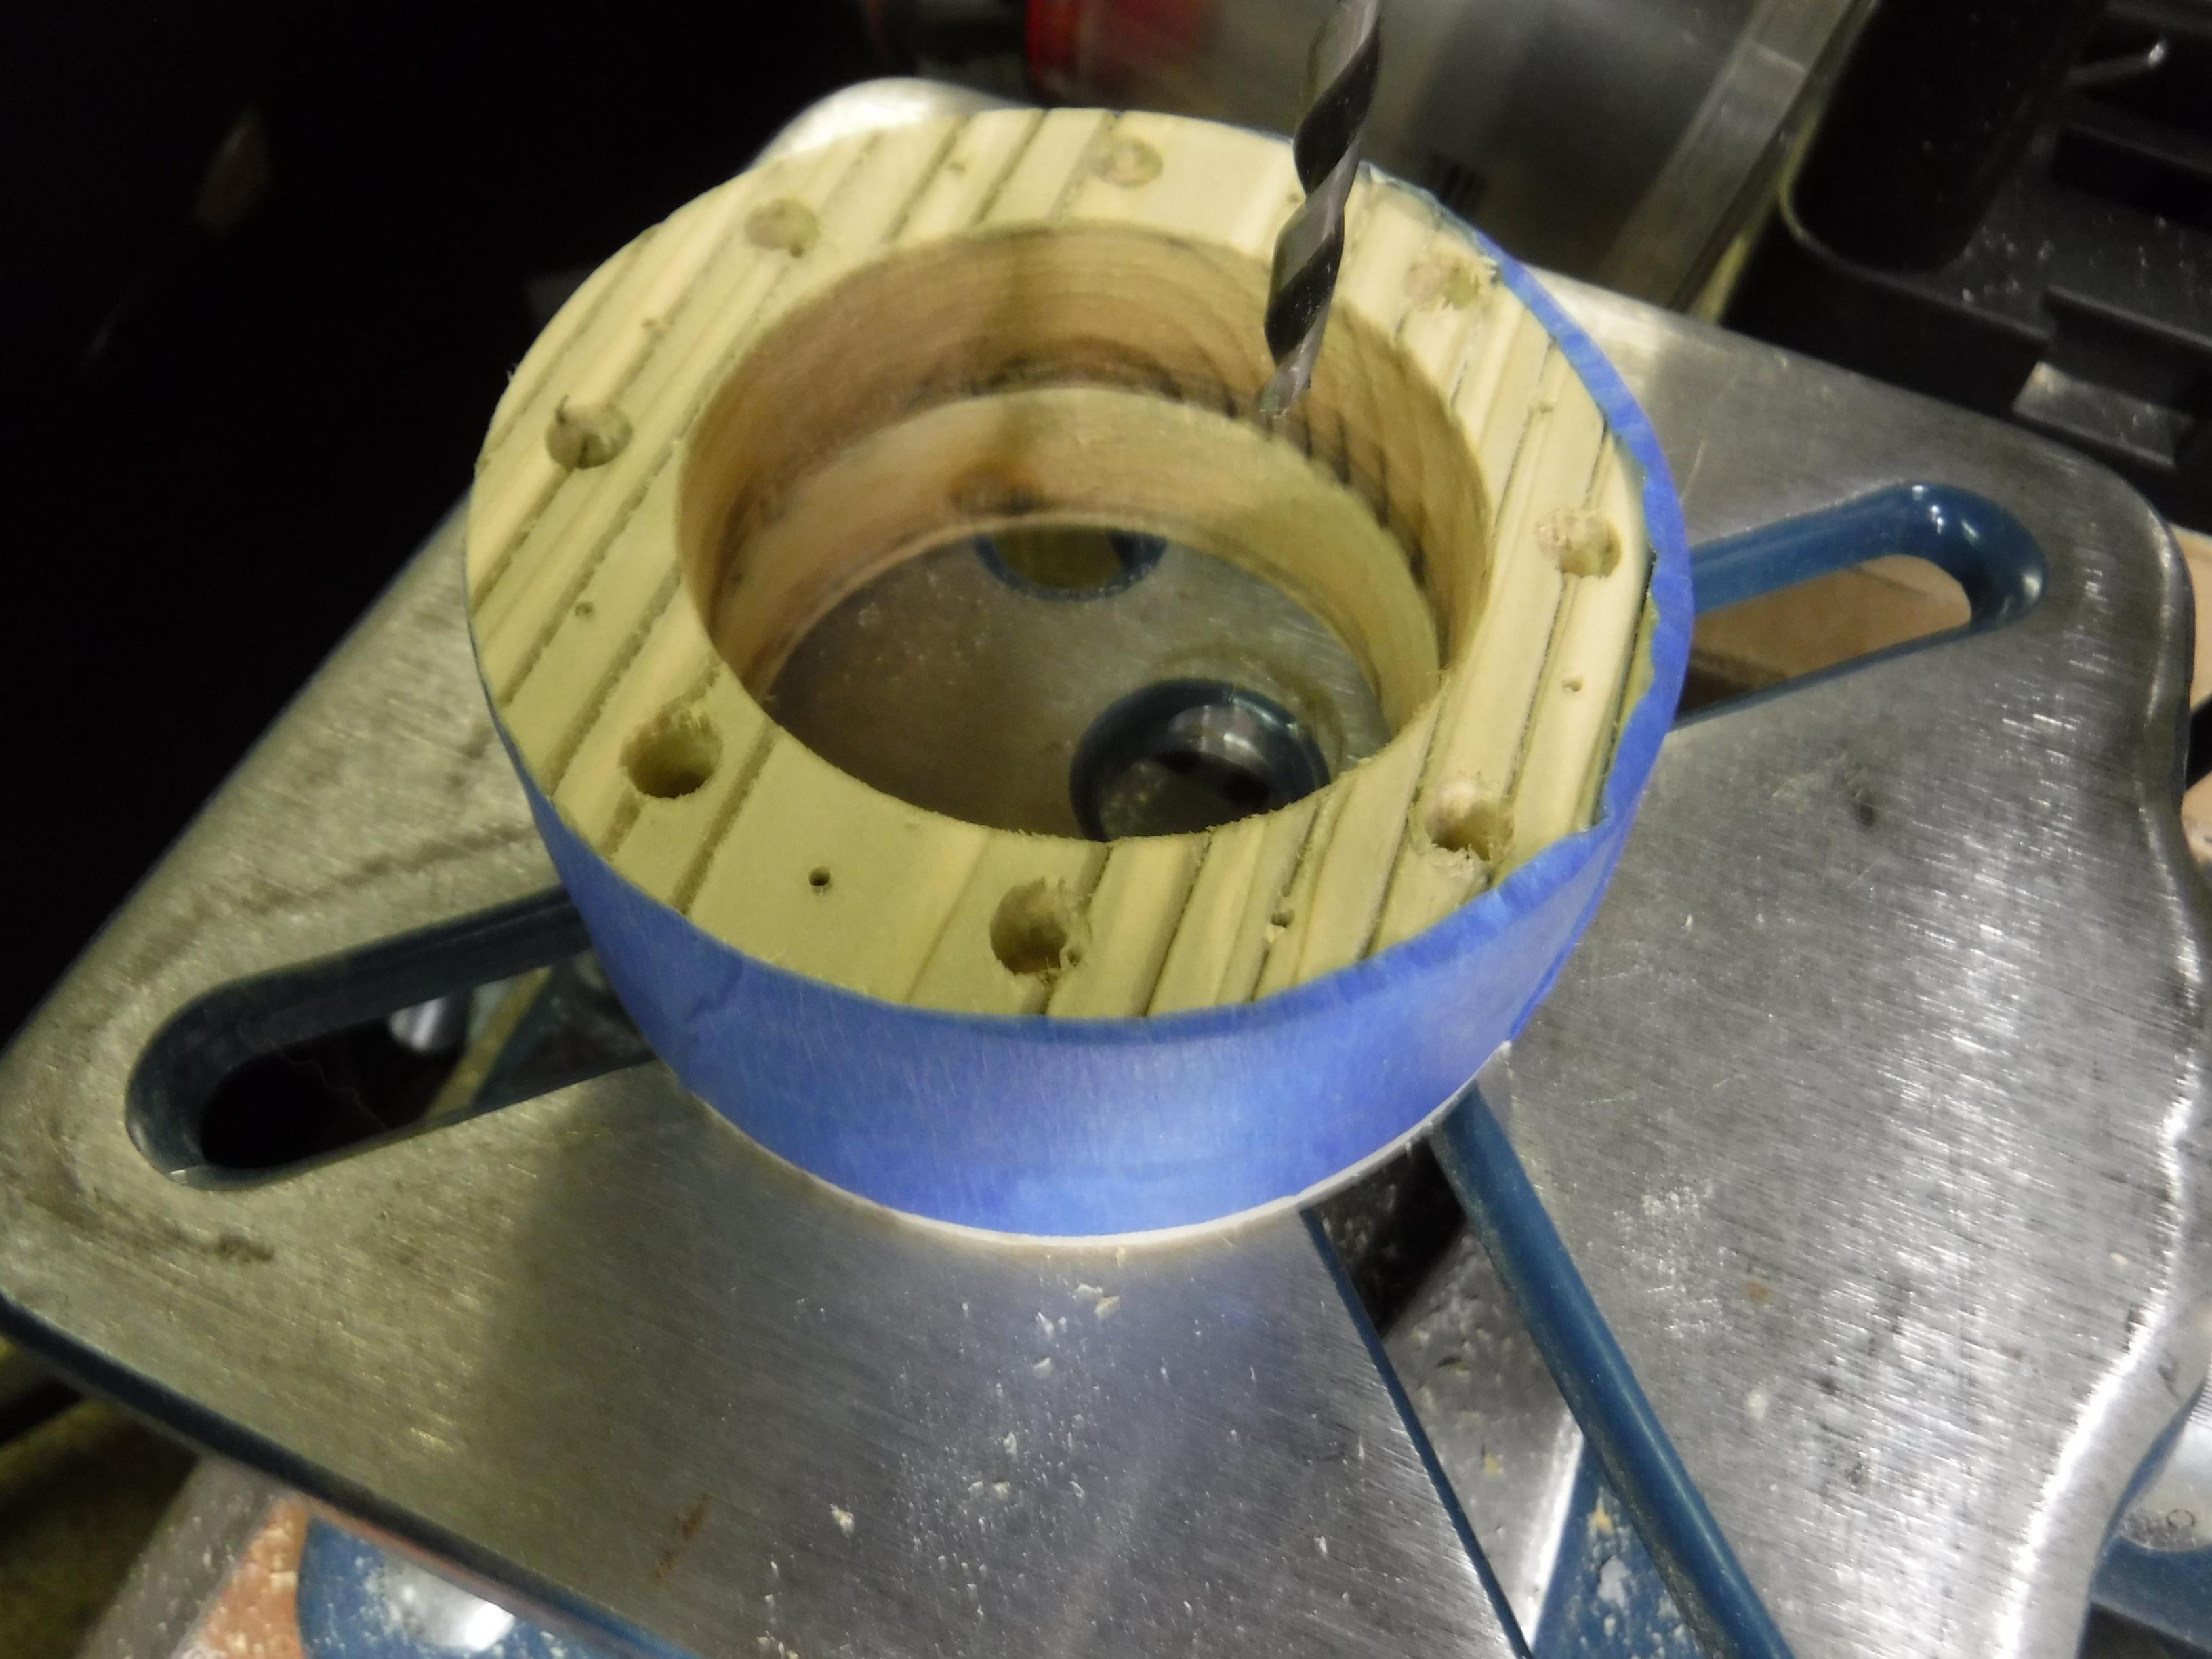
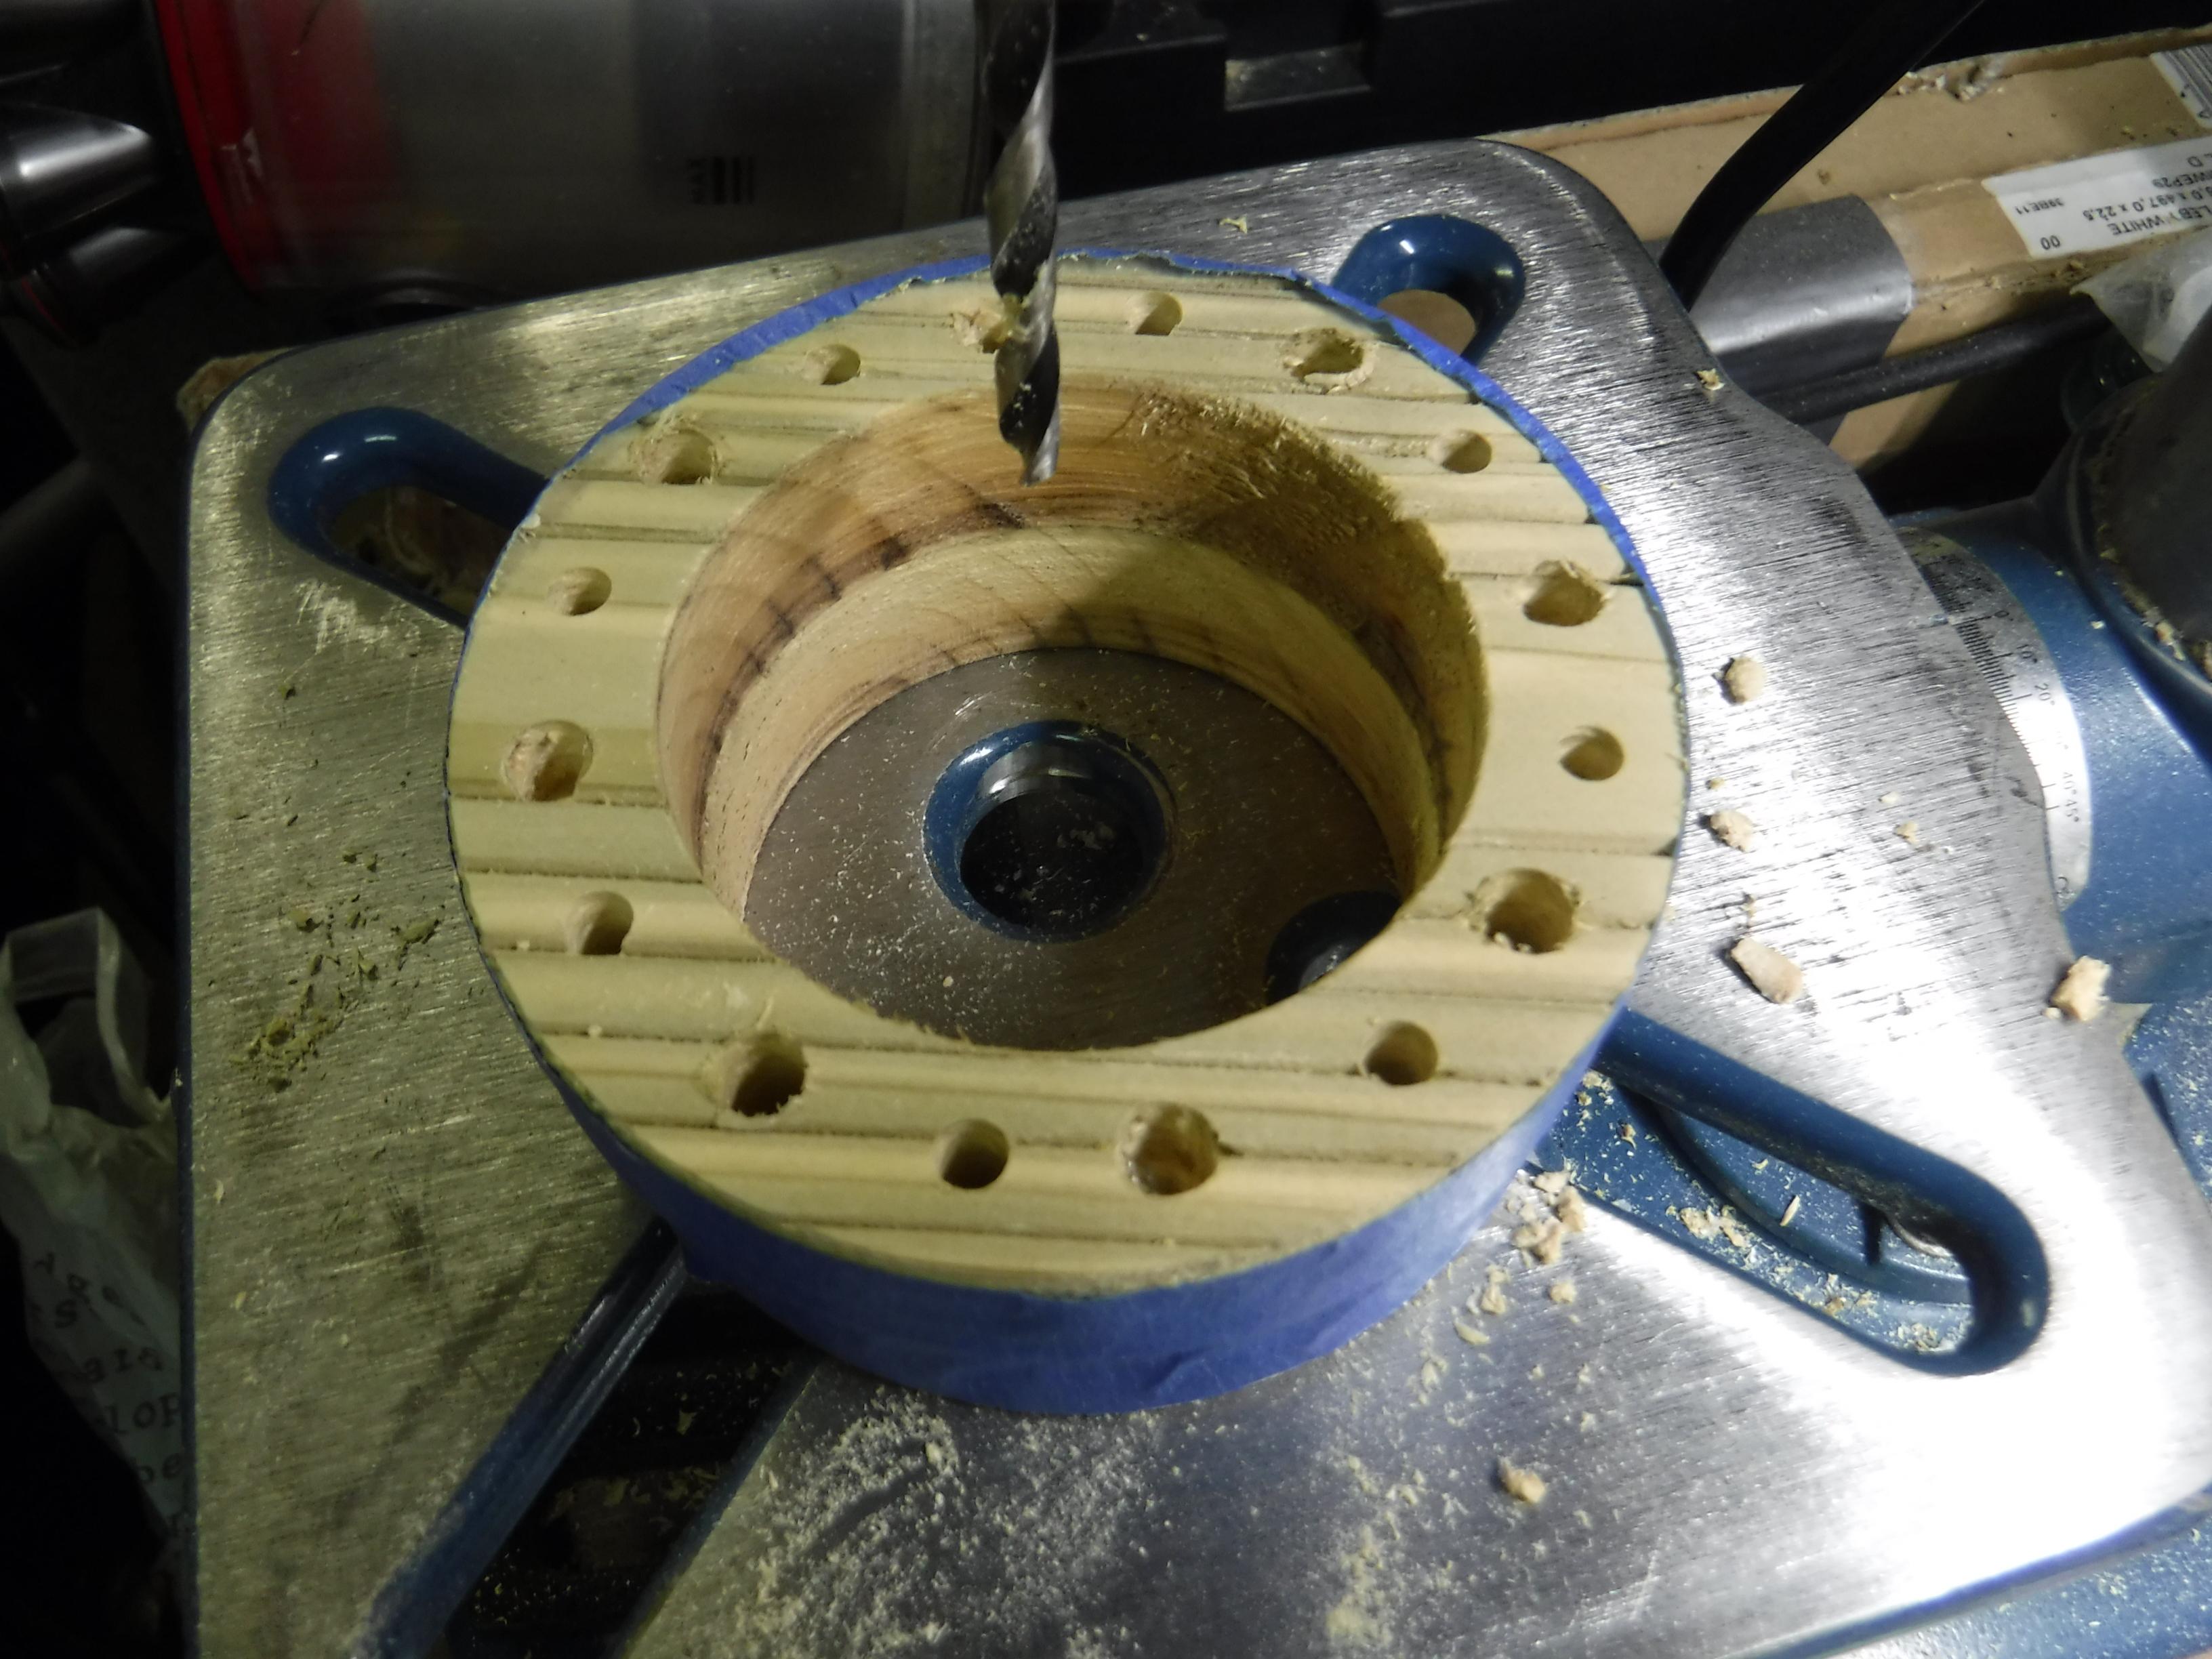
Align the central ring with the base and tape together at the perimeter with masking tape.
With a 1mm drill bit make a hole at each of the intervals previously marked to penertrate all the way through the ring and half way into the base.
With a 6mm drill bit make four holes at 90 degree intervals which penertrate all the way through the ring and half way into the base.
Separate the ring from the base.
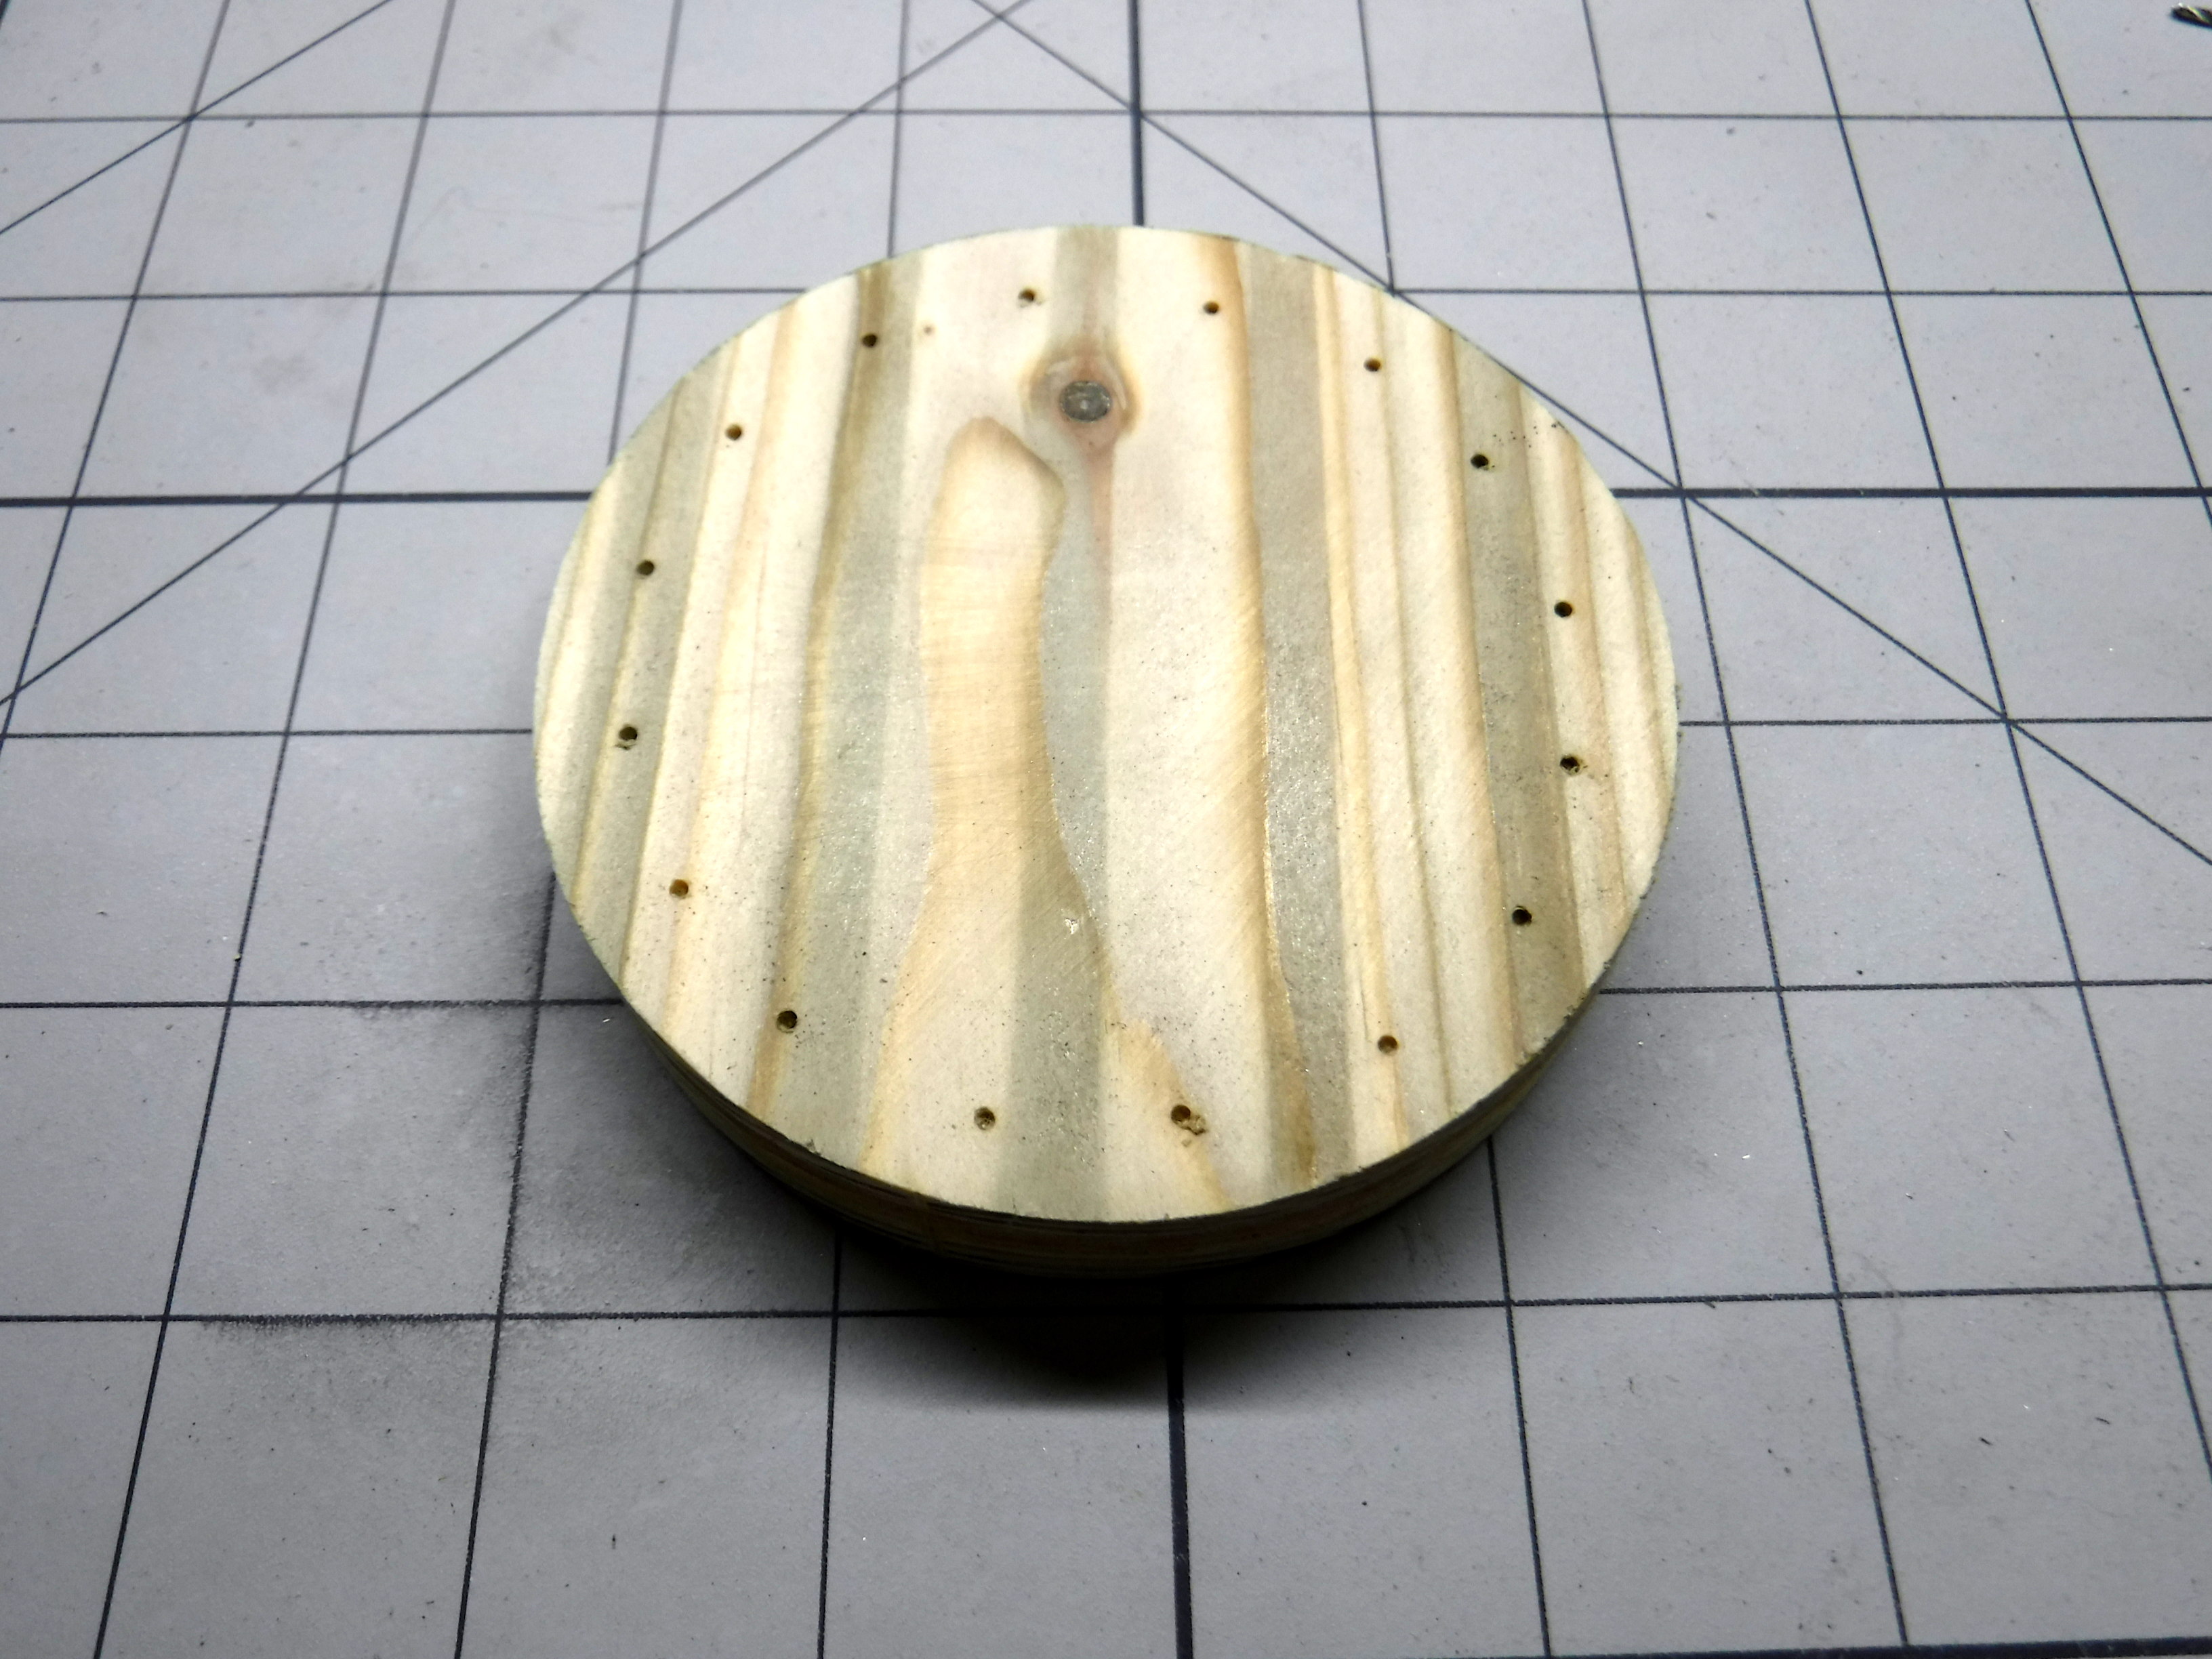
Take the base and drill with a 6mm bit making holes between each pair of holes previously drilled, making four additional holes half way through the base.
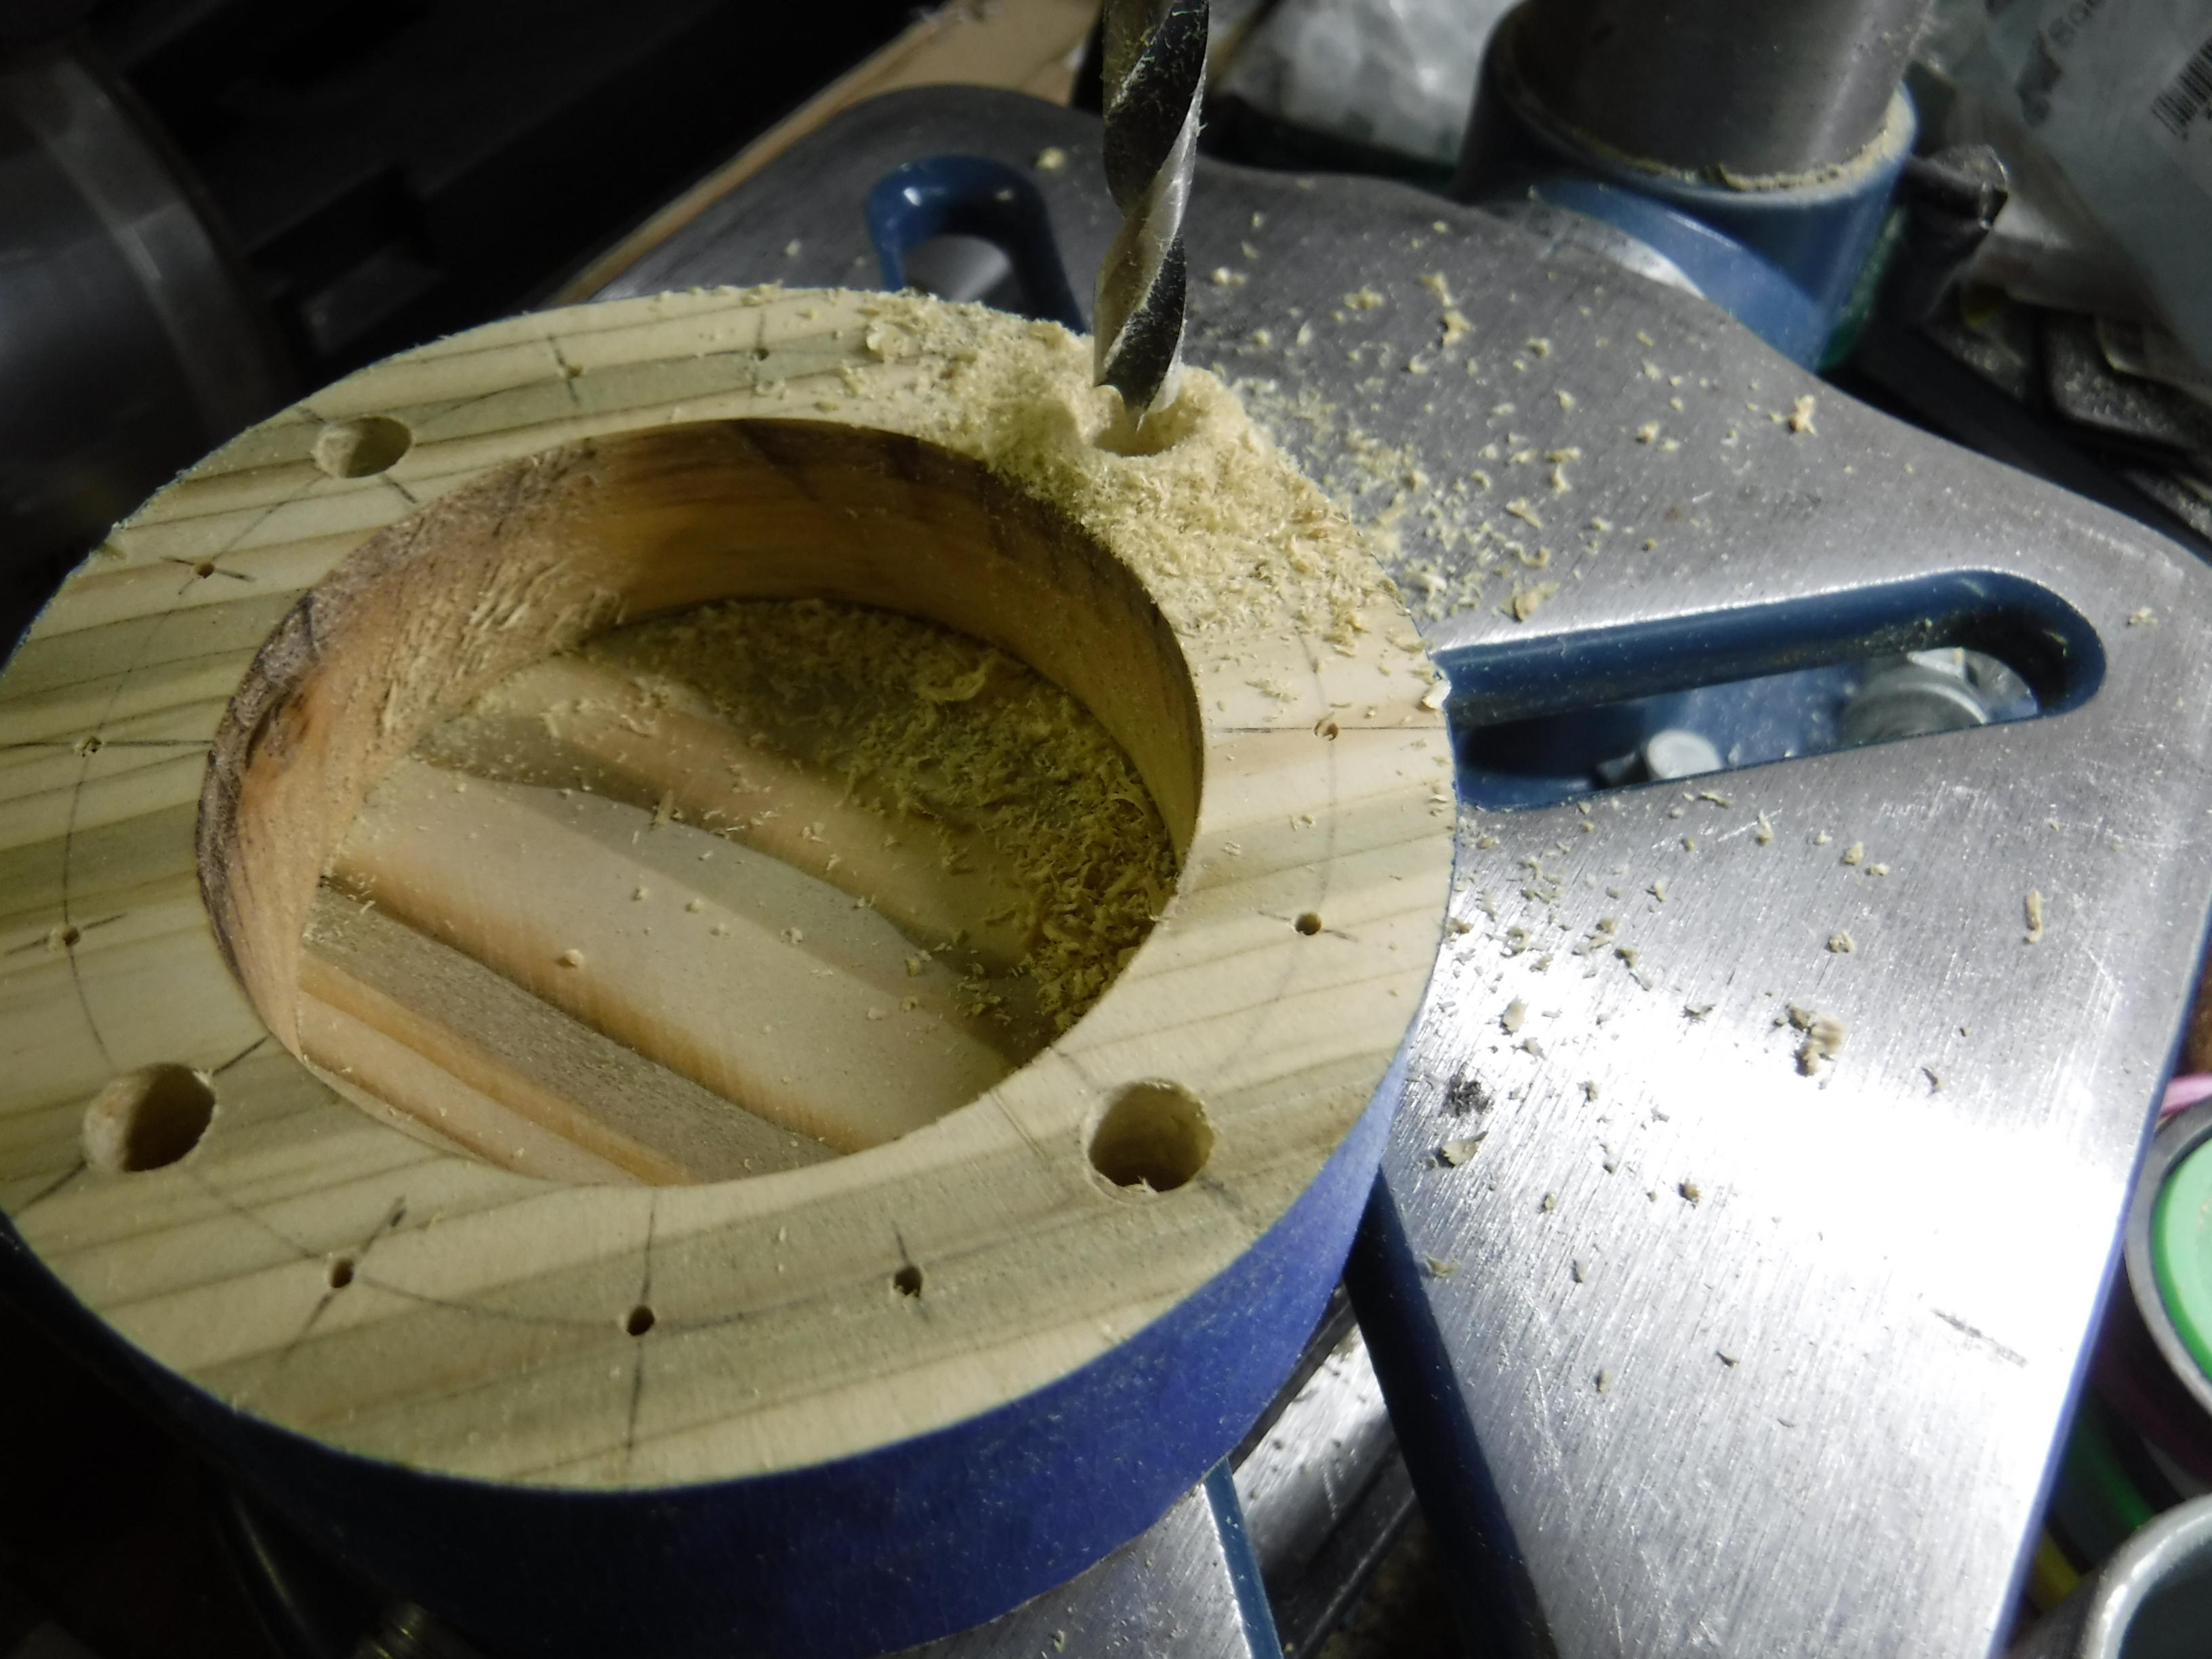
Take the ring and turn it over, with a 6mm drill bit make holes between each pair of holes previously drilled, making four additional holes half way through the ring.
Now with a 4mm drill bit.
For the base proceed to drill out the last remaining 8 holes half way through the base.
For the ring, drill out all the holes (12 in total), not currently drilled all the way through.
Now with a 6mm drill bit.
Take the top ring and on the bottom surface only using the middle ring as a template. mark the hole positions.
At 90 degree intervals in line with the four 6mm through holes make holes half way through the ring.
Now with a 4mm drill bit.
Proceed to drill out all the remaining holes half way through the ring.
All drilling is now complete.
Tubes & Rods
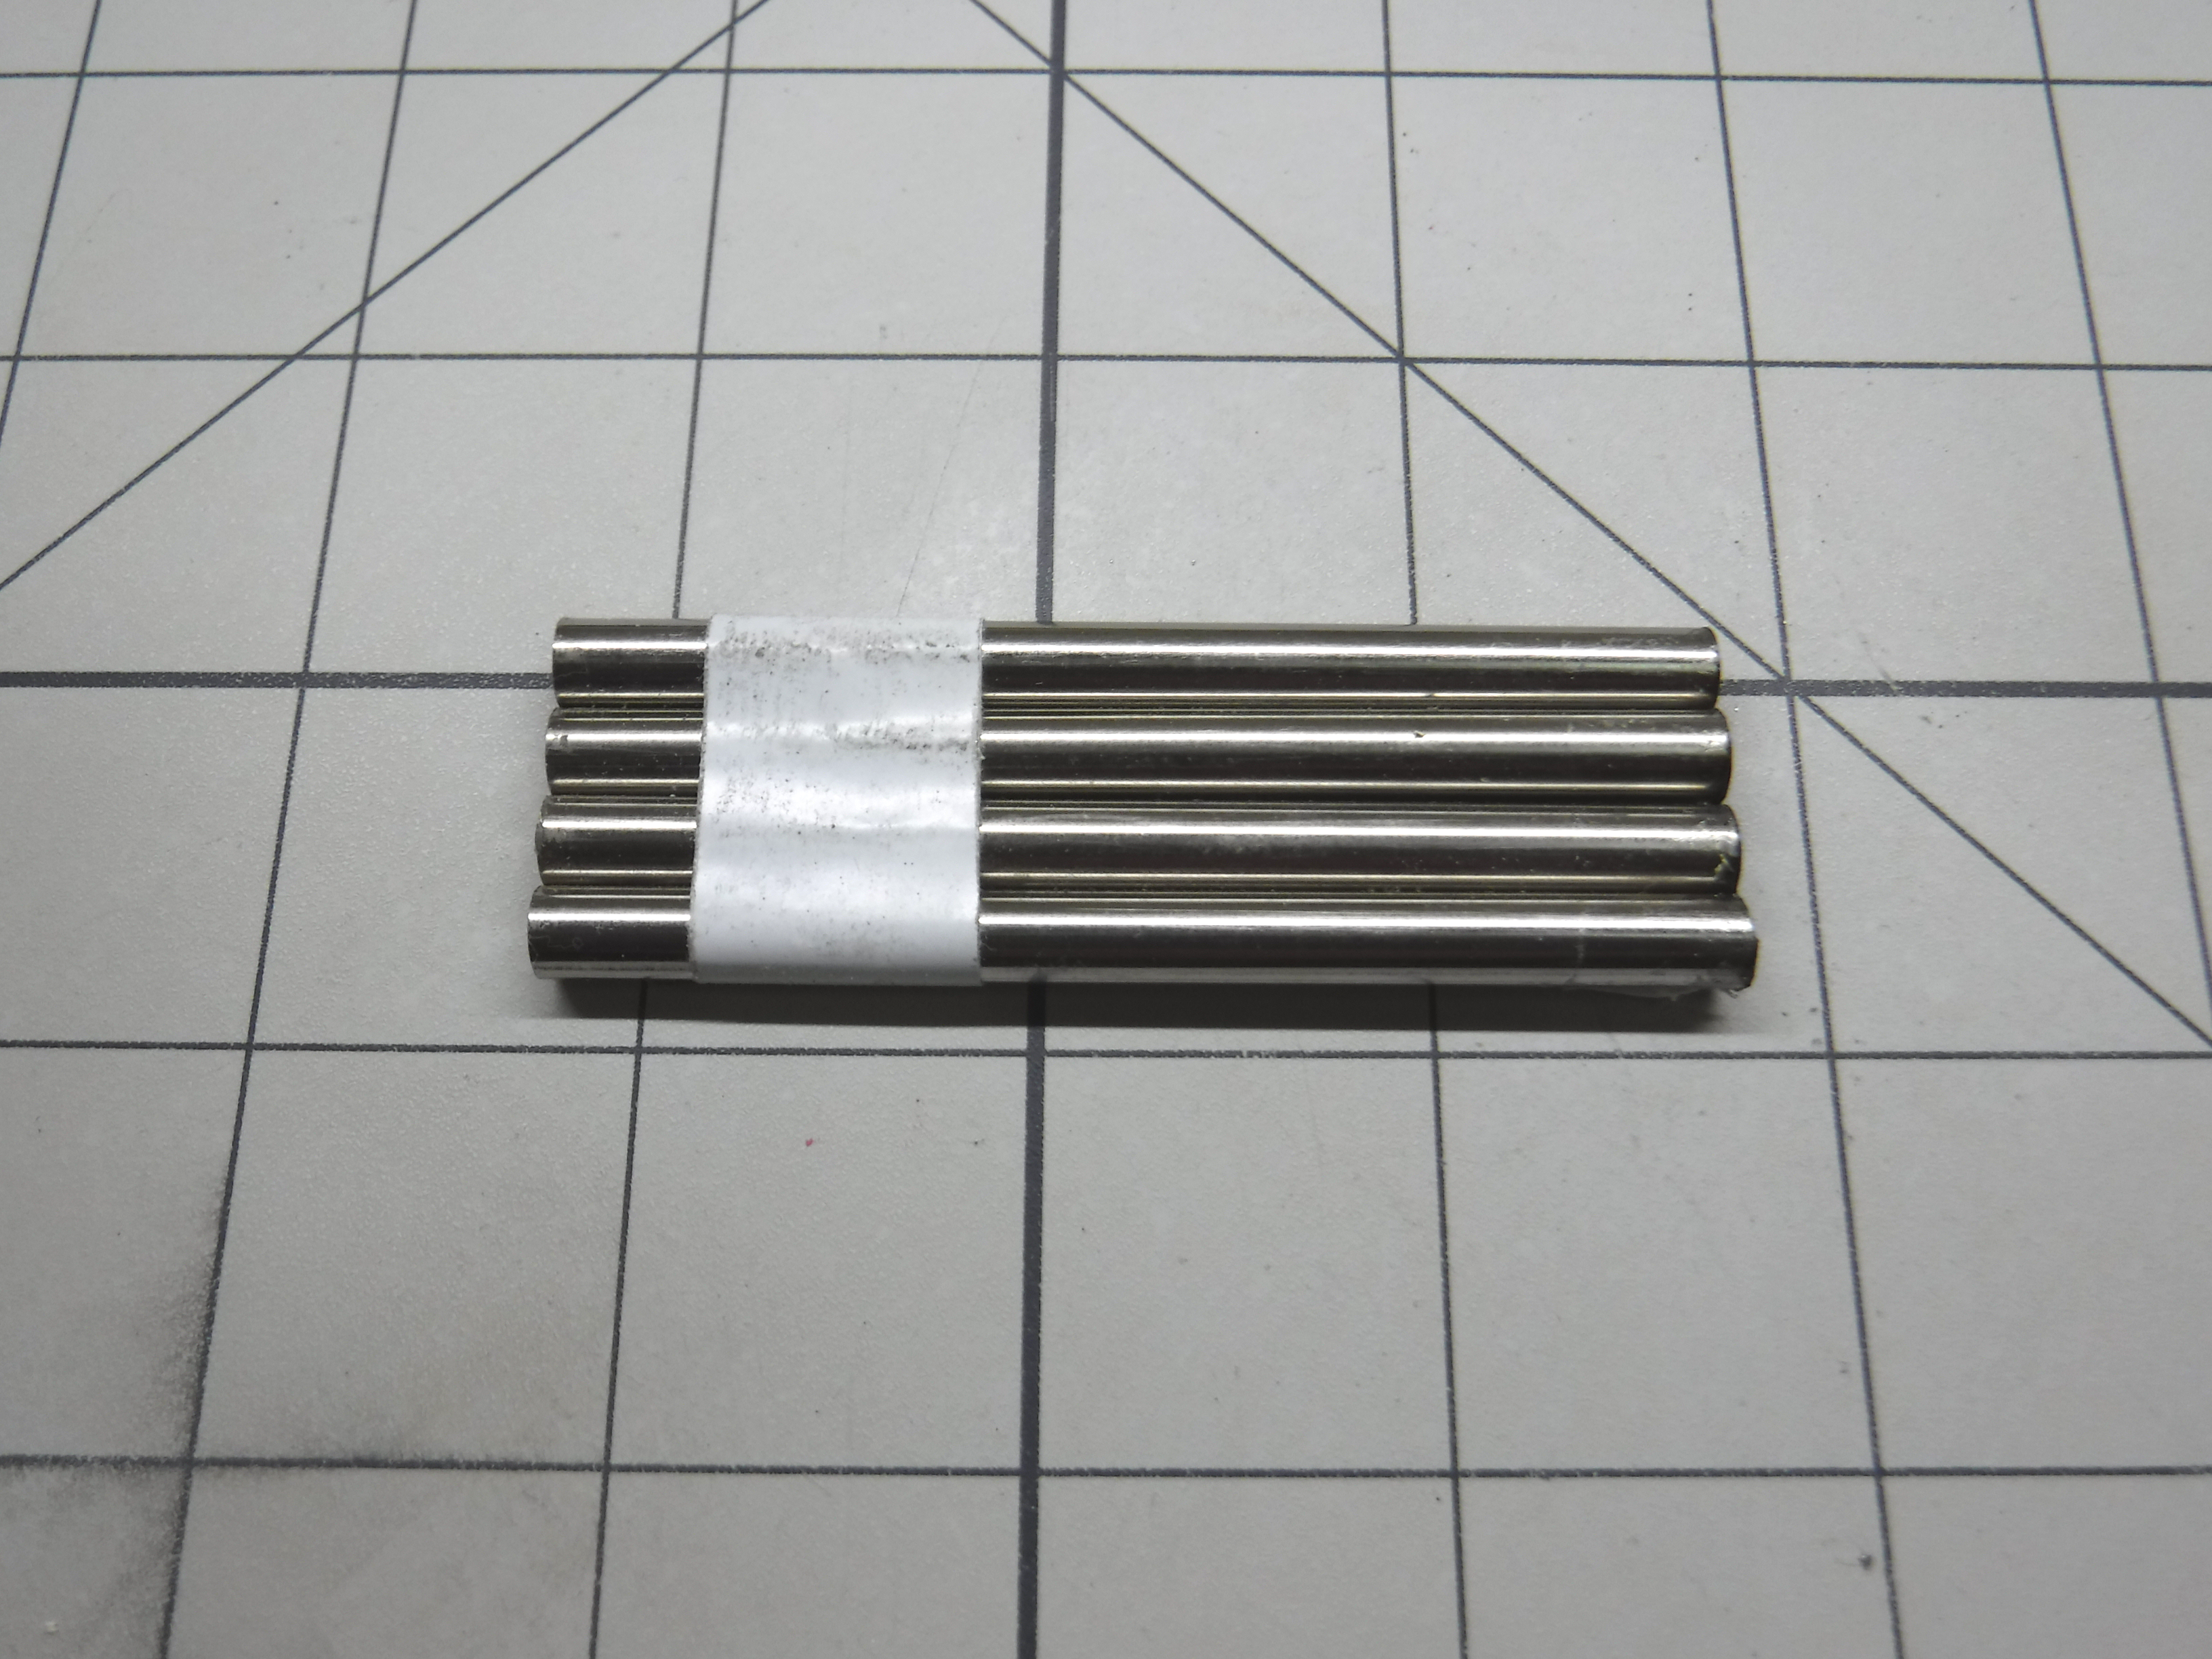
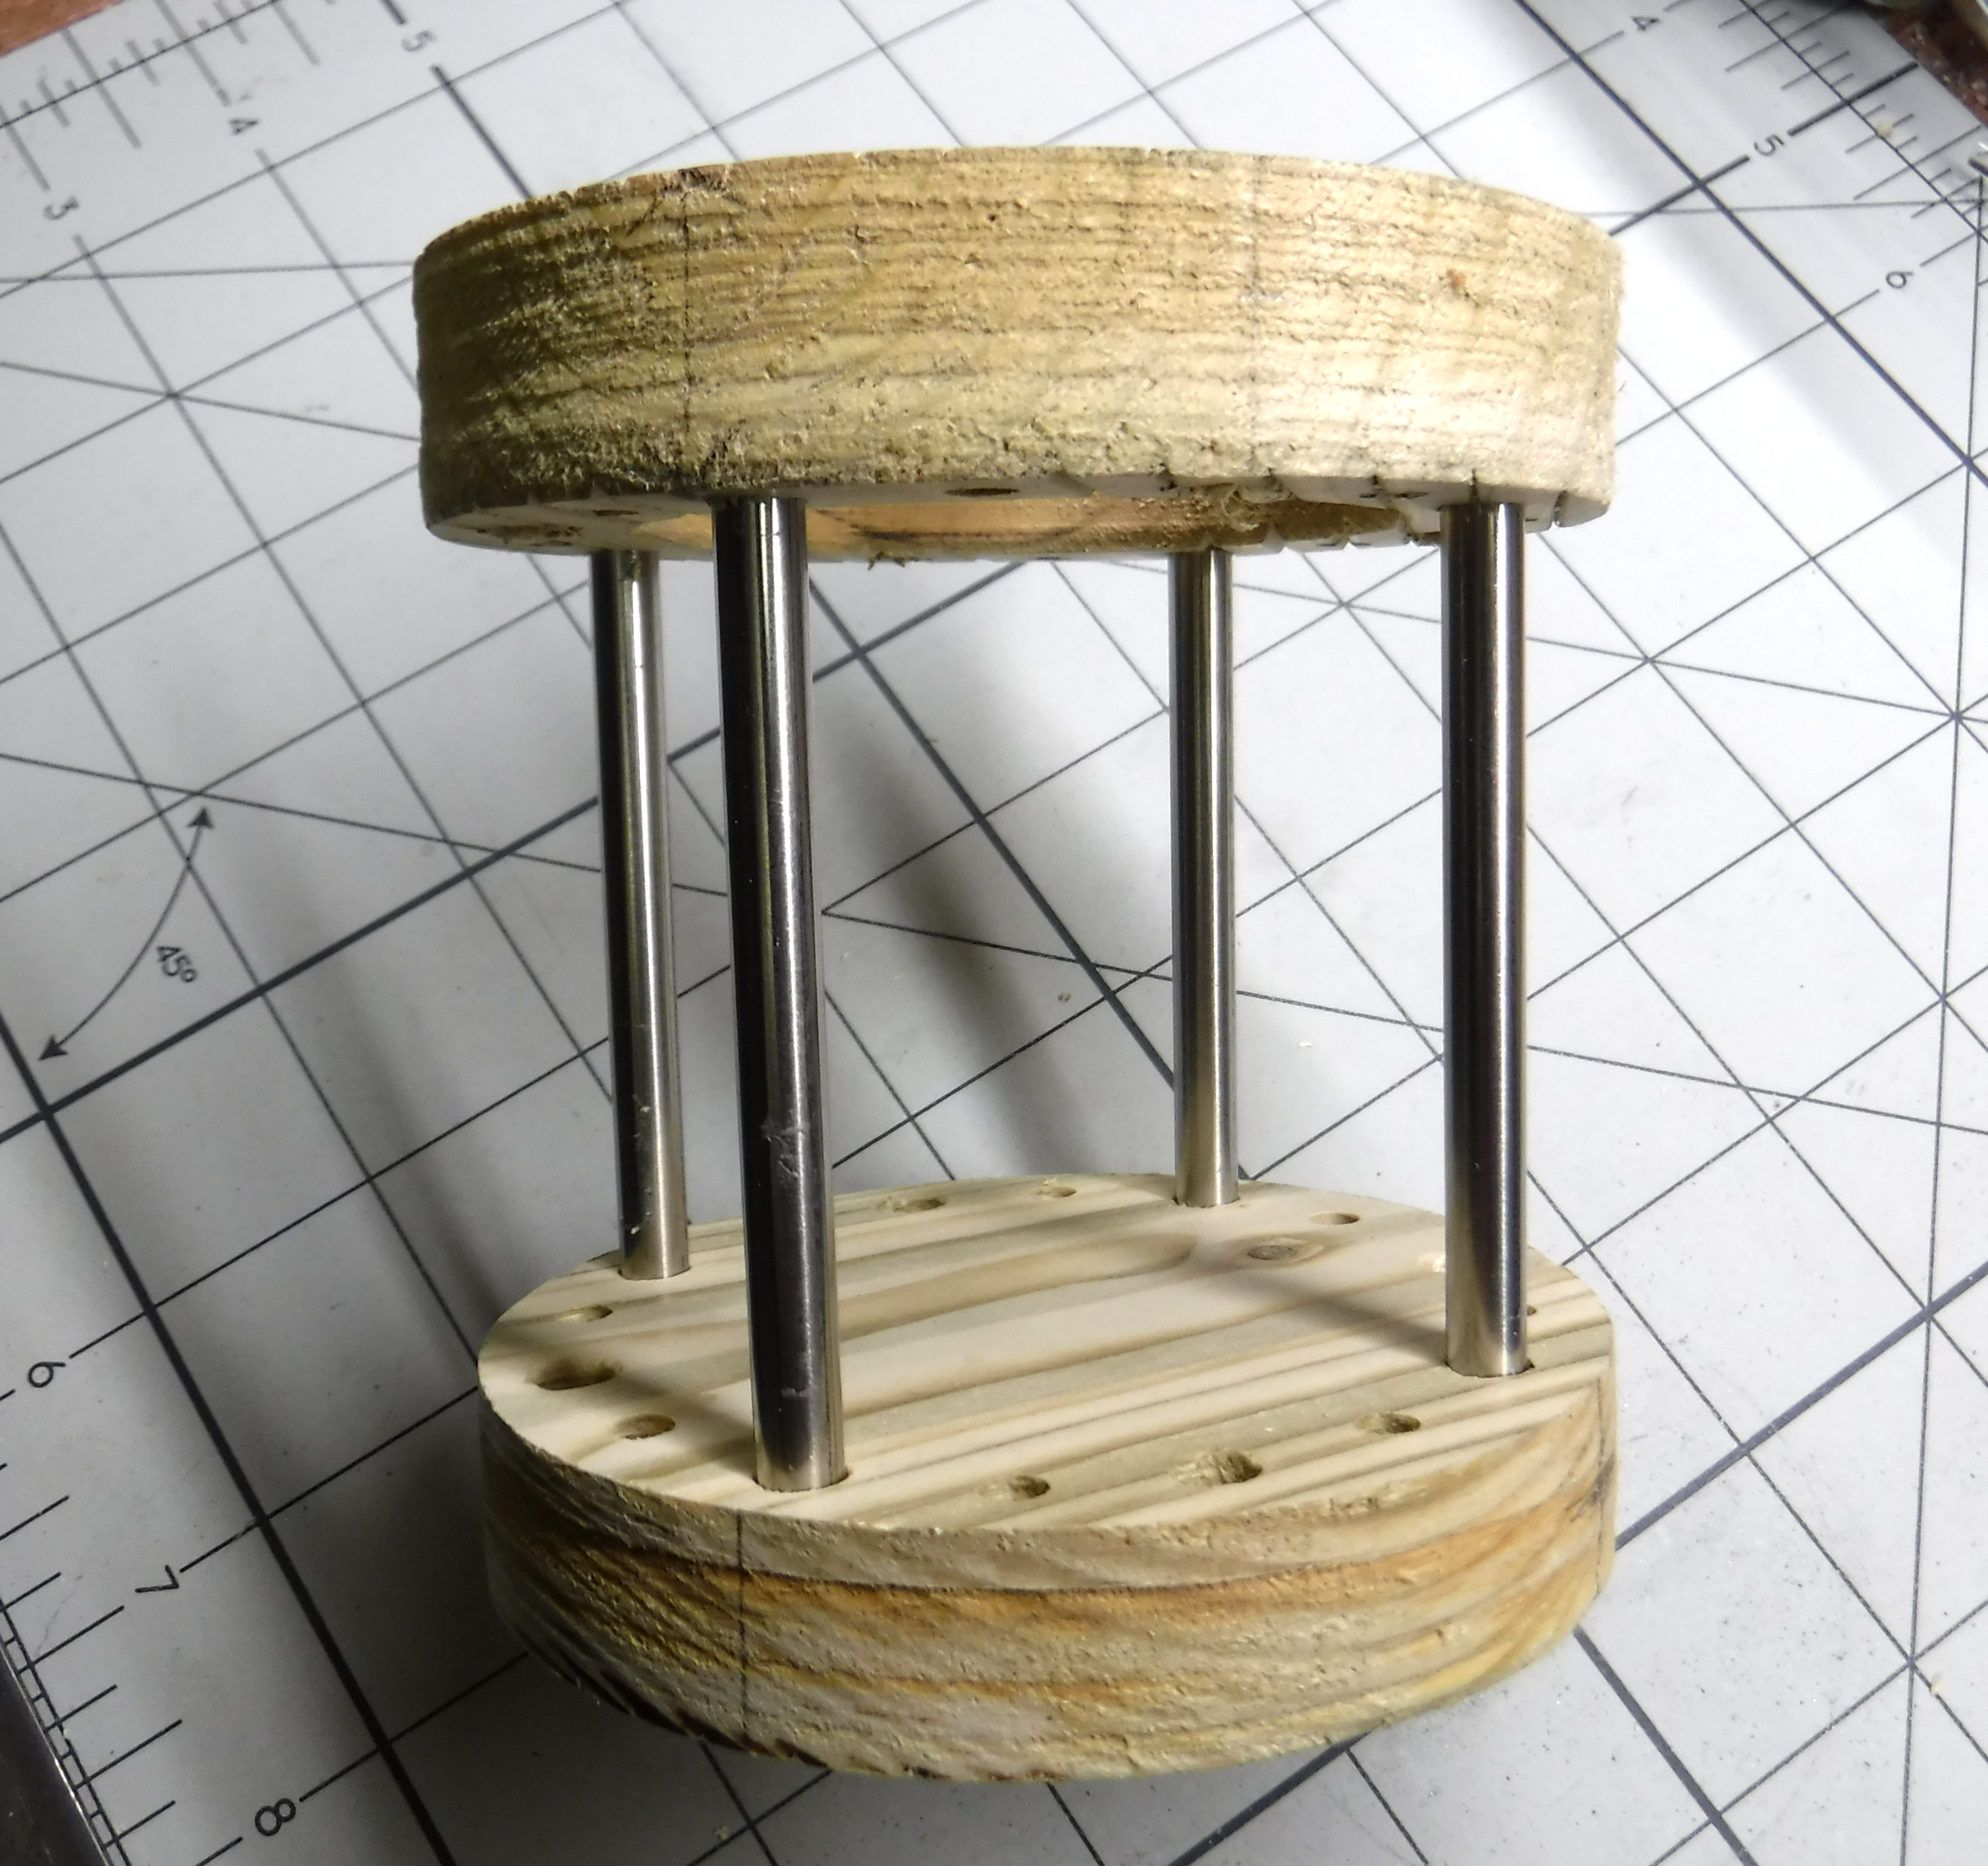
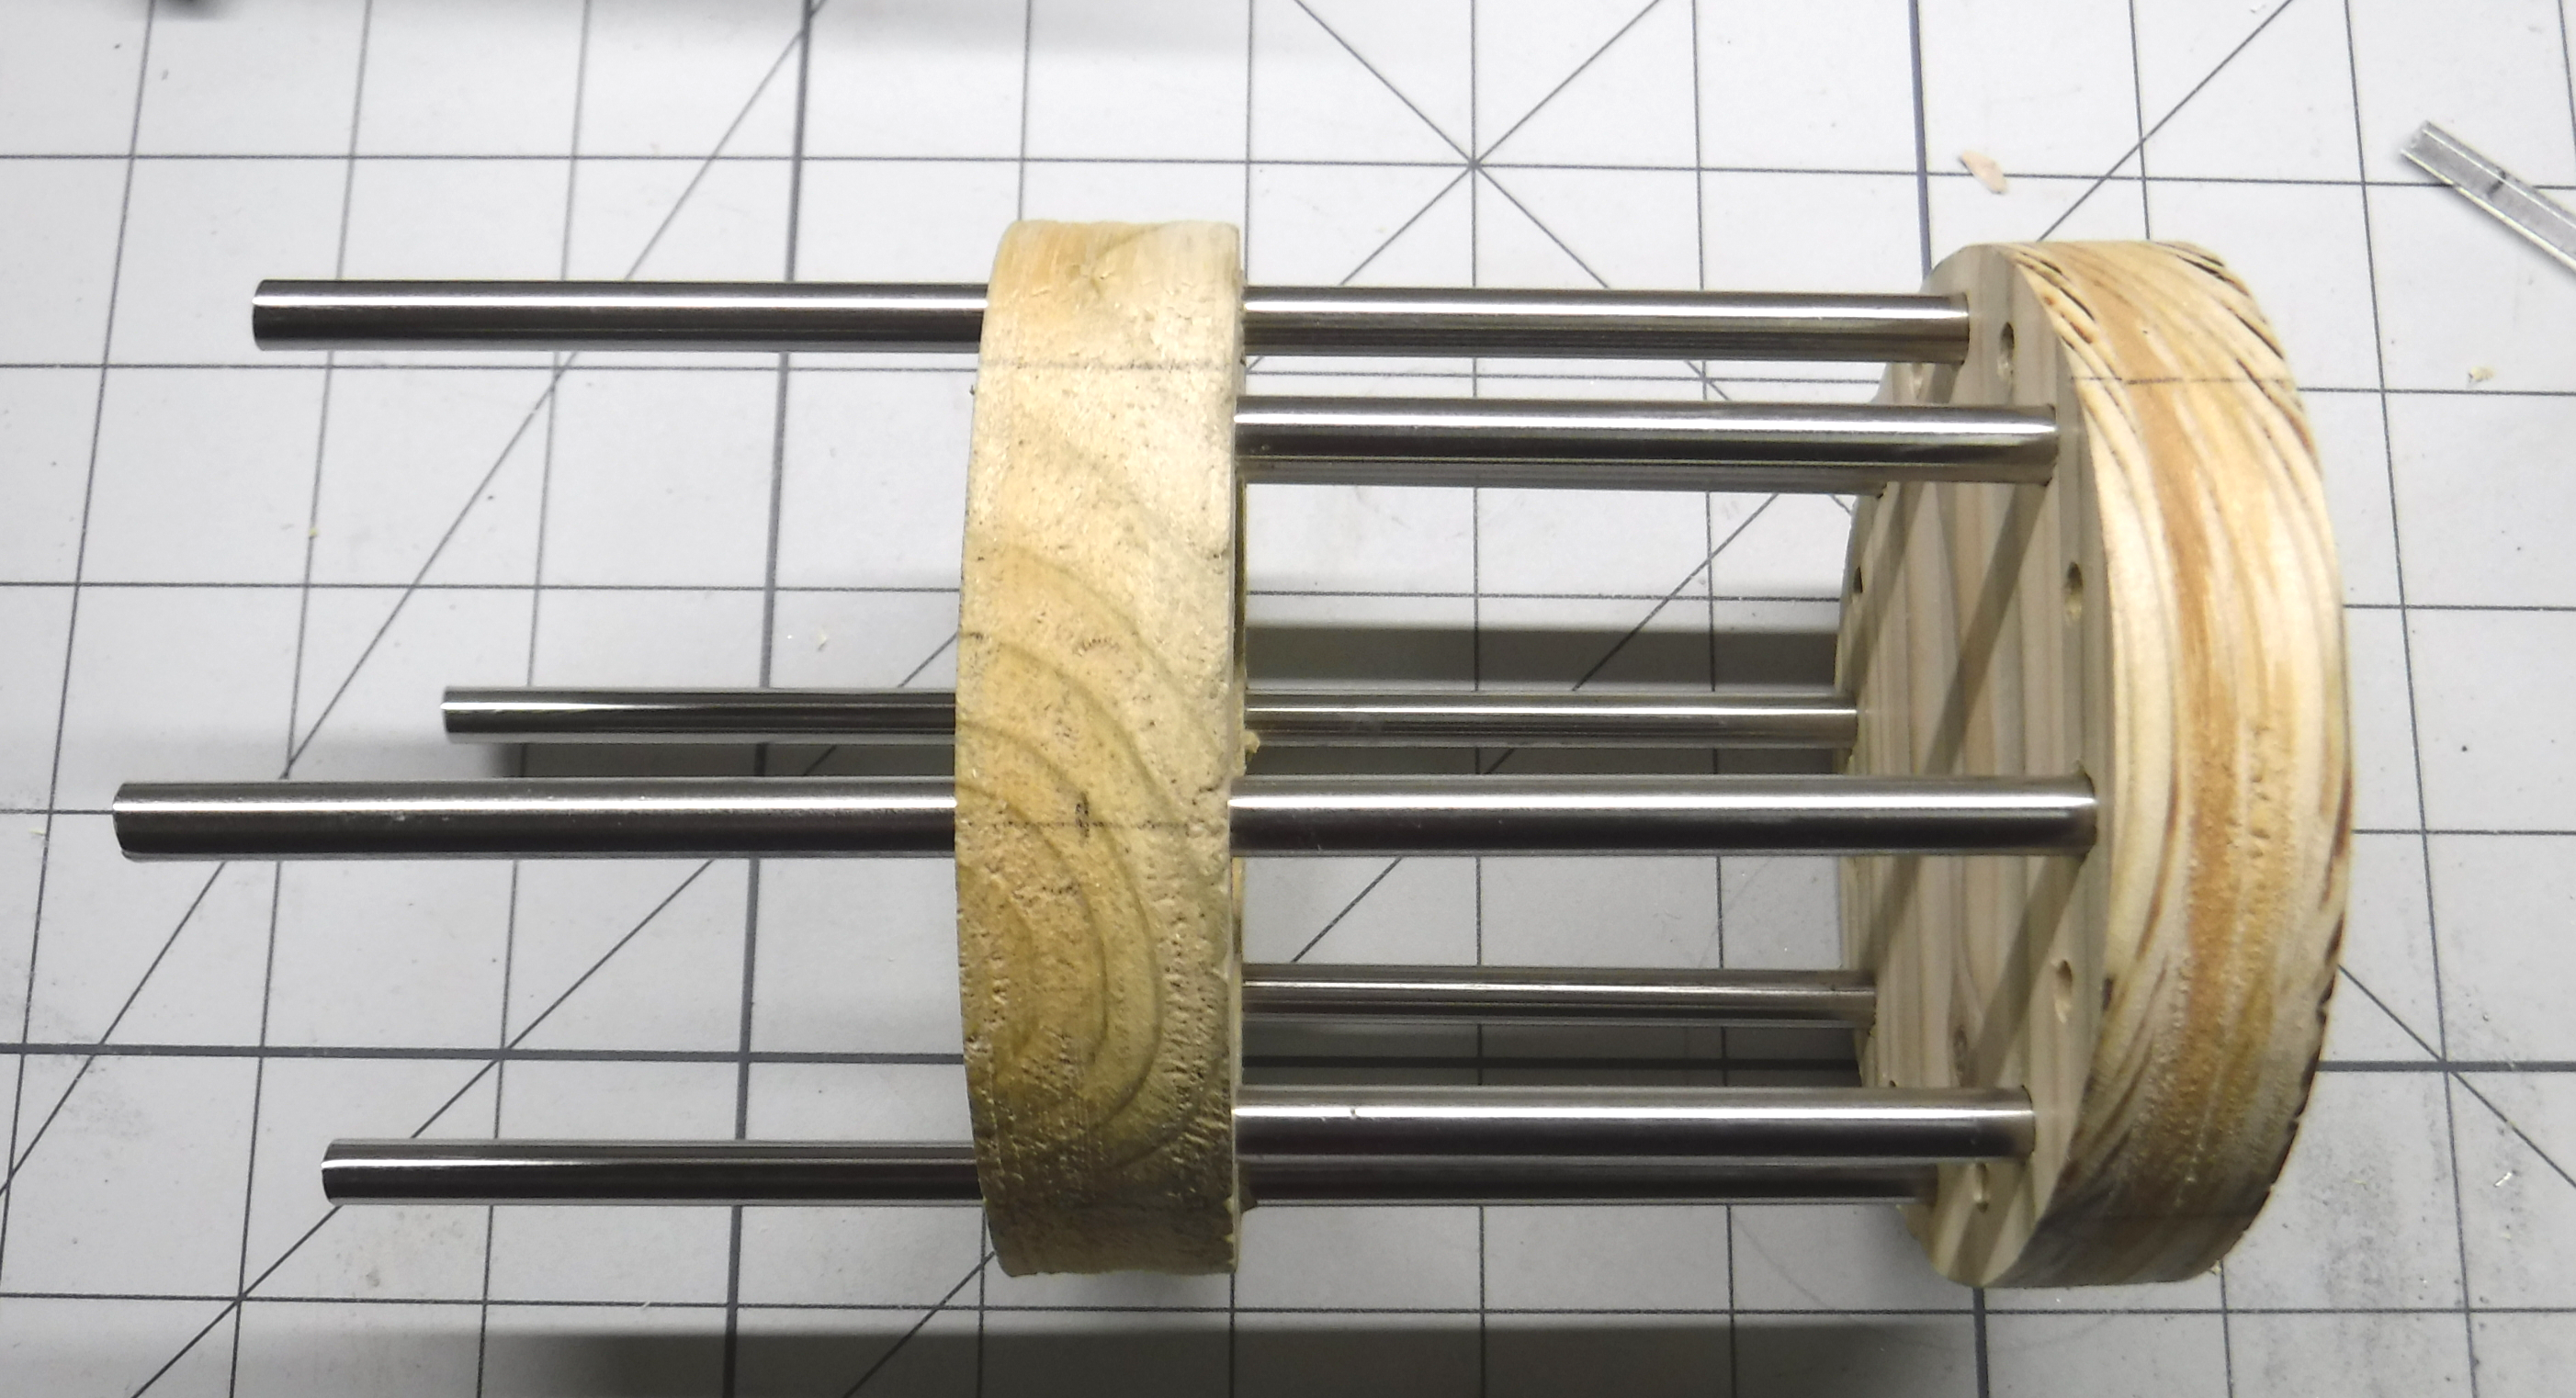
Cut four stainless steel tubes to 75mm.
Next cut four stainless steel tubes to 150mm
Use a file to remove the burrs from the end of the tubes..
Insert the 150mm tubes into the four through holes in the ring and align the tubes with the four holes in the base.
Between the ring and the base insert the four 75mm tubes in to the four 6mm holes.
Proceed to insert the 150mm acrylic rods into the twelve 4mm holes.
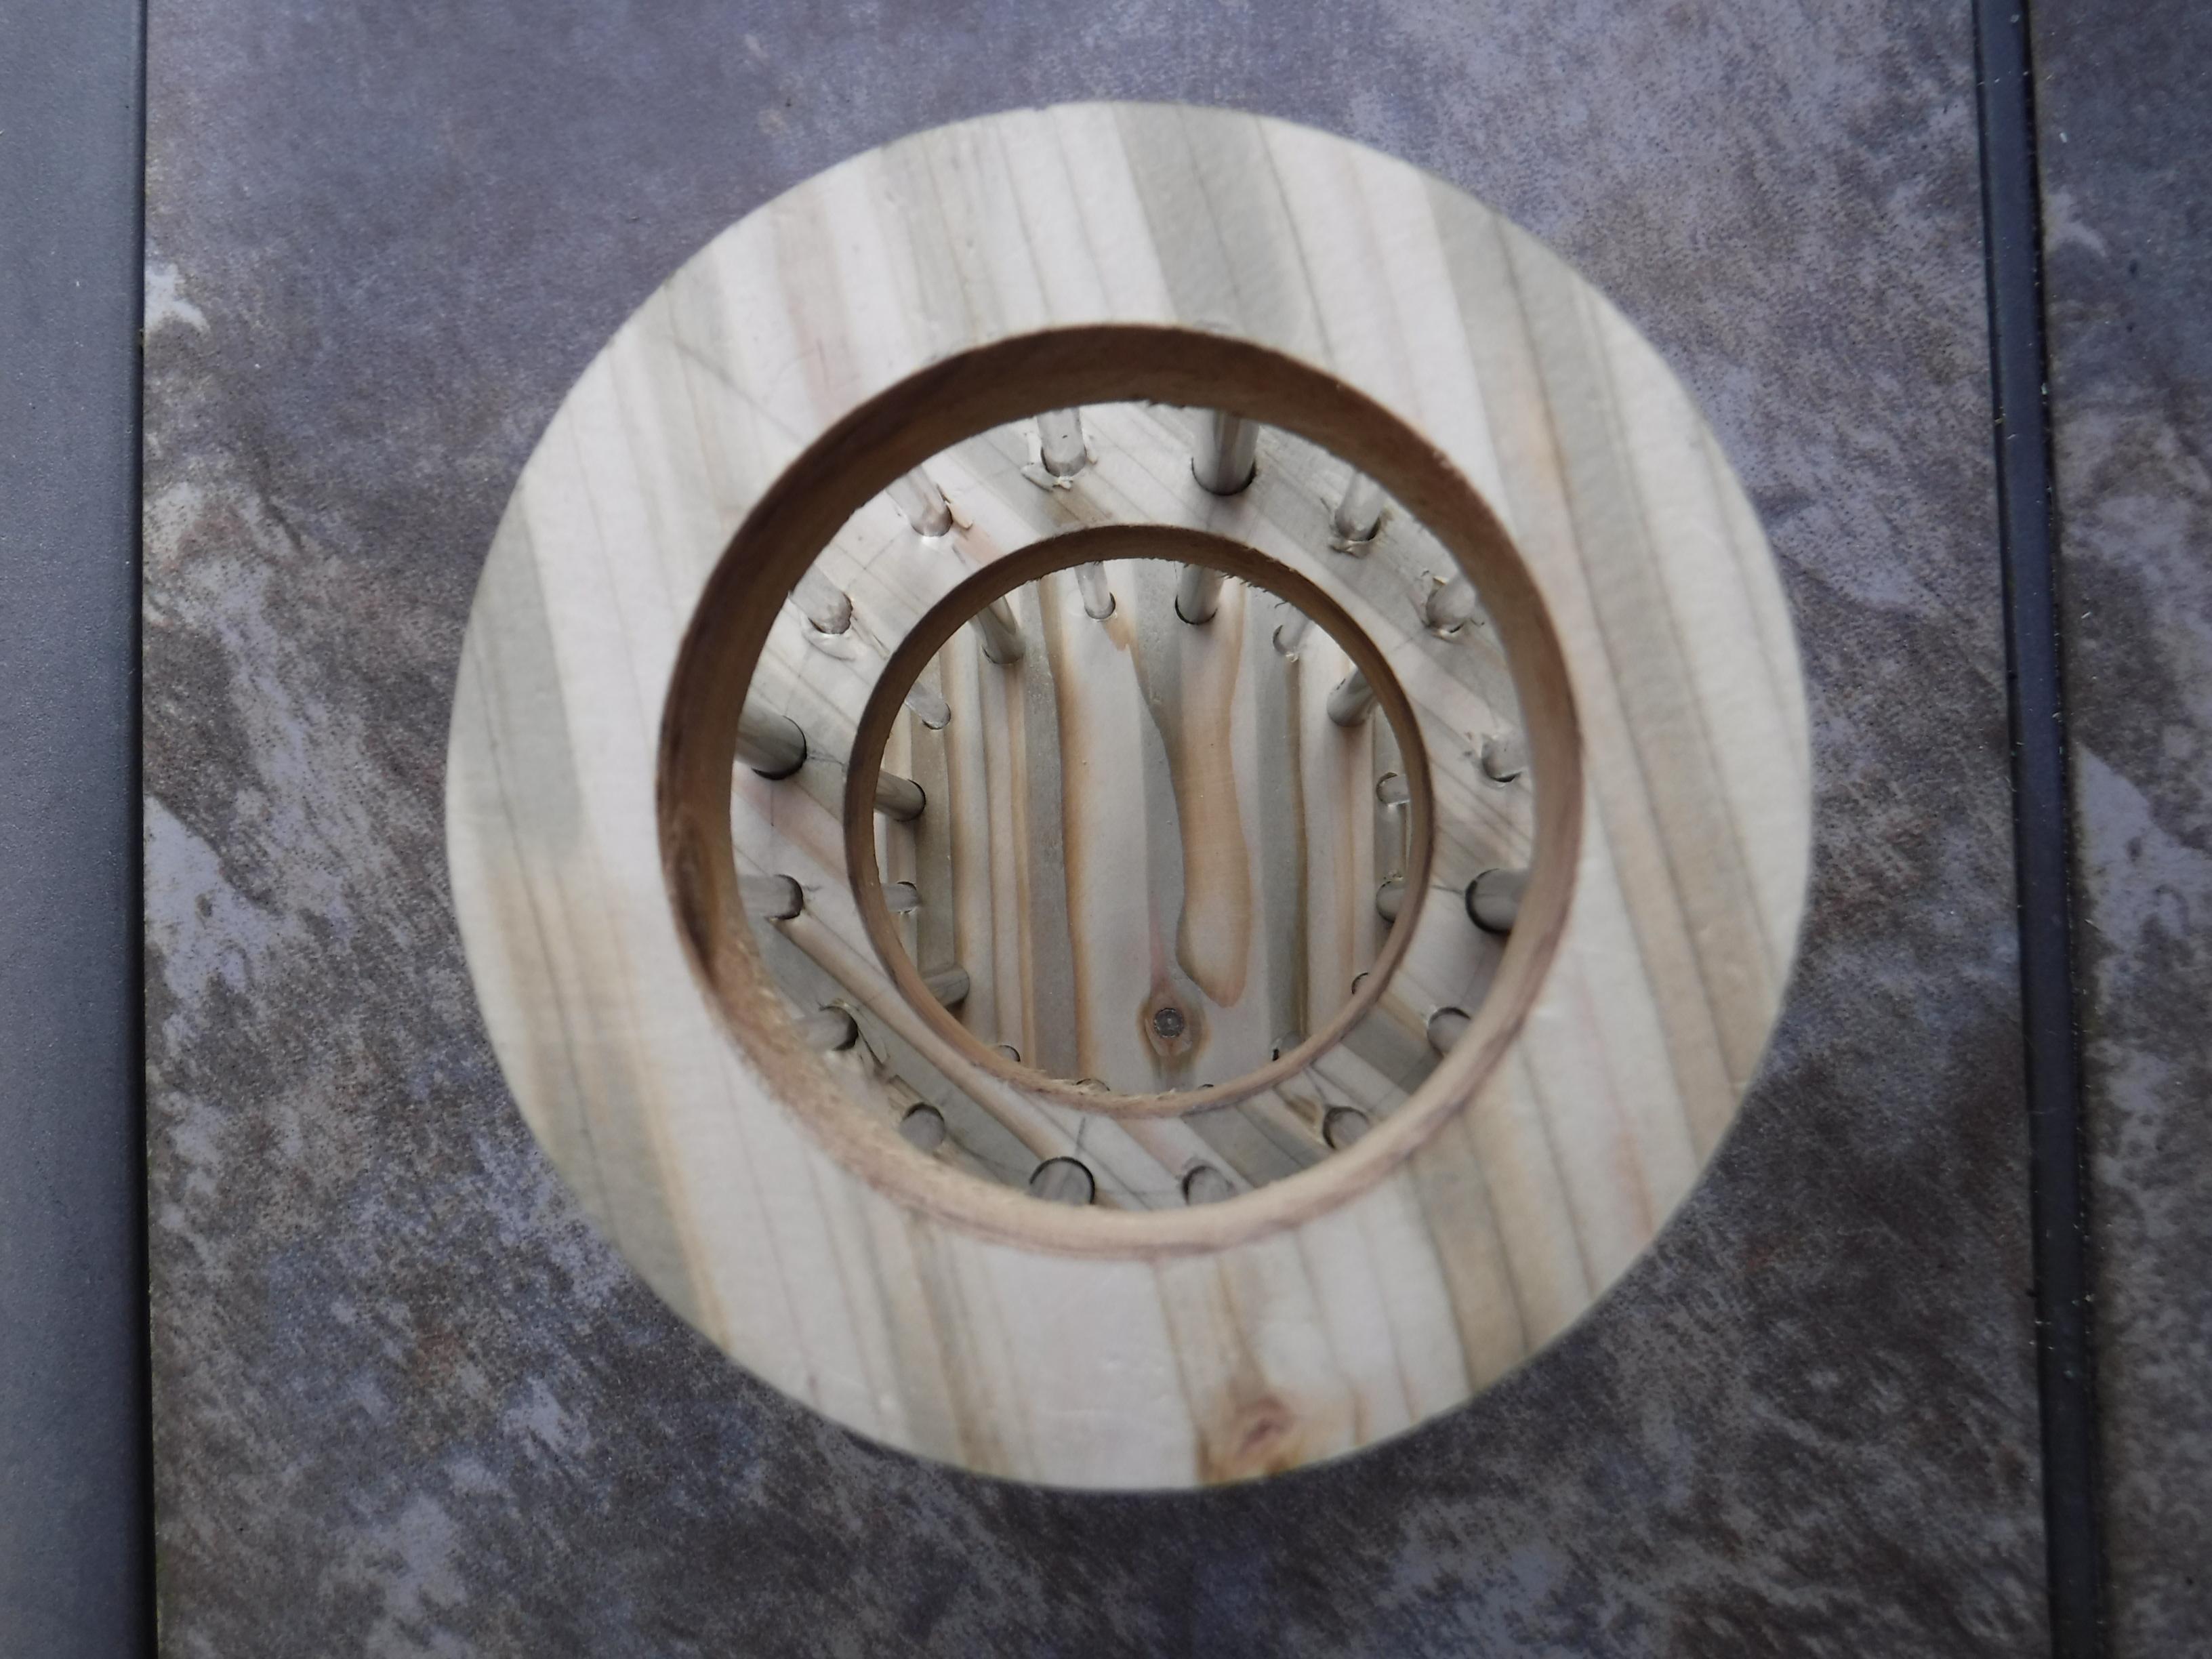
Fit the top ring onto both the stainless steel tubes and acrylic rods.
Firm pressure may be required to get the pieces to sit together.
Finishing Touches
The wood can be stained, varnished or oiled as required for protection and decoration.
Add a handle for a lantern or invert it and drill a hole in the base to convert it to a lamp shade as a couple of examples.
Glue can be applied to the rods for permanence of position.
Usage
As stated in the introduction the Utility Receptacle can be put to use in a variety of different ways to suit the user and the chosen function. Your sure to find a use that suits your requirements.