Utah Ute Necklace


Go UTES!
Introduction:
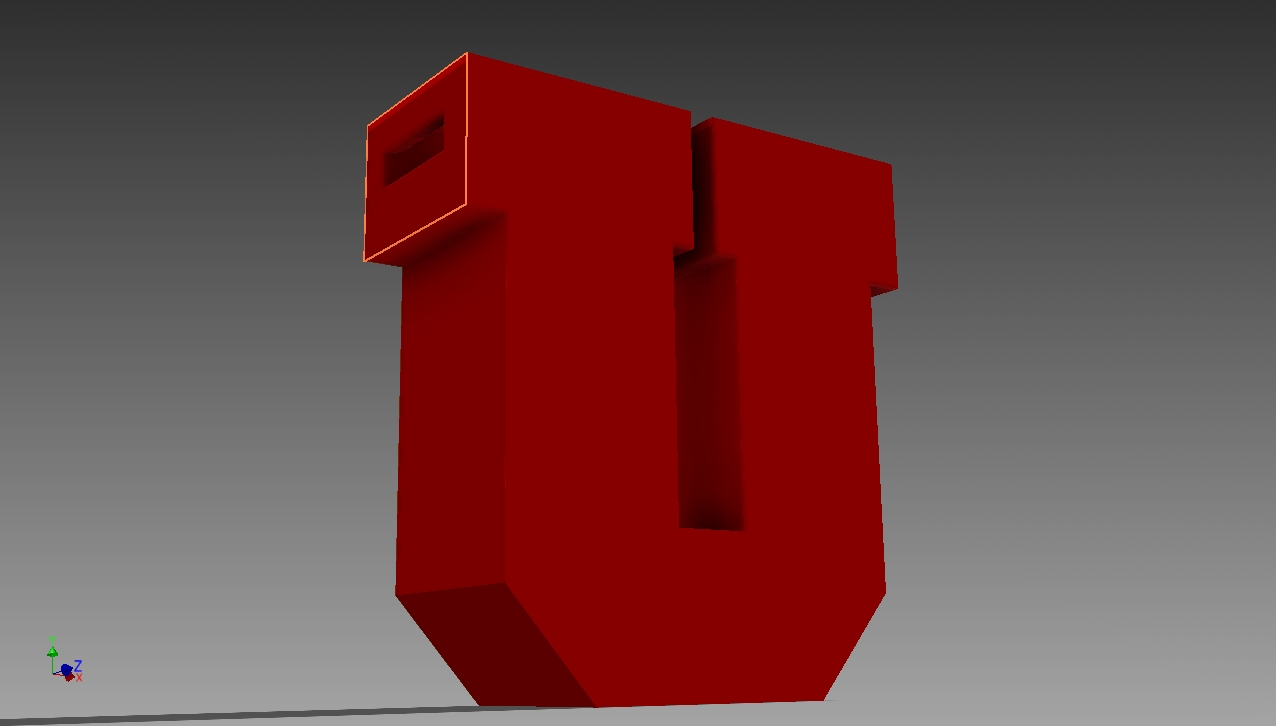
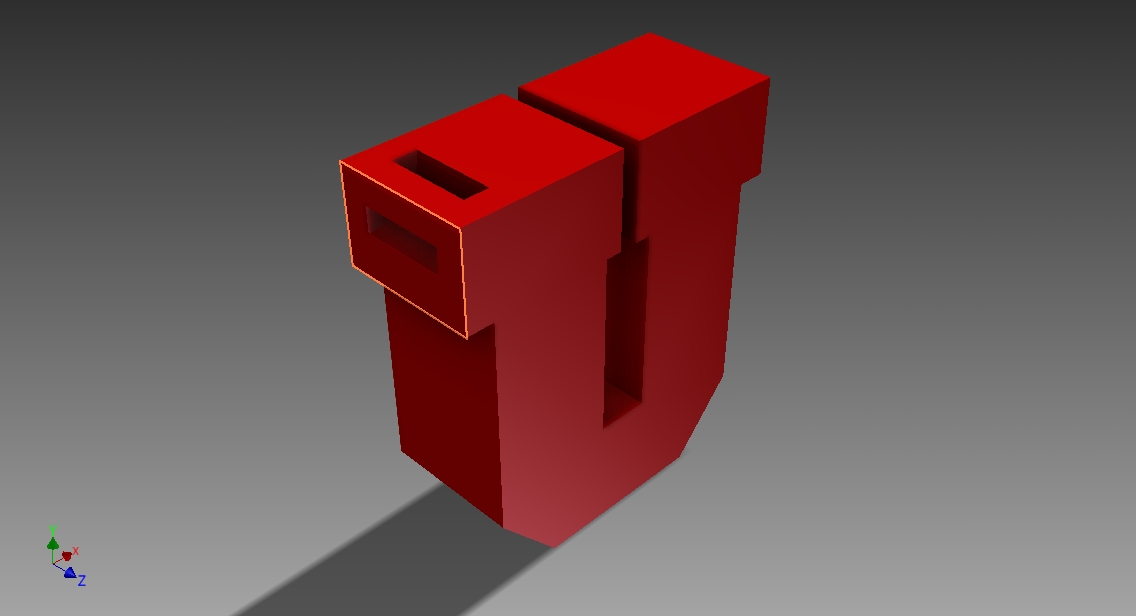
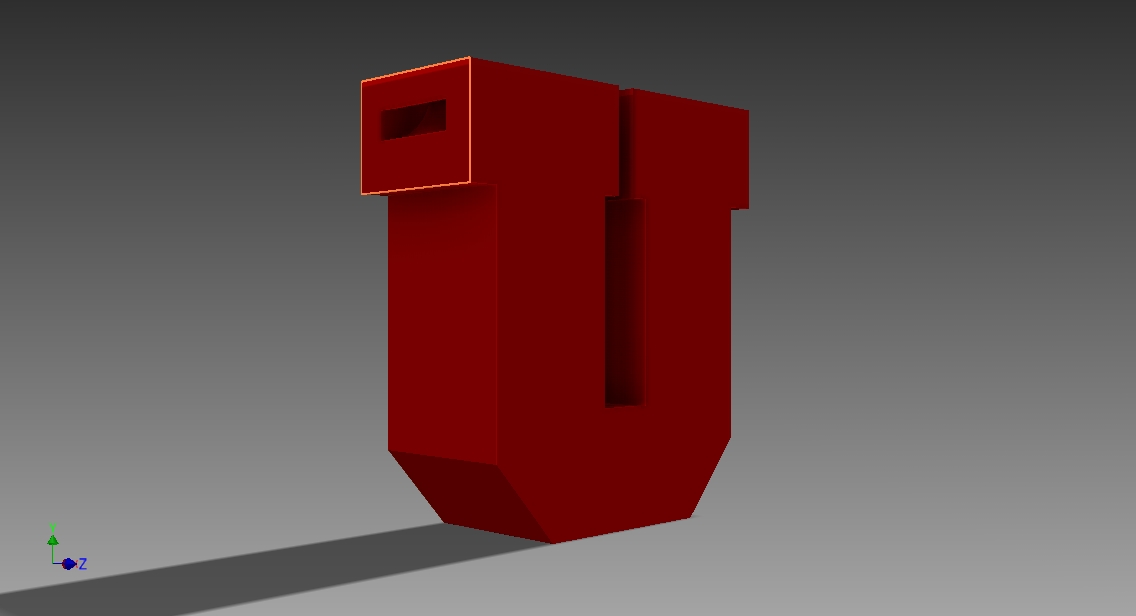
This was originally going to be a key chain but when my wife saw it she said it would be a great necklace. If I had a 3D printer I'd show you what it would look with a chain through that hole, finished. It is suppose to hang from the one side but that may turn out to be not so appealing. In that case I could easily create a hole on the other side so it will hang level.
If it was scaled down a little bit it could be used as matching earrings!
Utes Fans?
Is there any Utes fans out there with a 3D printer that is interested in this? I have ideas for other necklaces, rings, bracelets, use the printer to make a mold to make castings (Is that possible)
Vote for me!
Step 1:
Use "Line" to make the U.
Step 2:
Under "Model" tab use "Boundary Patch" to join all the lines together
Step 3:
Under the "Model" tab use the "Extrude" tool to turn the 2D outline into a 3D block
Step 4:
Click "Create 2D sketch" then select the top left outside edge of the U as the plane.
Create rectangler box using the "Line" function
Step 5:
Under the "Model" tab use "Revolve" function.
Select the rectangle from Step 4 as the "Profile". Then select the line on the top corner of the U as the "Axis".
Select -Full- and select to "Cut" creating a hole in the top left block of the U.
Vote for Me! I'll create marvelous things!