Using the Tumbler Press to Sublimate on Glass Cup
by Made Studio in Craft > Printmaking
405 Views, 3 Favorites, 0 Comments
Using the Tumbler Press to Sublimate on Glass Cup
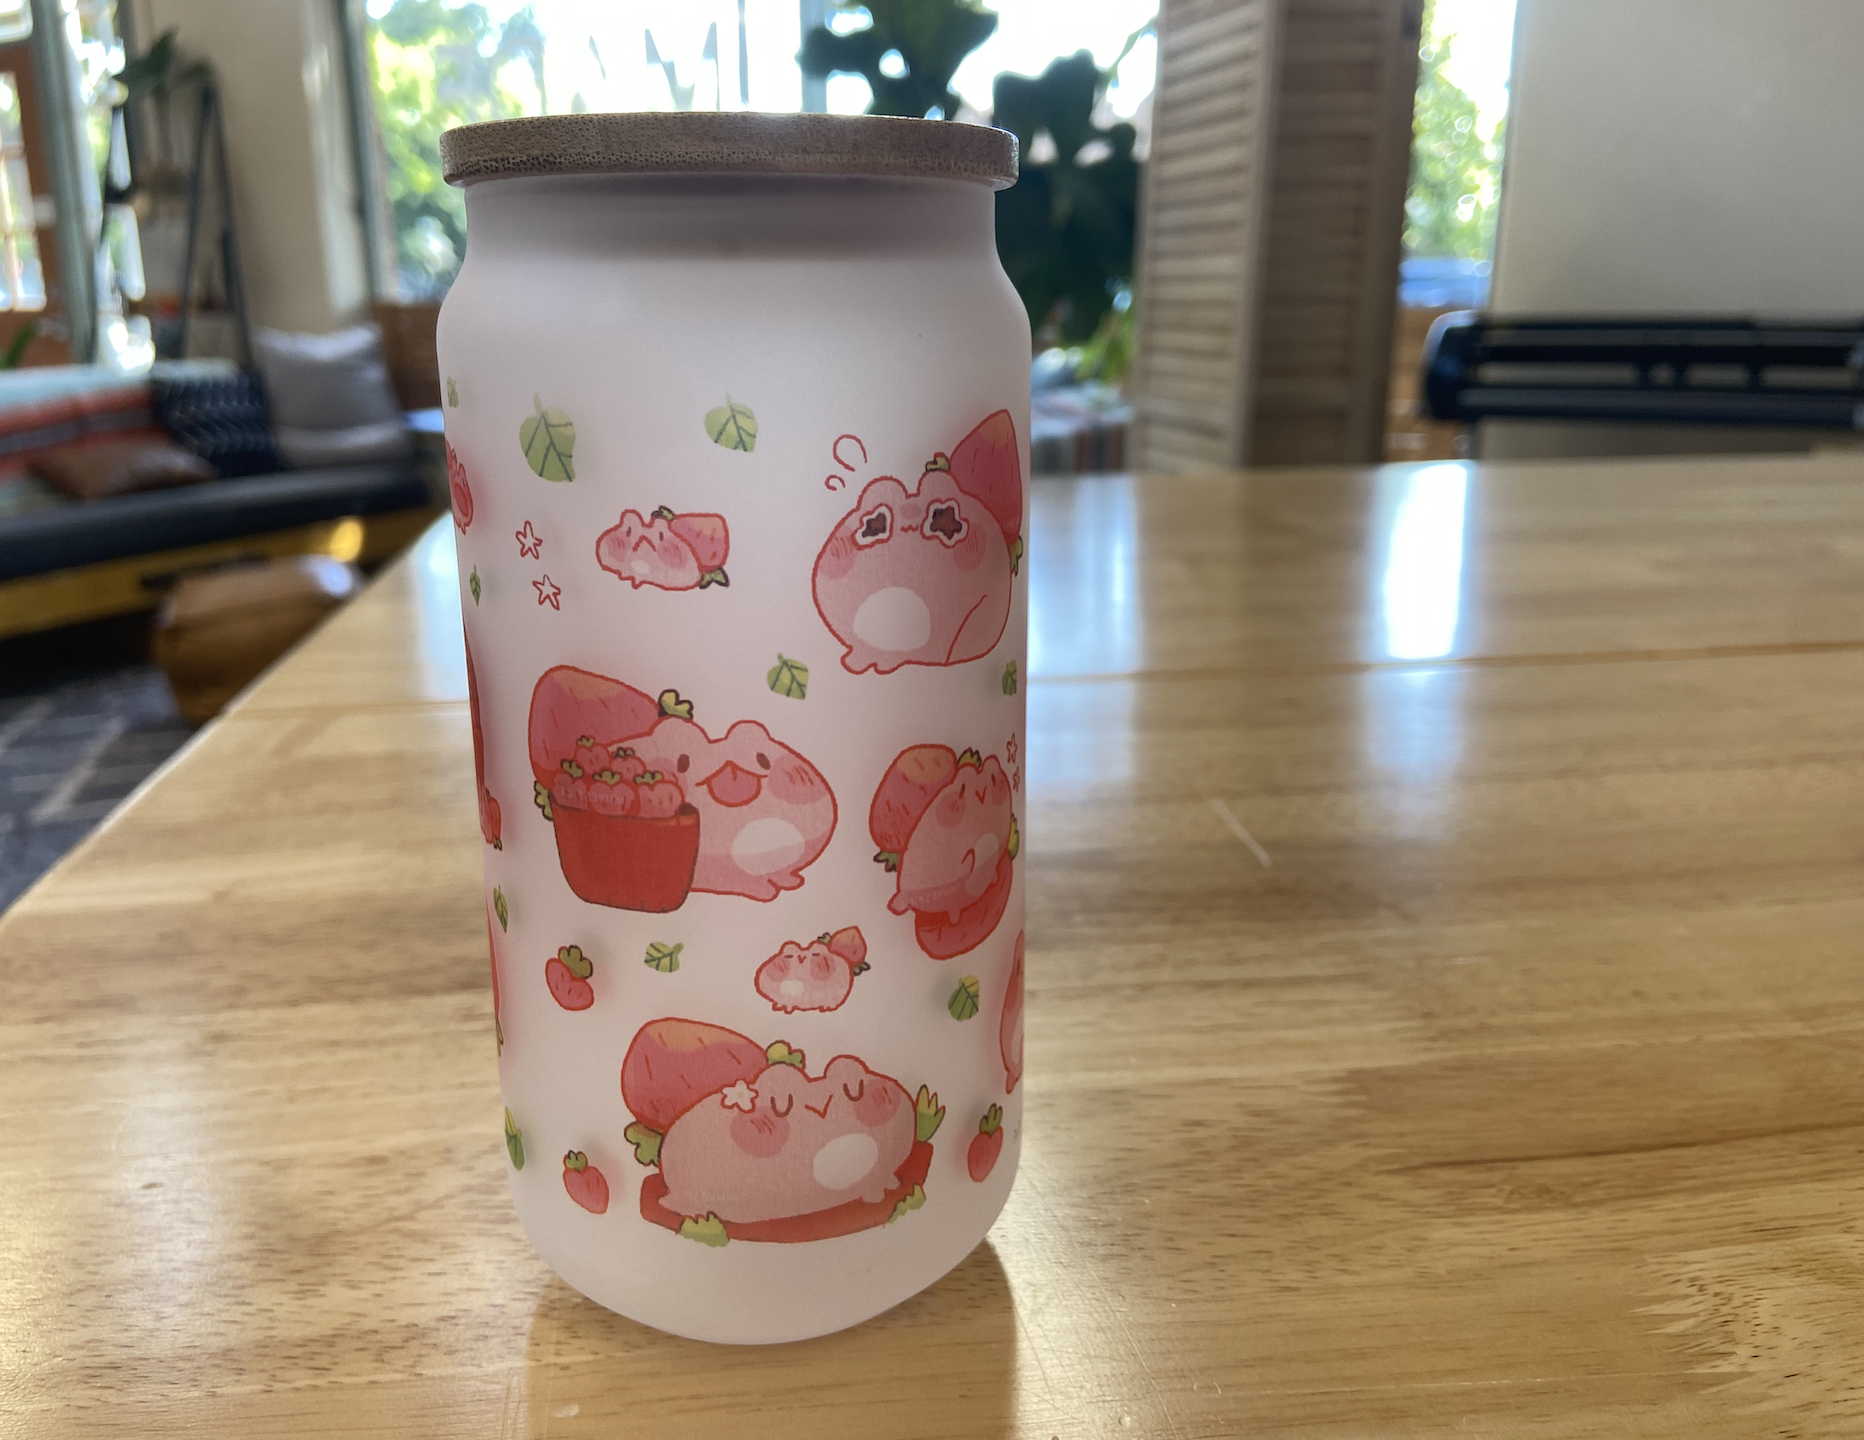
Make you very own custom glass cups right here at Made Studio! Follow this simple tutorial and start using our tumbler and mug heat press right away!
Supplies
The materials and tools used in the project are the following:
Prepare Sublimation Print
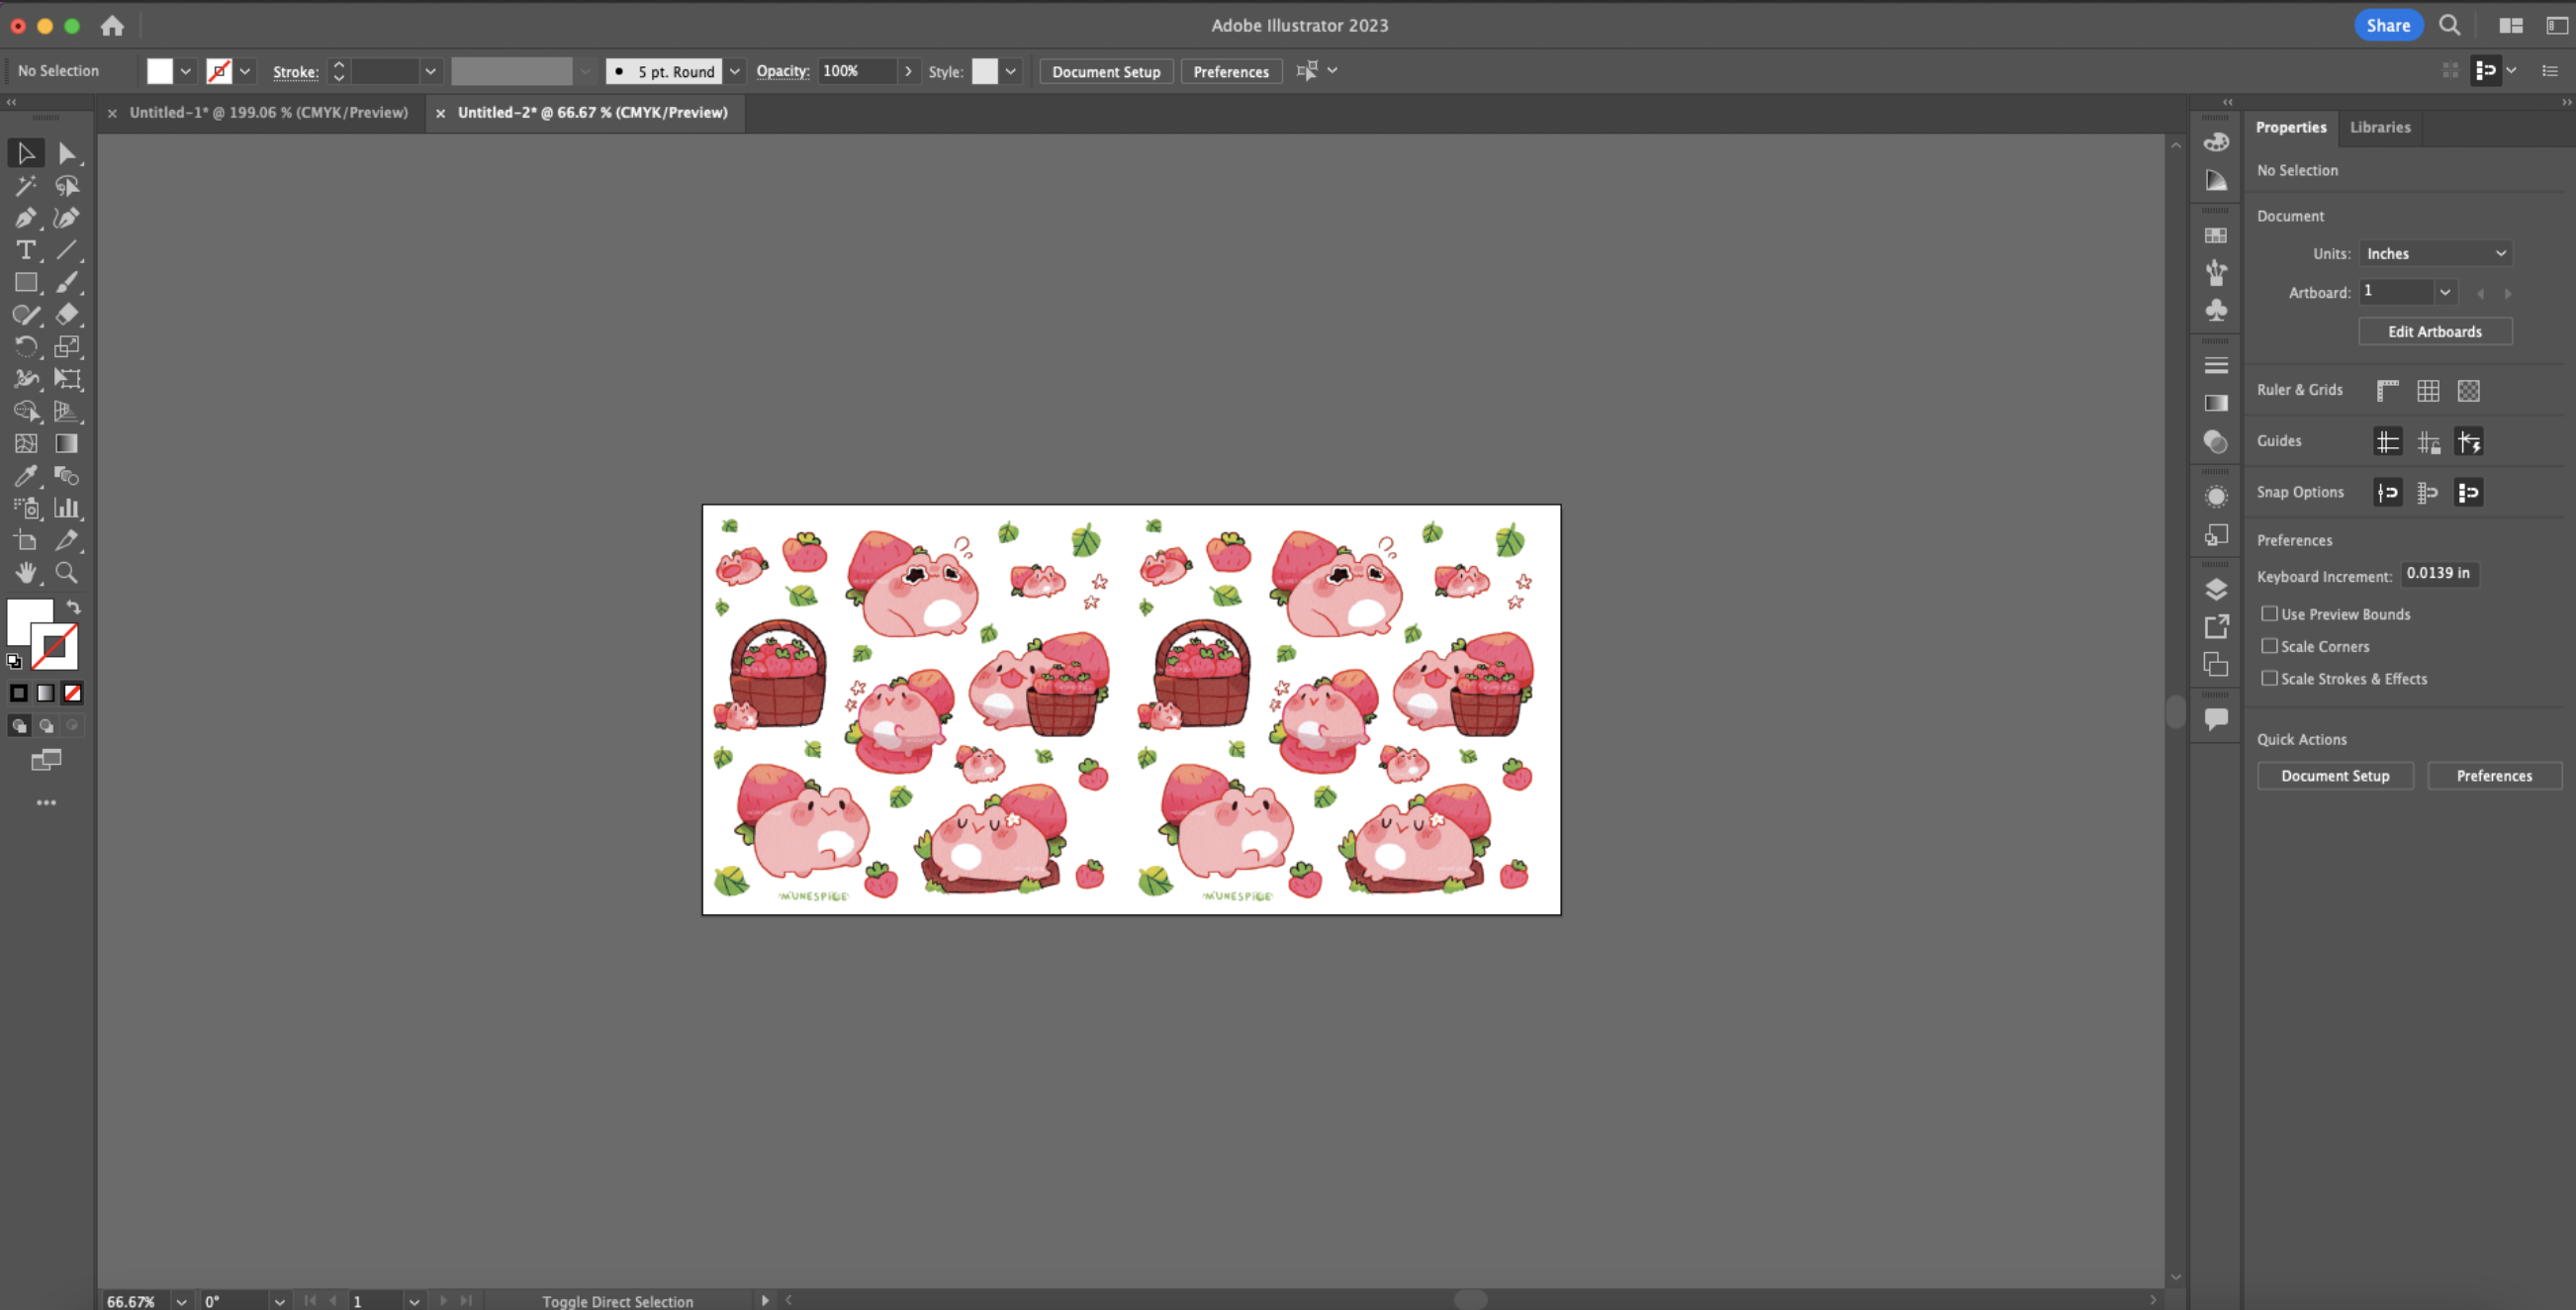
Open Adobe Illustrator and create a new file that is 7.5 x 9.4 inches in size. Then place the image you would like to print on the glass cup by going to File -> Place -> Select Image.
Click on the canvas and the image will pop up on the canvas.
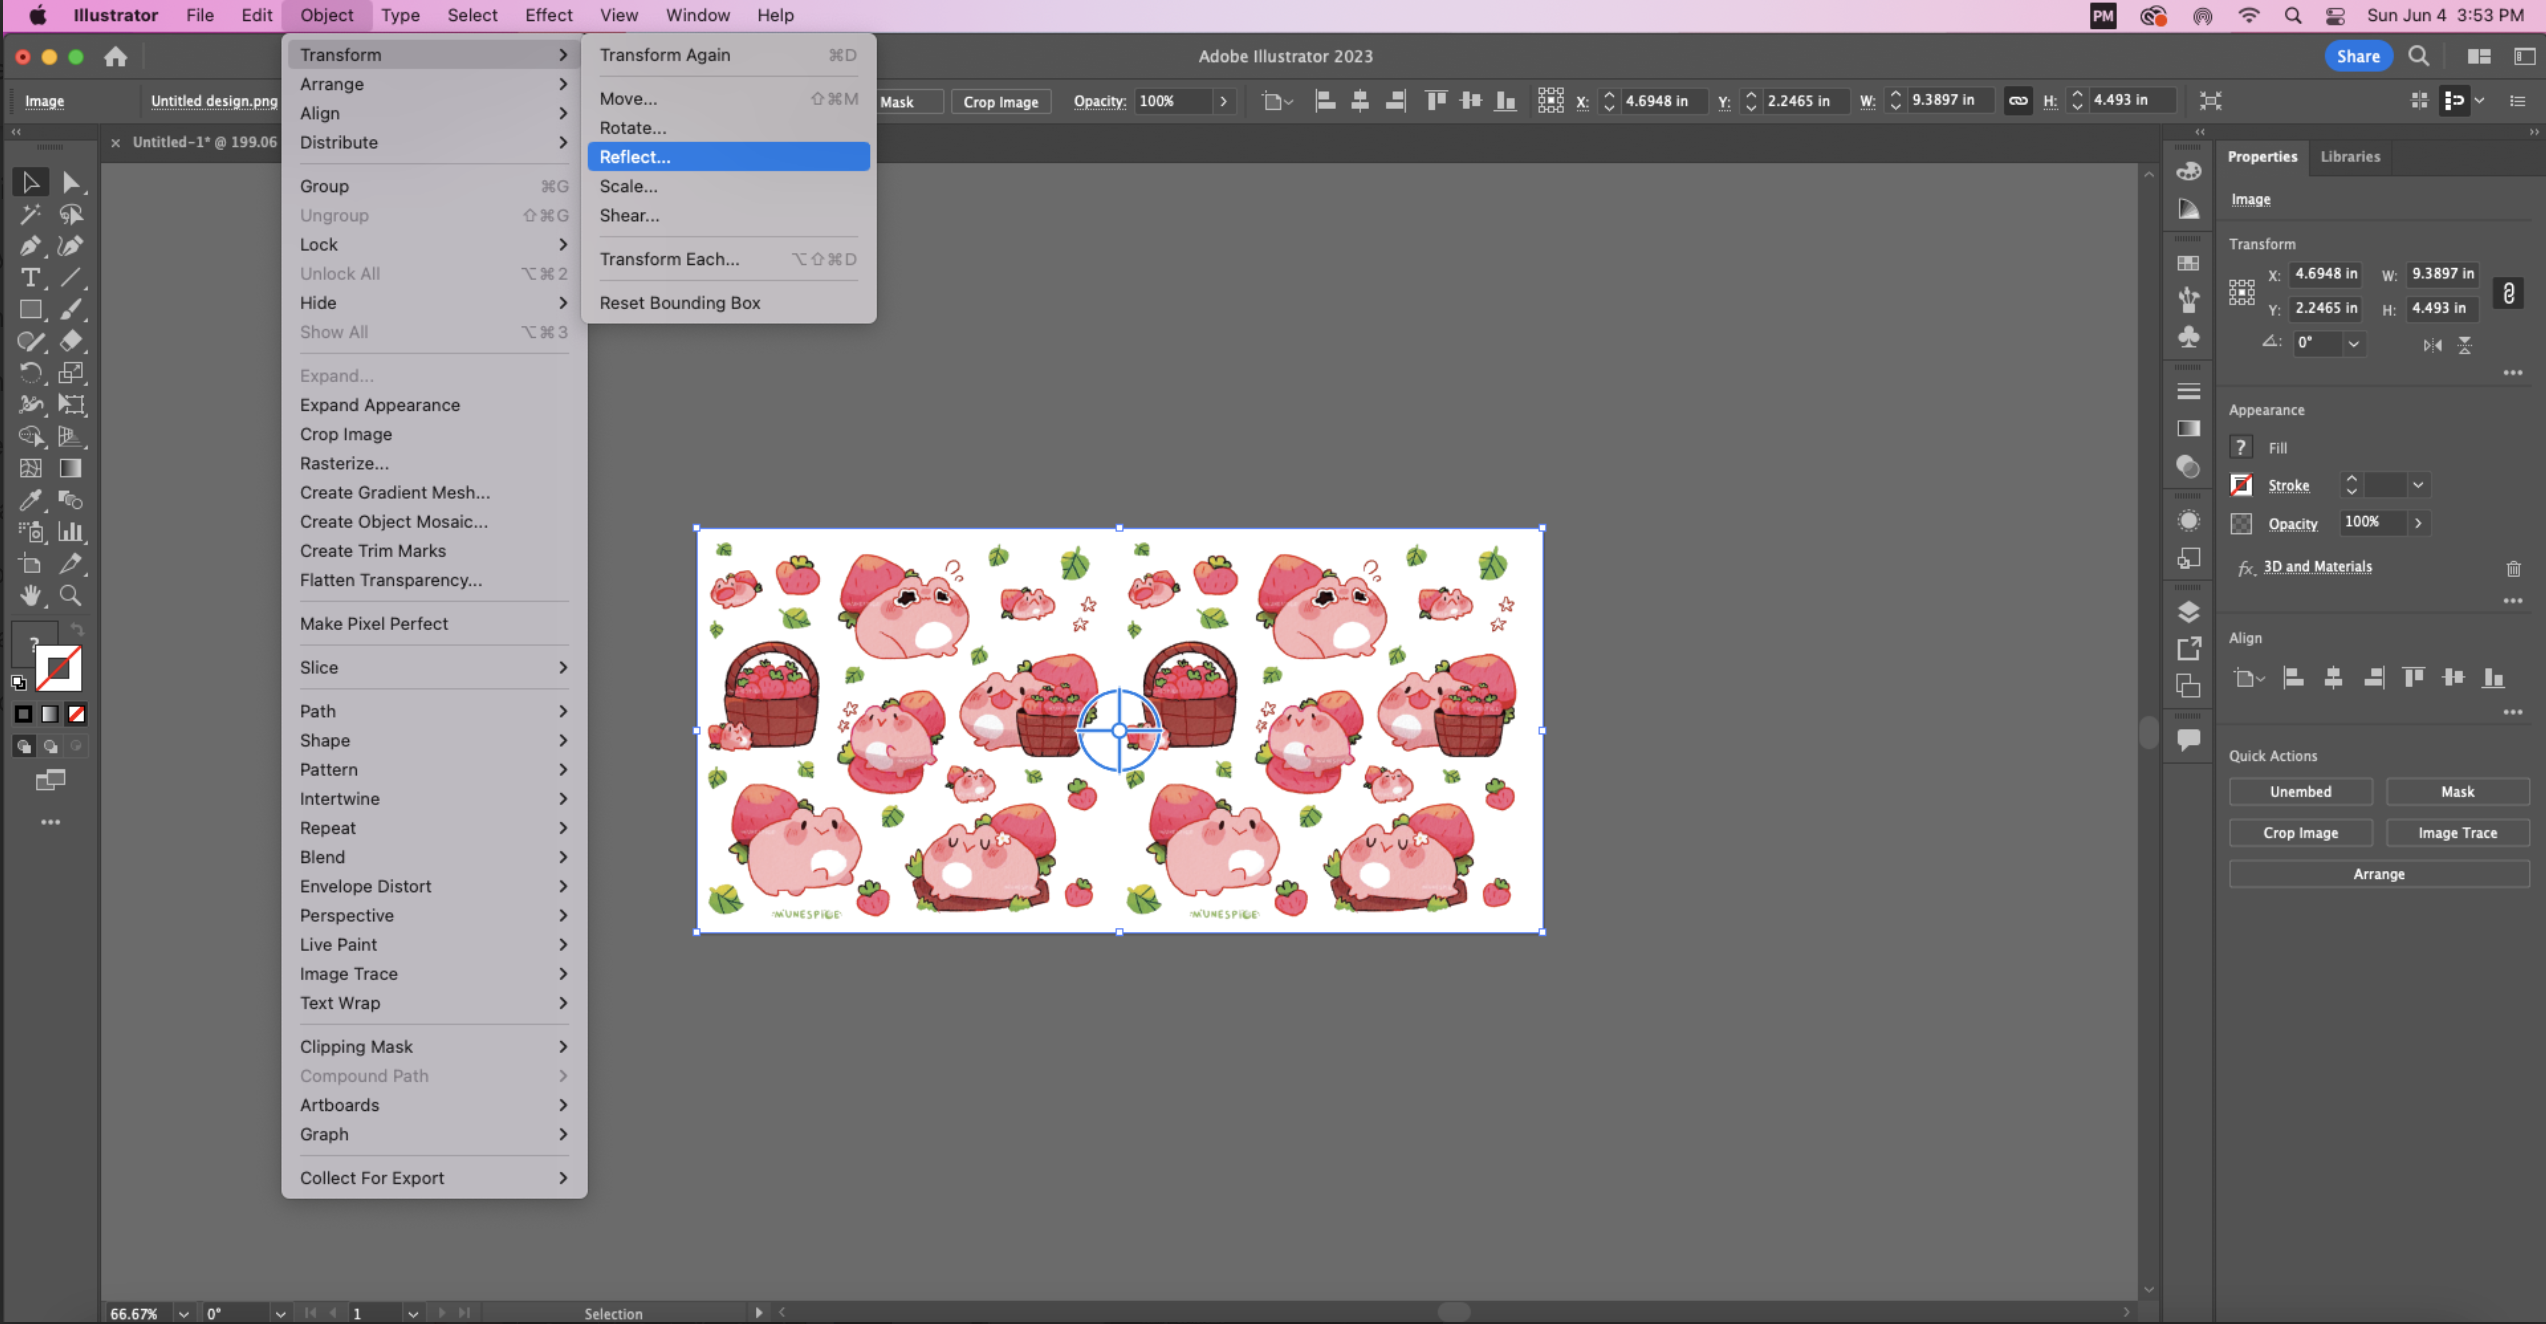
Resize and Reflect
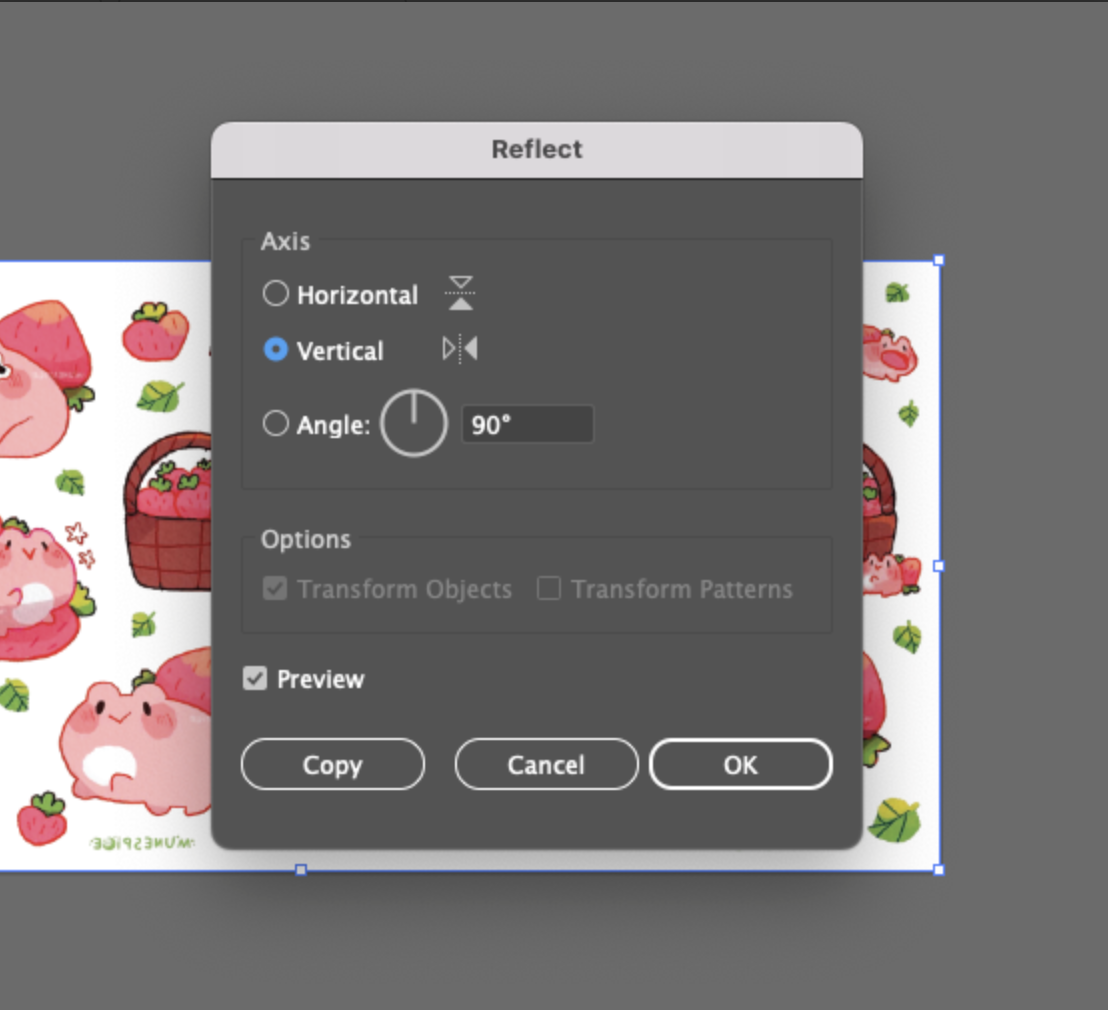
The image always gets reflected after sublimation, so before printing go to Object -> Transform -> Reflect to reflect your image.
Print to Sawgrass S1000
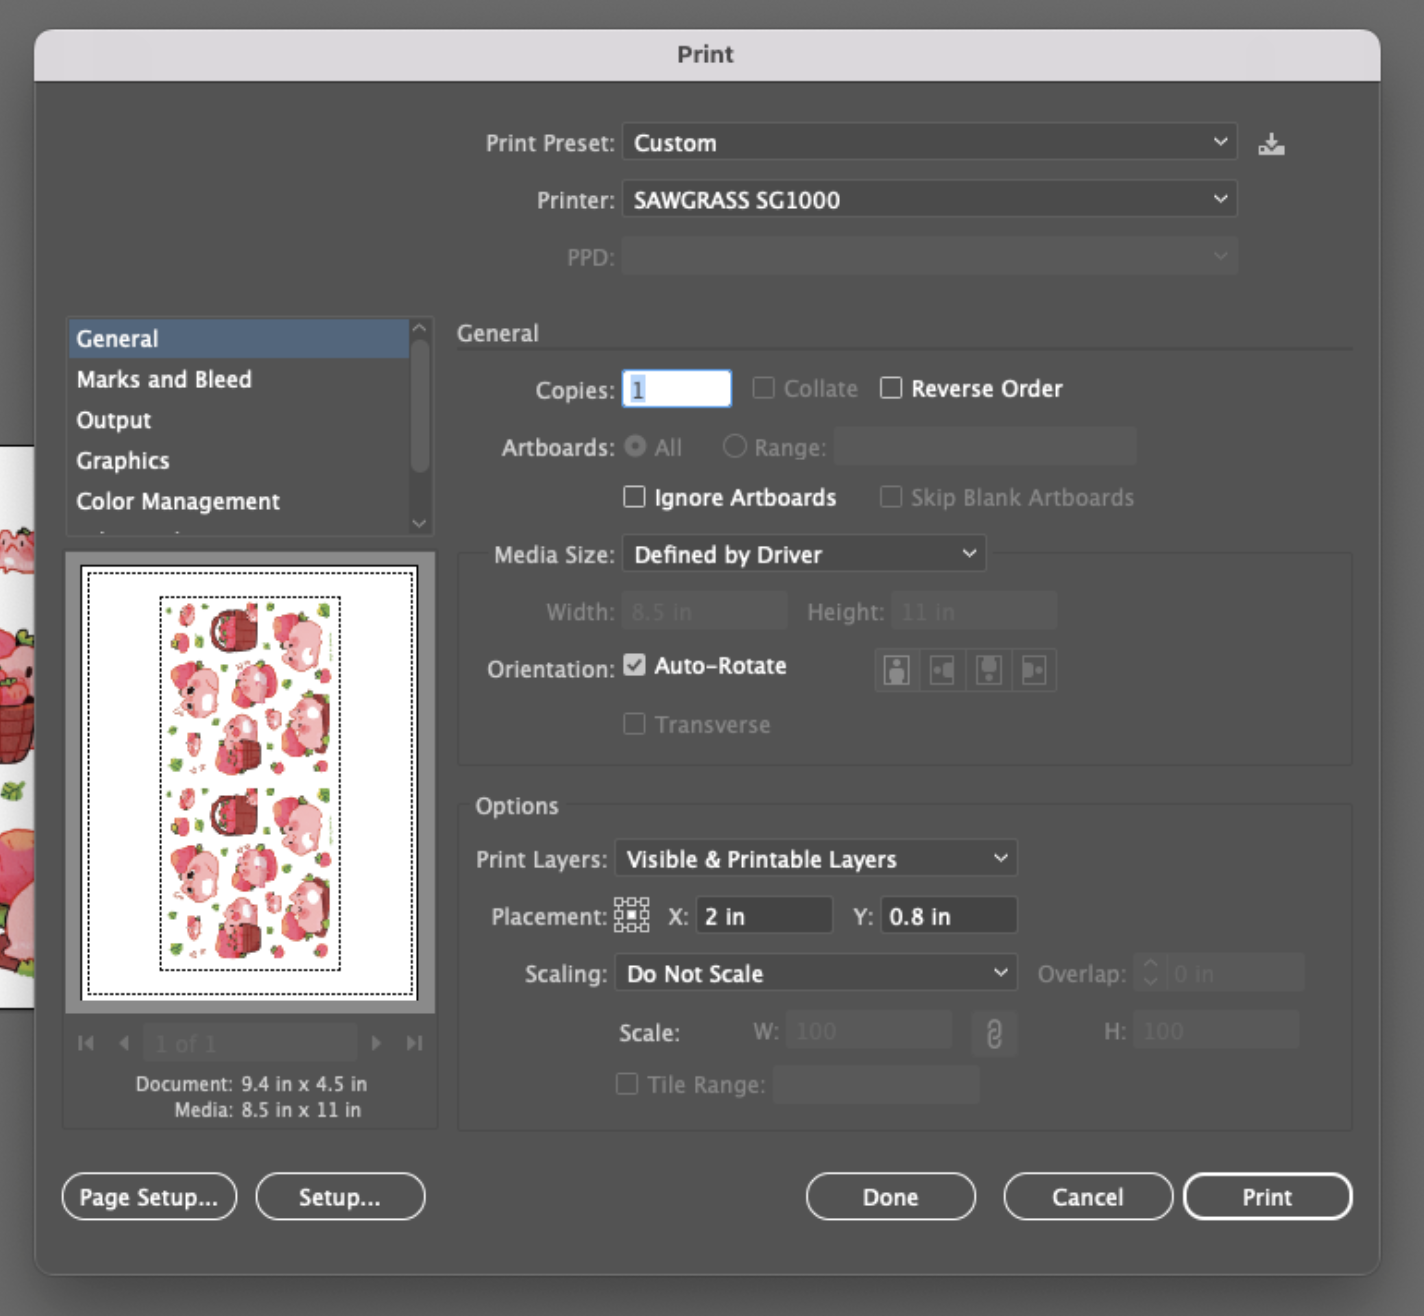
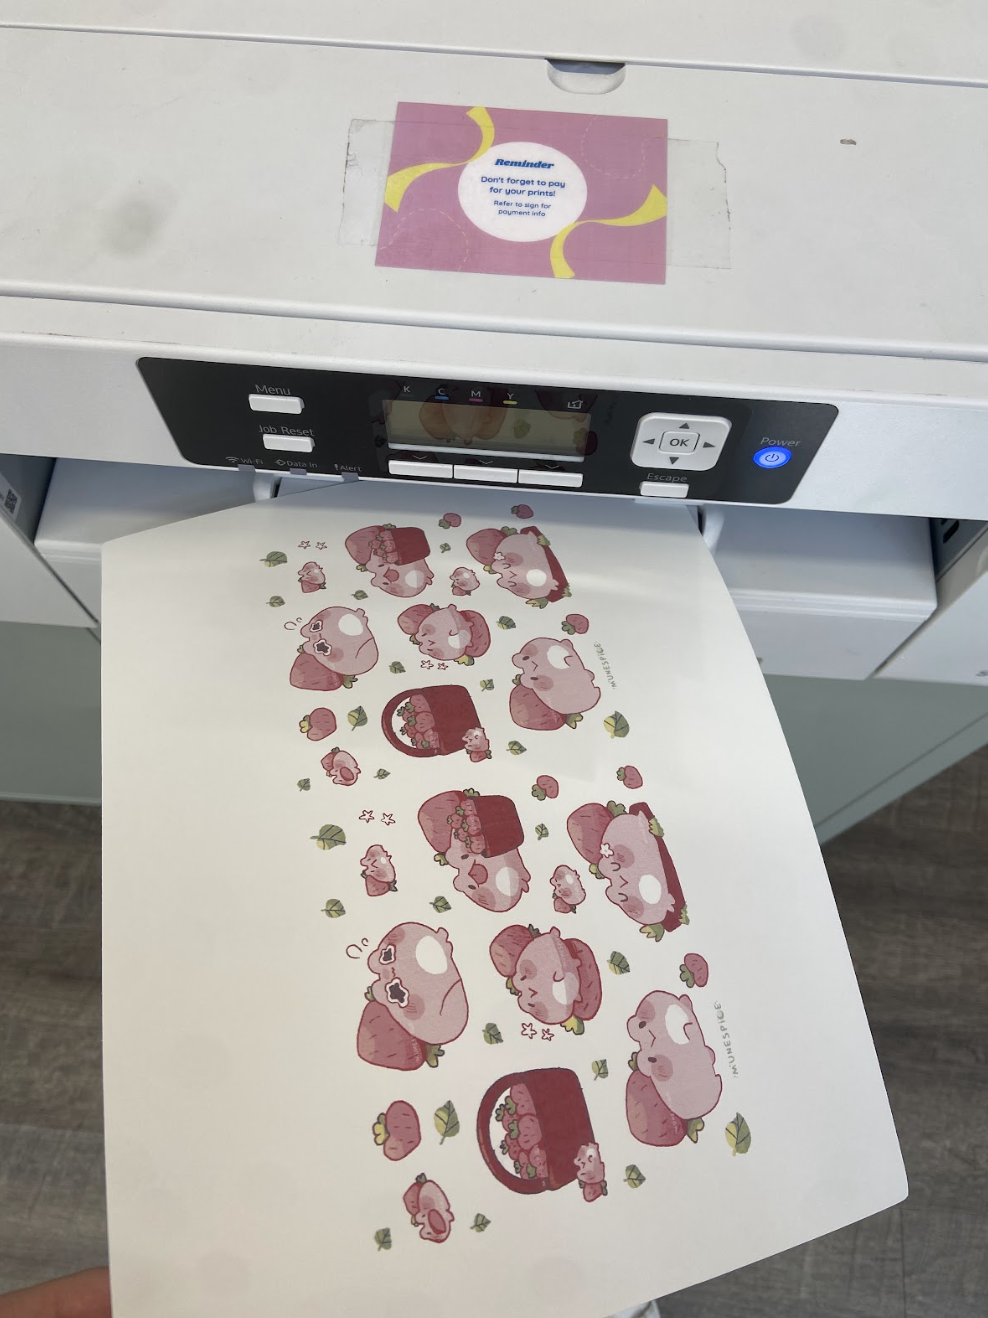
Send your print to Sawgrass S1000 and collect from the sublimation printer located in between the two bathrooms. Be sure to not touch the printed area to avoid smudging of the image.
**Remember to pay each sublimation print! The prices are posted above our sublimation printer**
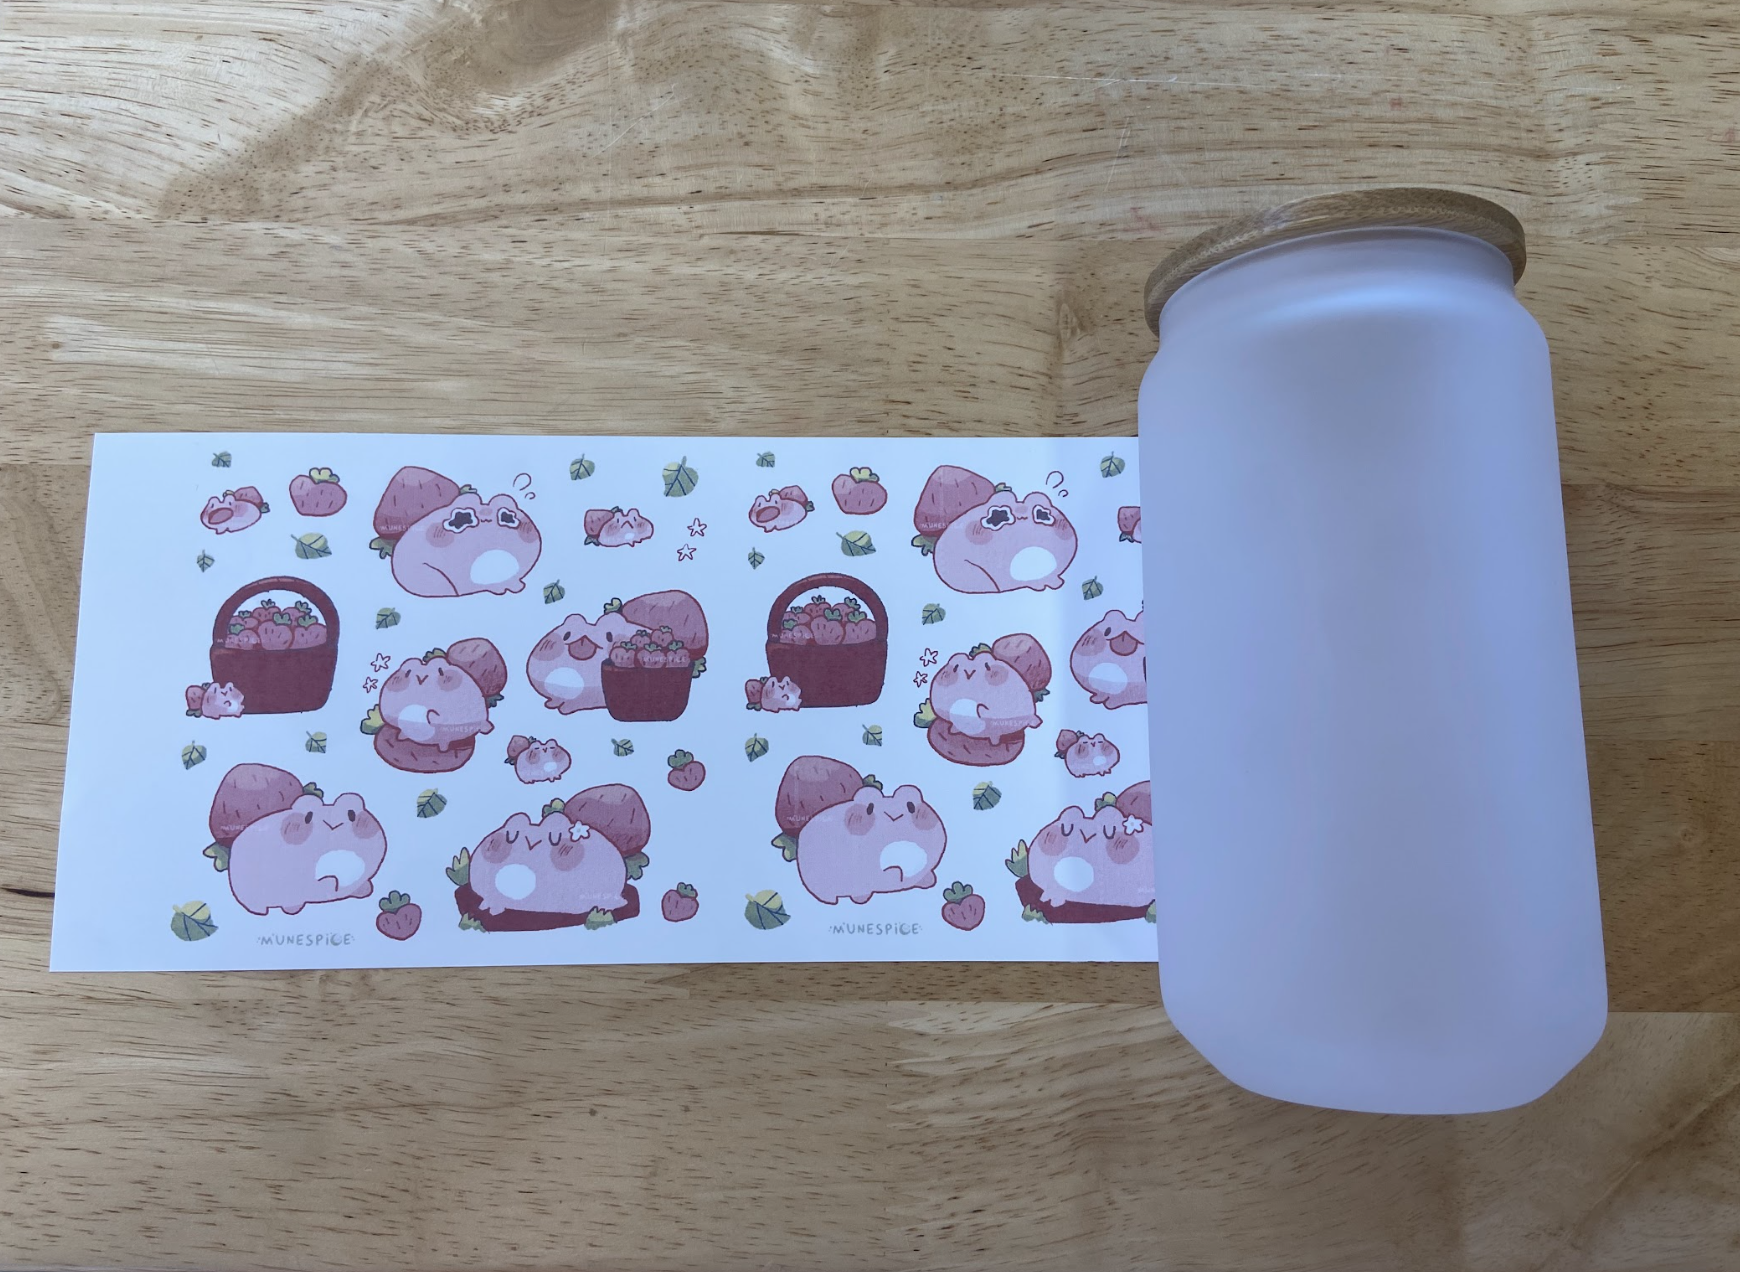
Cut Sublimation Paper to Size
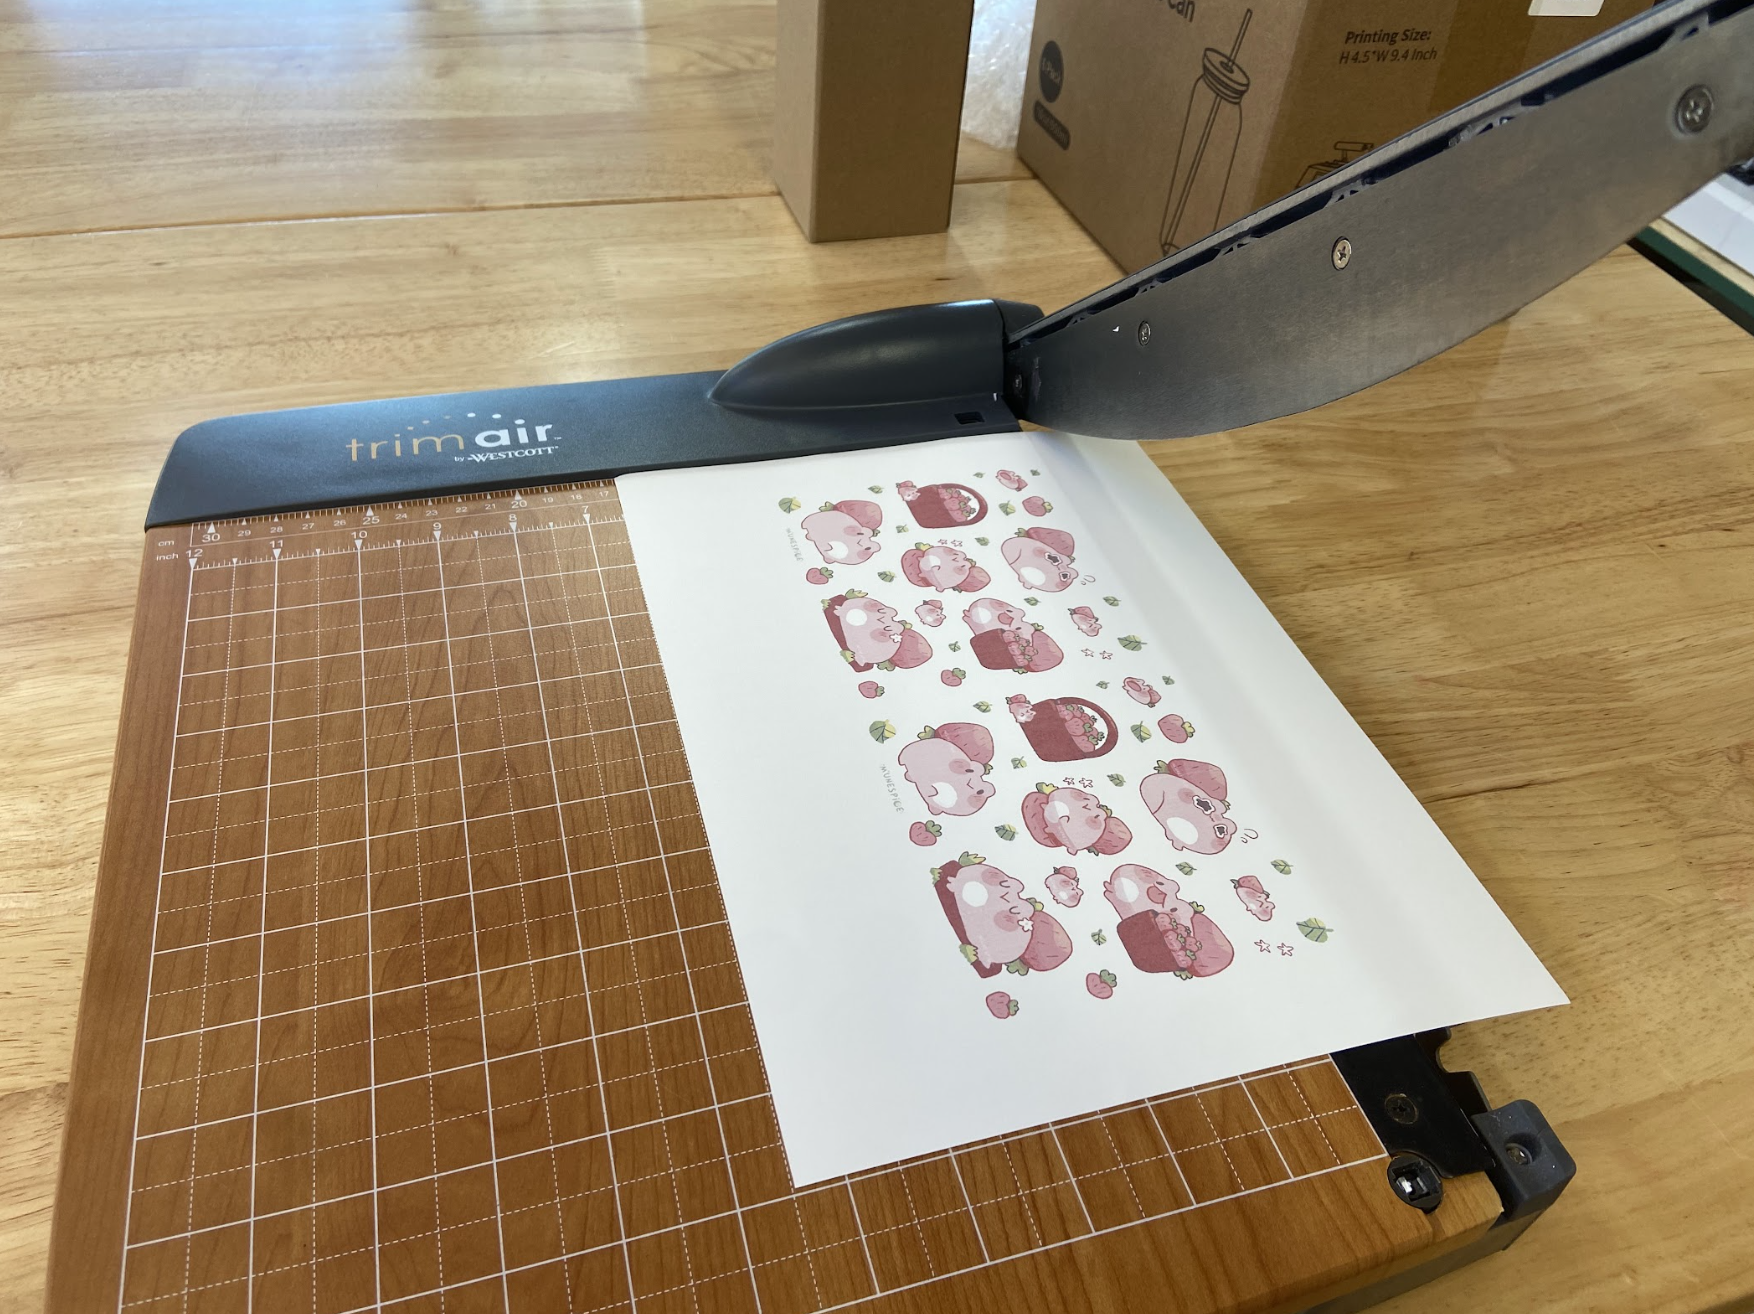
Using a guillotine, scissors, or a razor, cut away excess white space on paper. Keep the paper rectangular
Place Sublimation Paper on Glass Cup
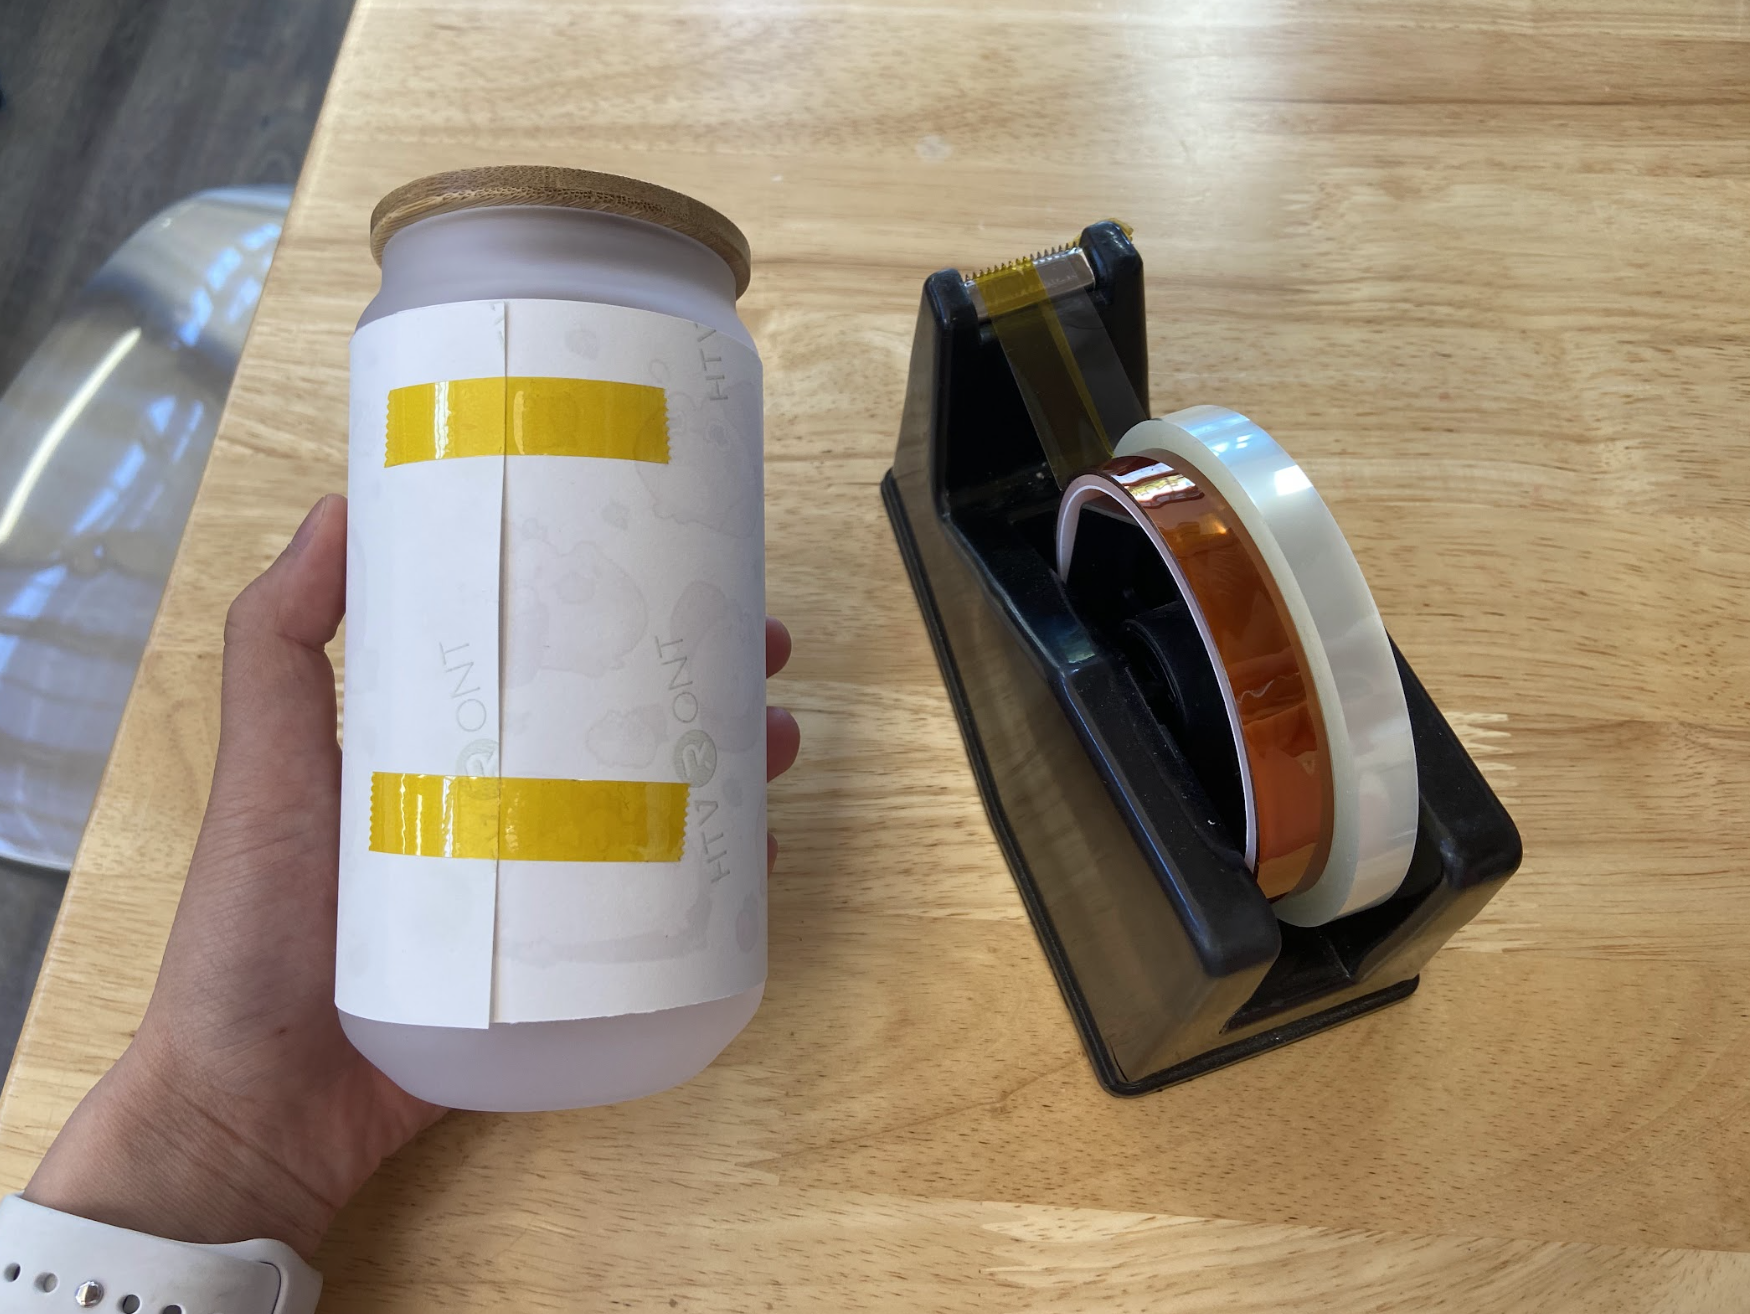
Using our high temperature yellow tape, wrap the sublimation paper and secure down with tape to secure the print in the correct place. Set aside until the heat press is completely set up.
Prepare Tumbler Heat Press
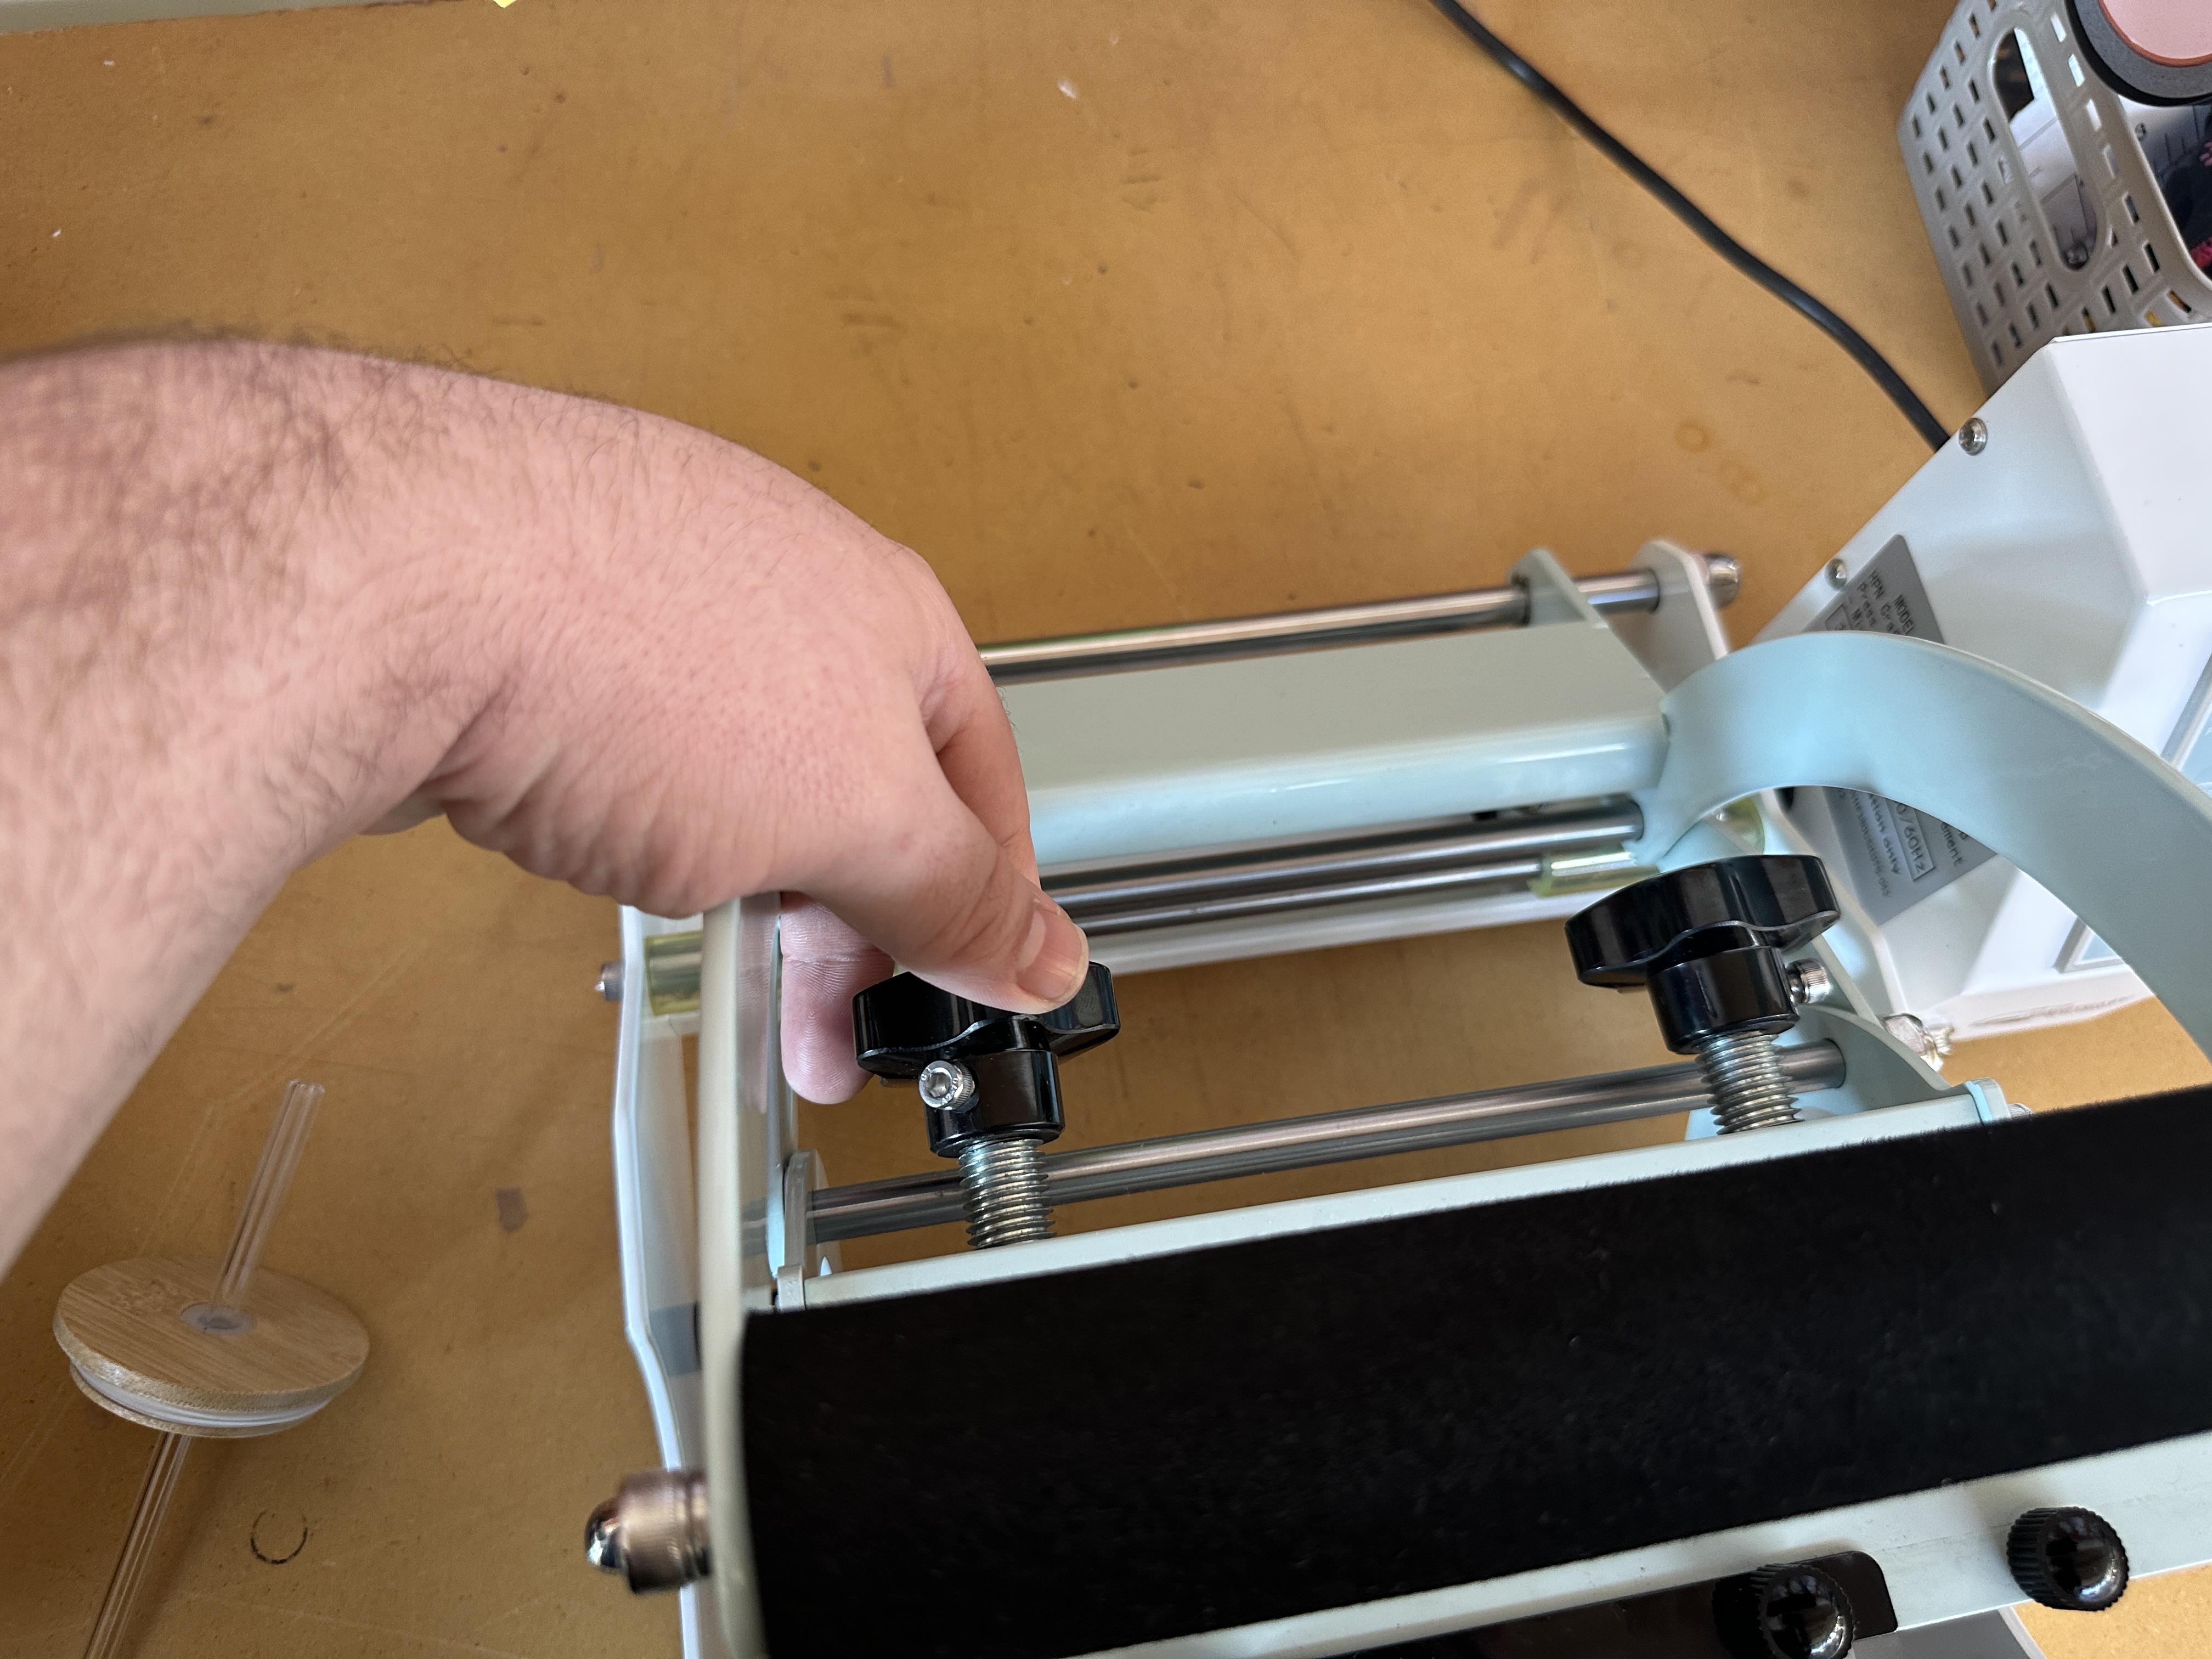
While the Heat Press is turned off, place the cup into the tumbler and tighten black knob in the back until cup is snuggly fit in the press.
Power Up
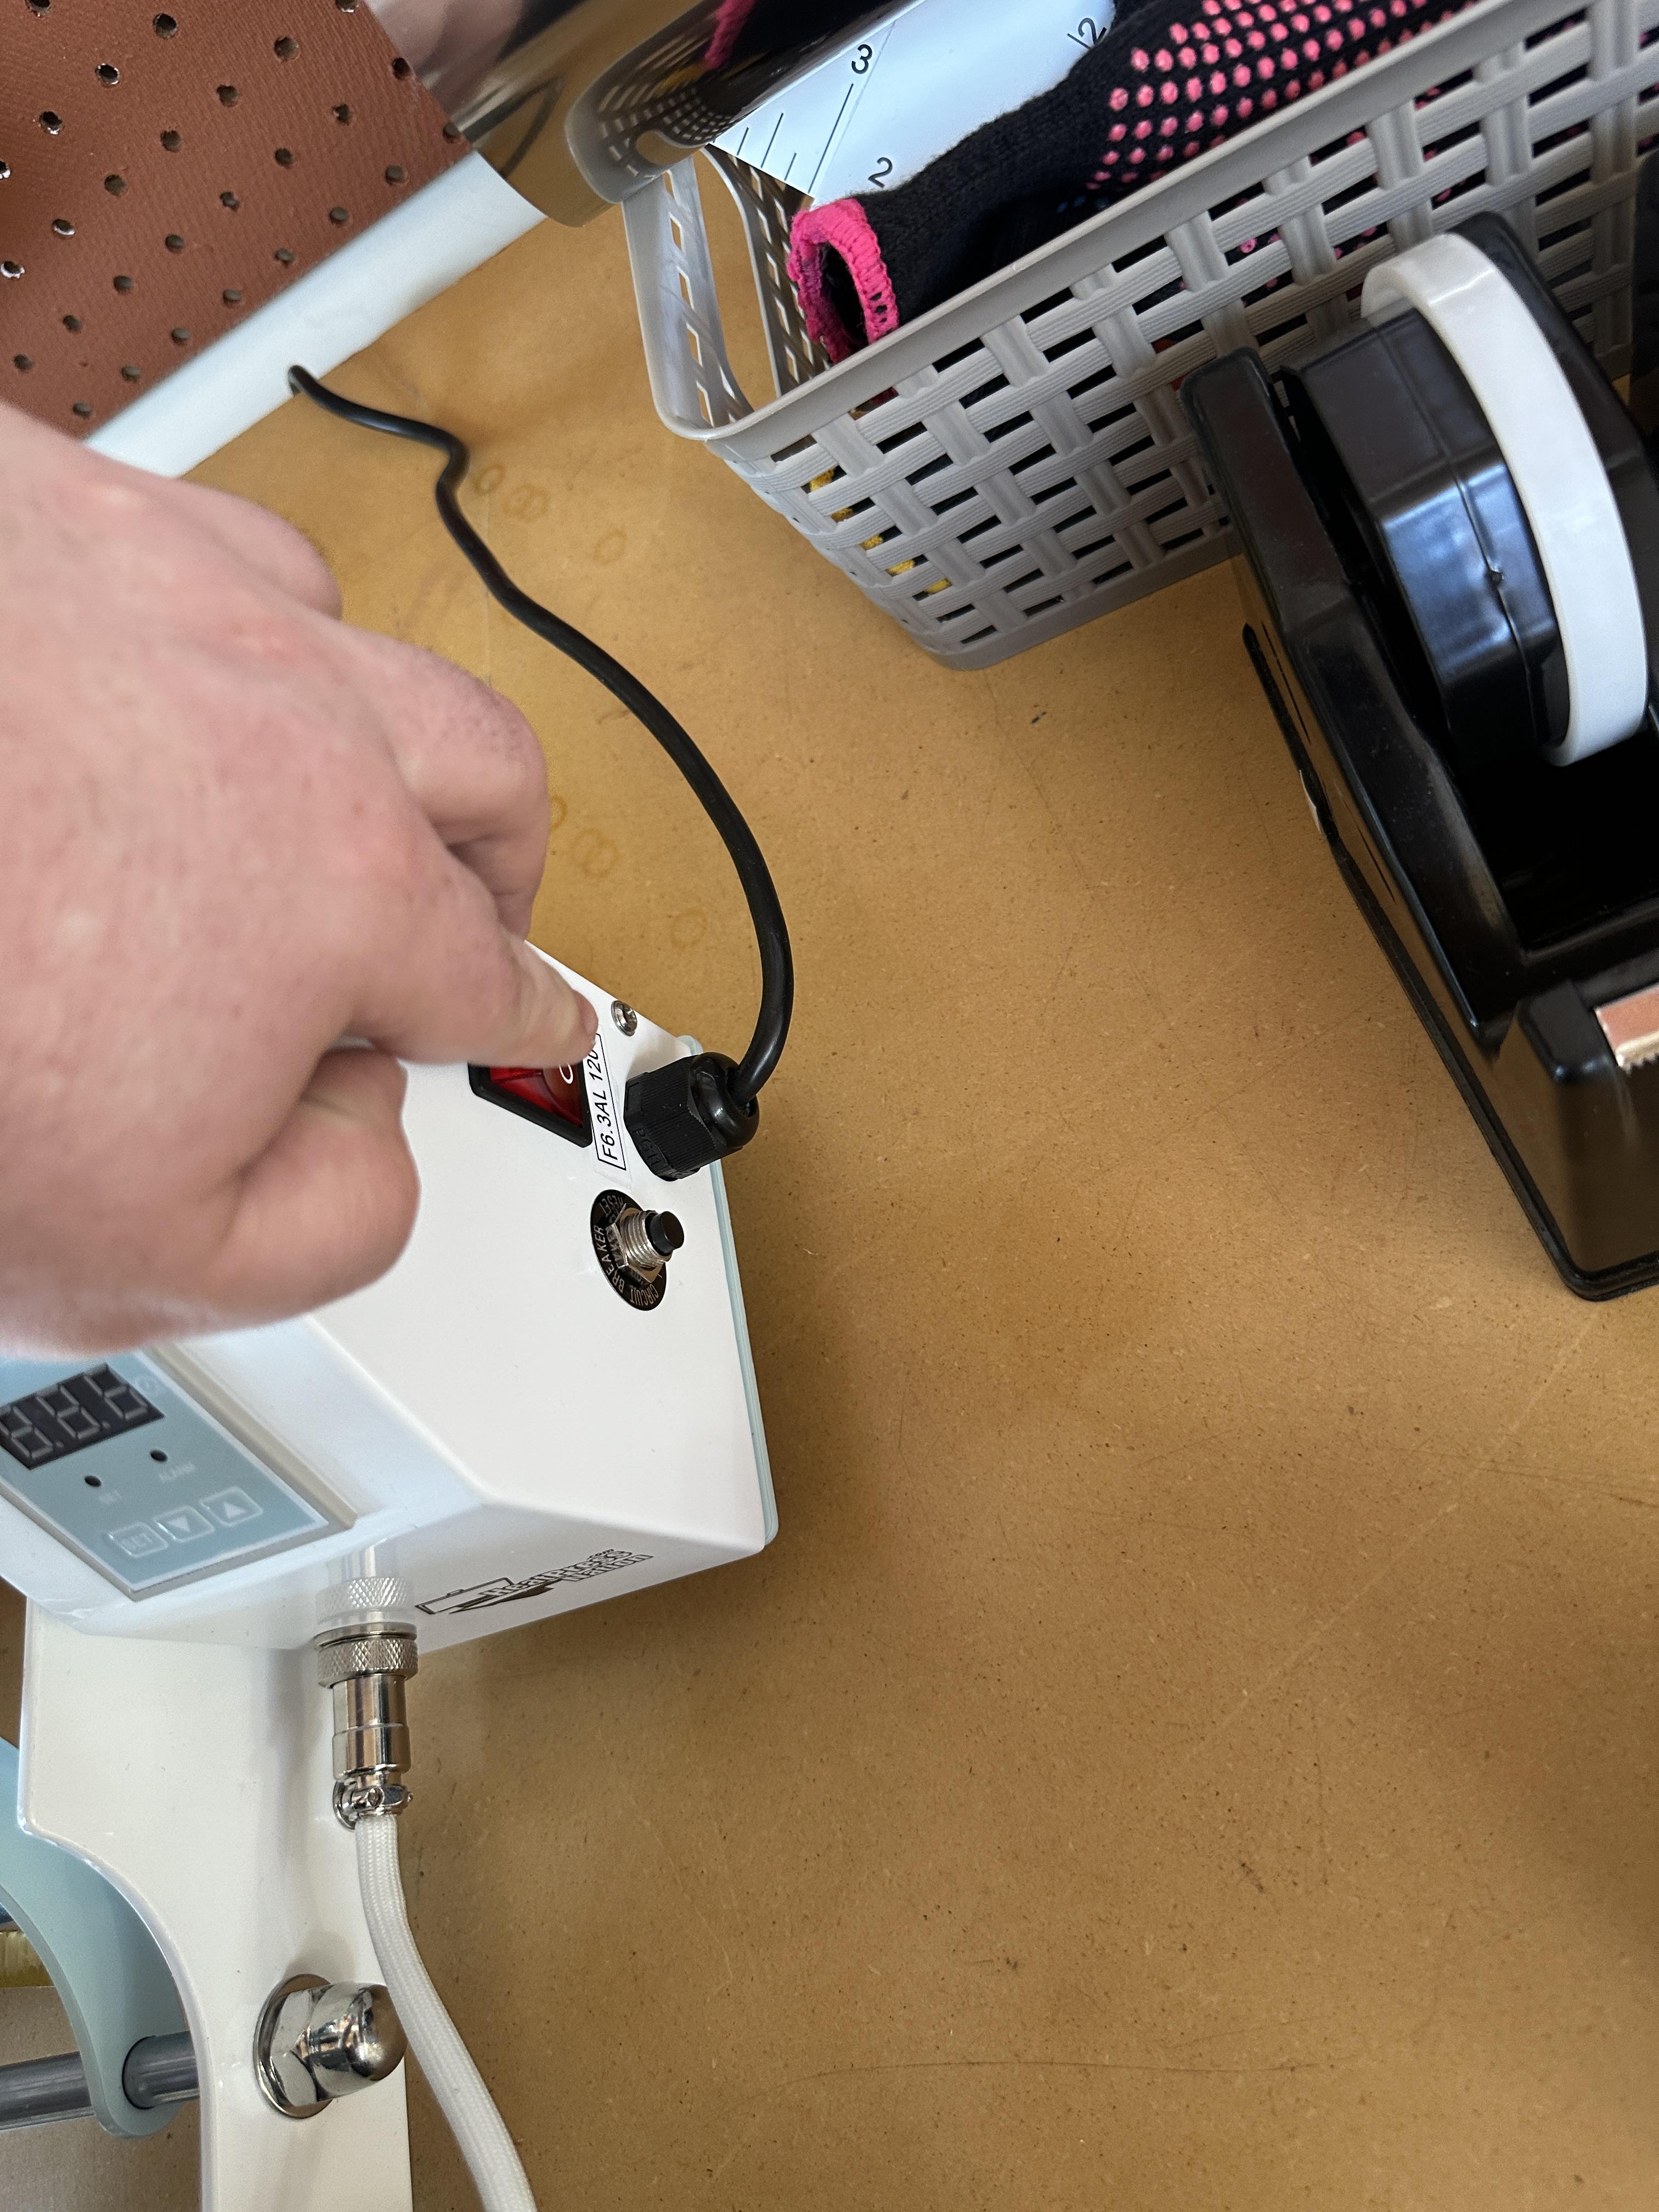
Press the power switch on the side to turn on the heat press
Adjust Heat Press Settings
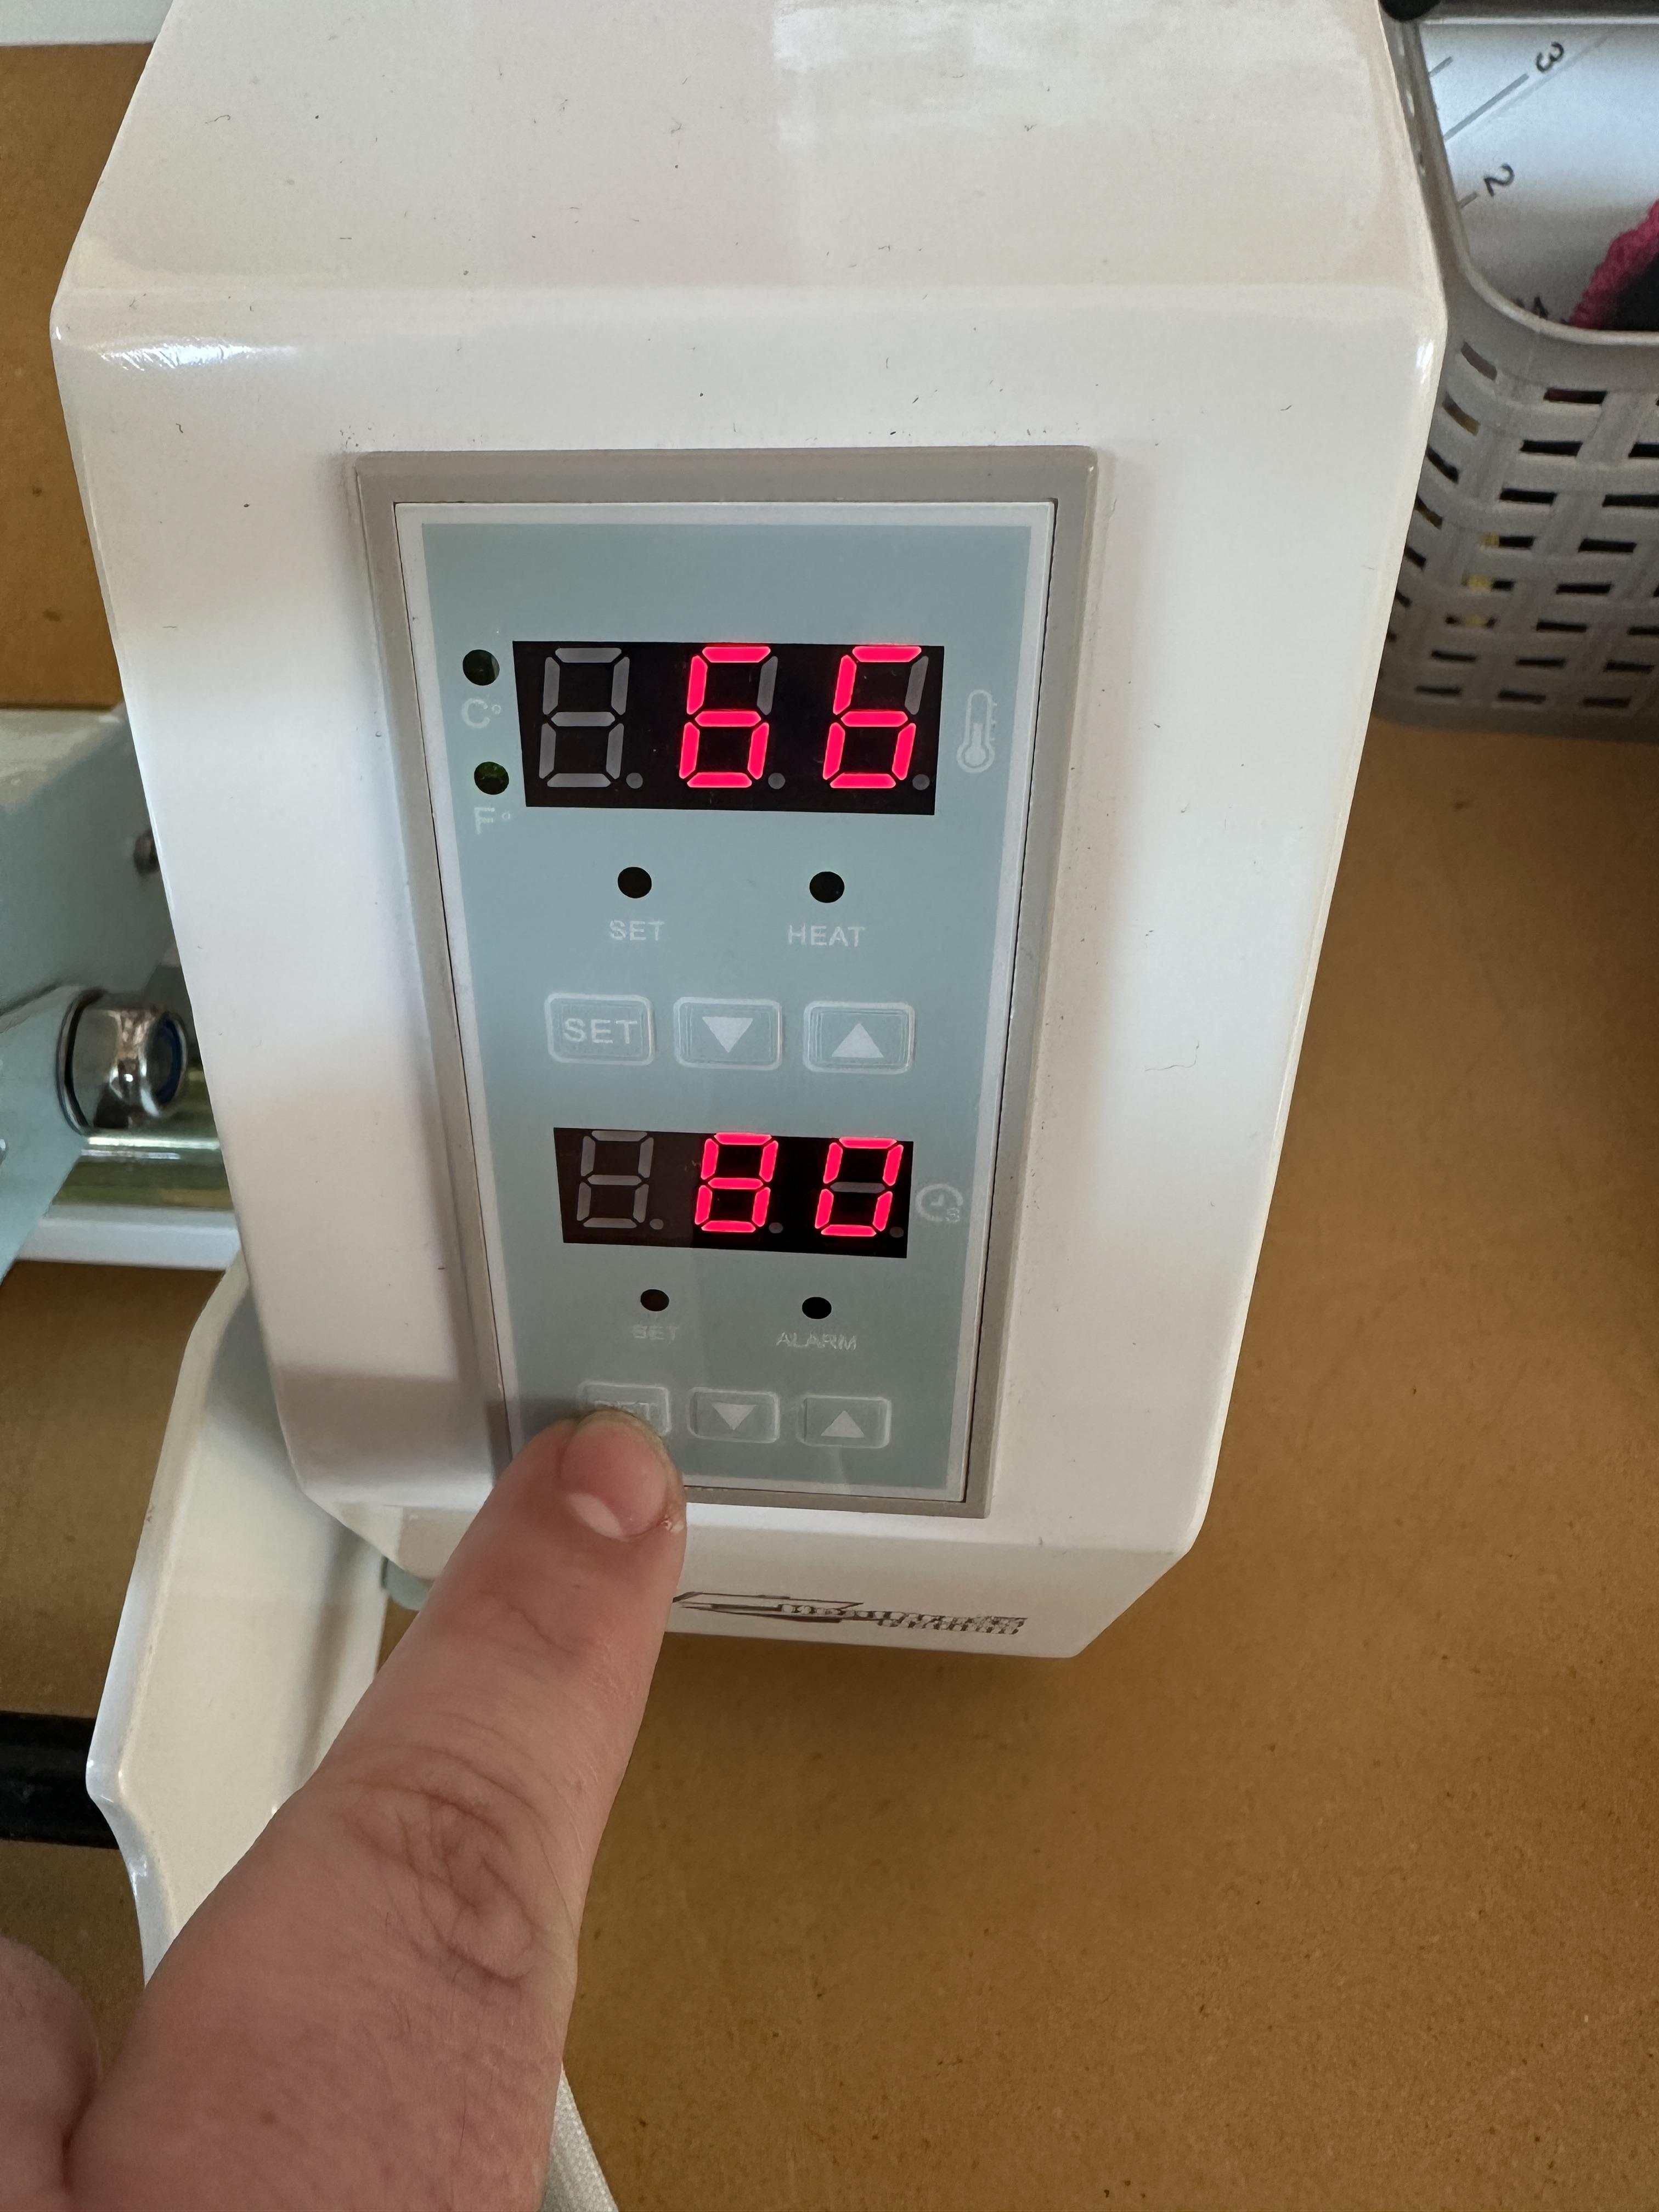
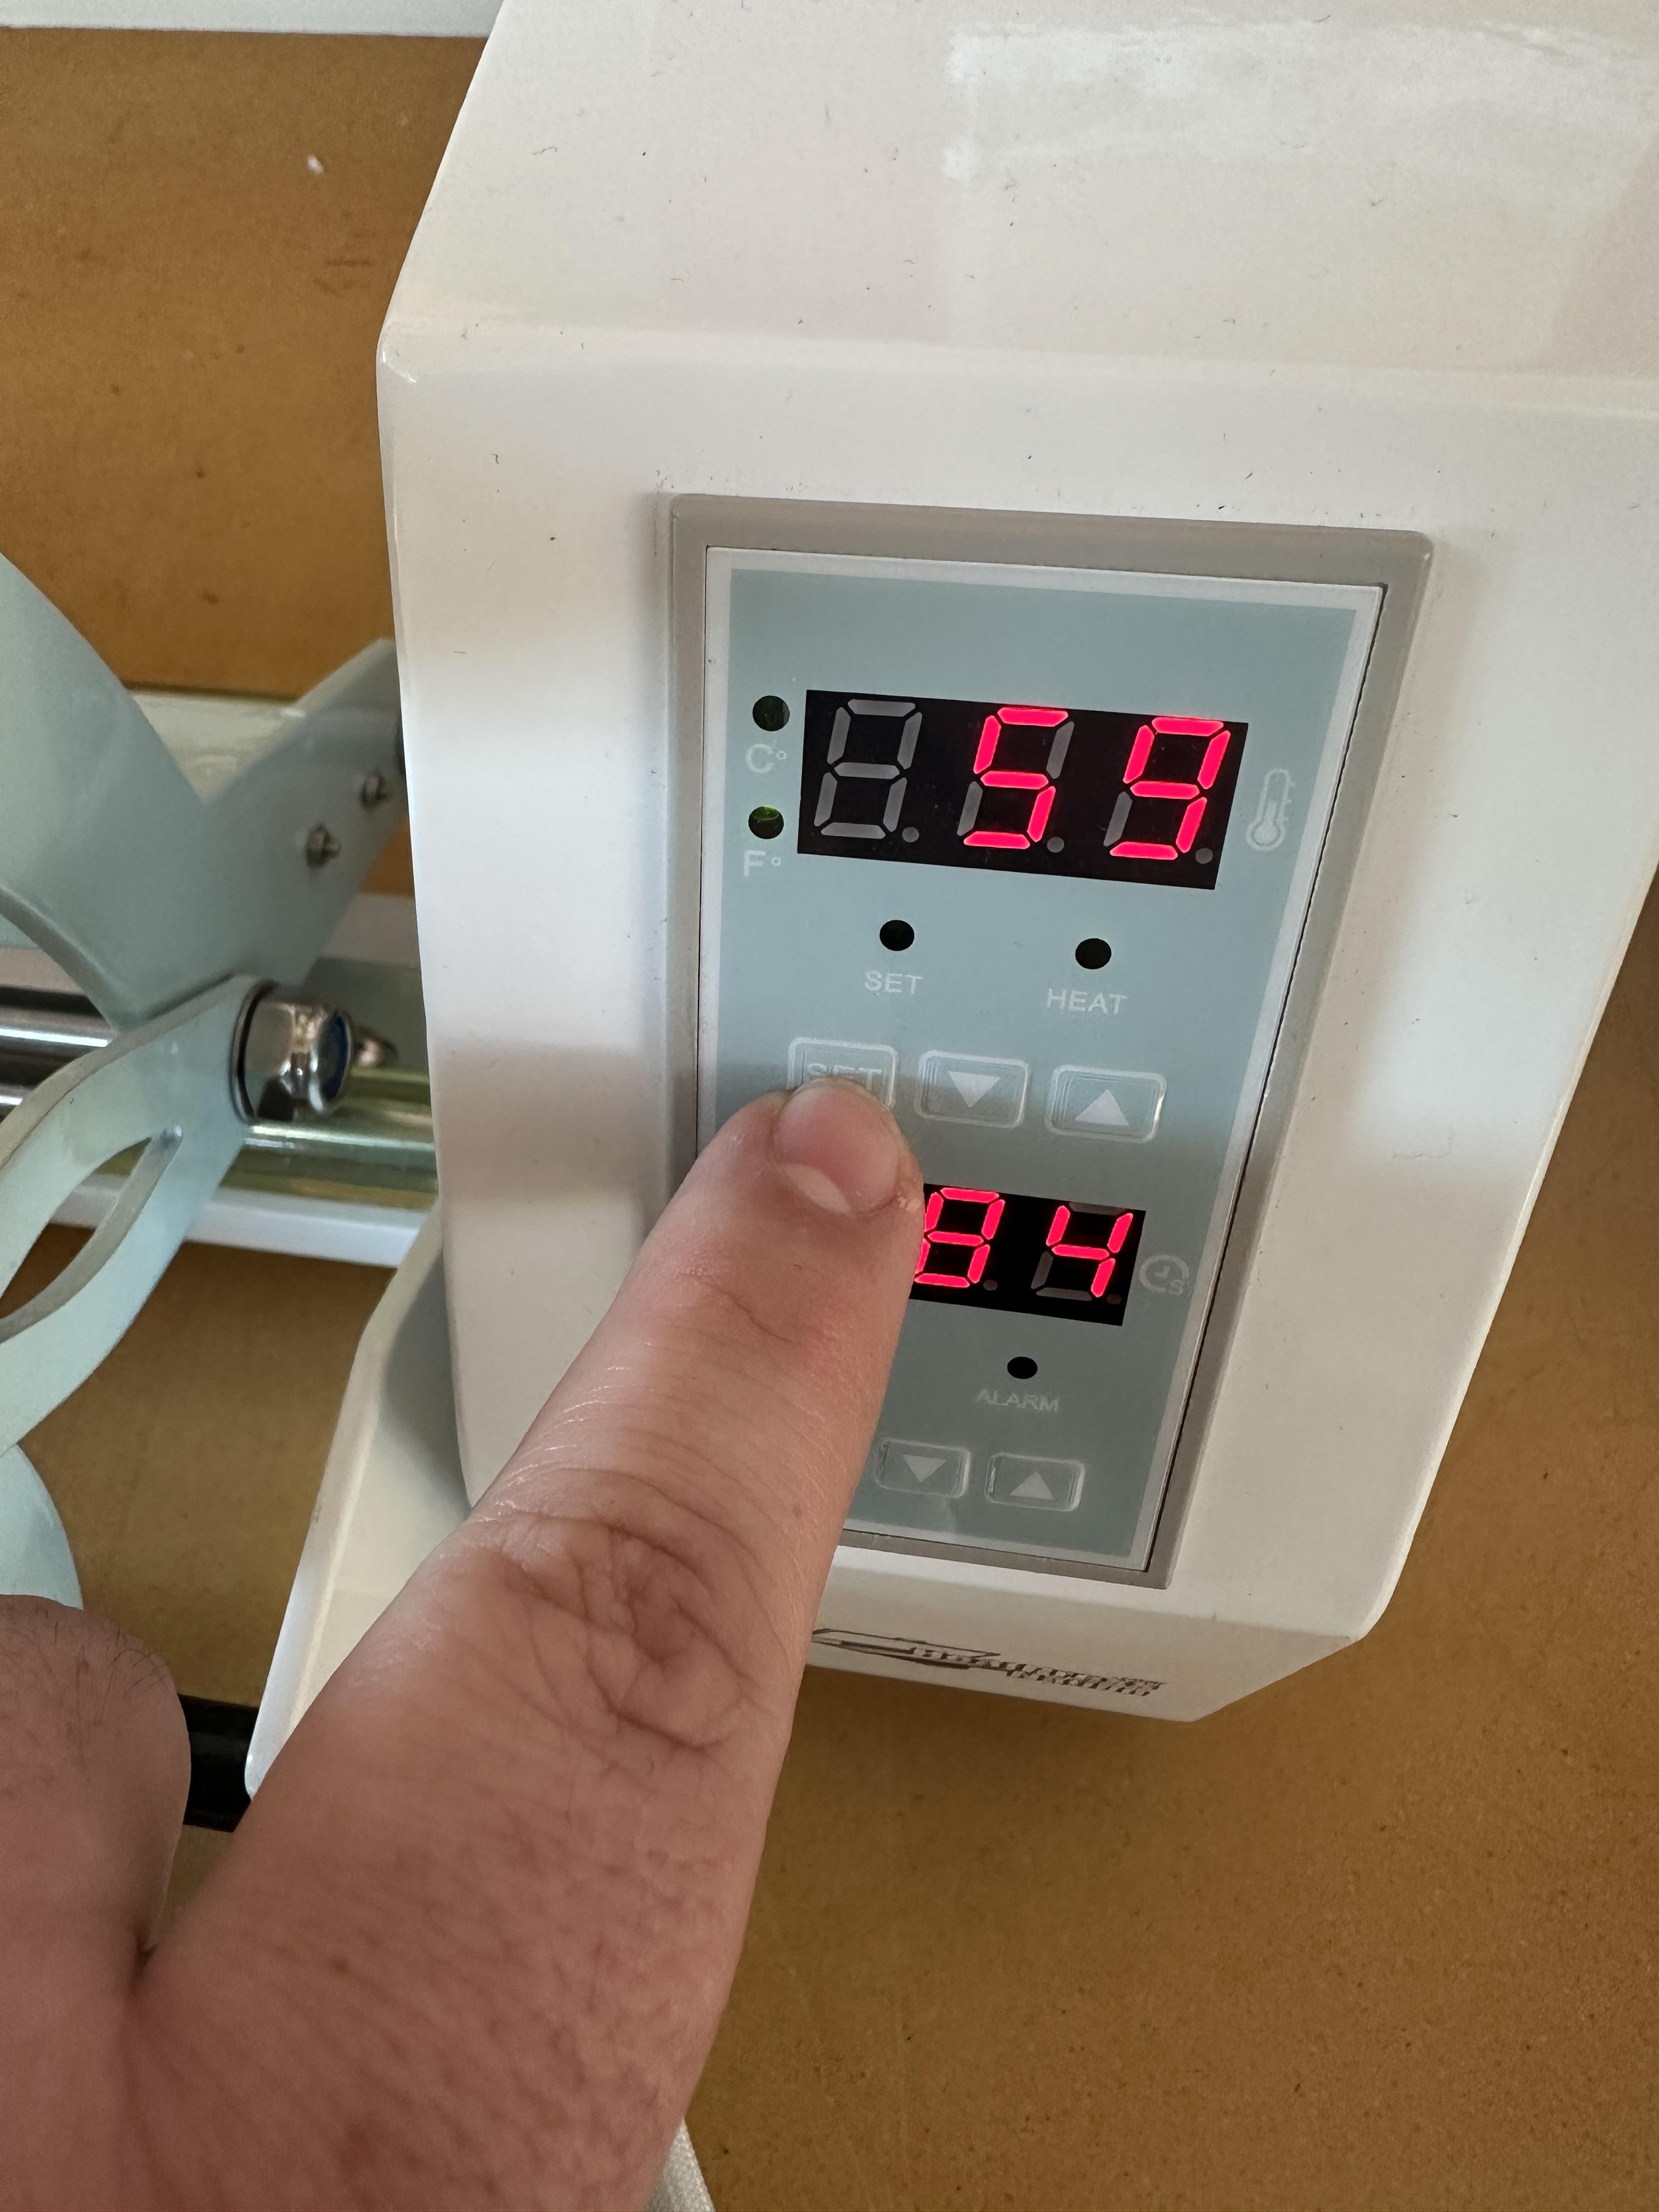
After turning on the heat press, press "Set" bellow the temperature to be able to adjust it with the arrows and then press it again when its at the correct temperature, do the same for the time you want depending on your material.
Place Cup Into Press and Start the Sublimation

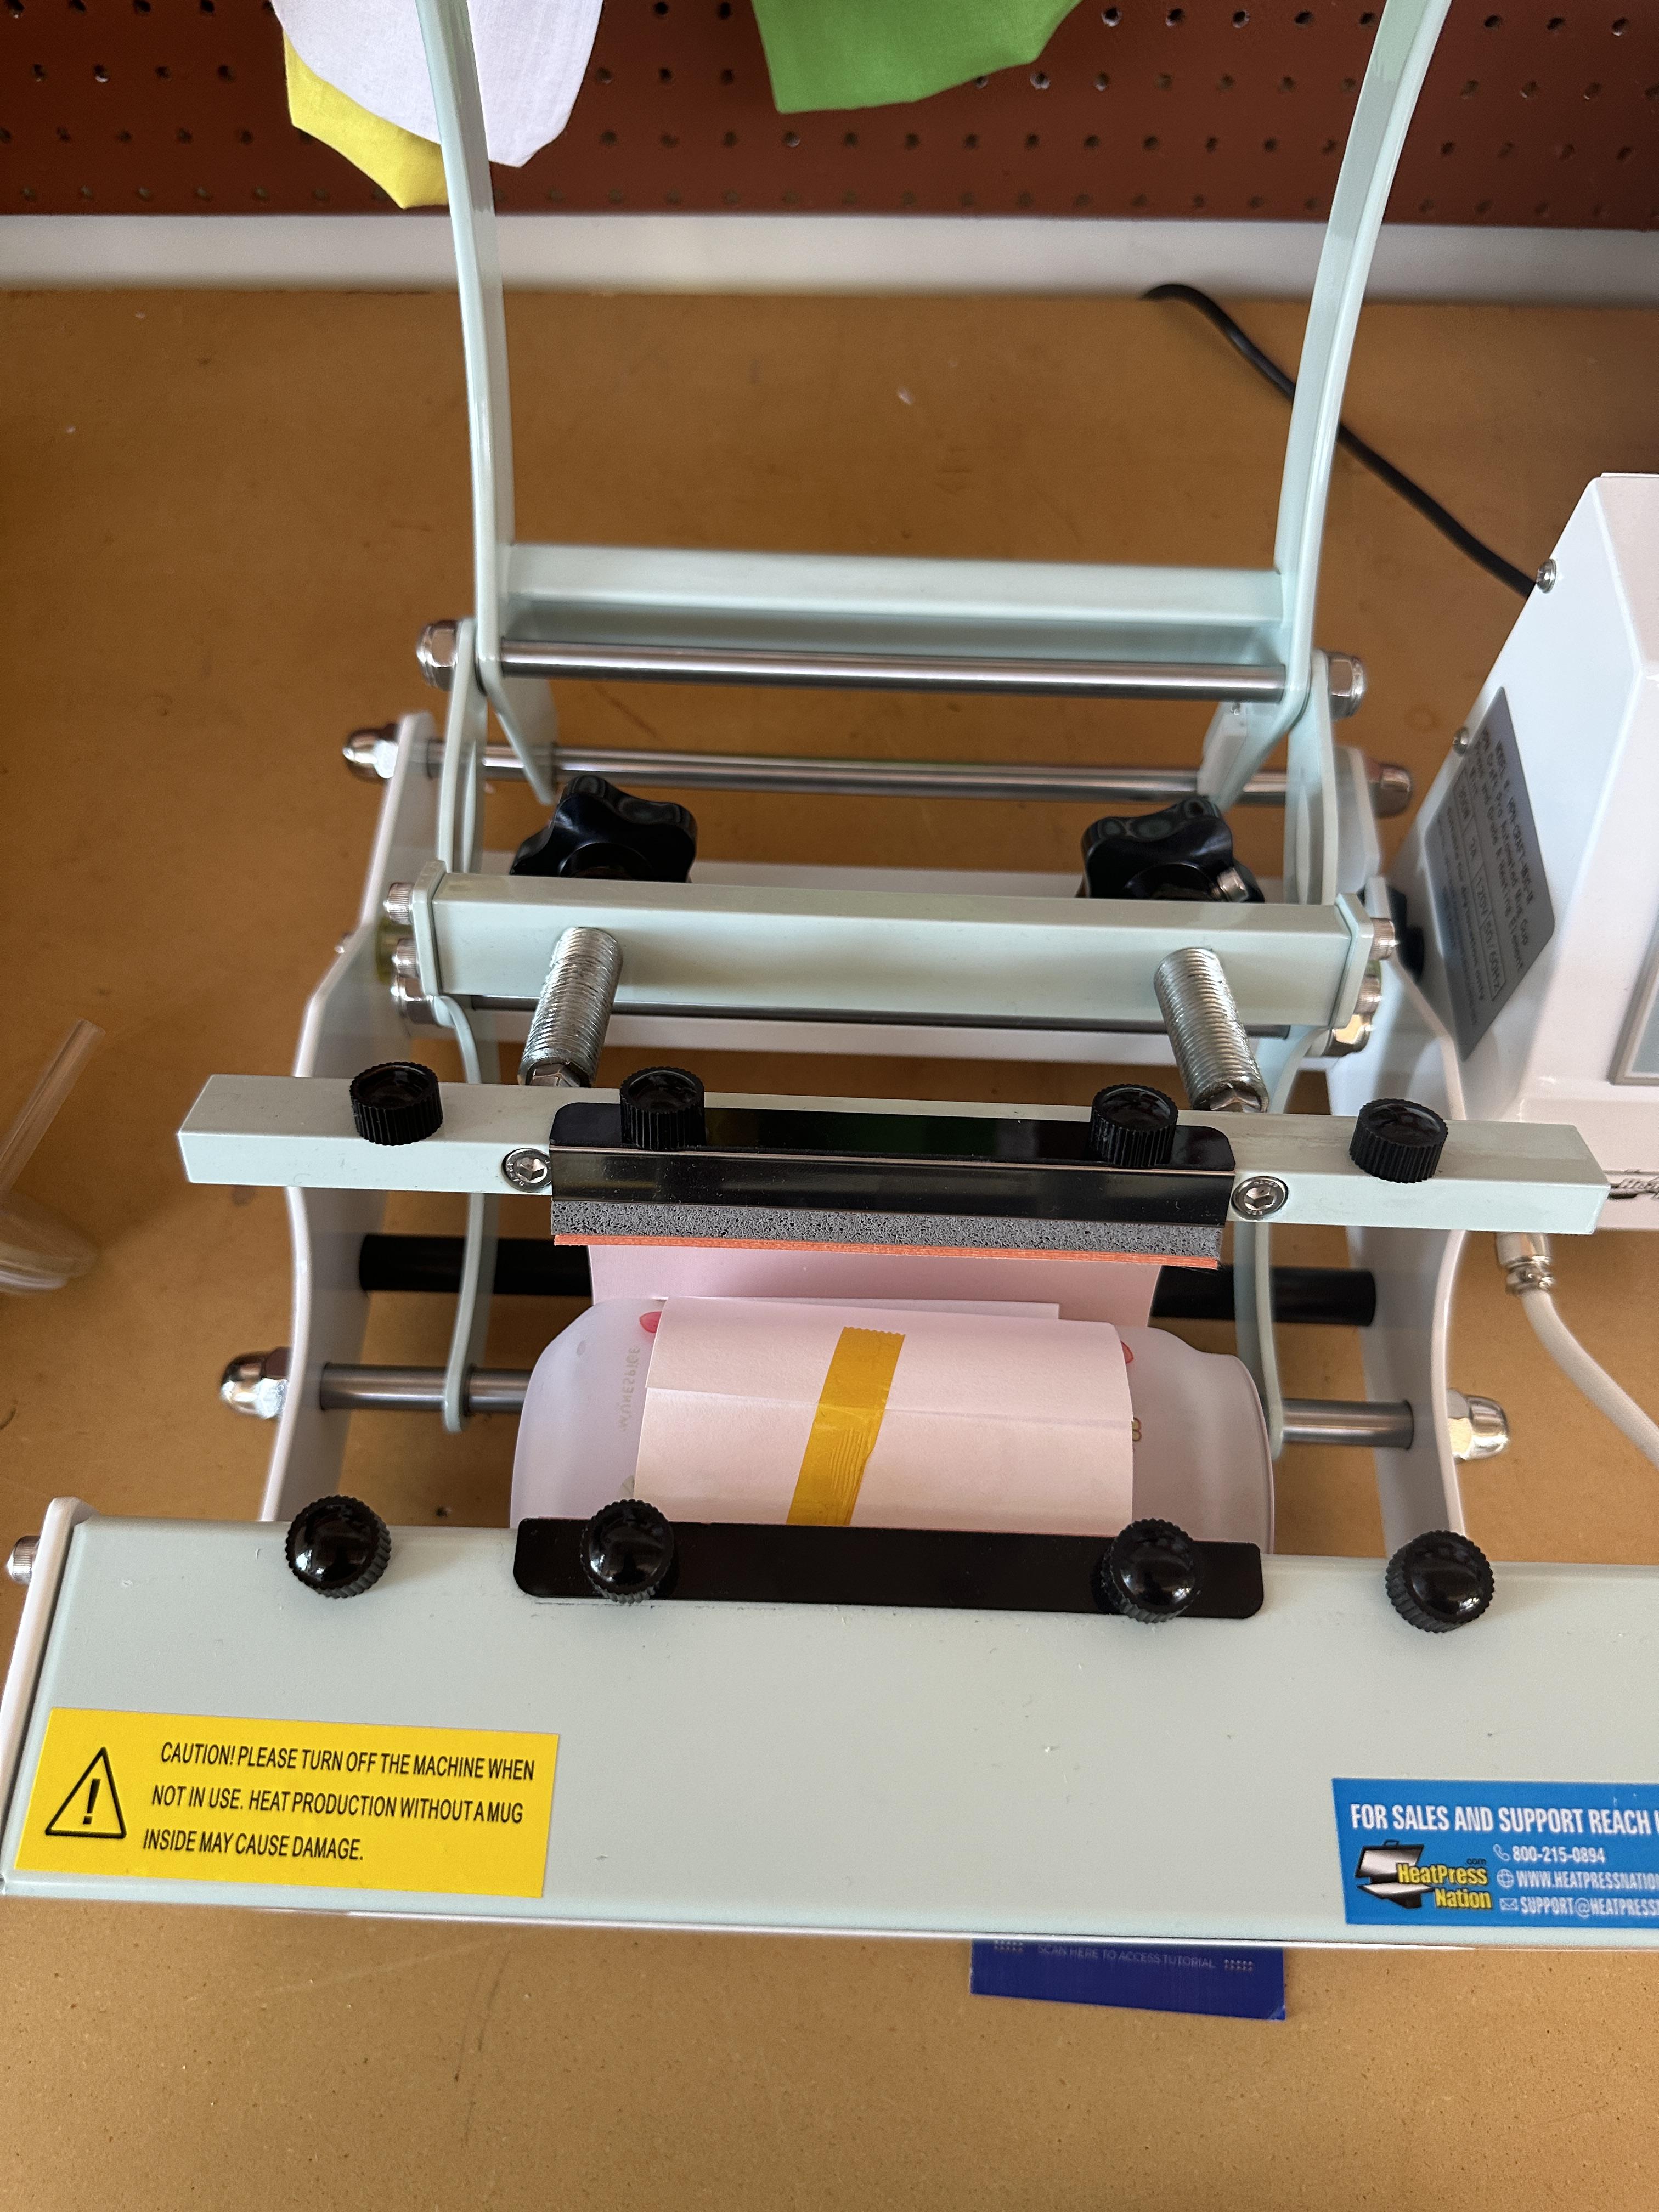
Place your cup into the tumbler and press the lever all the way forward. After the timer is finished the press will automatically open.
Carefully Remove the Cup From Press
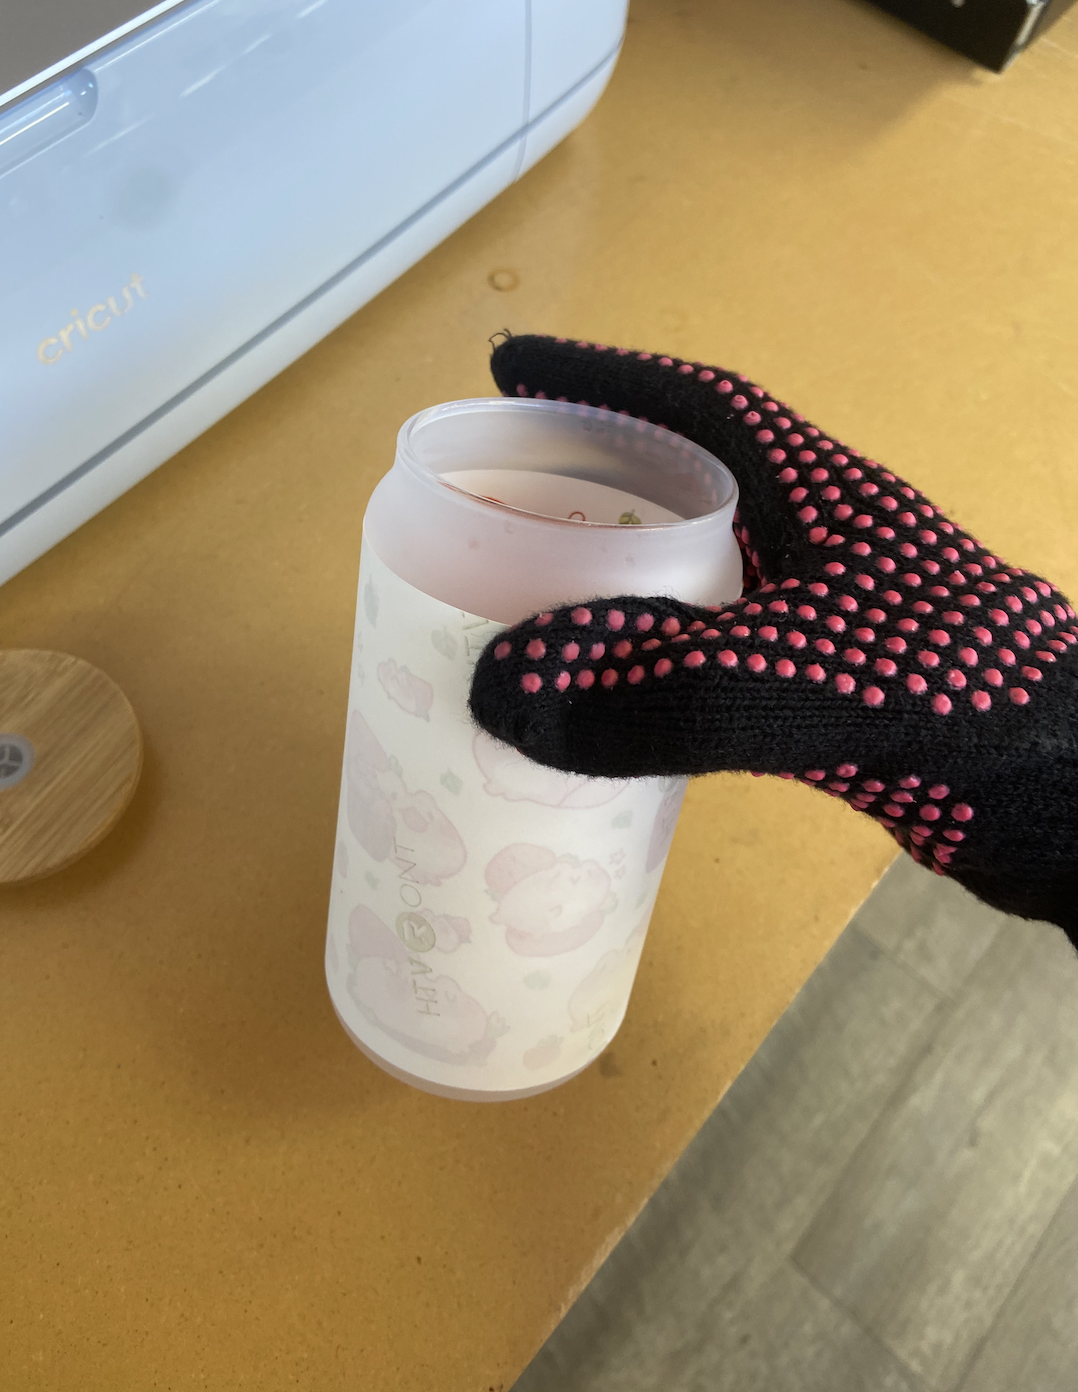
Wear our provided heat resistance gloves and quickly remove the cup from the press and set aside to cool.
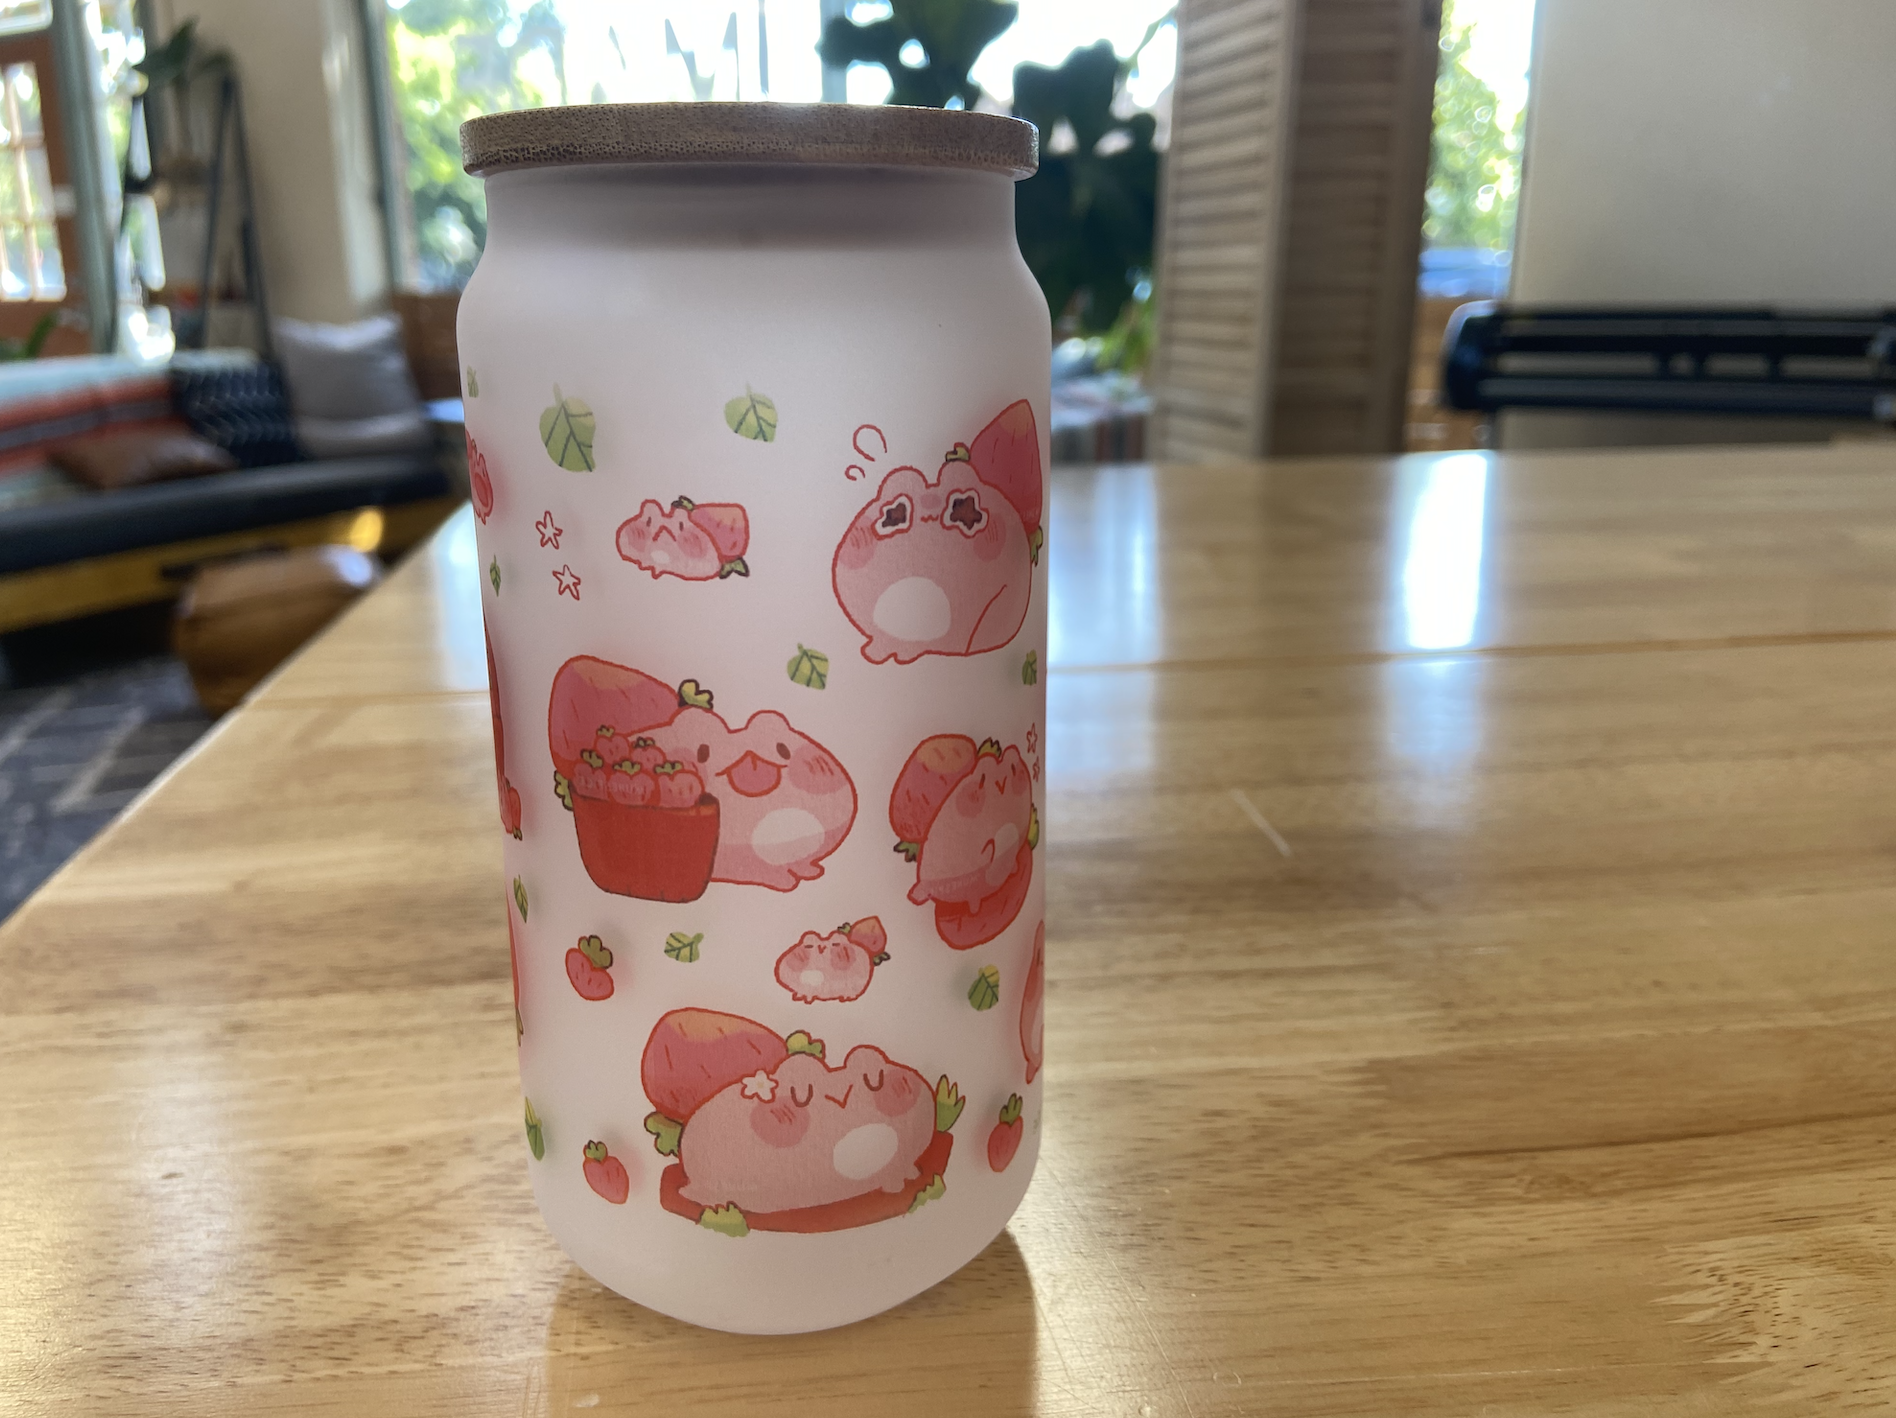
Let Cool and Take Off Sublimation Paper
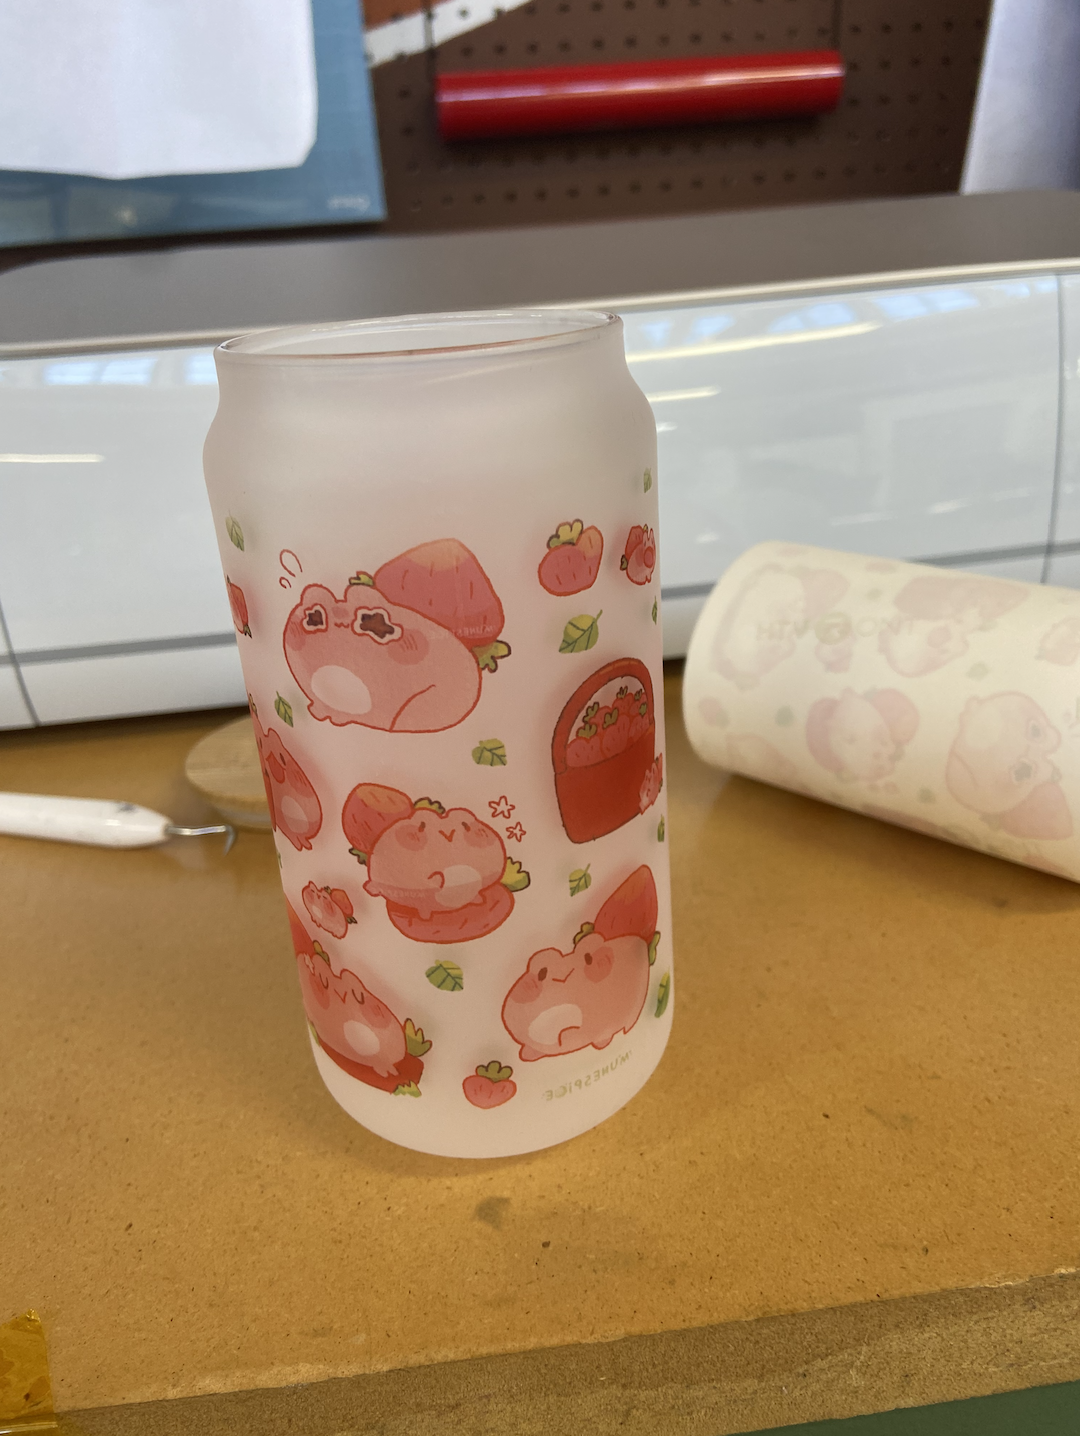
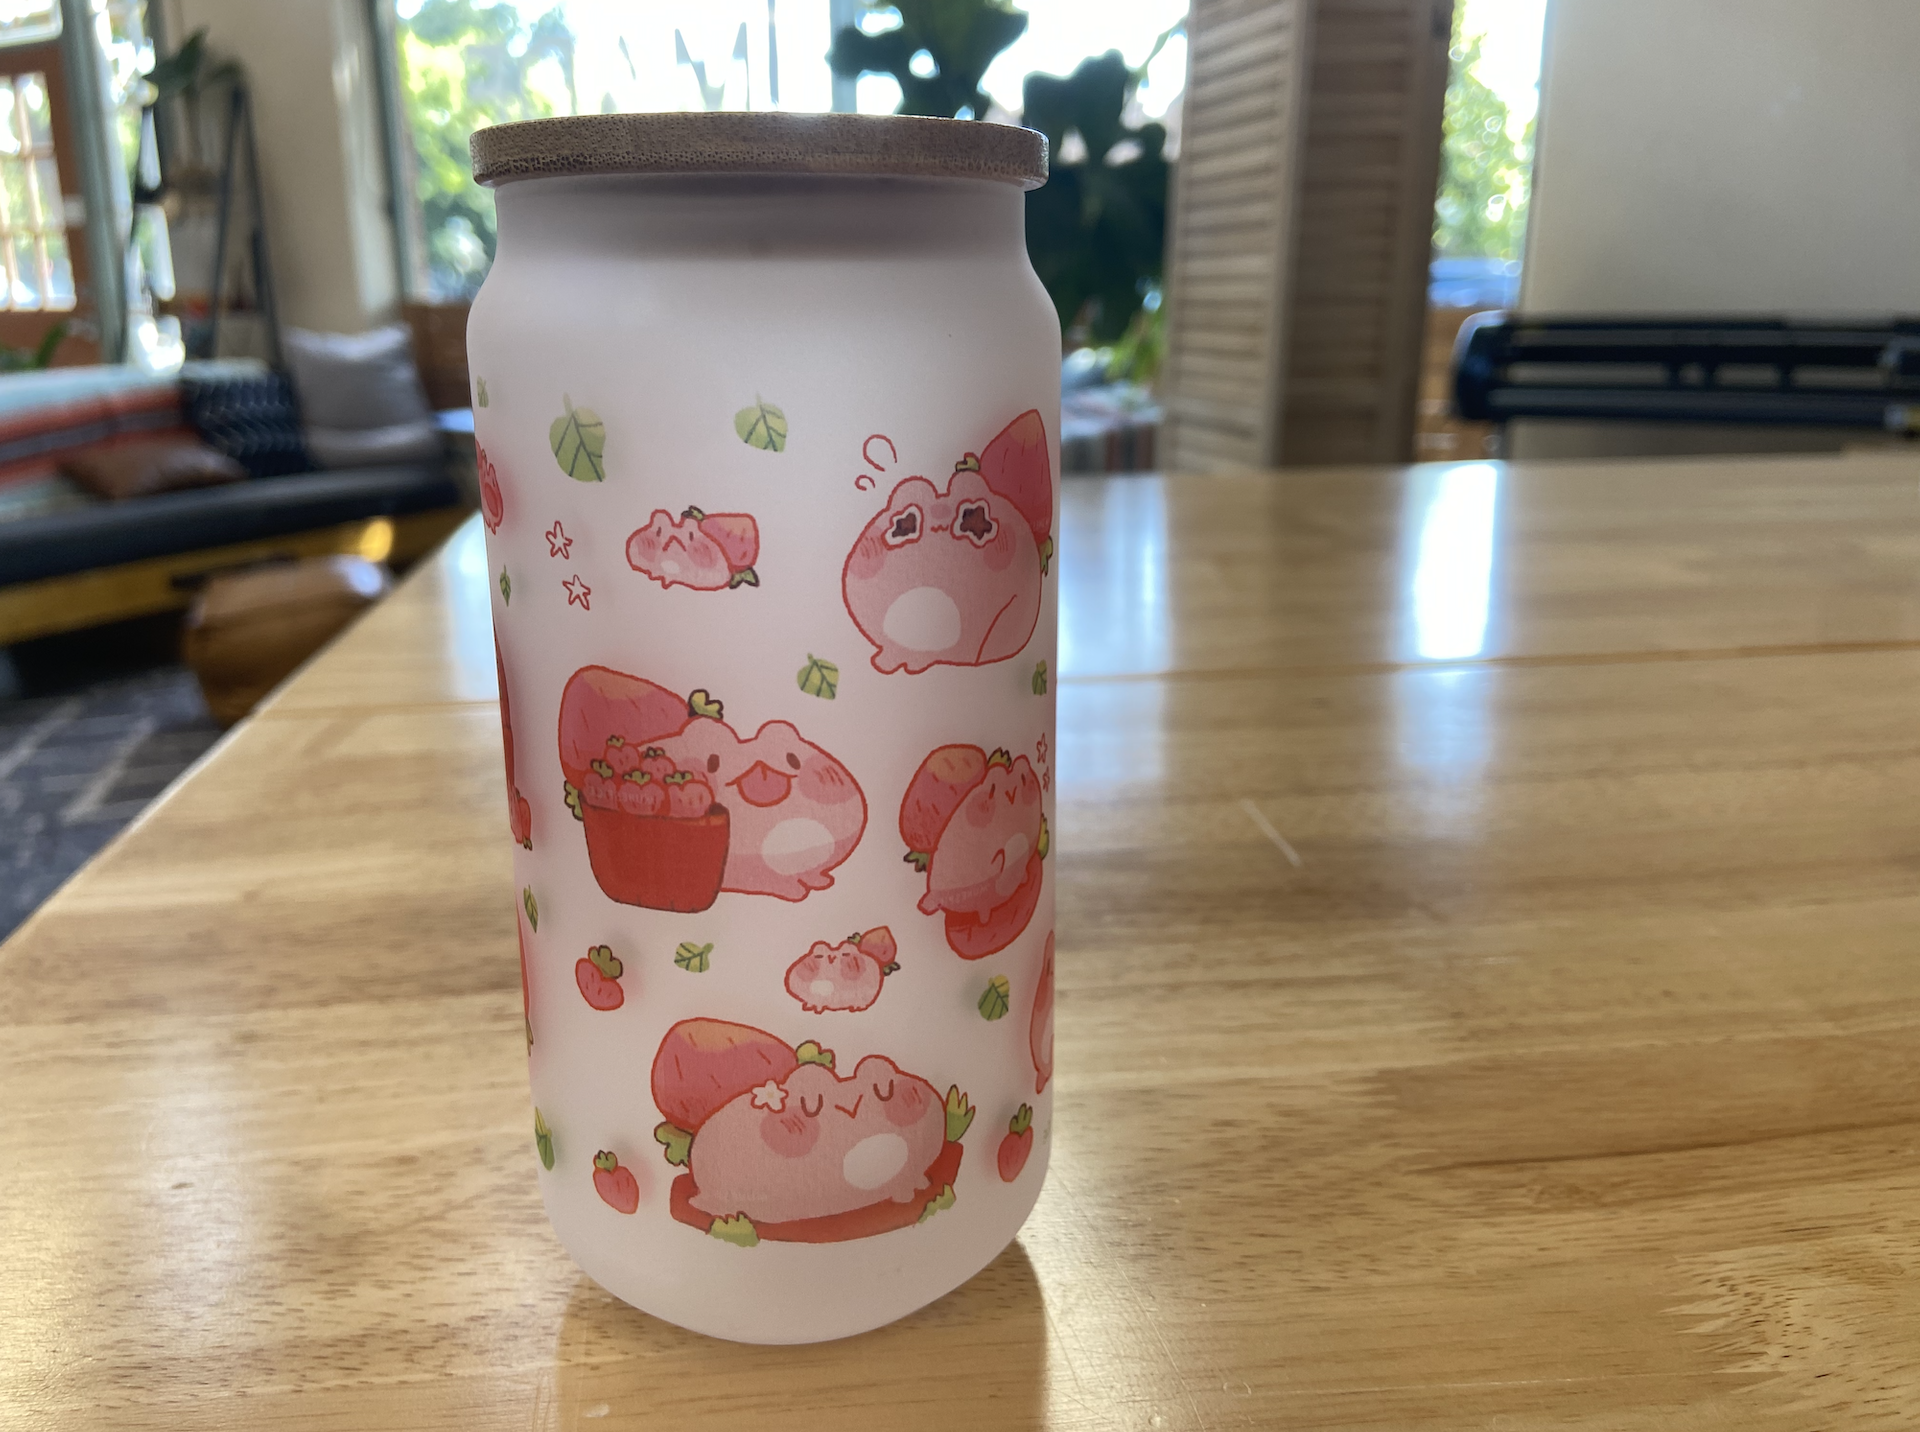
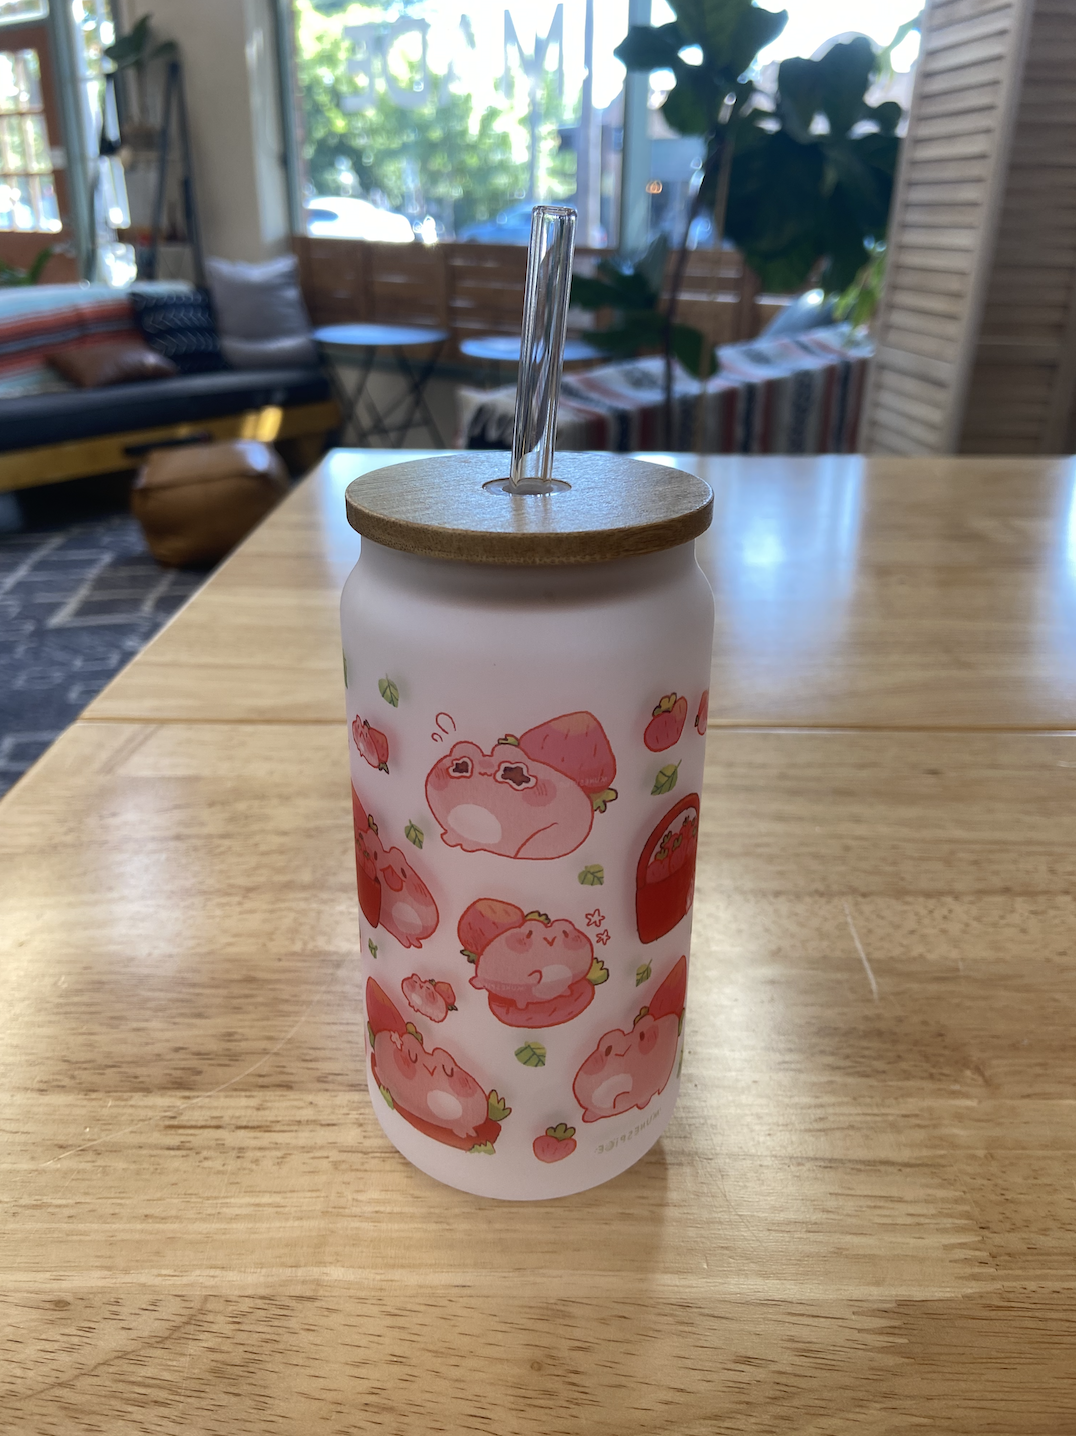
Once the glass is cooled until safe to touch, remove the sublimation paper and reveal the final product!