Using the Trinket Pro With the Neo-Pixel Stick With Visuino
by KurtRoesener in Circuits > Microcontrollers
2049 Views, 13 Favorites, 0 Comments
Using the Trinket Pro With the Neo-Pixel Stick With Visuino
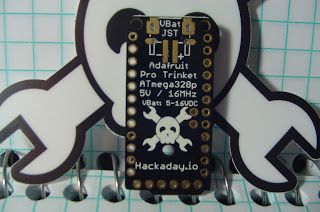
This will show Visuino fans how to modify a sample sketch for use on their own hardware.
The Parts
I got a HackaDay Trinket Pro over a year ago, played with it a bunch and it is a great little board.
You can find it here: http://store.hackaday.com/collections/development-boards/products/trinket-pro
Although it's Out of Stock as of the time of this project.
The standard Trinket Pro can be found here: https://www.adafruit.com/products/2000
While the Hackaday Trinket Pro is the 5V/16MHz, Adafruit also carries it in a 3V/12MHz version.
The last item on our list of required boards is the Neo-Pixel Stick, with 8 RGB pixels: https://www.adafruit.com/products/1426
I bought mine long before they had the RGBW ones, so if you have one of these, the white portion will not be used.
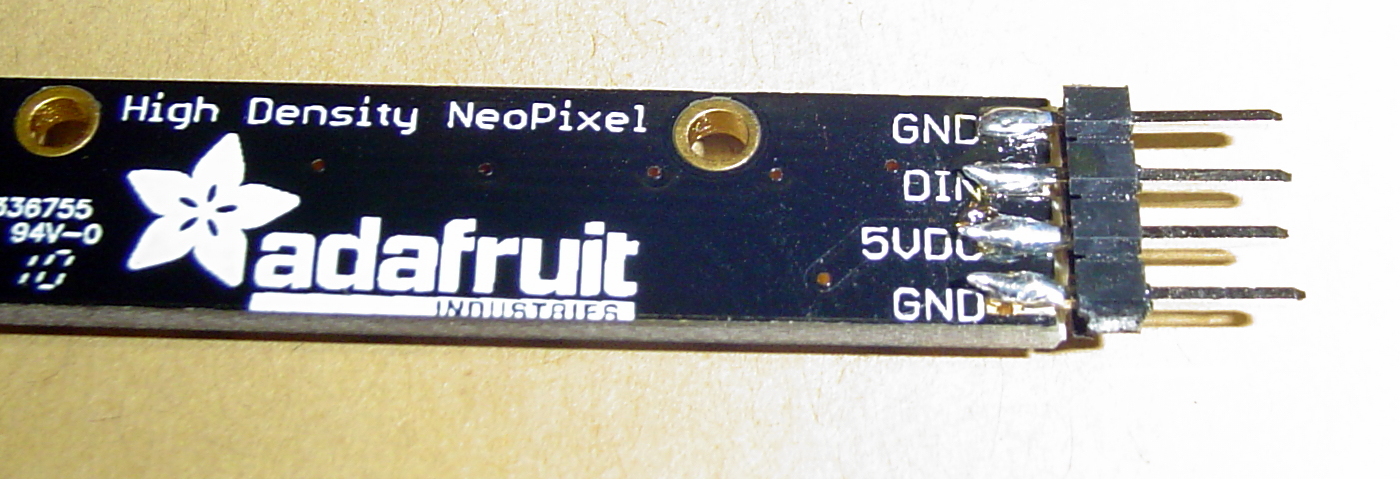
As the Picture shows I soldered a 4 male header pins onto mine so I could use a breadboard.
The Hook-Up
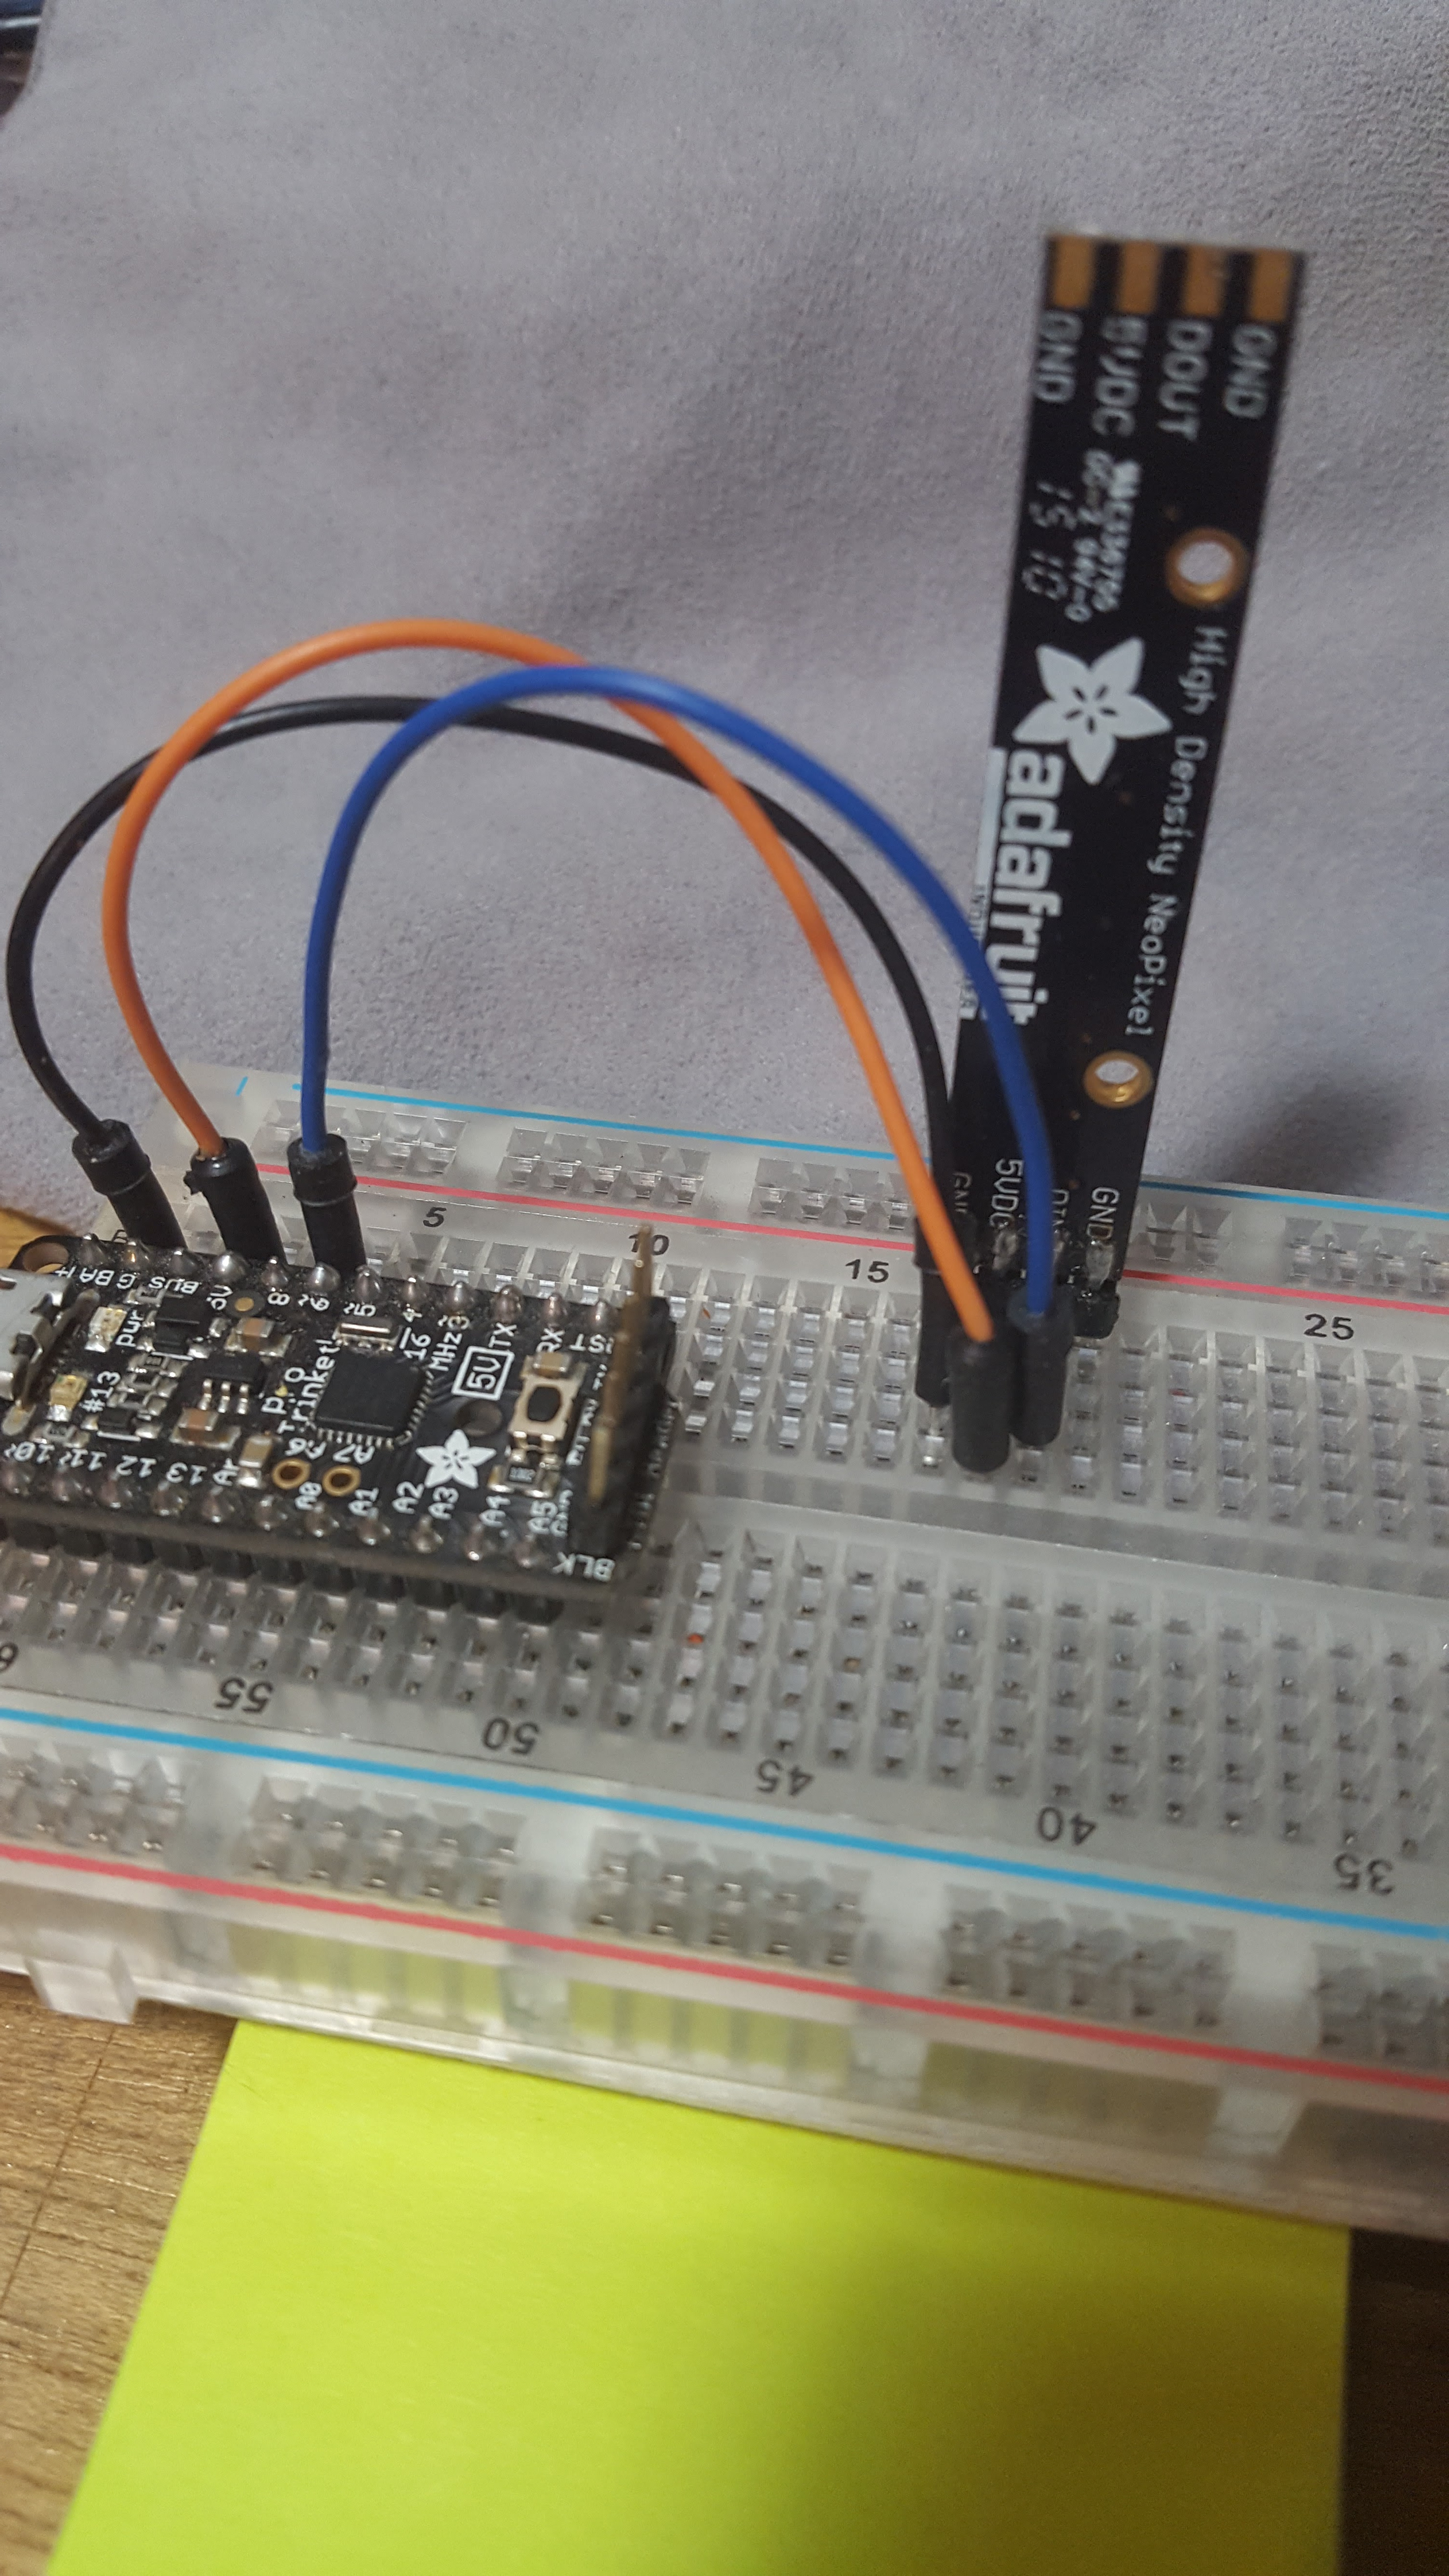
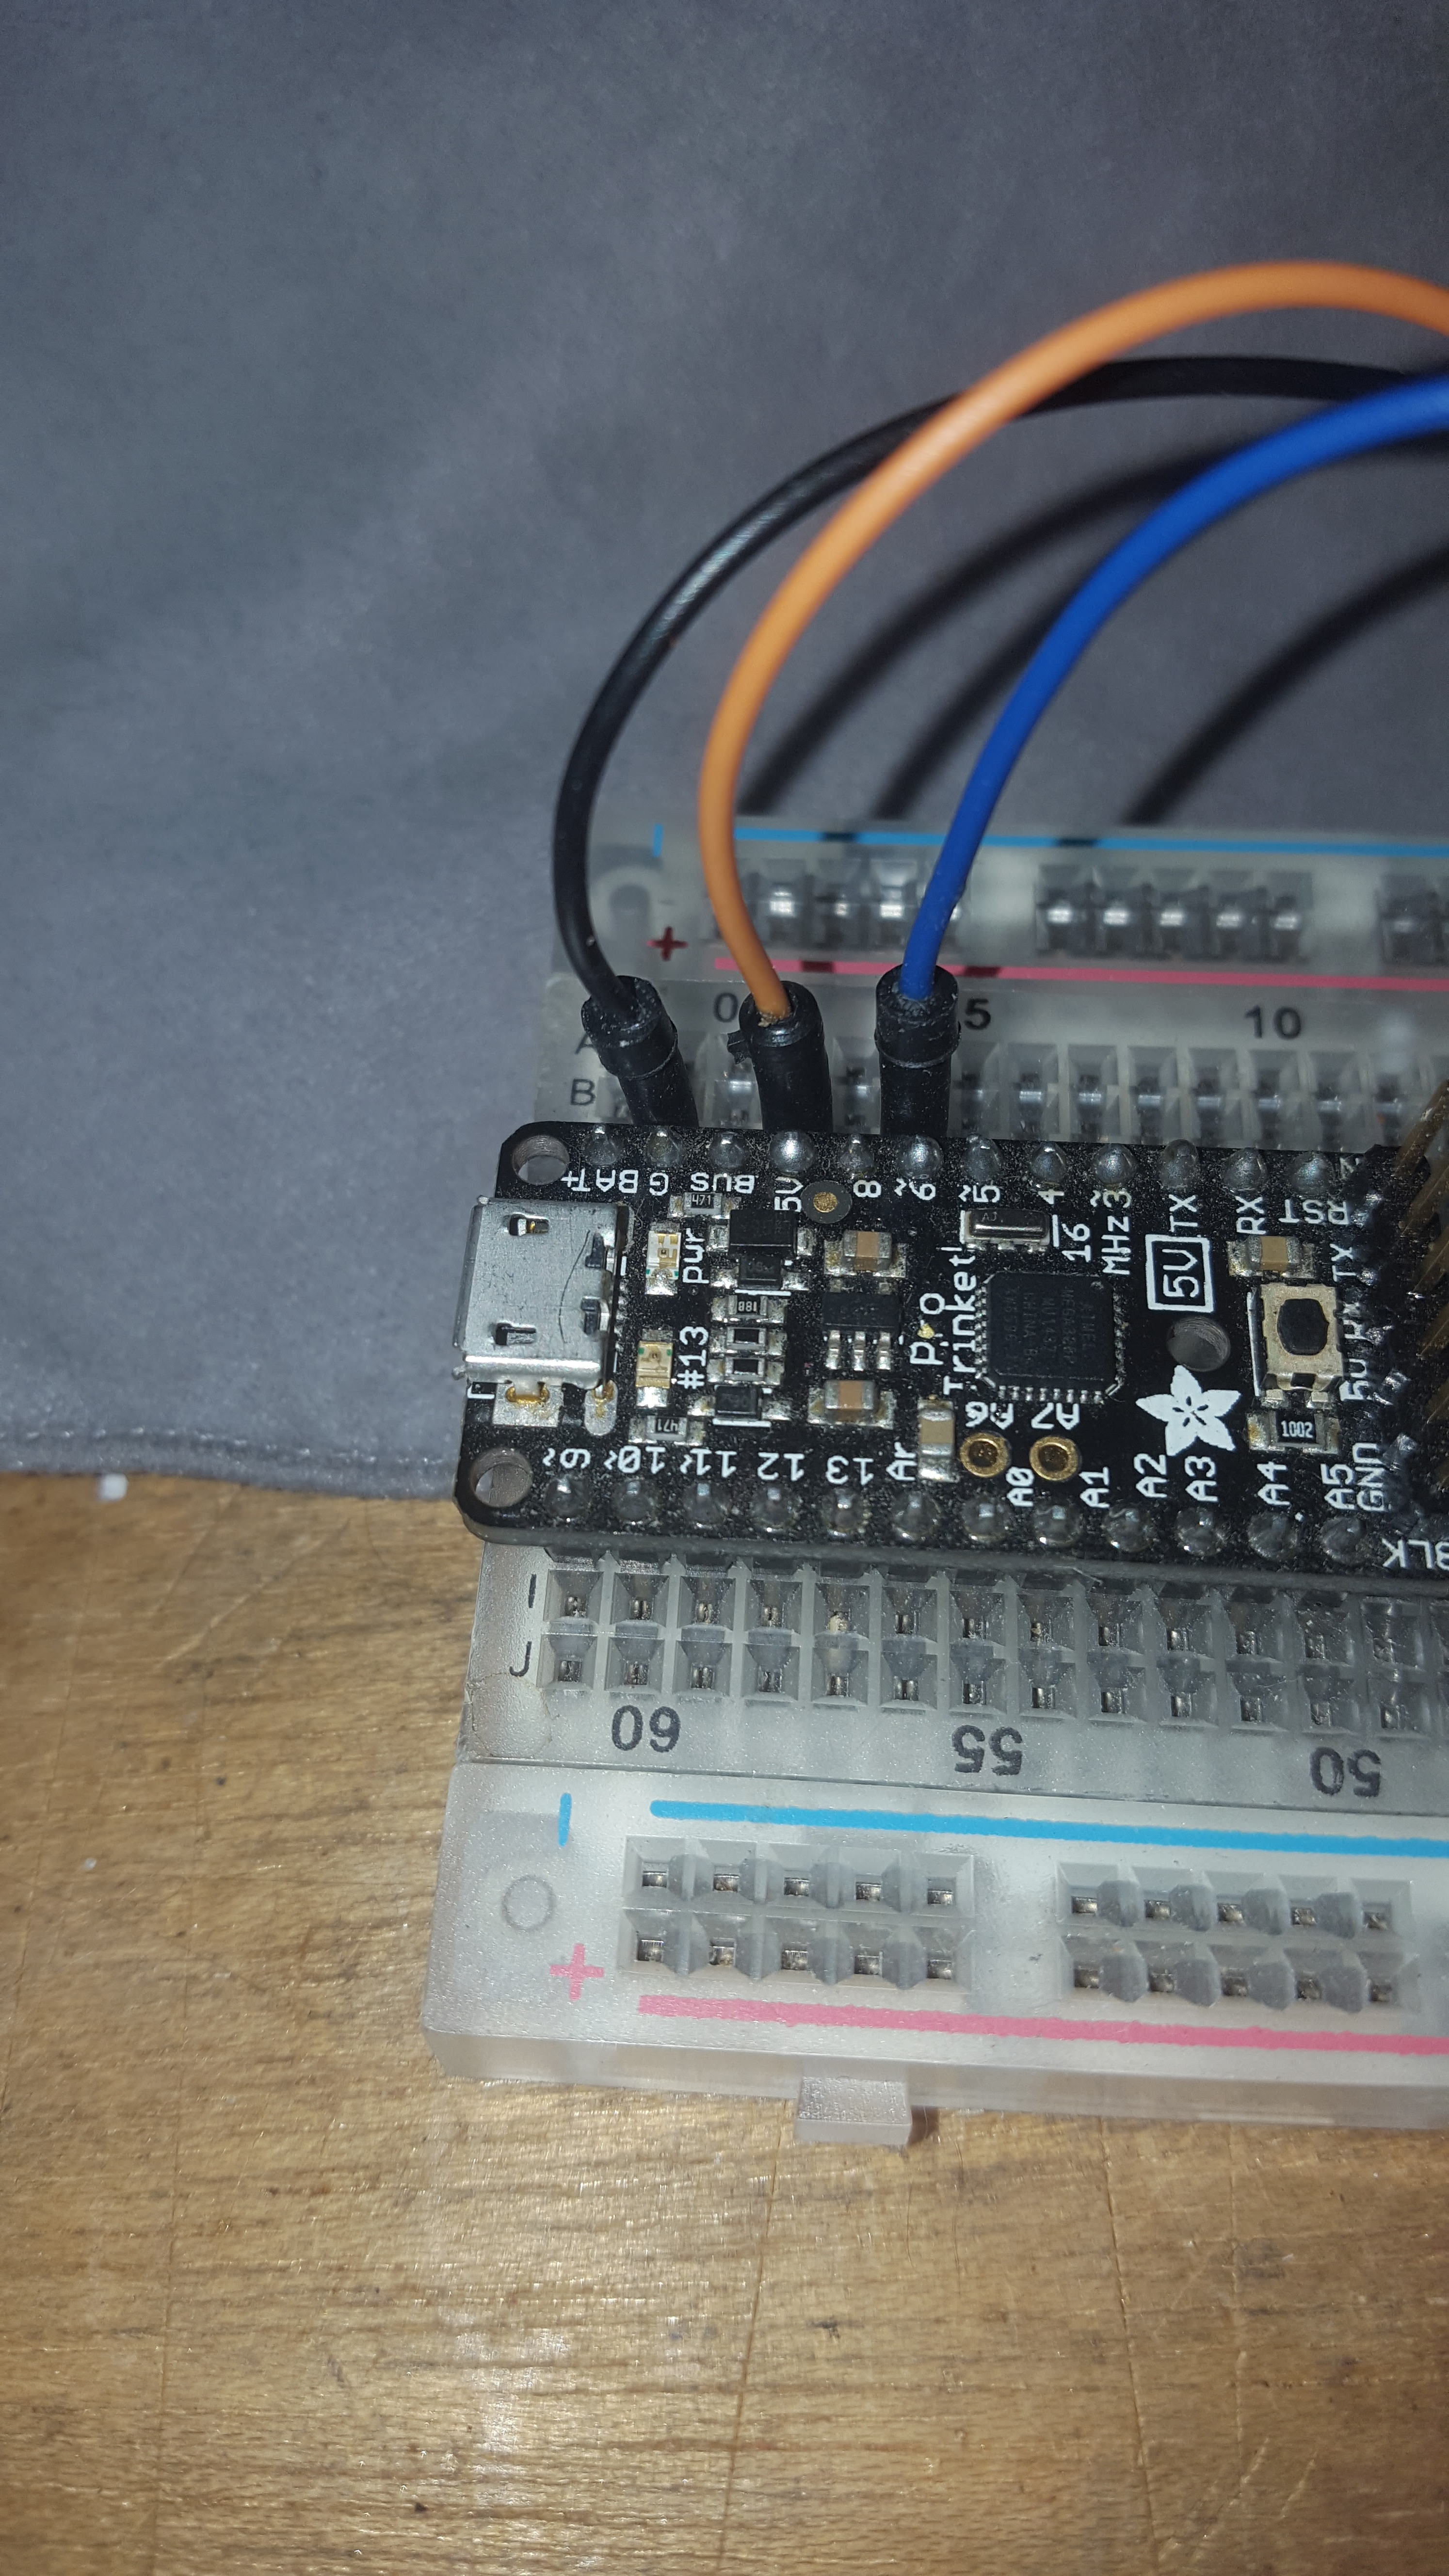
Since the Neo-Pixels only use one data line, you only need 3 wires to run long strings of them. They also run at 5V so most of the common Arduino type boards can run them, but for long strings, say 10 or more, you should have a dedicated power source. So, our little stick of 8 isn't a problem.
Picture 1 Shows the pin hook-ups on the back of the Neo-Pixel Stick, on the left is one of the GND connections, the Black jumper wire and another one is on the far right. Next to that is the 5V, the Orange jumper wire and to the right of that is the DIN [Data In], the Blue jumper wire.
Picture 2 show the same wires plugged into the Trinket and they happen to be in the same order, reading from the left, GND, 5V and DIN. [Black, Orange and Blue plugged into PIN 6]
Visuino Demo for Neo-Pixels
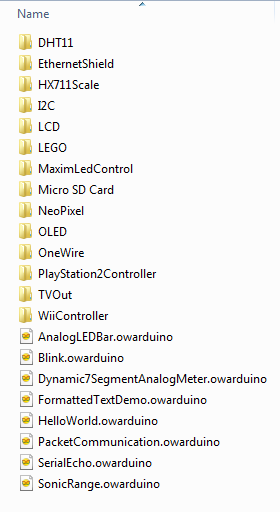
First, we need to open a Visuino Demo, so go to File and then click on Open Demo, as in Picture 1
In Picture 2 you should see the NeoPixel folder, and you should go into that, see Picture 2
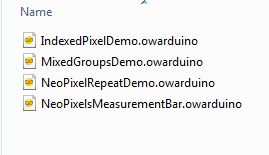
With that open Picture 3 shows the Demos that are in the Directory, next open the Measurement Bar file.
Next step will be modifying the Visuino Sketch.
Modifying the Visuino Demo Sketch
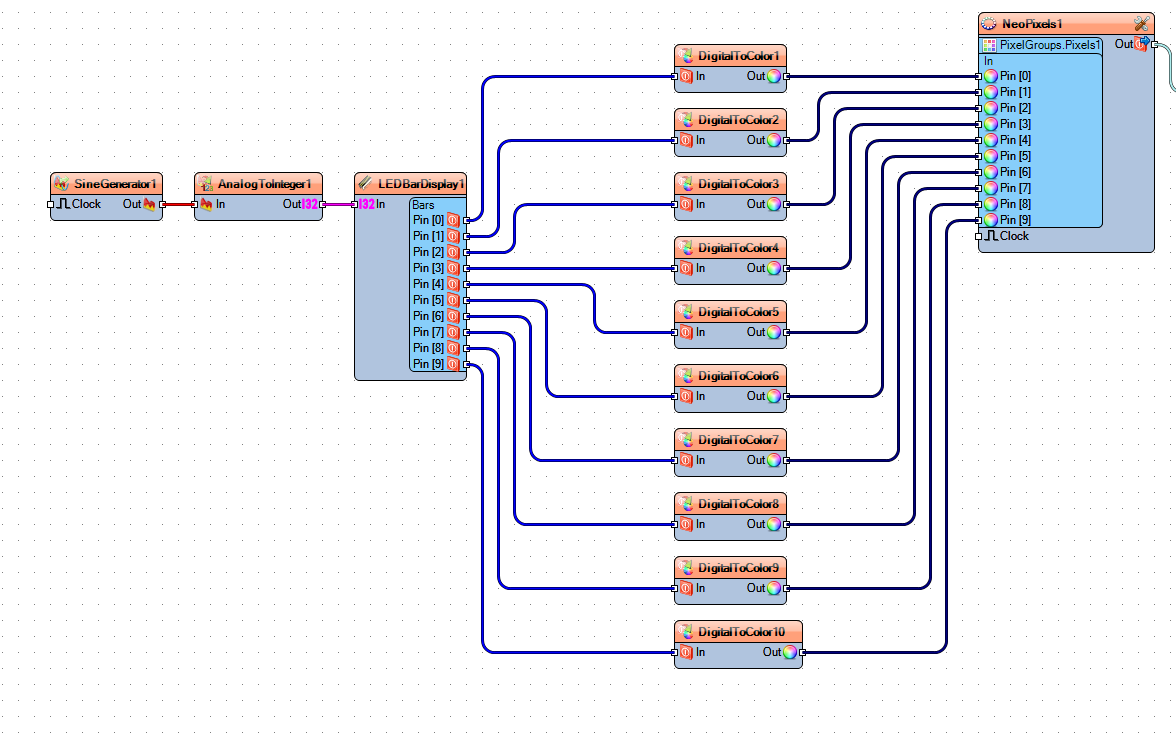
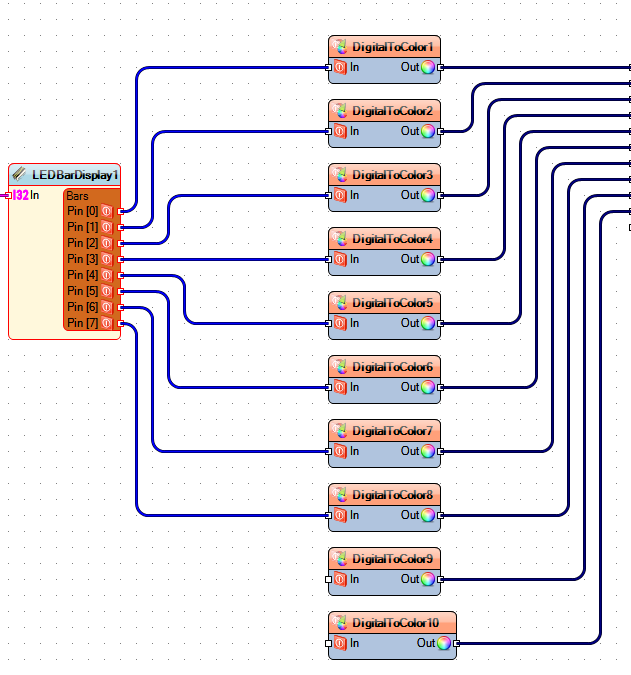
Picture 1 shows what the screen should look like, at this point.
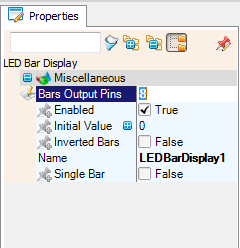
Next, click on the LEDBarDisplay component, then go over to the right and we are going to modify the Bars Output Pins and change it to "8", as seen in Picture 2
You should now see what is in PIcture 3, now we need to delete the extra 2 DigitalToColor components.
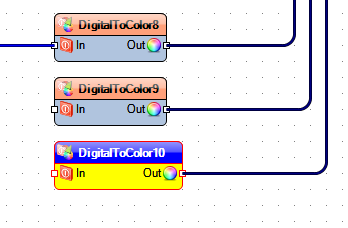
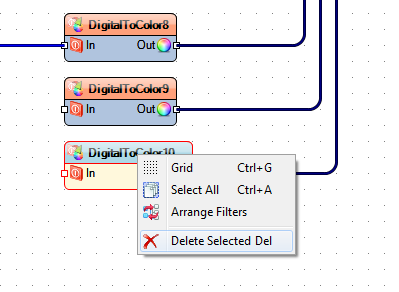
So, click on DigitalToColor10 it should look like Picture 4, then right click it to get a Menu of options.
The bottom one is Delete Selected, so click that and that component will disappear. See Picture 5.
Repeat that for DigitalToColor9.
Picture 5 shows the results of the last steps.
Now we need to change the number of pixels on the NeoPixel component, so selct it and then
Modifying the Visuino Demo Sketch - Continued
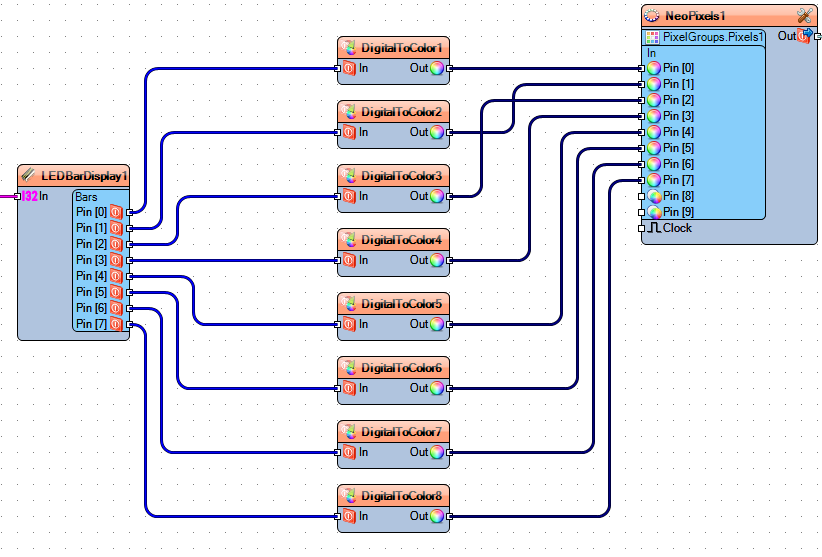
We now need to remove 2 of the NeoPixel connections from that component.
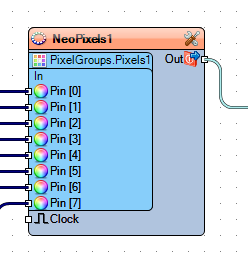
Picture 1 shows the state of the Process so far.
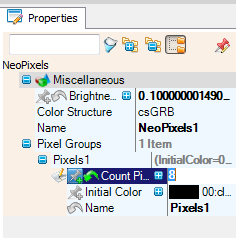
Navigate to the Properties of the NeoPixel component, after clicking on it, Picture 2 shows where we need to change the "10" to an "8" just as we did for the LEDBarDisplay. Just hit TAB to save the change.
Picture 3 shows the finished NeoPixel component.
Now we need to adjust the individual Pixels to make up for the missing 2 Pixels.
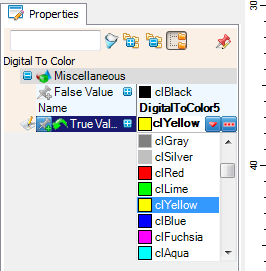
If you click on each PIxel you can see that 5 are Green, 2 is Yellow and 1 is Red. We are going to change that to be 4 Green 2 Yellow and 2 Red. Click on the 5th Pixel down and change the color to Yellow, as shown in Picture 4.
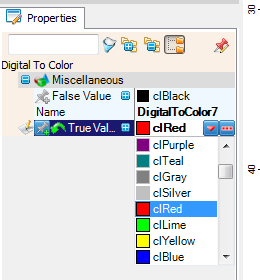
Now click on the 7th Pixel down and and change it to Red, as shown in Picture 5.
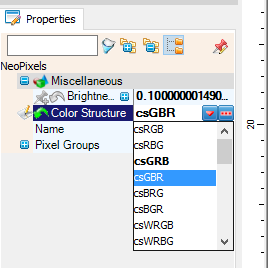
Next, you'll need to adjust the ColorStructure on the NeoPixel, once again in the Properties for the NeoPixel look for that heading and use down the arrow so you can reveal the options here.
Since the update to Visuino for the RGBW pixels I found found the need to adjust these options for several NeoPixels that I have. For the NeroPixel Stick that is just RGB I had to use GBR. You will need to test some of those out until you find the right one.
Modifying the Visuino Demo Sketch - Last Step
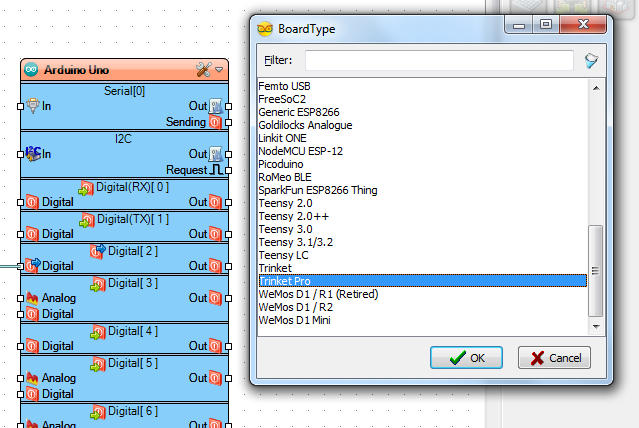
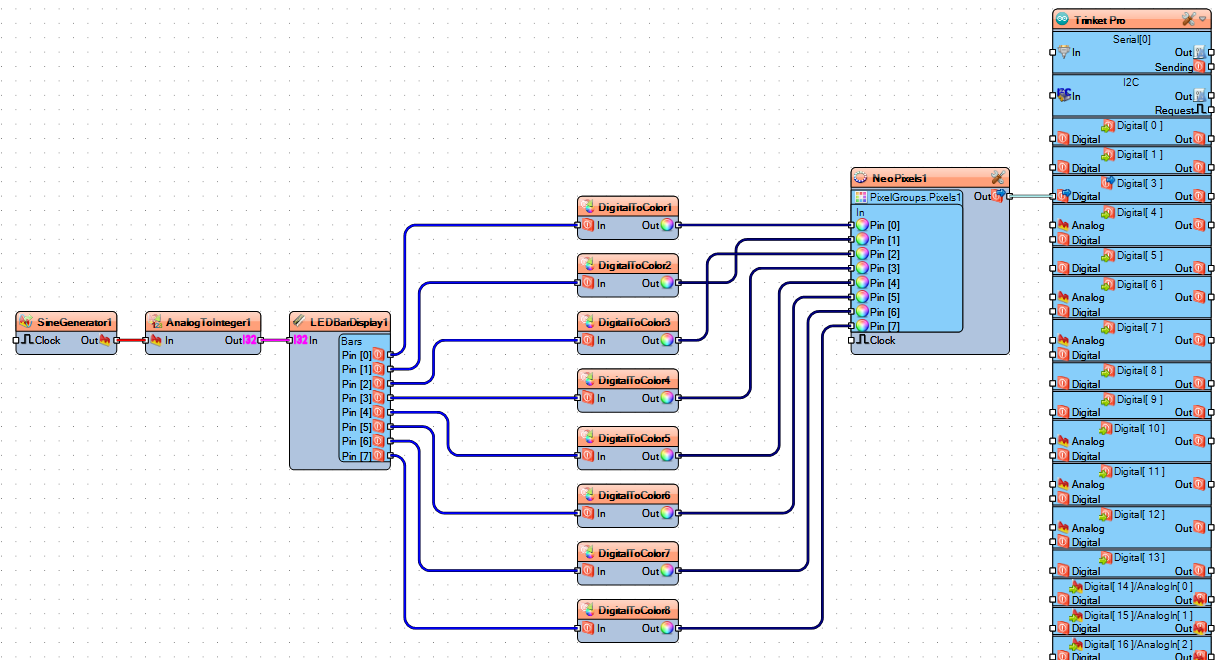
Last Step, Choosing your Arduino type board, You can double-click on the top bar of the microcontroller and it will bring up, the Boards Selection window, like Picture 1. From there choose the board you are going use here and then click on "OK" I choose the Trinket Pro, but just about any board on there should work.
Here is the completed Visuino sketch and a short video of it running. Picture 2.
You can find the completed Visuino file below. Now enjoy the show.