Using the Phone As Wireless IMU to Rotate My Camera Using Raspberry Pi
by AbhiramS2 in Circuits > Raspberry Pi
3646 Views, 4 Favorites, 0 Comments
Using the Phone As Wireless IMU to Rotate My Camera Using Raspberry Pi
![20170128_193737[1].jpg](/proxy/?url=https://content.instructables.com/FV6/PMJR/IYKFTVIU/FV6PMJRIYKFTVIU.jpg&filename=20170128_193737[1].jpg)
Hi,
My parents Skype us regularly to see our 1 year old. I attach a webcam to my laptop and use it for Skype. Every time my 1 year old moves from the field of view, we end up physically moving the webcam to bring her in focus. Sometimes this can be tedious. So, I created a way to control the webcam using my phone. This way, I can turn the webcam from anywhere in the house and bring the subject in focus. Hope you will like this project and feedback will be appreciated.
To accomplish this, I rotate the phone and the sensor data in the phone (accelerometer and gyroscope) is used to control the DC motor attached to raspberry pi. The camera is mounted on the DC motor. As the sensor information is sent through UDP to raspeberry pi, the python code recognizes the movement and turns the DC motor either clockwise or counter clockwise. The webcam is attached to the laptop that has Skype and DC motor to raspberry pi.
Setup Raspberry Pi With Motor HAT

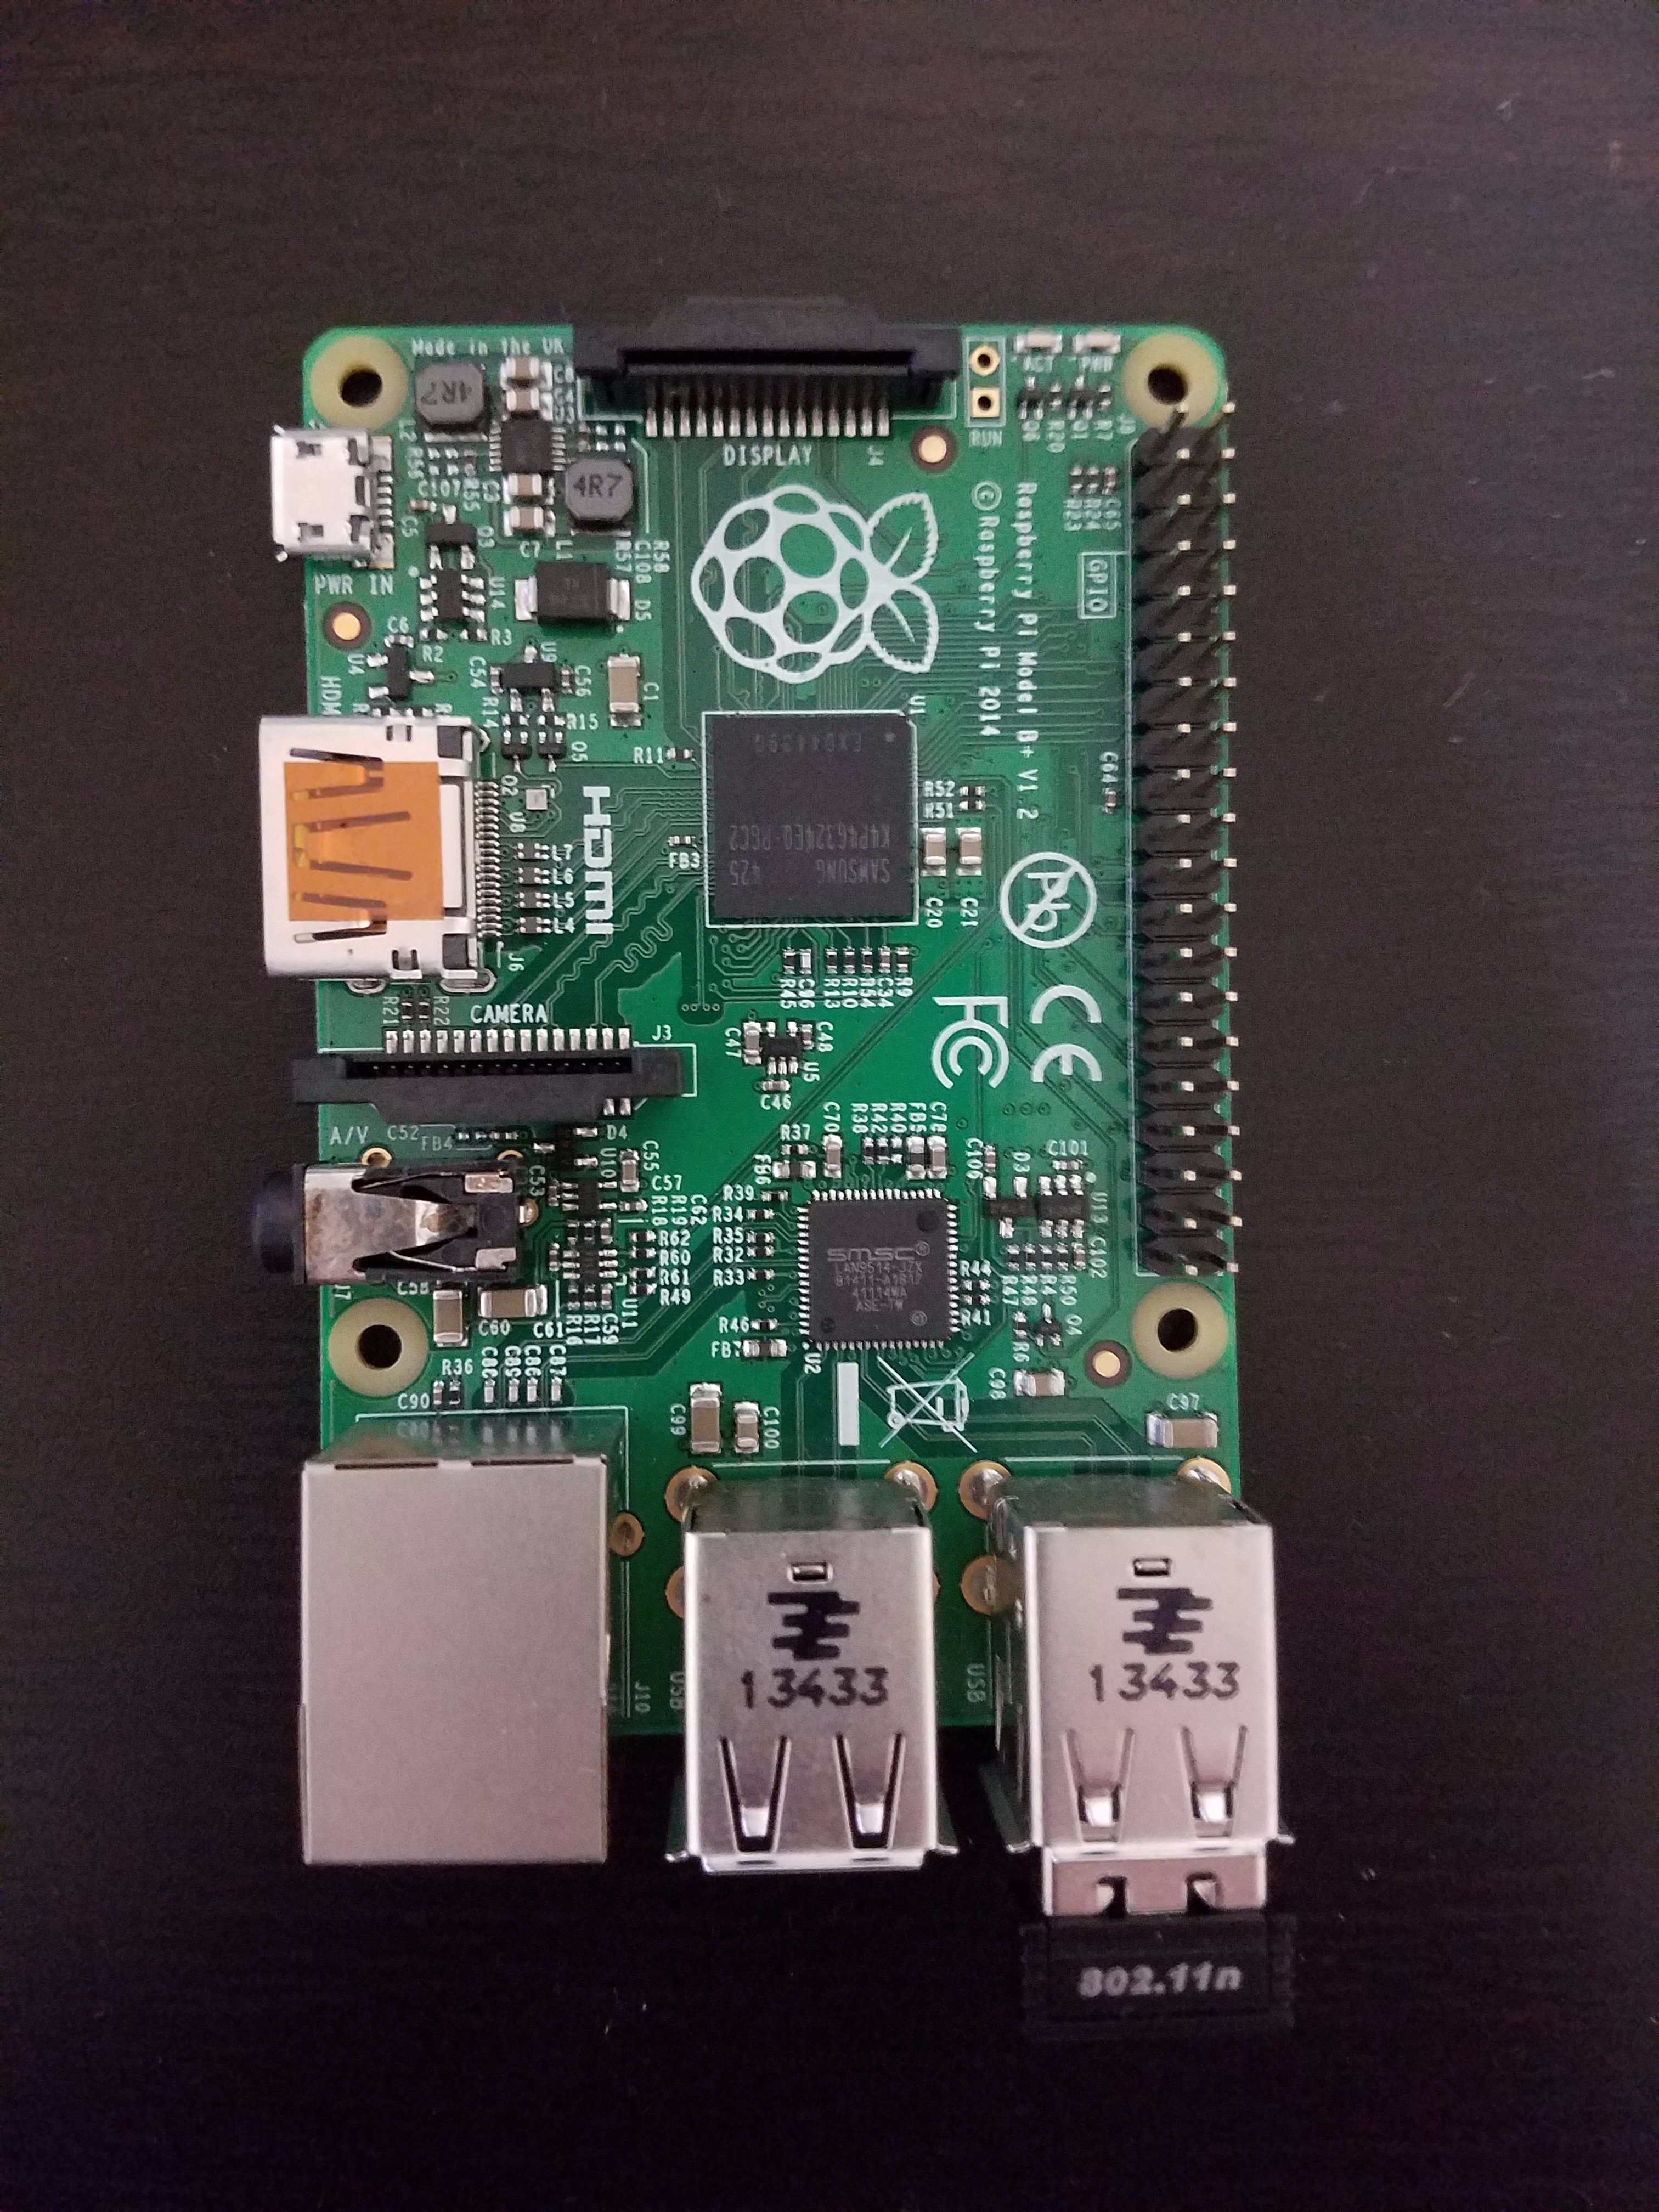
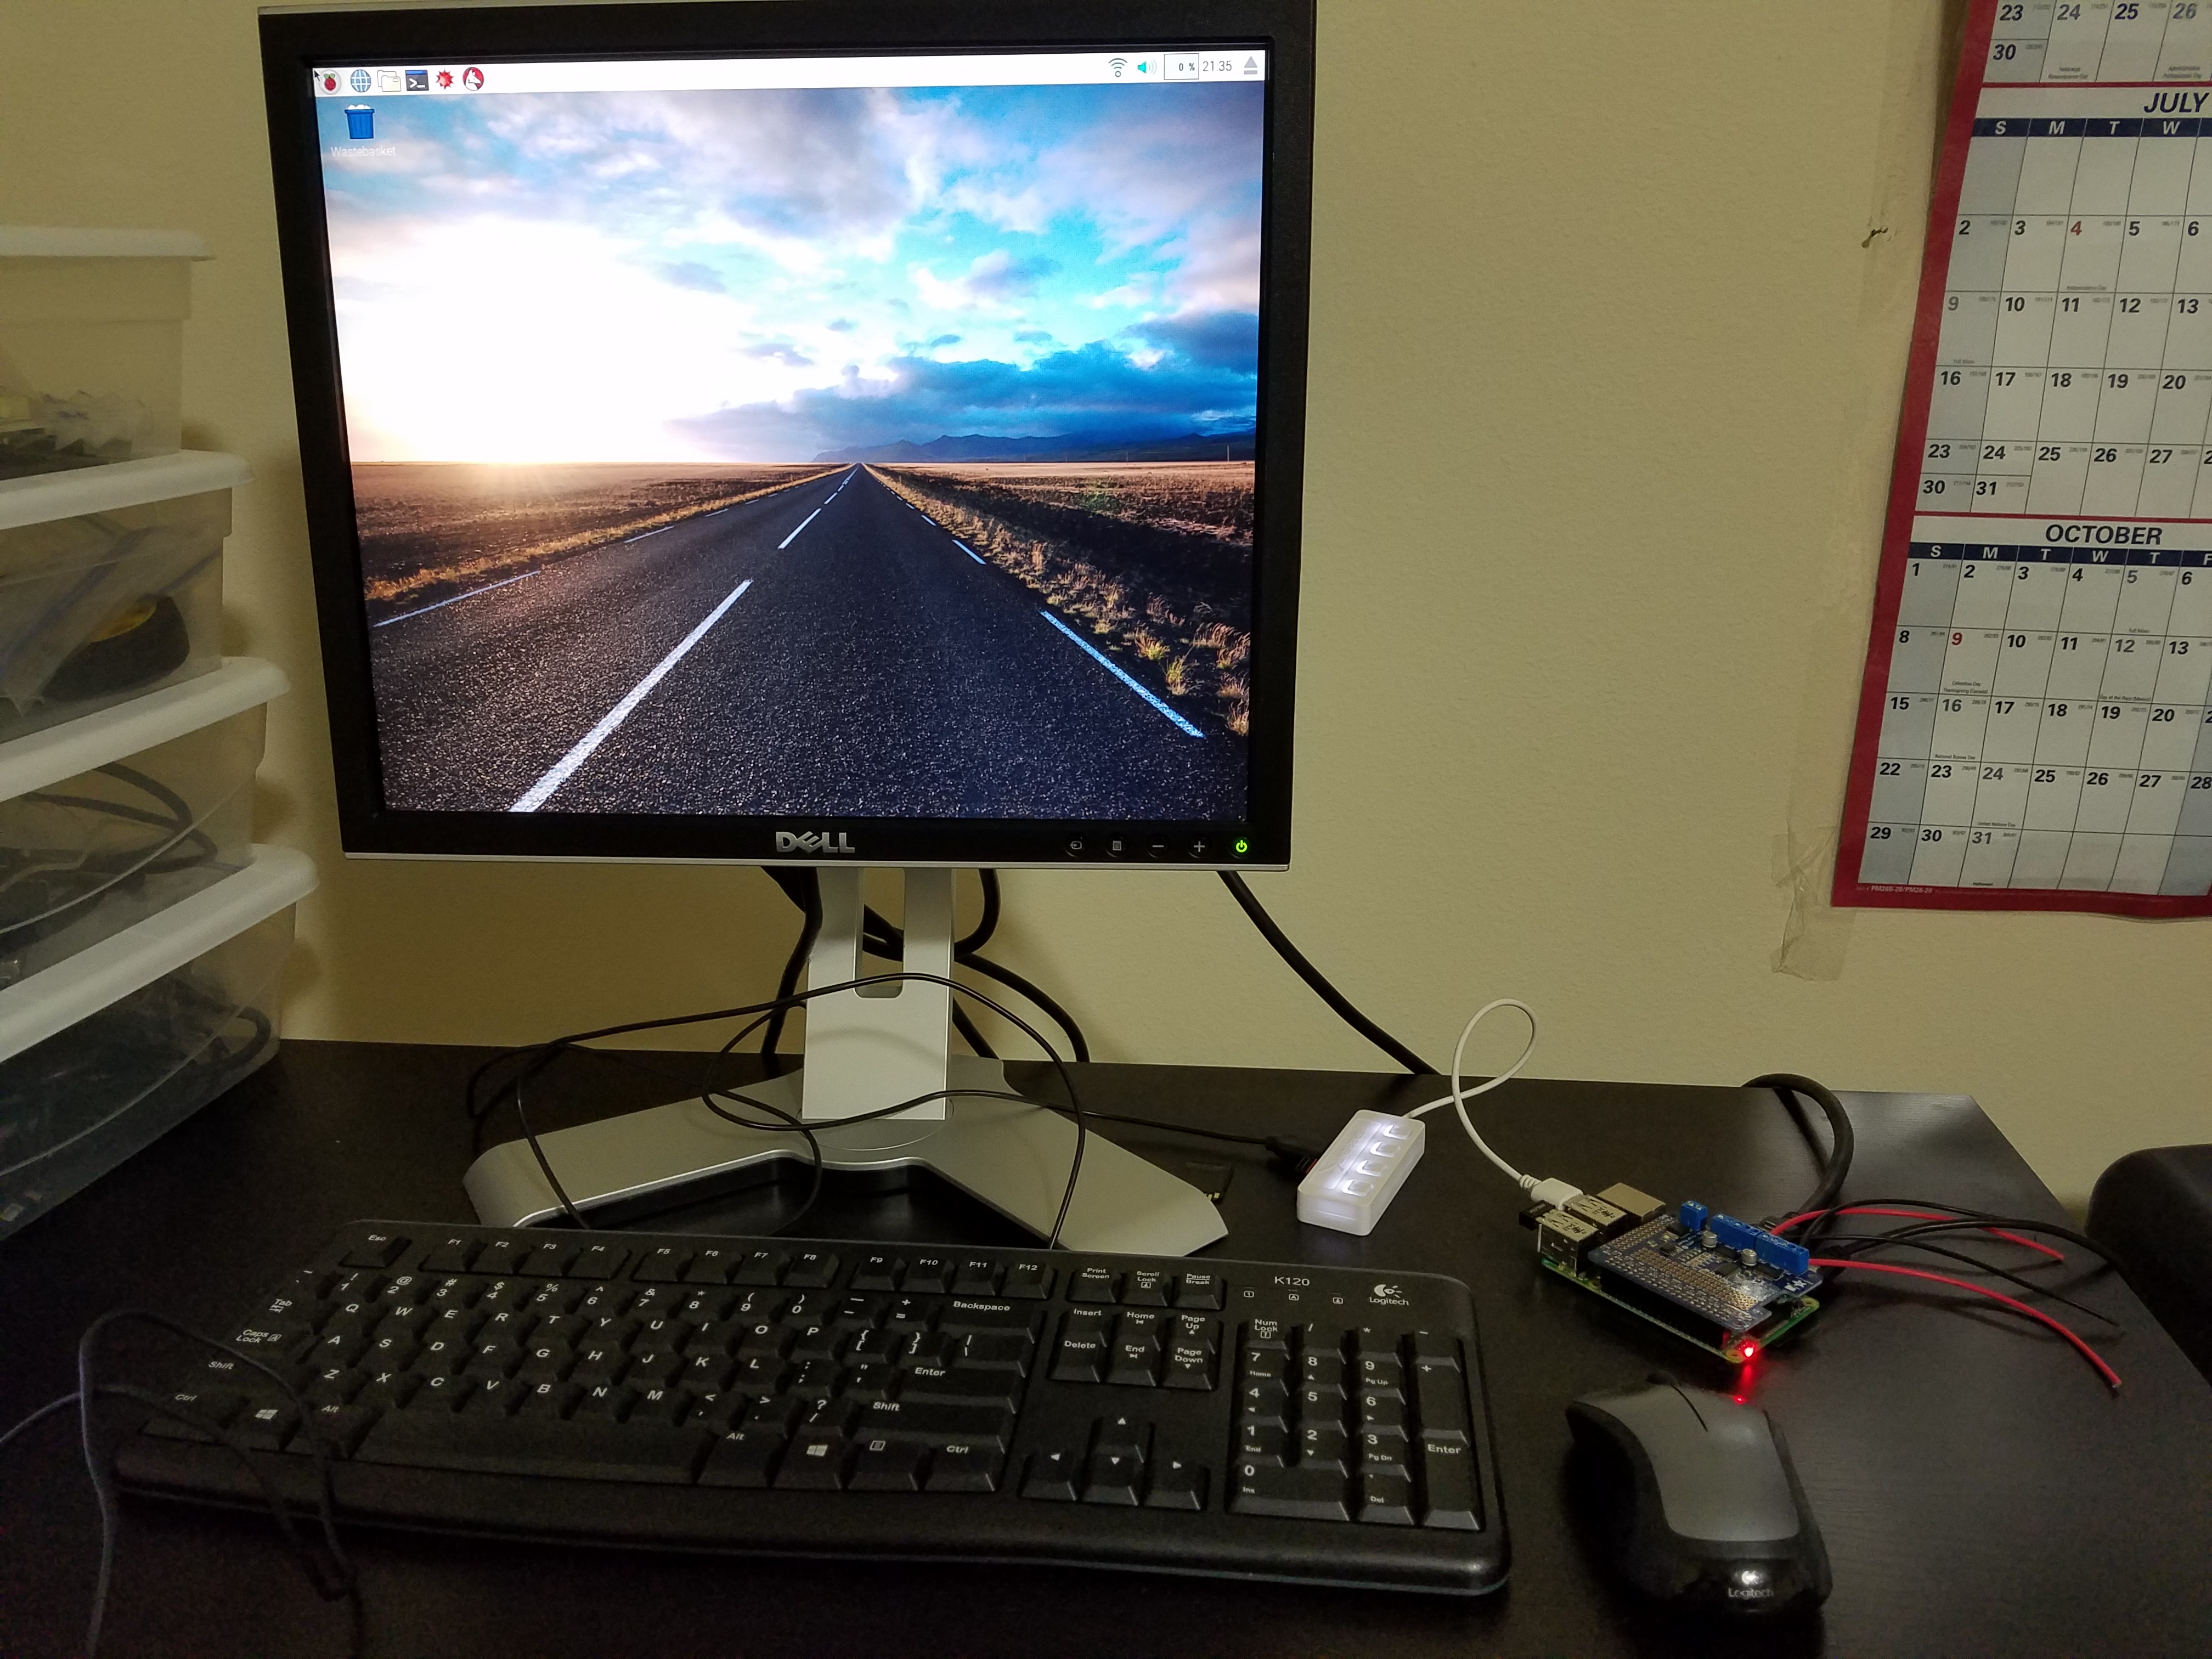
The hardware needed for this project:
RPi Model B+ (other models should also work).
MotorHat Controller. You can buy this from adafruit for about $25. Works best with RPi Model B+ as the pin header on the HAT aligns with the GPIO pins on the B+.
External power source to run the DC motor. About 5V power is sufficient to run the motors.
DC motor to turn the camera. Stepper should be fine as well.
Webcam. I used a logitech camera.
Next is setting up the Raspberry Pi.
The raspeberry Pi needs to be set up with Rapbian Pixel. You can download the image from raspberrypi.org. Next, install software for MotorHAT controller. Installation is simple. Follow the commands below to install MotorHAT.
sudo apt-get update
sudo apt-get upgrade
git clone https://github.com/adafruit/Adafruit-Motor-HAT-Py...
cd Adafruit-Motor-HAT-Python-Library
sudo apt-get install python-dev
sudo python setup.py install
Now, the MotorHAT is installed and ready. The motorhat can control 4 DC Motors or 2 stepper motors but not servo motors. I used a DC motor. The motor hat needs an external power supply. I used a 6V (4 1.5 in series) power source to control my DC motor. The motorHAT comes with examples to control DC and stepper motors. They are in the examples folder.
Attach DC Motor and Power on the MotorHAT
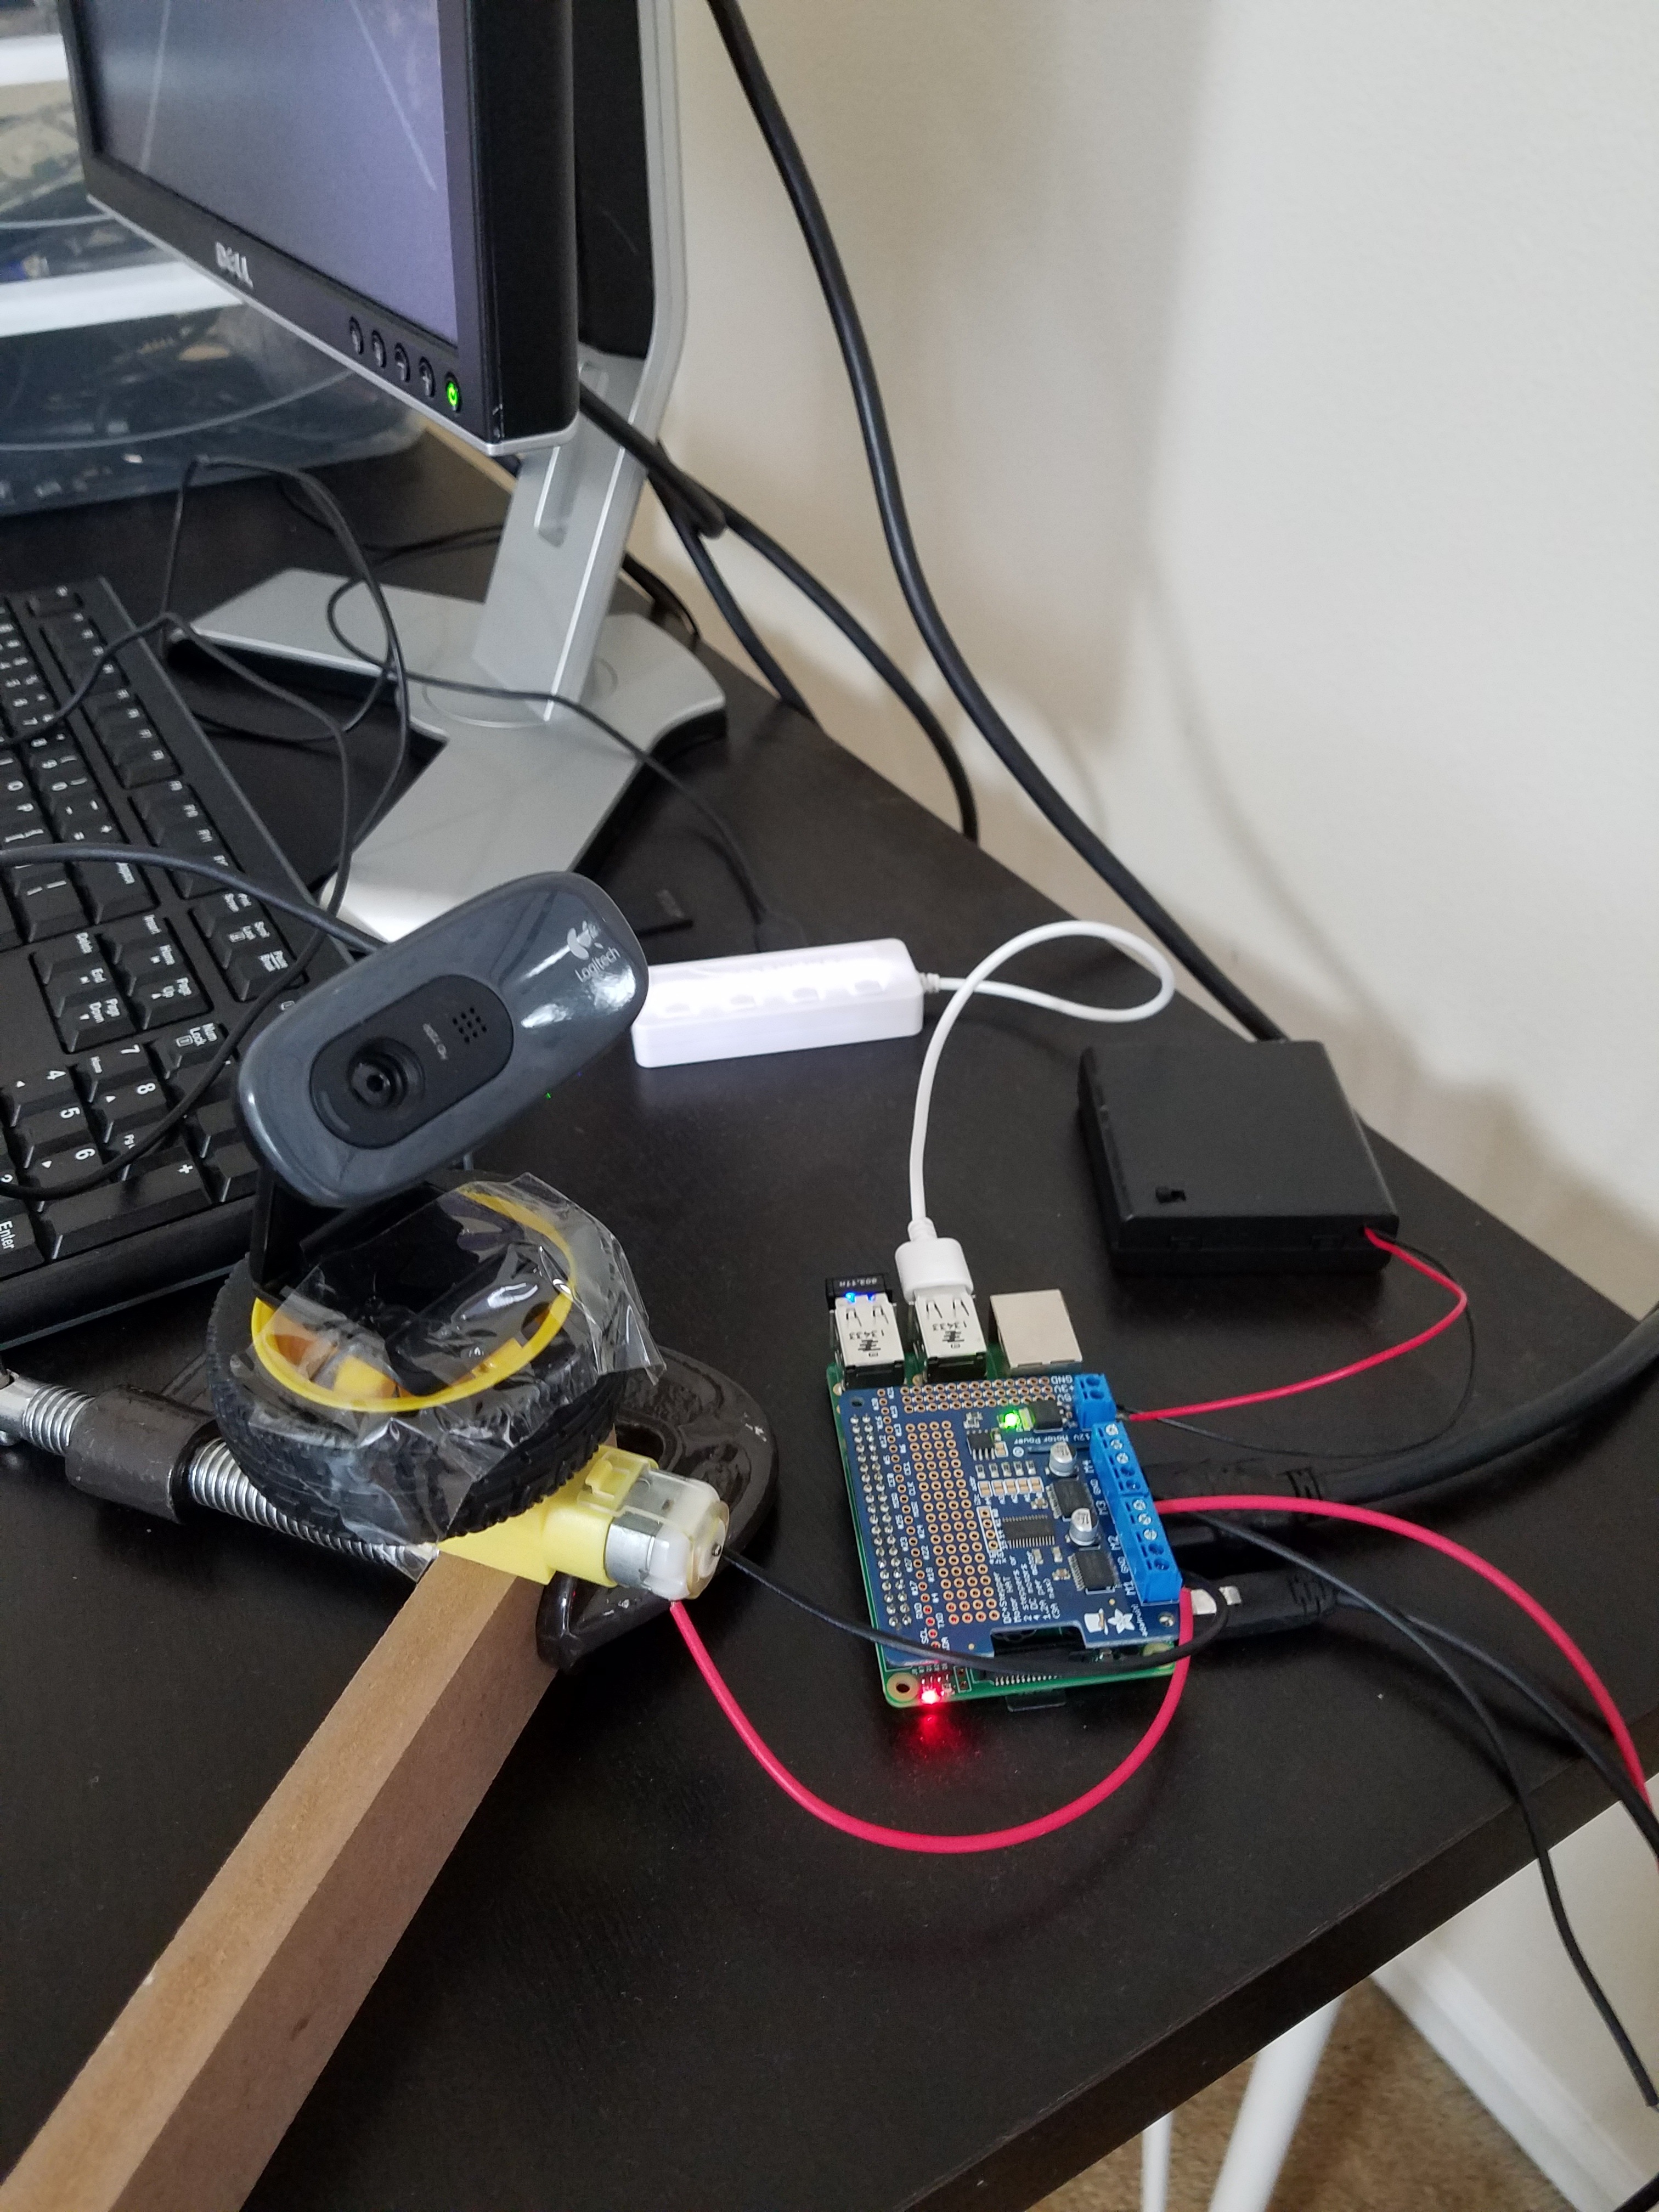
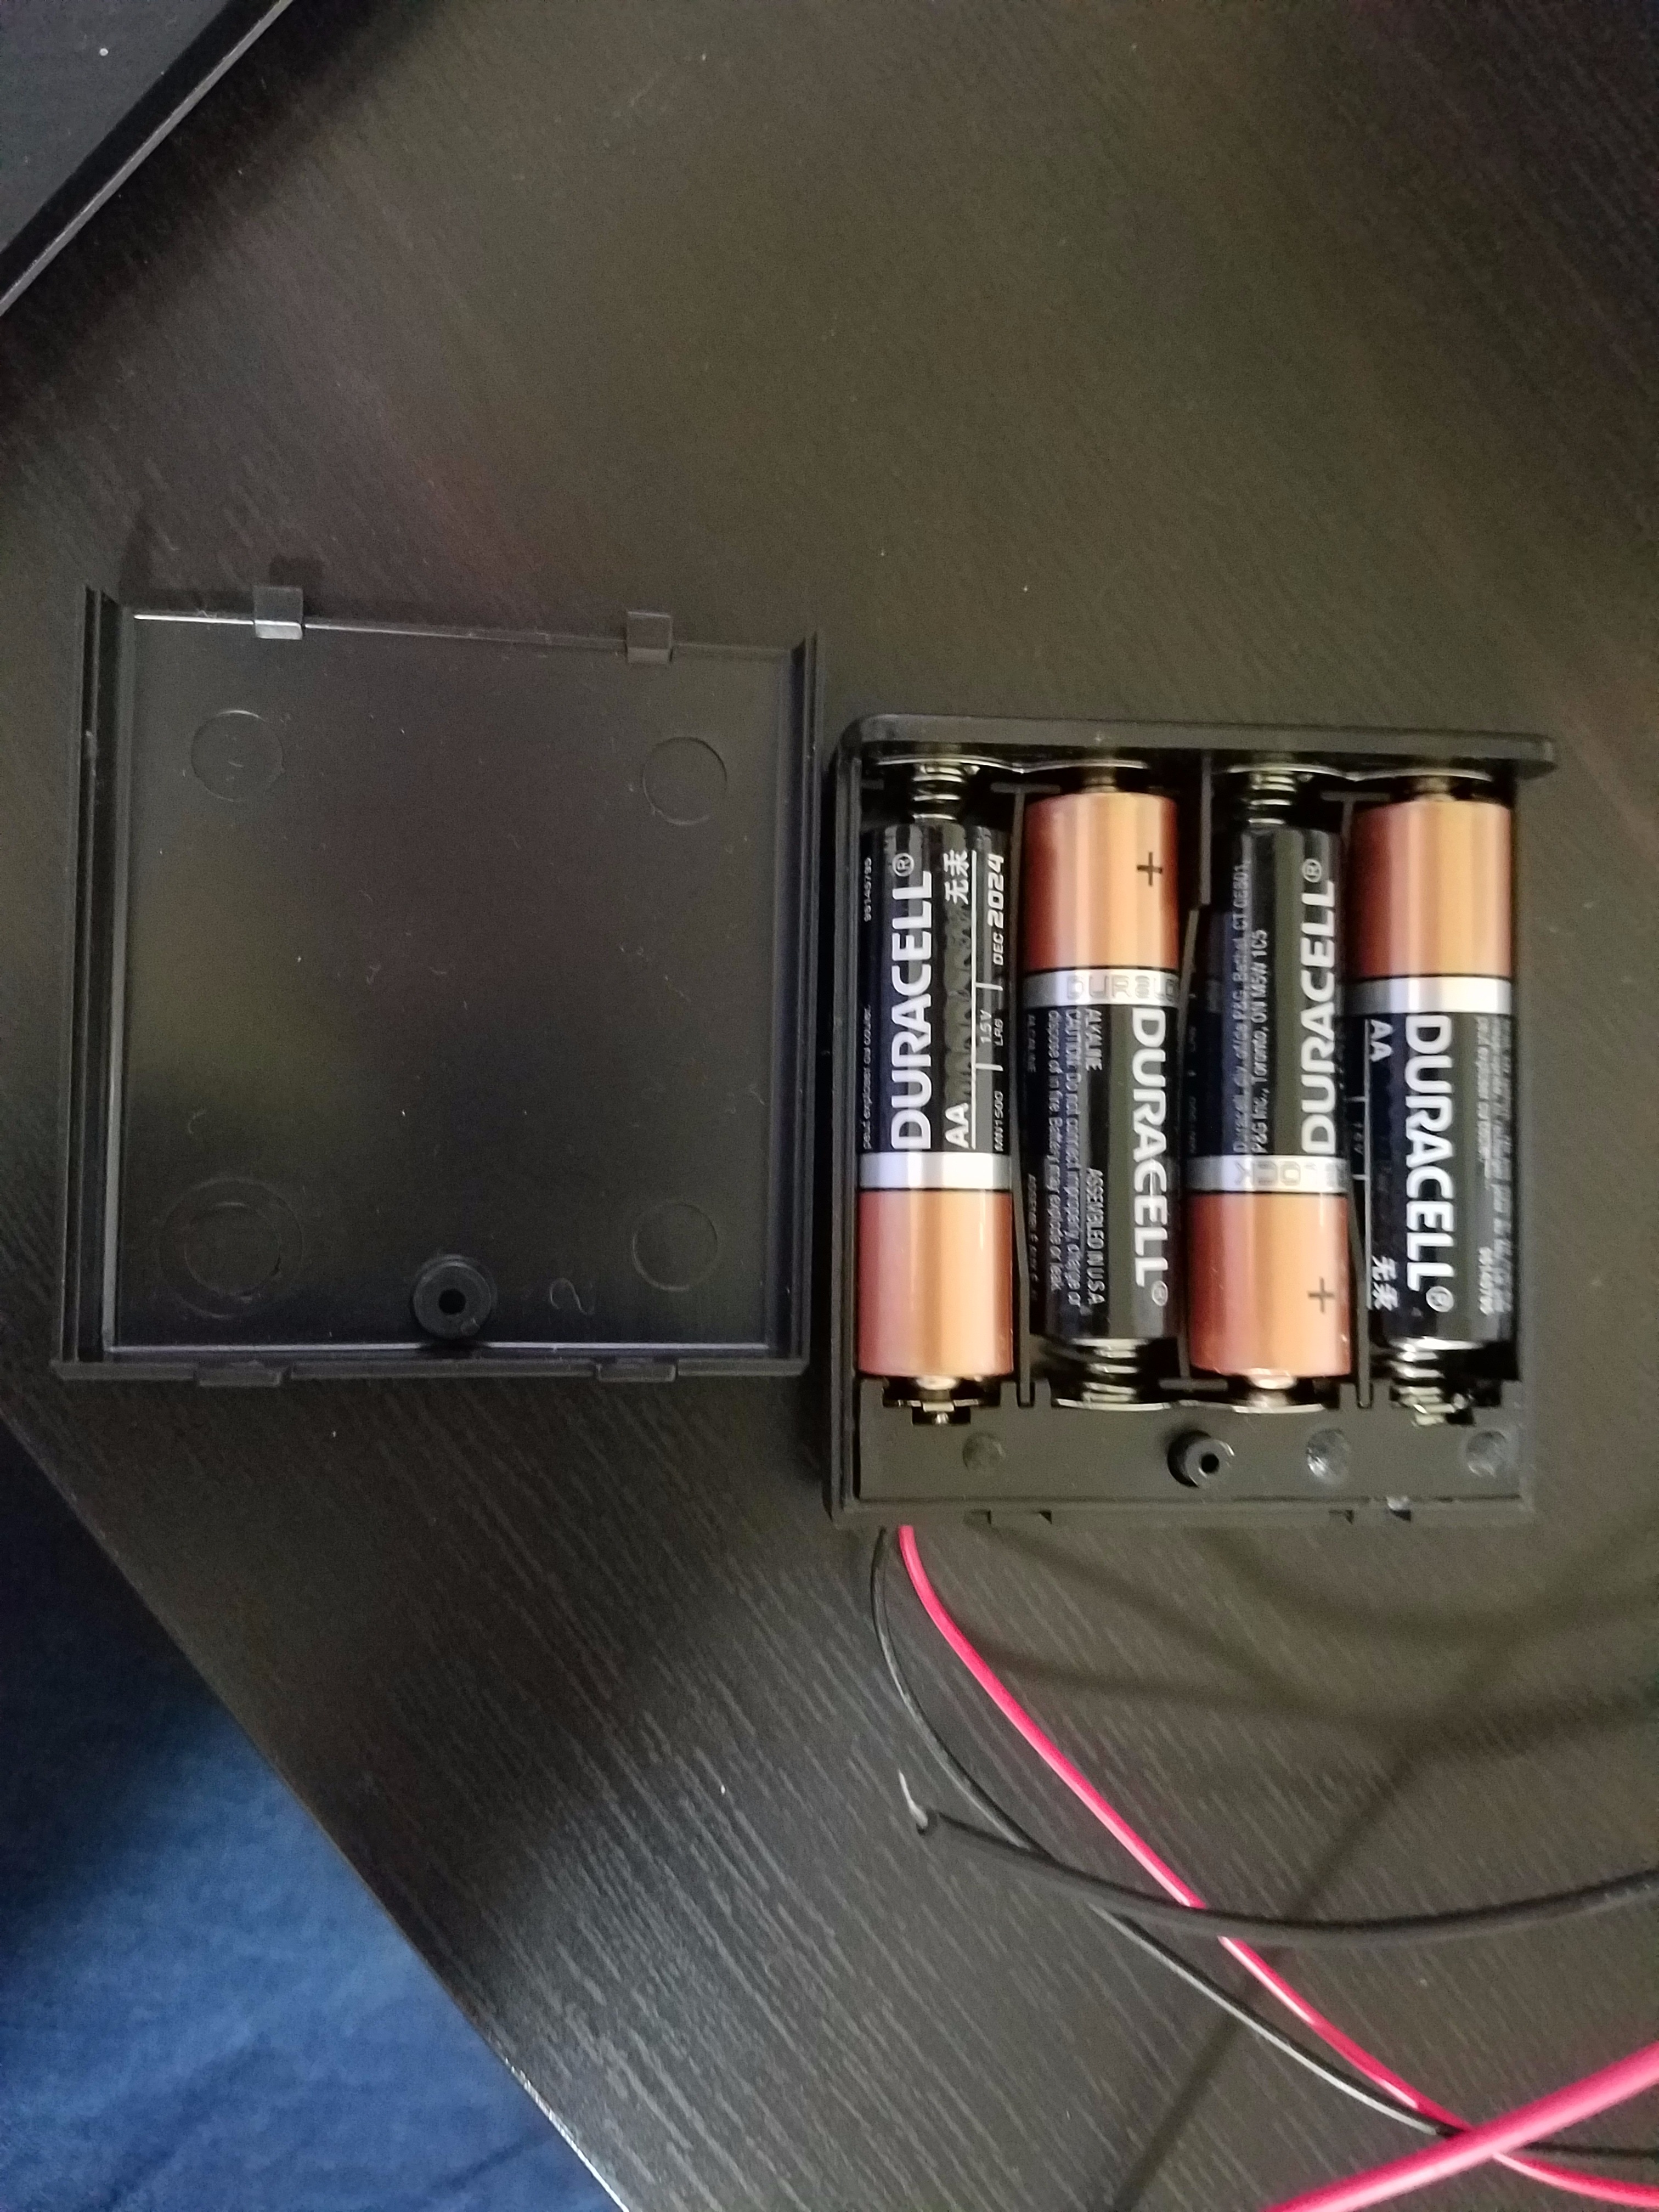
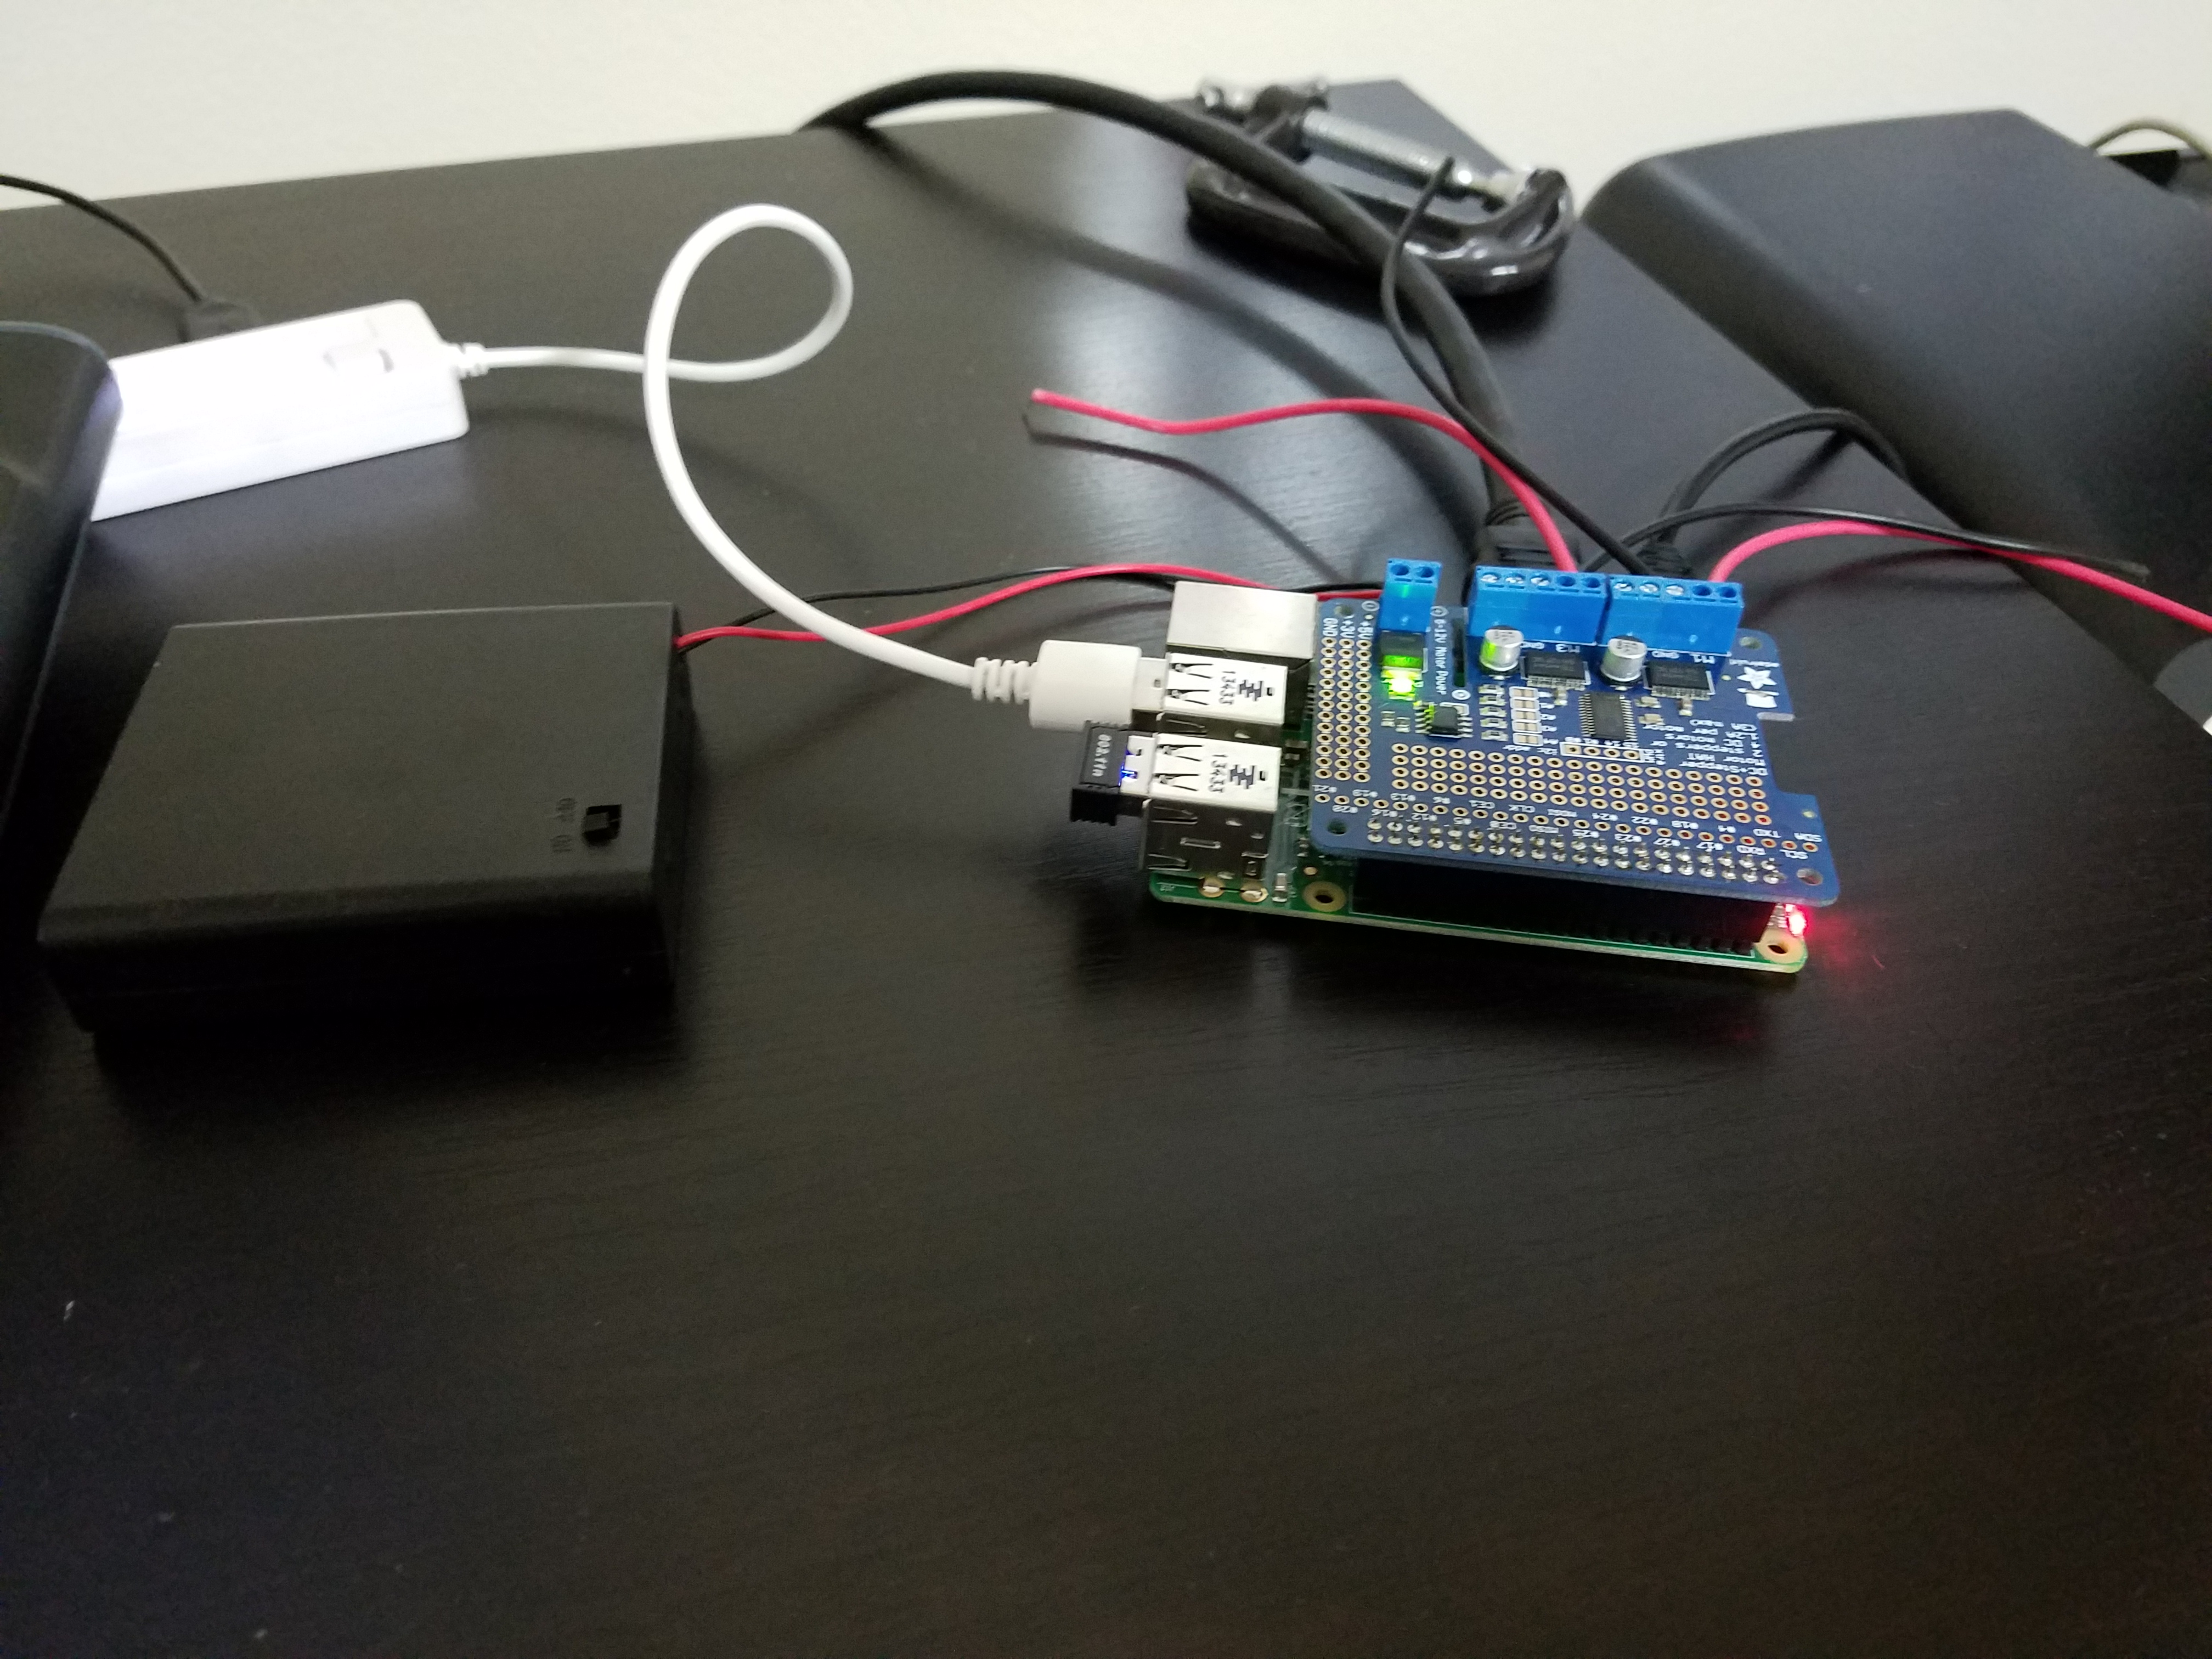
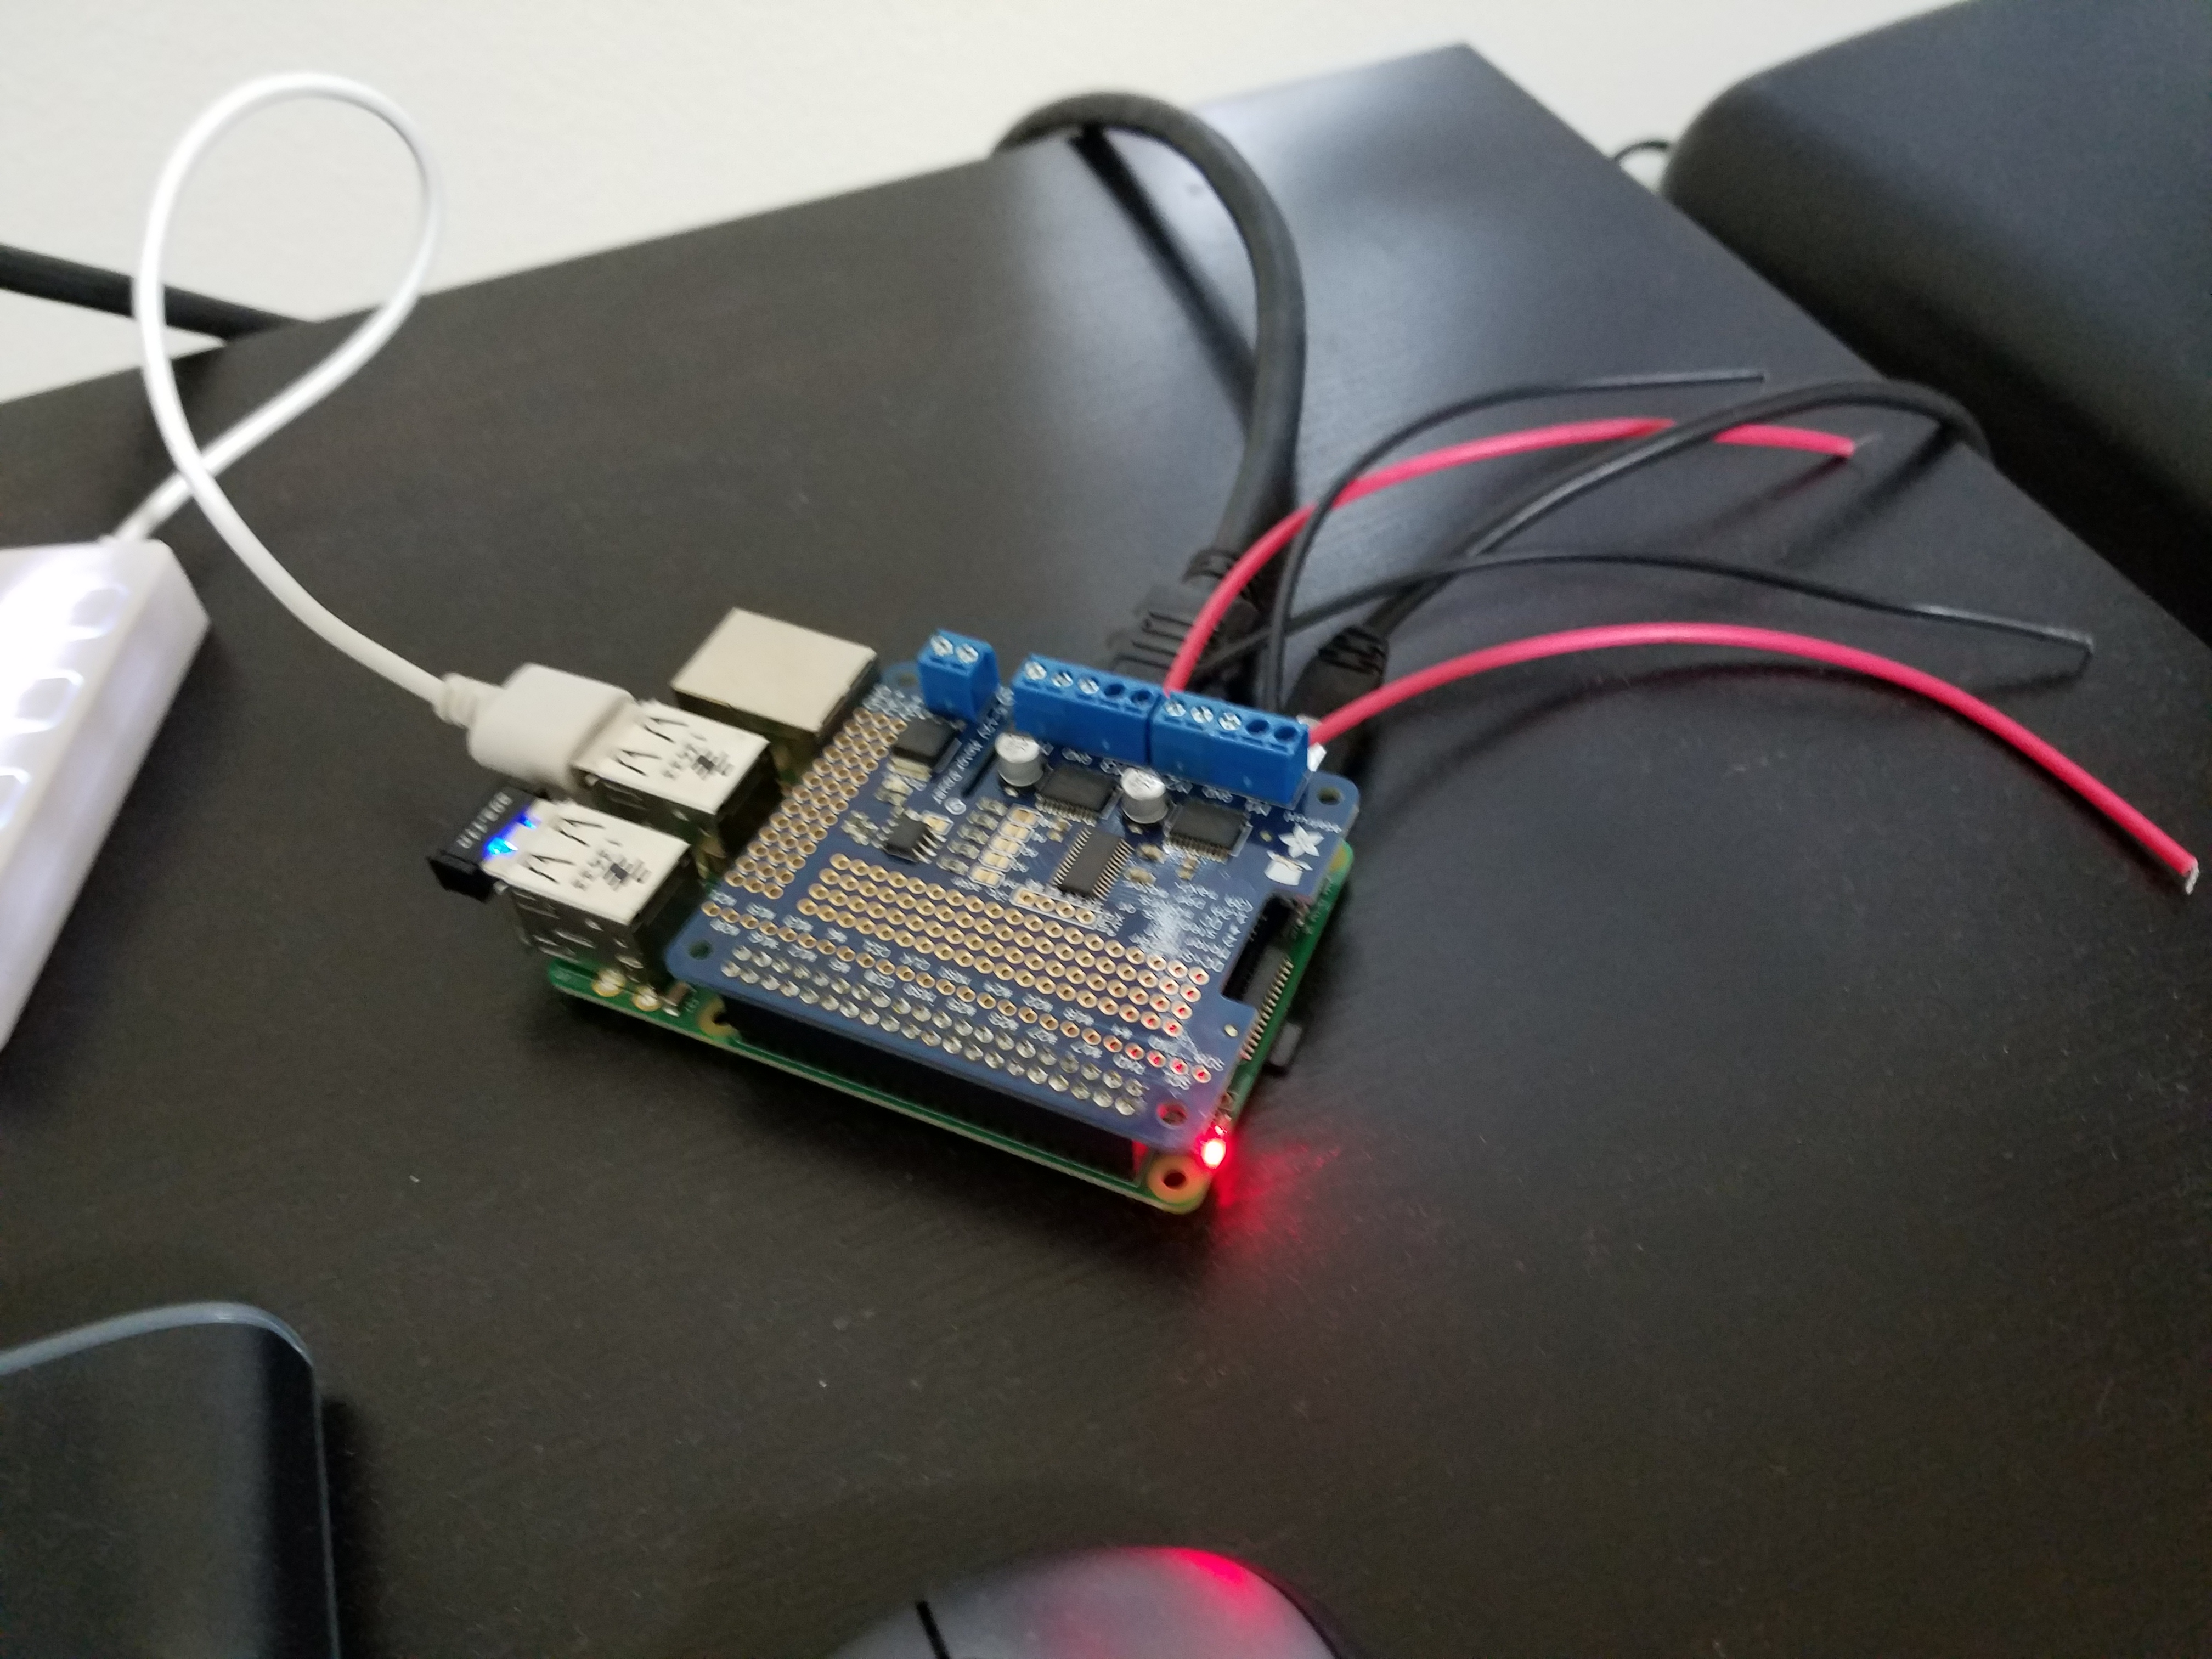
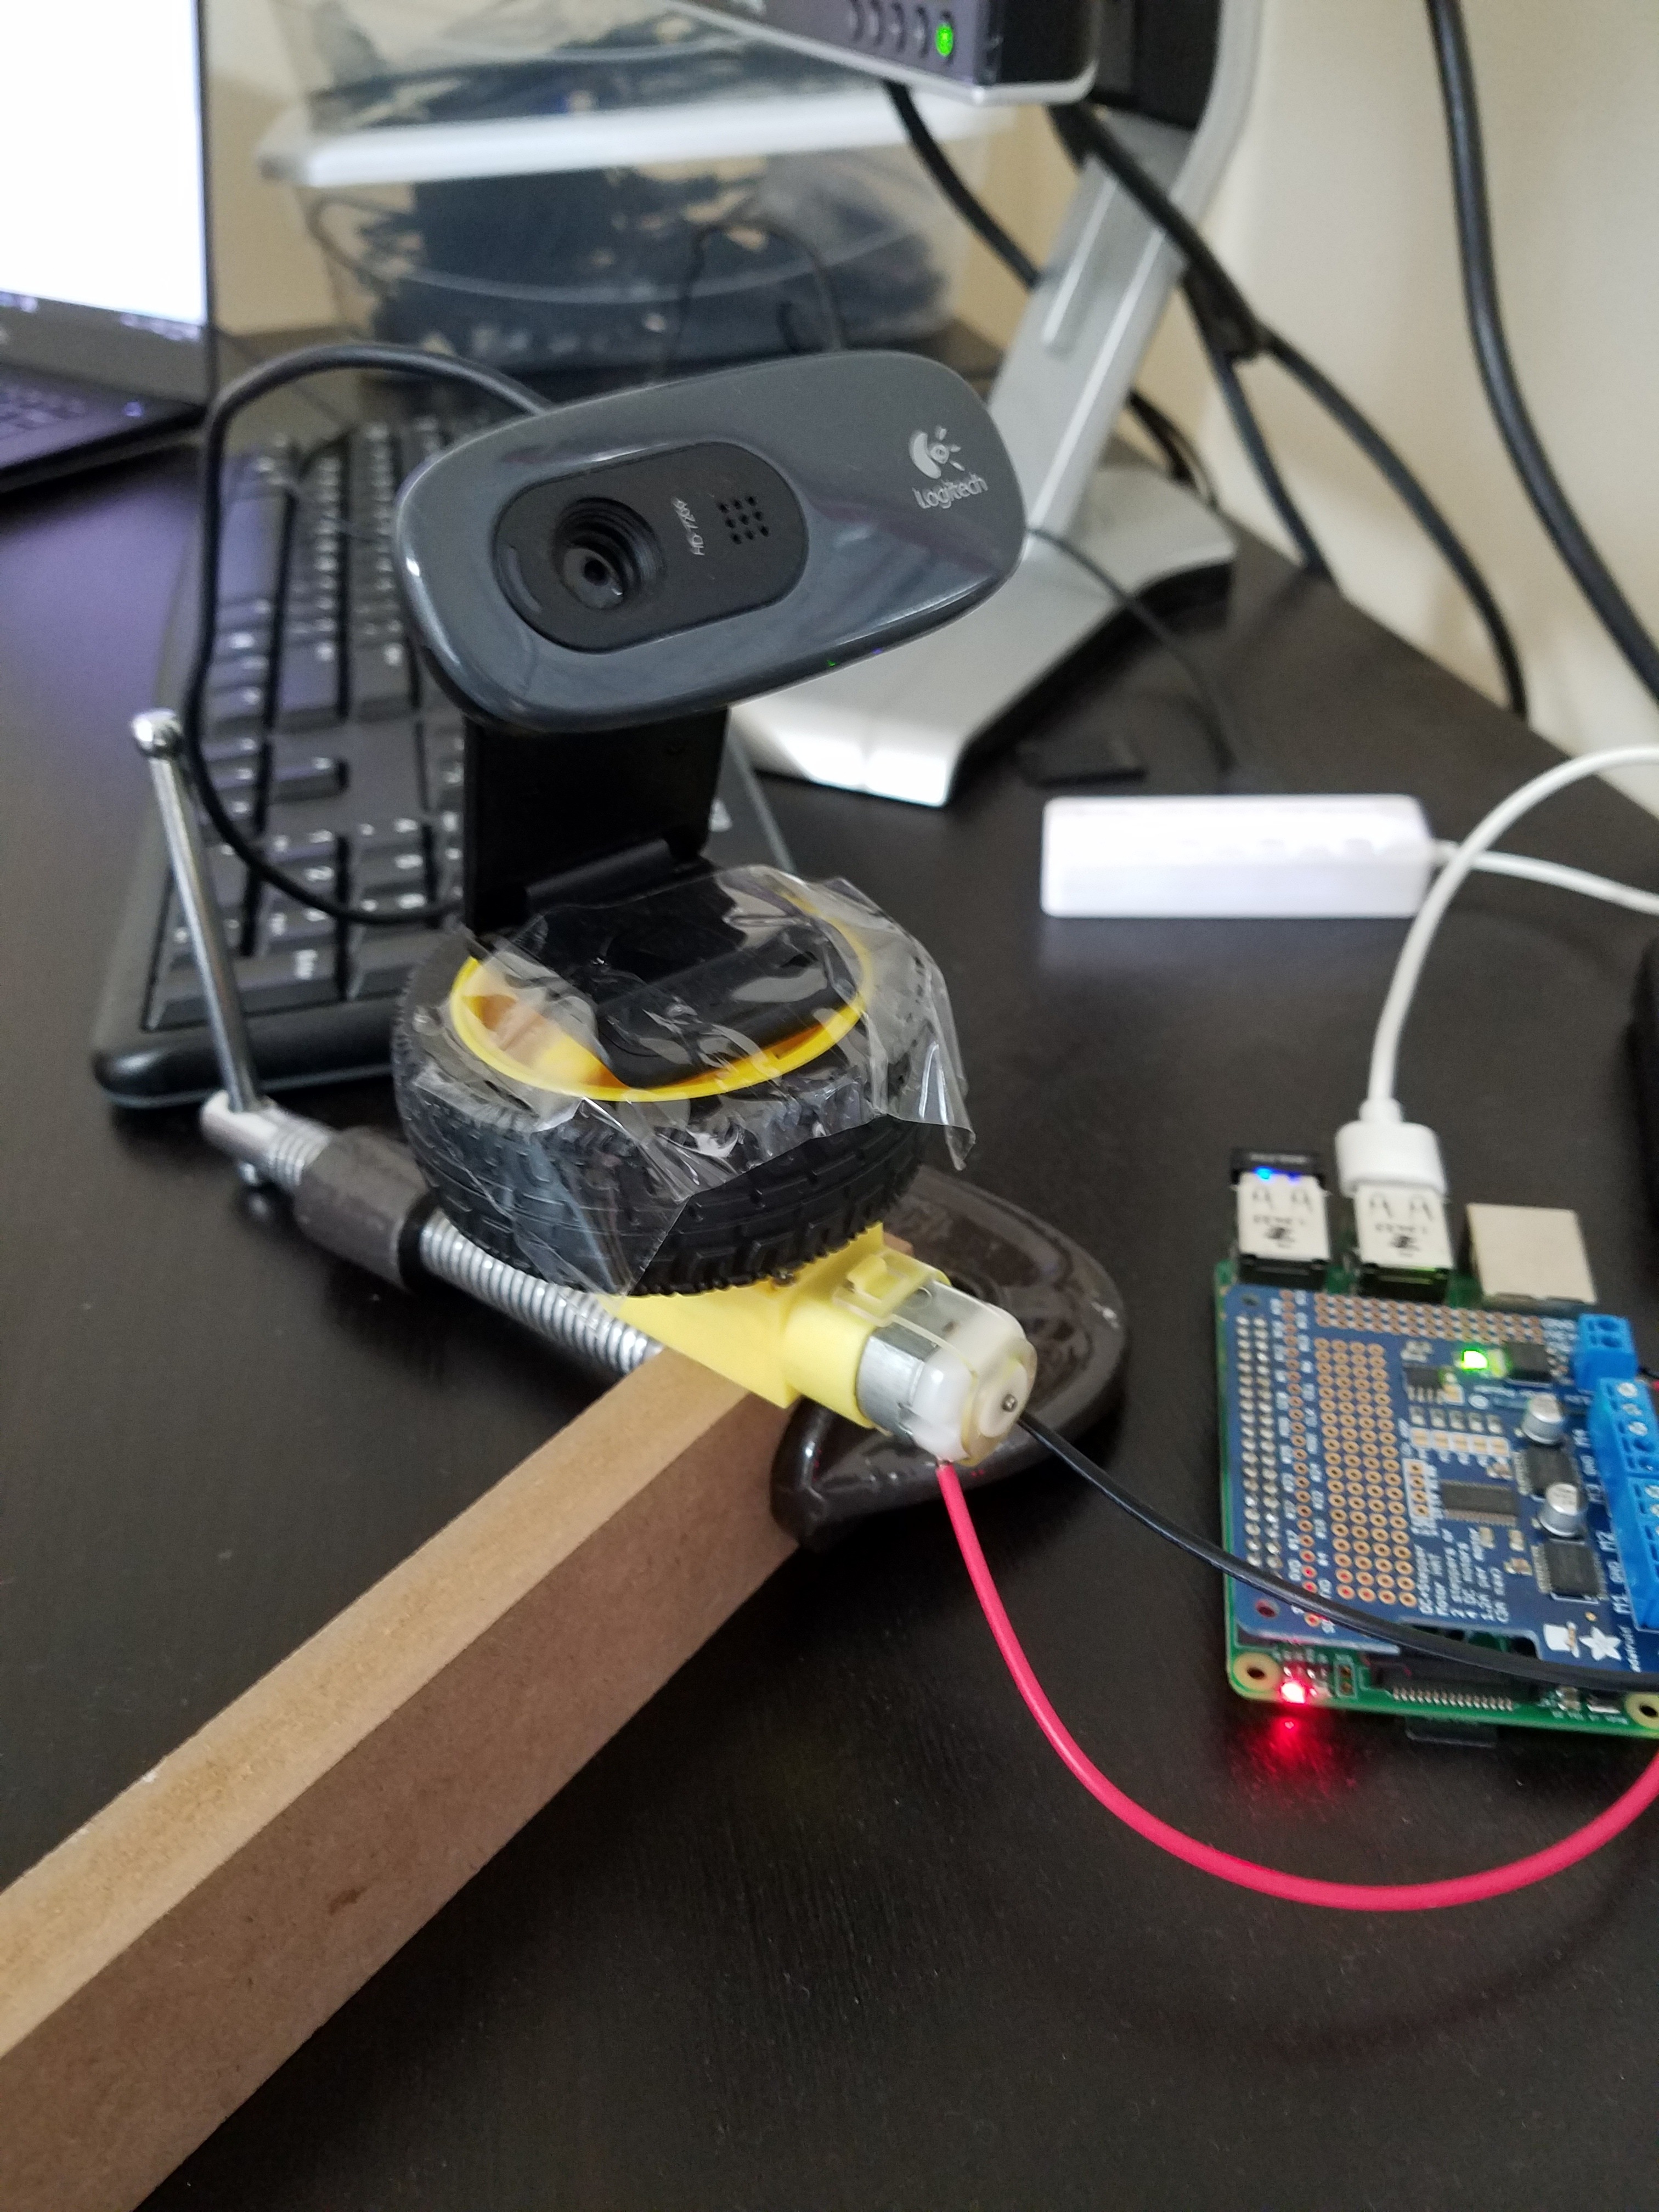
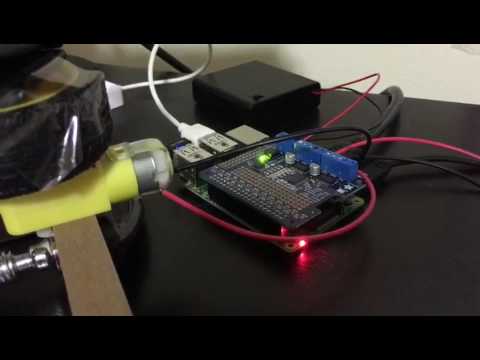
The Motor HAT needs a power source. I attached a 6V battery pack to the MotorHAT and attached a DC Motor to the first input on the MotorHAT as shown in the figure. I used some components from another project to mount the logitech webcam to the DC motor. Switch on the power source for the motorHAT.
To attach the DC motor to the webcam, I placed the DC motor on a wooden plank. The wooded plank is held by a C-clamp. I attached the webcam to the DC motor using tape. I know its not very elegant.
Install Wireless IMU on Your Android Phone
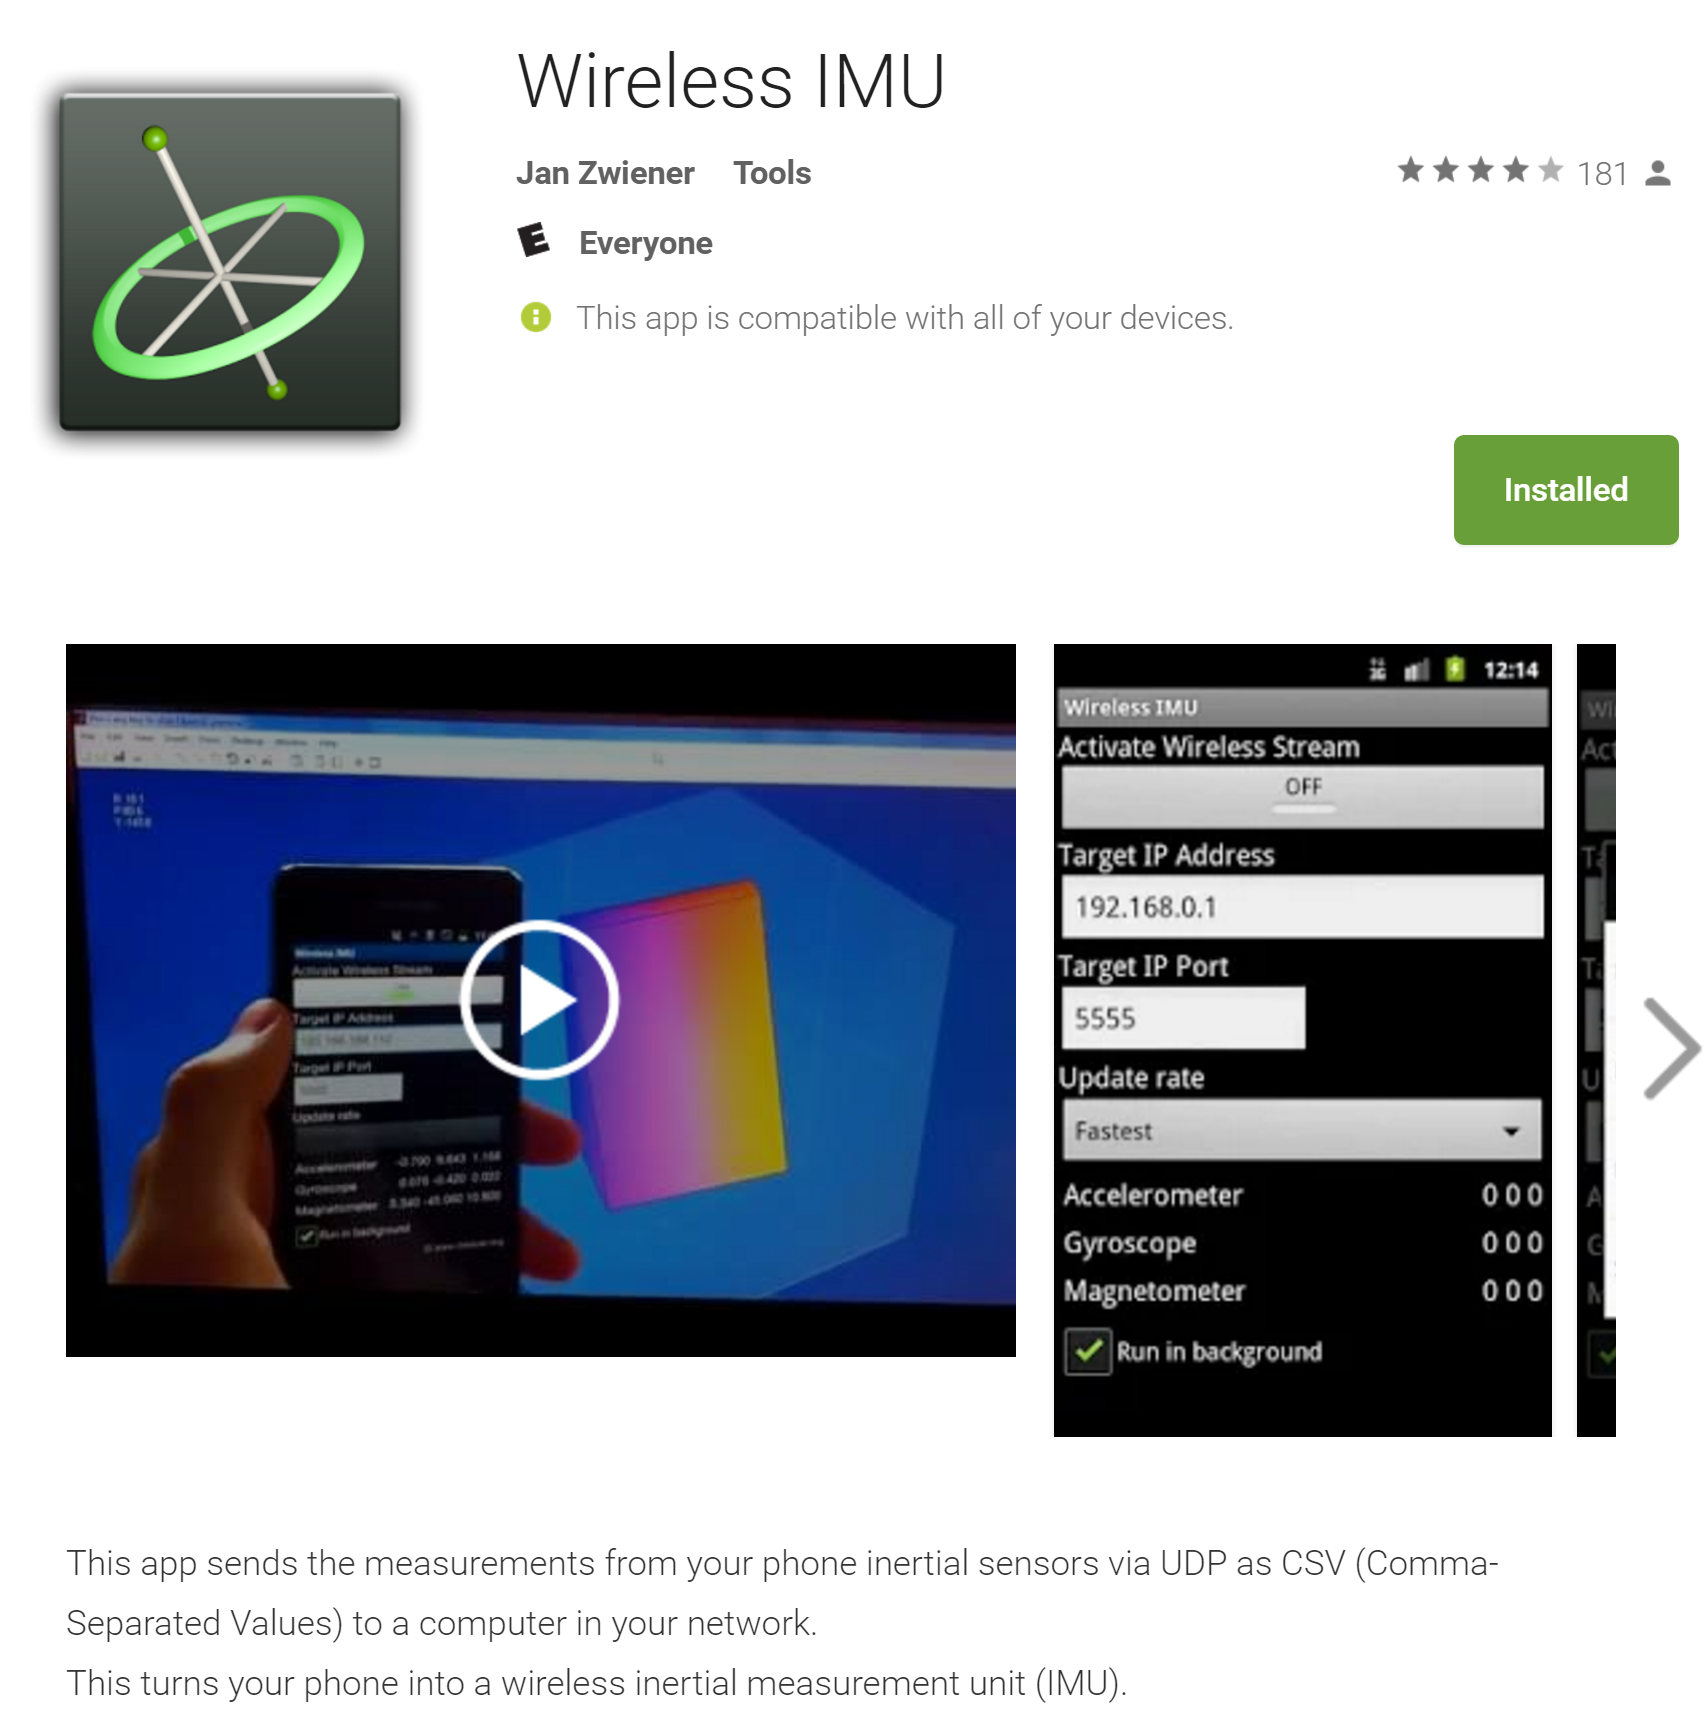
Now, you need to install the app 'Wireless IMU' on your android app. After installation, open the app and enter Raspberry pi's IP address. You can find this by typing hostname -I in your Raspberry Pi terminal. Make sure your phone and raspberry Pi are connected to the same WiFi network.
Once in the app, hit the switch button to start sending sensor data to your RPi. The app uses UDP packets to send data.
Coding in Python
Now, you have installed MotorHAT on raspberry Pi and Wireless IMU on your android phone. All you need is to write code to control the motor through changes in your sensor information. Here is the code.
import time
import atexit
import string
import socket, traceback
from Adafruit_MotorHAT import Adafruit_MotorHAT, Adafruit_DCMotor
mh = Adafruit_MotorHAT(addr=0x60)
def turnOffMotors():
mh.getMotor(1).run(Adafruit_MotorHAT.RELEASE)
mh.getMotor(2).run(Adafruit_MotorHAT.RELEASE)
mh.getMotor(3).run(Adafruit_MotorHAT.RELEASE)
mh.getMotor(4).run(Adafruit_MotorHAT.RELEASE)
atexit.register(turnOffMotors)
myMotor = mg.getMotor(1)
host="10.0.0.221"
port=5555
s=socket.socket(socket.AF_INET, socket.SOCK_DGRAM)
s.setsockopt(socket.SOL_SOCKET, socket.SO_REUSEADDR, 1)
s.setsockopt(socket.SOL_SOCKET, socket.SO_BROADCAST, 1)
s.bind((host, port))
temp1=0
while 1:
message, address = s.recvfrom(8192)
print message
var1 = message
var2=var1.split(',')
temp2=var2[2].strip(',')
print temp2
temp3 = float(temp2)
if (temp3>5):
myMotor.run(Adafruit_MotorHAT.BACKWARD)
myMotor.setSpeed(40)
time.sleep(0.03)
myMotor.run(Adafruit_MotorHAT.RELEASE)
print "Rotate"
elif (temp3<-5):
myMotor.run(Adafruit_MotorHAT.BACKWARD)
myMotor.setSpeed(40)
time.sleep(0.03)
myMotor.run(Adafruit_MotorHAT.RELEASE)
print "Rotate"
All Put Together
This is my final application.