Using the Full Spectrum P-Series Laser Cutter
by Ara-Ash in Workshop > Laser Cutting
382 Views, 0 Favorites, 0 Comments
Using the Full Spectrum P-Series Laser Cutter
Introduction to initial setup and use of the Full Spectrum P-Series Laser Cutter
Transferring to the Printer
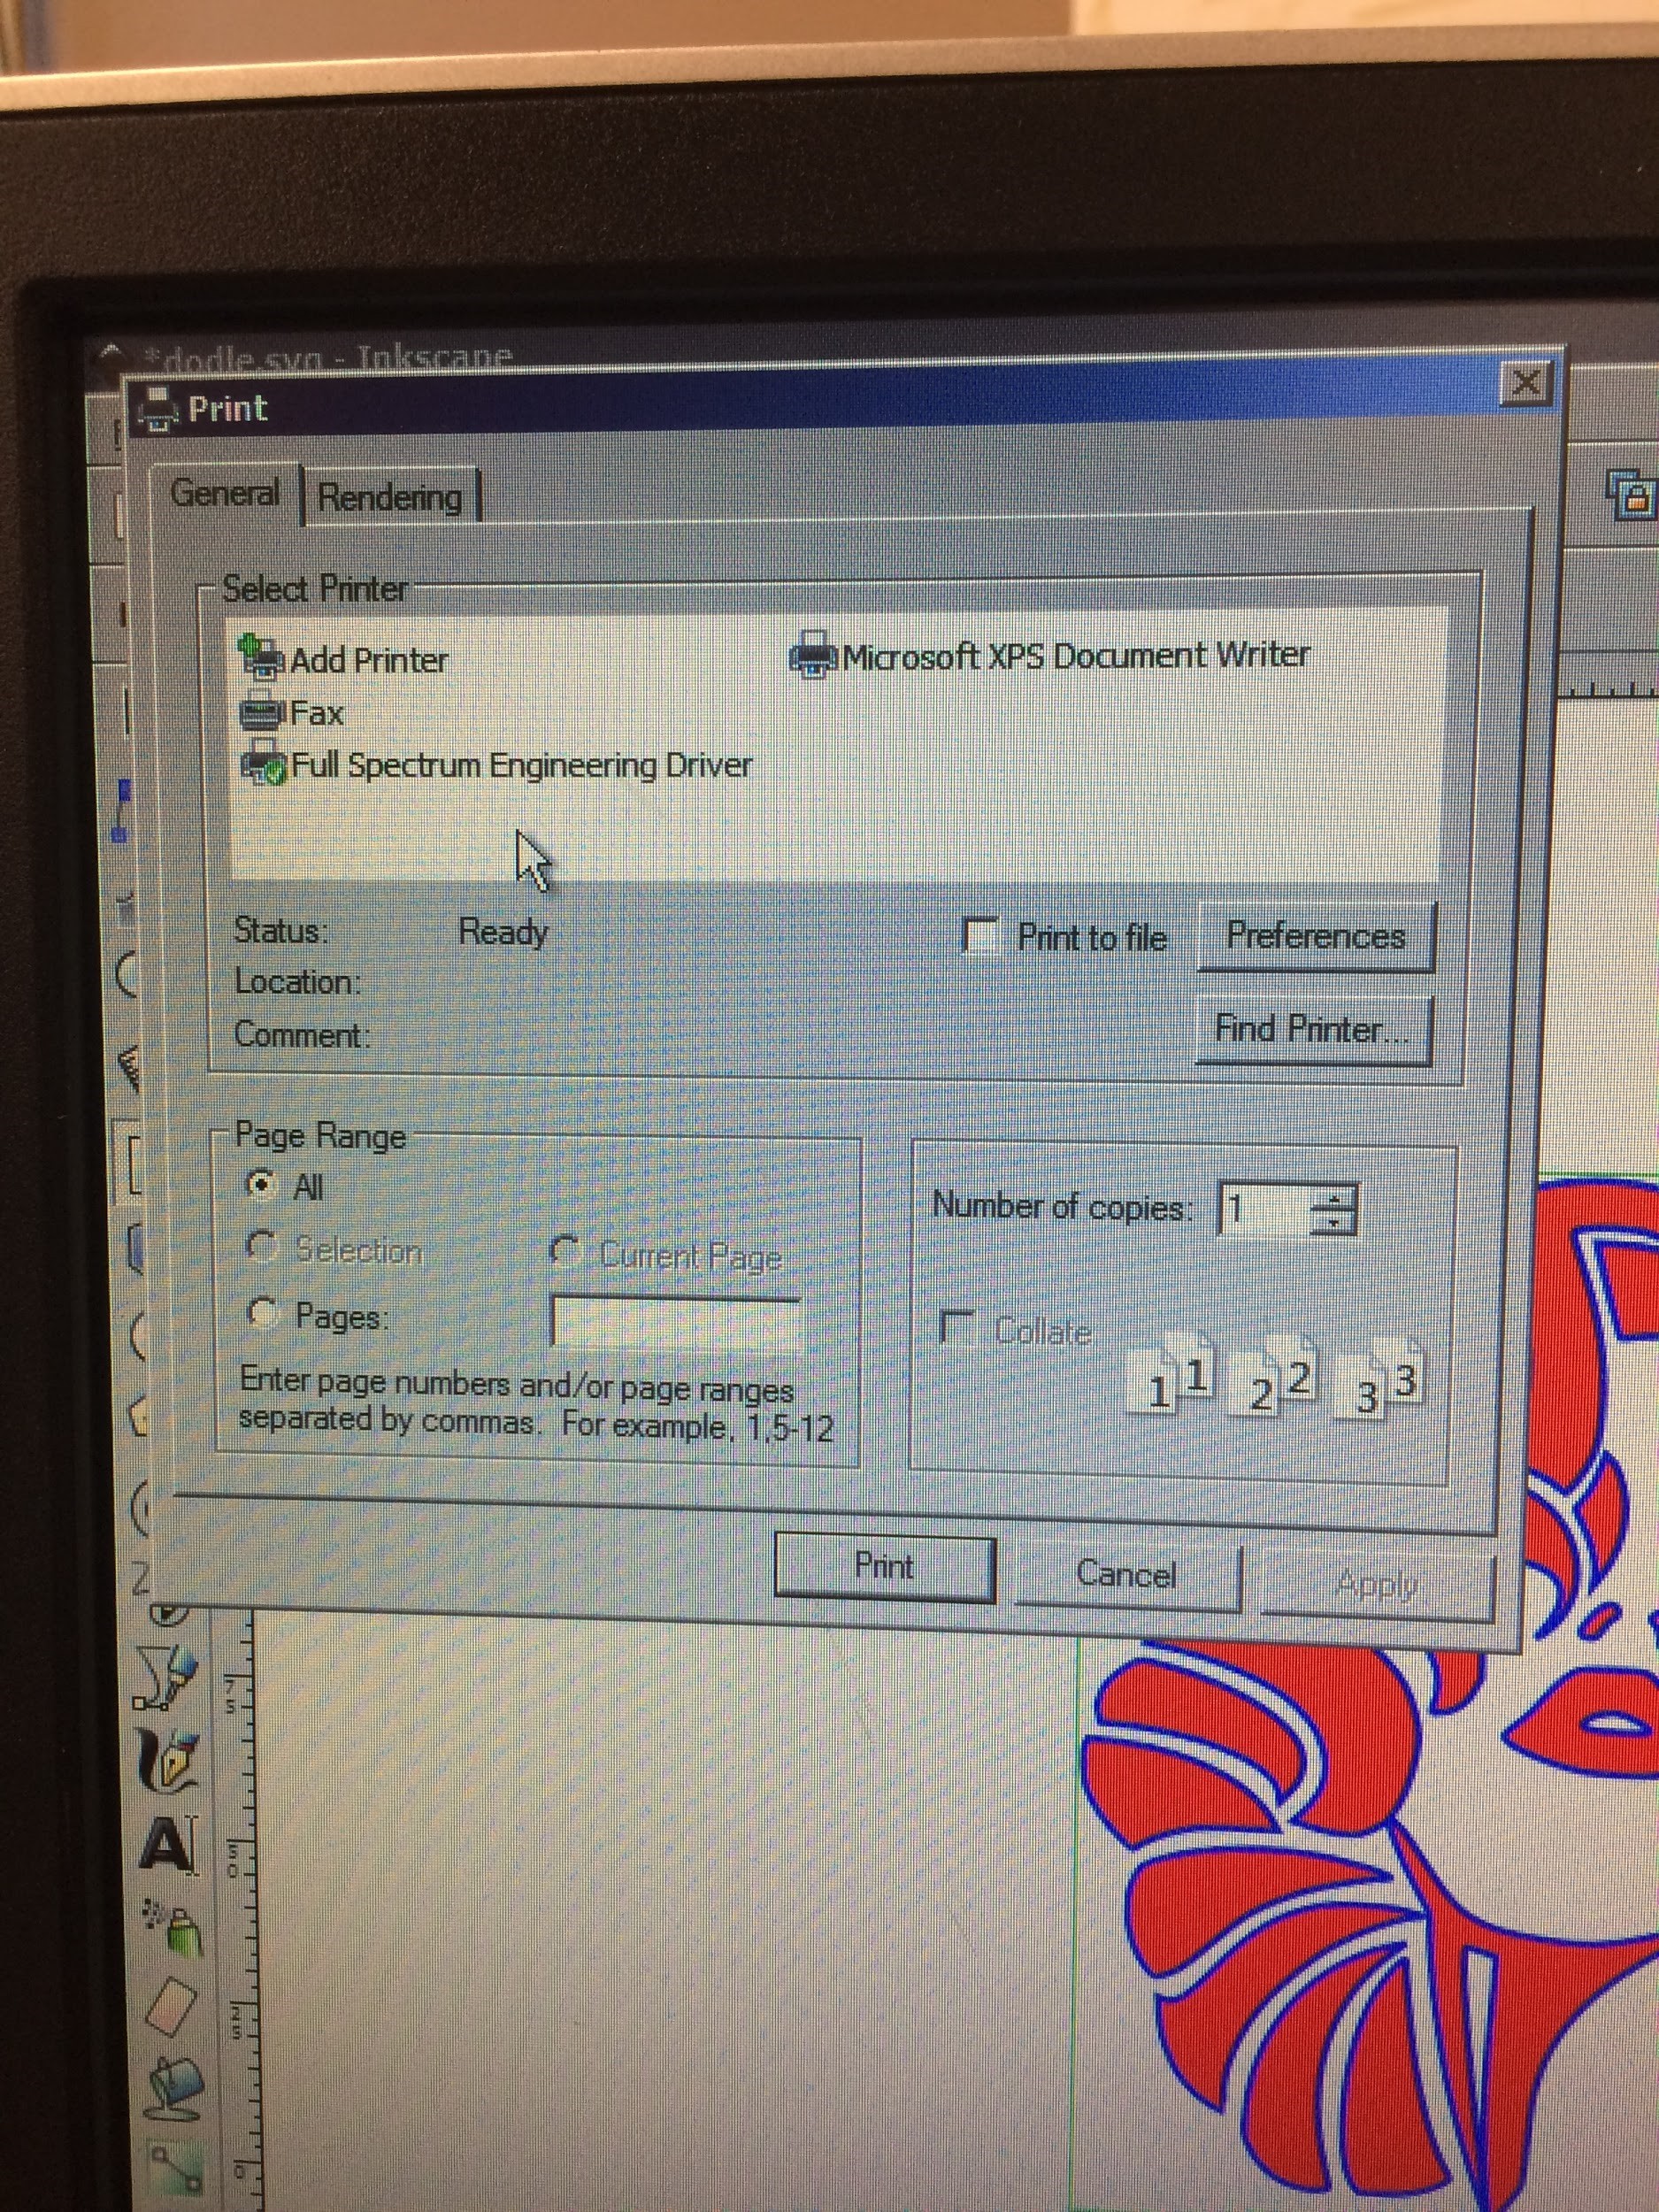
- Open Full Spectrum Laser RetinaEngrave3D
- On Inkscape, select File - Print… - Full SpectrumLaser RetinaEngrave3D - Print
Vectoring
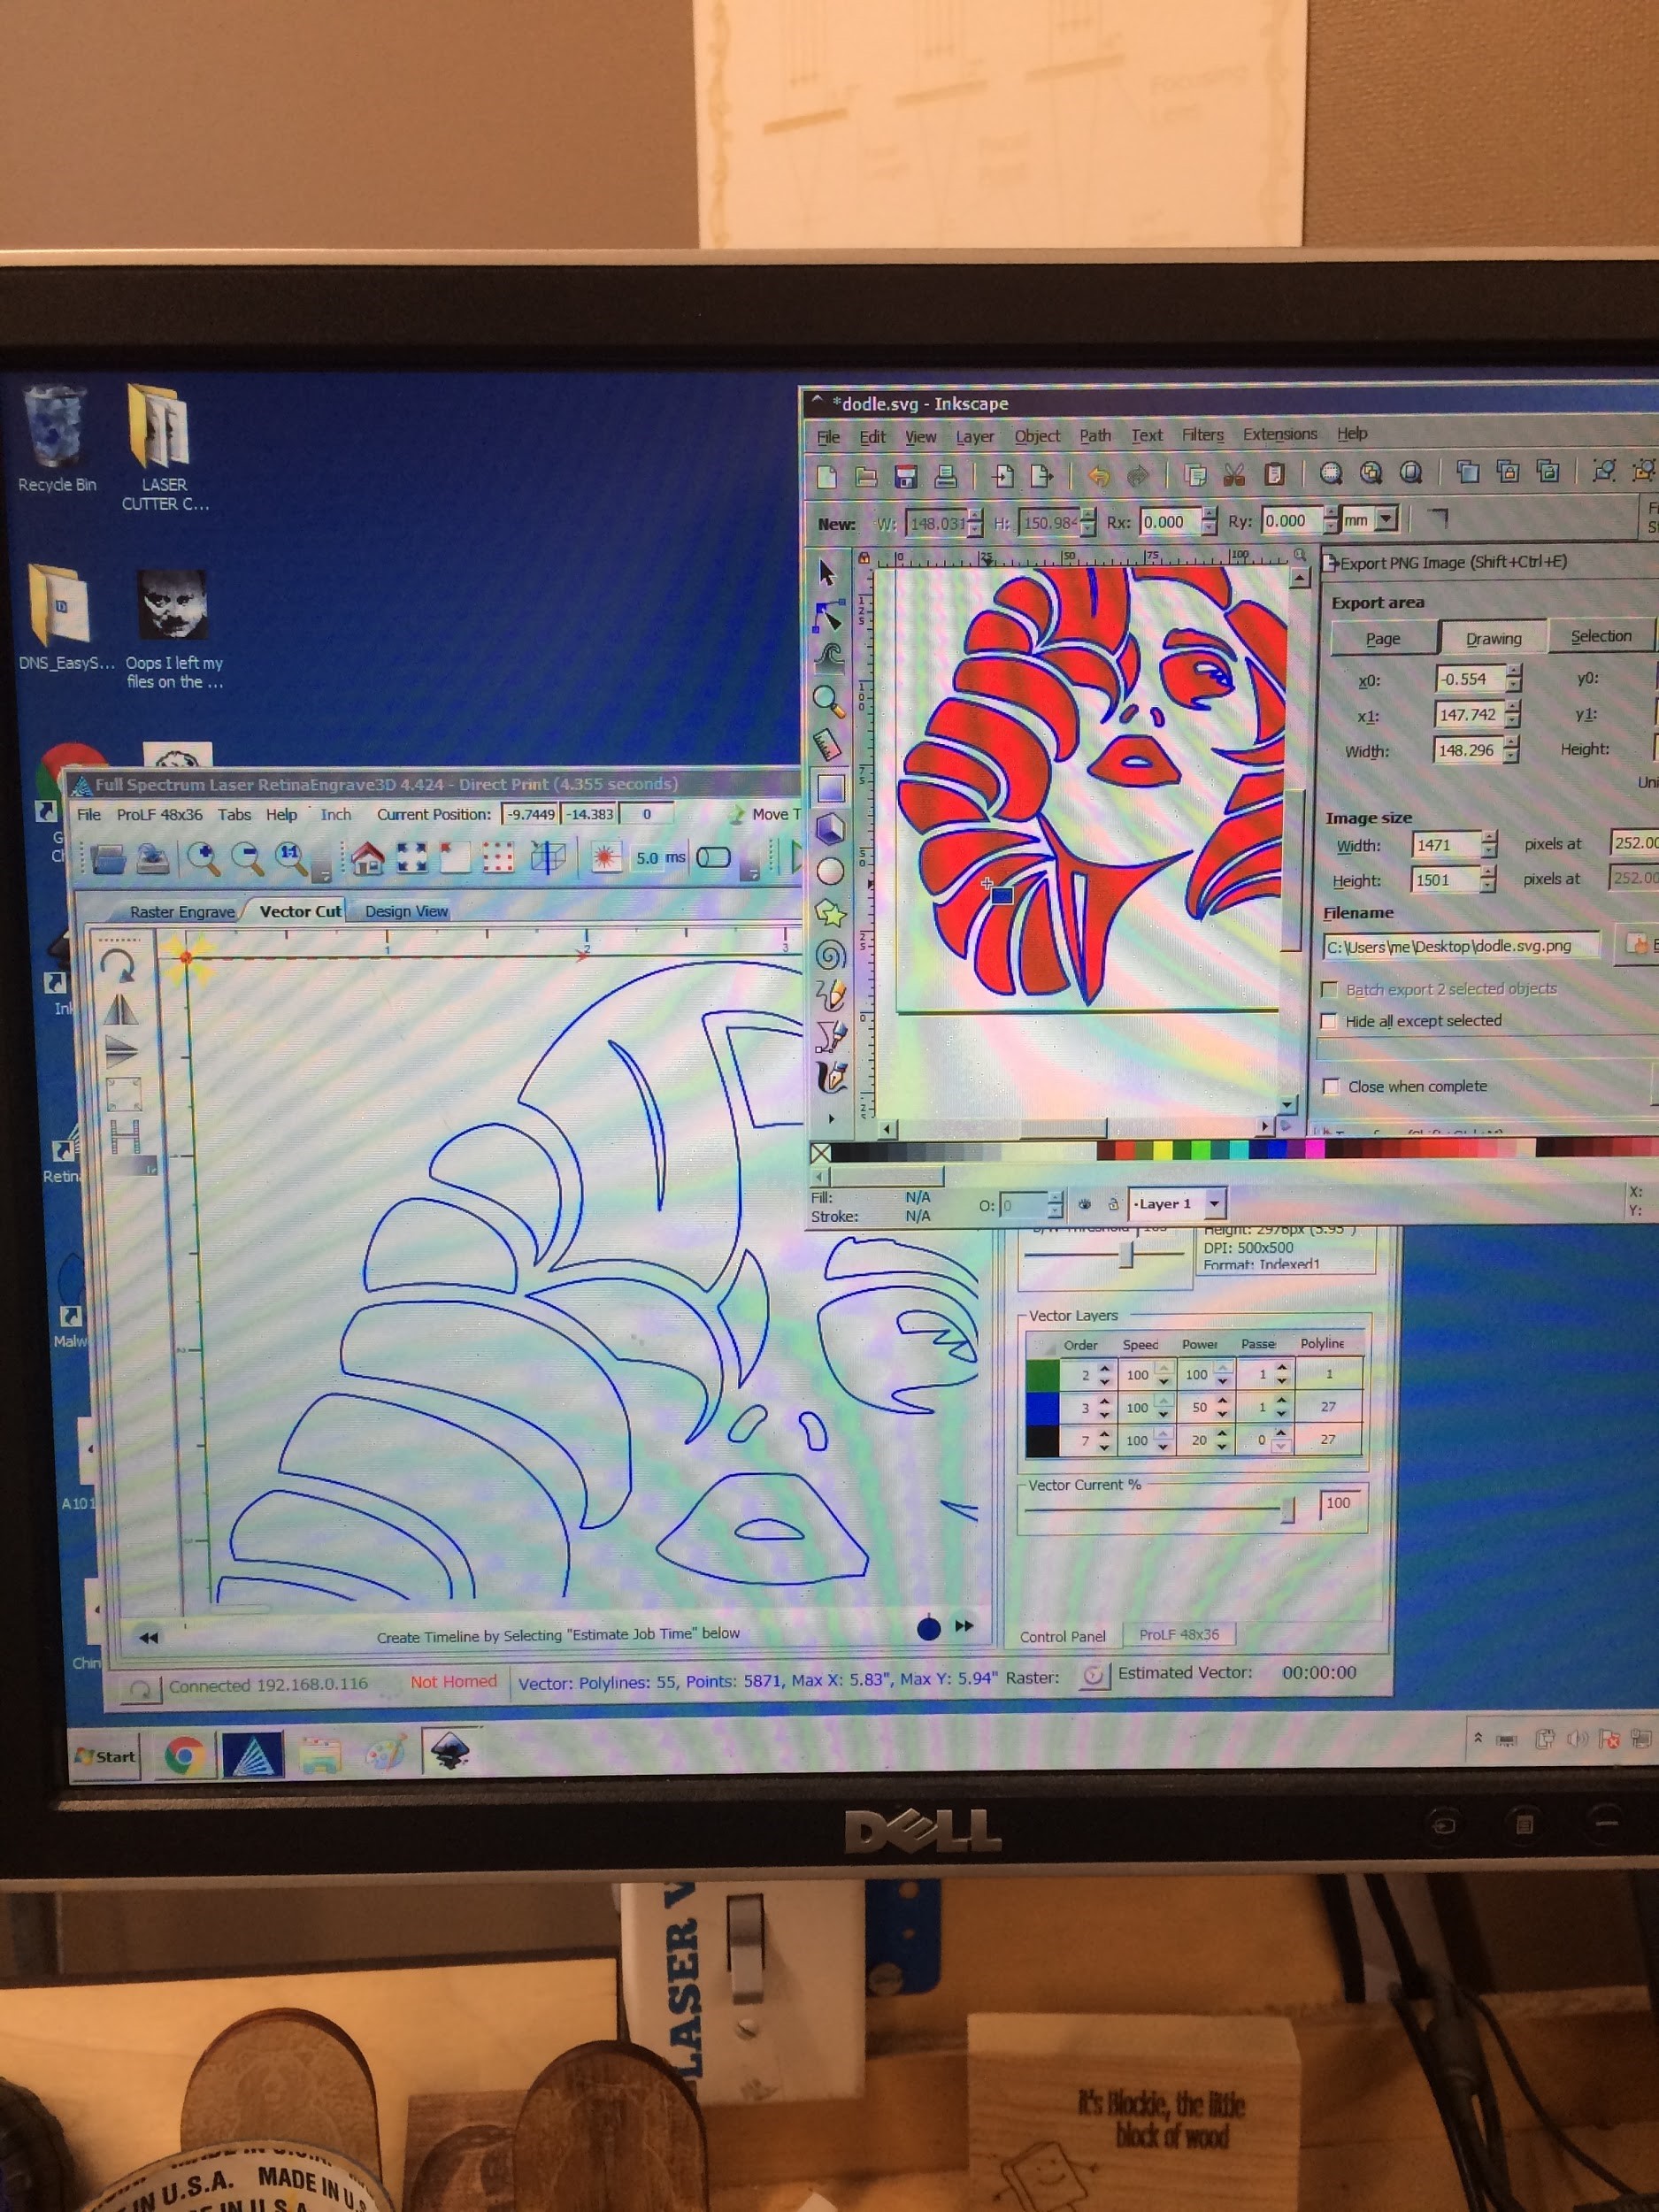
- Minimize your Inkscape window and focus on the Full Spectrum Laser RetinaEngrave3D window
- Select and assign a color to parts that aren’t shaded if you want to cut them
Vectoring Detail
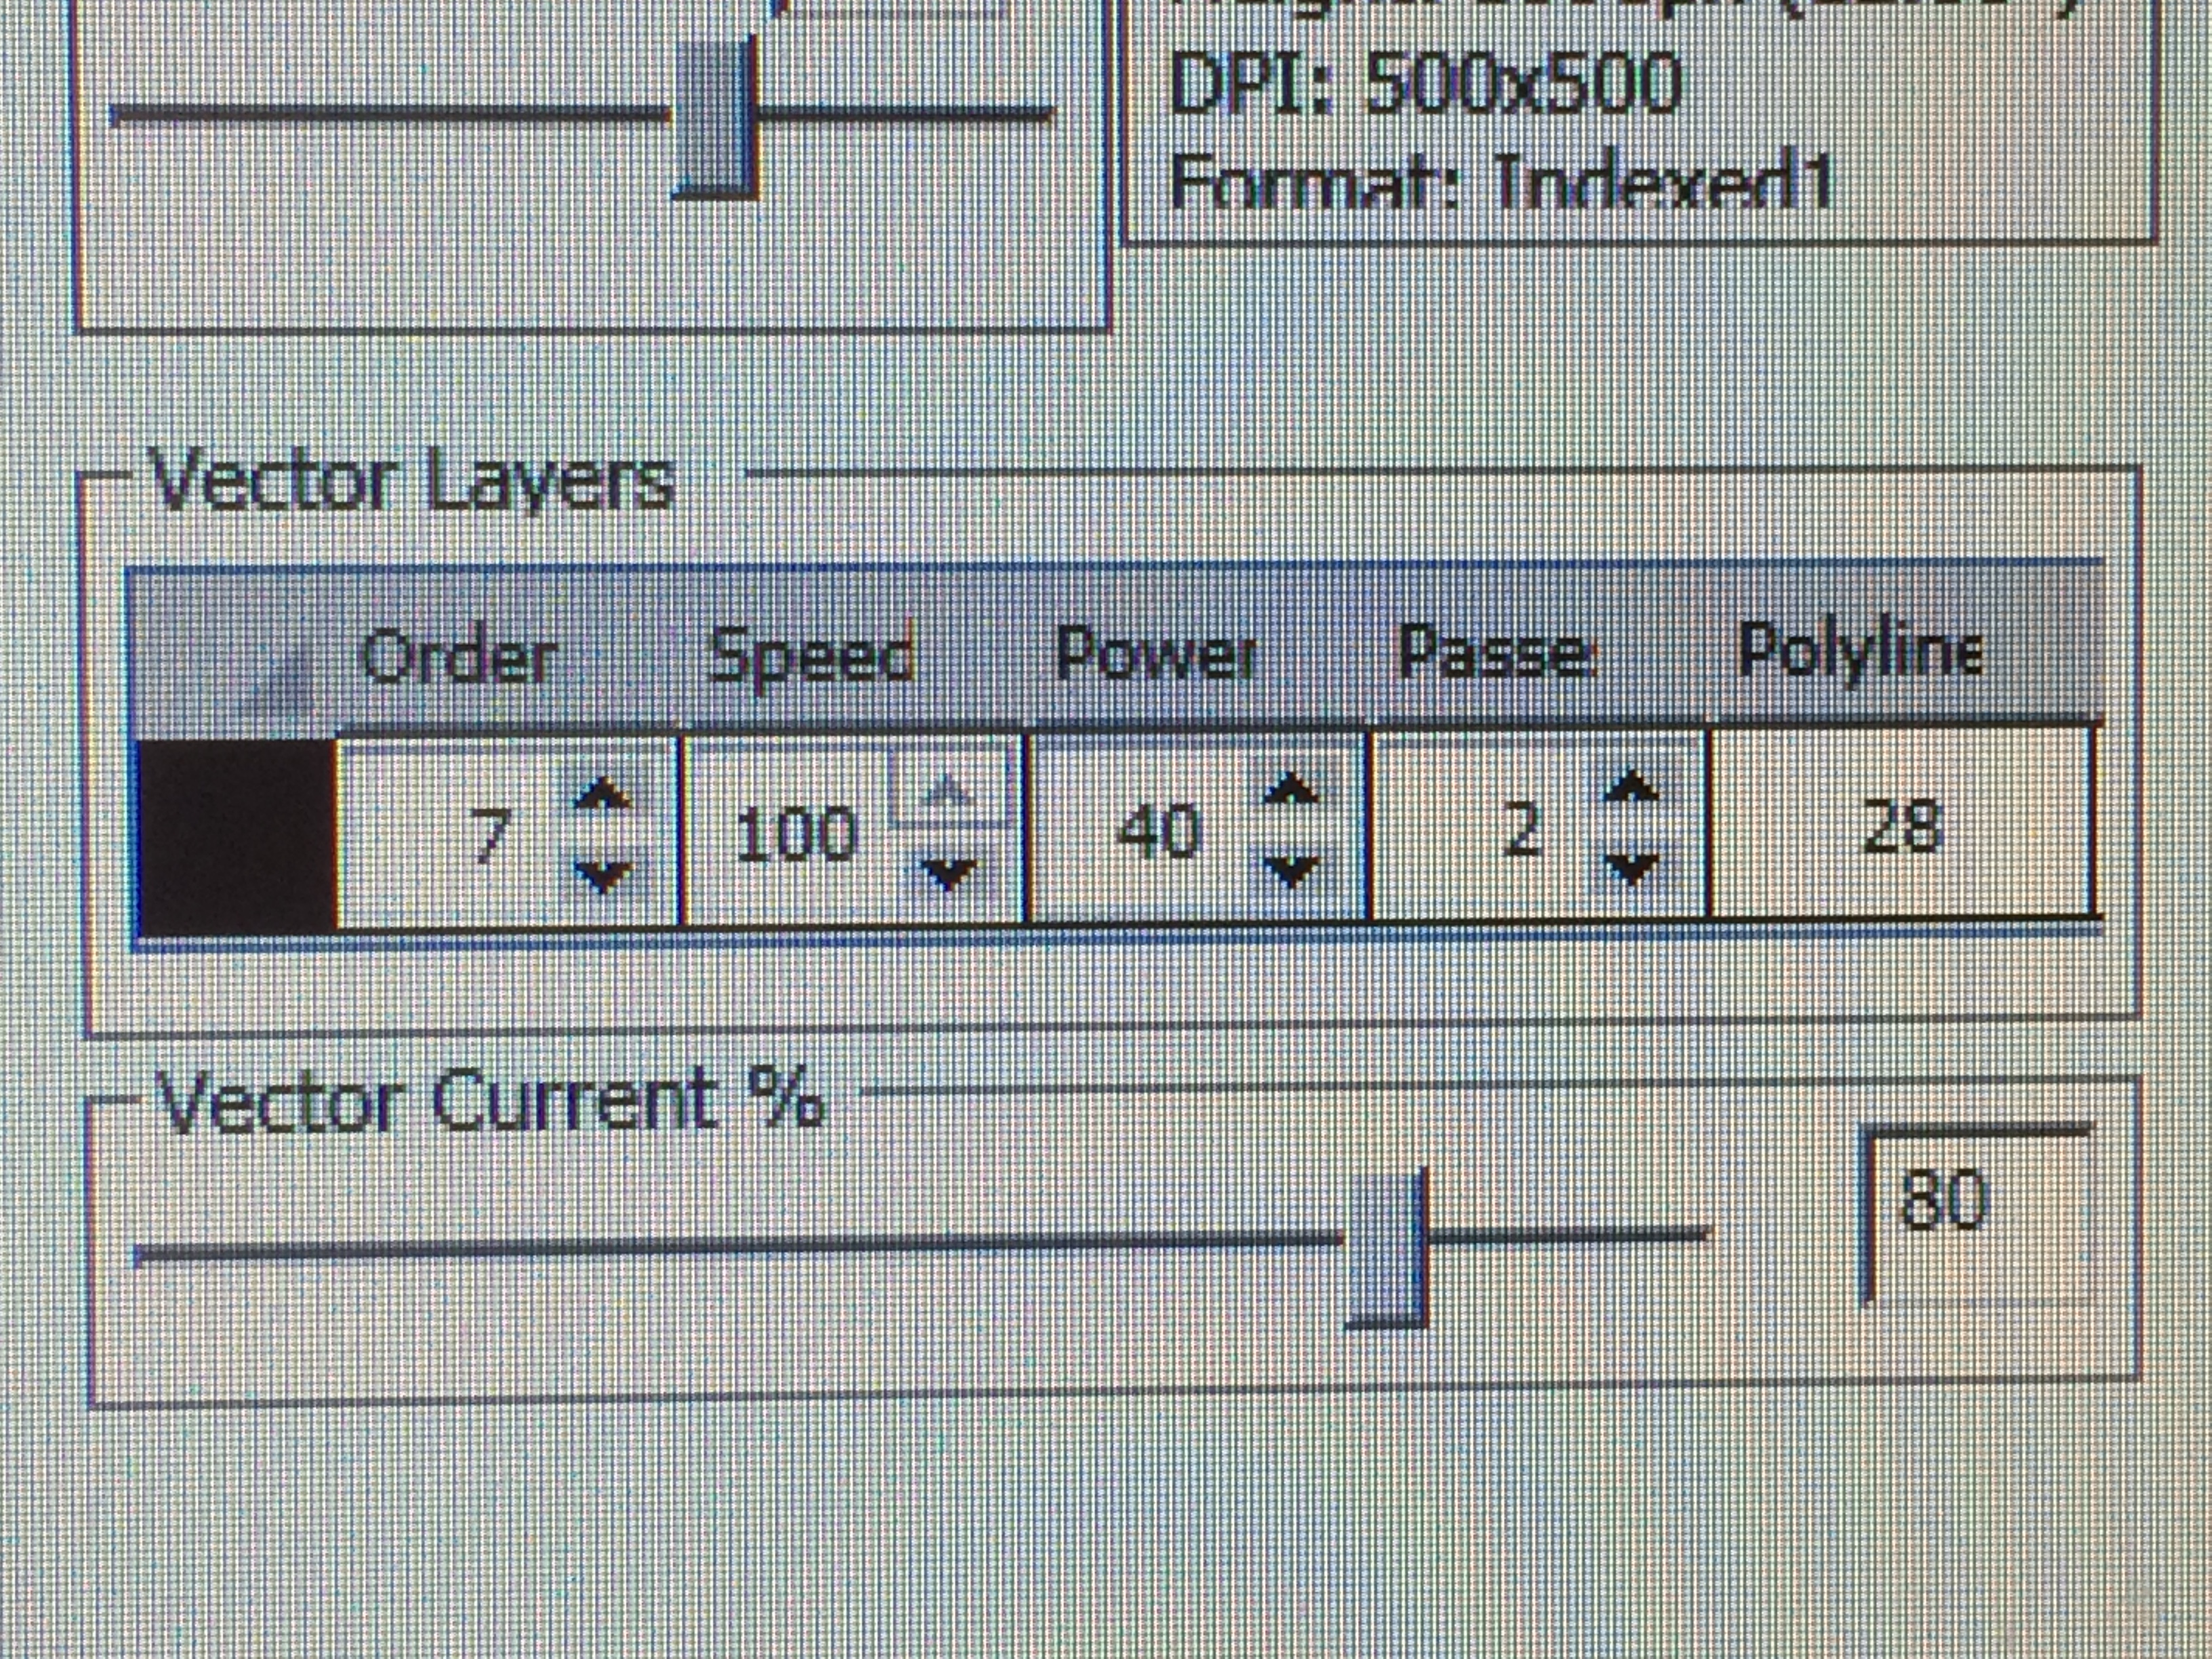
Go to Vector Layers in far right tab, the following explains the rectangular features left to right:
a - the parts you assigned specific colors to
b - the order of what parts get cut first
c - speed of laser, going slower chars/burns the material
d - power of laser, when at a high power the cut deepens and the material burns more. Do NOT use full power (100)
e - the number of times the laser goes over that part using the assigned power, and allows for a cut without charred material
Print Calibration
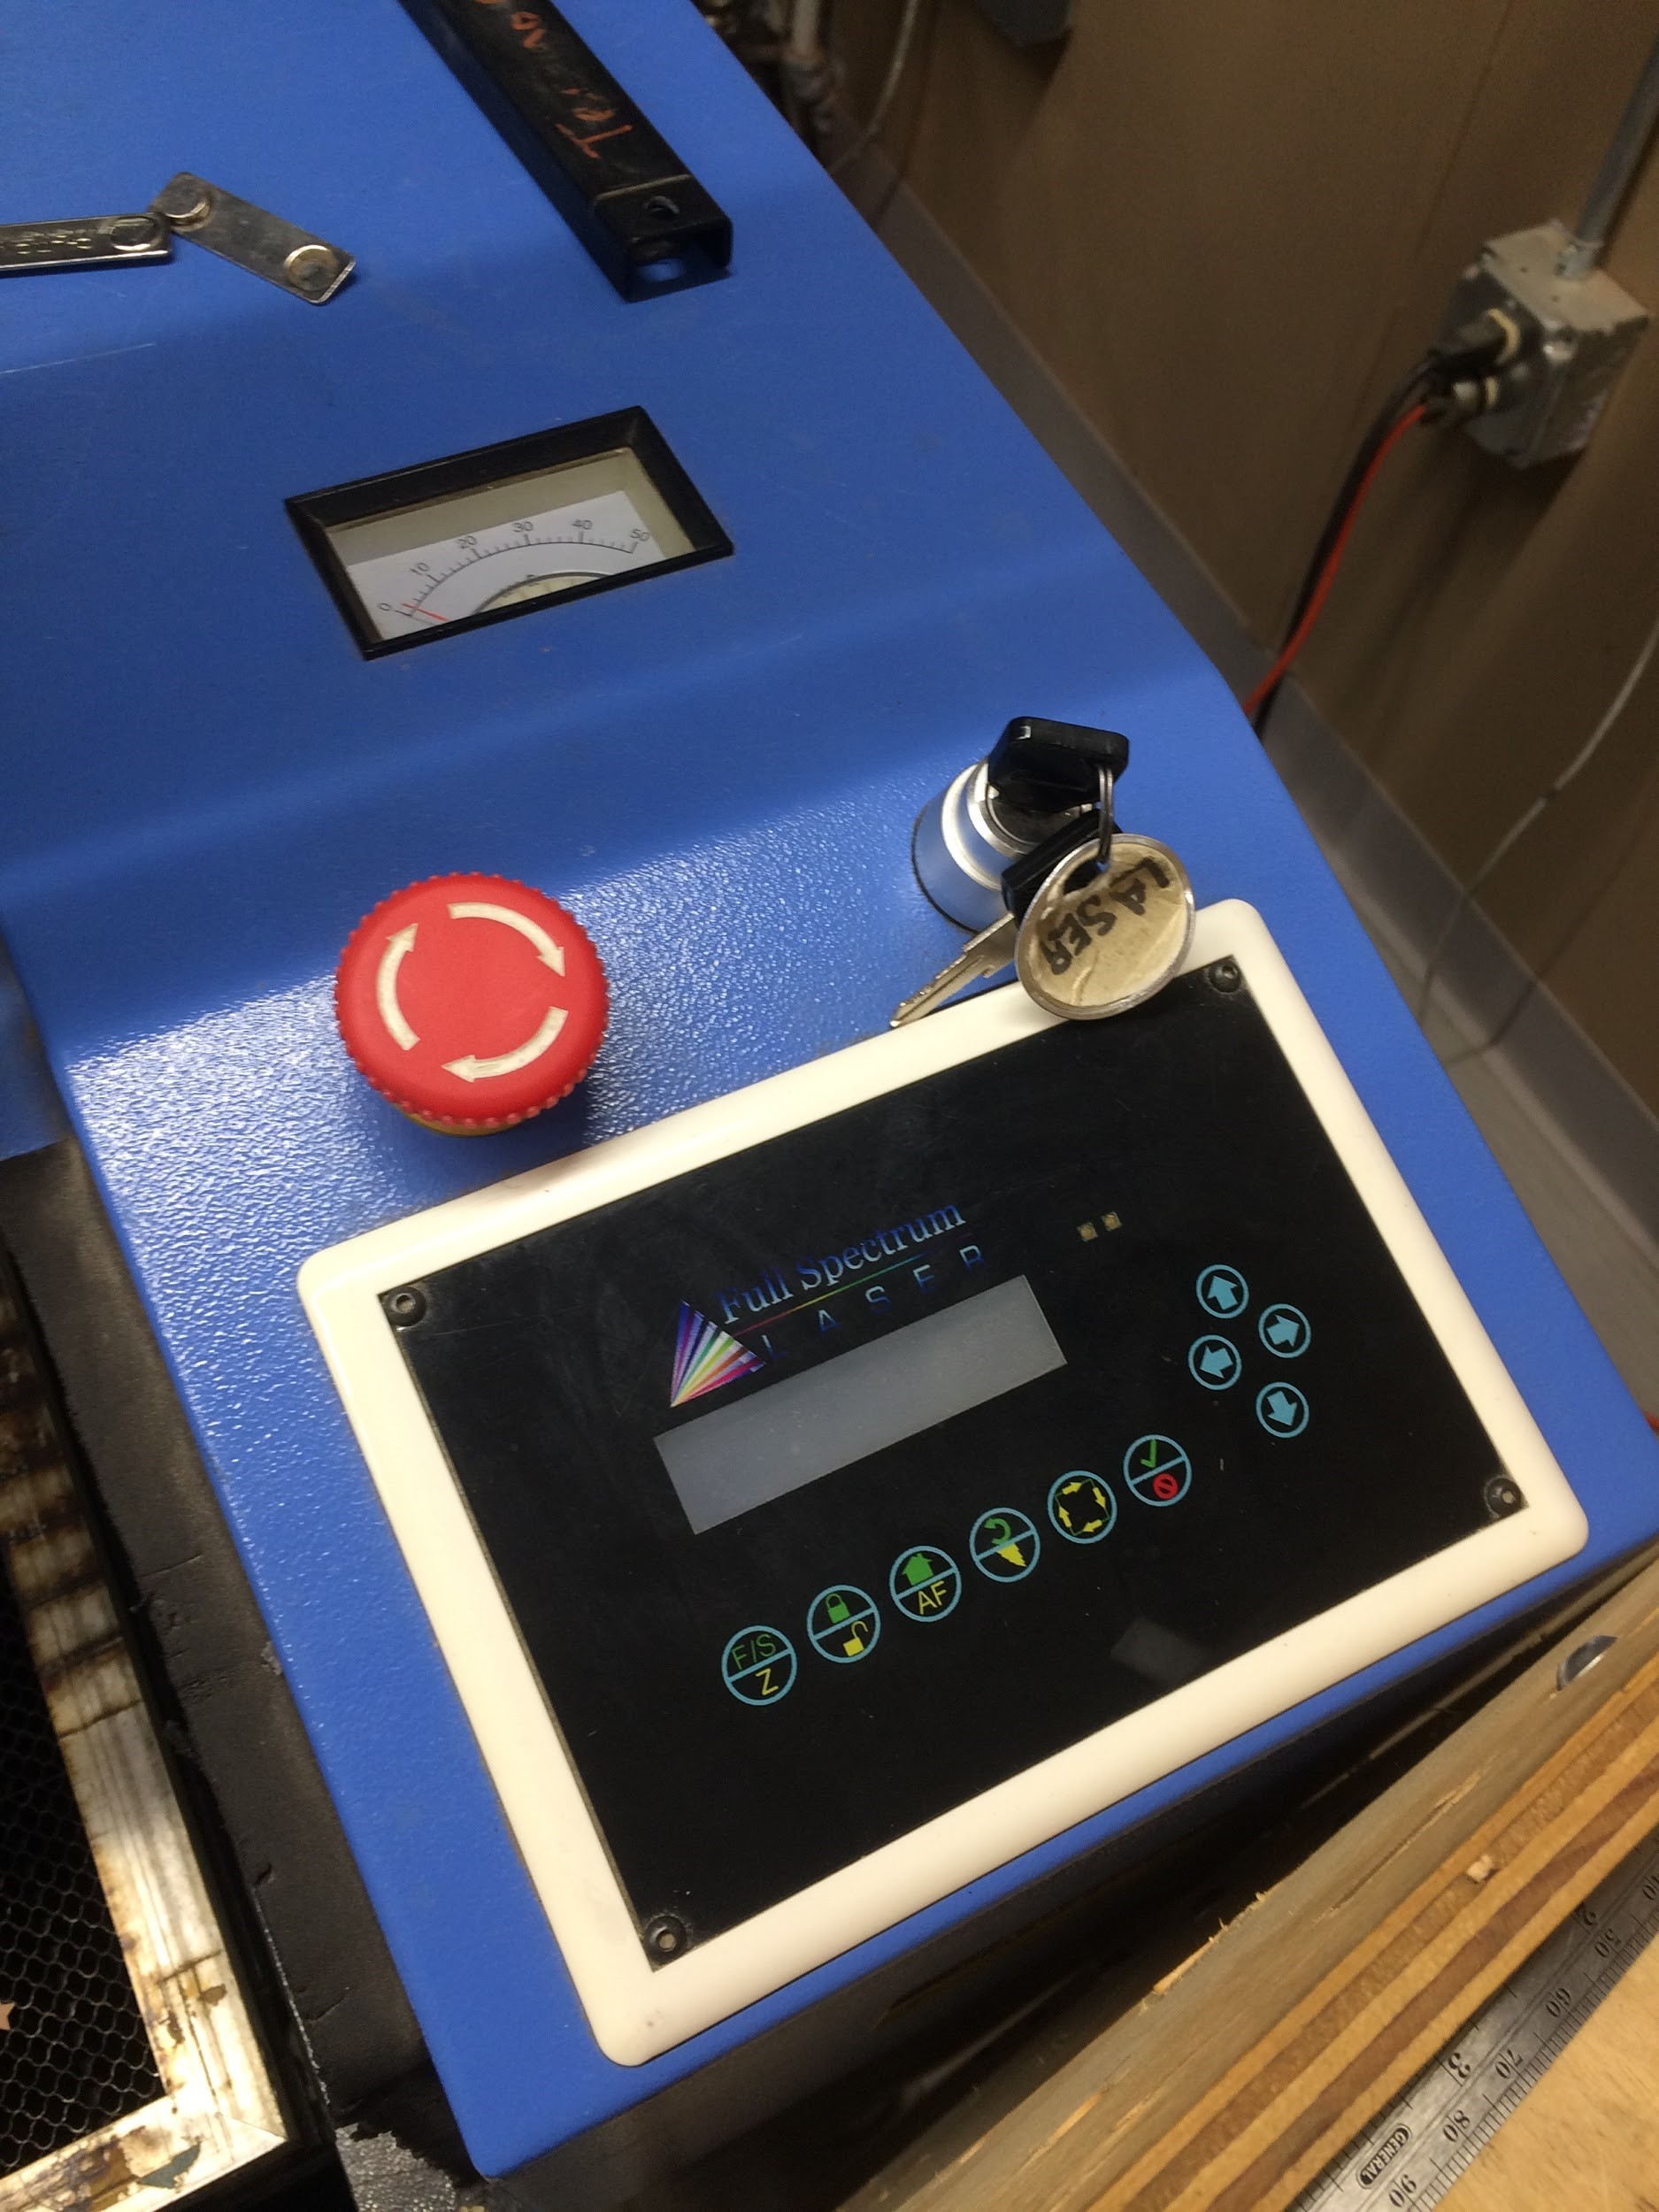
Open the Laser Cutter’s hood and turn the key above the display on the machine
The first button switches between the modes and allows you to move the laser across the bed and move the bed up and down
The third button from the left returns the laser to ‘home,’ otherwise known as the top-right corner of the bed
The arrow buttons on the right control the laser/bed depending on the mode you’re using (up and down used for the Z bed and all four directions used for the Slow/Fast XY)
Place Material
Place your material on the bed at the top-left corner and place one of the metal bars on the bottom of the material
Use the Fast/Slow XY control to position the laser at the top-left of where you want the trace
Adjust Z Bed
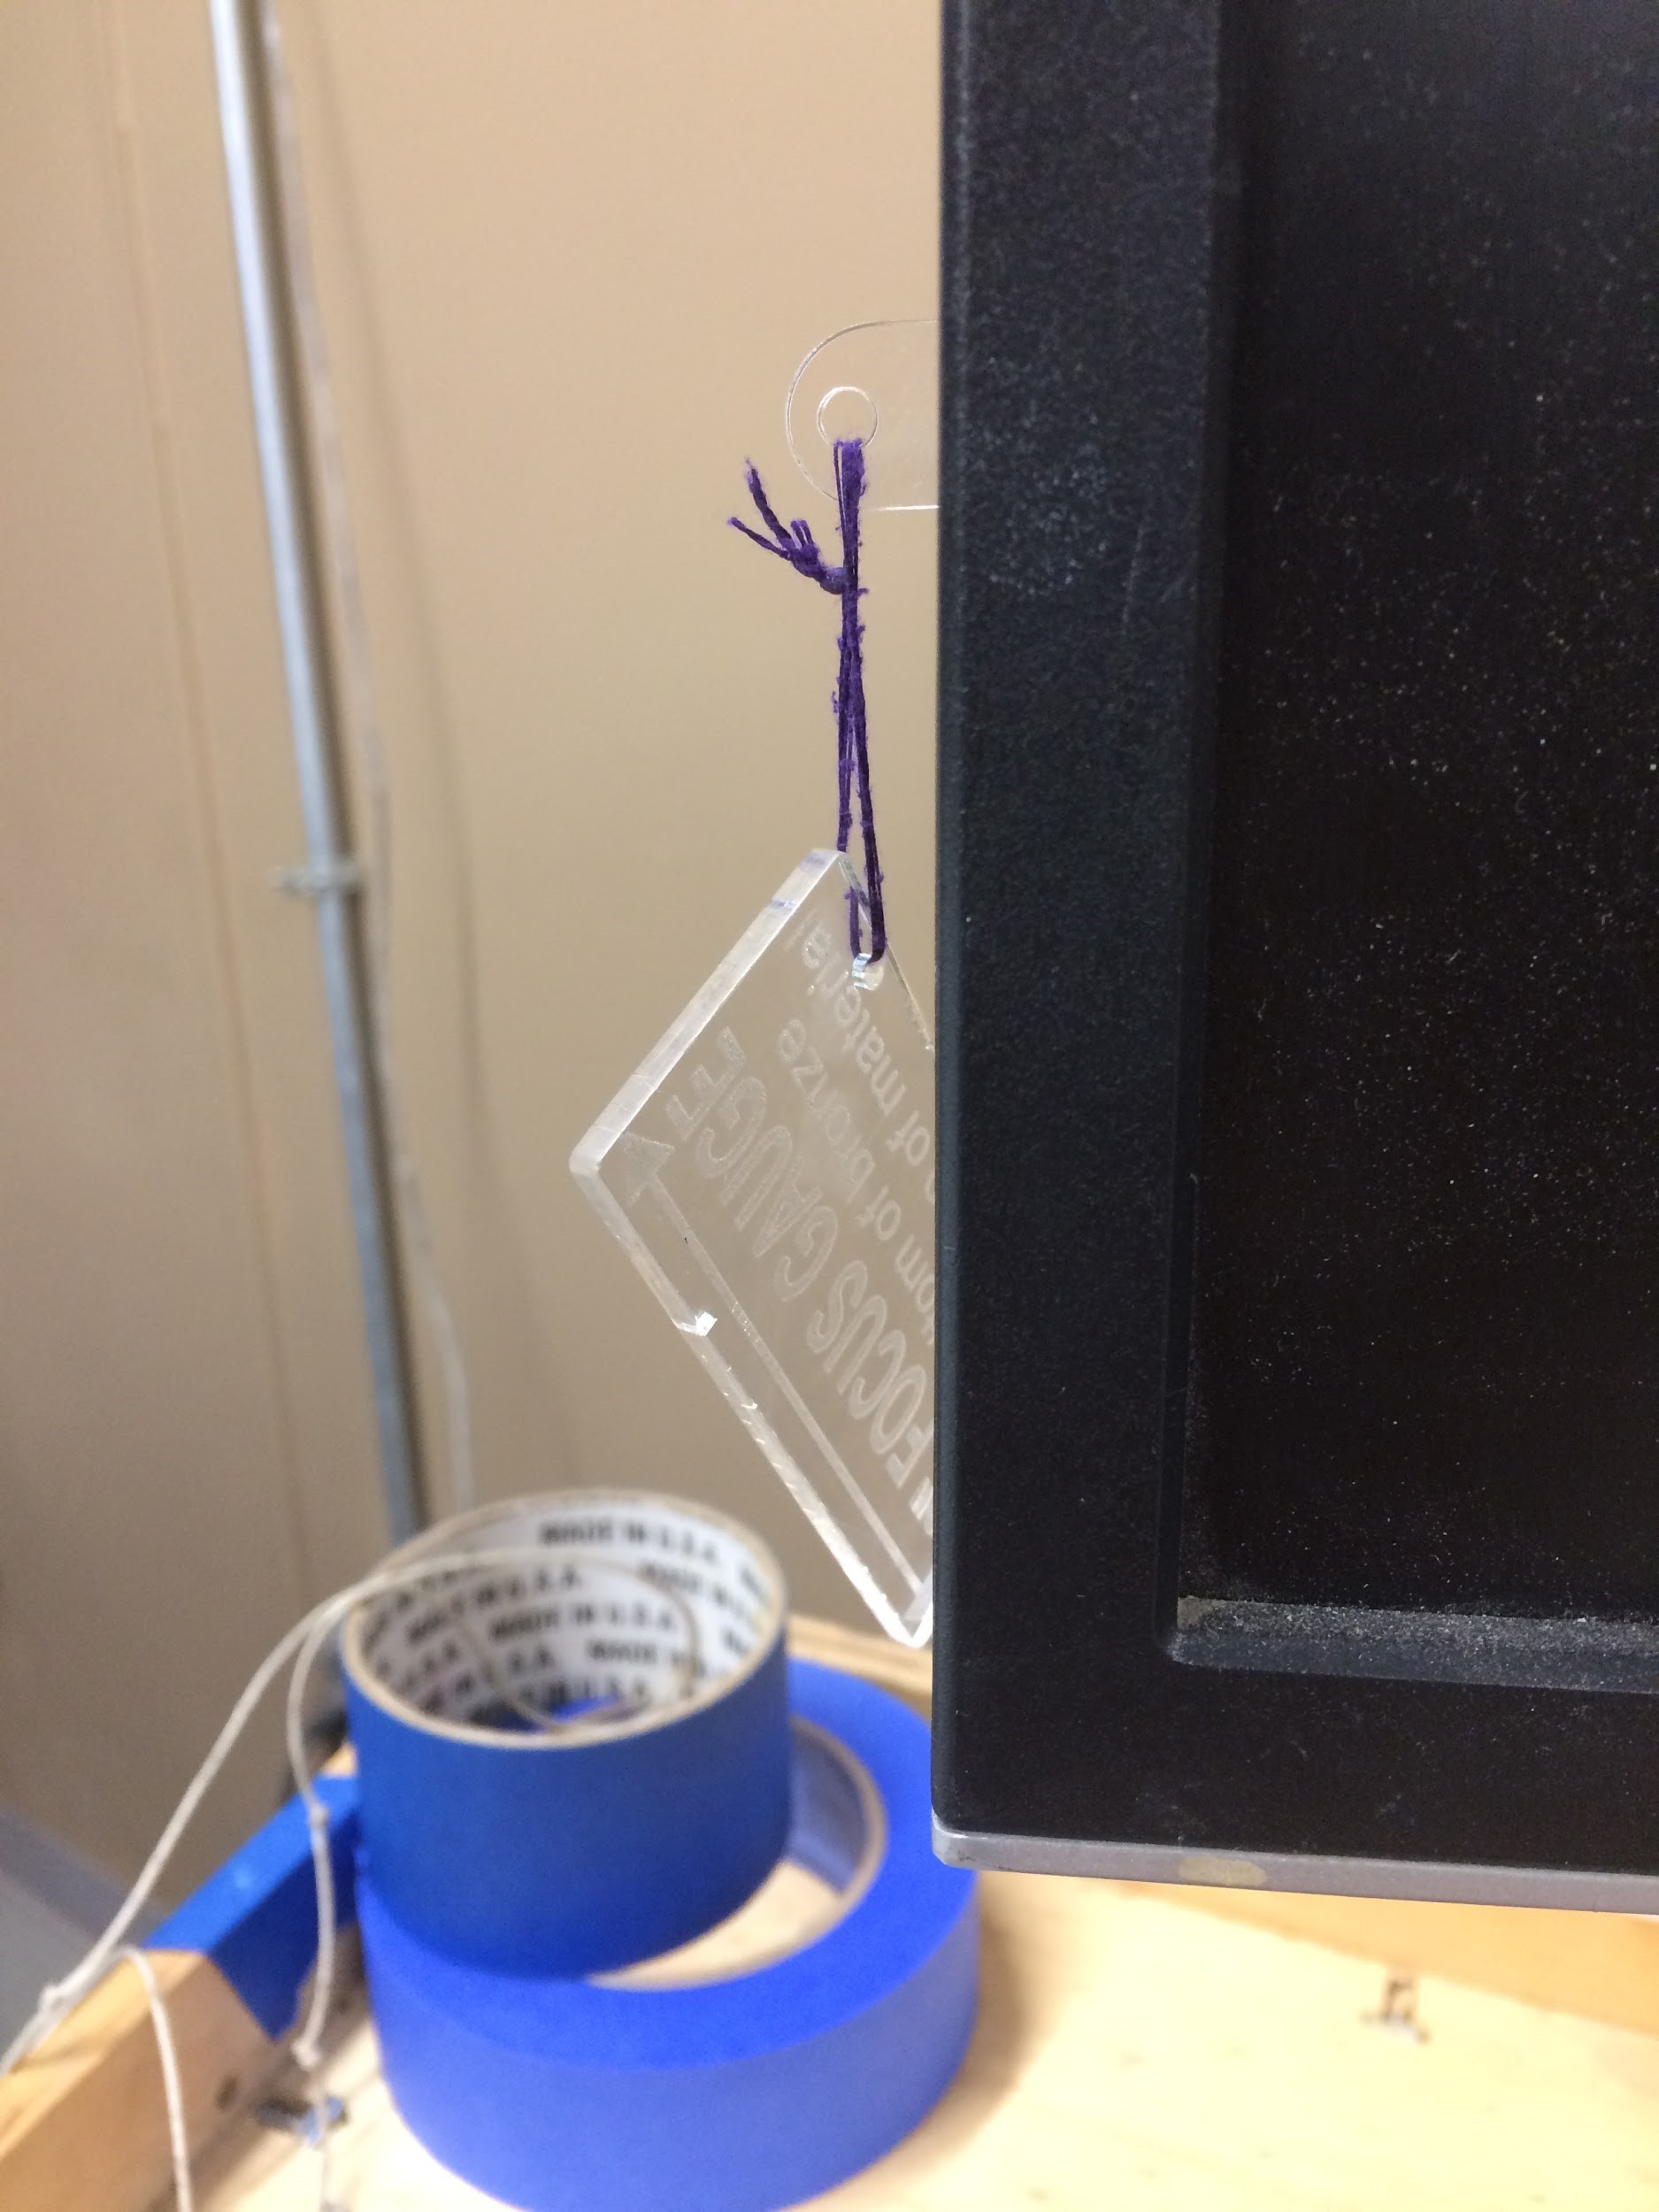
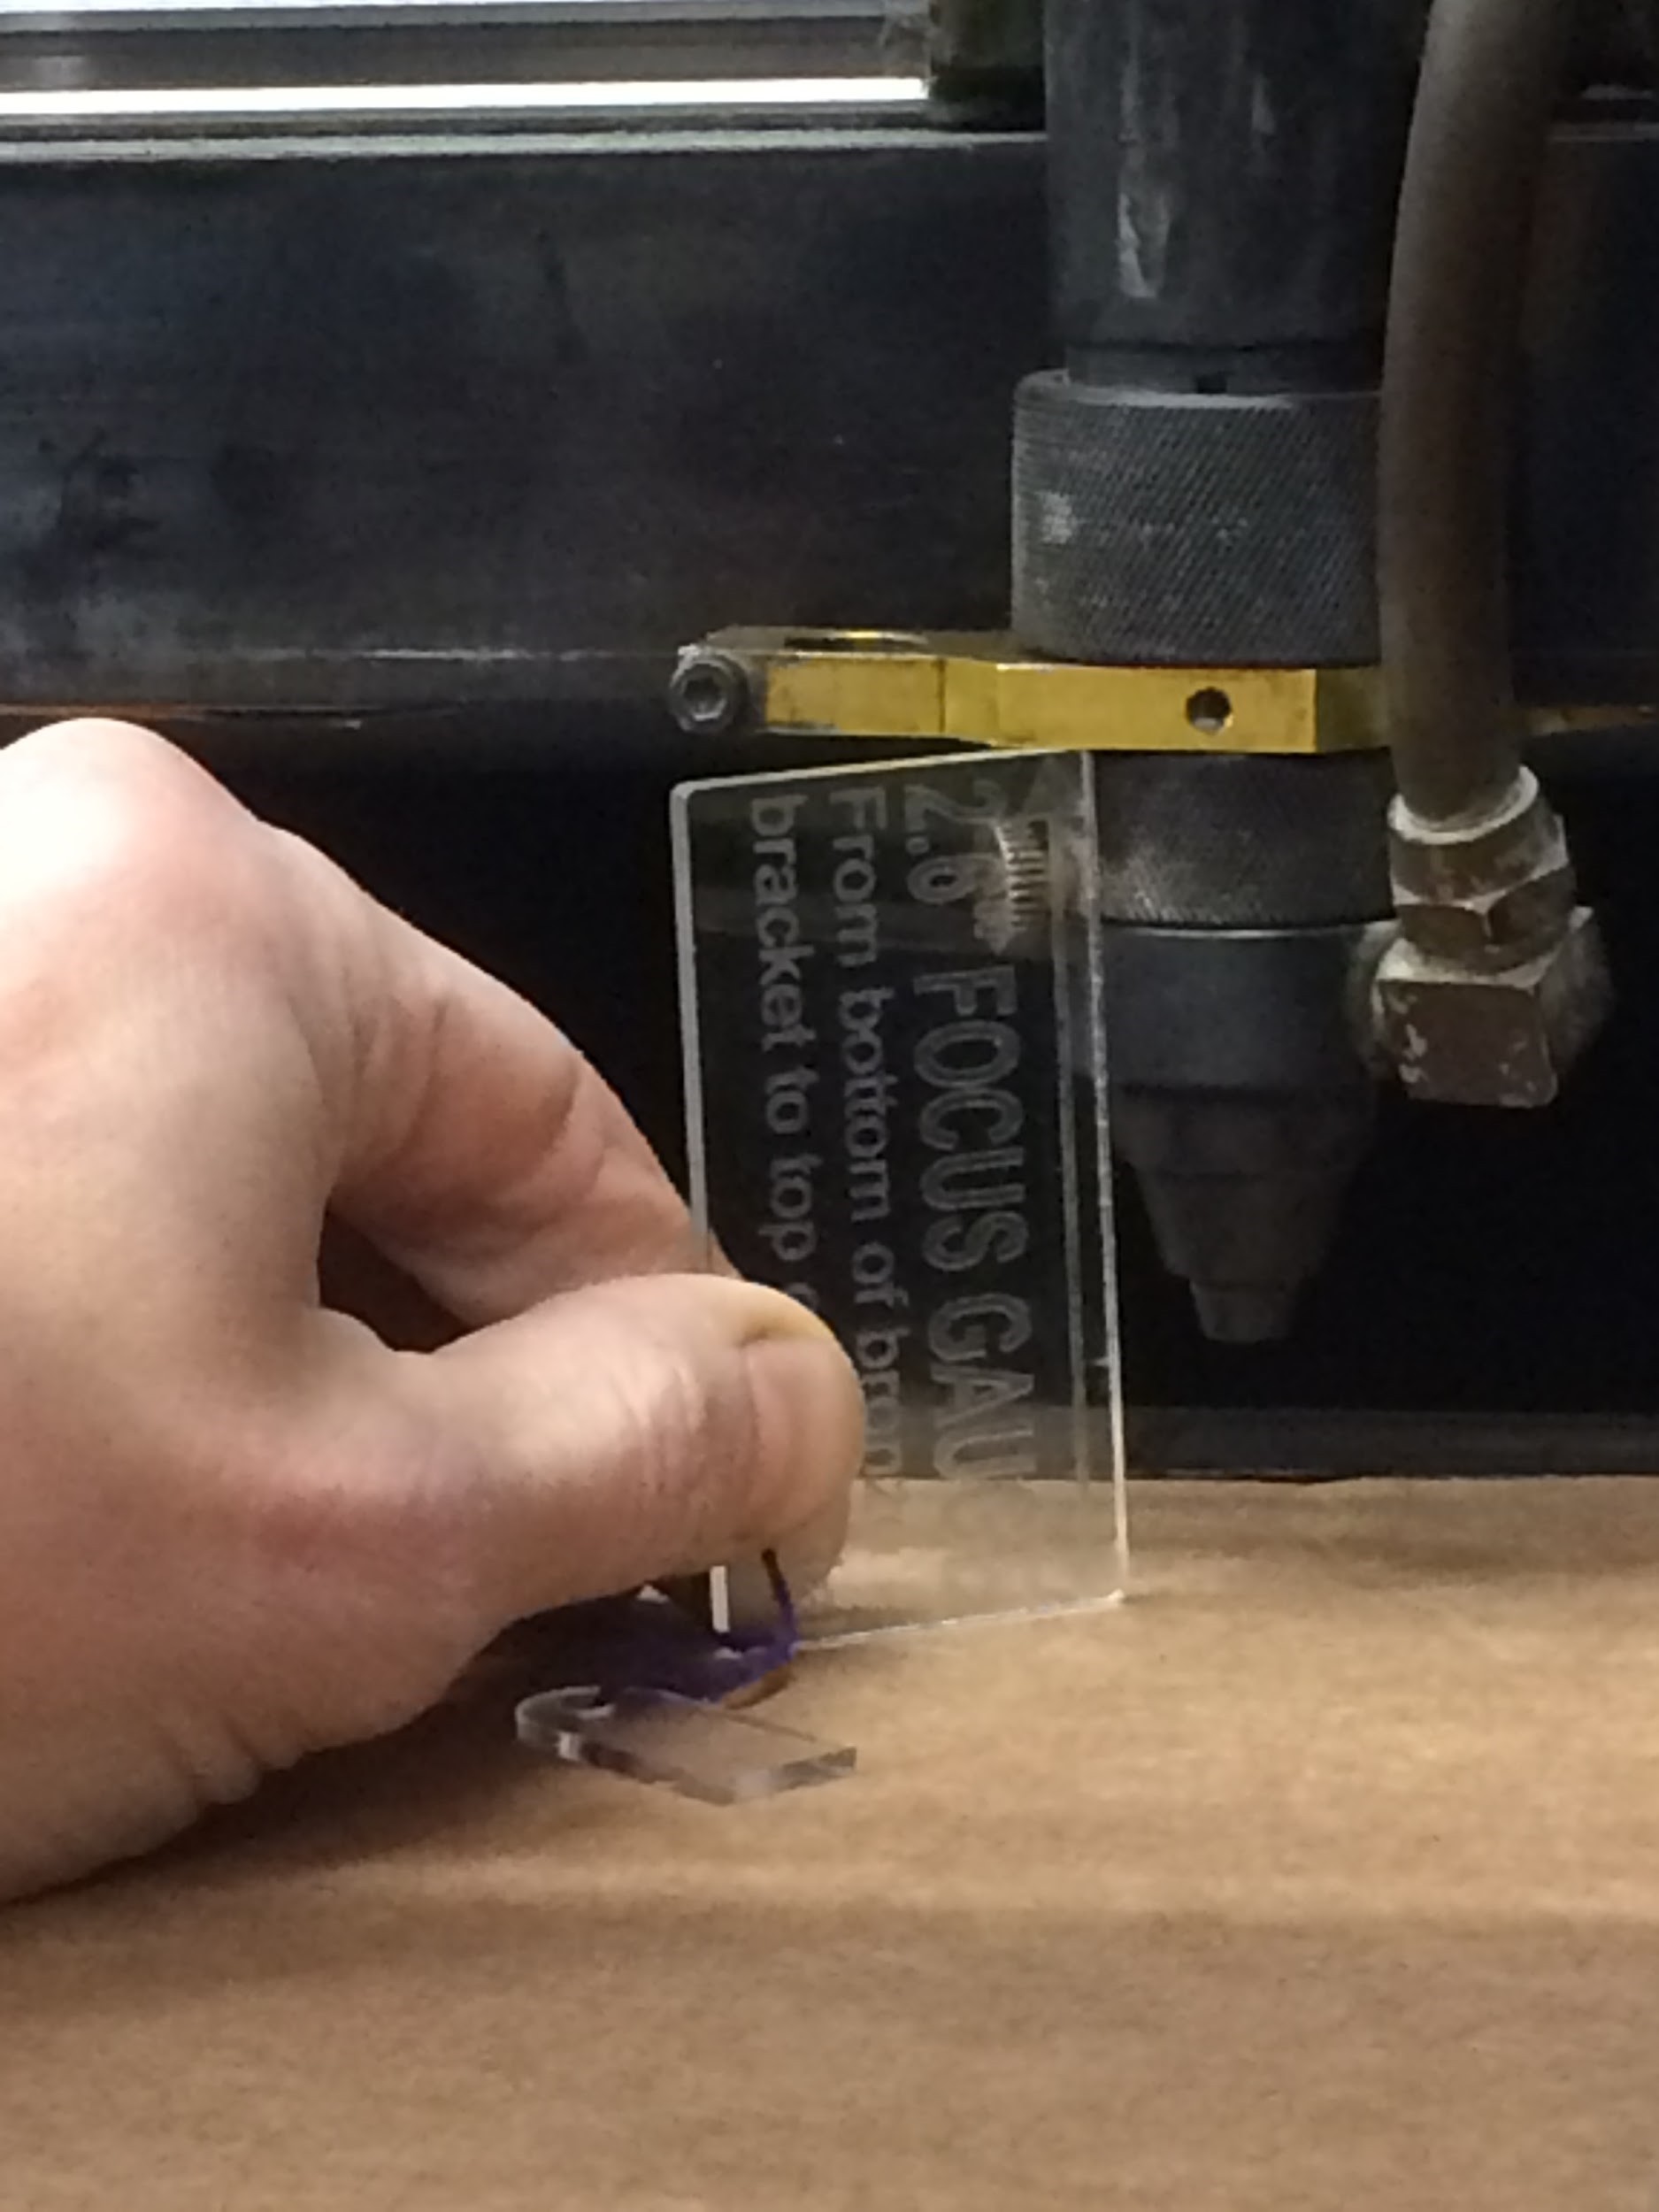
Use the piece attached to the monitor and place it directly underneath the gold part of the laser piece and use the Z Bed controls to move the bed up or down to get the piece to fit comfortably underneath it
To access the Z Bed, press the ‘Mode’ Button below the display on the machine
Start the Venting
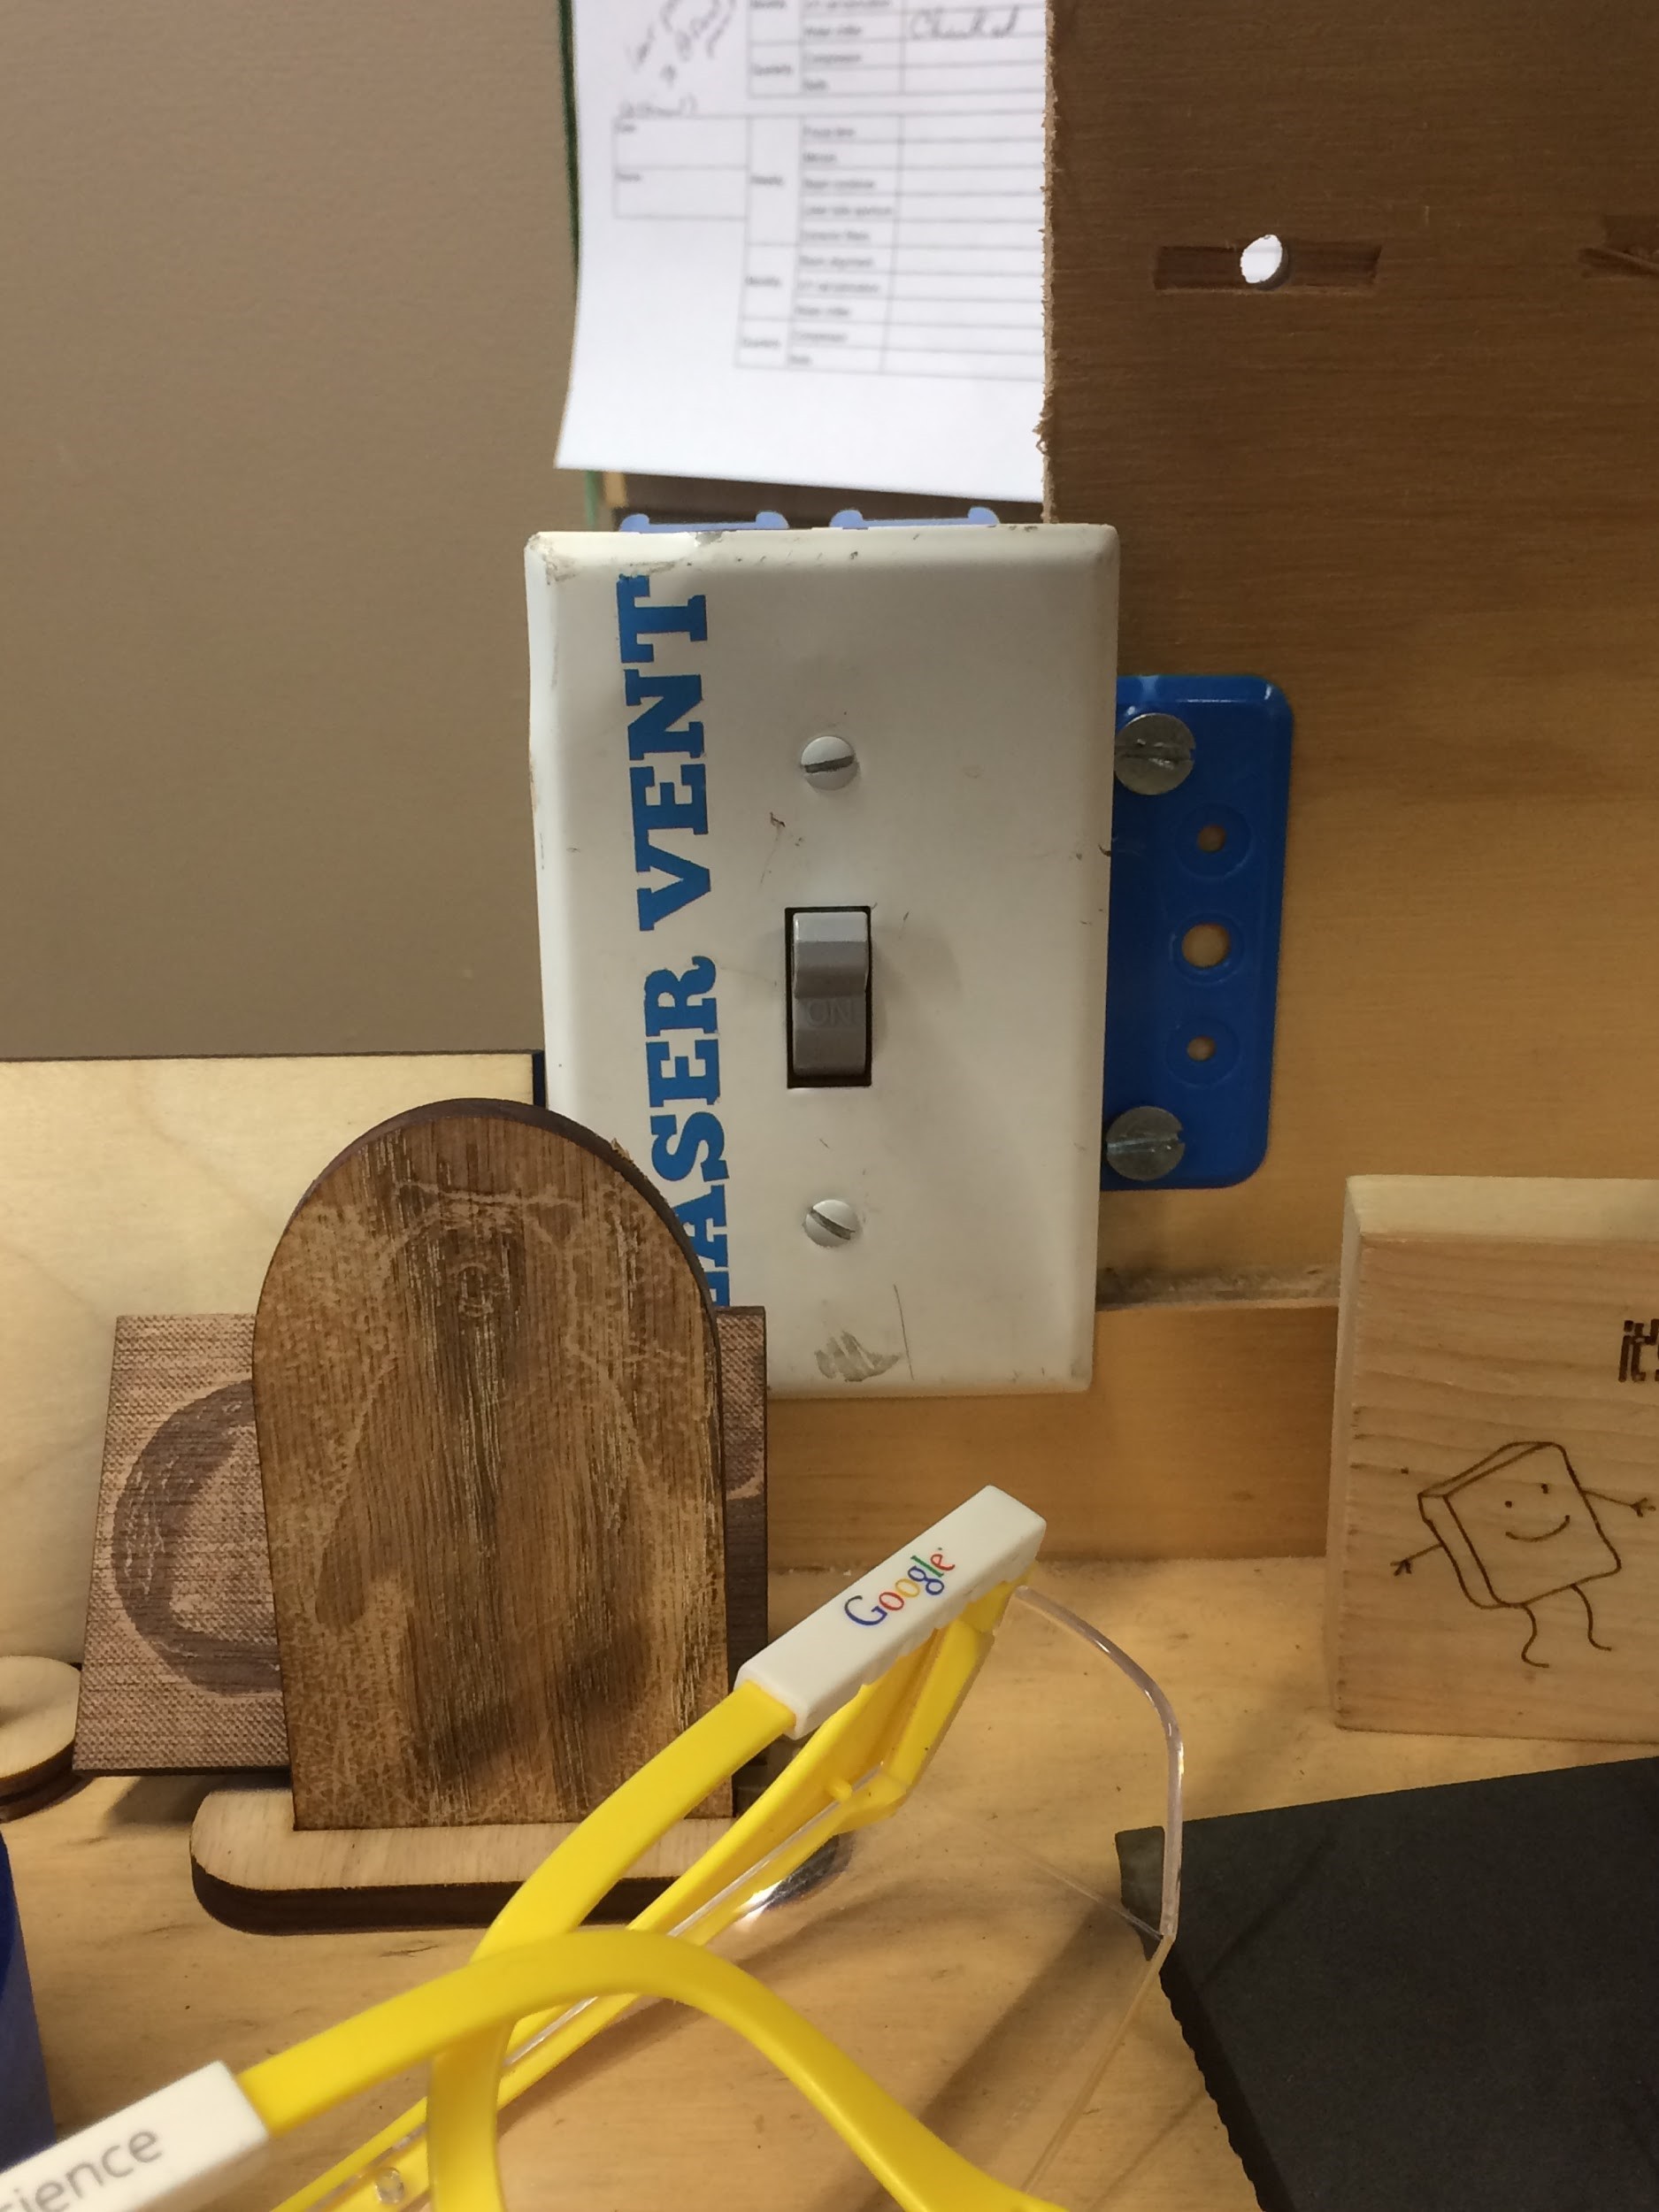
Return the piece to the monitor and turn on the vent using the switch underneath the monitor
The laser will not start if the vent isn't on
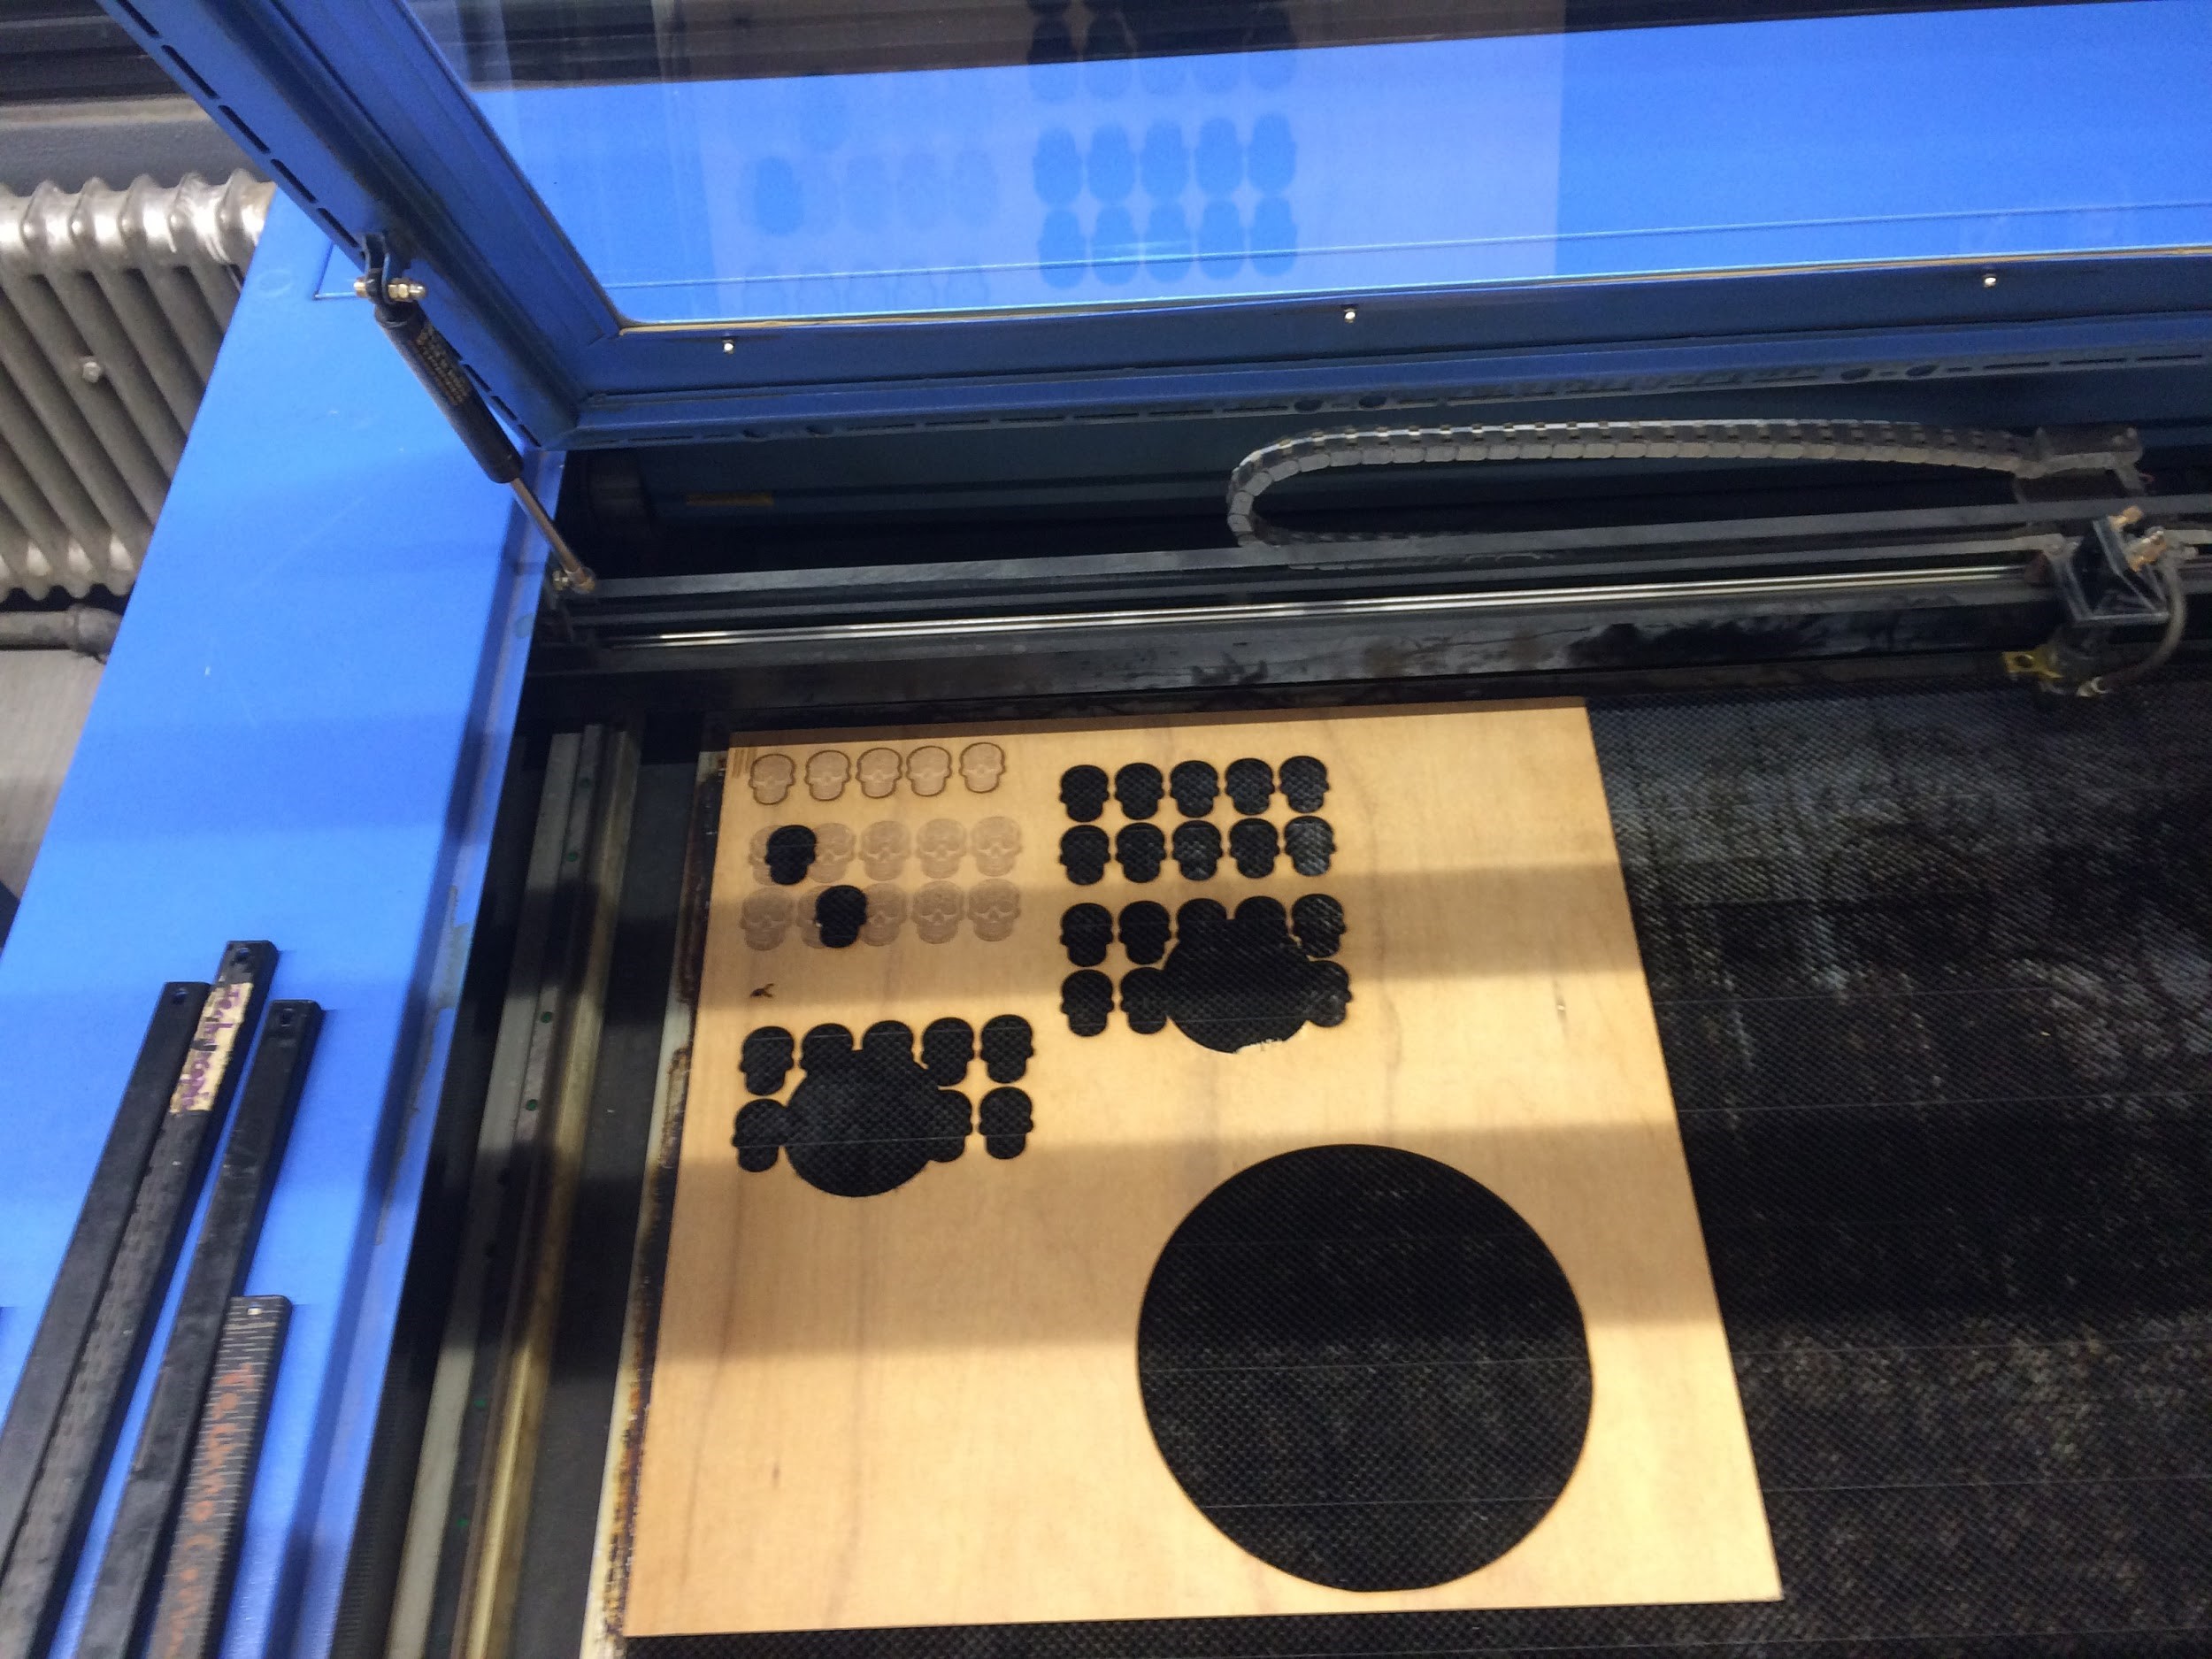
Click the perimeter button (which has the blue corners of a square) button on the top bar to make sure the size of the cut is what’s expected
Use Protective Glasses
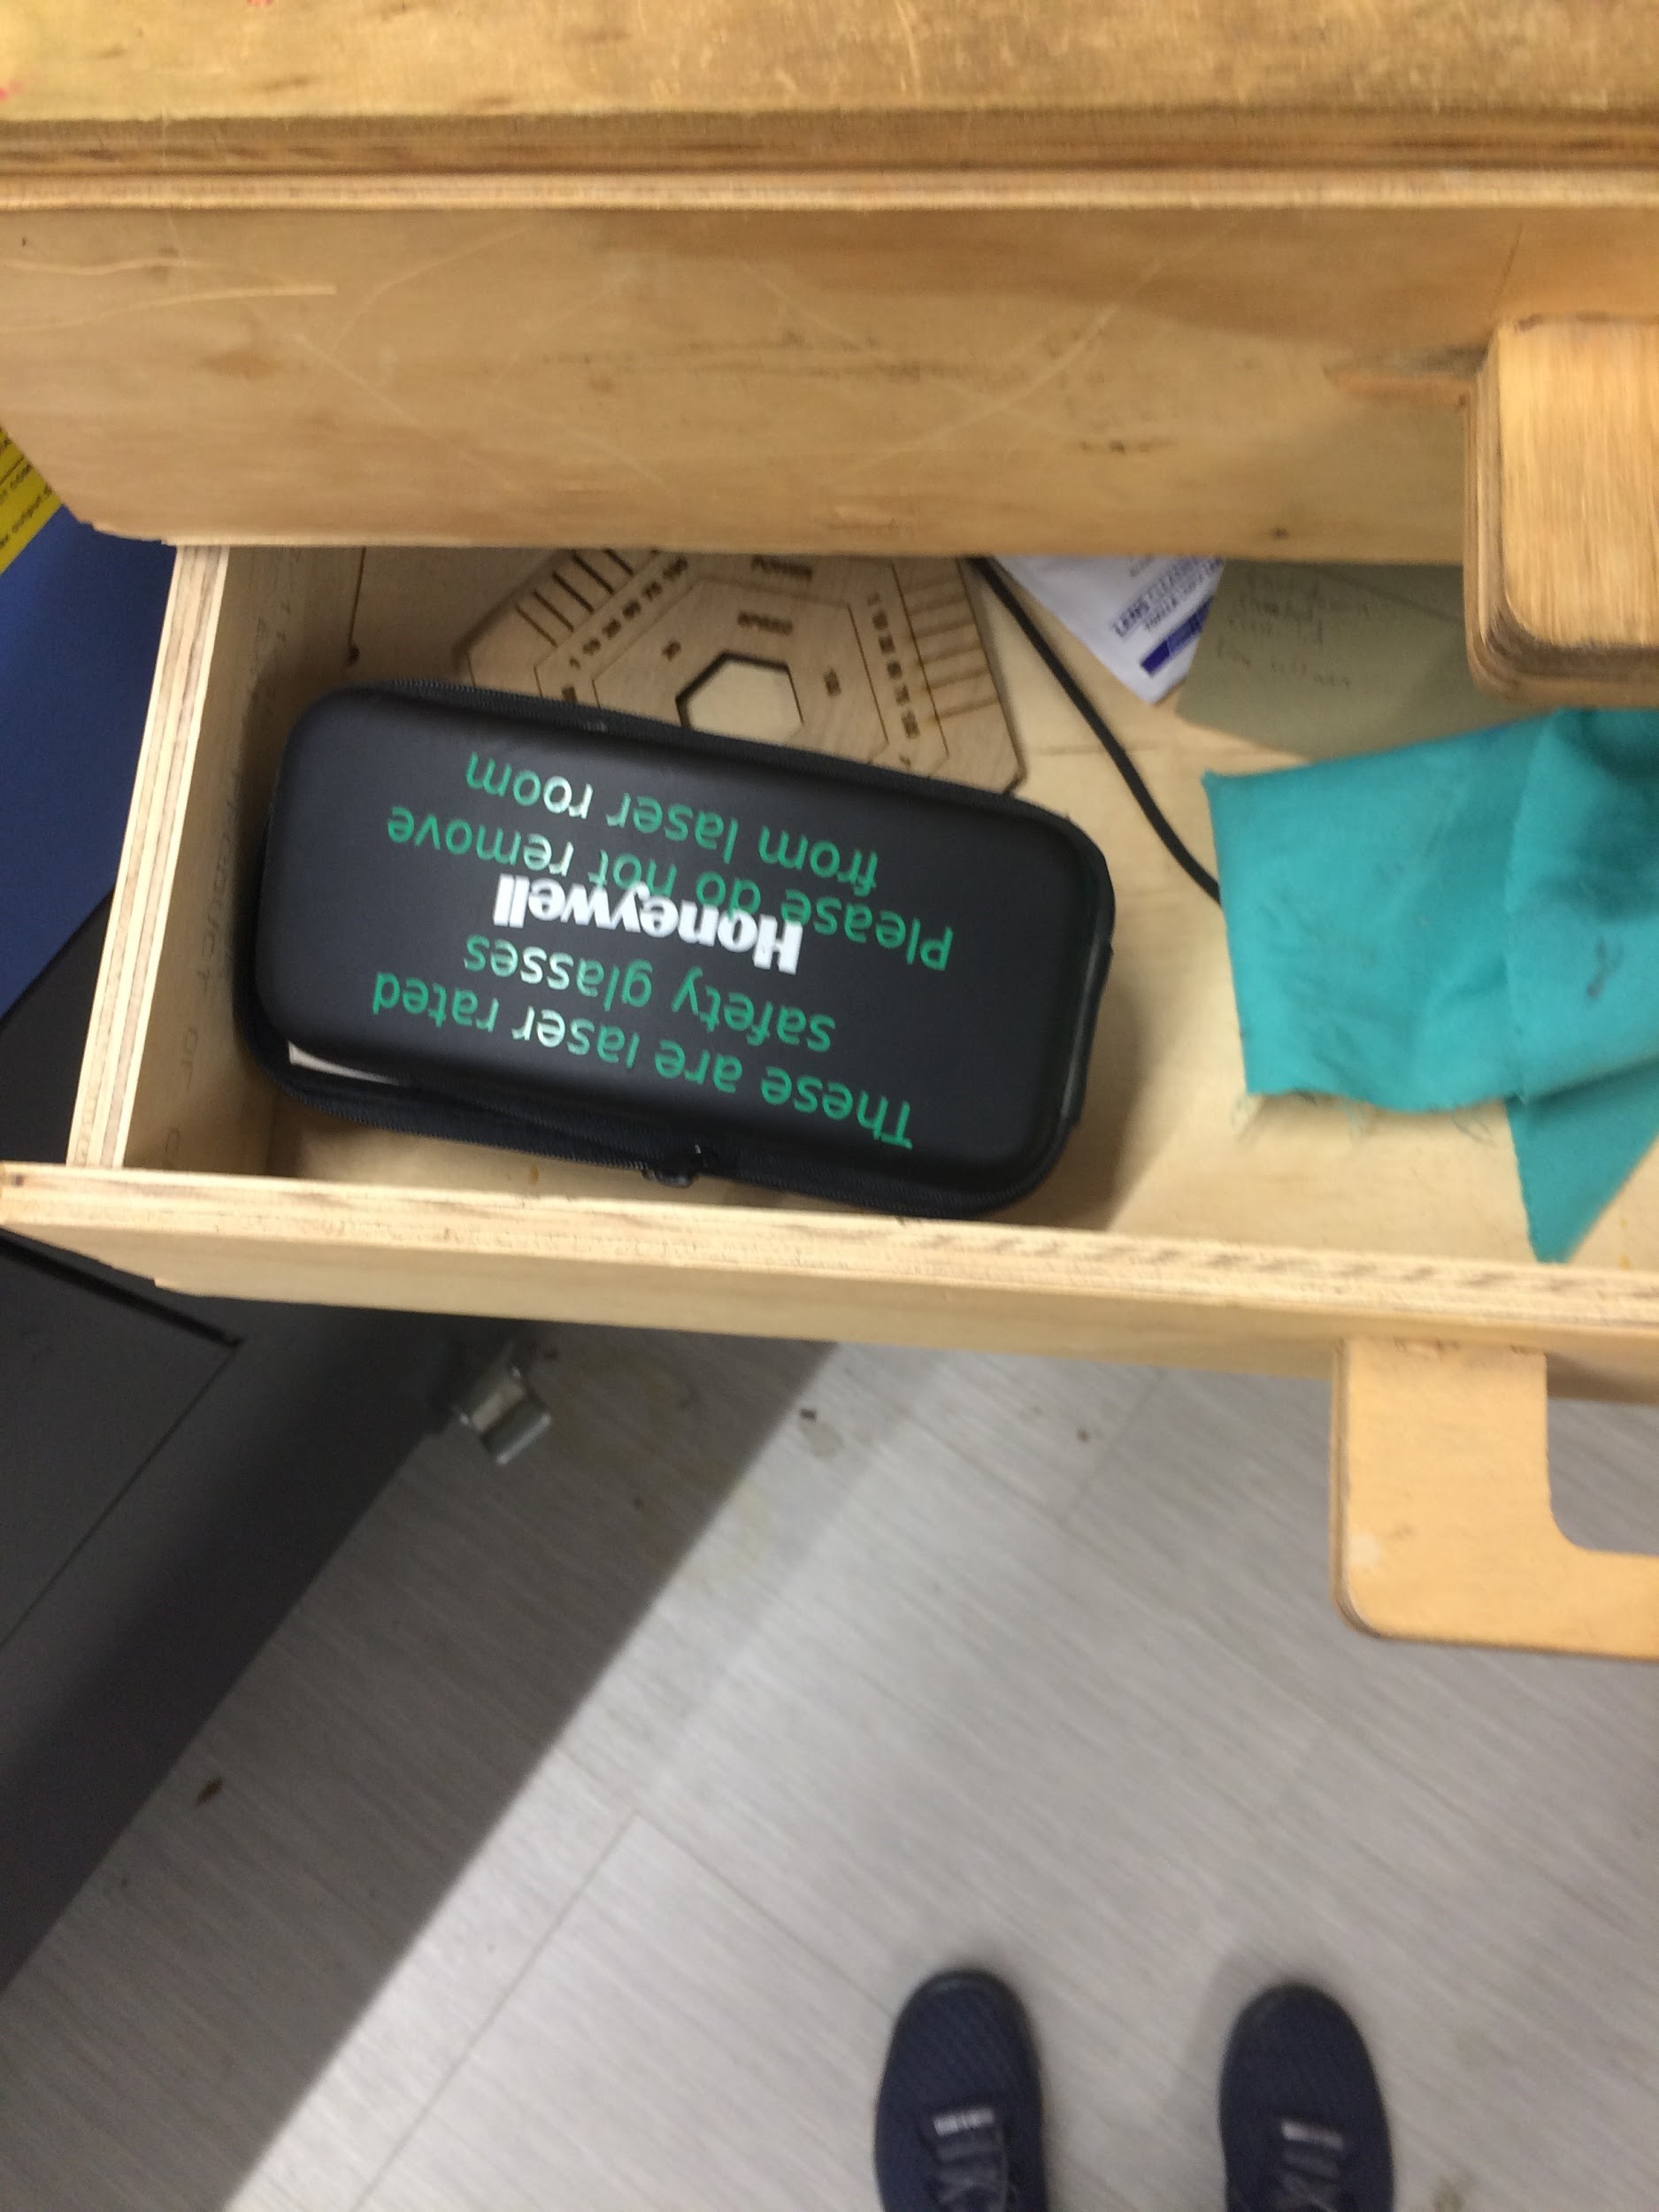
Grab the glasses in the second drawer
These will prevent your eyes from being harmed by watching the laser
If you don't have access to any, try to limit how long you look at the laser as it's cutting
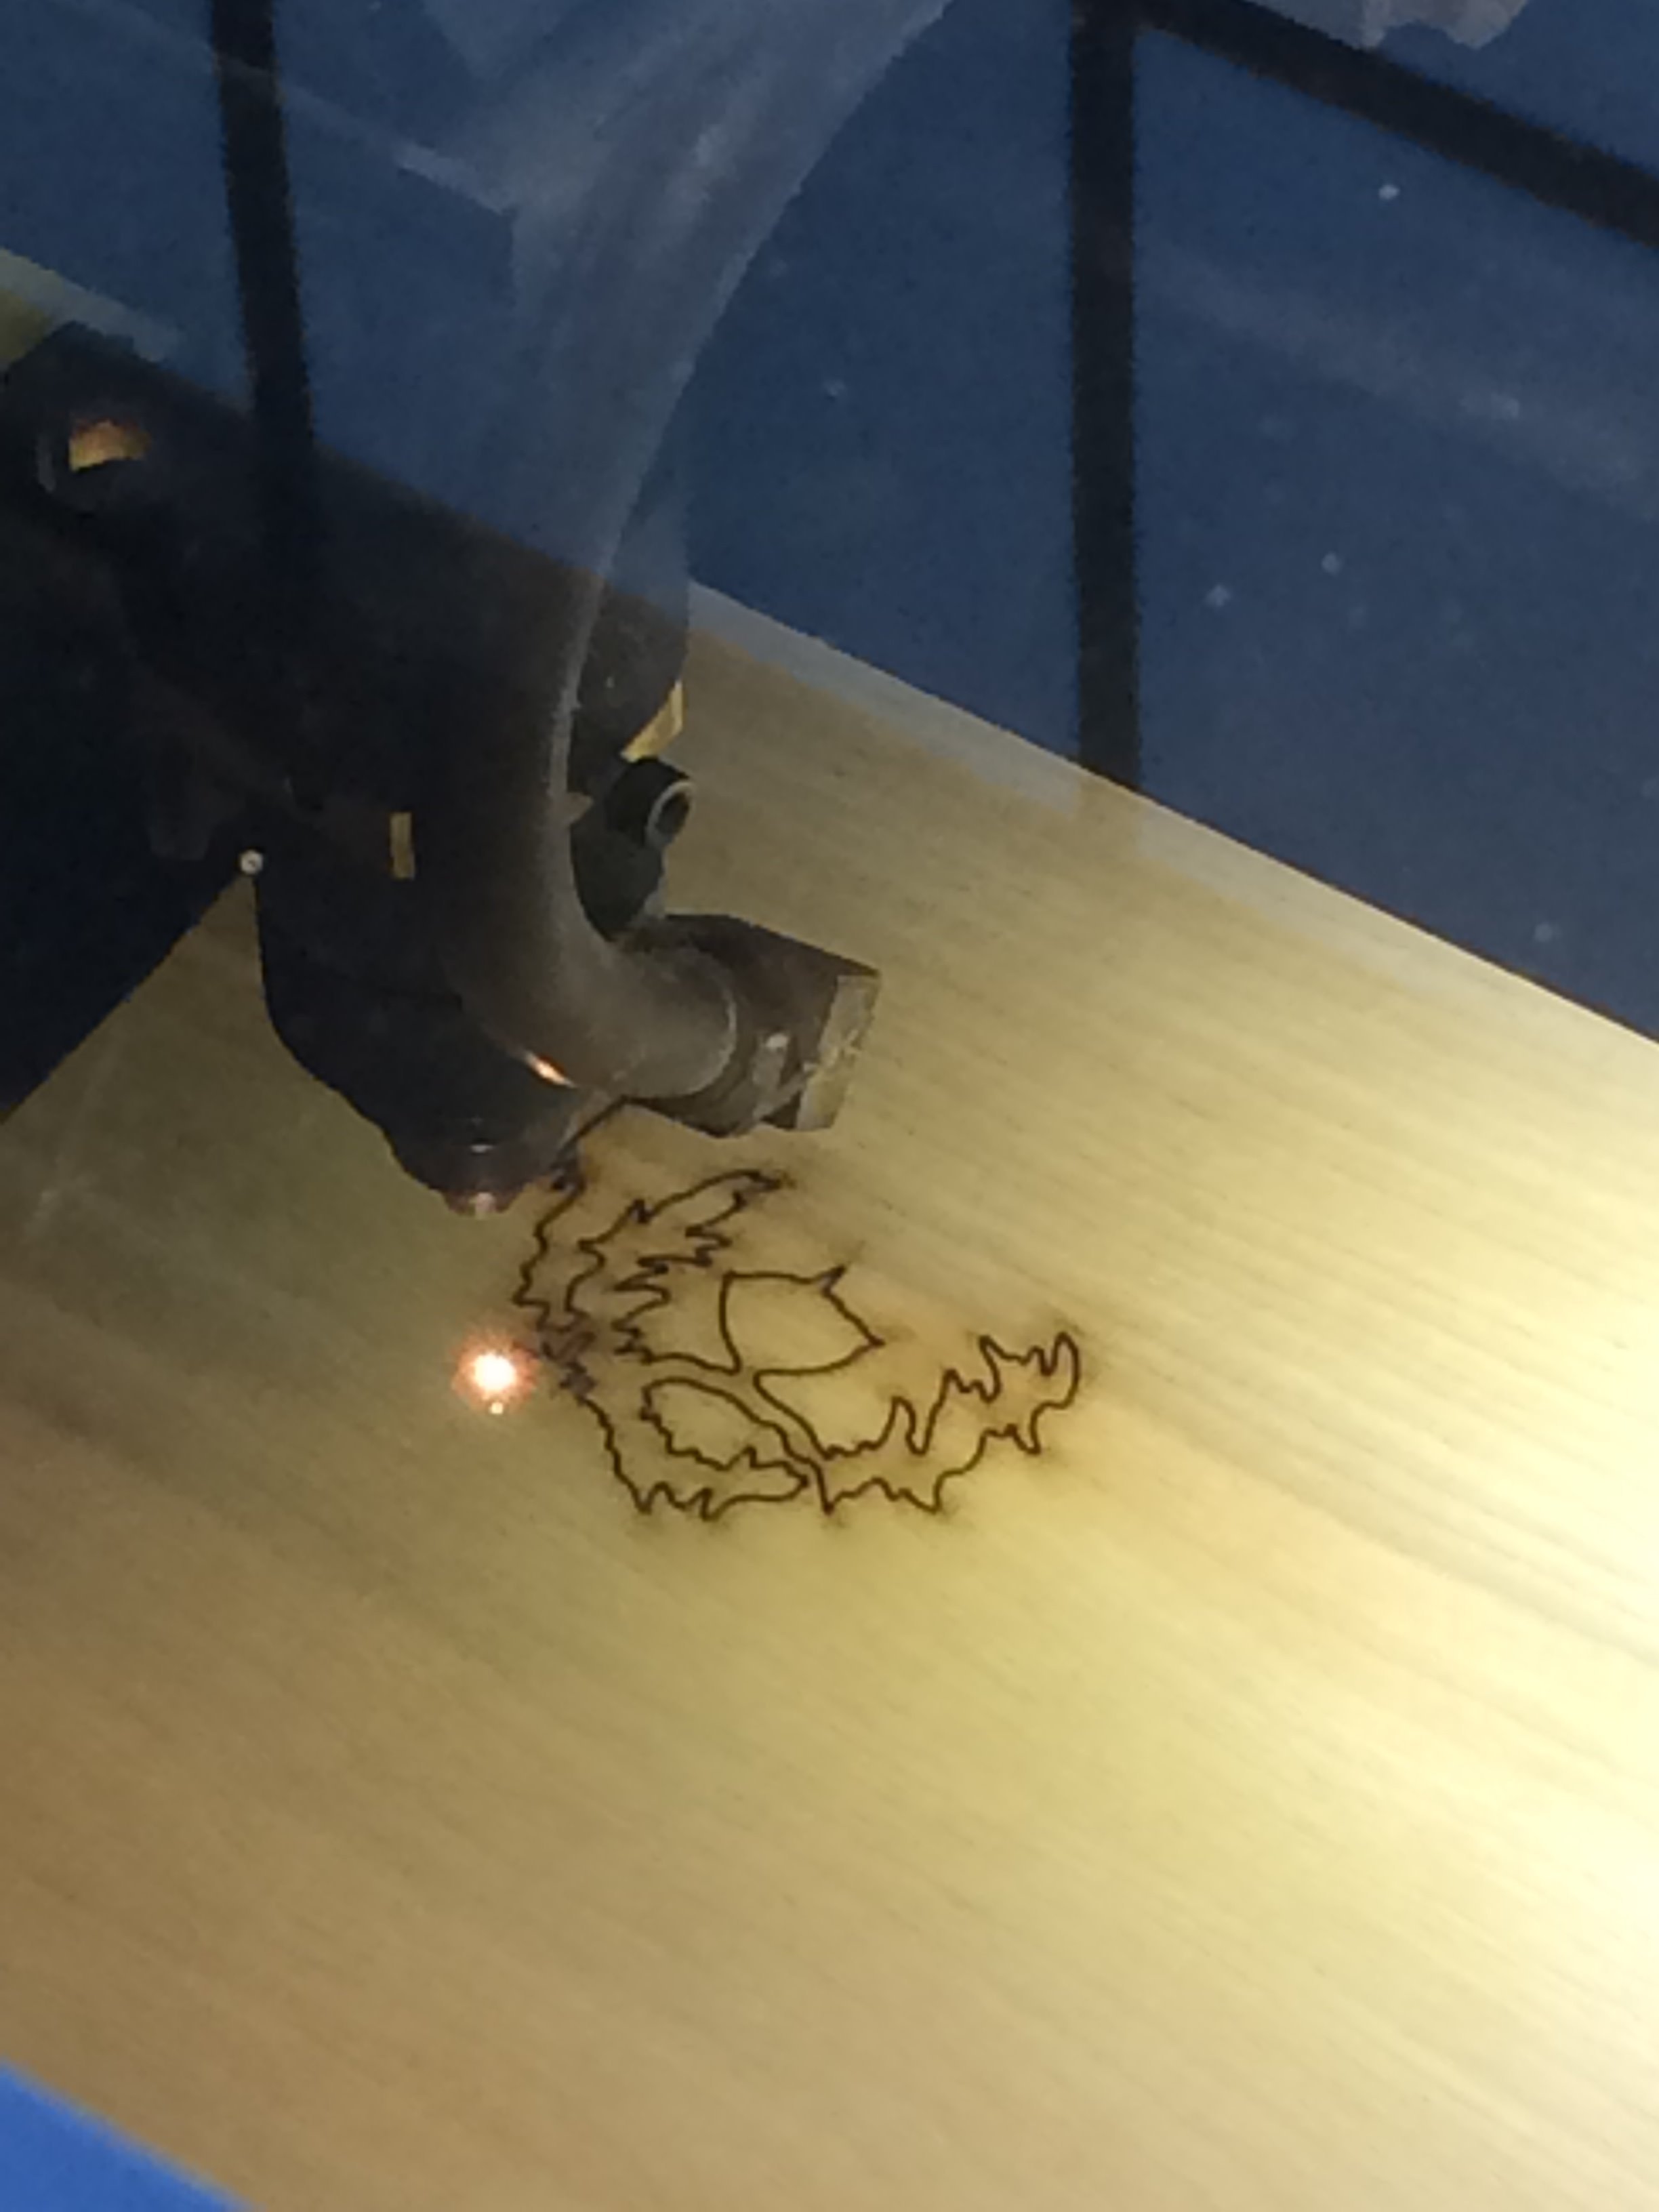
Execution
Close the hood of the laser cutter and click the green play button on the top bar
With the safety glasses on, monitor the laser to ensure safe operation
Complete and Tidy
When the cut is finished, do the following:
- Return the metal bar to the left-hand side of the machine
- Place the glasses back into the drawer
- Press the home button on the display to return the laser to the top-right corner of the bed
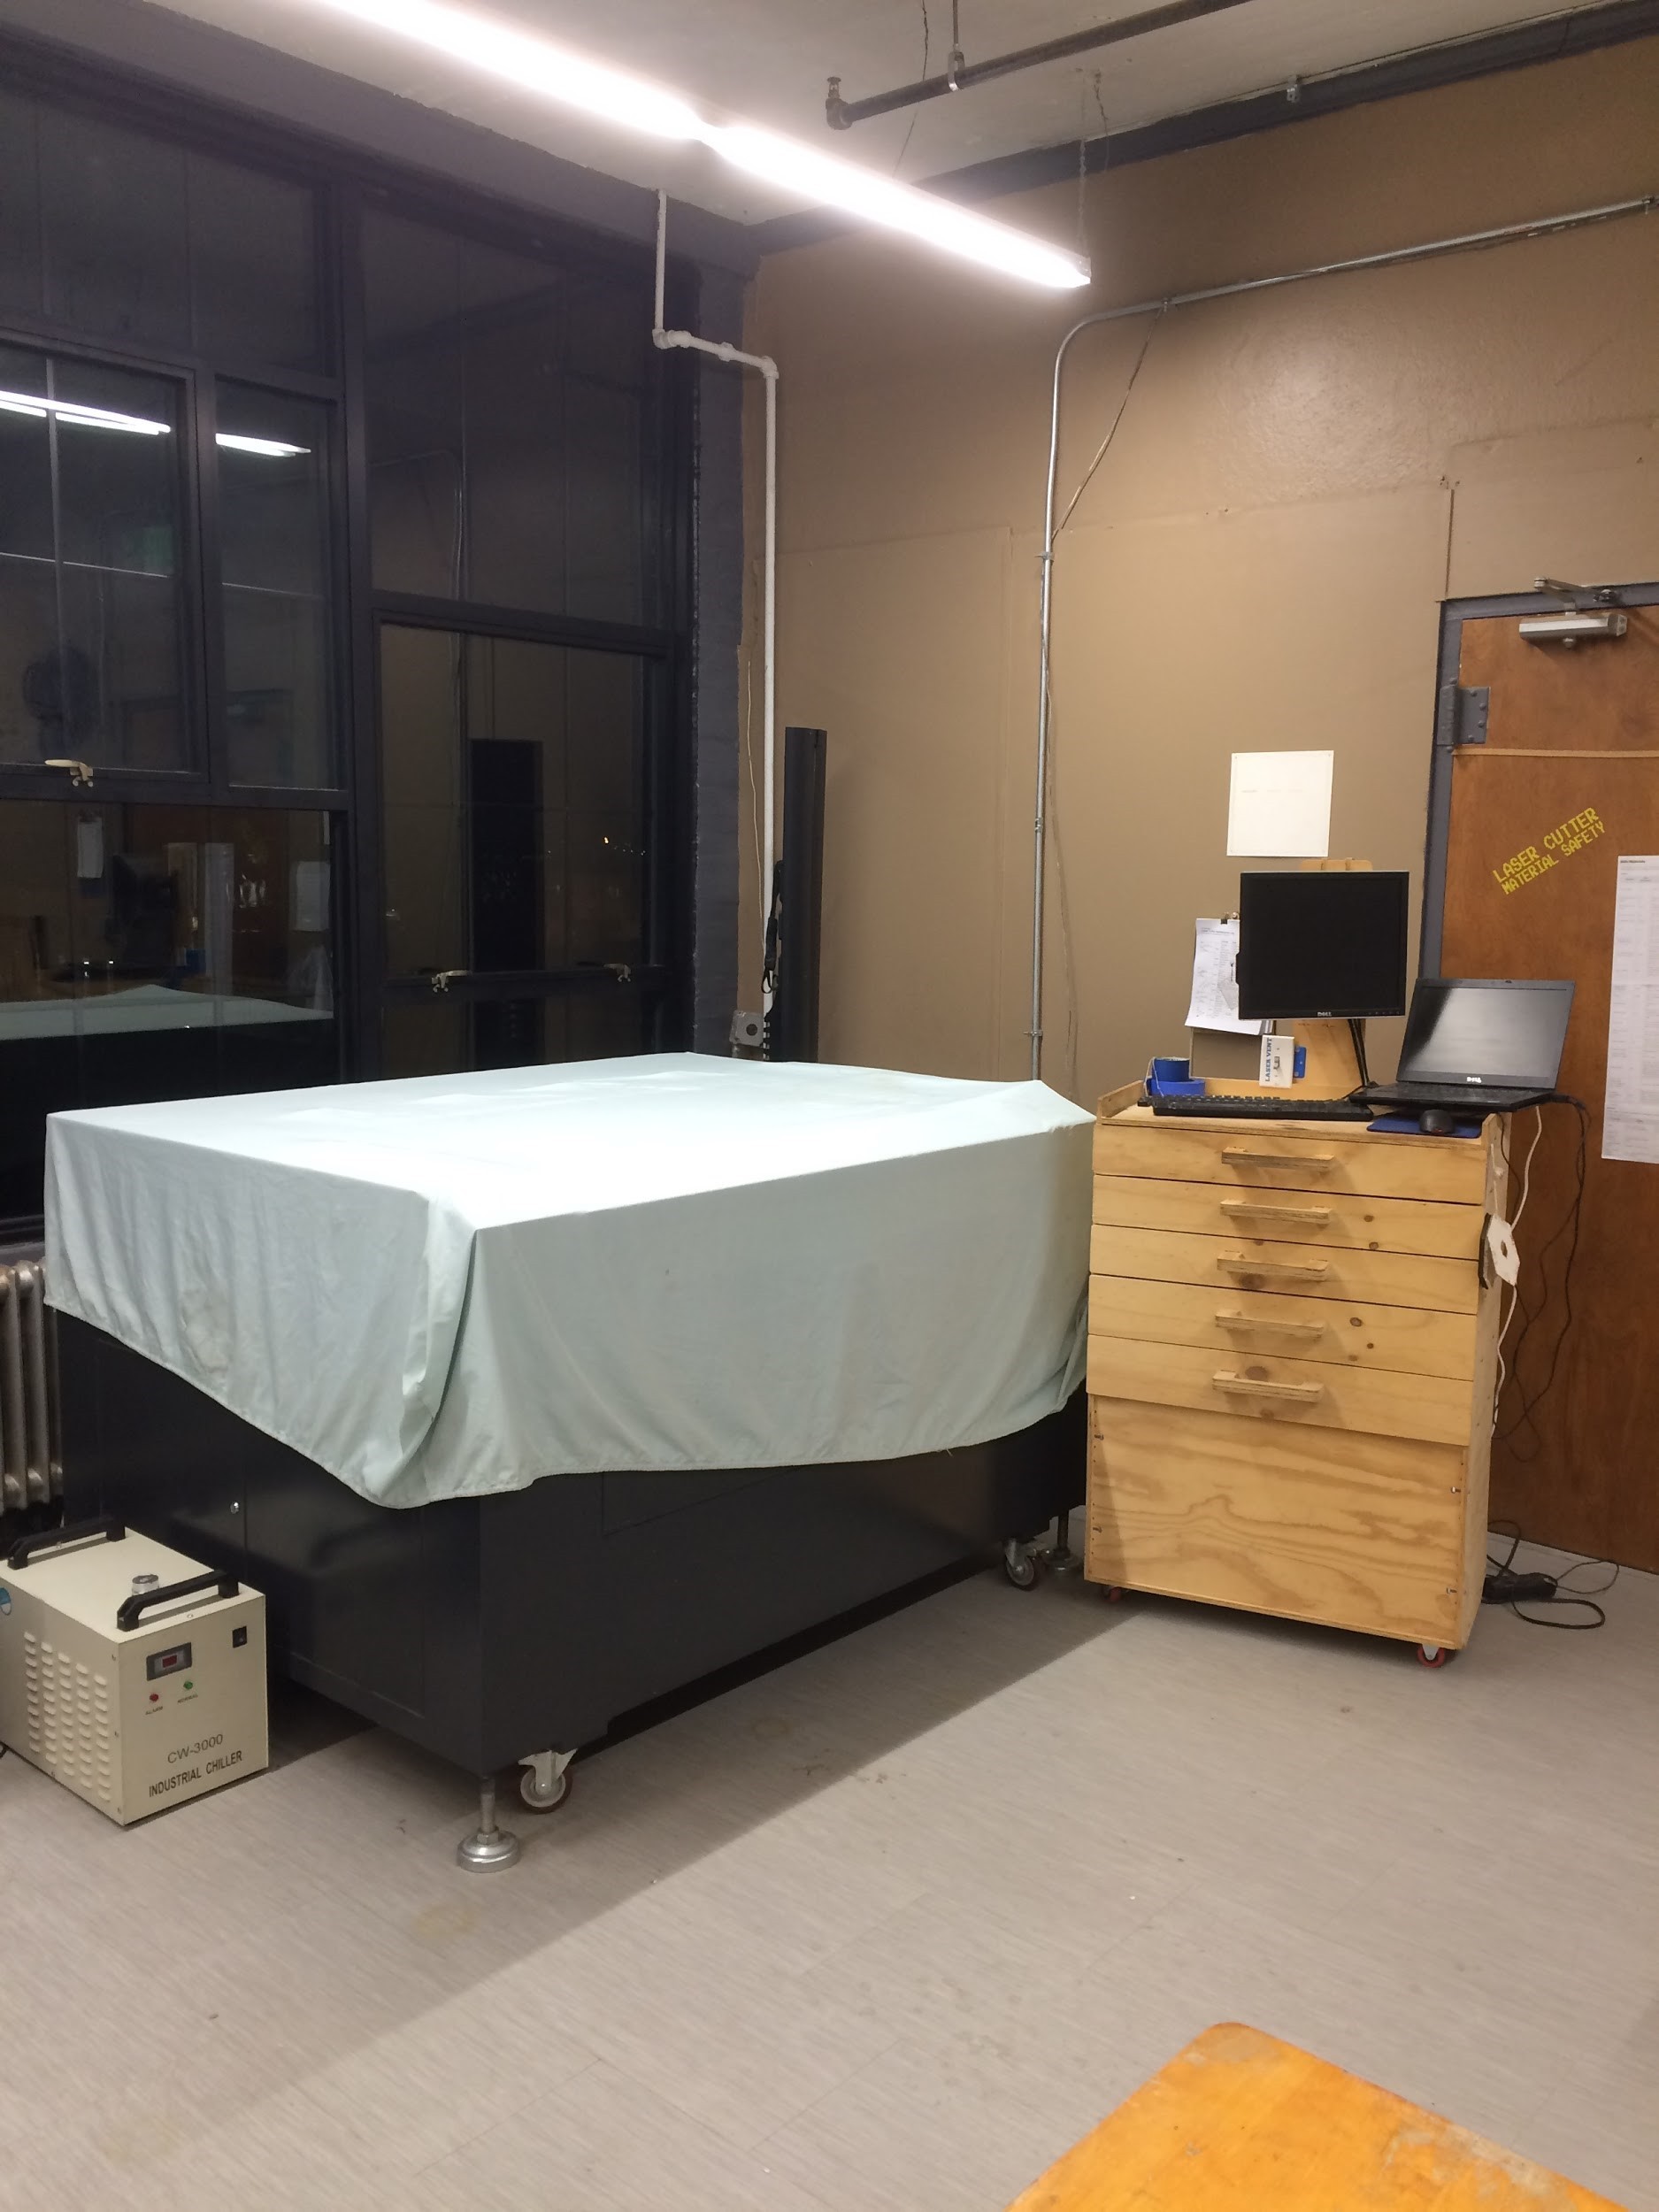
- If there isn’t someone wanting to use the laser cutter directly after you, place the sheet over the entire machine