Using the Align Tool in Tinkercad
by Commanderfranz in Design > 3D Design
91262 Views, 21 Favorites, 0 Comments
Using the Align Tool in Tinkercad
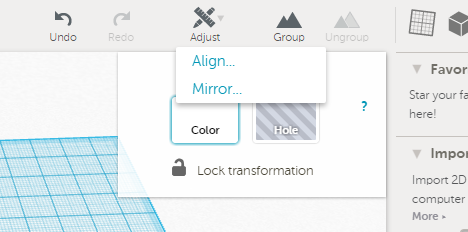
I use Tinkercad to do all of my 3D designs and have learned a lot from all the tinkering (ahaha) around I've done. One of my fellow interns at Digilent asked a question about how the align tool works, so I figured I would write an instructable about how to use the align tool.
Select Two Objects
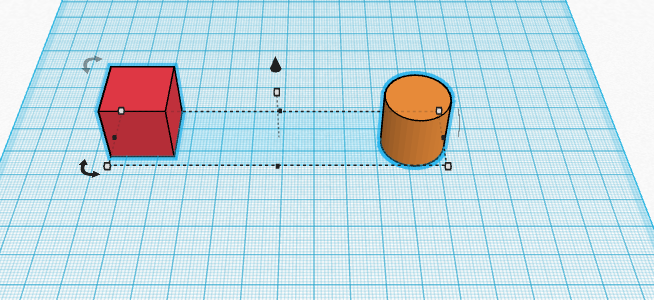
When you use the align tool, you'll likely be trying to align two objects in your design. The first step is two select whatever two objects you want to align.
You can click and drag around them to select them or hold shift and click both items.
Open Align
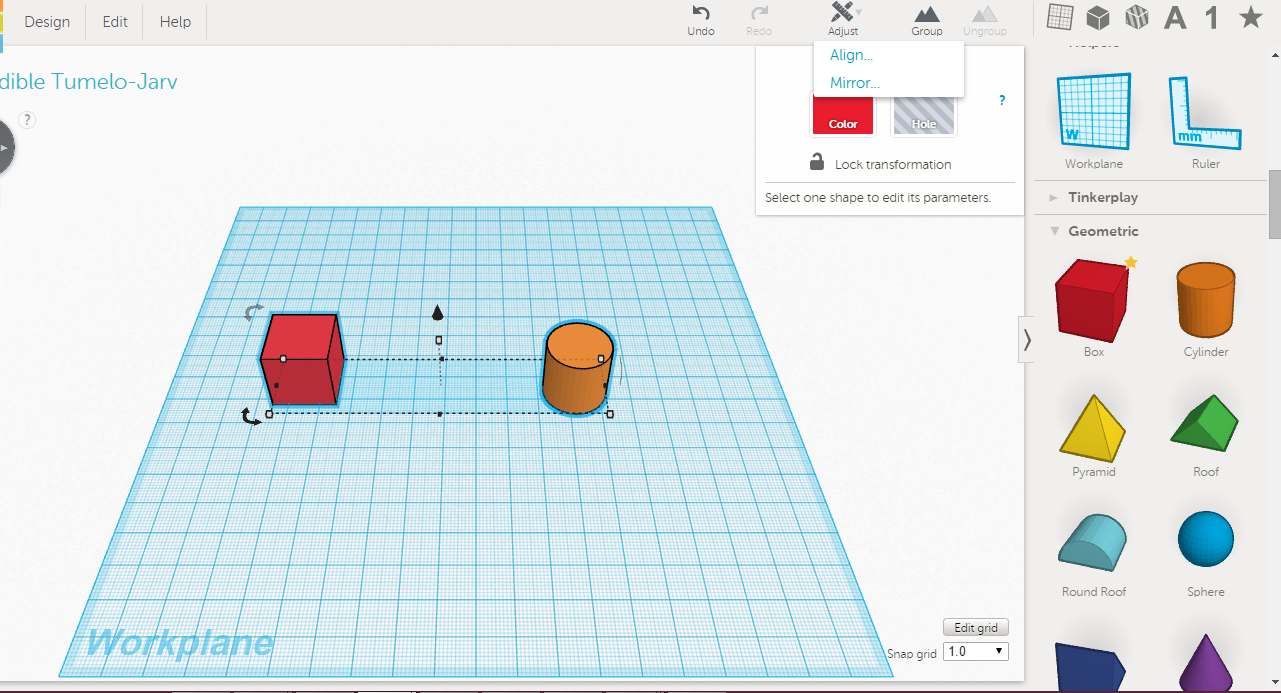
Next you'll need to find the align tool. The align tool is located in the upper right corner in the adjust menu.
The Align Tool
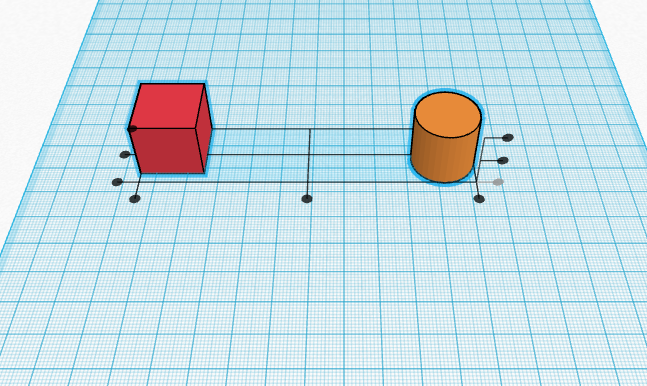
You should now see the dots and grid of the align tool. I will go through each dot in this Instructable.
Preview Align
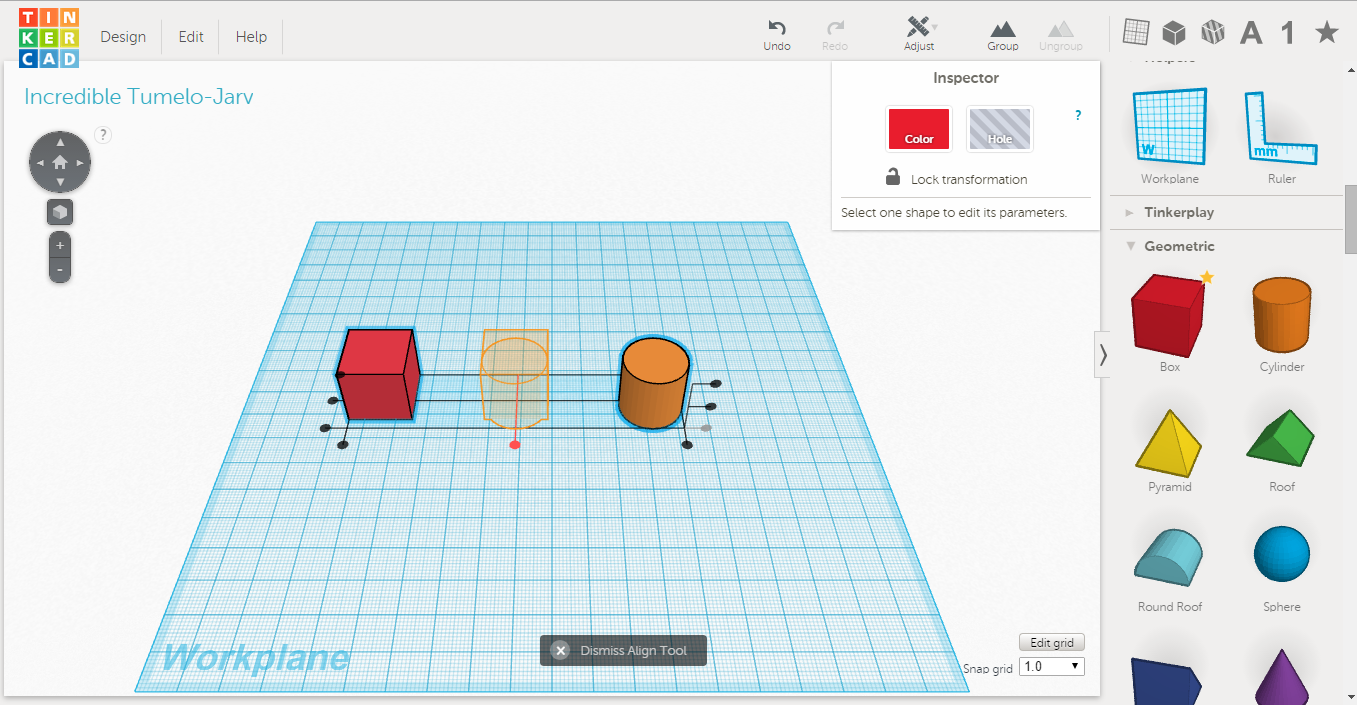
Note that if you hover your mouse over one of the dots, you can preview what the align tool will do.
Align Horizontal
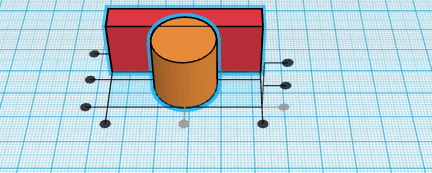
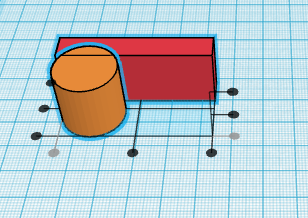
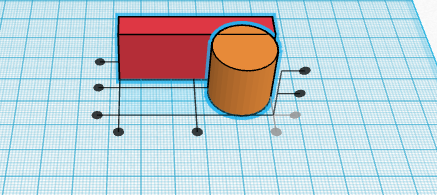
The 3 dots in the front are to align horizontally. The right or left options will line both objects up by the right or left edges. The center option will line the objects up horizontally by their centers. You can see an example of each type of alignment in this step.
Align Vertical
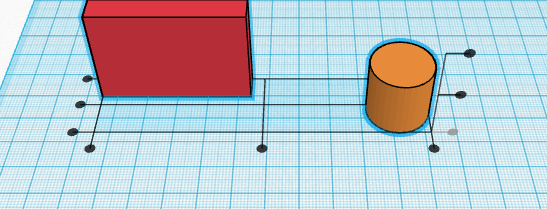
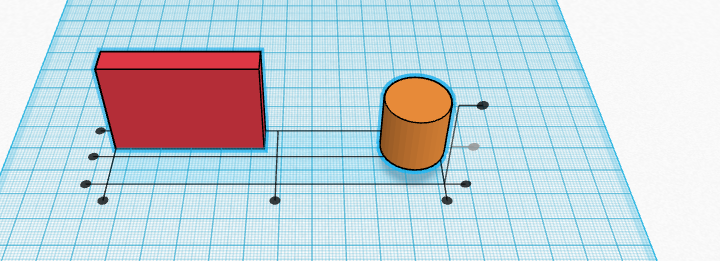
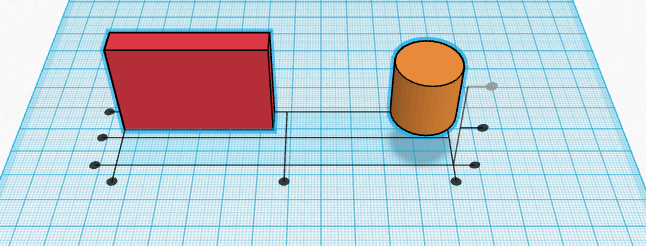
The 3 dots in the front are to align Vertically. The top or bottom options will line both objects up by the top or bottom edges. The center option will line the objects up vertically by their centers. You can see an example of each type of alignment in this step.
Align Depth
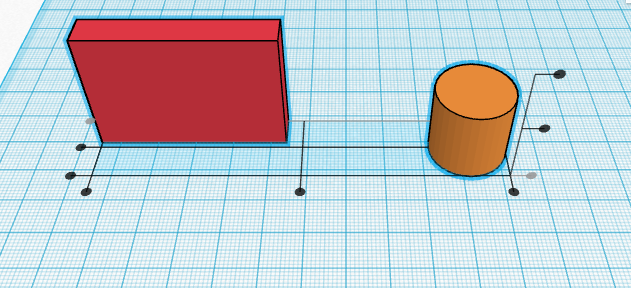
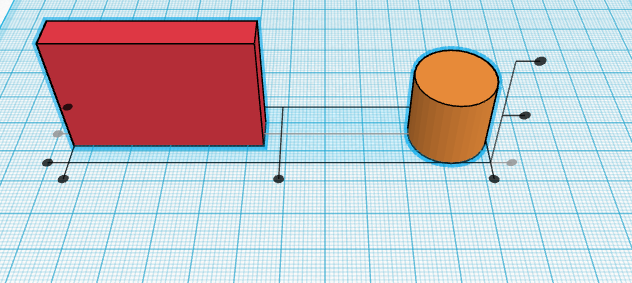
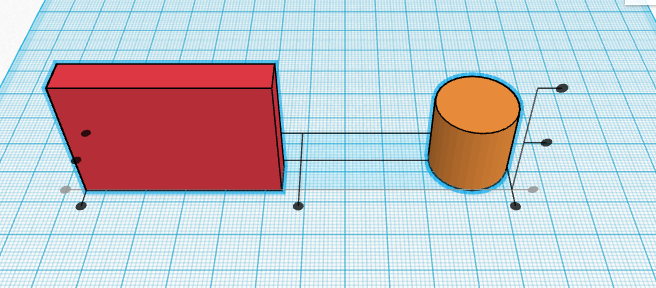
The 3 dots in the front are to align by depth. The back or front options will line both objects up by the back or front edges. The center option will line the objects up by depth by their centers. You can see an example of each type of alignment in this step.