Using a Micro:bit for the First Time
by NebulaIX in Circuits > Microcontrollers
3423 Views, 10 Favorites, 0 Comments
Using a Micro:bit for the First Time
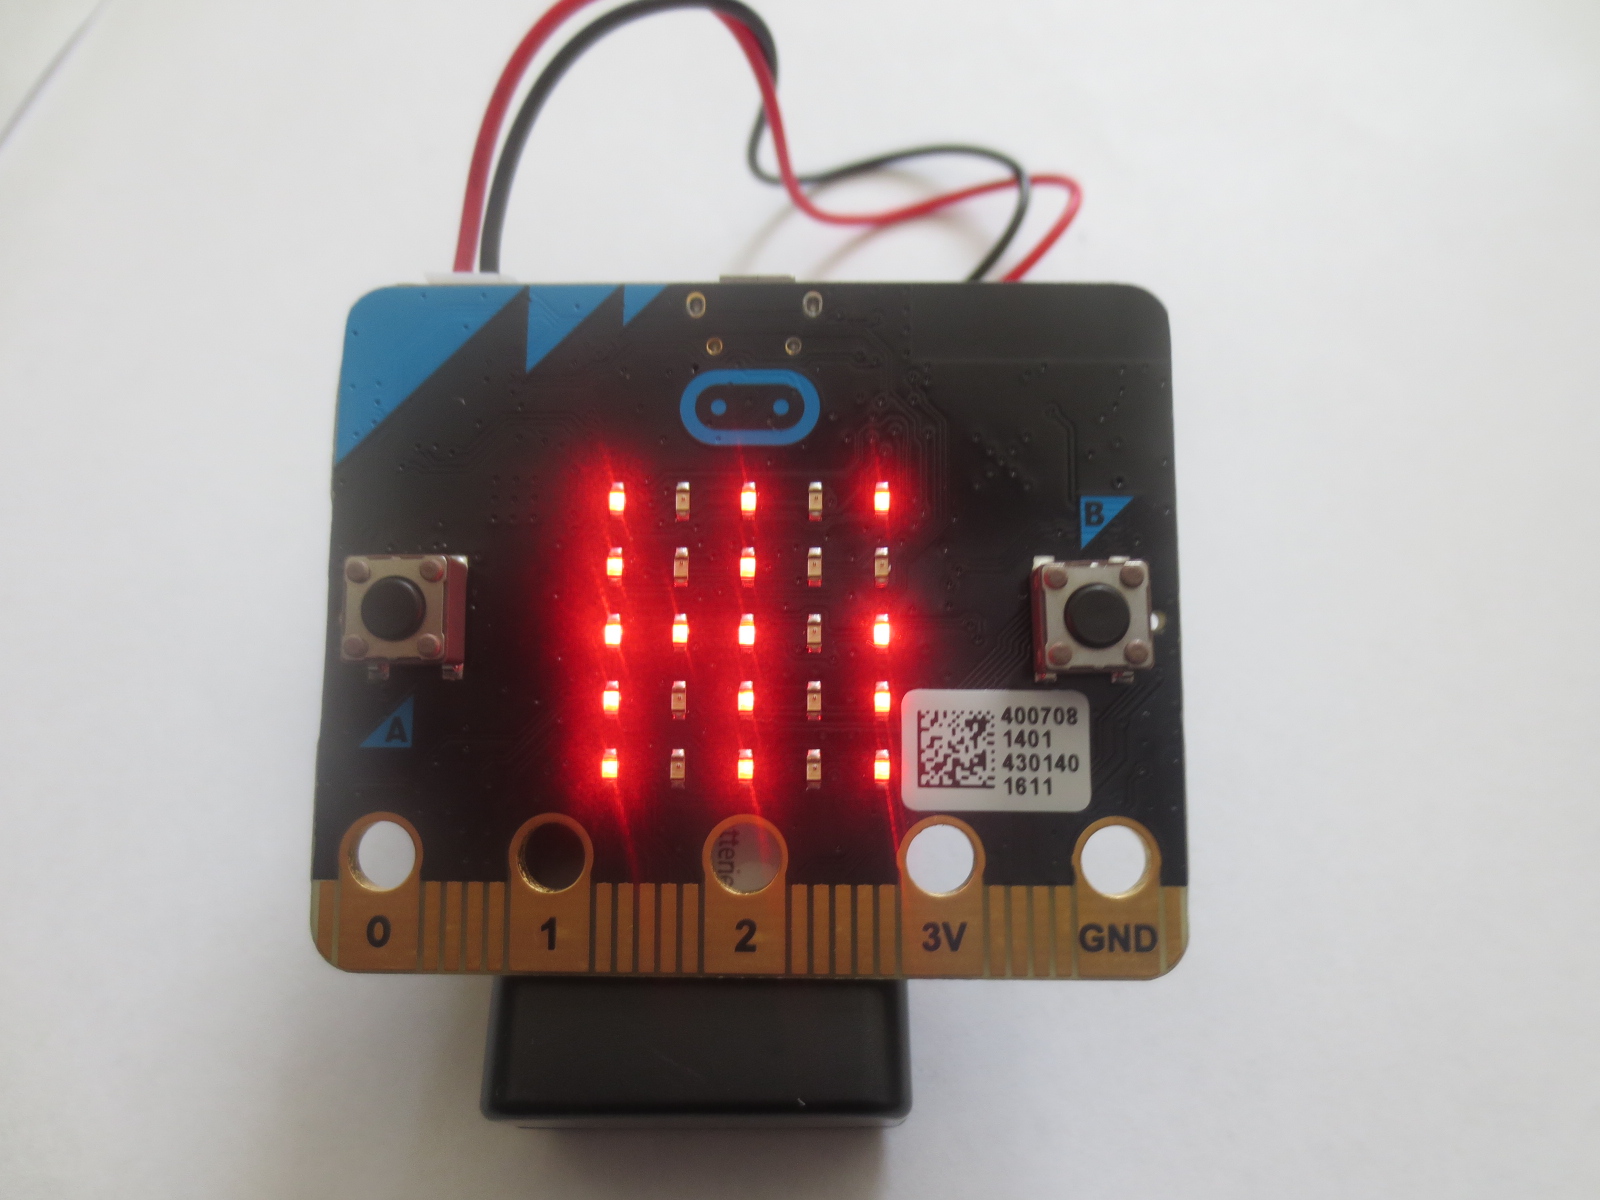
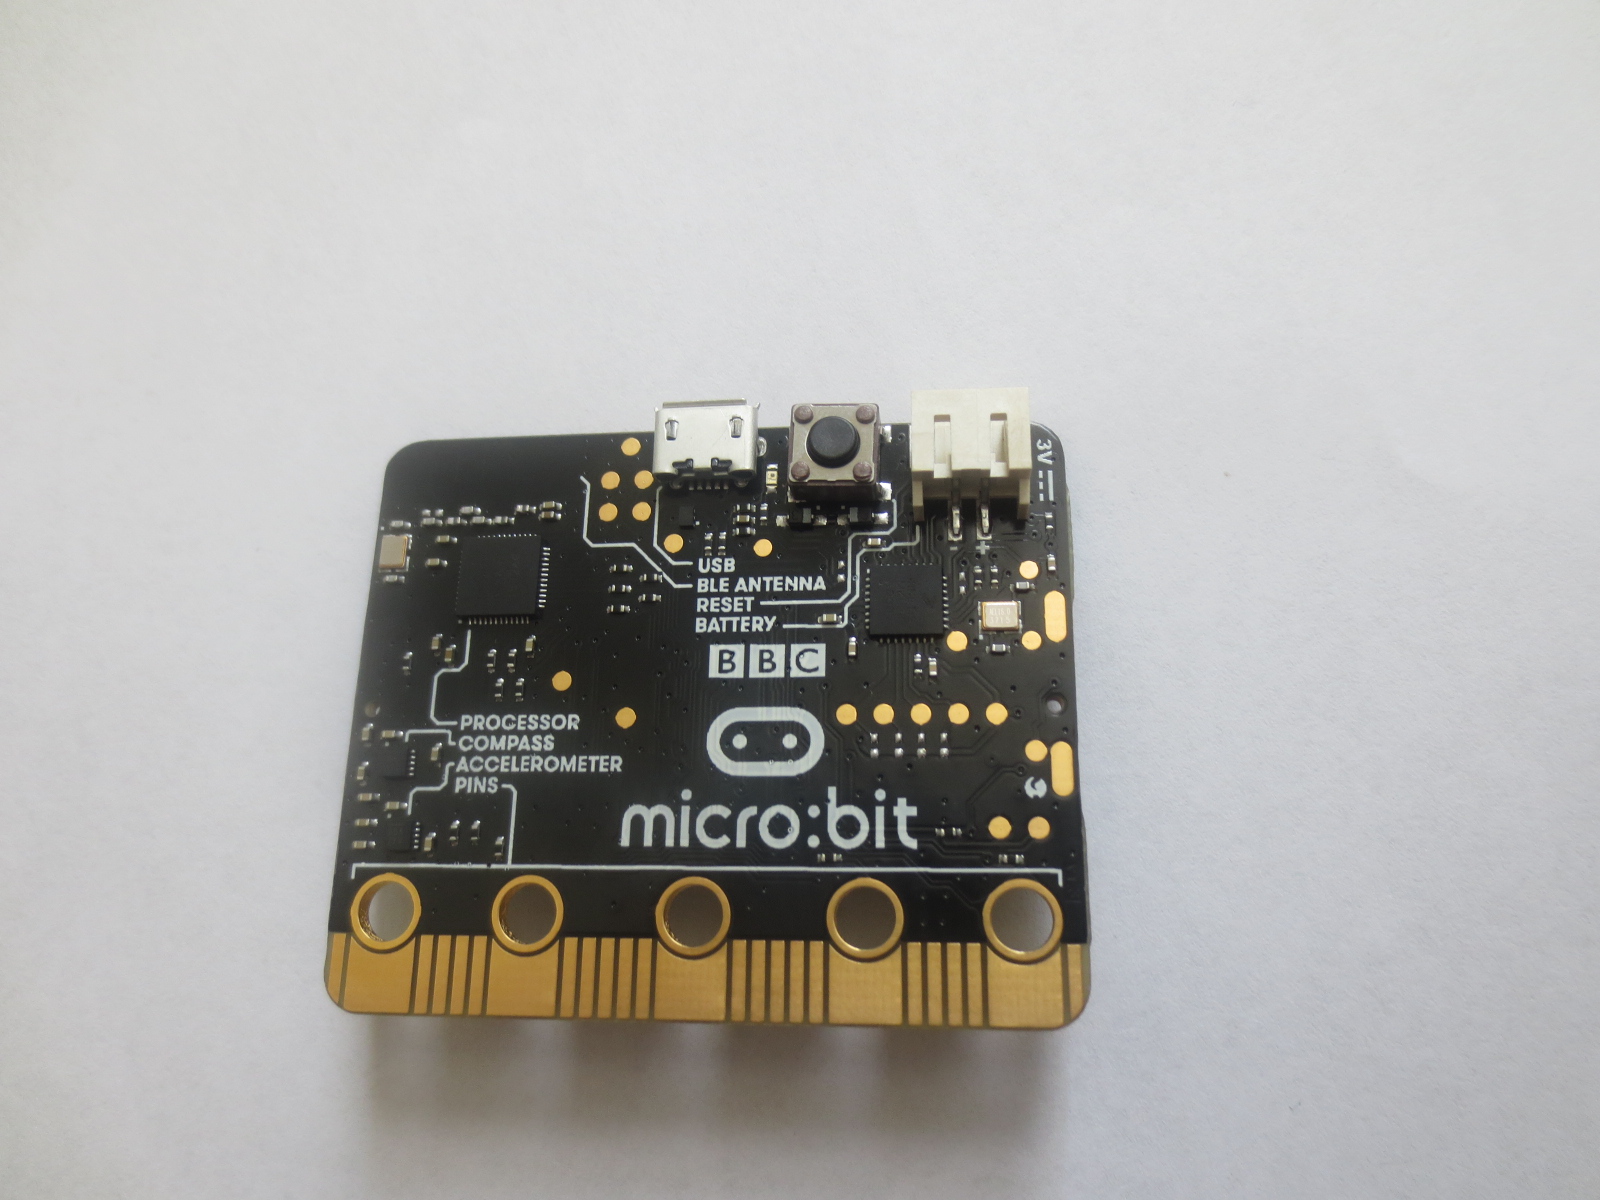
If you are in the UK and are in Year 7, you probably have a BBC micro:bit.
If you're not in the UK, or haven't heard of the micro:bit, let me just give you a short extract from the website:
"You can use your BBC micro:bit for all sorts of cool creations, from robots to musical instruments – the possibilities are endless. The micro:bit is a handheld, fully programmable computer being given free to every Year 7 or equivalent child across the UK. It’s 70 times smaller and 18 times faster than the original BBC Micro computers used in schools in the early 1980s. This little device has an awful lot of features, like 25 red LED lights that can flash messages. There are two programmable buttons that can be used to control games or pause and skip songs on a playlist. Your BBC micro:bit can detect motion and tell you which direction you’re heading in, and it can use a low energy Bluetooth connection to interact with other devices and the Internet – clever!"
Source: https://www.microbit.co.uk/about
As you can see, it is a micro computer given to Year 7 children for free! (You can now buy the micro:bit from stores such as Maplin and some other stores, priced between £10.00 and £20.00)
It is a very basic, first-time sort of Arduino or Rasberry Pi, providing a gateway into the world of coding.
As you can see, I've programmed my micro:bit to say 'Hi'. I'll go over how to code in a bit, don't worry!
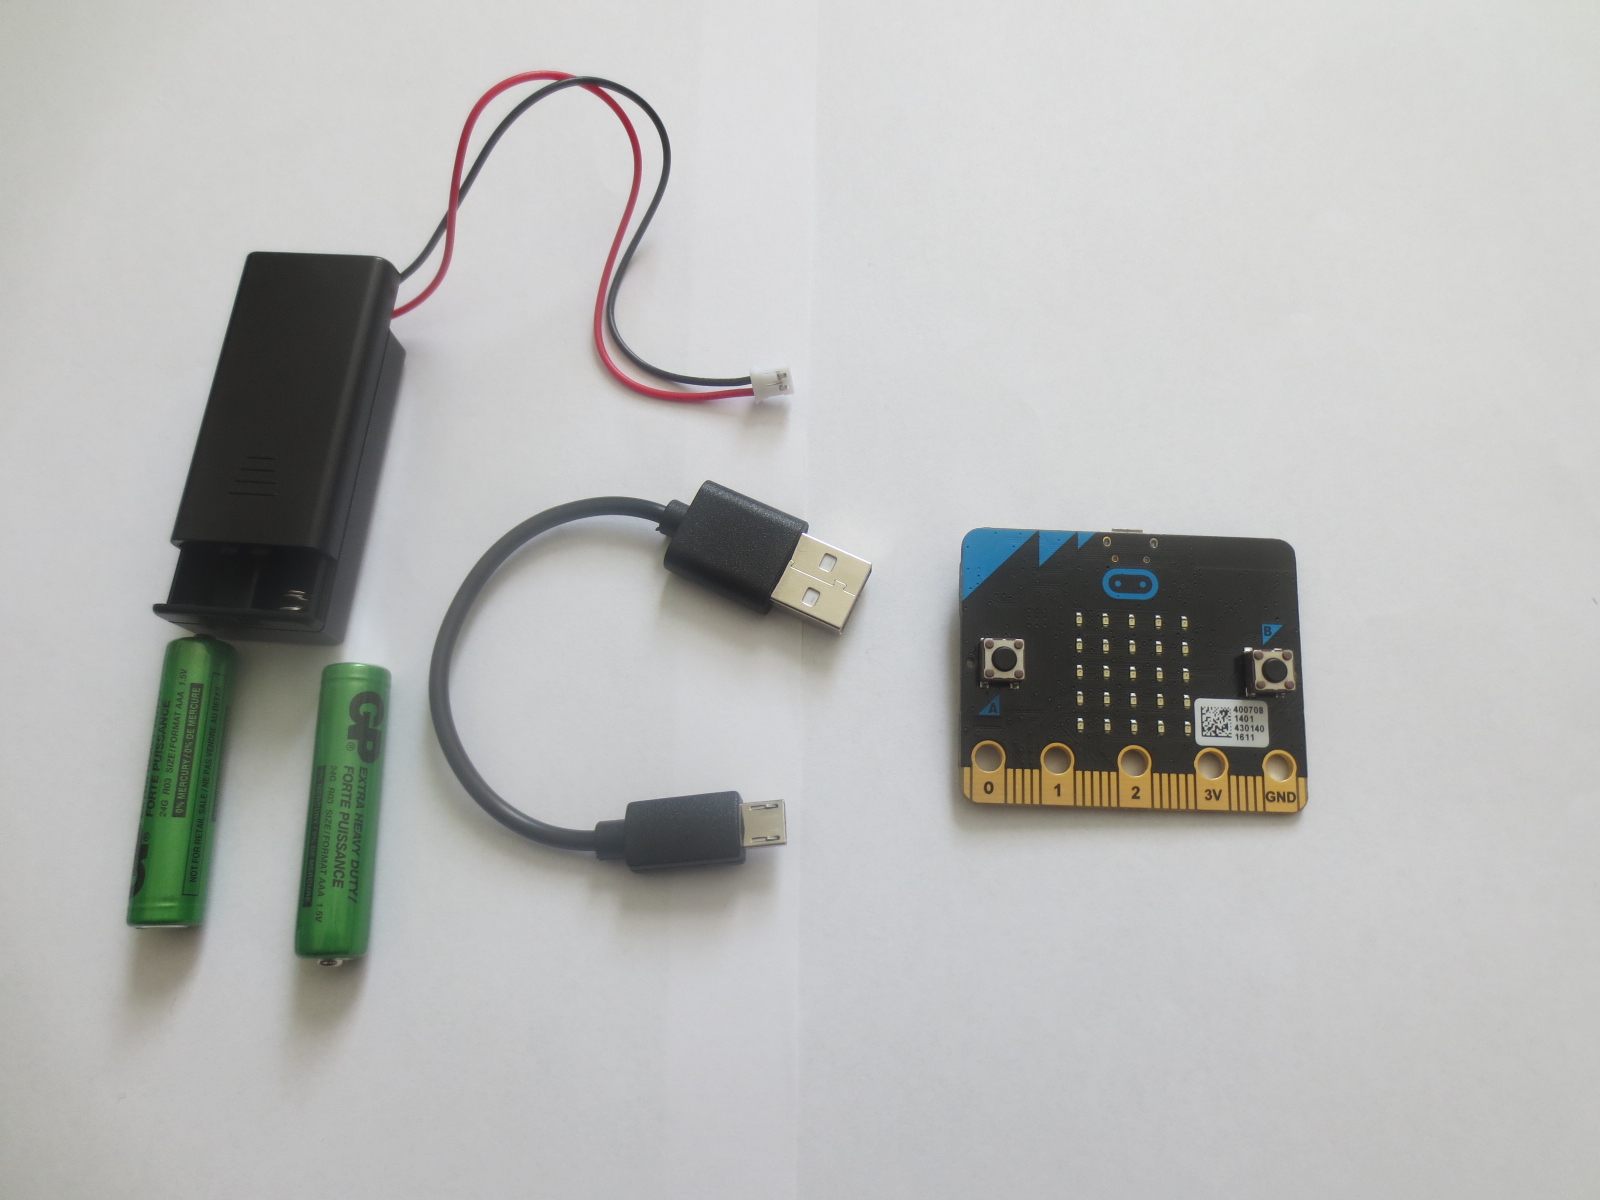
This is what you get when your school provides you with one:
A battery pack - Provides the micro:bit with power when not connected to a PC
2 AAA batteries - To put in the battery pack
A short, micro USB to USB cable - To connect to the computer to put a code in
A micro:bit - Obviously!
First of All...
If you don't have a micro:bit, don't worry as that does not stop you from making a code. The online code editors let you preview you code, so you can still use it.
Connect the micro:bit to your computer and leave it there.
Go to this website: https://www.microbit.co.uk/create-code
Choose which ever editor you want to use. Personally, I would recommend Microsoft Block Editor for complete beginners and Microsoft Touch Develop once you've completed a few tutorials provided on it.
For now, I'll use Block Editor for this instructable.
Downloads
Once You've Opened Block Editor
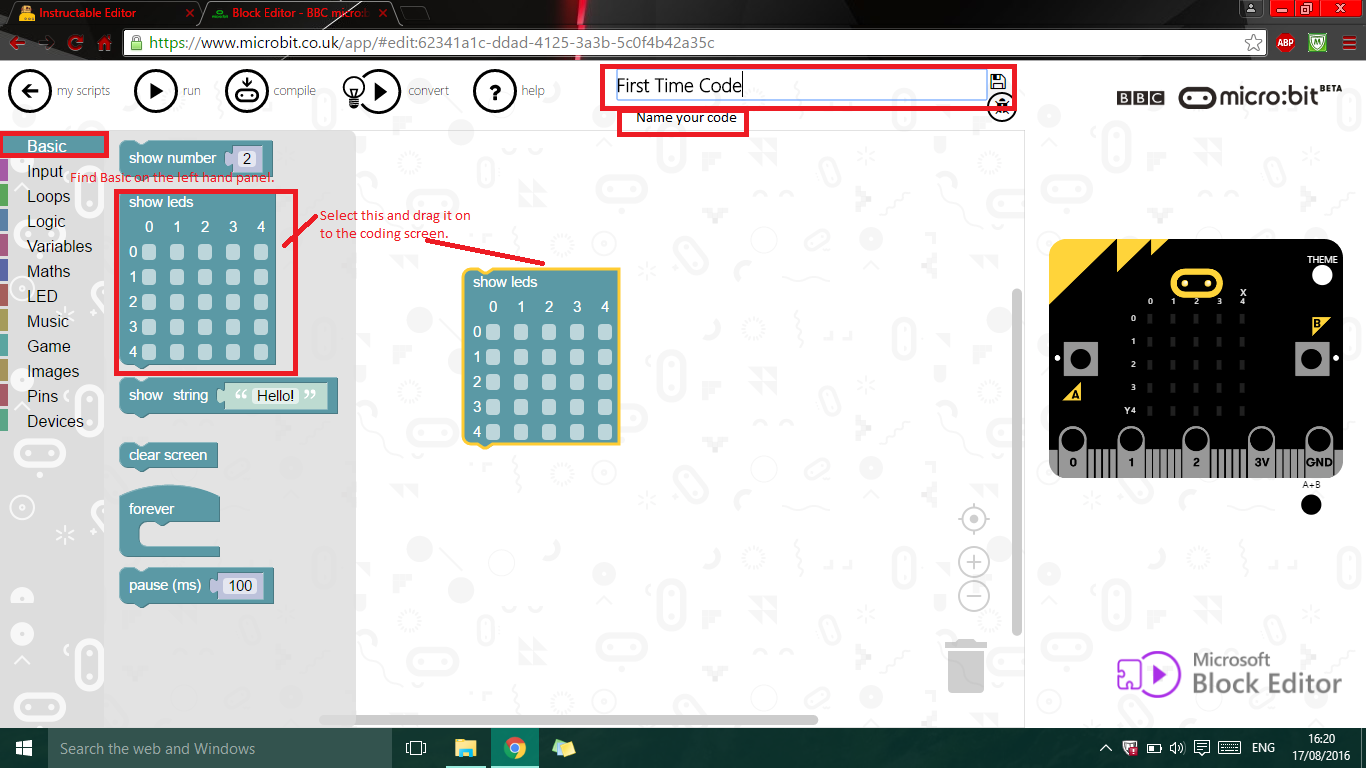
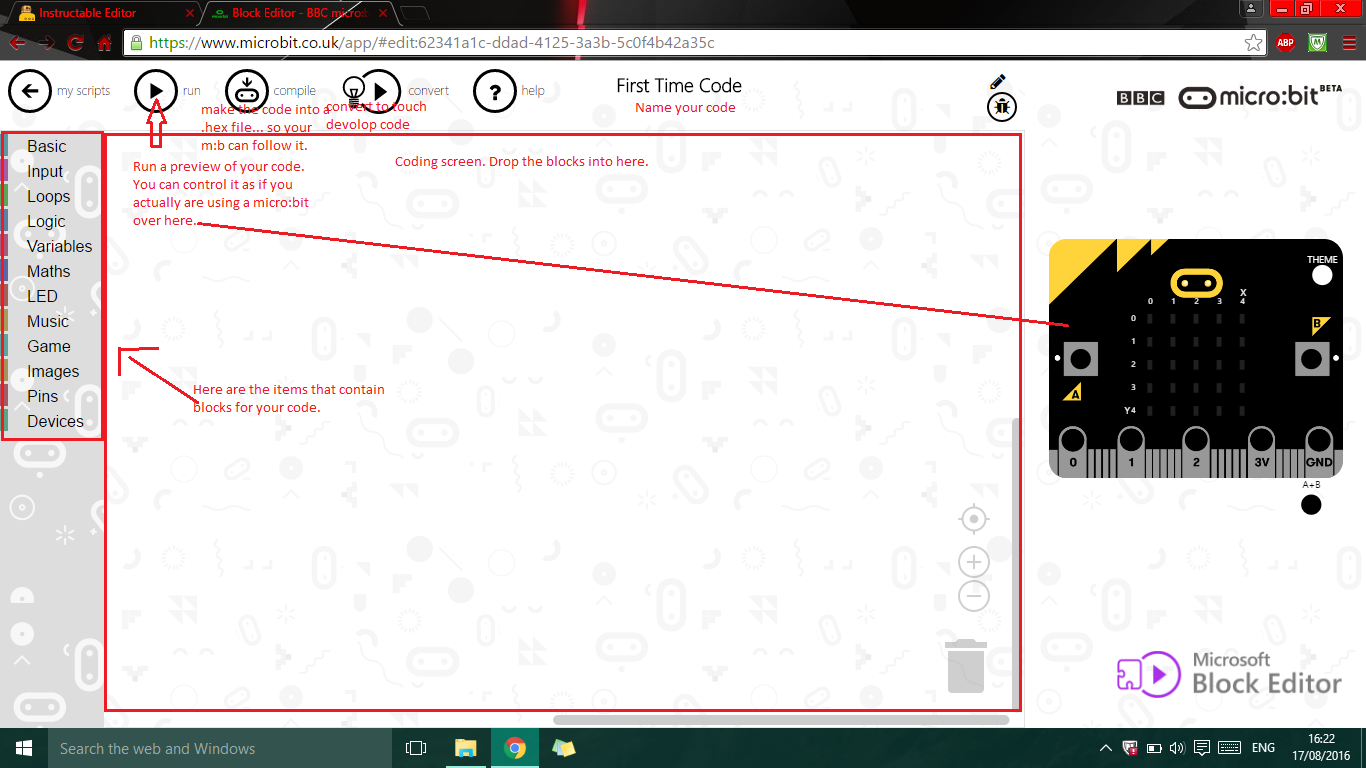
First, name your code.
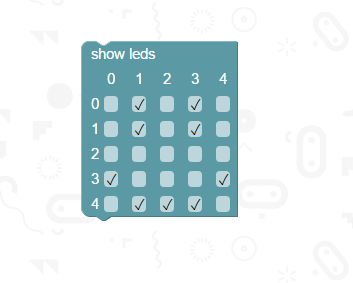
Lets start of with a simple code such as programming the LED's to show an emoticon.
From the Basic group on the left, drag in the show LED's block. Select the squares and it will display a tick to show you which LED's will be on. Click Play at the top panel and look at the panel on the right to see if you are happy with it. If you are, than click Compile at the top and wait for it to download. It should go to your PC's Download folder.
Importing It to Your Micro:bit
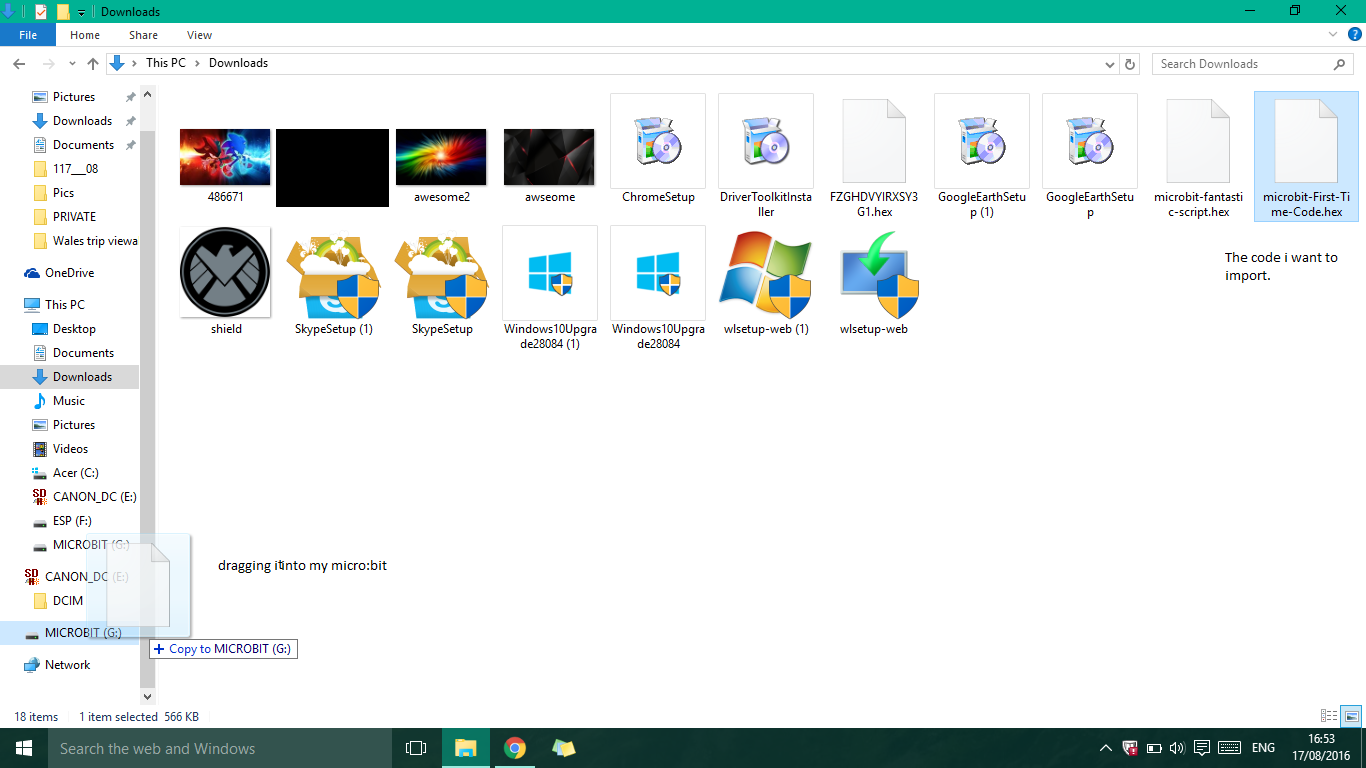
Note you will not be able to open your new code on your PC as it is a .hex file which is specifically made for the micro:bit. However, if you go to any editor on the micro:bit website and click My Scripts at the top, it will give you an option to 'Import Code'. This will let you browse through your PC, and find a .hex file to edit.
Anyway, ensure that your micro:bit is connected to your PC, find the .hex file in your downloads folder, and drag it into where it says Micro:bit on the left.
Using Your Code
Go ahead and pull your micro:bit out of your PC. Put the batteries into the battery pack and connect it to your micro:bit. It will display whatever pattern you put on the LED's. Of course, if you made an actual script like that of a game, you can play your game and interact with it.
Finally...
Here's a little bonus or gift for all you new technobugs out there!
This HEX file does not have any viruses or anything, it's just template script with very little. All you need to do is once you've put it on your micro:bit, either click A and it will display a message, click B it will display the temperature.
Note that the temperature will be a two or three degrees above the actual temperature. As the micro:bit doesn't have an actual temperature sensor, it gives the temperature of the processor, which is pretty much accurate, though it can rise more if you strain the processor!
Downloads
Thanks
Thanks for reading this instructable. If you need more photos, steps or description, post a comment on what exactly you need. Post a copy of your code, a picture or video of your code running if you can and please follow, like and share!
Cheerio!
super_me