Using Windows Command Prompt to Test Internet Connection
by Mwsoverdick in Circuits > Microsoft
440475 Views, 25 Favorites, 0 Comments
Using Windows Command Prompt to Test Internet Connection
Introduction
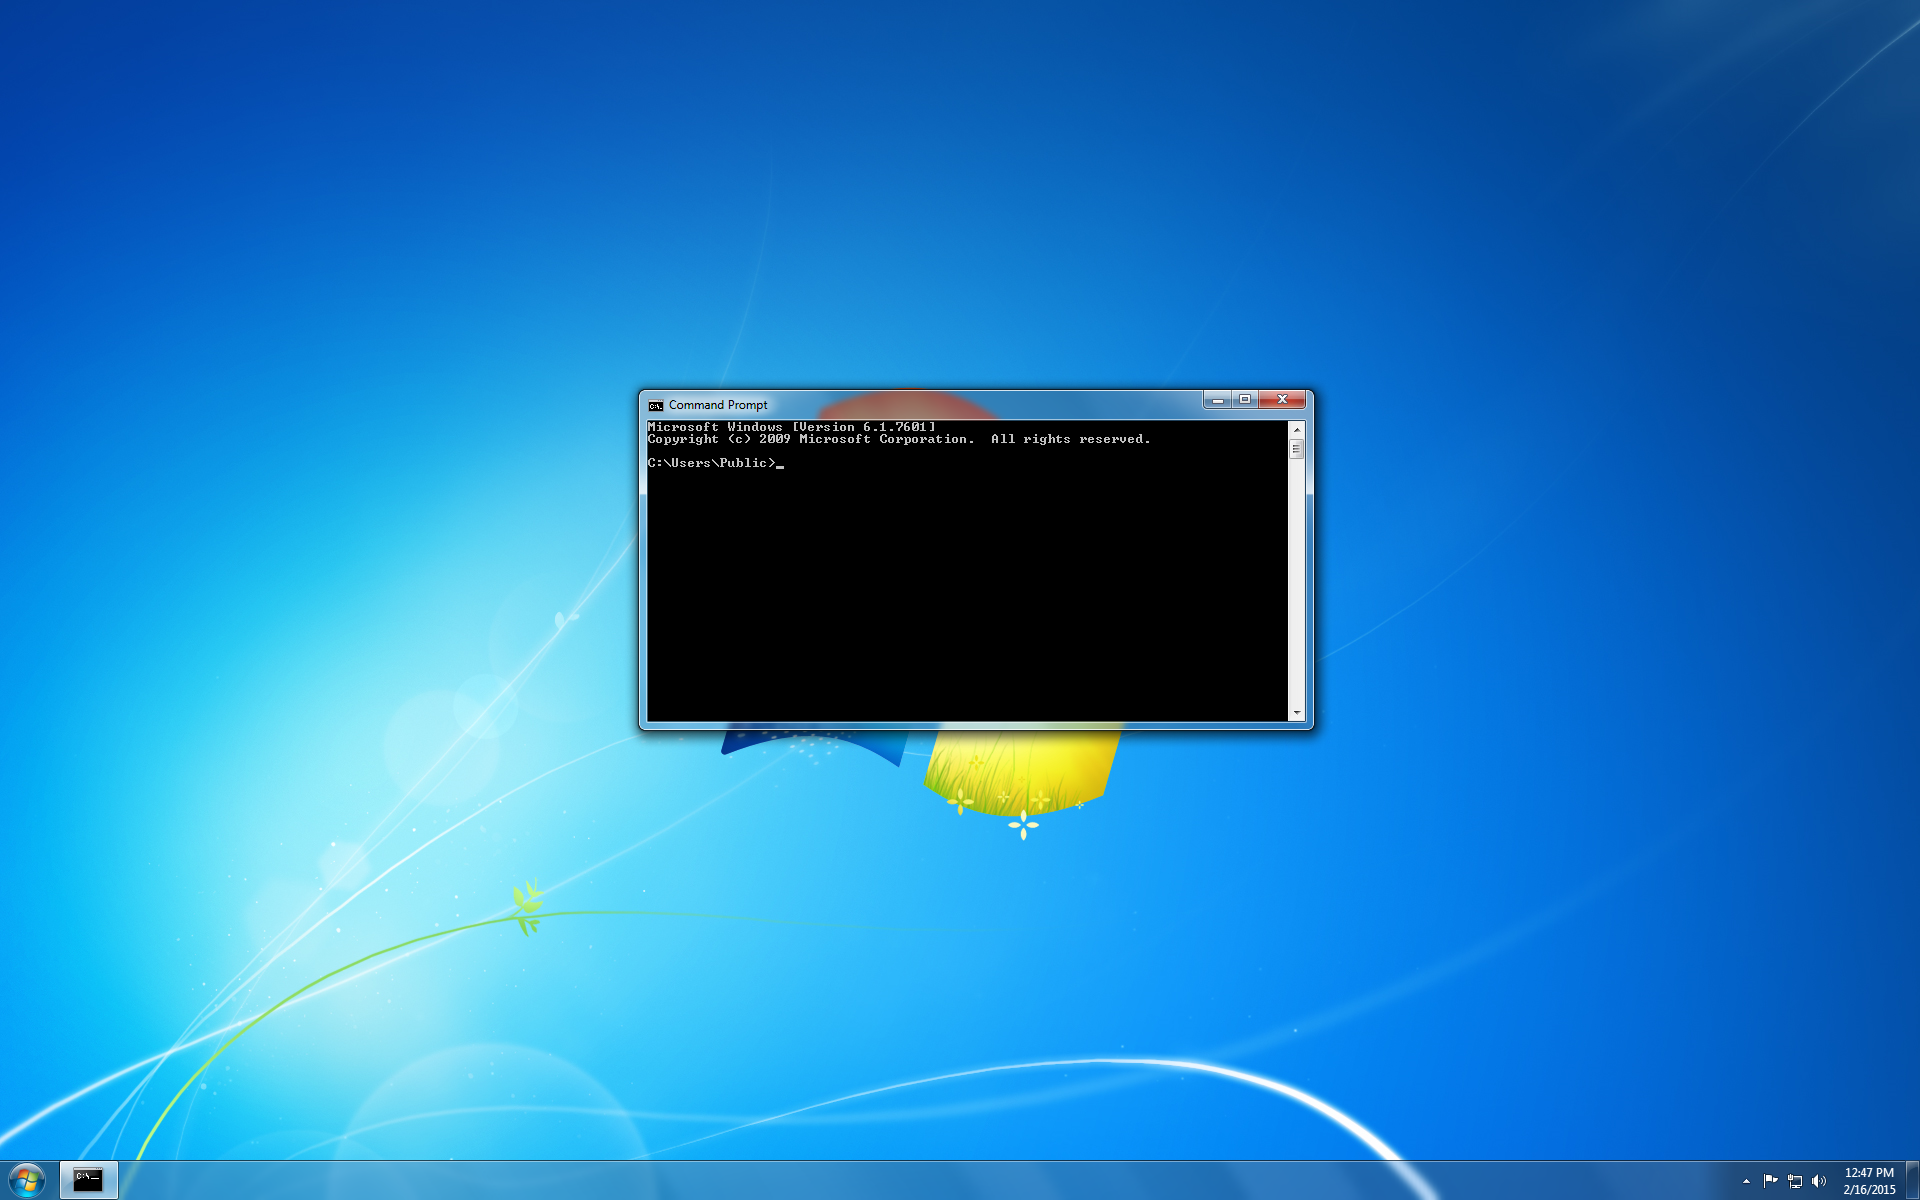
This guide will instruct you on how to use Windows Command Prompt to run the program "ping" to test your internet connection. This guide is intended for the basic computer user who desires a simple way to test their internet connection without installing any extra software.
What is Ping?
Ping is a program installed on Windows that is used to test the latency of your connection. The program is text based, which means you have to use text based commands to operate it, much like the early computers from the 70s. Ping is very useful because it is native to your machine so you don't have to download or install any new software to use it.
What is Latency?
Latency is the time between requesting information and receiving information. More simply put, the time it takes to establish a connection between your computer and the server hosting the website you requested. The important thing to take away here is that latency is not speed. If you would like to further your understanding, this article: "INTERNET SPEED: WHAT IS DIFFERENCE BETWEEN LATENCY AND BANDWIDTH?" which does a nice job of explaining things.
Open the Start Menu

Before we can use ping, we need to open Windows Command Prompt.
To do so, right click the start button in the bottom left corner of the screen.
Search for Command Prompt
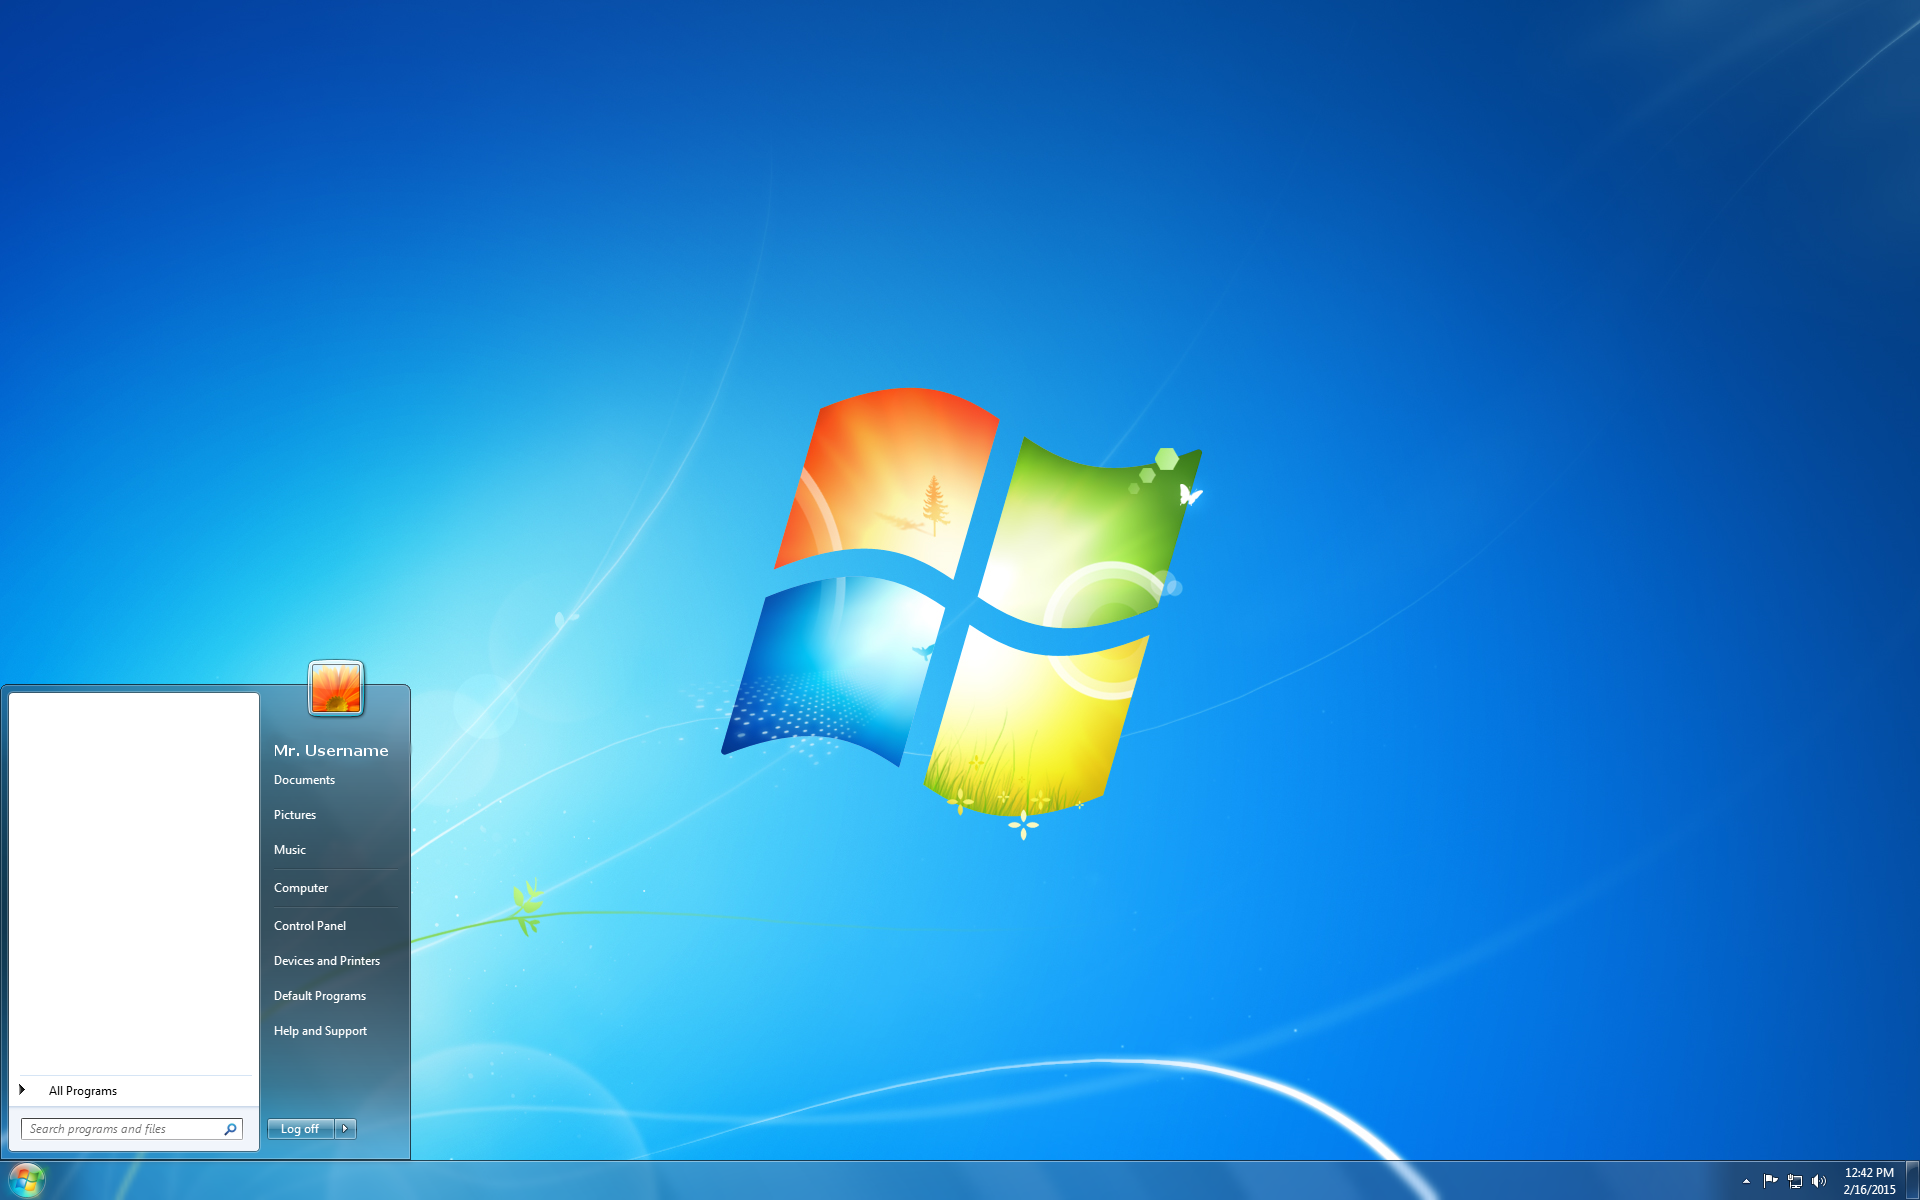
Once the start menu is open, click in the "Search programs and files" box and type "Command Prompt." As you type, results will start to appear above the text box.
Open Command Prompt
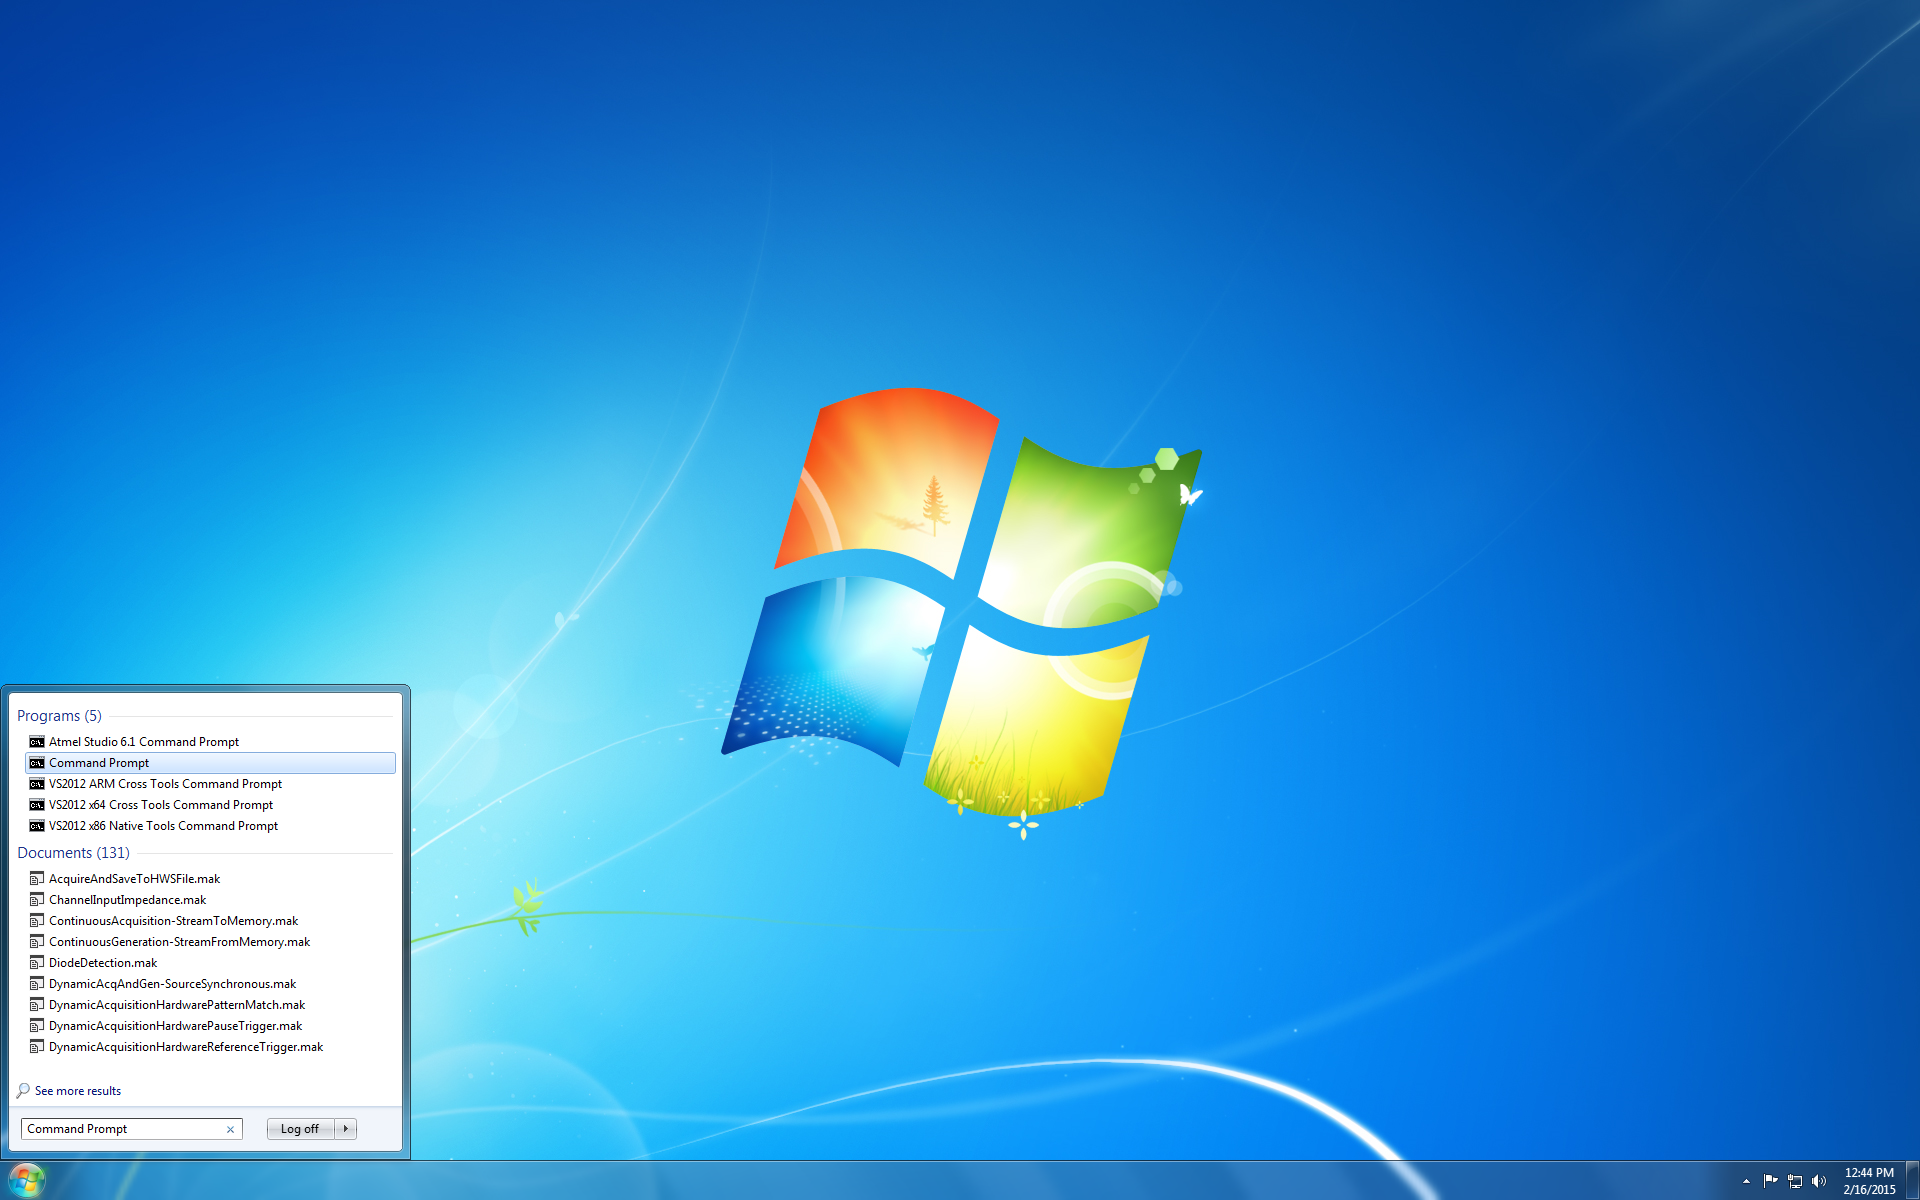
Multiple results may fill the list; click the one that says "Command Prompt" and a window should appear entitled "Command Prompt." Inside the window should be a black box with some text.
Welcome to Command Prompt
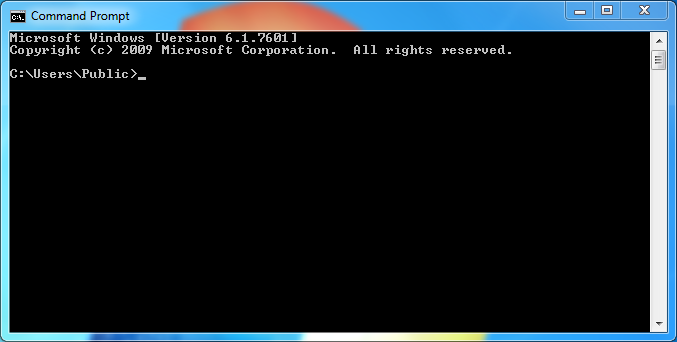
In the window you will see a blinking cursor that follows your username.
A Brief Introduction to Command Prompt
Command Prompt allows you to control your computer via text based commands, it should be noted that commands should be typed CAREFULLY to avoid damage to your system. Command Prompt is very strict on syntax, so if you do not type a command precisely, it will most likely return an error. Command Prompt is a relic from computers past when there was no graphical user interface. In the old days, if you wanted your computer to do something, you had to type it out and hope you typed it right. It is very easy to ruin your machine with Command Prompt, especially if you have read and write privileges to all the files on your system. That being said, it should be noted that using ping is very safe as it does not modify any files on your system directly.
Using Ping
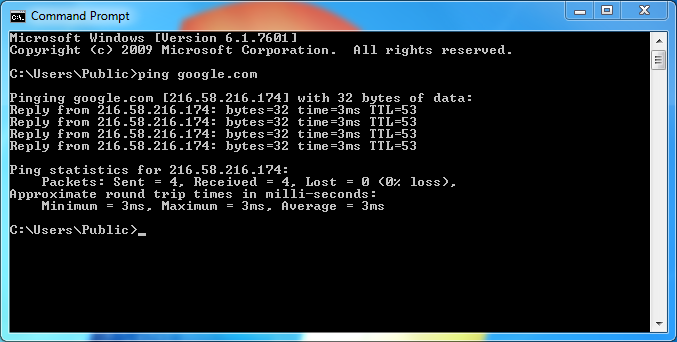
Running ping for the first time:
Now that Command Prompt is open, we can run ping by calling it with a simple instruction. For your first time using ping, type exactly what is written below in the quotes:
"ping google.com"
After you type what is in the quotes, press the "Enter" key on your keyboard. If you typed the command correctly, your screen should resemble the one in the image above. The results are not instantaneous, so it may take a few moments for ping to finish. You will know when ping is finished when your username followed by a blinking cursor appears again on the last line of text.
Understanding the Results
Vocabulary
Ping Statistics:
Sent: This is the amount of packets ping sent to the address you typed in the prompt. The default is four.
Received: This is the amount of packets that returned from the address you typed in the prompt. Ideally, this should equal the amount sent.
Lost: This is the amount of packets that did not return from the address you typed. Ideally, this should be zero.
Approximate Round Trip Times:
Minimum: This is the shortest time (in milliseconds) that it took for a packet to be sent to the address you typed and returned back to your computer. That is the "Round Trip" it is talking about.
Maximum: This is the longest time (in milliseconds) that it took for a packet to be sent to the address you typed and returned back to your computer.
Average: This is the average round trip time of all the packets sent. Ideally, this should be as low as possible. In the picture from the last step, the average was 3ms, which is very good. The larger the number here, the worse your connection is.
What this all means
If you get a really long average trip time, or a large percentage of packet loss, this signifies that your network connection is experiencing some issues. Commonly the issues are either due to a poorly functioning router or modem which can be solved with a simple reset most of the time. Other times the issue is due to a large volume of traffic on your network causing "collisions" which is when two or more computers try to use the network at the same instant. This is commonly seen in enterprise networks, like schools and businesses during peak hours when everyone is trying to connect to the internet.
Another cause for a high average trip time or packet loss could have nothing to do with your network. It could be that the website you are trying to reach is unable to handle the volume of traffic. This is unlikely, especially with websites like Google.com or Facebook.com which have the resources necessary to service high volumes. An example would be when a small website unexpectedly experiences high volume. In any of these cases, there is really nothing you can do but wait it out.
A Few Extra Ping Features
If you wish to adjust the test for ping, there are many options that you can add after the address to customize the test. The following are just a few of the basic options that you can add to make the test a little more catered towards your specific situation.
Ping Syntax
Ping follows a very simple syntax, as follows:
ping [address] [options]
where [address] is the address that you want to ping, and [options] are the options you want to add to customize the test.
Basic Ping Options
- -n [number] This specifies the number of times you want to ping the address. The default is four, this can be any reasonable number. A reasonable number is a matter of opinion, but a general rule of thumb would be large enough to get a good amount of samples and small enough that it does not take excessively long to complete the test.
Example:
ping google.com -n 100
This will ping google.com 100 times before the test is completed.
- -w [milliseconds] This specifies the time (in milliseconds) for ping to wait for a response from the associated address before considering the packet of data a loss. A reasonable number for this depends on the status of the network at the point in time. A rule of thumb could be the time you believe is the maximum acceptable. If you believe that 50 milliseconds is too long, you could set this option to 50. This setting is harmless, and the best way to figure out a reasonable number is through experience.
Example:
ping google.com -w 30
This will ping google.com and if google takes longer than 30 milliseconds to respond, it will consider the packet of data to be lost.
- Stackable: The options for ping are stackable, meaning you can add as many options to the end of ping you want. To see all of the options, just type "ping" alone in the Command Prompt and a list will appear with the available options for ping, and a brief description of their function.
Example:
ping google.com -n 70 -w 20
This will ping google.com 70 times, waiting 20 milliseconds before considering the packet a loss.