Ultrasonic Sensor to Capture Positional Changes of Objects
by qarthikmb in Circuits > Electronics
995 Views, 1 Favorites, 0 Comments
Ultrasonic Sensor to Capture Positional Changes of Objects
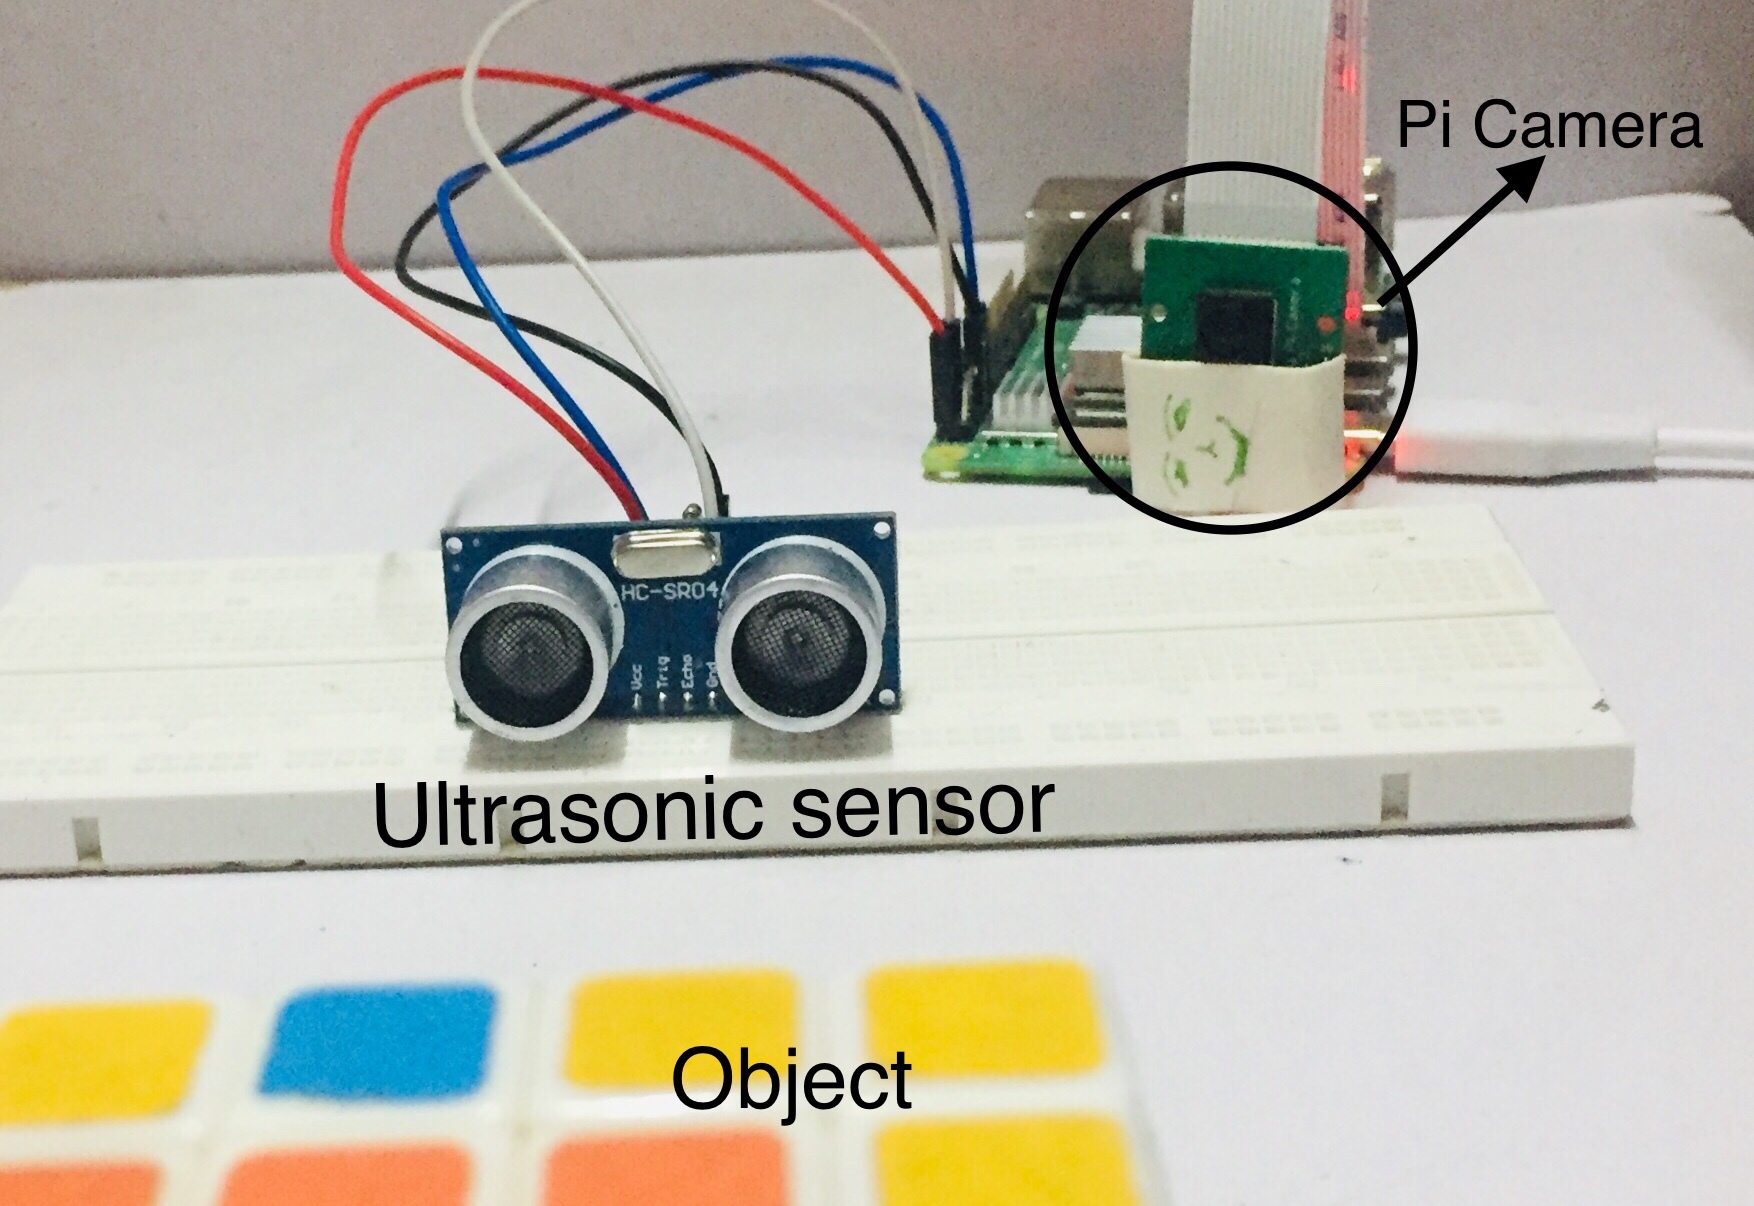
It is important to have your valuable things safe, it would be lame if you keep on guarding your castle the whole day. Using the raspberry pi camera you can take the snaps at the right moment. This guide will help you shoot a video or take the picture when the changes are sensed within the boundary area.
Hardware:
- Raspberry Pi 2/3/4
- Ultrasonic sensor
- Pi camera
- Jumpers
Connections
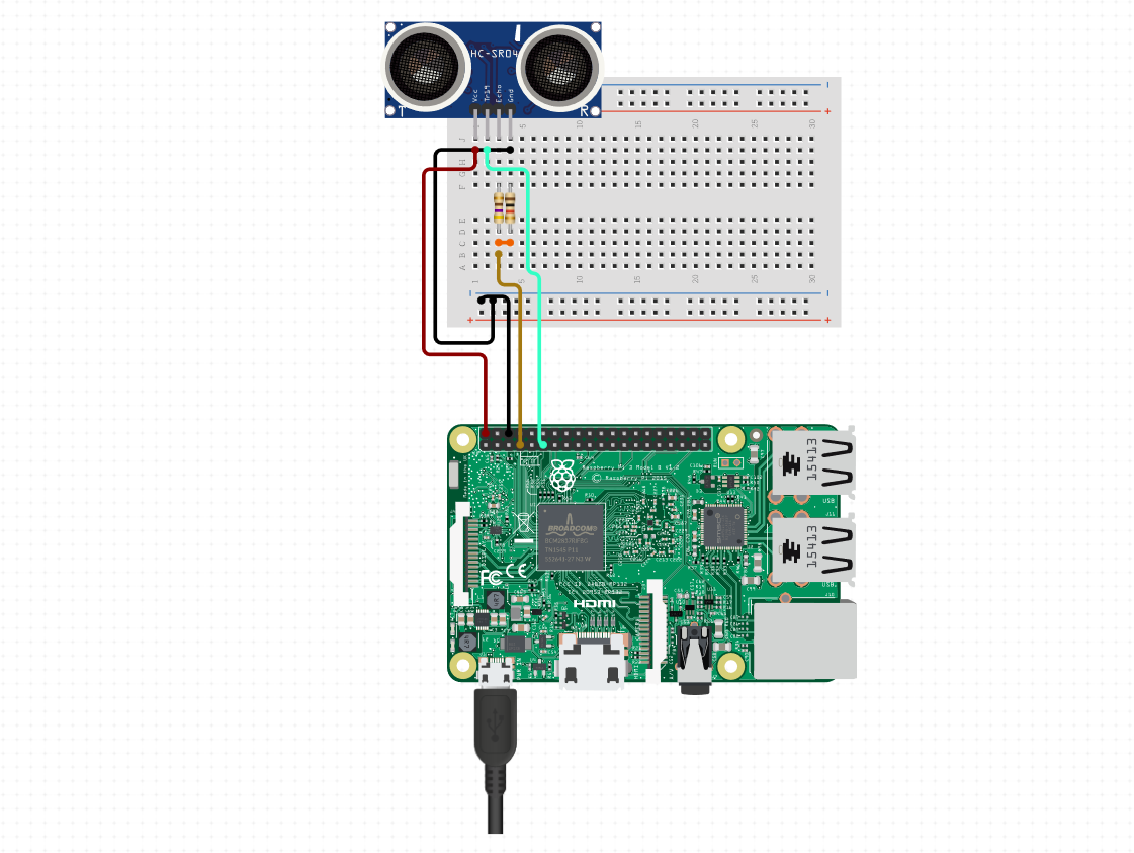
- TRIG to RPI4B 17
- VCC to RPI4B 5V
- GND to RPI4B GND
- Echo to 470-ohm resistor to connection-1
- GND to 1K ohm resistor to connection-1
- connection-1 to RPI4B 4
The circuit schematic is made using circuito.io, it has all the most popular microcontrollers, sensors, etc and the platform is easy to use for beginners
Upload the Code
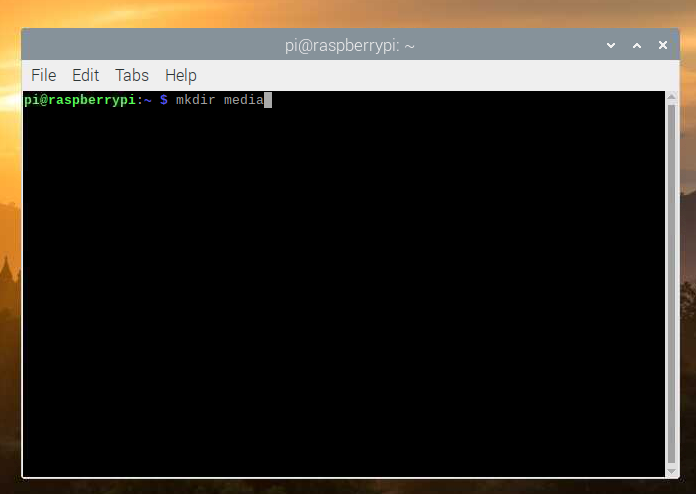
Before you run the script, create a folder through following commands opening the terminal and then edit the script file.
pi@raaspberrypi: mkdir media
pi@raaspberrypi: nano measure.py
The code uses camera and GPIO libraries. Cross-check the GPIO_TRIGGER & GPIO_ECHO pins are properly connected to 17th & 4th pins of the Raspberry Pi externally.
Copy and paste the below code or type into the python file and name it as 'measure.py'
#Libraries<br>import RPi.GPIO as GPIO
import time
import os
from picamera import PiCamera

# Camera Mode
camera = PiCamera()
camera.rotation = 180 # Comment this line if the image is perfectly angled

#GPIO Mode
GPIO.setmode(GPIO.BCM)
GPIO.setwarnings(False)

#set GPIO Pins
GPIO_TRIGGER = 17
GPIO_ECHO = 4

#set GPIO direction (IN / OUT)
GPIO.setup(GPIO_TRIGGER, GPIO.OUT)
GPIO.setup(GPIO_ECHO, GPIO.IN)

def distance():
    # set Trigger to HIGH
    GPIO.output(GPIO_TRIGGER, True)

    # set Trigger after 0.01ms to LOW
    time.sleep(0.00001)
    GPIO.output(GPIO_TRIGGER, False)

    StartTime = time.time()
    StopTime = time.time()

    # save StartTime
    while GPIO.input(GPIO_ECHO) == 0:
        StartTime = time.time()

    # save time of arrival
    while GPIO.input(GPIO_ECHO) == 1:
        StopTime = time.time()

    # time difference between start and arrival
    TimeElapsed = StopTime - StartTime
    # multiply with the sonic speed (34300 cm/s)
    # and divide by 2, because there and back
    distance = (TimeElapsed * 34300) / 2

    return distance

if __name__ == '__main__':
    camera.start_preview(alpha=200)
    try:
        while True:
            dist = distance()
            print ("Measured Distance = %.1f cm" % dist)
            if dist<= 20 : # change this value according to your setting
                now = time.ctime().replace(" ", "-")
                camera.capture("media/image%s.jpg" % now)
                print("Image saved at media/image-%s.jpg" % now)
                # camera.start_recording("media/video-%s.h264" % now)    # Uncomment this to take a video
                # print("Video saved at media/image-%s.jpg" % now)
                # sleep(5) # Uncomment this to take a video for 5 seconds
            time.sleep(3)
        camera.stop_preview()
        # camera.stop_recording()     # Uncomment this to take a video

        # Reset by pressing CTRL + C
    except KeyboardInterrupt:
        print("Measurement stopped by User")
        GPIO.cleanup()
Run the Code
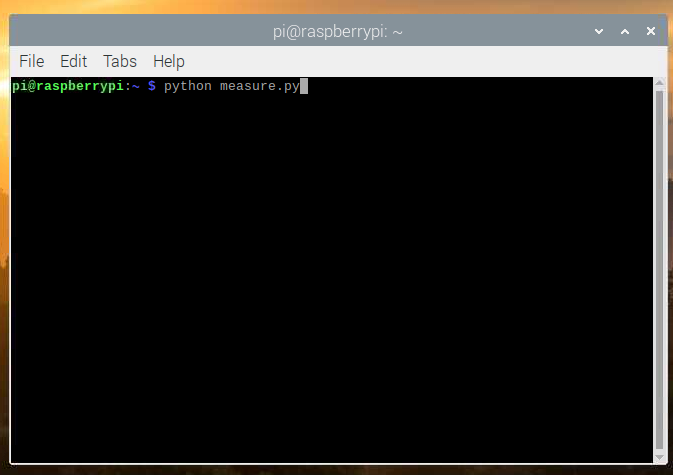
Now run the script as
pi@raspberrypi: python measure.py
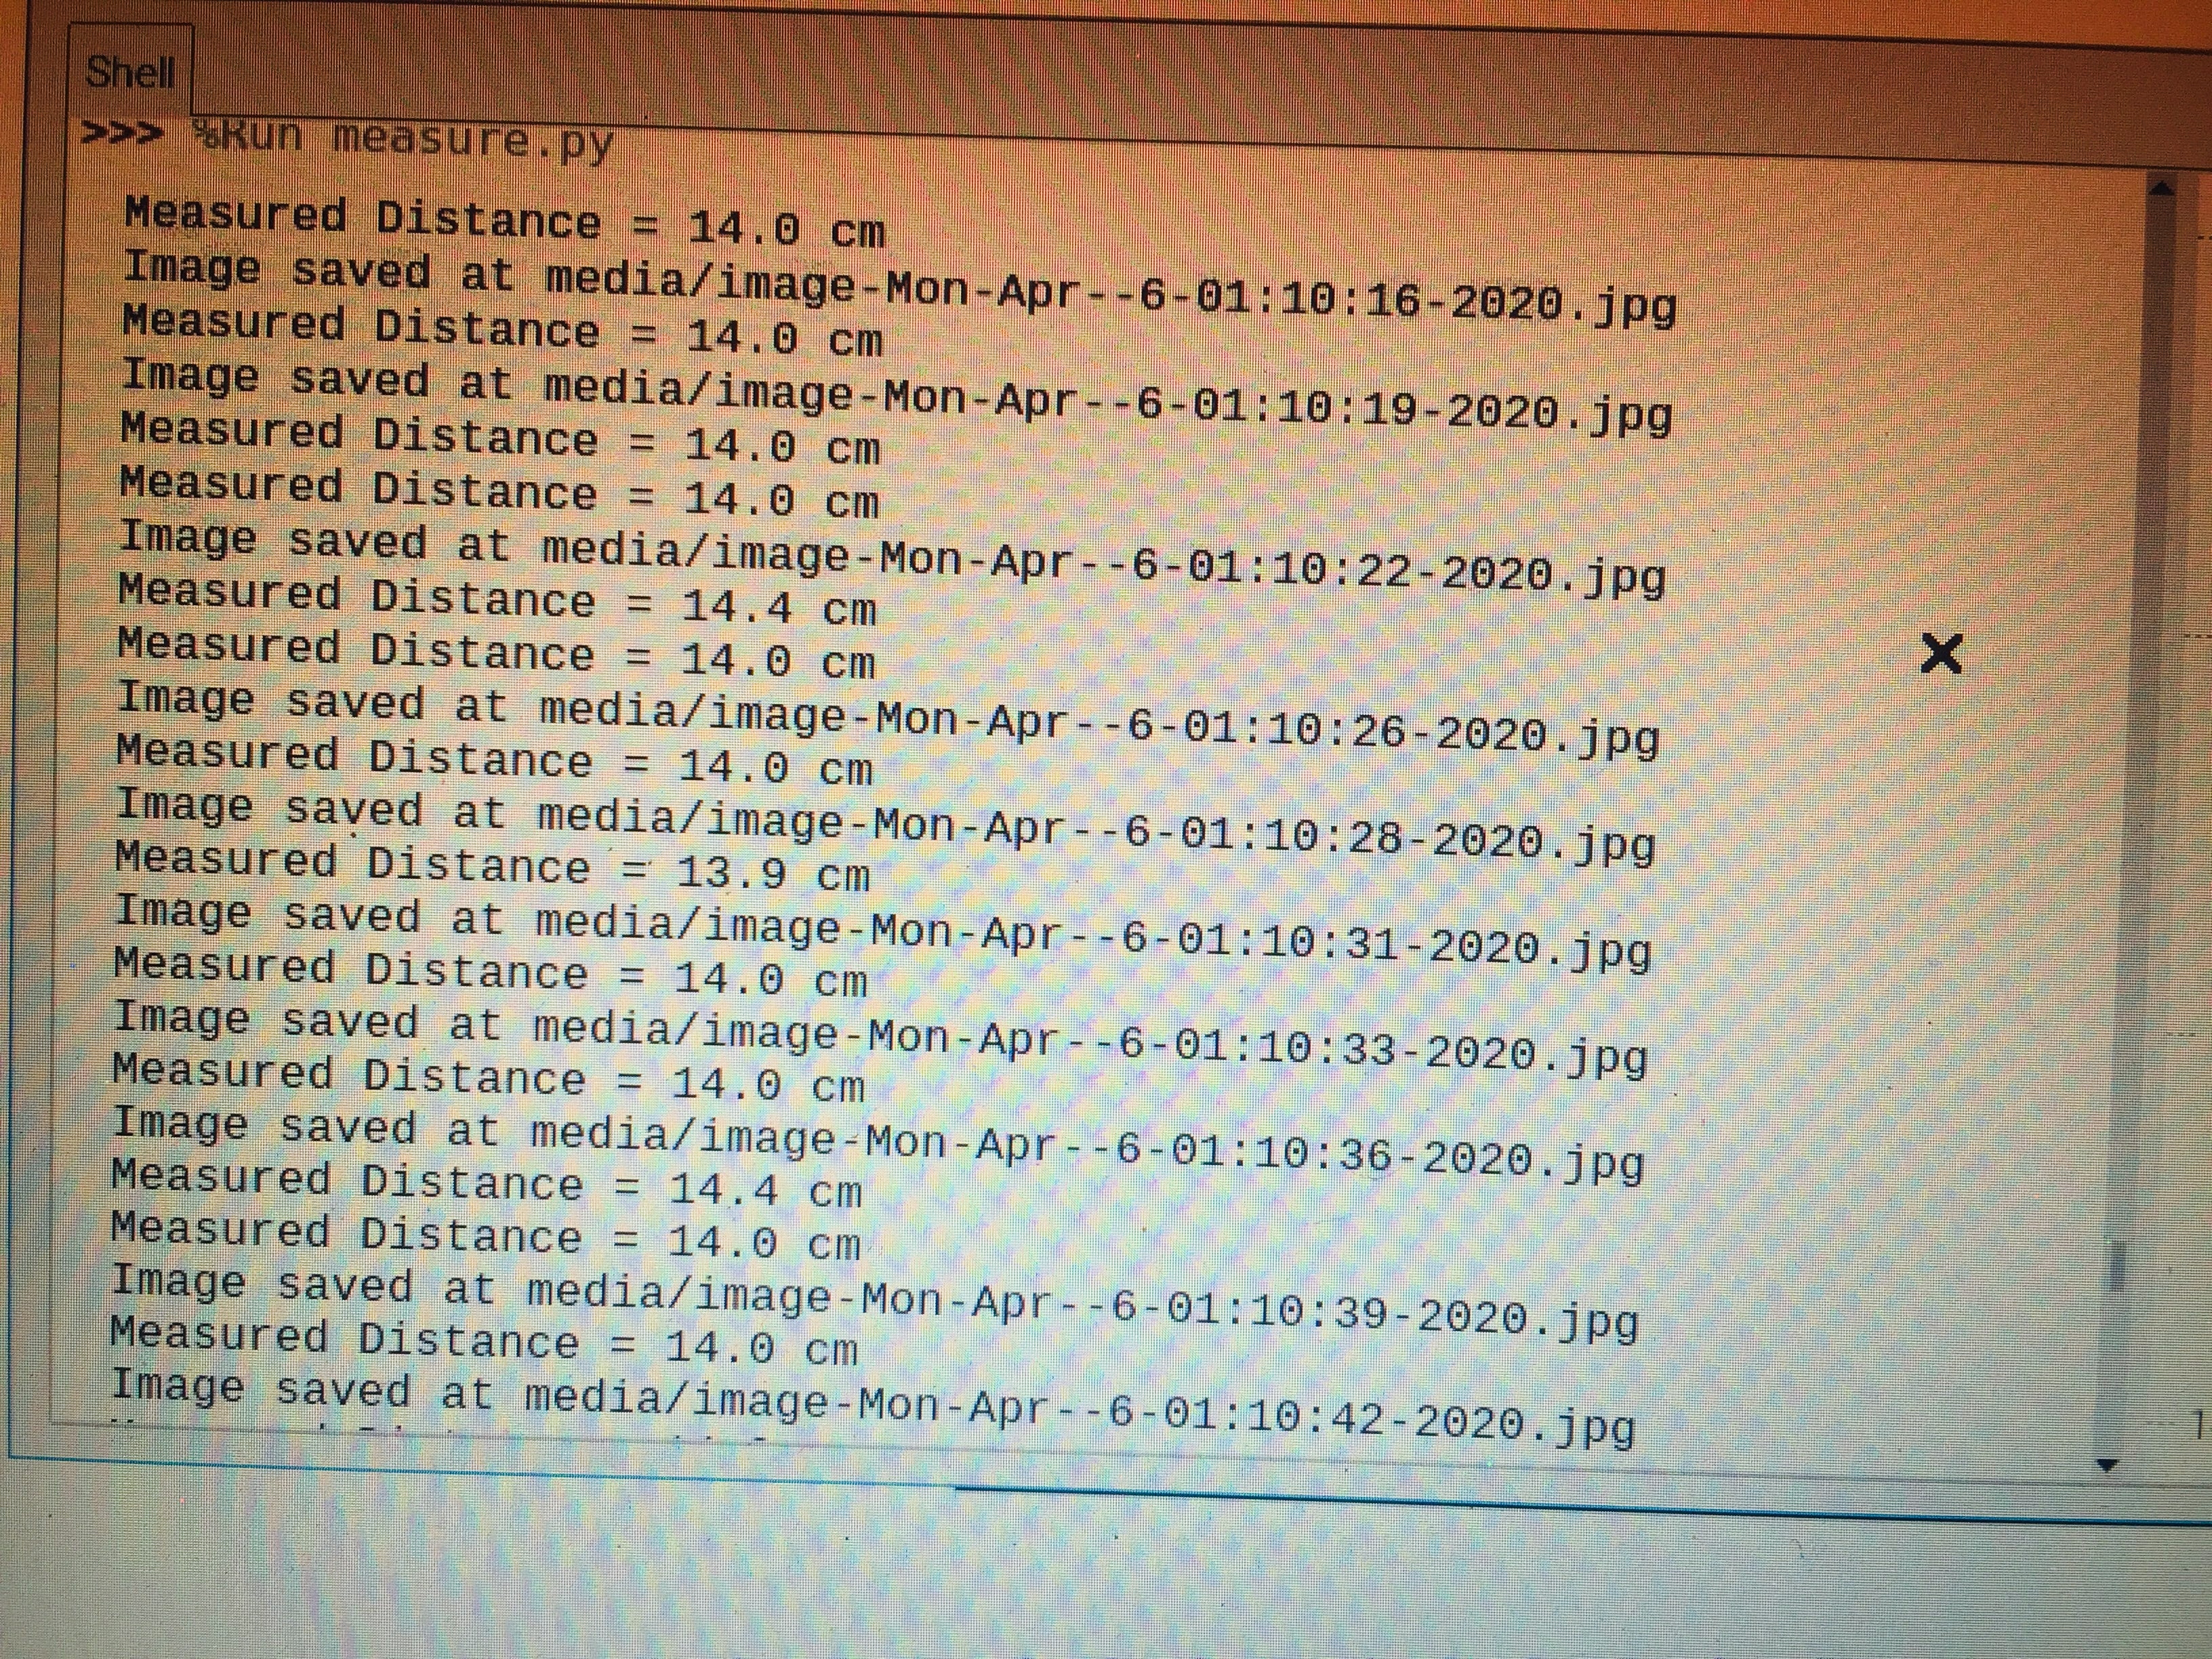
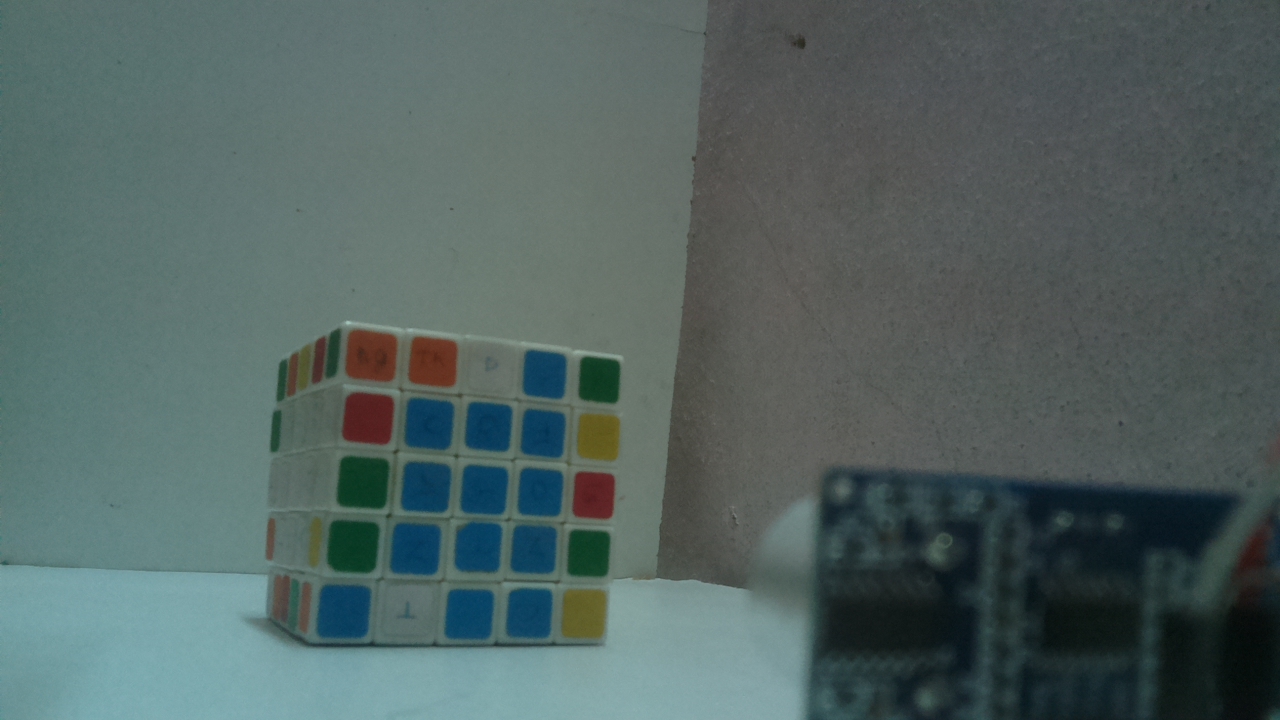
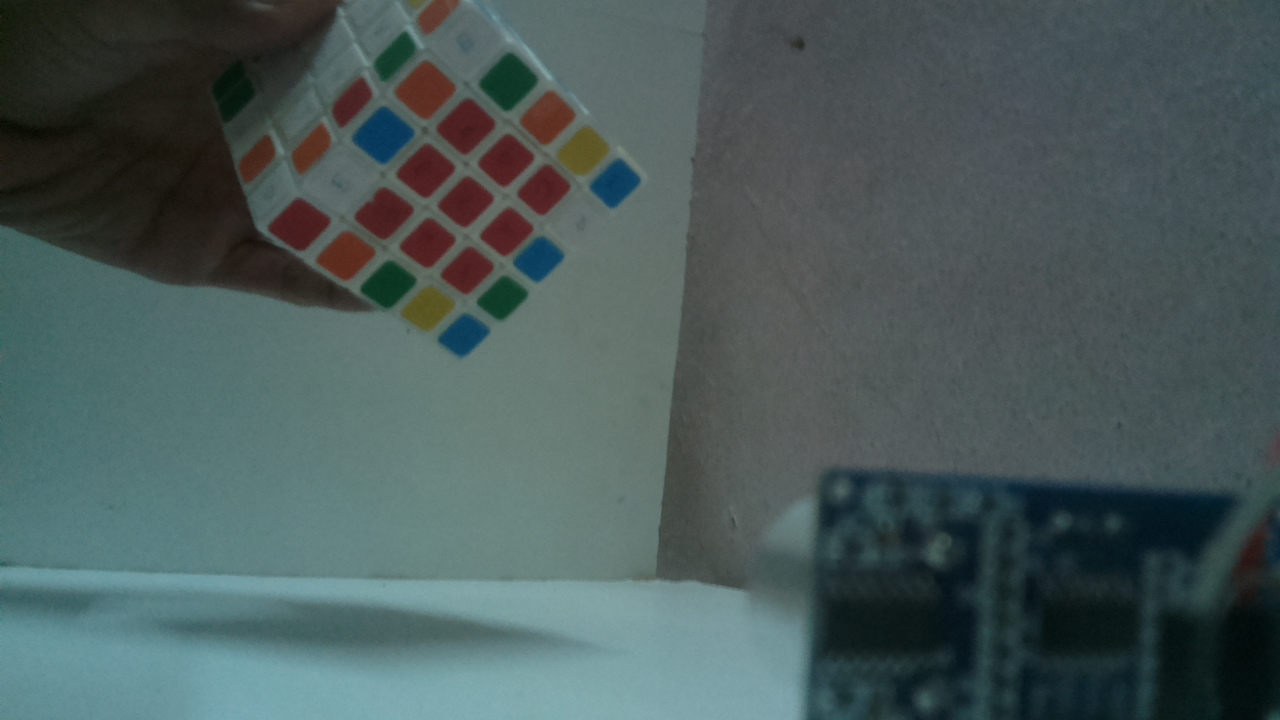
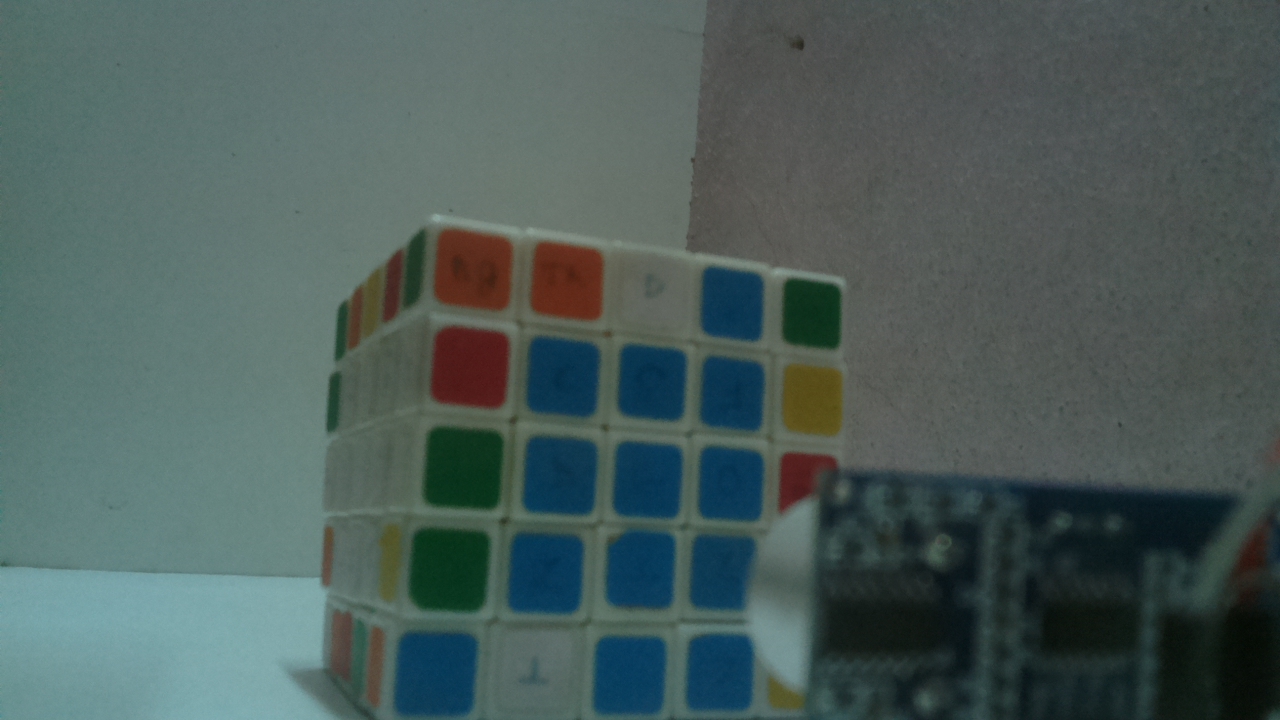
The distance is measured for every 3 seconds(you can change the value in the script) and is printed onto the screen if an object is identified within the 20 centimetres, the pi camera takes a photo and saves in the media folder.
Alternatively, you can shoot a video by uncommenting or remove the hashtags(#) from the script lines mentioned as comments. You can also extend the video length by simply incrementing/decrementing the value in “time.sleep(5)”.
Happy Circuiting!