Using Silhouette Portrait to Cut Sticky Vinyl Designs
by MakeBromyard in Craft > Paper
8214 Views, 27 Favorites, 0 Comments
Using Silhouette Portrait to Cut Sticky Vinyl Designs
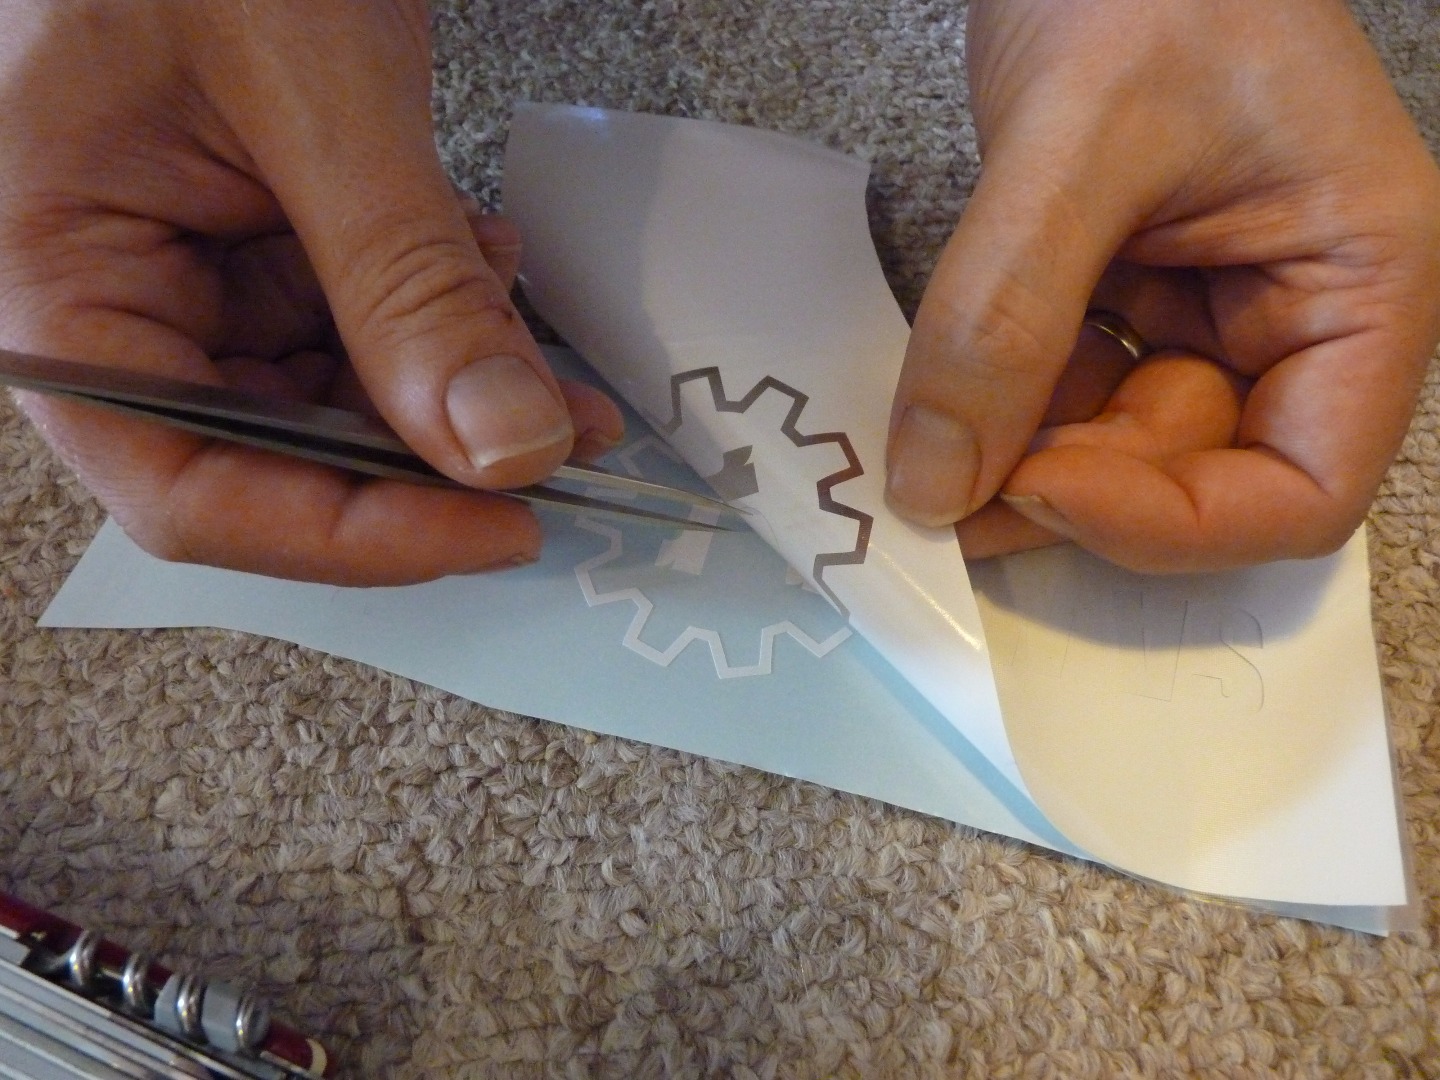
If you're working with a design that involves text or multiple different elements which aren't joined together, you might think it would take ages to get it all lined up and apply it to a surface evenly. It's actually very simple!
Gather Your Materials
You will need:
- Sticky vinyl
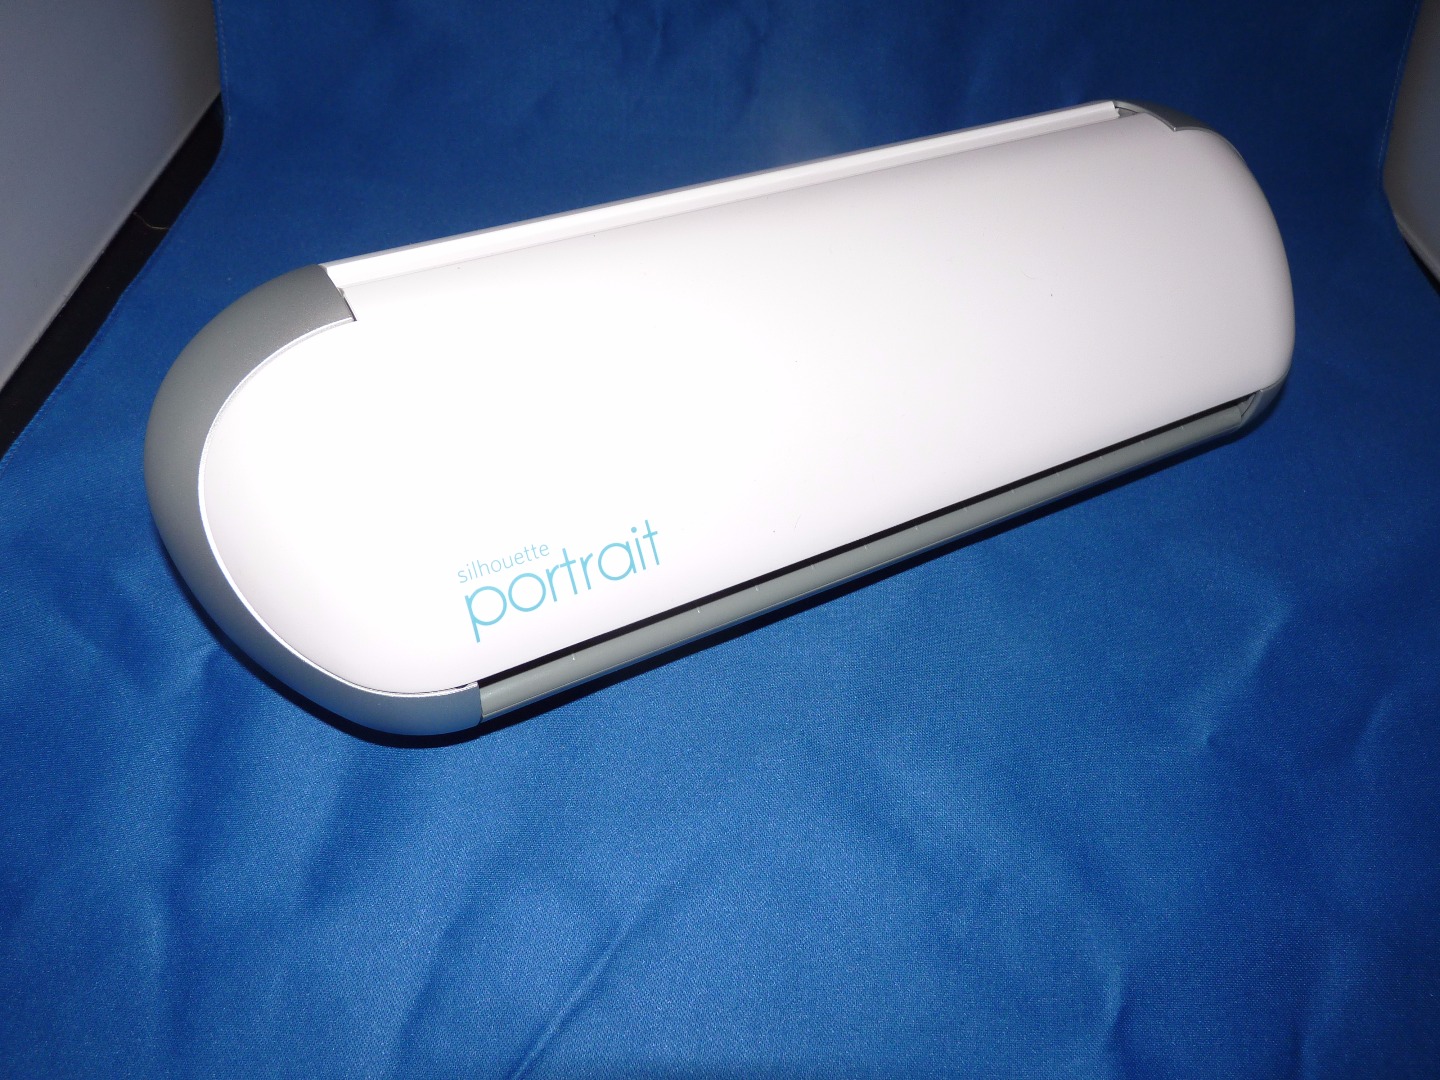
- Silhouette hobby cutter (we have a Portrait)
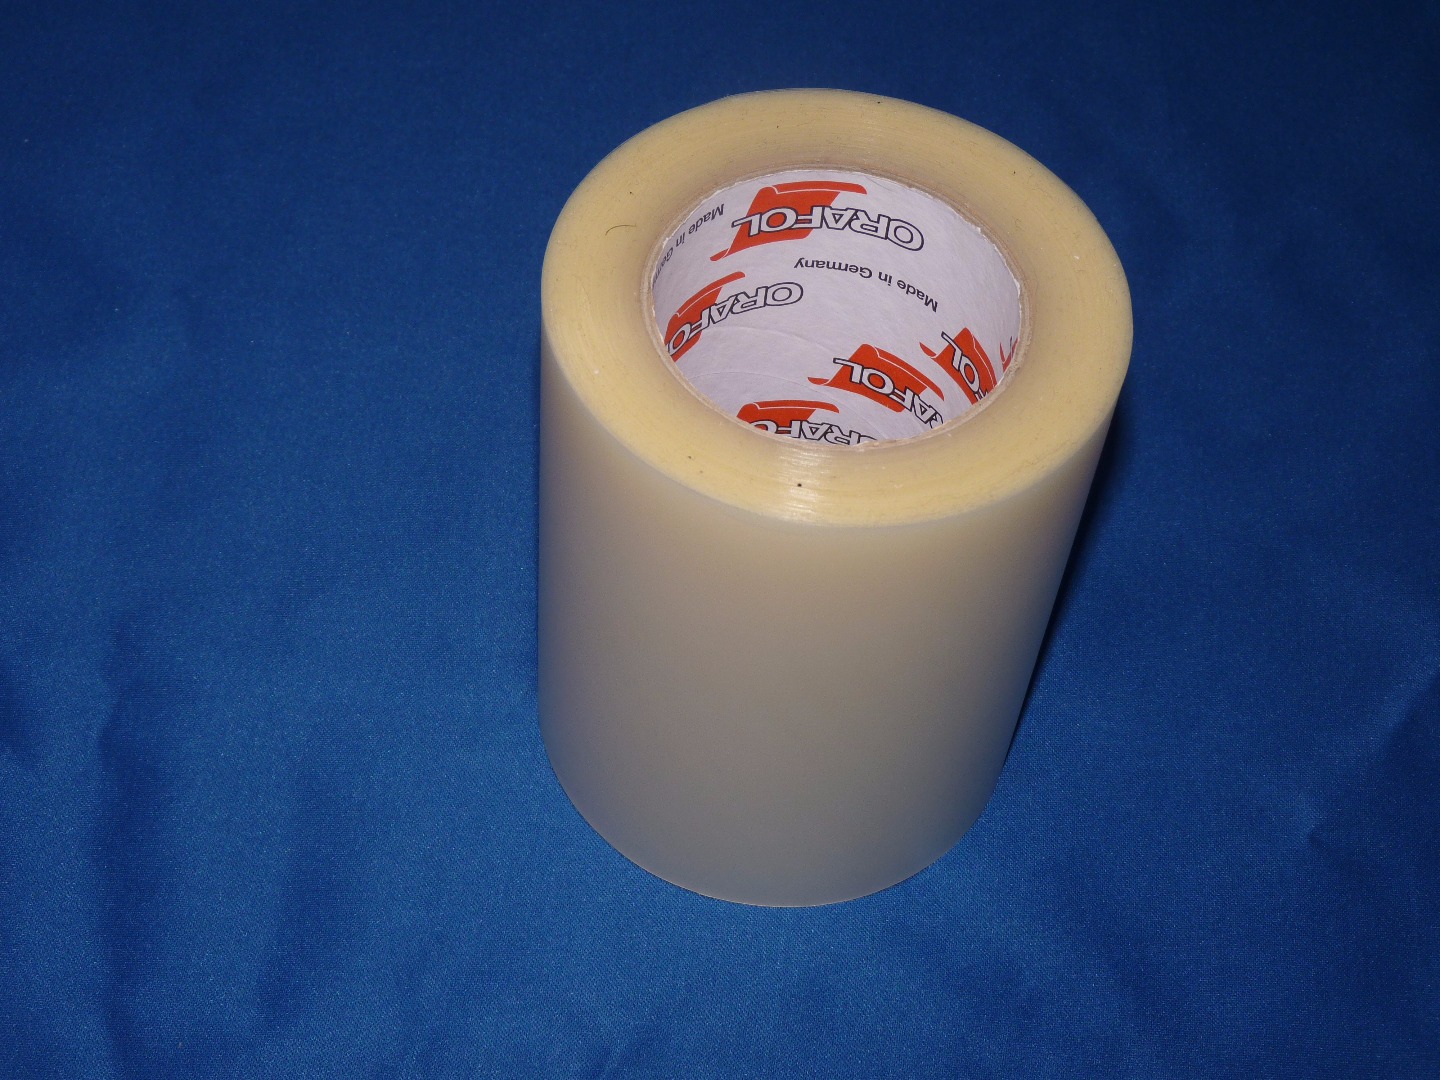
- Transfer tape (but if you don't have any, use low tack masking tape!)
- Your print surface of choice - a wall? A card? A robot? You choose :)
Get Your Design Ready in Silhouette Studio
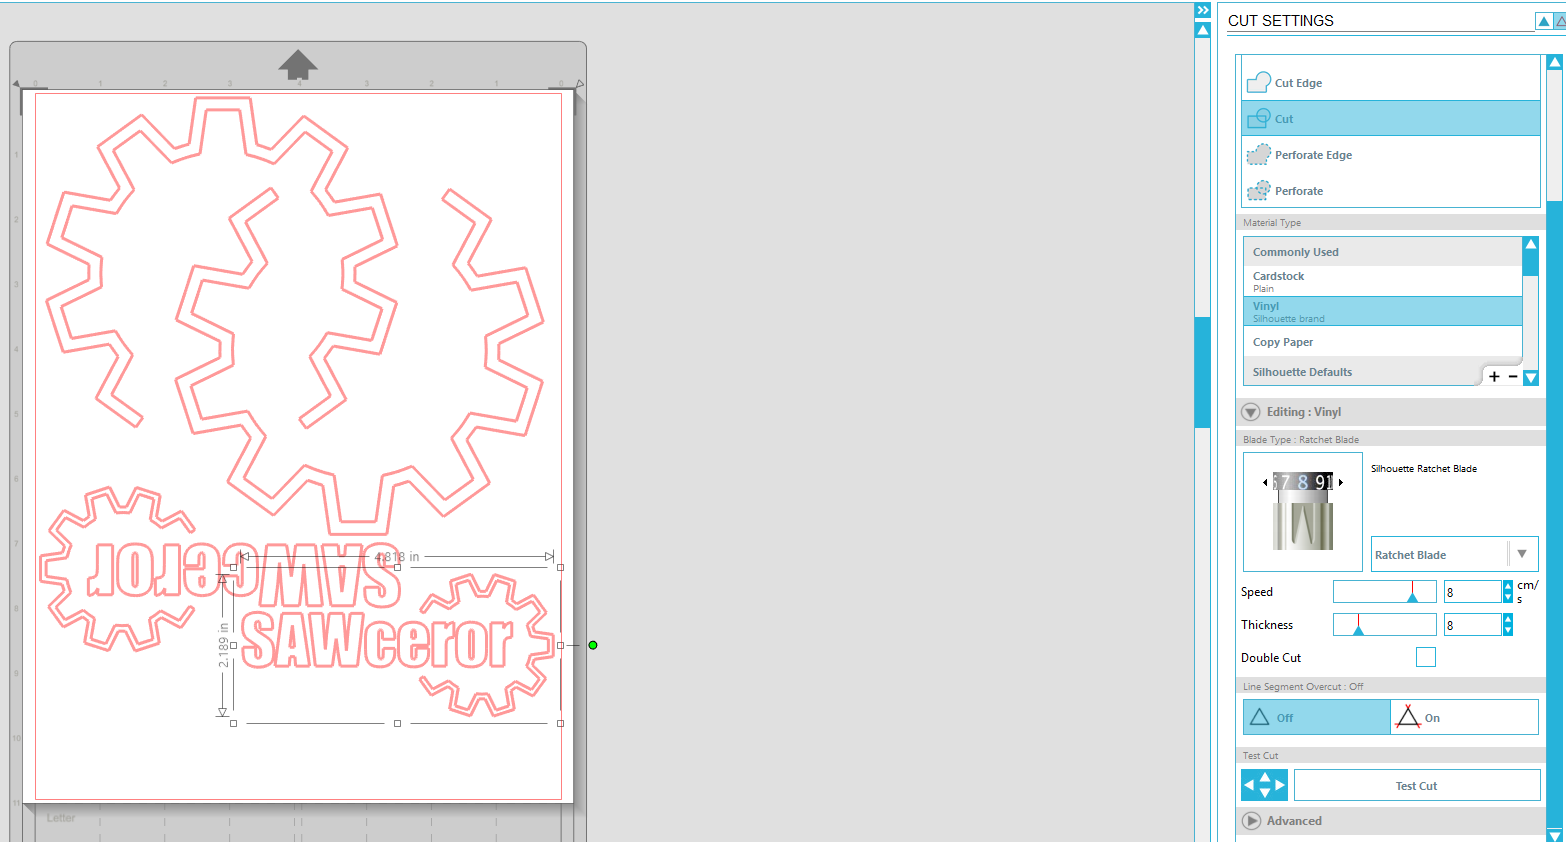
I'm going to assume you know how to do this part! However, if you haven't cut vinyl before, you will need to adjust the cut settings. Click on Cut Settings, and then on Vinyl. You can then choose the appropriate cut depth for the vinyl you have - I find that a cut depth of 8 is usually fine. Always do a test cut if you're not sure, rather than waste a sheet of vinyl!
If you tend to use your cutter for vinyl for t-shirts (see our other Instructable!) you will be used to mirroring your design prior to cutting, and then cutting the back of the vinyl sheet. With sticky vinyl, you don't need to do this - because the back of the vinyl is adhesive it needs to stay on the backing paper, so instead we cut the front.
Cut Your Design and Weed the Vinyl
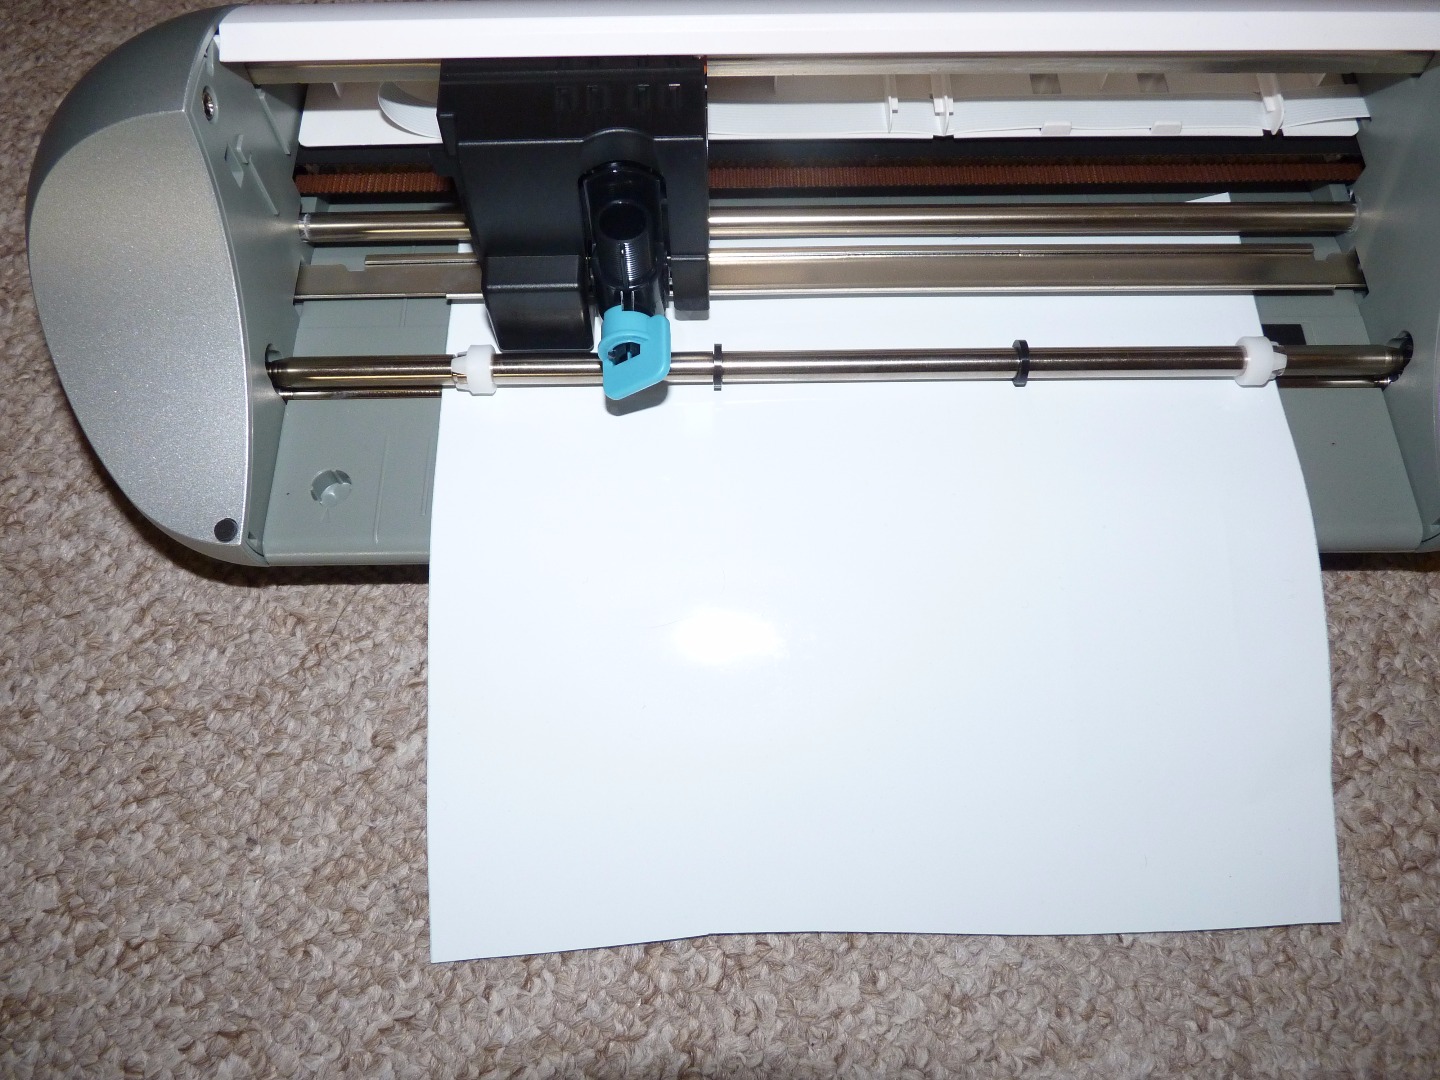
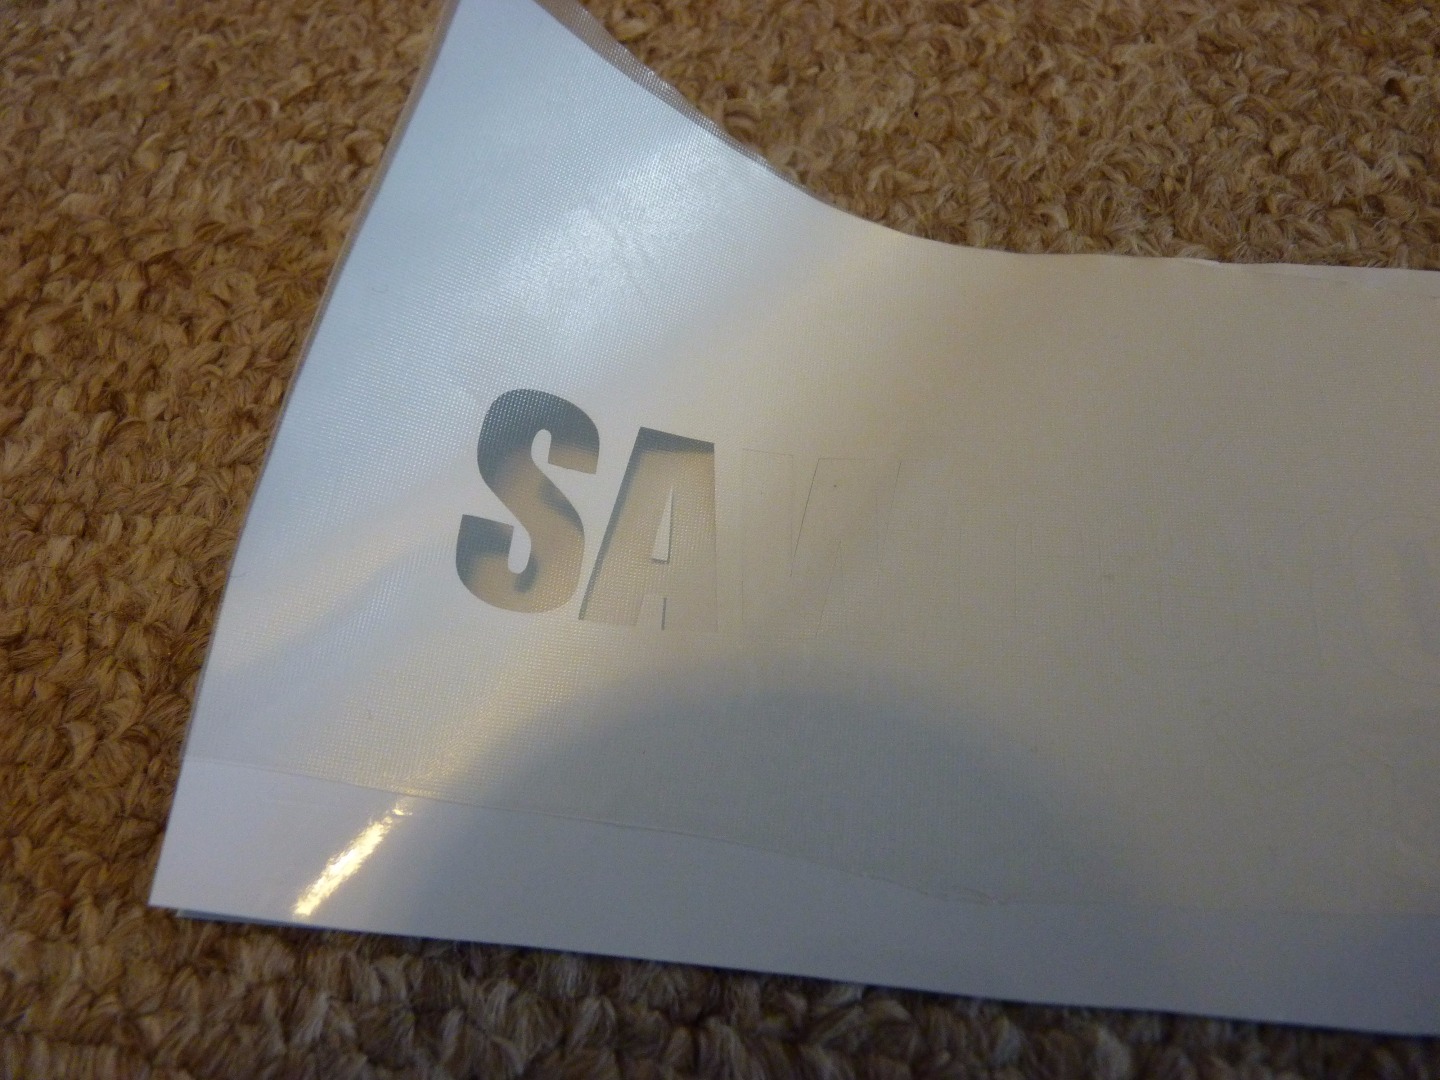
Unlike t-shirt vinyl, you're cutting the front of the stock. This means that you need to load your sheet of vinyl with the vinyl facing upwards and the backing paper underneath.
Weed the vinyl so that all you're left with is the finished design on the backing paper. Looking good - but how do you get it onto the print surface intact?
Apply a Layer of Transfer Tape or Masking Tape
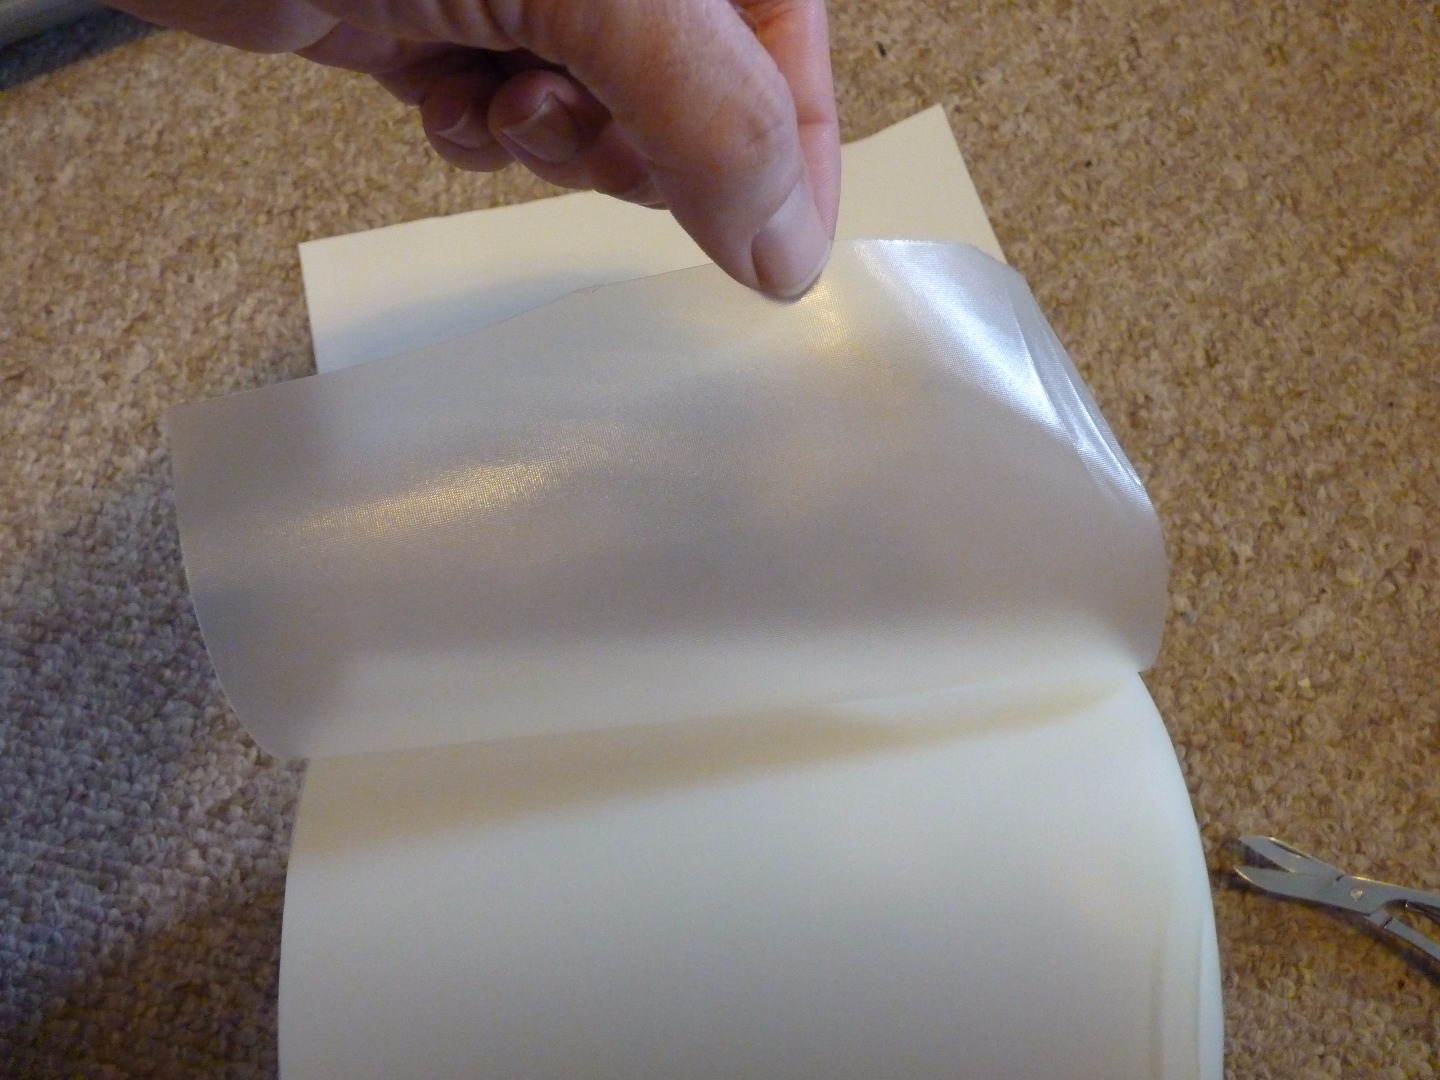

If you don't have transfer tape, it really doesn't matter. You can do a great job using masking tape instead. Lay a sheet of transfer tape, or strips of masking tape, across your design. Press down to make sure it sticks well. Now gently peel away the backing paper, making sure everything remains stuck to the transfer tape/masking tape.
Apply the Design to Your Print Surface
Press the design against the surface to which you're attaching it, and rub the individual parts on well. Then gently peel away the transfer tape or masking tape (if you've bought transfer tape you may have also bought a tool to help you do this, but you can manage without it - use the edge of a plastic ruler or a knuckle instead).
Stand Back and Admire Your Handiwork
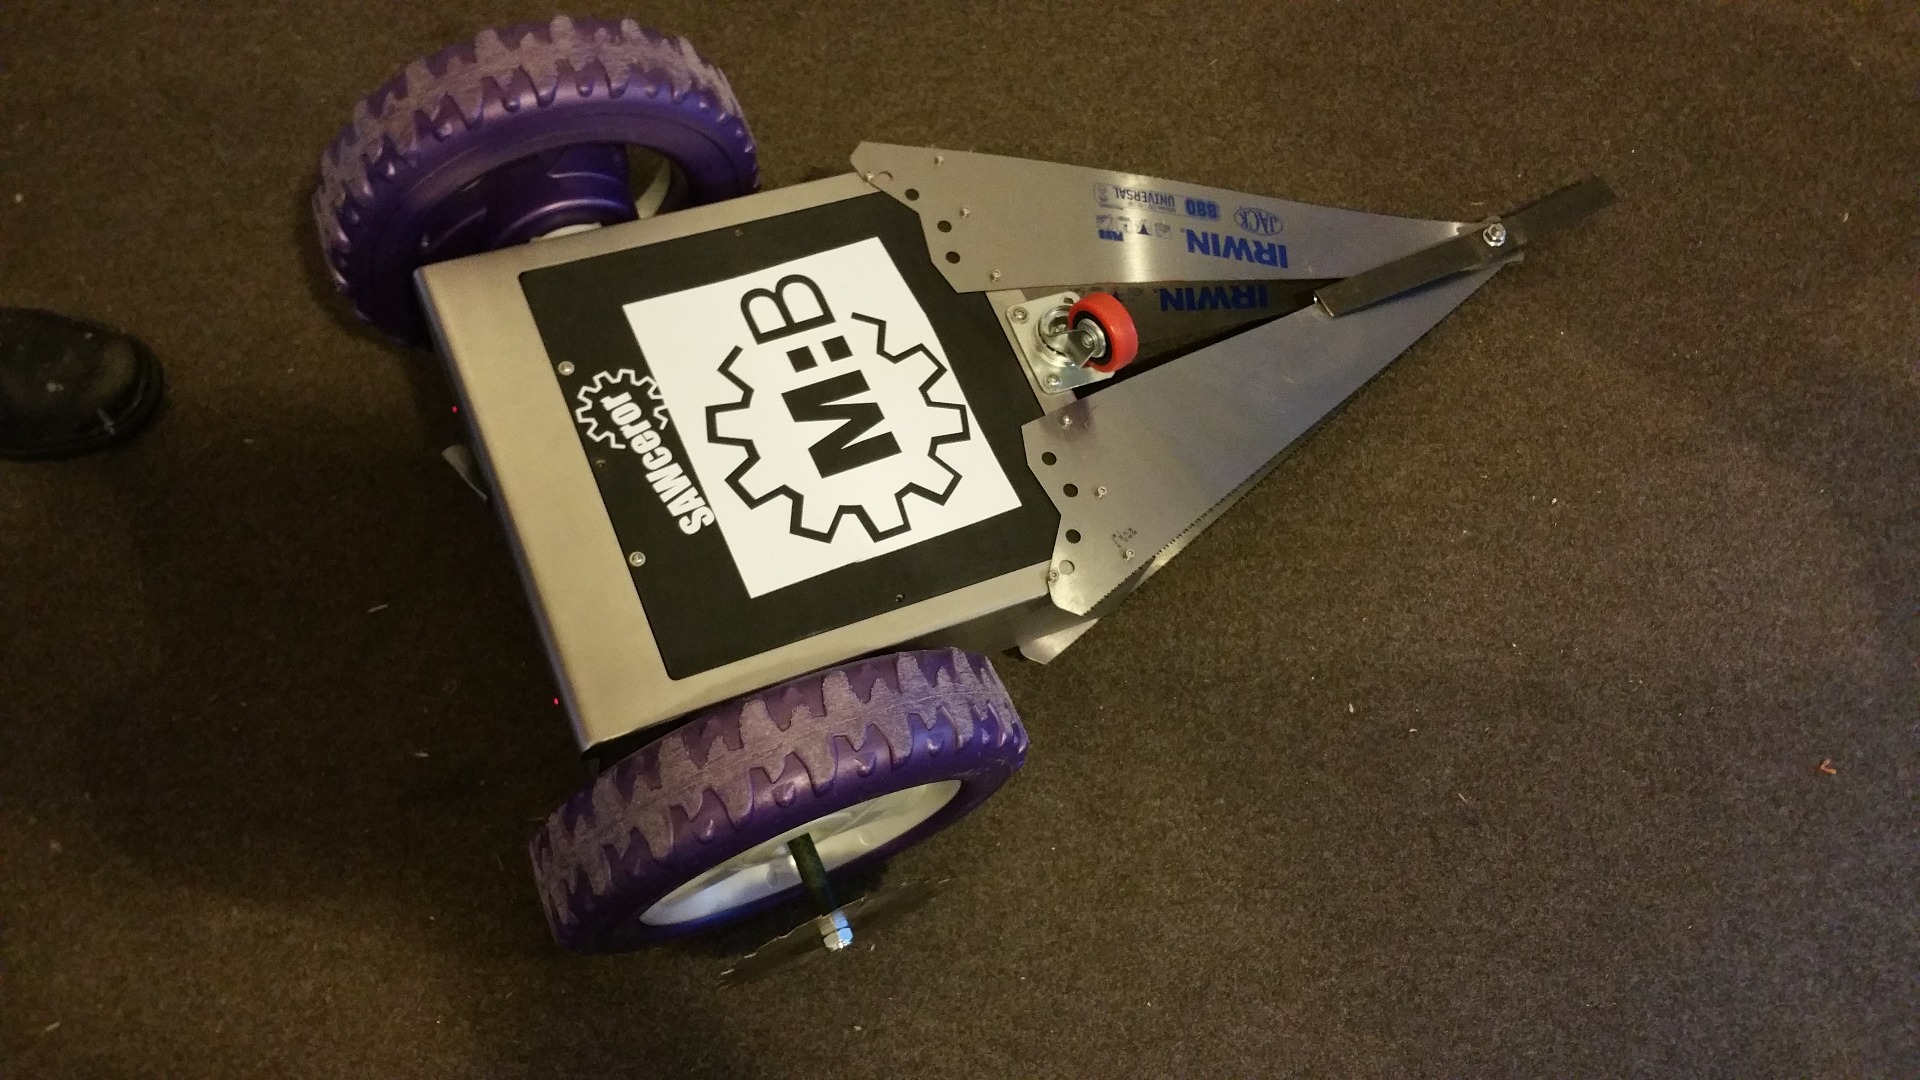
Looks good, doesn't it?