Using RP2040 PIO in Arduino IDE on Windows
by the2ndTierney in Circuits > Arduino
18009 Views, 13 Favorites, 0 Comments
Using RP2040 PIO in Arduino IDE on Windows
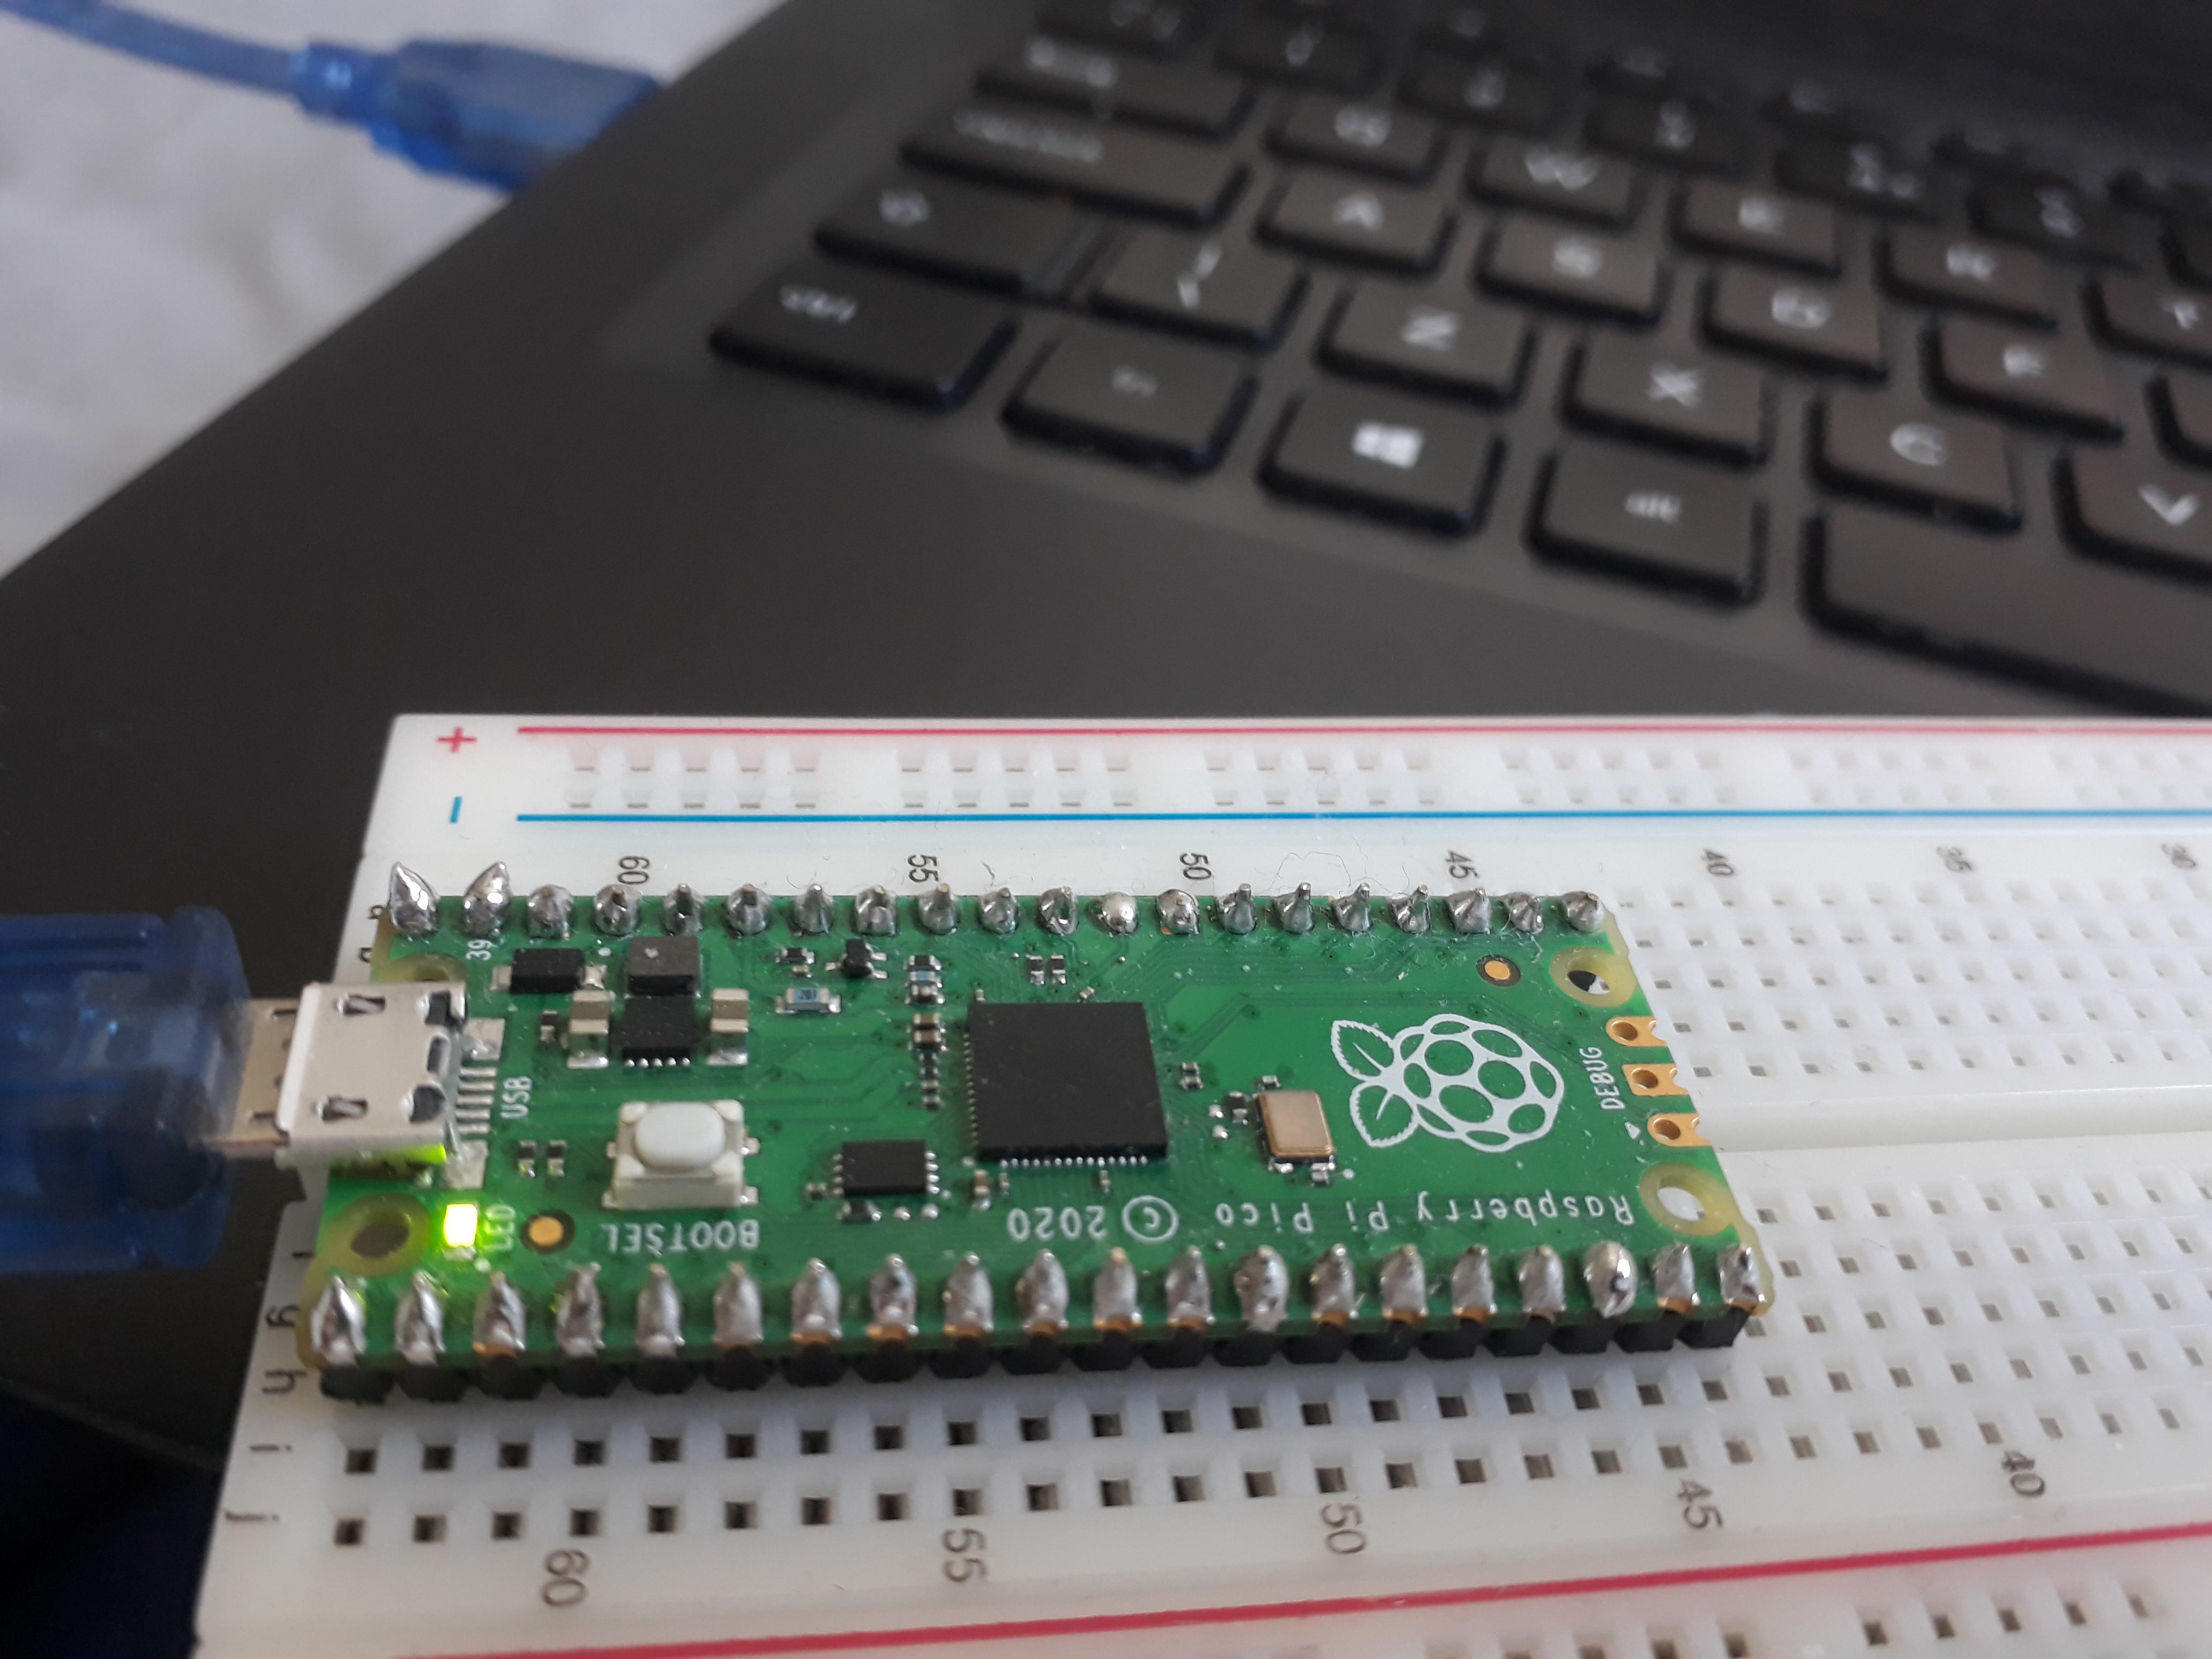
Like many others, I bought the Raspberry Pi Pico (referred to as RP2040 from here on) as soon as it came out. I was incredibly excited by the programmable Input outputs (PIO). The promise of controlling timings and pulses with single clock cycle accuracy is simply amazing.
Unfortunately, the installation of the official SDK on windows is not trivial. Programming the RP2040 from the Arduino IDE is much simpler. Sadly, the Arduino IDE doesn't currently have PIO support. This will change (read more here) but currently, the advice is to use pioasm to compile PIO code and include it then in your main sketch.
This instructable won't teach you how PIO works. That's a whole different set of Instructables. However, it will show you how to compile pioasm and then use it to compile PIO code in the Arduino IDE, on windows. Then you can start learning PIO.
Supplies
- Raspberry Pi Pico
- USB cable
- Computer
Install Arduino Core
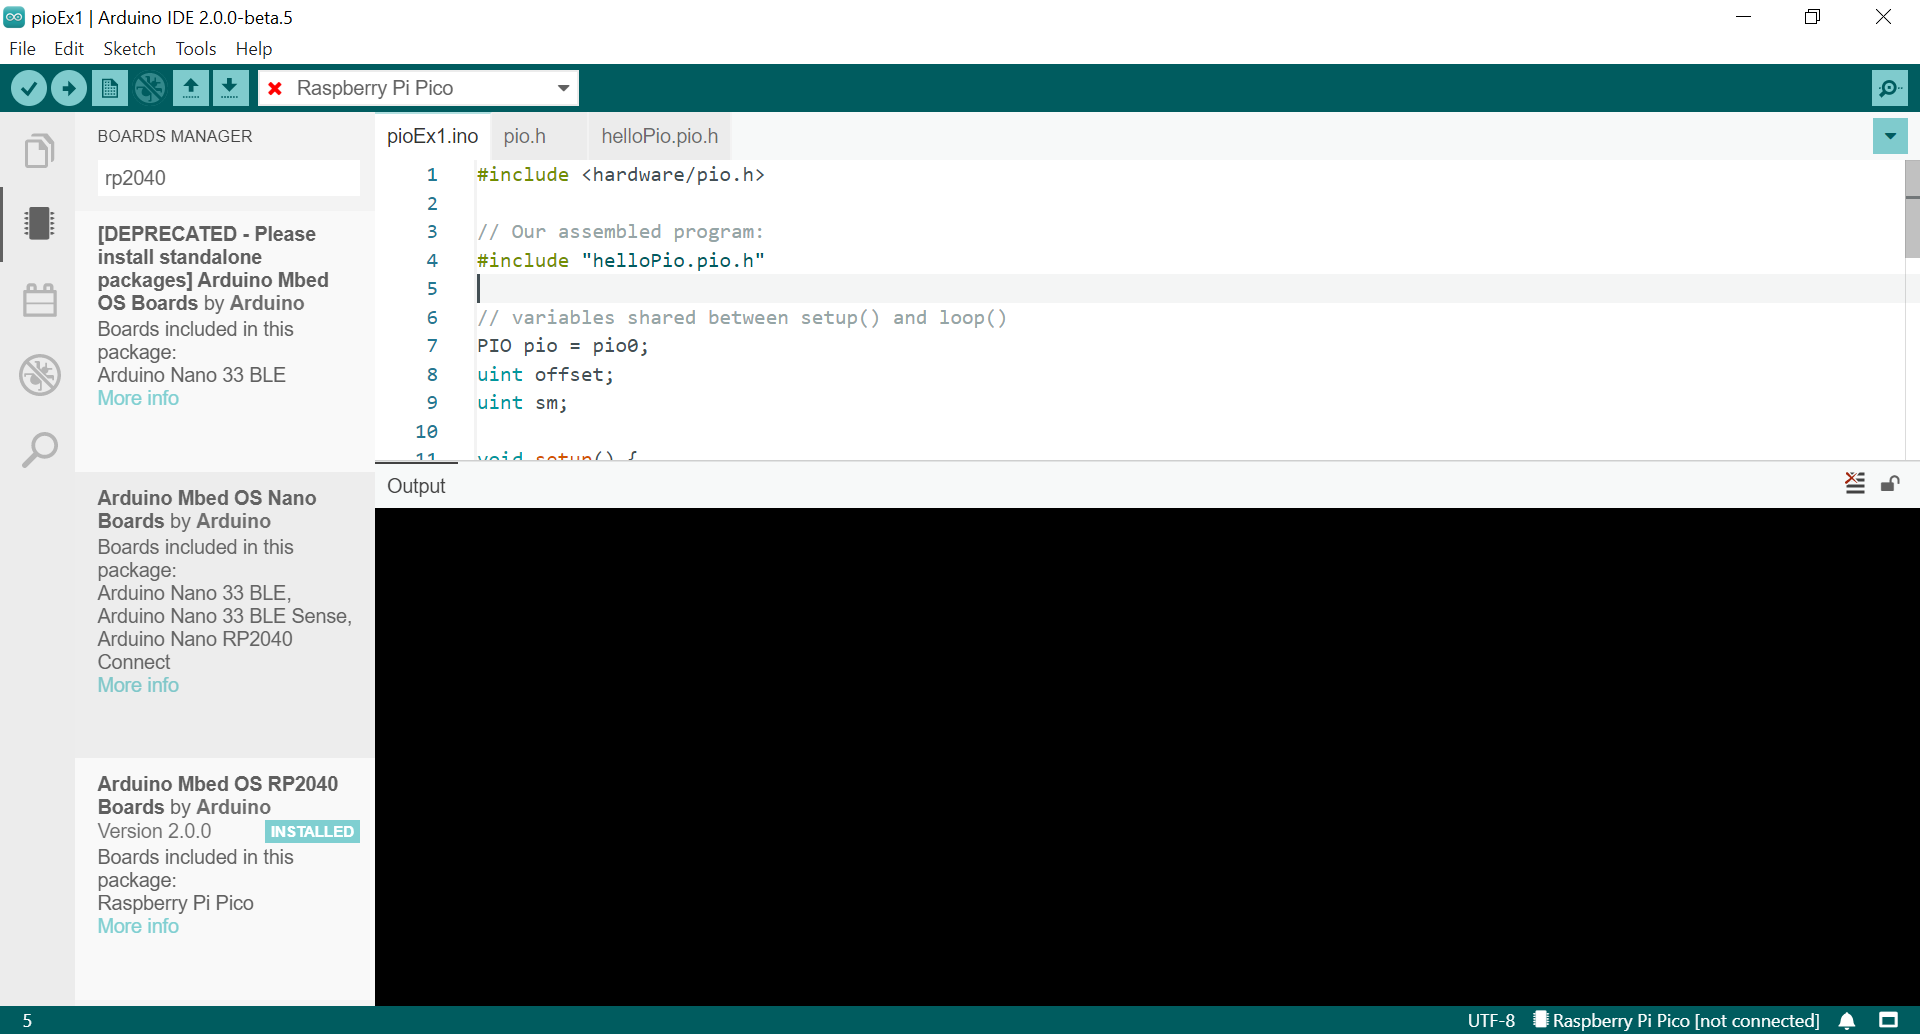
- Install the Arduino IDE.
- Install the Mbed core via the board manager. If you search for rp2040 in the search bar (pictured above) you will find the Arduino Mbed OS RP2040. install it.
At this point, you run the standard blink example to control your LED. If you are struggling to upload try running 'C:\Users\..\AppData\Local\Arduino15\packages\arduino\hardware\mbed_rp2040\2.0.0\post_install.bat'. I needed to do this on my system due to some admin issues but you may not. Congratulations! You are now blinking on windows in a relatively straightforward manner.
But now we need to get the PIOs working... this will get a bit more complicated.
Install the Pico-sdk Software
Building and Running Pioasm
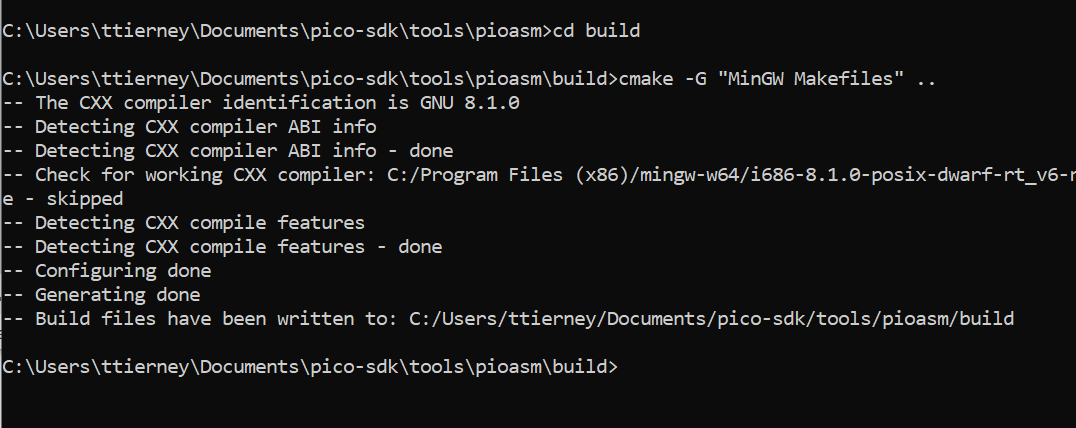
After you've installed all this software we now need to build pioasm.exe. Hopefully, Arduino will alter the installation process to automatically do this.
- go to the pioasm folder (...\pico-sdk\tools\pioasm)
- make a folder called build
- open the cmd prompt, go to the build folder and run the command (see photo above)
cmake -G "MinGW Makefiles" ..
Making and Testing Pioasm
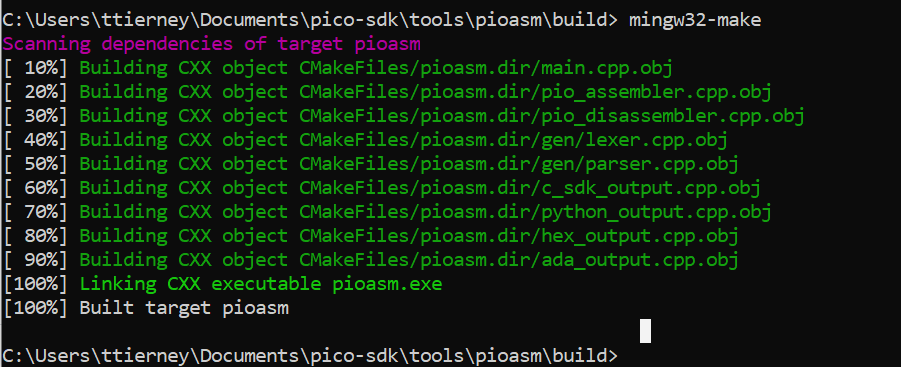
If the previous step worked we can now finally build pioasm.exe. In the same build folder run the following command (see photo above).
mingw32-make
When that step completes type the following command in the build folder to see if pioasm works
pioasm
Blinking With PIO for Arduino
The first step is to write some PIO code. I'm not going to do/explain this. Just download/copy the pio example code here. Once you have this file put the pioasm.exe file in the folder as well. The run the following command at the command prompt from within that folder
pioasm.exe hello.pio hello.pio.h
This creates the file hello.pio.h which you can include in your Arduino sketch to call PIO functions.
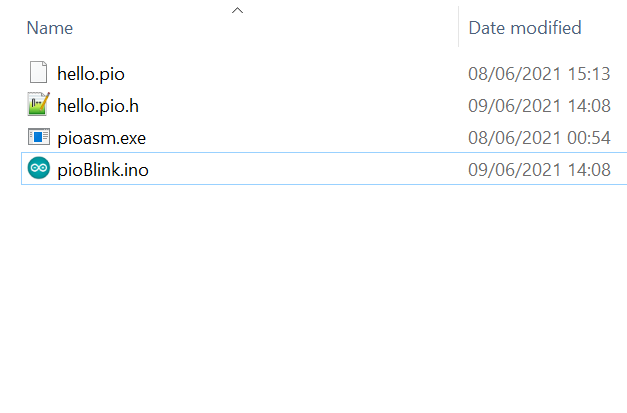
Now write the following into an Arduino sketch. Note this is a little different from the Raspberry pi example as it uses the familiar setup() loop() structure. Once you have written and saved the sketch your folder structure should like the one pictured above.
#include <hardware/pio.h>// Our assembled program:#include "hello.pio.h"PIO pio = pio0;uint offset;uint sm;void setup() {offset = pio_add_program(pio, &hello_program);sm = pio_claim_unused_sm(pio, true);hello_program_init(pio, sm, offset, PICO_DEFAULT_LED_PIN);}void loop() {// put your main code here, to run repeatedly:pio_sm_put_blocking(pio, sm, 1);sleep_ms(5000);pio_sm_put_blocking(pio, sm, 0);sleep_ms(5000);}
Closing Thoughts
If all that went well you should now be blinking using the PIO. I really hope this gets easier. The PIO is the most attractive feature of the RP2040 and hiding it behind multiple layers of complication is just offputting. I imagine this will change with time.
When It does I am going to seriously consider moving a lot of projects to the RP2040. In the meantime have fun learning about this amazing new microcontroller and its incredibly flexible and precise PIO.