Using Minimus AVR With Arduino IDE
by chunkyhampton in Circuits > Electronics
11013 Views, 16 Favorites, 0 Comments
Using Minimus AVR With Arduino IDE
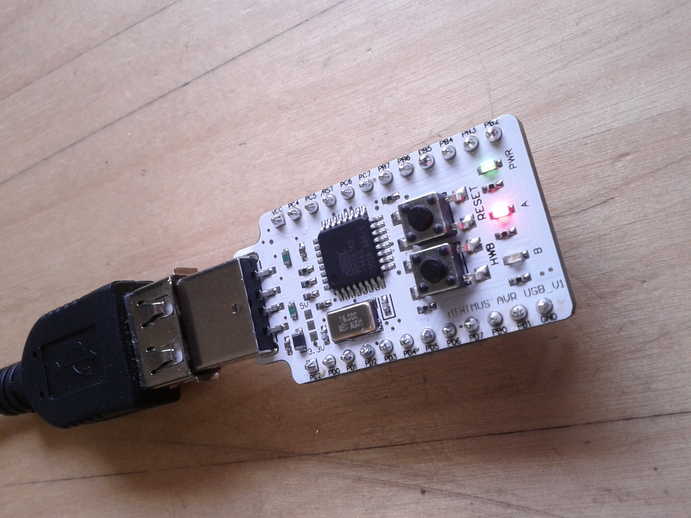
The Minimus AVR is a USB connected microcontroller, which uses the ATMEL 90USB192 microcontroller. Its a cheap re-programmable microcontroller with 21 digital input/output pins.
They have been used by people who mod games consoles, to upload new bootloaders and things like that. They retail for around £8 in the UK, which is pretty good for a USB connected microcontroller. We ordered 100 of these for Nottingham hackspace and I have had a few sitting on my desk for over a year now. It was time to do something with them...
I wanted to be able to easily upload simple code to them, even better if I could use the Arduino IDE (which I have already written quite a bit of code for).
This work could not have been done without the input from Spencer and Joe from Nottingham hackspace and Bob Clough.
The Minimus AVR has 16kB of memory (I have a number of version 1's, the new version has 32kB of memory). It does NOT have any analogue to digital converter, so this can only be used for digital connections.
In this instructable we are going to go though the steps required to upload code written in the Arduino IDE onto the minimus and run it to do the classic and blink an LED.
This guide will follow the procedure on a Windows 7 operating system.
What You Will Need
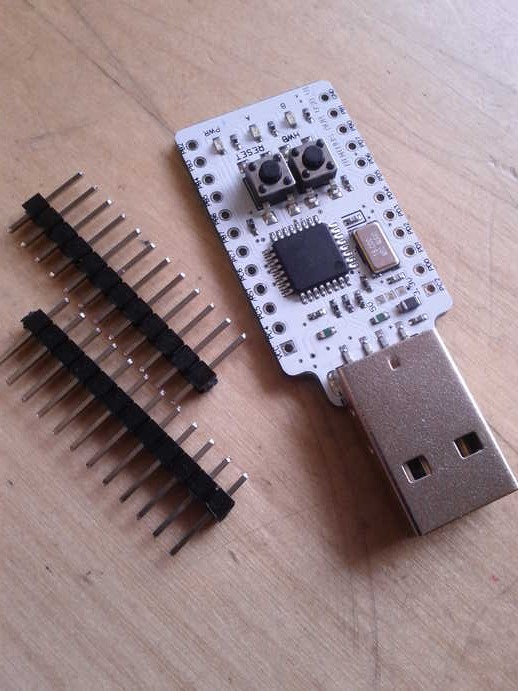
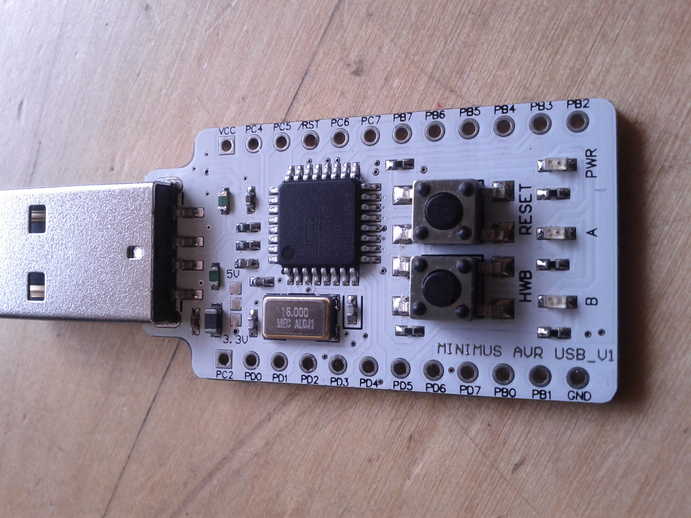
A Minimus AVR - I used the older version 1, version 2 is available here.
A computer with a spare USB port - I used a Windows 7 machine
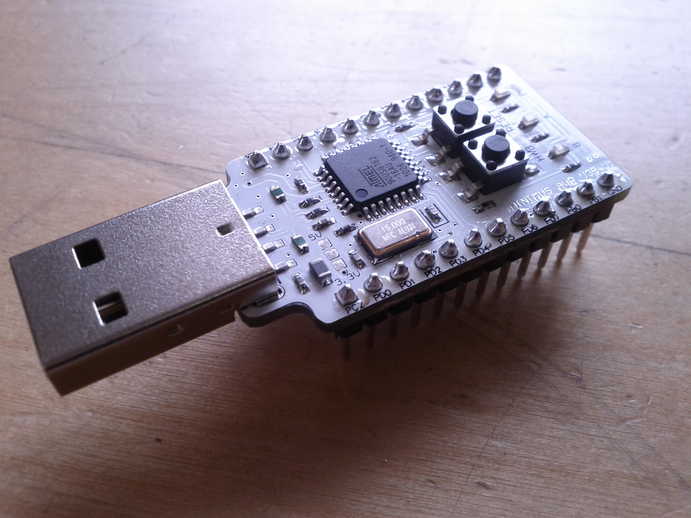
Optional: 2 x 12pin headers - solder these on to easily plug it into a breadboard.
That is all.
If you would like to add header pins (it makes it easier to do quick wiring via a breadboard) then solder them on now.
A computer with a spare USB port - I used a Windows 7 machine
Optional: 2 x 12pin headers - solder these on to easily plug it into a breadboard.
That is all.
If you would like to add header pins (it makes it easier to do quick wiring via a breadboard) then solder them on now.
Set Up Software
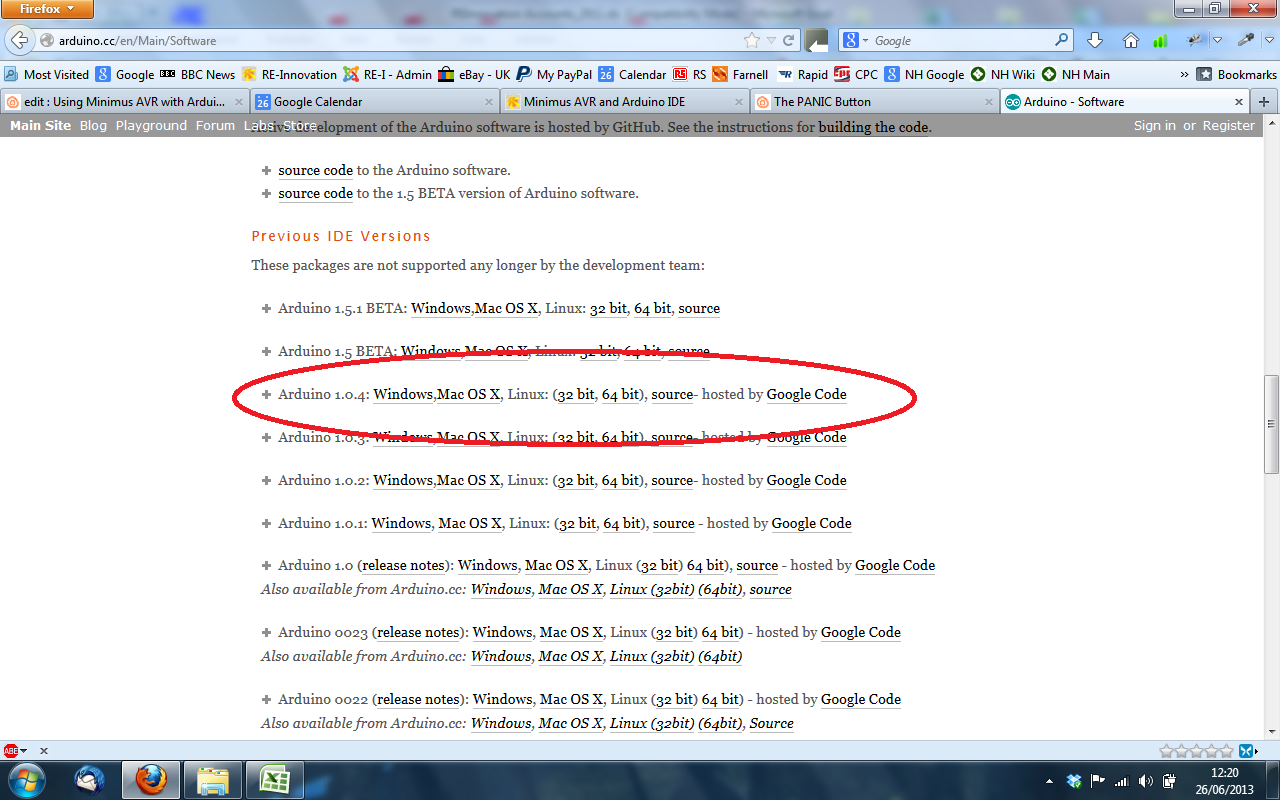
Download Arduino IDE 1.0.4 from arduino.cc and extract to my Documents directory. Do NOT use the latest version 1.0.5, as this does not yet work with this programming method.
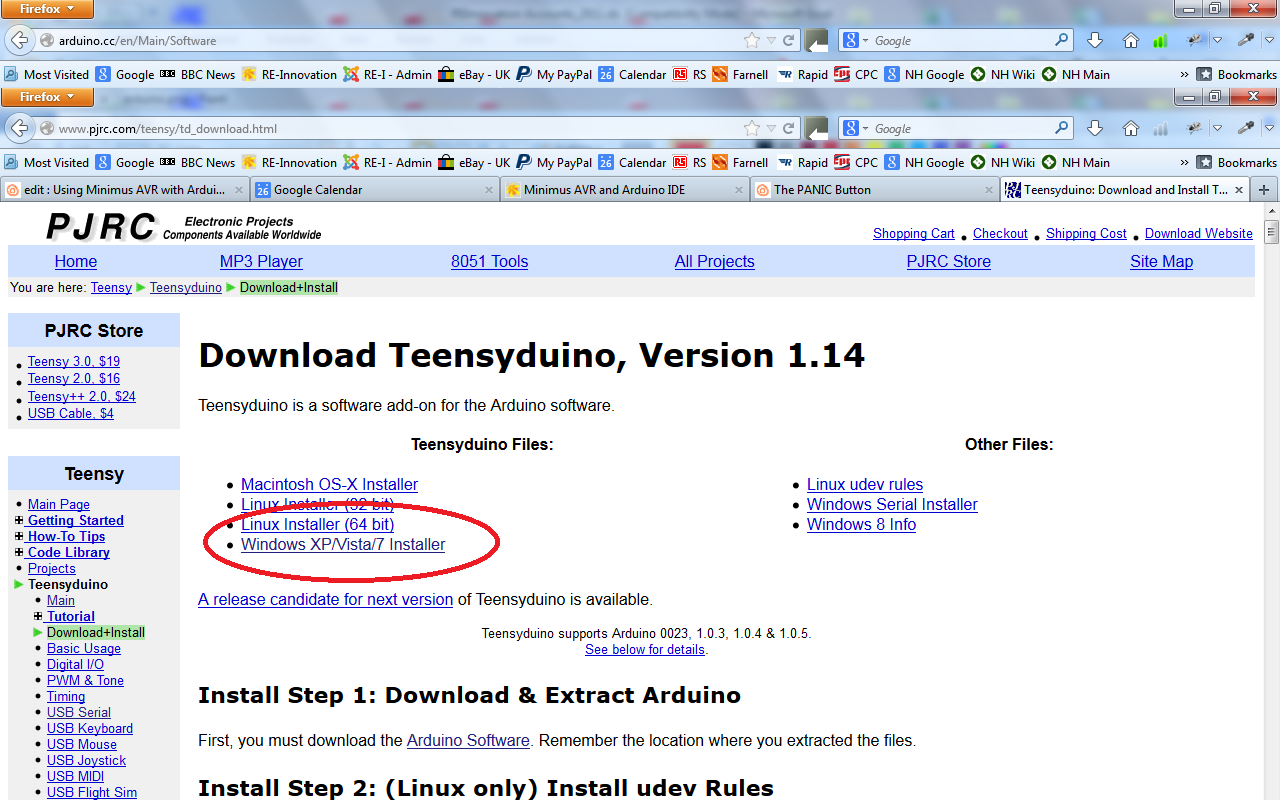
Download and install Teensyduino 1.11 from http://www.pjrc.com/teensy/td_download.html (pointing it at the Arduino directory when prompted). I installed all the libraries as well, when prompted, but you could do that at a later time when you need them.
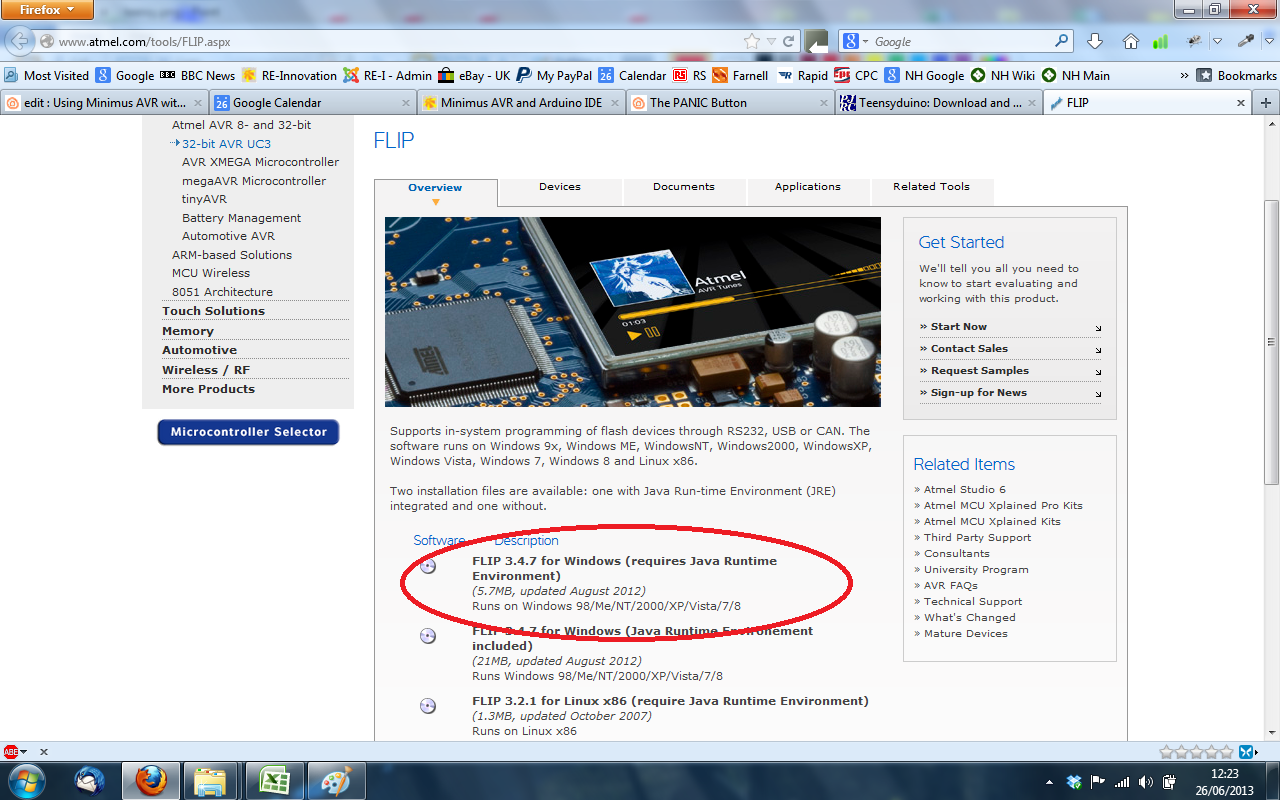
Download and install ATMEL FLIP 3.4.7 from http://www.atmel.com/tools/FLIP.aspx
Plug in a Minimus AVR to a spare USB port and you'll see it's an unrecognized device in device manager.
Update driver, pointing it at C:\Program Files (x86)\Atmel\Flip 3.4.7\usb , or whereever you installed the FLIP program (and saying yes when prompted).
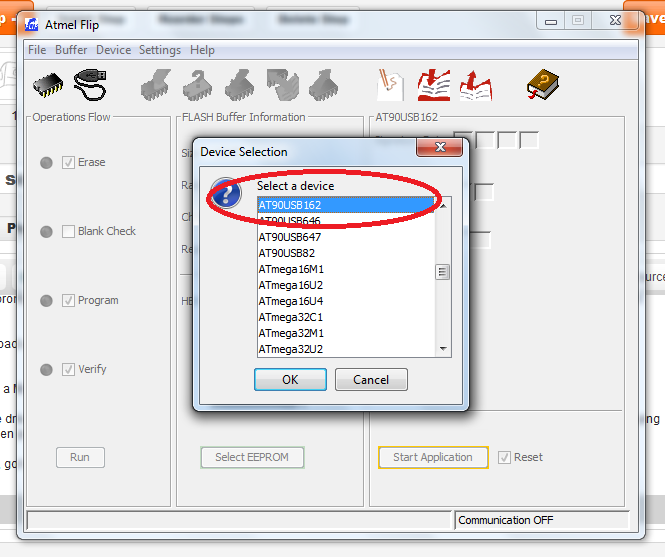
In FLIP, go to Device > Select > AT90USB162
Upload Code to Minimus AVR
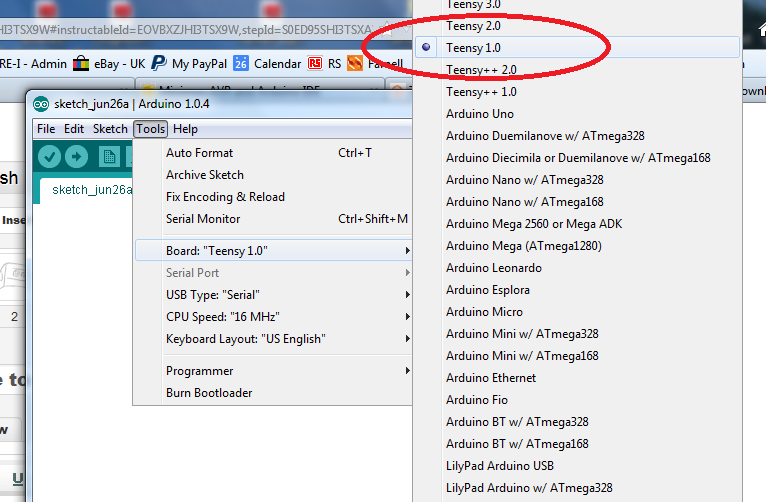
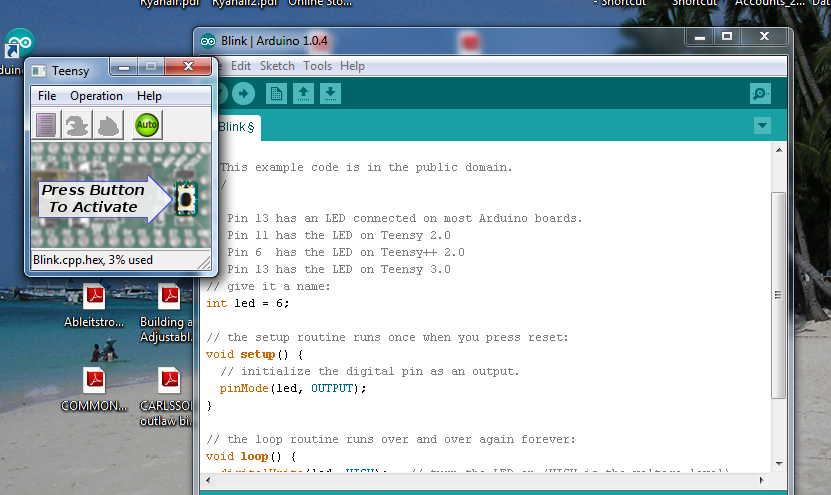
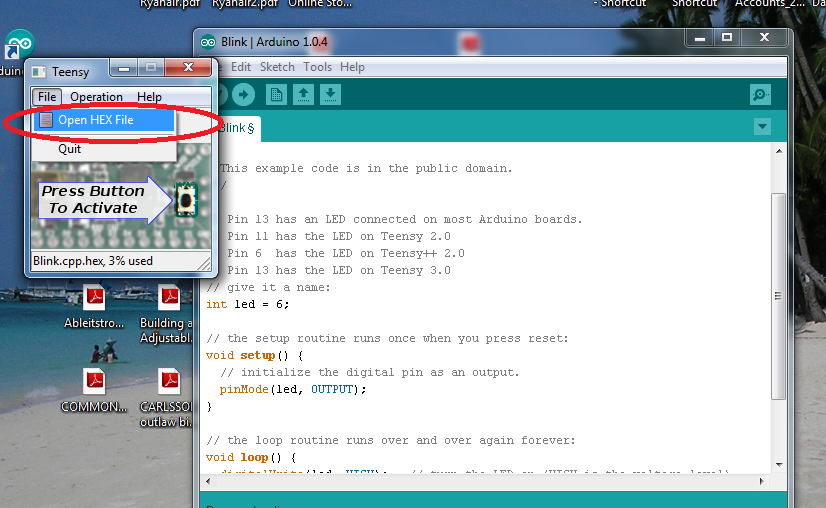
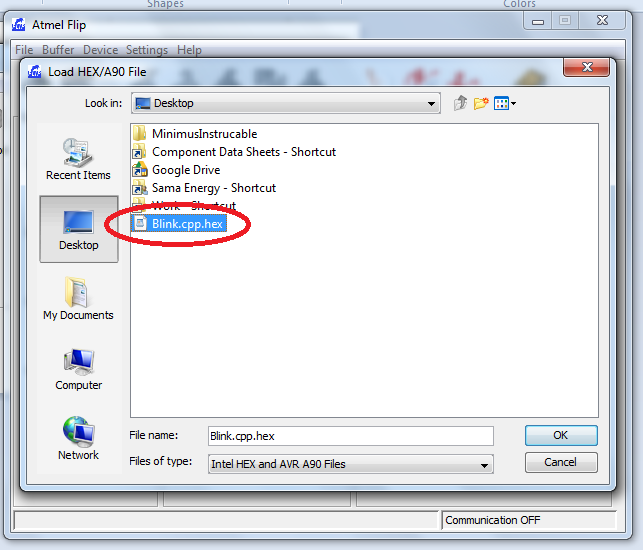

In Arduino IDE, select Tools > Board >Teensy 1.0
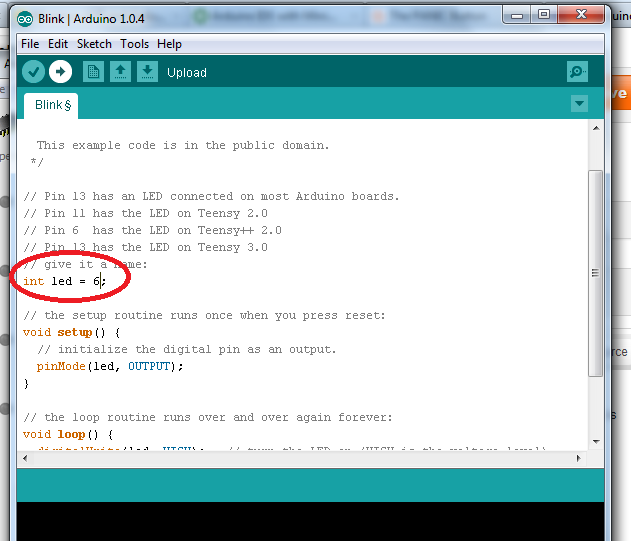
Write your sketch. I used the Blink sketch, changing it LED pin to 6 for red LED, or 5 for blue LED (note that high is off, and low is on for onboard LEDs).
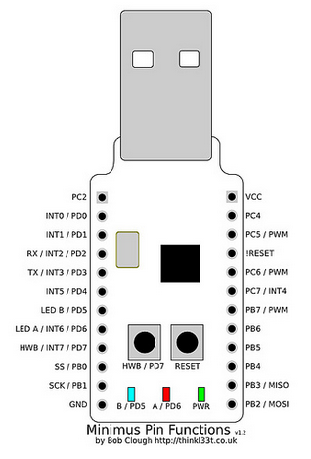
The pin-out for the Minimus AVR is not the same as the standard Arduino. Here is an image of the minimus AVR pin outs.
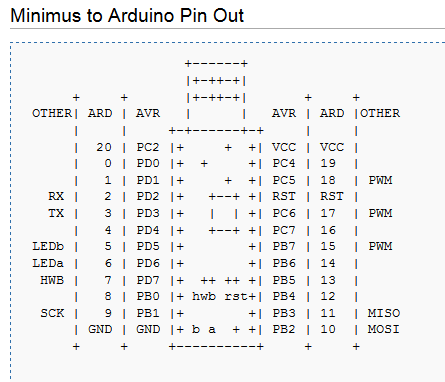
Here is an ASCII pin-out diagram with the Arduino equivalent pins included.
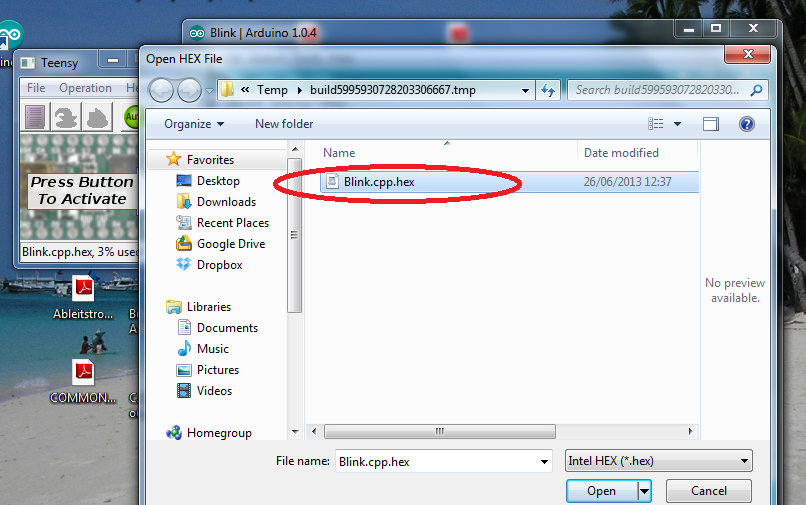
Click upload and it will compile then pop up with the Teensy program with button to 'open HEX file' Click this and drag it to desktop (or whereever you would like to save it). Then cancel out of Teensy prog.
Open Flip.
Plug in Minimus.
To put Minimus in programming mode, push reset, push HWB, release reset, release HWB (sounds complicated, but just roll your finger over the buttons!)
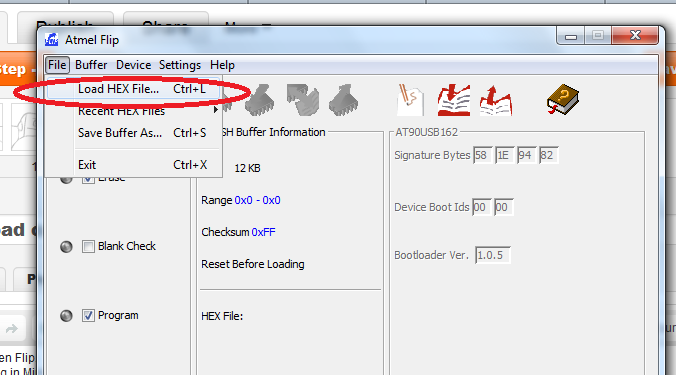
Load the .hex file from desktop
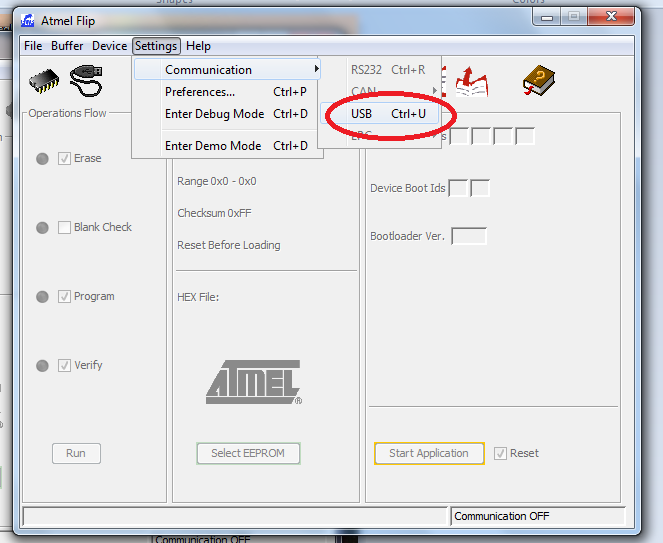
Select communication USB [open]
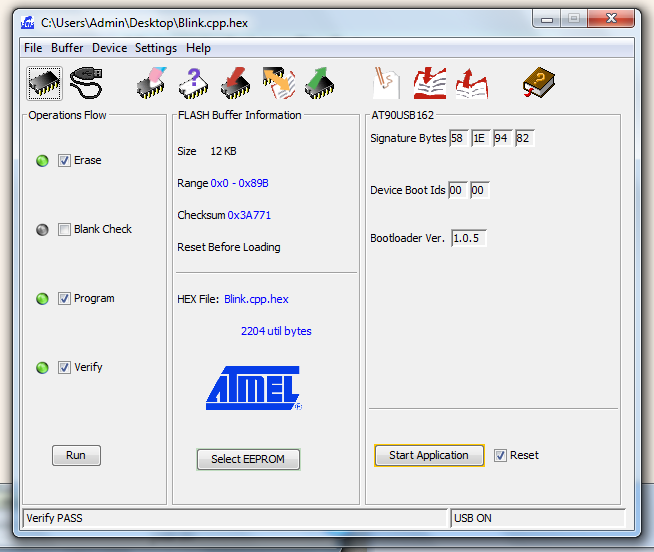
Run the operations flow (erase, program, verify)
Program the device
Press the Reset button on the Minimus AVR to put it back in to run mode. The uploaded code should now run.
See It Working.....

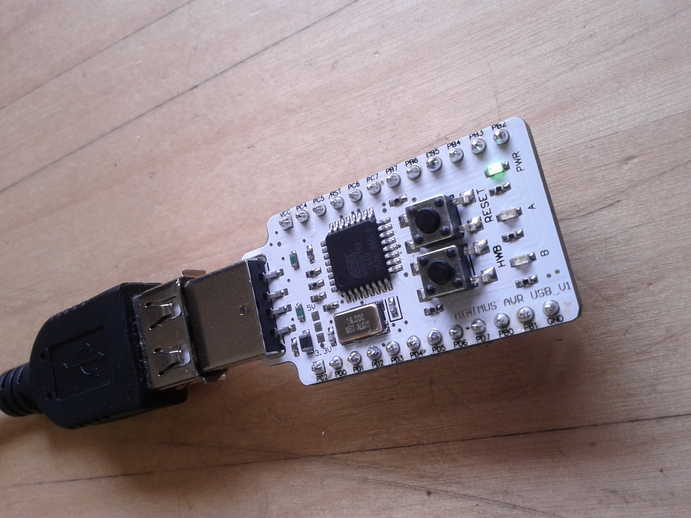
Here is a blinking LED. Honest its blinking.
You can then go on to control other stuff. I've got one updating a large 7 segment LED display with the temperature via a Dallas 1-wire device and it works great.
I've only found one other Instructable using the Minimus AVR, The PANIC button by Bob Clough.
The minimus AVR is a great little board which is cheap as chips. Once the programming environment has been sorted out (as shown in this instructable) then it becomes as easy to use as the Arduino.
For more info see Spencers Blog and my blog post on using the minimus AVR and Arduino IDE, this includes code for adding hardware serial ports.