Using GIMP to Manipulate Photographs and Images
by nonickname in Design > Digital Graphics
17384 Views, 18 Favorites, 0 Comments
Using GIMP to Manipulate Photographs and Images
Bad photos happen. It can be the camera, the person taking the photo or the subject matter itself. There are many techniques available to attempt to repair a botched image. The first for many amateur photographers is the software supplied with their camera. About as good for as much as red eye. But what about when an image is so botched that fixing some flash induced freaky devil eyes won't fix it? That's when you turn to a serious manipulation program.
The first thing most will think of is photoshop. It's excellent, but expensive. And if you want to download a trial it's hundreds of megabytes. Personally I use GIMP (GNU image manipulation program). It is excellent; lightweight (under 20 megabytes), will run on many operating systems, has many useful tools, is very user friendly and has heaps of included gradients, fonts and textures!
Where can I get GIMP?
http://www.gimp.org/
Installers are available for linux/unix, windows and mac operating systems. The system requirements are fairly low, and it will download quickly with an average internet connection.
I'm going to take you through the ABC of editing an image. If you want to learn to do something that's been missed, check the tool guide at the end or just ask!
Work in Layers
Before we begin, I've decided to do a walk-through of a complete transformation of an image. This applies mainly to editing a photograph of a person. Some of it is adaptable to landscape images but landscapes tend to mess up photos less than humans.
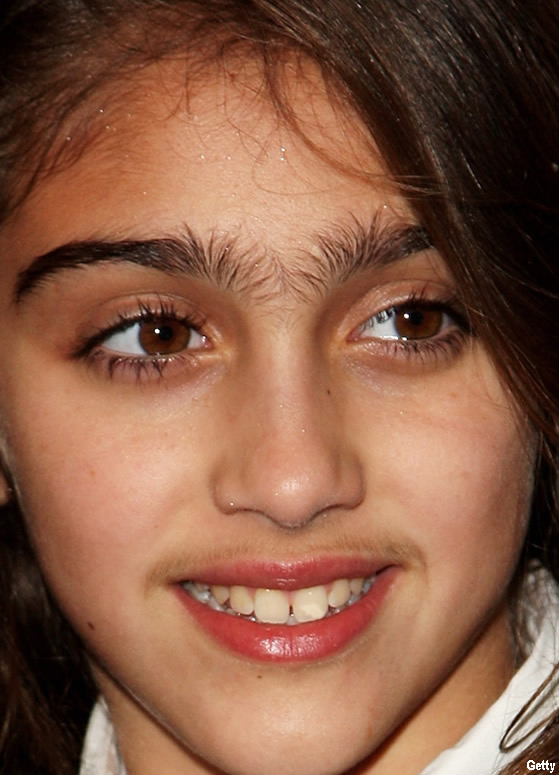
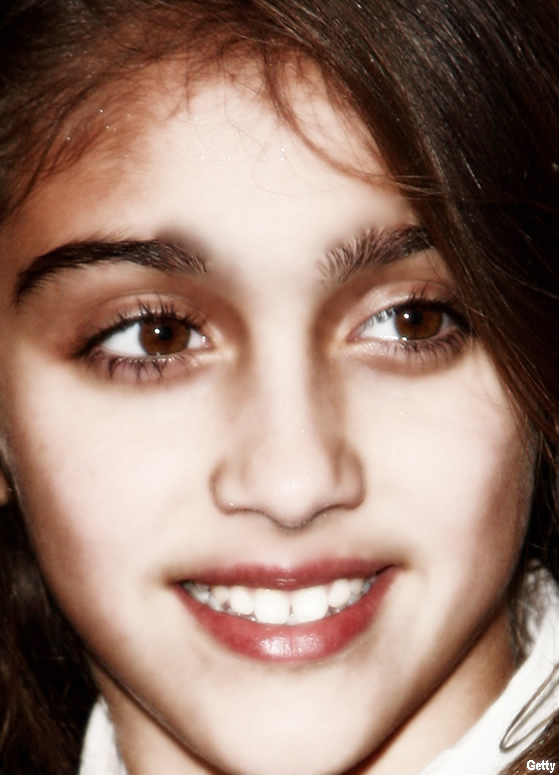
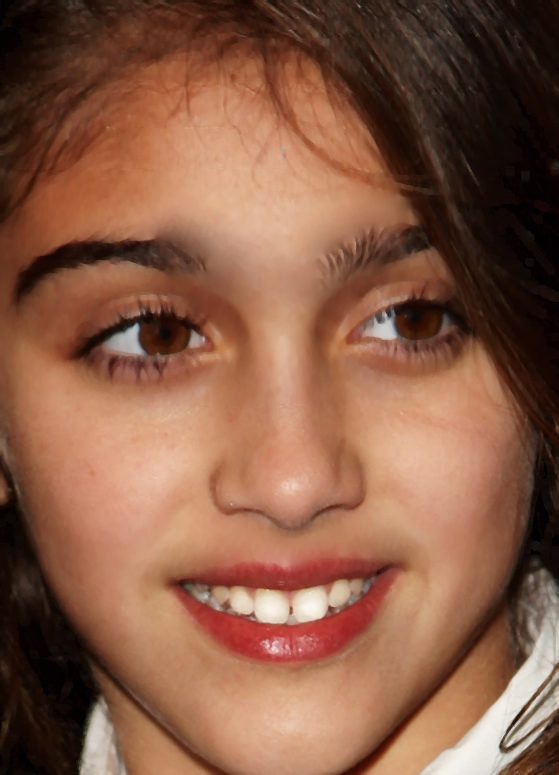
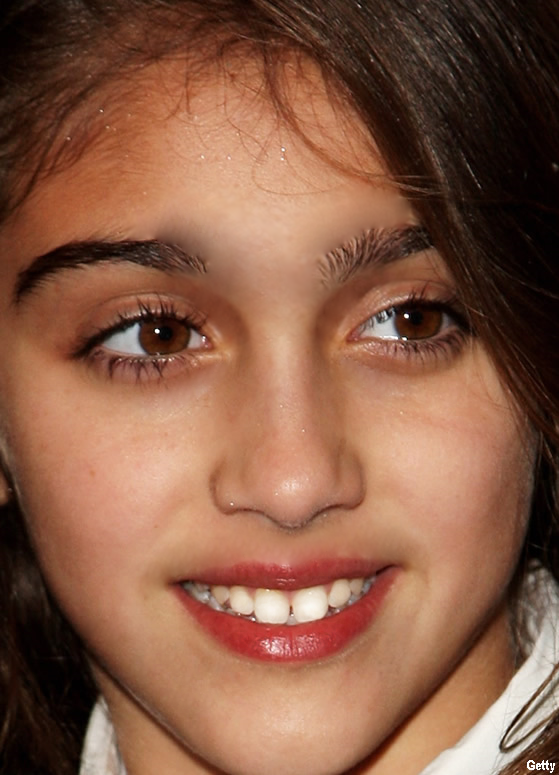
We had been assigned in photography to edit a photo of Lourdes (Madonna's daughter..) to make it slightly less....you'll see. Not an easy task. I decided to see what I could do with GIMP in comparison to the more expensive (free vs. how bloody much?) and larger photoshop.
Also note that I am using the latest windows version of GIMP.
The first thing you should do when editing images is to work in layers. This allows you to edit specific parts of an image without touching other parts. It also allows you to completely scrub a massive amount of stuff ups instantly. Great!
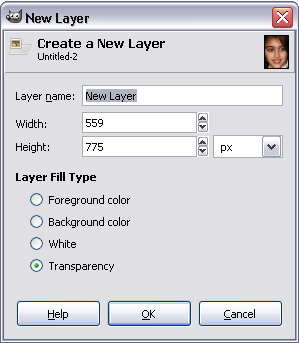
Creating a new layer is simple. Simply select the "Layer" drop down bar and click New Layer, or hold down Ctrl + Shift + N. You'll be greeted by a box asking you for the dimensions of the layer, the type and what you would like to name it. If you are working with a photo as a background leave the type as transparent. Then set the name to the part of the feature you are editing.
Once you have finished working in the layer you can select "merge down" to flatten the image with the layer below it. Make sure you are completely happy with what you did first.
Eyebrows, Lashes and Hair.
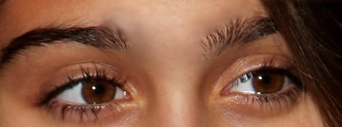
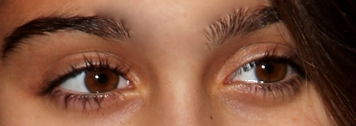
I could break this into "how to use this tool", but hell- I'll do it my way.
______________________________________________________________________________
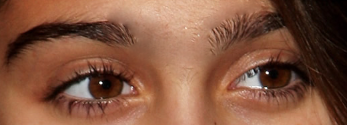
I decided to first tackle the monobrow. Personally, I don't have a monobrow fetish so I used a combination of tools to begin deleting it. You can use the healing brush tool (H) or the clone stamp tool (C). The healing brush tool will usually yield better results that are easy to edit flush. To use either of these tools hole Ctrl and then click on a clean, smooth "perfect" piece of skin. Then select a suitable sized brush and work in small strokes to blur out the area. You will notice that this area doesn't match well with the rest of the face. Don't worry, that can be fixed.
_______________________________________________________________________________
Personally when correcting these areas I first use blur (blur/sharpen tool), then smudge and finally dodge/burn. Using them in an order other than this will make it near impossible to salvage the image.
First, select the blur/sharpen tool and set it to blur, then an appropriate brush size. I used circle (19) and used the scale tool to make it larger to cover slightly bigger areas. Work from the non-edited, clearly defined area and work inwards. Do it in many, many brush strokes, Take care not to blur other areas. You can also make the rate higher so work goes a bit quicker. Use a low rate to finish up.
____________________________________________________________________________
Then use the dodge/burn tool. Set it to a large brush size, select dodge and choose a very low exposure. Then lightly touch up darker areas to bring them close to the color of the original skin. Afterwards, it may be necessary to use the blur tool again to smooth out the image.
____________________________________________________________________________
If you absolutely have to, use the smudge tool to dum down any harsh transitions. Use a very small brush size and work on a very small area with extremely short strokes.
Repeat for mustache and nostril hairs.
Teeth and Lips
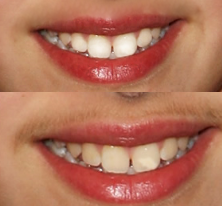
A nice smile is everything. Hopefully the subject has a set of teeth which are average in color and in shape. Using the dodge/burn tool and a bit of time a very positive effect can be created. Select the dodge tool and a circular brush around 1/2 the width of the teeth. Use a low exposure and work in a clockwise circular motion around the teeth. Whiten the top teeth slightly more than the lower ones, and always lighten the front teeth more than the back ones. If you don't the image will lack depth.
_
Now you can do something about the lips. Blur out any visible cracking, then select the dodge/burn tool and set your brush size to around 2/3 the width of the lips. You can brighten (lighter) or darken the lips (darker). I decided to use the burn tool to darken the lips to make a nice contrast with the teeth.
_
Is your subject missing teeth? Easy fix! Simply find a similar sized tooth (or one from another pic on the 'net) and use the clone stamp tool. Use Ctrl-click to define the source point, and paint around using a SMALL soft edged brush. YOU MUST DO THIS ALL IN ONE MOTION. You cannot release the mouse button until you have finished "painting" the tooth one. Afterwards, blur and dodge/burn to taste.
_
Now you can do something about the lips. Blur out any visible cracking, then select the dodge/burn tool and set your brush size to around 2/3 the width of the lips. You can brighten (lighter) or darken the lips (darker). I decided to use the burn tool to darken the lips to make a nice contrast with the teeth.
_
Is your subject missing teeth? Easy fix! Simply find a similar sized tooth (or one from another pic on the 'net) and use the clone stamp tool. Use Ctrl-click to define the source point, and paint around using a SMALL soft edged brush. YOU MUST DO THIS ALL IN ONE MOTION. You cannot release the mouse button until you have finished "painting" the tooth one. Afterwards, blur and dodge/burn to taste.
Shadowing

When photographs are created mass artificial light is usually added in the form of a flash. This can mess with shadowing. Any of your other editing may have also taken some of the shadowing away. I chose to add shadows near the nose and eyes. I find that the best way to add shadows is to use the burn tool with a moderate brush size and exposure. Paint away in mid length strokes until you are content. Use the blur tool to soften the transitions and lighten it up a bit.
Try to avoid removing shadows with the dodge tool if possible. It tends to create light areas which stick out a lot.
Try to avoid removing shadows with the dodge tool if possible. It tends to create light areas which stick out a lot.
Freckles, Spots, Lumps and Annoying Lines.
Everyone has them, but GIMP can get rid of them. Use a small brush and the smudge tool for very small irregularities, or the healing brush tool for larger ones. If possible, always set the source point near the irregularity to fix for the best match of color.
Lourdes for an upshot doesn't have many of these, so there isn't much progress to report on.
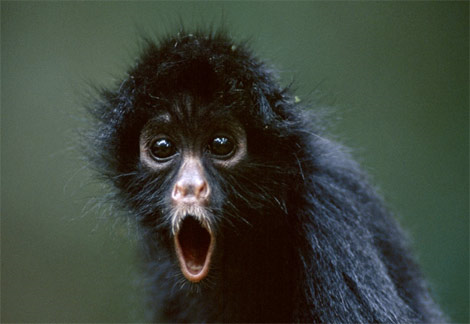
Seen as not much has changed, here's a monkey for you.
Lourdes for an upshot doesn't have many of these, so there isn't much progress to report on.
Seen as not much has changed, here's a monkey for you.
Finishing Off the Image
.png)
.png)
Now once that's been said and done there's two options.
1. You are happy with your image, print it out, send it to your friends and save it in a trillion places to make sure you will never, ever lose it. Yay!
2. You're pretty happy with the job you've done, but you want it to be better..and blur just isn't cutting it. Damn.
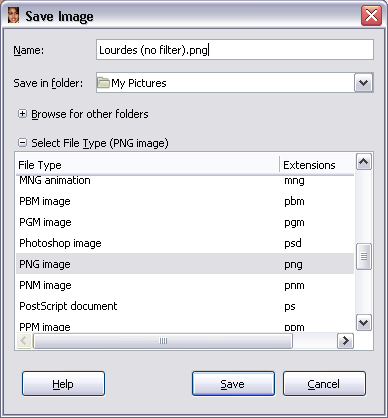
1. Select 'file' and then "save as". It will ask you what you want to call the photos, and there will be two more lines of writing with a + next to them. Select the location where you want to save the photo. I save mine to 'my photos' because I'm lazy. Next choose 'file type by extension'. A good file type for websites and forums is .png (portable network graphic). .jpg file types are small (good for emails) but lose a fair bit of quality. Bitmap images take a lot of space, but retain a lot of quality. Save it as an .XCF file if you want to edit it later (save another copy as the file type you want to use). .gif File extensions are suitable when the image needs to be super small (in terms of file size). Unfortunately, the quality drops immensely. Select "flatten image" then "ok". (I usually tweak a few things, but it's nothing big). If you have transparencies in your image then select "merge visible layers".
2. Well too bad, start again. Jokes..
In these circumstances I choose to use a filter usually. I can't recommend you one singer filter to use due to the fact that there is just so many. Filters that break up the image (such as weave) hide imperfections in your editing extremely well. Just don't take it too far.
To set a filter select "filters" from the menu list above the images, and experiment until you find one you like. To reset it simply use the undo key if you don't like the filter you just applied. Mess around with setting until you find what you want. Easy. I've included a few different filters to give an idea of what is do-able.
All in all, this was a fairly hard photo to get right. The eyebrow was an absolute pain to fix.
What Does Every Tool Do?


As you may have noticed in our short transformation we didn't nearly use all of the tools GIMP provides. So you know how to do more in the future, here's the rundown on each tool, option and setting in two nice photos!
Got any thoughts, feedback or requests? Want me to add how to do a transparency? Got questions? Go ahead. This is entered in the Digital Days Photo contest so I'd love your votes and feedback to do as well as I can.
Got any thoughts, feedback or requests? Want me to add how to do a transparency? Got questions? Go ahead. This is entered in the Digital Days Photo contest so I'd love your votes and feedback to do as well as I can.