Using Cored Paper With a Silhouette Cameo
by Penolopy Bulnick in Craft > Paper
4852 Views, 20 Favorites, 0 Comments
Using Cored Paper With a Silhouette Cameo
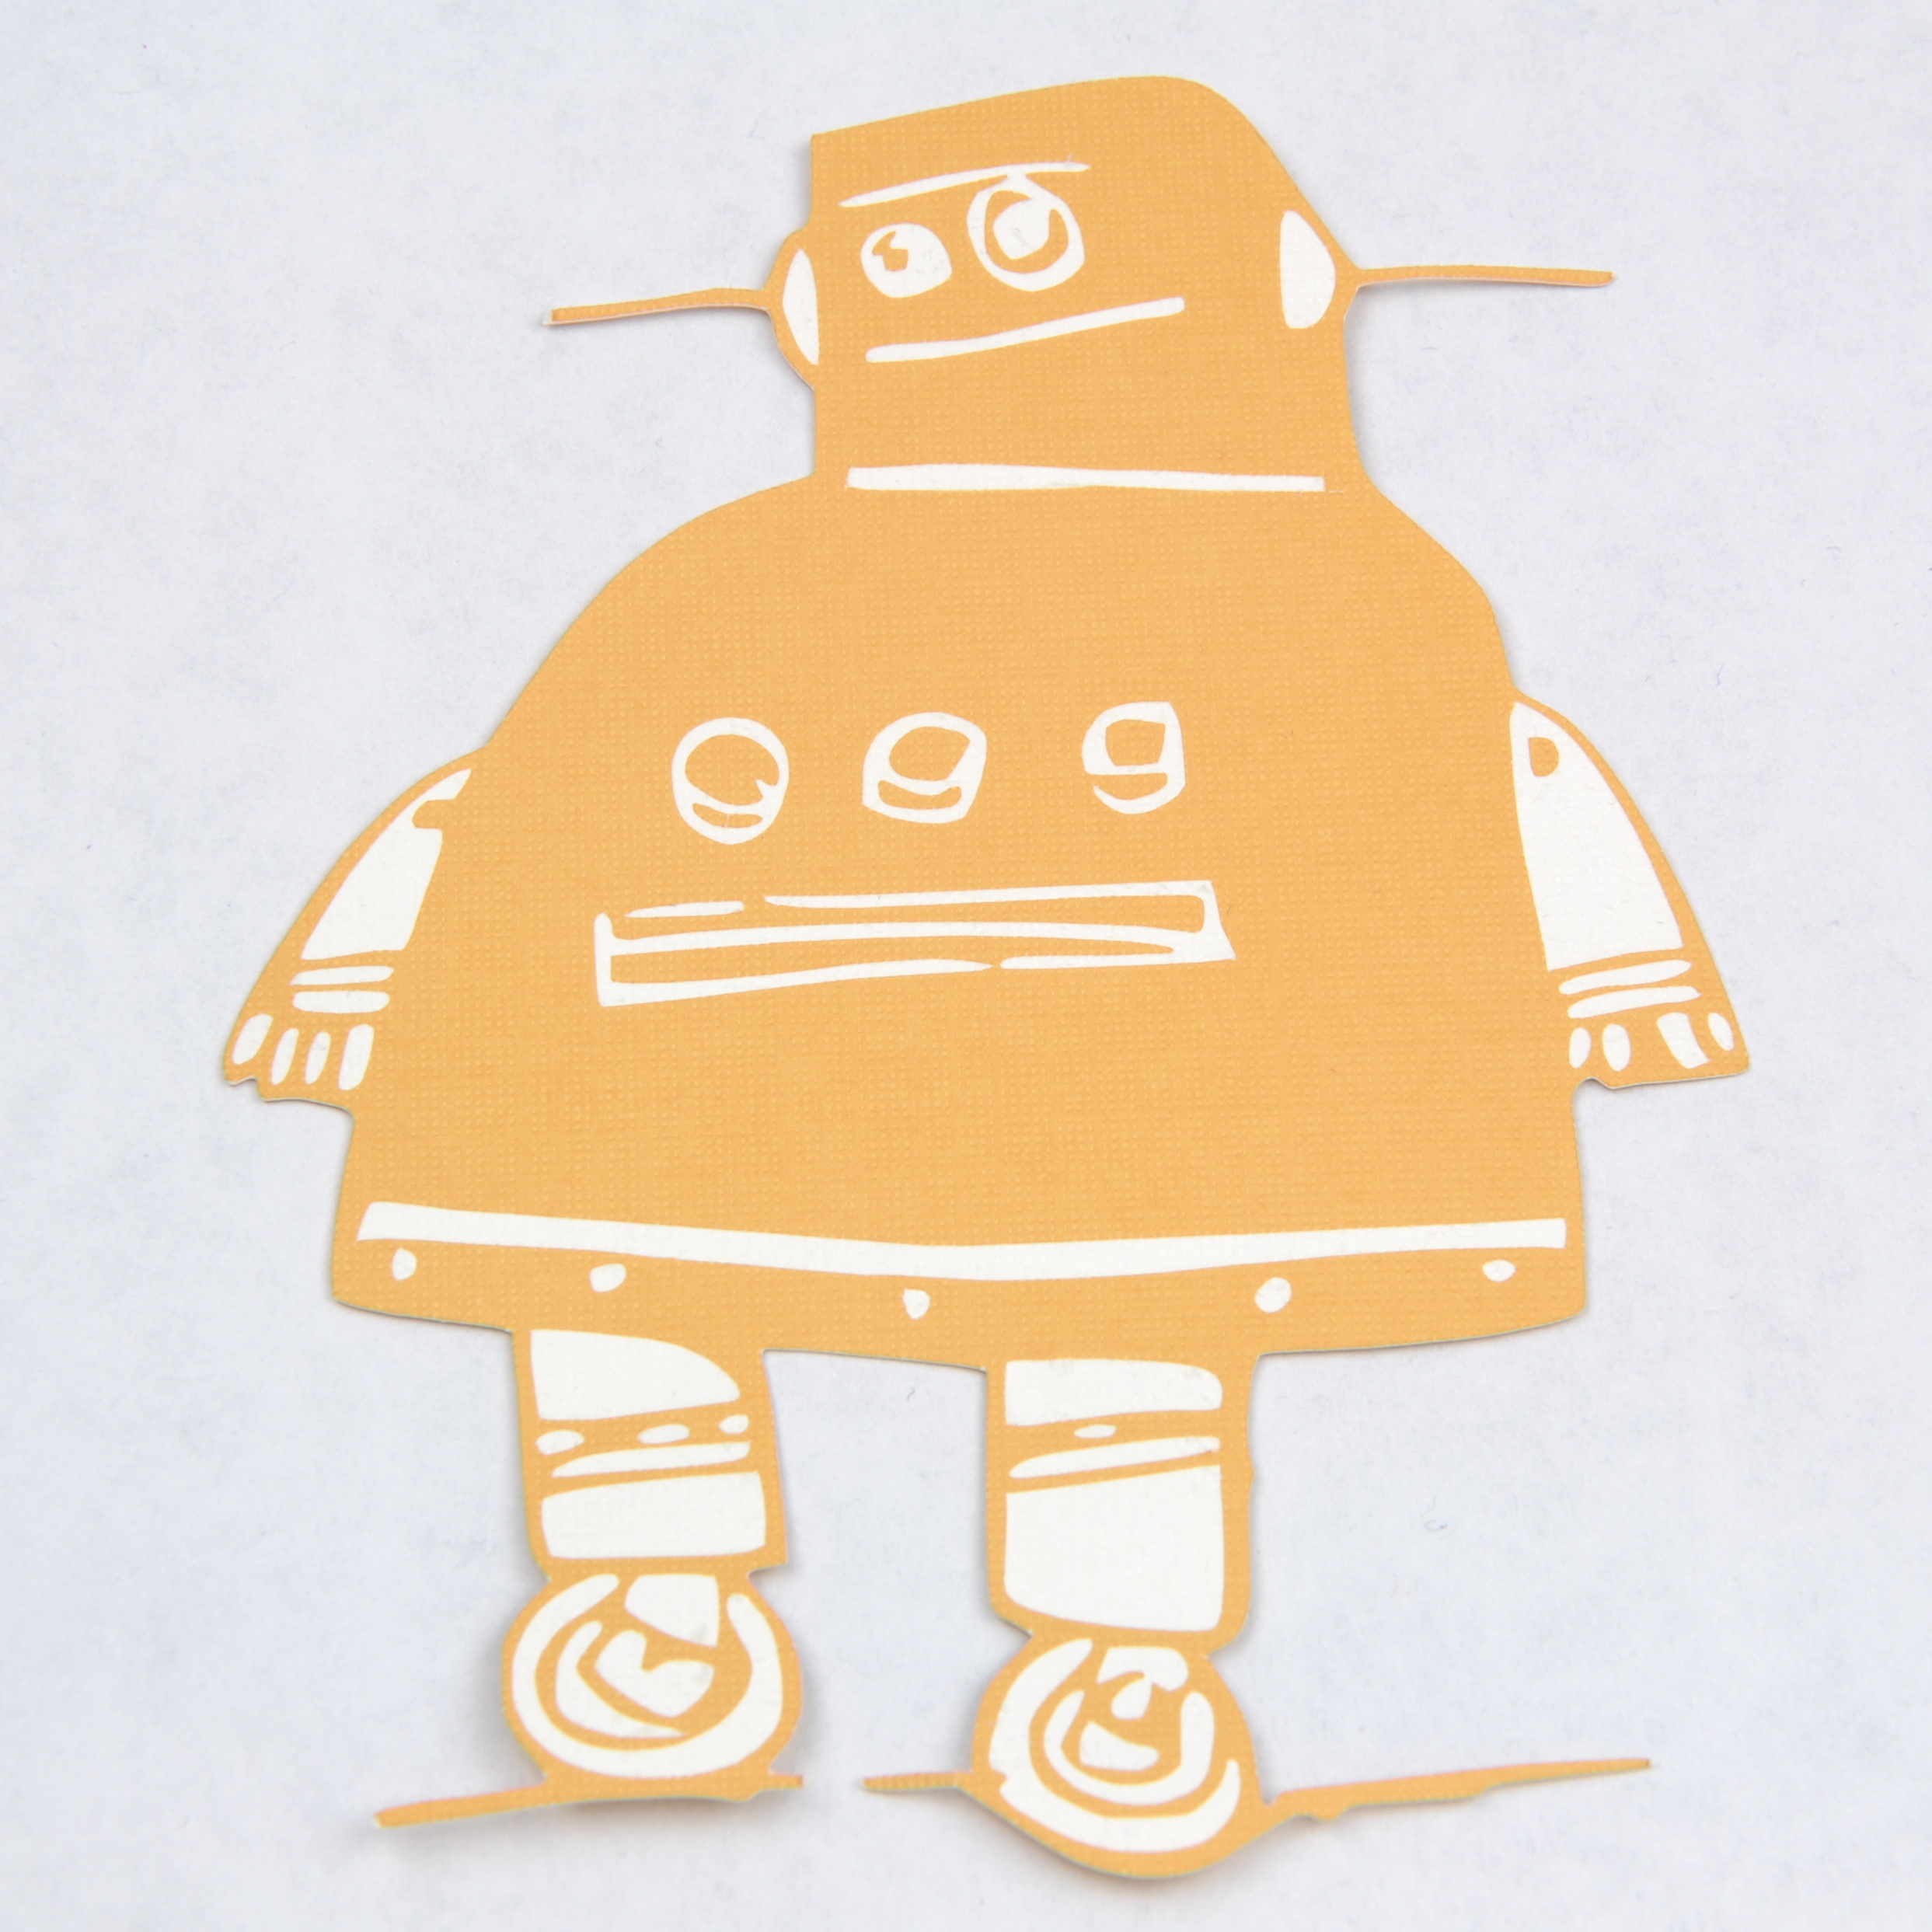
When I was first presented with the Silhouette Cameo, I began thinking, "What can I do with this besides the expected?" (I have this bad habit of not wanting to do things exactly as I am told so like to see what else I can do. Like the one time I went with my mom to a make and take greeting card thing and we stamped and colored strawberries so I colored the strawberries green with red stems. It's a quirk, what can I say.)
-This paragraph (or two) is just background for how I thought of this and not necessary; if you don't want to hear me just rattle on for a bit just move on to the supplies.
I brought in some of my scrapbooking supplies (I have a lot) and started looking through my paper and saw my white cored paper. For those who don't know it is paper that is colored on each side and white in the middle. I usually use this with my embossing machine that my mom and I won at a Rubber Stamp and Scrapbook Expo at the Minnesota State Fairgrounds (along with many other fun scrapbooking supplies). My mom already had one so I got it! I use it with the many, many embossing folders I collected while working at Michaels (I would watch diligently for sales).
So I had this cored paper and I looked at the directions for the machine. I saw that you needed to set the blade depth depending on the paper you use. Then I though, "you know, if you don't cut all the way through cored paper, I bet you can just tear off the top and expose the white." And you know what, that is exactly what happens. It adds an awesome effect to paper just by cutting it.
Supplies:
- Silhouette Cameo
- Image of Choice
- White Cored Paper (I got mine when it was on sale at Michaels)
- Something Pointy (Raser Blade, Push Pin, Sewing Needle, Staple, Clay Cutting Tool)
Create Your File
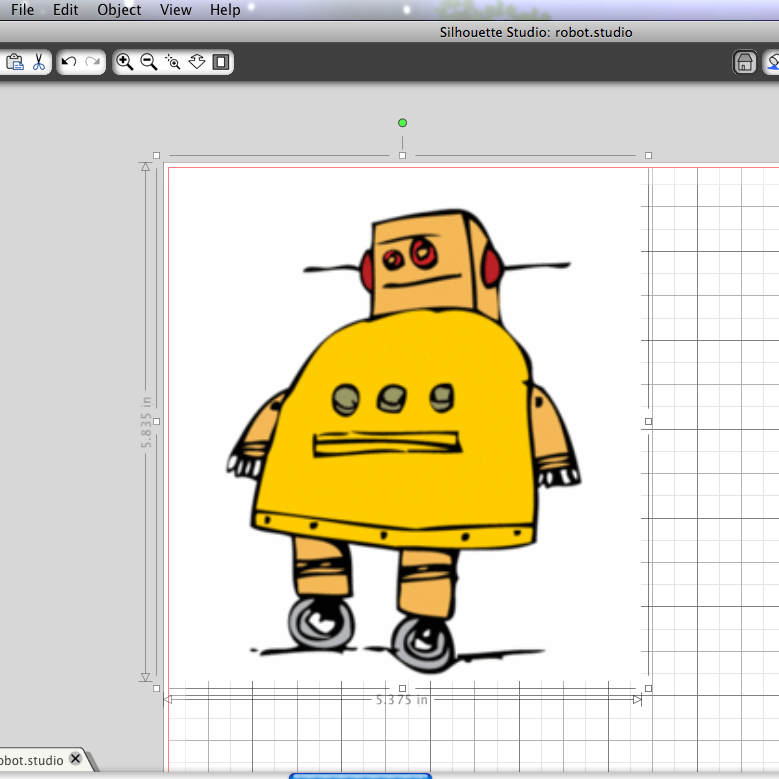
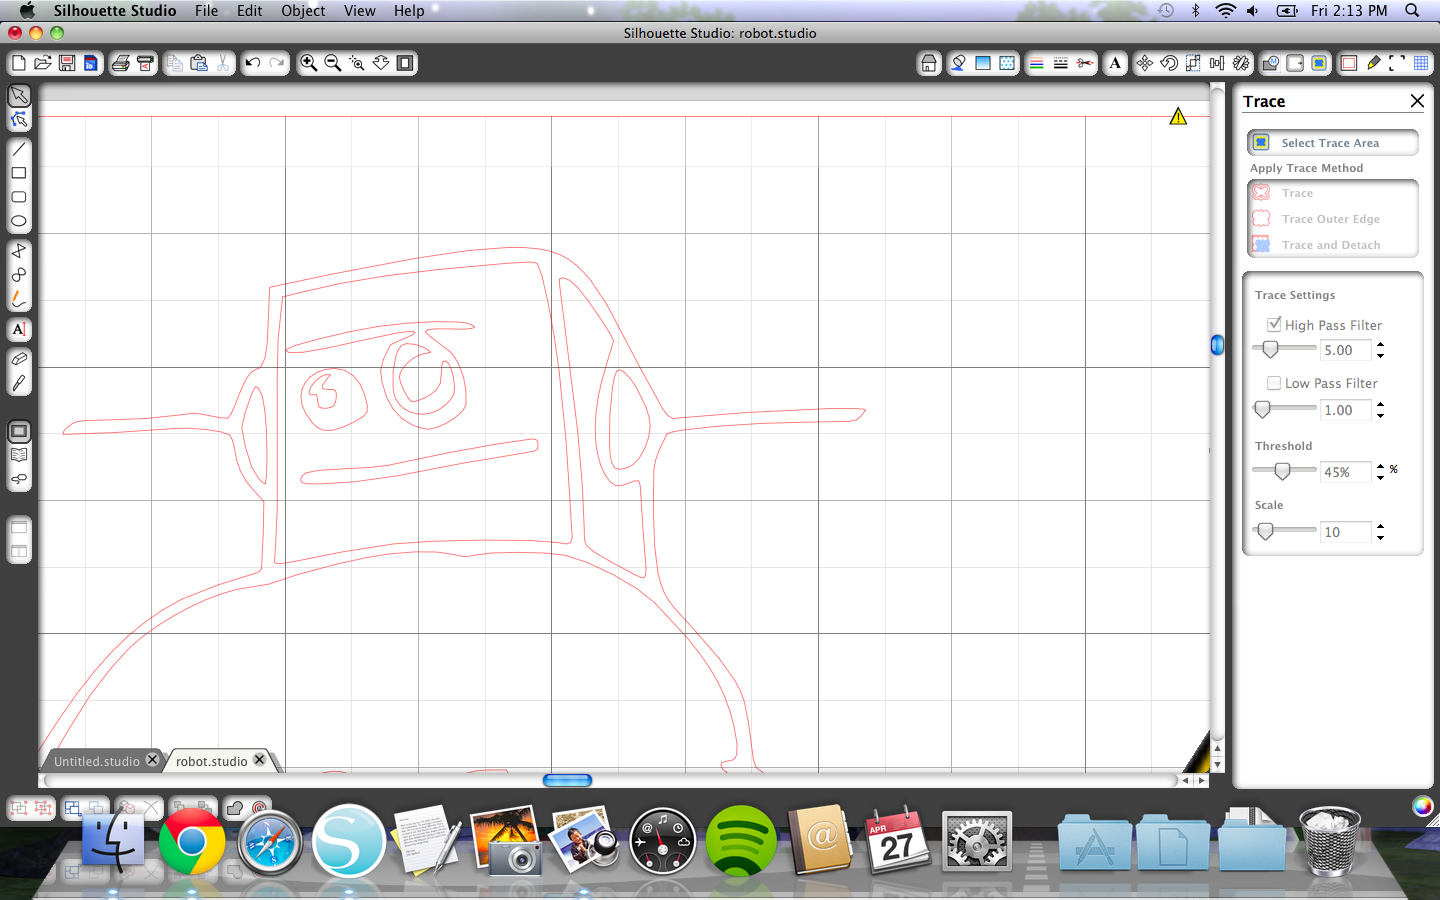
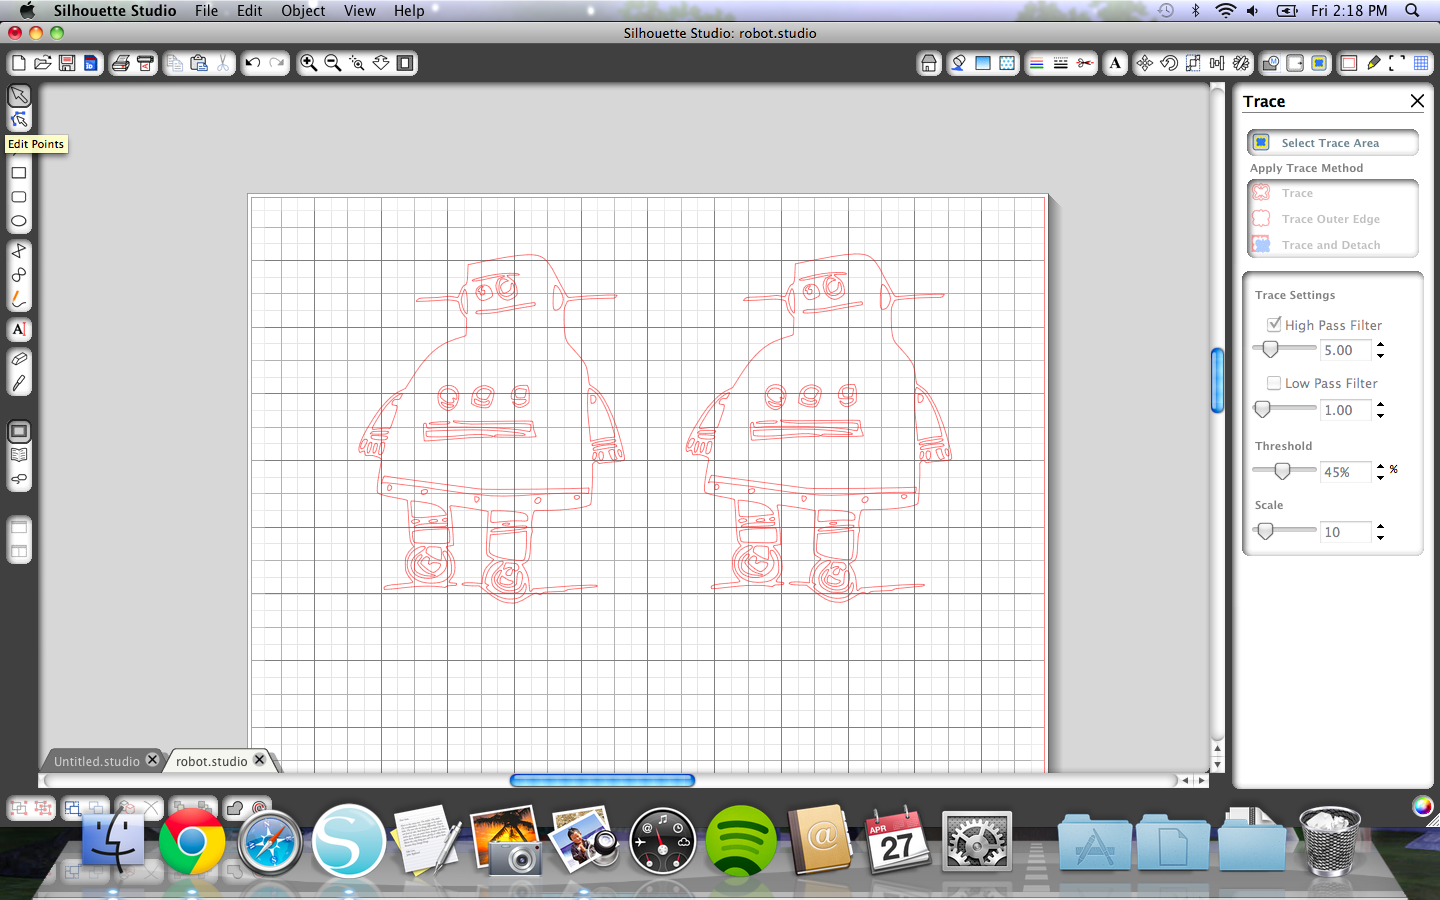
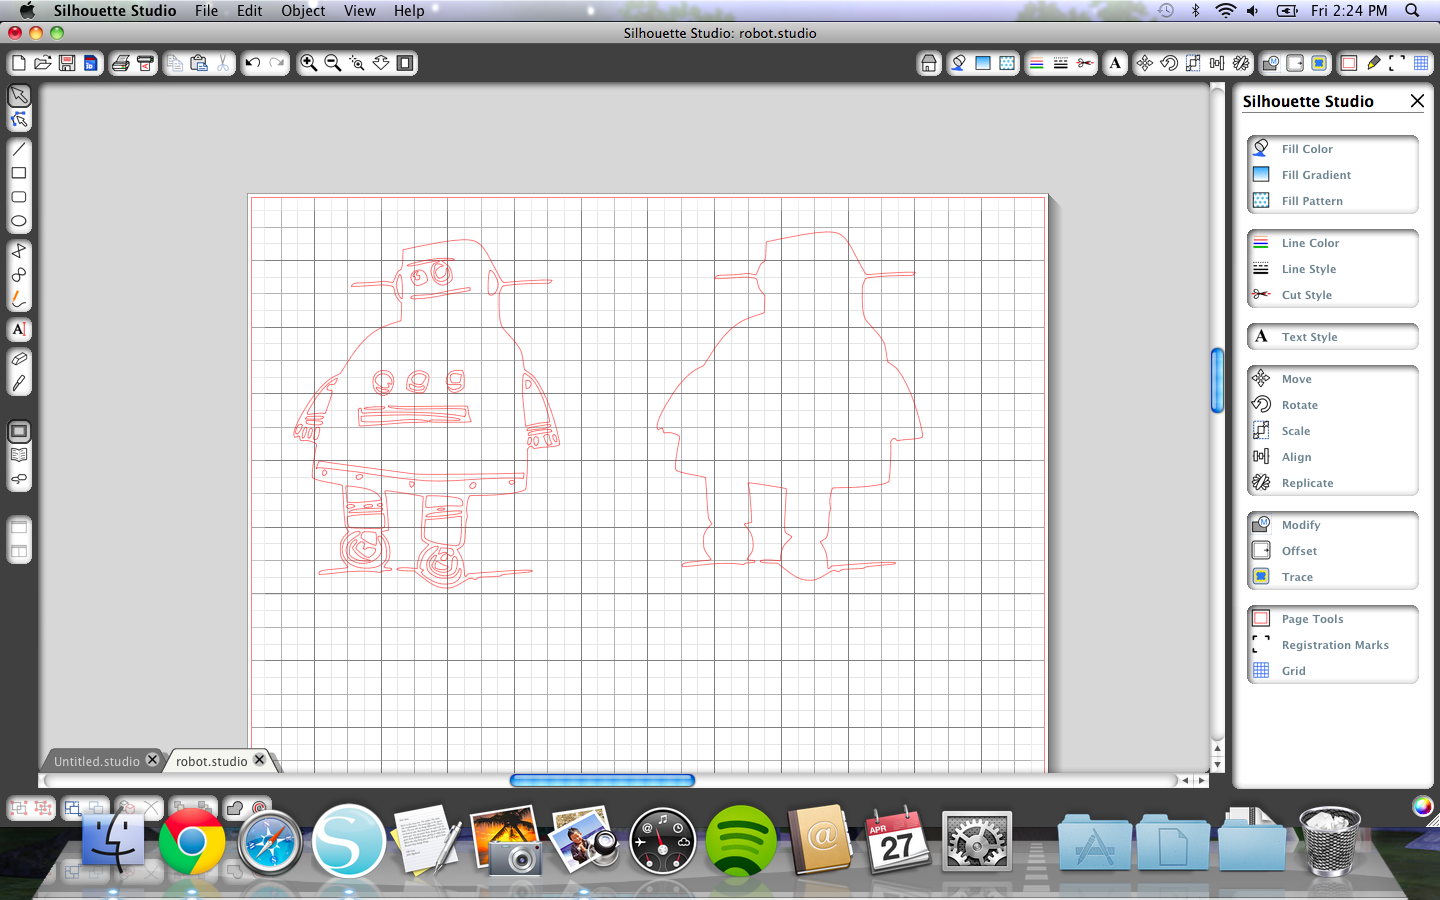

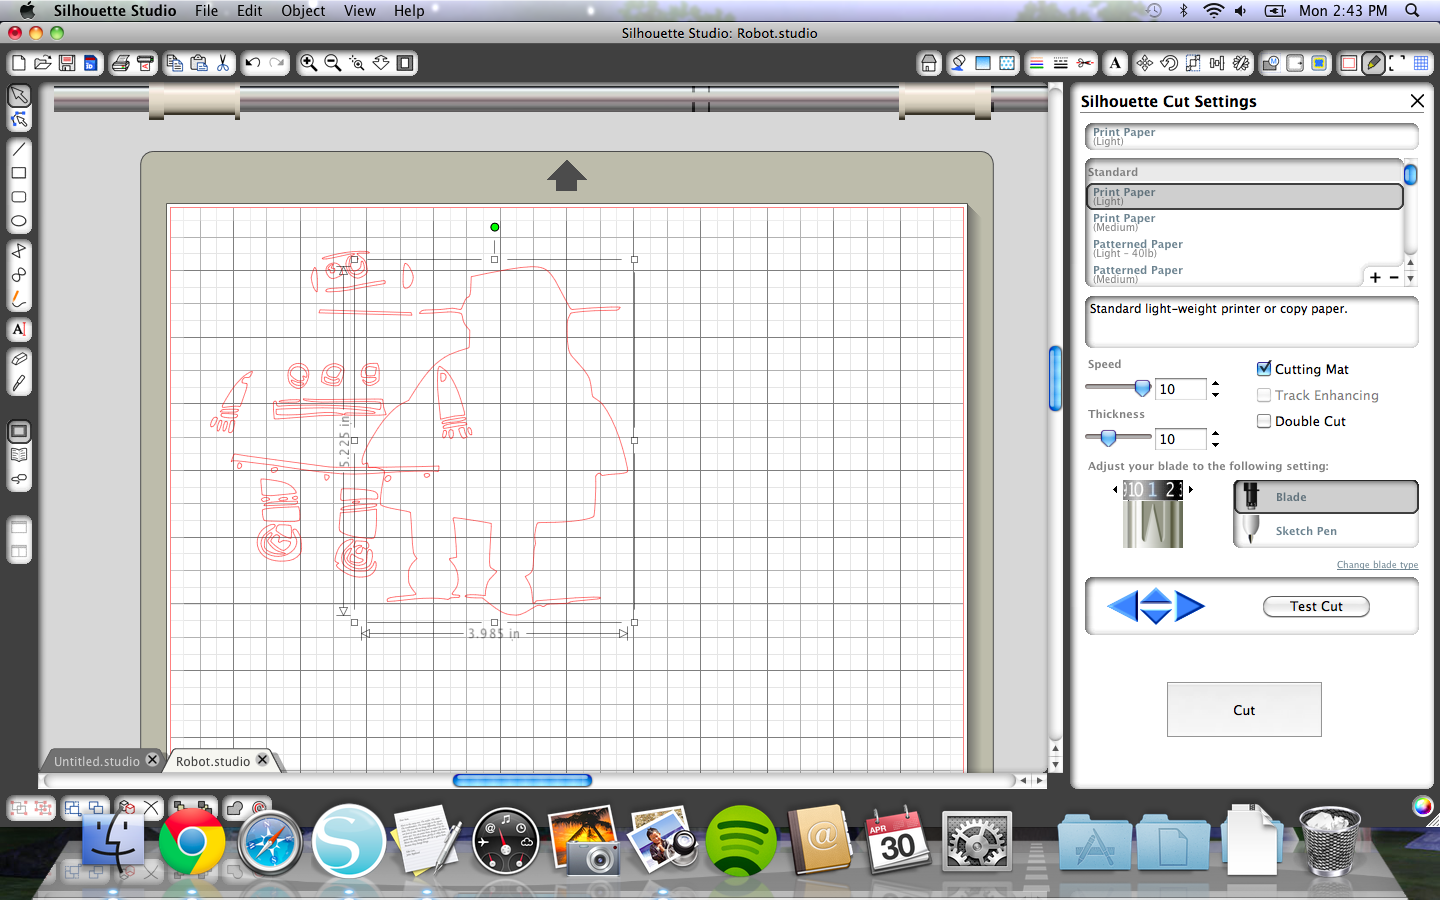
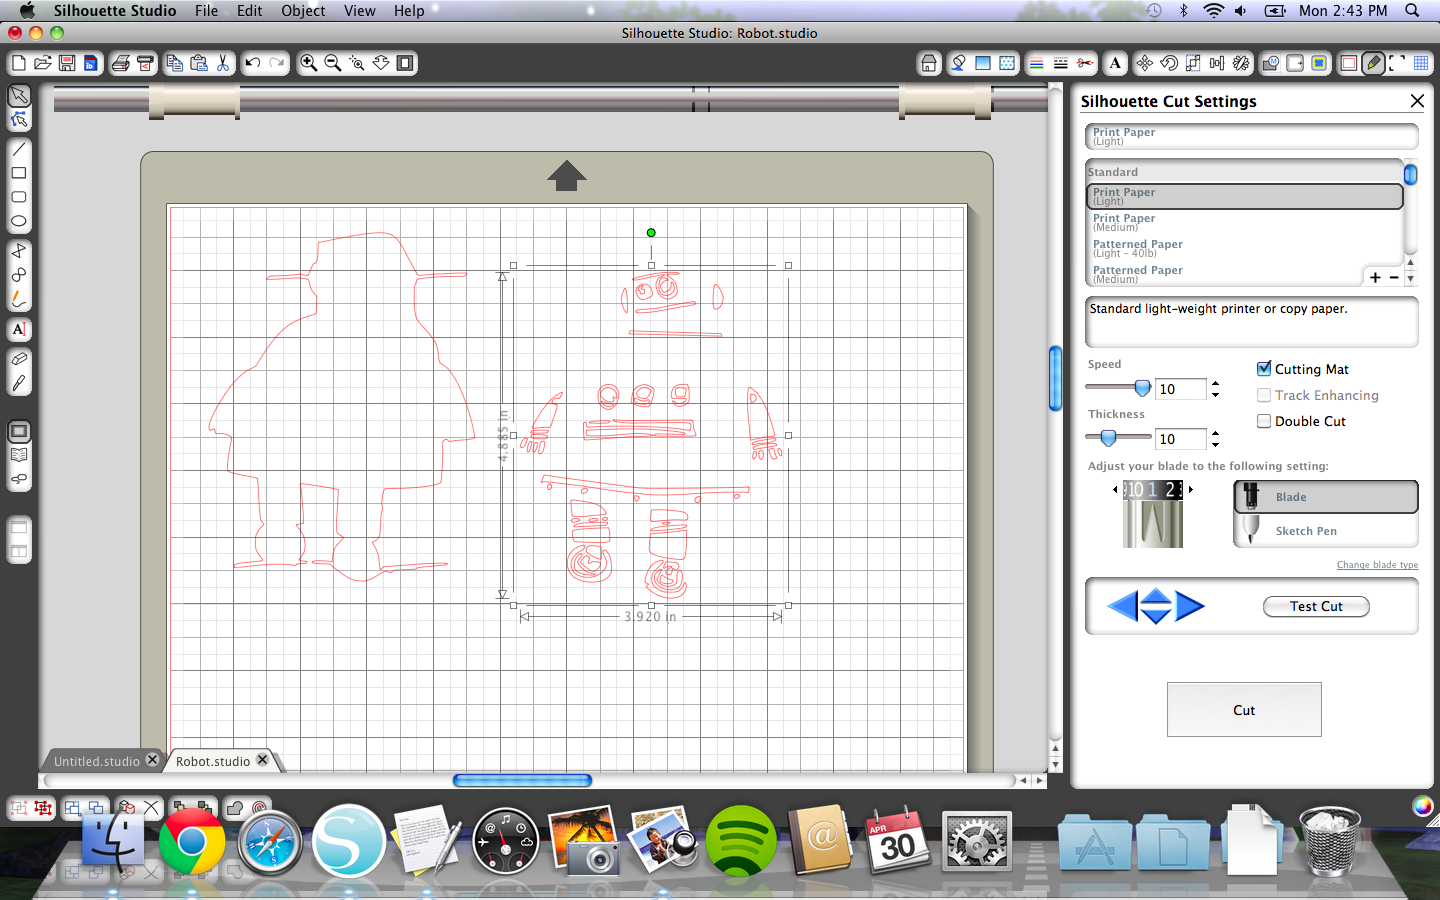
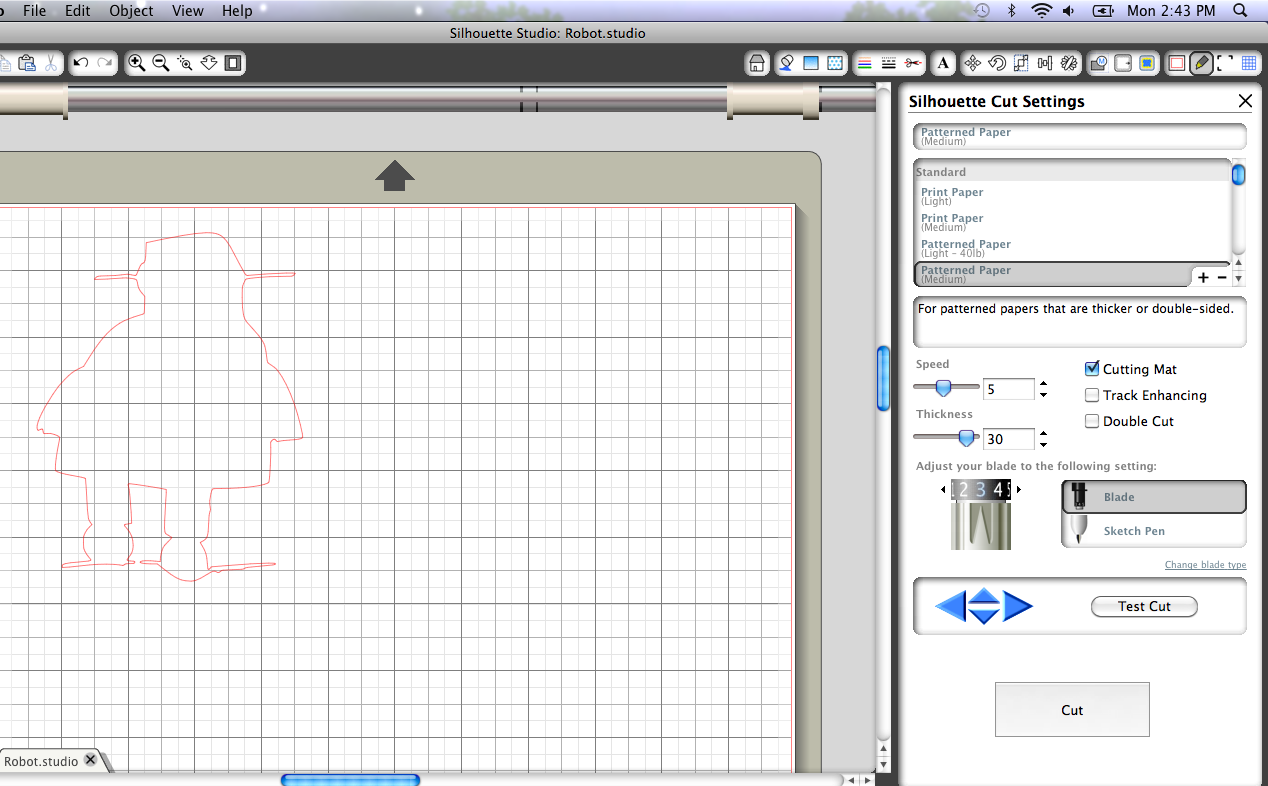
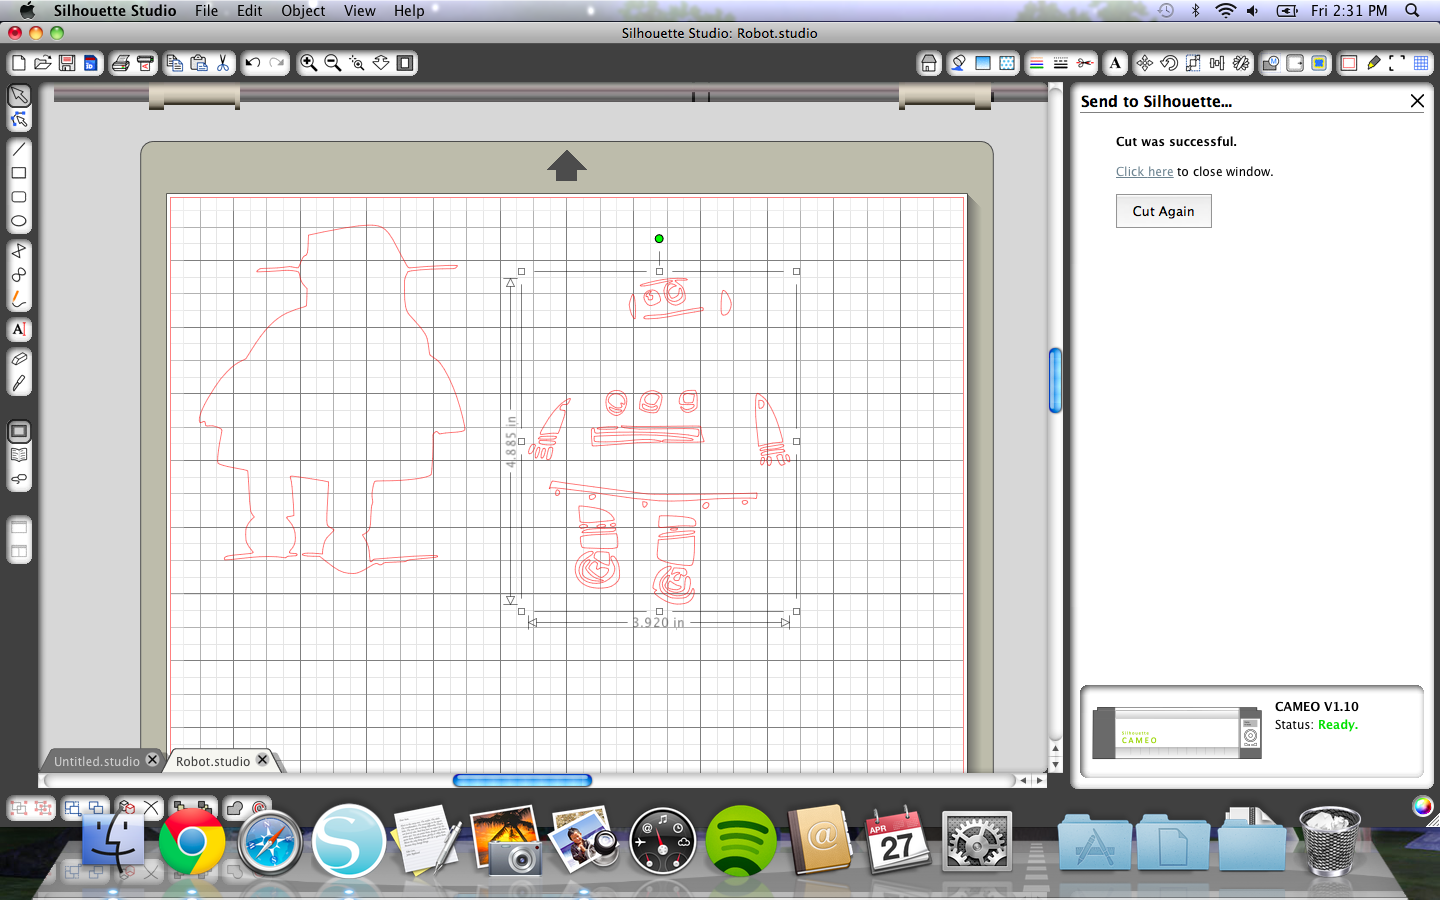
The first step for this project is to import the picture you want into the Silhouette program. I chose the Instructables robot.
Create the Design Cut lines:
Create the Design Cut lines:
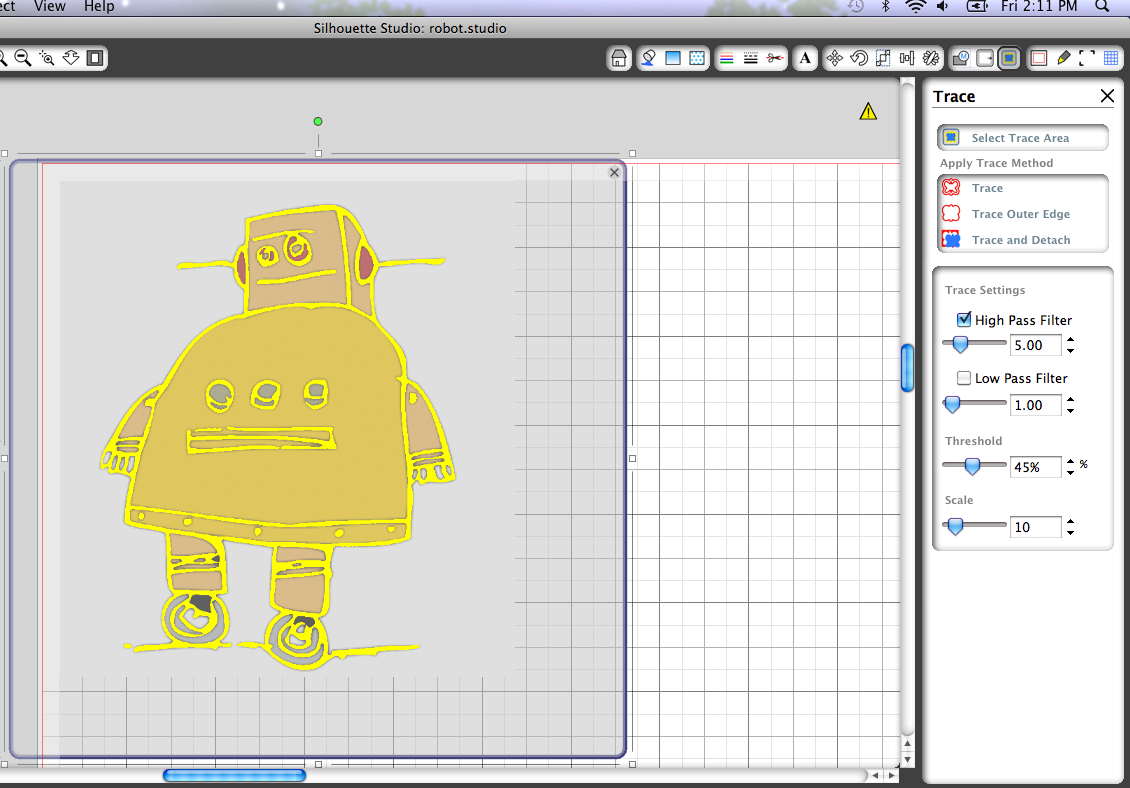
- Click the House icon along the top of the page.
- Along the right you will have the option to Trace, click that.
- Now select Select Trace Area and highlight your image.
- Click the Trace option because you want all of the lines.
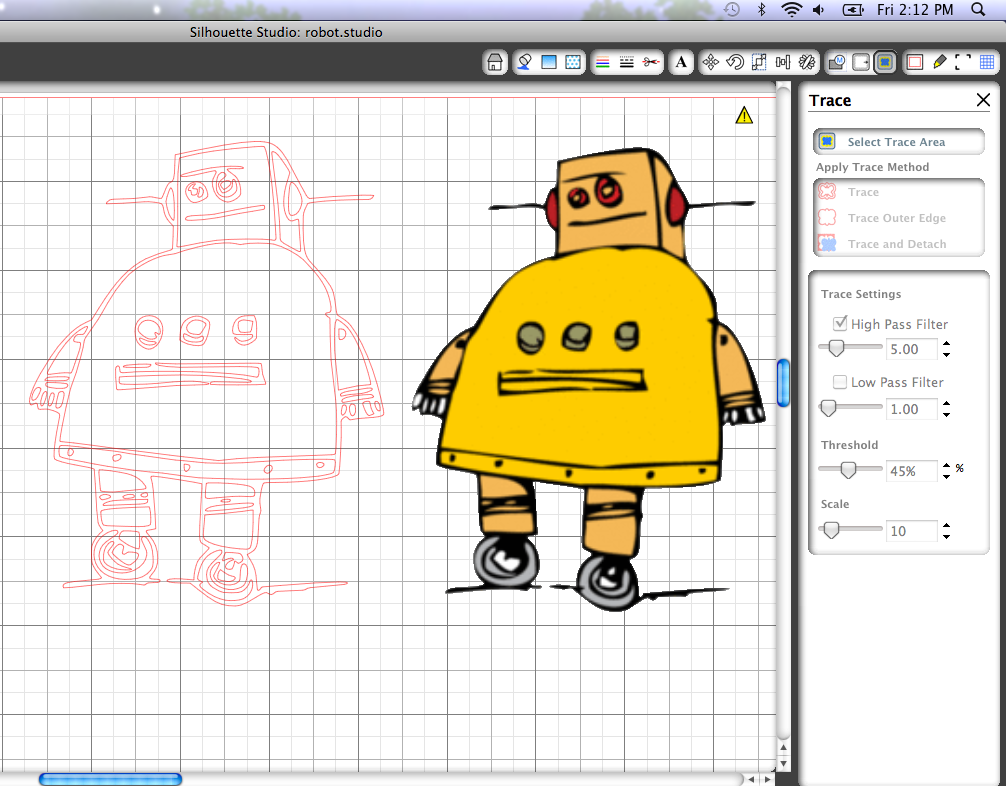
- Once it is traced, drag away your image and you will be left with your traced/cut lines.
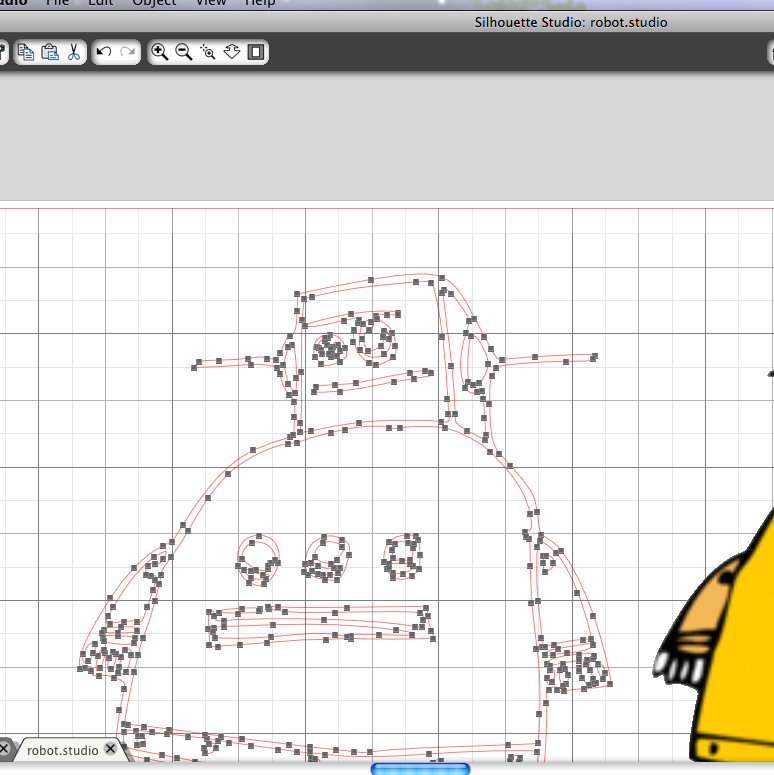
- You are going to have more lines than you want so you need to delete some keeping in mind what you are going to peel off later.
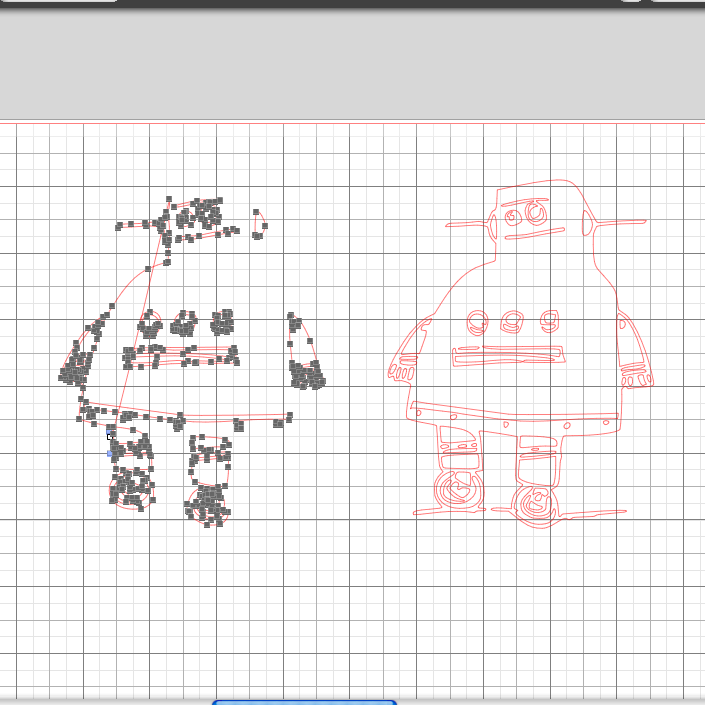
- Click the second arrow down on the right, Edit Points.
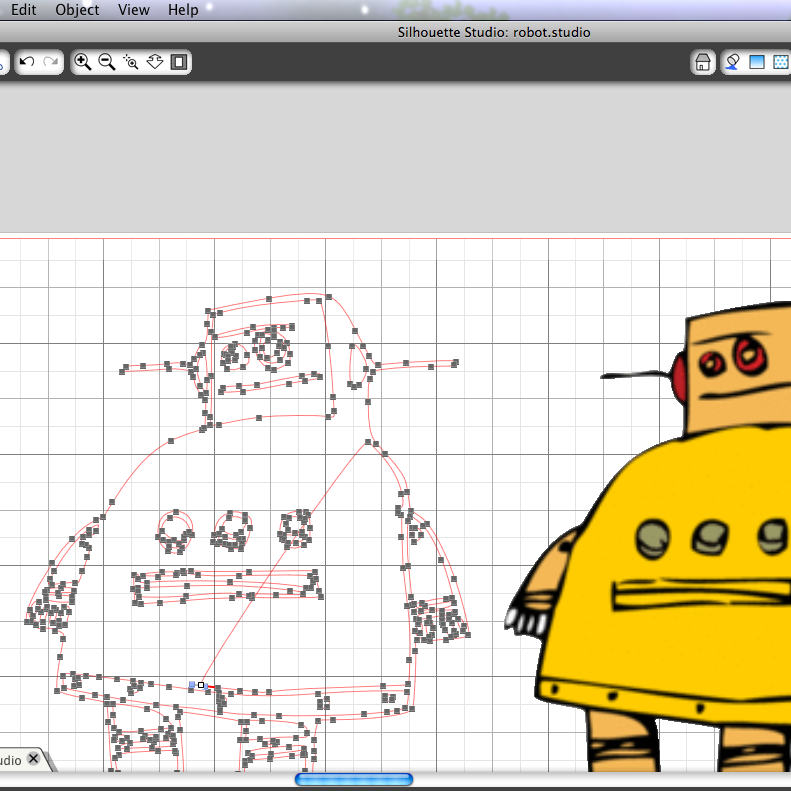
- Select the points you don't want and click the Delete Point option on the right. If you just click the delete key, you will delete all of your lines. You need to delete points. But this is easy because you will probably delete whole sections or shapes.
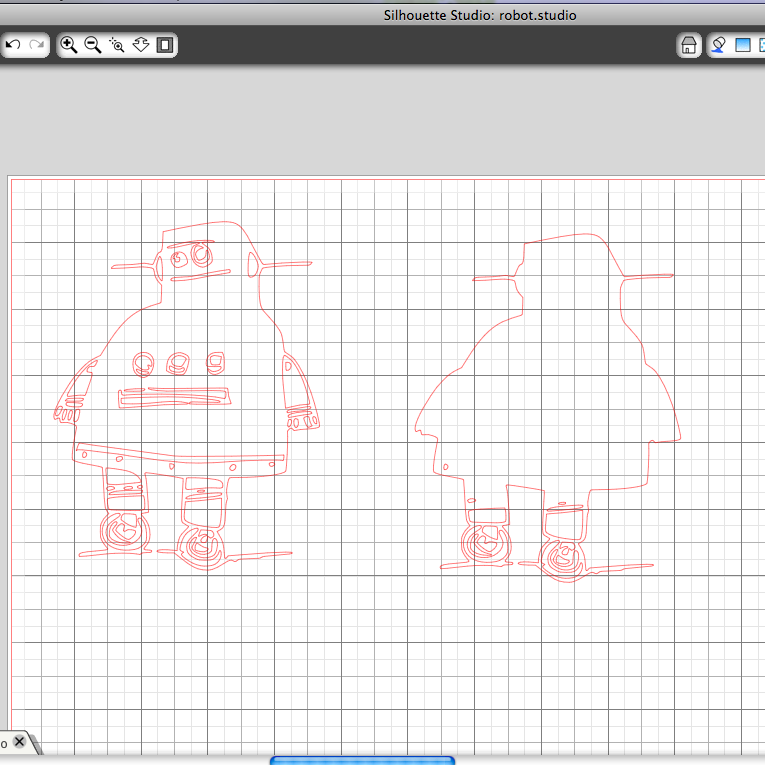
- Make sure you have a defined outline of the shape.
- If you need more detail (like I had to add in a neck line), just use the Draw a Polygon or Draw a Curved Shape option and add in what you need.
- Once you have the image the way you want it, copy and paste it so you have two side by site.
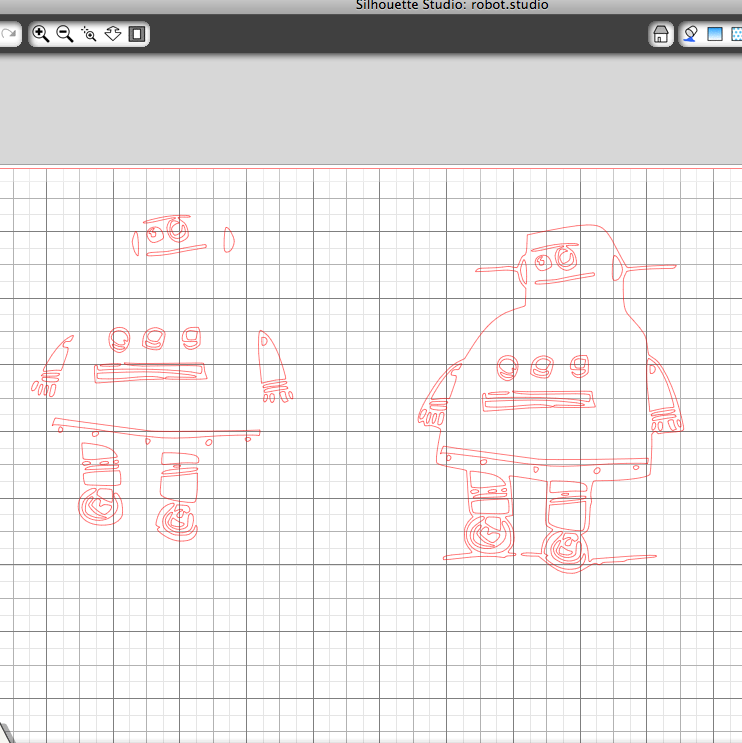
- You want to delete the outline on one and the inside on the other. Use the delete points option.
- After deleting the outside and the details, make sure you don't resize either unless you resize them together, otherwise it won't match up right.
Downloads
Cutting
Ready to Cut:
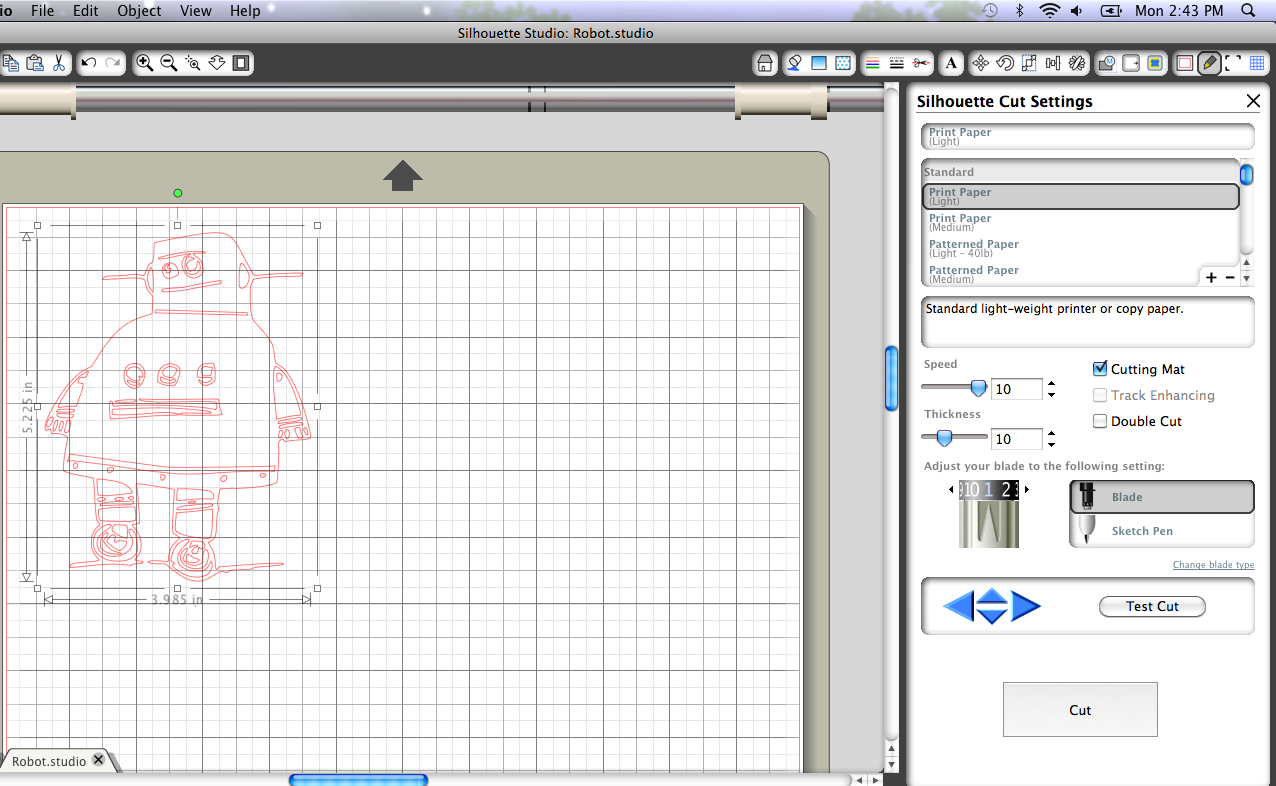
- I opened up another document when I went to cut.
- Take the details and line that up on the document where you want it cut. Don't put it too close to the edge because you will need to cut
- I took the outline and "cut" it and pasted it in the other document until I needed it.
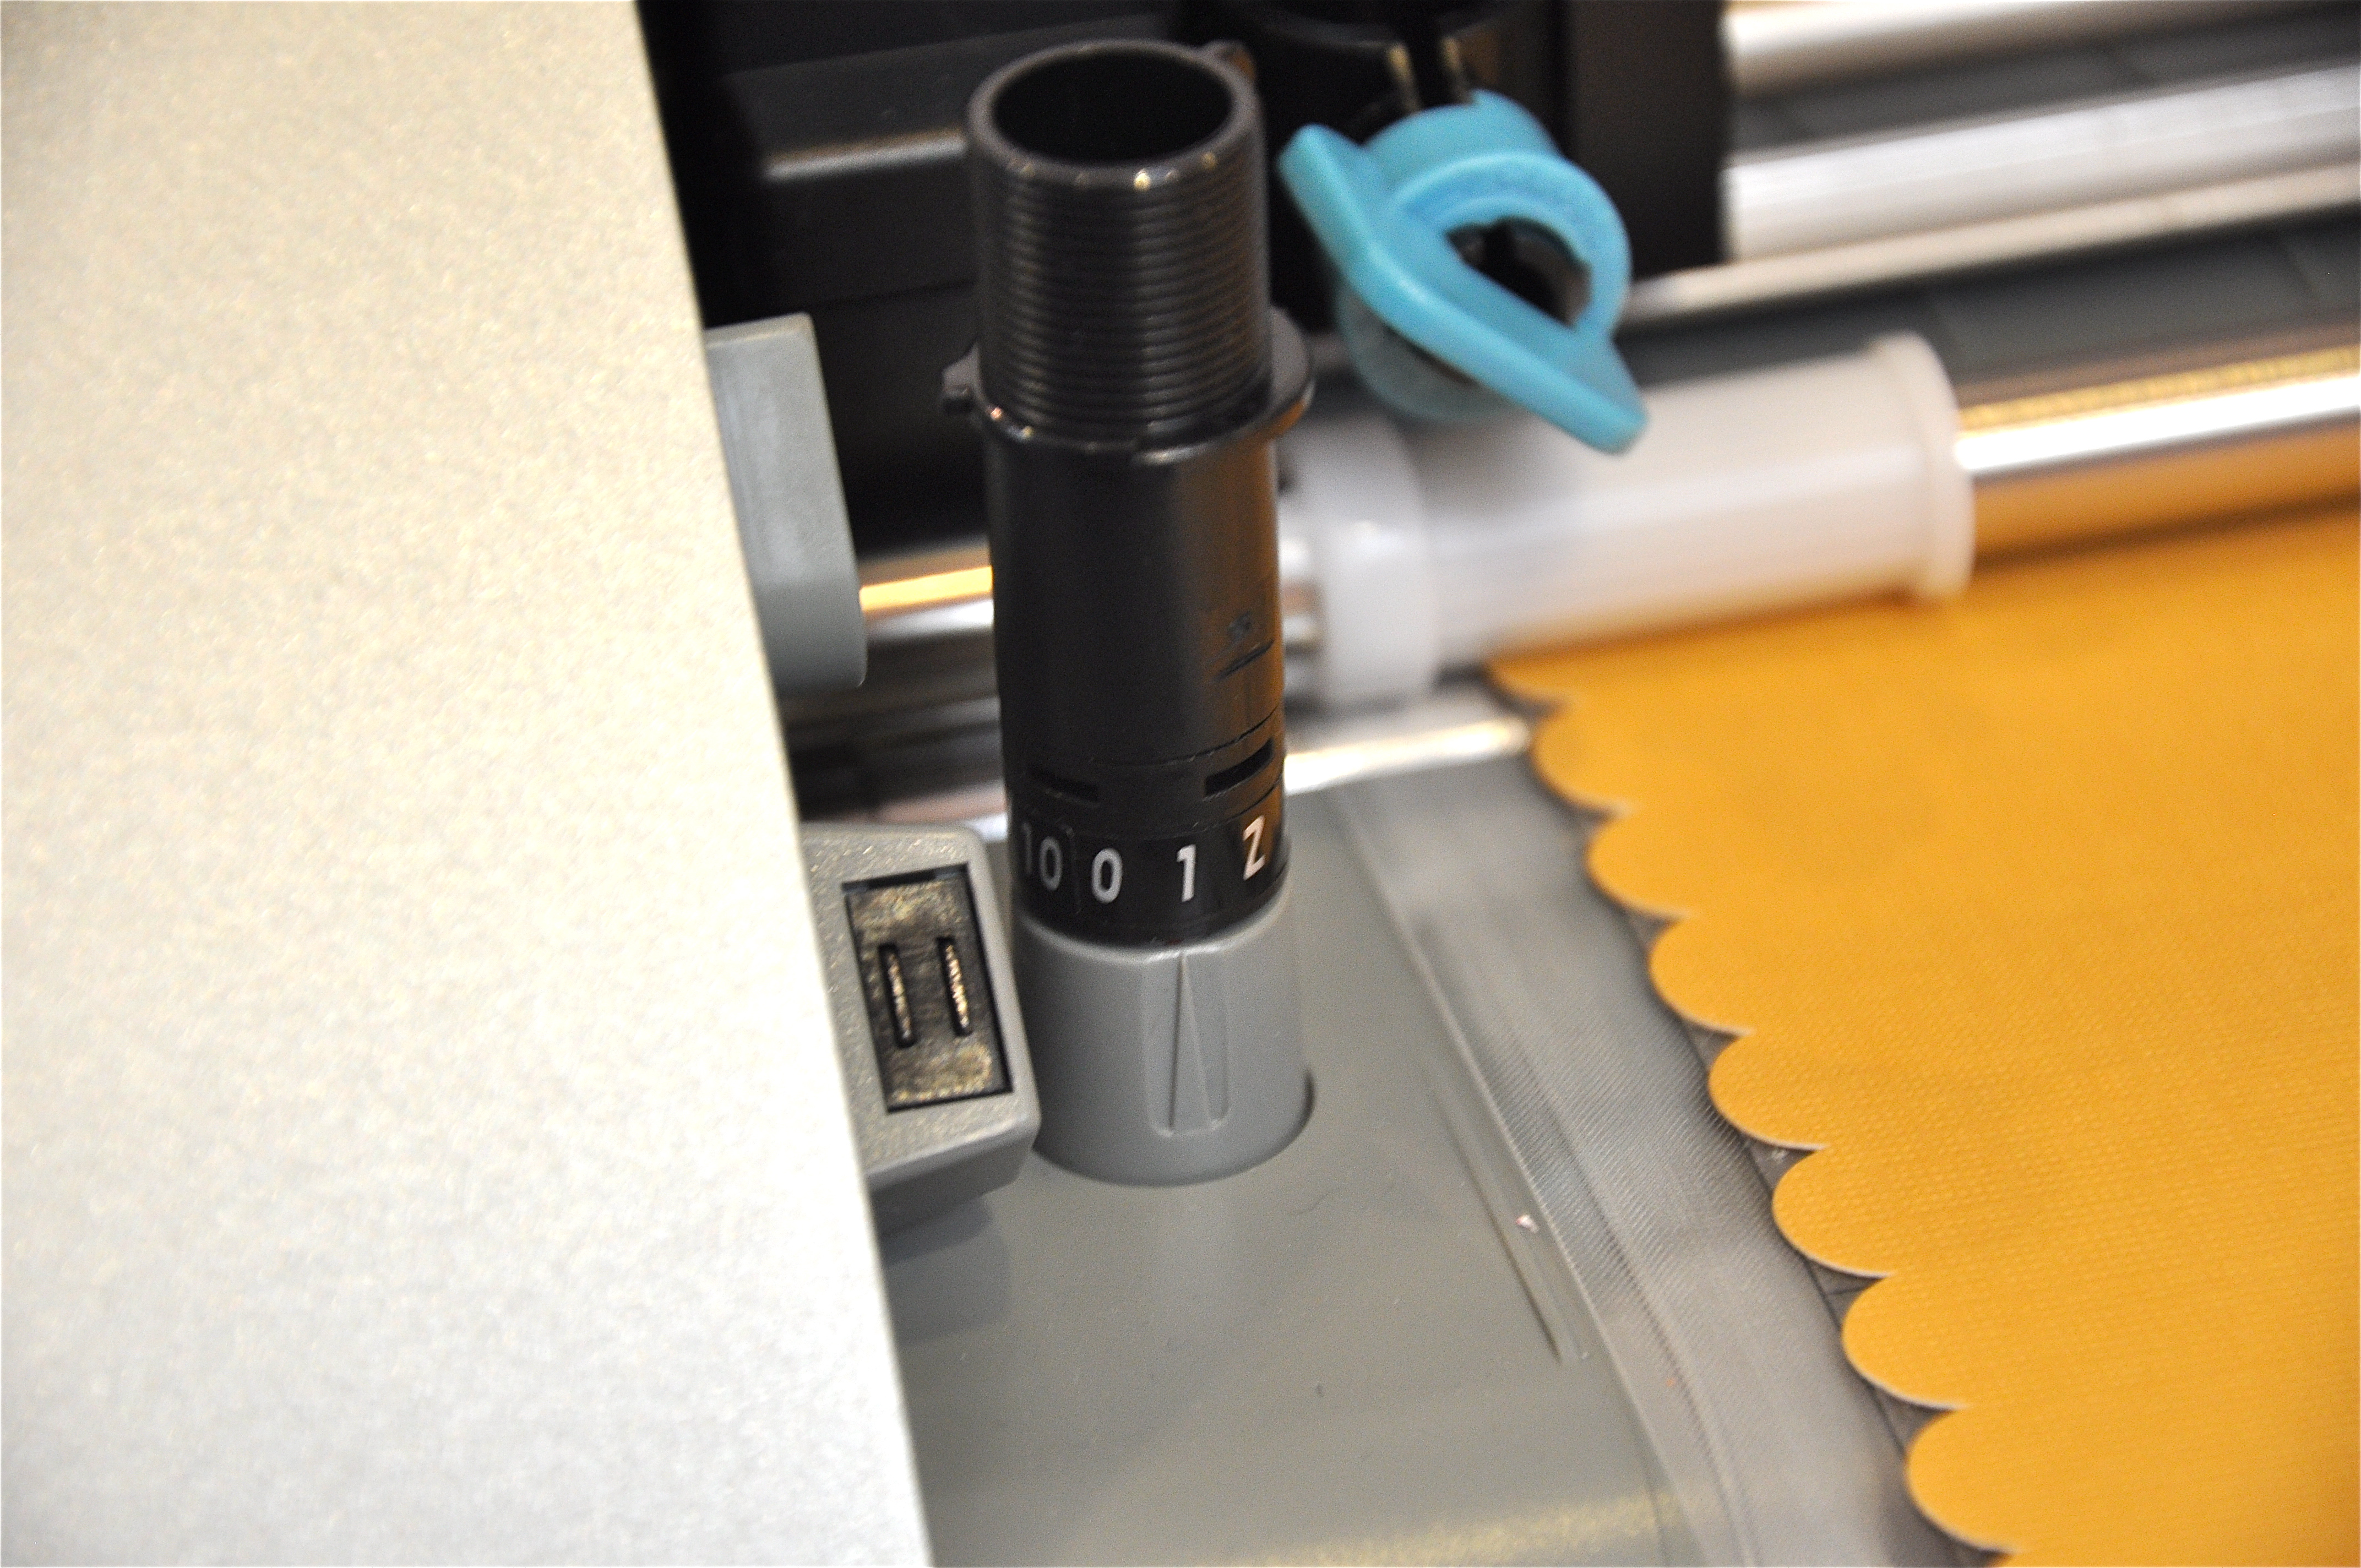
- Set the blade depth to 1 and send it to the Cameo.
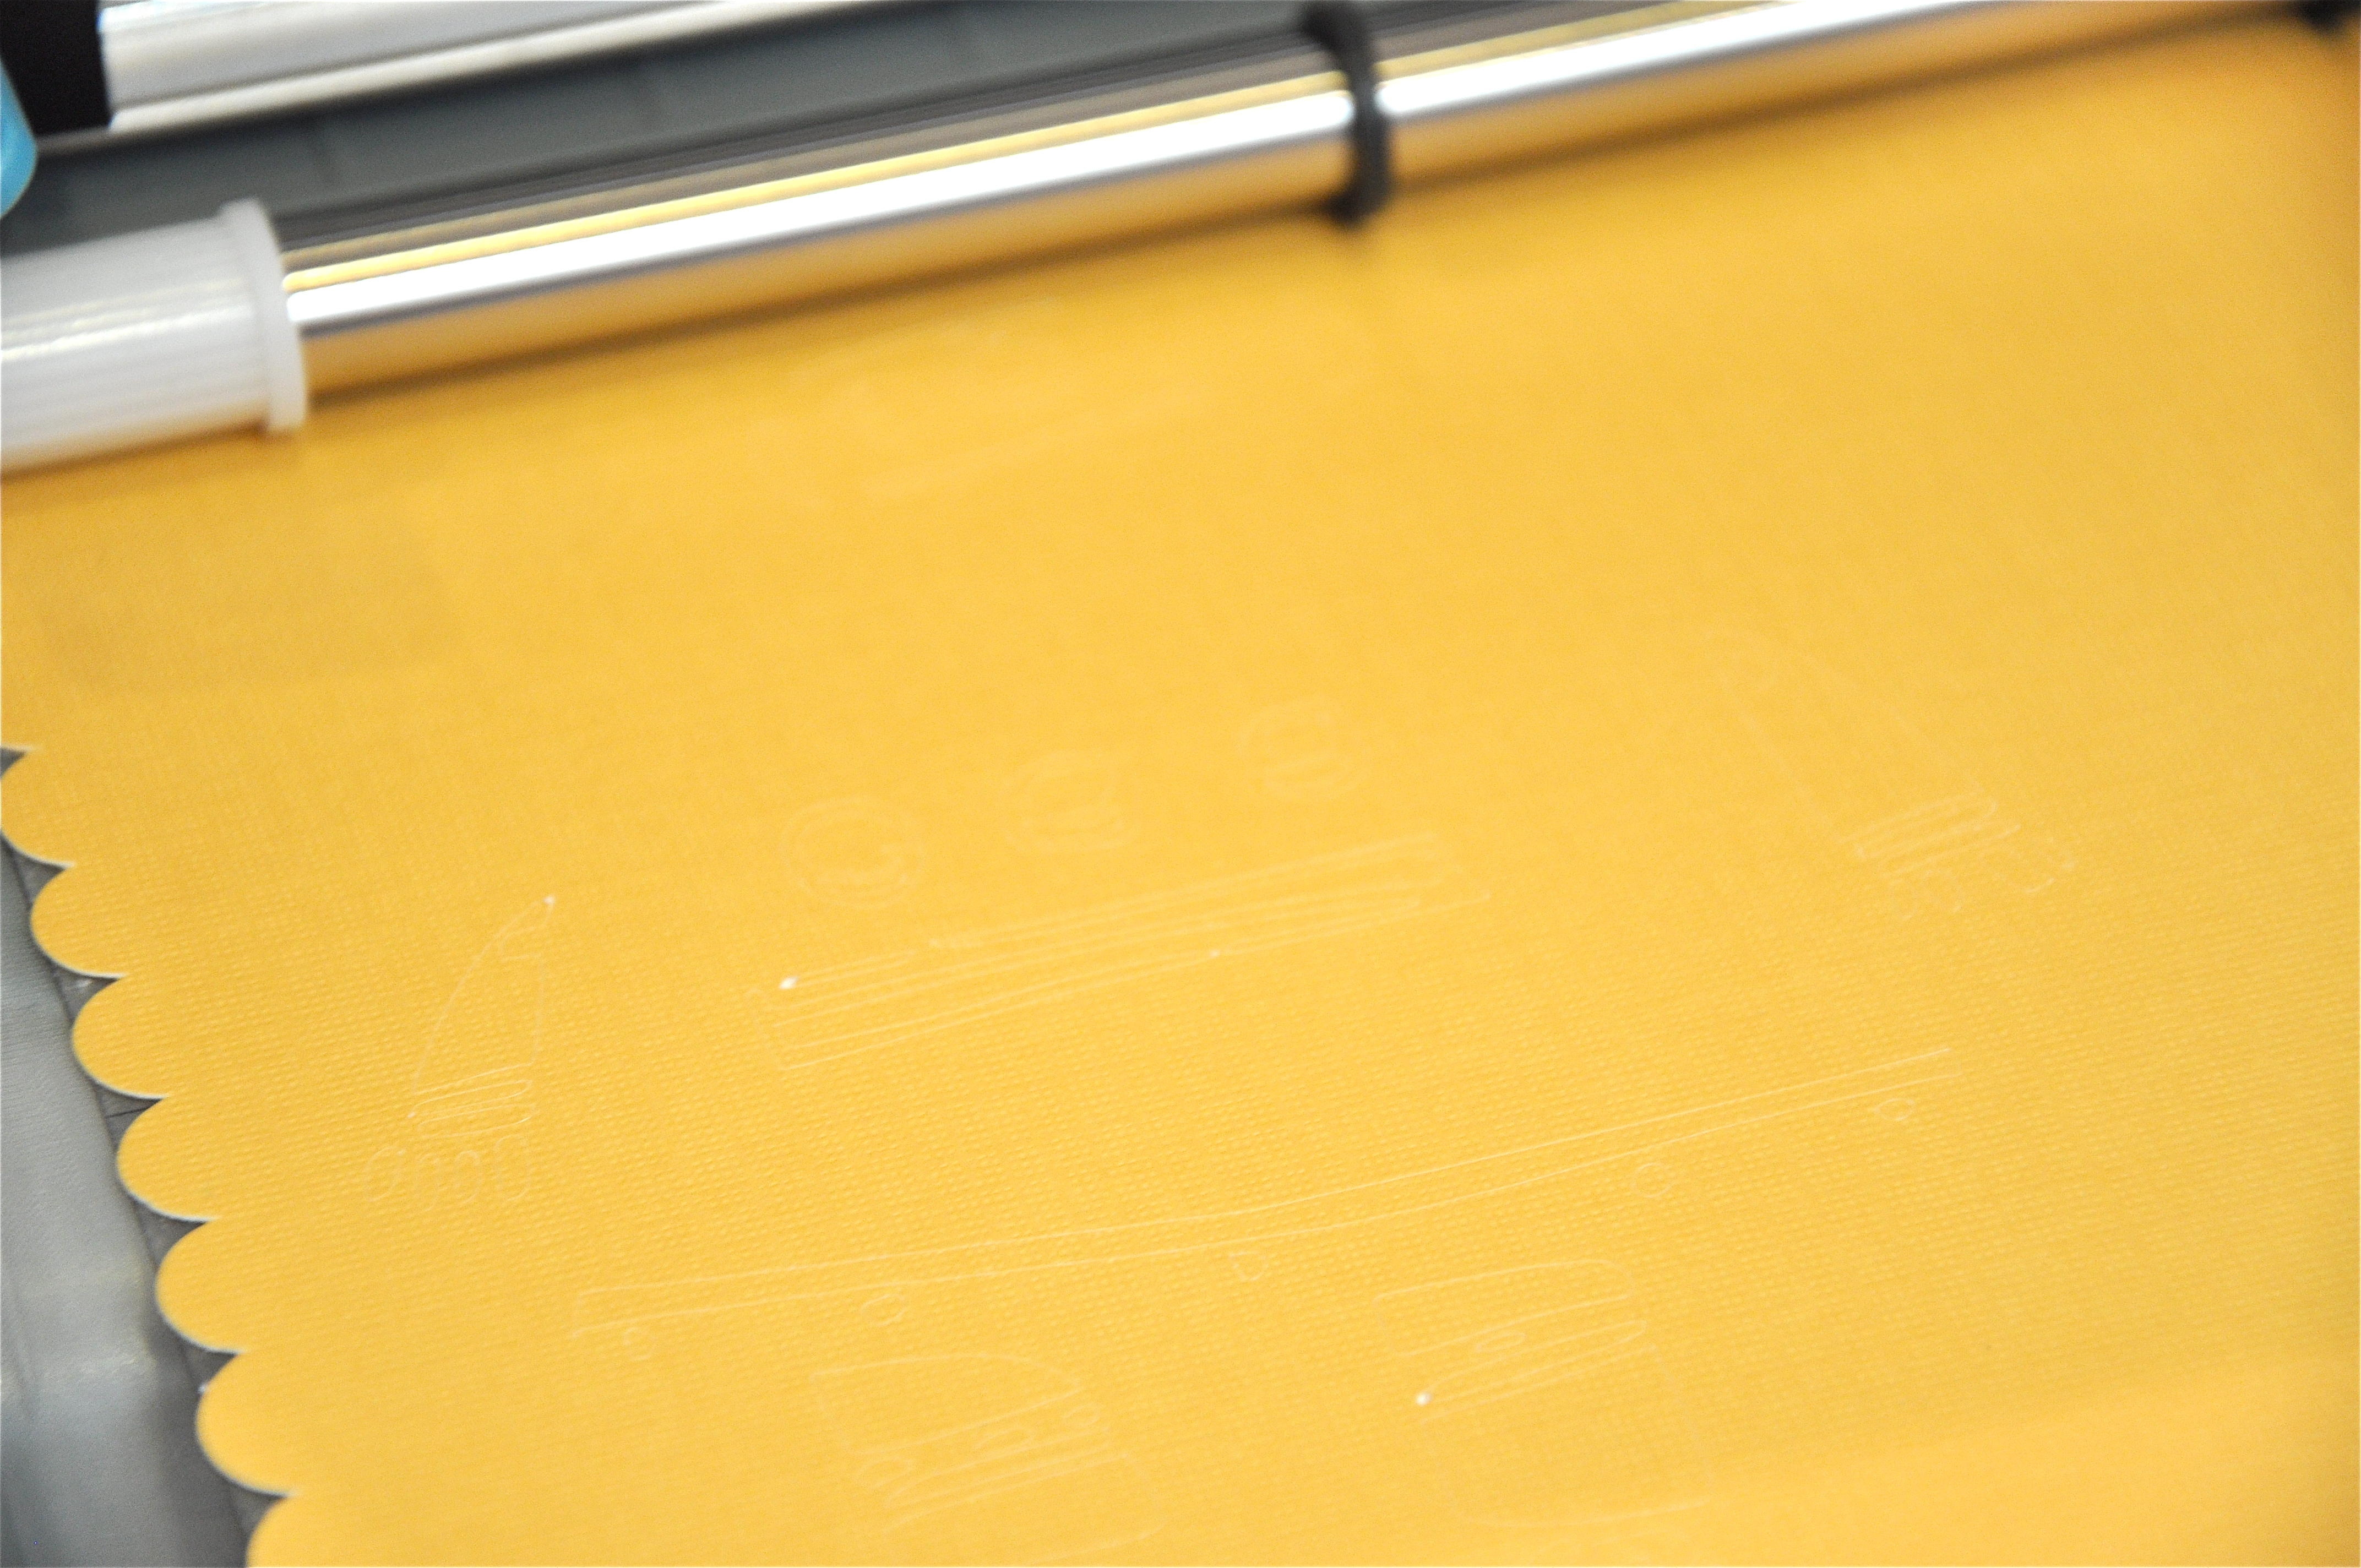
- It will cut out just the details, now leave it in the Cameo. Don't unload it.
- Grab your outline from the other document and paste it and line it up over the details. Once it is lined up just right, "cut" the details and put them in the other document for safe keeping.
- Change your blade depth to 3 and cut out your image.
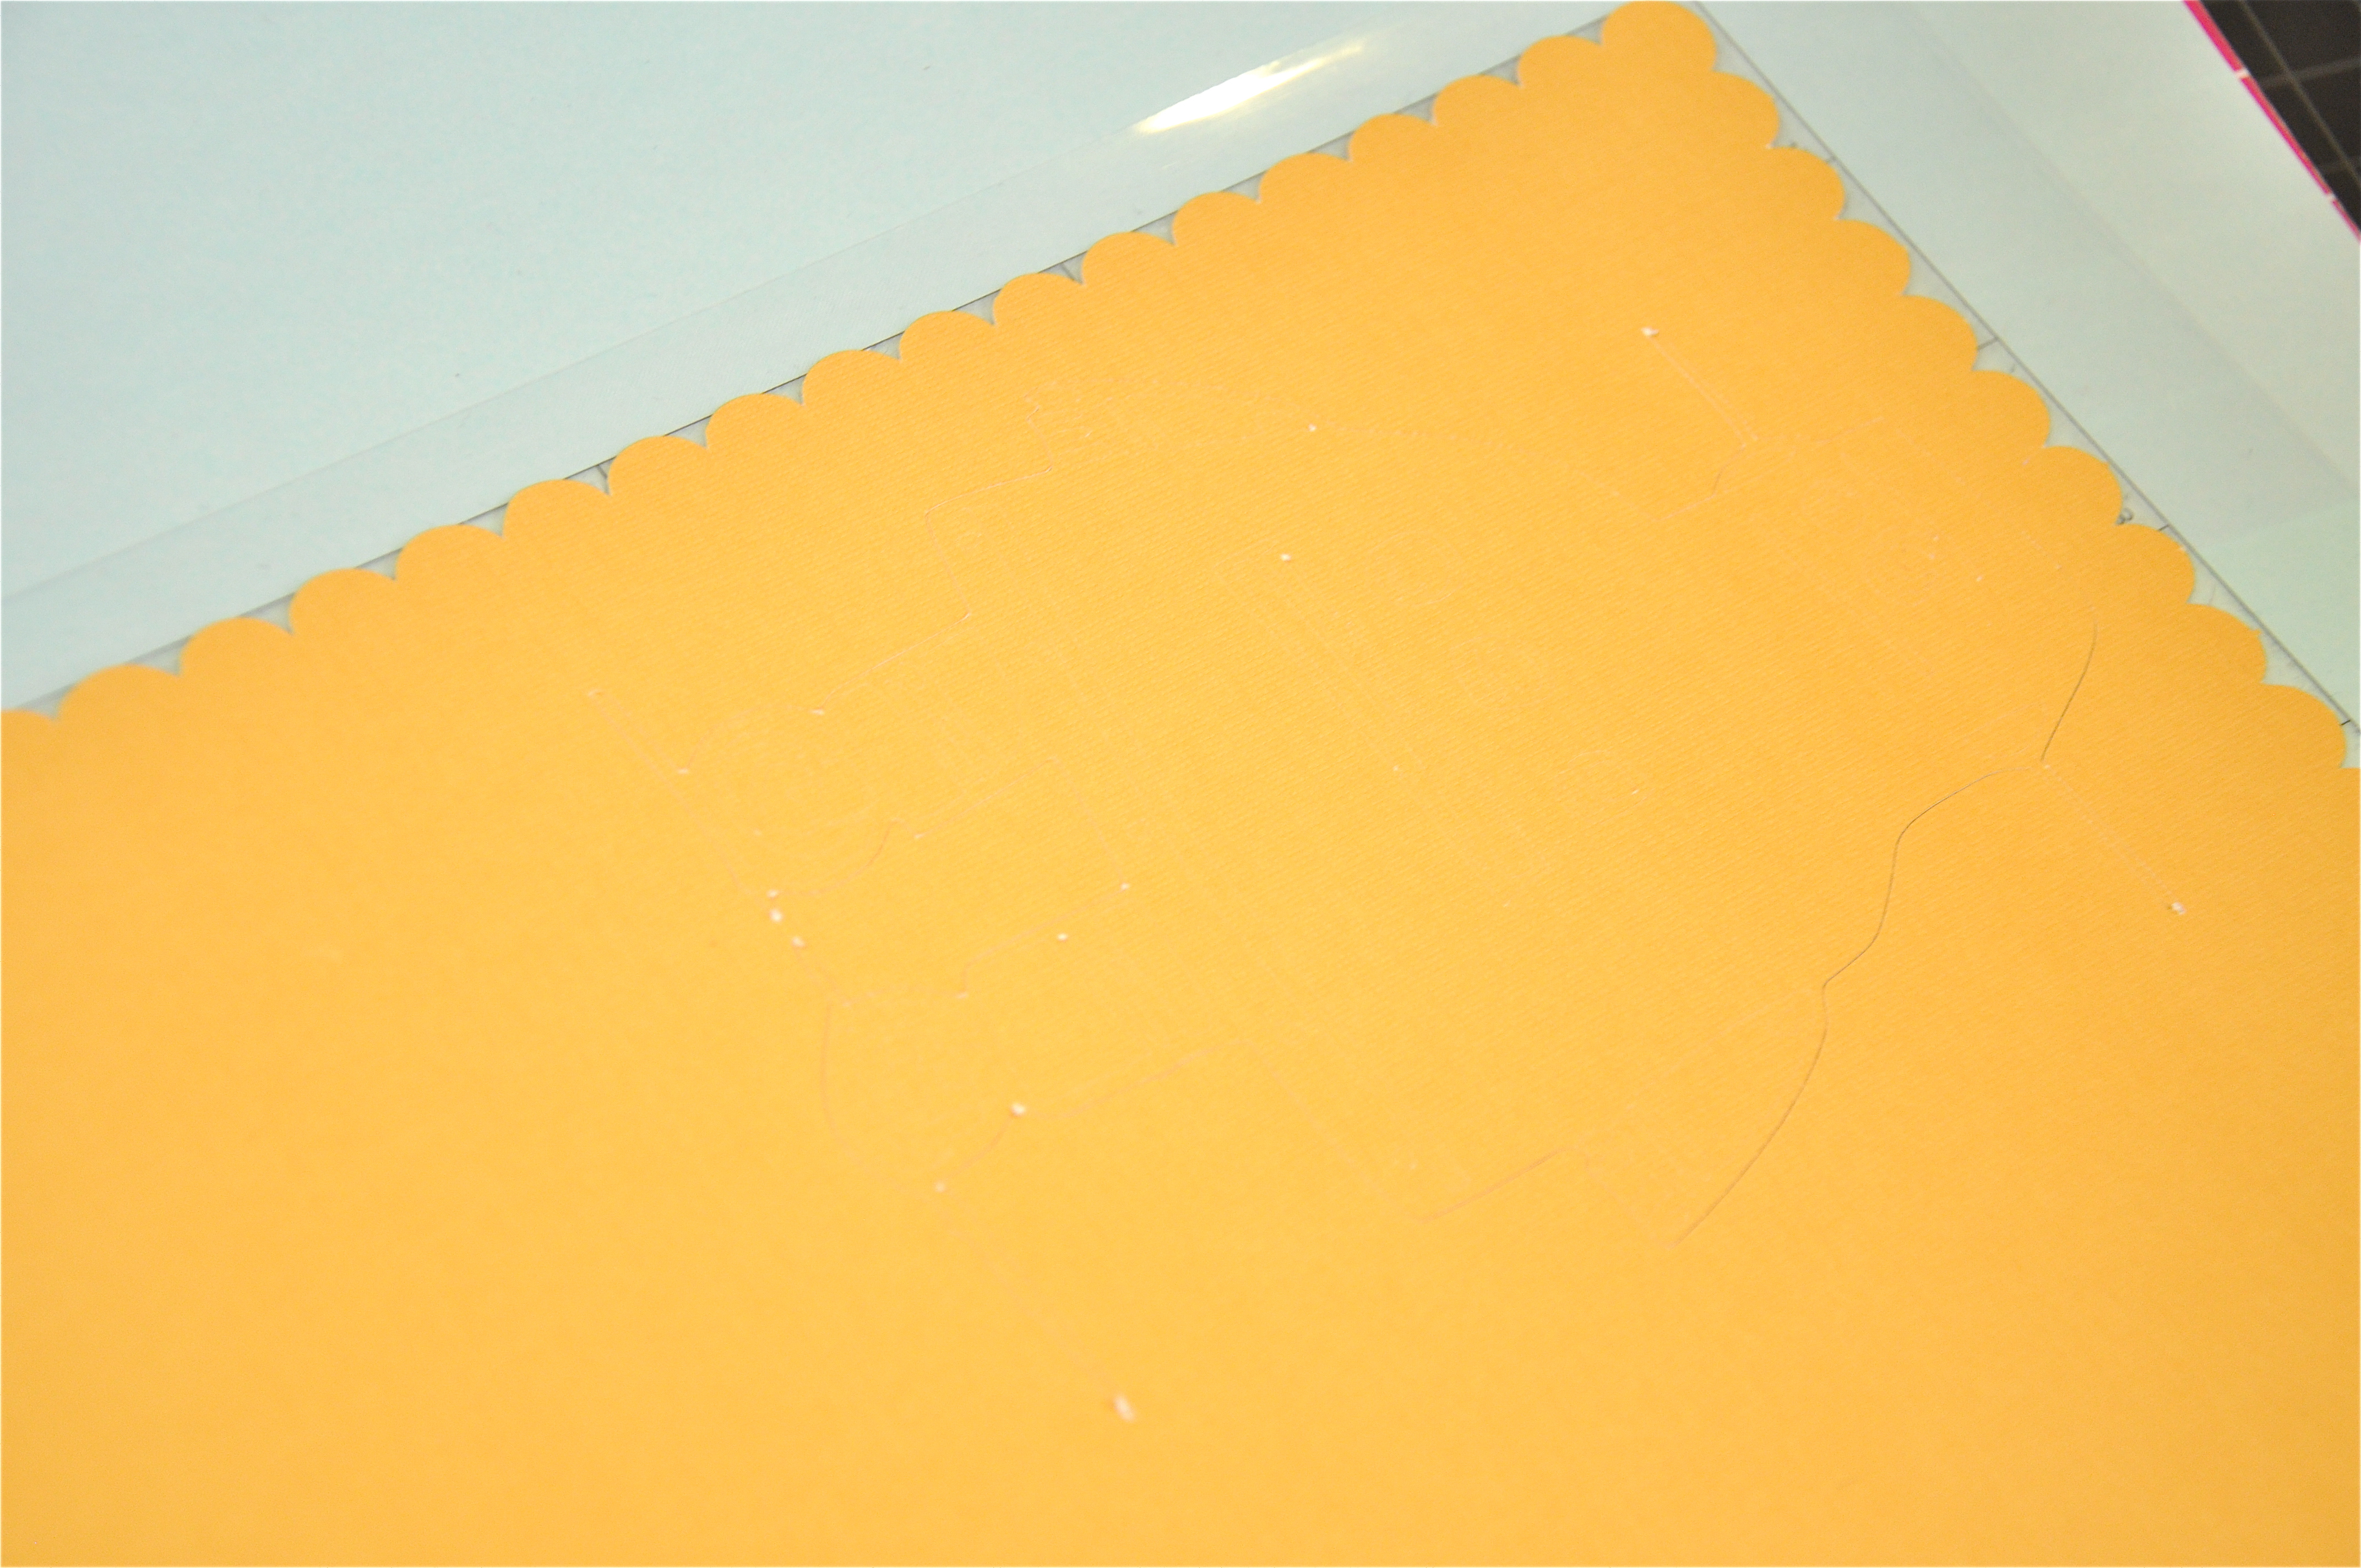
- Unload it from the Cameo and you are ready to bring it to life!
Scraping Off the Top Layer
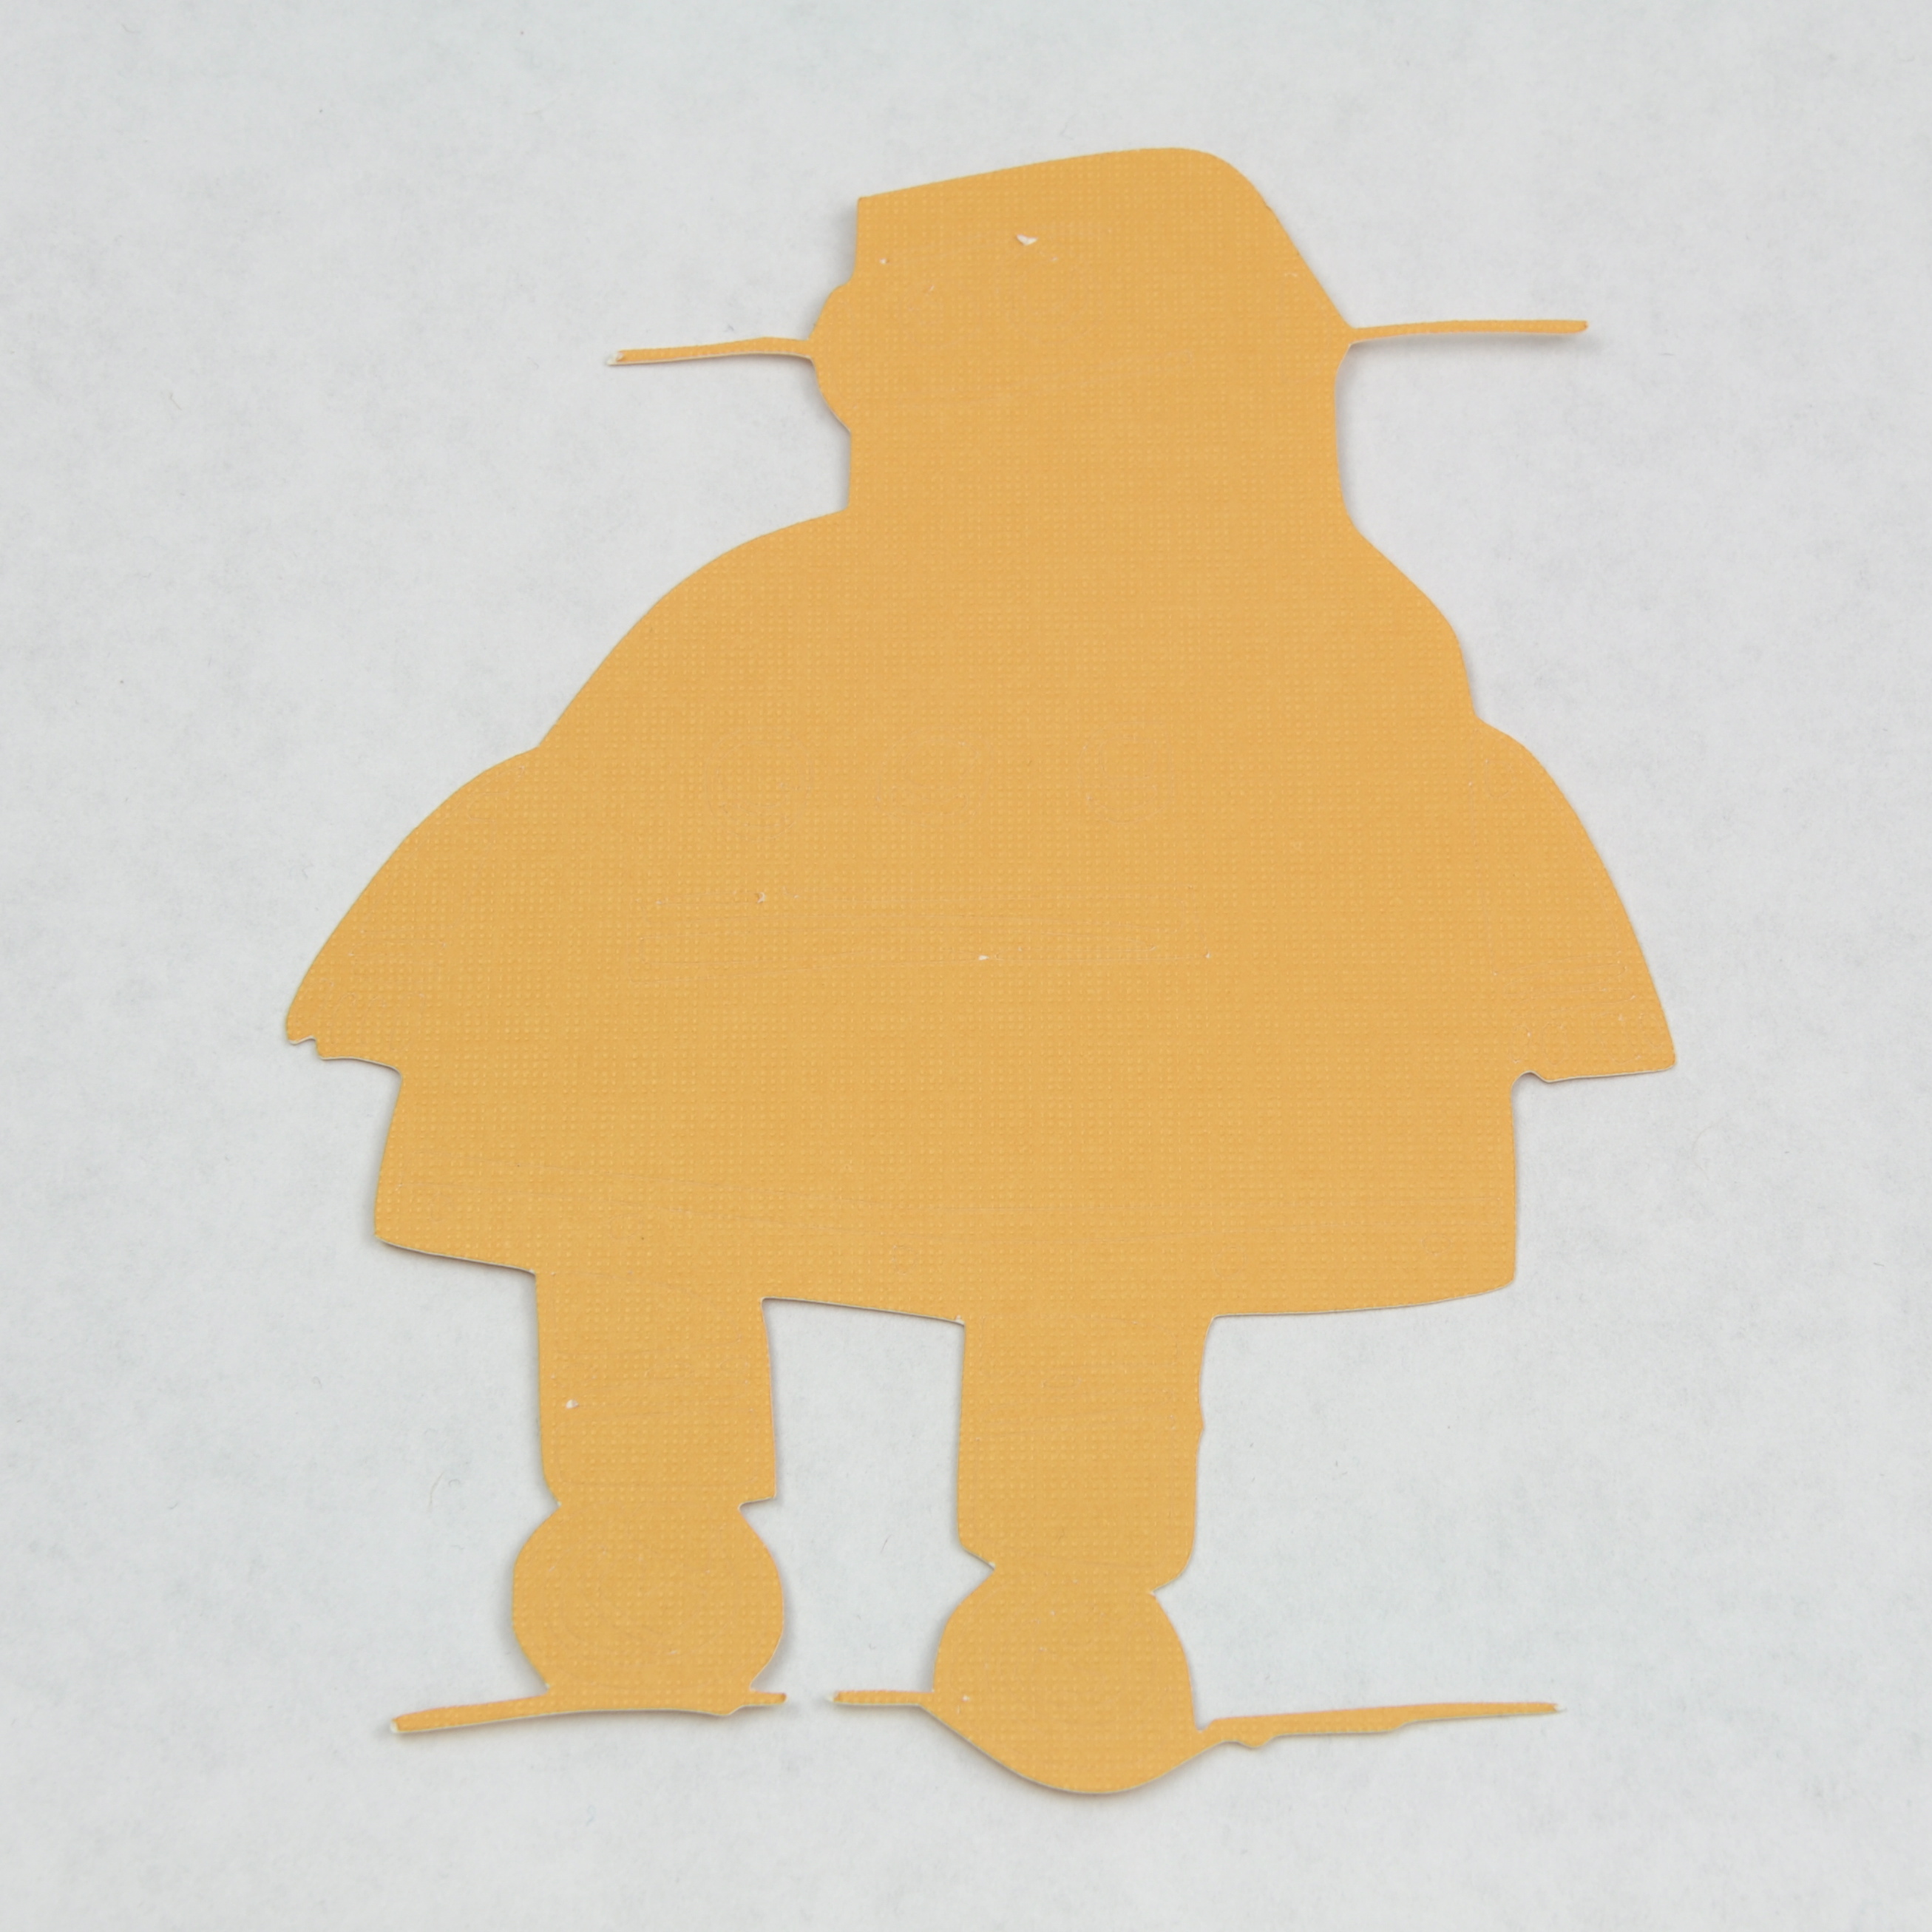
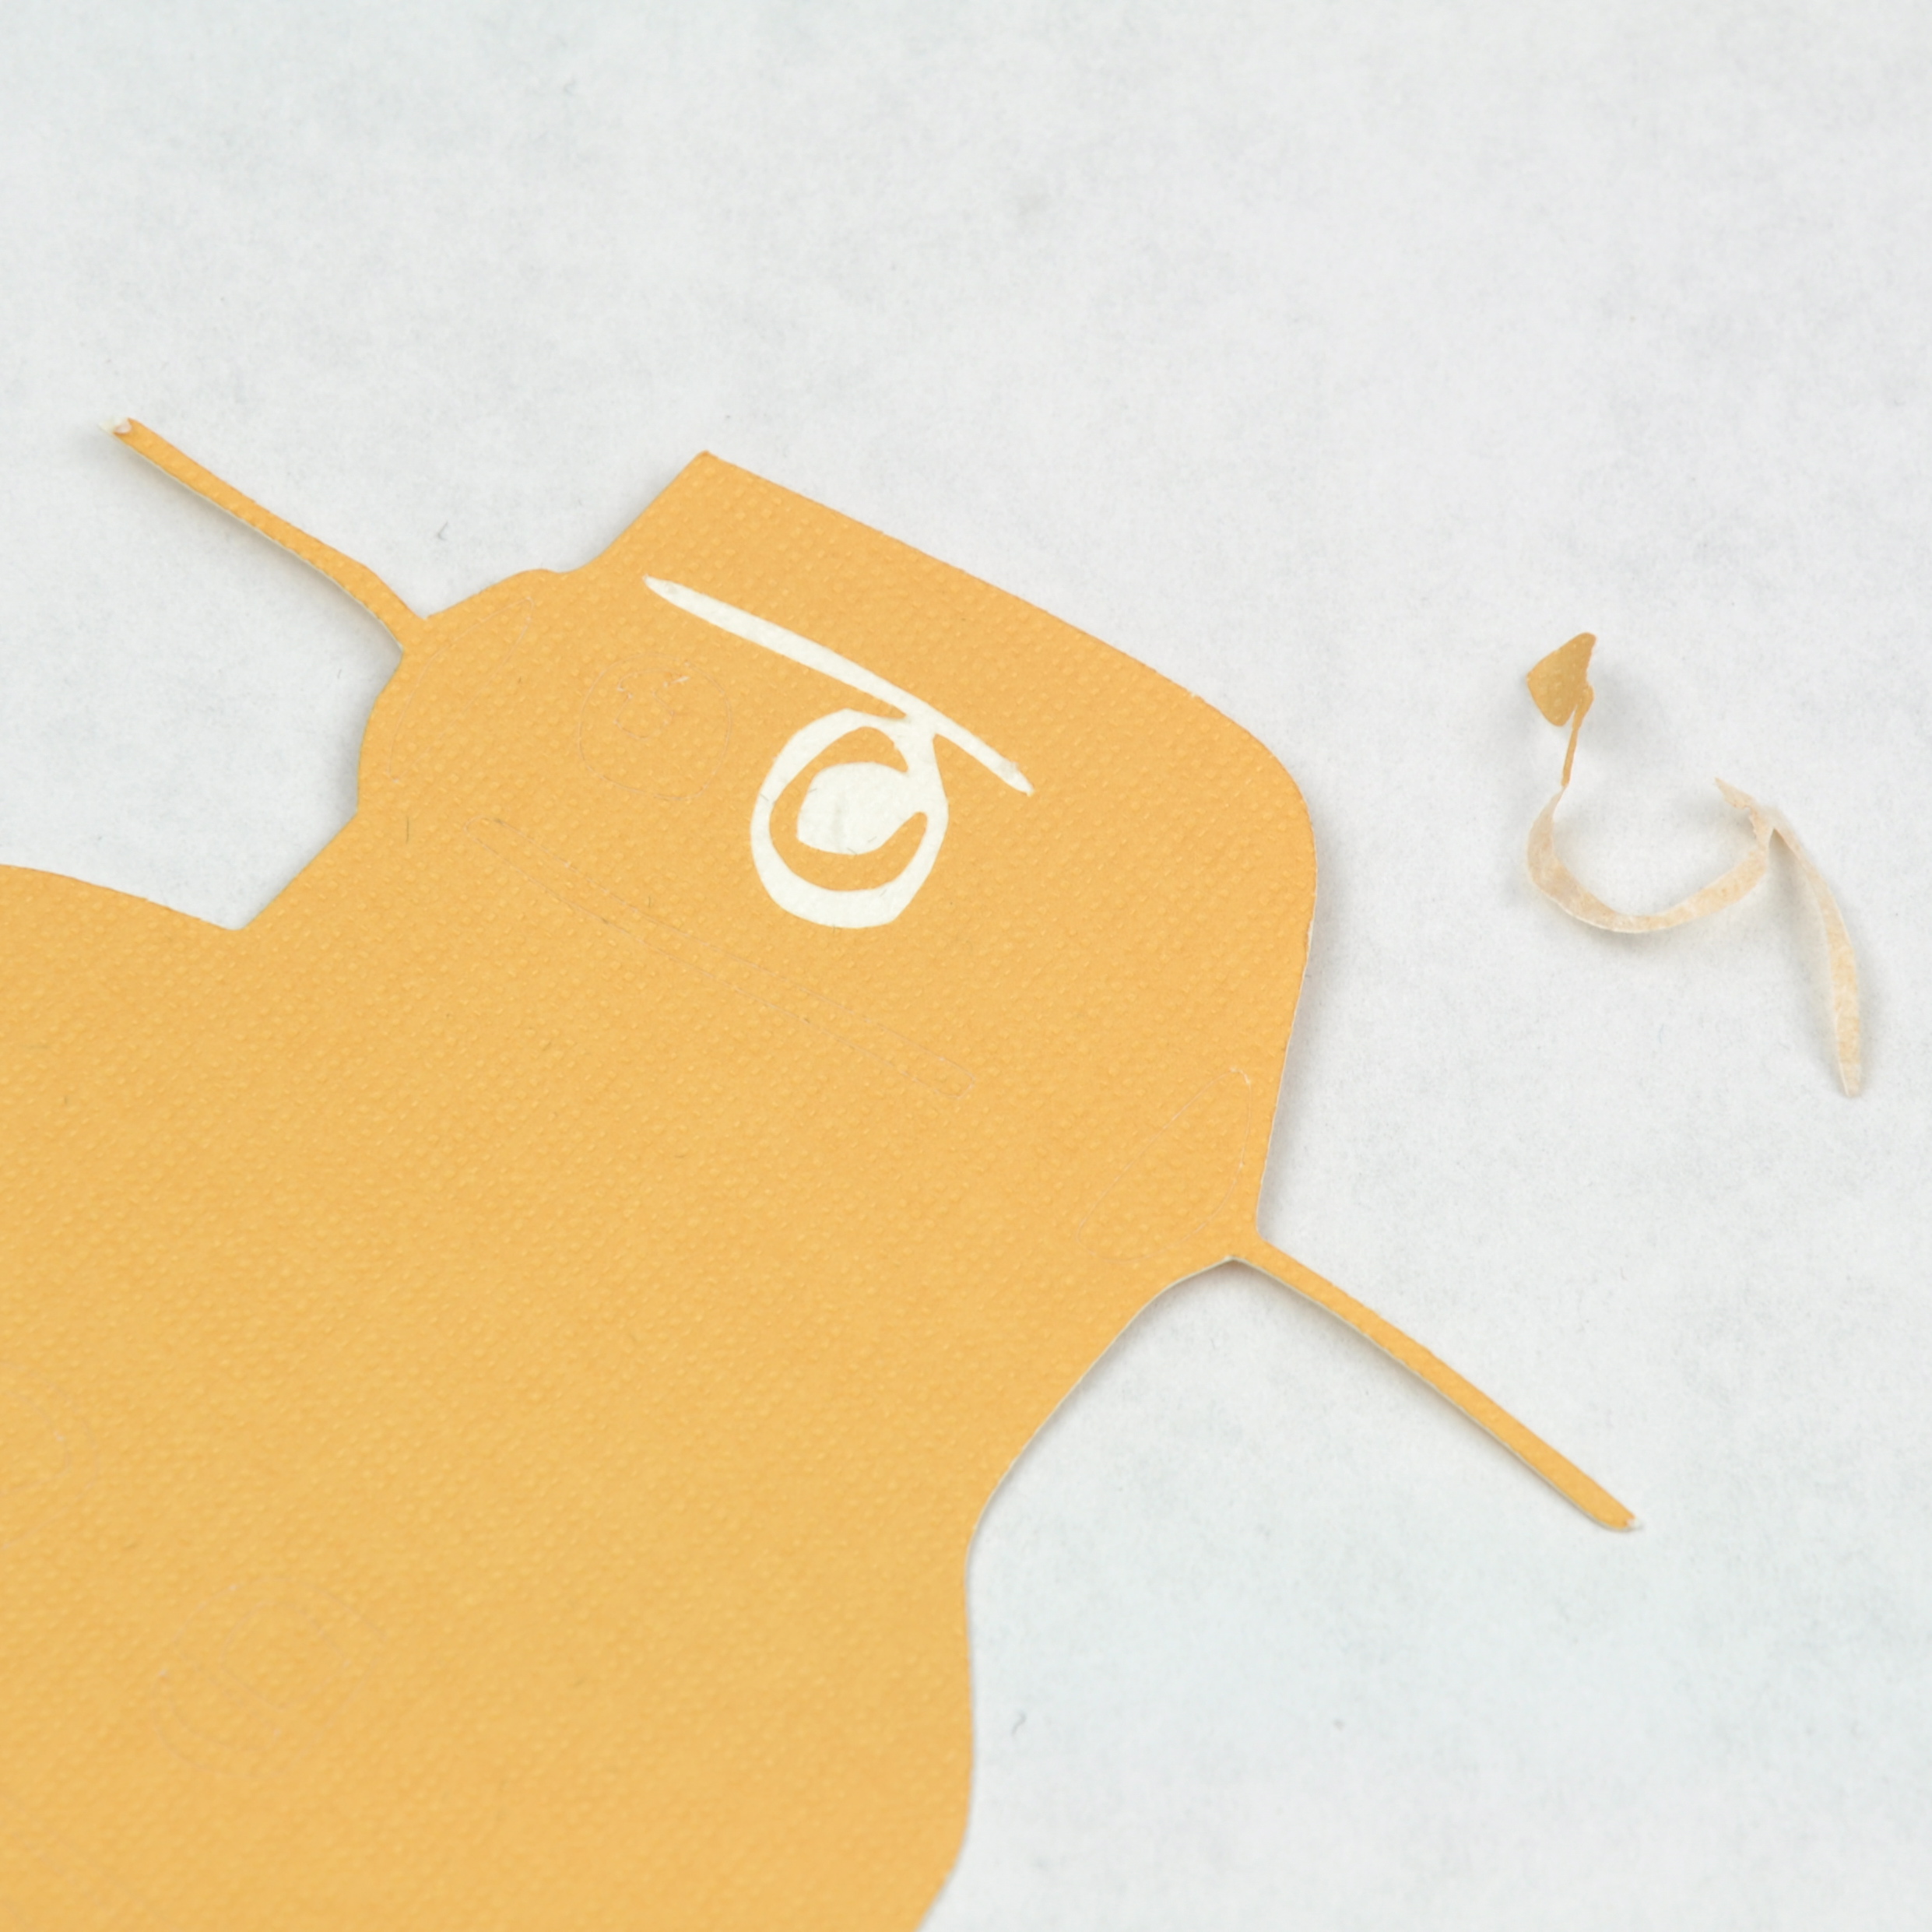
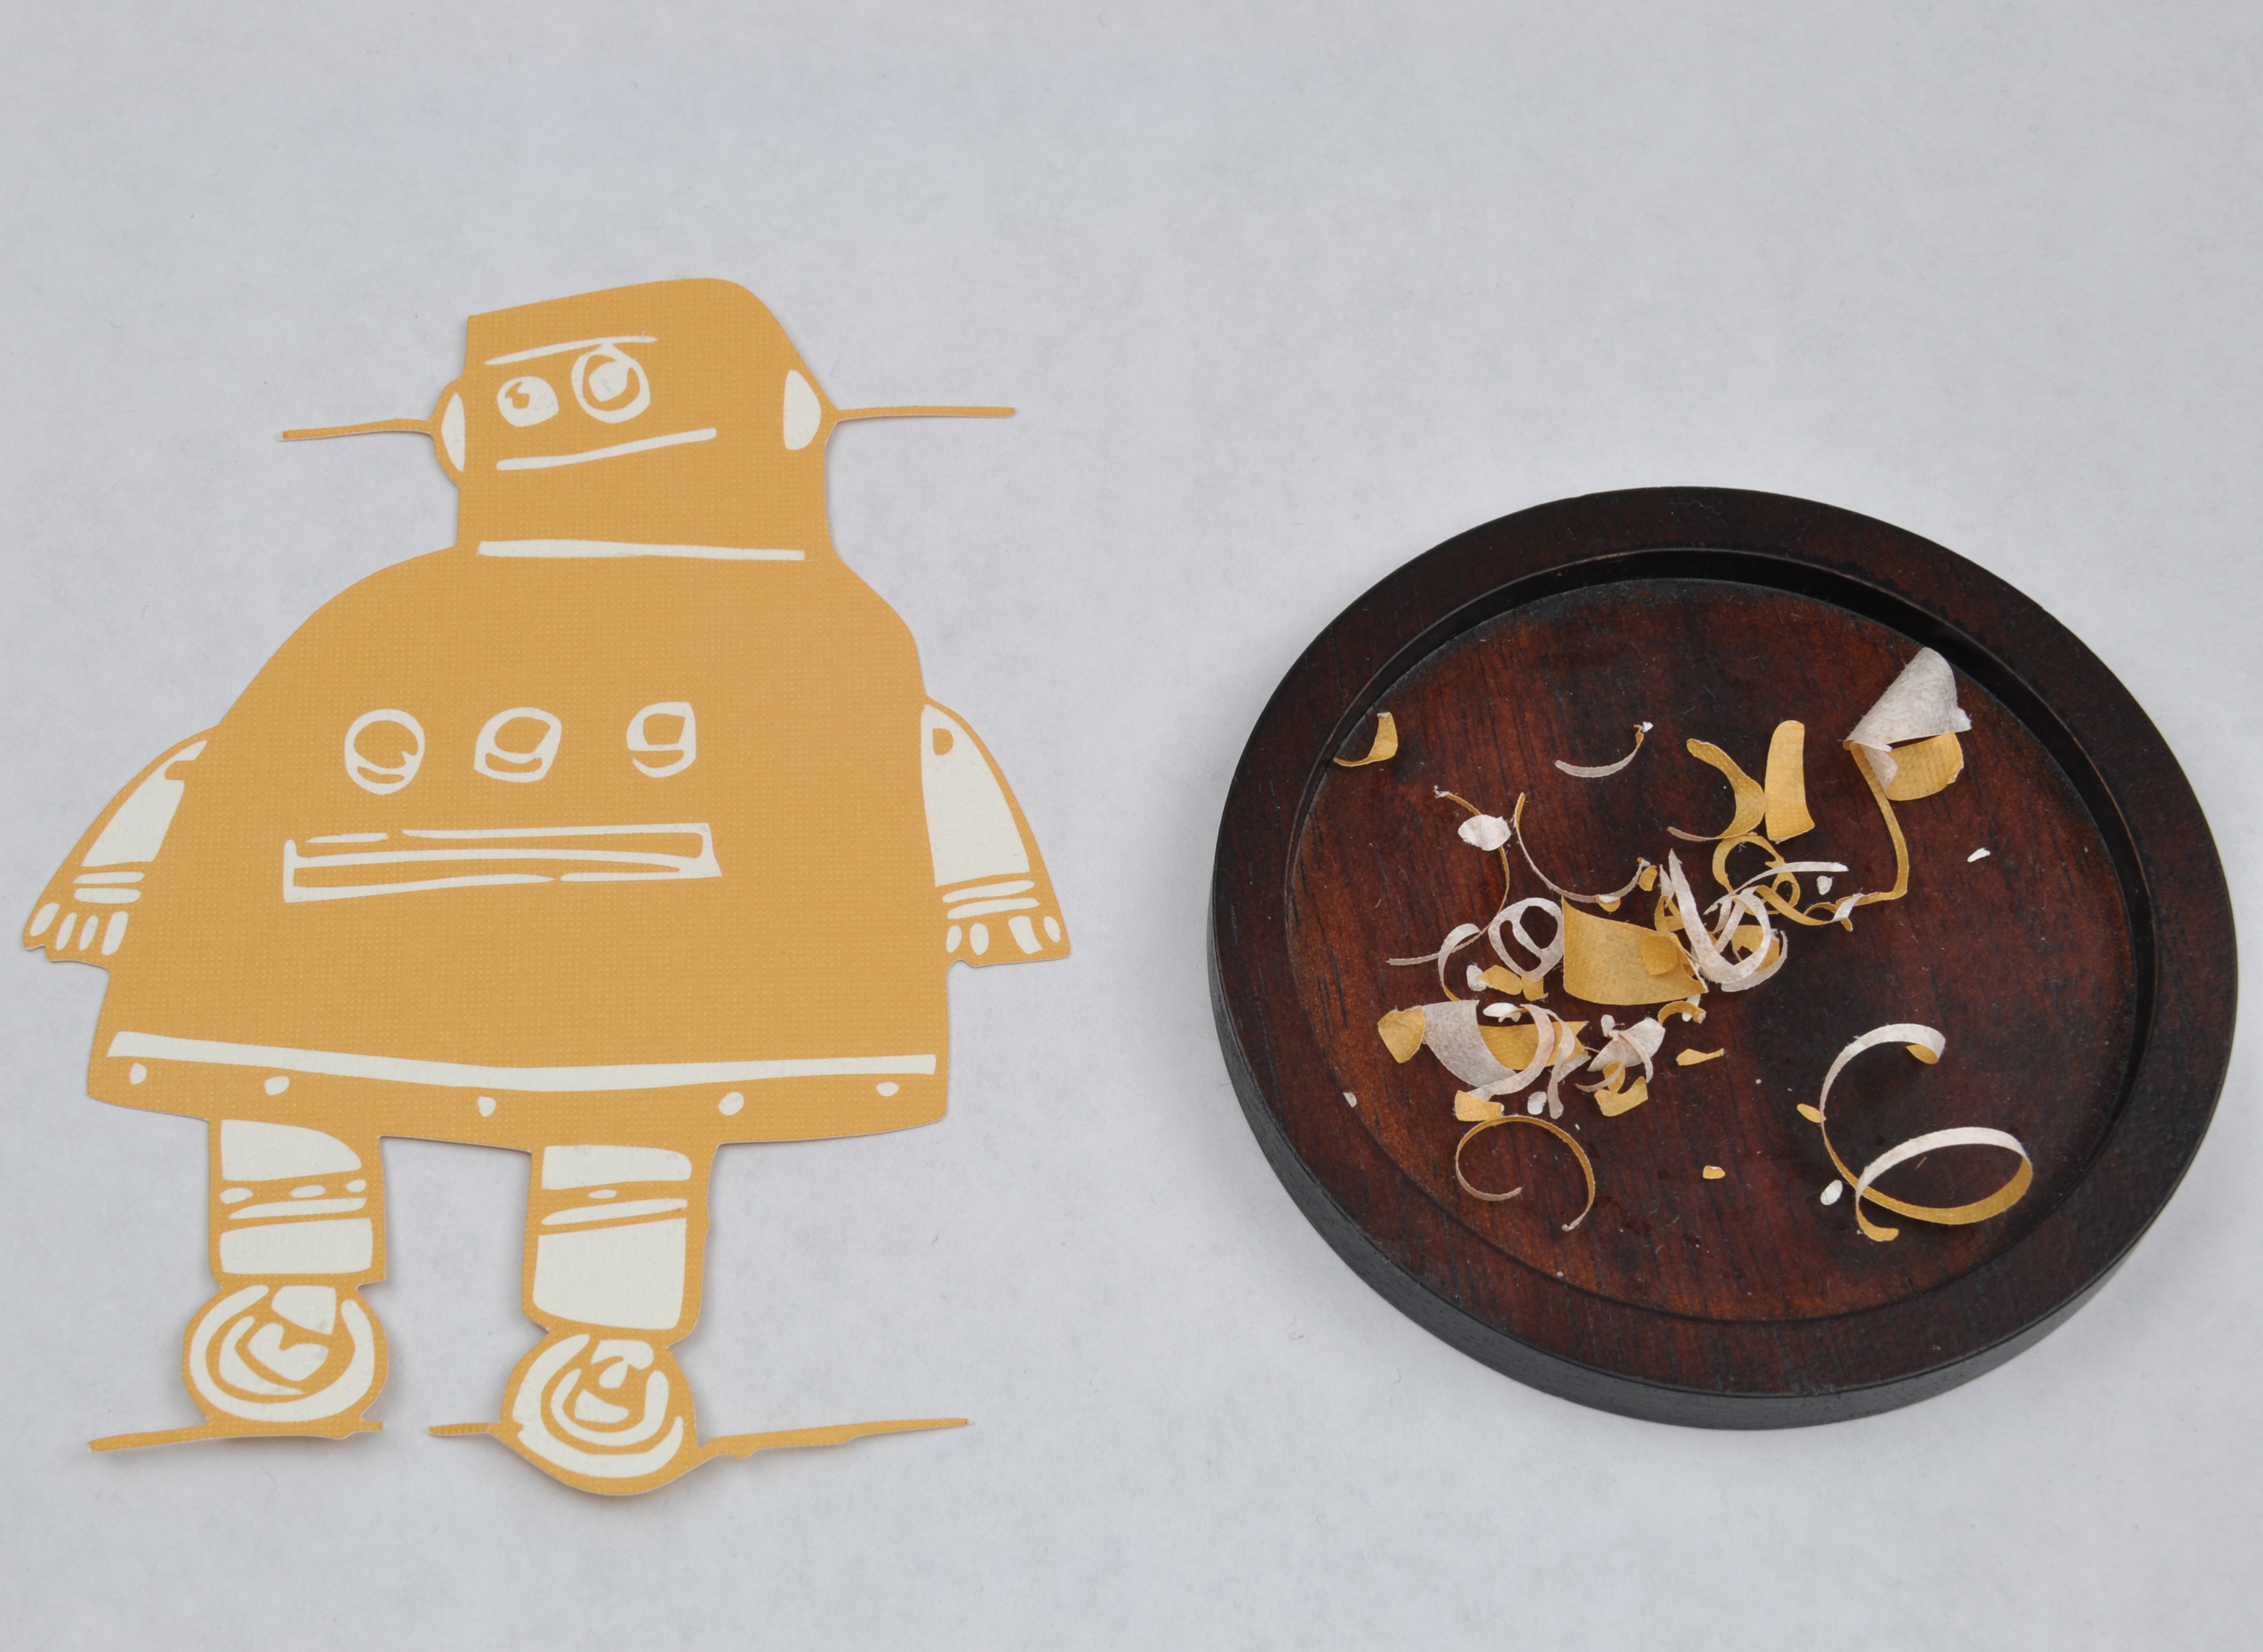

For this, you are going to need something pointy. I had the easiest time with a razor blade but not everyone has one. What also works is a needle, push pin, or even a staple should work.
Carefully use your pointy tool to pry up the corner of one of the shallow cut parts of your image.
Carefully pull of the extra paper layer. Make sure you don't pull off any of the main image. Some parts may have got caught durring the cutting, but if it isn't supposed to be pulled off, try to push it down. There will be some parts of this image, where parts are pulled off and parts are left behind, as in the circles on his belly (shown in Pictures 3 and 4). Make sure those circles stay on so you can see the detail.
Just pull them all off and you are done! If you can't quite see it, look at the document for the detail.
Using It
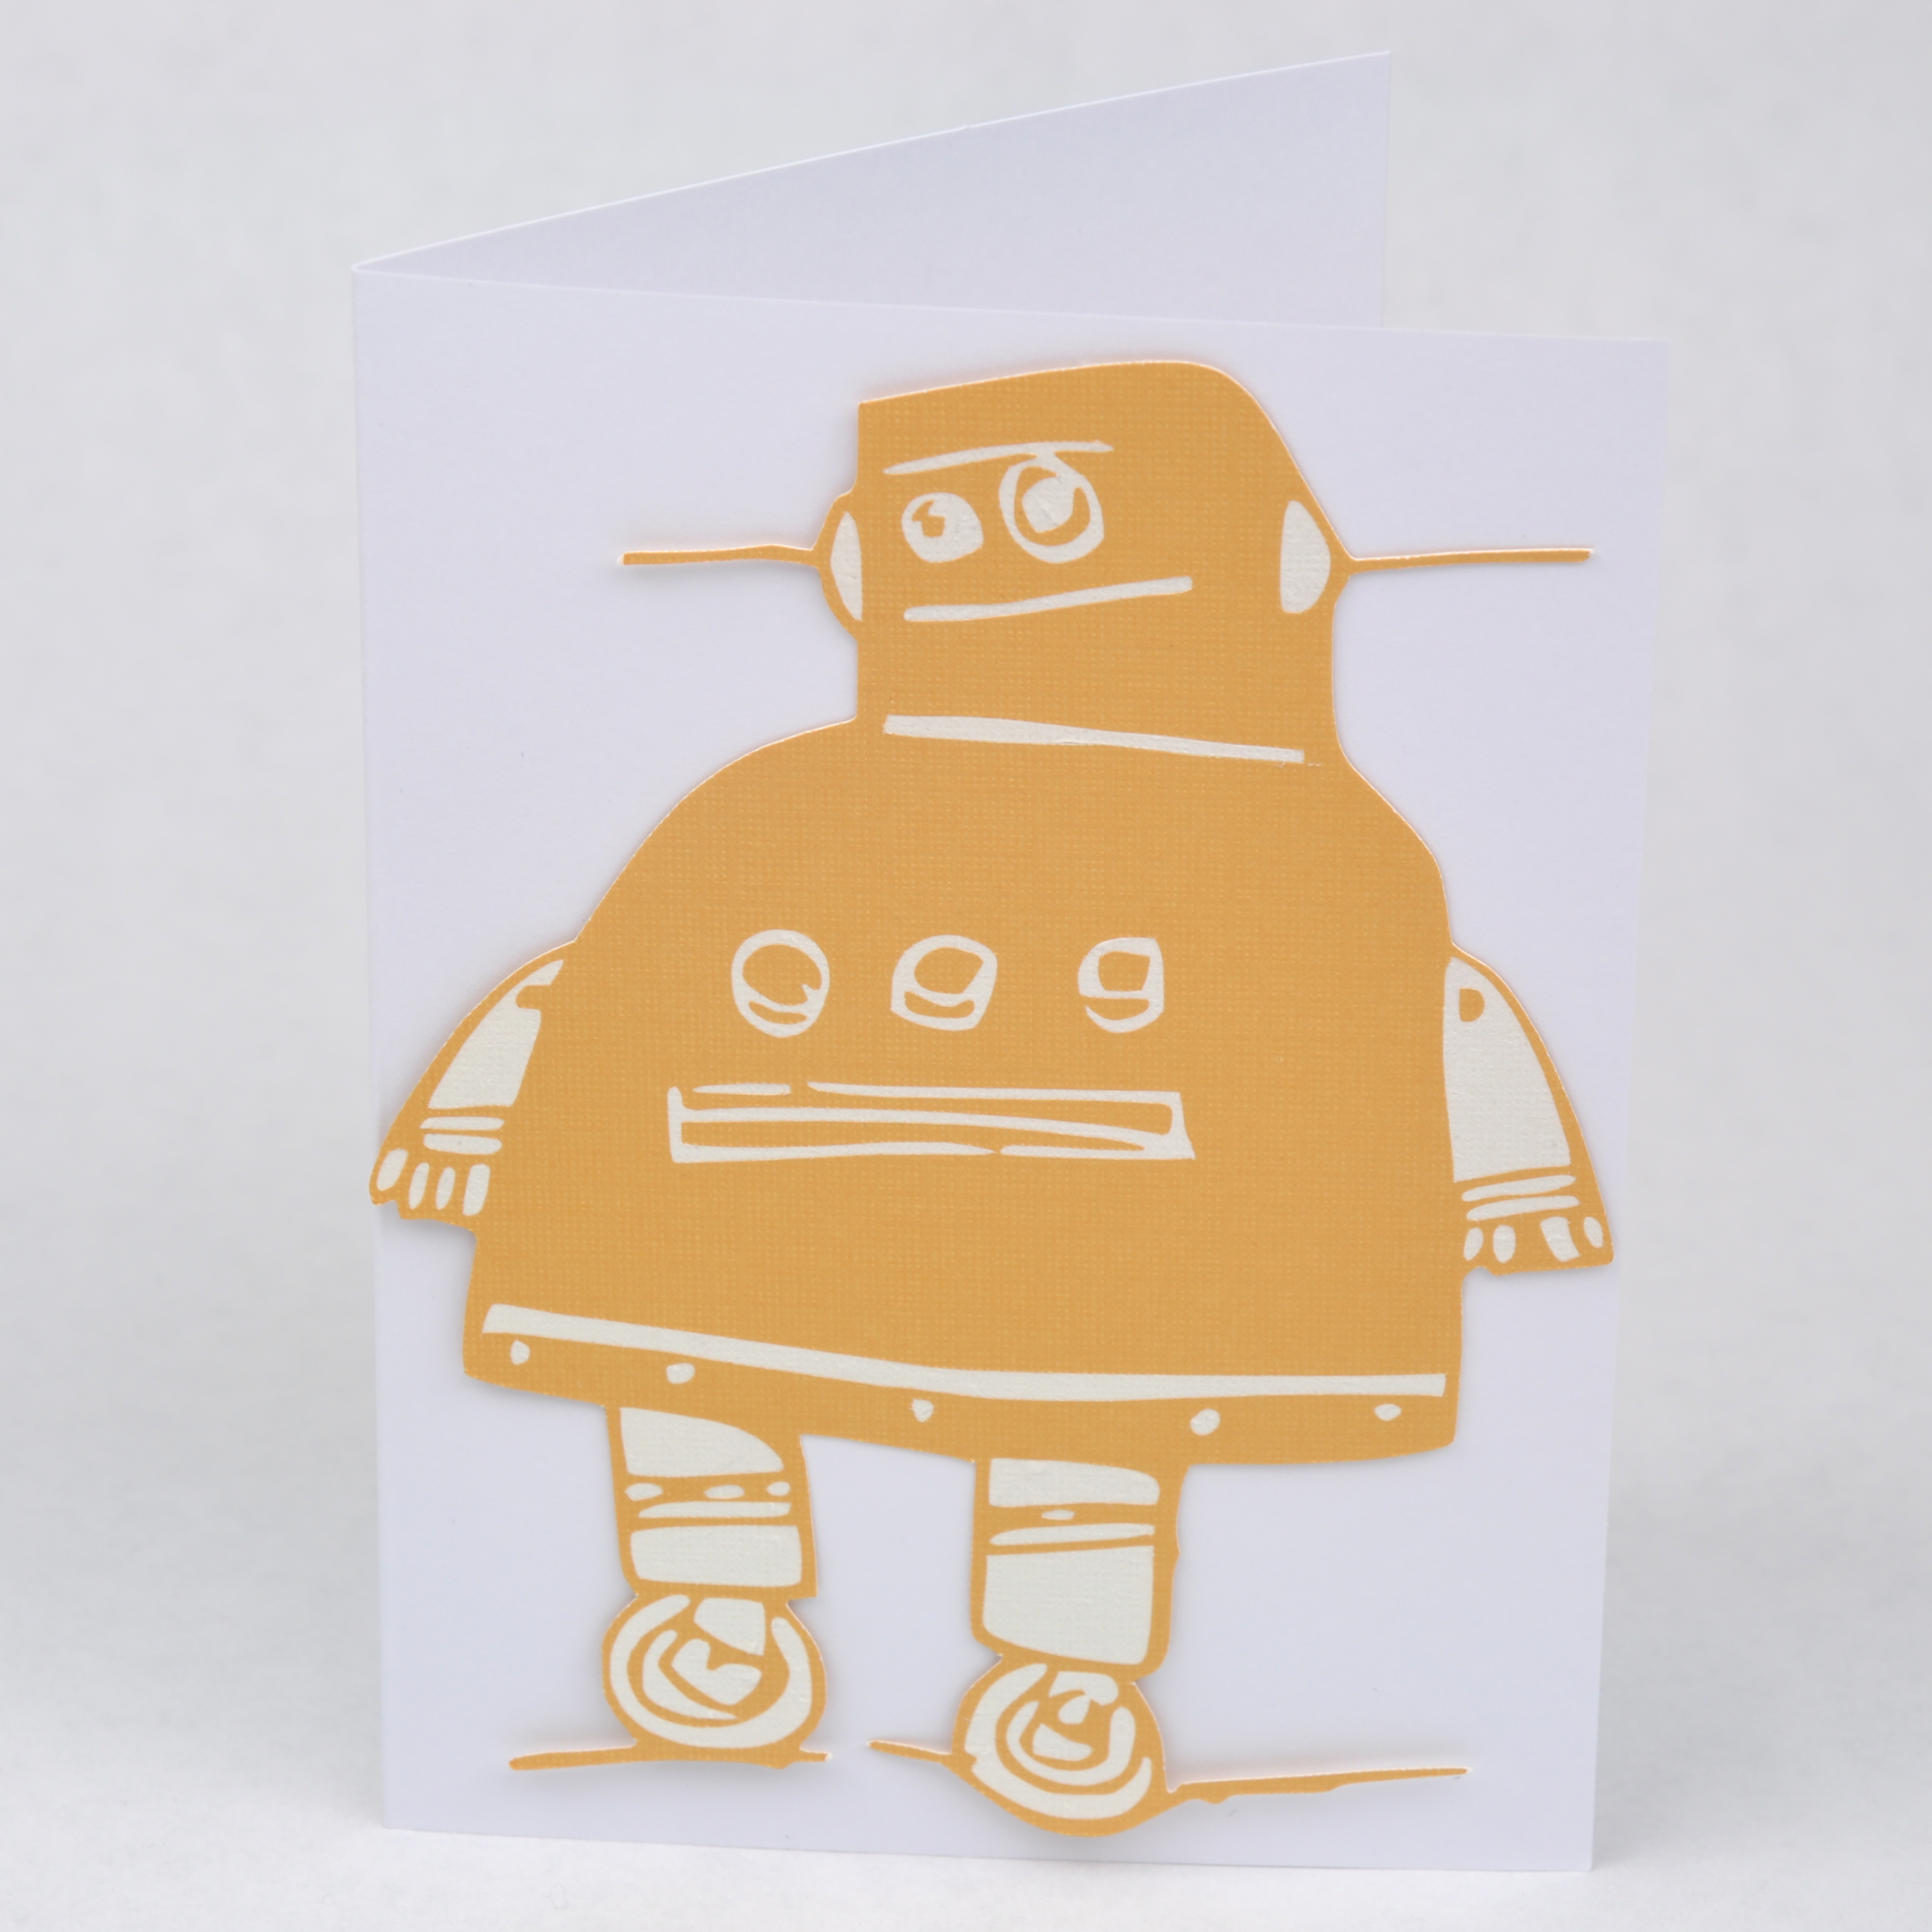
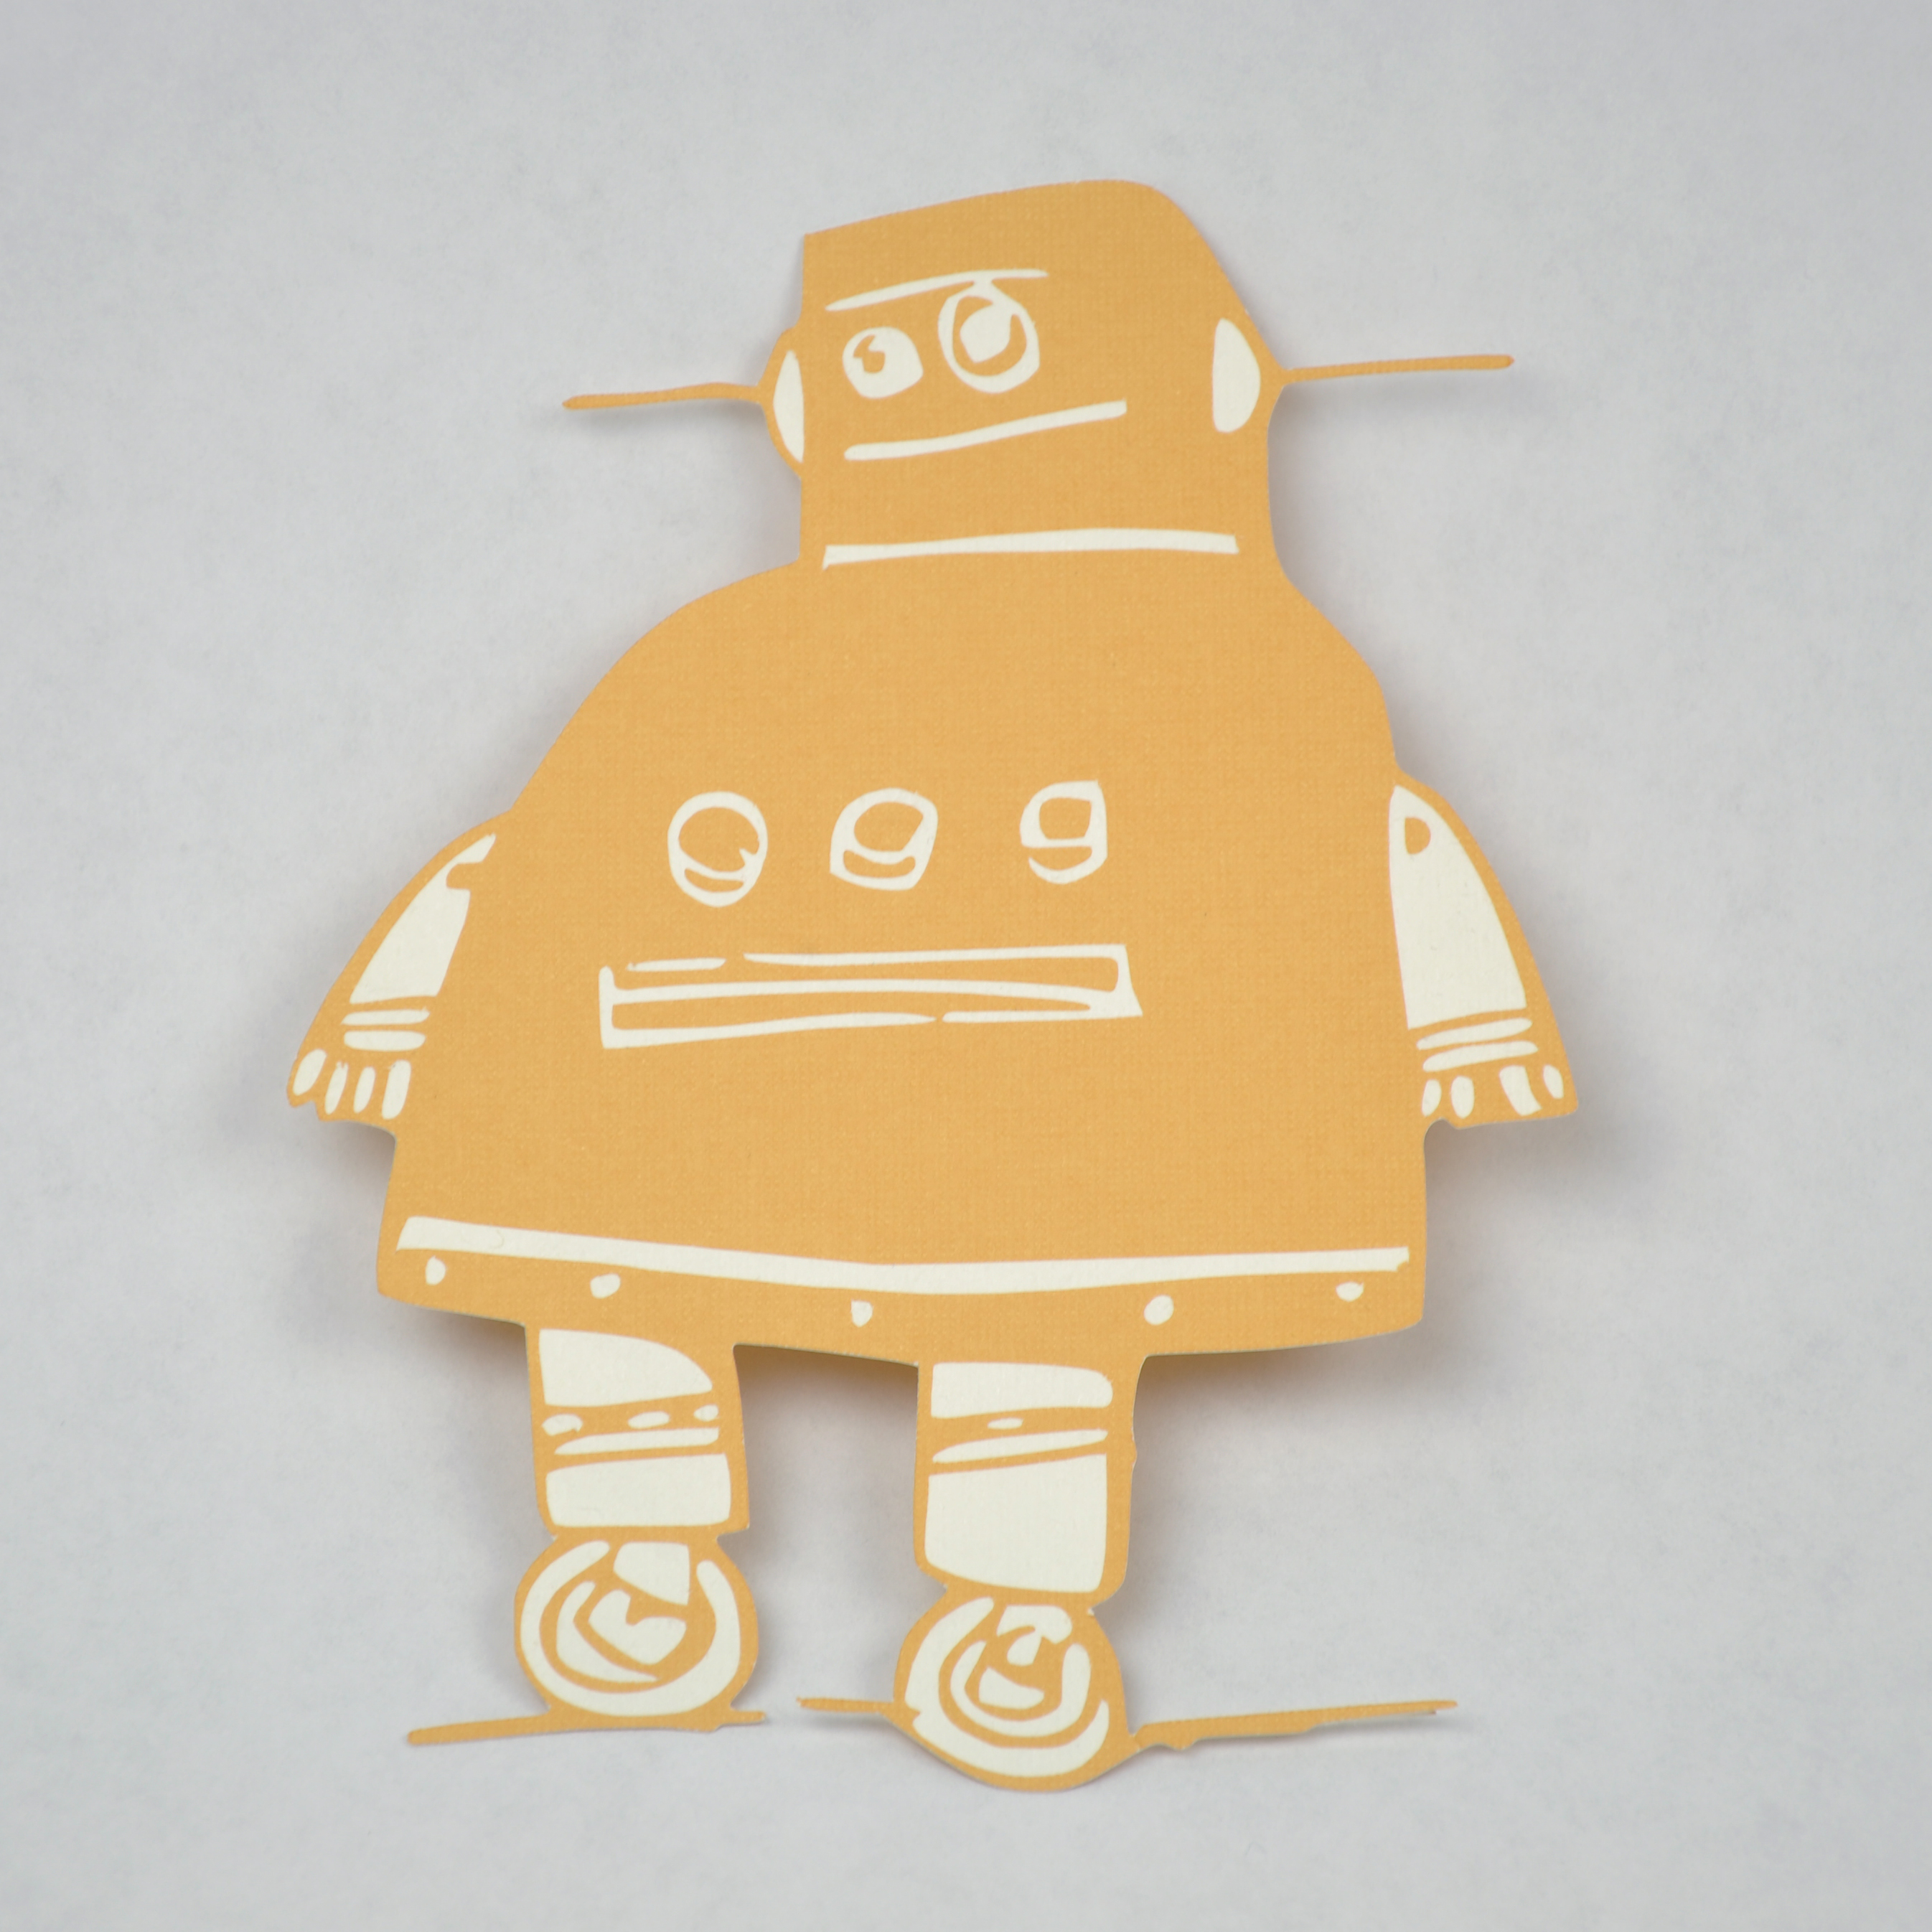

Now you are ready to use it however you want. I put mine on a card!
I think it is most fun just pulling off the extra paper!
I think it is most fun just pulling off the extra paper!