Use NetFabb to Segment an STL File and Print It Bigger
by le FabShop in Workshop > 3D Printing
14369 Views, 193 Favorites, 0 Comments
Use NetFabb to Segment an STL File and Print It Bigger
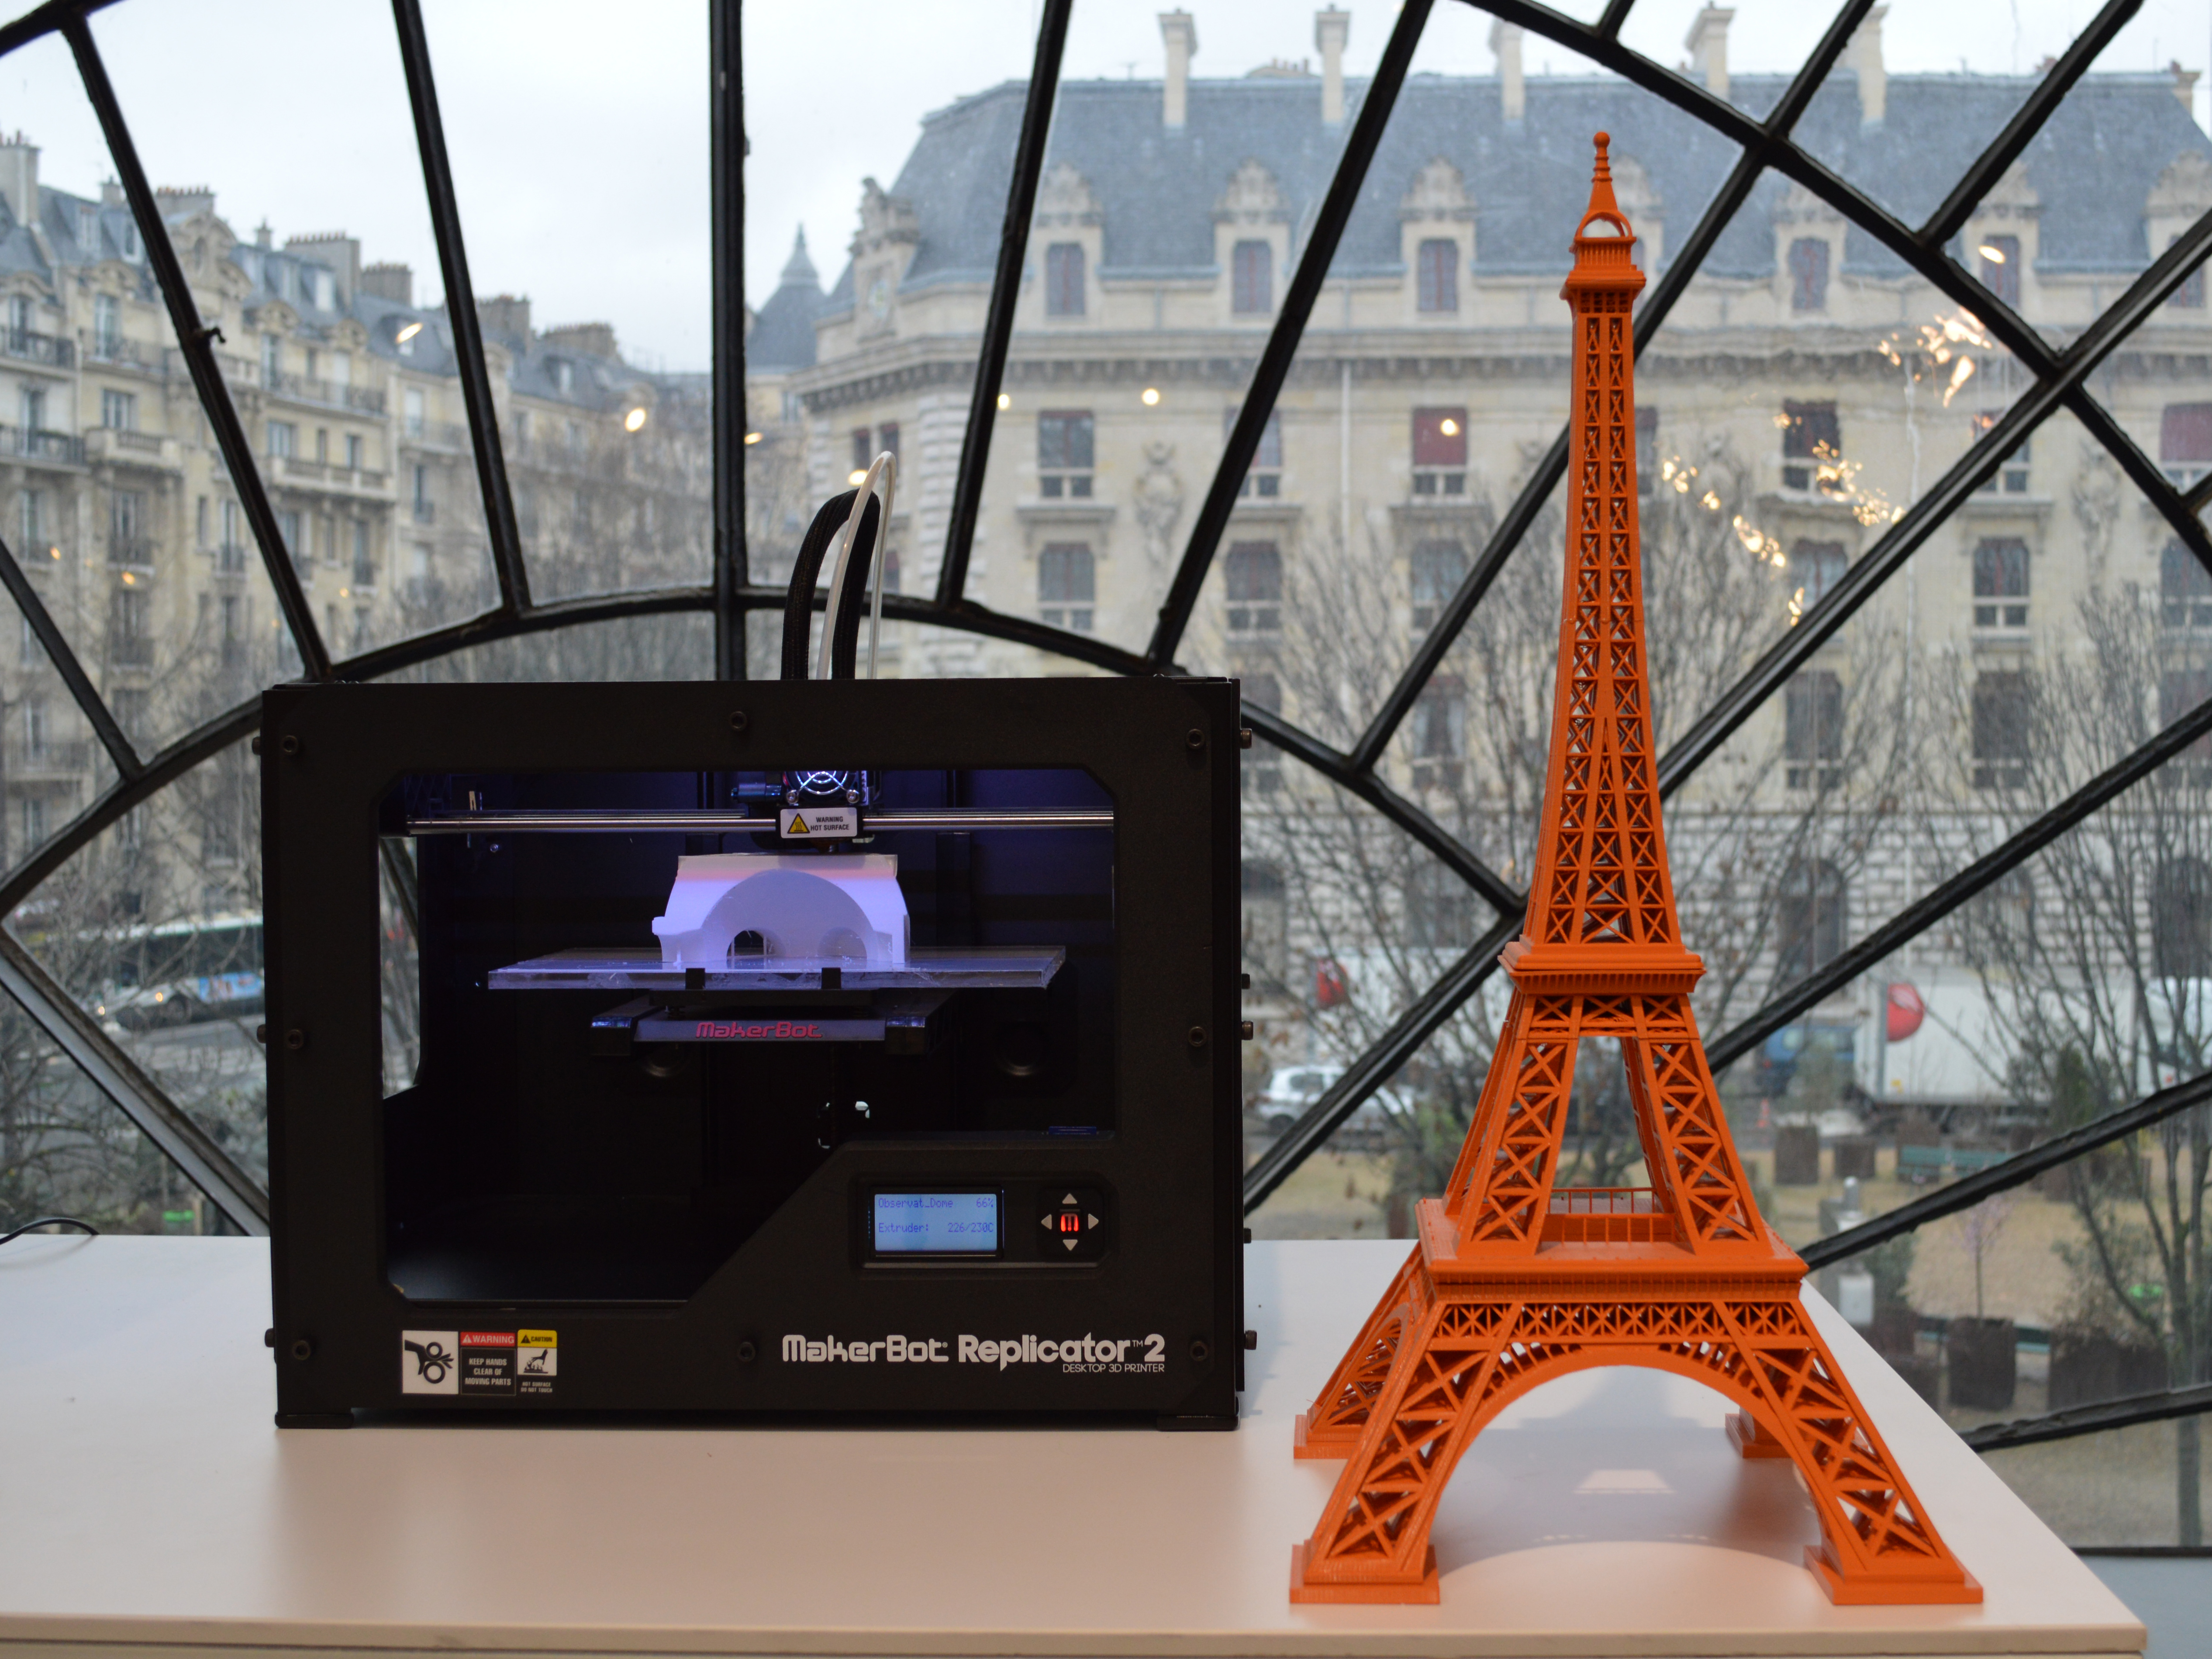
Having a Paris based design studio, we absolutely needed an Eiffel Tower. So, why not making it big and orange, like le FabShop. Thanks to B9 creation, who had already designed one, we only had to use Netfabb to slice their model in 7 main components and glue them together with epoxy. It is our most impressive part.
We gave an exact copy of our creation to MakerBot's office in Brooklyn to thanks them for our partnership. Like in the good old days with the "Statue de la Liberté".
We gave an exact copy of our creation to MakerBot's office in Brooklyn to thanks them for our partnership. Like in the good old days with the "Statue de la Liberté".
Find a Clean 3D Model
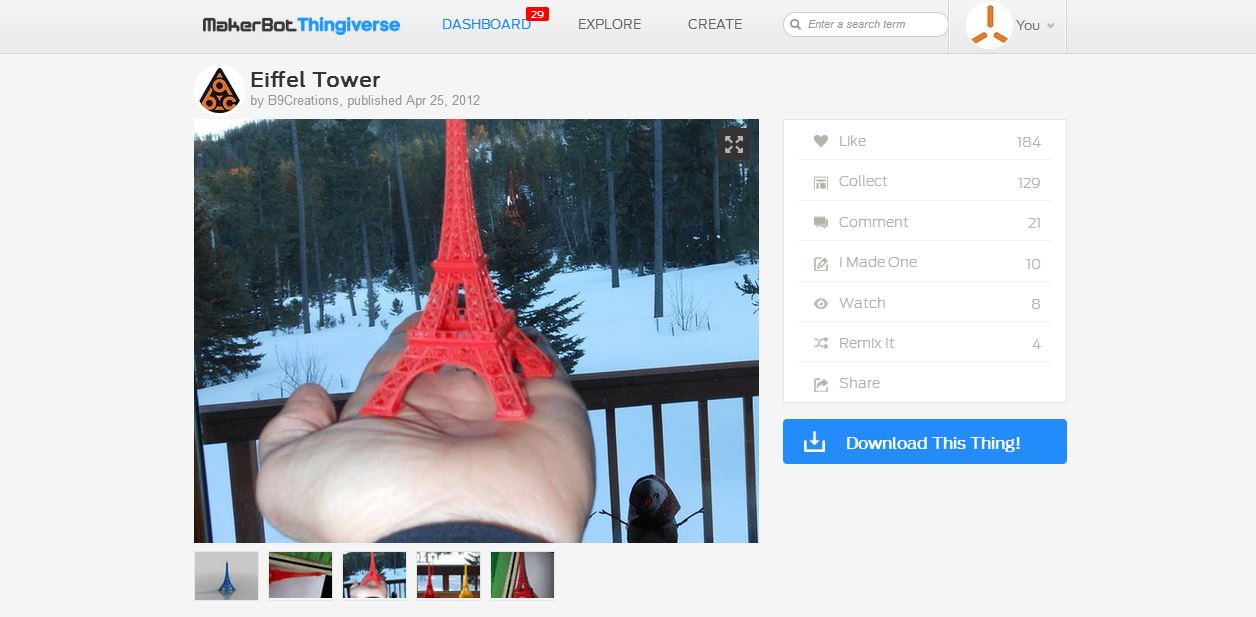
We used MakerBot Thingiverse to find a nice 3D model of the Eiffel tower that had already been printed 15cm high.
Cut and Export on Netfabb
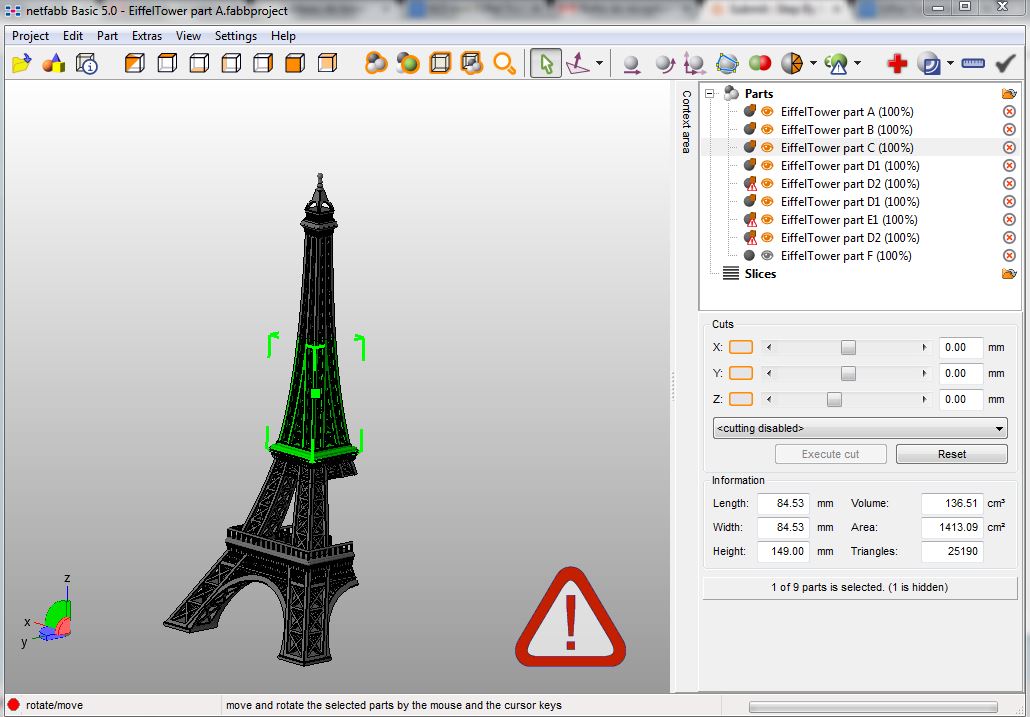
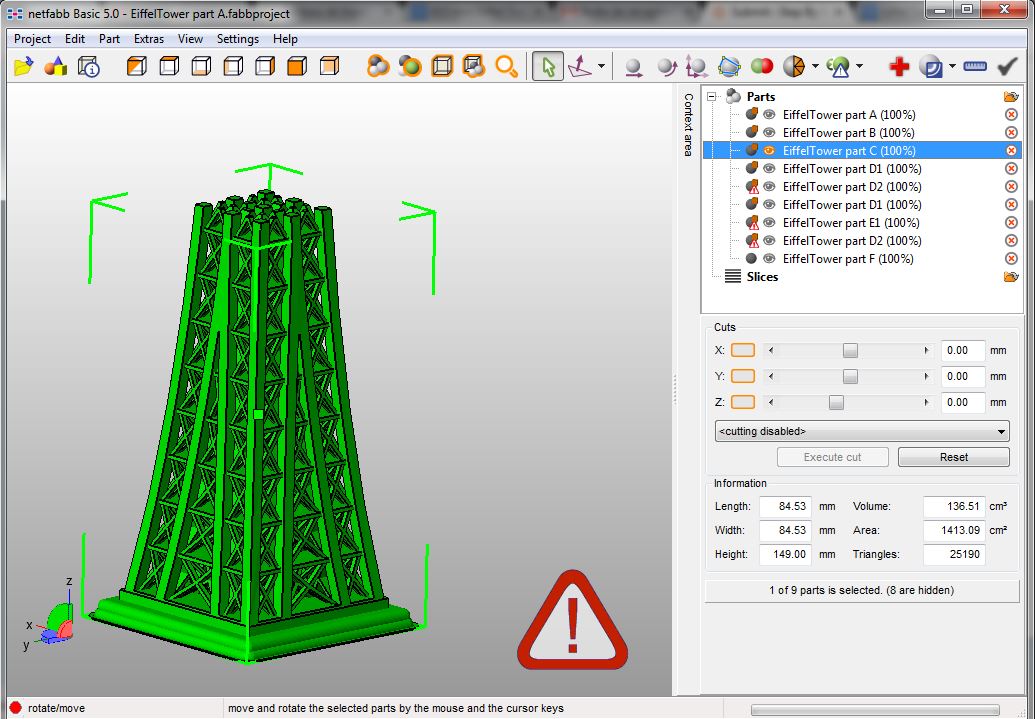
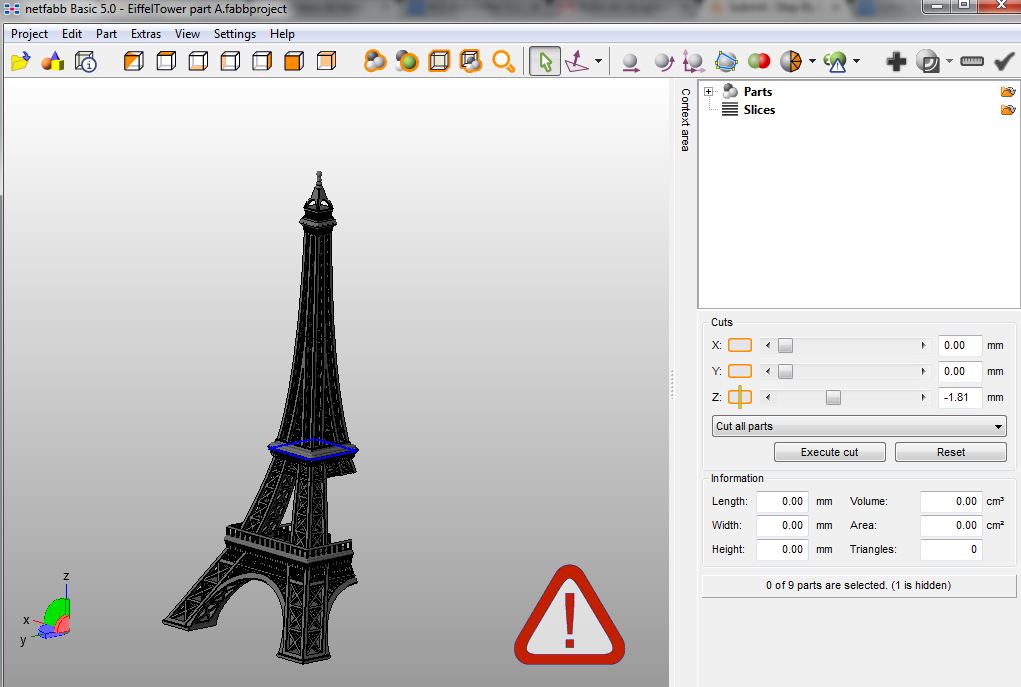
Use the free version of NetFabb : Netfabb Basic, to import your piece.
-Rescale it to the size you want it to be at the end.
-Use the Cuts option to slice portions of your model so that the tallest piece doesn't exceed the overall dimensions of your 3D Printer's Build Plate. (In my case, 15cm high)
-Export every single piece separately. You can save time with if you notice parts that are symetric or if they repeat themselve. In this case, export only one.
-Import the parts separately on your 3D printer's software, like MakerWare and orient them so you use a minimum of support.
-Send to the 3D Printer.
Glue
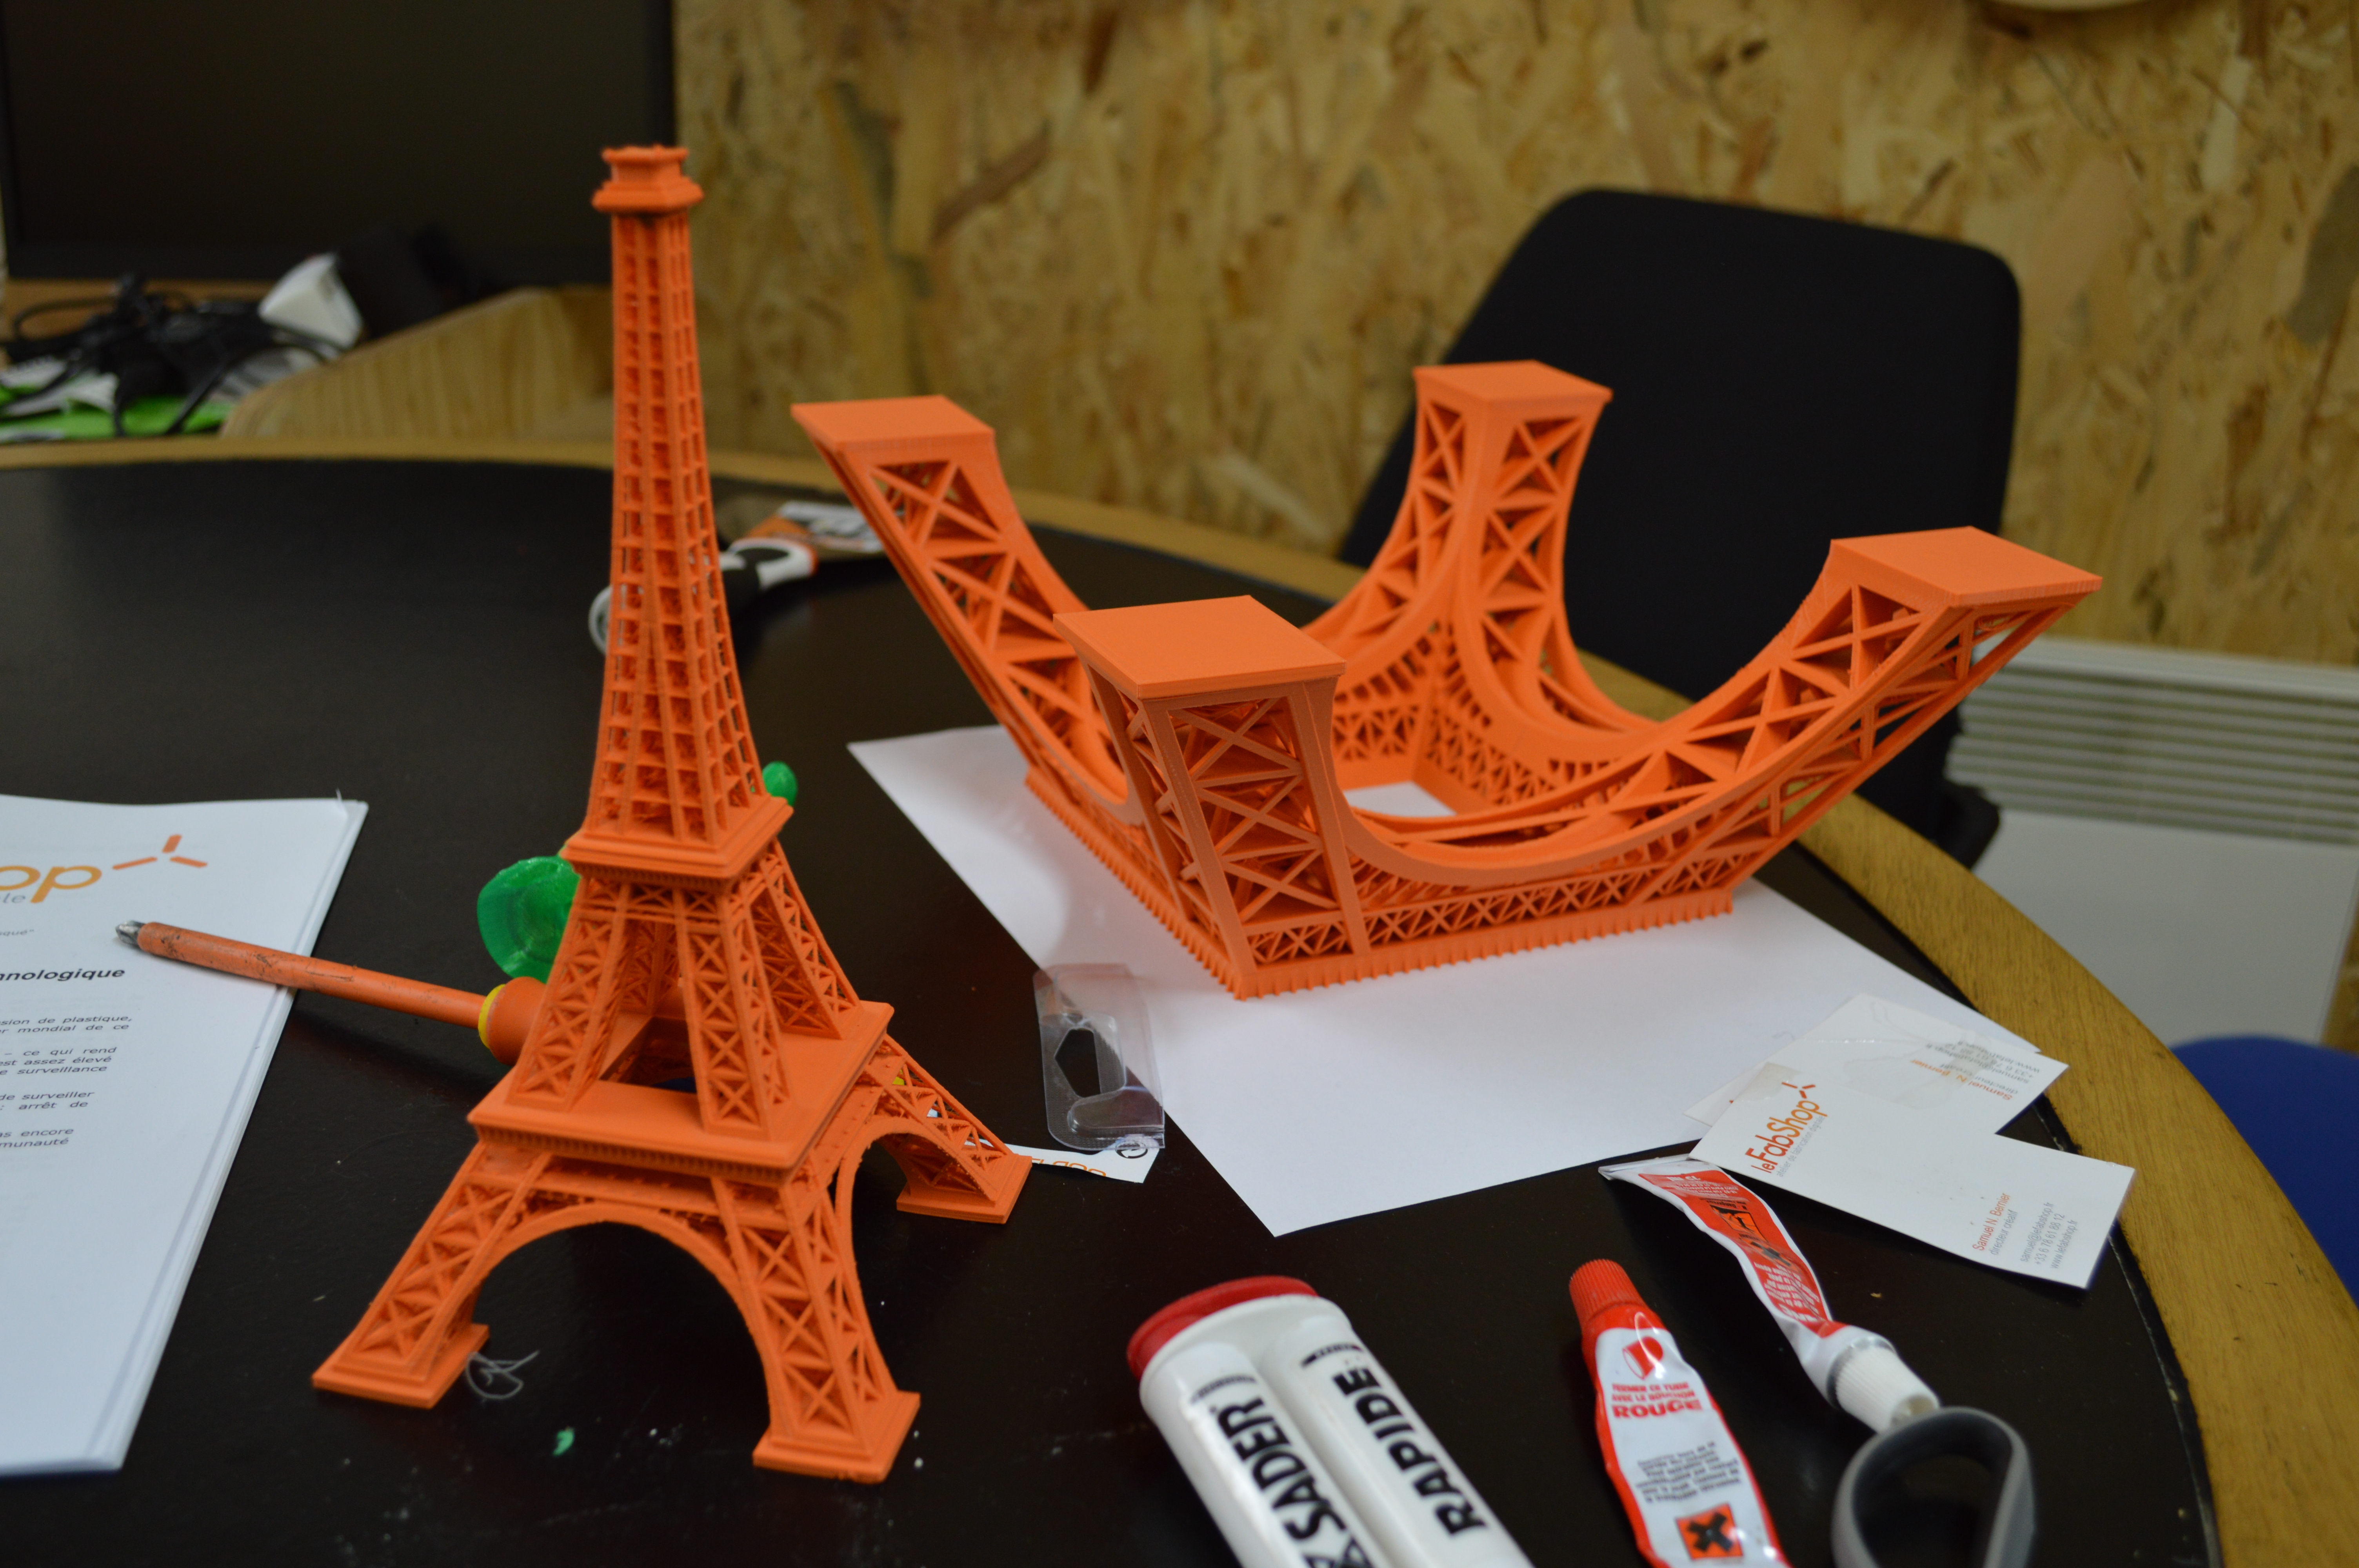
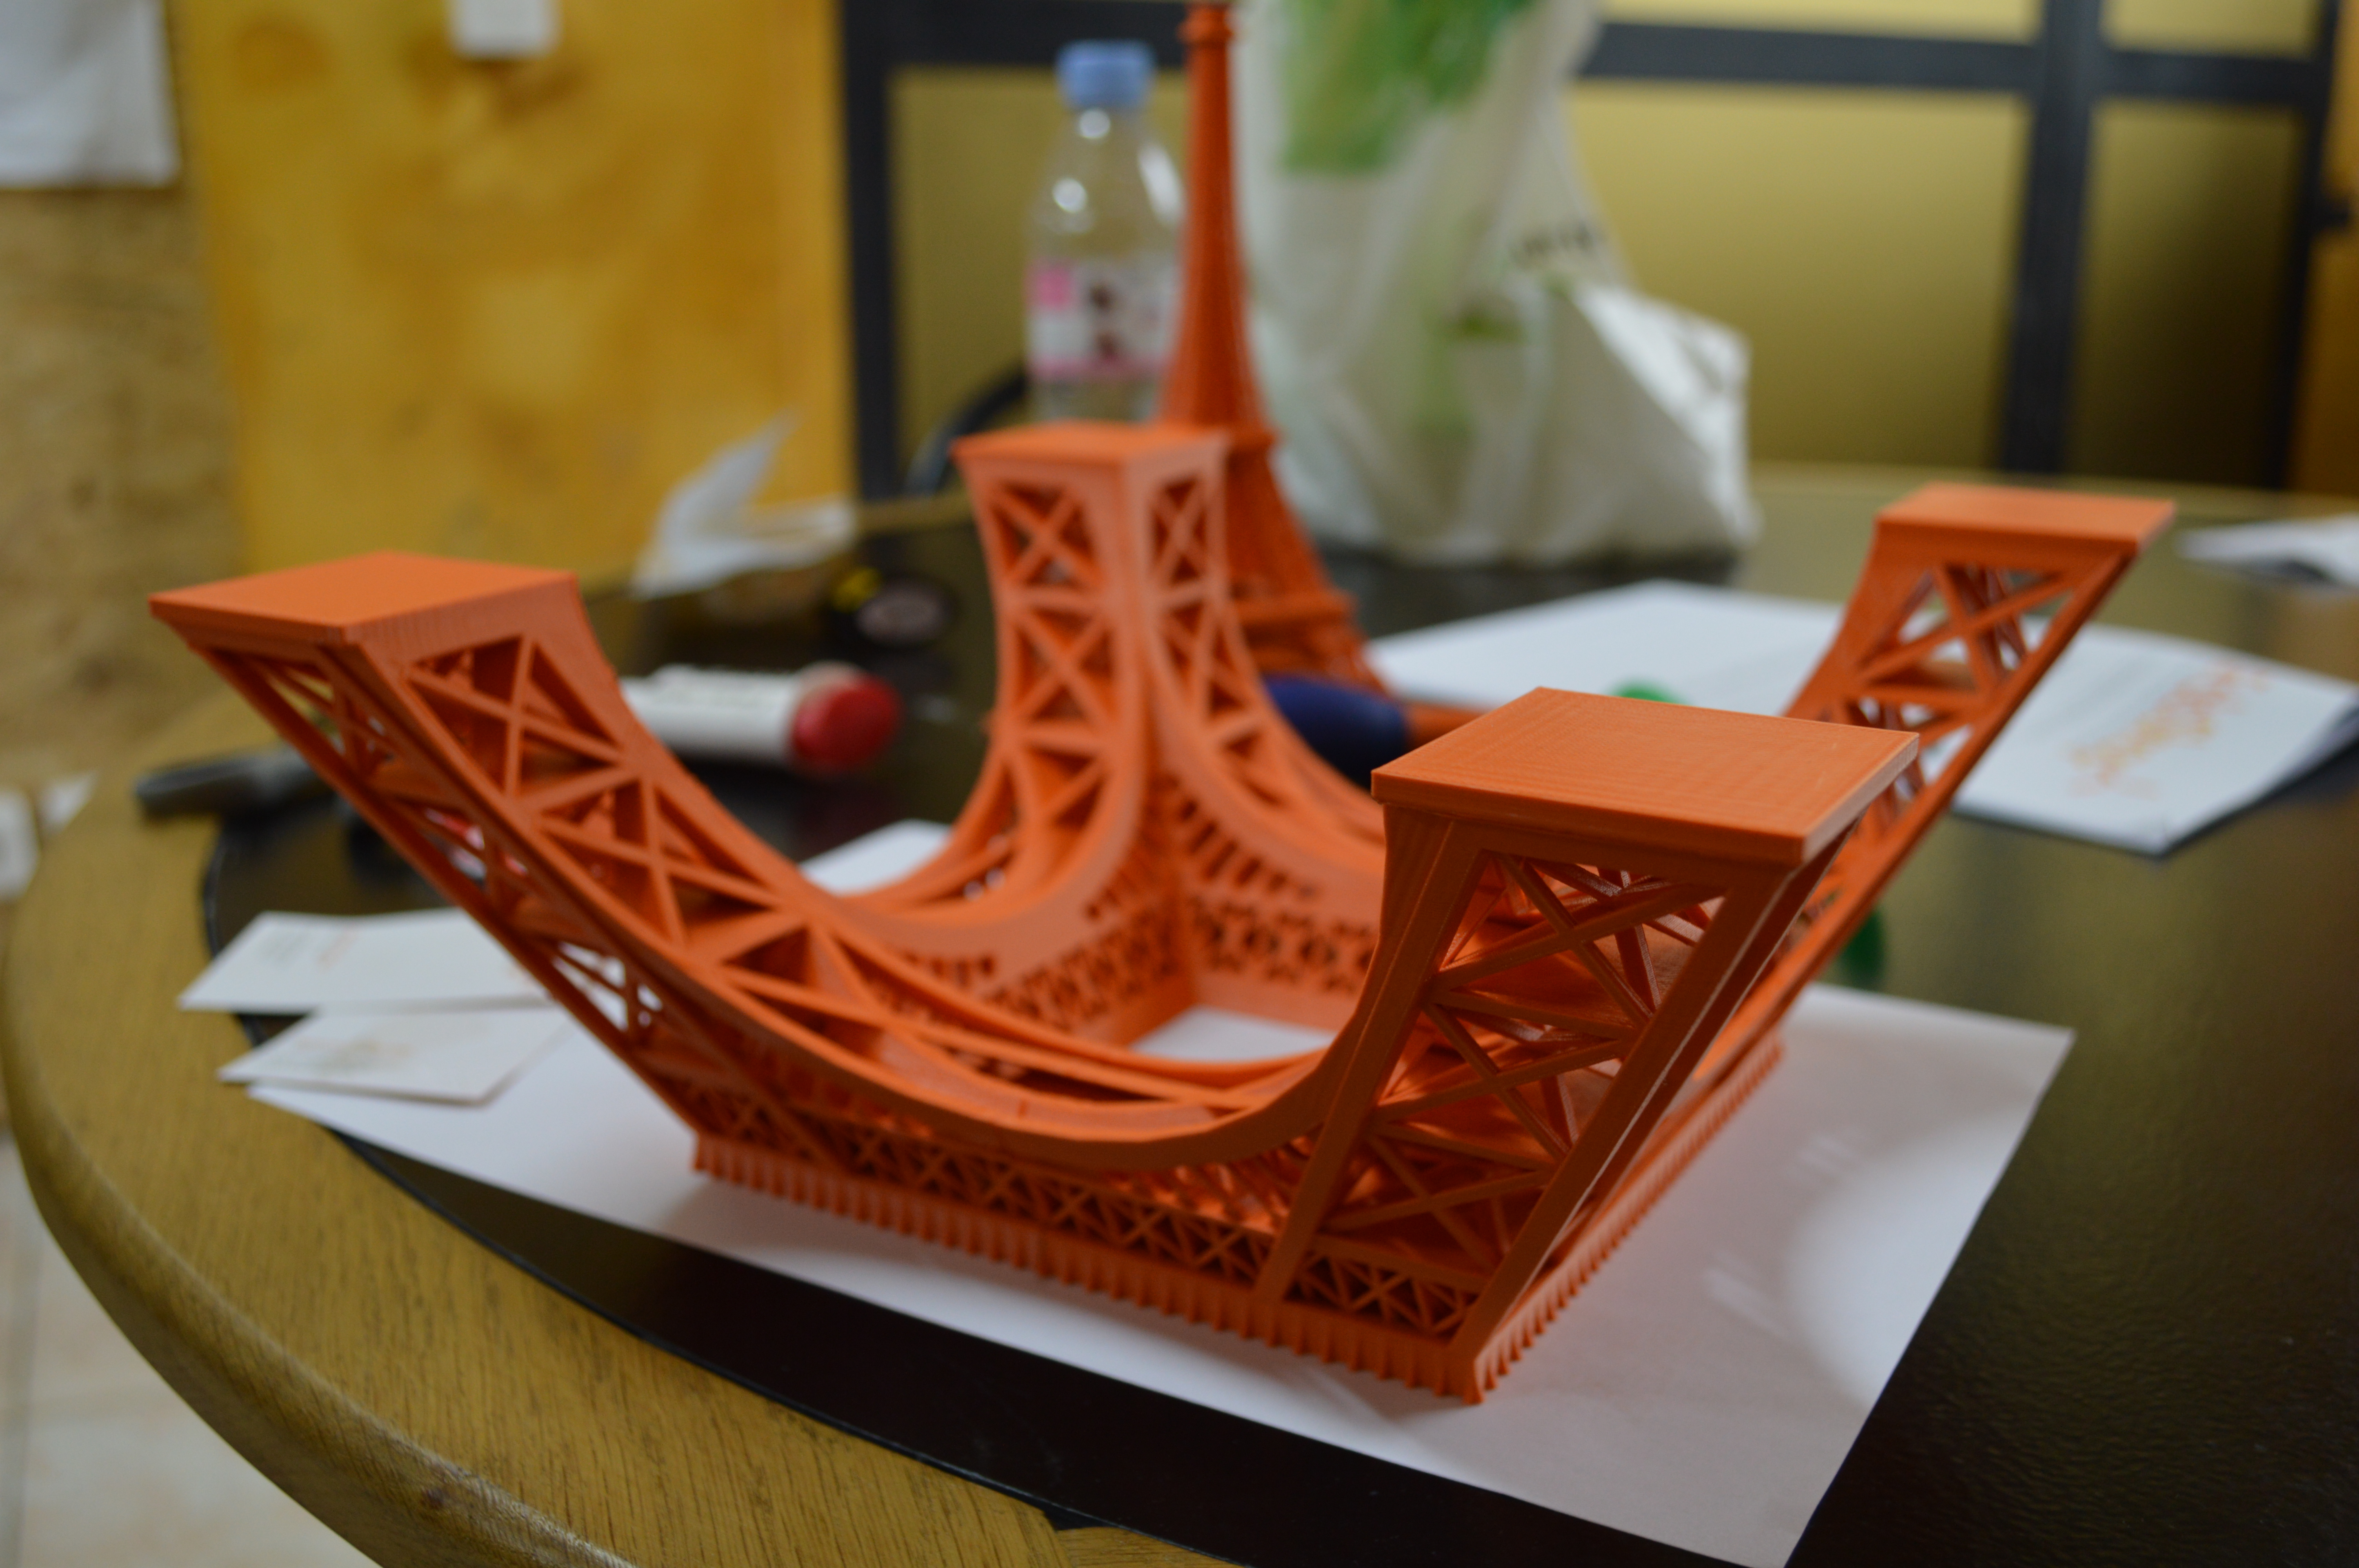
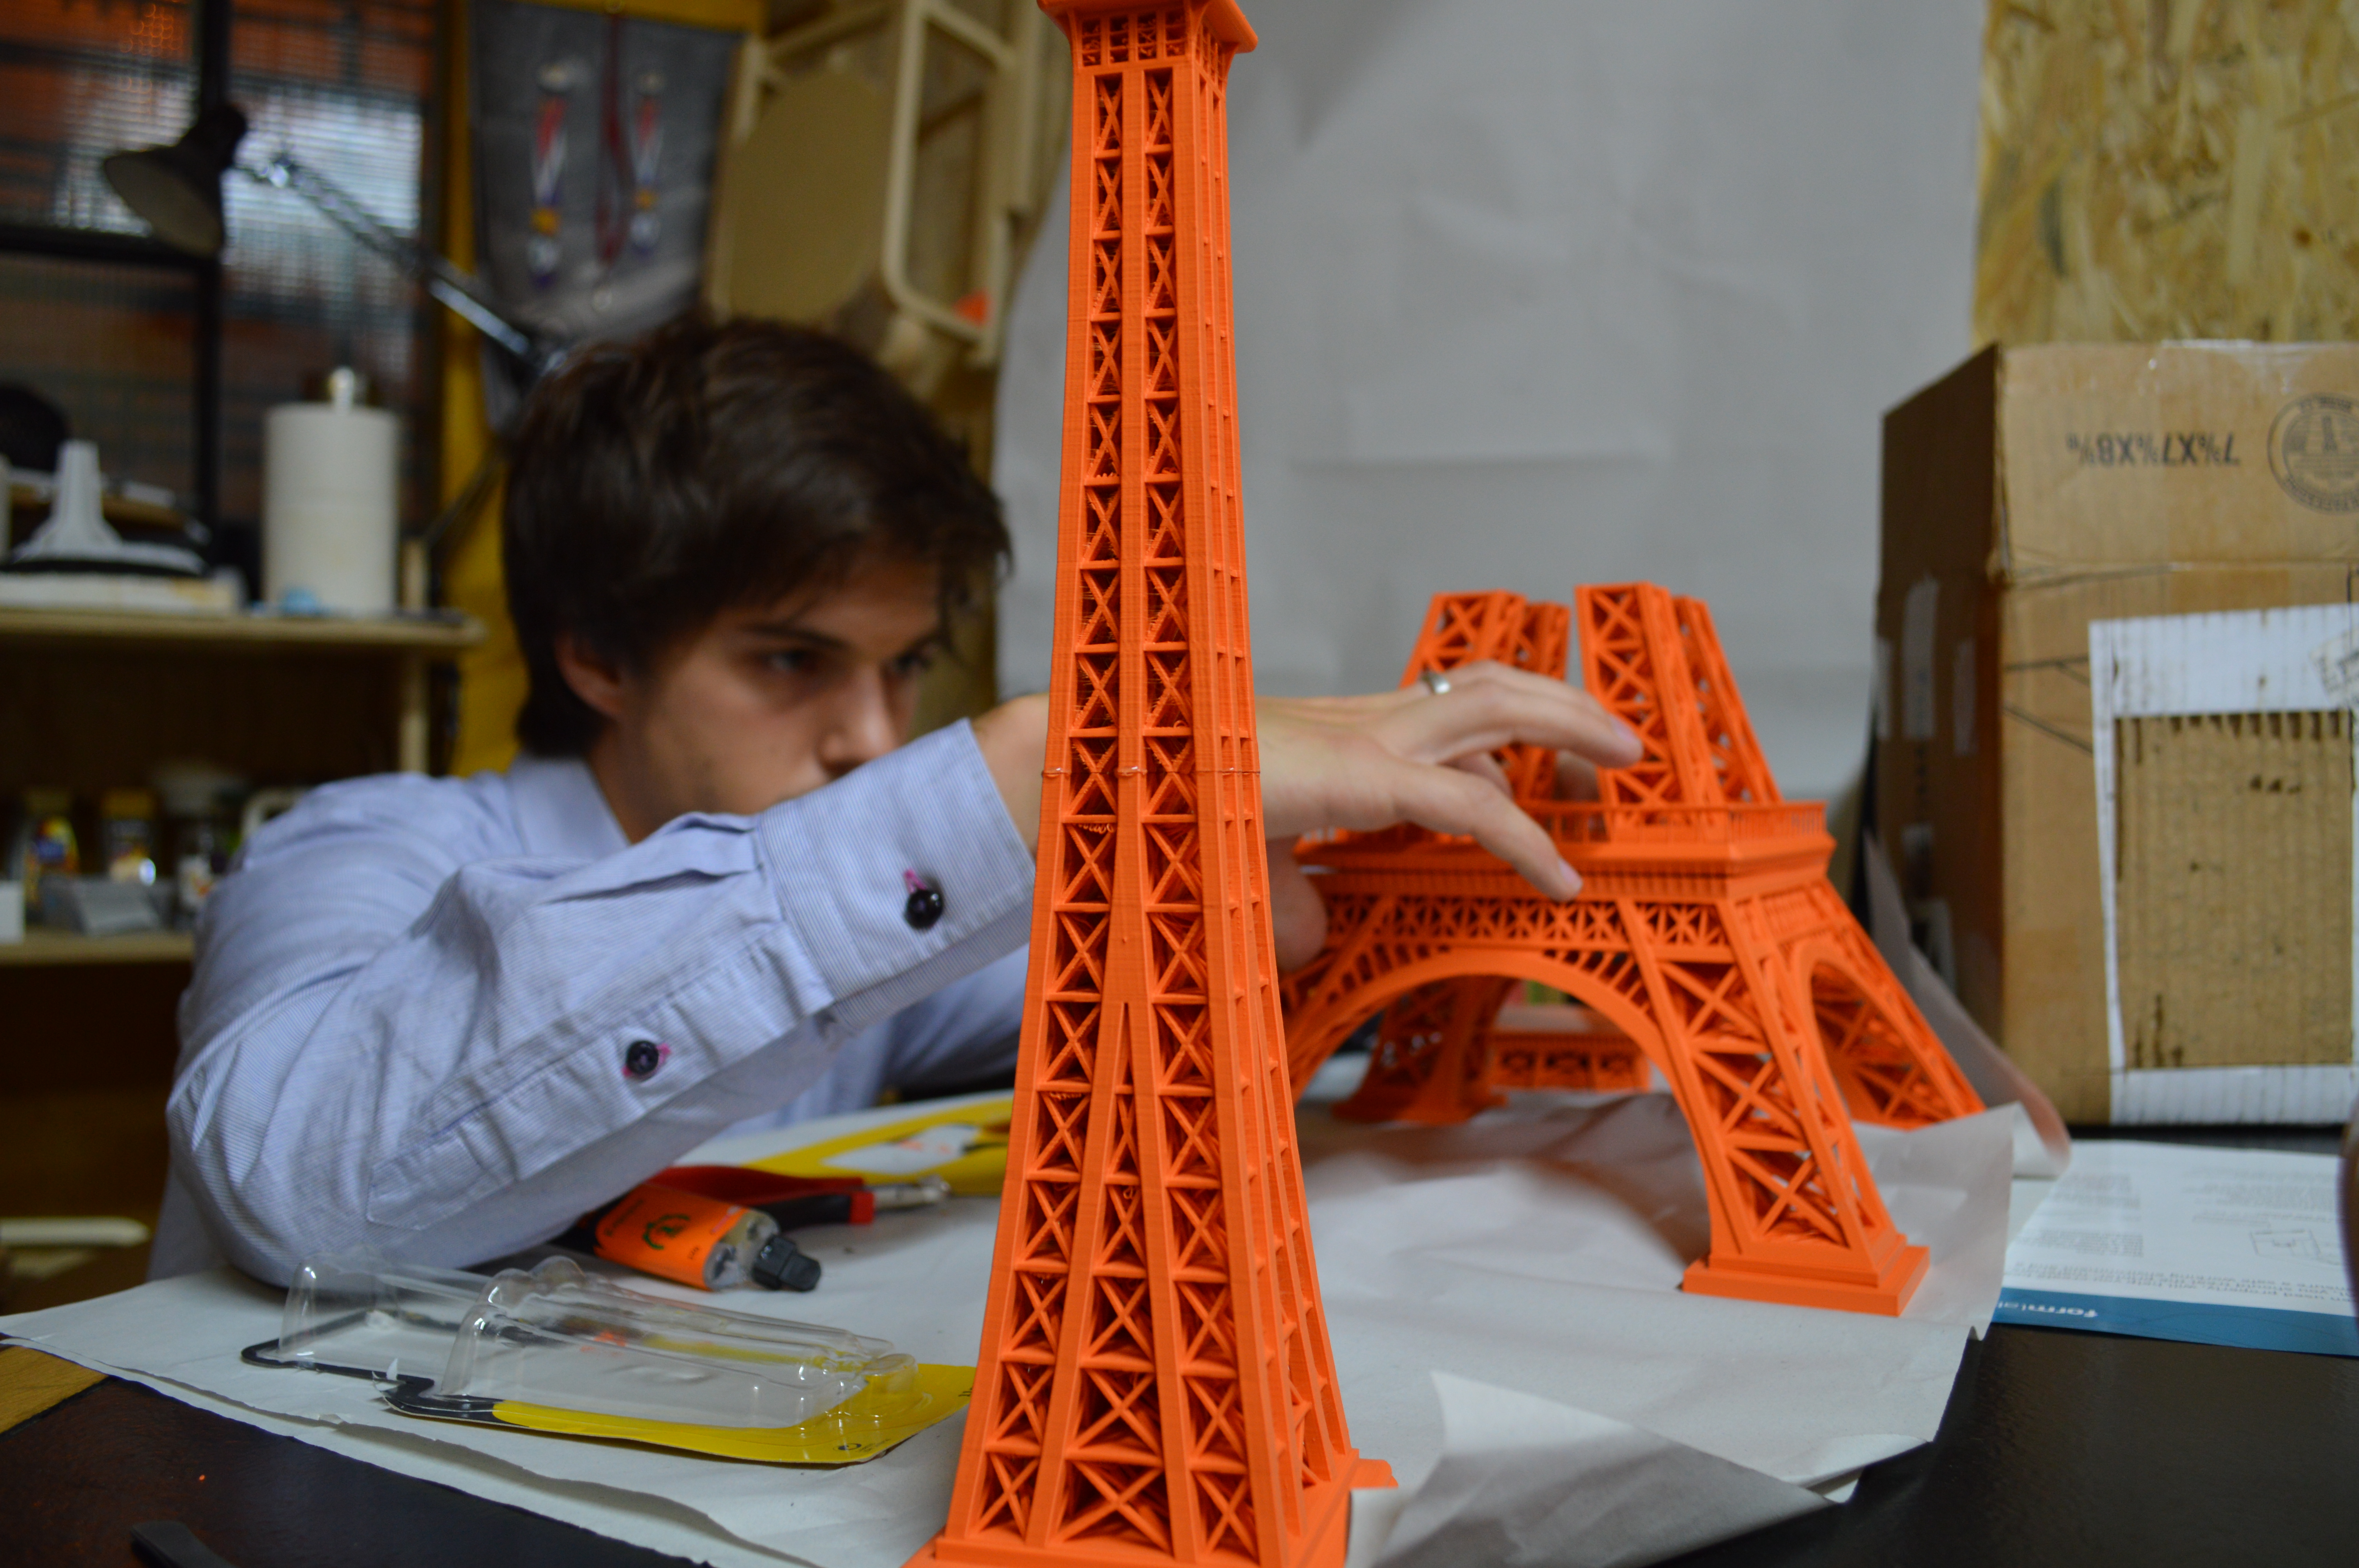
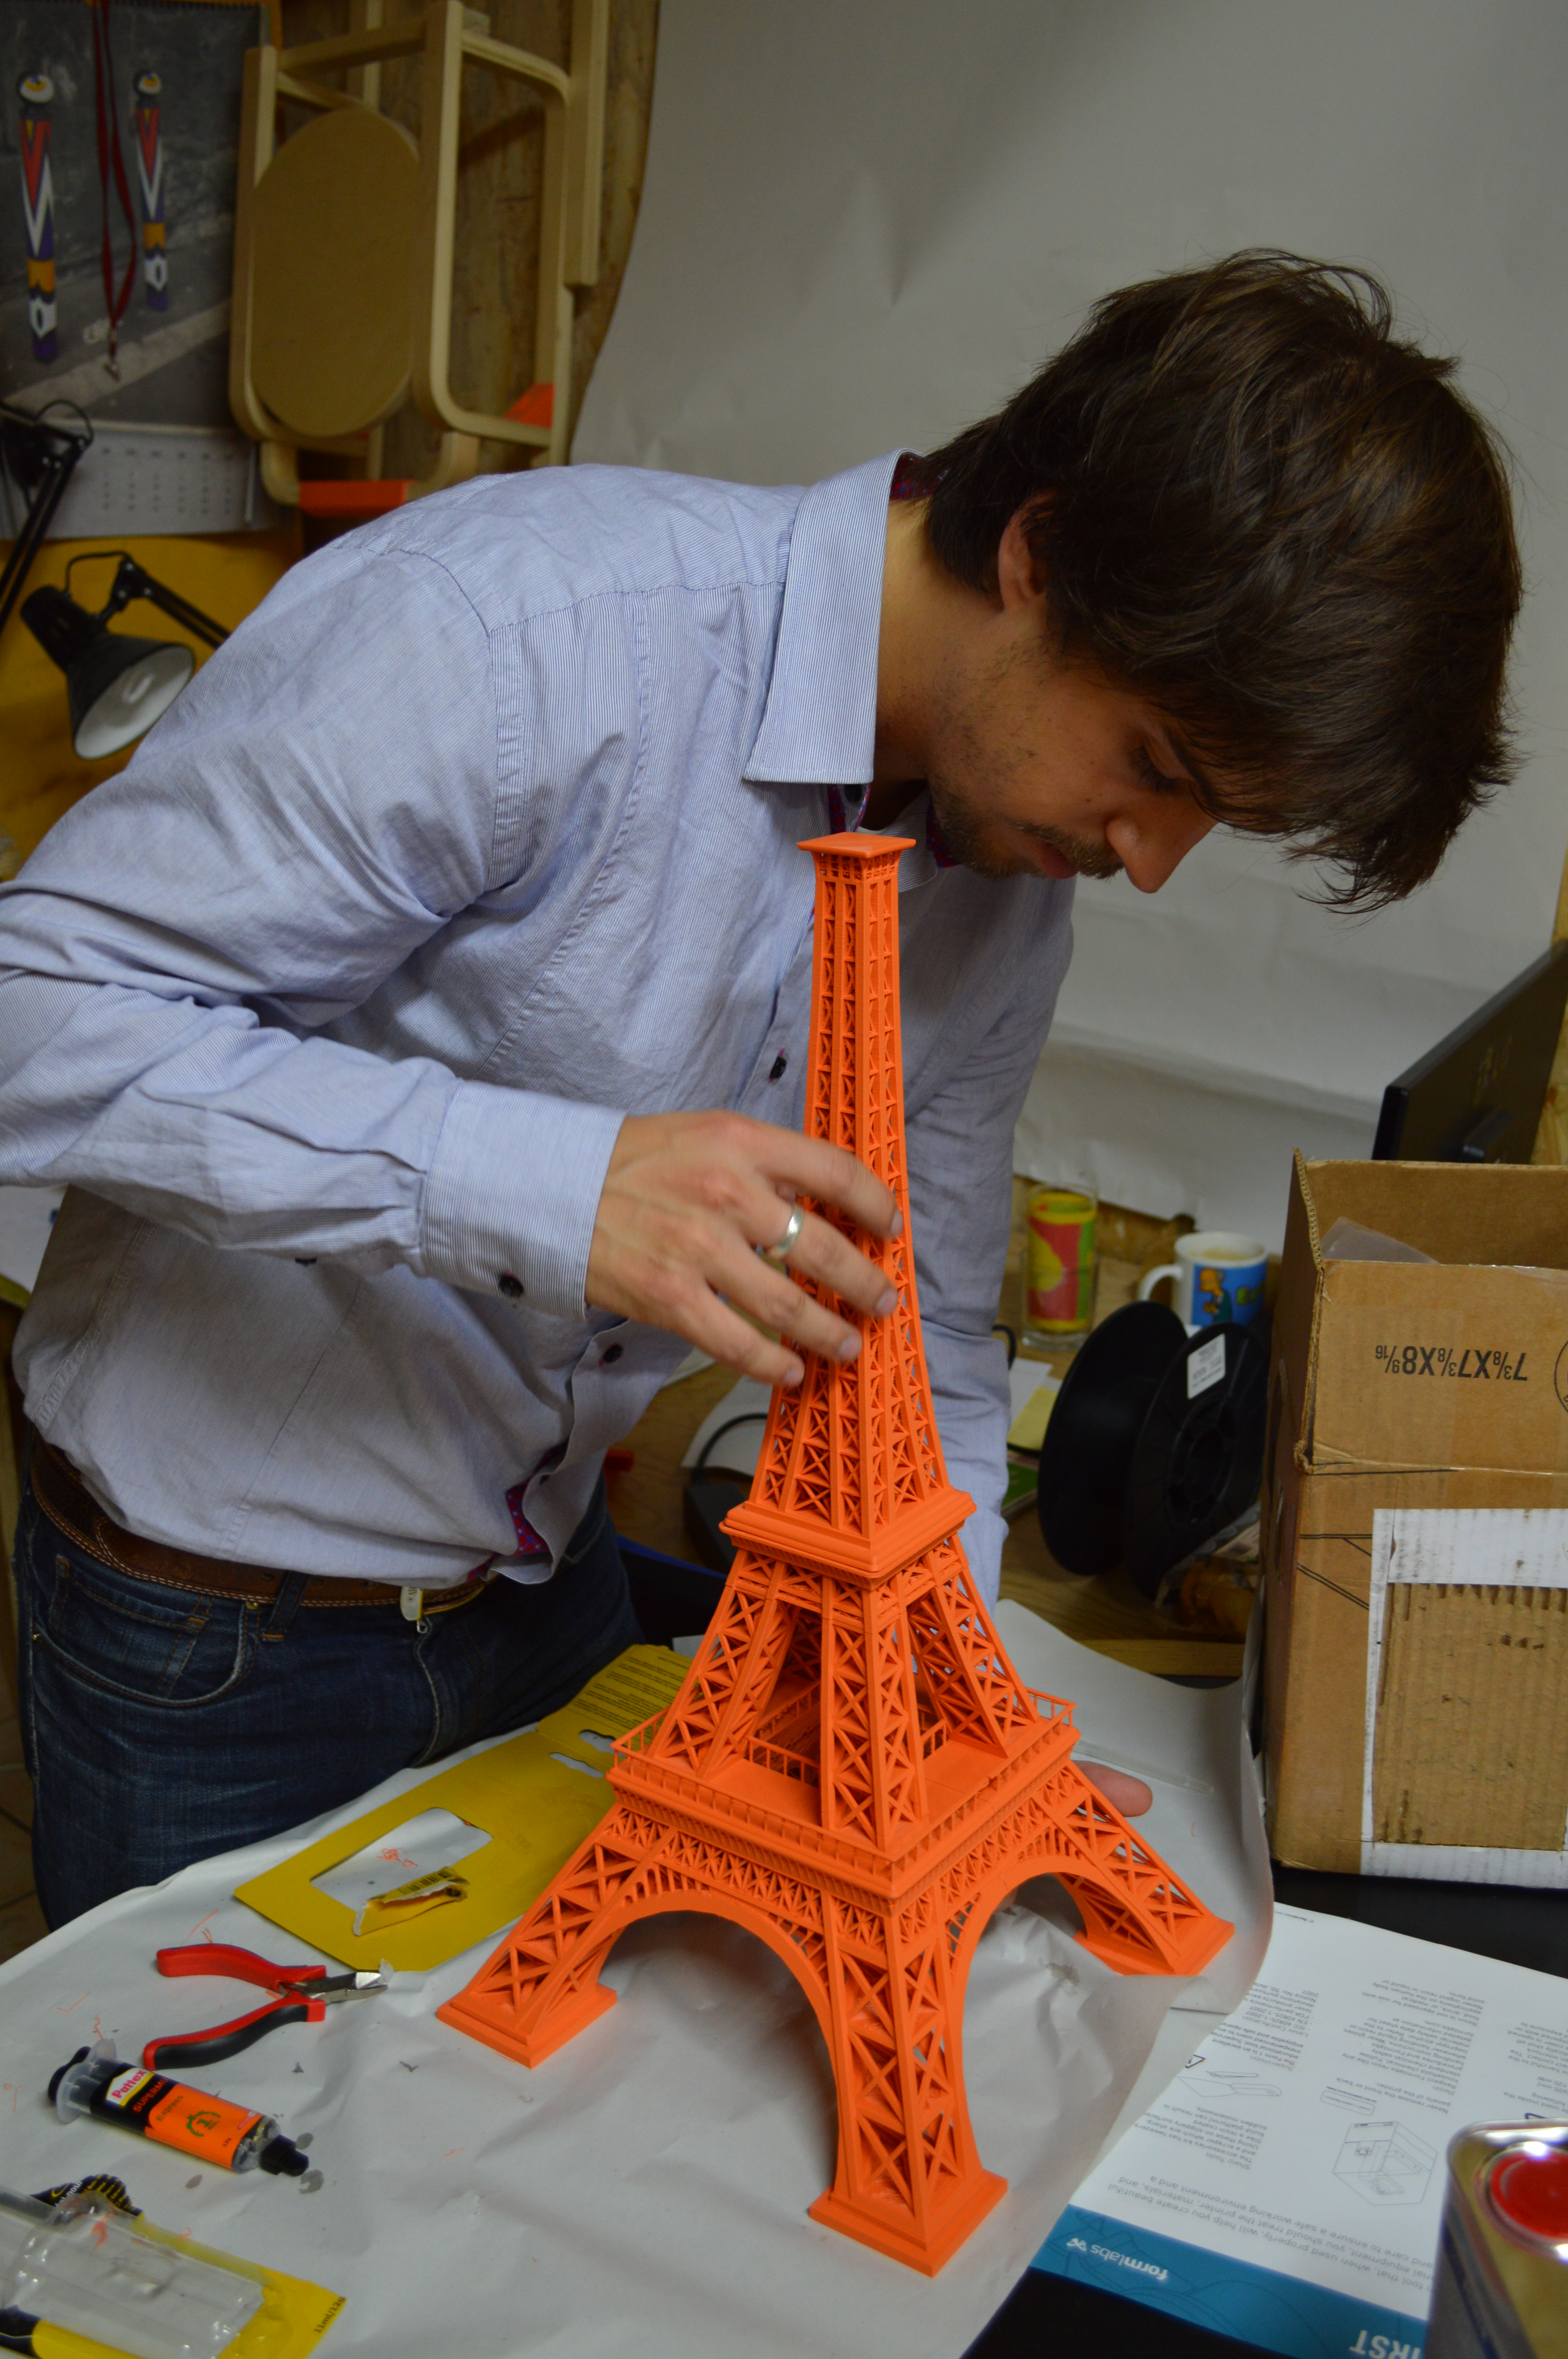
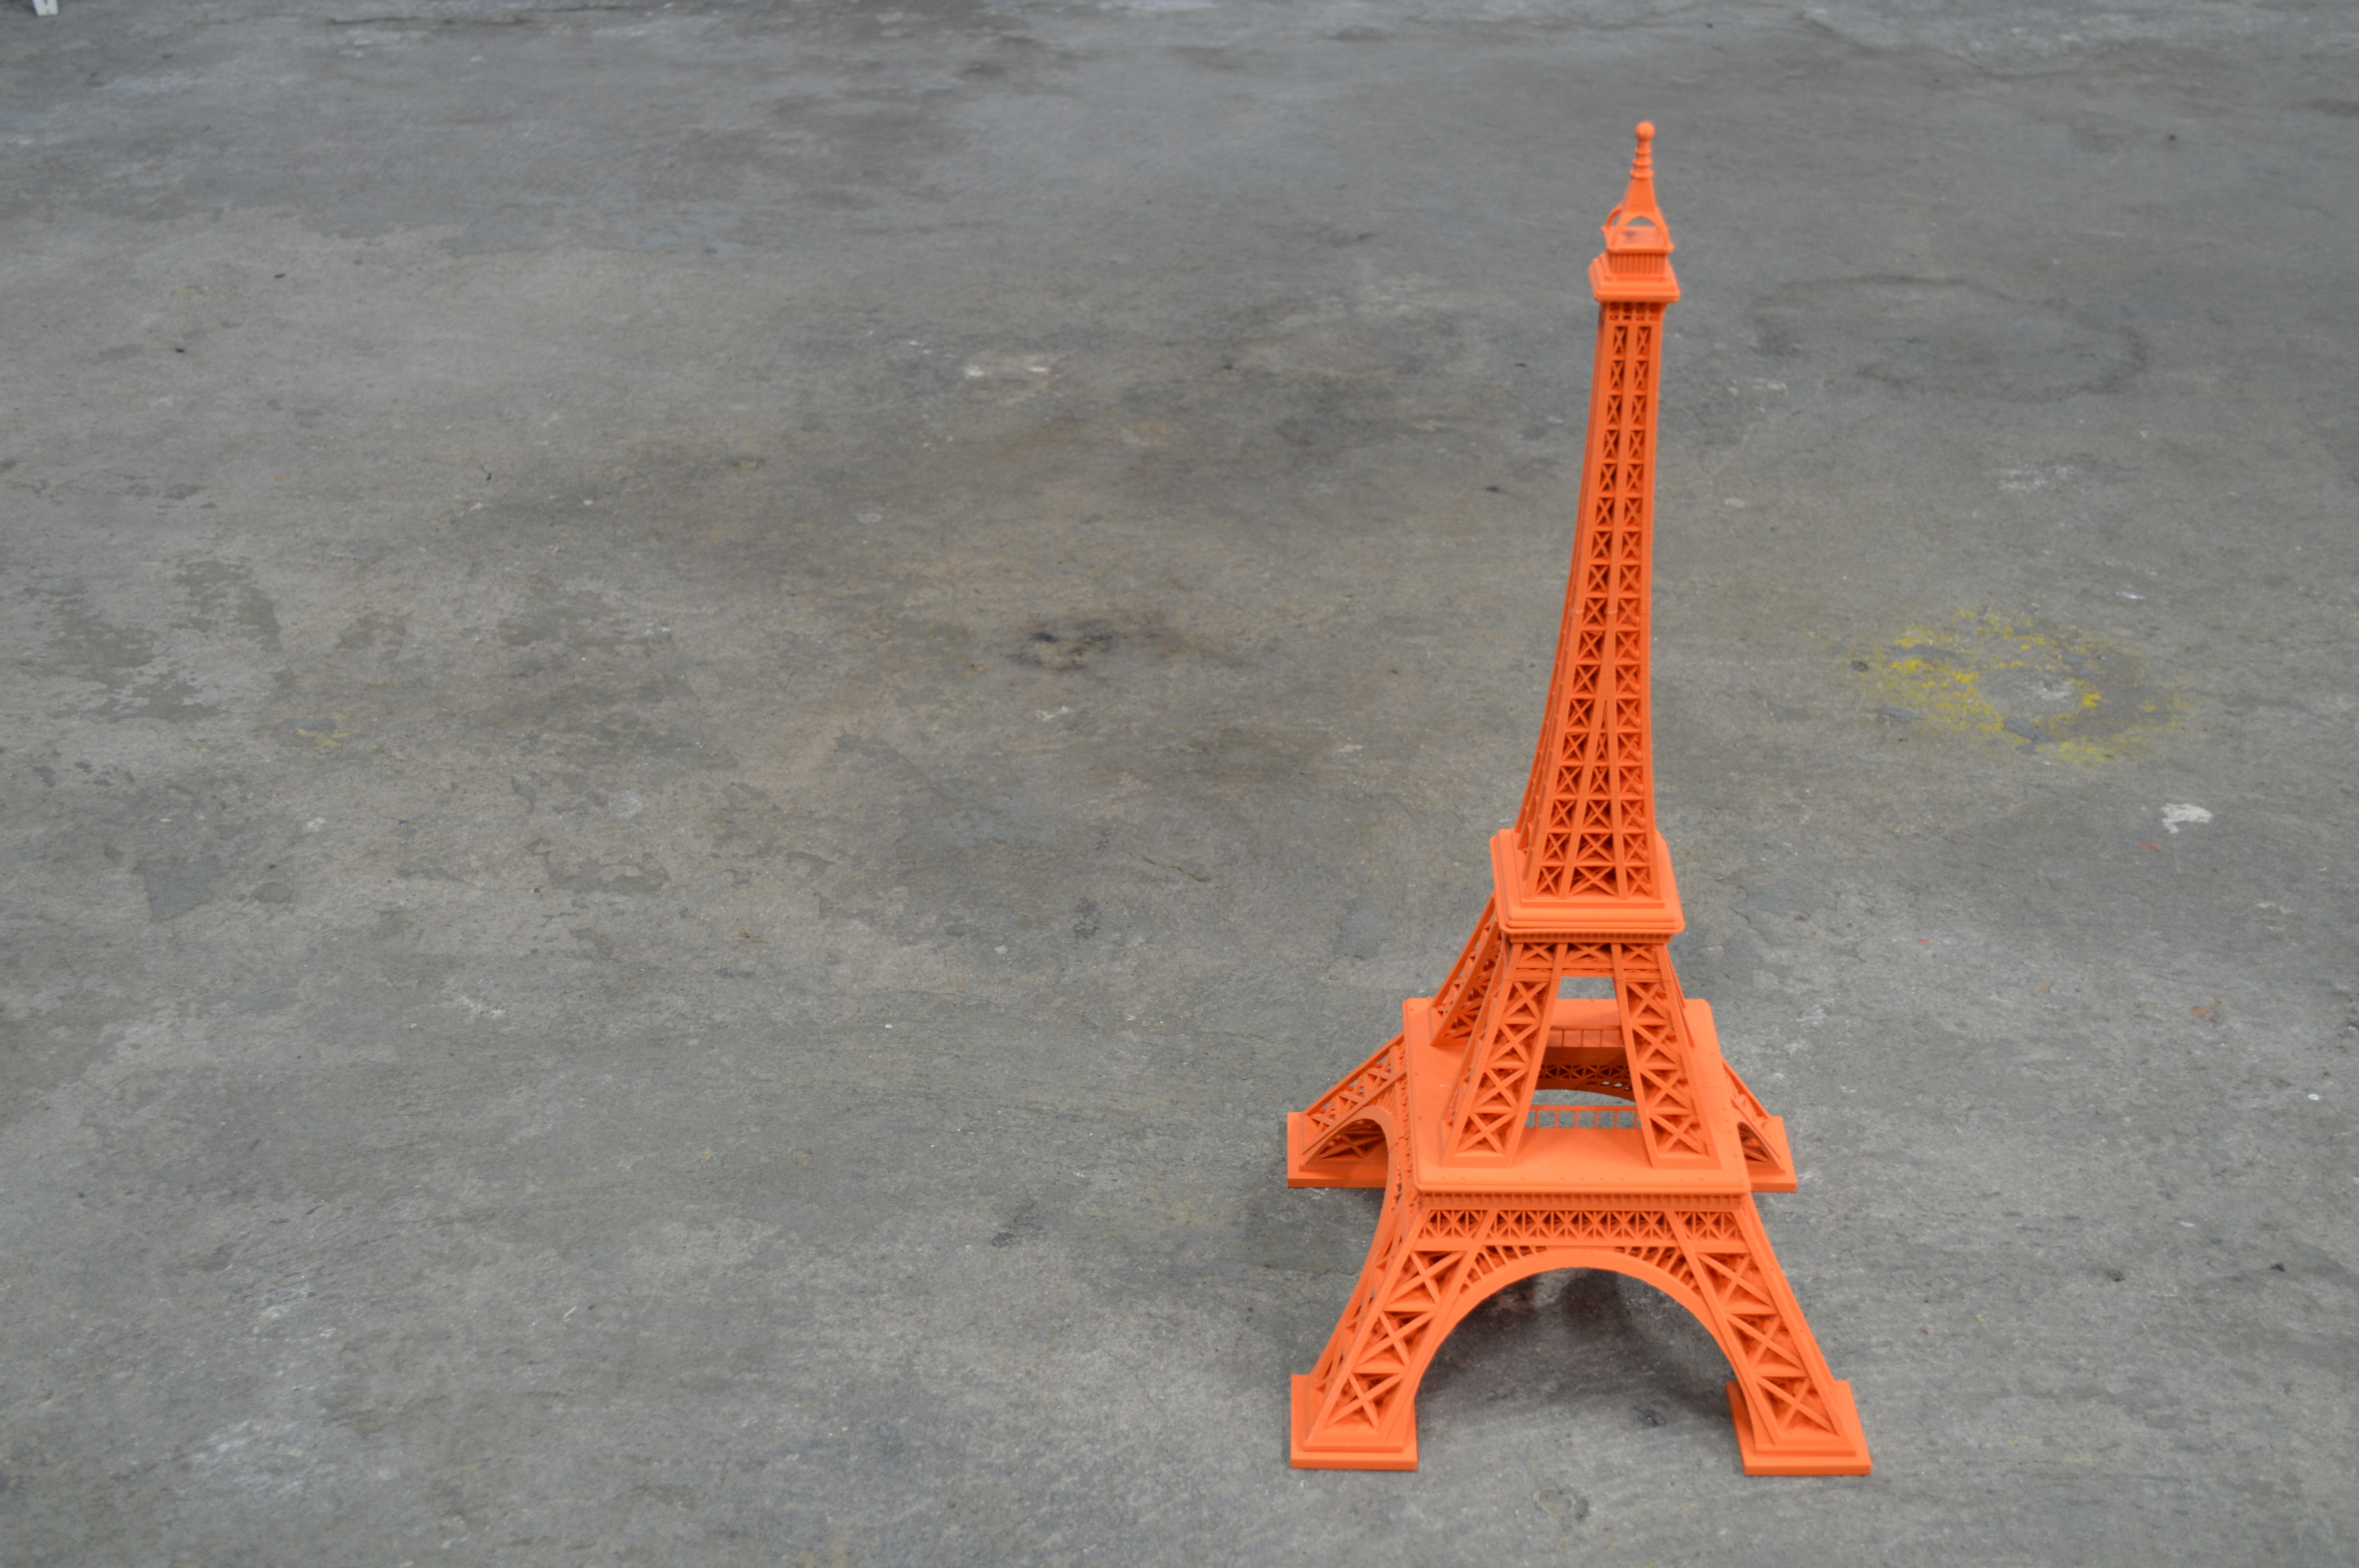
I used epoxy glue to put the model back together. In can be a long process, but it works.
Be careful to allign the parts perfectly because if you miss, there will be no second chance. You might want to use tape, strings or clamps to keep a presure on the parts while the epoxy hardens.
Be careful to allign the parts perfectly because if you miss, there will be no second chance. You might want to use tape, strings or clamps to keep a presure on the parts while the epoxy hardens.
Build Your Own City
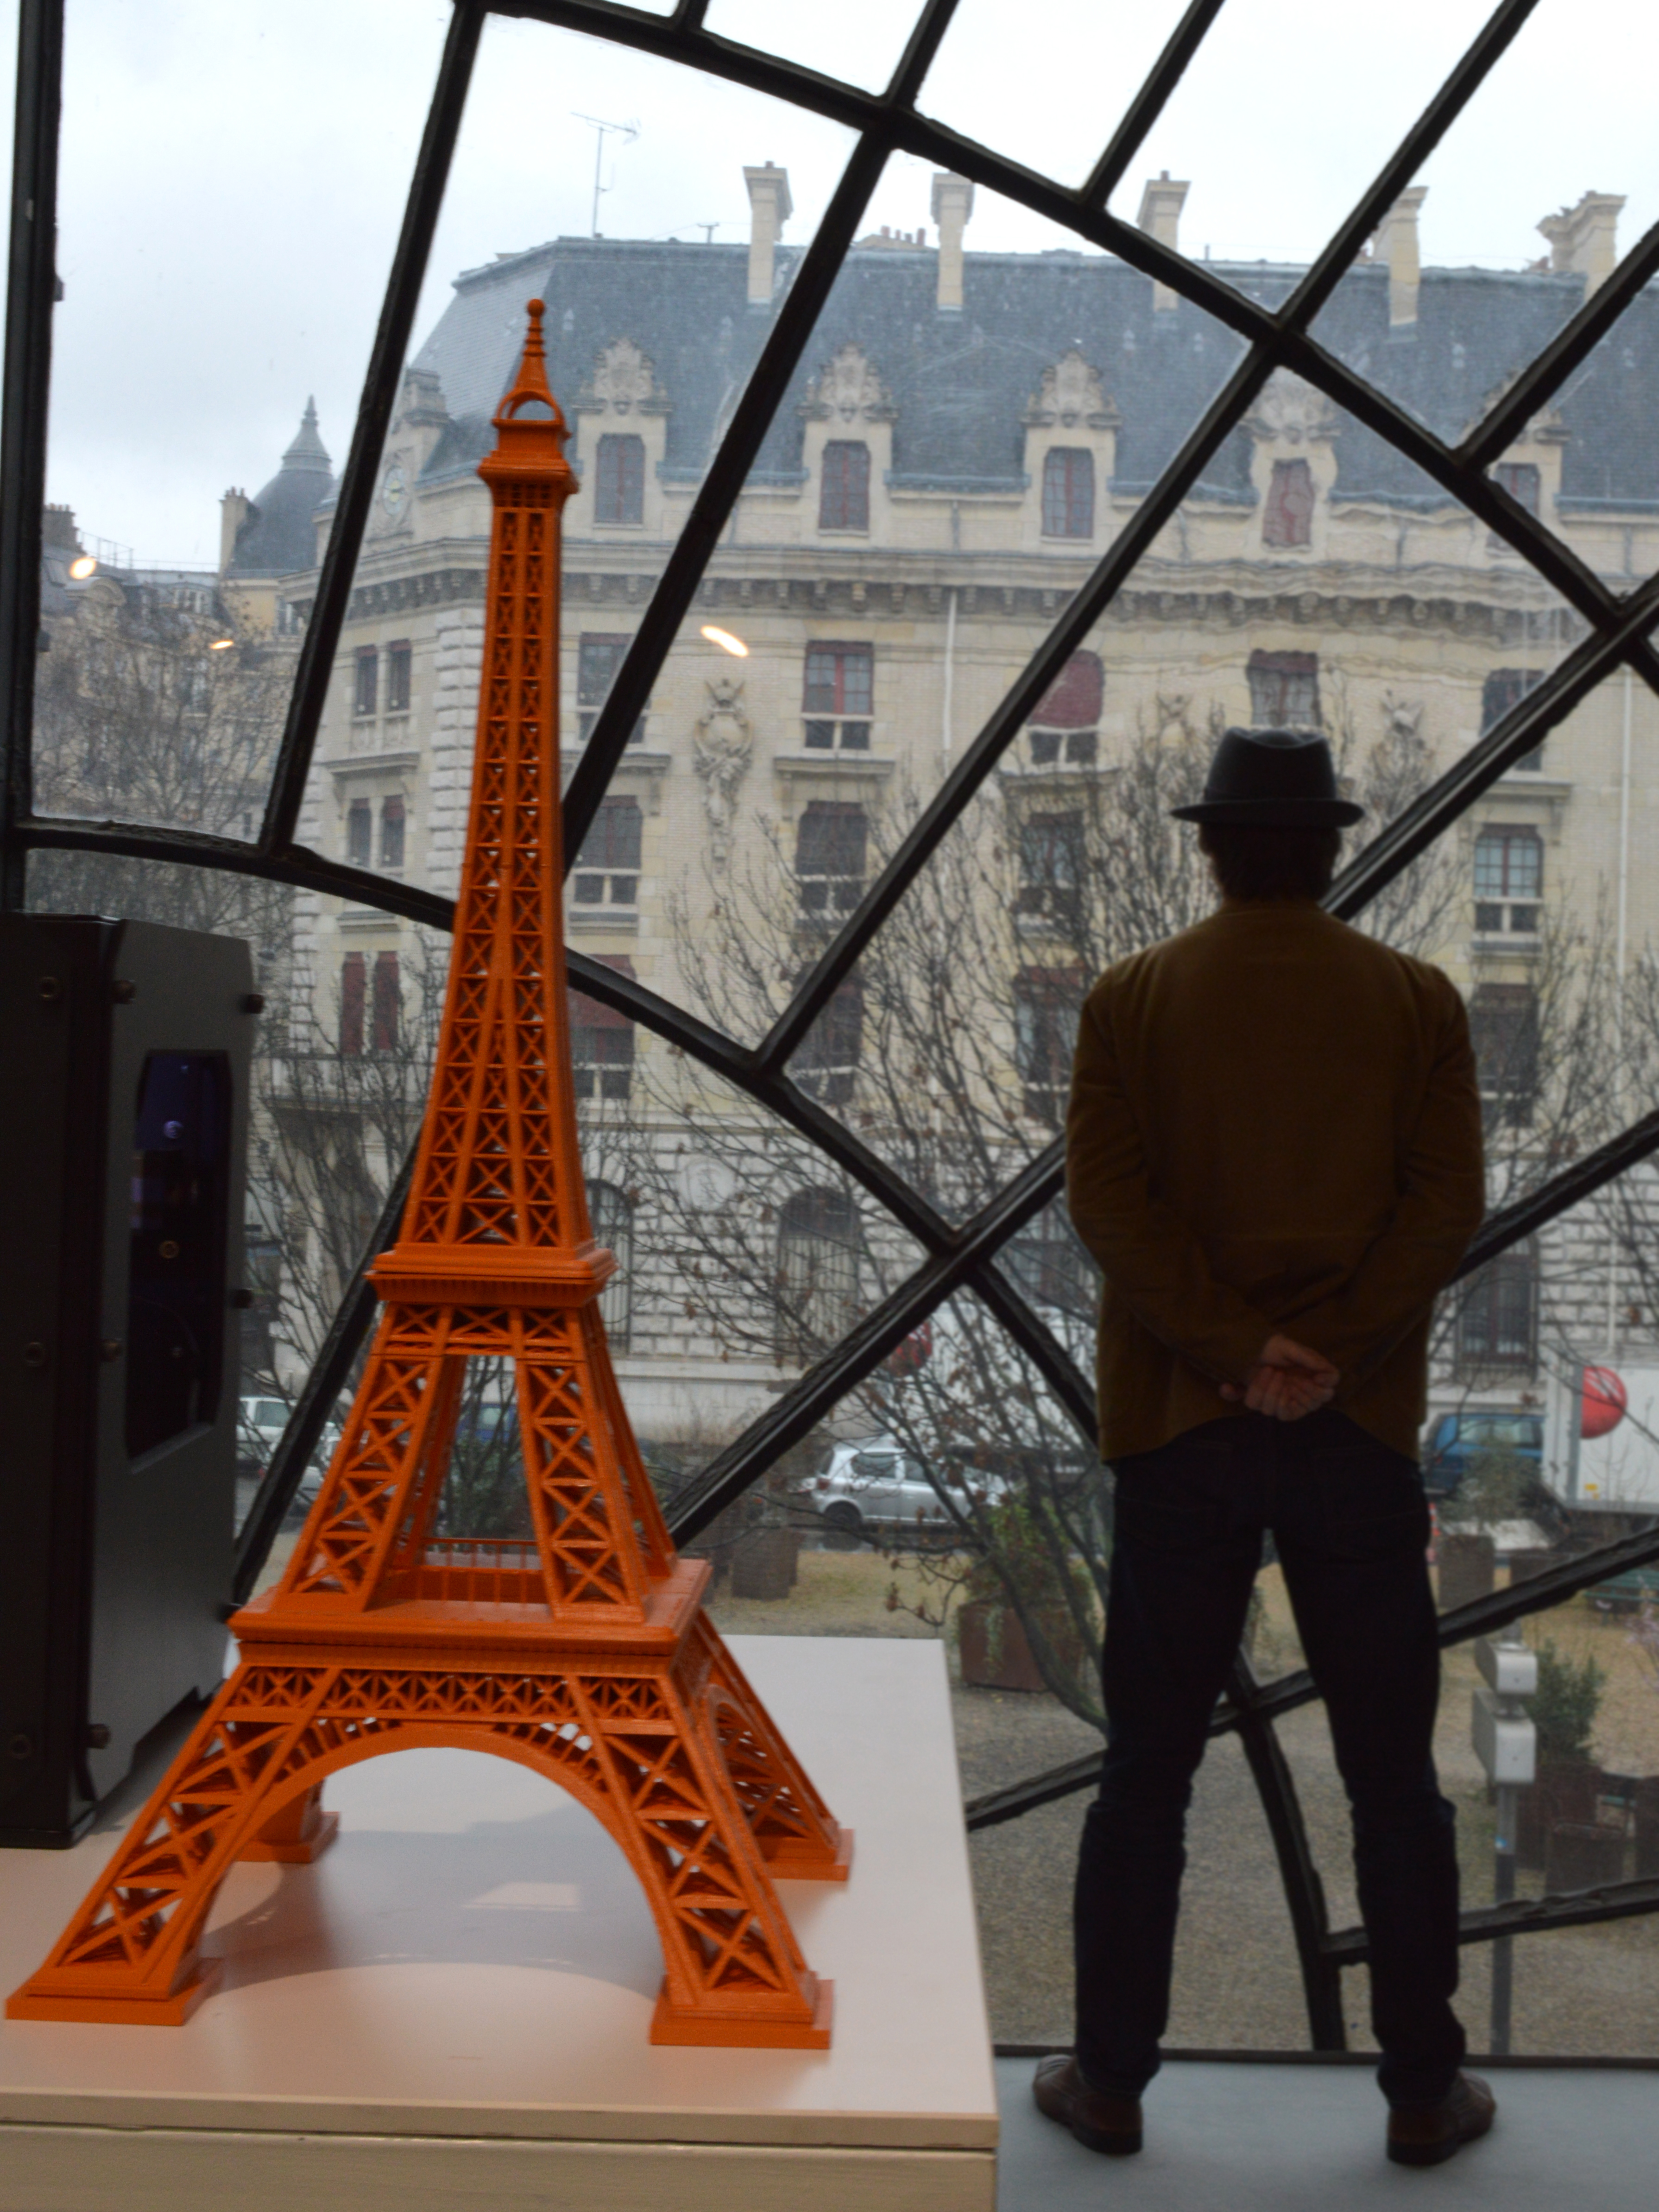
Now that you know this trick, there is nothing too big for you to print. Remember that there is people printing full costumes, small houses and even cars with their desktop 3D printer!