Use IFTTT From a Raspberry Pi Without Technical Knowledge Using NodeRED
by thethingbox in Workshop > Home Improvement
788 Views, 5 Favorites, 0 Comments
Use IFTTT From a Raspberry Pi Without Technical Knowledge Using NodeRED

This Instructable was made in order to provide a simple way to use IFTTT's Maker channel (www.IFTTT.com) on a Raspberry Pi.
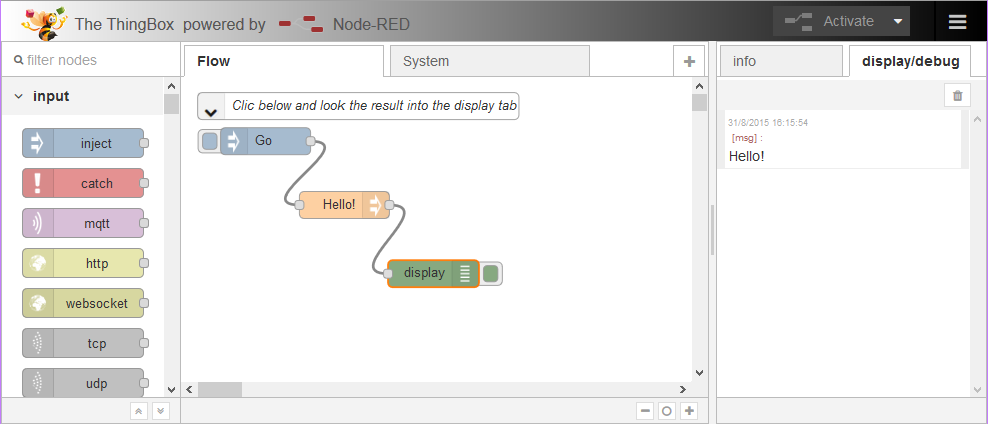
A Simple Flow

Here is the simple flow we will build with the graphical editor.
It just sends a value to IFTTT.
Additionally, it shows that it is as easy to send data from a ZWave motion sensor to IFTTT.
Download and Install the Pi SDCard

Go to http://theThingbox.io and download the SDCard image you can flash using the Etcher app (https://www.raspberrypi.org/magpi/pi-sd-etcher/)
Learn more here : http://thethingbox.io/docs/IFTTT-Book.pdf.
Access the Visual Editor
Use your web browser to access the visual editor using the network name you gave in the setup process
Install NodeRED Nodes

Click the right menu in the Node-RED web page.
Choose "Manage Palette" then "Install". Type "ttb-ifttt" in the edit box and click the OK button. Wait for the install.
Build a Simple Flow

We will build a simple flow with the IFTTT node.
Edit the Node

You will have to choose a name for your event.
Also you should get the key from the IFTTT web site (see here to learn how to get the key).

Deploy and Test

Just hit the deploy button and now, by clicking the Go button you can switch the LED on and off.